Your mirror might be doing less work than it should. Whether your space feels cramped, dated, or just uninspiring, the right mirror can completely shift how a room functions and feels—without a full renovation. The 26 ideas below mix budget-friendly hacks, renter-approved solutions, and investment pieces that actually deliver results. You’ll find frameless minimalist options, bold statement shapes, coastal vibes, and smart multifunctional upgrades. Most take a weekend or less to install. Pick one idea that speaks to your space, and you’ll see why mirrors are the secret weapon of every designer’s toolkit.
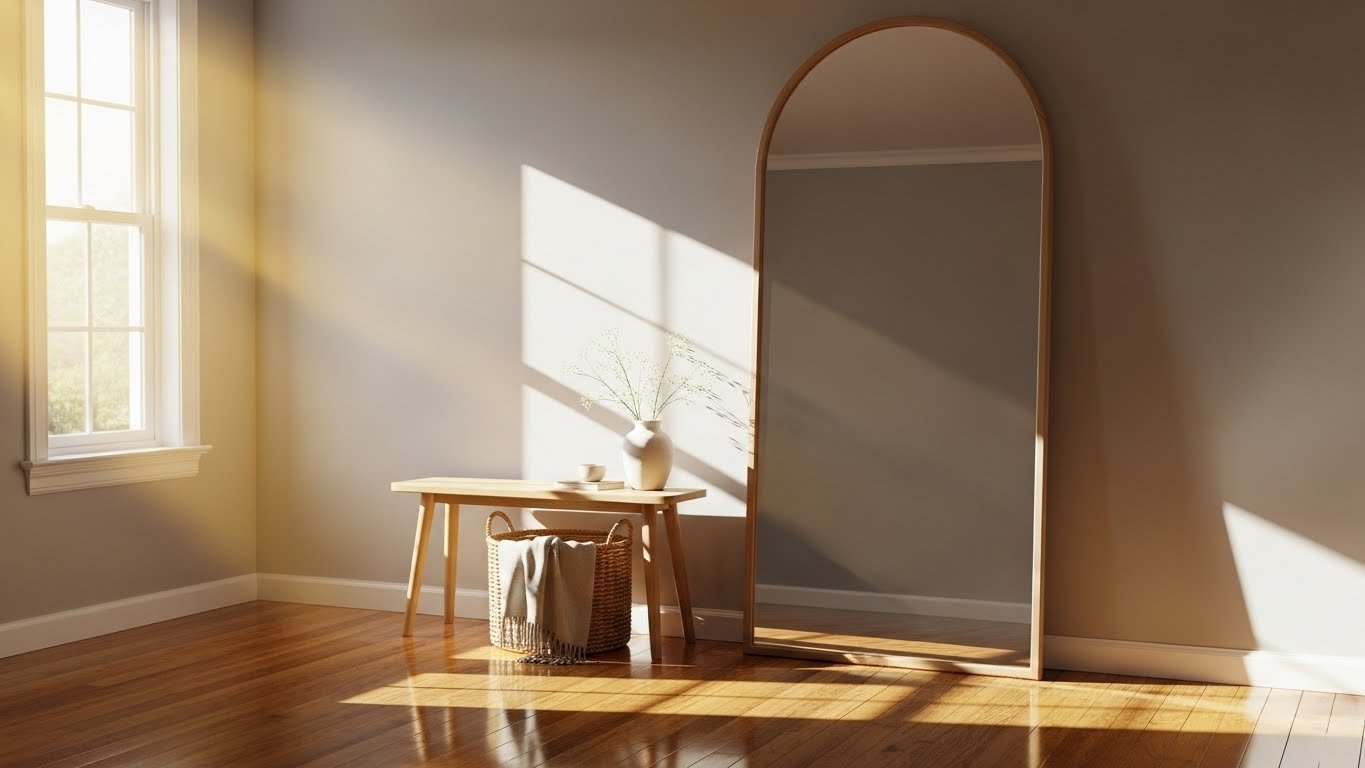
1. Hang an Arched Mirror to Soften Hard Edges
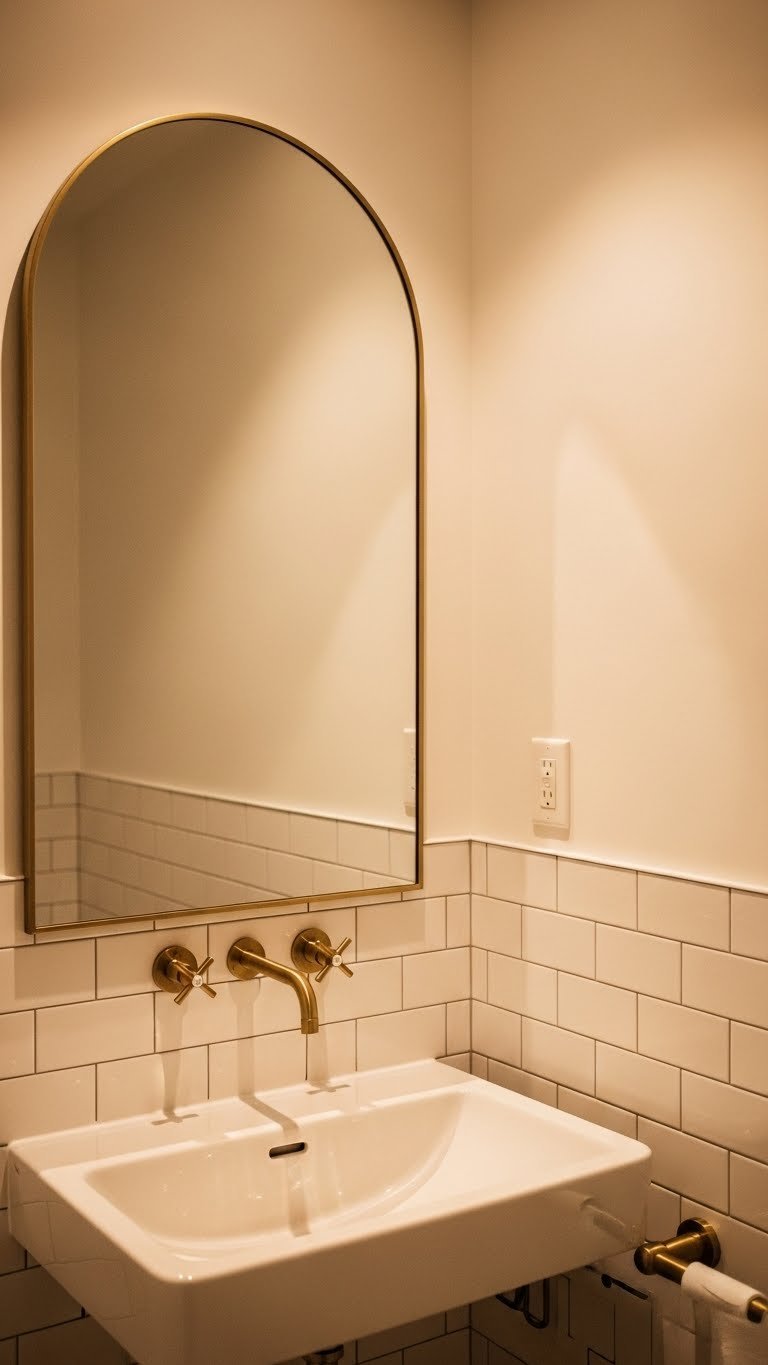
Arched mirrors add instant softness to angular rooms. They work especially well in bathrooms and entryways where you want to welcome people in, not intimidate them.
Look for arched mirrors $40–$150 at IKEA, Wayfair, or West Elm. Installation takes 20 minutes—just mark studs with a level and use mirror anchors. If you rent, lean a large arched mirror against the wall instead; it creates the same visual softness without drilling. The rounded top catches light differently than rectangular mirrors, making your space feel taller and more intentional. Pro tip: Pair your arched mirror with curved wall sconces on either side for balanced, flattering lighting.
You’ll notice how much softer the room feels once that arch is up—and how much better you look in it, too.
2. Create a Gallery Wall of Mixed Mirrors

Gallery walls aren’t just for art. Mixing mirror sizes, shapes, and finishes creates visual interest and bounces light around like you hired an architect.
Hunt for mirrors at thrift stores (often $5–$20 each), IKEA, Target, and Wayfair. Lay them on the floor first to find your arrangement, then measure and mark with painter’s tape before hanging. Time: 1–2 hours. Mix metals freely—gold, black, and silver actually complement each other when arranged thoughtfully. Leave 2–4 inches between frames for breathing room. Renter tip: Use removable adhesive strips rated for heavier items instead of nails.
A curated gallery feels collected and personal, like you’ve been traveling and gathering treasures—except you did it in a weekend.
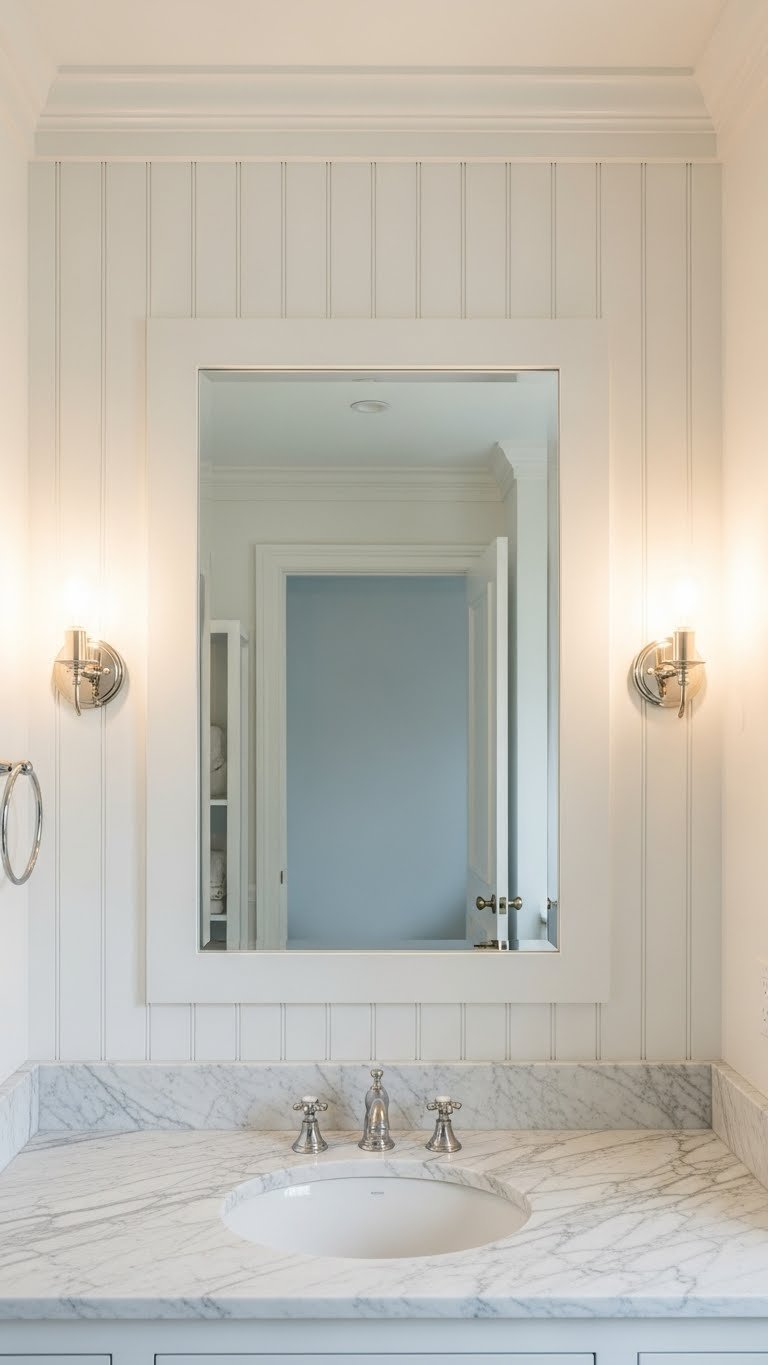
3. Install Frameless Mirrors to Expand Small Bathrooms

Frameless mirrors feel like they disappear into the wall, which makes tight bathrooms read as bigger than they actually are. The psychological trick works every time.
Frameless mirrors run $30–$100 depending on size; find them at Home Depot, Lowe’s, or specialty glass shops. Installation is simple: mark your studs, use appropriate anchors for your wall type, and hang with a level. Takes 15 minutes. Check your wall first—if it’s uneven, a professional install ($50–$150) ensures a perfect hang. Renter-friendly: some adhesive-back frameless mirrors exist, though they’re less stable long-term.
The biggest benefit is psychological—your small space suddenly reads as open and intentional rather than cramped.
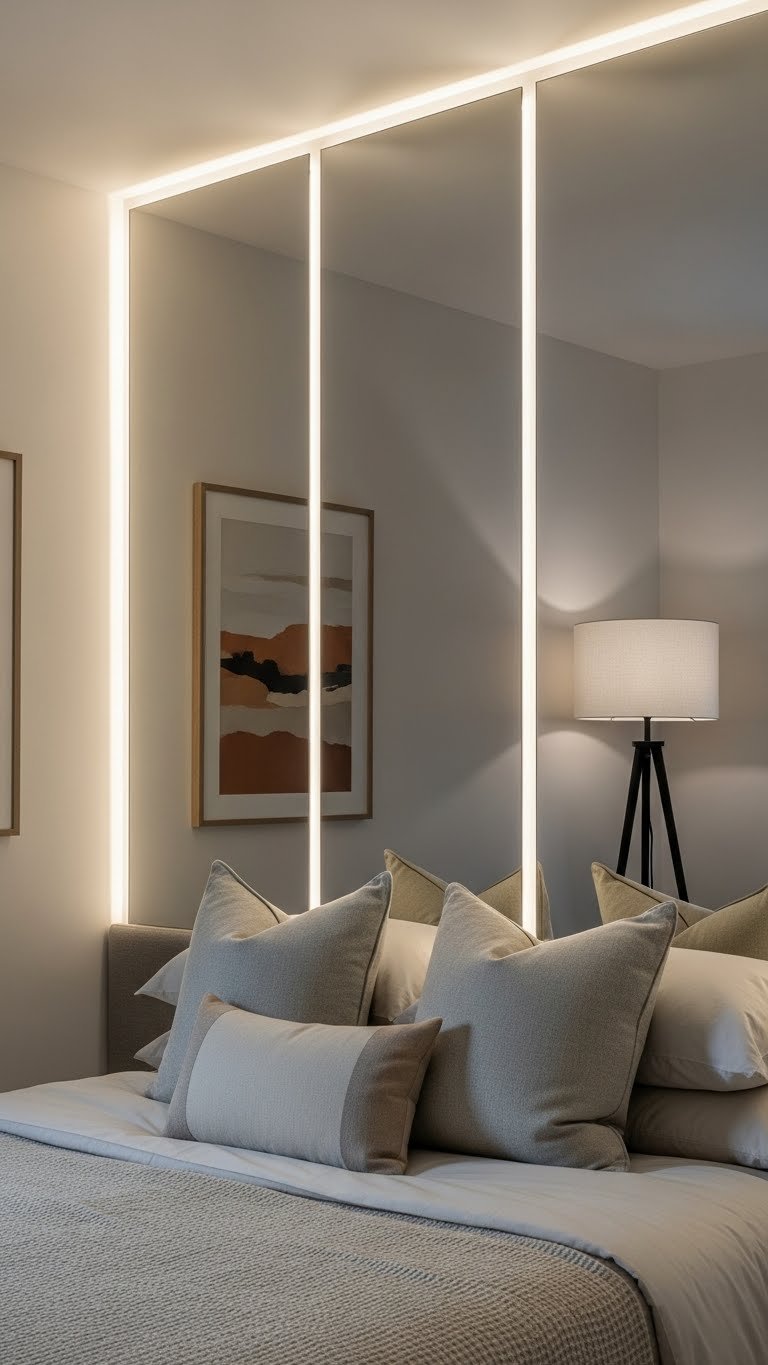
4. Add LED Backlighting for Vanity Glow
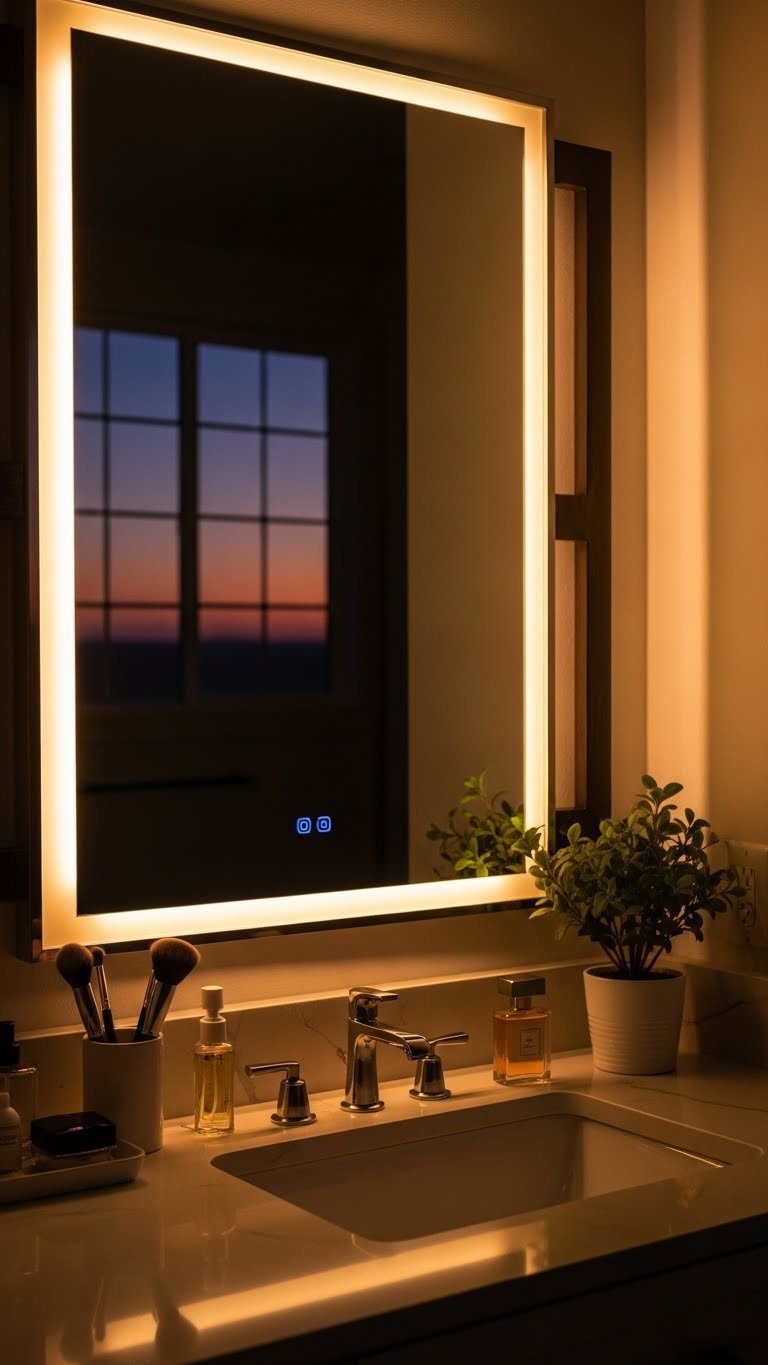
LED-backlit mirrors solve two problems at once: they’re functional for grooming and they create moody, even light that photographs beautifully in your space.
Buy LED strip mirrors $50–$300 (brands like Wayfair, Amazon, and Home Depot have solid options), or retrofit existing mirrors with adhesive LED strips ($15–$40). Installation: plug in the power cord, stick the strips to the mirror back, and hide the cord behind your vanity or through a wall gap. Time: 30 minutes. Anti-fog features on some models ($80–$150) are worth it if you shower and get mirror fog. Renter hack: buy a plug-in LED mirror that needs no installation.
Your morning routine gets a spa-like upgrade, and you’ll actually see what you’re doing—game-changer for makeup application or shaving.
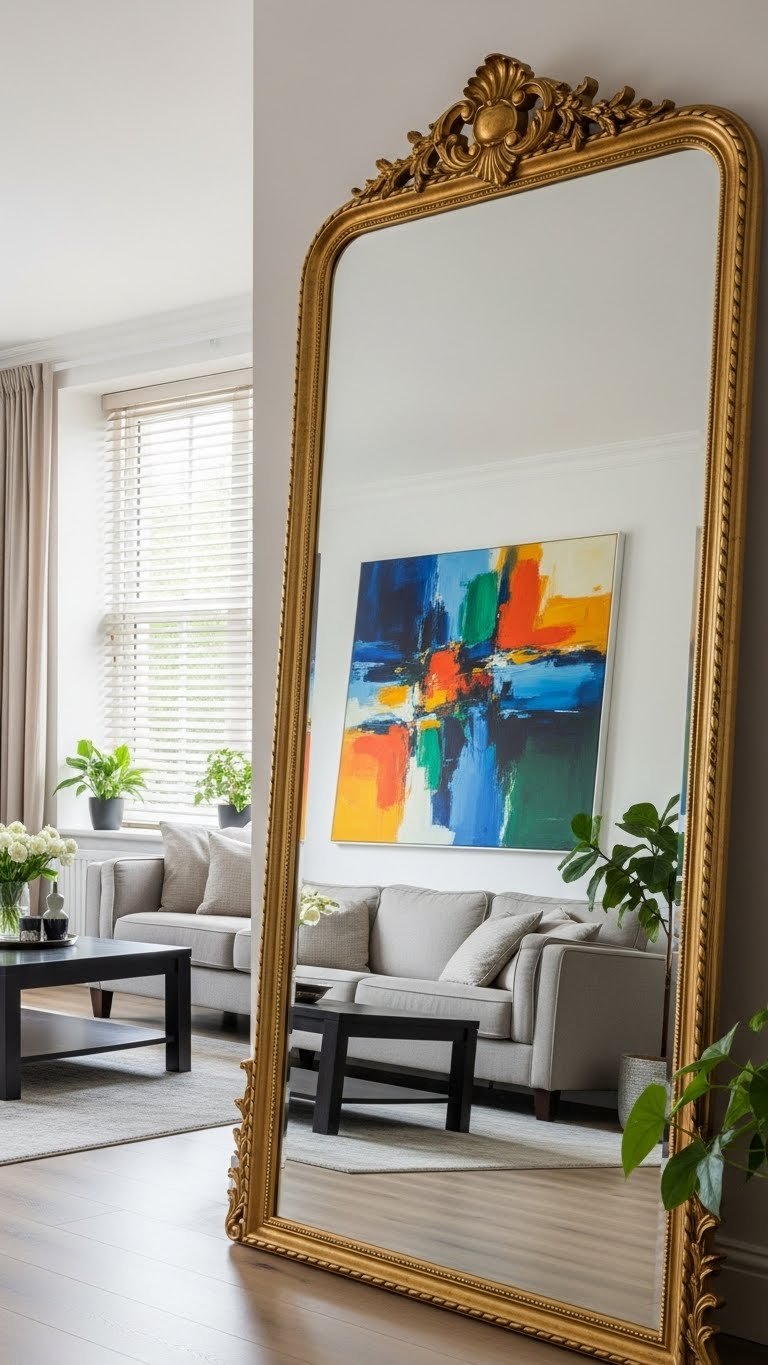
5. Lean an Oversized Mirror Against Your Wall
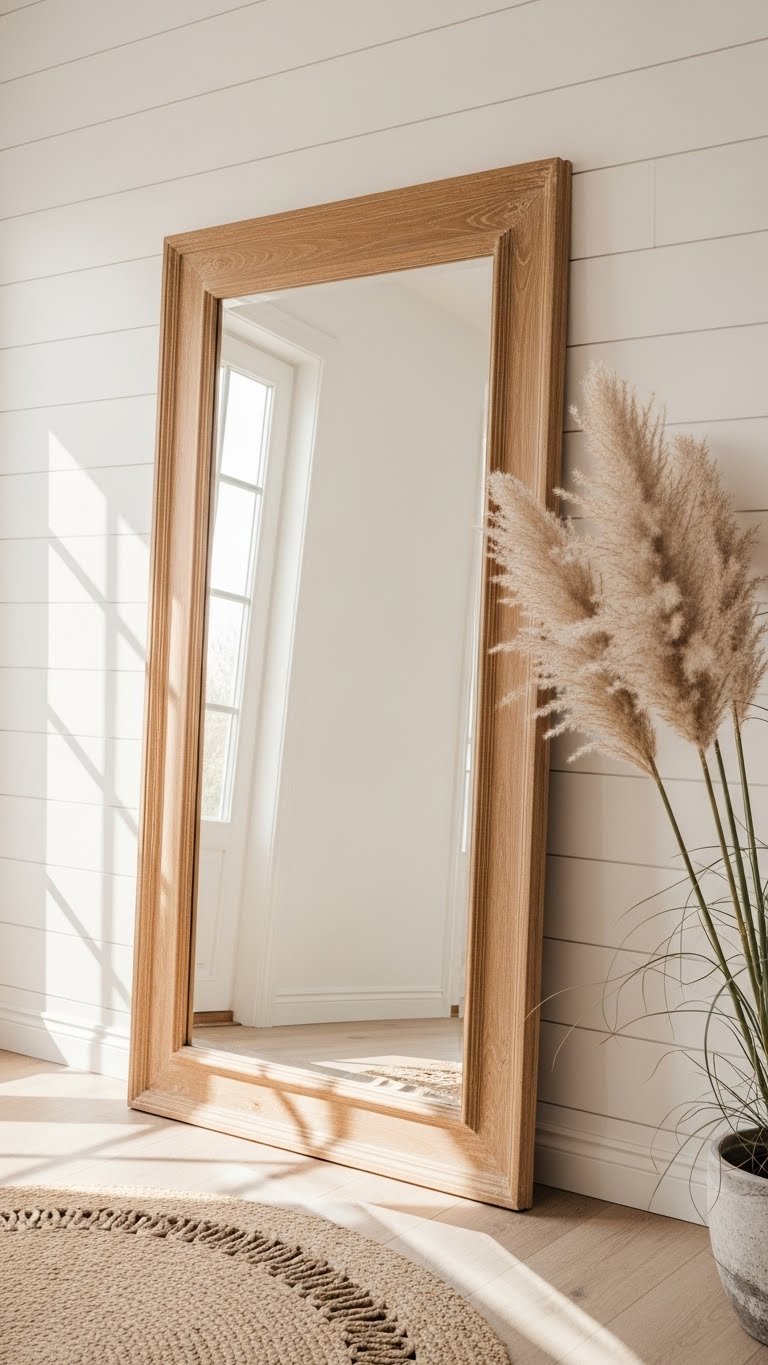
Leaning mirrors cost less than hanging (no installation stress) and create instant designer energy without commitment. Perfect for renters.
Find oversized mirrors $60–$250 at Article, West Elm, Wayfair, or Facebook Marketplace. Lean it against your wall where studs exist behind (for safety if it’s very large), or use a leaning mirror stand. Takes 5 minutes to position. The visual weight makes small entryways feel intentional, and you can move it whenever you want. Pair it with a console table below to anchor it further.
That one leaning mirror makes your entryway feel like you have a real design plan—and moving it around keeps your space feeling fresh.
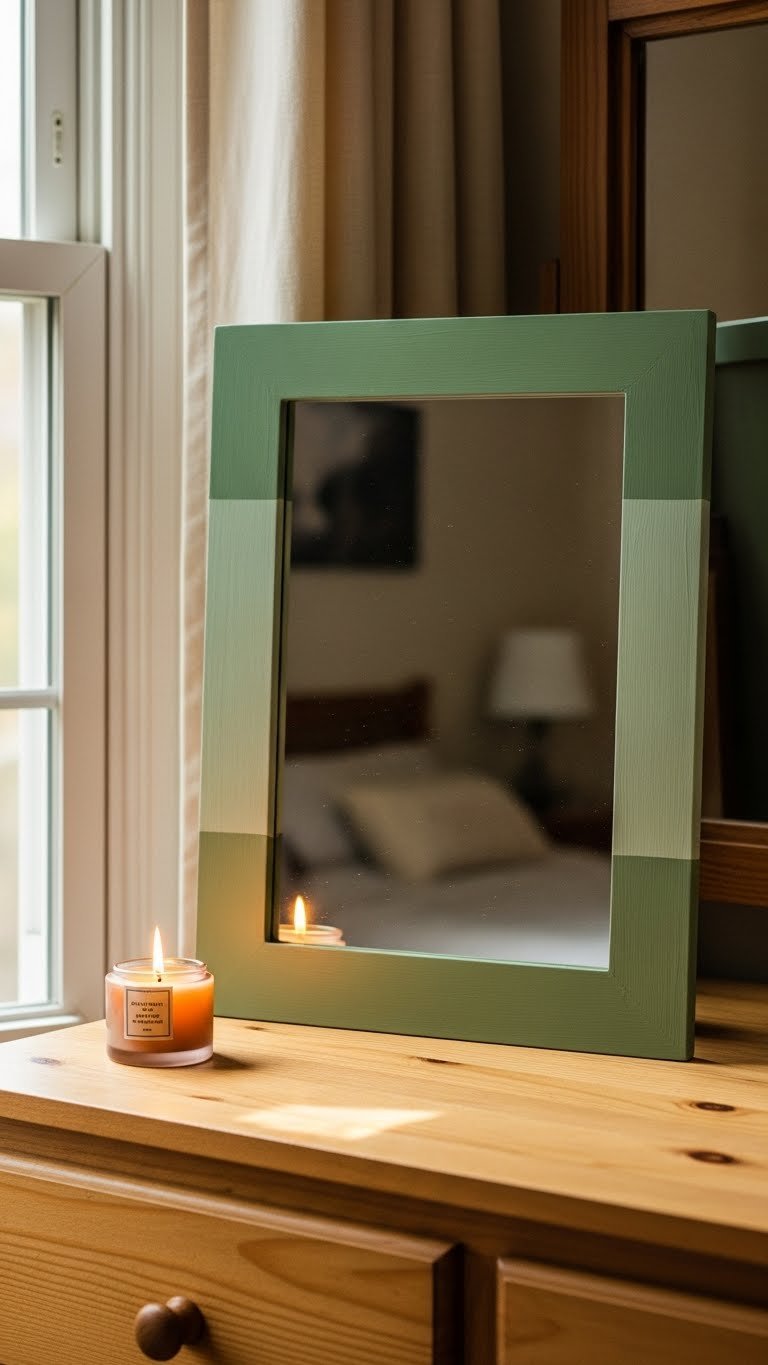
6. Paint Your Mirror Frame a Bold Matte Black
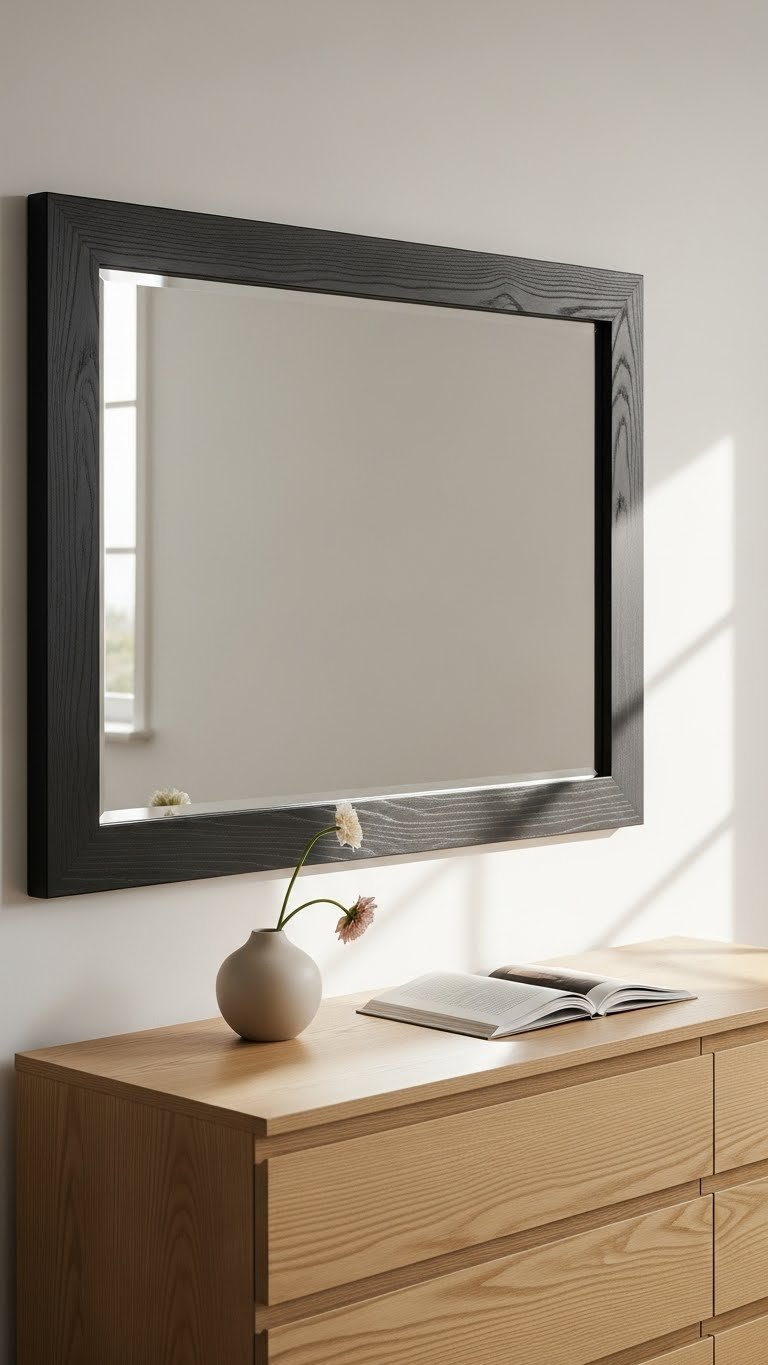
A fresh coat of paint transforms a dated mirror frame into a statement piece. Matte black works with nearly every aesthetic, from minimalist to maximalist.
Grab your mirror and painter’s primer ($10), matte black paint ($8–$15), and a small brush. Remove the mirror from the wall (or leave it if you’re comfortable painting in place). Apply two thin coats, letting each dry fully. Takes 2 hours plus drying time. Use painter’s tape where the frame meets the mirror to keep the reflective surface clean. Pro tip: If your mirror is plastic, use spray paint designed for plastic instead of brush-on paint.
A black frame instantly grounds your space and makes the mirror read as intentional rather than afterthought.
7. Add a Rattan or Woven Frame for Coastal Vibes
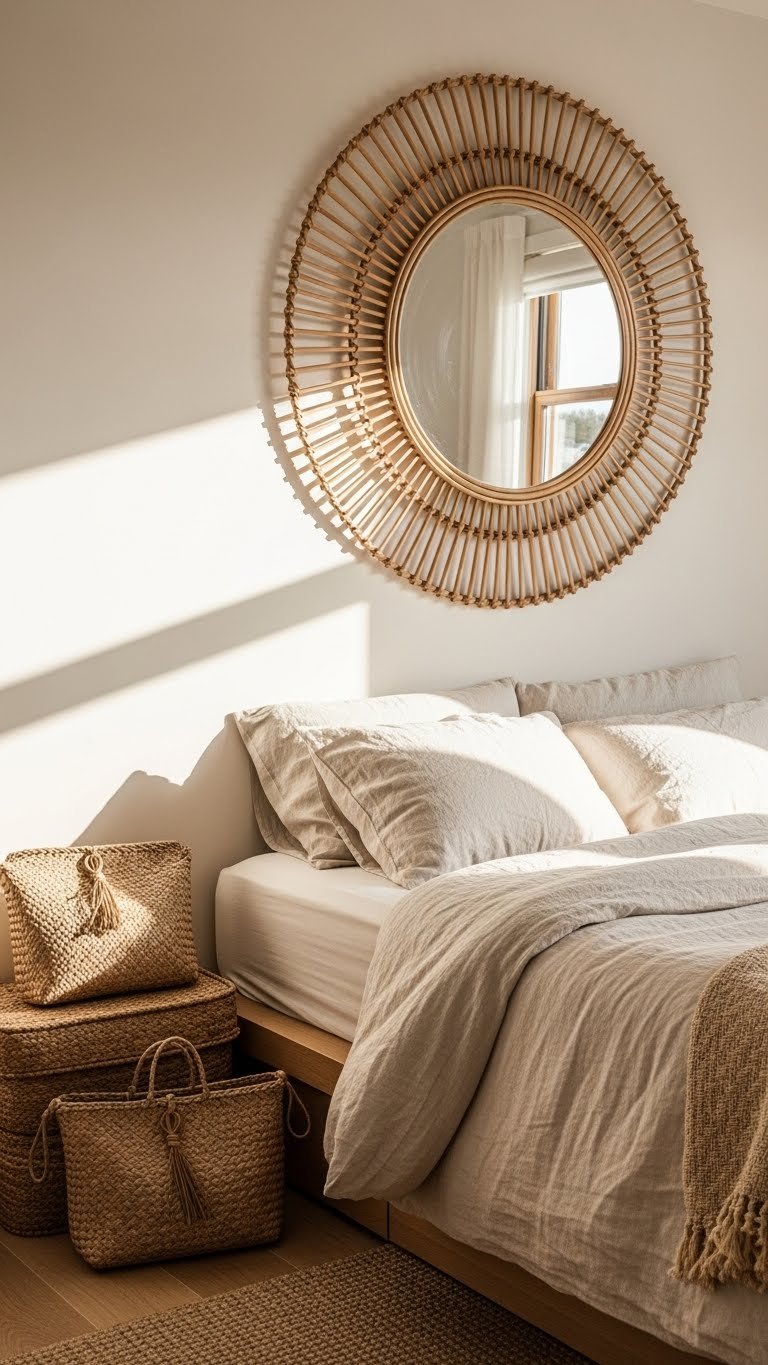
Natural materials bring warmth and texture that hard metals can’t match. Rattan frames are trending and actually affordable right now.
Look for rattan-framed mirrors $40–$150 at Target, Wayfair, IKEA, or HomeGoods. The weave catches light beautifully and adds visual interest without being loud. Installation is standard: mark studs and hang with appropriate anchors. Takes 20 minutes. Rattan does dust, so use a soft brush once a month to keep it fresh. Pair with woven baskets or natural fiber accessories to build a cohesive coastal story.
The rattan frame makes your bedroom feel like a retreat instead of just a place to sleep—suddenly everything looks intentionally curated.
8. Mount Multiple Small Round Mirrors as a Cluster
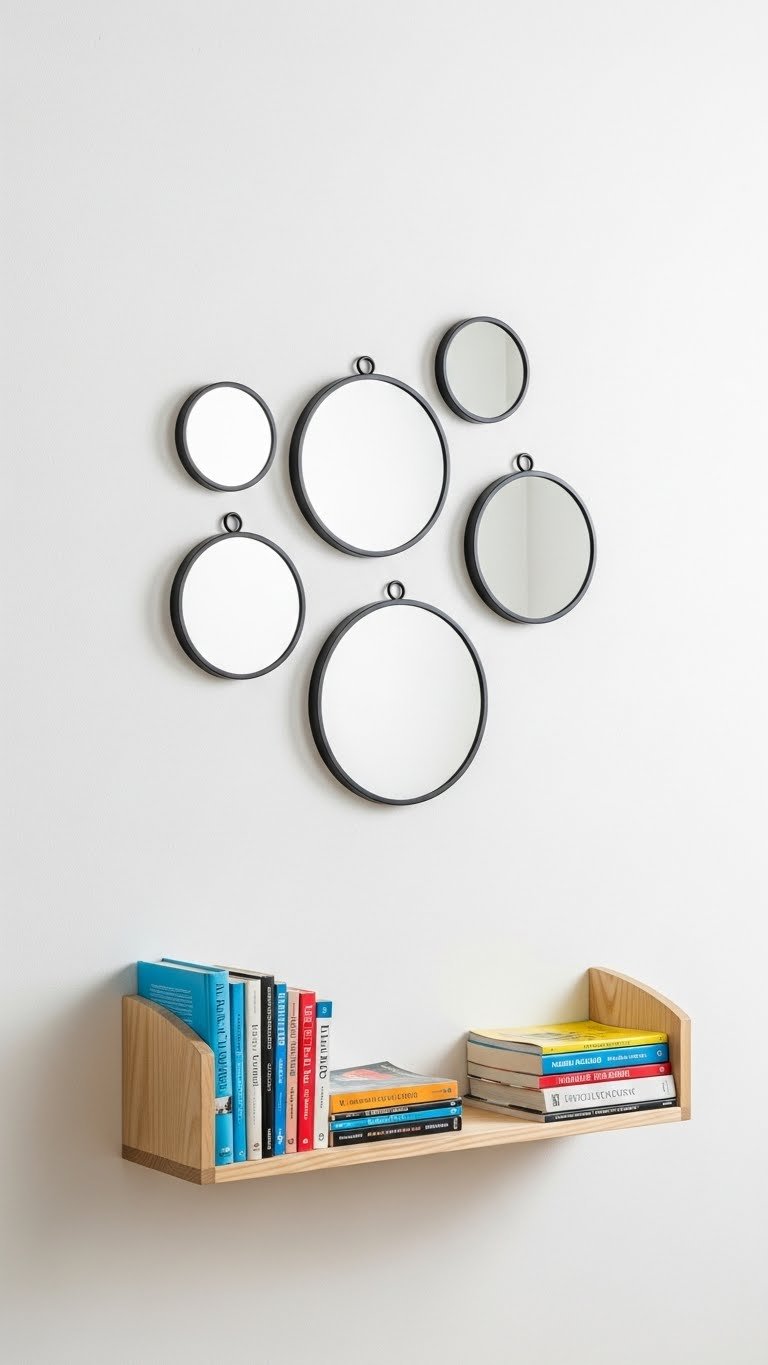
Cluster small mirrors instead of one large one for a modern, artistic look that works especially well in living rooms or hallways.
Mix rounds from $15–$60 each via IKEA, Target, Amazon, or thrift stores. Arrange on the floor first, then use painter’s tape to map positions on your wall. Stagger heights rather than lining them up for that curated, intentional feel. Time: 1.5 hours. This approach works great for renters too—use removable adhesive strips for lighter mirrors.
The layered effect makes the wall feel like a real design moment, and clusters are easier to move or add to than one huge mirror.
9. Install a Mirror Accent Wall in One Room
A full accent wall of mirrors sounds dramatic, but it’s achievable with custom panels or assembled pieces—and it genuinely doubles perceived space.
Budget $200–$800 depending on wall size and whether you DIY or hire help. Order custom mirror panels from Wayfair, Etsy artisans, or a local glass shop, or assemble beveled mirror tiles from Home Depot ($2–$5 per tile). Hire a professional for installation ($300–$600 labor) unless you’re very comfortable with drywall anchors and weight distribution. DIY timeline: 4–6 hours; professional: 1–2 hours. This is a commitment, so choose a wall you love.
Your space reads as bigger, brighter, and infinitely more intentional—the kind of room that makes people say, “Wait, how is this small?”
10. Hang a Sunburst Mirror as Your Statement Piece
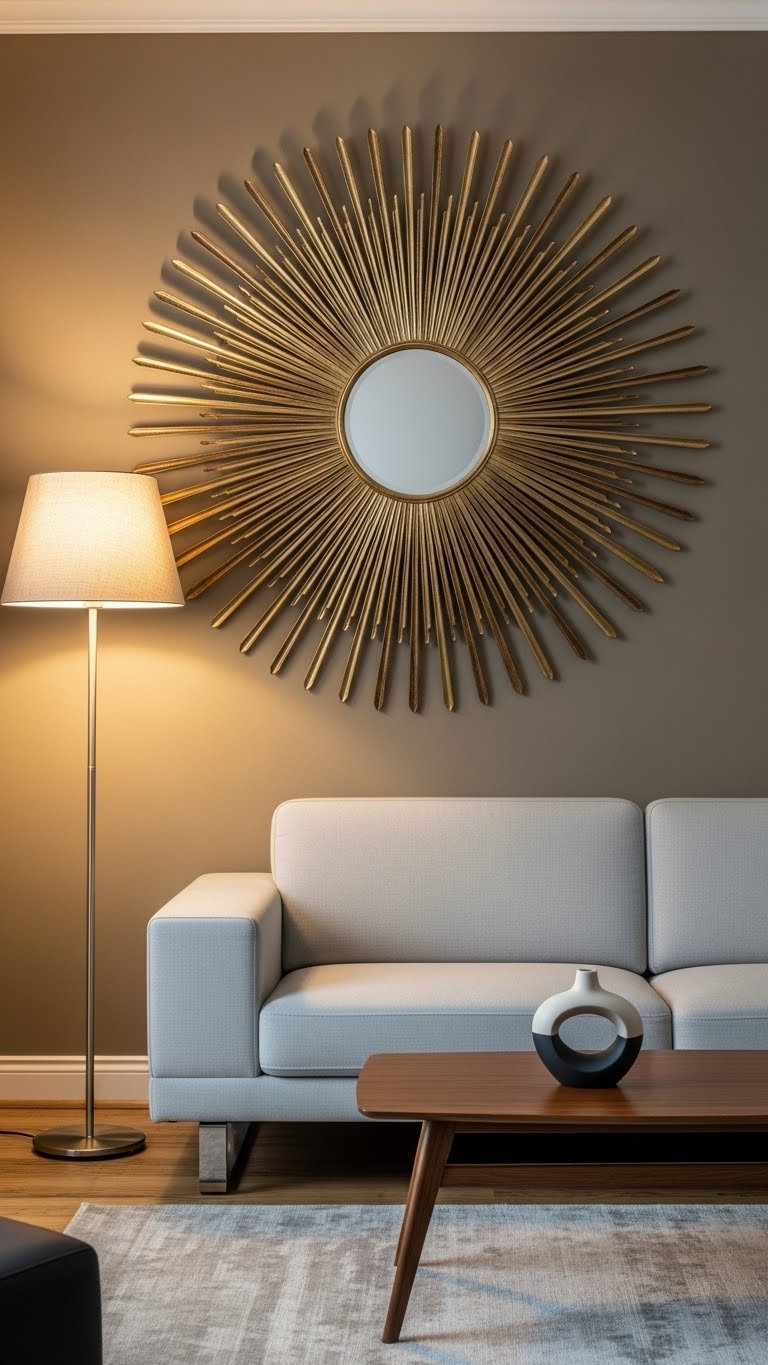
Sunburst mirrors are sculptural focal points that make any room feel collected and intentional. They work as art without being art.
Find sunbursts $60–$300+ at West Elm, Article, Wayfair, or independent furniture stores. Larger statements ($150+) truly anchor a room. Installation takes 20 minutes with standard wall anchors—just find your center point and hang level. Pro tip: Group only one sunburst per large wall; they’re bold enough to dominate. Pair with minimal surrounding décor so the mirror gets all the attention.
A sunburst mirror is the kind of piece that makes guests ask where you got it—instant conversation starter and the fastest way to feel like you have a real design vision.
11. Mount an Oval Mirror for Organic Elegance
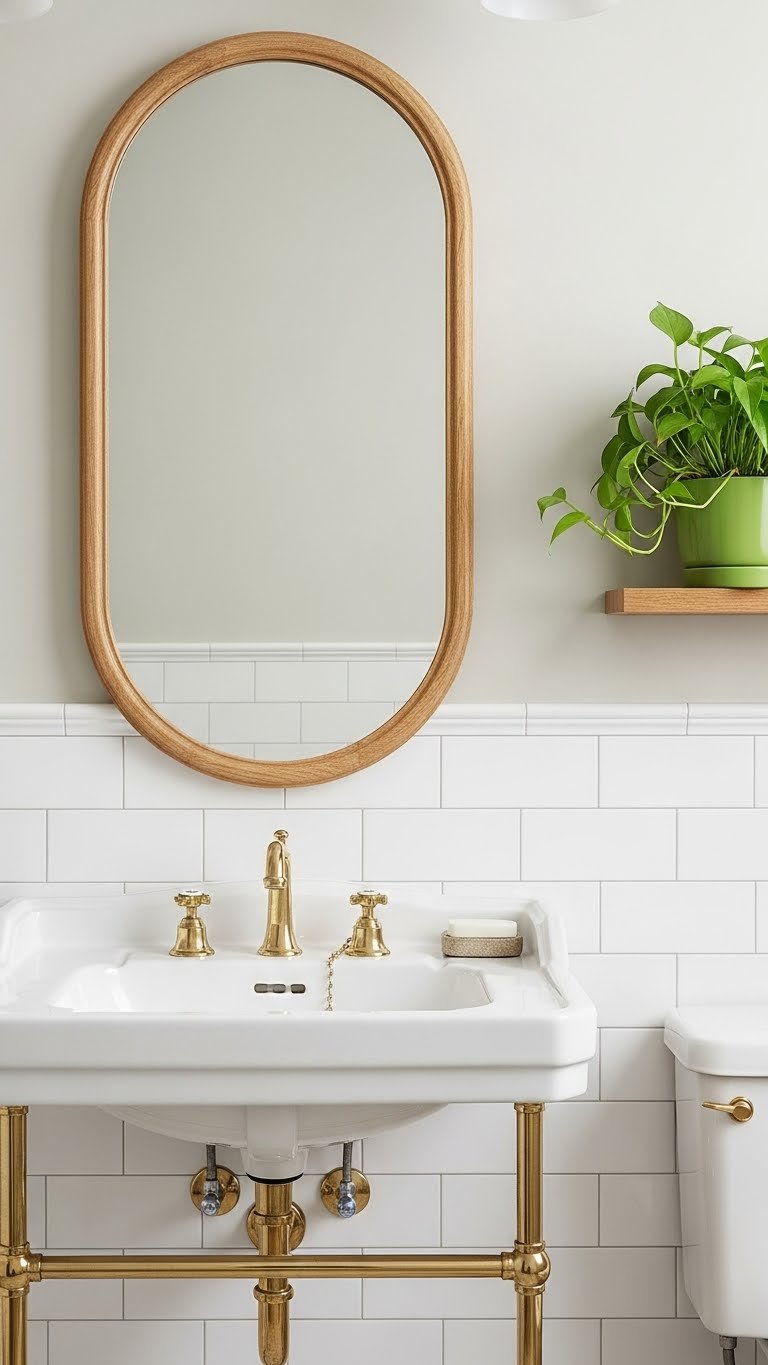
Oval mirrors soften your reflection and make faces look more flattering than rectangular options. They’re having a major moment in 2025.
Shop oval mirrors $45–$180 at Target, Wayfair, IKEA, CB2, or local furniture stores. Hang vertically for height or horizontally for width depending on your room. Installation: 15 minutes. Light wood frames feel warm and accessible; black frames feel modern; brushed gold feels luxe. Pair oval mirrors with rounded furniture pieces (curved nightstands, oval poufs) for a cohesive room.
An oval mirror instantly looks more thoughtful than generic rectangular—it’s a small detail that changes how your entire room reads.
12. Use Mirror Tiles to Create a DIY Feature Wall
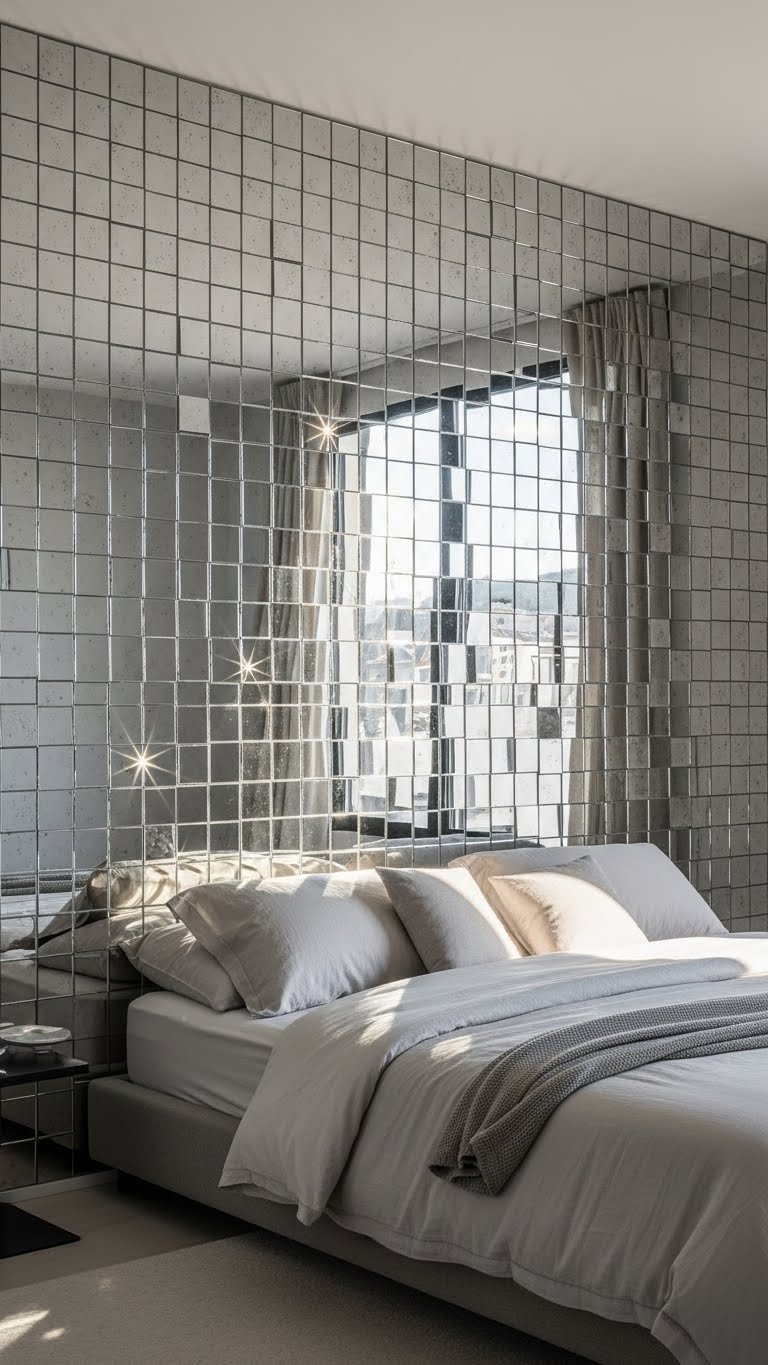
Mirror tiles are affordable, modular, and you can rearrange them anytime. They’re renter-friendly if you use removable adhesive.
Buy beveled mirror tiles $2–$5 each from Home Depot or Wayfair; a 4×4 foot wall needs roughly 16–20 tiles depending on size. Use high-strength removable adhesive strips rated for your wall type (usually $8–$15 per pack) or low-temperature hot glue if you own. Time: 2–3 hours. Work in a grid or staggered pattern—the grid is easier for beginners. Mark your wall first with a level and painter’s tape as guides.
Mirror tiles catch and scatter light beautifully, making your room look bigger and brighter without that “full accent wall” commitment.
13. Lean Mirrors at Different Angles for Visual Interest
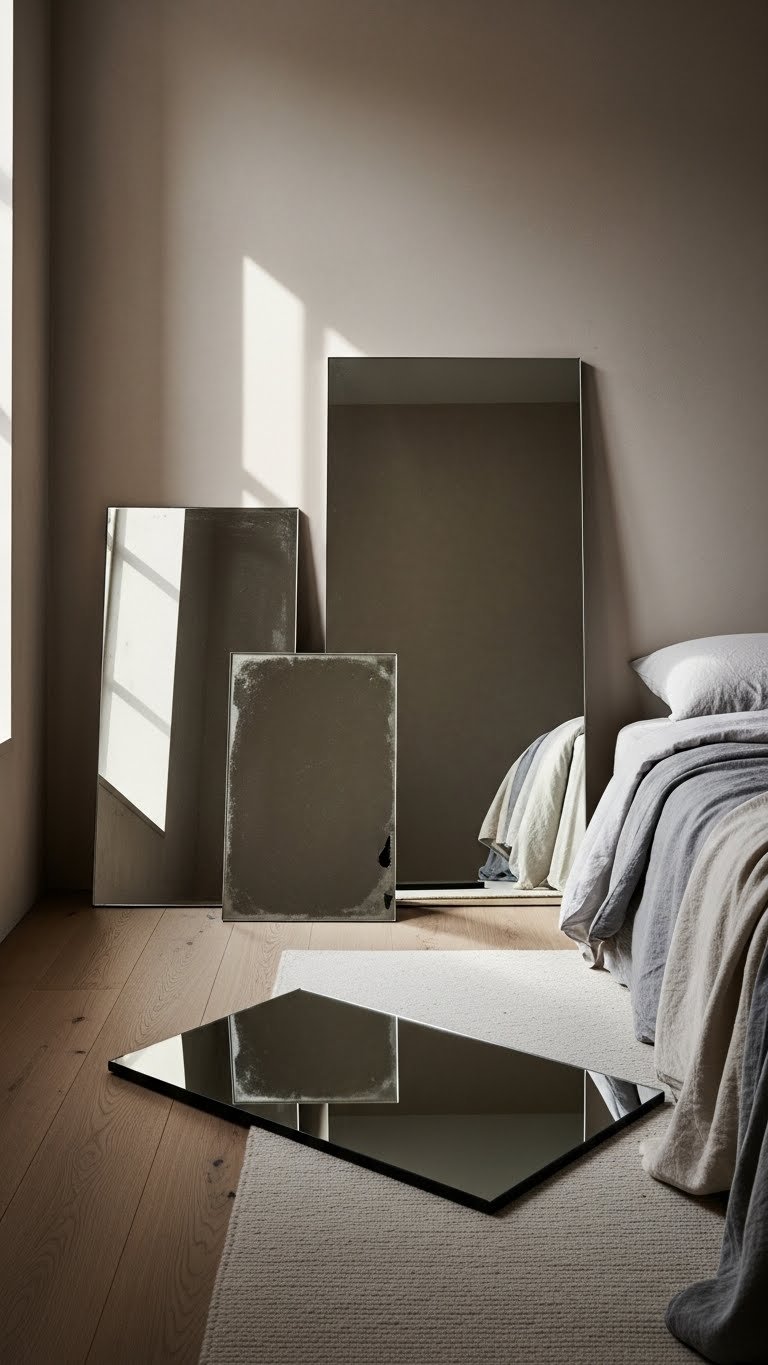
Leaning mirrors at angles creates dynamic visual interest and adjustability—you can change the angle anytime the mood strikes.
Find mirrors $40–$200 in various sizes at thrift stores, IKEA, or Wayfair. Lean them against your wall at slightly different angles (usually 10–20 degrees from vertical works). Use felt pads on the frame back to protect your wall. Takes 10 minutes to position. This works especially well if you have a long wall or behind a bed. Renter-friendly: zero installation required.
Angled mirrors create the feeling of a curated space without looking staged—like you’re an artist who understands light and reflection.
14. Frame a Mirror with Shiplap or Beadboard
A shiplap or beadboard frame around an existing mirror costs less than buying a new framed mirror and completely changes the look.
Grab shiplap boards ($15–$30 for a small project) from Home Depot or Lowe’s, paint or stain them, and attach with construction adhesive and nails around your existing mirror. Time: 4–6 hours including drying. This is a solid weekend project for someone comfortable with basic carpentry. Pre-made frames ($50–$150) are an easier option if DIY feels daunting.
A custom frame makes your mirror look built-in and expensive—like you didn’t just grab something off the shelf.
15. Choose a Geometric Hexagon or Polygon Shape

Geometric shapes feel modern and playful without being trendy or dated. Hexagons, pentagons, and irregular polygons work as art.
Find geometric mirrors $50–$200 at West Elm, Article, Etsy, or independent furniture boutiques. Installation is standard: mark studs and hang level. Takes 20 minutes. The shape alone makes the mirror feel intentional—pair it with minimal surrounding décor so the geometry gets attention. Works well in entryways or as a focal point above a console.
A geometric mirror signals that you actually think about design rather than just filling space—instant sophistication.
16. Add Decorative Mirror Corners or Brackets
Metal brackets and corners transform a plain mirror into something with character. This is a budget hack that looks like you spent way more.
Buy decorative brackets $10–$30 from Etsy, Amazon, or specialty hardware stores. Attach to your existing mirror frame with screws or construction adhesive depending on your frame material. Time: 30 minutes. Gold, brass, black, and copper brackets all add different vibes—gold feels warm and vintage; black feels modern and edgy. This works on any rectangular mirror.
A simple mirror with decorative corners suddenly looks intentional and collected—like a piece you found at an estate sale.
17. Mount a Mirror Inside a Floating Shelf
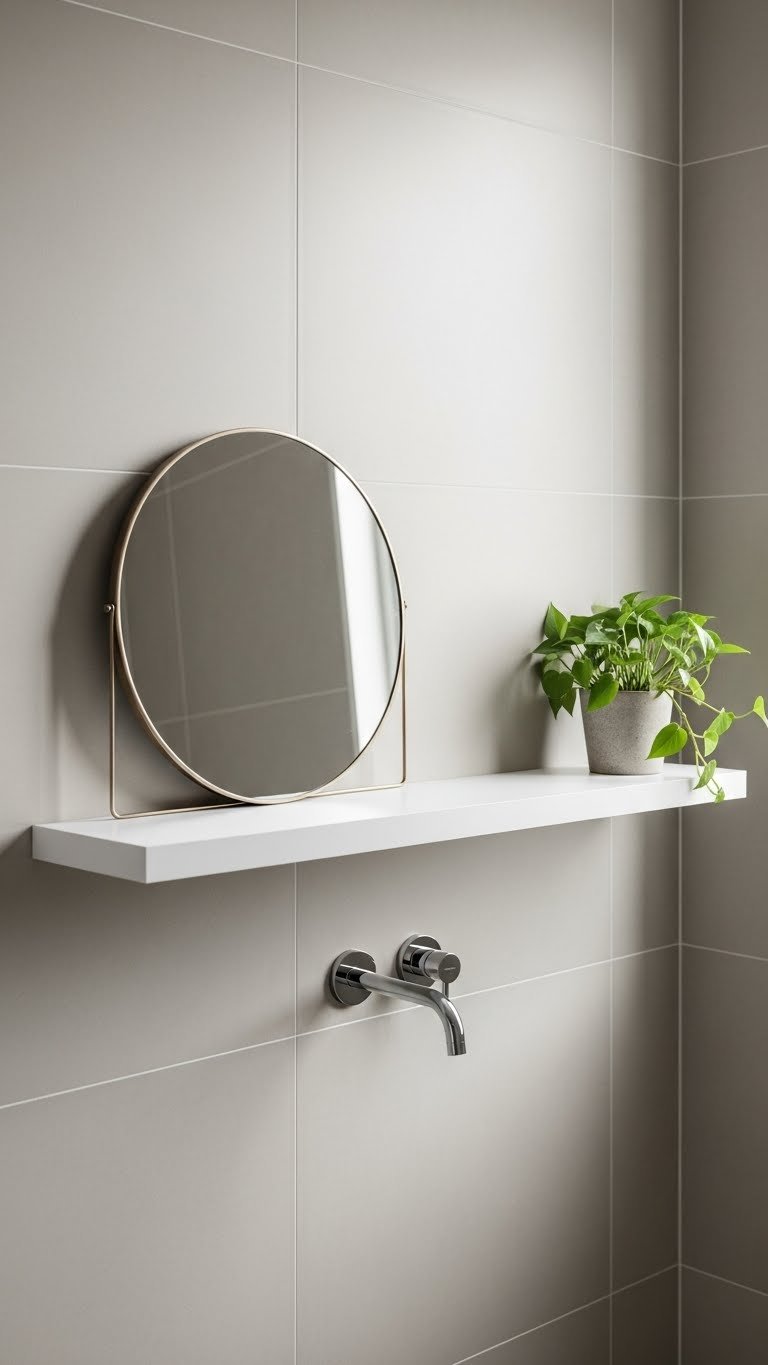
Floating a mirror inside a shelf is practical for small spaces and creates a designer-looking vignette.
Install a floating shelf ($20–$60) using brackets and wall anchors (or hire help for $50–$150 labor). Then simply place or lean a small-to-medium mirror on the shelf. Time: 1–2 hours DIY, 30 minutes professional. This works in bathrooms (shelf holds products), entryways (shelf holds keys), or bedrooms (shelf holds a lamp). The mirror becomes part of a curated display rather than floating alone.
A shelf-mounted mirror looks intentional and functional—suddenly your mirror is part of a bigger design story.
18. Paint a Decorative Border Around Your Mirror
Paint a faux frame directly on the wall around your mirror for a custom look that costs basically nothing.
Grab painter’s tape ($4), paint in your chosen color ($8–$15), a small brush, and a level. Mark your border width with tape (usually 2–4 inches works), paint carefully, let dry, and remove tape. Time: 2 hours. This works best on solid-color walls and adds personality without commitment—you can paint over it anytime.
A painted border feels custom and considered—like you have a real eye for design detail.
19. Install a Scalloped-Edge Mirror for Playful Elegance
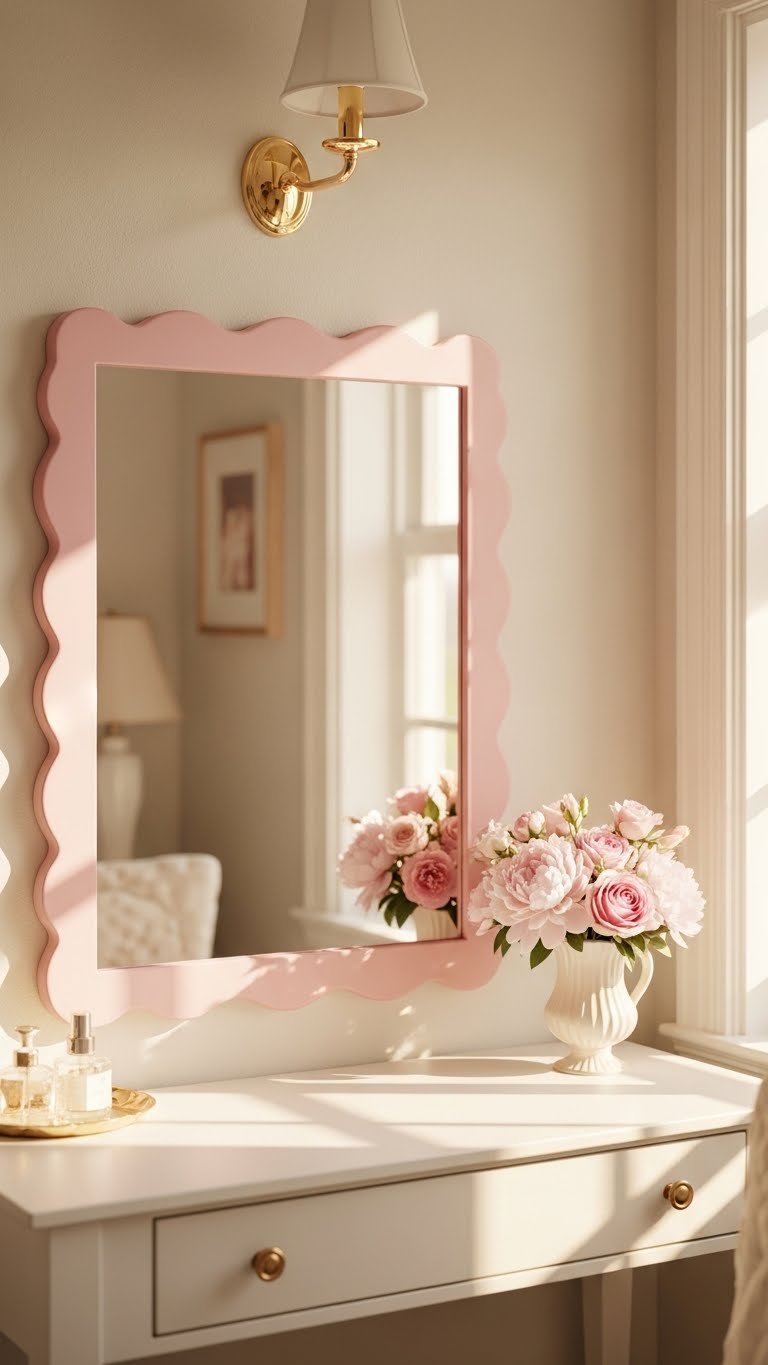
Scalloped mirrors bring femininity and playfulness without feeling childish. They’re trending hard right now in bedrooms and bathrooms.
Look for scalloped mirrors $40–$150 at Target, Urban Outfitters, Wayfair, or specialty home stores. Installation is standard wall hanging. Takes 20 minutes. They work best in spaces with other curved or soft elements—pair with rounded side tables or curved wall art. Available in white, pastels, and metallics.
A scalloped mirror is the kind of detail that makes your space feel designed and personal—like you’re not afraid of a little whimsy.
20. Mount a Mirror on a Swing Arm for Flexibility
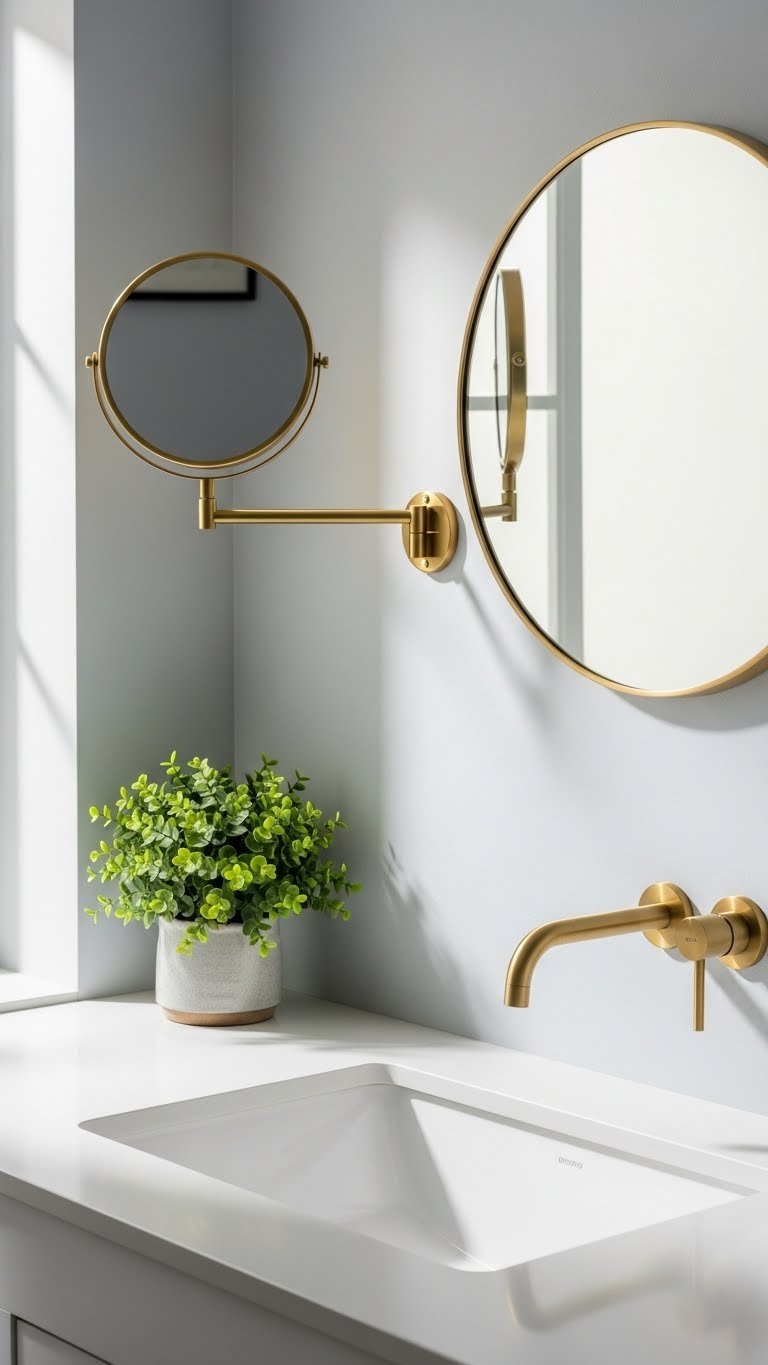
Swing arm mirrors are practical and look expensive. They’re perfect for renters and spaces where you need flexibility.
Find swing arm mirrors $30–$120 at Target, Wayfair, IKEA, or Amazon. Installation requires finding studs and using heavy-duty anchors. Time: 30 minutes. The adjustable arm lets you angle the mirror for different tasks or just move it around. Great for bathrooms where you need magnification for specific tasks.
A swing arm mirror is functional and thoughtful—the kind of upgrade that makes daily routines feel easier.
21. Layer a Frameless Mirror Over Wallpaper

A frameless mirror over patterned wallpaper creates depth and visual interest without competing with the wallpaper design.
Install wallpaper first ($30–$100 for small bathroom, or hire help for $200–$400), then hang your frameless mirror using standard wall anchors. Time: 1–2 hours after wallpaper dries. The frameless option lets the wallpaper peek through around the edges, creating a layered, intentional look. Works especially well with subtle, small-scale patterns.
The layered effect makes your space feel collected and thoughtful—like each element was chosen to work together.
22. Create a Sunflower or Mandala Round Mirror Look
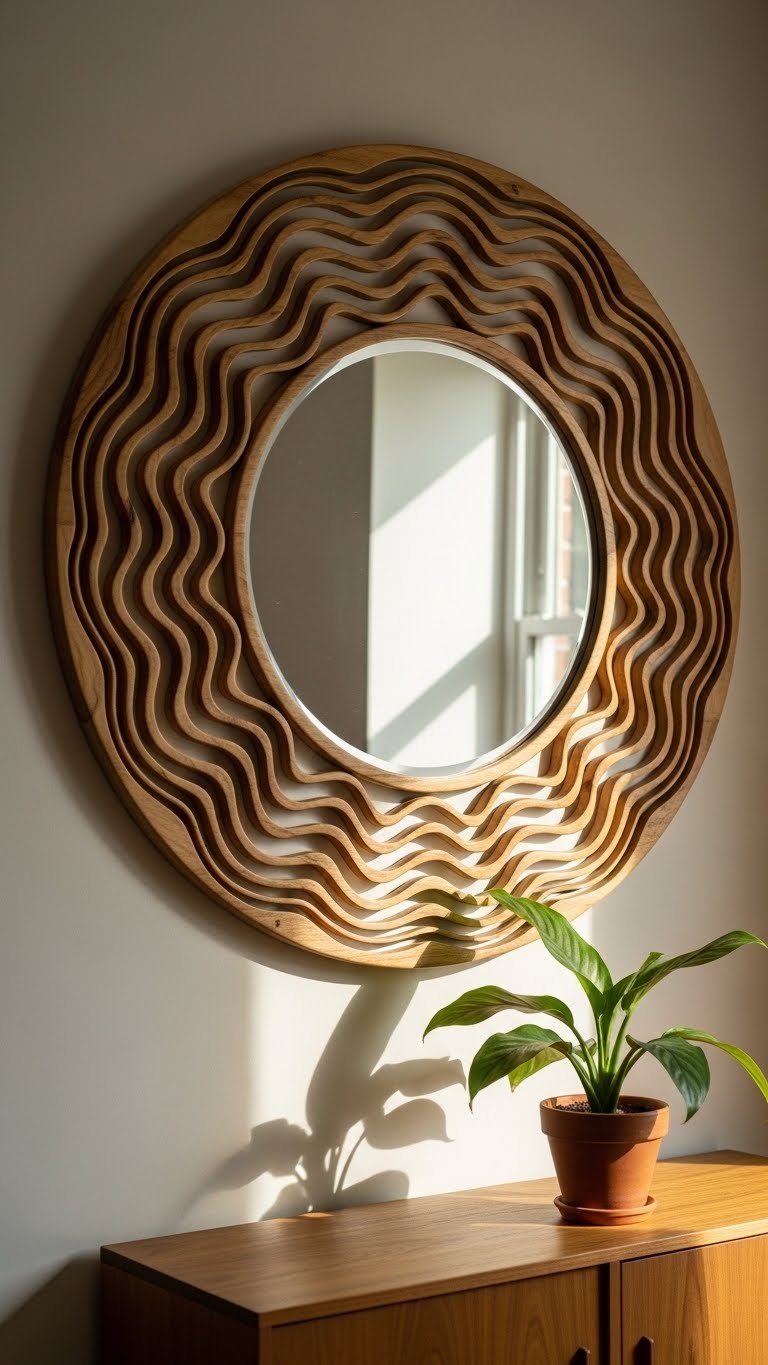
Mandala or nature-inspired round mirrors with detailed frames feel artistic and sculptural—they function as both mirror and wall art.
Hunt for detailed round mirrors $60–$250 at Etsy, West Elm, Article, or specialty home décor stores. These often come with intricate wood or metal detailing. Installation: standard wall hanging, 20 minutes. The pattern and design are the star—surround with minimal décor. Perfect as a focal point above a console or bed.
A patterned round mirror is the kind of piece people remember about your space—it says you care about aesthetics and aren’t afraid of visual interest.
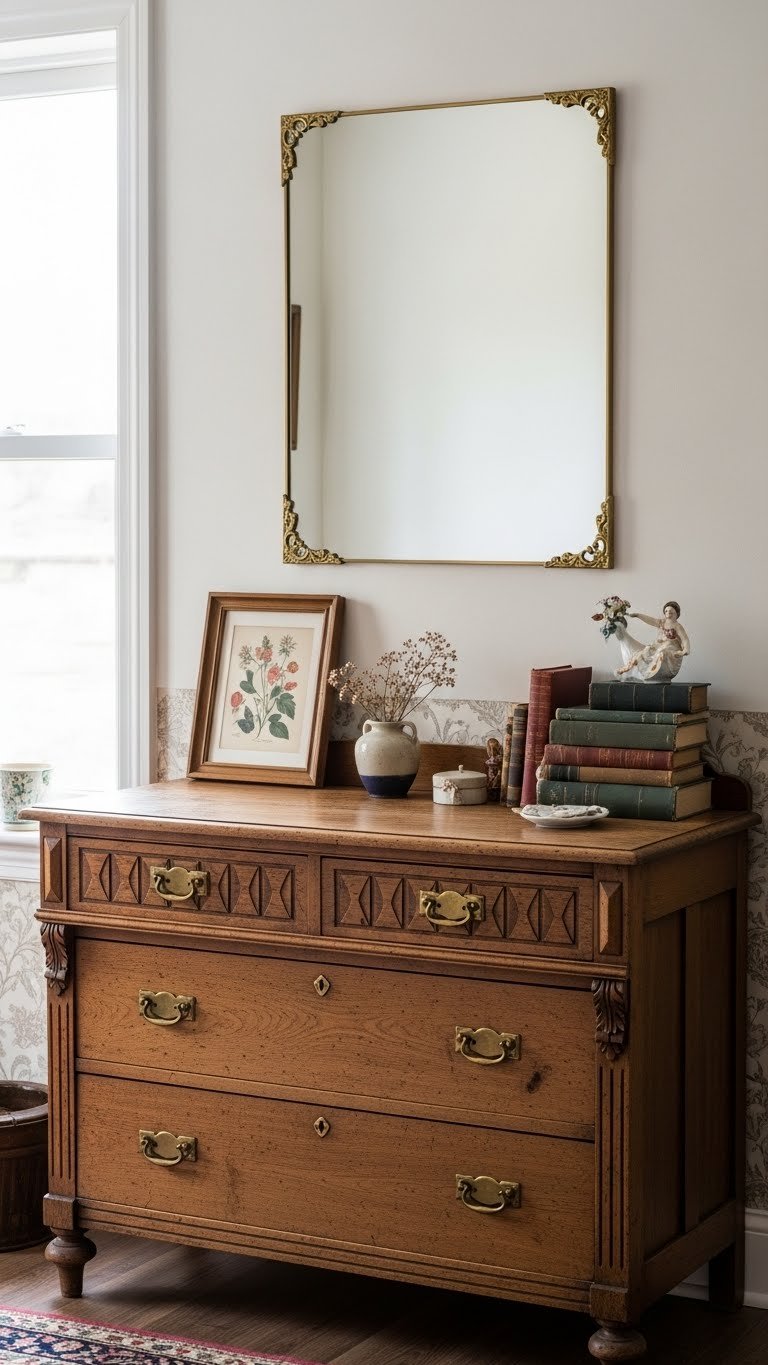
23. Hang a Vintage or Antique Mirror for Eclectic Charm
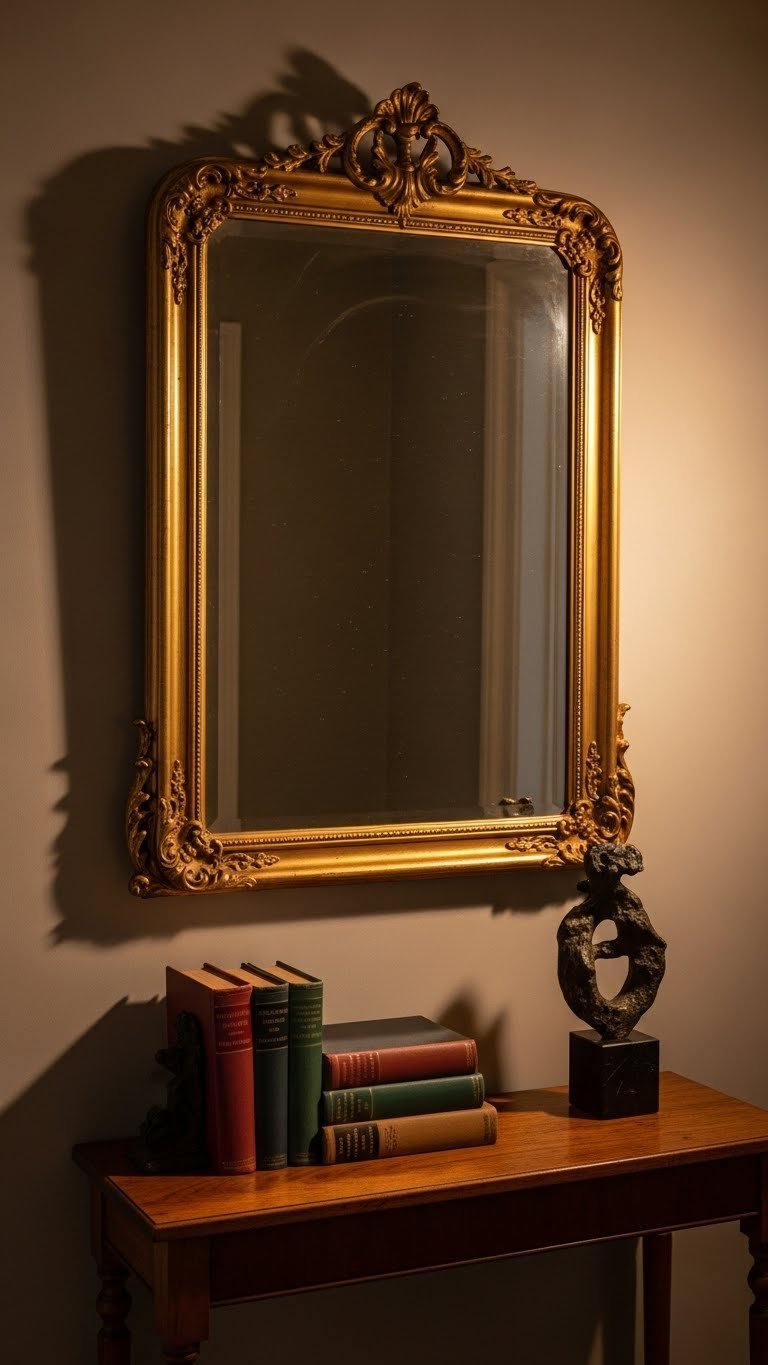
Vintage mirrors carry character and story that new ones can’t replicate. They’re also usually cheaper than new statement pieces.
Hunt at estate sales, thrift stores (Goodwill, local antique shops), and Facebook Marketplace for mirrors $15–$100. Check the back for stability before buying; reglue if needed with appropriate adhesive. Installation: 20 minutes. Vintage frames develop a patina over time that looks expensive and collected. Mix with modern pieces so it feels intentional, not dated.
A vintage mirror grounds your space in history and warmth—it’s the kind of find that makes guests ask about its story.
24. Use a Mirror to Reflect Art or a Window View
Strategically placed mirrors reflect beautiful elements in your space, multiplying their visual impact without repeating them.
Position your existing mirror or buy a new one ($40–$200) opposite artwork, a window, or a beautiful view. Mark placement before hanging to ensure the reflection works. Takes 30 minutes planning plus 20 minutes hanging. This is free design magic—use mirrors to amplify your favorite visual elements. Natural light reflected twice feels brighter; a favorite painting reflected feels like you have more art.
Thoughtful mirror placement makes your room feel intentionally designed rather than randomly furnished.
25. Build a DIY Mosaic Mirror Frame from Broken Tile
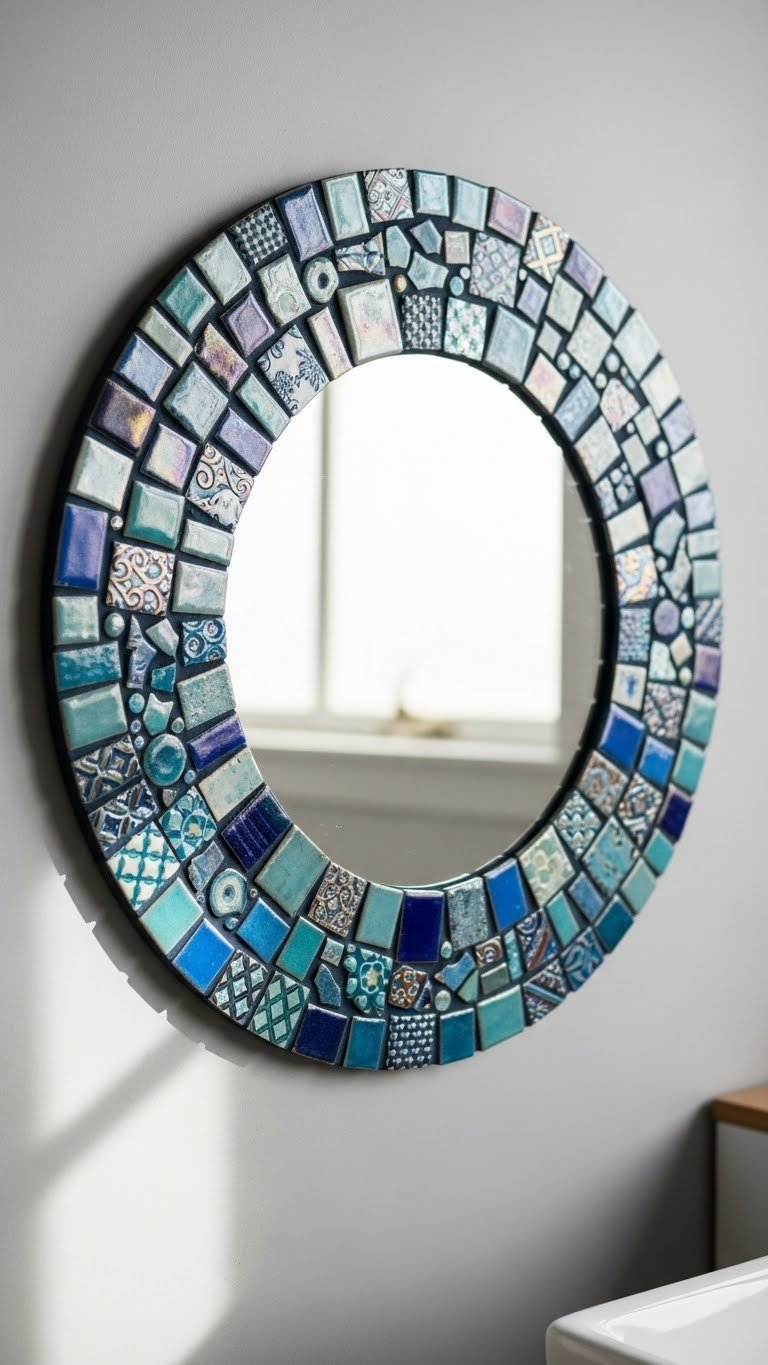
A mosaic tile frame is a true DIY art project that costs very little and results in a one-of-a-kind statement piece.
Gather broken tile pieces (free to $20 if you buy craft tiles), strong construction adhesive ($5–$10), grout ($8), and a small grout float. Break tiles into small pieces, adhere around your mirror frame, let dry 24 hours, then grout and wipe. Time: 6–8 hours spread over two days. This is a rainy-day project but the results feel gallery-worthy. Use colors that complement your space.
A mosaic mirror frame is genuinely one-of-a-kind—the kind of piece that becomes a room’s hero.
26. Mount a Full-Length Mirror on the Back of a Door

A door-mounted full-length mirror is the ultimate space-saver for small apartments, bedrooms, or entryways. It’s practical and barely visible until you need it.
Buy an over-the-door or adhesive full-length mirror ($25–$80) from Target, IKEA, Amazon, or Wayfair. Over-the-door style needs no tools; adhesive-back requires a clean, dry door. Time: 10 minutes. This is perfect for renters and anyone in a small space. Choose a lightweight option so the door doesn’t become hard to open.
A door mirror is the space-saving hack every small-space dweller should know—suddenly you get a full-length mirror without taking up a single inch of wall.
Save this guide and pick one mirror idea to tackle this week—you’ll be shocked how much one change shifts the entire room. Share this with anyone you know who’s been staring at the same boring mirror for years.
Leave a Reply