Introduction
Let’s be honest: finding the right blackout curtains is harder than it should be. You want light control without sacrificing style. You need privacy but don’t want your room to feel like a cave. And if you’re renting? You definitely can’t drill holes everywhere. The good news is that blackout curtains have evolved way beyond heavy, industrial-looking panels. Whether you’re tackling a bedroom, nursery, home office, or living room, these 27 ideas show you exactly how to get cozy light-blocking coverage that actually matches your décor. From smart motorized options to budget-friendly hacks, you’ll find solutions for every room, every budget, and every design style. Let’s dive into how to control your light like a pro.
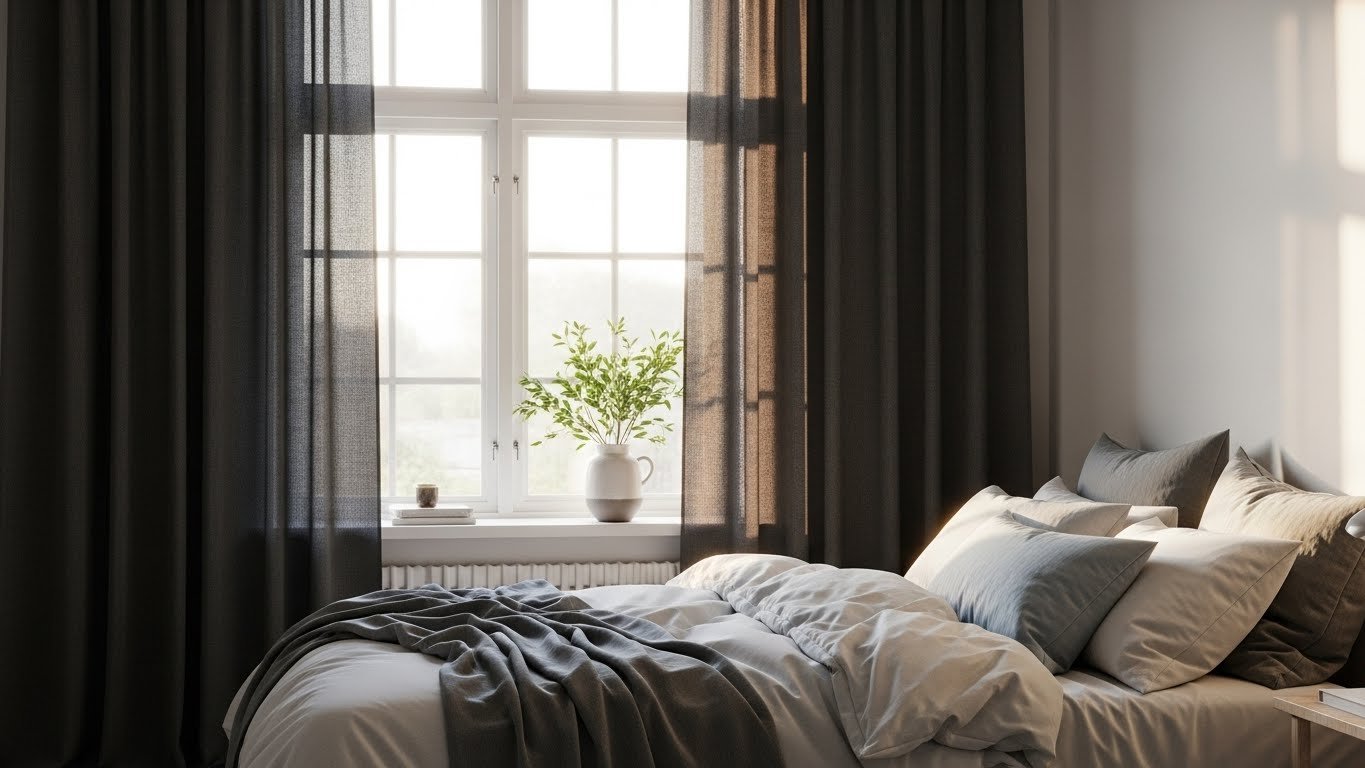
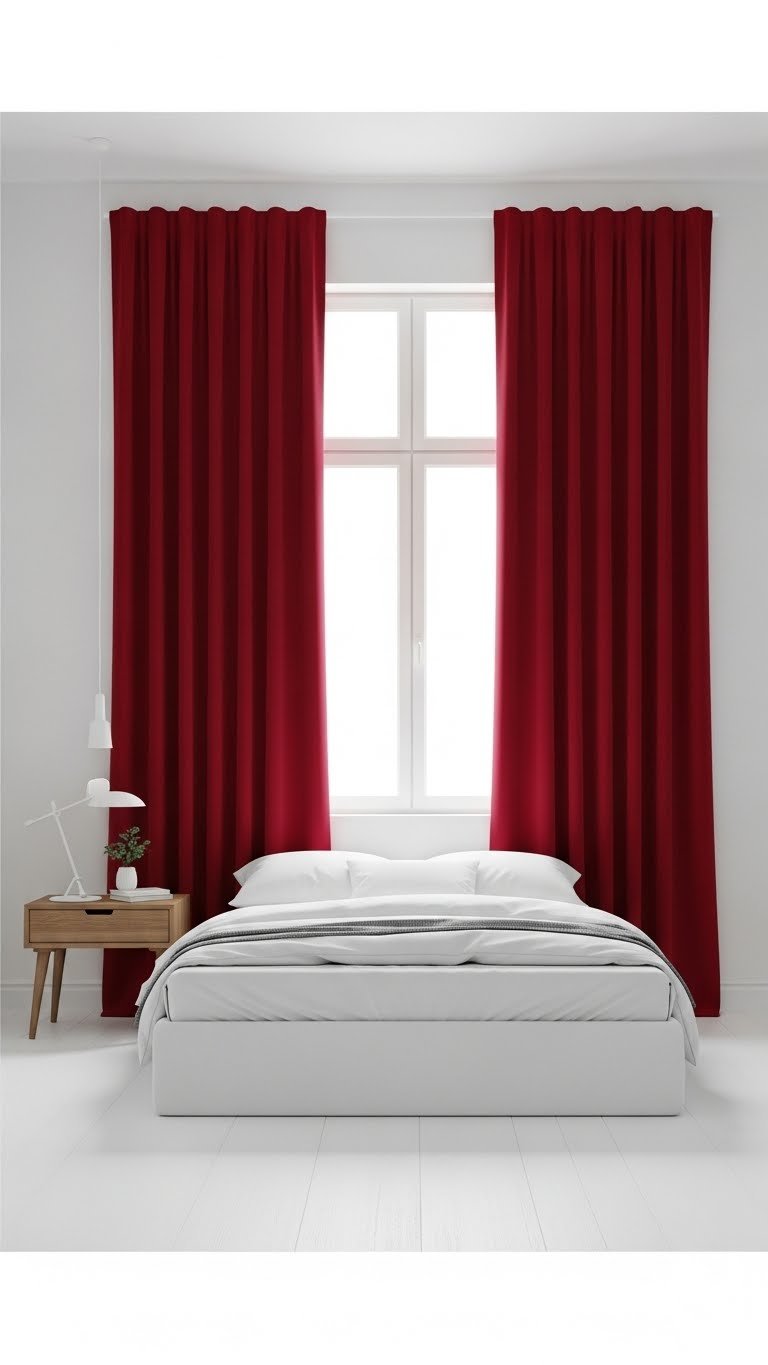
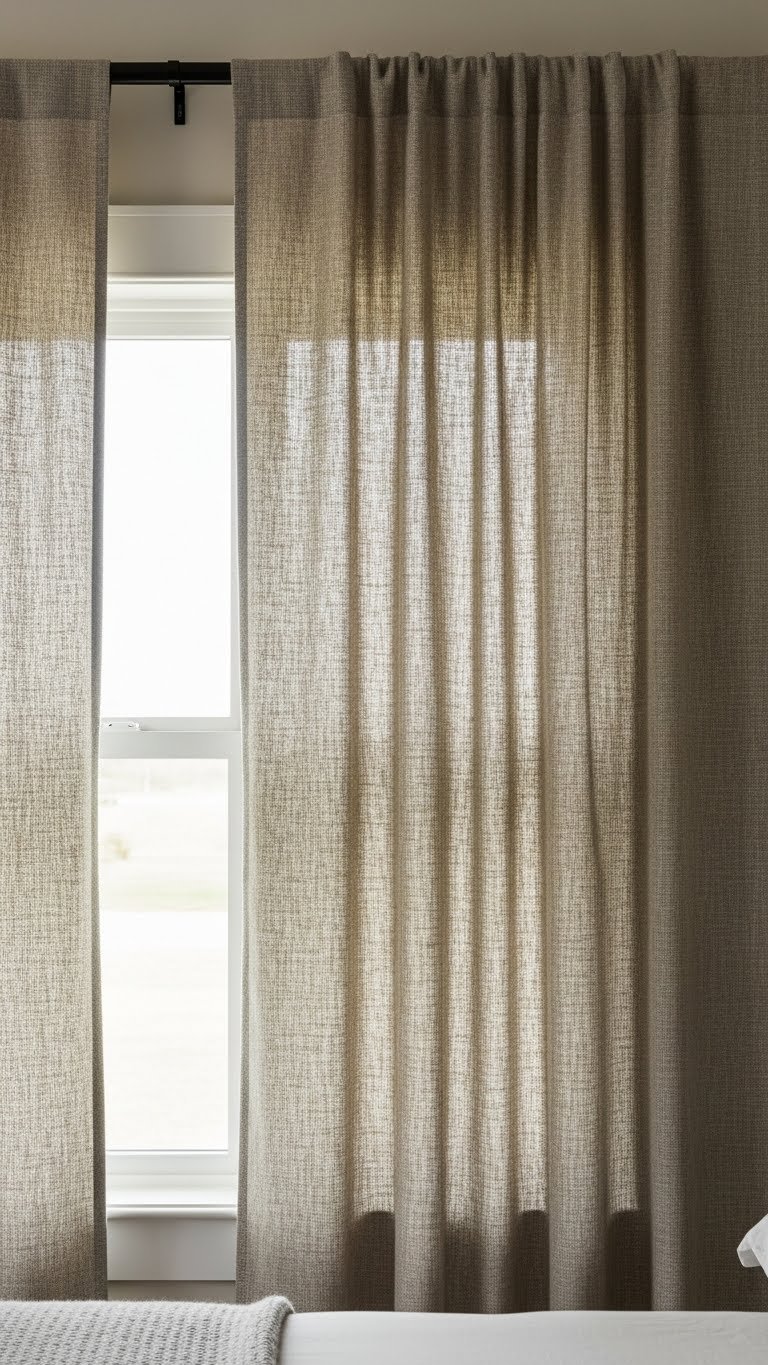
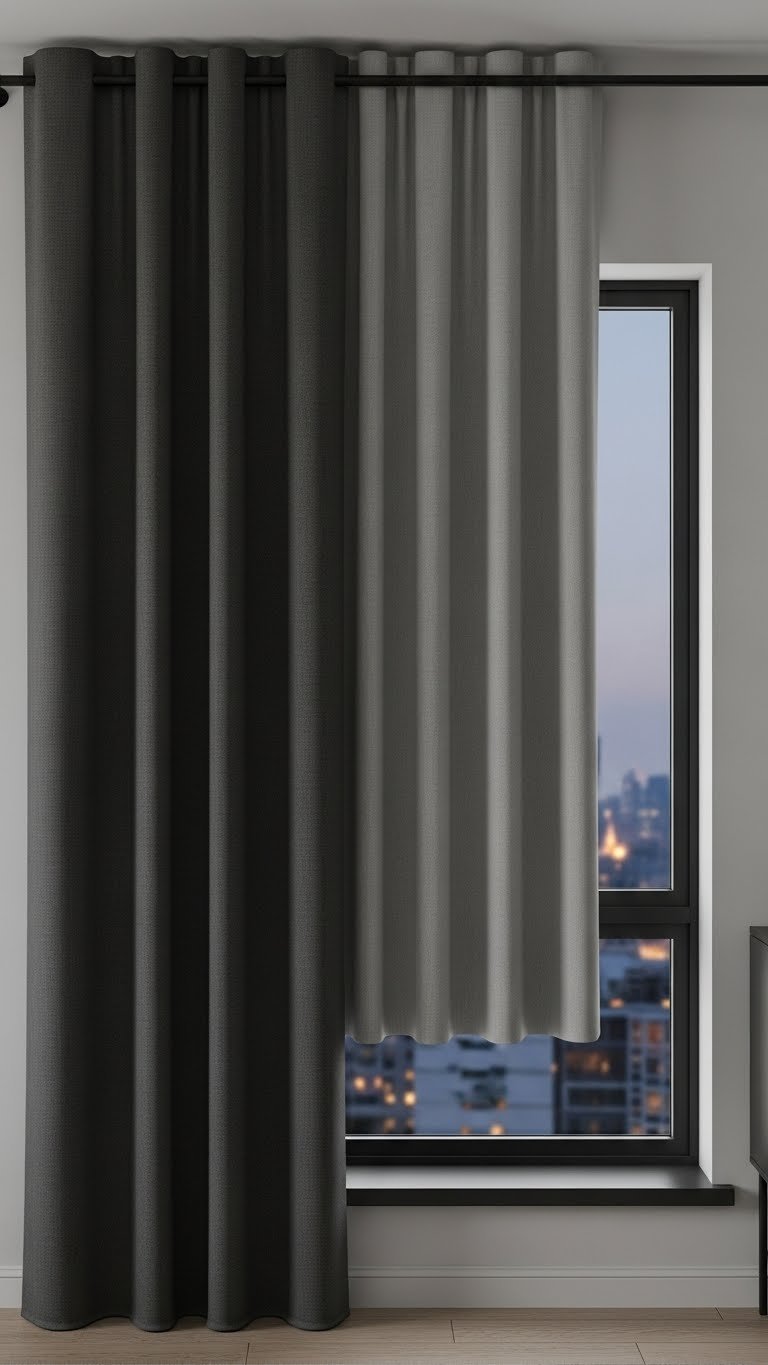
1. Layer Blackout With Sheer Curtains for Maximum Flexibility
Sheer curtains alone won’t block light, but paired with blackout panels they give you total control. You get gentle daytime filtering when you want it, complete darkness when you need sleep, and the sheers hide the blackout layer when pulled open—keeping things looking intentional rather than fortress-like.
Install a second curtain rod (about 4–6 inches behind your main rod, roughly $15–$30) and hang lightweight sheers in front. Add your blackout curtains on the outer rod using tension rods (renter-friendly, $10–$20) or permanent brackets ($15–$40). This takes about 20 minutes to install and zero permanent damage if you use tension rods. You’ll find both at Target, IKEA, or Amazon.
The payoff? You control exactly how much light enters—no compromise between style and function. Your room adapts to your mood and schedule instead of staying stuck in one lighting zone.
2. Paint Your Walls a Warm Neutral to Amplify Blackout Effect
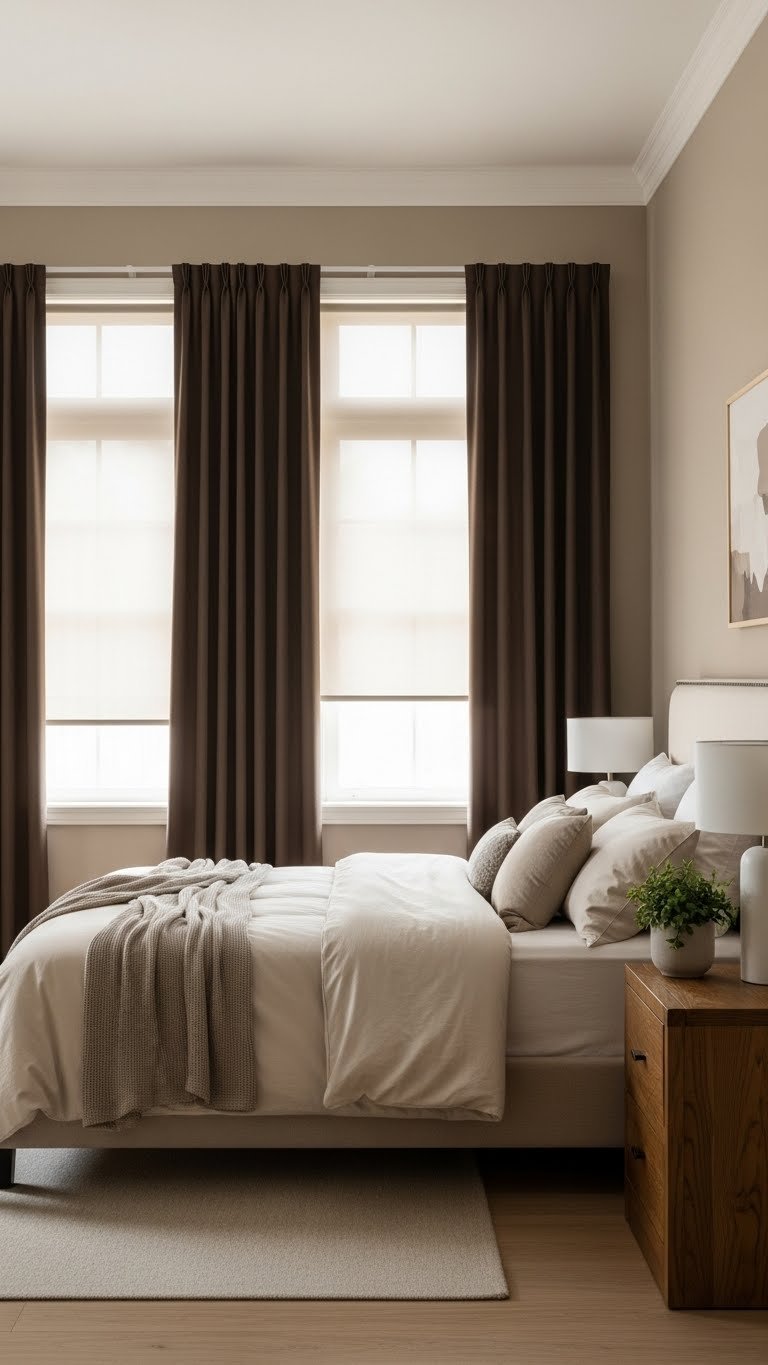
When your walls and curtains live in the same color family, blackout panels don’t stand out as heavy or oppressive—they read as intentional design. Warm neutrals like taupe, warm gray, or soft greige paired with blackout curtains in complementary tones create a unified, restful space.
Choose a warm-neutral paint (try Sherwin-Williams Accessible Beige or Benjamin Moore Revere Pewter, roughly $30–$50 per gallon) and pair it with blackout curtains in a slightly deeper or slightly lighter shade. One gallon covers most bedrooms. DIY painting takes 4–6 hours including prep; hiring a pro costs $300–$800 depending on room size. Renter? Use removable peel-and-stick wallpaper ($20–$40) instead—it achieves the same grounding effect.
Your entire room becomes a cohesive retreat that feels intentional, not chaotic. The blackout panels fade into the background while still doing their job perfectly.
3. Choose Thermal-Lined Blackout Curtains for Energy Savings
Thermal linings don’t just block light—they insulate your windows and lower heating and cooling costs by 10–15%. The extra layer traps air and creates a barrier between outdoor temperatures and your interior, meaning your HVAC system works less hard.
Look for Thermal Insulated Blackout Curtains from brands like Nicetown ($60–$90 per panel), ECLIPSE ($50–$80), or AmazonBasics Thermal ($40–$70). They’re heavier than regular blackout panels (expect 2–3 pounds per panel) so you’ll need sturdy rods rated for 10+ pounds ($20–$40). Hang them on a standard rod—takes 15 minutes. Check energy-efficient labels (many carry ENERGY STAR ratings) for added accountability.
By winter, you’ll notice your room stays warmer longer. By summer, you’re keeping heat out. Over a year, the energy savings often offset the higher upfront cost. Plus, they’re genuinely silent—no light leaks, no drafts.
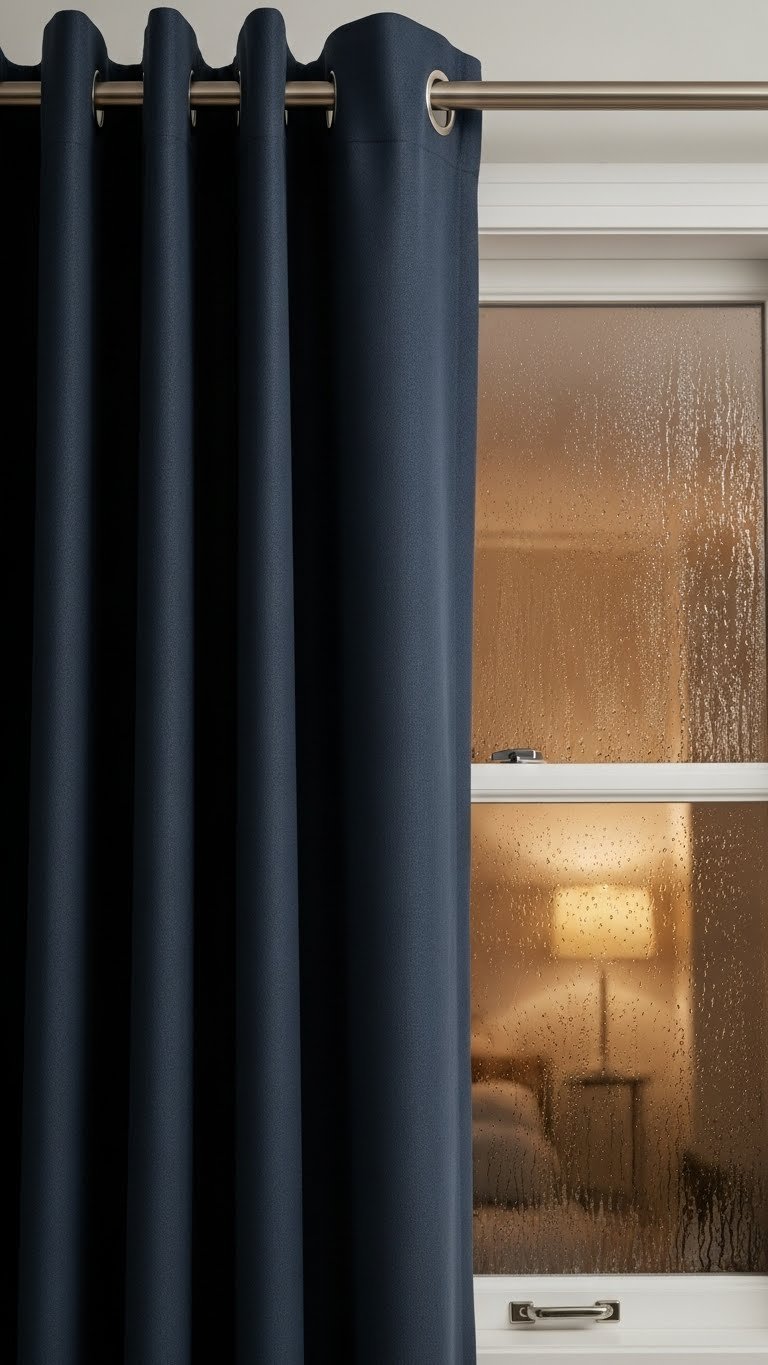
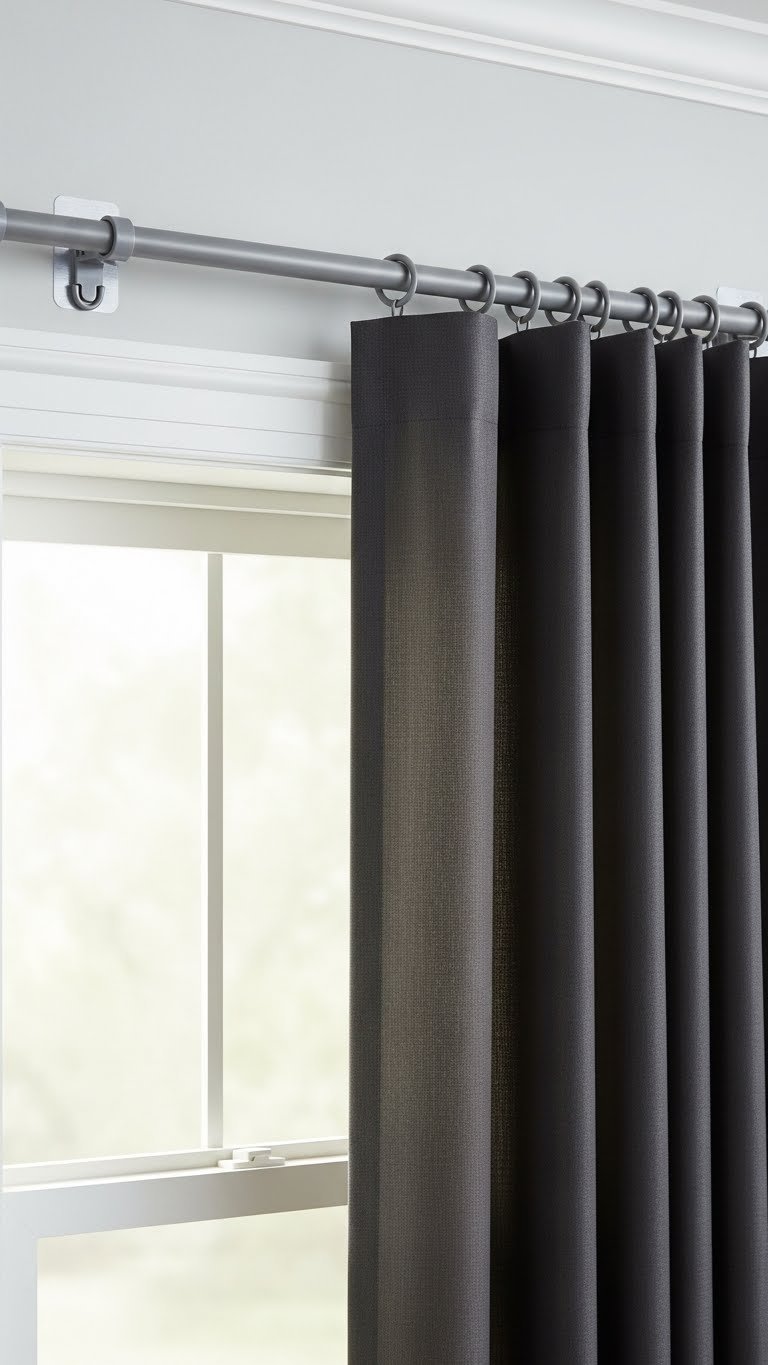
4. Install Tension Rods for Renter-Friendly Blackout Setup
Renters rejoice: tension rods hold blackout curtains securely without drilling holes, mounting brackets, or landlord approval. They work by creating pressure between two fixed points, holding curtains taut and in place.
Buy adjustable tension rods (usually $12–$25 per rod) from Target, Walmart, or Home Depot. Measure your window’s interior width and choose a rod rated for your curtain weight—blackout panels are heavy, so grab one rated for 8+ pounds (check the packaging). Install the rod by twisting the tension knob until the rod expands and sits snugly between the window frame sides. Install time: 5 minutes. No tools needed. Renter tip: you can take the rods with you when you move.
Your blackout curtains stay put without any wall damage. On move-out day, untwist the rod, slip it out, and you leave nothing behind. It’s genuinely that simple.
5. Go Extra-Dark With Triple-Weave Blackout Fabric

Standard blackout curtains block 95% of light. Triple-weave blackout fabric blocks 99–100%, making your room almost completely dark—perfect for shift workers, light-sensitive sleepers, or anyone needing true darkness.
Triple-weave panels cost $80–$150 per panel versus $40–$70 for standard blackout, but the upgrade is worth it if light sensitivity affects your sleep. Brands like NICETOWN Triple Weave and Eclipse Total Blackout deliver nearly zero light leaks. Pair with a blackout tape ($8–$15, available at Amazon) to seal any tiny gaps where panels meet. Installation is identical to standard blackout curtains—same rods, same time, 15 minutes.
You’ll actually notice the difference immediately: your room goes from “pretty dark” to “nighttime dark” no matter the time of day. Shift workers and light-sensitive sleepers report better, longer sleep within the first week.
6. Match Curtain Color to Your Accent Wall for Unified Design
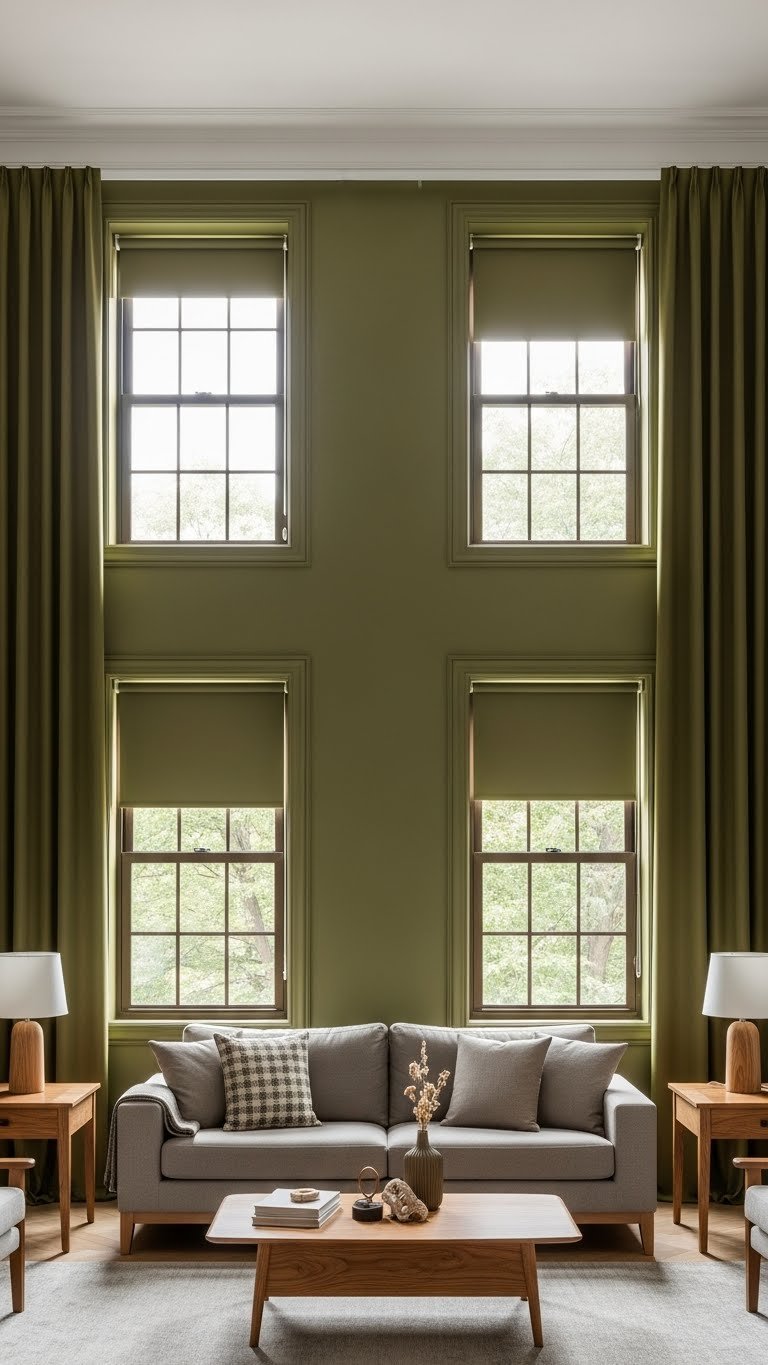
Instead of defaulting to white, gray, or navy, match your blackout curtains to an existing accent wall. This approach makes your room feel designed rather than random, turning blackout panels into an intentional design element.
Pick your accent wall color first (try jewel tones like emerald, sapphire, or ruby for drama, or warm earth tones like olive or terracotta for calm). Then, source blackout curtains in that same shade—$50–$100 per panel at retailers like Wayfair, West Elm, or Anthropologie. You might need to order custom or semi-custom panels to get the exact match (2–3 week turnaround, $100–$150 per panel). Installation is standard—20 minutes.
Your room looks like you hired a designer. The blackout panels become part of your aesthetic story, not an afterthought. Guests will actually comment on how “put-together” your space feels.
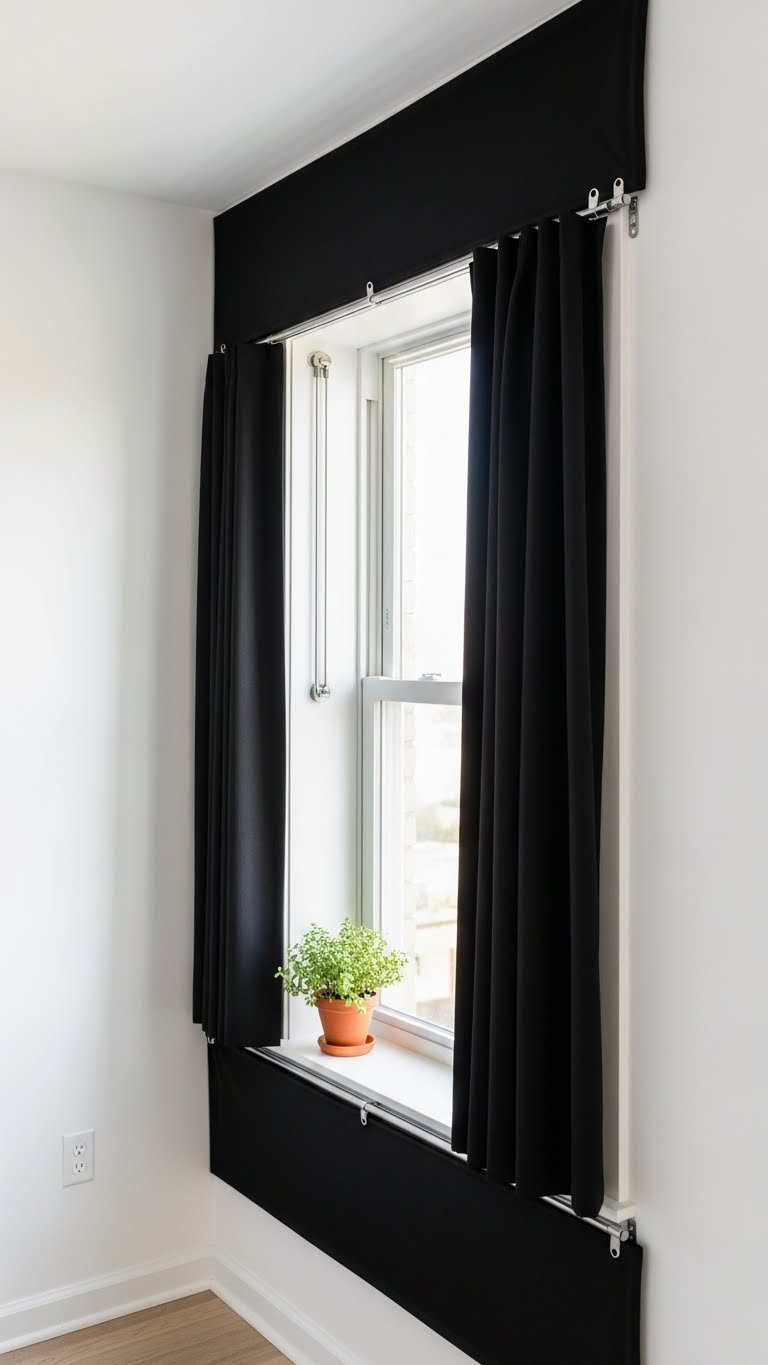
7. Use Magnetic Blackout Panels for Renter-Approved Flexibility
Magnetic blackout panels stick to metal window frames using strong neodymium magnets—zero drilling, zero adhesive, zero landlord drama. They’re faster to install than traditional curtains and you can remove or reposition them in seconds.
Purchase magnetic blackout panel kits like Sleepout Portable Blackout ($60–$100) or Nicetown Magnetic Blackout ($40–$70). Confirm your window frame is metal before buying (aluminum and steel frames work; wooden frames don’t). Attach the included magnetic strips to the panel’s top corners and sides, then snap it onto your window frame. Install time: 2 minutes. No tools required.
You can take blackout coverage on and off instantly. Travel with them, move between apartments, or use them seasonally. They’re the most flexible blackout solution on the market, and renters especially love them because they leave zero trace.
8. Pair Blackout Curtains With Cellular Shades for Layered Insulation
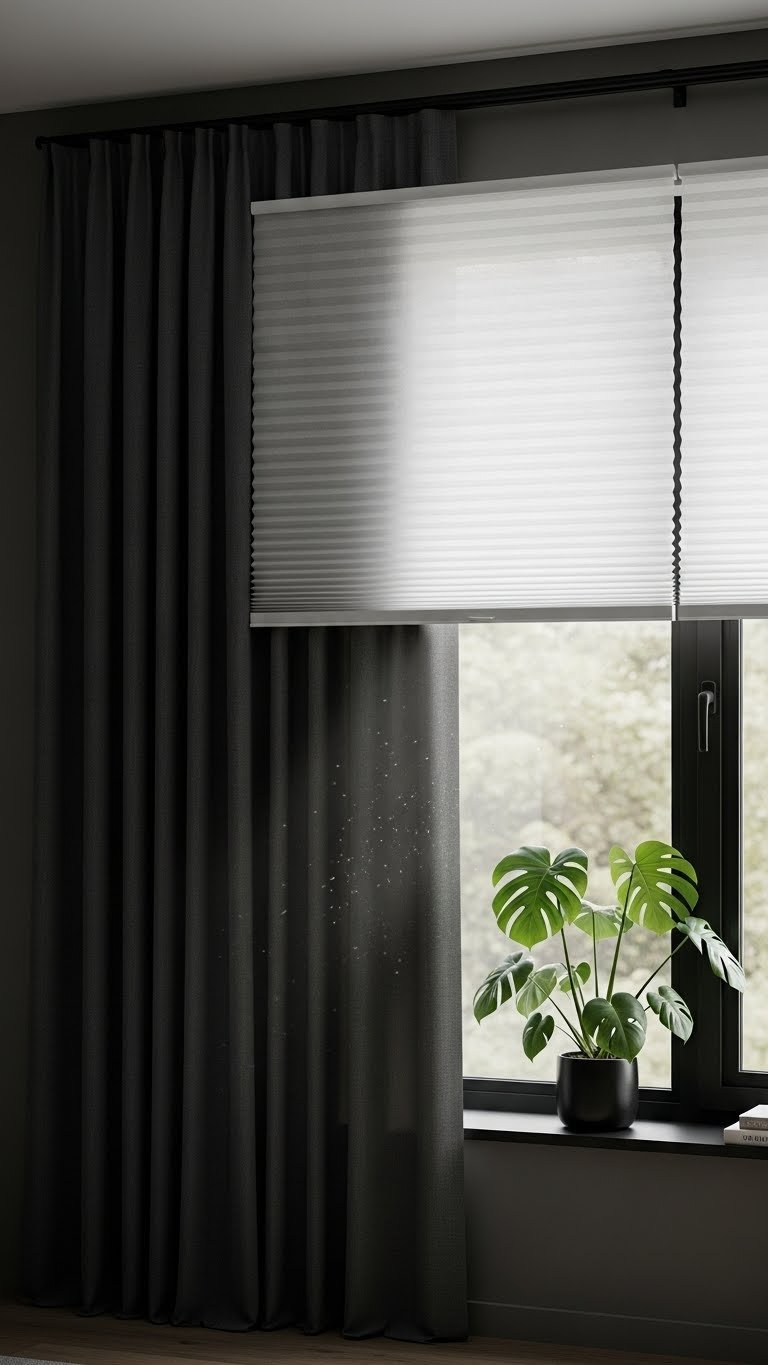
Cellular shades have built-in air pockets that provide insulation, and when combined with blackout curtains, they create an insulating barrier that traps heat and blocks light from multiple angles. This combo is unbeatable for light control and energy efficiency.
Install cellular shades (cordless preferred, $40–$80 from IKEA, Target, or Home Depot) inside your window frame, then hang blackout curtains on a rod beyond the frame ($50–$100). Both take 15–20 minutes to install. The cellular shades provide the first layer of light-blocking and insulation, while curtains handle the gaps and add style. Renter option: use tension rods for both for zero permanent installation.
Light literally cannot find a way in. Your room stays insulated year-round. You’re paying less to heat and cool while sleeping better—a win on every front.
9. Install Blackout Curtains on a Smart Motorized Rod

Motorized blackout curtains open and close via app, voice command, or preset schedules. You wake up to gradual light, work without glare, and sleep to complete darkness—all without leaving bed.
Smart motorized rods cost $200–$600 (brands like IKEA Fyrtur, Eve Motorized, Switchbot) and integrate with Alexa, Google Home, or Apple Home. DIY installation varies—some use existing rods, others require brackets ($50–$100). Setup takes 30–60 minutes for first-timers. You’ll need a stable WiFi connection and a smartphone to control. Not a tech person? Hire a smart-home installer ($150–$300).
Once installed, you control your light environment from bed, work, or your phone across town. Schedules mean blackout happens automatically—no more forgetting to close curtains. It’s the most convenient option available, especially if you have mobility challenges or irregular sleep schedules.
10. Choose Blackout Curtains in a Bold Color for Statement Style
Blackout curtains don’t have to be boring neutrals. Bold jewel tones (sapphire, emerald, ruby) or warm saturated colors (mustard, burnt orange, deep plum) make a design statement while doing the same light-blocking job. This works especially well in rooms with neutral walls where you want one focal point.
Look for blackout curtains in bold colors at Wayfair, West Elm, or Etsy ($60–$120 per panel). Options are limited compared to neutral palettes, so start shopping early—popular colors sell out. Hang on standard rods ($15–$40) using regular brackets ($10–$25). Installation is standard—20 minutes. Pro tip: pair with neutral walls and minimal other patterns to let your curtains be the star.
Your bedroom becomes a design statement, not just a place to sleep. The bold color energizes the space while the blackout function keeps it practical. Everyone who visits will ask where you got them.
11. Use Blackout Curtain Liners for Existing Curtains
If you love your current curtains but need blackout function, skip replacing them entirely. Blackout liners attach to the back of existing panels, giving you darkness without losing your original style.
Buy blackout liner fabric by the yard ($8–$15 per yard) from fabric stores or Amazon, or purchase pre-made blackout curtain liners ($20–$40 per panel) that hook onto existing curtains. If sewing, measure your curtains, cut liner to size, and hand-stitch or use fabric glue along the top and sides—takes 1–2 hours for a pair. If using pre-made liners, just clip or hook them on—5 minutes. No sewing skills required for hook-on versions.
Your existing curtains stay exactly as they are, but now they block light and insulate. You get a free upgrade without the expense or waste of replacing perfectly good panels. It’s the most budget-conscious approach if you already own curtains you like.
12. Seal Gaps With Blackout Tape or Velcro Strips

Even perfectly hung blackout curtains leak a little light around edges and sides. Blackout tape or Velcro strips seal those gaps, trapping light and bumping your darkness from 95% to nearly 100%.
Buy blackout adhesive tape ($8–$15 per roll, available at Amazon and Target) or heavy-duty Velcro strips ($6–$12). Clean the window frame with a dry cloth, then press the tape or Velcro along the top and sides where curtains meet the frame. Install time: 10 minutes per window. Remove using a hairdryer to soften the adhesive, then rub off residue. Renter-friendly: adhesive tape leaves minimal residue, but test on a small spot first.
You’ve now achieved movie-theater darkness without spending $200 on triple-weave panels. The tape is nearly invisible, especially if it matches your curtain color or frame finish.
13. Hang Curtains Floor-to-Ceiling for Maximum Drama and Height
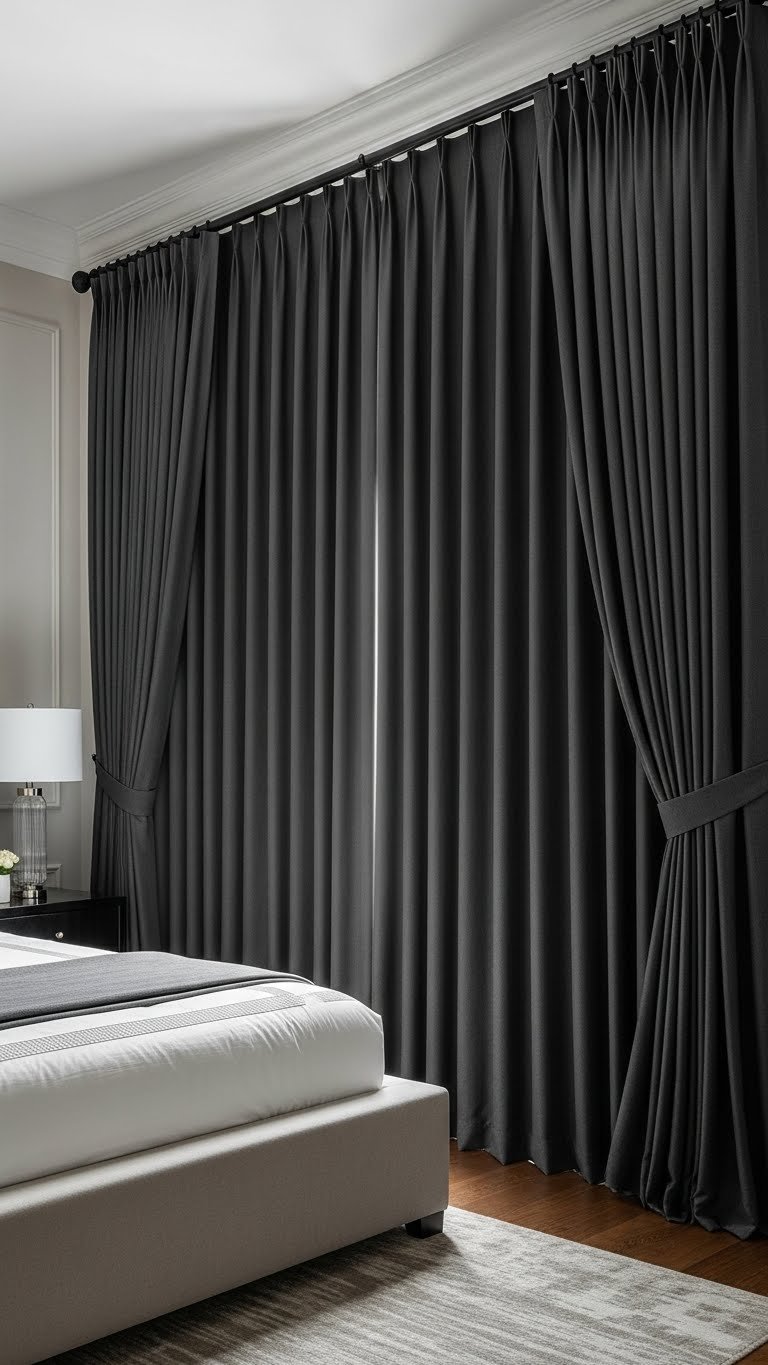
Floor-to-ceiling curtains visually expand your room’s height and add a layer of luxury. By hanging your rod near the ceiling rather than at the window frame, you trick the eye into perceiving taller ceilings while maximizing light-blocking coverage.
Install your curtain rod 6–12 inches below the actual ceiling (not at the window frame). Use sturdy brackets rated for your curtain weight ($20–$50). Measure from rod to floor, then add 1–2 inches so curtains just kiss the ground—creates a polished pool effect. Hem or order floor-length blackout panels ($80–$150 per panel). Installation takes 20–30 minutes, or hire a pro ($50–$150). Renter concern? Use a tension rod at the ceiling (the highest point in your room) plus floor-length panels for non-permanent installation.
Your room instantly feels grander and more intentional. The vertical lines draw eyes upward, and complete light coverage becomes achievable—plus you get that aspirational, designer-decorated vibe.
14. Mix Blackout Curtains With Decorative Tiebacks for Polished Styling
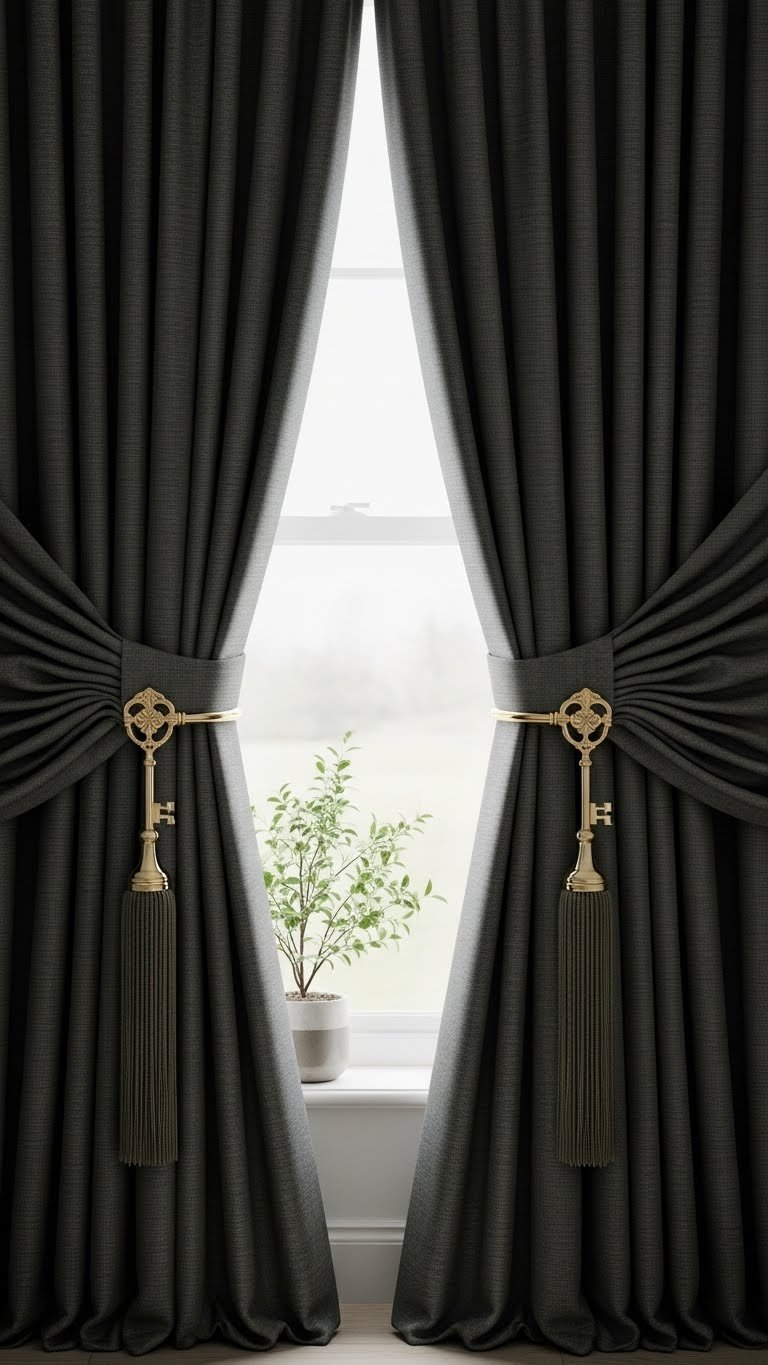
Blackout curtains don’t have to look utilitarian. Pairing them with decorative tiebacks (brass rings, beaded straps, macramé cords) upgrades their visual impact and makes them feel like a designed choice rather than a functional necessity.
Purchase decorative curtain tiebacks ($15–$40 per pair) from Target, Wayfair, or local boutique home stores. Options include brass rings, beaded straps, macramé, or even fabric ribbon. Install tieback holders or hooks ($5–$15 each) on your wall or window frame—5 minutes. Drape open curtains and secure with tiebacks during the day. No permanent changes: use removable adhesive hooks (renter-friendly, $8–$12) instead of screws.
Your blackout panels suddenly look intentional and designed. Tiebacks add texture, visual interest, and a polished finish that makes the whole window feel curated.
15. Choose Linen-Blend Blackout Curtains for a Softer Look
Not all blackout curtains feel heavy and stiff. Linen-blend blackout fabrics combine the breathability and texture of linen with blackout performance, giving you light control without the harsh industrial vibe.
Search for linen-blend blackout curtains (often marketed as “linen-look” blackout, $70–$130 per panel) from Wayfair, West Elm, or Article. These typically contain 30–50% linen mixed with polyester for durability. The linen content gives a softer drape and visible weave texture. Installation is standard—20 minutes. Care: vacuum regularly to reduce dust, and wash according to fabric-care tags (usually cold water, gentle cycle).
Your room feels softer and more refined. The linen-blend fabric looks intentional, not purely functional. Light-blocking happens quietly in the background while your curtains actually look good.
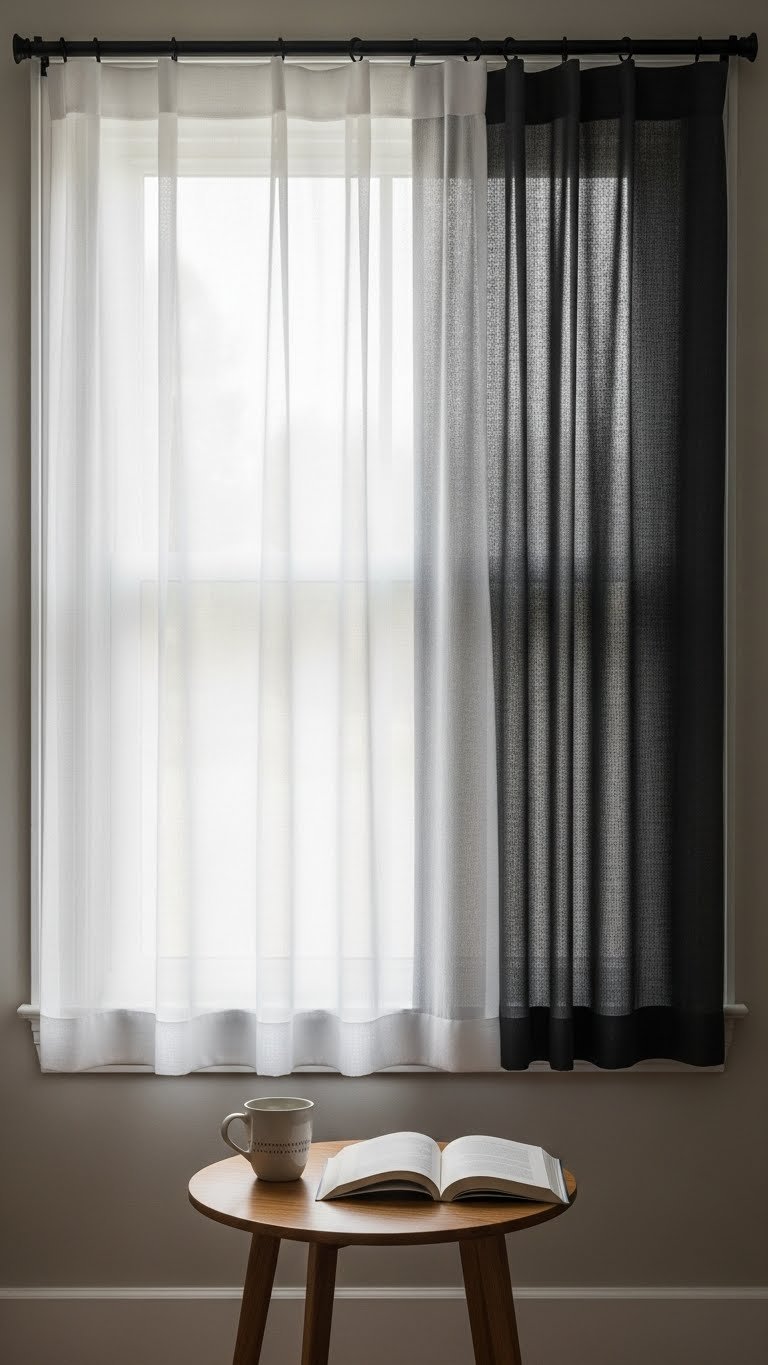
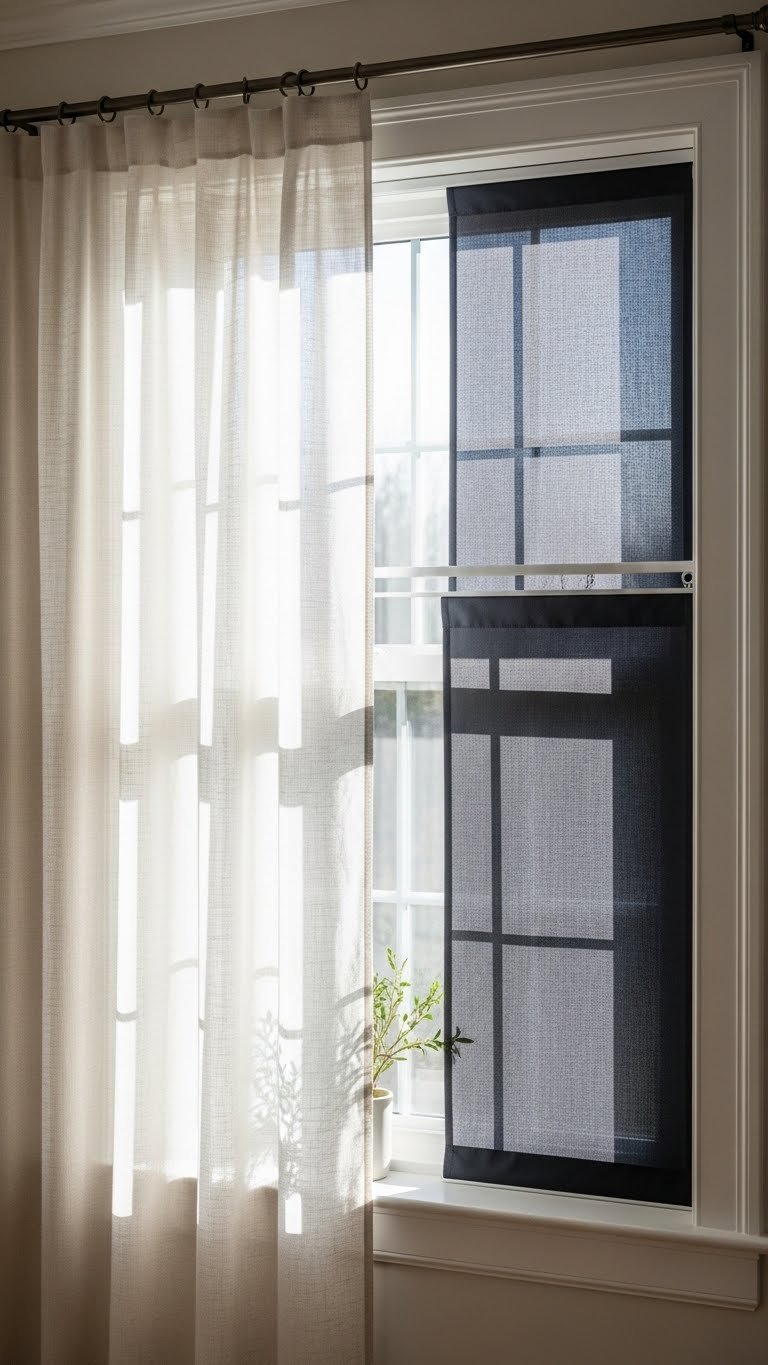
16. Layer Blackout With Semi-Sheer Curtains in the Same Color
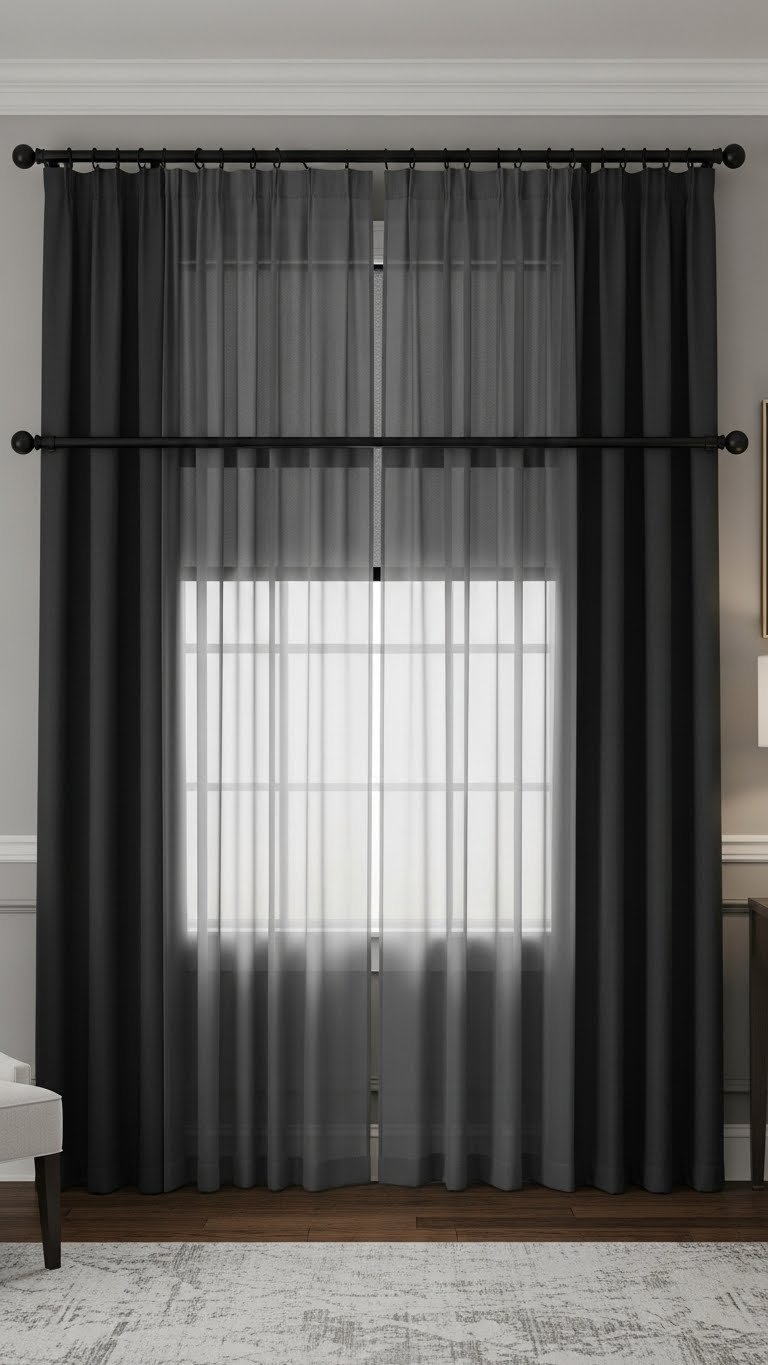
Matching your blackout layer with a semi-sheer in the same color creates a monochromatic look that reads as intentional design rather than functional band-aids. When you pull back the sheers during the day, the blackout layer hides behind but stays accessible.
Install two rods (inner and outer, $15–$50 each) using adjustable brackets, then hang semi-sheer panels ($30–$60) on the inner rod and blackout panels ($50–$100) on the outer rod. Both should be the same color—search “matching blackout and sheer sets” for simplicity. Installation takes 25–30 minutes. Renter tip: use tension rods for both layers.
Your window has sculptural, intentional styling while maintaining total light control. It looks designed and functions perfectly. Win-win.
17. Install a Valance Above Blackout Curtains to Hide the Rod
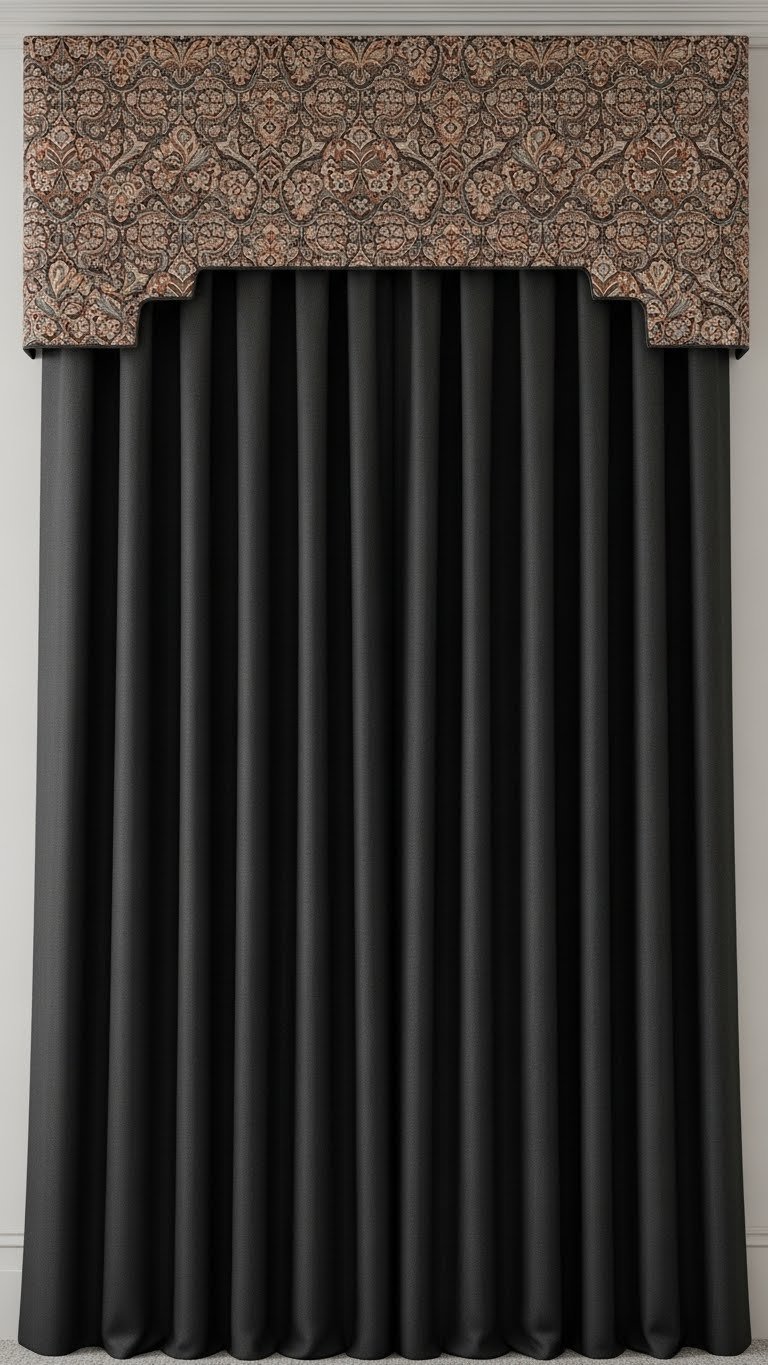
Blackout curtains don’t always have visible hardware in designer-decorated rooms. A valance hung above the blackout panels hides the rod and brackets while adding a decorative element that elevates the entire window treatment.
Purchase a pre-made fabric valance ($25–$60 from Target, Wayfair, or HomeGoods) in a color or pattern that complements your blackout curtains. Install using a valance rod ($15–$30) mounted 1–2 inches above your blackout curtain rod. Takes 15 minutes. Alternatively, make a simple DIY fabric valance by sewing a rectangular piece of fabric and attaching it to a tension rod—costs $15–$30 for fabric and 1–2 hours to construct.
Your window looks polished and intentionally decorated, not just “blocked with blackout curtains.” The valance adds visual interest and sophistication while hiding all the mechanical bits.
18. Use Blackout Curtains to Create a Home Theater Vibe

Home theater rooms and media spaces need absolute darkness to minimize glare and maximize screen visibility. Blackout curtains deliver theater-level light control and actually improve picture quality by reducing ambient light interference.
Install blackout curtains in deep colors ($70–$130 per panel) from the ceiling to floor, covering the entire wall behind or around your screen if possible. Use motorized rods ($200–$600) for convenience—press a button and your theater transforms from living space to screening room. Pair with blackout tape on any gaps ($8–$15). Total installation: 30–60 minutes for standard setup, longer if adding motorization.
Your screen image improves dramatically—colors pop, blacks are truly black, and no distracting ambient light washes out your picture. Movie night becomes a genuinely immersive experience.
19. Choose Velvet Blackout Curtains for Luxury Texture
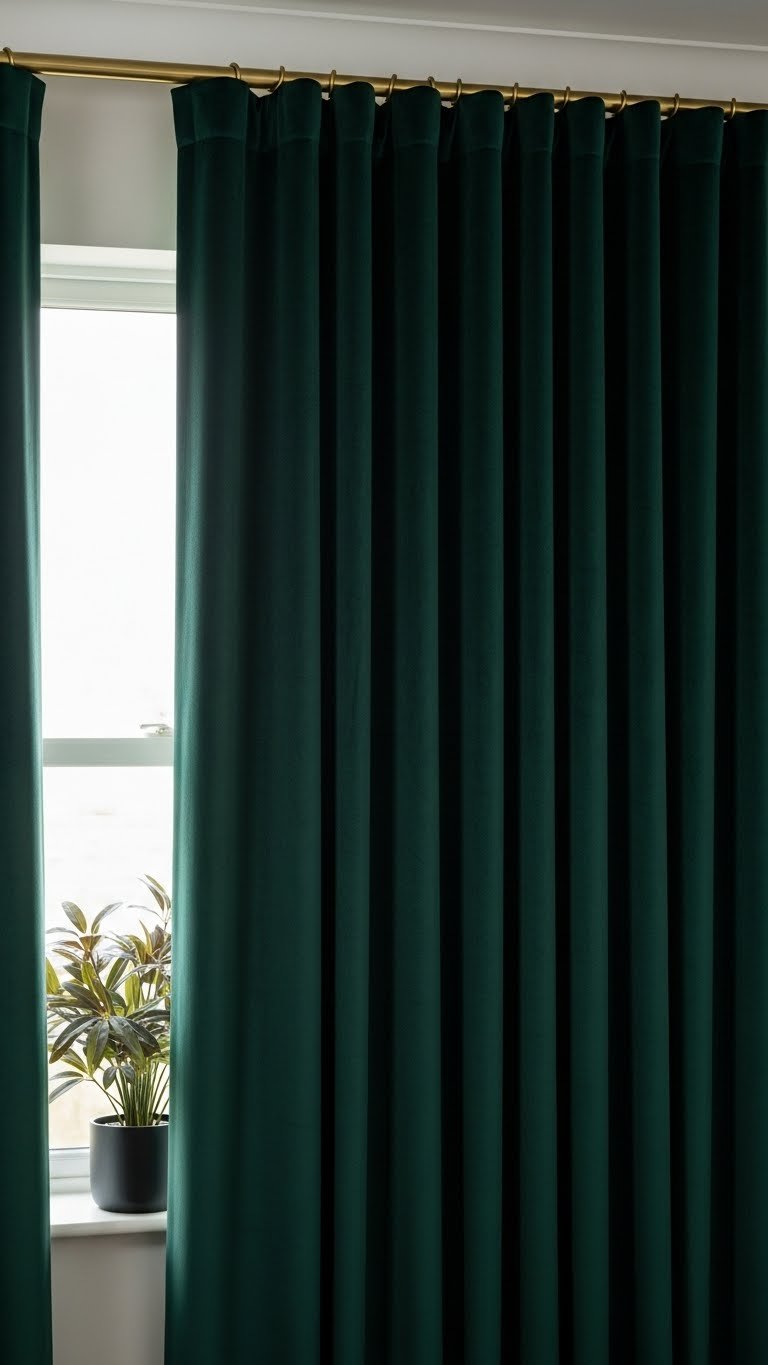
Velvet blackout curtains combine luxury texture with light-blocking performance. The fabric has inherent glamour and depth, making your window treatment feel high-end while delivering functional darkness. Jewel tones (emerald, sapphire, ruby) pair especially well with the velvet finish.
Search for velvet blackout curtains ($100–$180 per panel, higher if custom) at West Elm, Anthropologie, or Etsy. Quality matters here—real velvet with a blackout lining performs best. Installation is standard—use heavy-duty brackets rated for 15+ pounds since velvet is dense ($20–$40). Hang on a sturdy rod ($25–$50). Takes 20 minutes. Care: vacuum regularly to maintain pile, and avoid washing (dry cleaning preferred, $15–$25 per panel).
Your window becomes a textural focal point. The velvet catches light beautifully and feels luxurious to touch. Your bedroom instantly looks more curated and sophisticated.
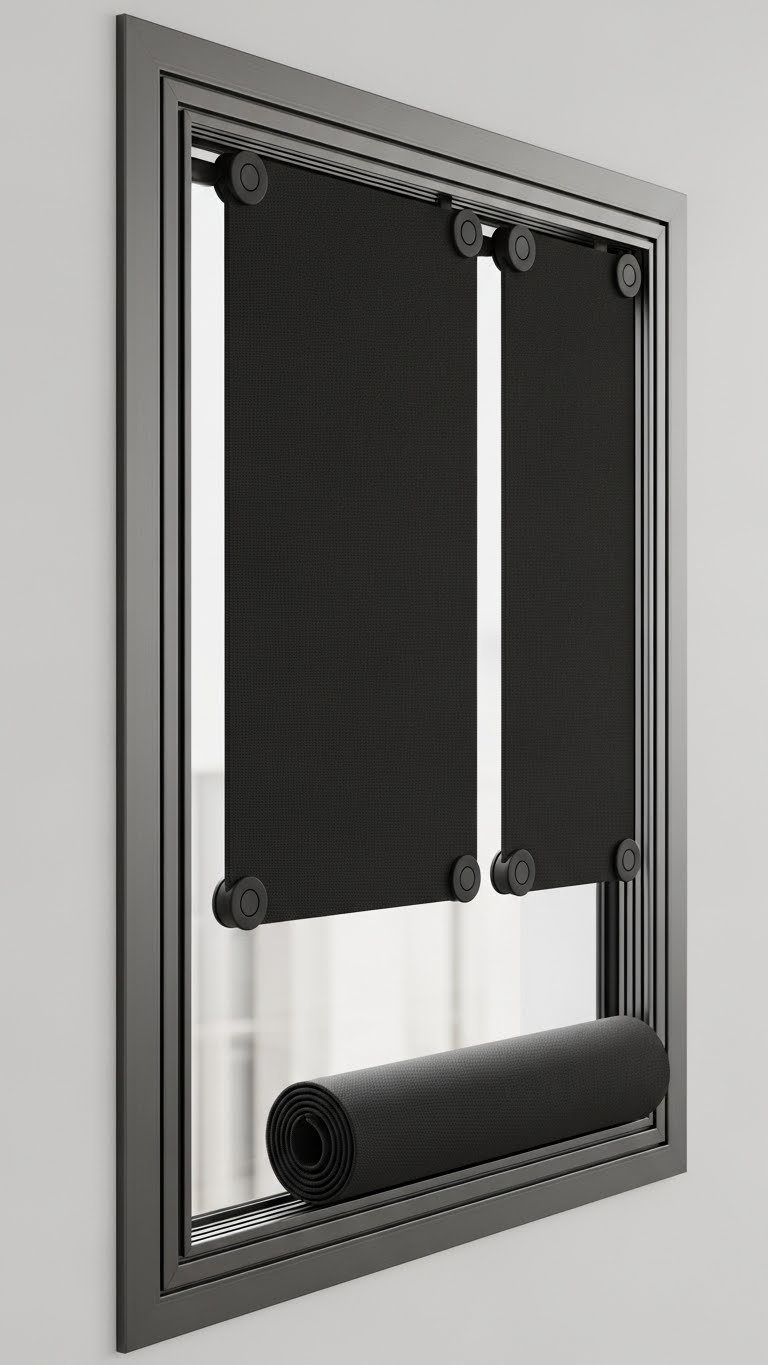
20. Combine Blackout Curtains With Roller Shades for Dual Control
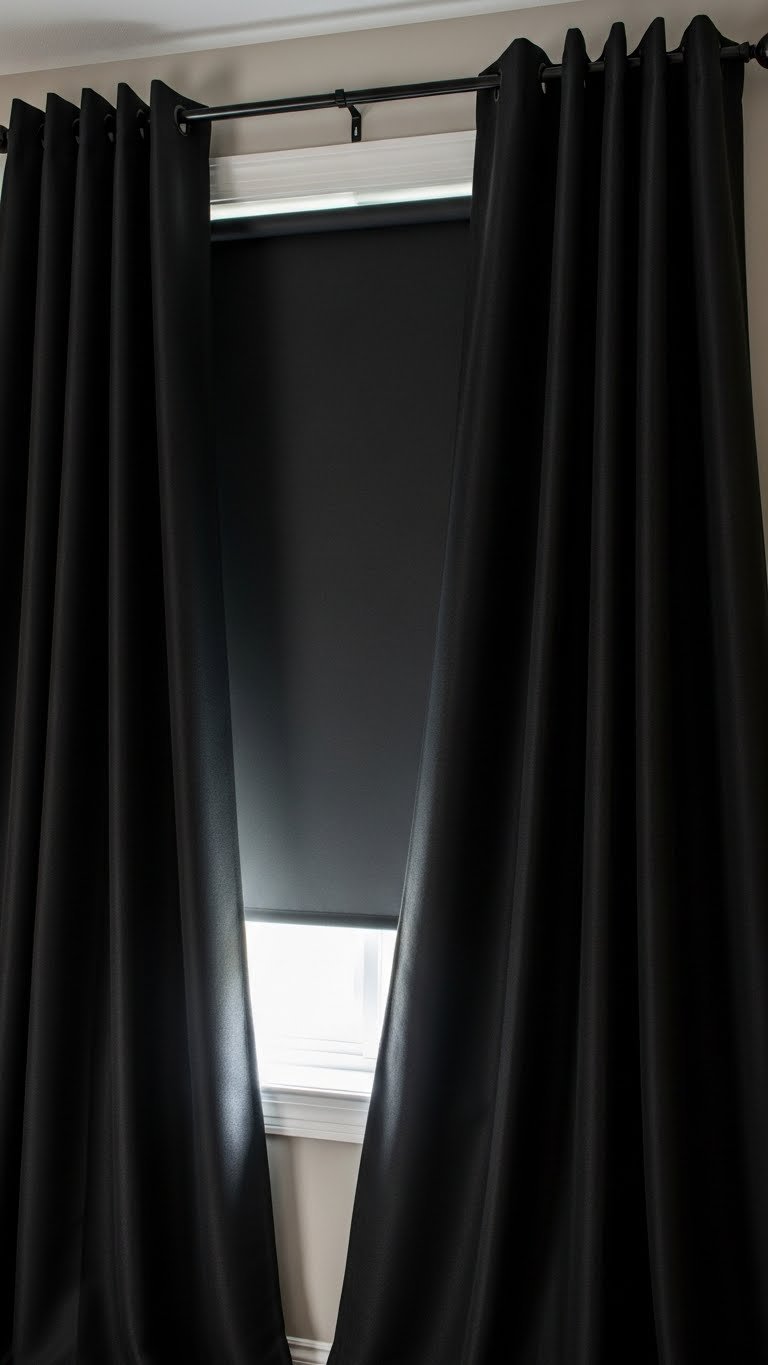
Roller shades inside your window frame plus blackout curtains on a rod outside gives you redundant light control and a sleeker look if you prefer not to show traditional curtain panels.
Install blackout roller shades ($30–$80 per window, available at IKEA, Home Depot, or Wayfair) inside your frame, then add blackout curtains on a rod mounted on the wall beyond the frame ($50–$100). Installation takes 25–30 minutes total. You can operate them independently—raise the shade but close the curtains for different looks, or close both for maximum darkness. Renter tip: use adhesive-mounted roller shades (temporary blackout shades, $20–$50) plus tension-rod curtains for zero permanent damage.
You have precise control over light levels. Lower the shade halfway while curtains stay fully closed, or vice versa. It’s the most customizable light-control setup available.
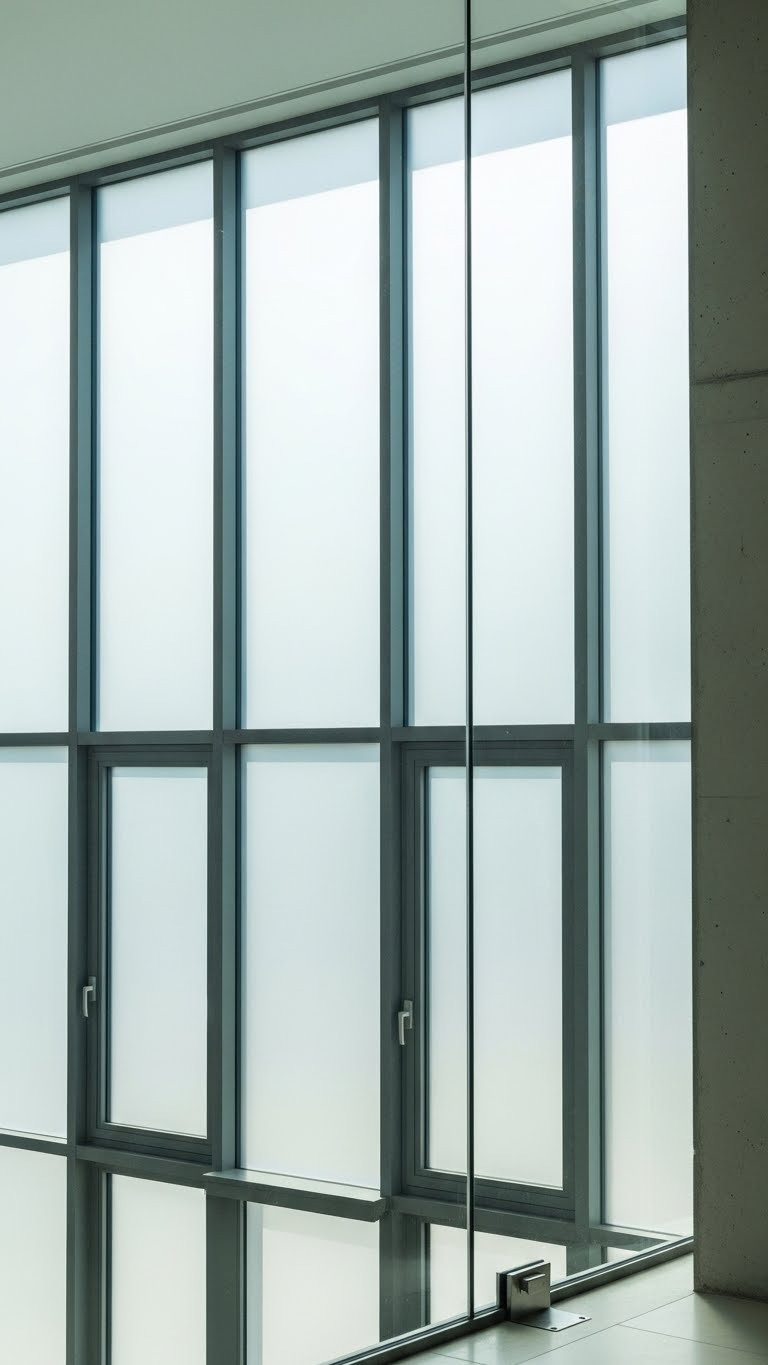
21. Install Blackout Curtains Over French Doors or Sliding Glass Doors
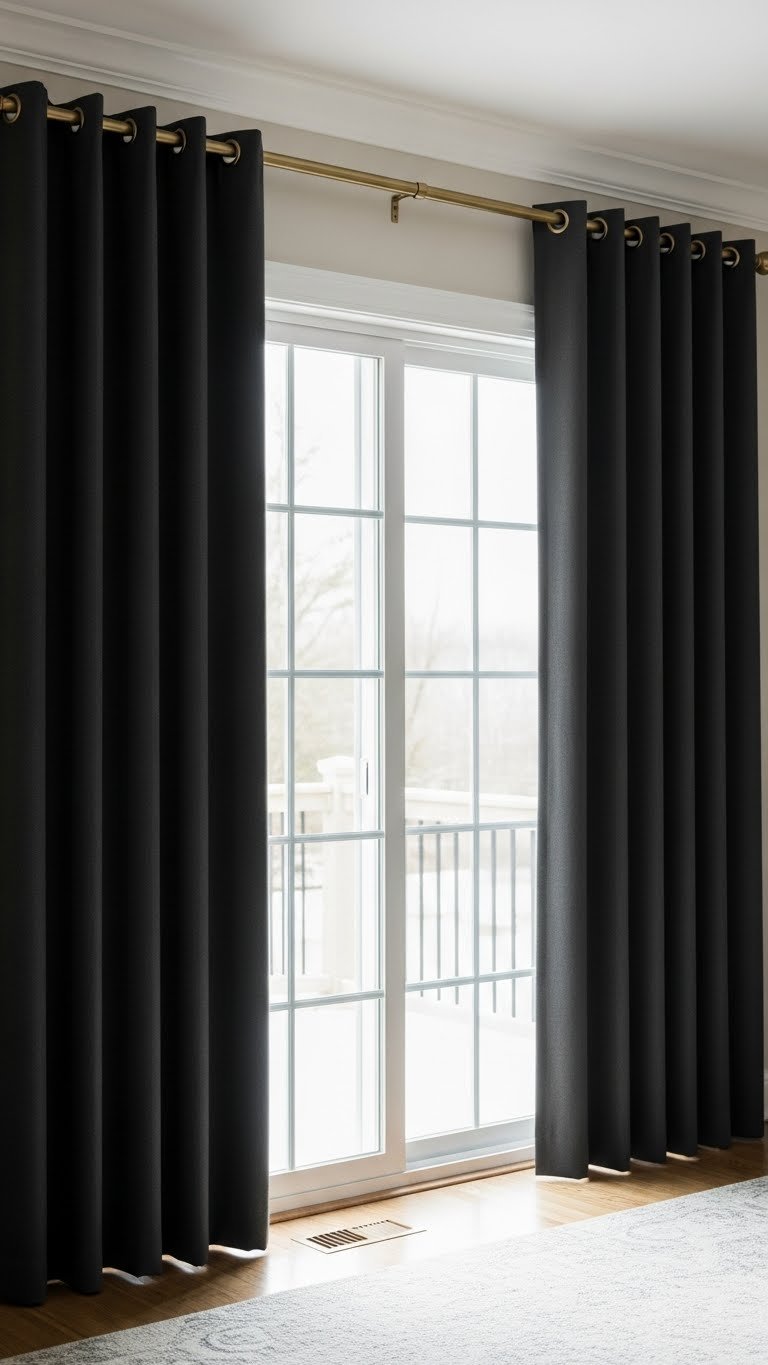
Glass doors are notoriously hard to insulate and light-block. Blackout curtains mounted on rods extending beyond the door frame solve both problems while looking intentional and designed rather than temporary.
Measure the entire door width plus 12 inches on each side for full coverage. Install a sturdy rod ($30–$60) using heavy-duty brackets ($25–$50) mounted to the wall (not the door itself). Hang floor-length blackout panels ($80–$150 per panel)—you may need multiple panels depending on door width. Installation takes 30–45 minutes. Professional installation ($100–$250) ensures brackets are secure and balanced.
Your glass doors now provide complete light and privacy control. The room feels more secure at night, better insulated, and more intentionally decorated. No more light pouring through glass at 6 AM.
22. Use Blackout Curtains in a Child’s Room for Nap-Time Success
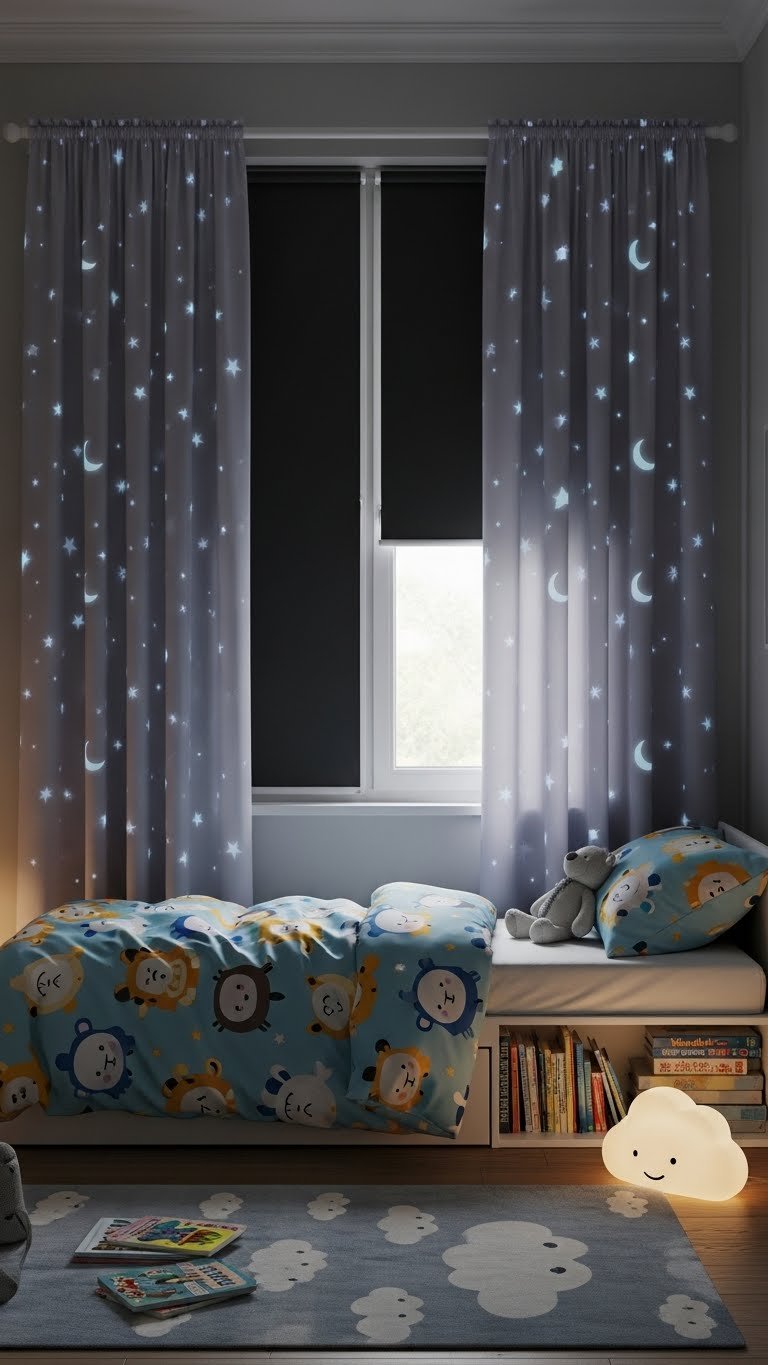
Children sleep better in dark rooms, and blackout curtains make nap schedules actually work. Choose a fun color or pattern that fits your child’s room aesthetic so the curtains don’t feel clinical or gloomy.
Select blackout curtains in fun colors or subtle patterns ($50–$100 per panel, available at Target, IKEA, or Wayfair). Avoid harsh black if it feels too stark; instead try soft blues, purples, greens, or patterns with stars and clouds. Install on a standard rod at a safe height (children can’t pull down: use brackets rated for your curtain weight, $15–$40). Installation takes 15 minutes. Safety note: avoid drawstring tiebacks; use magnetic or ring-style tiebacks to prevent entanglement.
Your child naps through afternoon light. Bedtime comes earlier because the room actually gets dark. You get quiet afternoon hours back. It’s a game-changer for parents and kids alike.
23. Layer Blackout With Acoustic Panels for Sound + Light Control
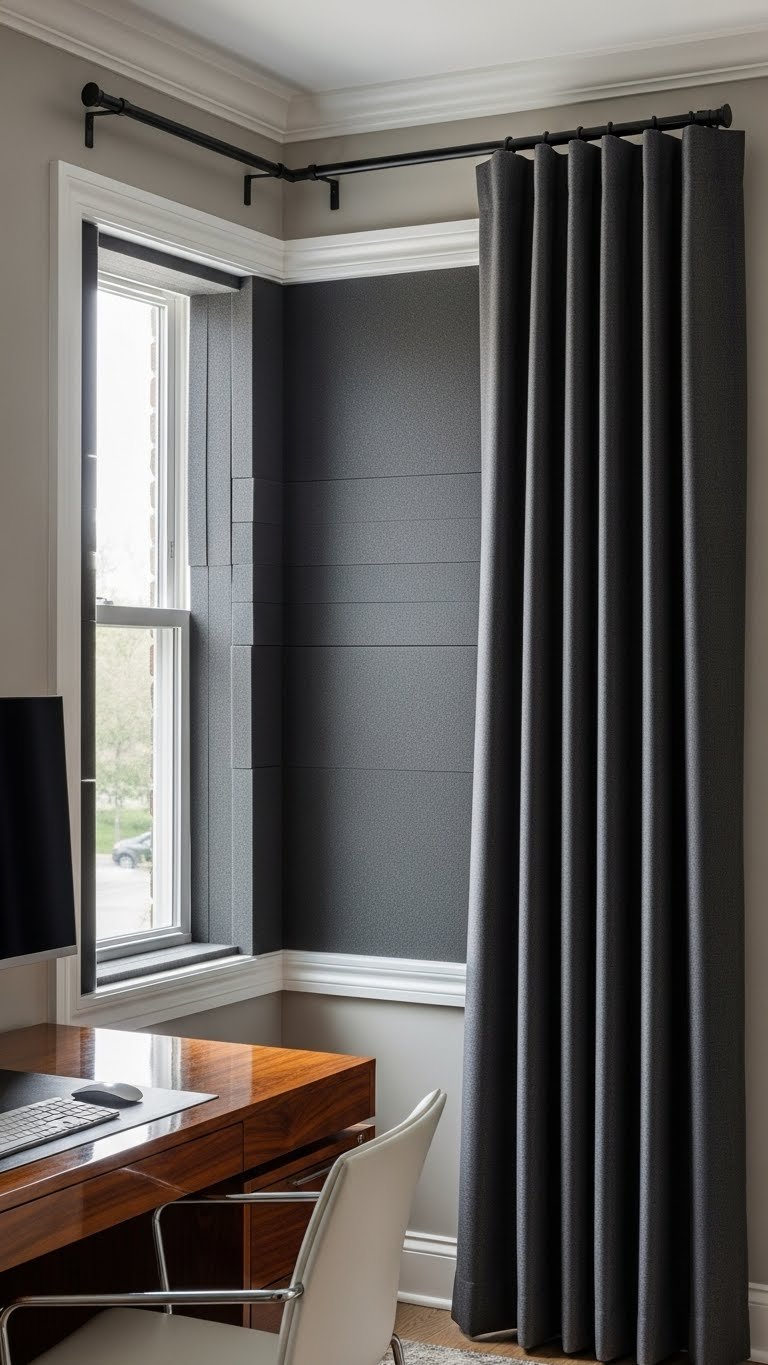
If you need light and sound control (home office, bedroom next to traffic, podcasting studio), combining blackout curtains with acoustic treatment solves both problems at once.
Mount acoustic foam panels inside your window frame ($40–$100, available at Amazon and music stores), then hang blackout curtains on an exterior rod ($50–$100). The acoustic material absorbs sound while the blackout layer blocks light. Installation takes 30–40 minutes. Renter option: use removable adhesive-backed acoustic tiles ($30–$70) instead of screwing panels to the wall.
Your window now controls both light and noise. Outside traffic, sirens, or neighbor activity becomes muffled. Your sleep improves and your focus deepens—especially useful if you work from home or live in a busy area.
24. Stagger Blackout Curtain Panels for a Layered, Modern Look
Instead of matching pairs, hang blackout panels at different lengths for a modern, intentionally asymmetrical look. This works especially well if you have multiple windows or want a contemporary design statement.
Order floor-length blackout panels for some positions ($80–$150 per panel) and window-length panels for others ($50–$100 per panel). Install using a single rod with multiple panels hung at staggered heights. Takes 25–30 minutes. Tie back one side with a decorative tiebacks ($15–$30) to frame the stagger intentionally. Plan your spacing first—sketch it on paper to avoid mistakes.
Your window treatment becomes an art installation. It looks contemporary and designed, not thrown together. Guests notice the intentional asymmetry and ask about it.
25. Go Blackout-Free With Blackout Paint on Your Walls Instead

If you love the look of lightweight curtains but need darkness, blackout paint applied to your walls can absorb ambient light and create a dark room without heavy blackout panels. It’s unconventional but works beautifully in the right spaces.
Use blackout or black-body wall paint (technically dark, light-absorbing paint like Valspar Black Onyx or Sherwin-Williams Tricorn Black, $30–$50 per gallon). Paint your entire room or an accent wall for depth. Pair with lightweight curtains ($30–$60) that you prefer aesthetically. Paint application takes 6–10 hours DIY or $300–$600 for professional painters. Paint dark walls to create the illusion of zero light even with non-blackout curtains.
Your room looks moody and sophisticated while maintaining lightweight, stylish curtains. Unconventional, but it delivers the darkness you need with the aesthetic you want.
26. Install Blackout Curtains on a Command Rail System for Renter Flexibility
Command rail systems use adhesive (not drilling) to mount tracks and slides that curtains glide on. It’s the most flexible hardware option for renters and anyone wanting to swap curtains seasonally.
Purchase a Command rail system ($25–$50 per kit, available at Target and Amazon) designed for heavy-duty use (curtain weight rating required). Mount according to instructions using 3M Command strips (included)—clean wall with rubbing alcohol first, press firmly, wait 24 hours before hanging curtains. Hang your blackout panels ($50–$100) on the gliding hooks. Total installation: 15 minutes. Removal: pull gently to detach, then use adhesive remover ($5–$8) to clean residue.
You can take the entire system with you when you move. Swap curtains seasonally without adding new holes. It’s genuinely renter-proof and works beautifully.
27. Create a “Blackout” Effect With Light-Blocking Spray for Window Glass
If you want light control without fabric curtains entirely, light-blocking spray applied directly to your window glass reduces light transmission while maintaining window aesthetics. It’s perfect for rental apartments where you can’t install hardware or want a minimal look.
Buy window privacy spray like Frost King Window Film or frosted glass spray ($10–$20 per can, available at hardware stores and Amazon). Clean window glass thoroughly, tape off frames, and apply spray in light, even coats per instructions—takes 20–30 minutes. It reduces light by 50–70% depending on application thickness. To remove, scrape carefully or use rubbing alcohol. Renter note: this leaves minimal residue if removed carefully, but test on a small window first.
Your window maintains its look while blocking significant light. No curtain rods, no fabric, no installation headaches. It’s the most minimal light-control option available, though not quite as effective as full blackout panels.
Save this guide for your next project and try just one layering combo this weekend—your sleep (or your work-from-home productivity) will thank you. Which idea will you tackle first?
Leave a Reply