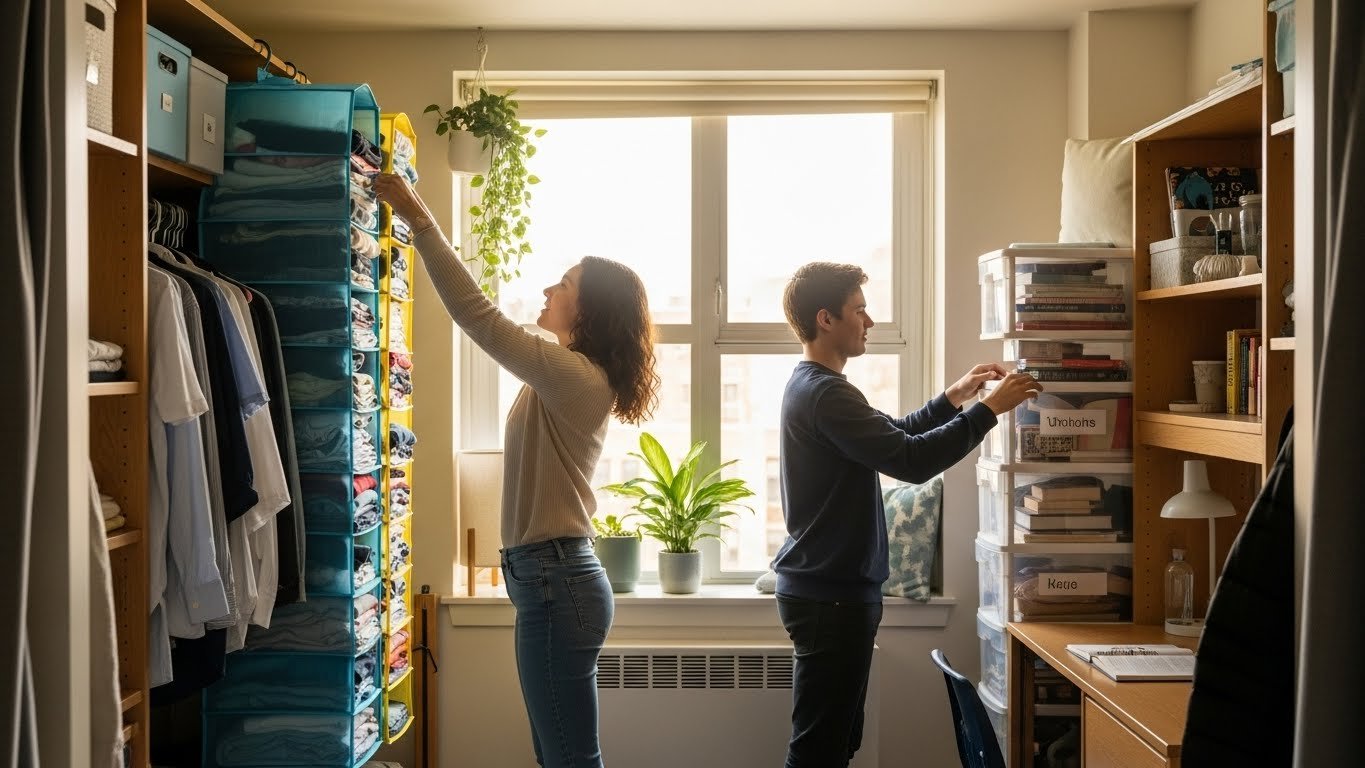
Mornings don’t have to be chaotic hunts through piles of clothes. When your closet is organized thoughtfully, getting dressed becomes almost meditative—you know exactly where everything is, outfits come together effortlessly, and you’re out the door without stress. The best part? You don’t need a huge closet or a big budget to make this happen. Whether you’re working with a tiny reach-in closet or a sprawling walk-in, there are proven strategies that work for real life. This guide walks you through 26 specific, actionable ideas that range from zero-cost solutions to smart investments. Each one tackles a real morning pain point—from finding that one sweater buried in the back to preventing wrinkles before they start. Pick a few that match your space and lifestyle, and you’ll notice the difference immediately.
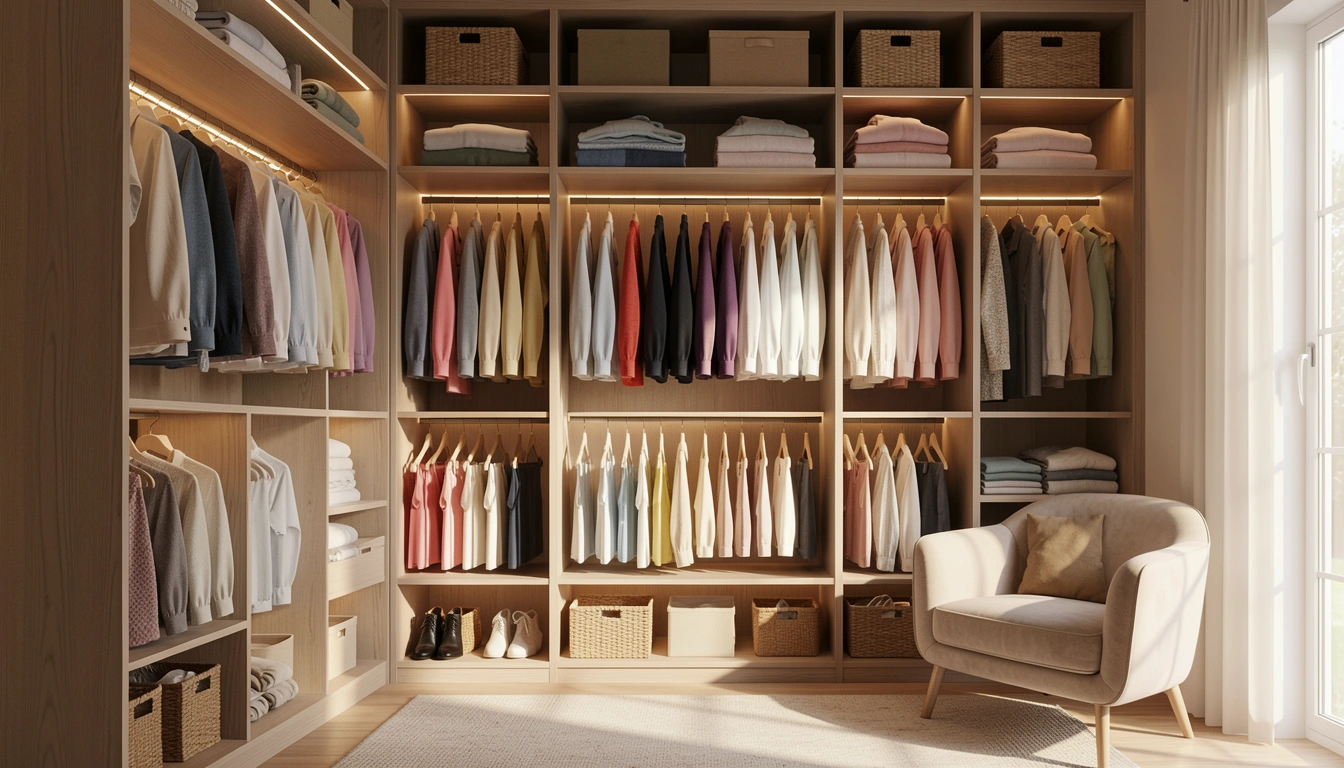
1. Color-Coordinate Your Hanging Clothes
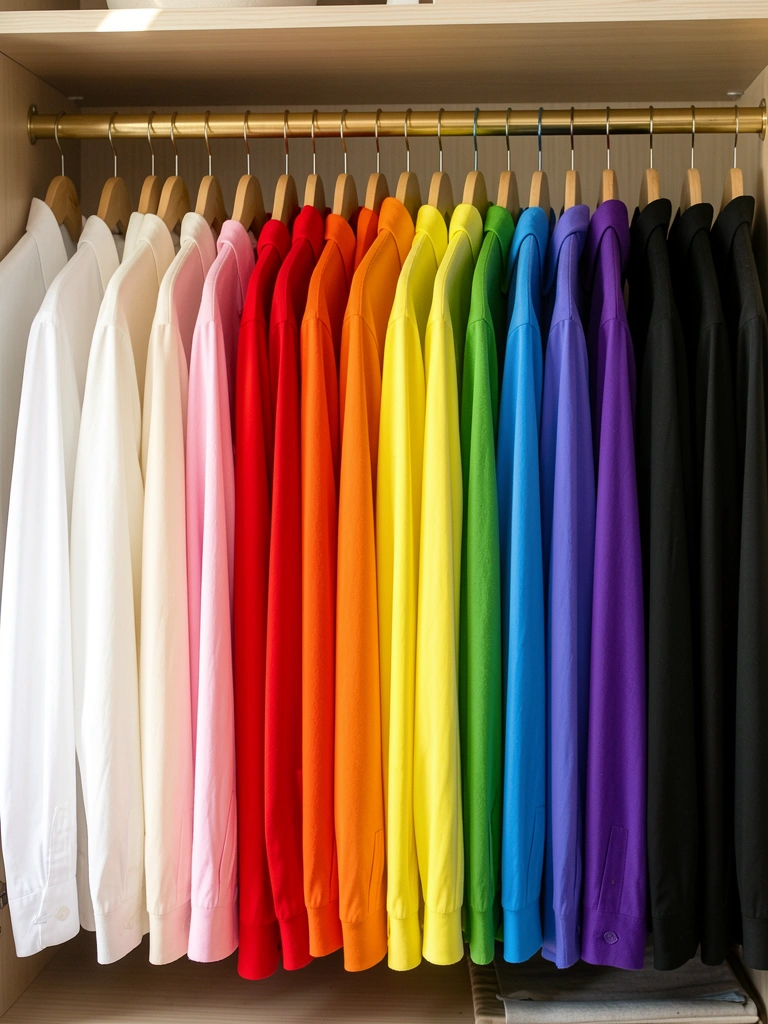
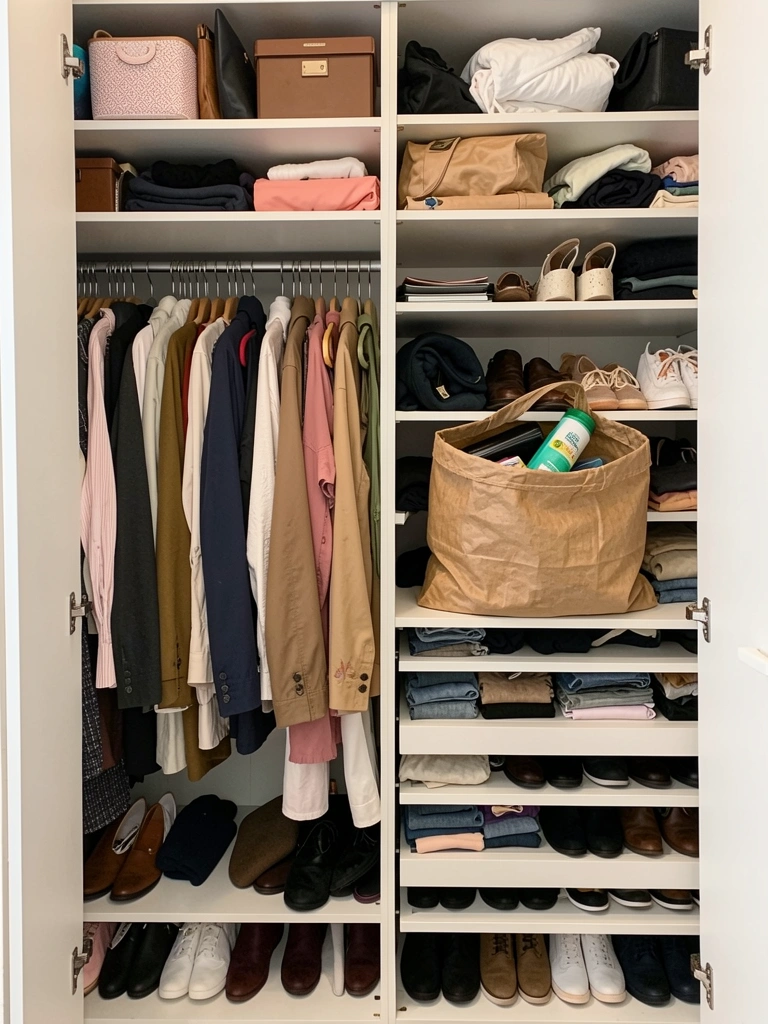
When clothes are grouped by color, you can visually scan your closet and build outfits in seconds instead of searching through similar items. This works especially well if you have multiples of one type (like five white tees or three black sweaters).
Hang items in this order: whites and creams, then warm tones (pinks, reds, oranges, yellows), cool tones (greens, blues, purples), then neutrals (grays, blacks, browns). This takes about an hour depending on closet size. It’s completely free and works in any closet type. You might rediscover clothes you forgot you owned because suddenly seeing everything becomes so much easier.
Pro tip: Within each color section, arrange by item type (dresses, then blouses, then sweaters). You’ll cut your morning decision time by half.
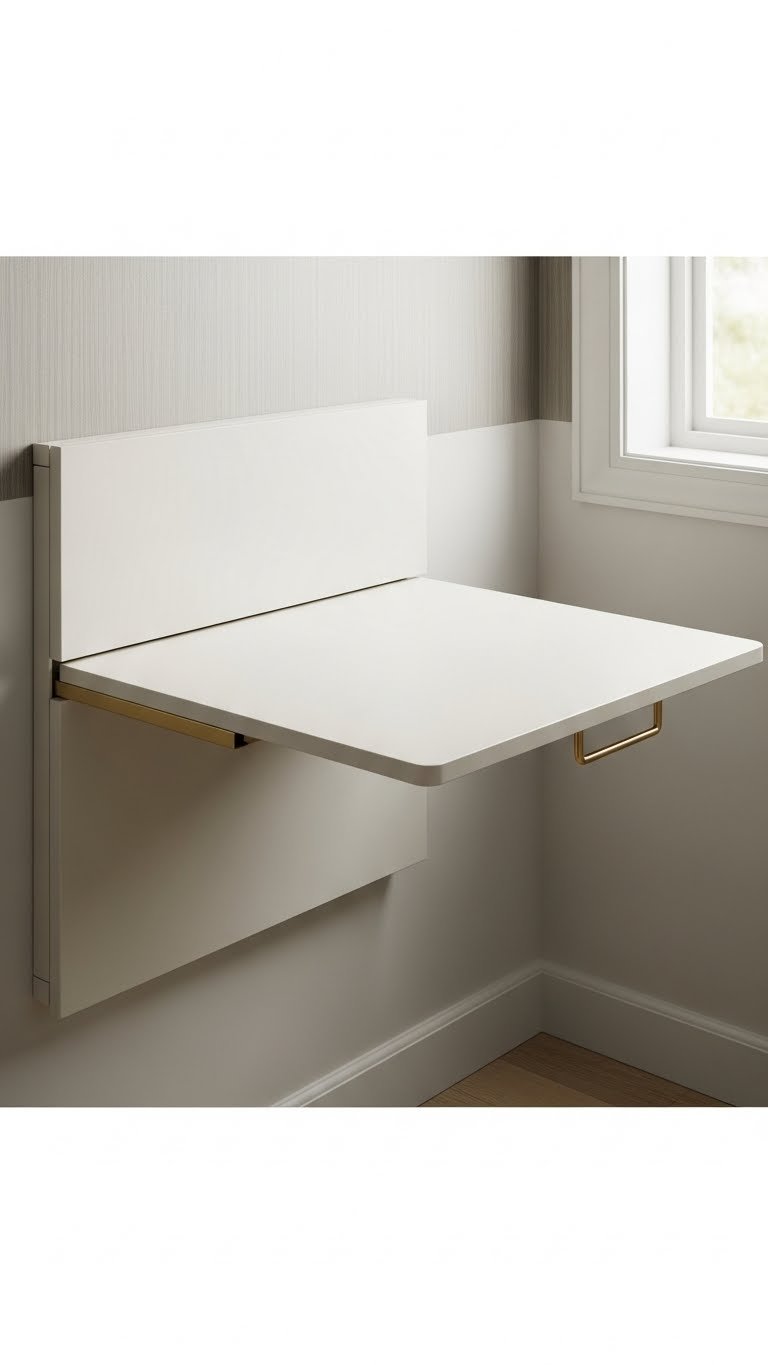
2. Install Pull-Out Valet Rods for Next-Day Outfits

A valet rod is a pull-out bracket that extends from your closet wall, letting you hang tomorrow’s outfit outside so you can see it and make changes before bed. This eliminates the “what should I wear?” panic when you’re groggy.
Install a pull-out valet rod ($25–$60 on Amazon or Home Depot) to your closet’s interior side wall using basic hardware. It takes about 20 minutes with a drill. Mount it at shoulder height so clothes hang at eye level. Alternatively, hang a simple tension rod in a corner for free. Every night, hang three complete outfits here and mix-and-match in the morning. You’ll sleep better knowing your look is already planned and ready.
Pro tip: Take a photo of each outfit combination so you can recreate it later.
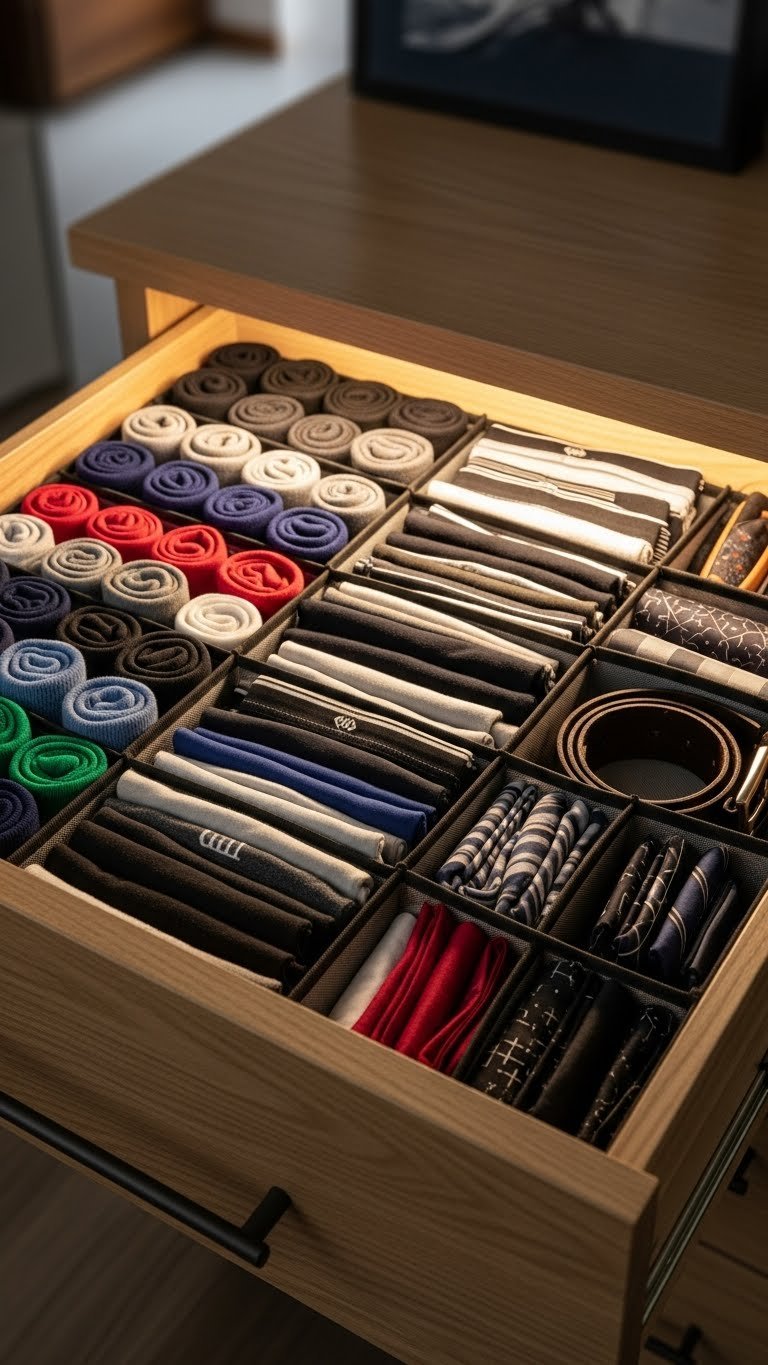
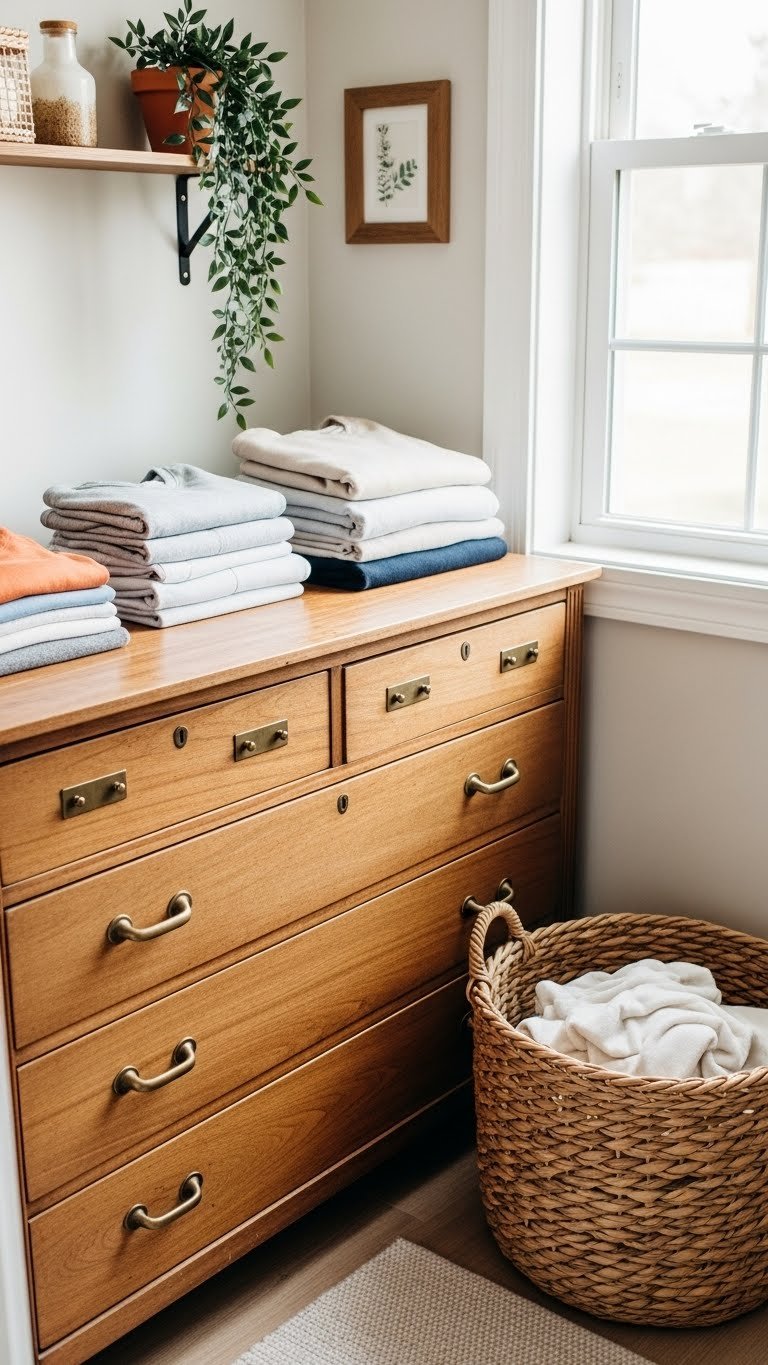
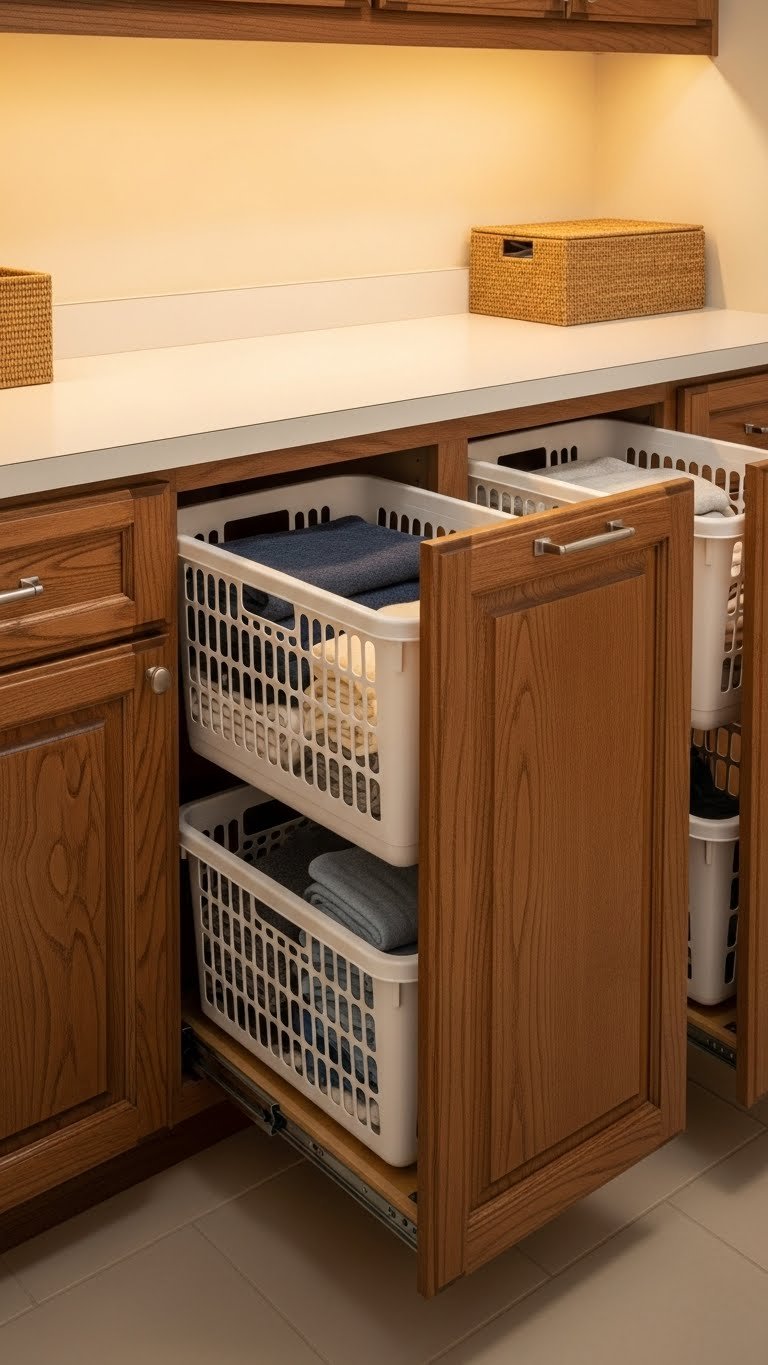
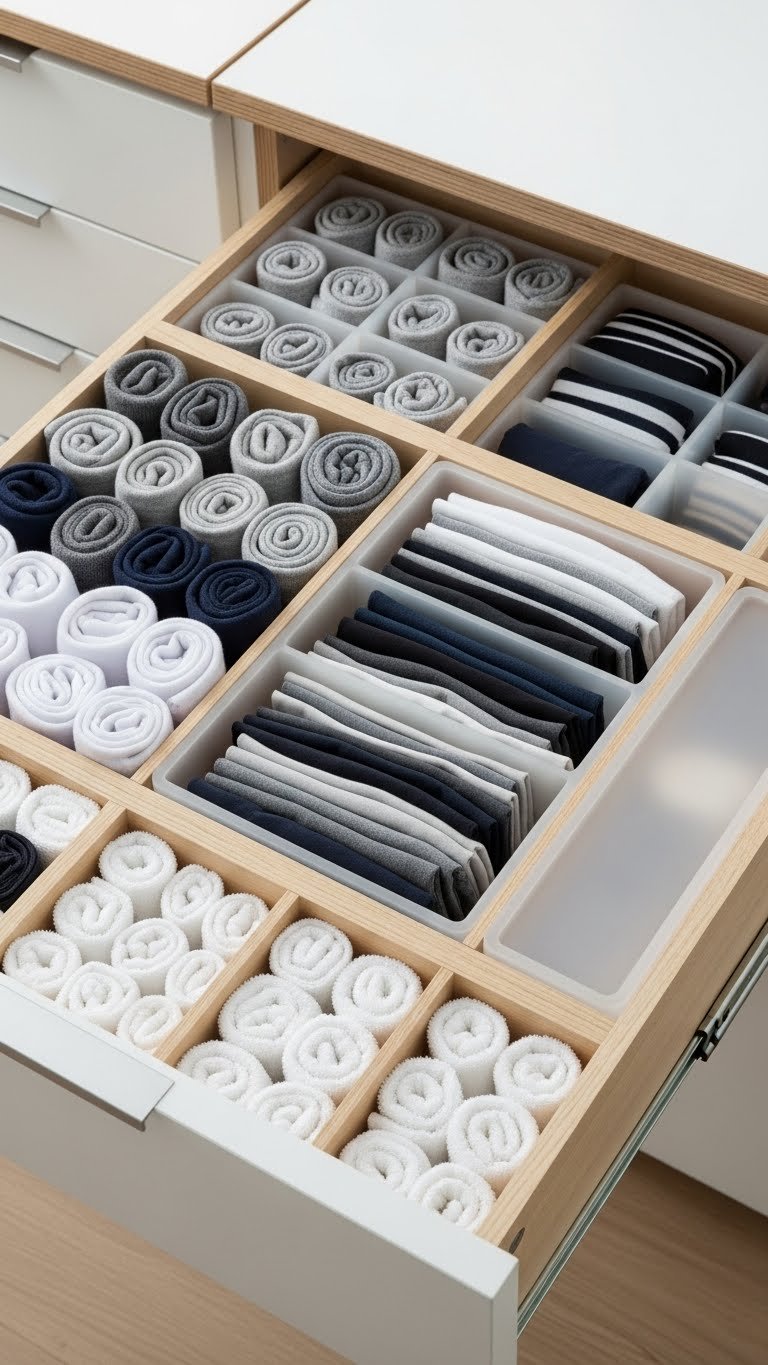
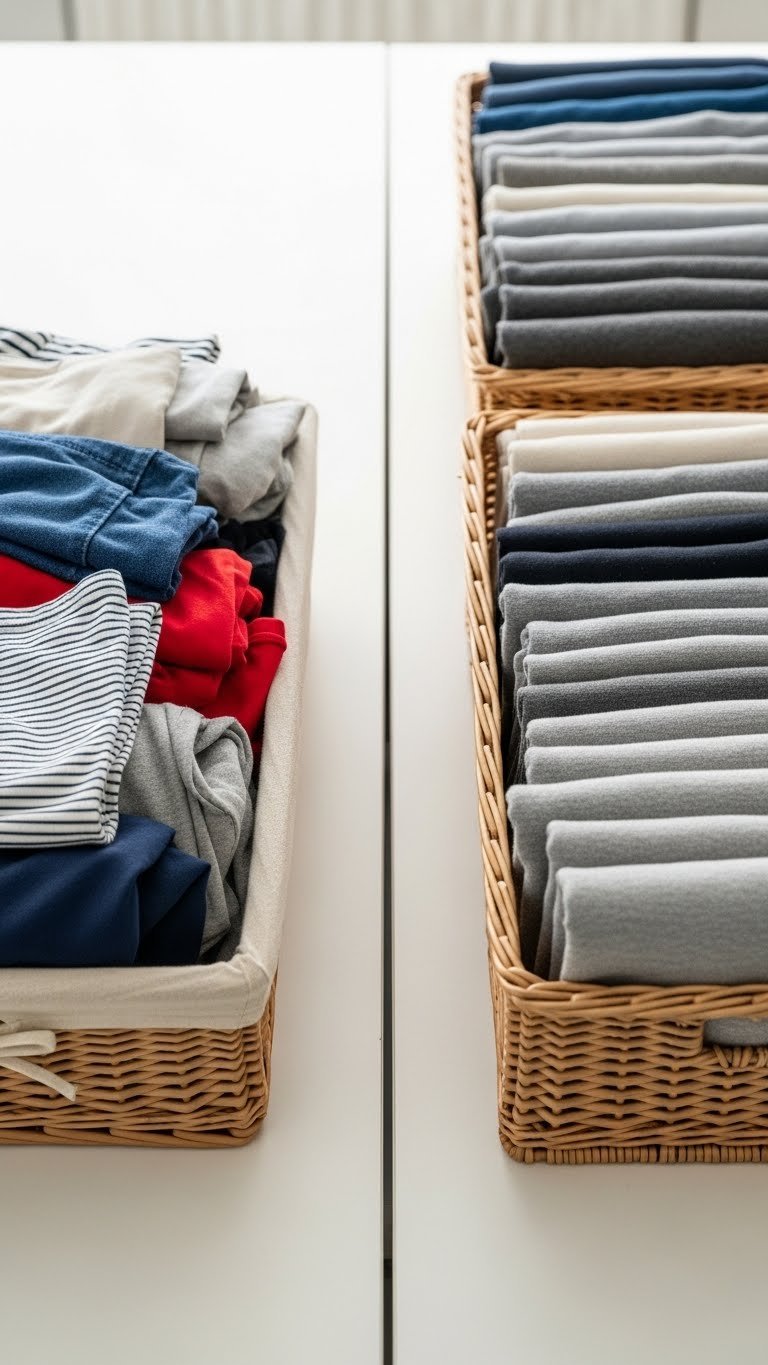
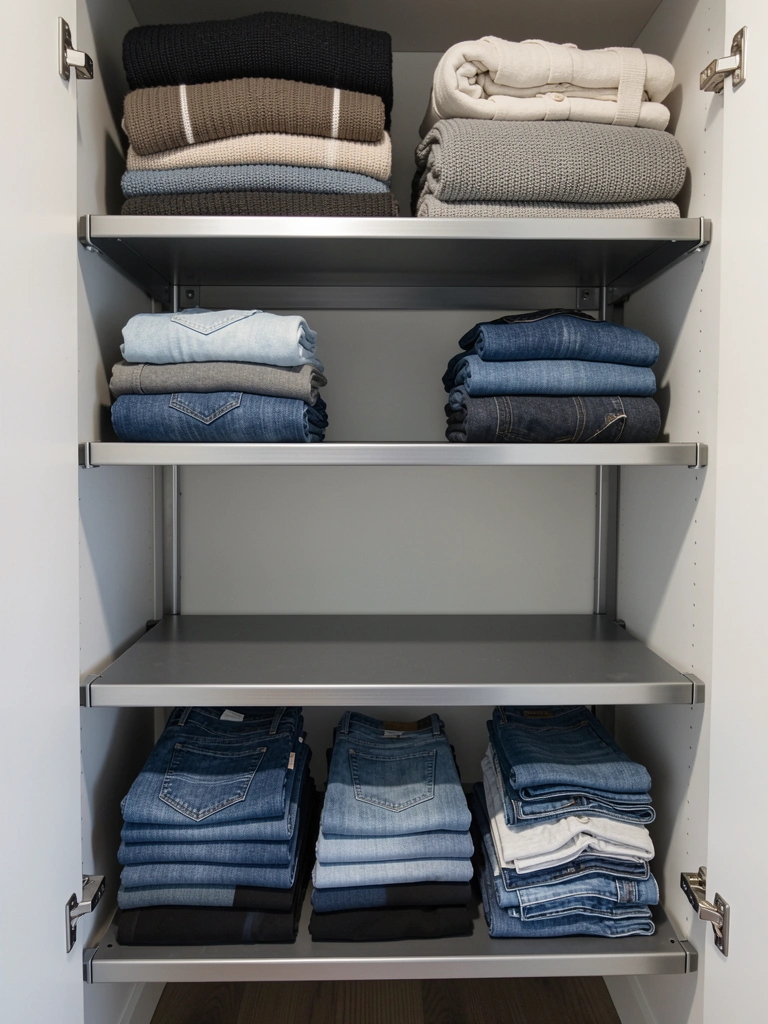
3. Use Drawer Dividers for Folded Items
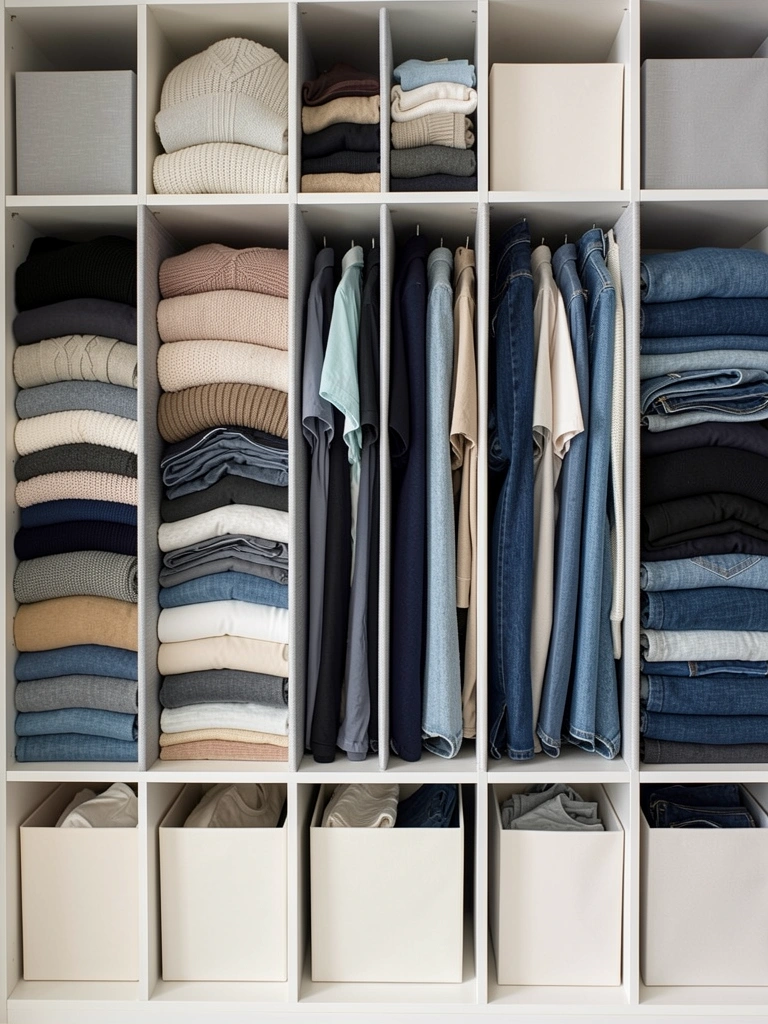
Folded items buried in a pile become invisible and wrinkled. Dividers keep everything standing upright and visible, like a filing system for clothes. You see every option at a glance.
Buy fabric drawer dividers or shelf dividers ($15–$30 for a set of 4–6) from IKEA, Target, or Amazon. Place them vertically in drawers or on shelves, then stand folded items inside instead of stacking them flat. This works beautifully for sweaters, tees, jeans, and leggings. Spend 30 minutes organizing once, and you’ll save minutes every single morning because you won’t have to unstack and restack. Your clothes also stay in better shape longer.
Pro tip: Label each divider section with what it contains (e.g., “Heavy Sweaters,” “Work Tees”) so family members put things back correctly.
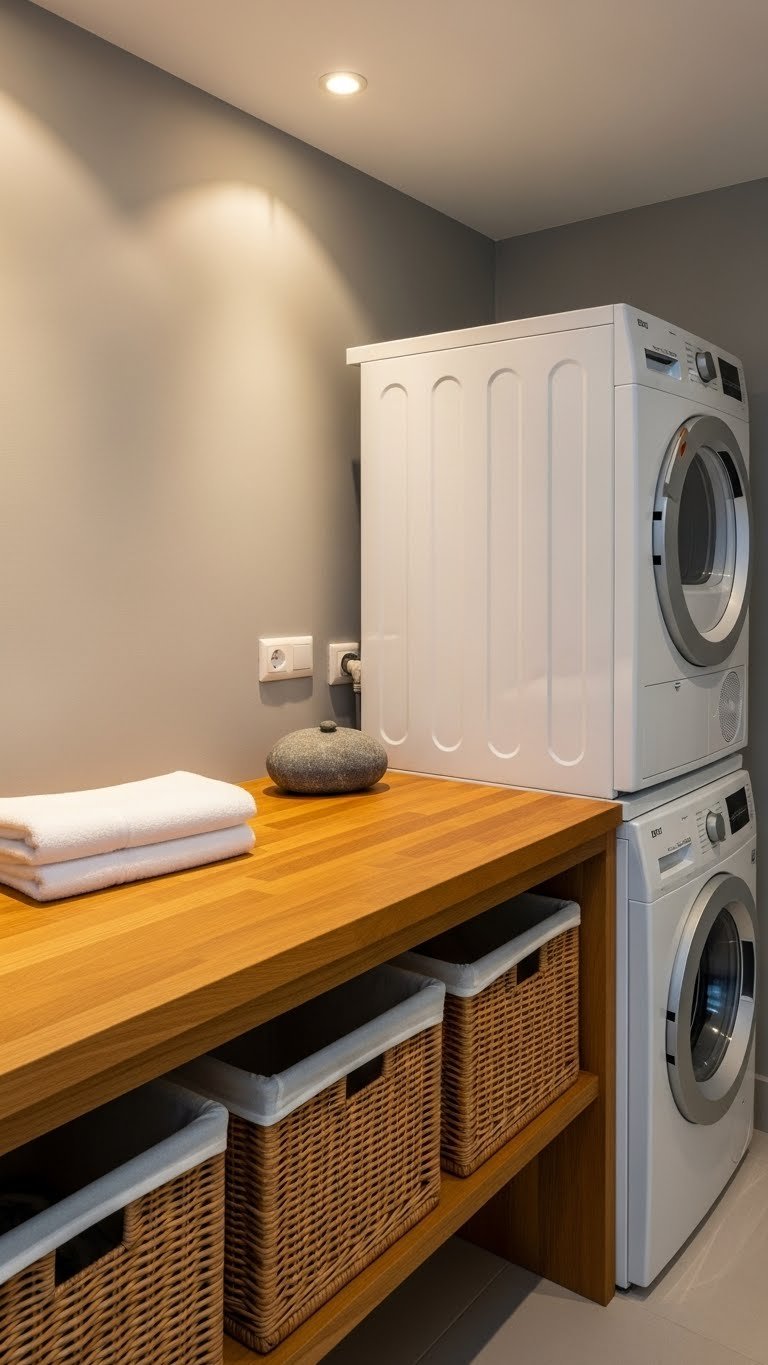
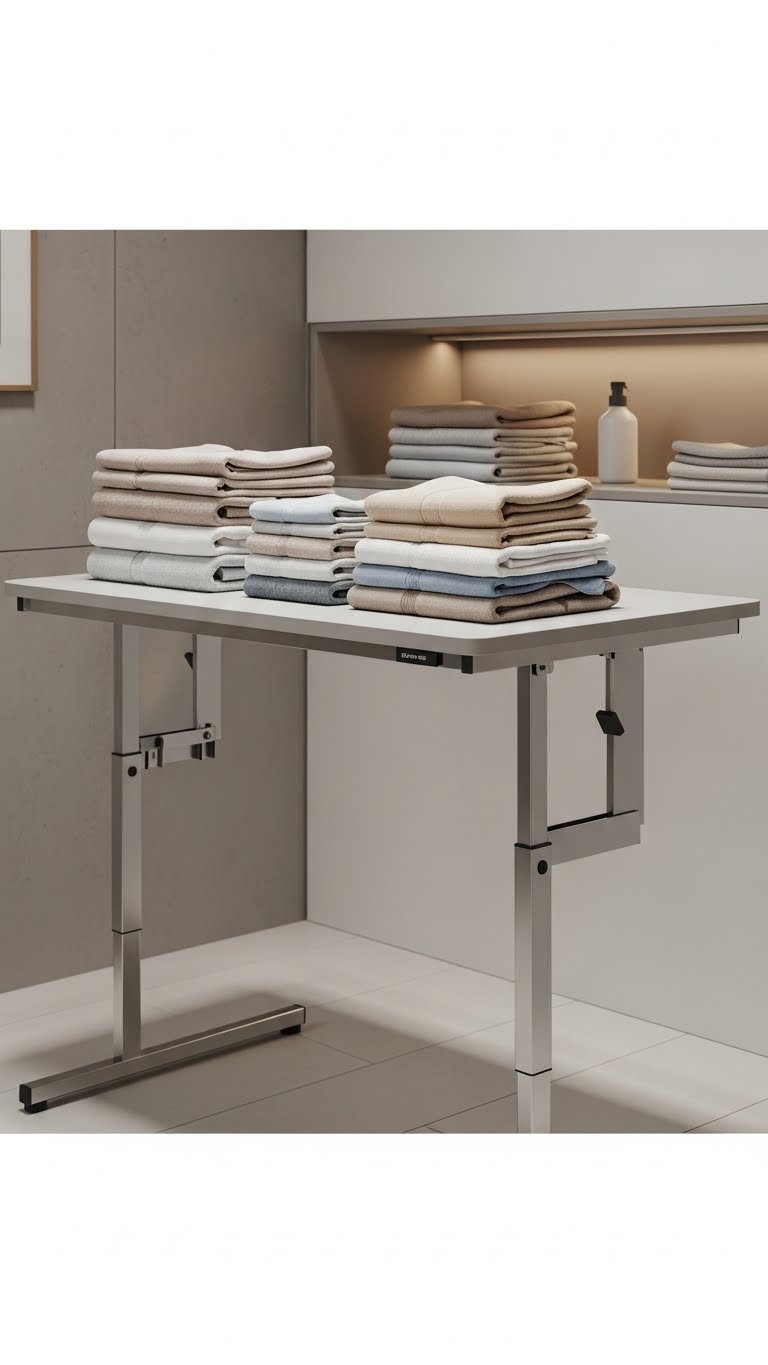
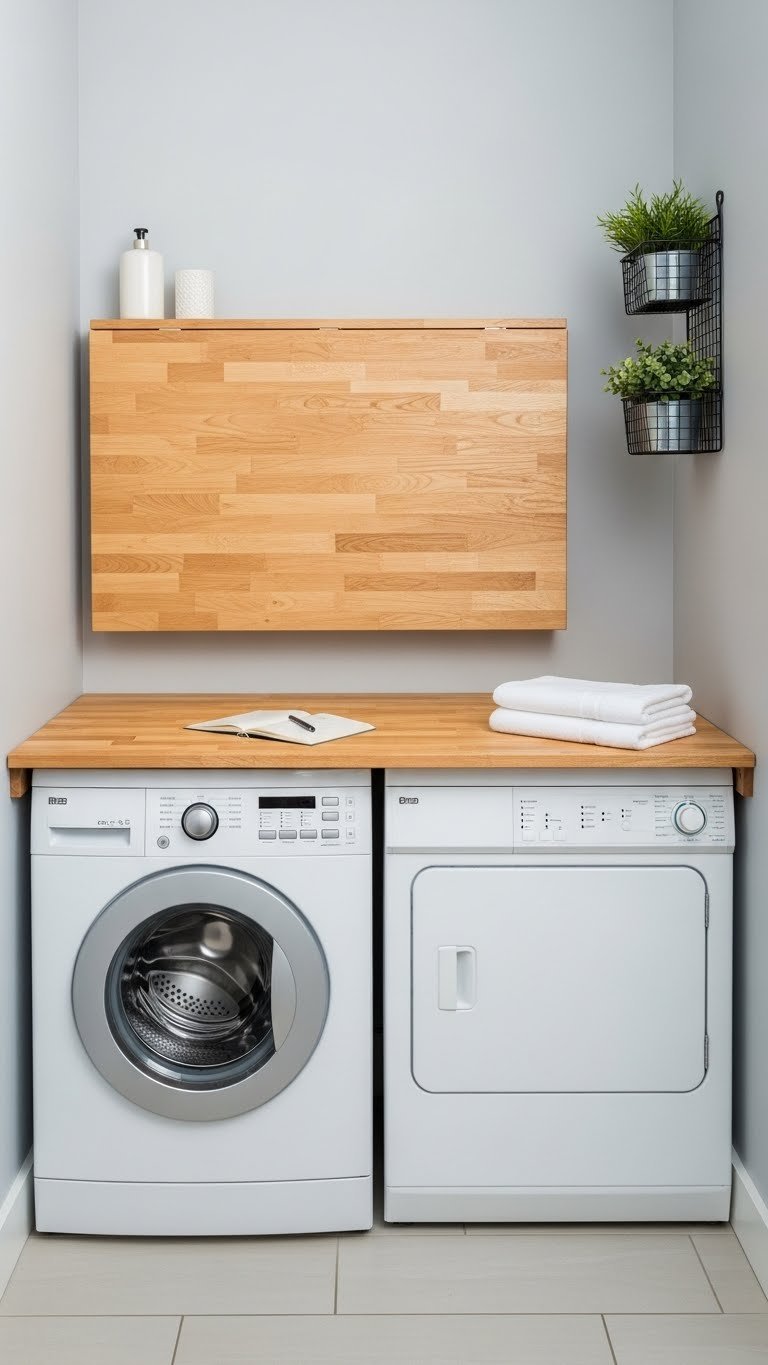
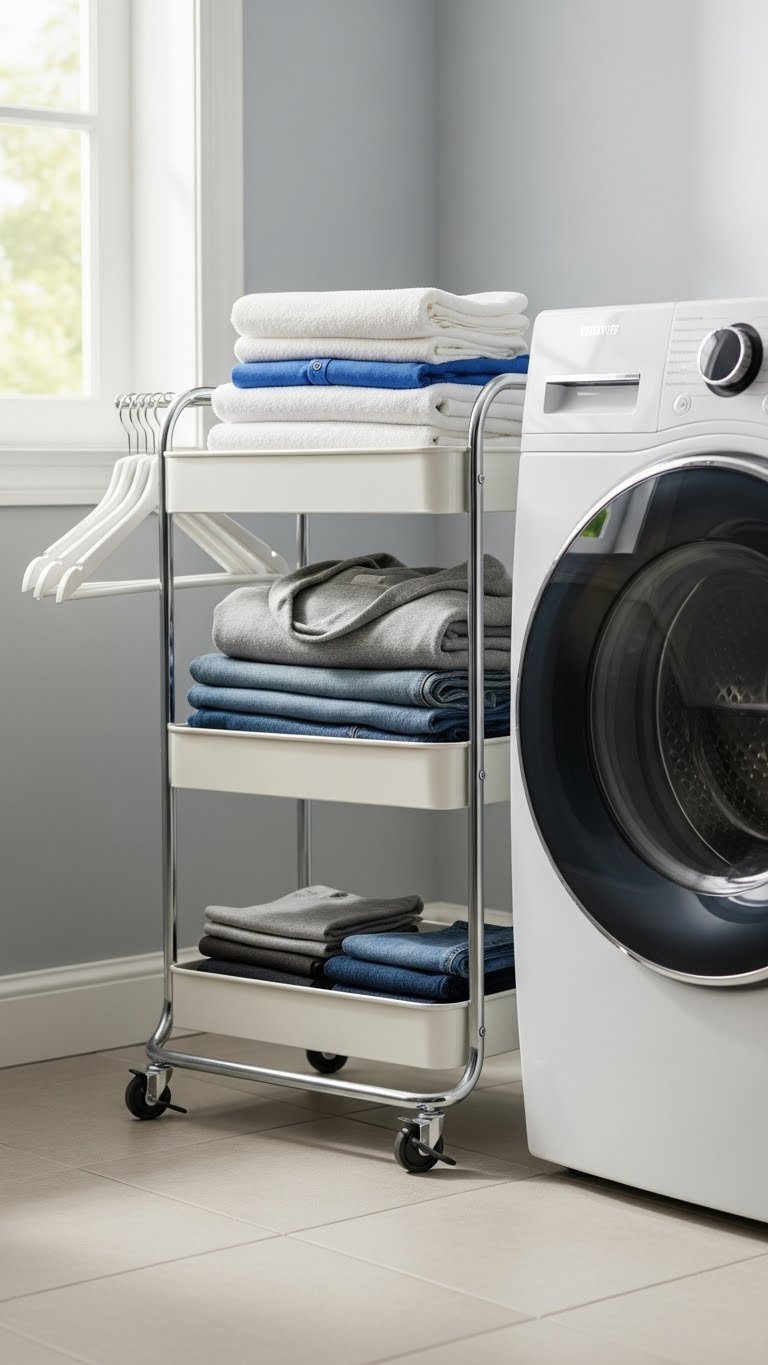
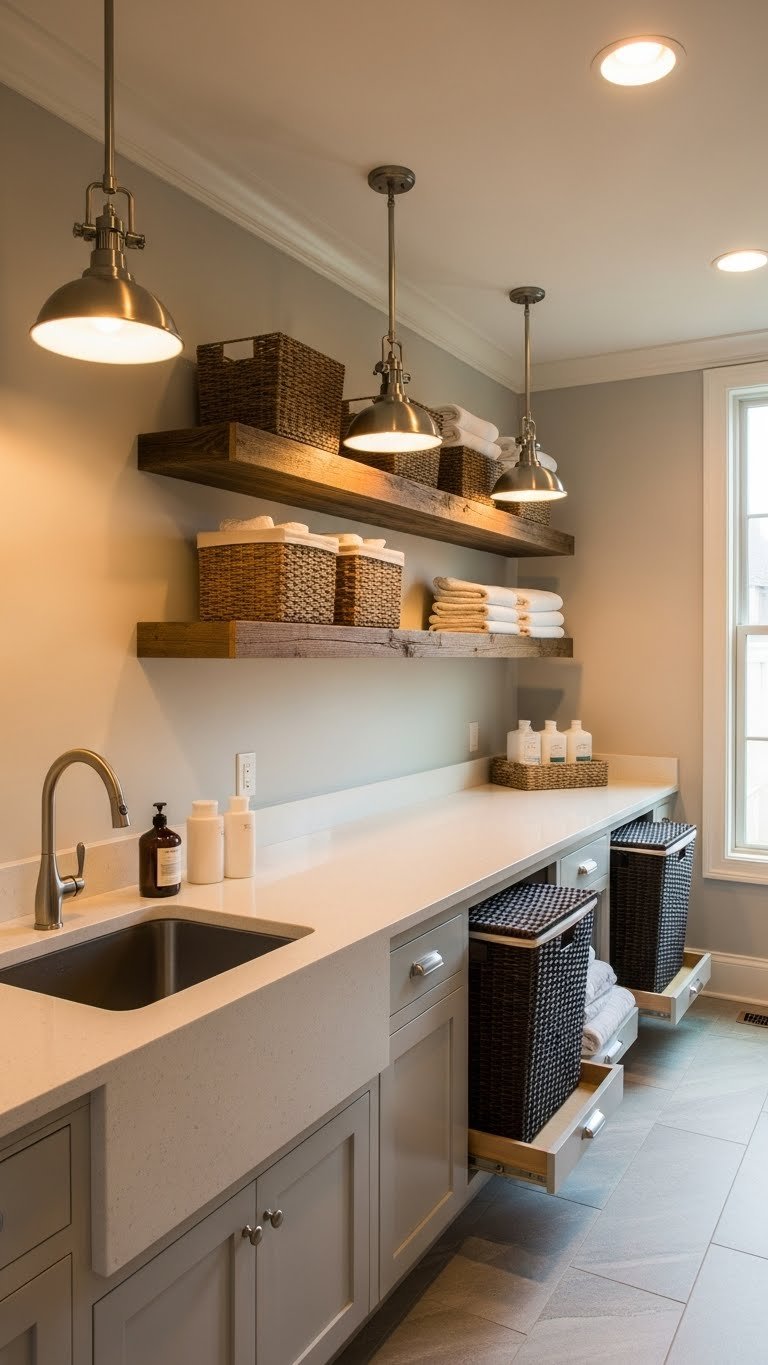
4. Create a “Laundry Day” Shelf
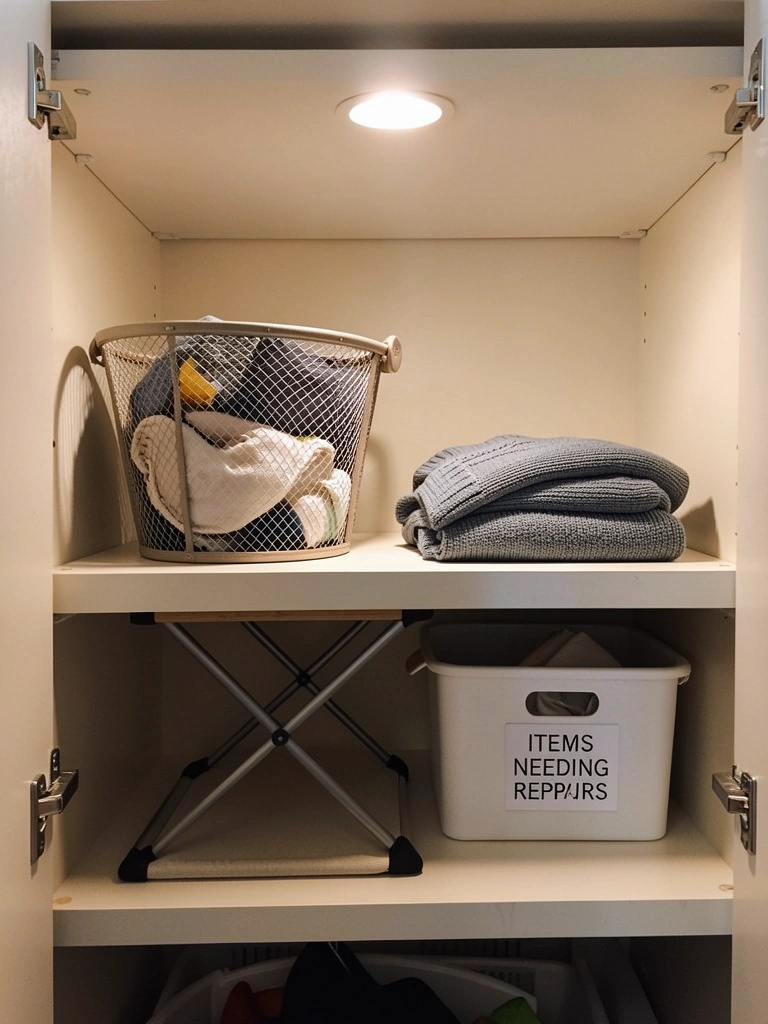
When laundry gets folded and immediately put away, it prevents the dreaded pile of clean clothes sitting in your closet for days. A dedicated folding and staging shelf keeps laundry moving.
Designate one closet shelf or install a small pull-out shelf ($40–$80 at IKEA or Wayfair) about waist-height. Keep a mesh folding basket there, along with a small bin for items needing repairs or a hanger for clothes awaiting ironing. Spend just 15 minutes each morning folding yesterday’s dry cleaning and putting it away. This prevents the cascade effect where one pile becomes three. Your closet stays clean, and you always have fresh, ready-to-wear clothes.
Renter-friendly note: Use a rolling cart instead—no installation needed, and you can move it anywhere.
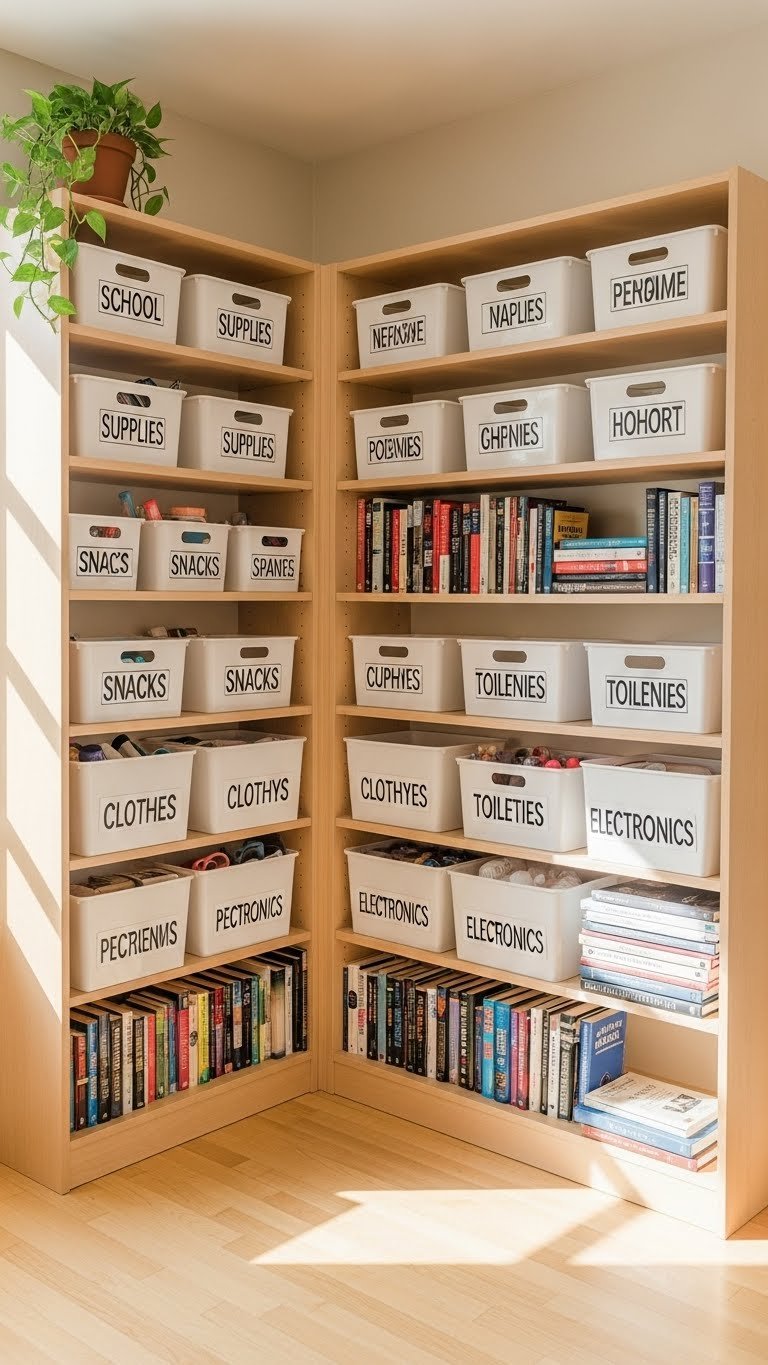
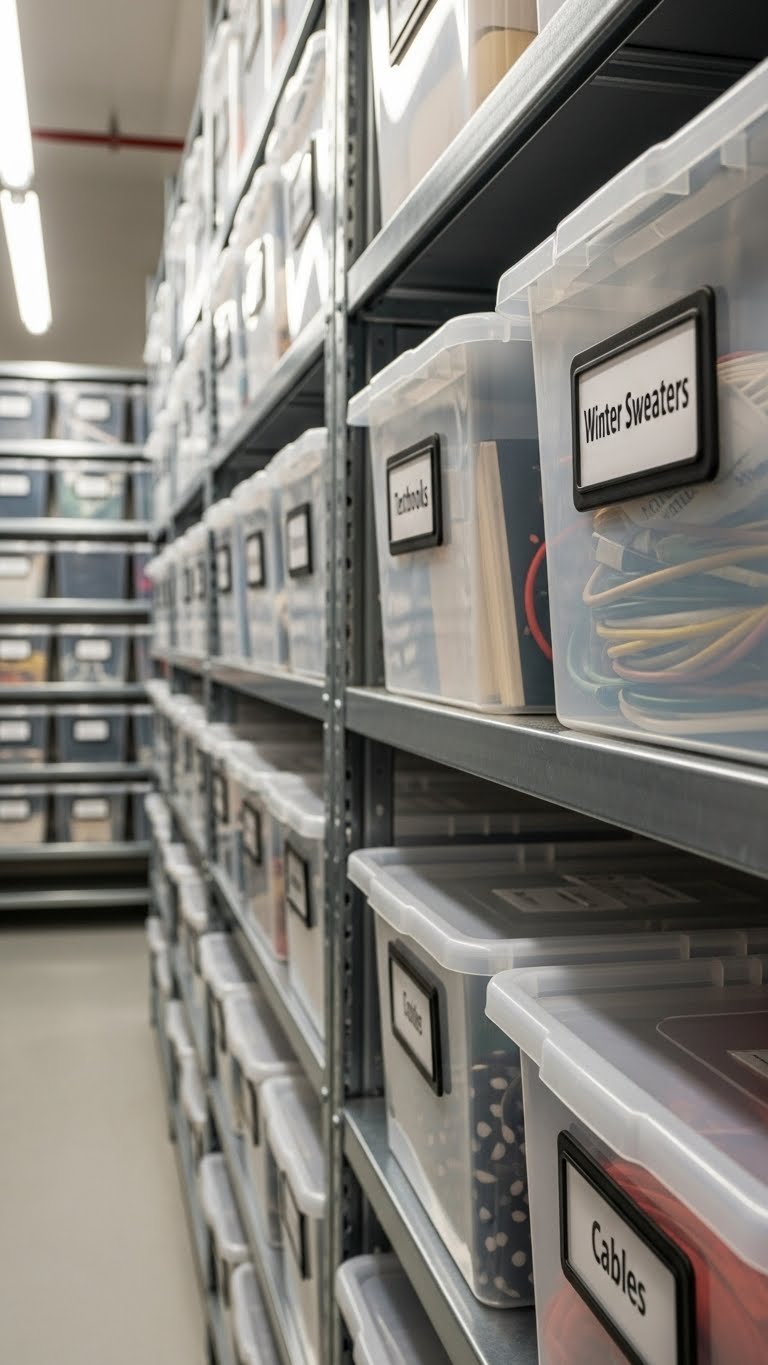
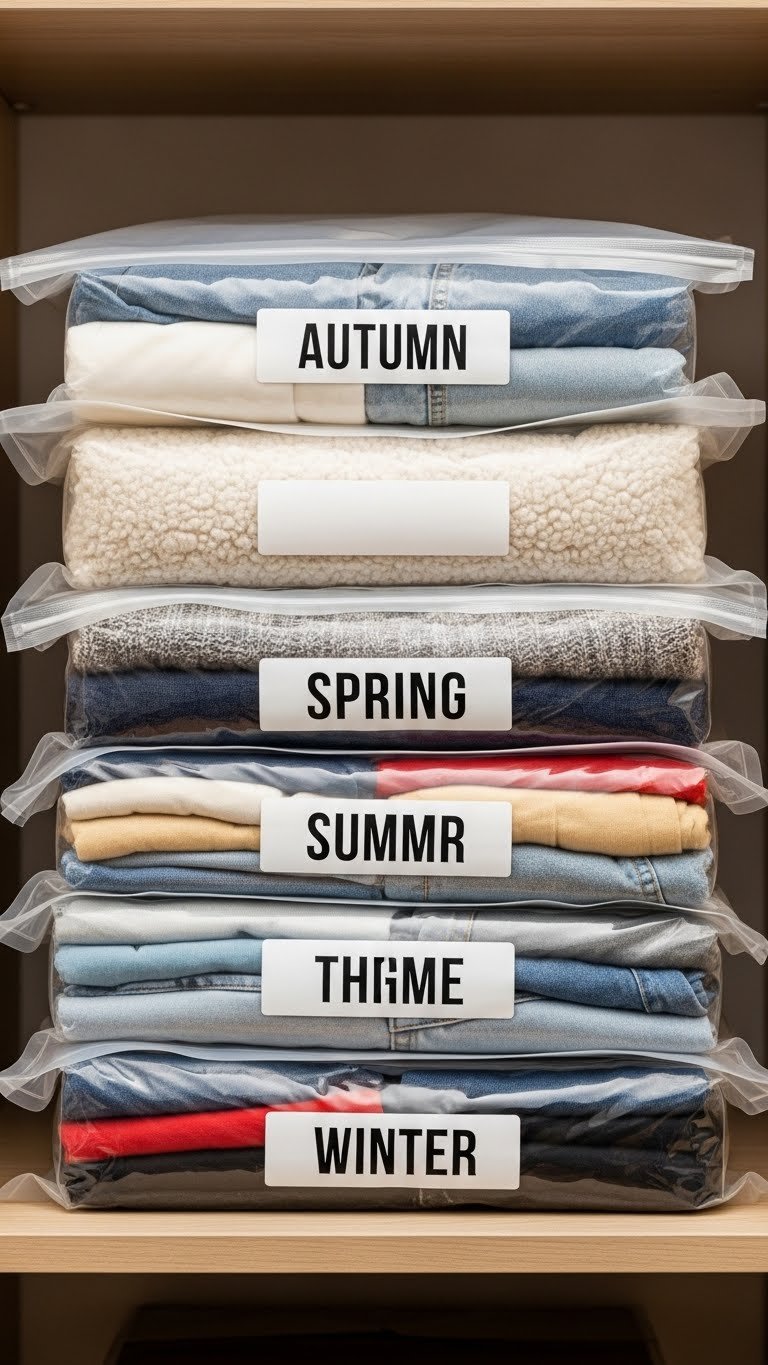
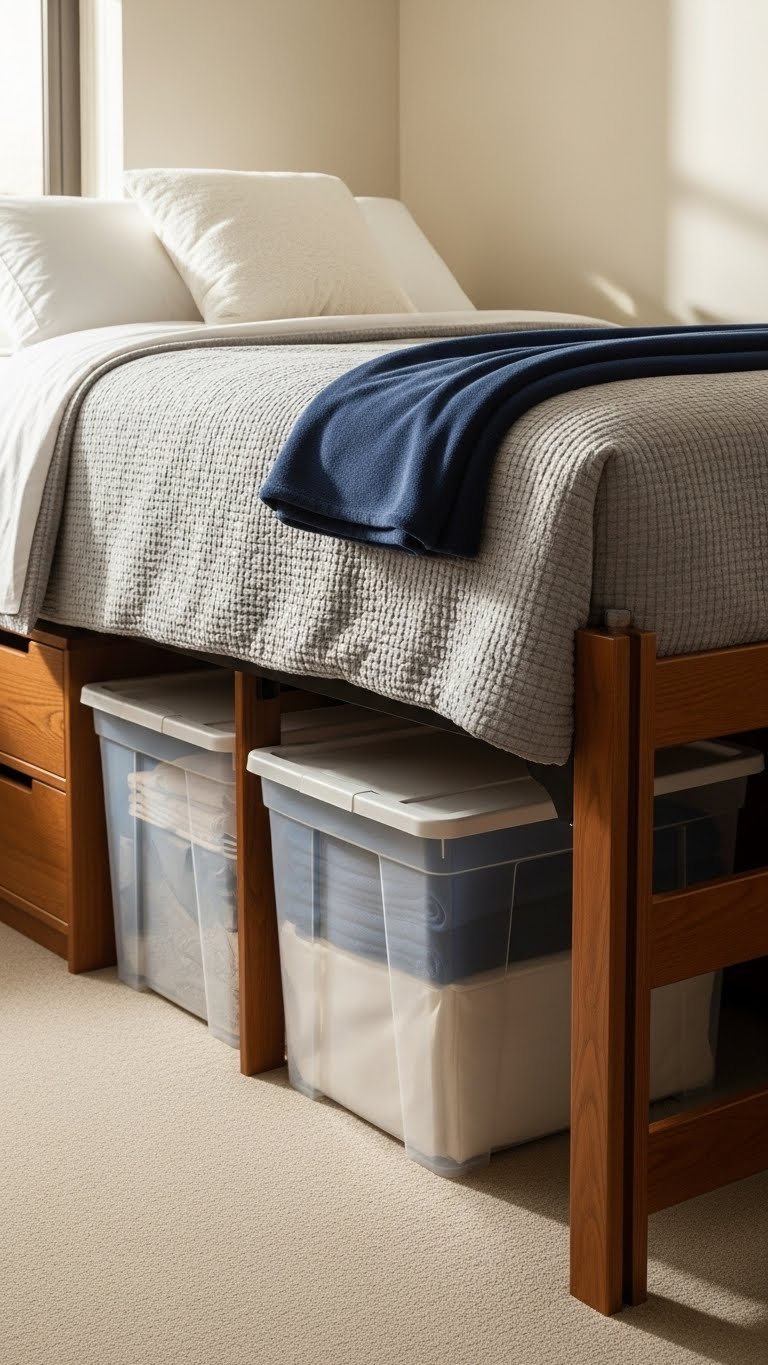
5. Label Everything for Seasonal Rotation
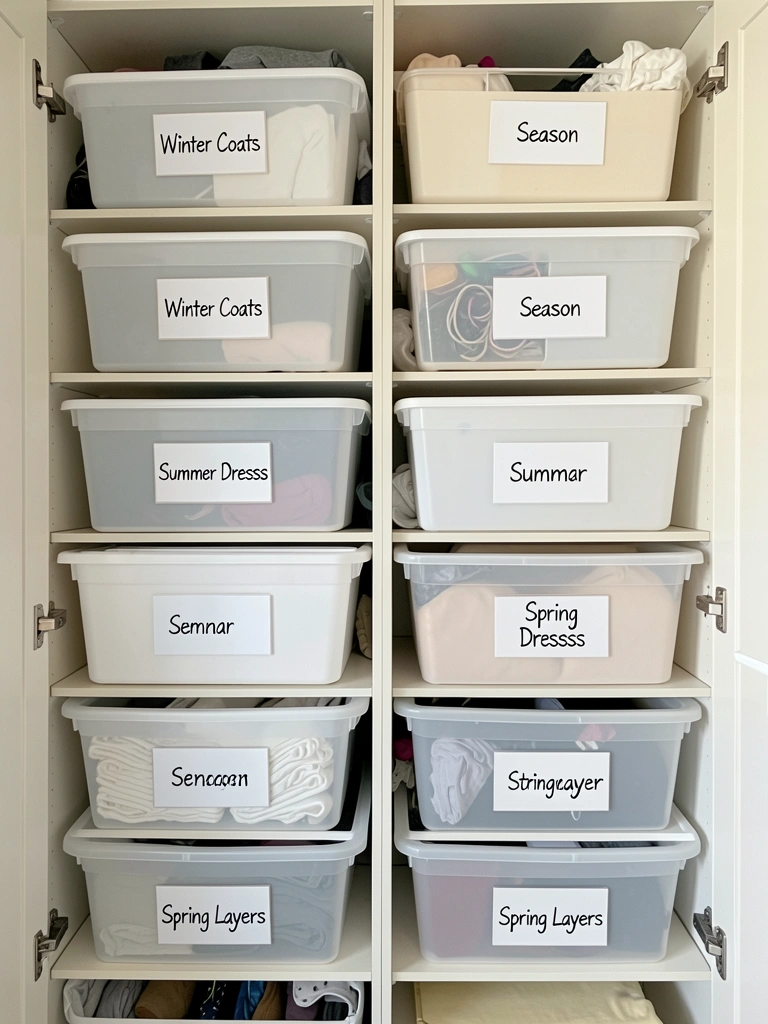
Seasonal items taking up valuable closet space all year round mean less room for what you actually wear now. Storing off-season clothes overhead frees up prime real estate and makes daily choices simpler.
Buy clear plastic storage bins ($20–$50 for a set of 4) from Target, The Container Store, or Amazon, then label each with the season and specific items (e.g., “Winter Coats,” “Summer Dresses”). Stack them on high shelves or in a separate closet corner. This takes about 45 minutes to set up. Every three months, rotate bins—pull down summer items in June, pack away winter coats. Suddenly, your hanging and shelf space feels twice as big because only current-season clothes are visible and accessible.
Pro tip: Take a photo of bin contents and tape it to the outside so you remember what’s inside without opening it.
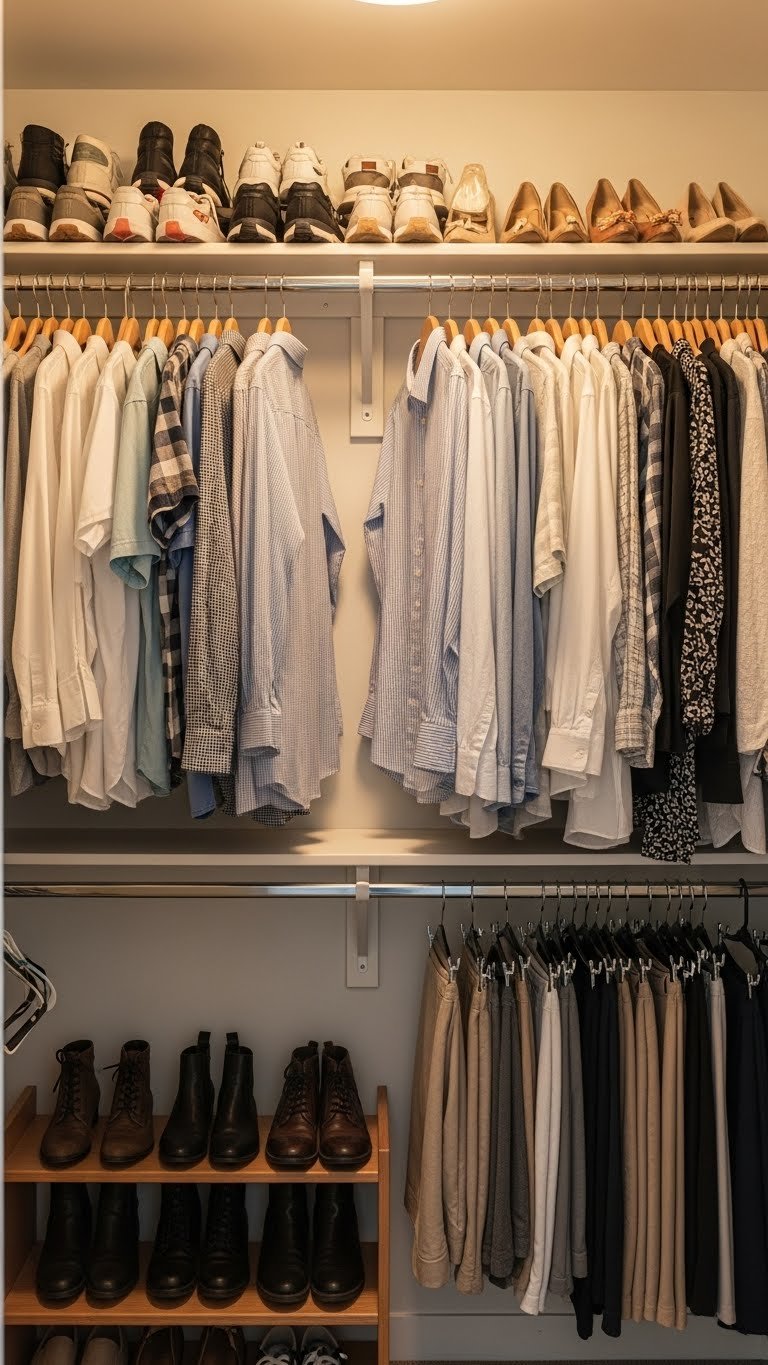
6. Hang Pants Vertically on Clip Hangers
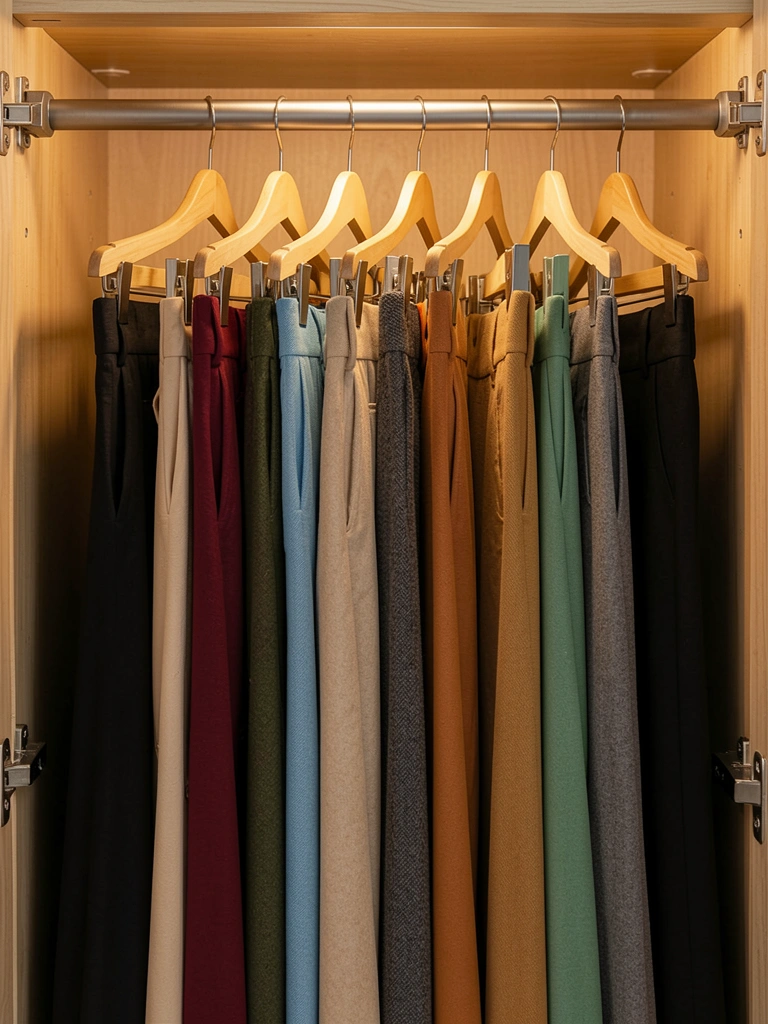
Stacking pants or folding them flat causes permanent creases and wastes hanging space. Clip hangers let you see every pair at once and keep them wrinkle-free.
Buy wooden clip hangers ($15–$30 for a pack of 6–8 on Amazon or at Target) and hang pants vertically by clipping the waistband. Line them up like files in a drawer. This takes 20 minutes to set up. You’ll see all your pants options at once, so you stop wearing the same three pairs. Pants stay crisp without ironing, and you get 3x more storage in the same space. This works especially well if you have limited hanging room.
Pro tip: Group pants by color or style so similar pieces stay together and you can grab coordinating tops instantly.
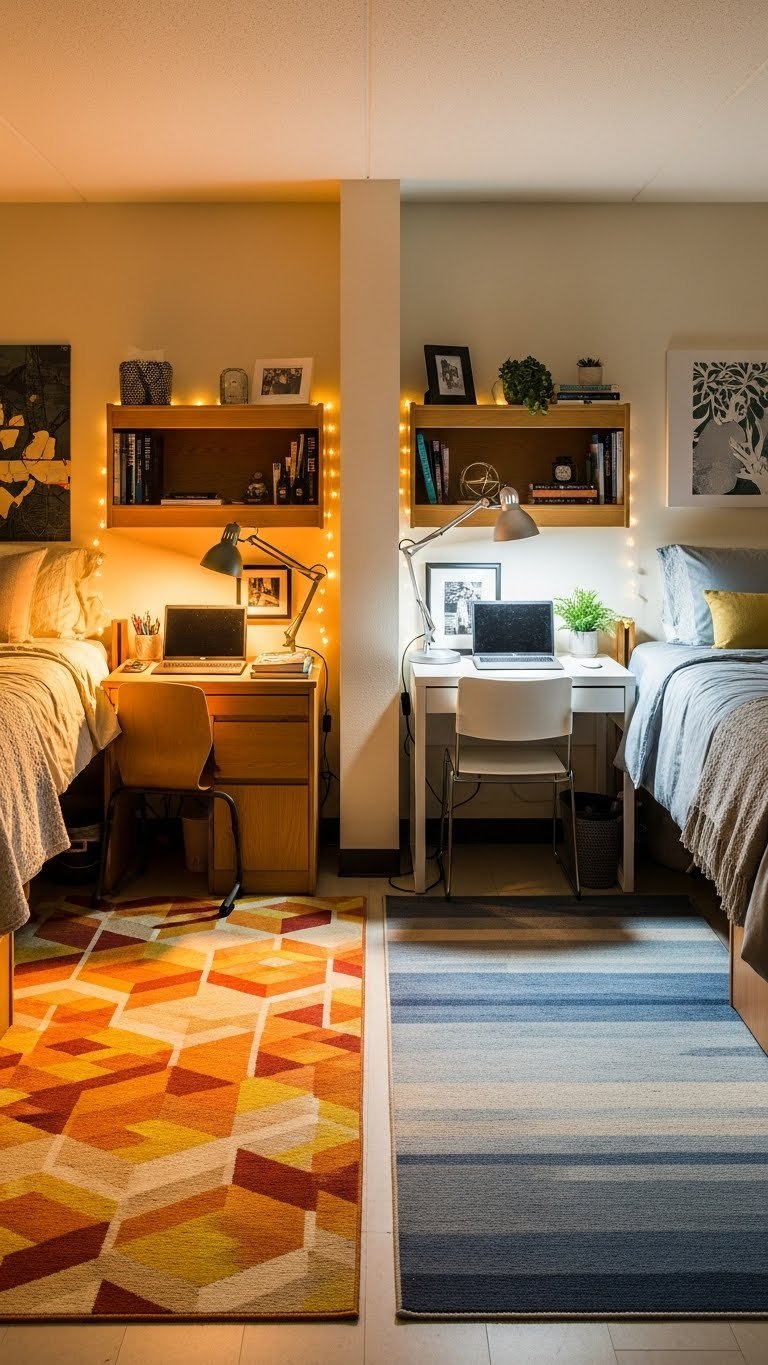
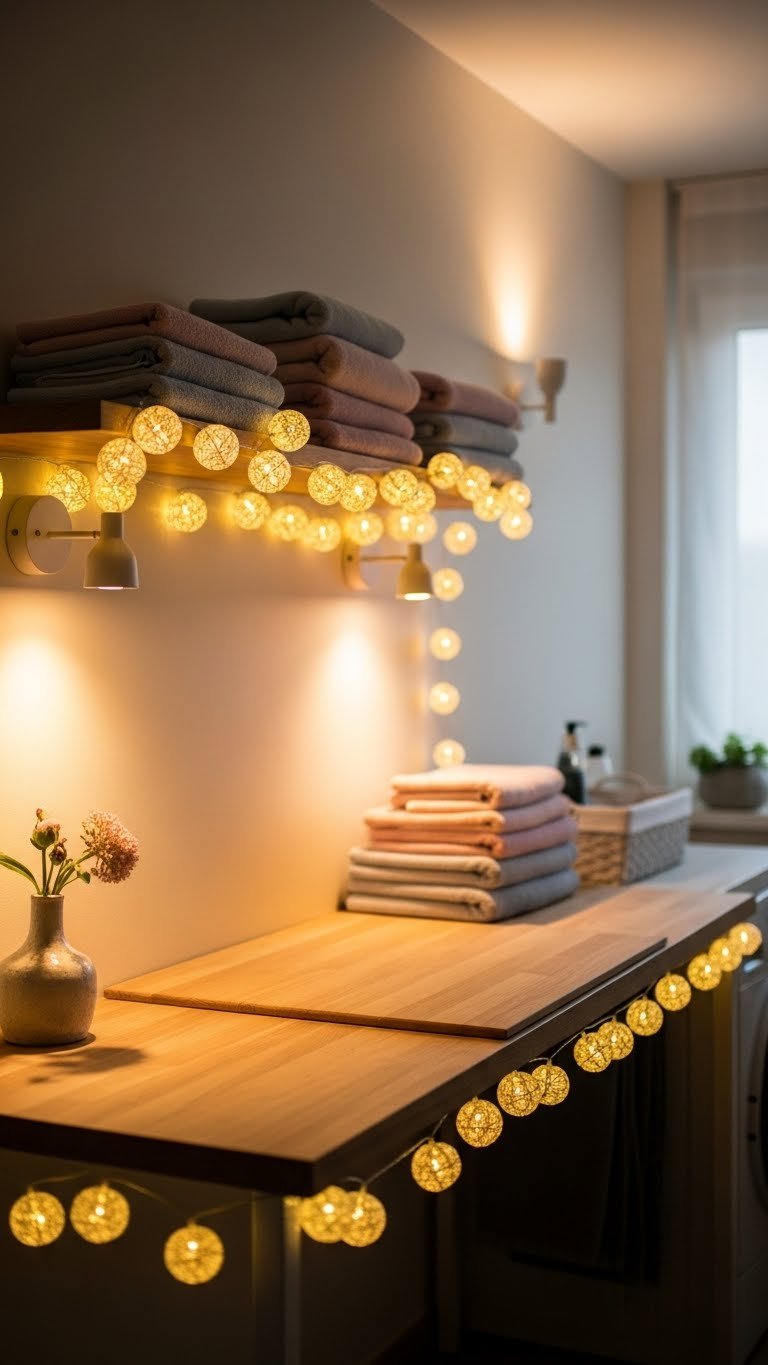
7. Add Accent Lighting to Transform the Mood
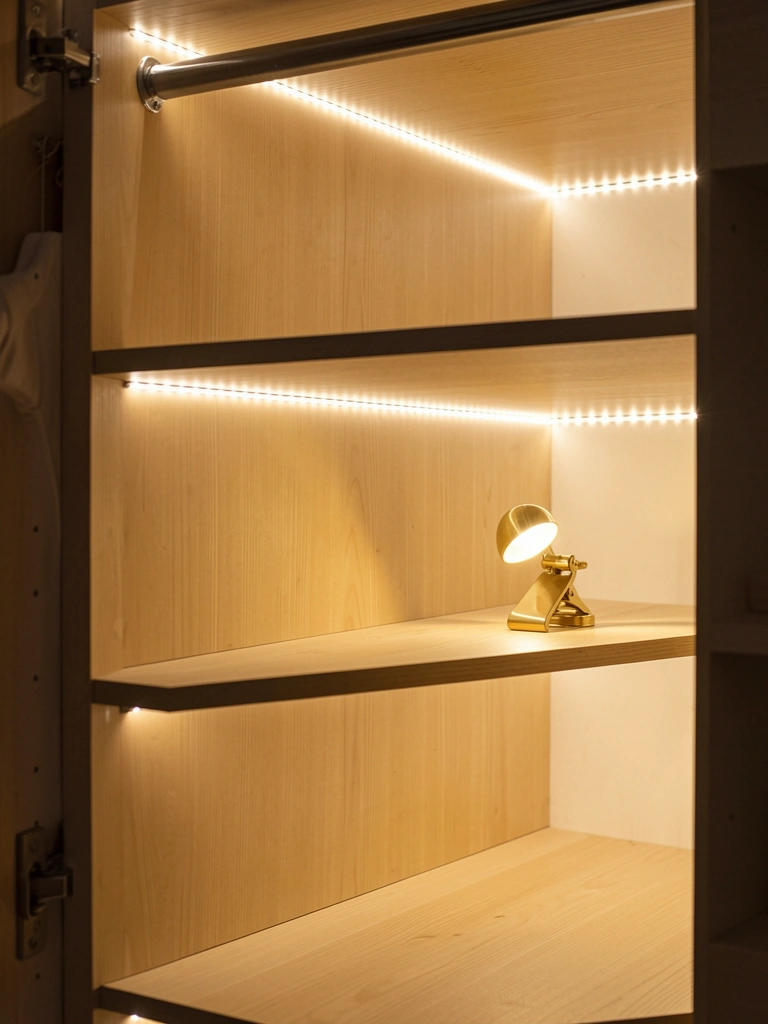
Dark closets make it impossible to see true colors, so you grab what looks right but clashes when you step outside. Good lighting is non-negotiable for morning stress-free dressing.
Install LED strip lights ($20–$50 from Amazon or Home Depot) along the top shelf and inside cabinets using adhesive backing—no wiring required. Add a small clip lamp ($15–$25) on an upper shelf for task lighting. This takes 30 minutes total. Natural light is ideal, but if your closet lacks windows, layered LEDs mimic daylight and let you see true fabric colors and finishes. You’ll match colors correctly every time and feel more motivated to get dressed in a bright, welcoming space.
Renter-friendly: Use battery-operated LED pucks ($10 each) instead—zero installation.
8. Use Shelf Dividers to Prevent Toppling Stacks
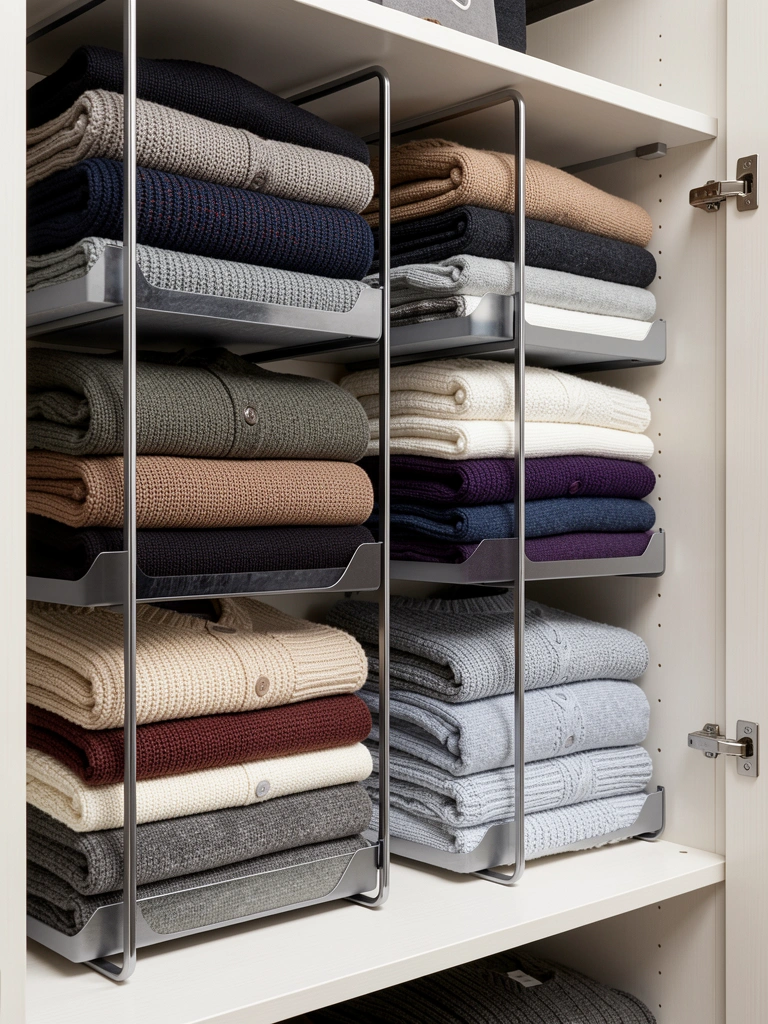
Stacked sweaters and folded clothes start neat but then collapse, mixing everything together. Dividers act like bookends to keep stacks stable and organized throughout the week.
Buy metal shelf dividers ($15–$30 for a pair from IKEA, Target, or Amazon) and place them on your shelf to create compartments. Use one compartment per clothing type or color group. This takes 10 minutes to set up. Stacks stay upright and don’t tumble into each other, so you can grab one item without disturbing the rest. Your closet stays tidy from Monday through the next laundry day without any effort.
Pro tip: Use this same principle with books or magazine holders ($8–$15 each) if you want a softer, fabric look.
9. Create a “Favorites” Section for Easy Reaching
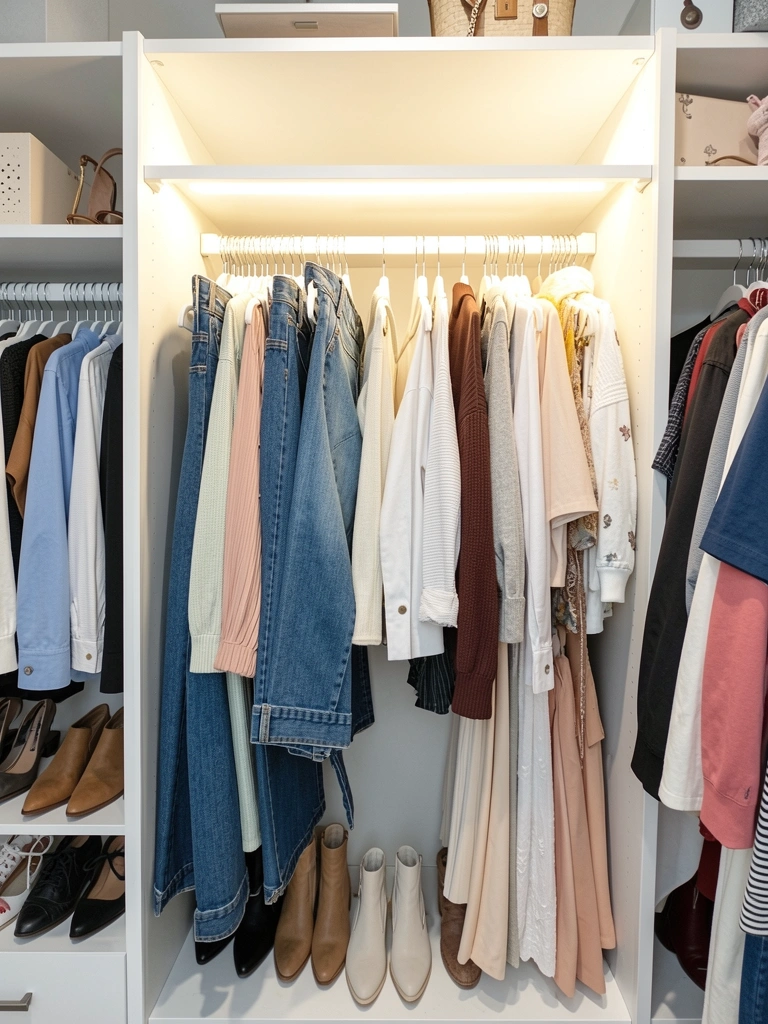
When your absolute favorite pieces are front and center, mornings become a quick grab instead of a 10-minute deliberation. You’re drawn to what you love wearing anyway.
Dedicate one section of your rod or one shelf (usually eye level) to your top 10–15 most-worn pieces. Think favorite jeans, your go-to blazer, everyday tees, and basics that make you feel good. This takes 15 minutes to identify and arrange. You’ll naturally reach for these first, and they work with almost everything else in your closet. Mornings become faster, you wear clothes you actually love, and you use your closet space more efficiently because you’re not searching through pieces you rarely touch.
Pro tip: Rotate this section seasonally—swap out winter basics for summer ones every three months.
10. Install Adjustable Shelving to Maximize Vertical Space
Fixed shelves waste space because you can’t adjust heights to match what you actually own. Adjustable shelving lets you use every inch efficiently.
Install adjustable metal shelving ($60–$150 depending on size) from Home Depot, Lowes, or Amazon. Mark holes carefully, drill into studs if possible, and secure shelves at heights that match your items. This takes 1–2 hours depending on handiwork confidence. You can now store bulky winter coats higher, keep frequently worn items at arm level, and use lower shelves for heavier items. You instantly gain 20–40% more usable storage. Best of all, when your needs change (kids grow, wardrobe shifts), you adjust heights instead of replacing the whole system.
Renter-friendly: Use tension rod shelving ($40–$80) between existing shelves—no drilling required.
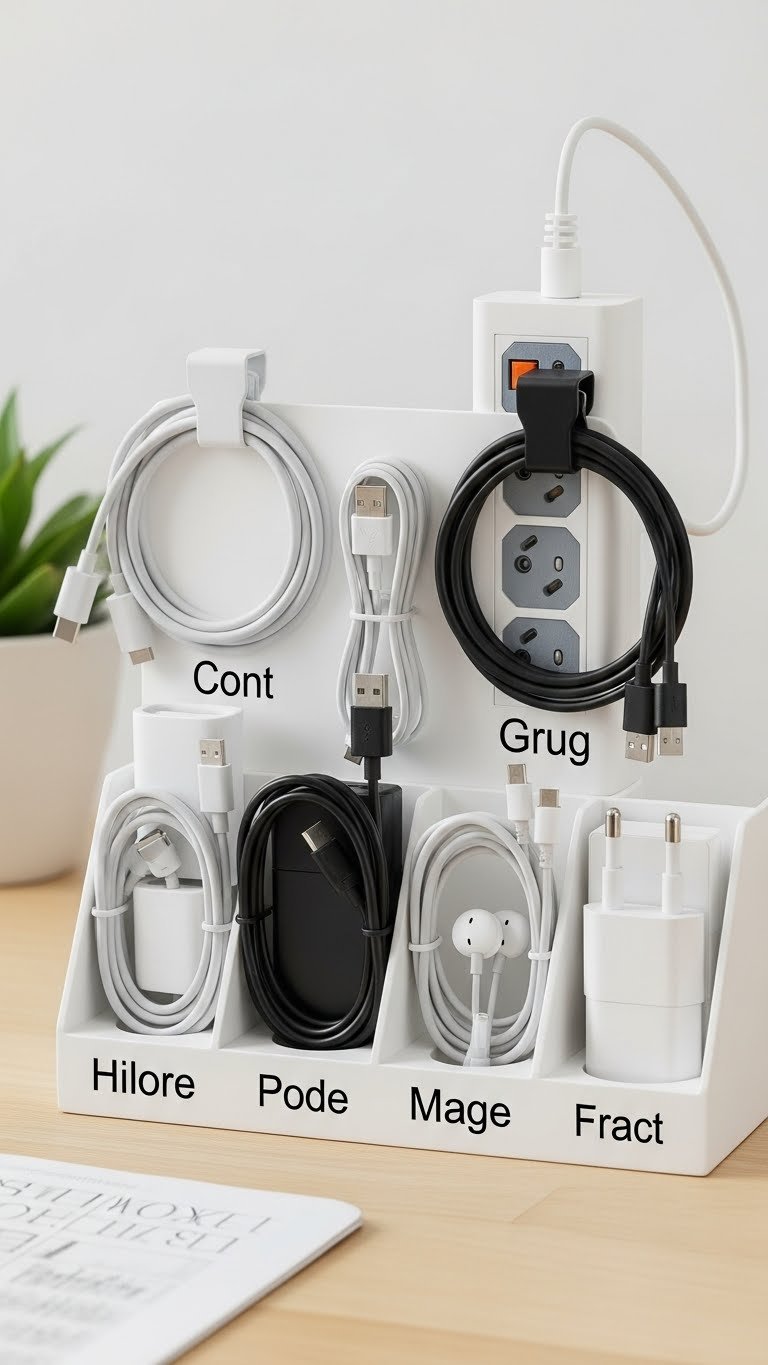
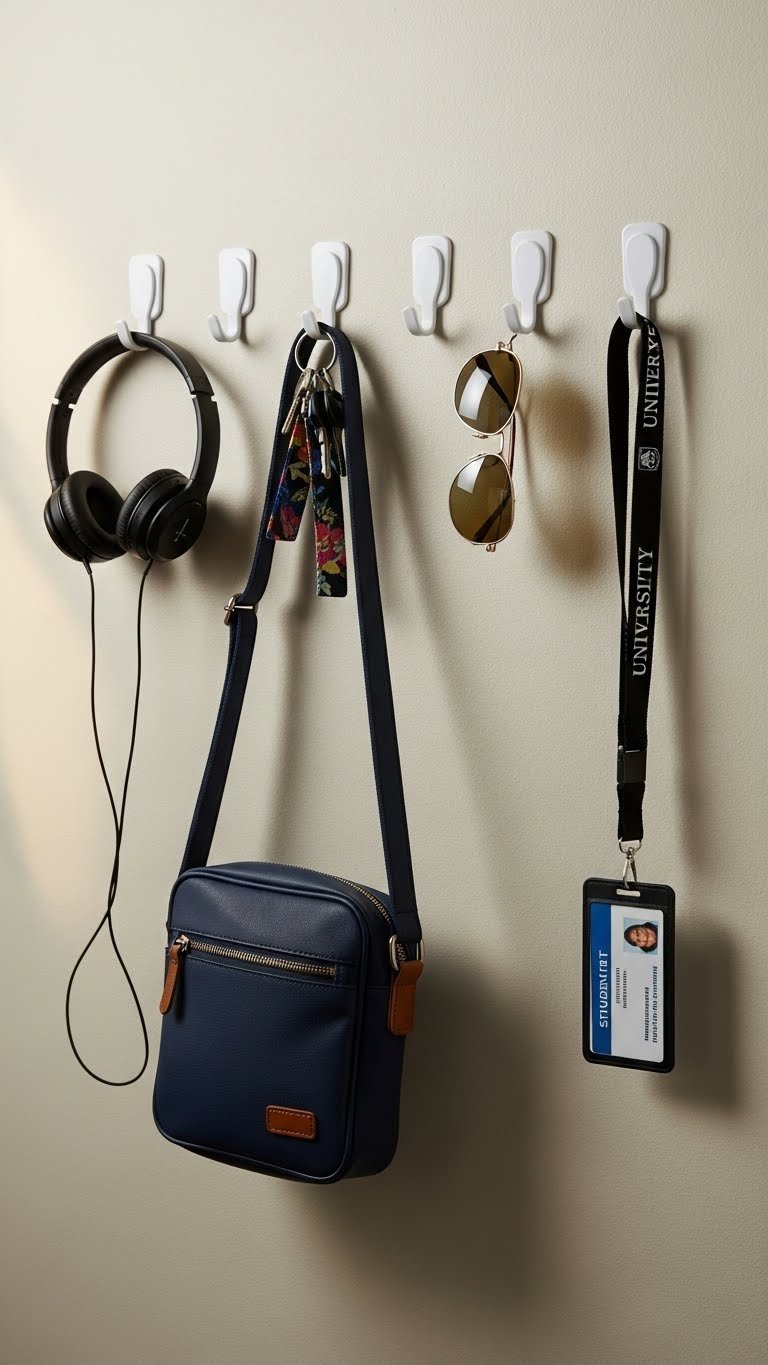
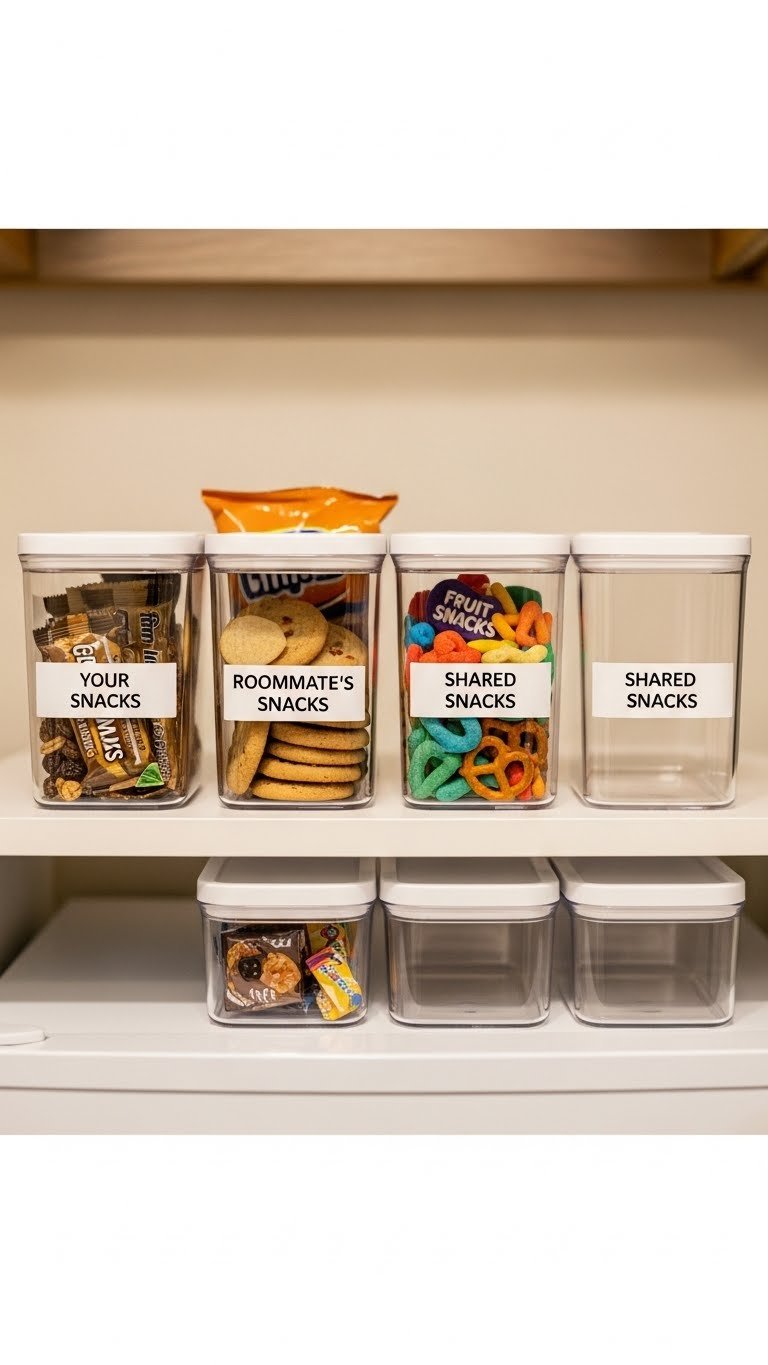
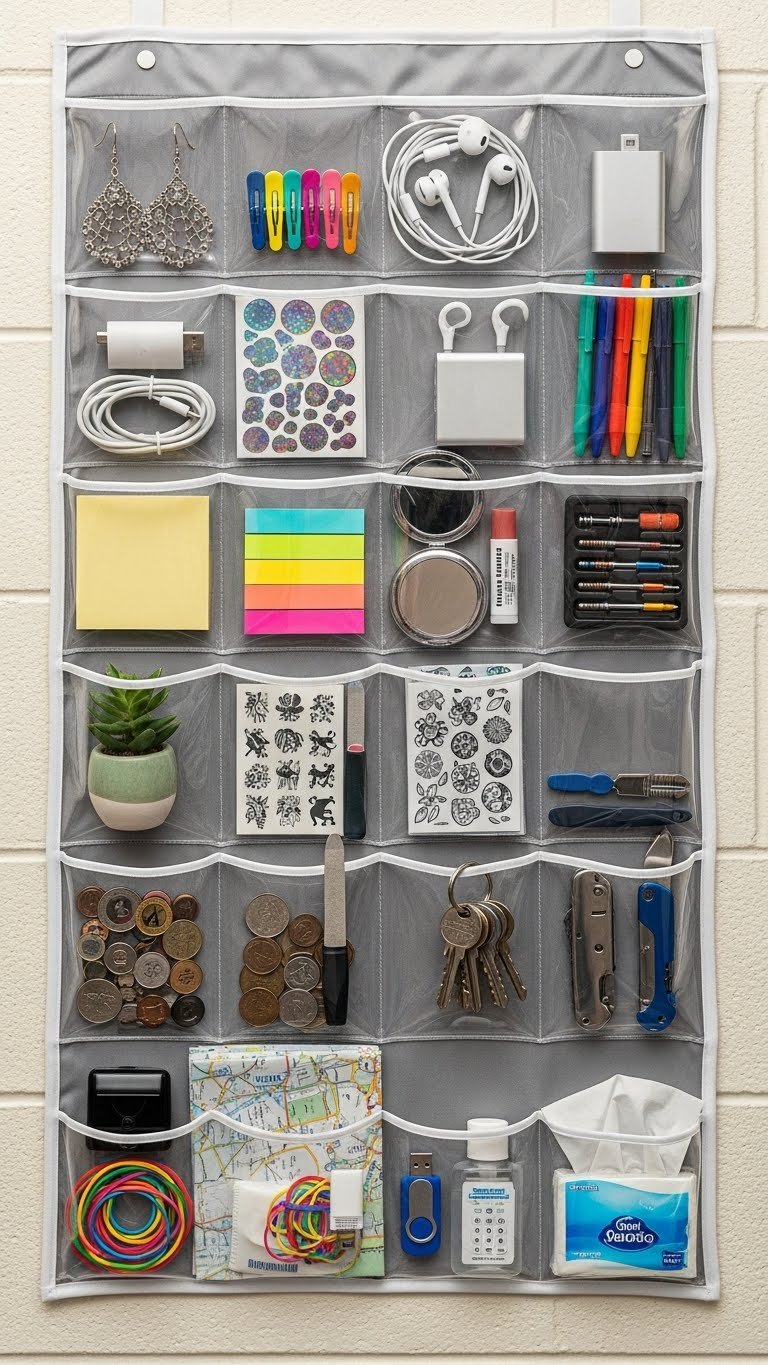
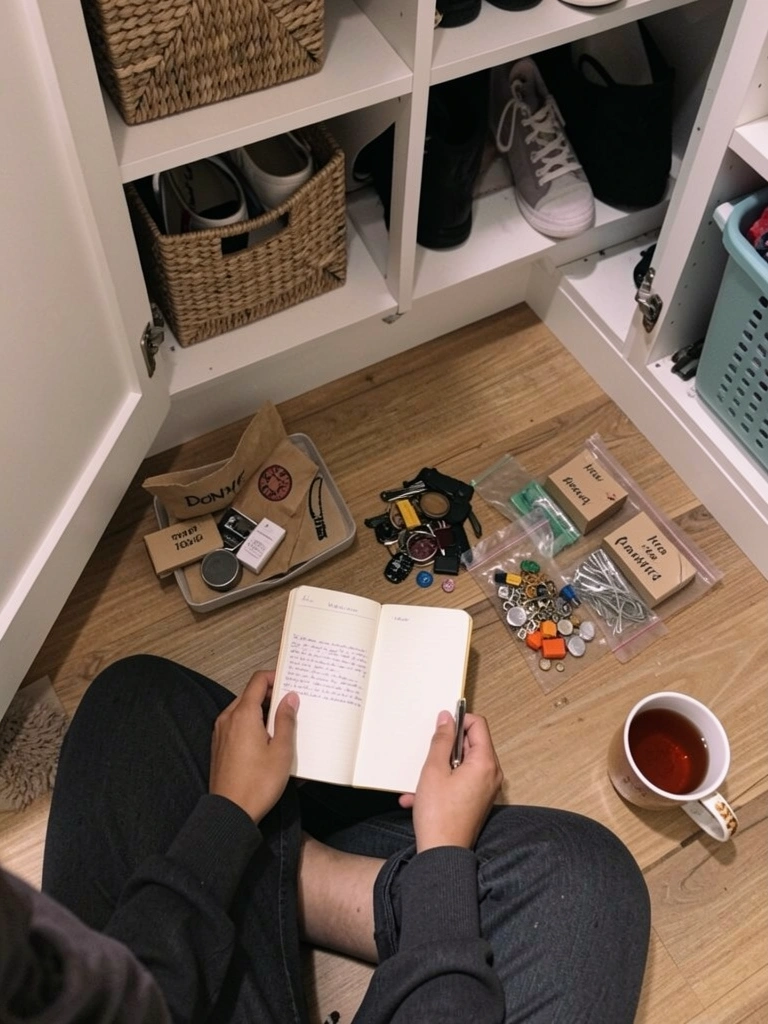
11. Organize Accessories in Clear Compartment Boxes
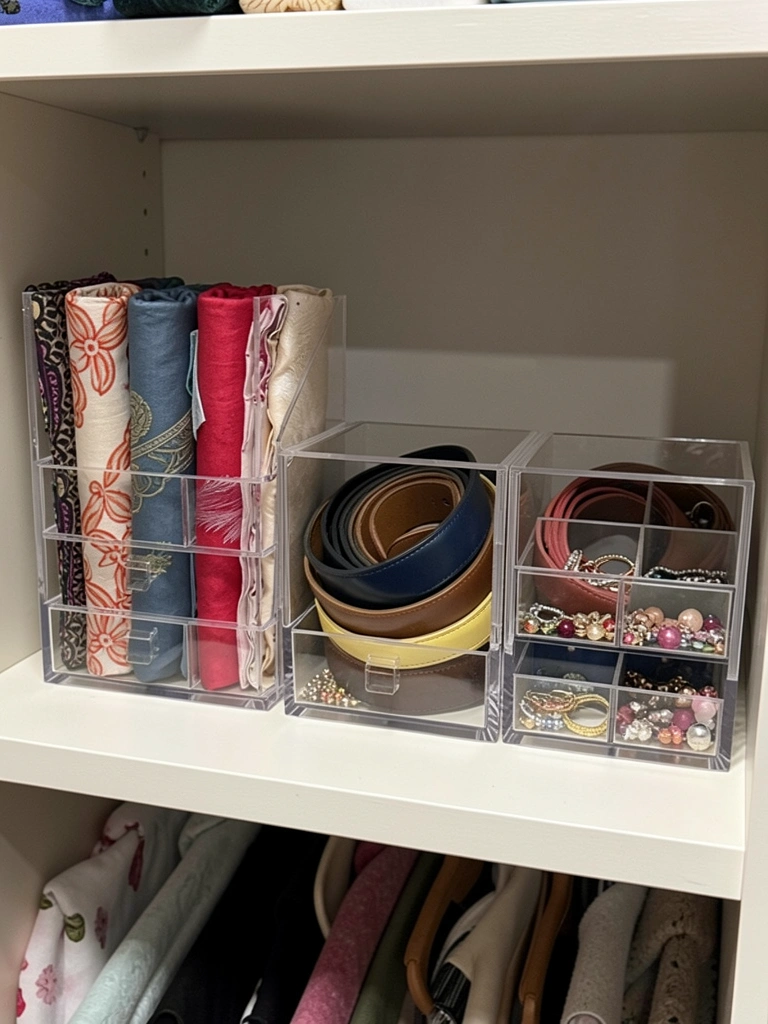
Accessories get shoved in a drawer and tangled together, so you forget what you own and grab the same two belts every day. Clear compartments keep everything visible and prevent that frustrating hunt.
Buy clear acrylic compartment organizers ($15–$40 for a set) from Target, The Container Store, or Amazon. Use them for scarves (rolled and standing), belts (coiled in sections), hats (stacked), and jewelry. Place them on a closet shelf or inside a drawer at eye level. This takes 20 minutes to organize once. You’ll see every scarf and belt option at a glance, so you actually use them instead of letting them sit forgotten. You’ll also add variety to your outfits without buying anything new.
Pro tip: Use small tension rods on a shelf to hang scarves if you don’t have boxes—they’re even cheaper ($8–$12).
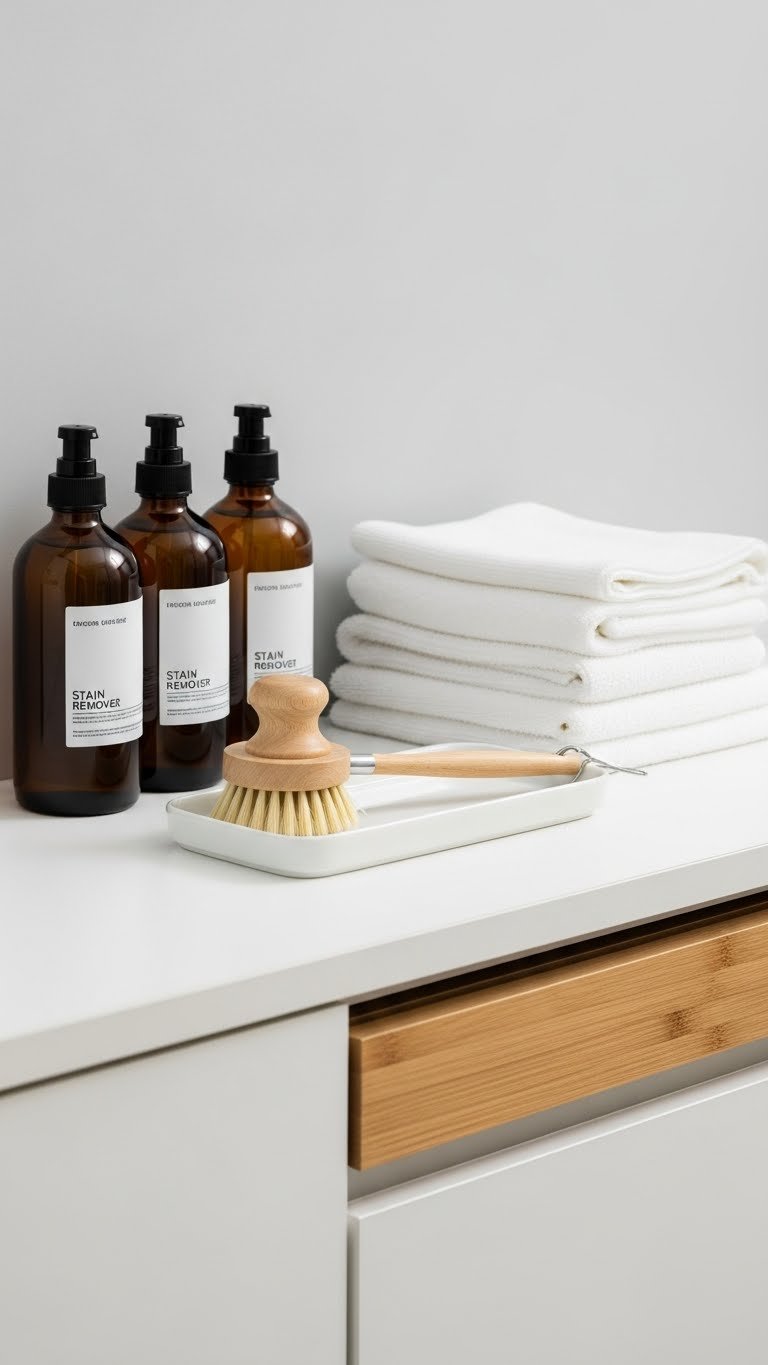
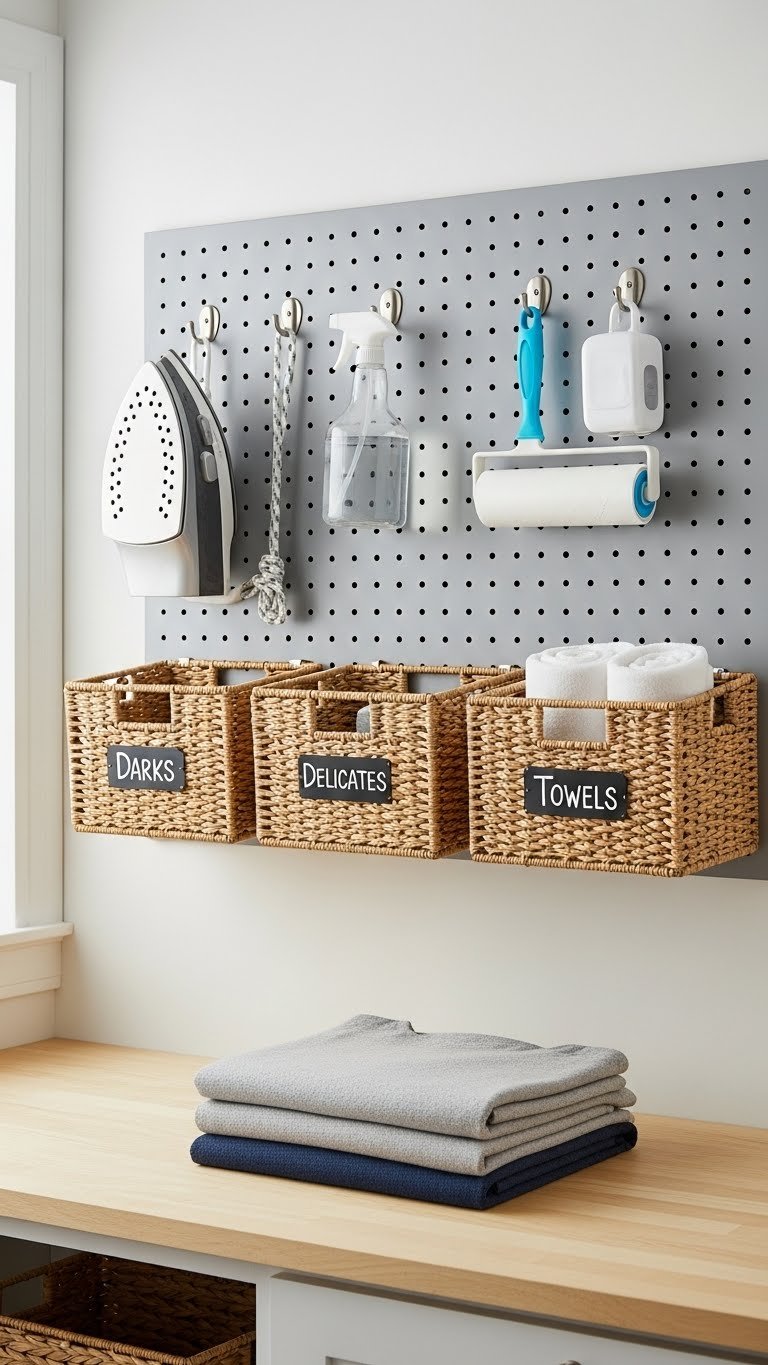
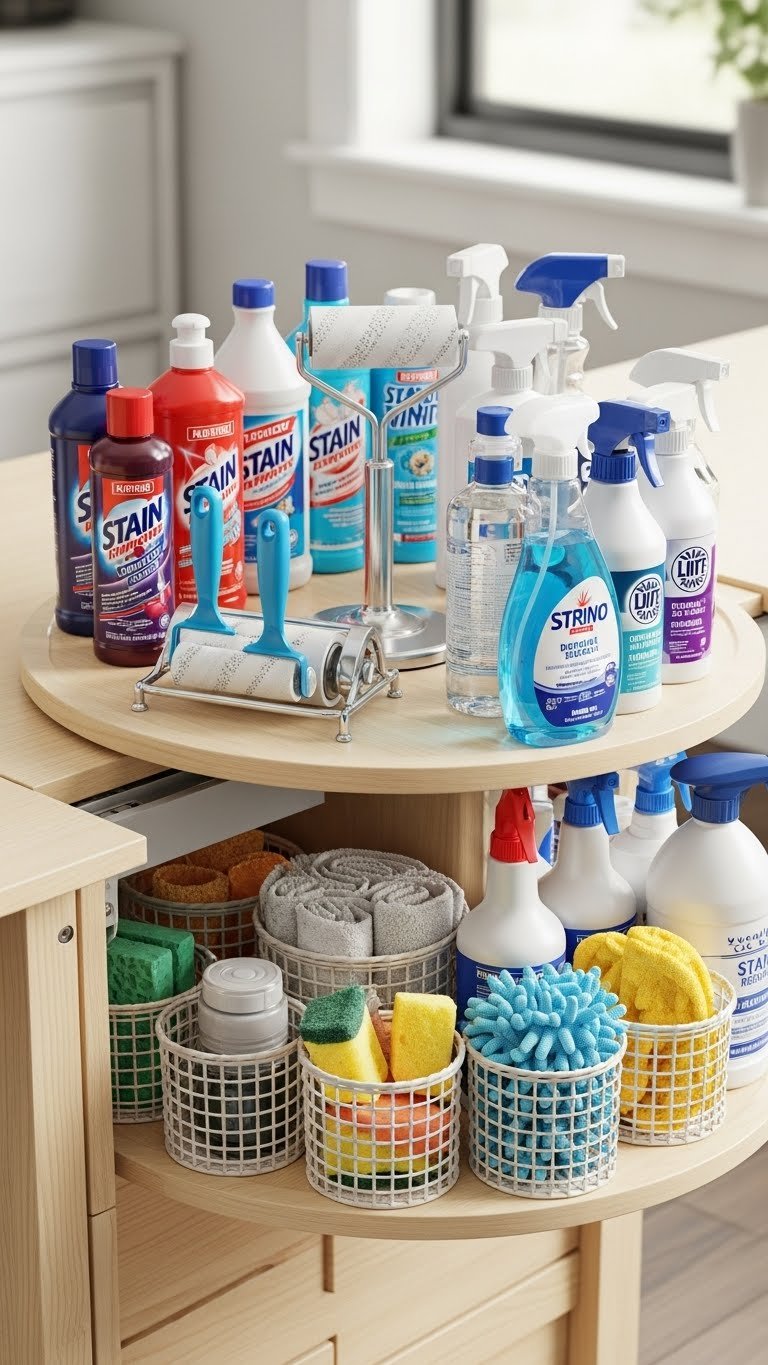
12. Create a “Dry Clean Only” Holding Bin
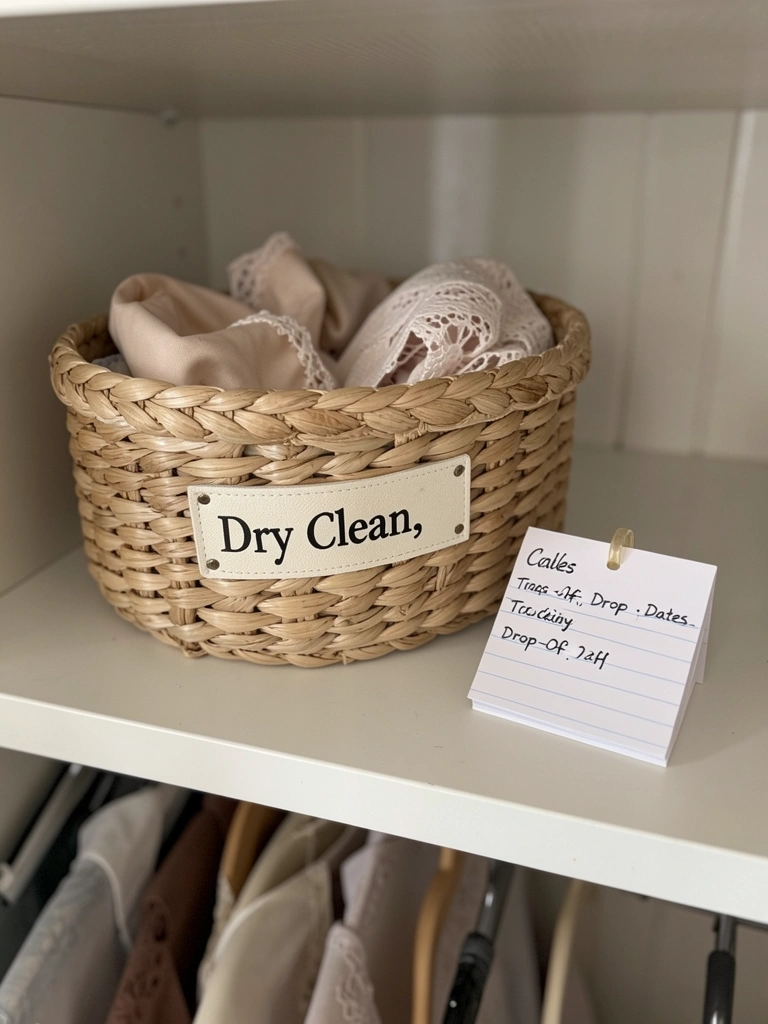
Dry clean pieces get mixed with regular laundry or forgotten, leading to washing disasters and ruined clothes. A separate bin keeps delicates safe and reminds you to actually get them cleaned.
Place a medium woven basket ($20–$35 from IKEA, Target, or Wayfair) on a closet shelf specifically for items needing professional cleaning. When something needs dry cleaning, place it here immediately instead of tossing it back in your closet. Keep a small notebook nearby to track drop-off dates and costs. This takes zero setup time. You prevent accidental washings, remember which pieces need attention, and protect your nicer clothes. Your delicate items last longer and actually get worn instead of sitting unworn because you weren’t sure how to clean them.
Renter-friendly note: Use any basket or bag you already have.
13. Use Slim, Space-Saving Hangers Throughout
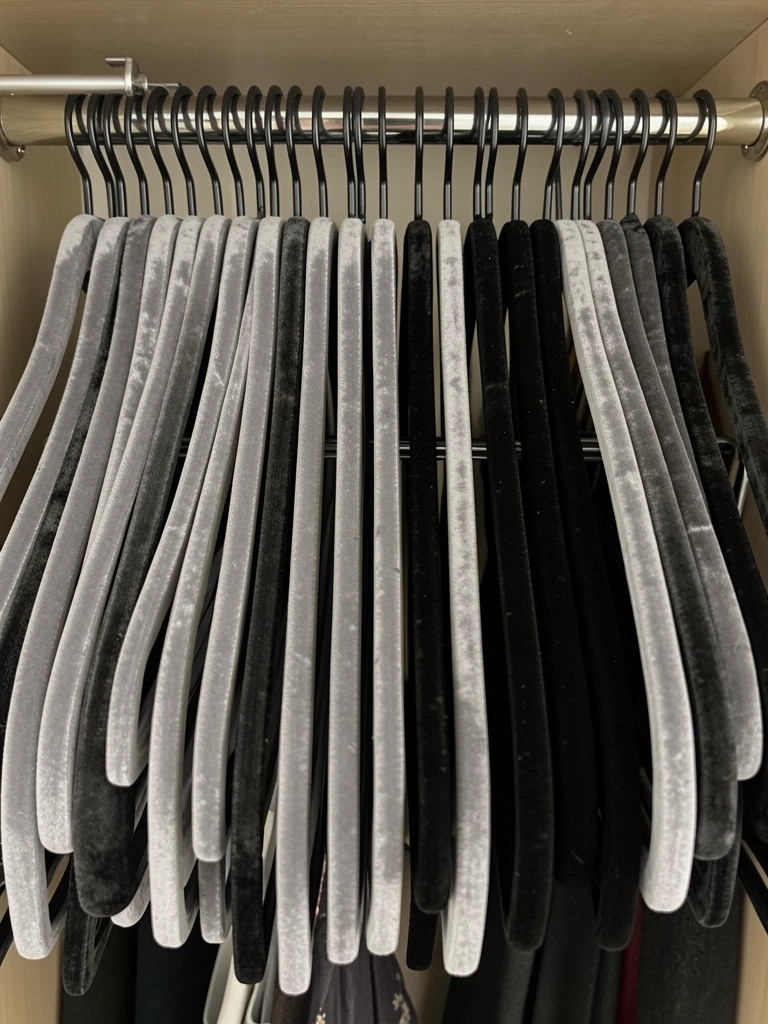
Bulky wooden hangers take up excessive rod space and make your closet feel cramped. Slim hangers let you fit 40% more clothes in the same hanging space.
Replace all your hangers with slim velvet or plastic hangers ($15–$30 for a pack of 50 from Amazon, Target, or Wayfair). They’re only ½-inch thick compared to 1+ inches for standard hangers. This takes 45 minutes if you have a full closet. You’ll instantly gain significant rod space, so you can see and access more pieces. Slim hangers also grip fabric better, so nothing slides off. Plus, uniform hangers create a streamlined, boutique-like look that makes your closet feel more intentional and calming.
Pro tip: Choose one color (charcoal, white, or natural wood) so hangers disappear and clothes stand out.
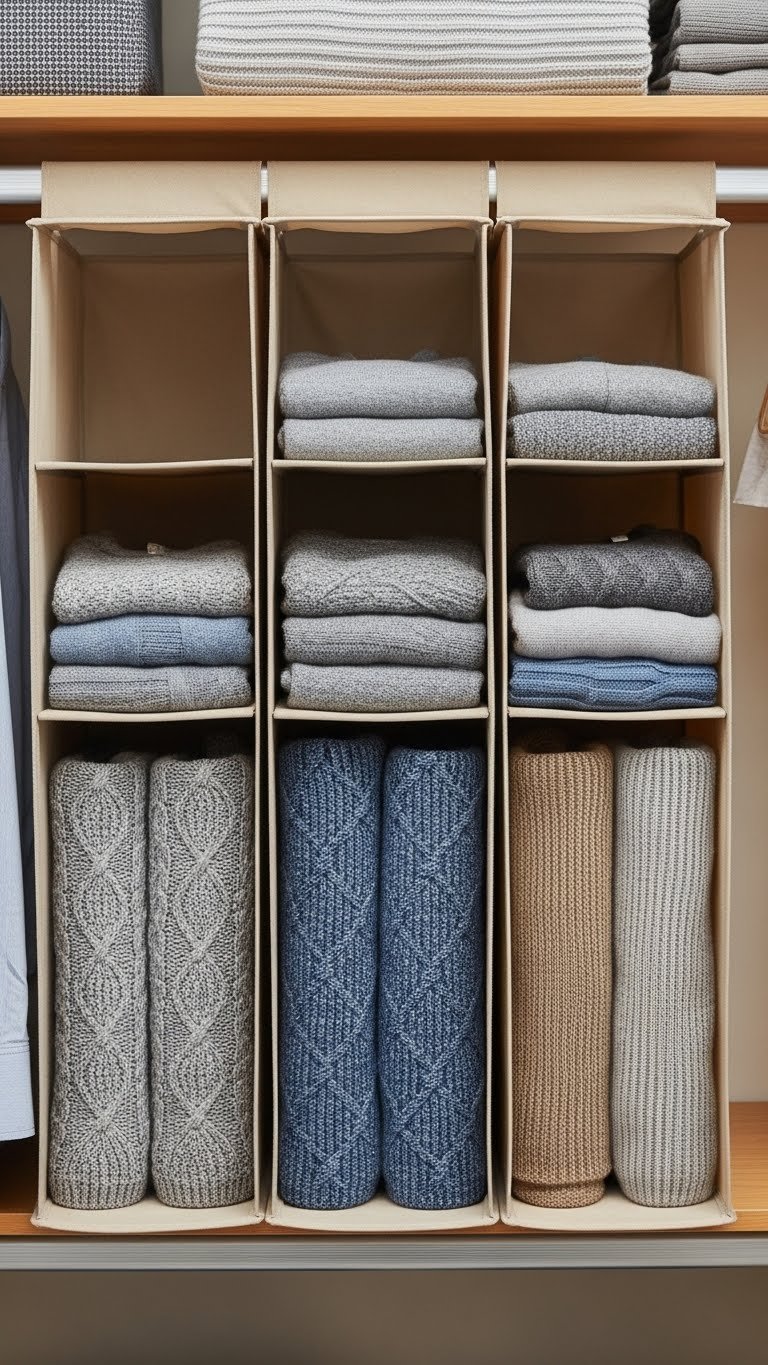
14. Fold Knits Using the KonMari Method to Save Space
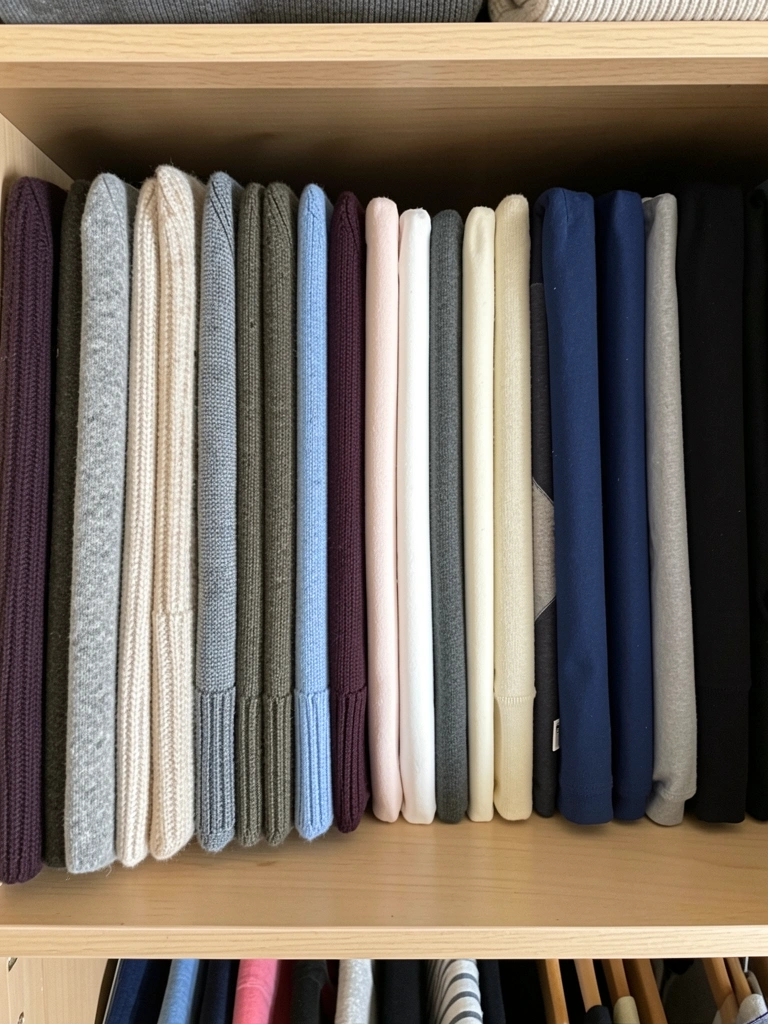
Rolling or bunching knits wastes space and creates wrinkles. The KonMari folding method creates uniform, space-efficient rectangles that you can see at a glance.
Watch a KonMari folding tutorial (free on YouTube, takes 5 minutes to learn) then fold sweaters, tees, and light jackets into neat rectangles about 8×10 inches. Stand them vertically in a shelf compartment so you see every piece from above. This takes 30–45 minutes to redo your current stack but saves time forever. You’ll fit 30% more clothes in the same shelf space, and you can see every option without digging. Once you learn the method, folding laundry becomes meditative, and your closet stays consistently organized.
Pro tip: File knits like bookends between two shelf dividers so stacks don’t topple when you pull one piece out.
15. Install a Mirror Inside Your Closet Door
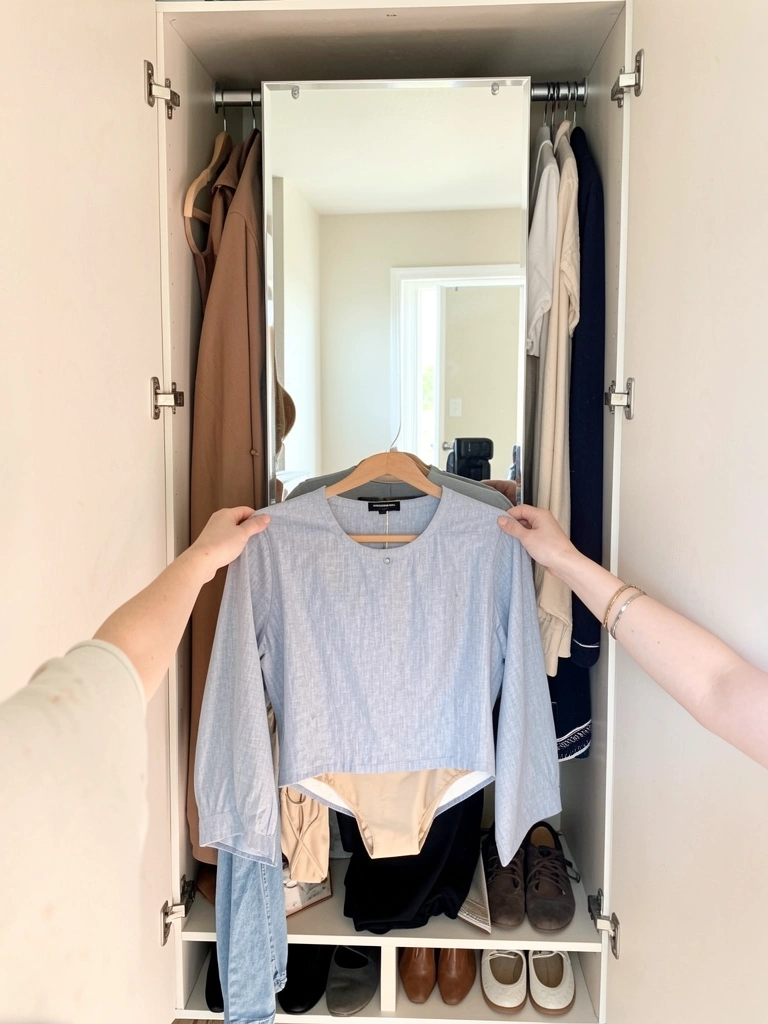
Outfit coordination becomes instant when you can see pieces together in the mirror before stepping out. This eliminates the “does this match?” second-guessing.
Attach a full-length adhesive mirror ($30–$60 from Amazon or Home Depot) to the inside of your closet door at eye level. Make sure the adhesive is rated for the weight and the door is sturdy enough. This takes 10 minutes to install. Now you can hold up pieces, see how they look together, and make final tweaks before leaving. You’ll make faster decisions and feel more confident in your outfit choices. This is especially valuable if you live in a cramped space where you don’t have room for a separate full-length mirror.
Renter-friendly: Use removable adhesive strips ($10) designed for mirrors to avoid door damage.
16. Group Clothes by Category, Then by Color
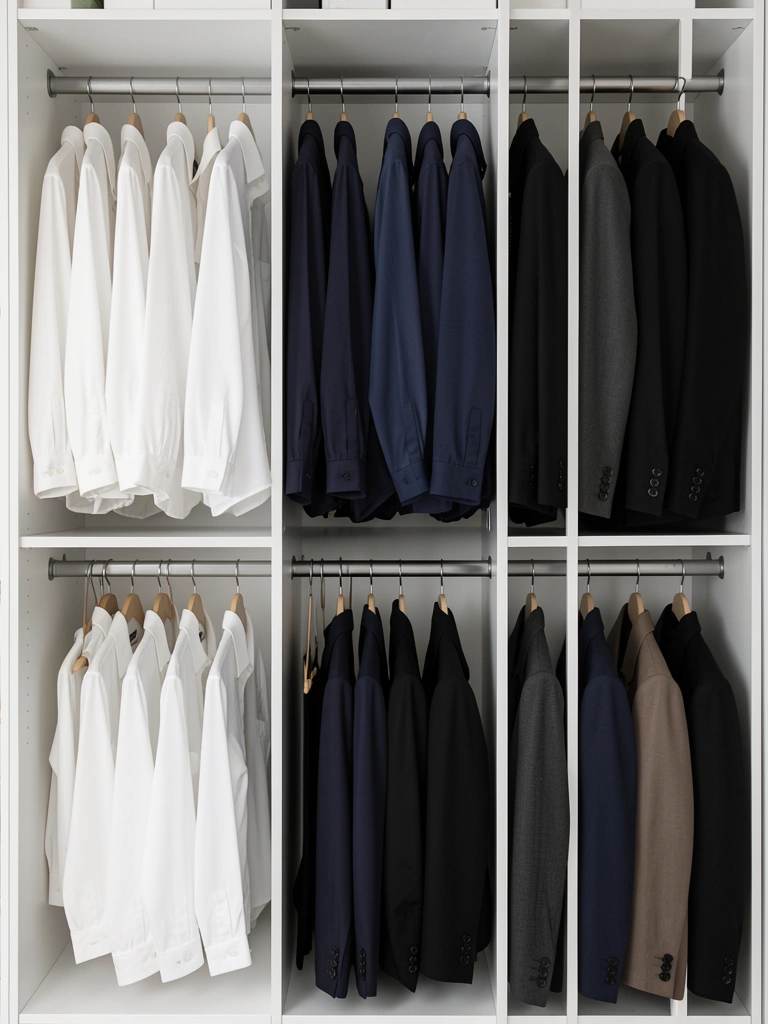
Searching for “a blue blouse” is faster when all blouses are together, then sorted by color. This hybrid system combines category organization with quick color-scanning.
First, group by item type: all blouses together, then all tees, then all sweaters, then all jackets, then dresses, then pants. Within each category, organize by color. This takes 1–2 hours depending on closet size but becomes automatic after the first time. You know exactly where to look for any piece in seconds. Mornings become predictable because your brain learns the system instantly. You stop grabbing the same pieces because you now see all alternatives lined up together.
Pro tip: Use small adhesive category labels ($5–$10 for a set) to mark section dividers so family members maintain the system.
17. Designate a “Mending & Alterations” Shelf
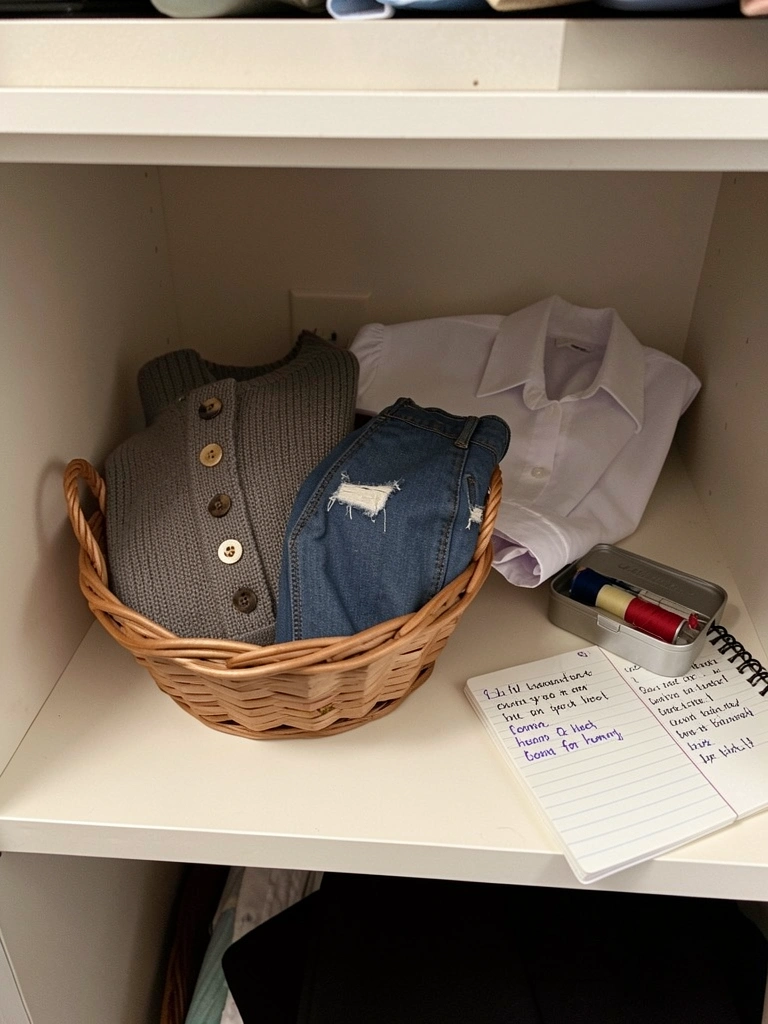
Clothes with loose buttons or small tears sit in your closet for months and become forgotten. A visible “mending” shelf reminds you to fix issues before they worsen.
Dedicate one small shelf or bin for pieces needing repairs. When you notice a loose button or small tear, place the item here immediately with a sticky note describing the issue. Keep a basic sewing kit ($10–$20) nearby. Set aside 30 minutes every two weeks to tackle the pile—most fixes take 5–10 minutes. Suddenly, pieces you thought were ruined come back into rotation. You save money, extend the life of your clothes, and stop avoiding damaged items. A well-maintained wardrobe is smaller but more wearable than a huge closet full of broken pieces.
Pro tip: For serious alterations, photograph the item and place it in a bag ready to take to a tailor—don’t let it sit.
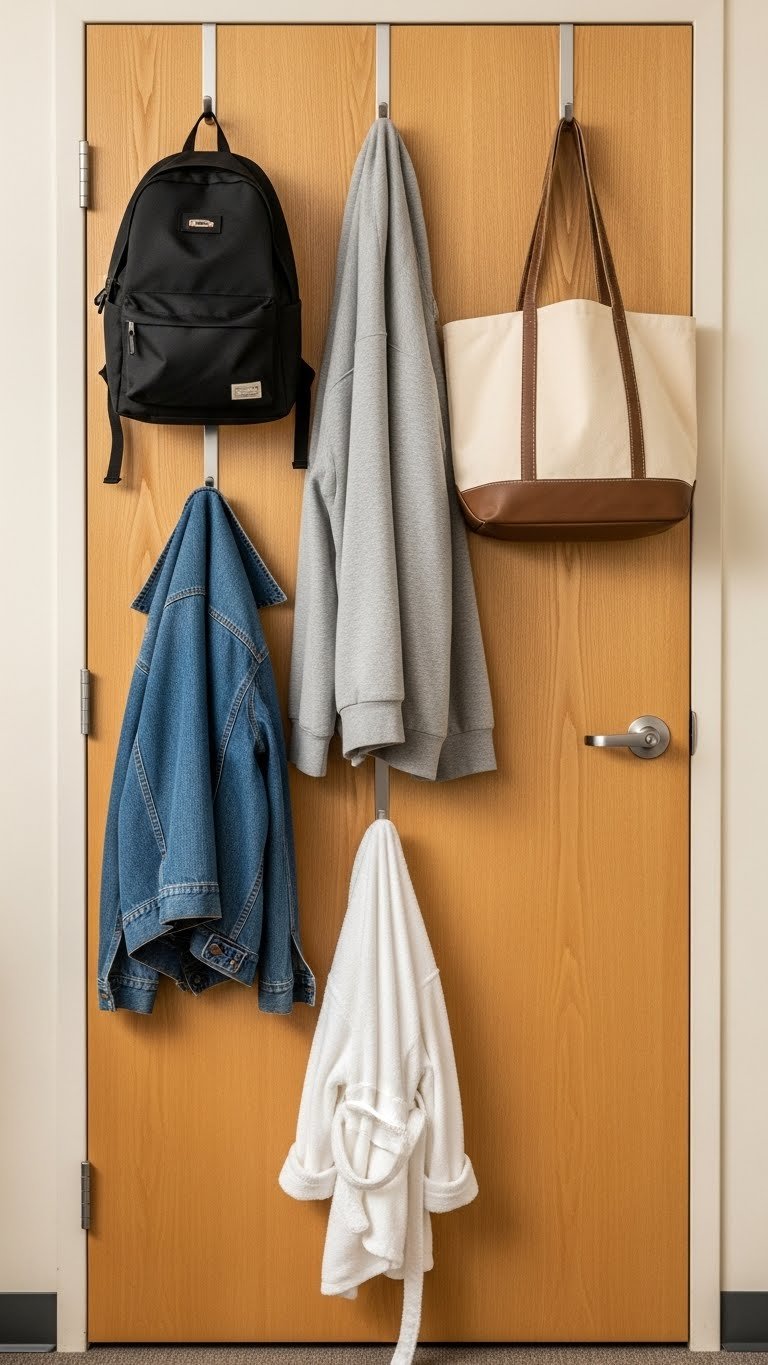
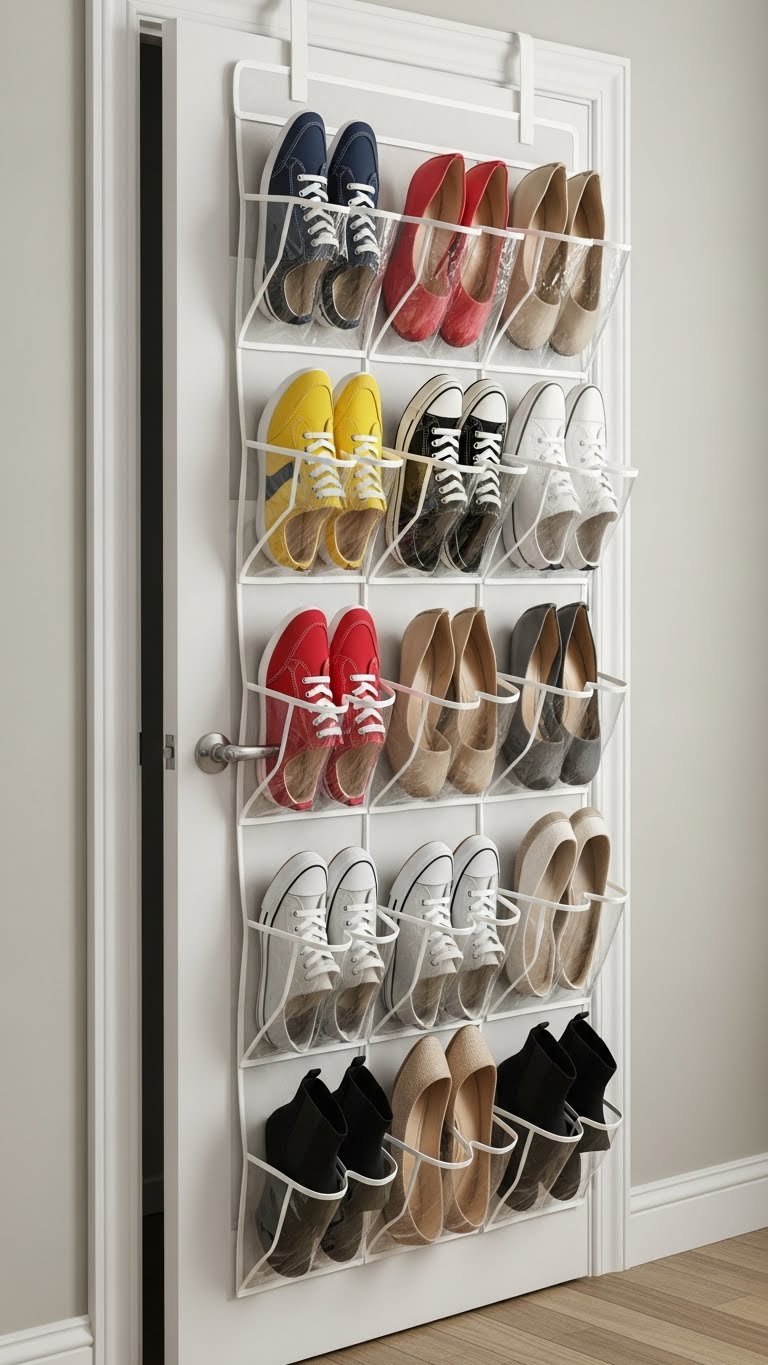
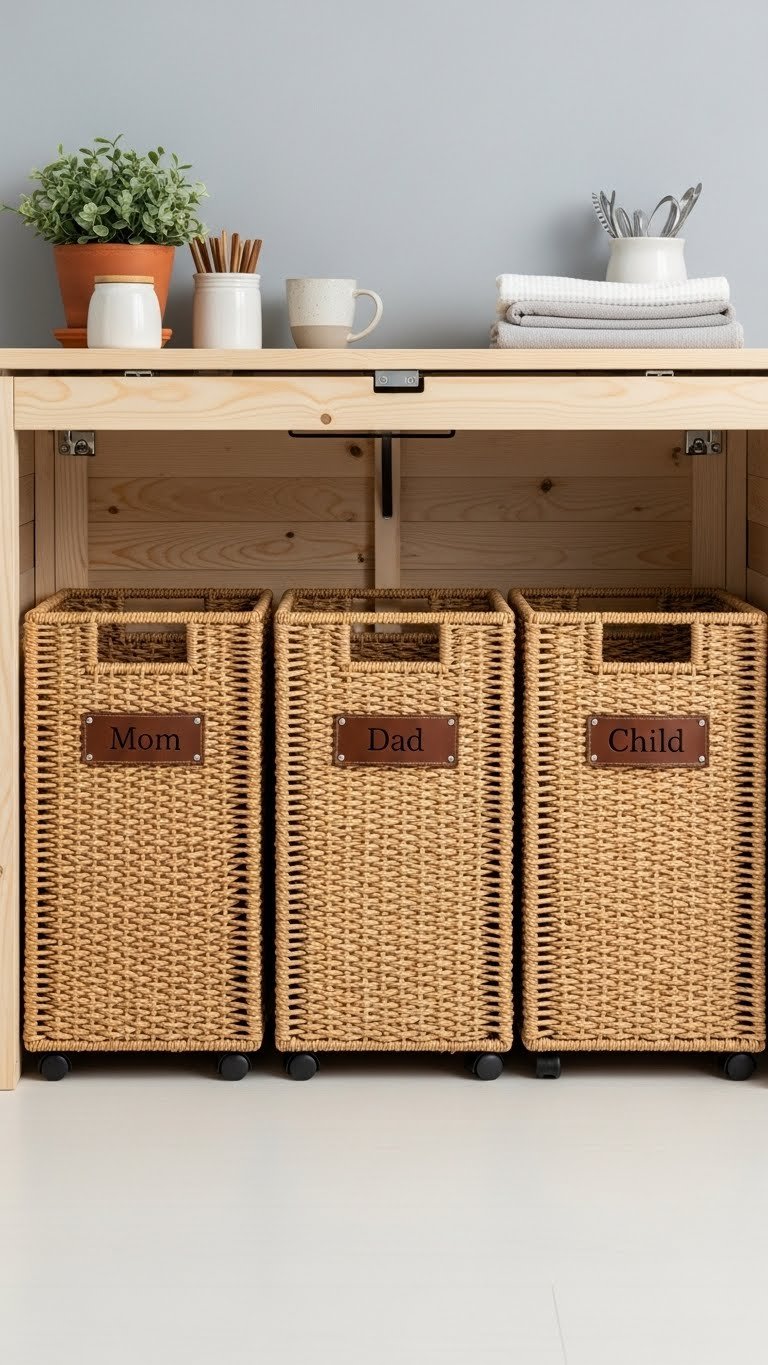
18. Use a Slim Hamper or Behind-Door Hanging Hamper
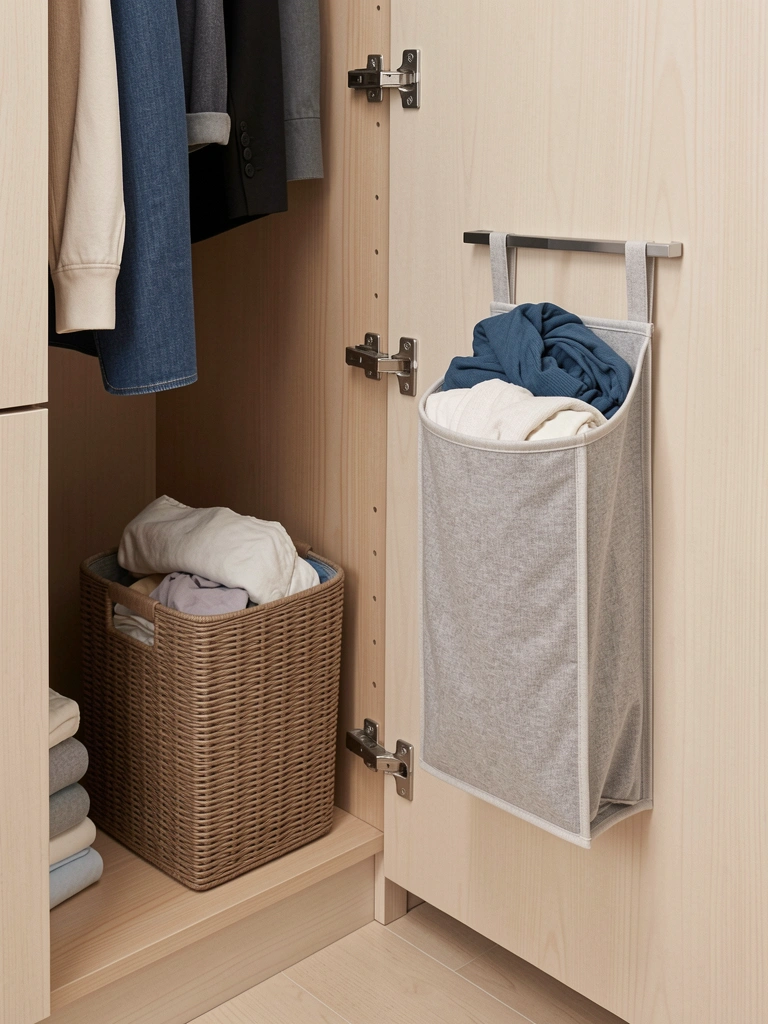
Laundry piled on the closet floor looks chaotic and makes the space feel cramped. A compact hamper keeps dirty clothes contained and hidden.
Buy a slim hamper ($25–$50) that fits in a corner or a over-the-door hanging hamper ($20–$40 from Target, Amazon, or IKEA). The over-door option saves floor space completely. This takes 10 minutes to set up. Now dirty clothes have a dedicated home, your closet floor stays clear, and you’re reminded to do laundry when the hamper gets full. The space feels bigger immediately. If you have kids, everyone knows exactly where to put soiled clothes instead of creating random piles.
Renter-friendly: Use a drawstring bag hung on a hook ($10–$15)—no installation needed.
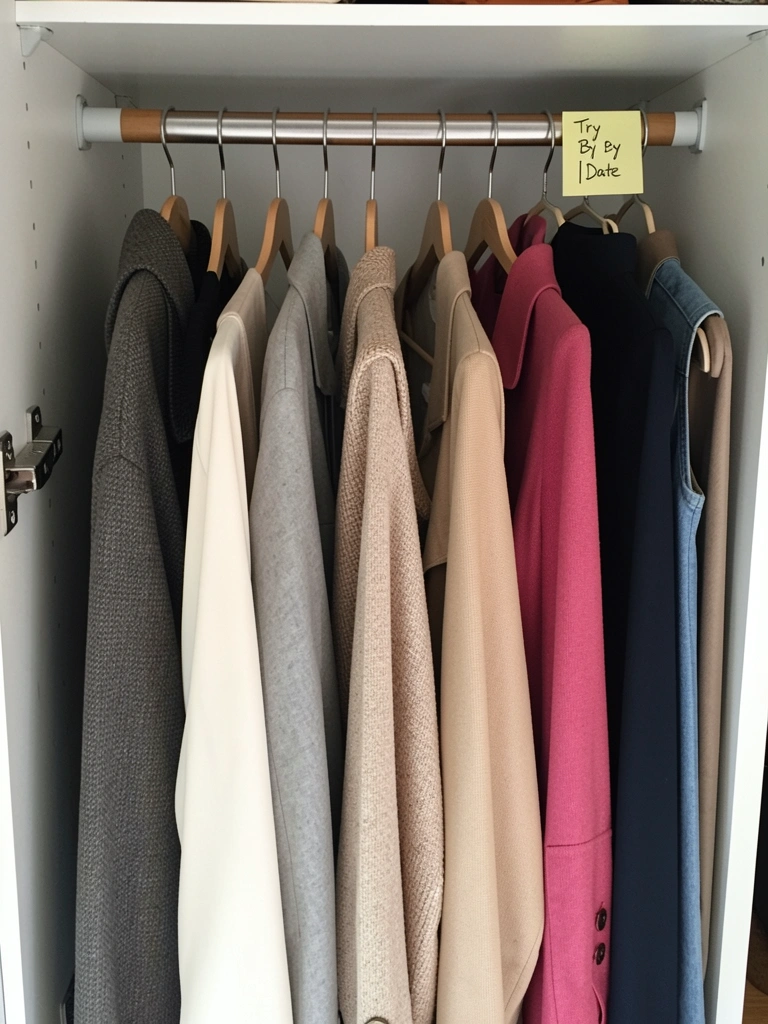
19. Create a “Try On” Section for Questionable Pieces
.” The section is visually separated from the rest.]
Sometimes you buy something and are unsure if it really works, or an older piece feels “off” suddenly. A visible “try on” section gives these pieces a second chance without cluttering your daily rotation.
Create a separate rail or hanging rod section for pieces you’re testing out. Use a sticky note to write a deadline (e.g., “Try by Dec 10”). If you wear it and love it, it moves back to regular rotation. If the deadline passes without wearing it, donate it. This takes 15 minutes to set up. You stop hanging onto guilt purchases or pieces that don’t actually fit your life. Your closet becomes more intentional, and you make clearer decisions about what stays. This practice also helps you notice patterns—maybe you realize you actually don’t wear dresses, so you stop buying them.
Pro tip: Photograph each “try on” piece and rate it after a week to make donation decisions easier.
20. Stack and Subdivide Jeans Vertically

Jeans stacked flat waste space and get wrinkled under the weight of other pairs. Standing them vertically means you see all options at once and grab just what you need.
Fold each pair of jeans into a vertical rectangle about 8×10 inches (using the KonMari method), then stand them side by side on a shelf like files in a drawer. Use shelf dividers to prevent toppling. Group by wash color: lights, mediums, and darks. This takes 30 minutes to organize once. You’ll fit almost double the jeans in the same space and see every option instantly. No more digging through piles and re-stacking everything. Grab one pair without disturbing the rest. Your jeans stay in better condition, and mornings become simpler because you see every option at a glance.
Pro tip: Create a “jeans uniform” of 5–7 pairs in similar fits so they work interchangeably with your tops.
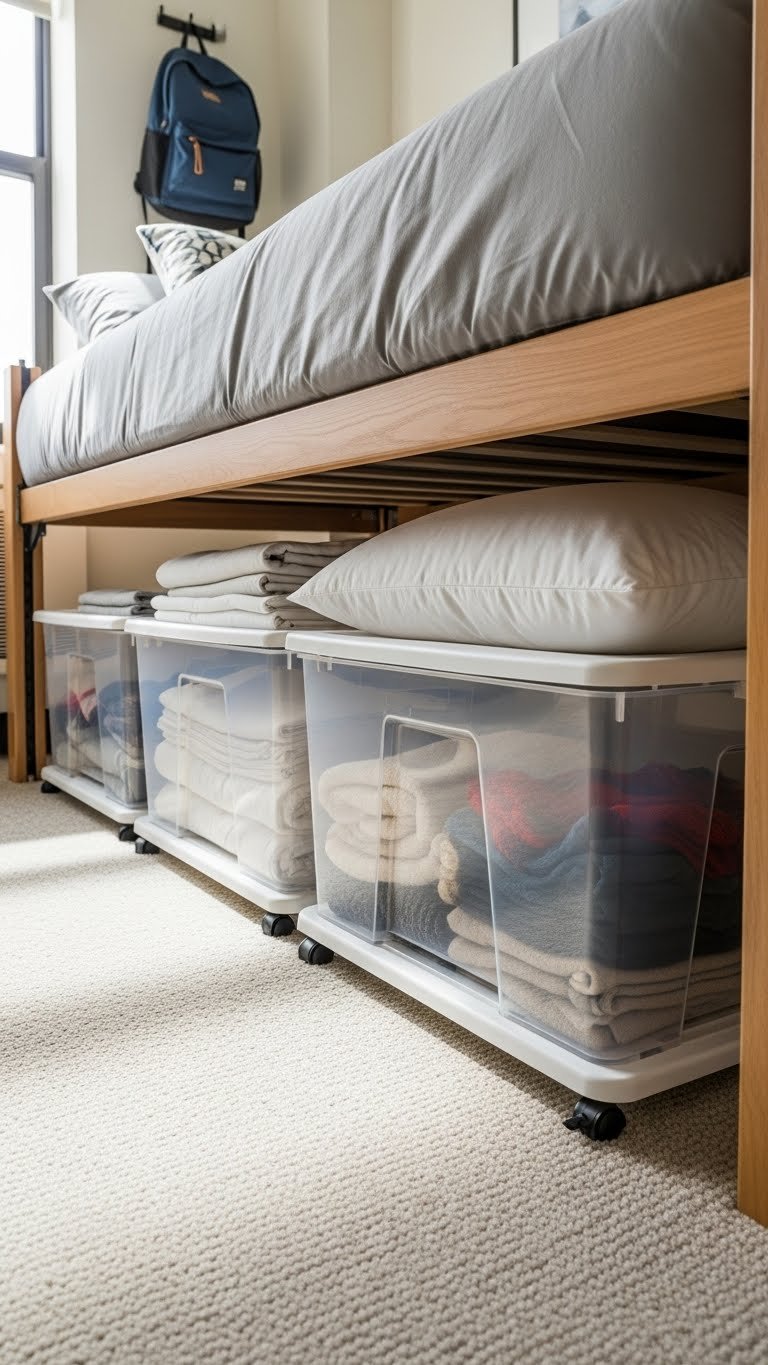
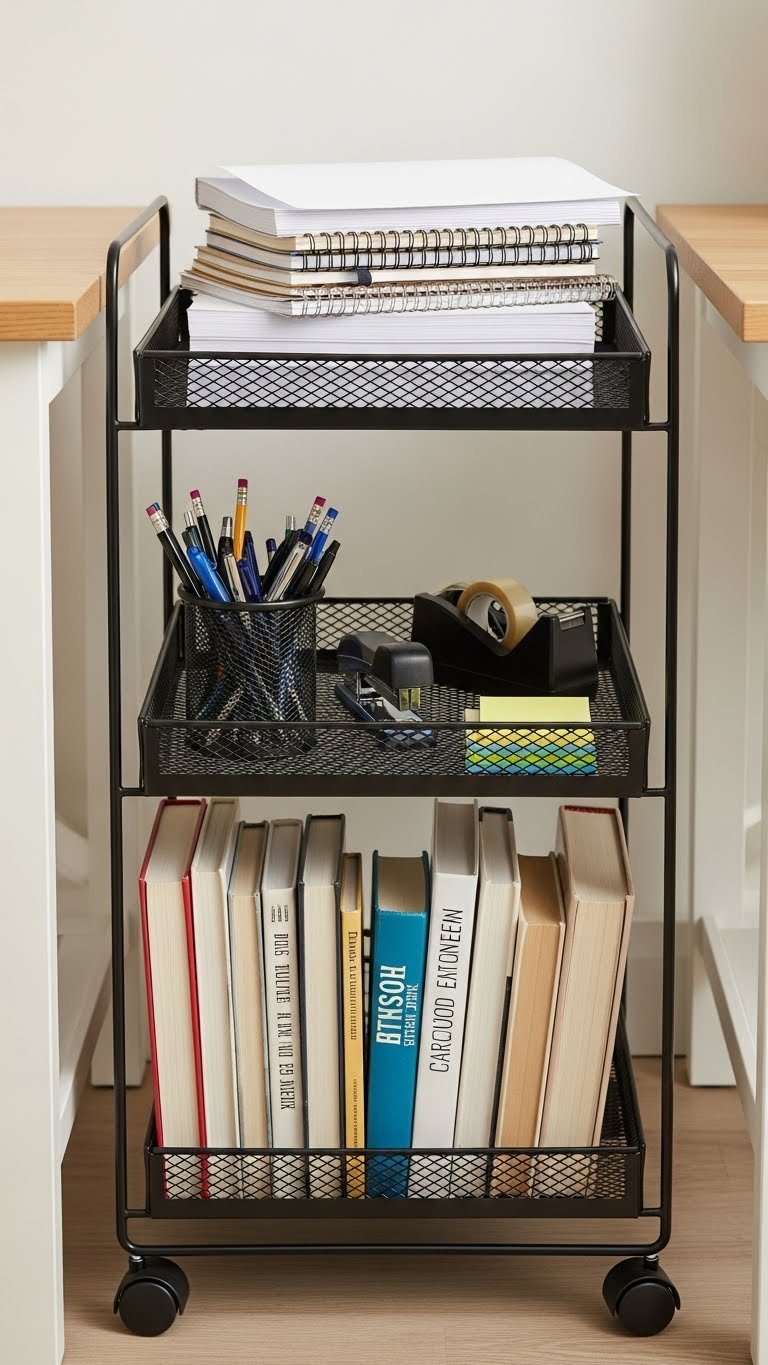
21. Add a Small Rolling Cart for Out-of-Closet Items
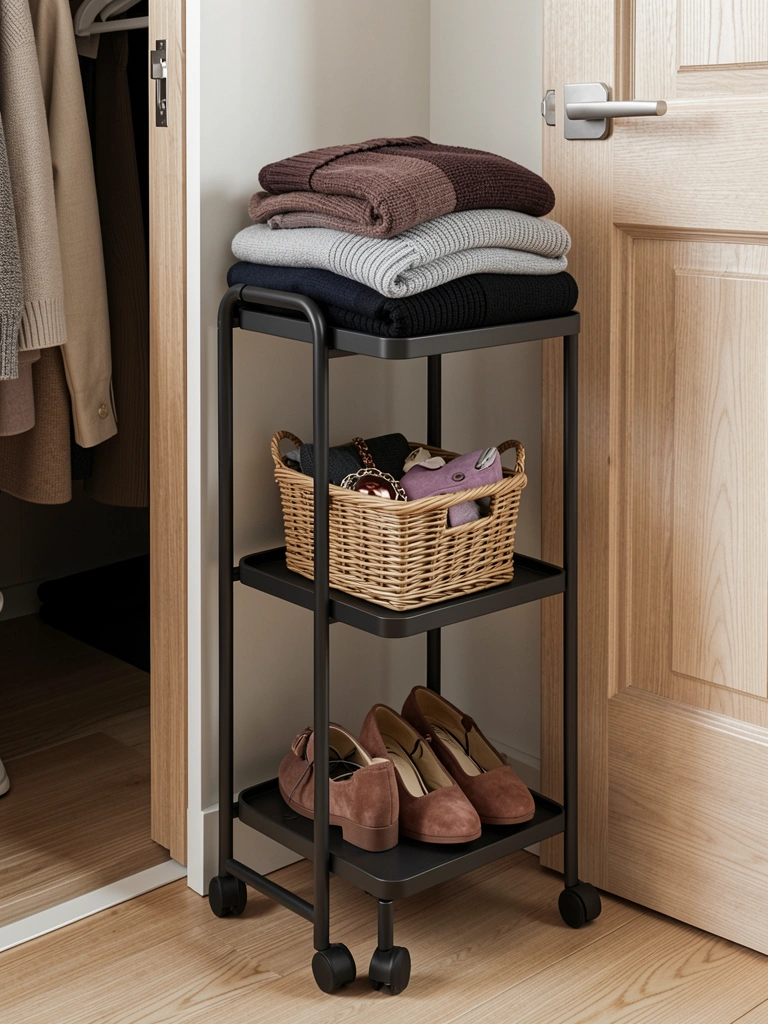
Sometimes closet space maxes out, or you need a temporary staging area. A rolling cart provides flexible extra storage that looks intentional, not chaotic.
Buy a slim three-tier rolling cart ($40–$80 from Target, IKEA, or Wayfair) and position it just inside or next to your closet. Use it for off-season items, a laundry staging area, or overflow folded pieces. This takes 10 minutes to set up. You gain immediate storage without installing anything permanent. It’s perfect for renters or anyone hesitant about permanent closet changes. If you need the space for something else, just roll it away. Best part? It makes great use of awkward closet entry areas or dead space beside the closet door.
Pro tip: Use baskets or bins on each tier to keep items contained and stylish-looking.
22. Develop a Simple Color Palette for Easier Outfit Building
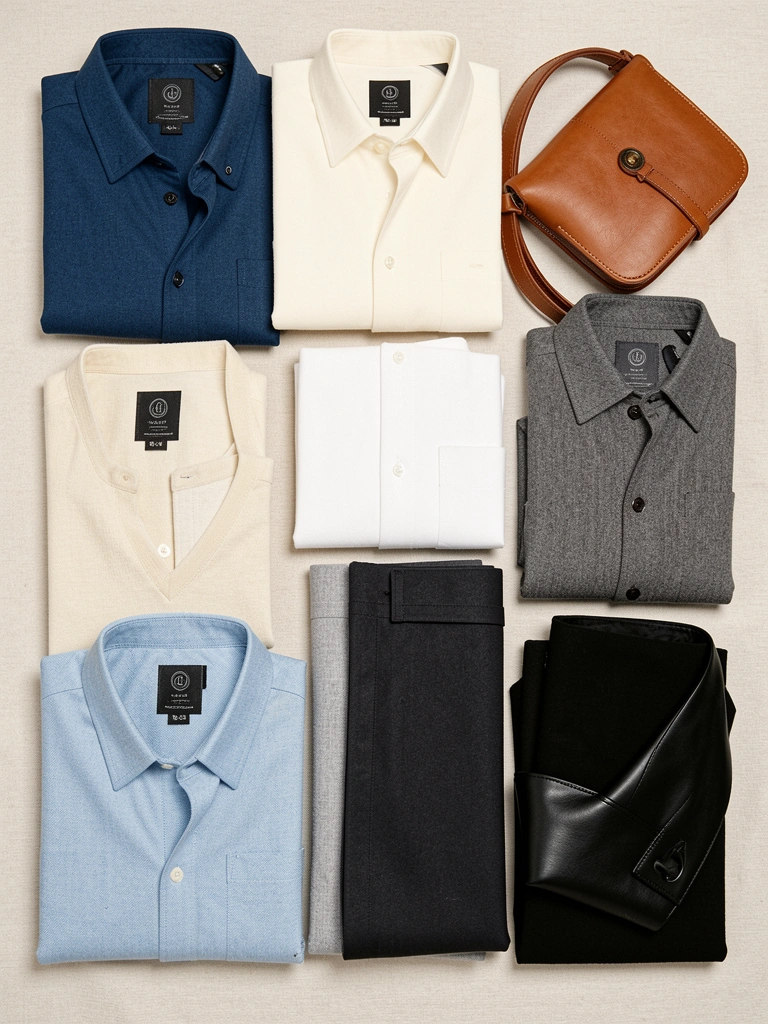
When your entire closet is random colors, nothing coordinates, so you end up wearing the same safe combinations. A intentional color palette means every piece works with multiple others.
Choose 2–3 neutral base colors (blacks, grays, whites, navies, camel) and 2–3 accent colors (mustard, forest green, burgundy, blush) that flatter your skin tone and make you happy. When you shop, only buy pieces in this palette. This is free and takes just one honest conversation with yourself. Over time, you’ll notice that nearly everything in your closet pairs with something else. You’ll have 10x more outfit combinations from the same number of pieces. Mornings become quicker because you stop deliberating—you know the colors work together.
Pro tip: Take a photo of your color palette and keep it in your phone so you reference it while shopping.
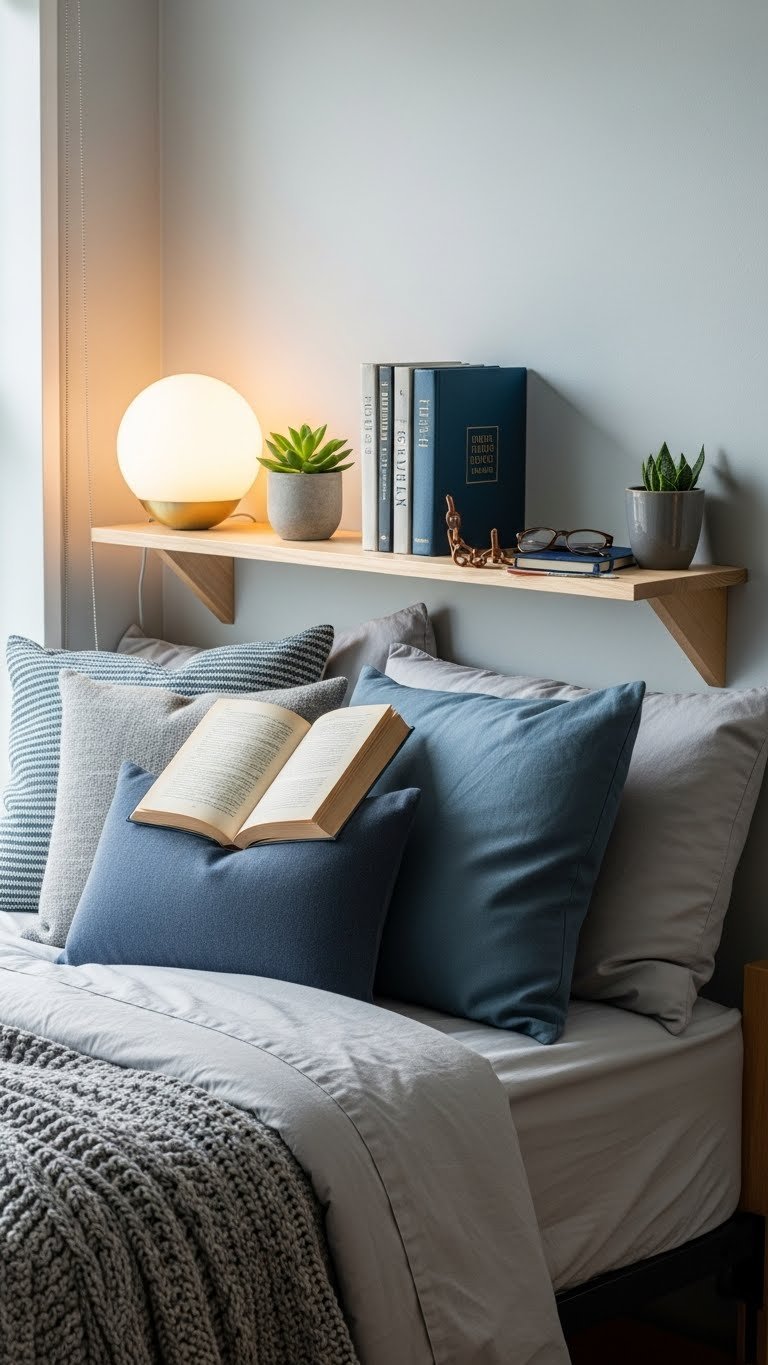
23. Create a Nightstand Shelf for Bedside Outfit Display
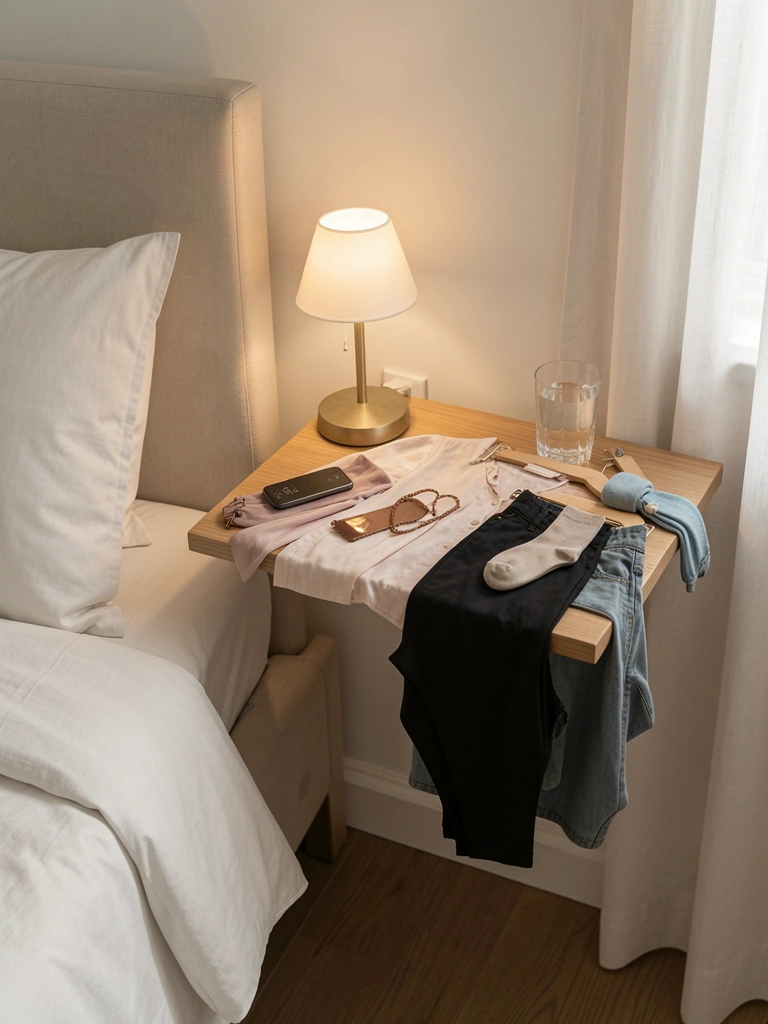
Hanging tomorrow’s outfit on a nearby rod or shelf means you see it throughout the evening, subconsciously get excited about it, and wake up already committed to your choice.
If you have space next to your bed, create a small outfit display shelf or use a small wall-mounted rod ($25–$50 from Target or IKEA). Lay out or hang tomorrow’s complete outfit each evening—top, bottom, shoes, and one accessory. This takes 5 minutes nightly. You fall asleep knowing what you’re wearing and can make tweaks if needed. You wake up with zero decision fatigue. Plus, your partner or kids see your outfit and that sparks ideas for theirs. The evening ritual becomes calming, and mornings move 10 minutes faster.
Renter-friendly: Use a tension rod ($15) or hang pieces on a standing coat rack ($30–$60).
24. Implement a “One In, One Out” Rule to Prevent Overcrowding
Overstuffed closets happen gradually when you add new pieces without removing old ones. An intentional “one in, one out” rule keeps your closet right-sized and forces thoughtful shopping.
Every time you bring a new item into your closet, commit to removing one you no longer wear. Place the removed item in a donation bag. This takes 30 seconds per purchase but prevents closet creep. Over a year, you’ll have removed 52+ pieces and replaced them with things you actually want. Your closet stays curated, nothing feels buried, and you stop buying pieces you don’t absolutely love. Bonus: You’ll make faster, more intentional purchase decisions knowing you’ll have to remove something else.
Pro tip: Keep your donation bag visible on a closet shelf as a daily reminder of this commitment.
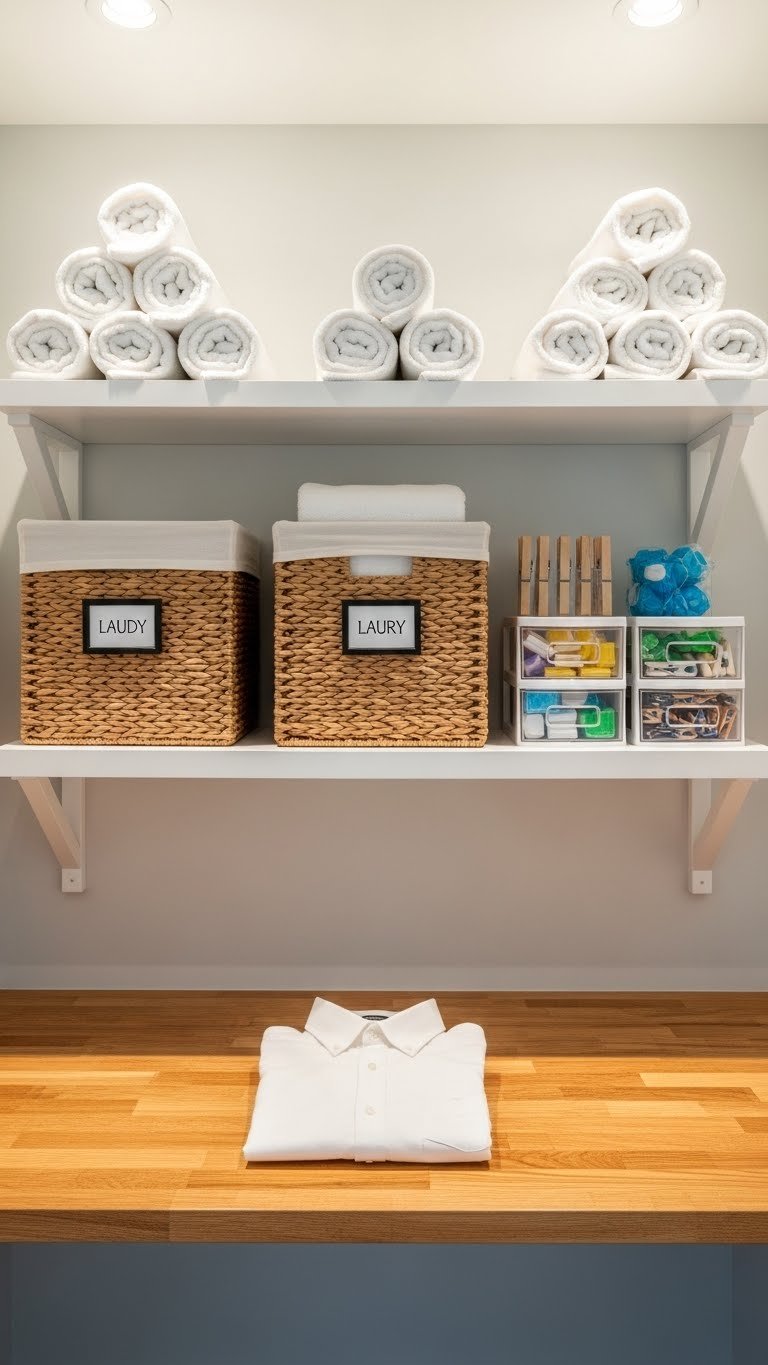
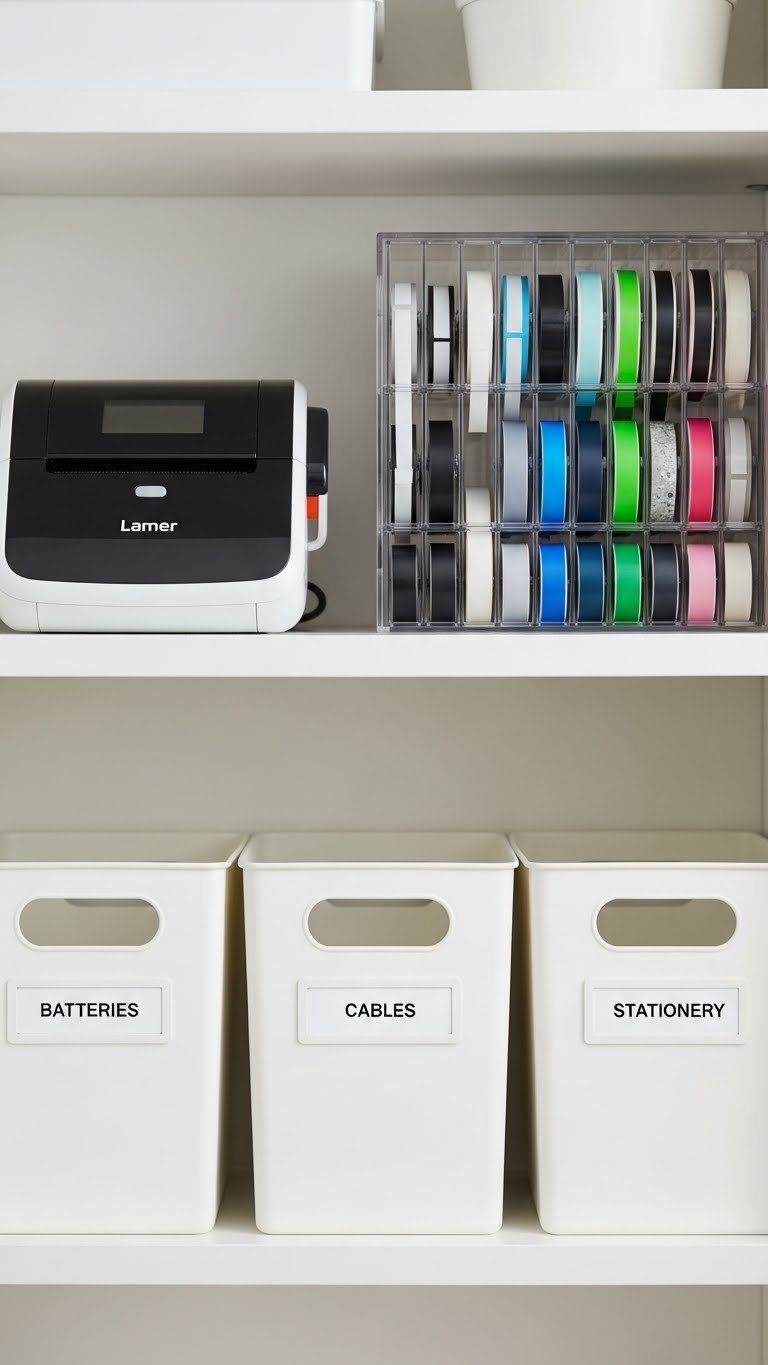
25. Label Your Drawers with Category Stickers
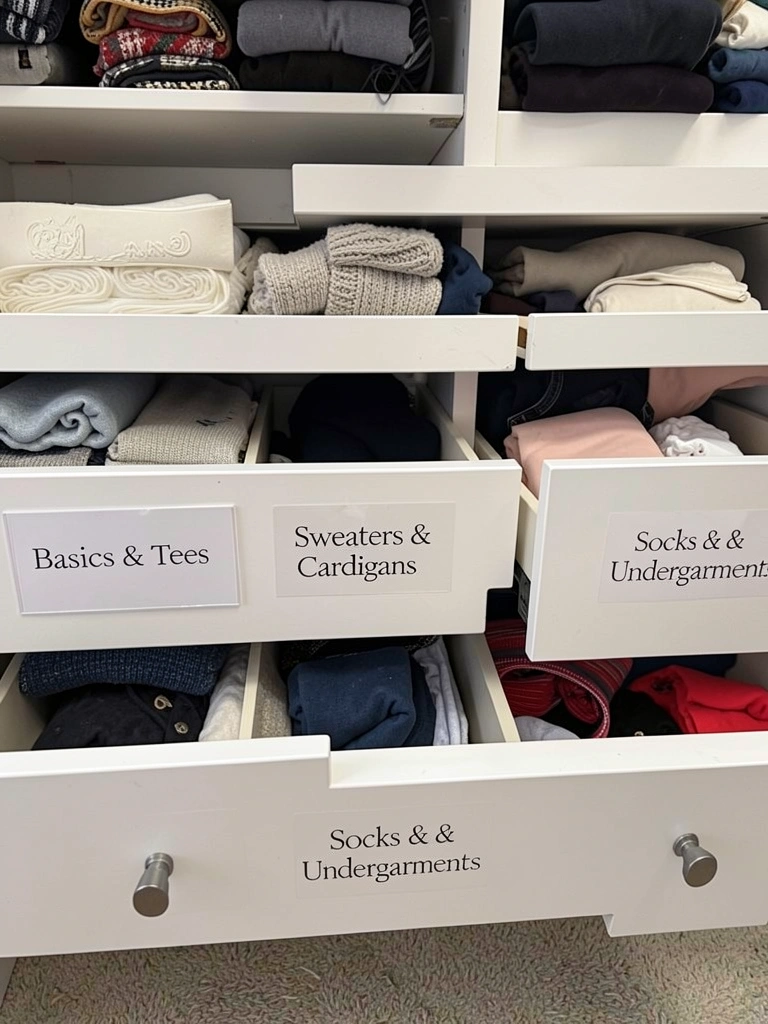
Unlabeled drawers become a jumble where people throw things into whichever drawer has space. Clear labels ensure everything has a home and family members put things back correctly.
Buy clear label stickers ($8–$15 for a set) from Amazon, Target, or a office supply store. Write category names with a permanent marker: “Basics & Tees,” “Sweaters,” “Socks,” “Undergarments,” “Activewear,” etc. Apply one label to each drawer front. This takes 10 minutes. Now everyone in your household knows exactly where things go, and items don’t get mixed up. Drawers stay organized longer without constant shuffling. Laundry day becomes faster because you know which drawer each clean item goes into.
Pro tip: Take a photo of your label system and post it near the closet for reference if multiple people use it.
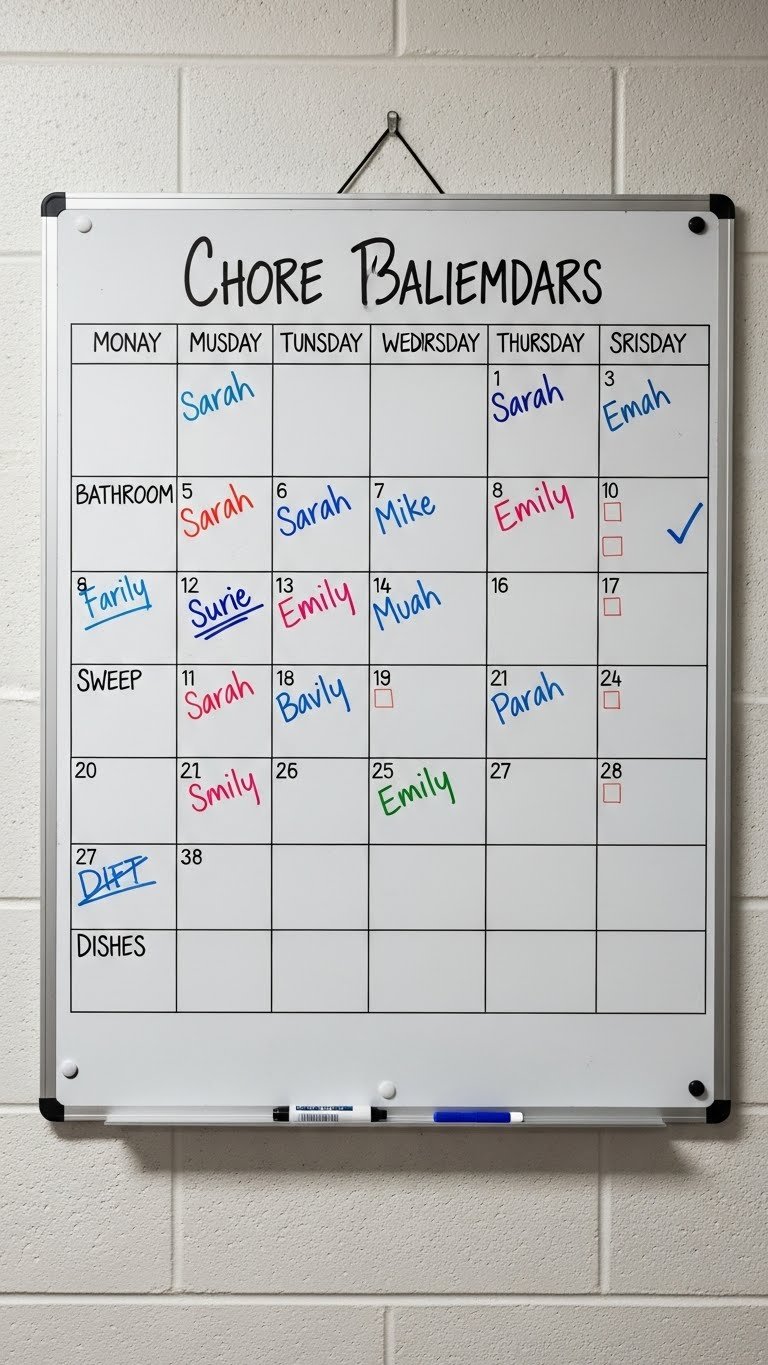
26. Set a Monthly 15-Minute Maintenance Session
Closets deteriorate when they’re organized once and then ignored. Monthly 15-minute check-ins keep everything maintained and prevent backsliding into chaos.
Set a calendar reminder for one day each month—maybe the first Sunday. Spend 15 minutes walking through your closet and noticing: pieces that don’t fit or make you feel bad (donate), items needing repair (move to mending shelf), anything that’s shifted out of order (re-organize). This is maintenance, not a full overhaul. You’ll catch problems early before they become overwhelming. Your organizational system stays intact, and you stay aware of what you actually own. This small habit prevents the “closet explosion” where everything suddenly feels chaotic and you want to start over.
Pro tip: While doing this, jot down gaps in your wardrobe (e.g., “need a winter white blazer”) so future shopping is intentional.
Save this post for this weekend—pick one or two ideas to tackle, and you’ll immediately notice how much calmer your mornings feel. Start small, build the habit, and share it with anyone who needs a morning reset too.