Introduction
Your teen’s room should feel like their space—a place where they actually want to hang out, not just sleep. Whether they’re into studying, streaming, gaming, or just decompressing, the right décor makes all the difference. The good news? Most teens don’t need a complete renovation; they need thoughtful touches that show personality and creativity without breaking the bank.
We’ve put together 26 ideas that mix budget-friendly hacks, DIY projects, and smart shopping picks. You’ll find everything from wall treatments and lighting upgrades to furniture rearrangements and storage solutions that actually work for real teenage life—clutter, hobbies, and all. Let’s build a room they’ll love.
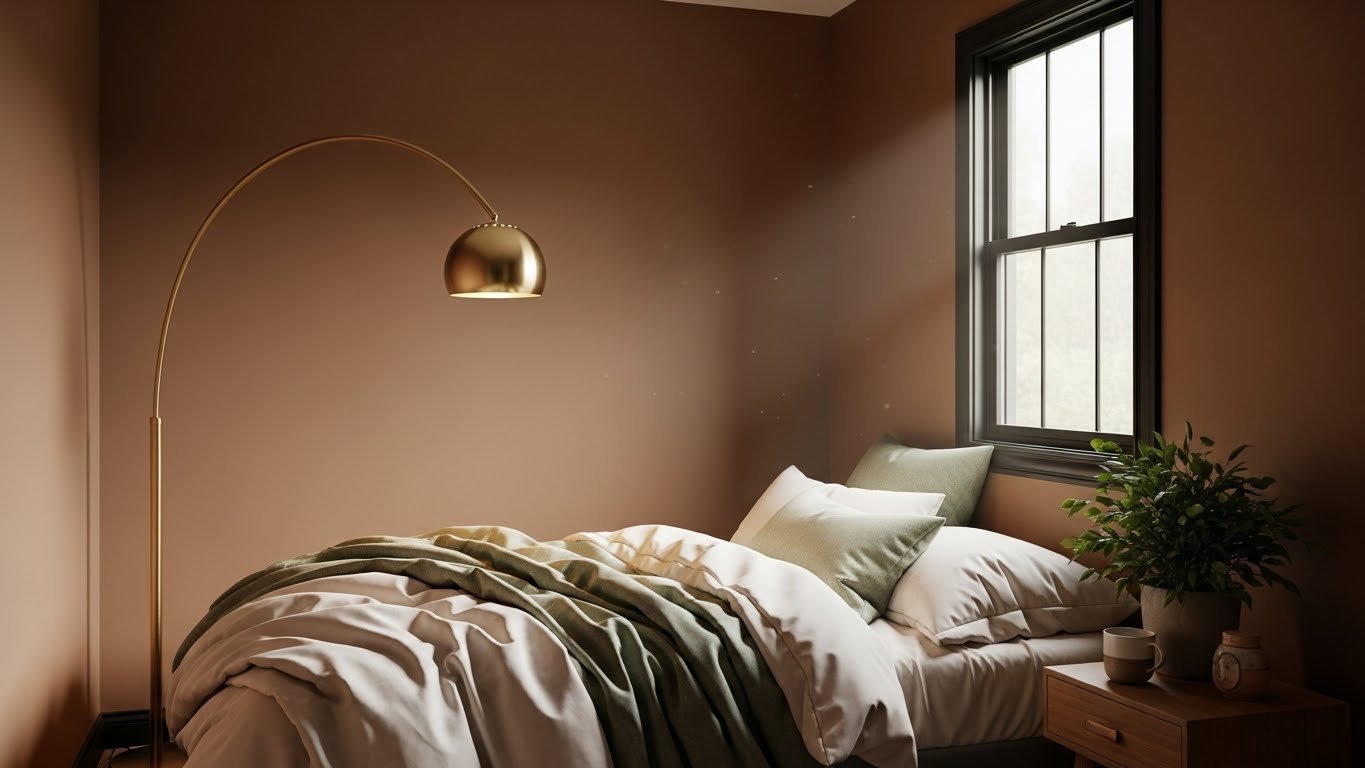
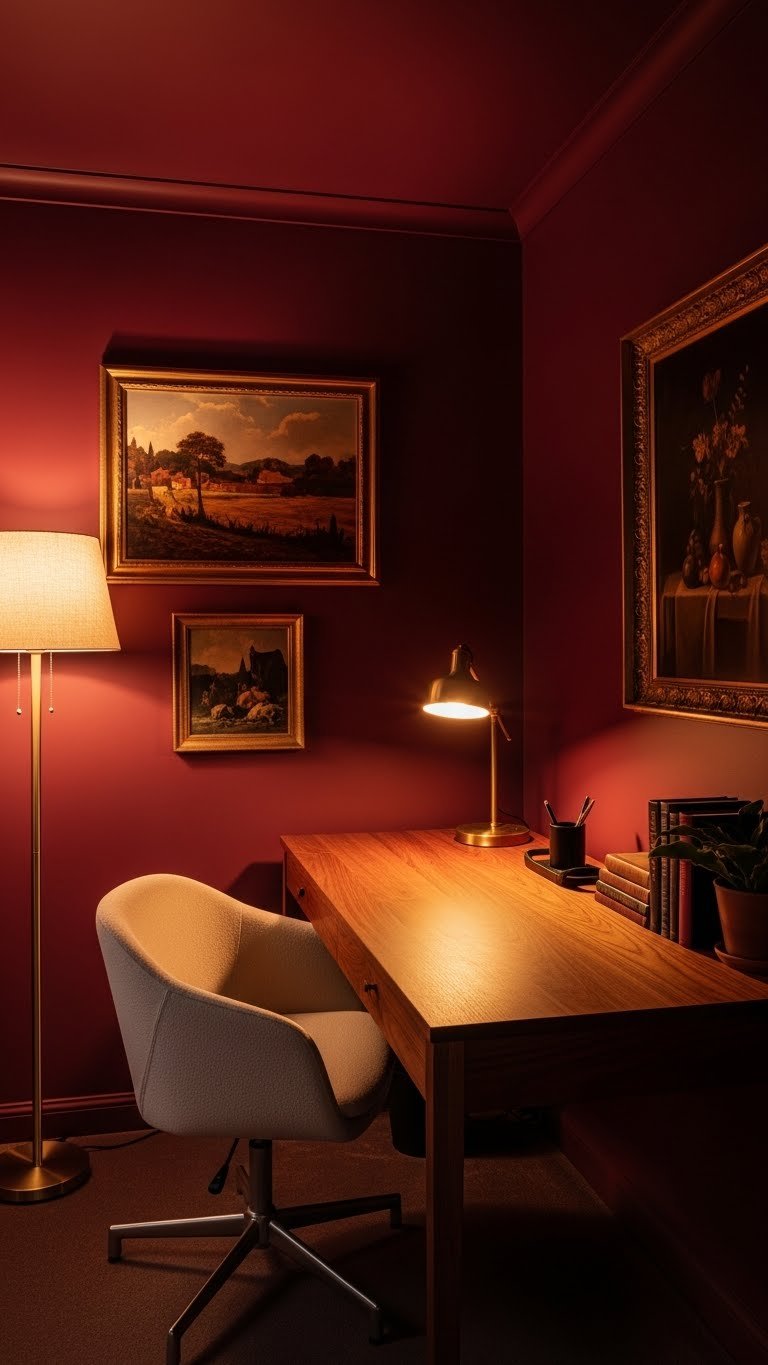
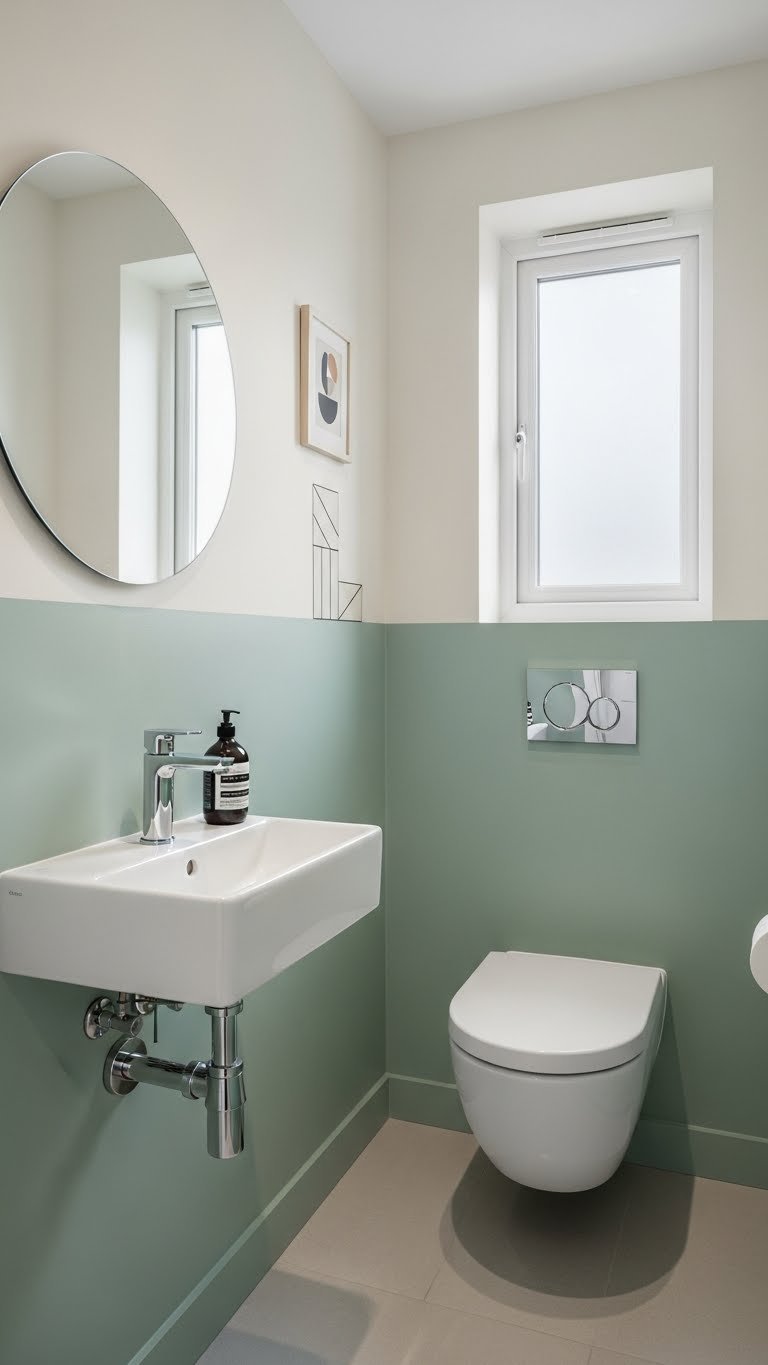
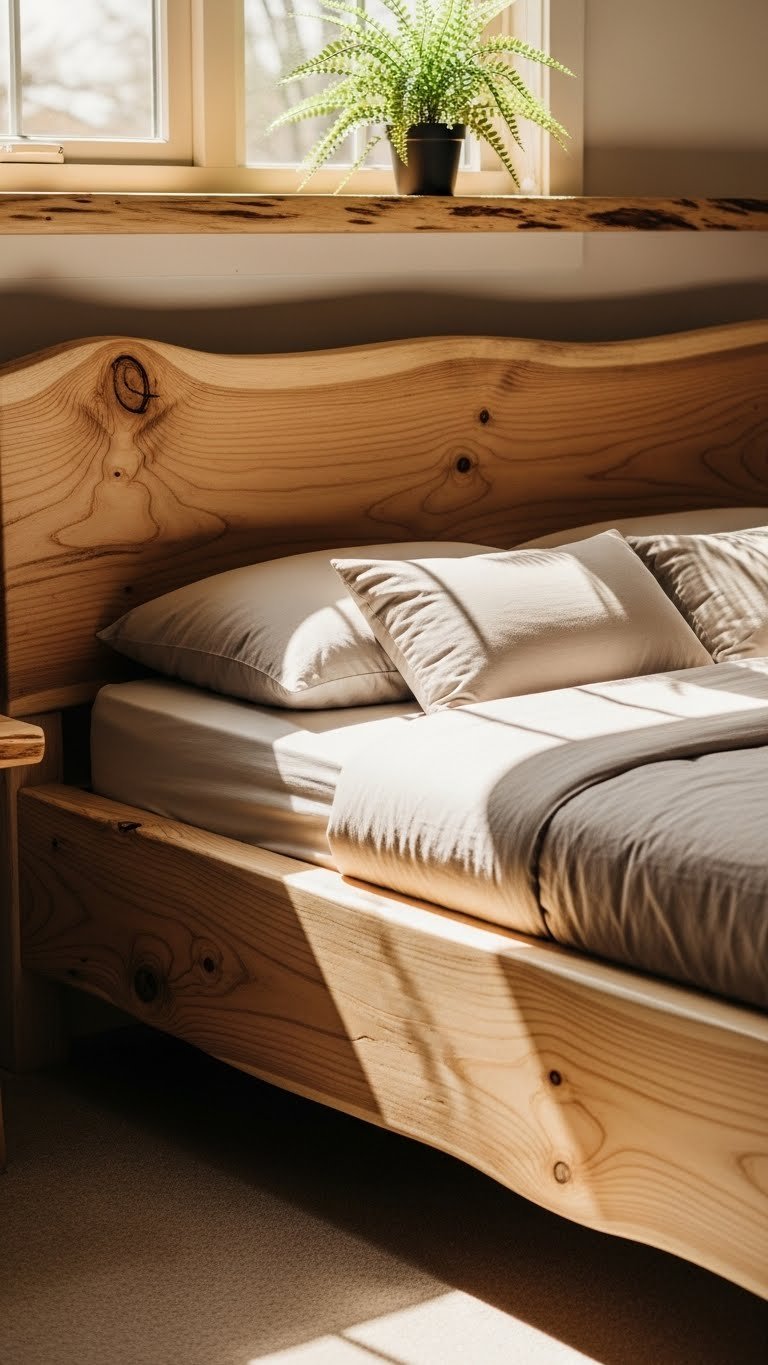
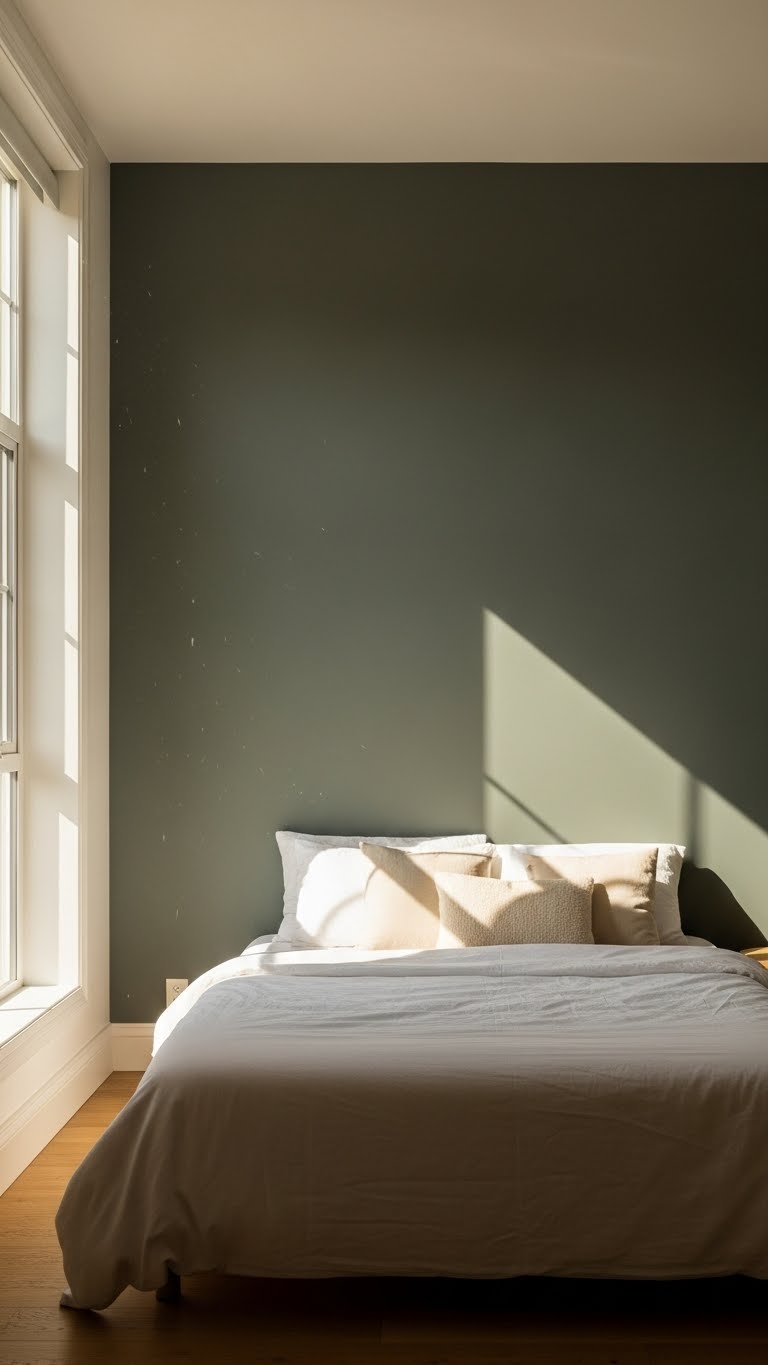
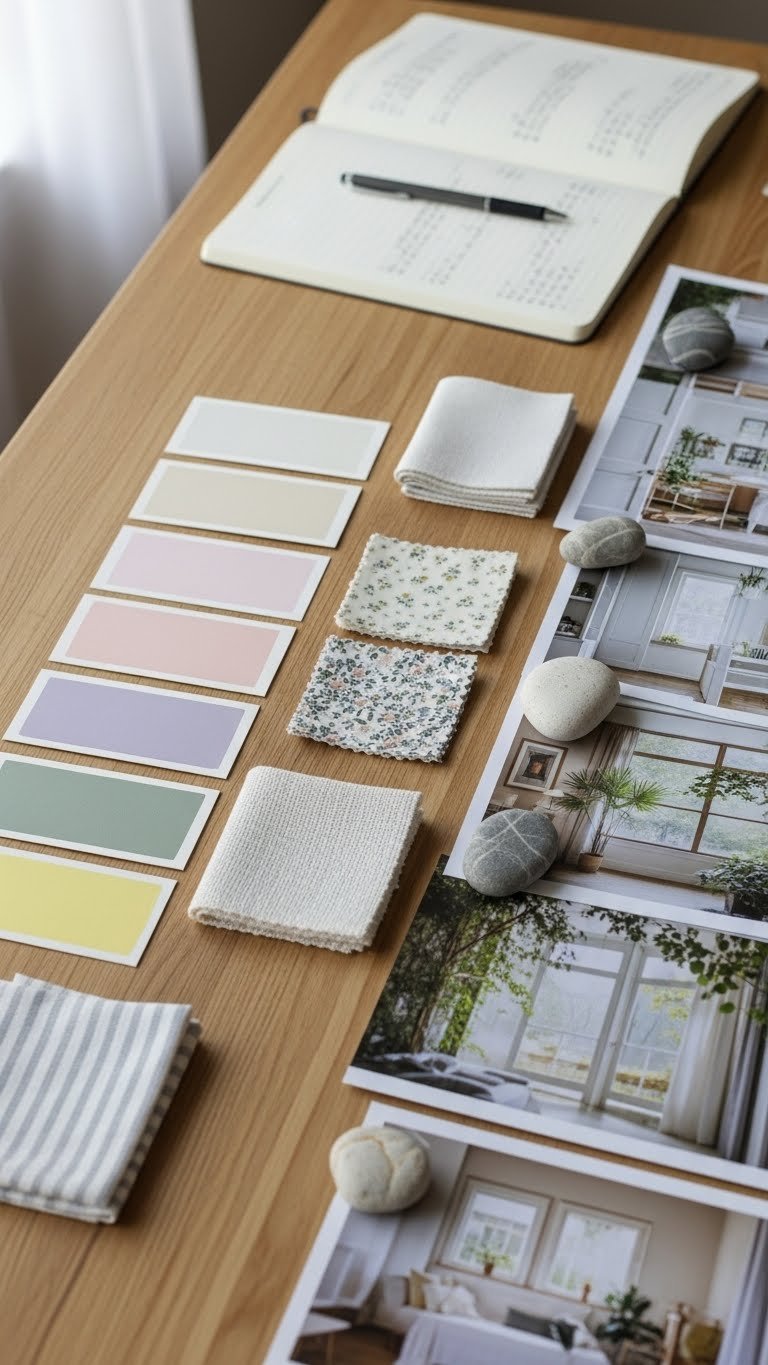
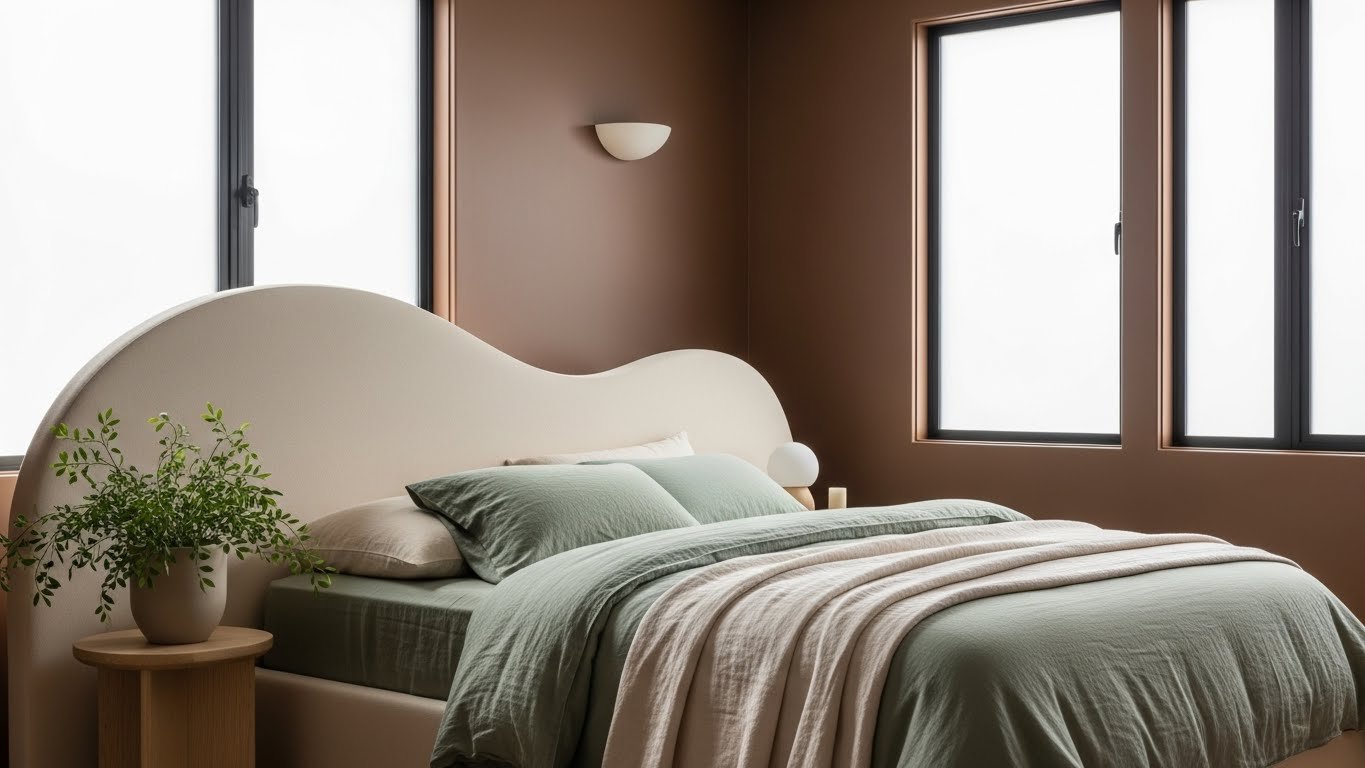
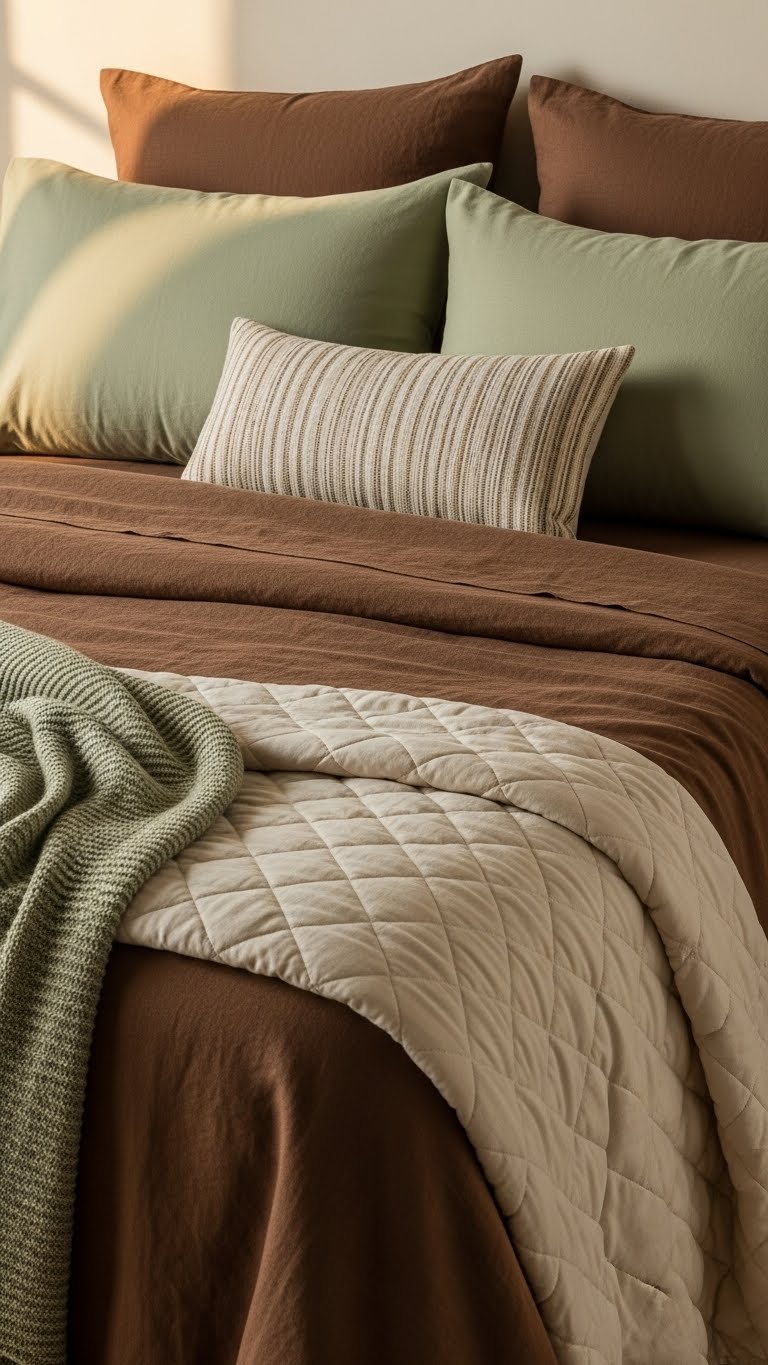
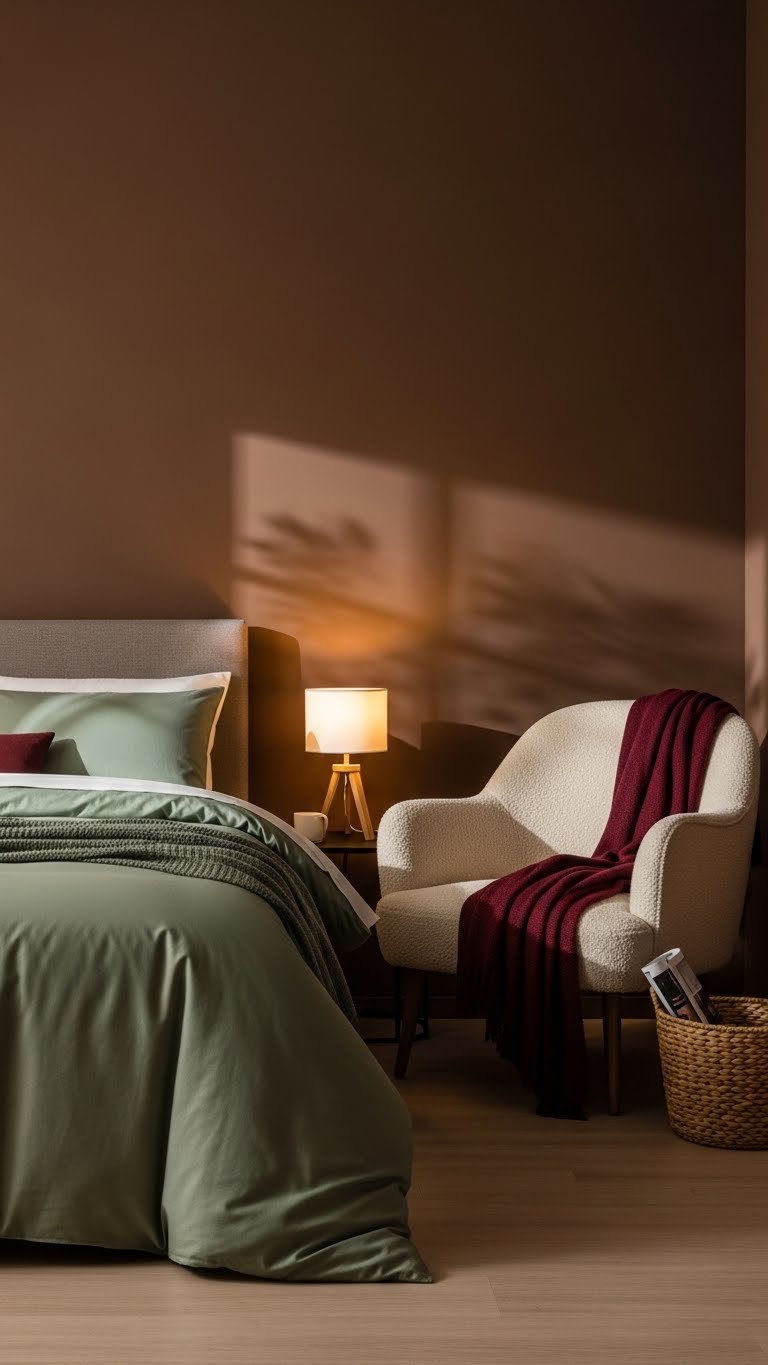
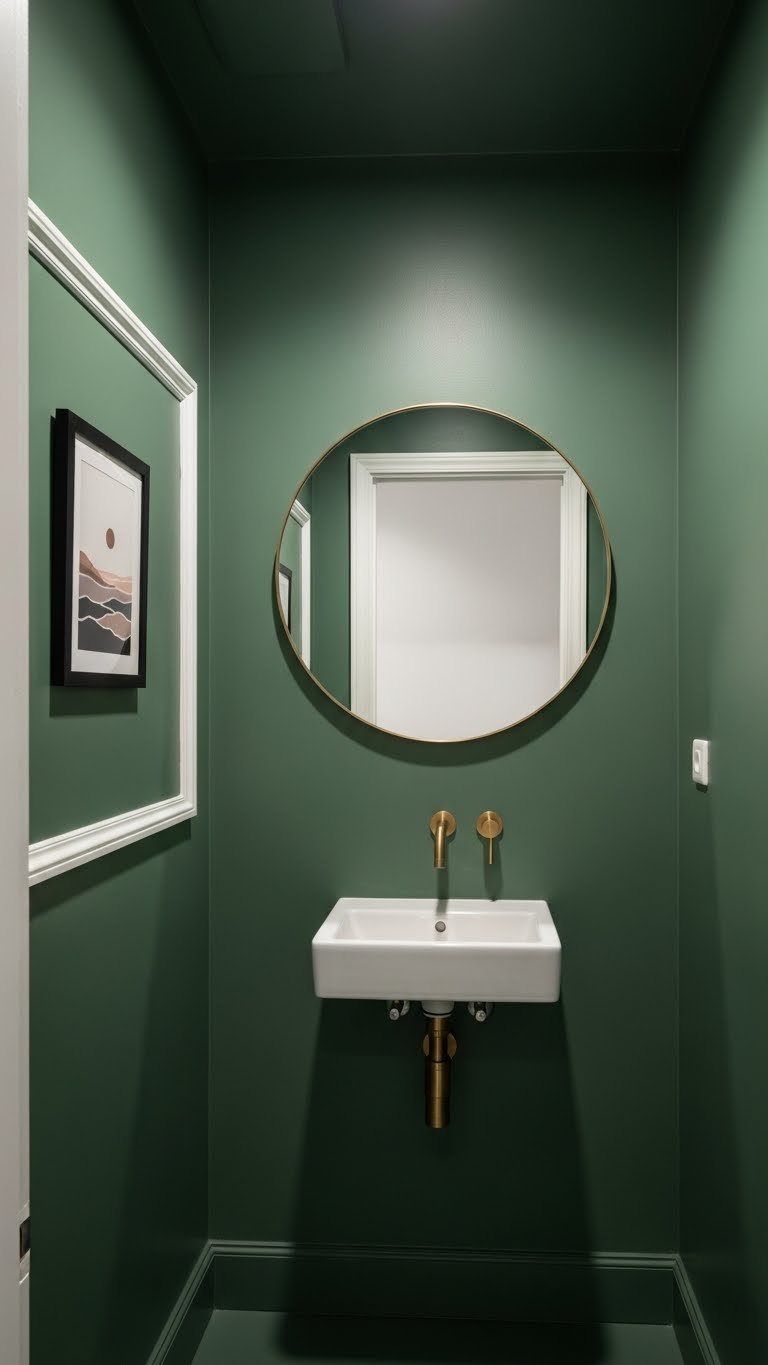
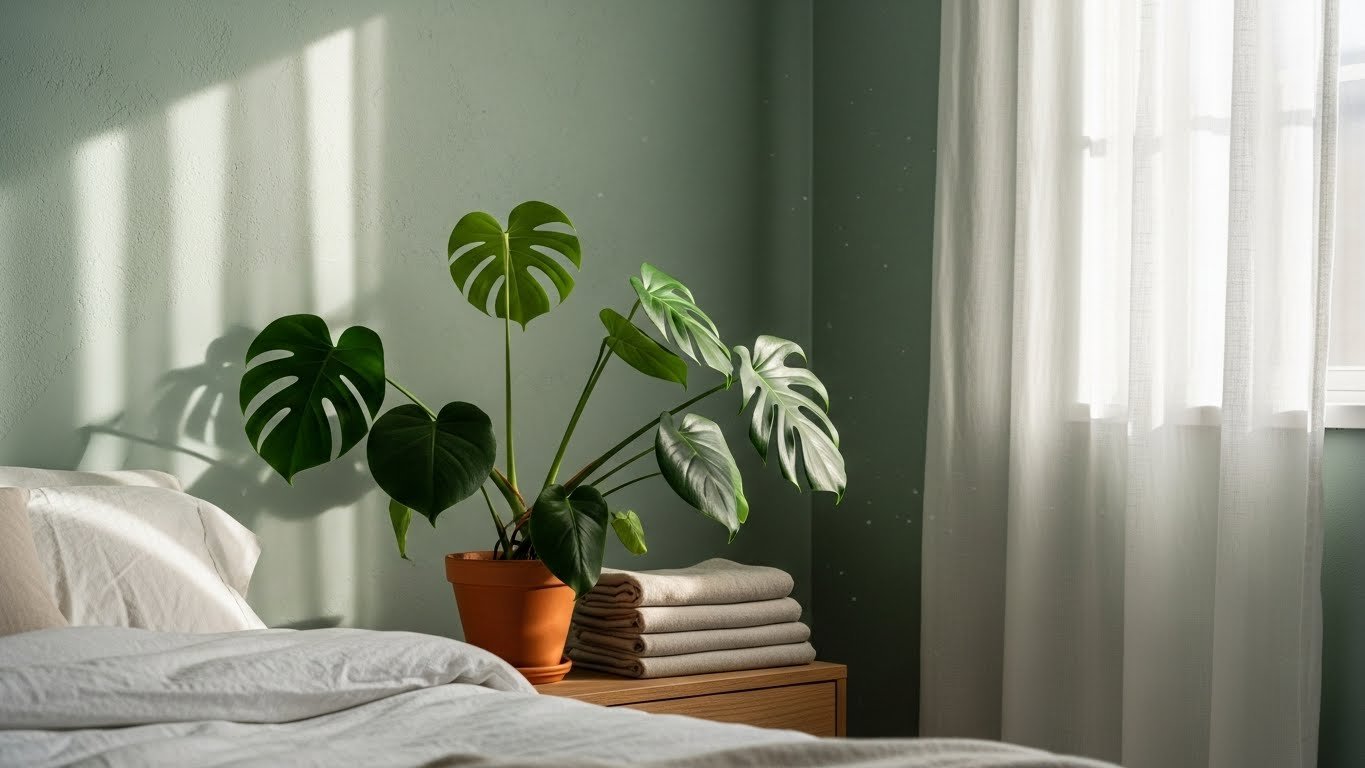
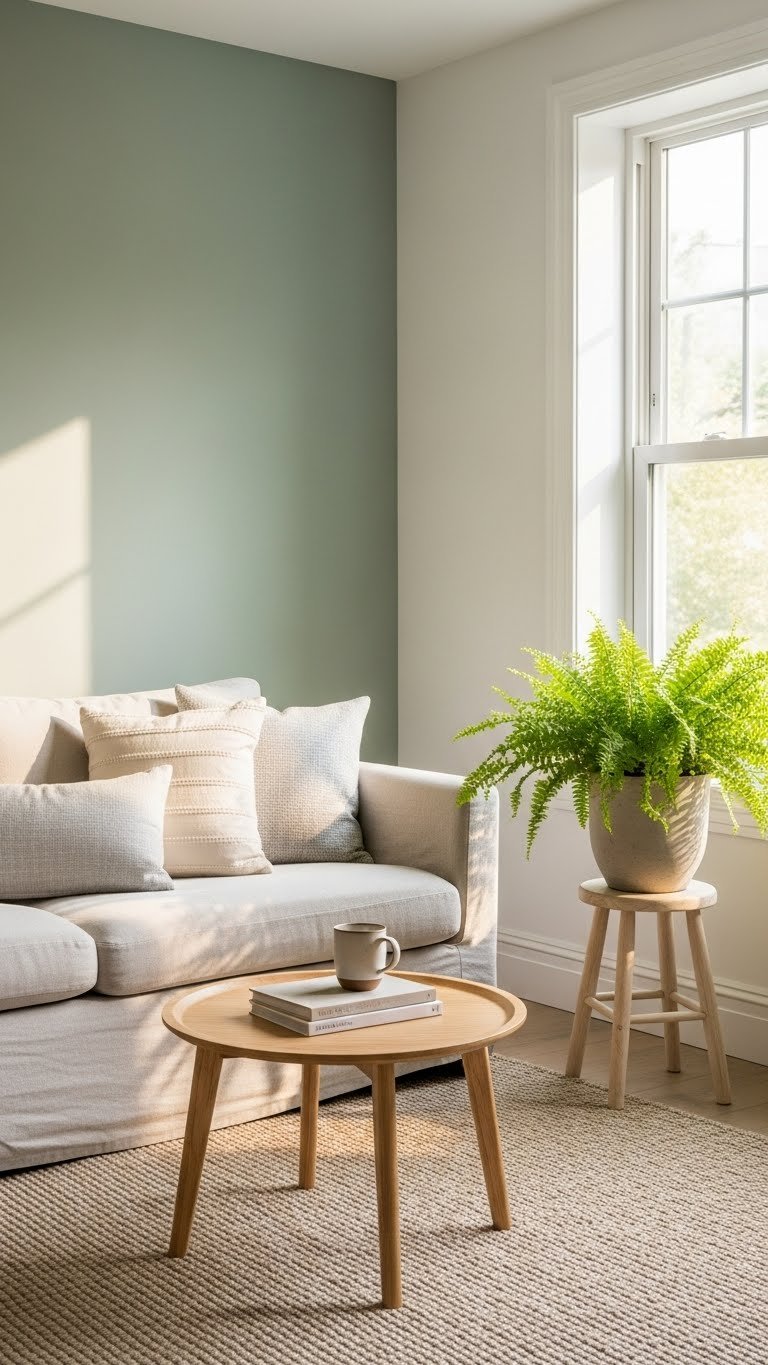
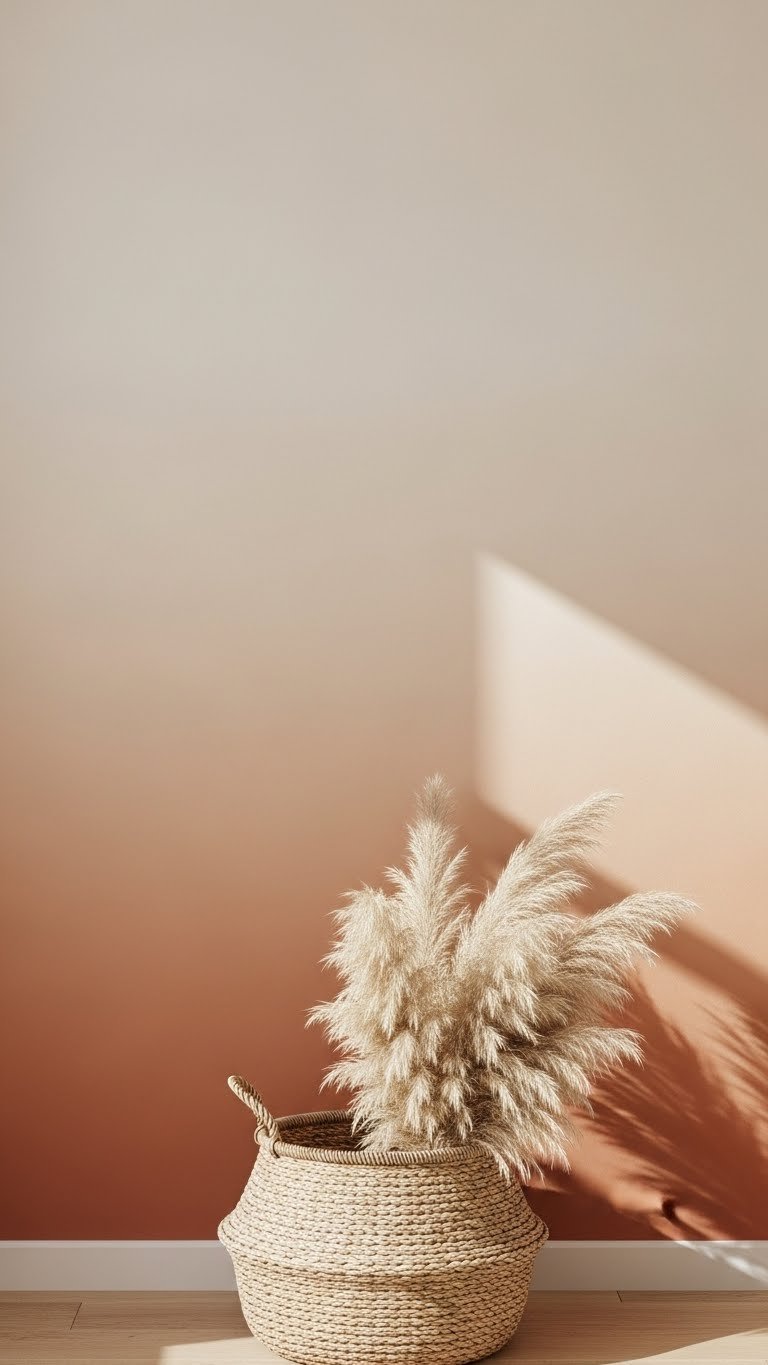
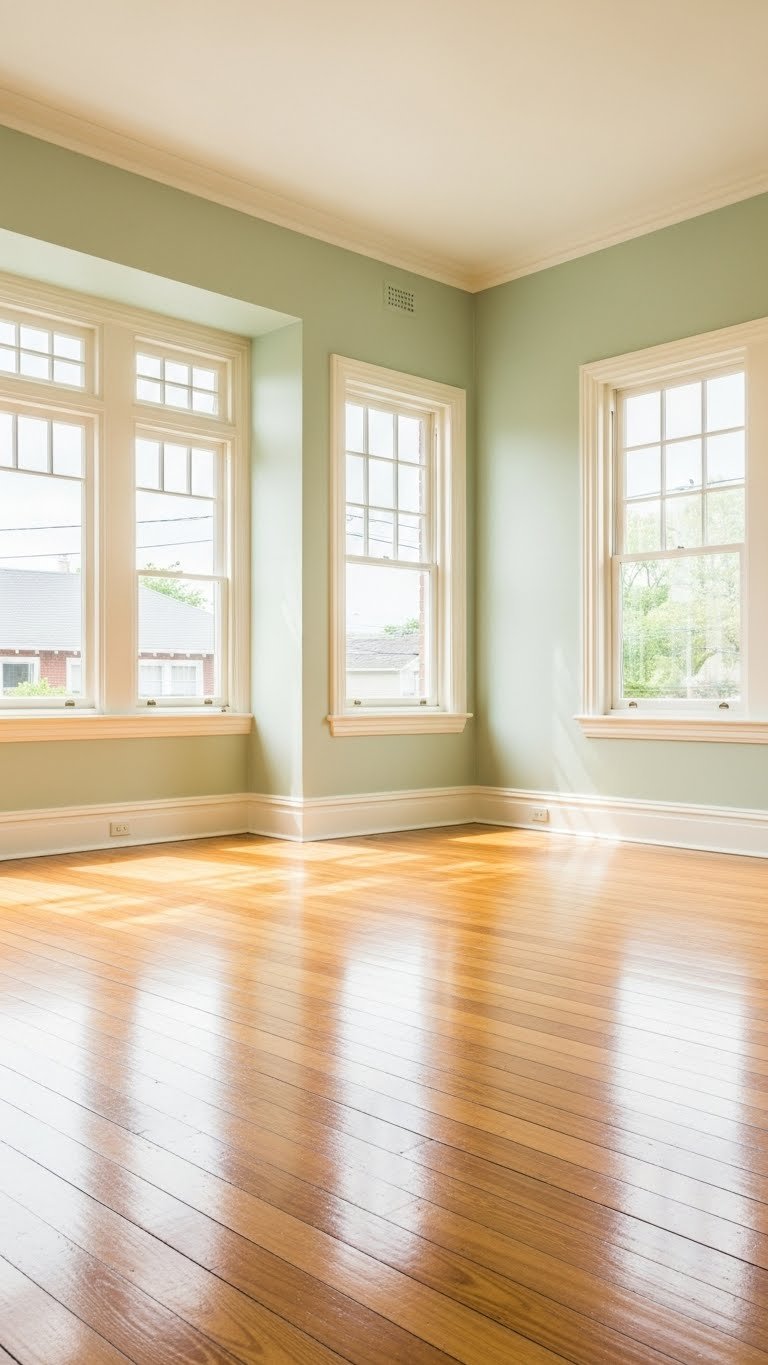
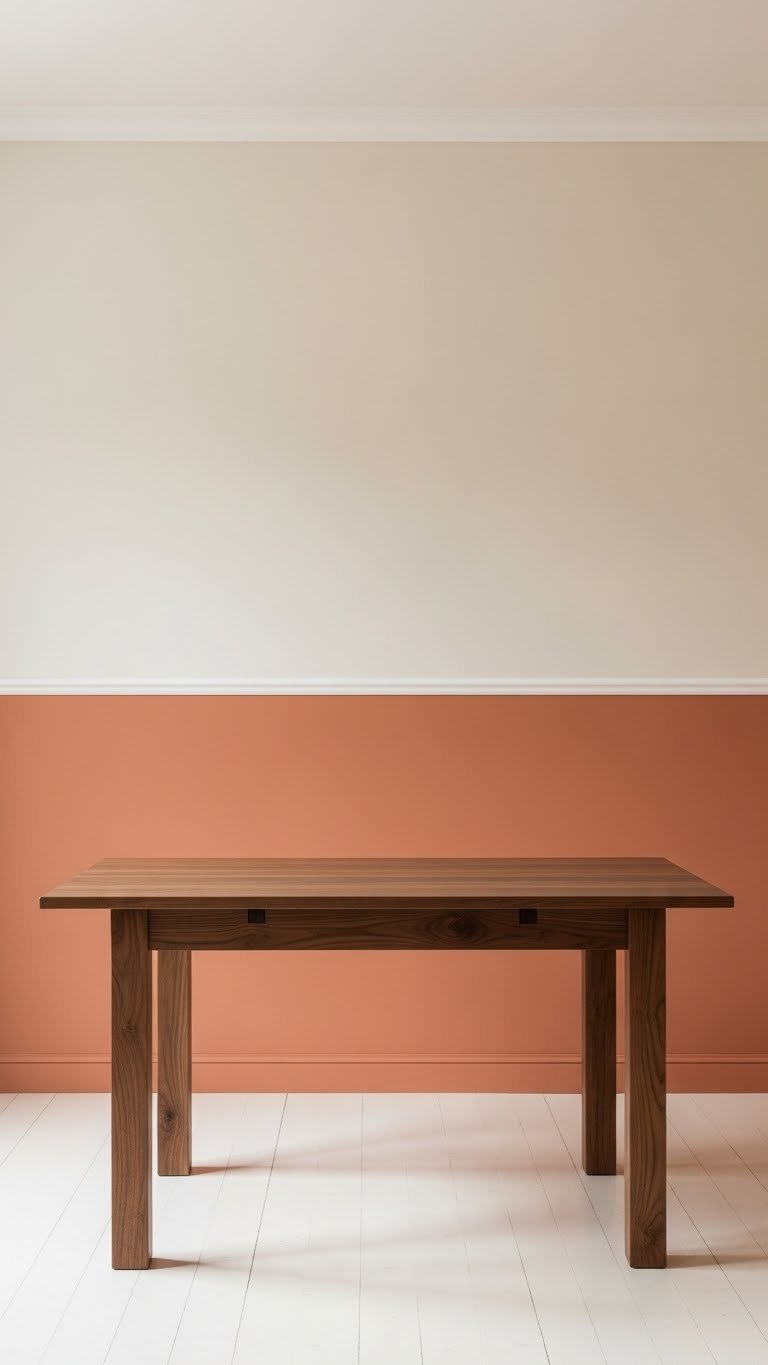
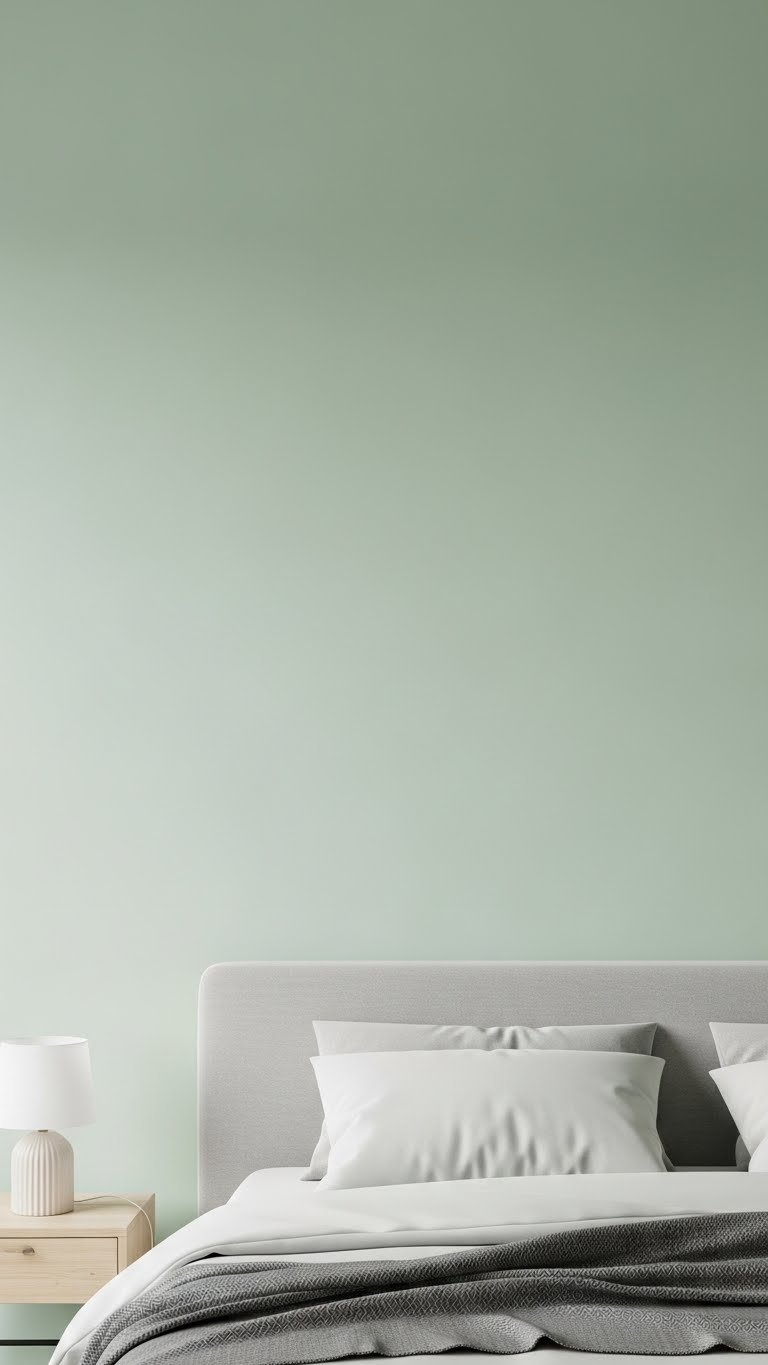
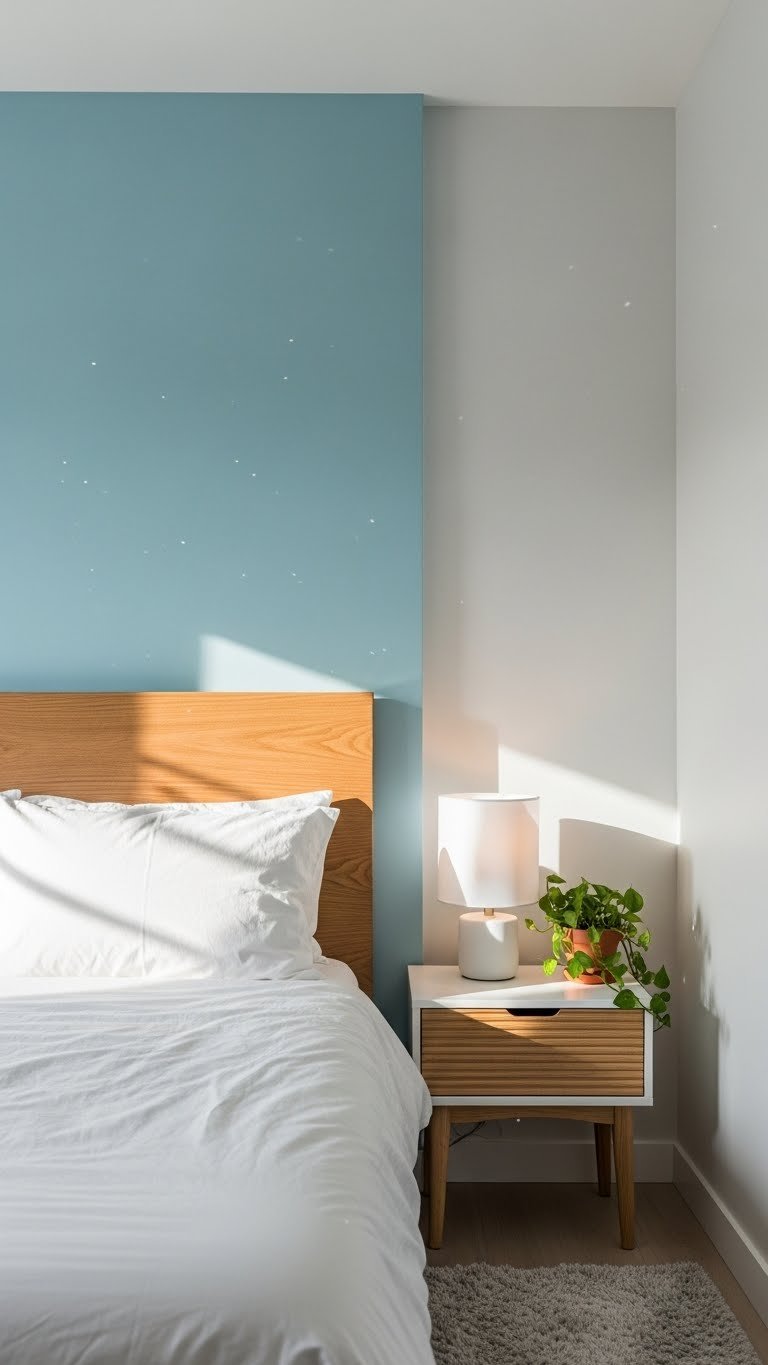
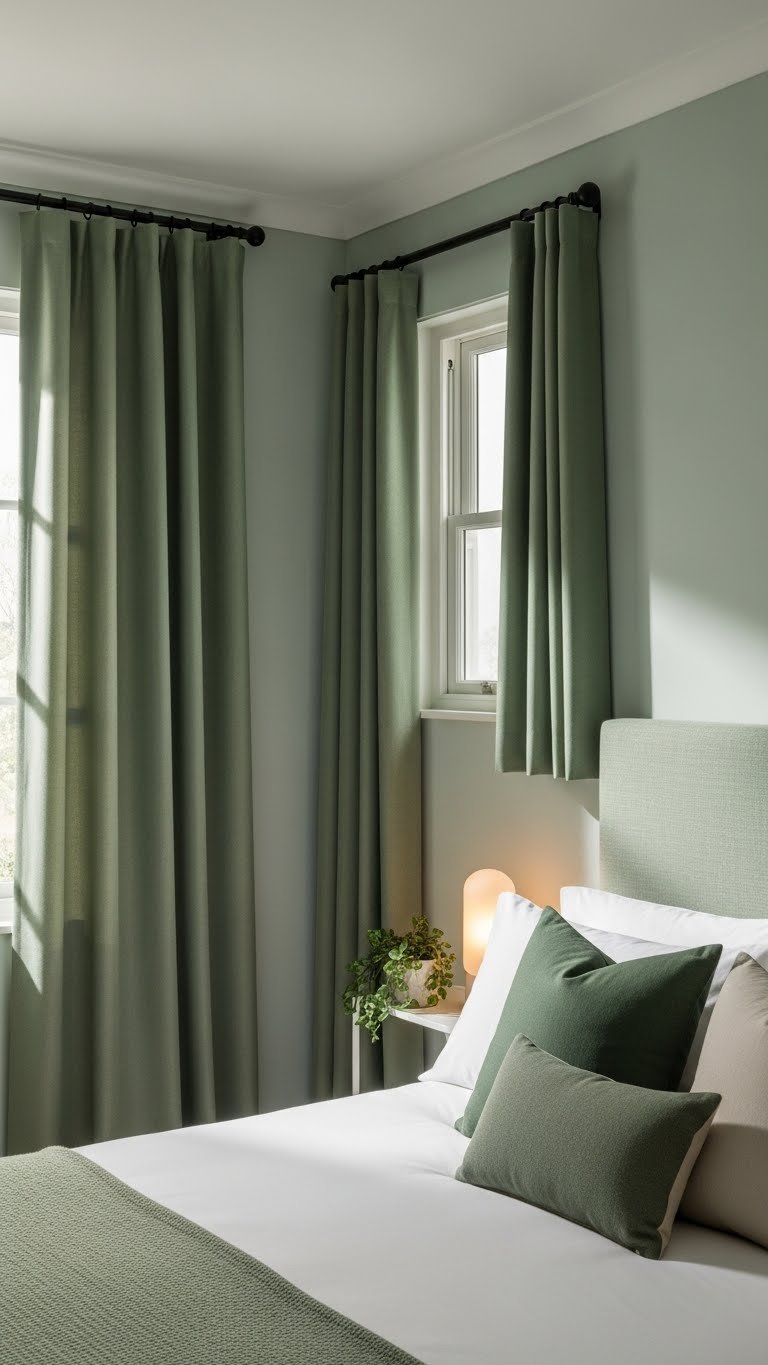
1. Paint Walls in Warm Earthy Tones

Warm earthy colors like chocolate brown, sage green, or muted terracotta instantly make a room feel more grown-up and cozy than stark white or bright primaries. These tones work especially well for focus areas like study zones because they’re calming without feeling babyish.
Pick one wall color and commit—Benjamin Moore, Sherwin-Williams, or budget option Behr all have solid earth-tone ranges. A gallon costs $25–$50, and you can paint most teen rooms with two gallons. DIY takes a weekend; hire a pro for $300–$600. Prep walls (patch holes, sand imperfections), use painter’s tape, and apply two coats. This works for renters too if you get permission and use peel-and-stick removable wallpaper instead.
Your walls become a calming backdrop that makes everything else (furniture, posters, artwork) look more intentional and pulled-together.
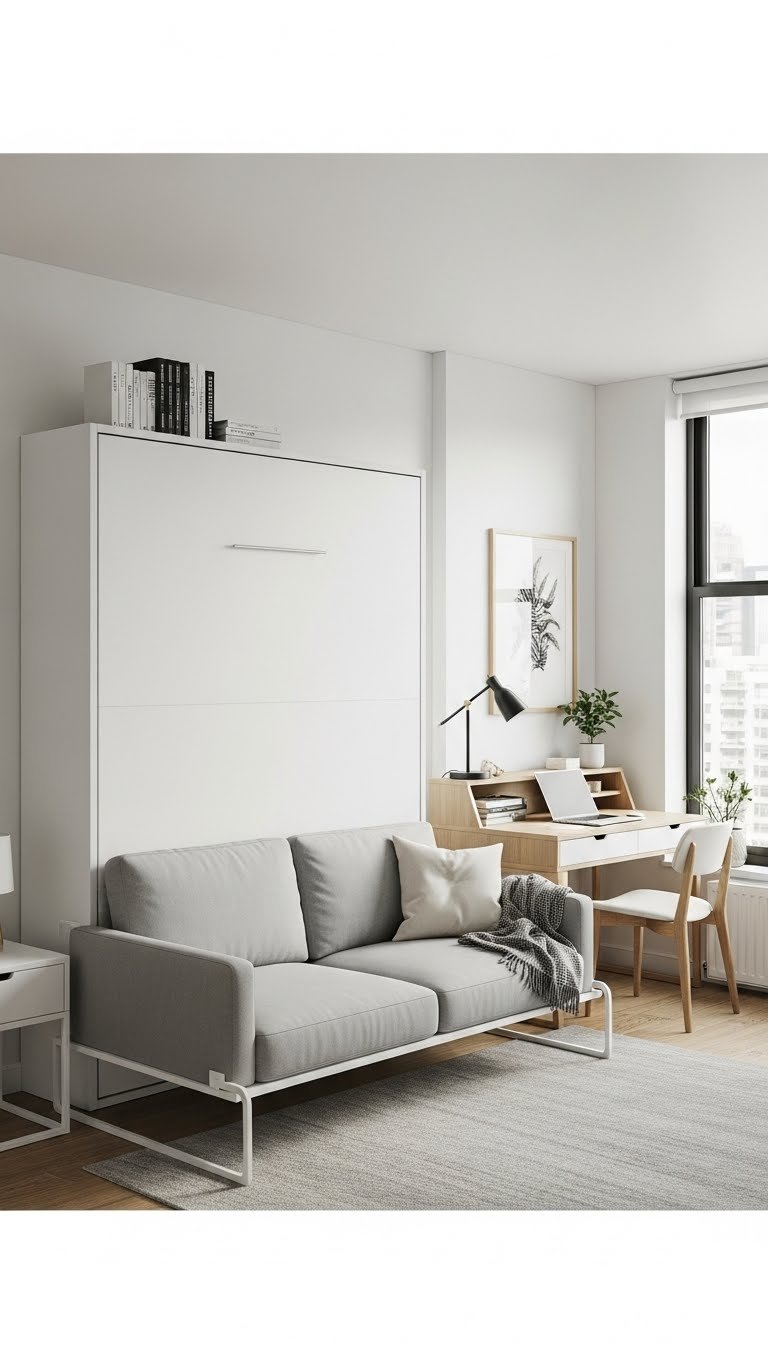
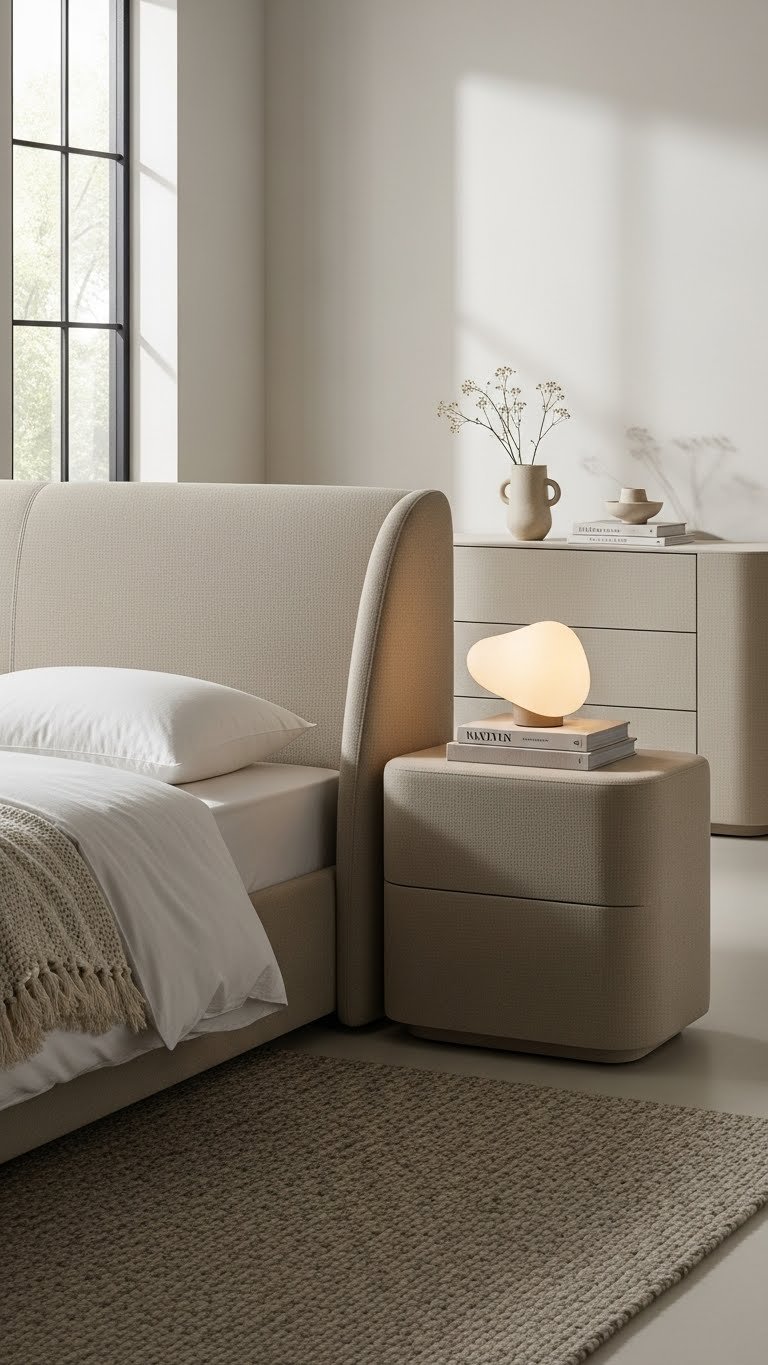
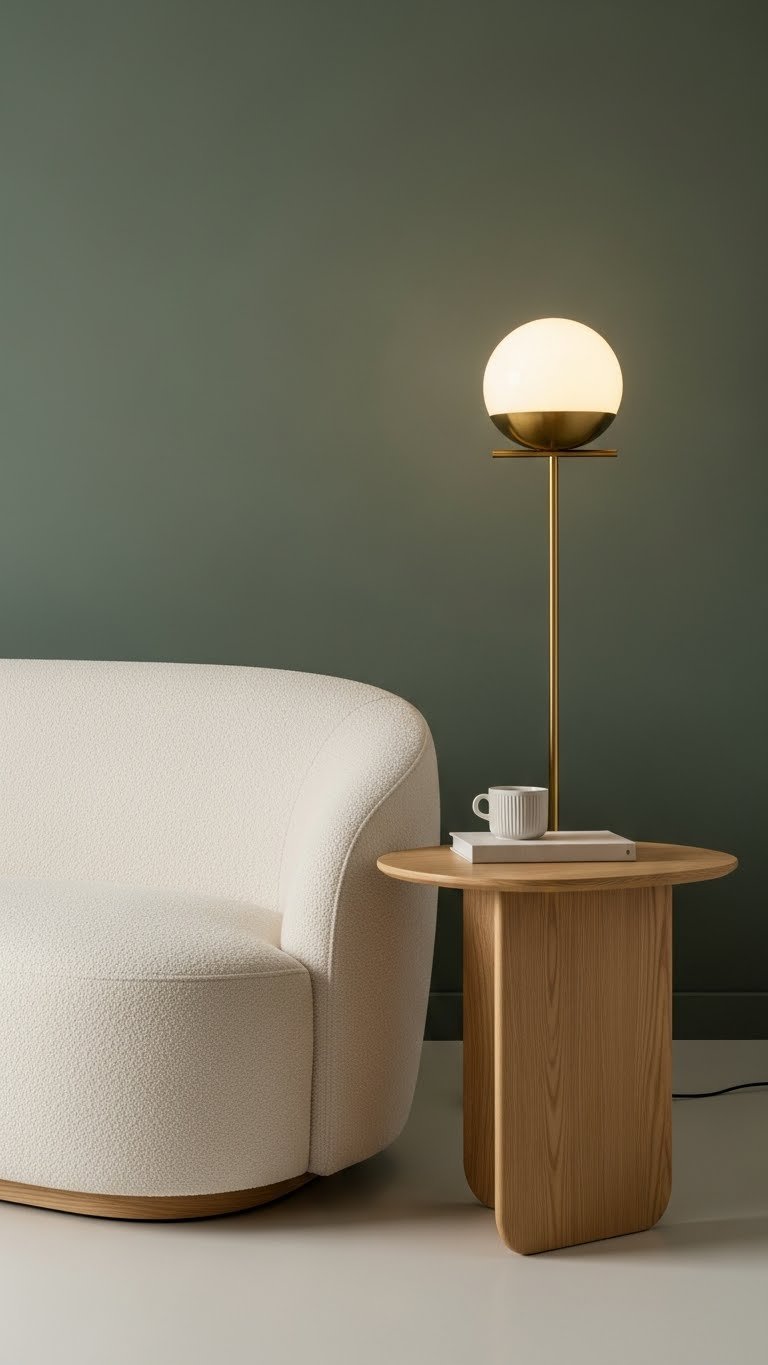
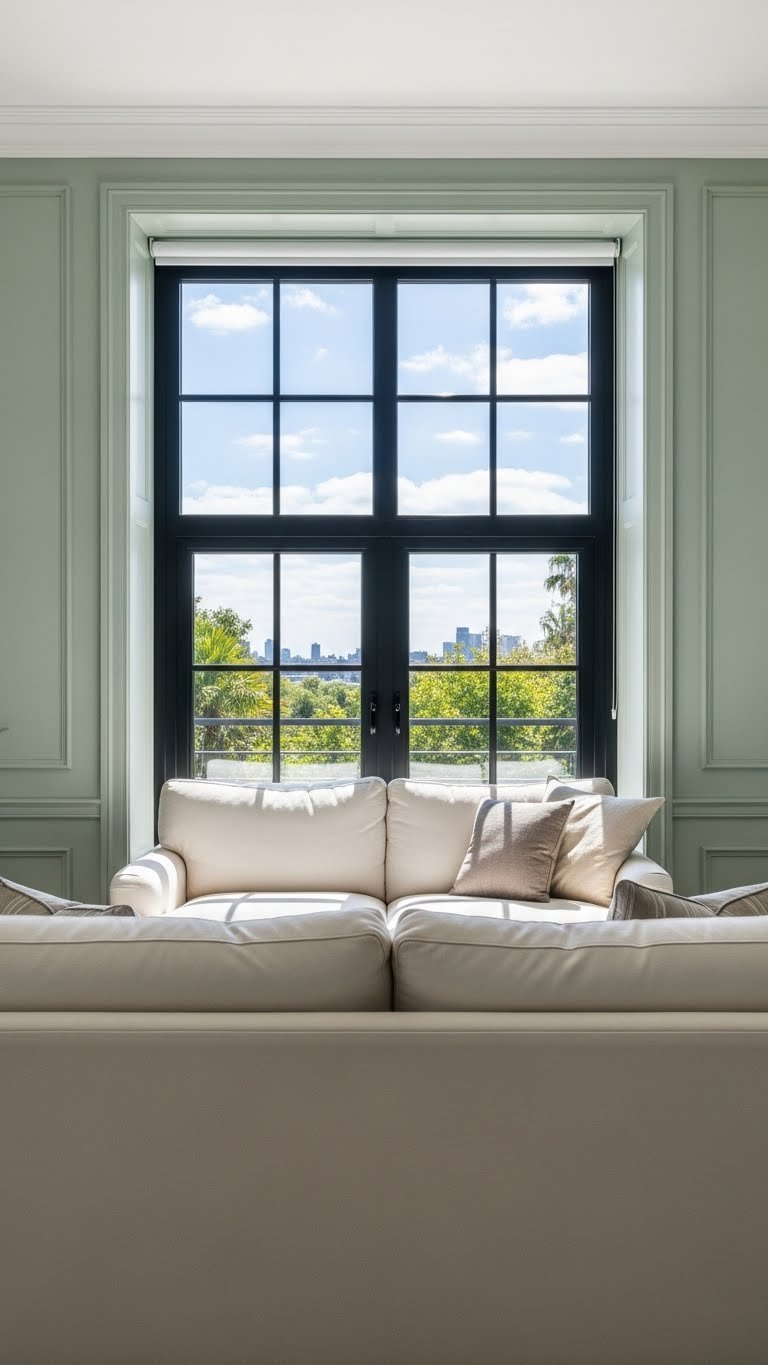
2. Add Curved Furniture for Visual Softness
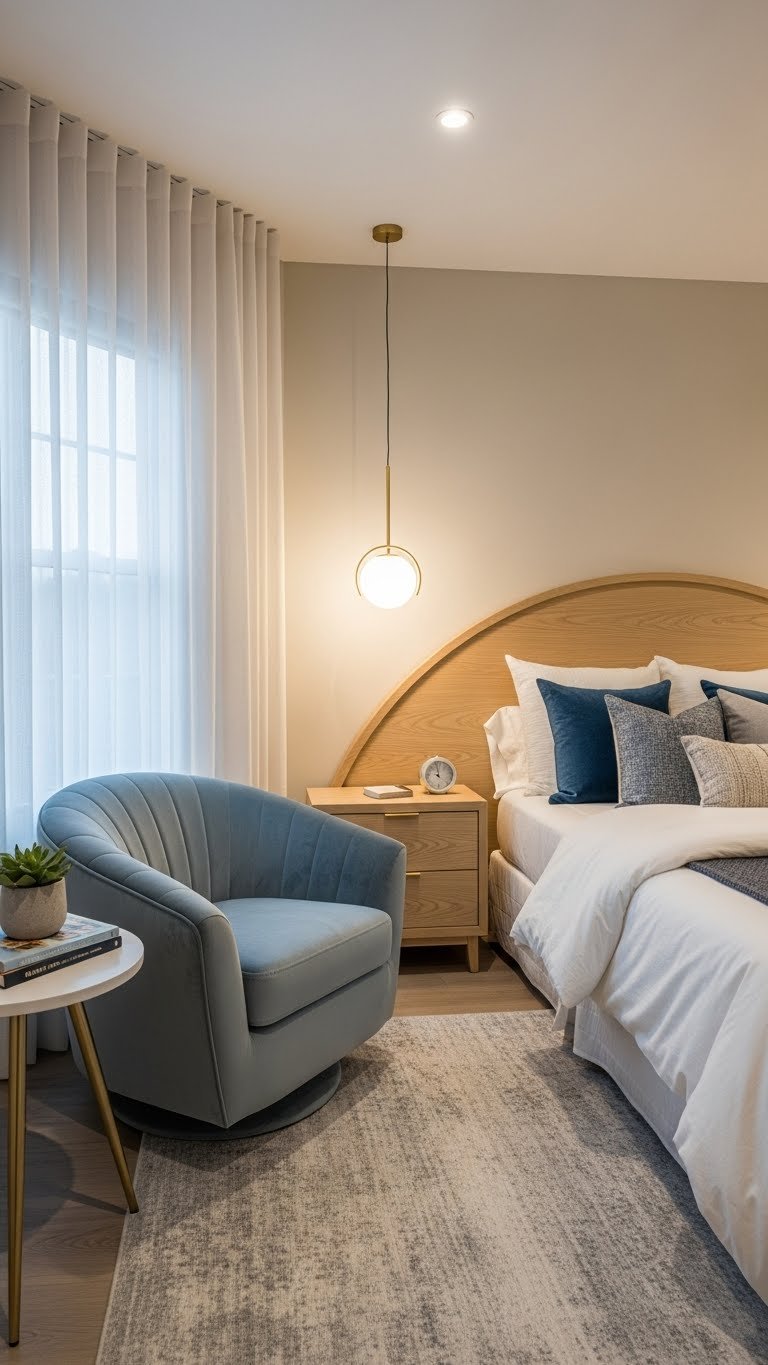
Straight lines and sharp corners feel rigid; curved furniture brings comfort and movement into a space. A curved chair, ottoman, or headboard adds visual interest and actually feels better to lounge in.
Hunt for curved armchairs on IKEA, Wayfair, or Amazon in the $150–$400 range, or find secondhand options on Facebook Marketplace or Craigslist for $50–$150. A curved nightstand or side table runs $100–$250 new. The beauty is you only need one statement piece to shift the whole room’s energy. Pair it with straight pieces to keep balance—don’t curve everything or the space feels chaotic.
This one investment piece becomes your room’s conversation starter and the most comfortable spot for homework or decompressing.
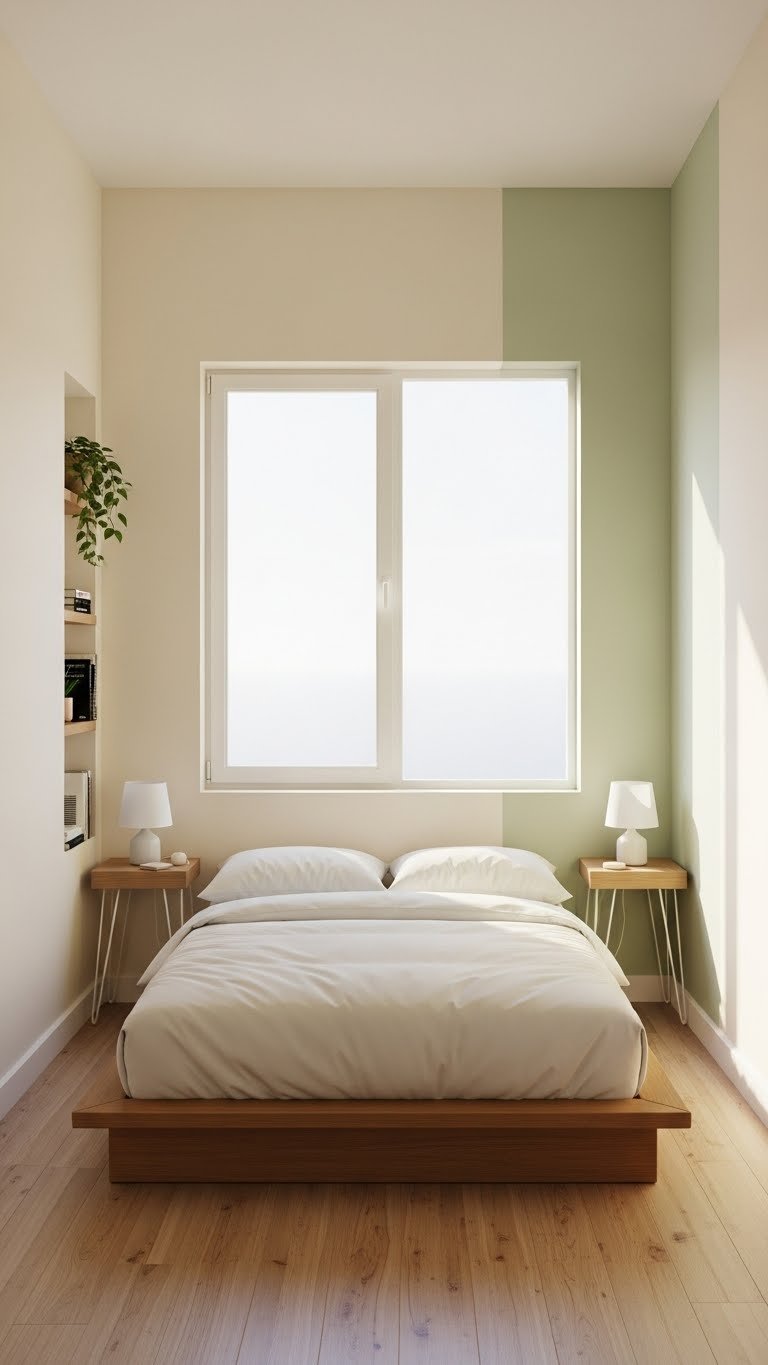
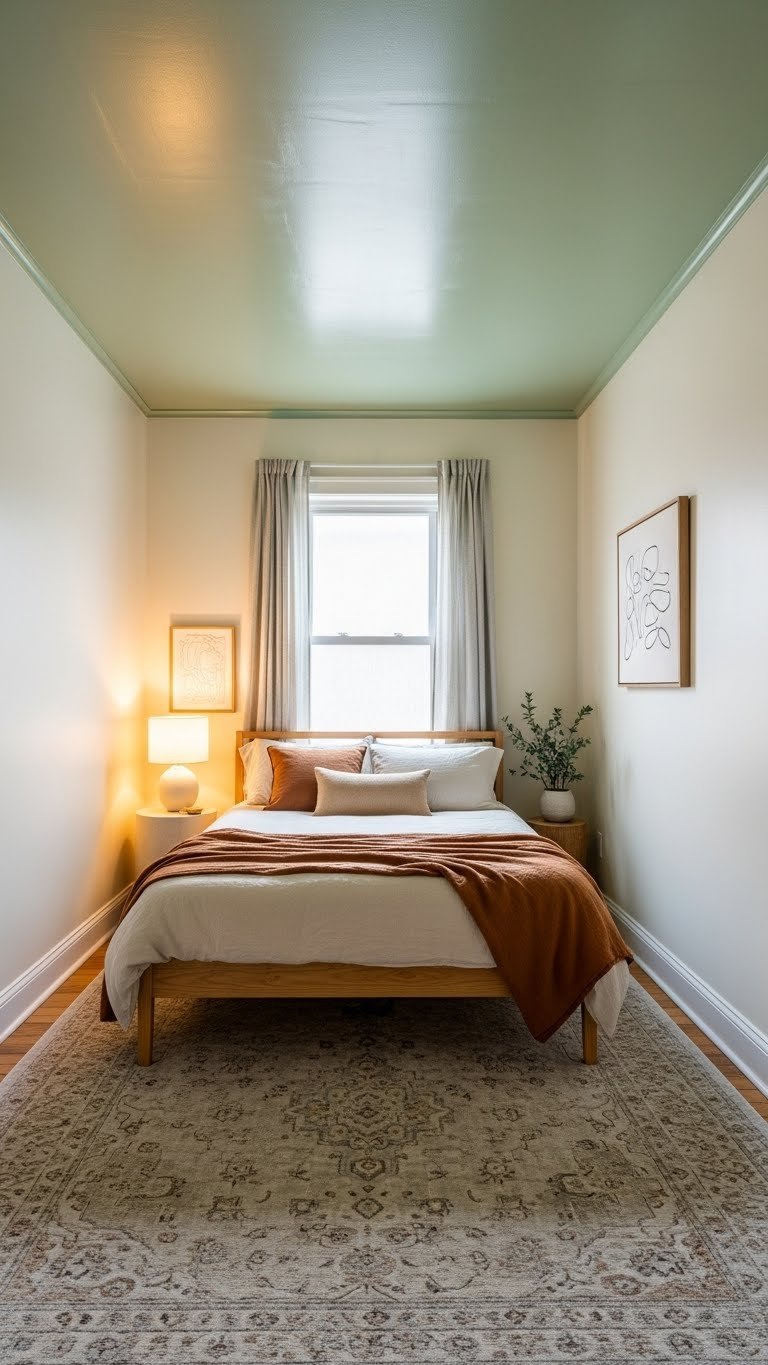
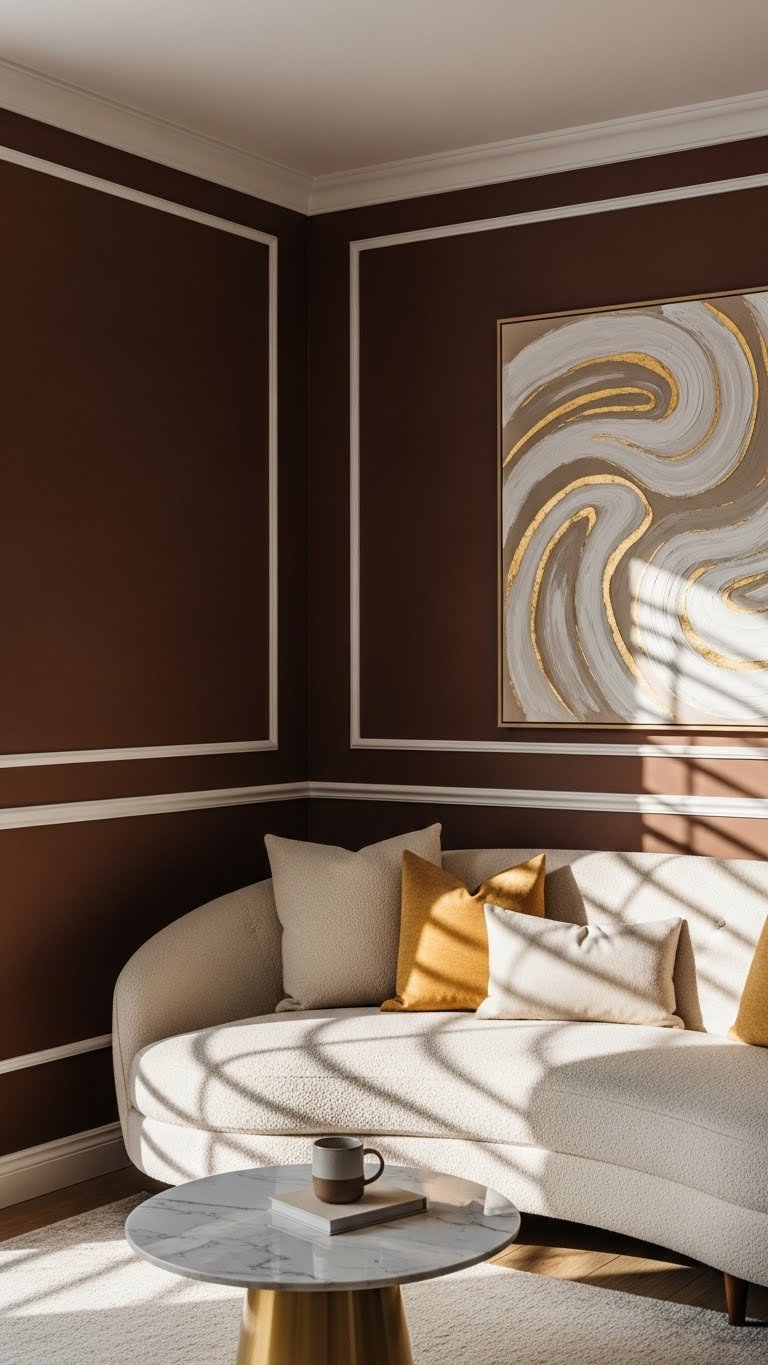
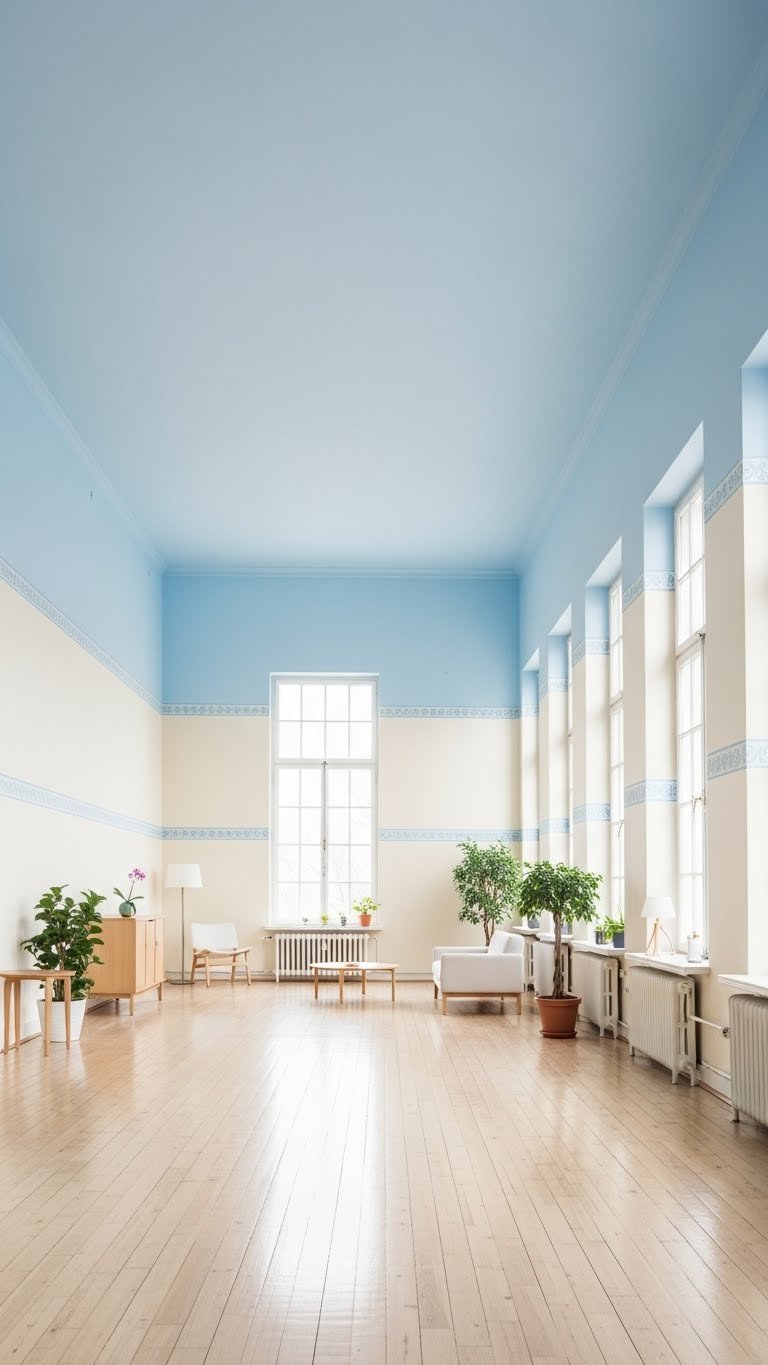
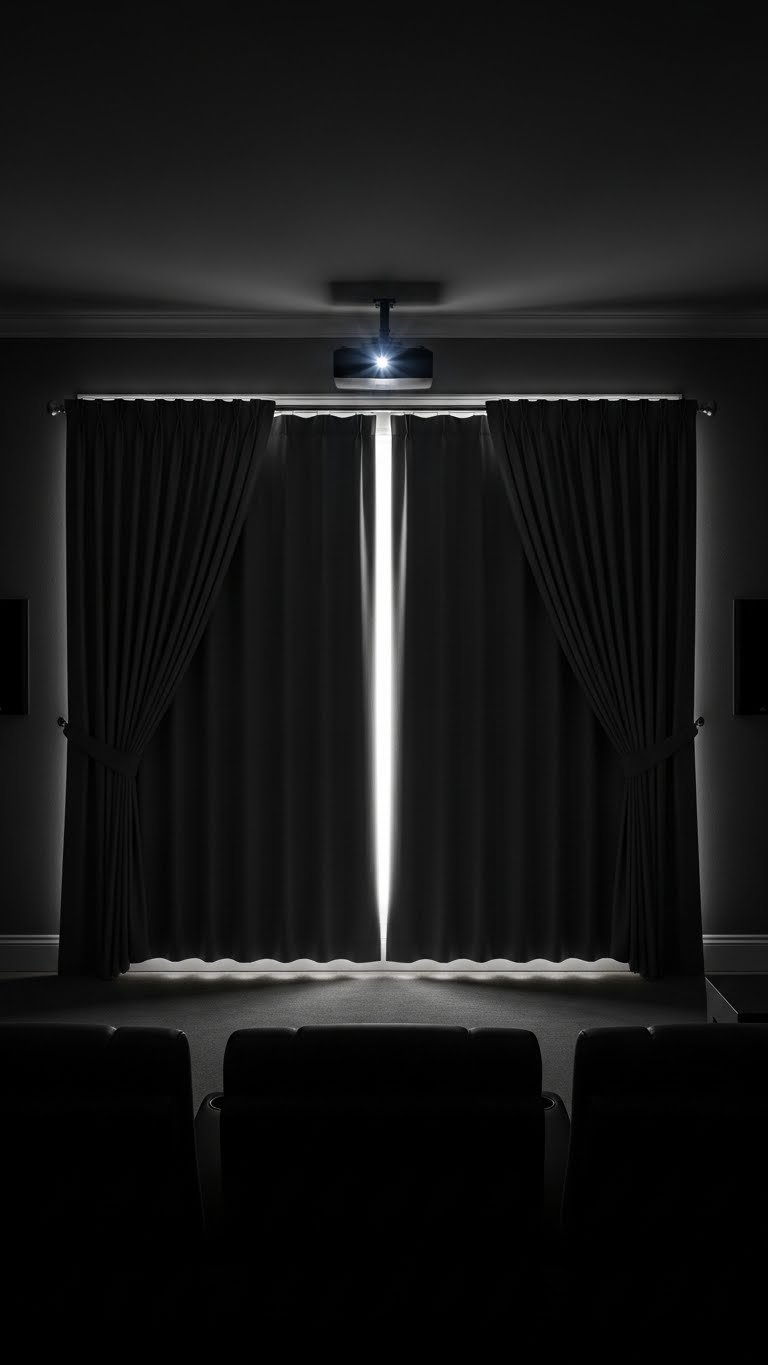
3. Use Color Drenching to Go Bold
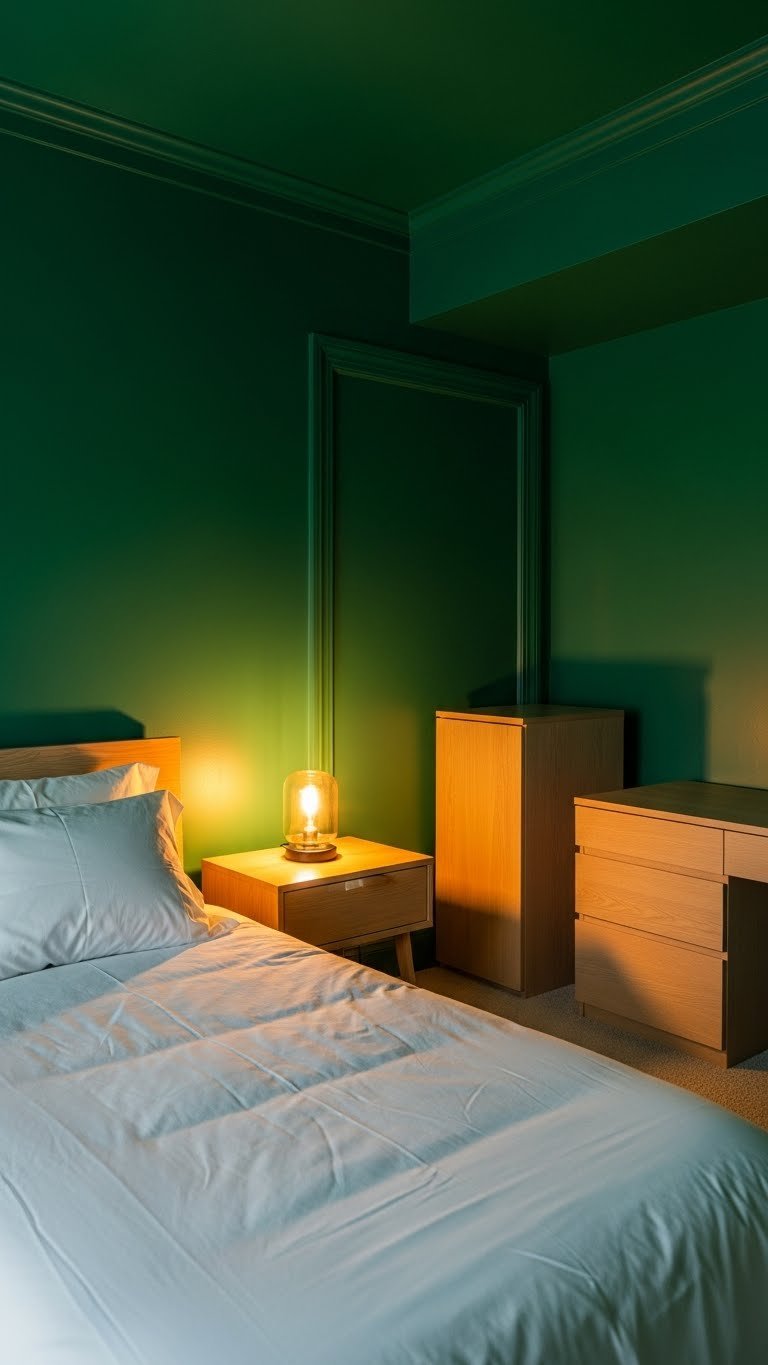
Forget accent walls. Color drenching means painting all four walls (and sometimes the ceiling) in one saturated hue. Instead of drawing focus to one wall, you create an immersive mood that makes the room feel intentional and magazine-worthy.
Choose a color you genuinely love—deep jewel tones (emerald, sapphire, burgundy) and moody teals work great for teen spaces. Paint + supplies: $40–$70. This is a weekend DIY project or $400–$700 with a pro. The key is committing; this works best when you’re not second-guessing yourself. Pair with white or light-wood furniture so the room doesn’t feel cave-like.
The payoff is huge: a room that feels designed, mature, and totally different from anything your teen has experienced before.
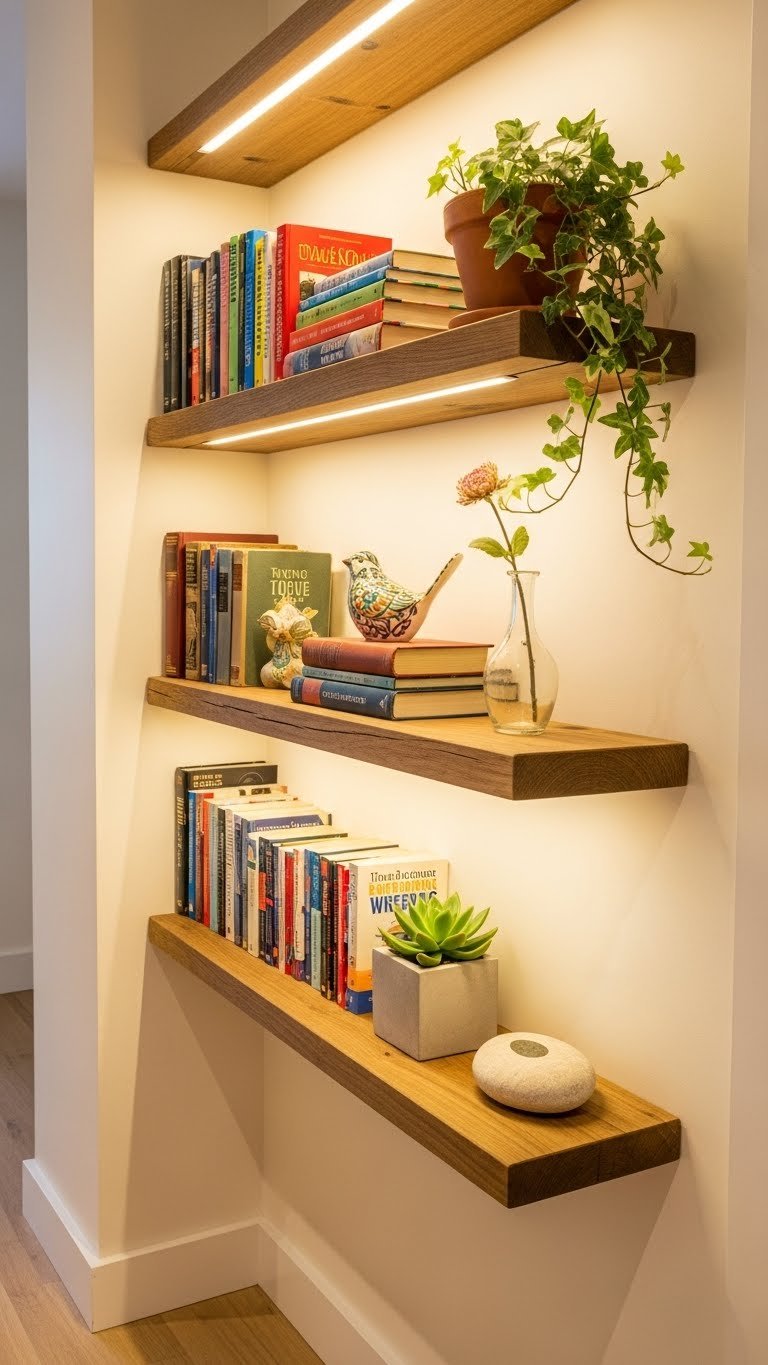
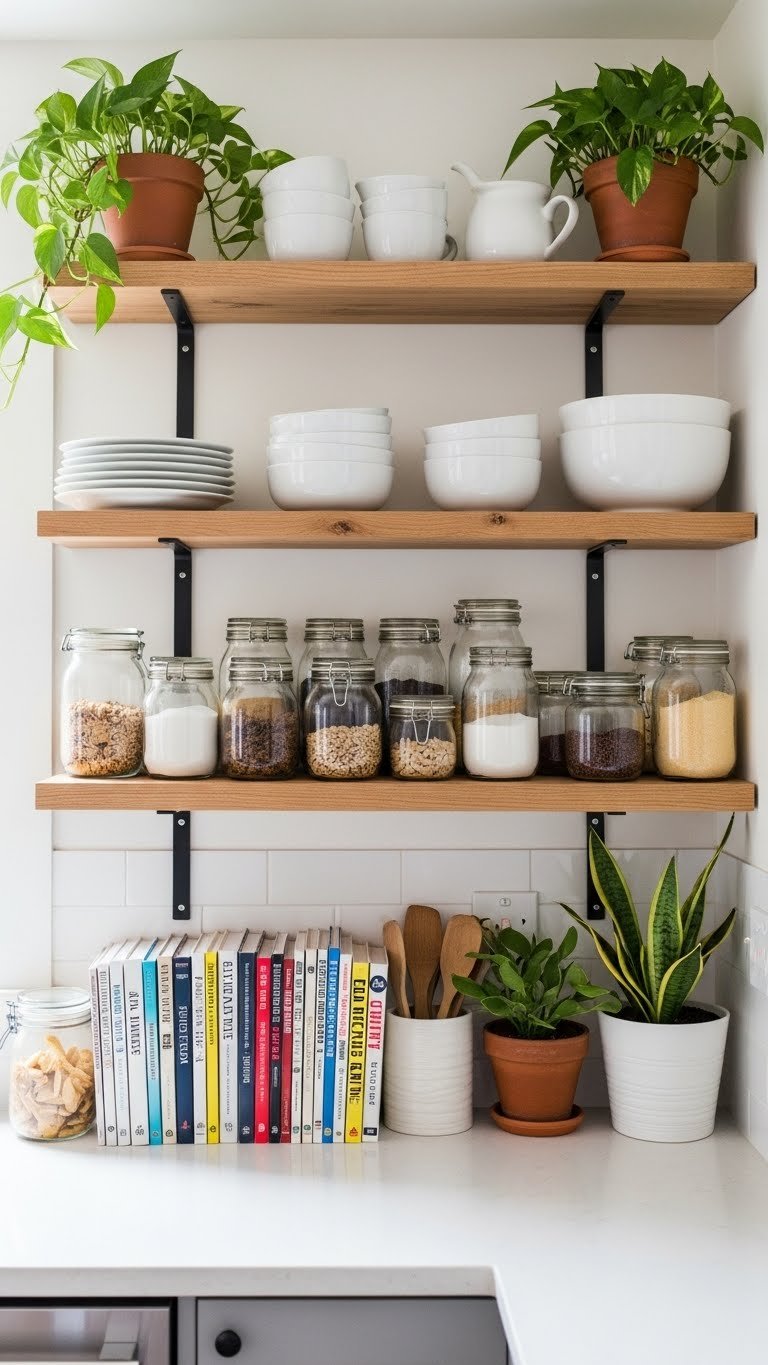
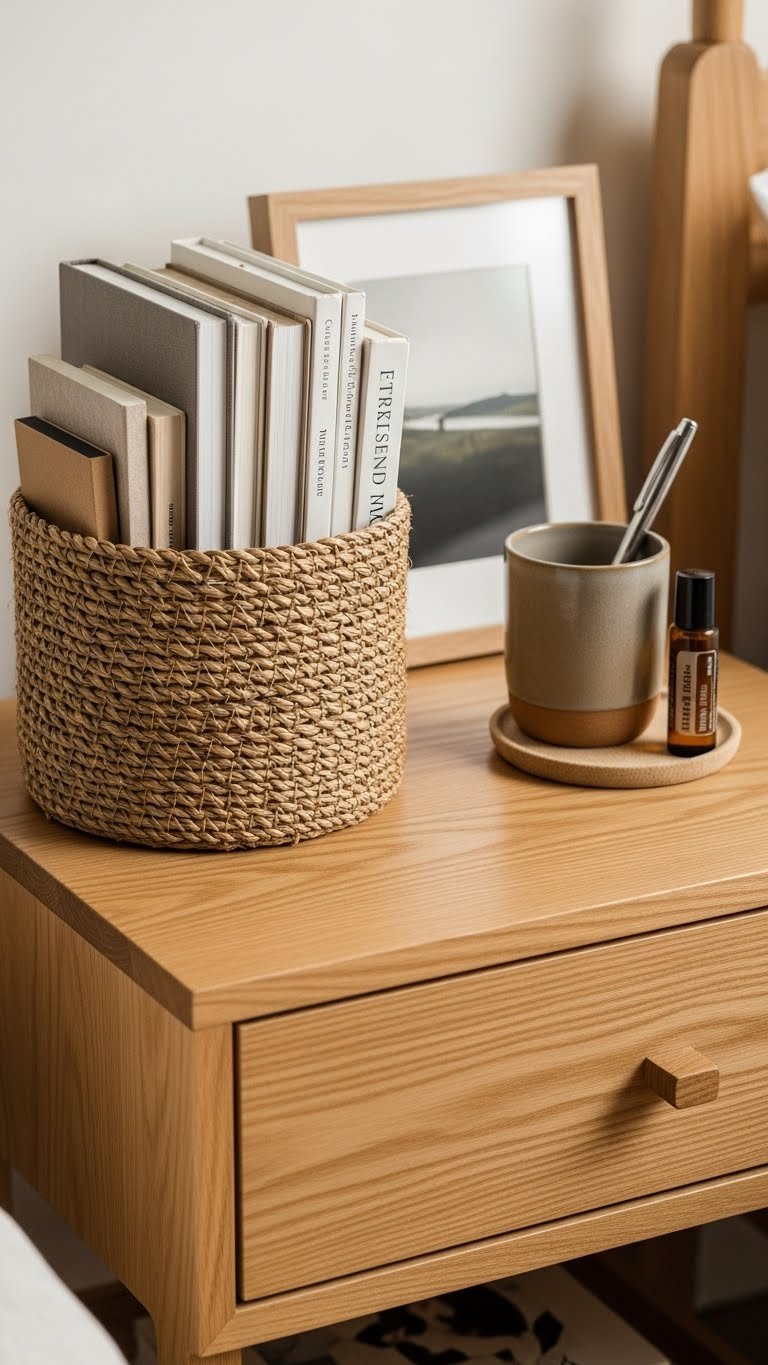
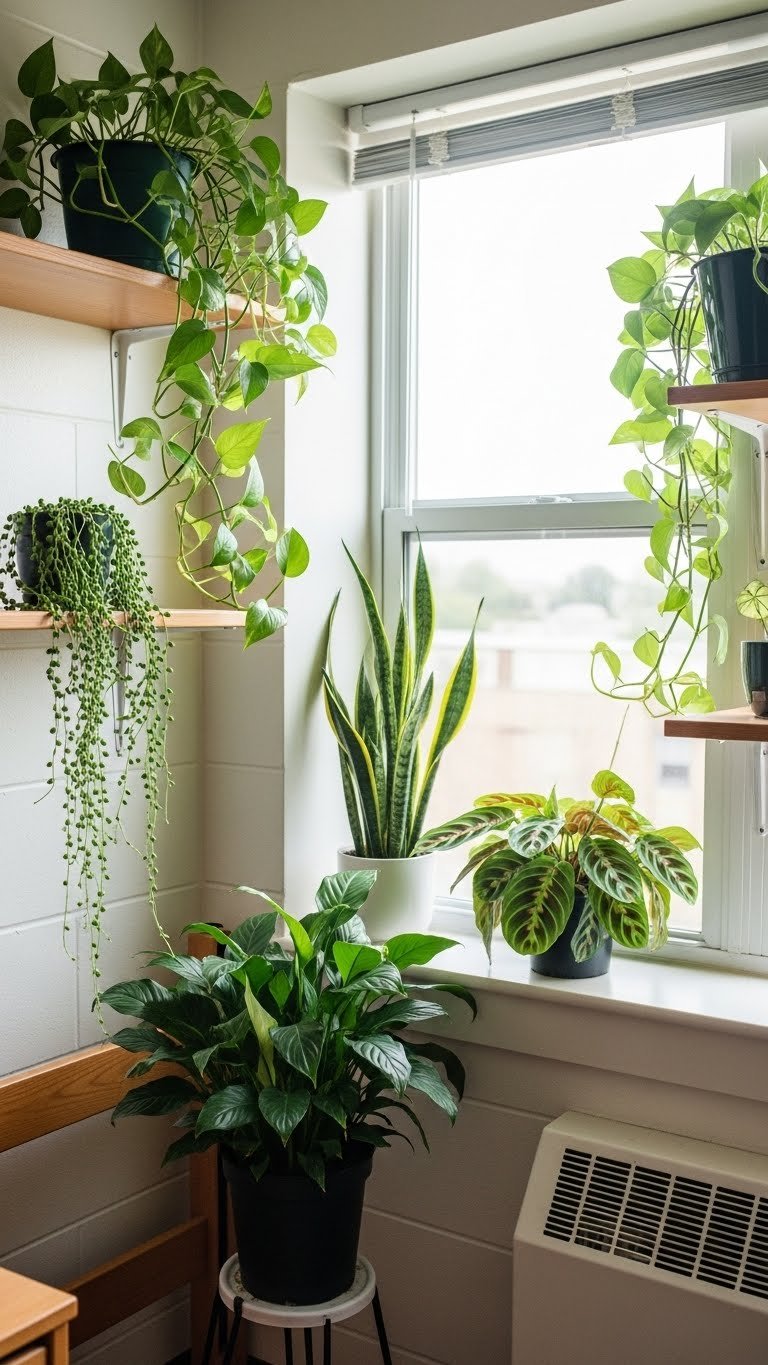
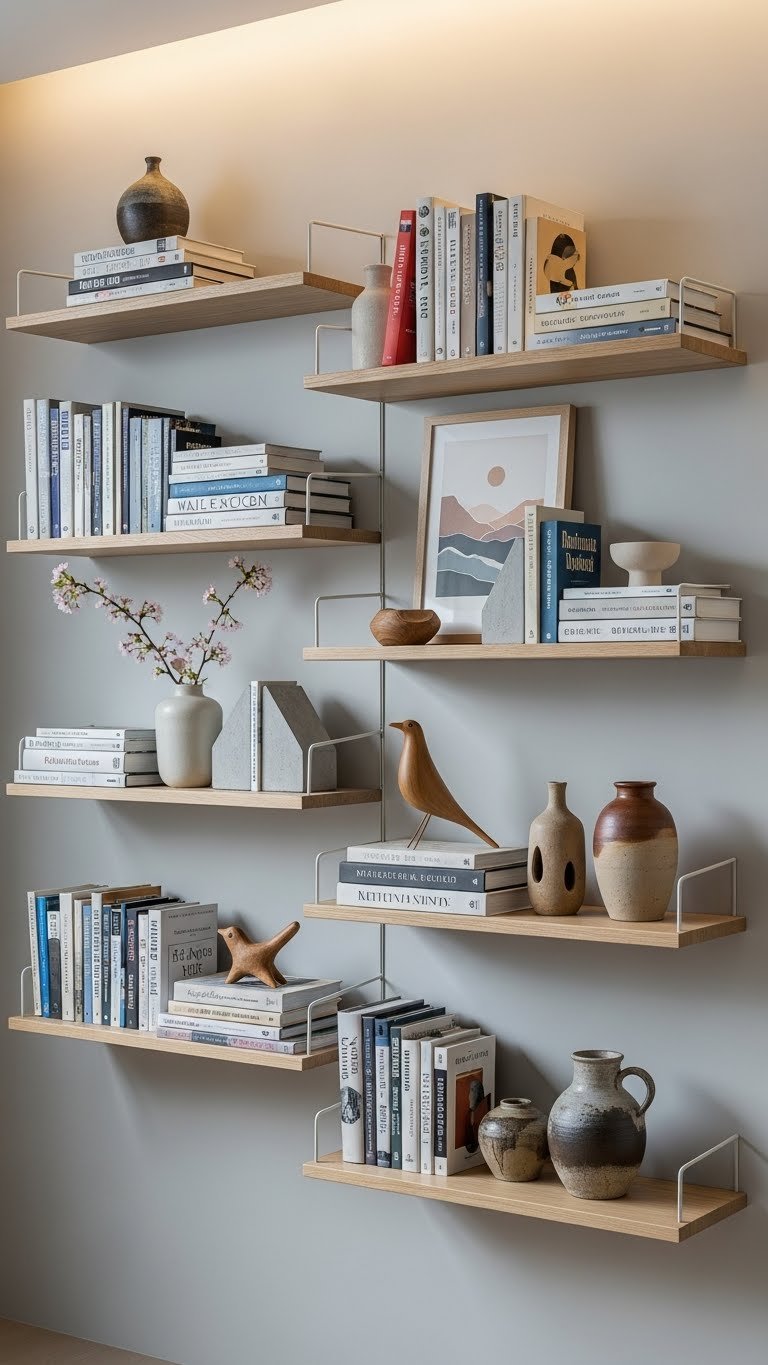
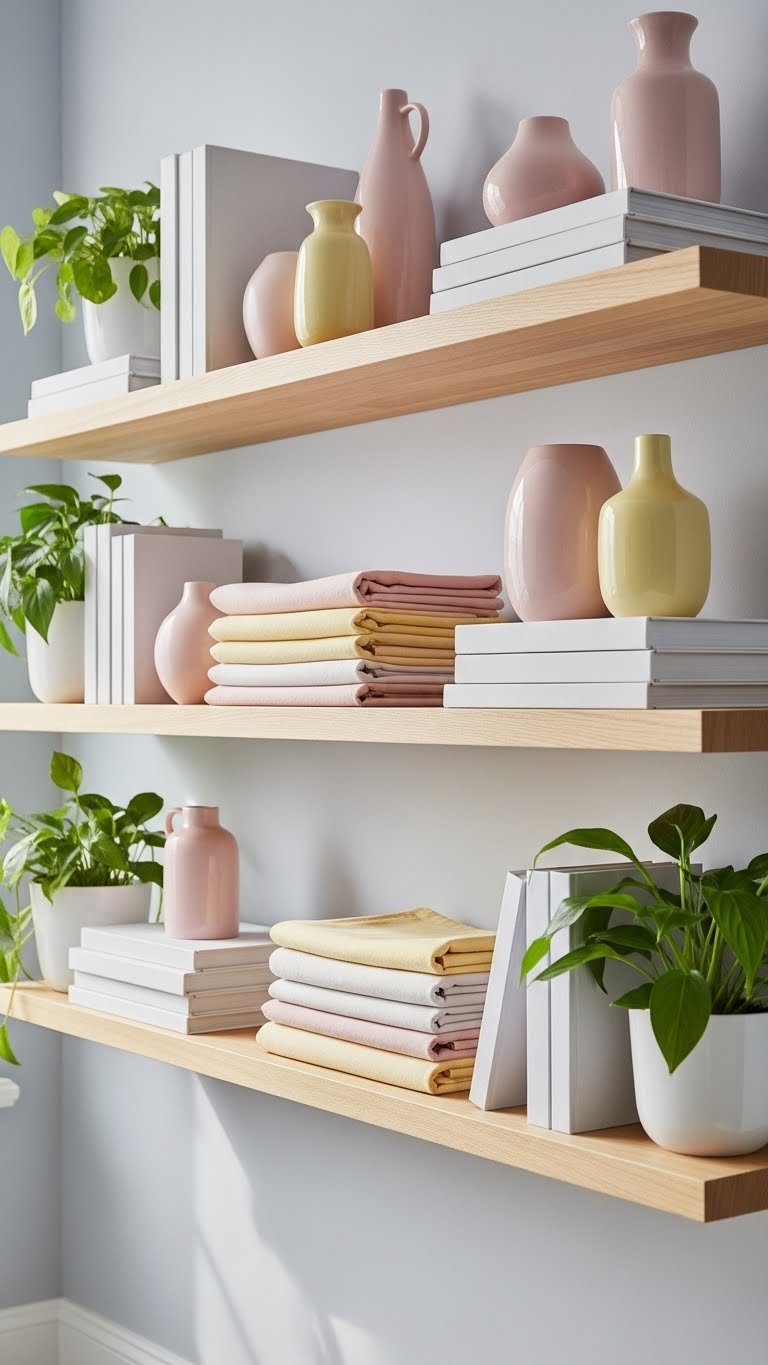
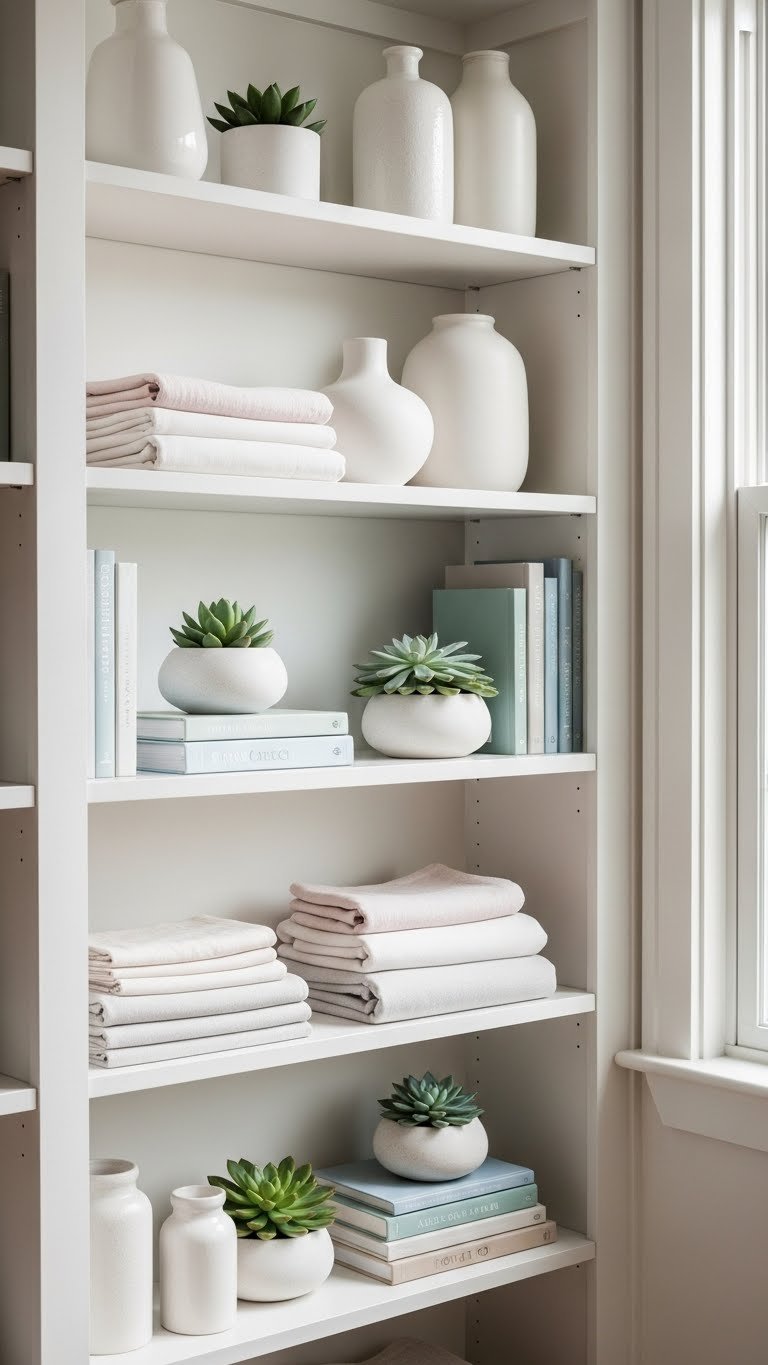
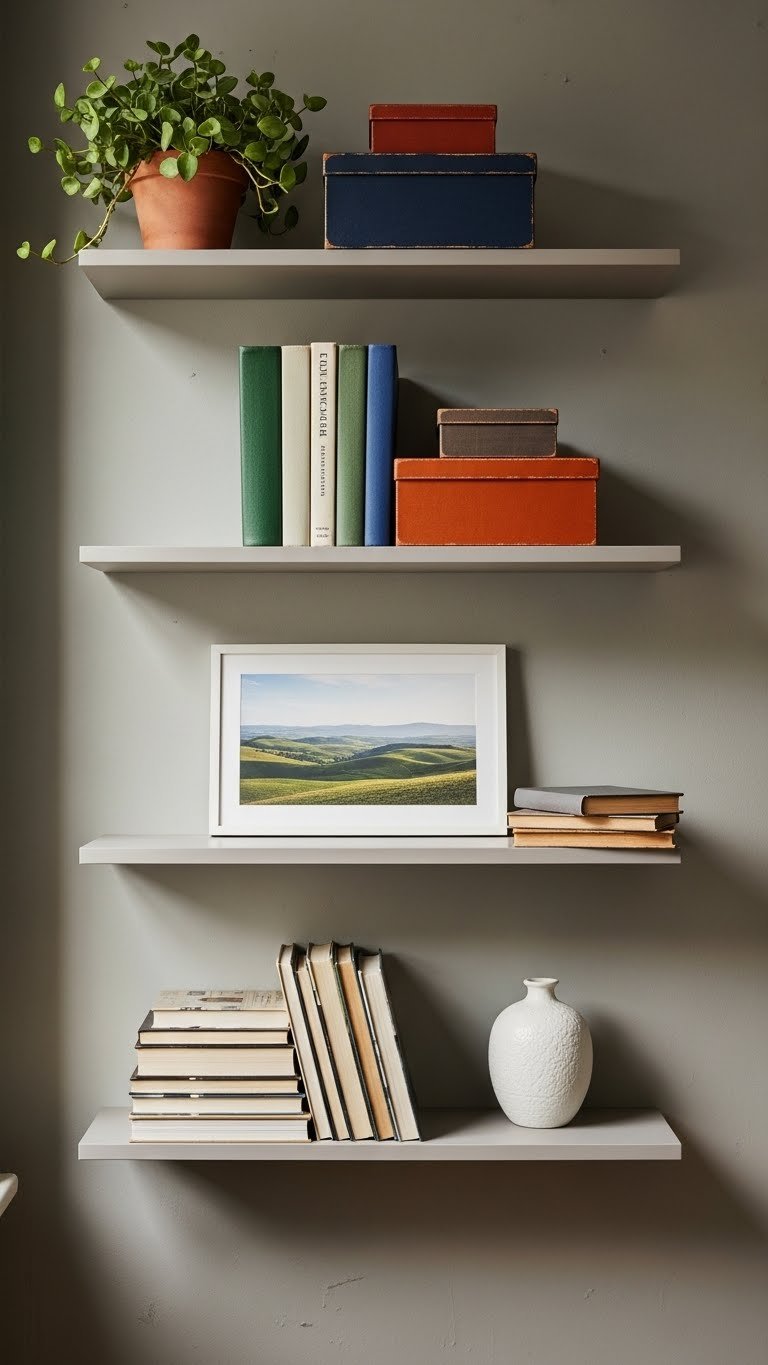
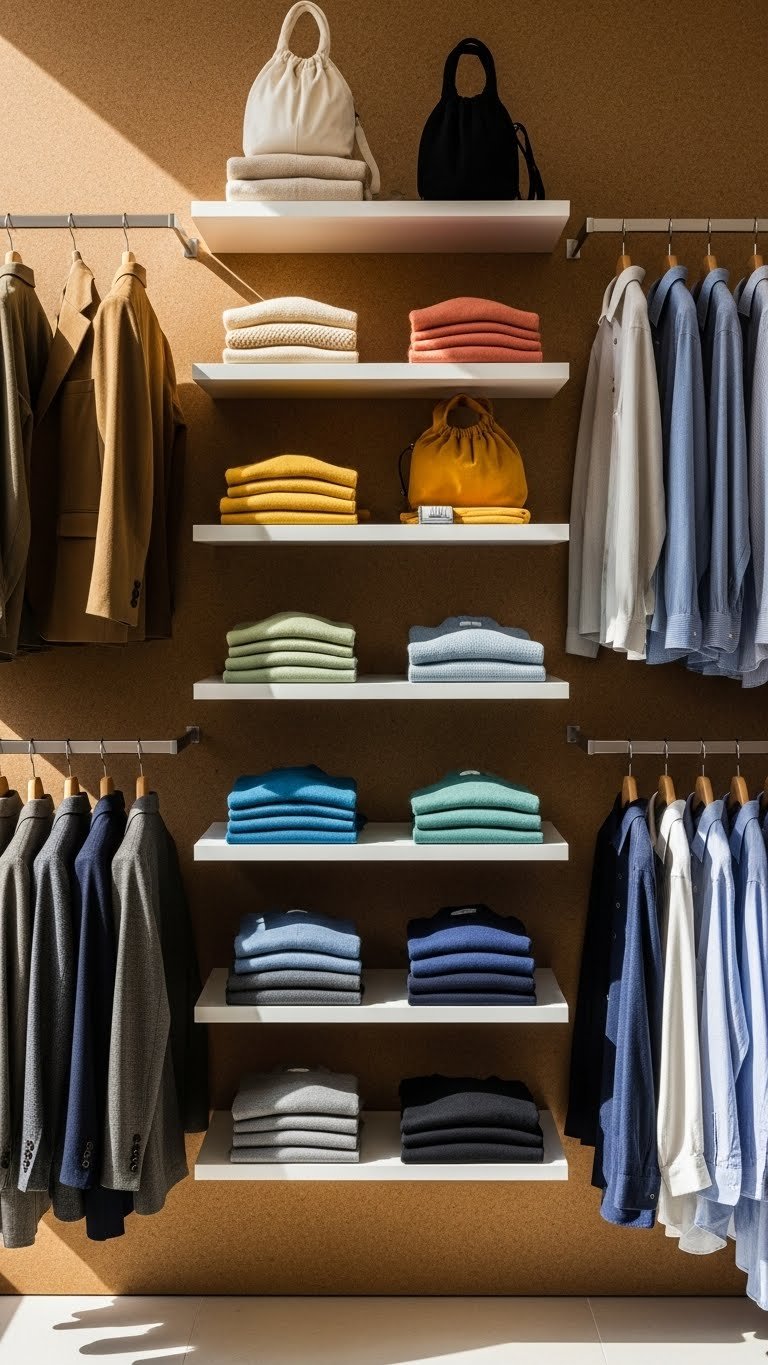
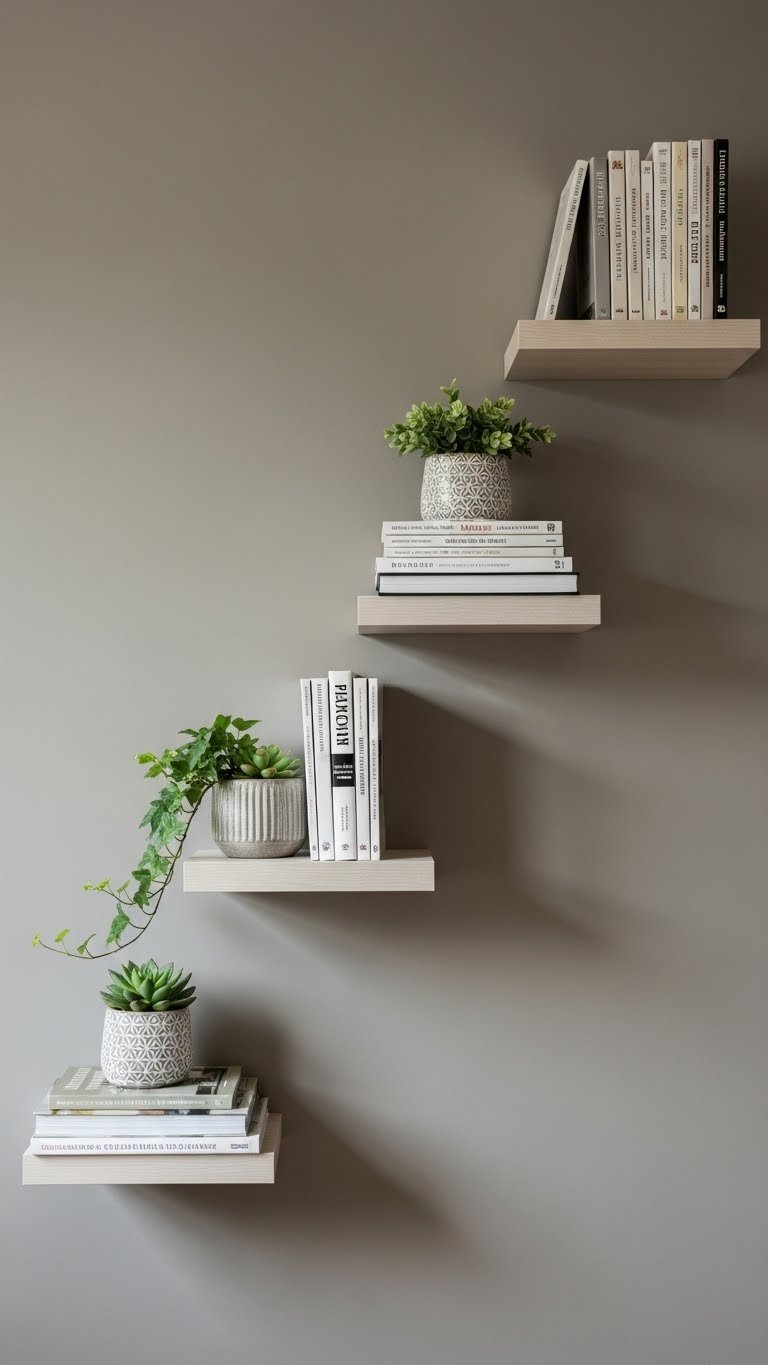
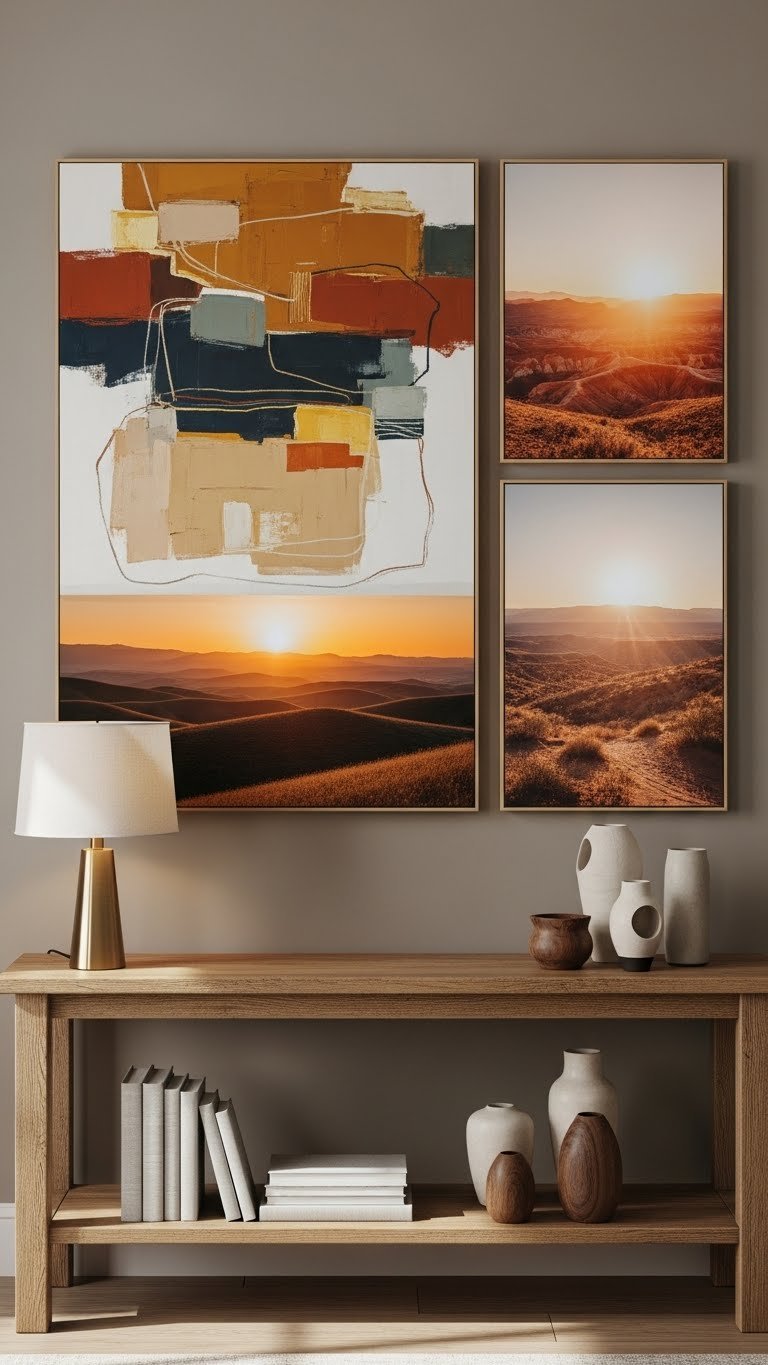
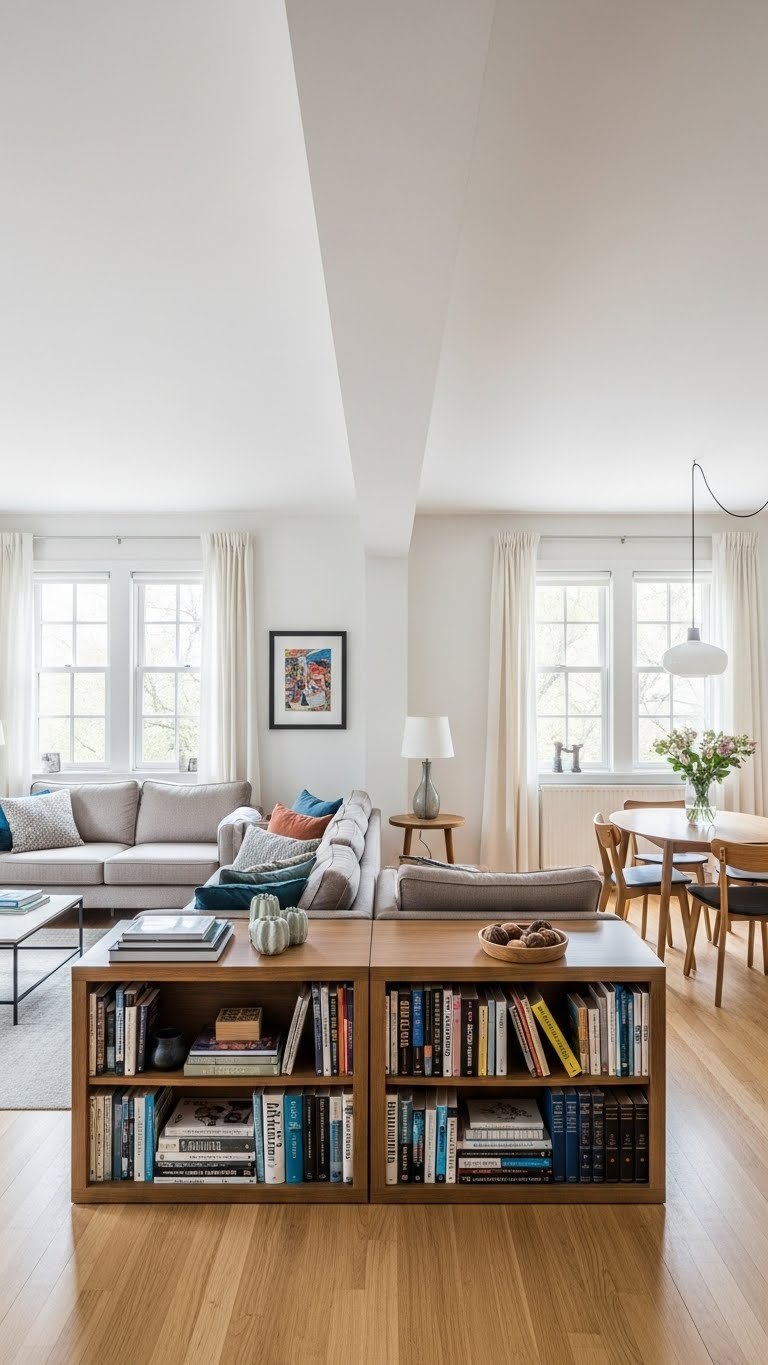
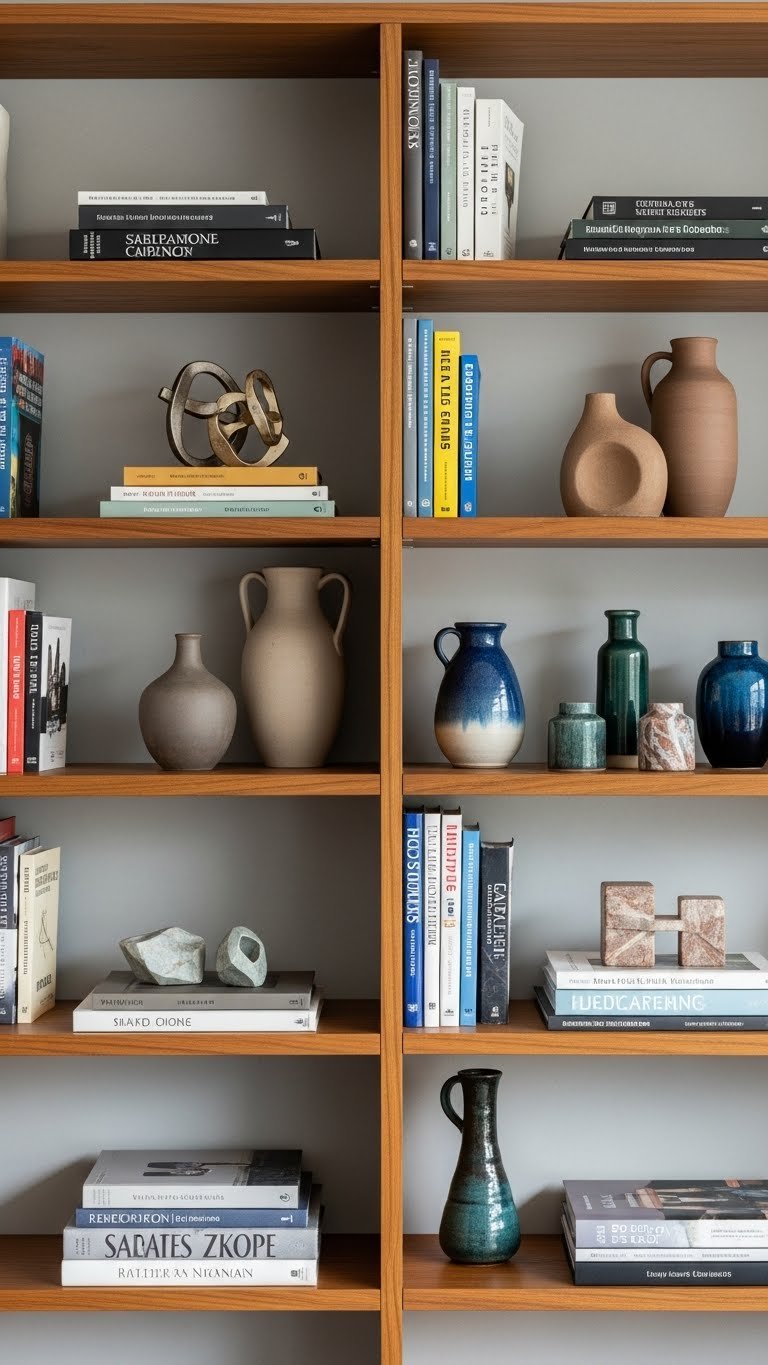
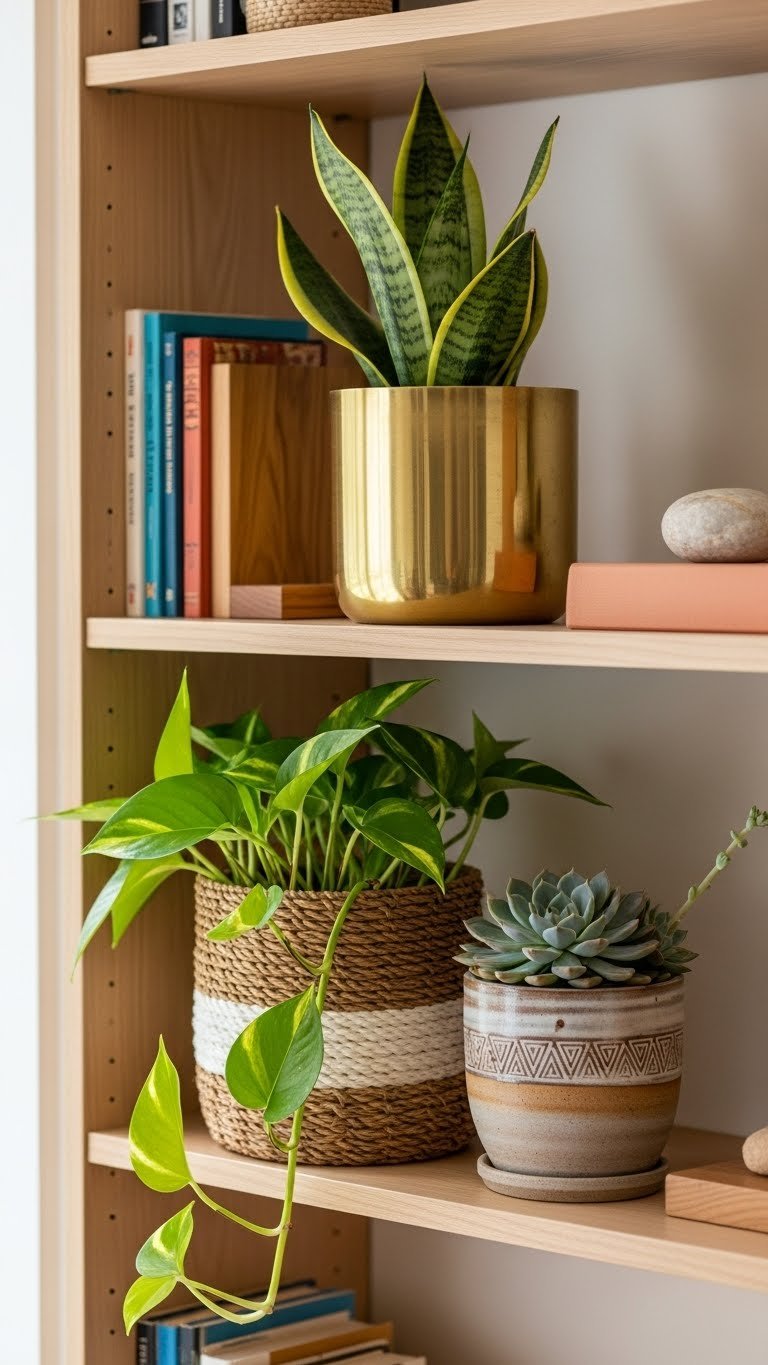
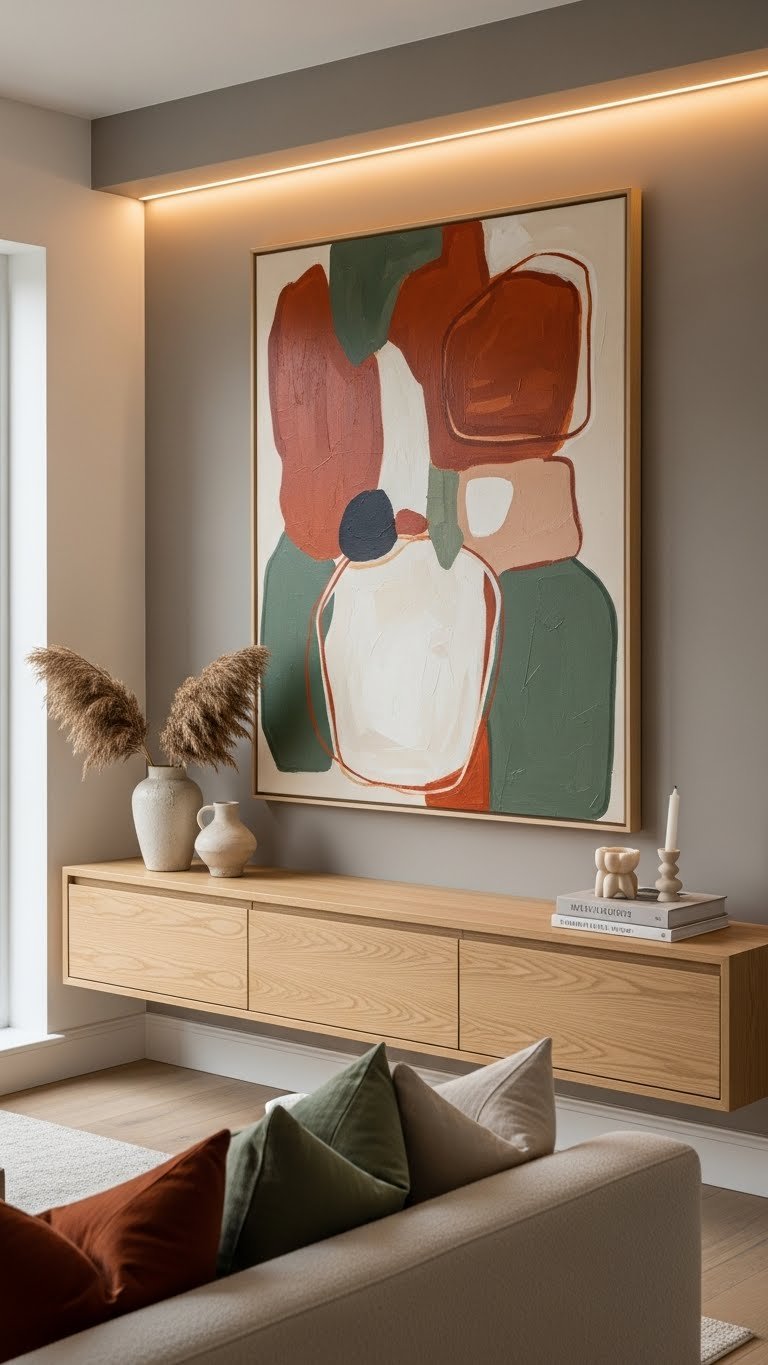
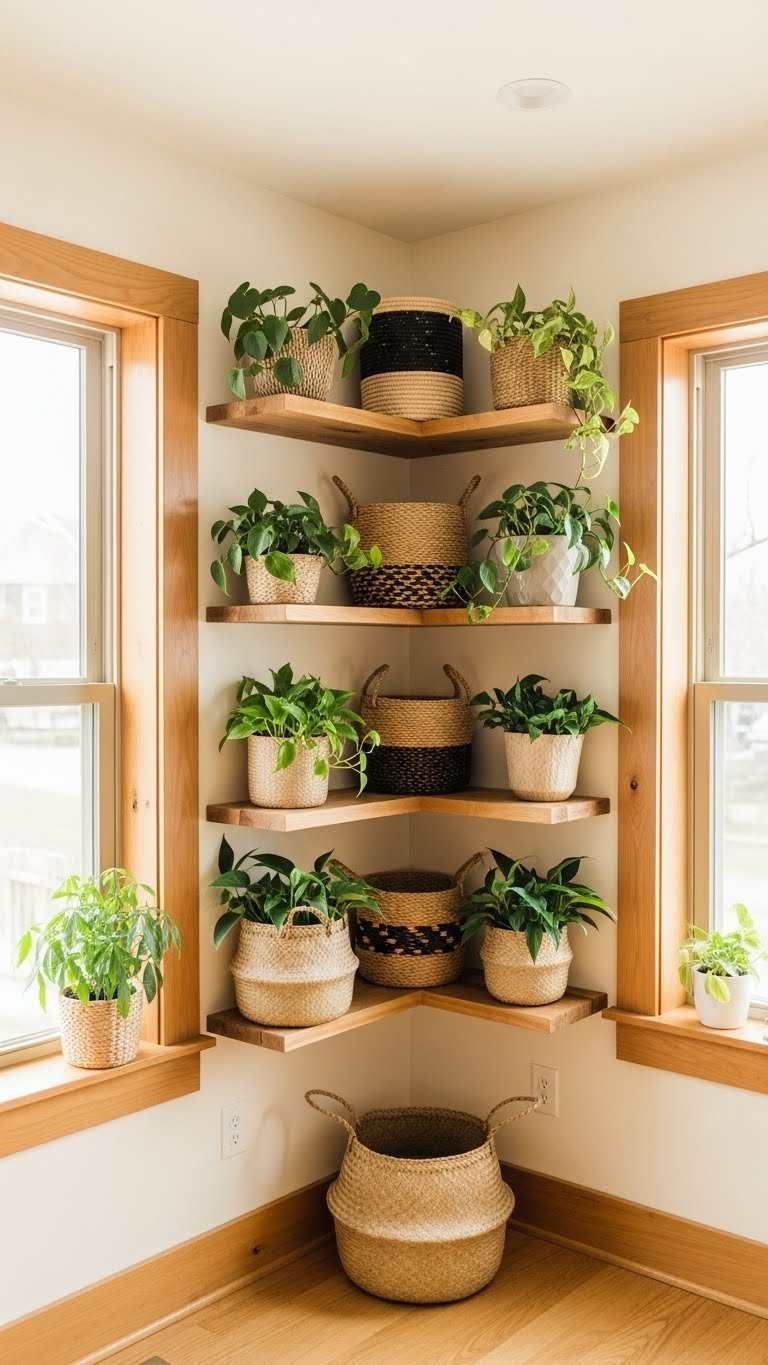
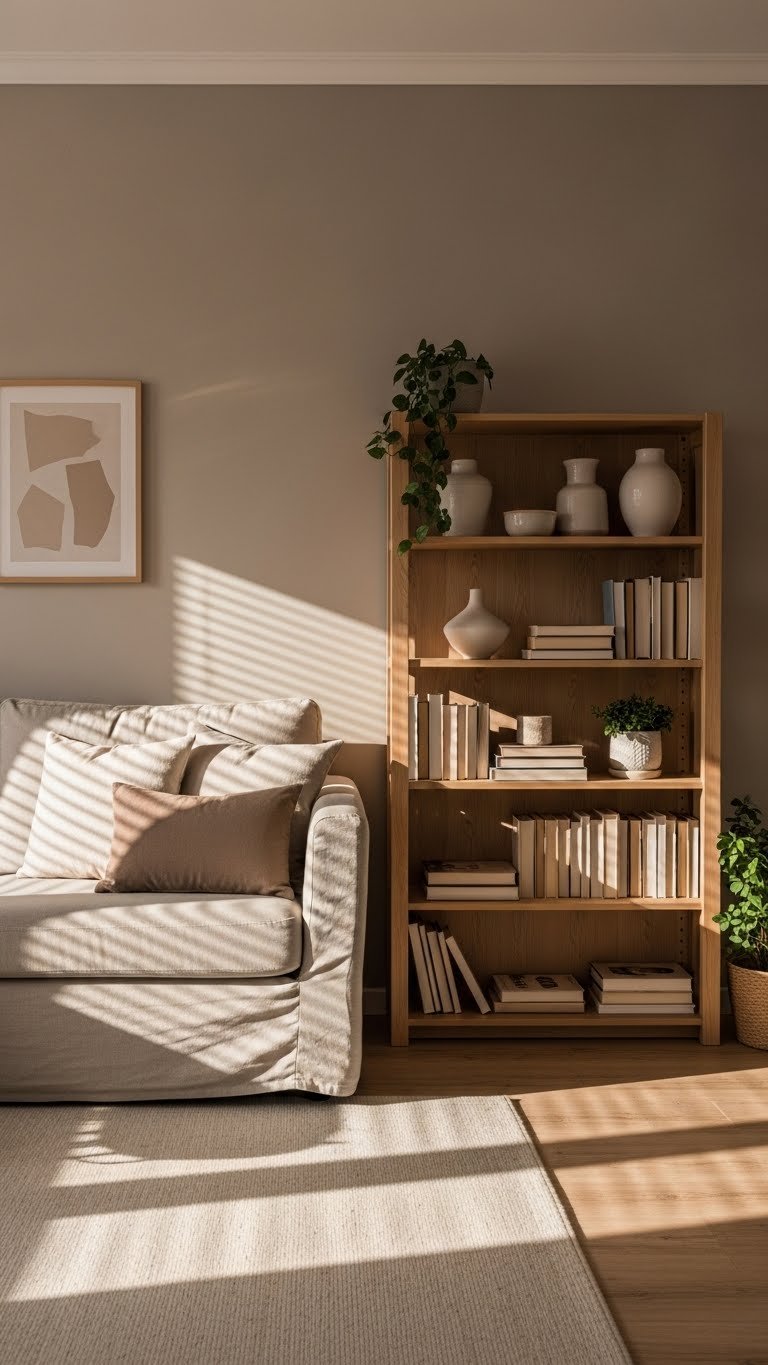
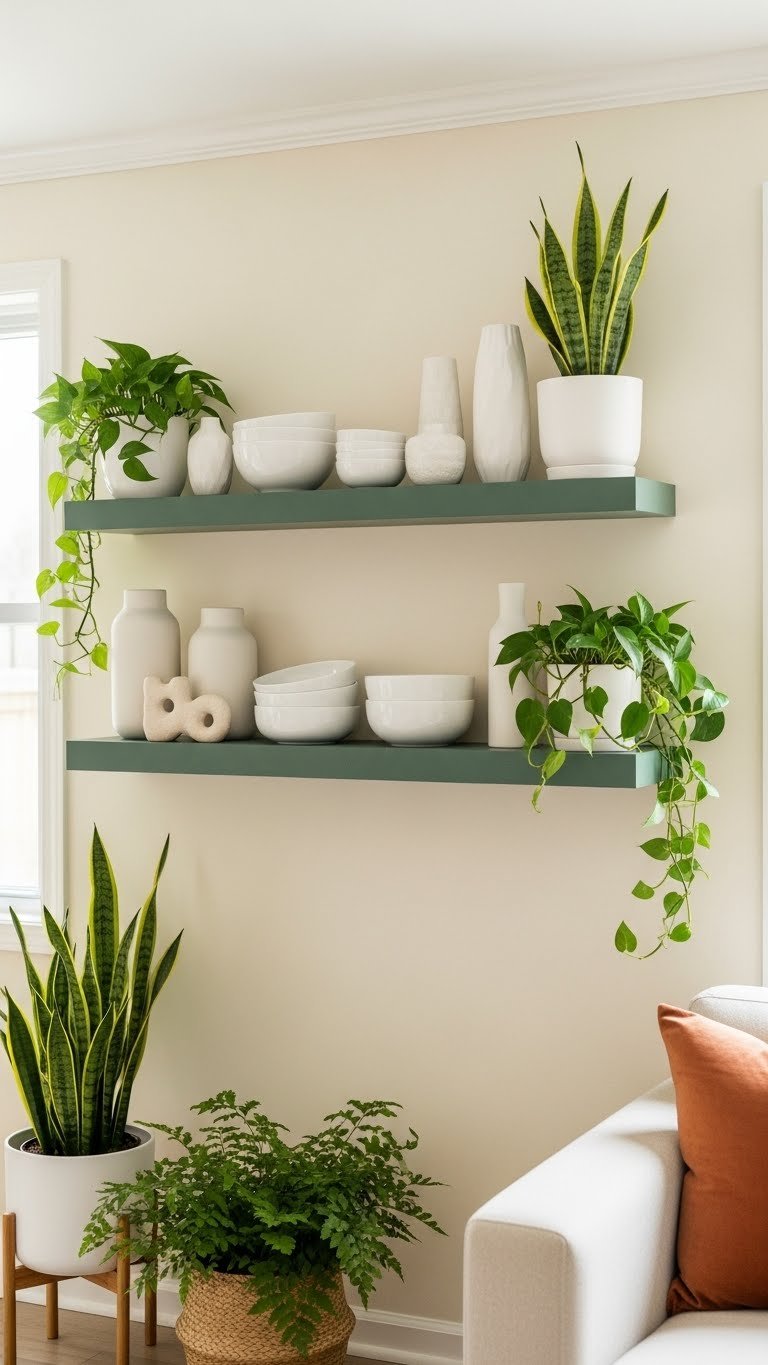
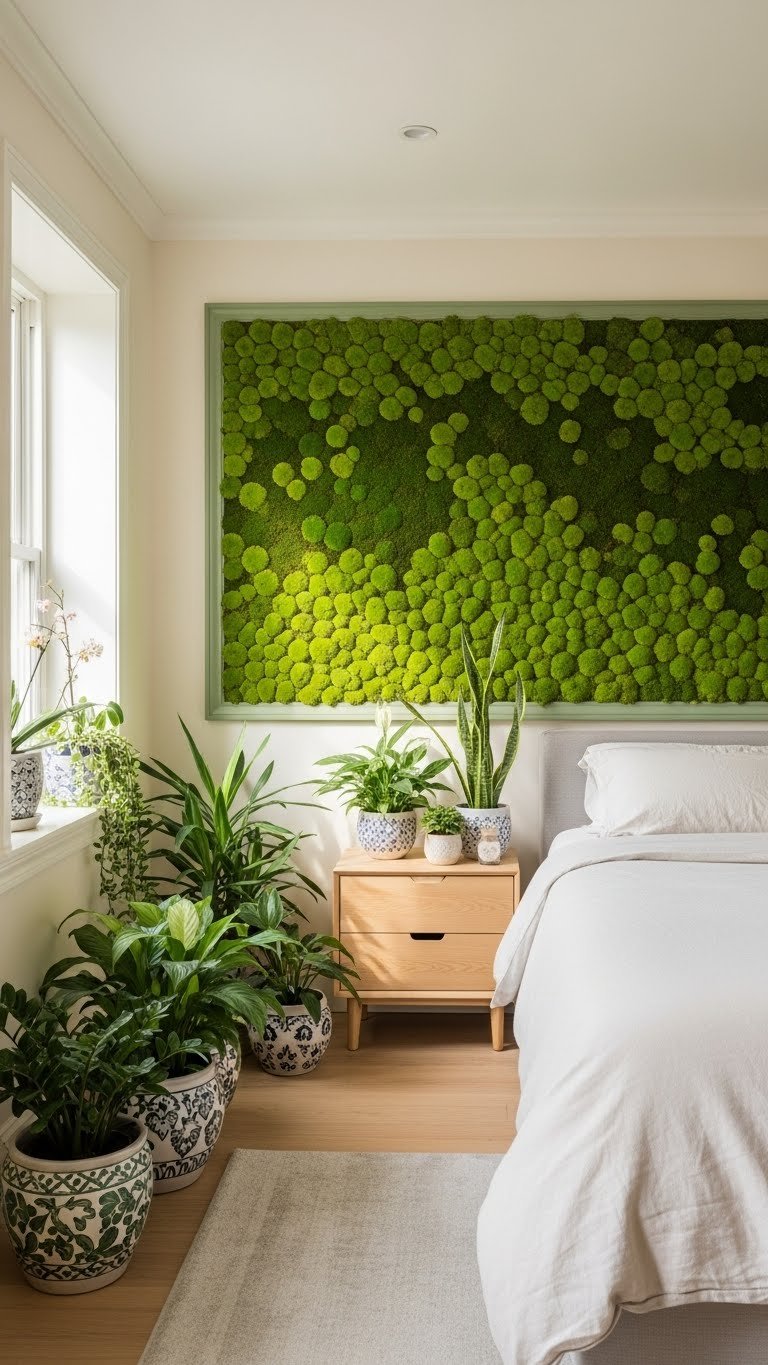
4. Install Floating Shelves for Storage + Style
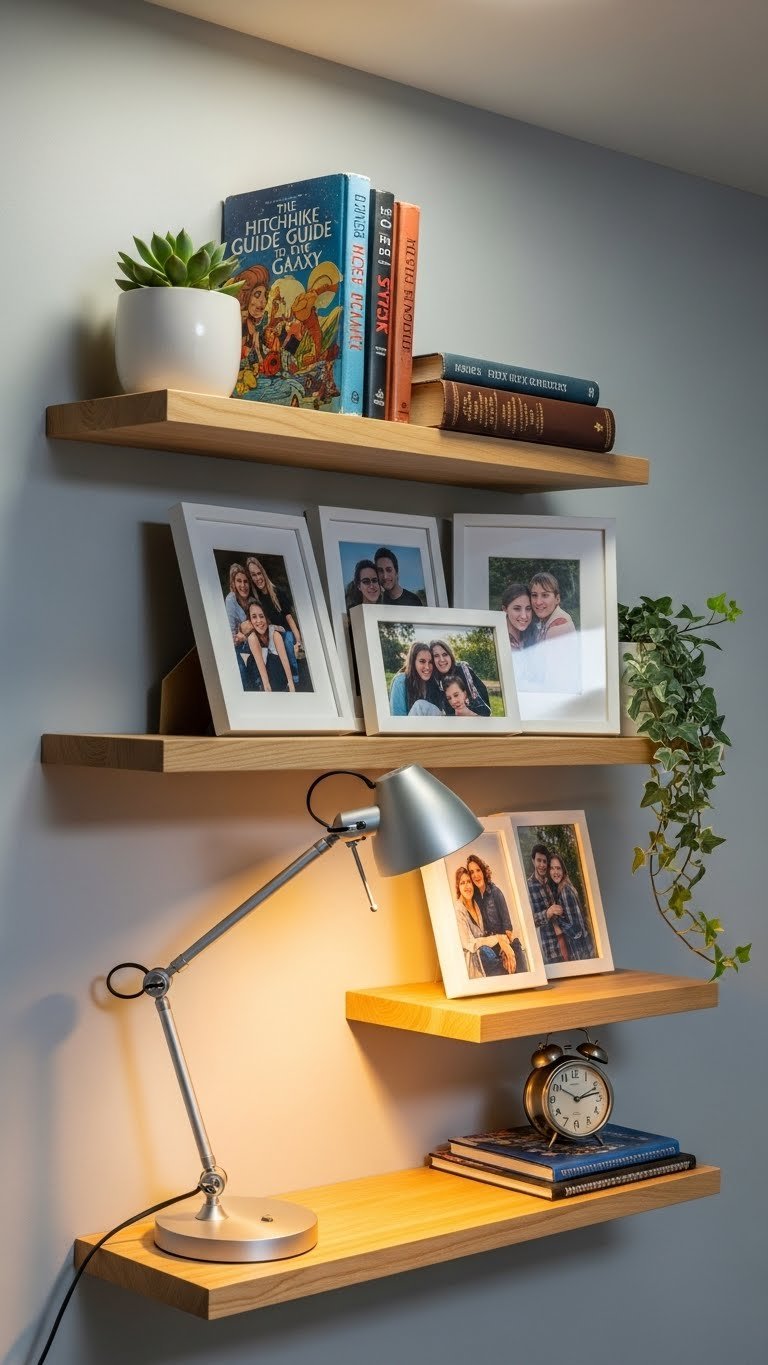
Floating shelves do double duty: they store stuff and display personality. Books, plants, trophies, photos, and collectibles become décor when arranged intentionally.
IKEA or Home Depot floating shelves run $20–$80 per shelf; installation takes 30 minutes with a level and drill. Go for wood shelves ($40–$100) if you want warmth or metal + wood ($60–$150) for an industrial vibe. Arrange items in odd numbers (3, 5, 7) and mix heights for visual interest. Leave 30% of shelf space empty so it doesn’t feel cramped. This works for renters if you use damage-free mounting strips, though actual hardware is more secure.
Your teen now has a spot to show off what matters to them—and it’s way cooler than posters taped to drywall.
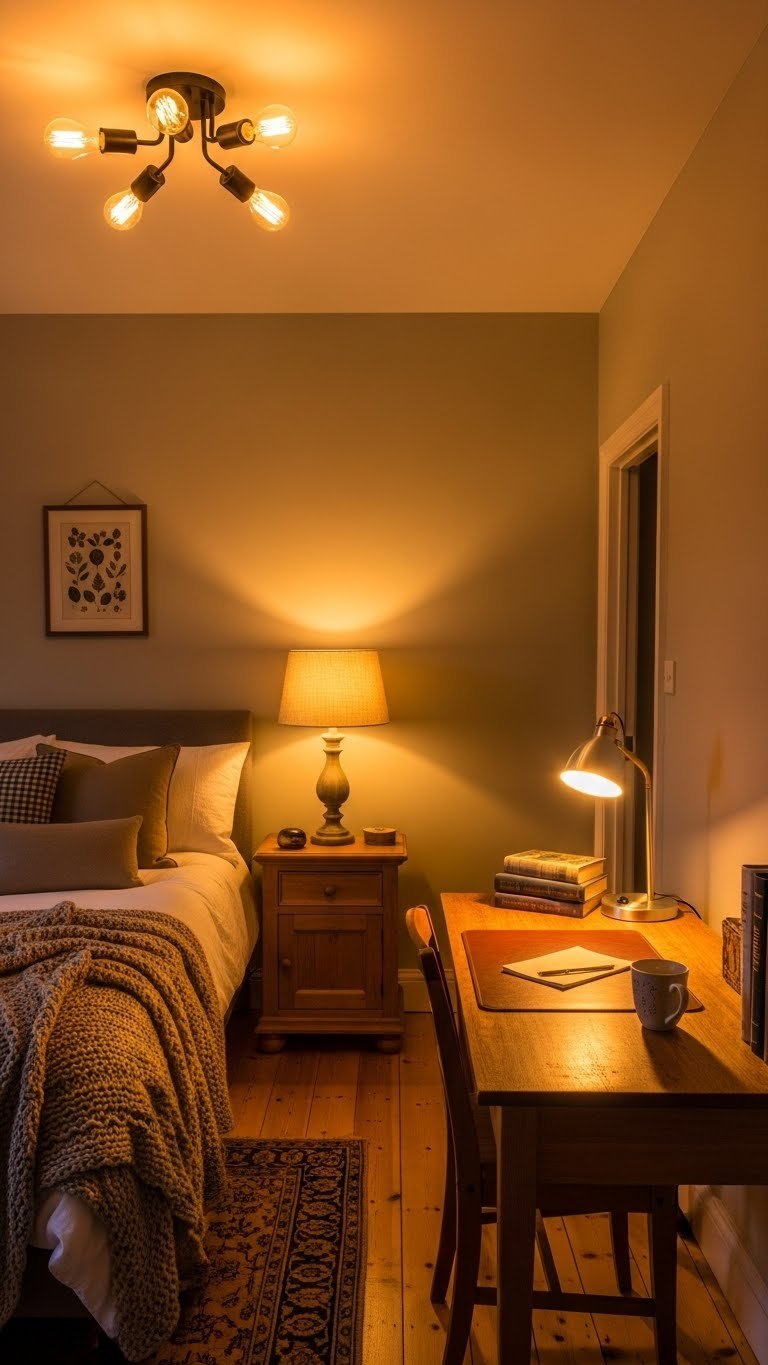
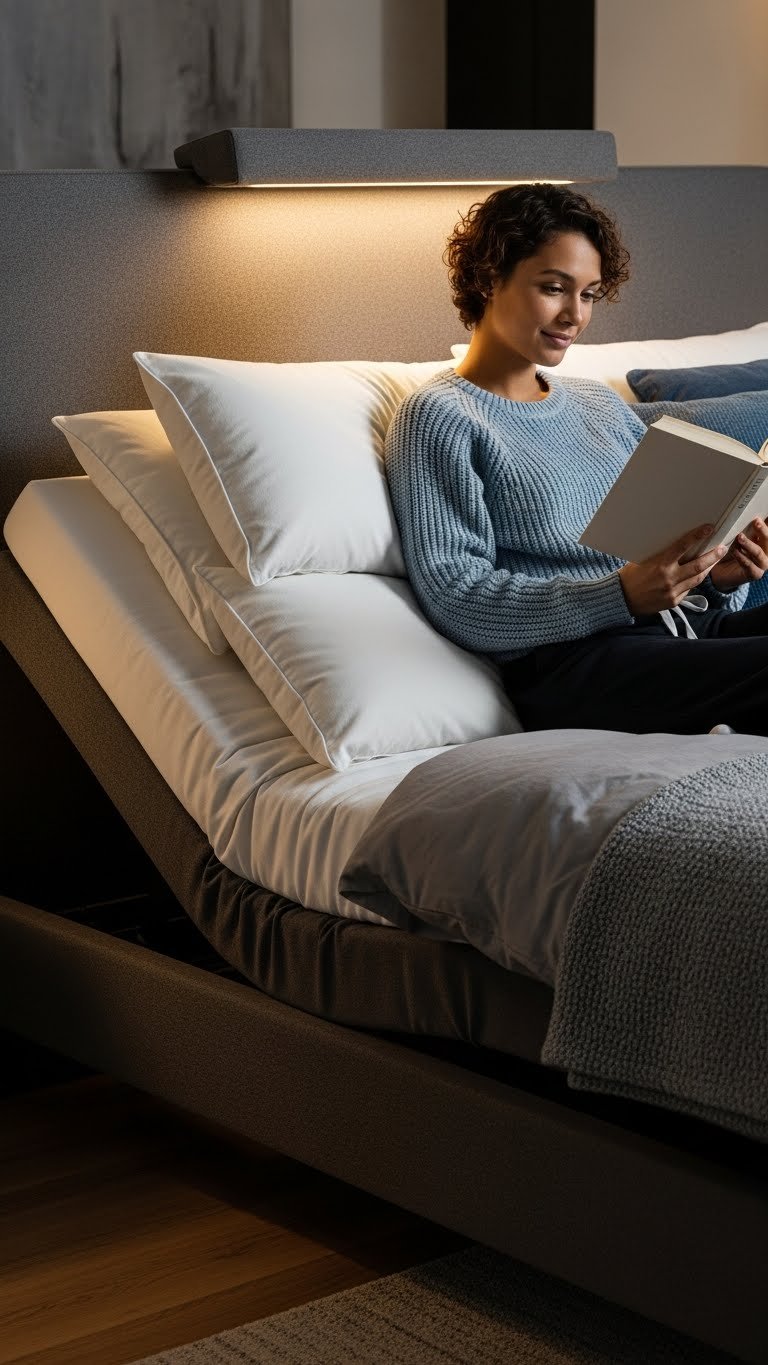
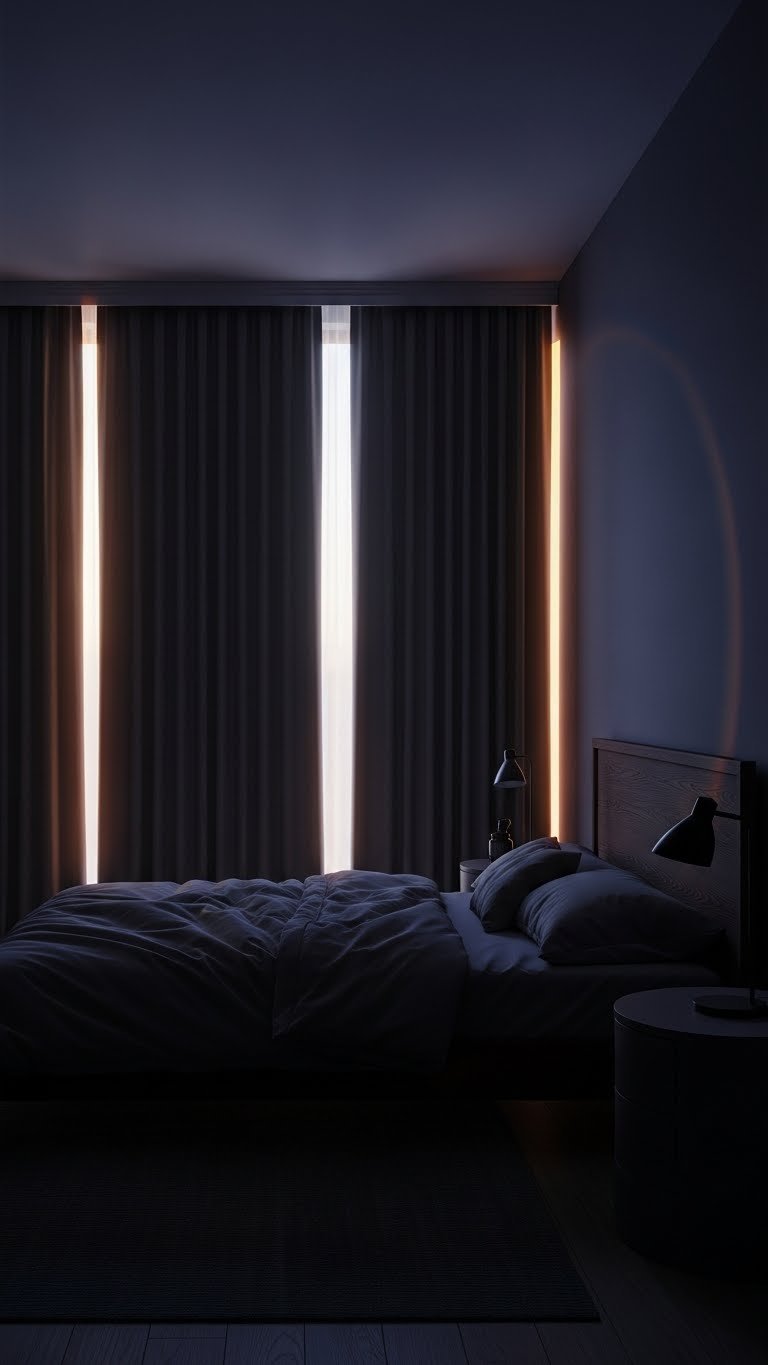
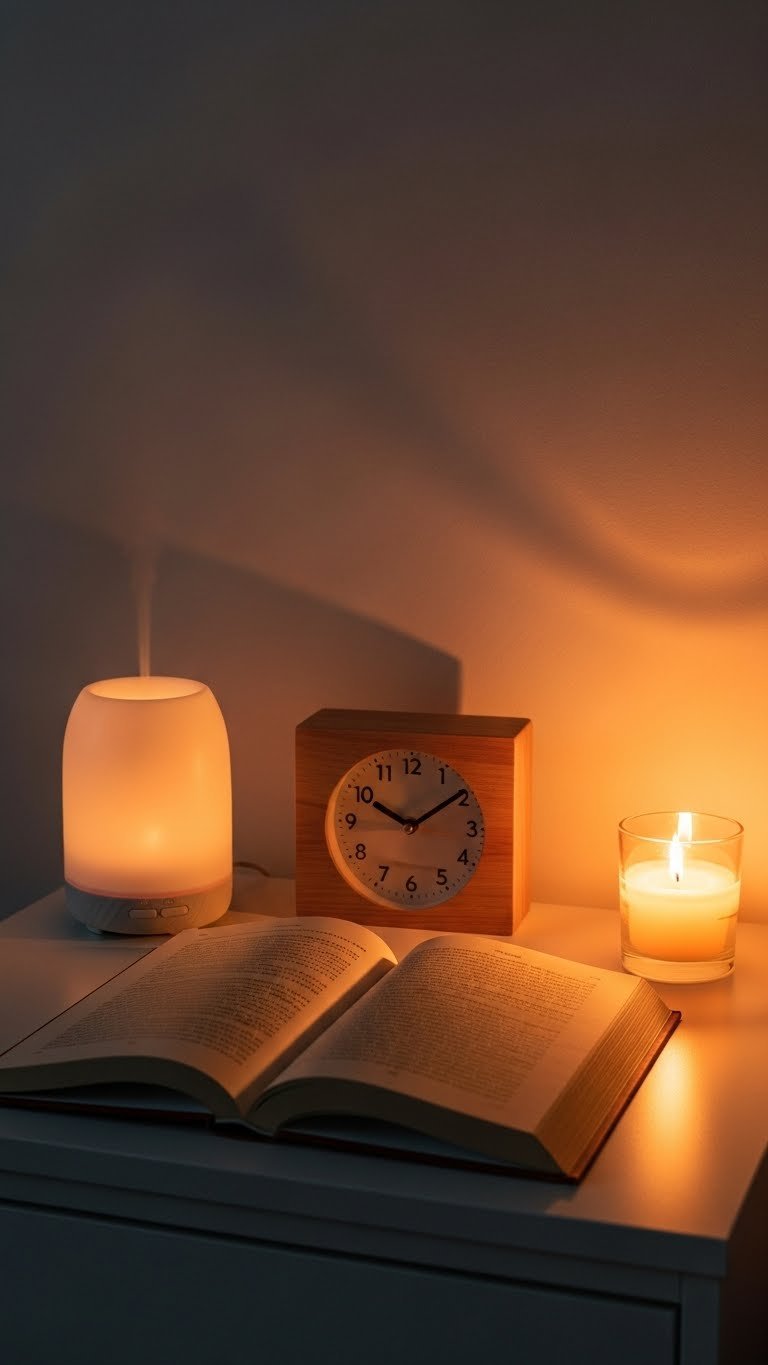
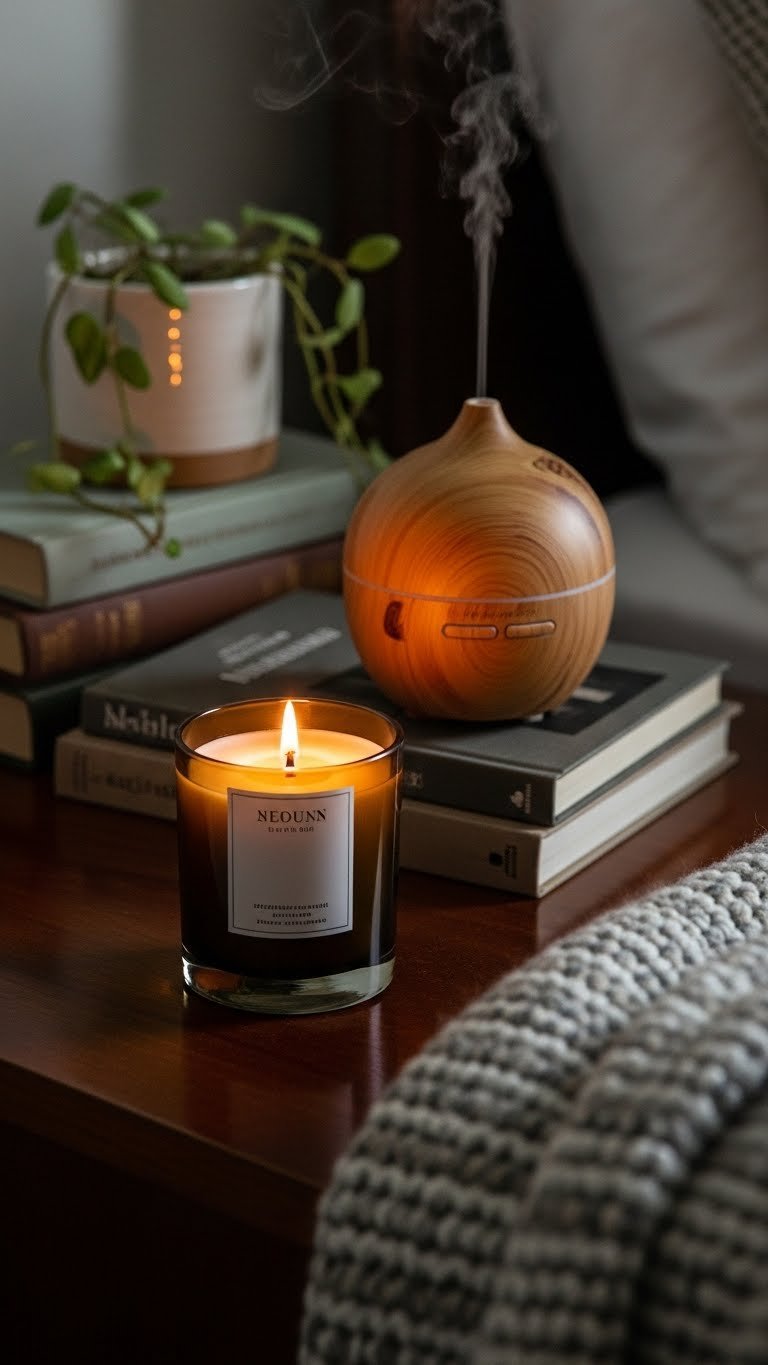
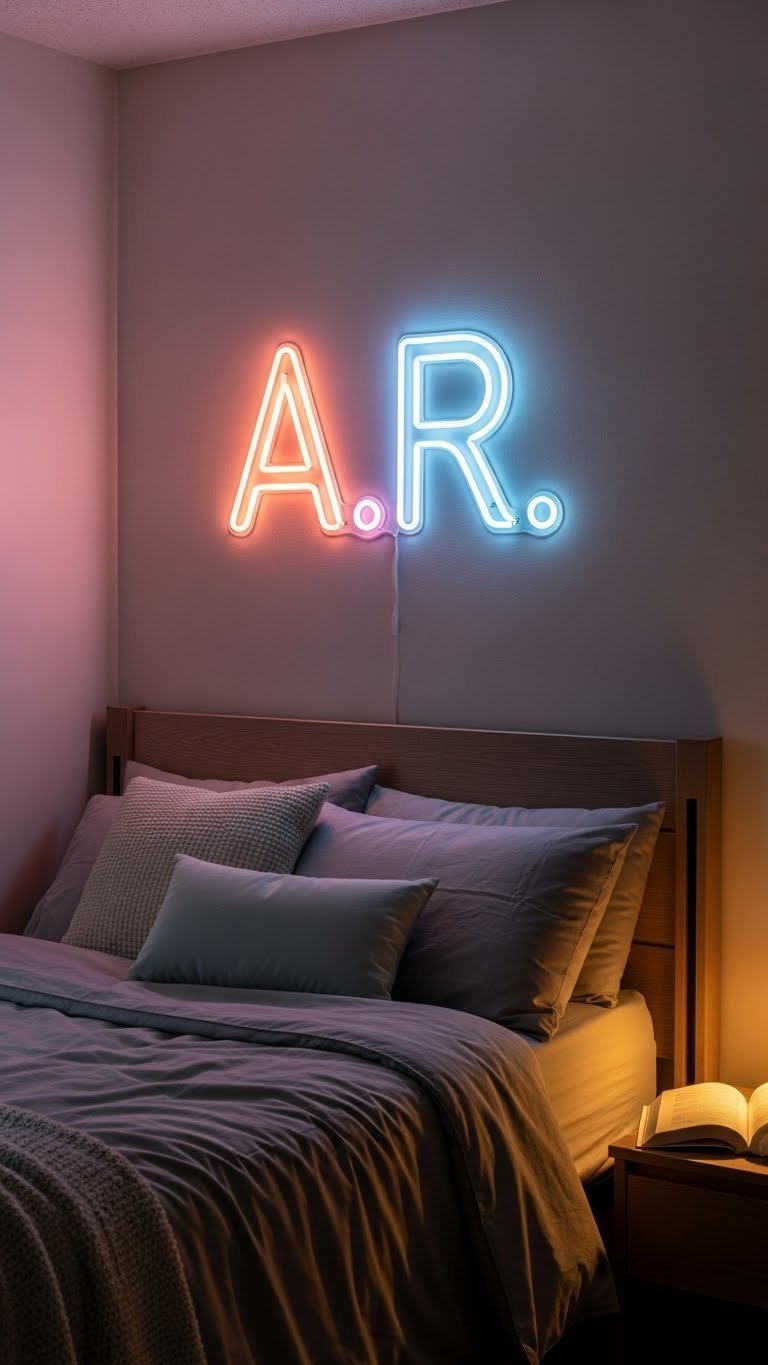
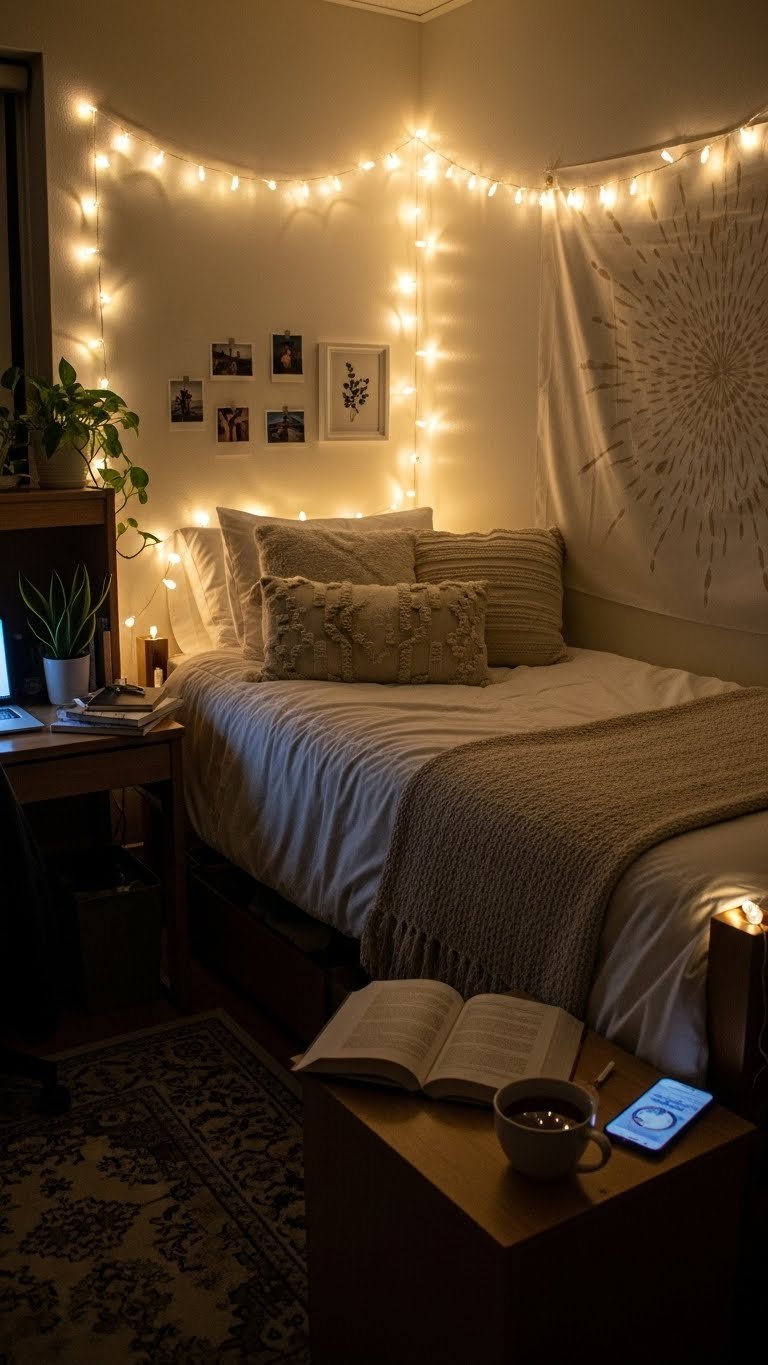
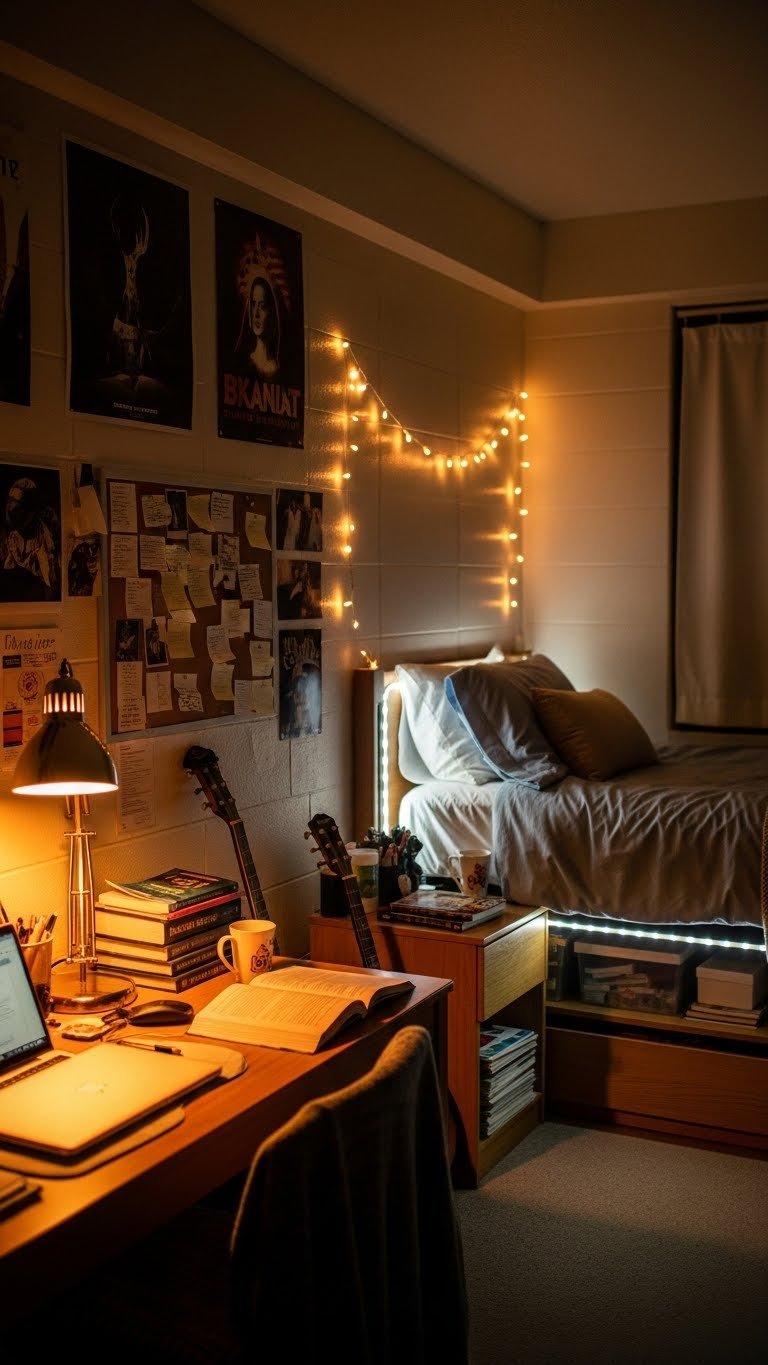
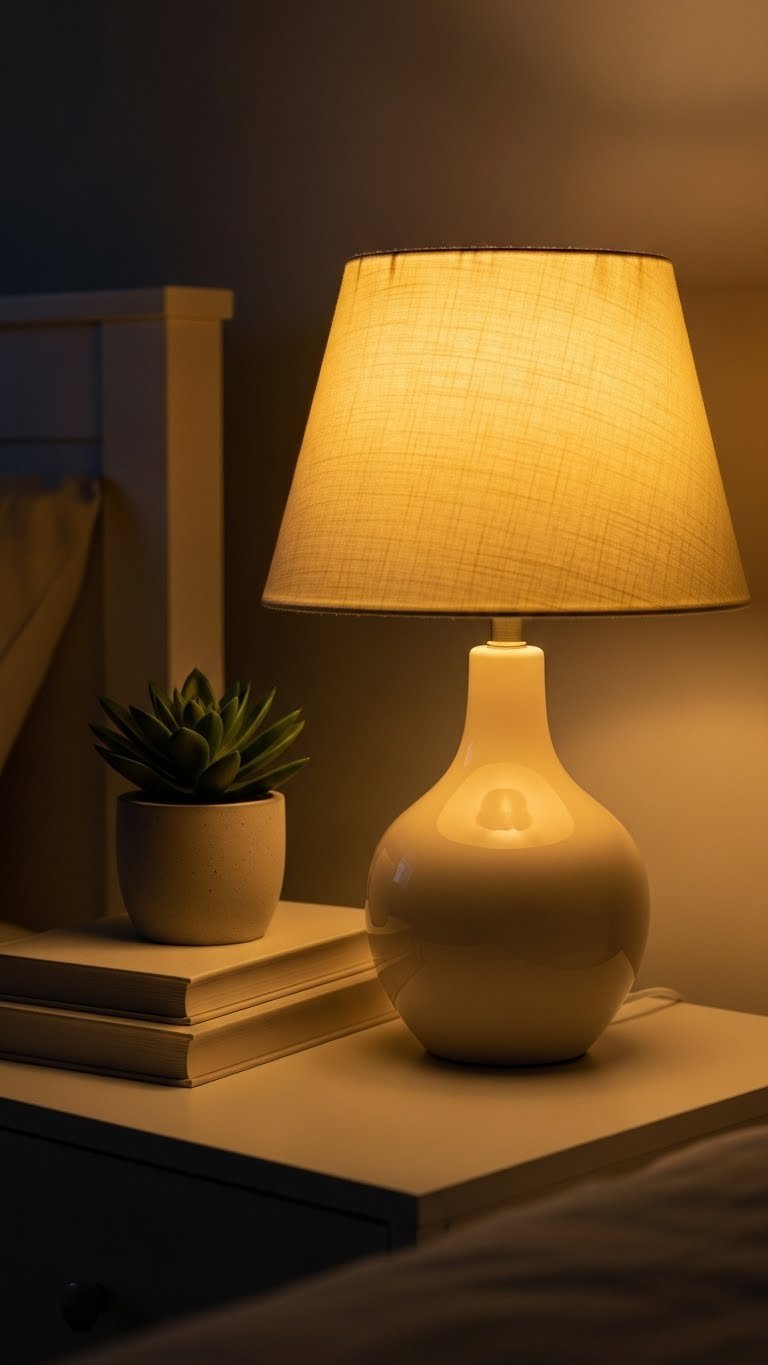
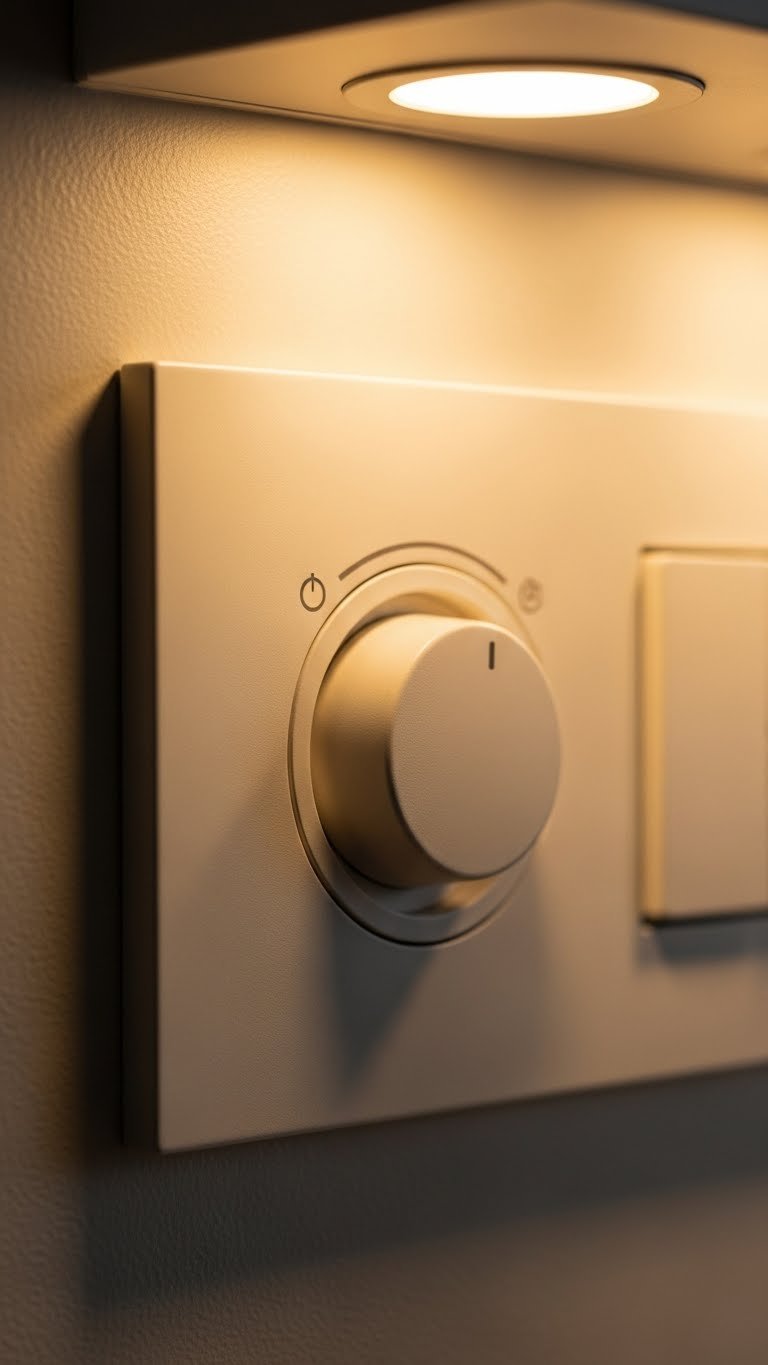
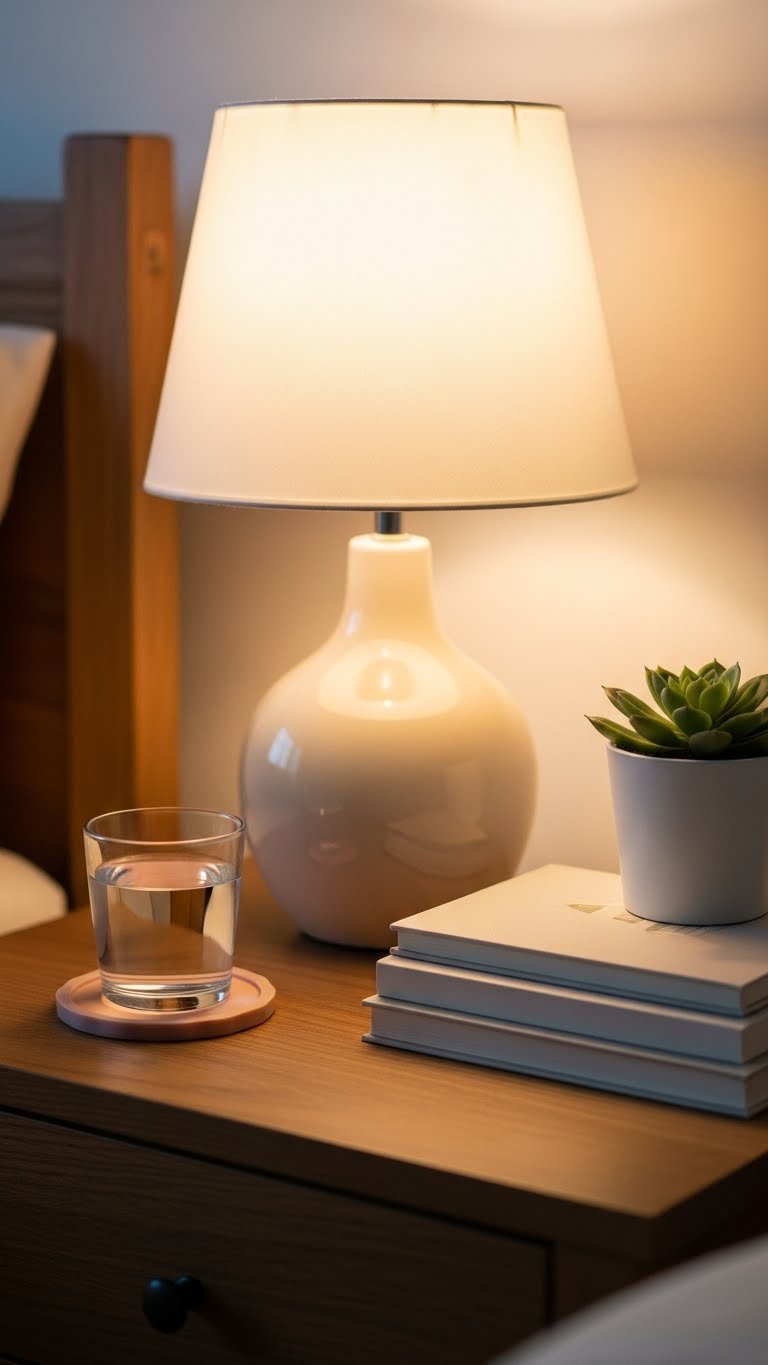
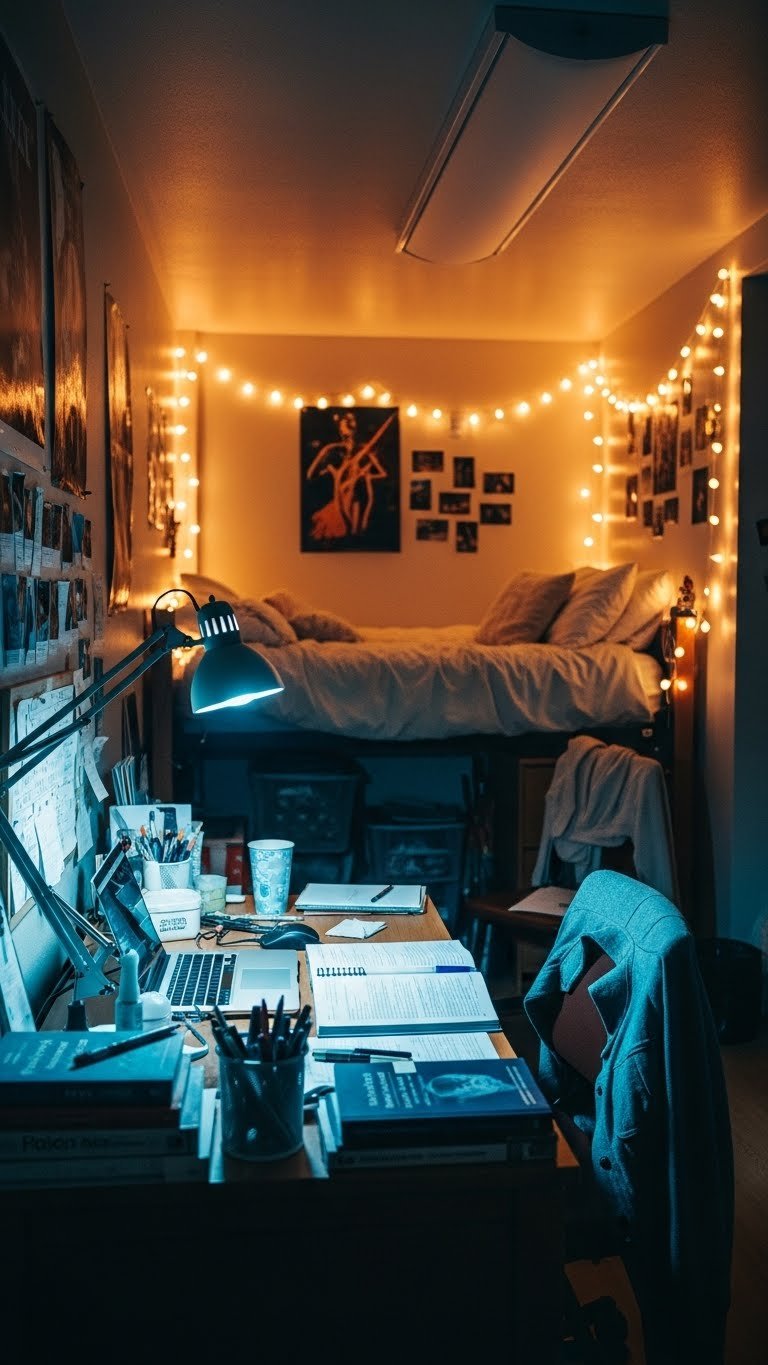
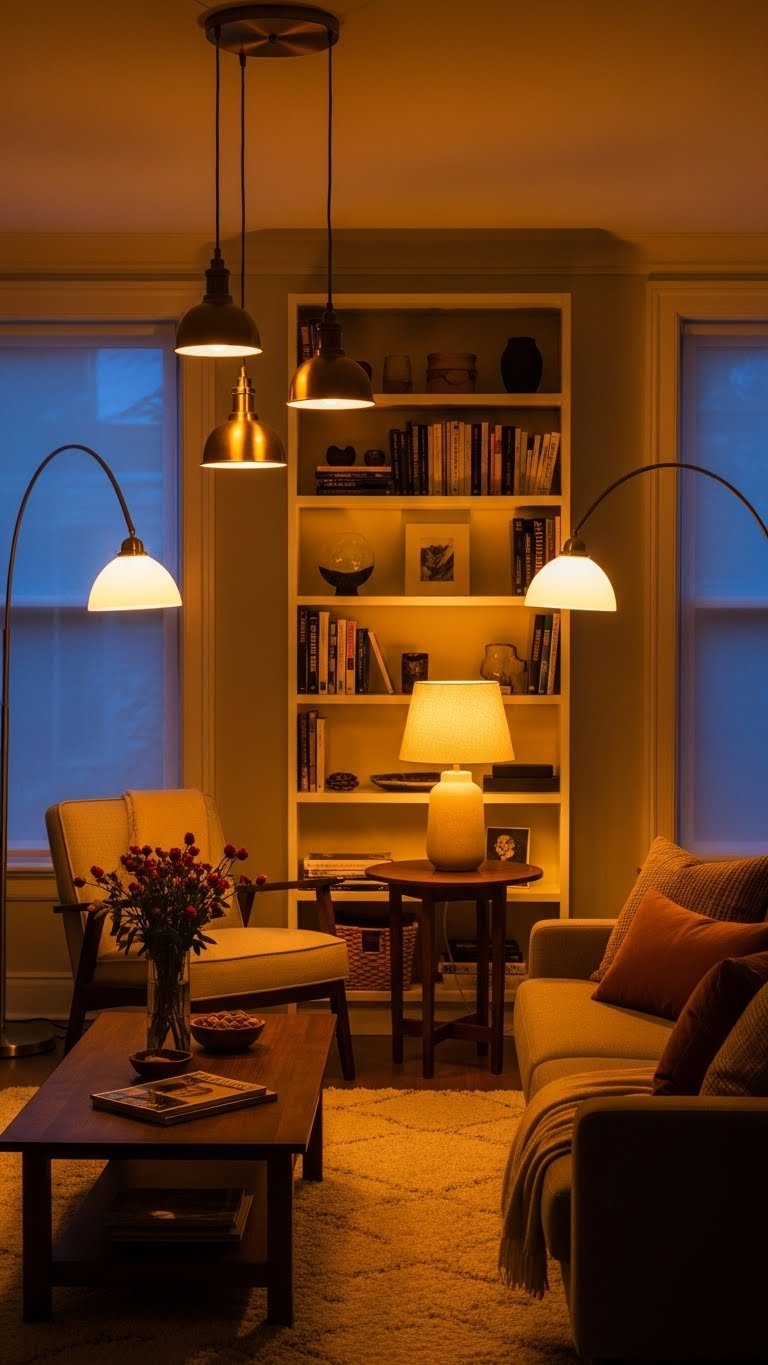
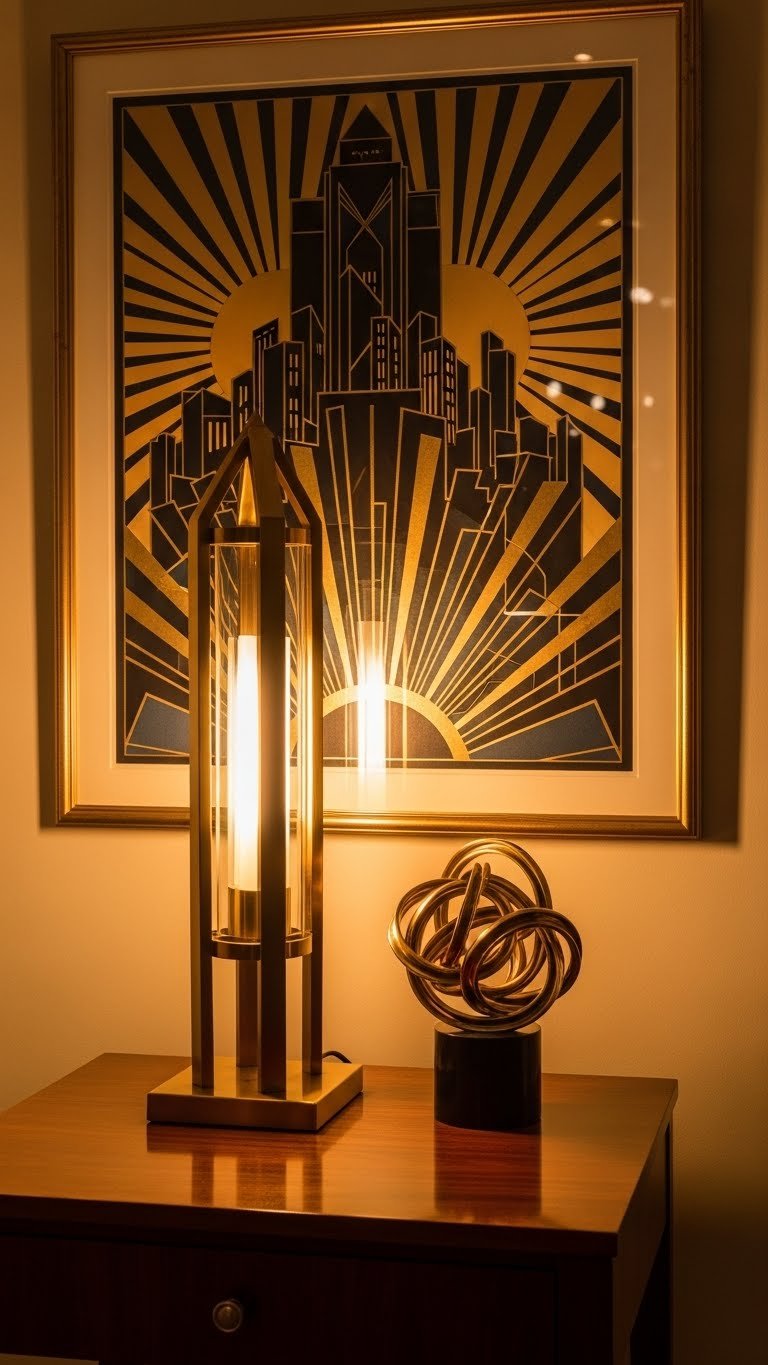
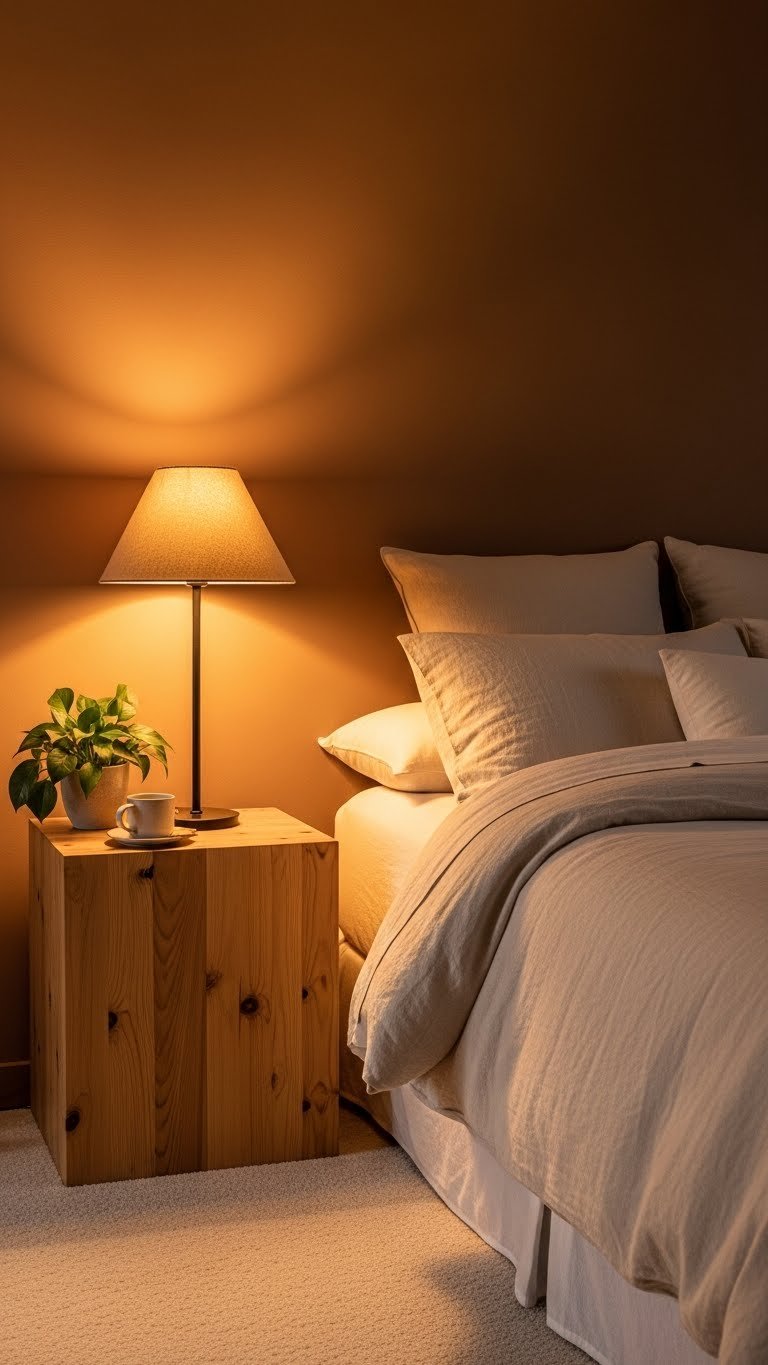
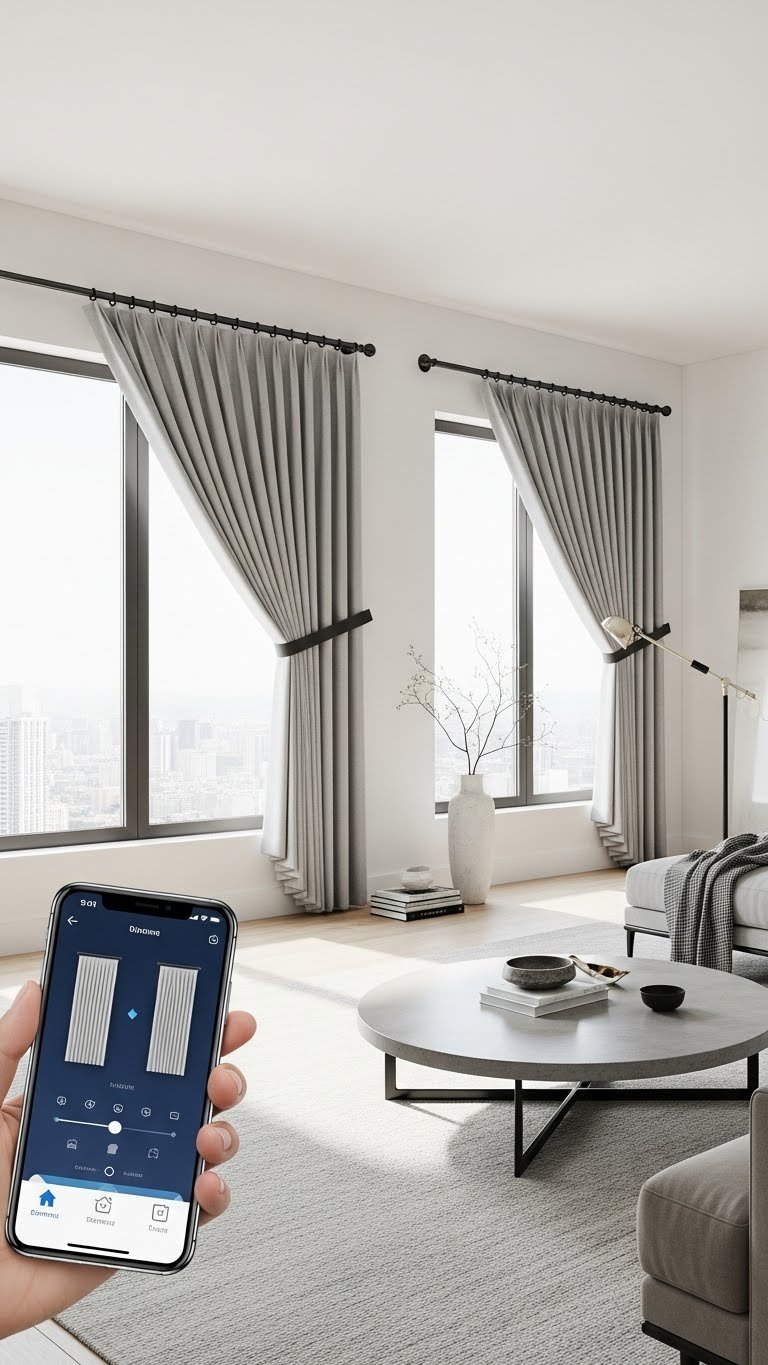
5. Upgrade Lighting Beyond the Ceiling Fixture
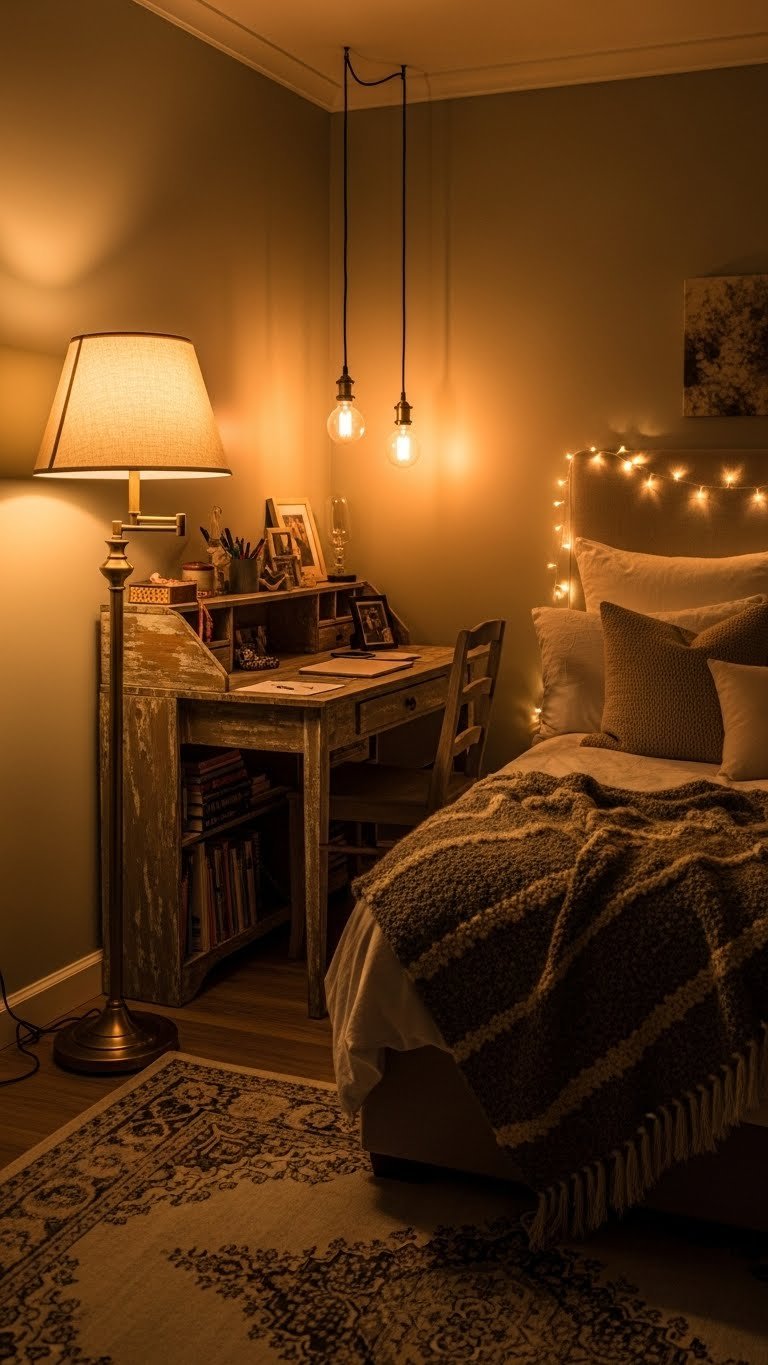
Most teen rooms have one harsh overhead light. Layering multiple light sources—desk lamp, floor lamp, pendant lights, string lights—creates ambiance and makes the room actually functional for different activities (studying, relaxing, gaming).
Skip string lights alone (too trendy, kinda juvenile) and mix in real lighting. A quality floor lamp costs $40–$150; a good desk lamp runs $30–$100; pendant lights for above a desk go $50–$200. Thrifting lamps saves money—hunt vintage brass or ceramic bases on Facebook Marketplace. Swap the shade if needed ($15–$40 new shade). Warm white bulbs (2700K) feel cozy; cool white (4000K) works better for study zones.
Layer these lights on different switches or dimmers so your teen can set the mood or brighten up for homework.
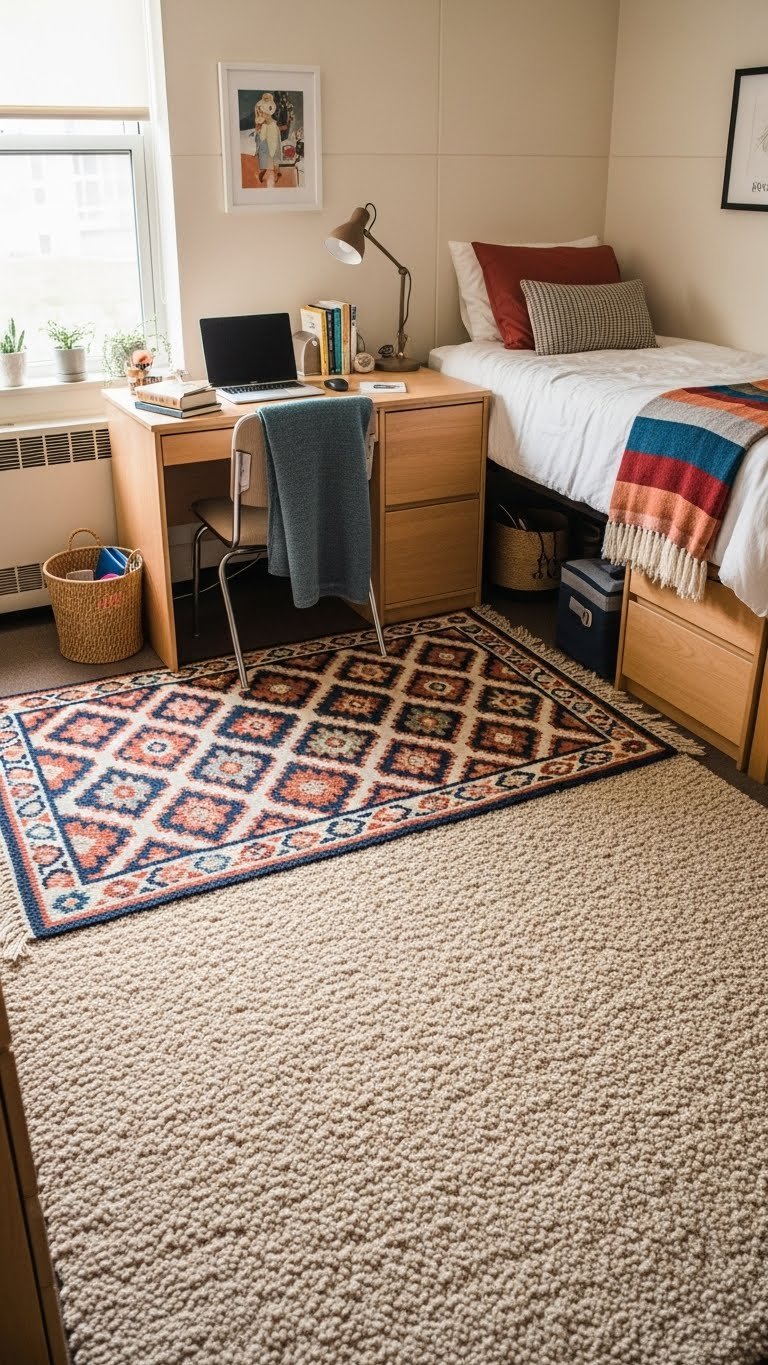
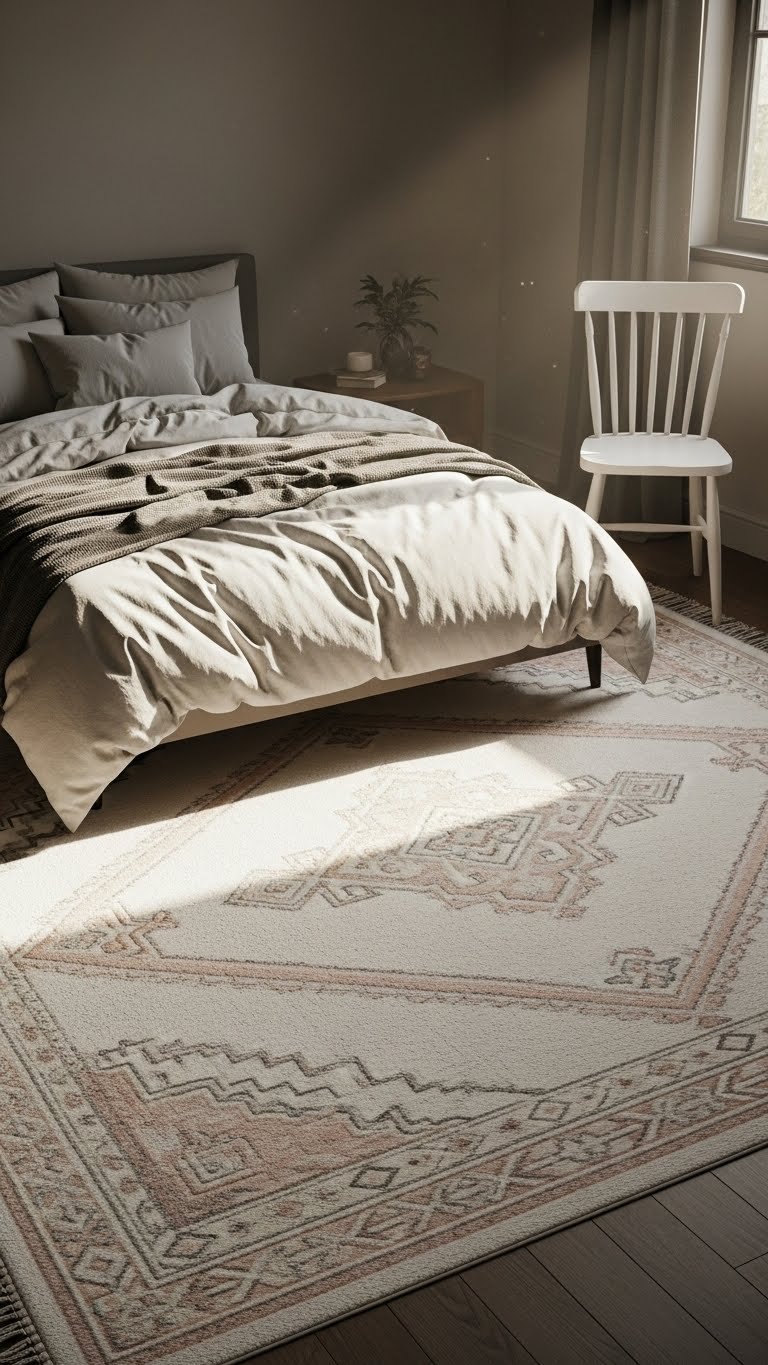
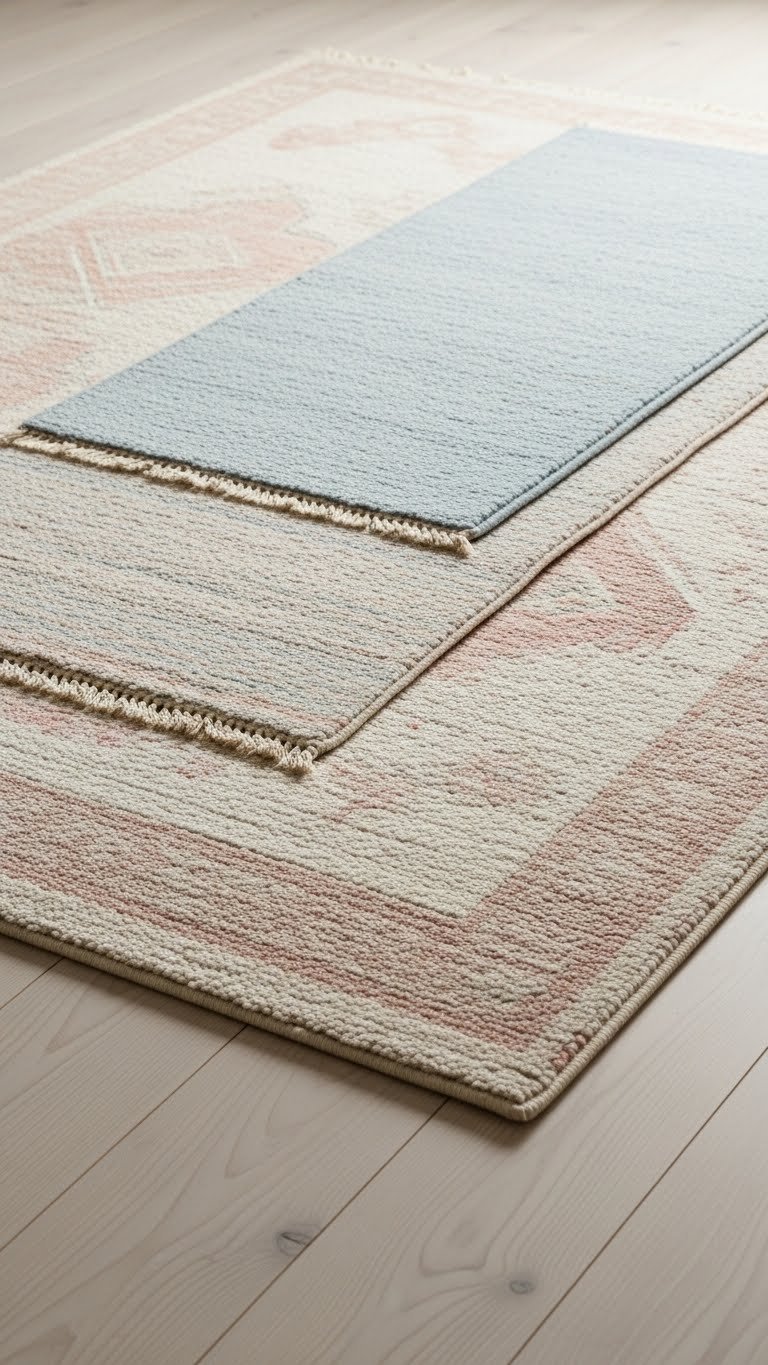
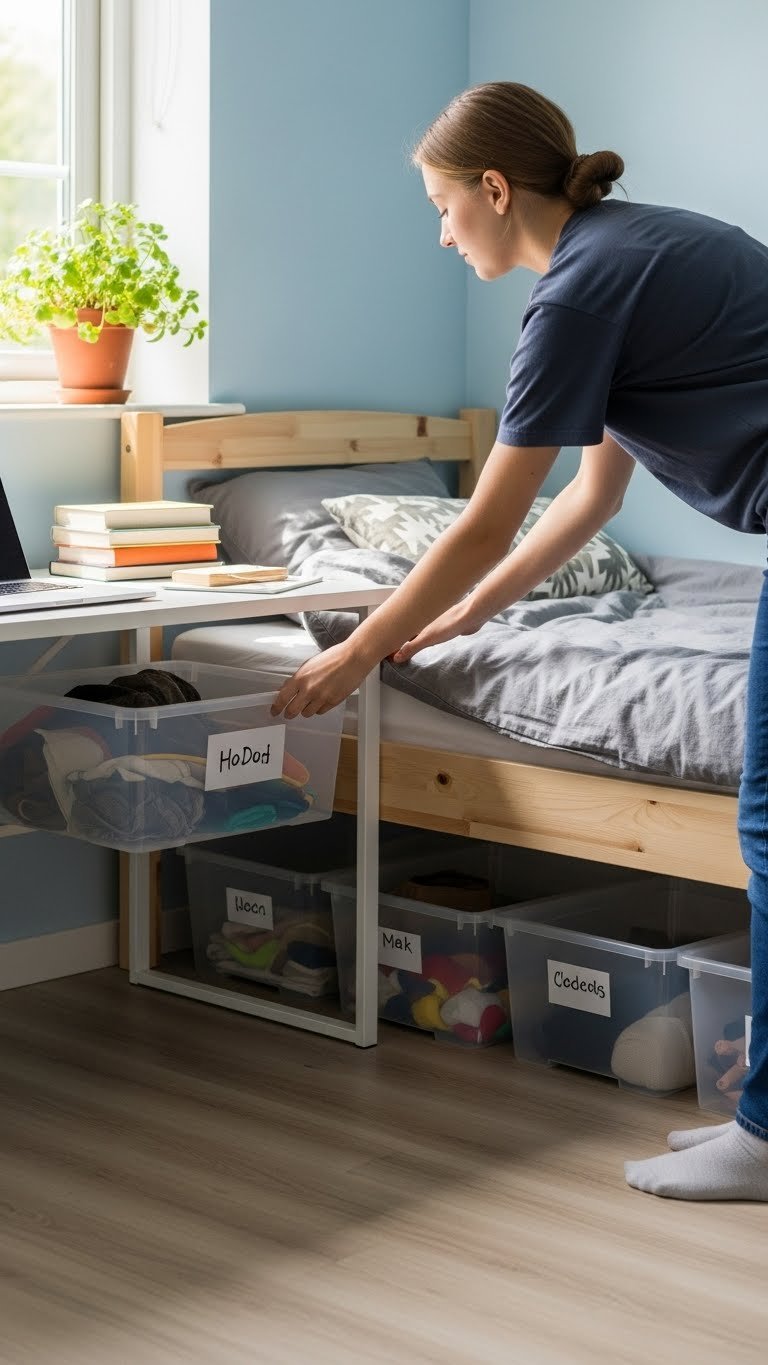
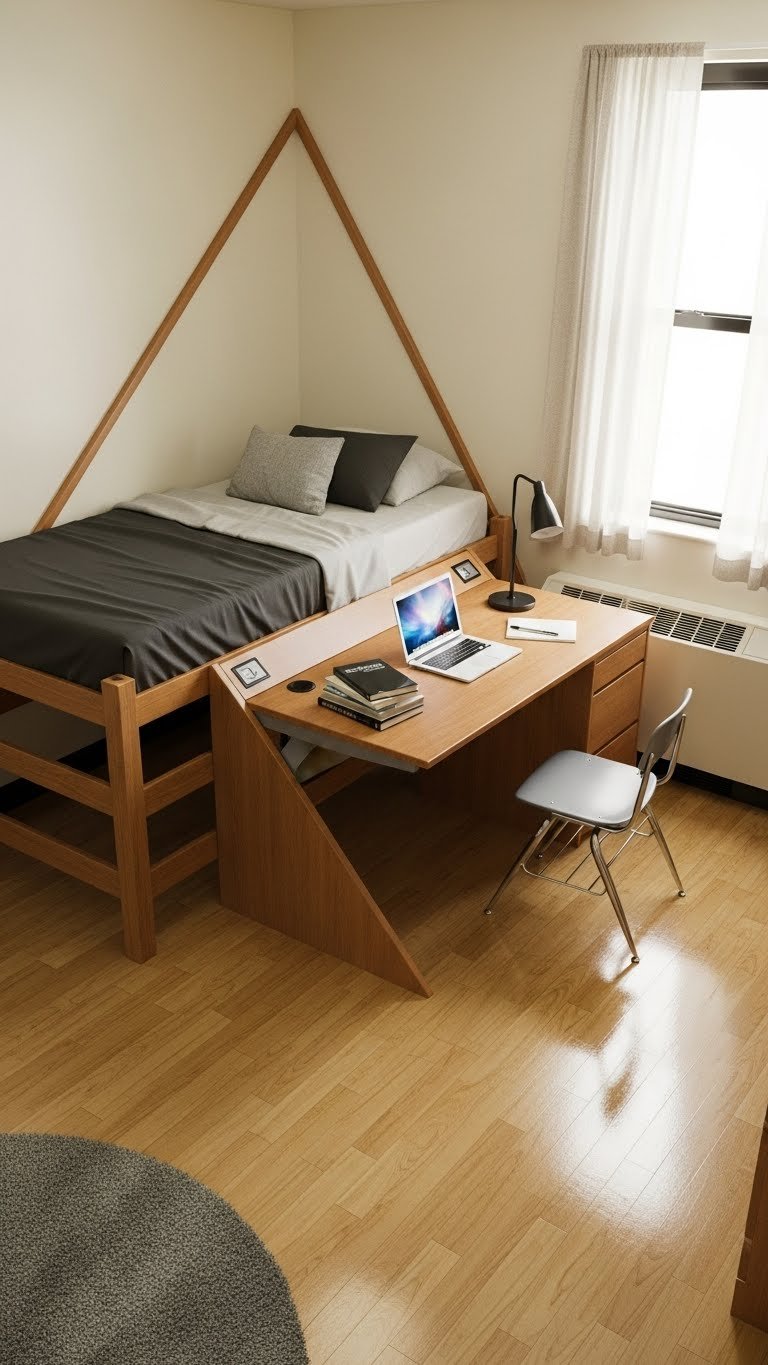
6. Create a Defined Study Zone with Area Rug
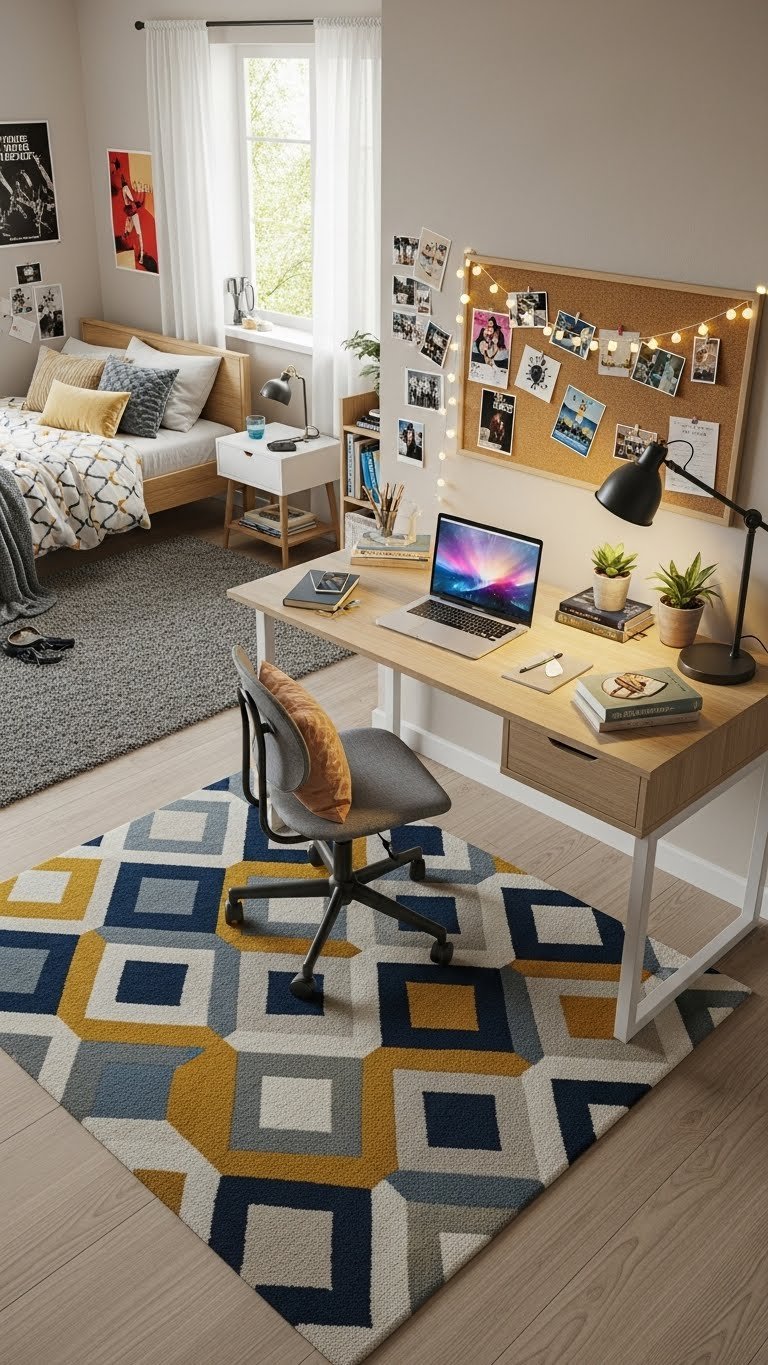
Open-concept teen rooms feel chaotic. An area rug under the desk carves out a focused work zone without building walls or rearranging furniture.
A 5×8 rug runs $80–$250 from IKEA, Target, or Wayfair; thrift for $20–$80. Choose a neutral or subtle pattern that won’t compete with walls or bedding. Position the rug so the front legs of the desk sit on it, anchoring the zone. This works for small rooms especially because it tricks the eye into seeing separate spaces. Bonus: a rug softens sound and makes the room feel warmer underfoot.
Your teen gets a psychological “work zone” that helps them focus—plus the room feels more designed and less cramped.
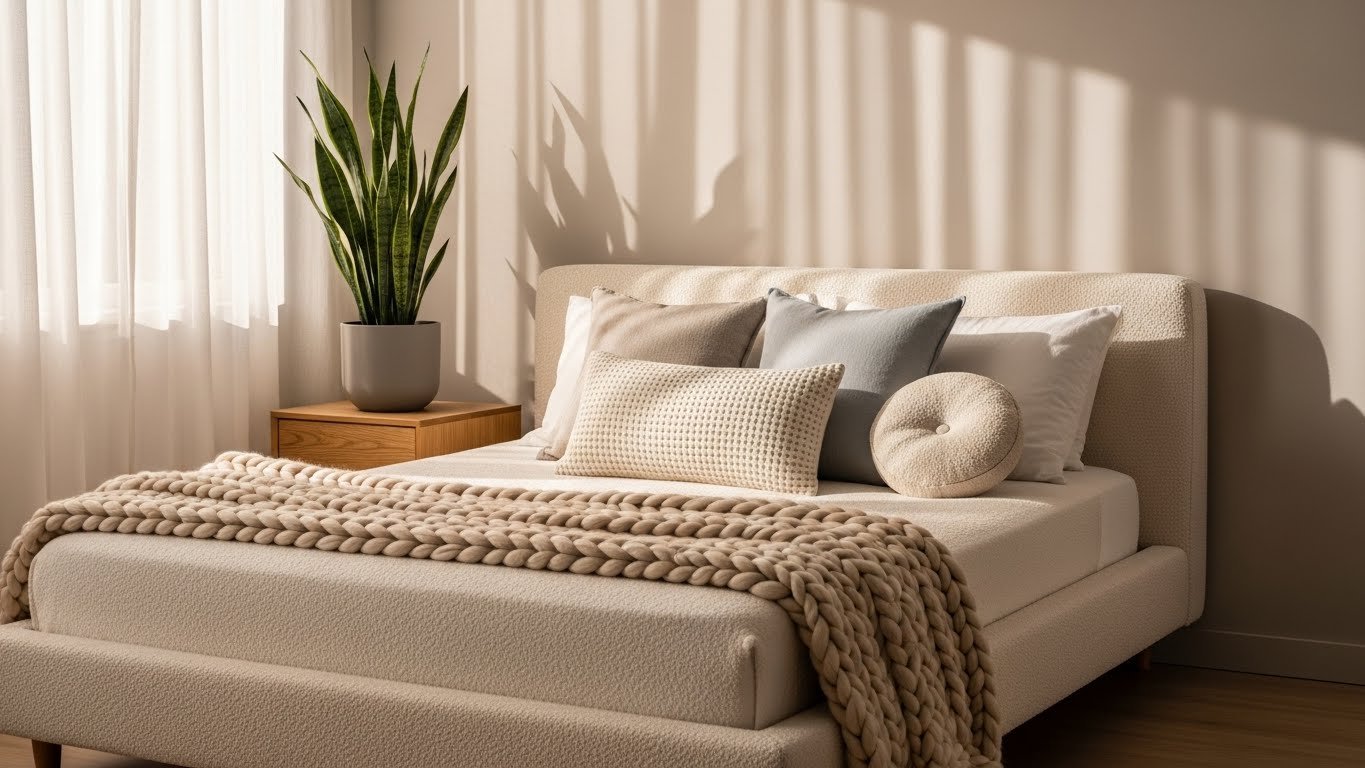
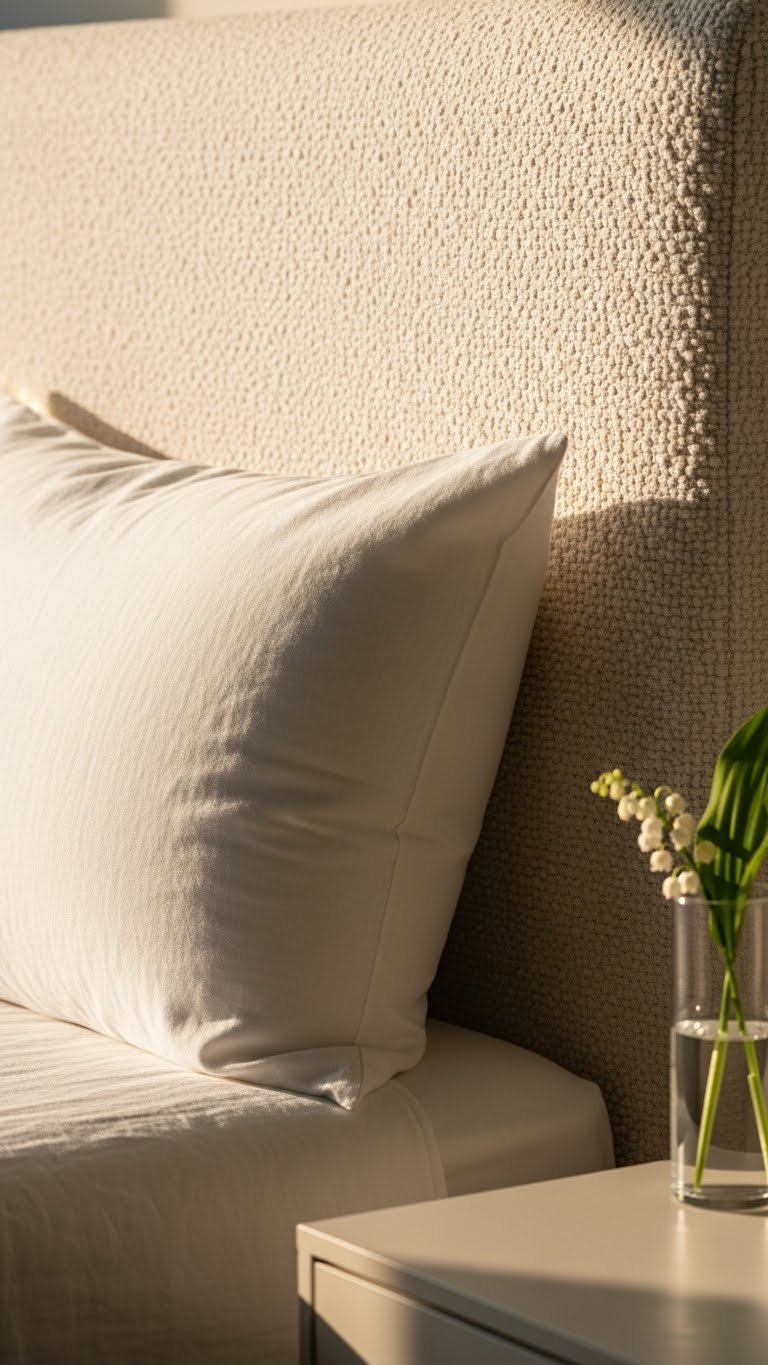
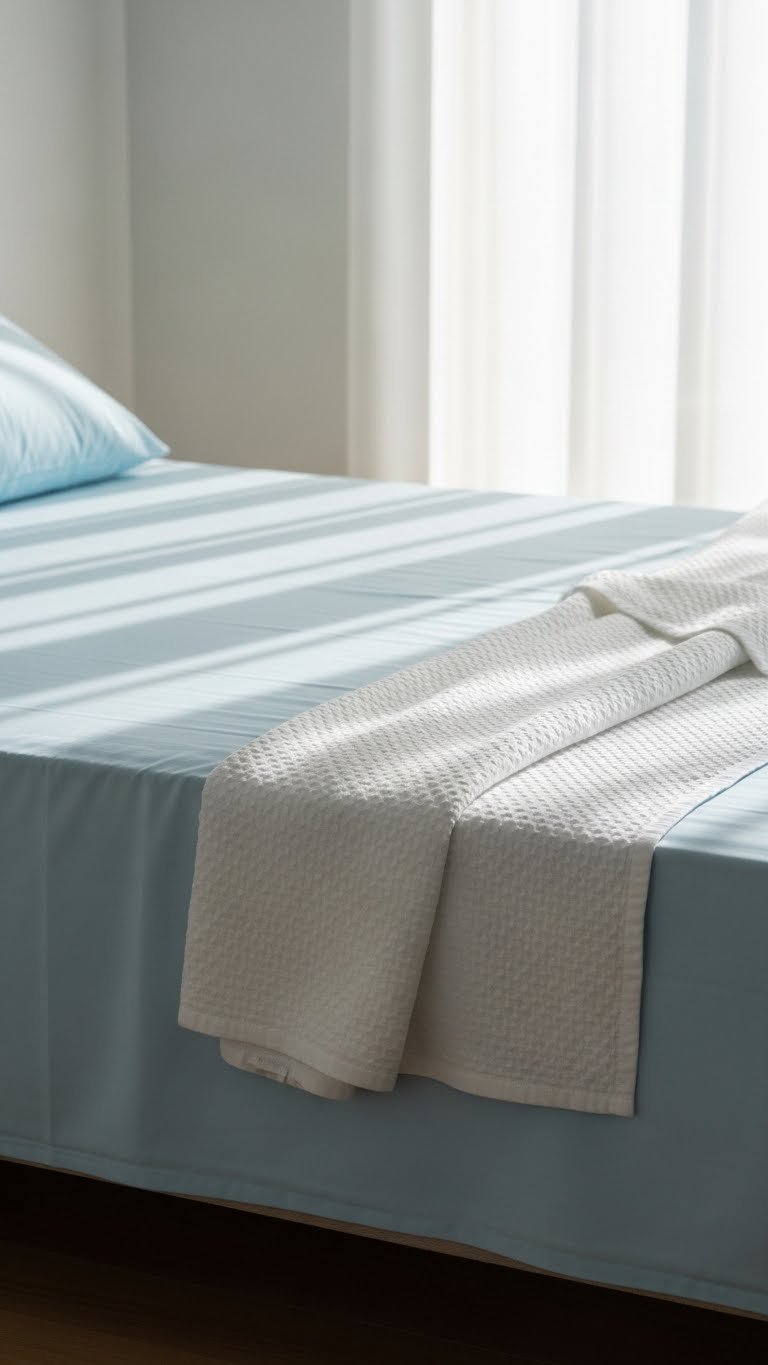
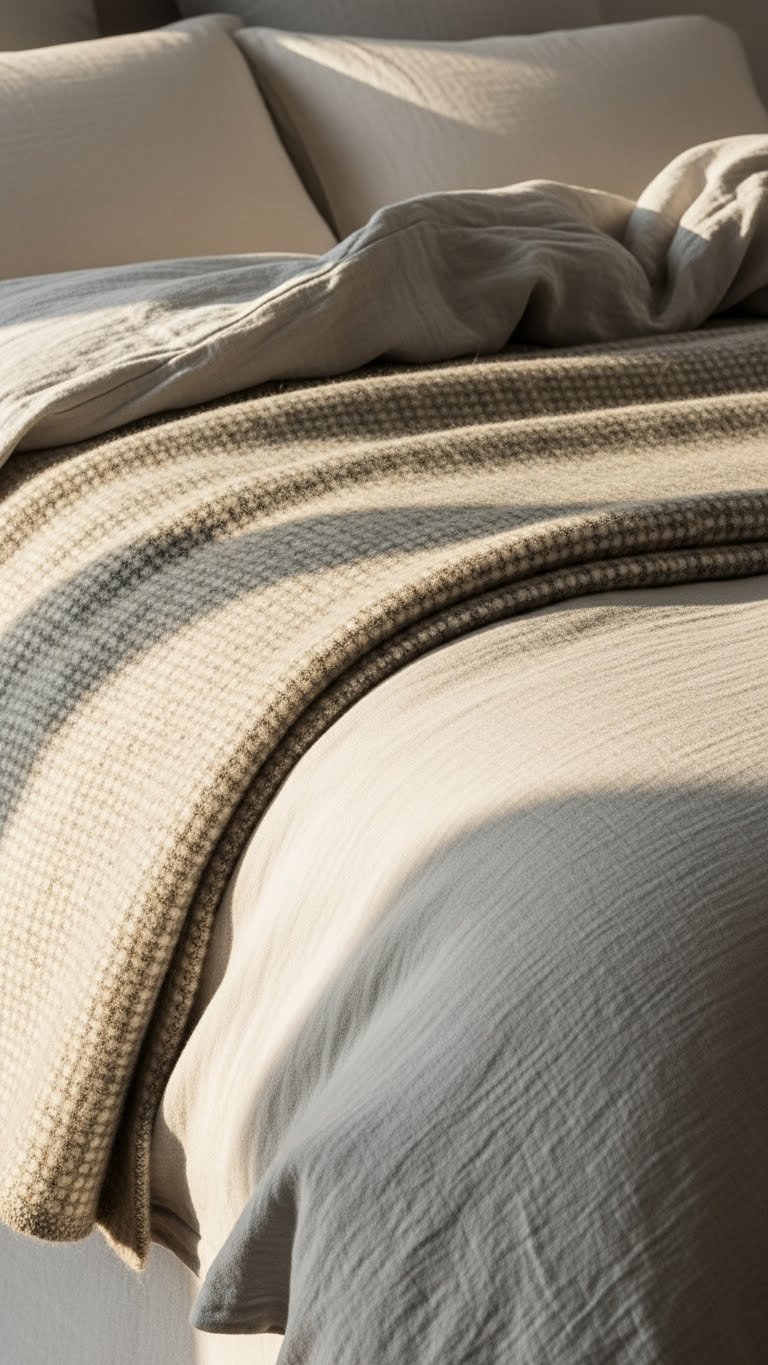
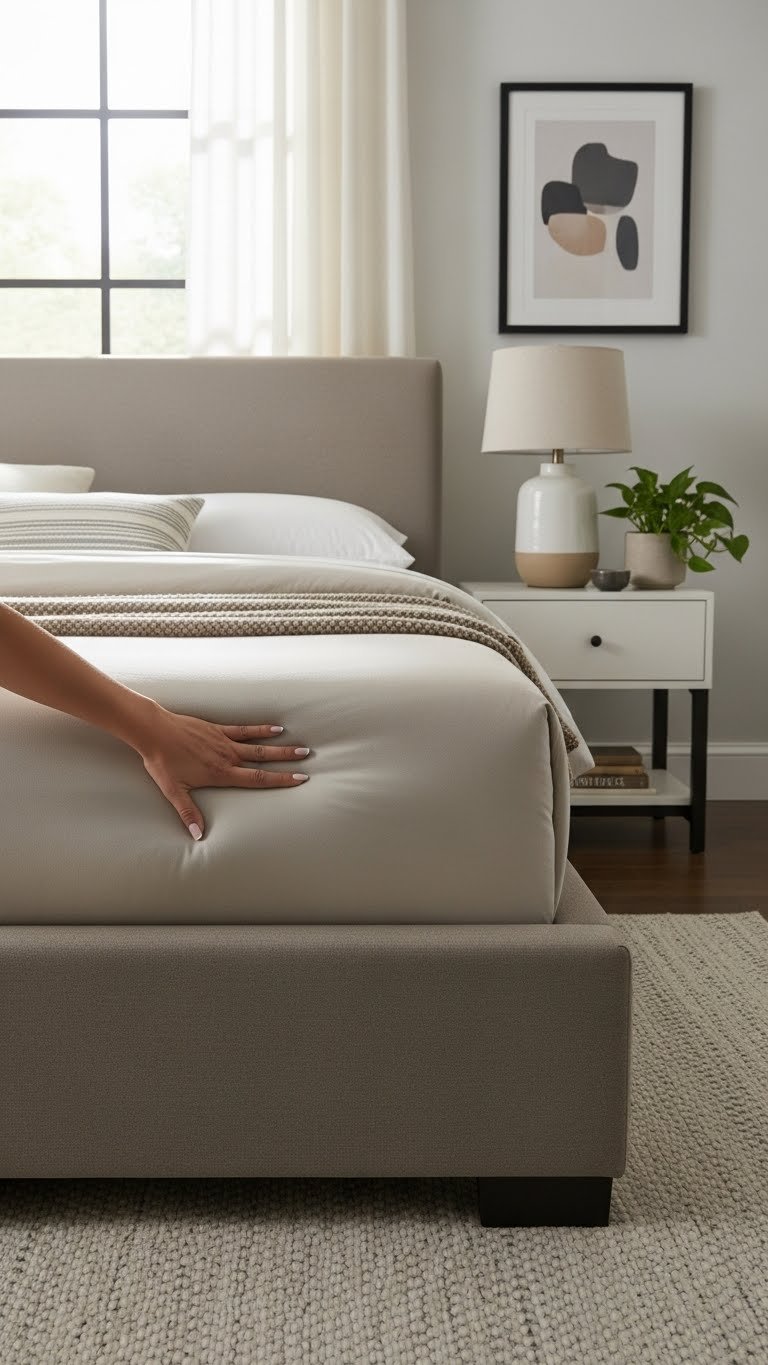
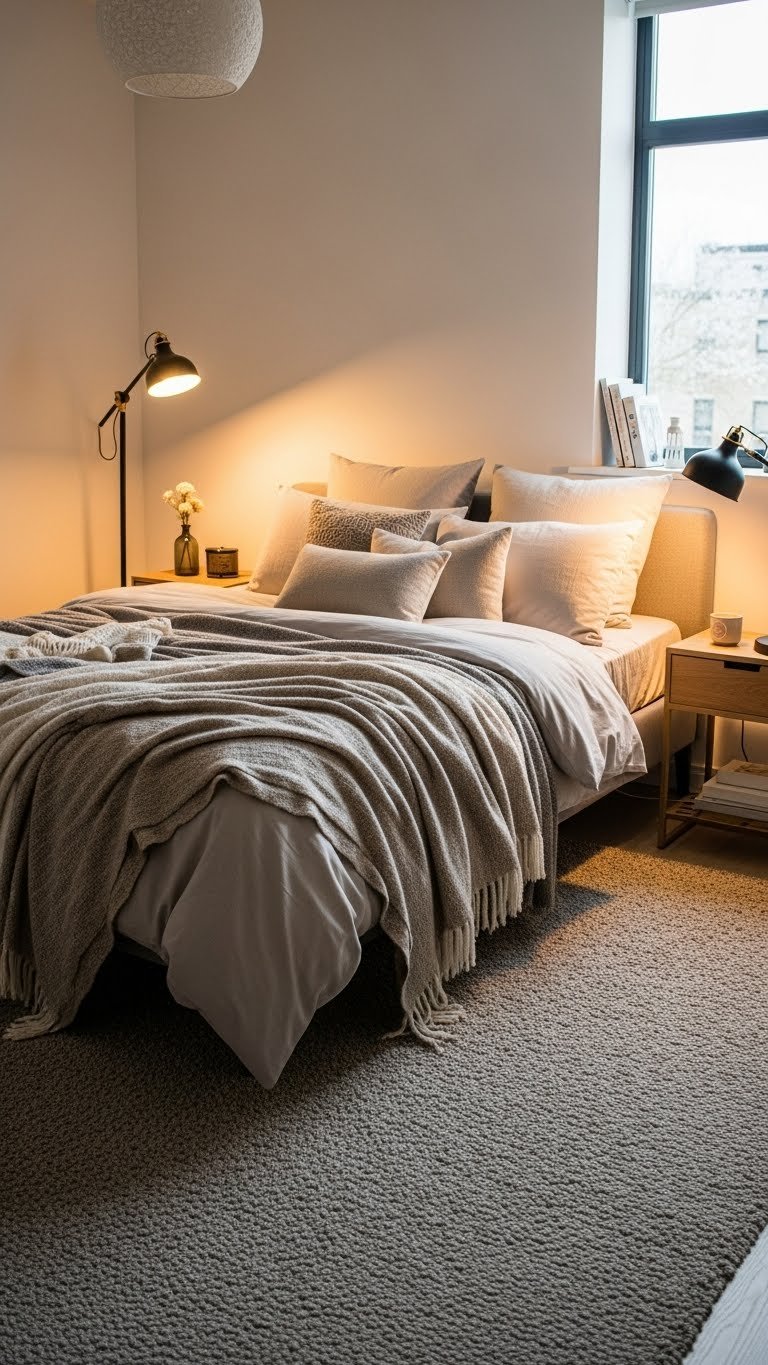
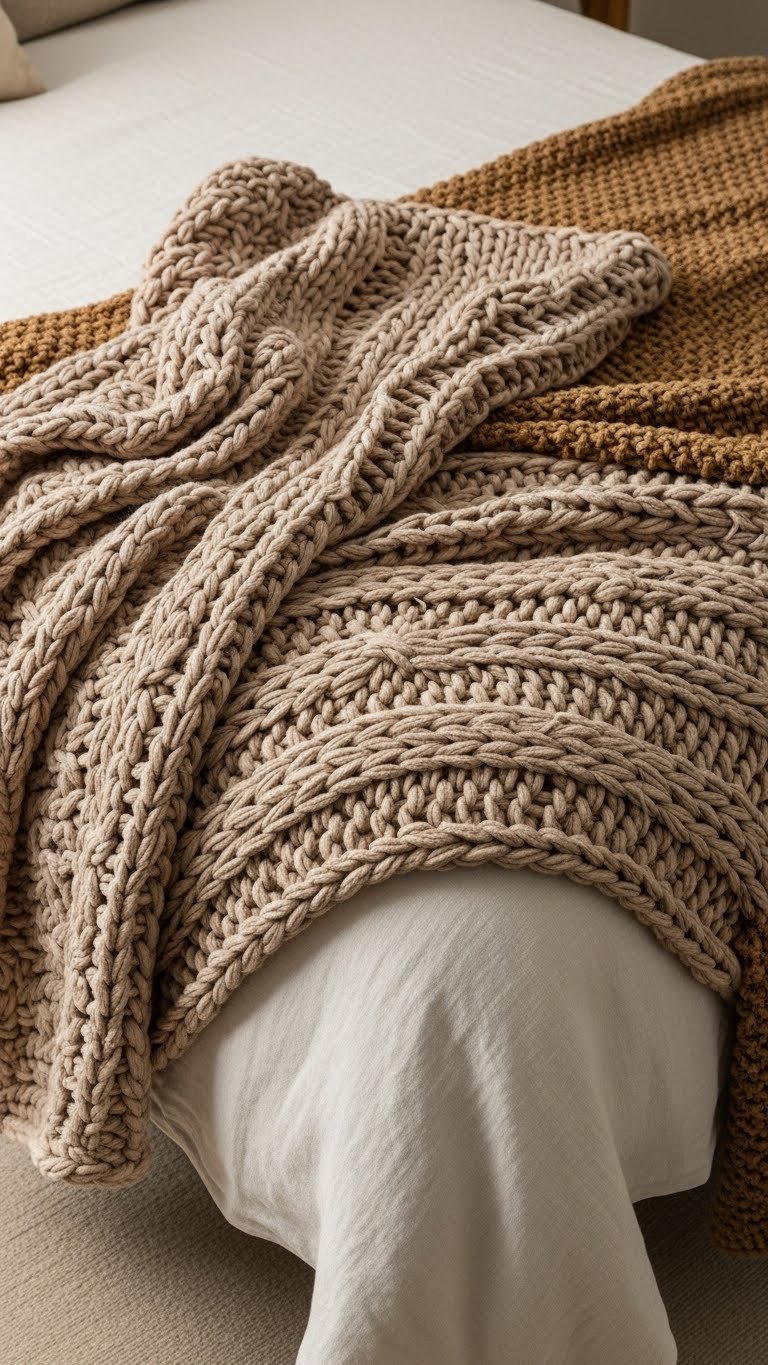
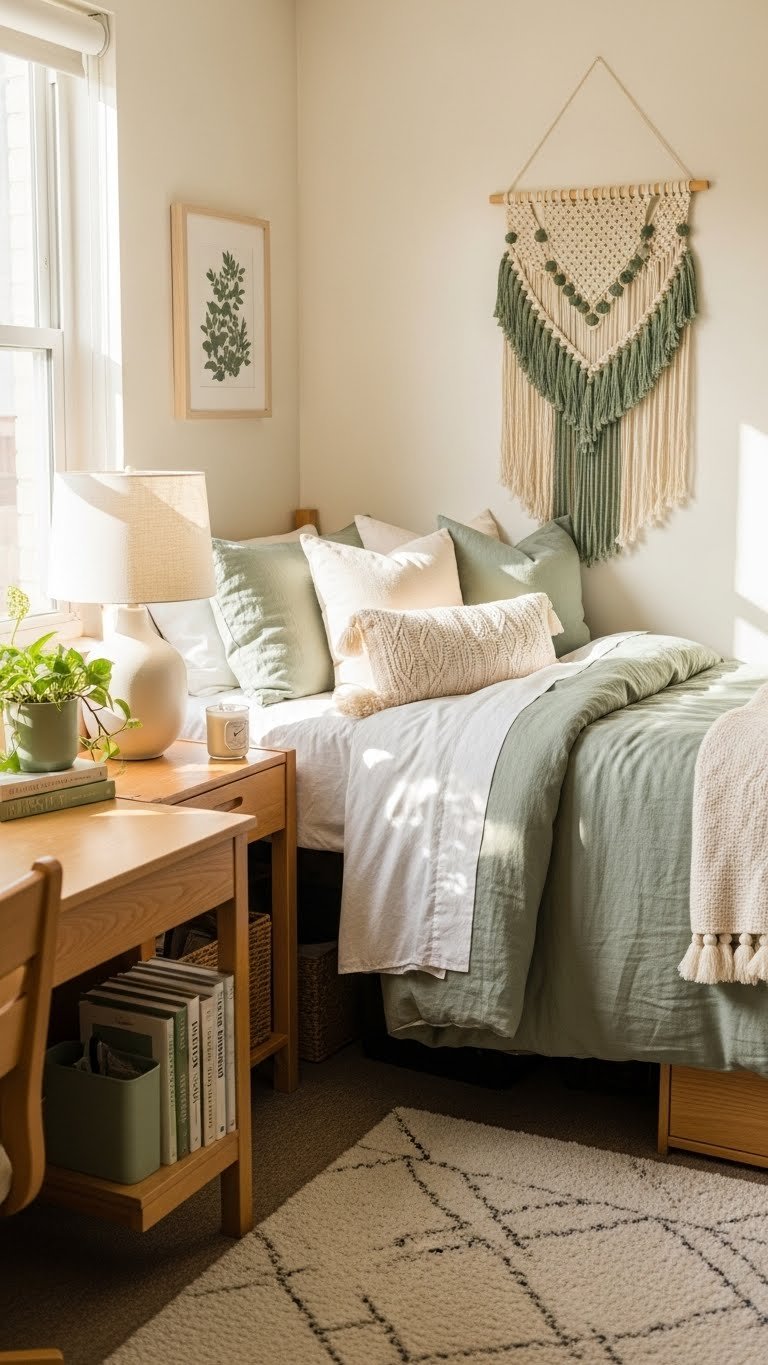
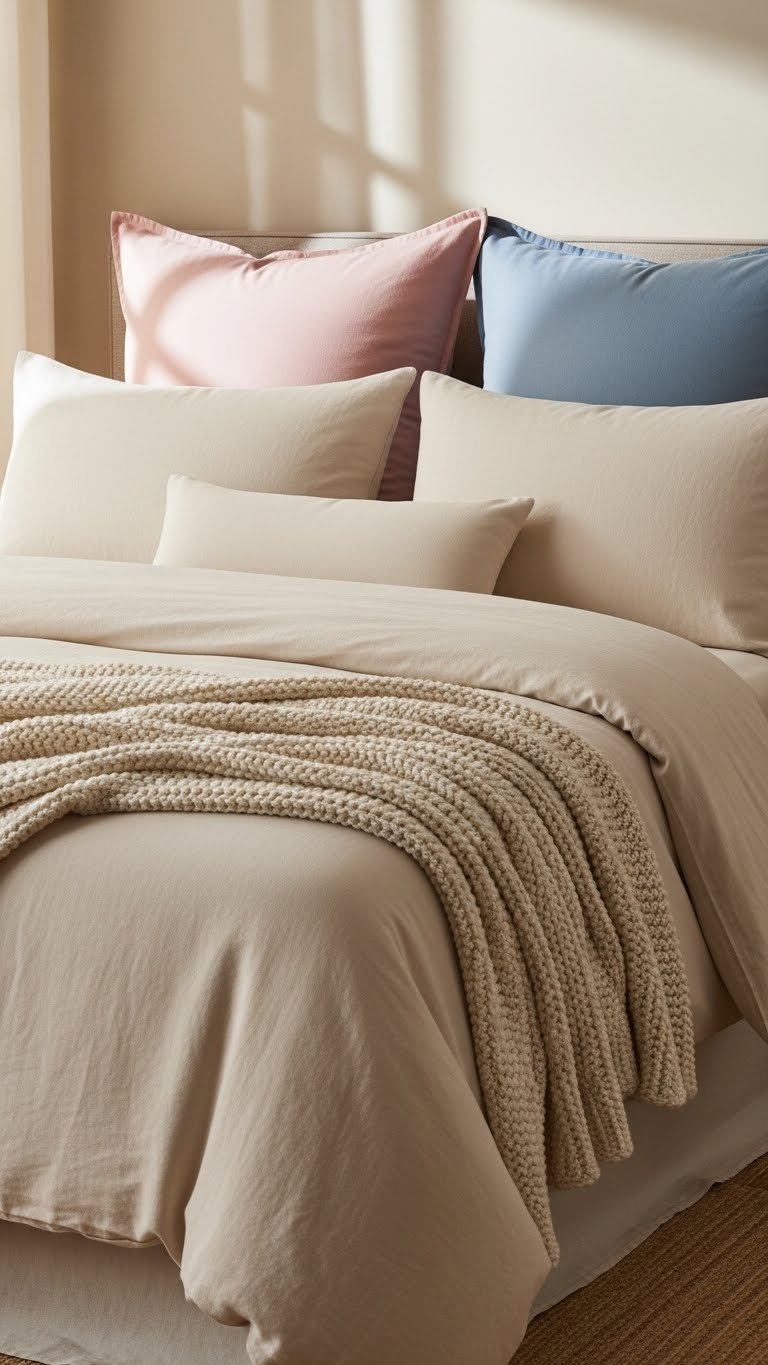
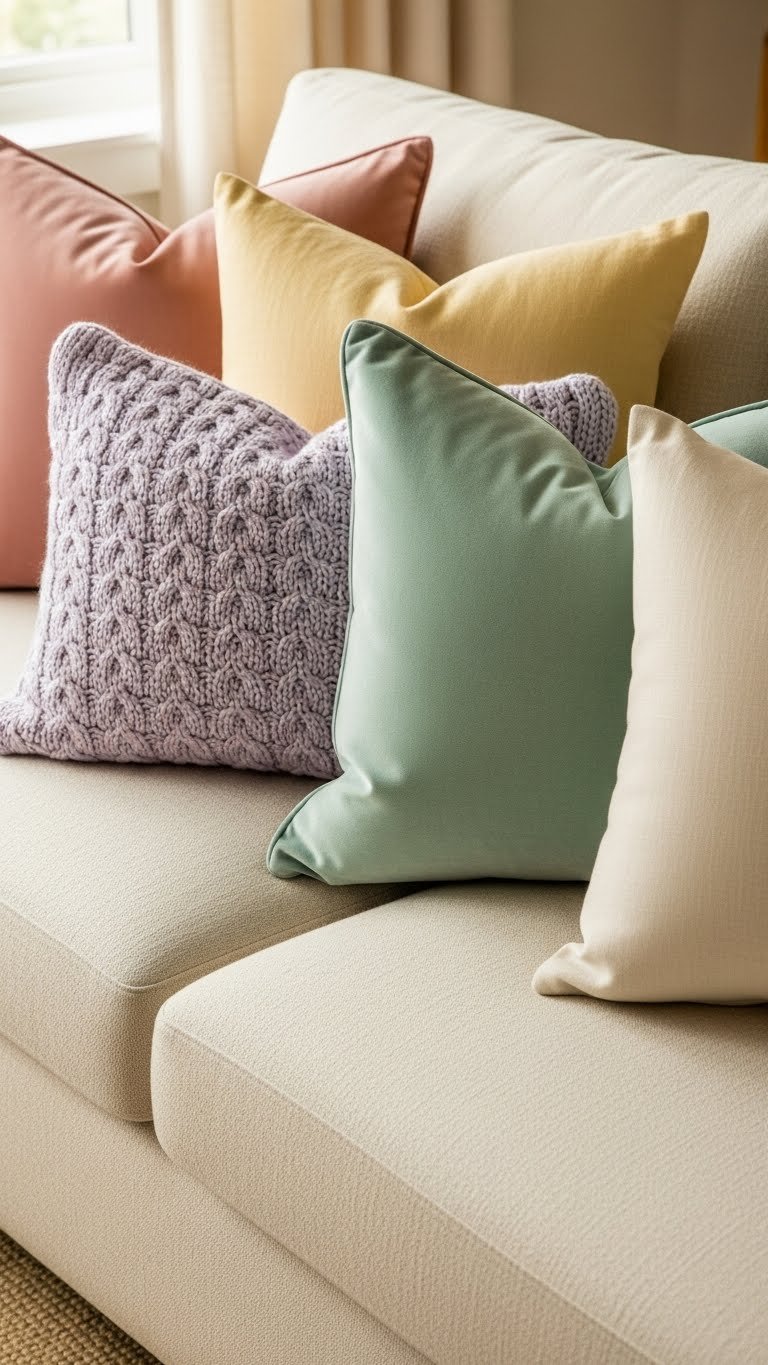
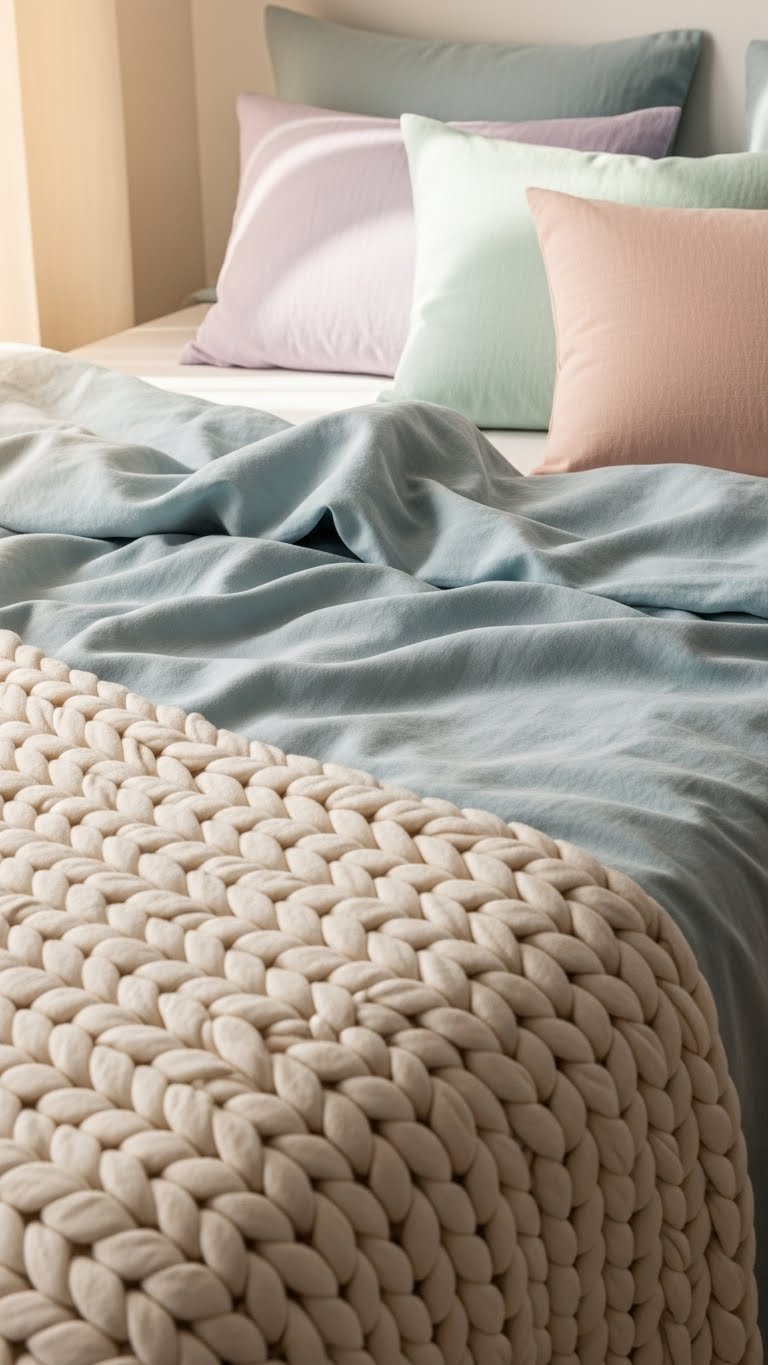
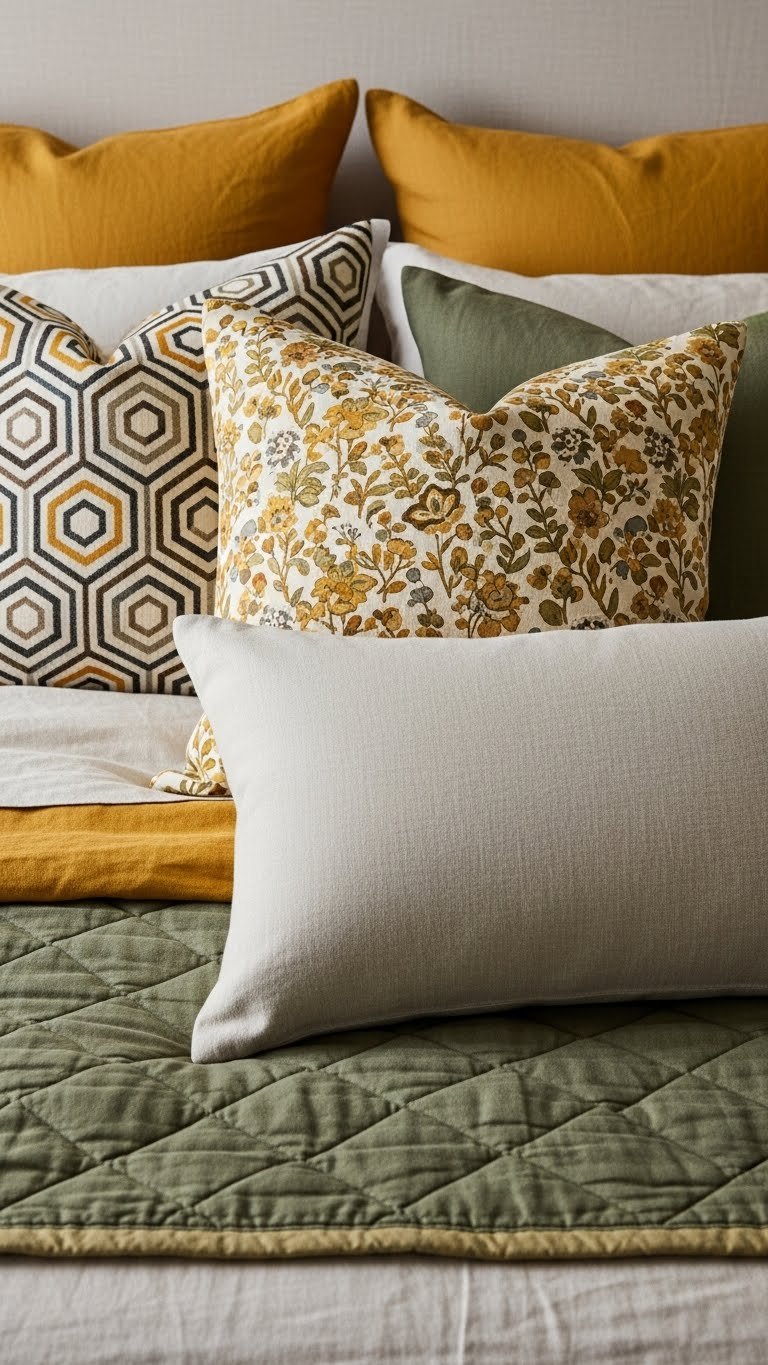
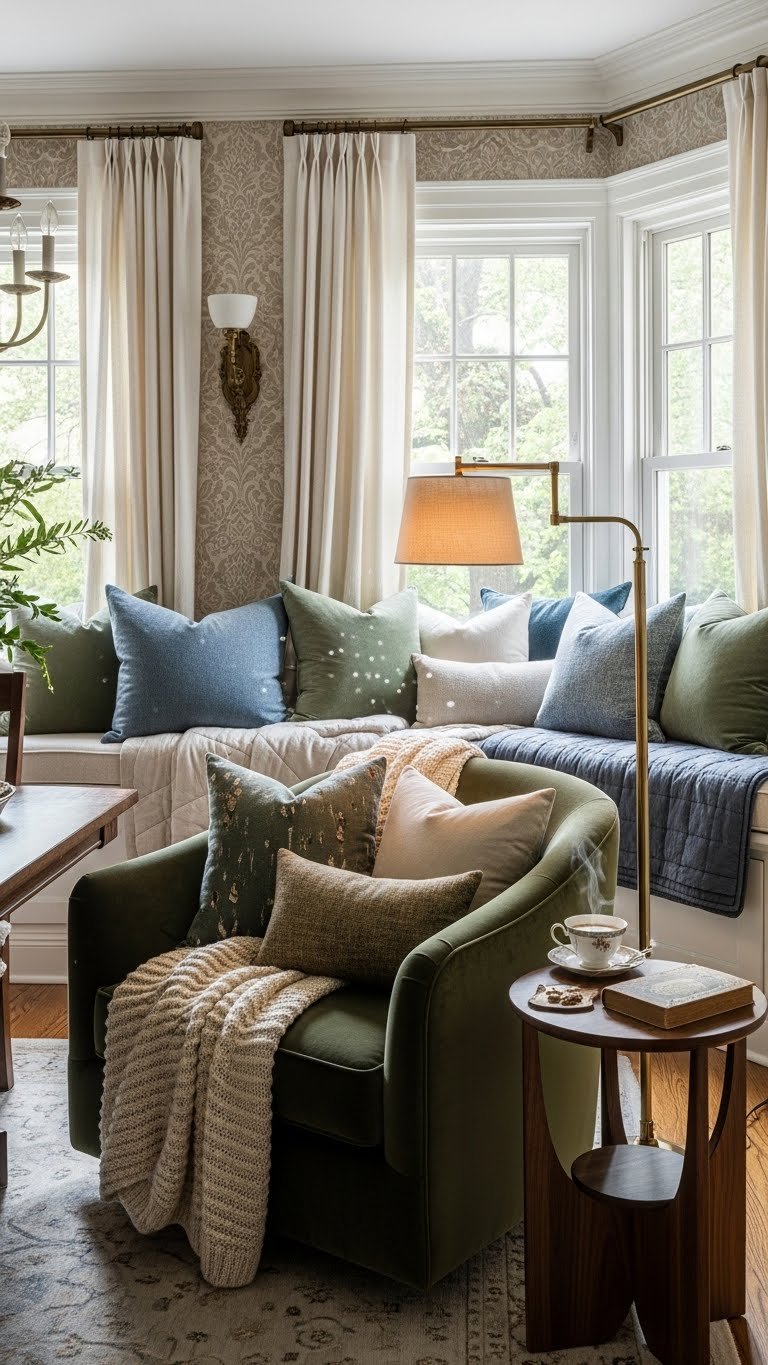
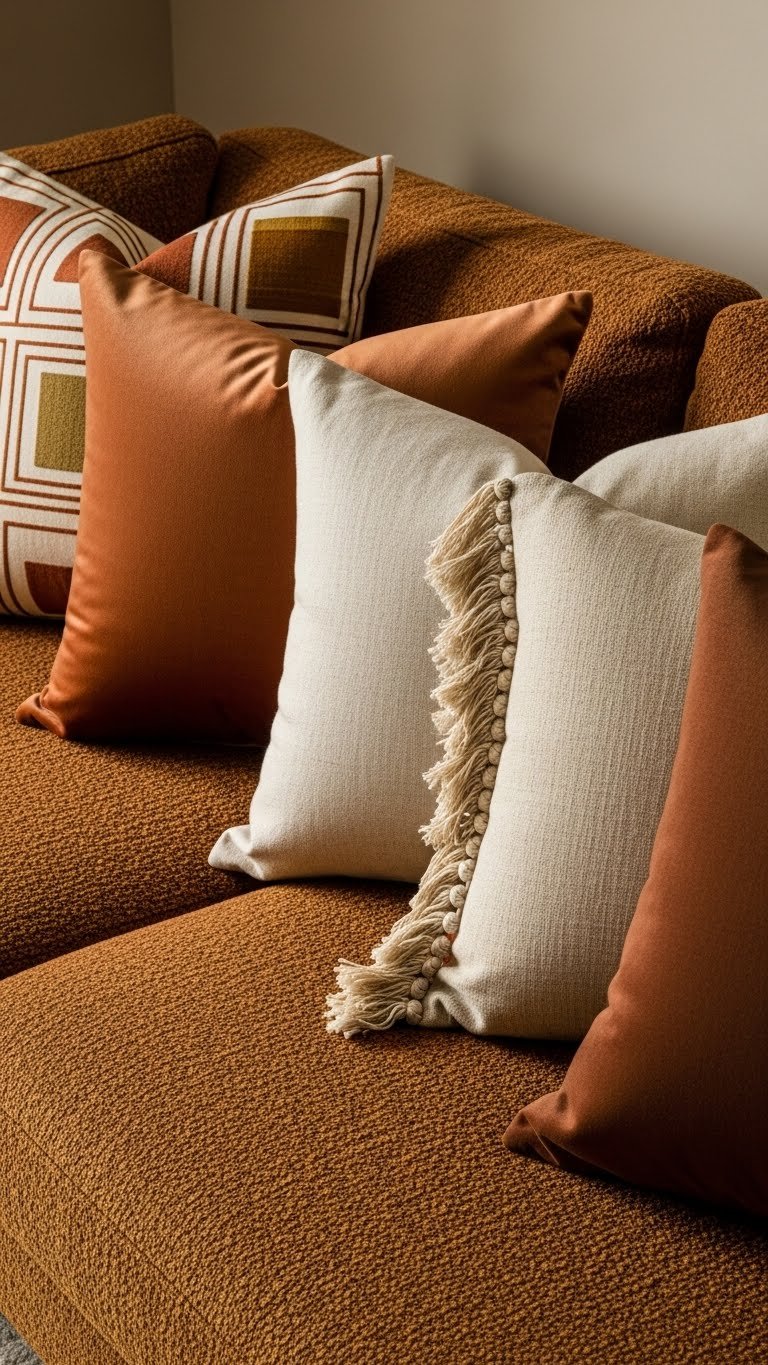
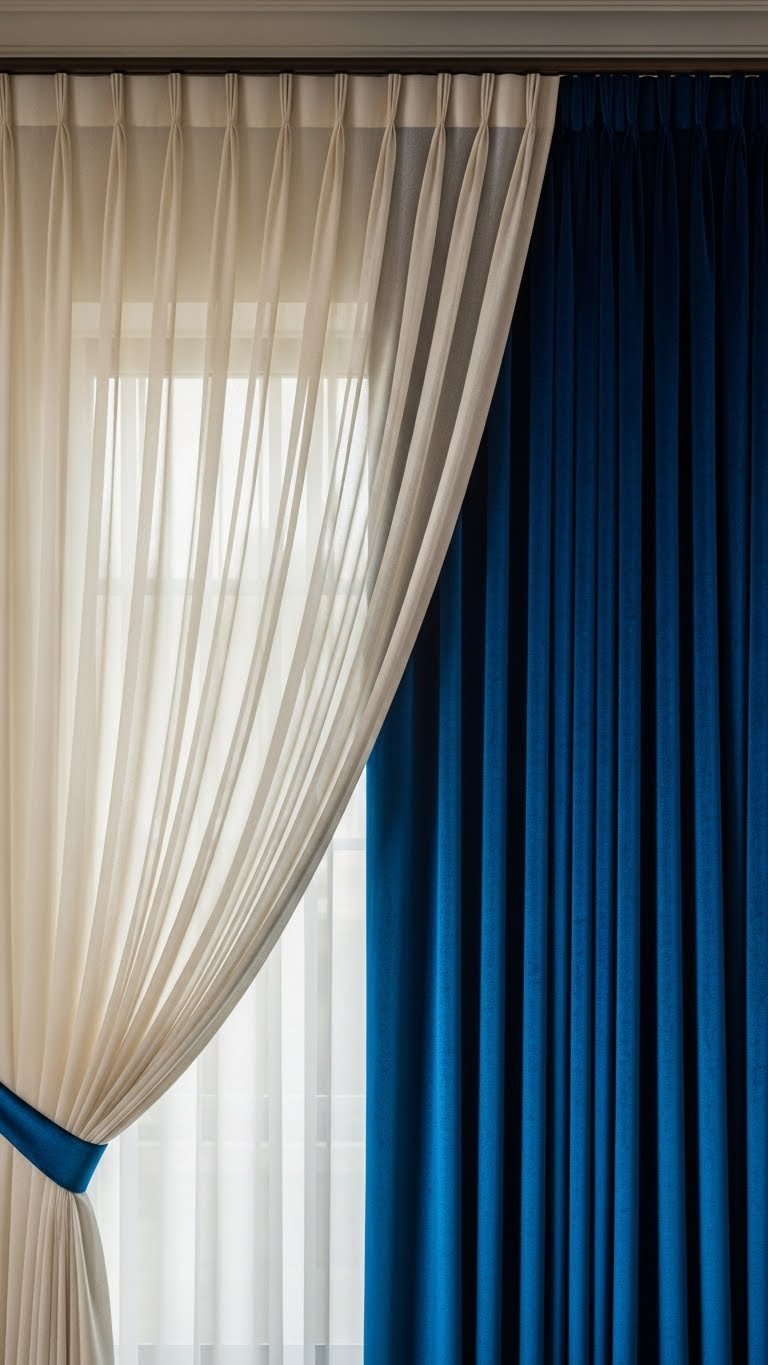
7. Layer Textures on the Bed
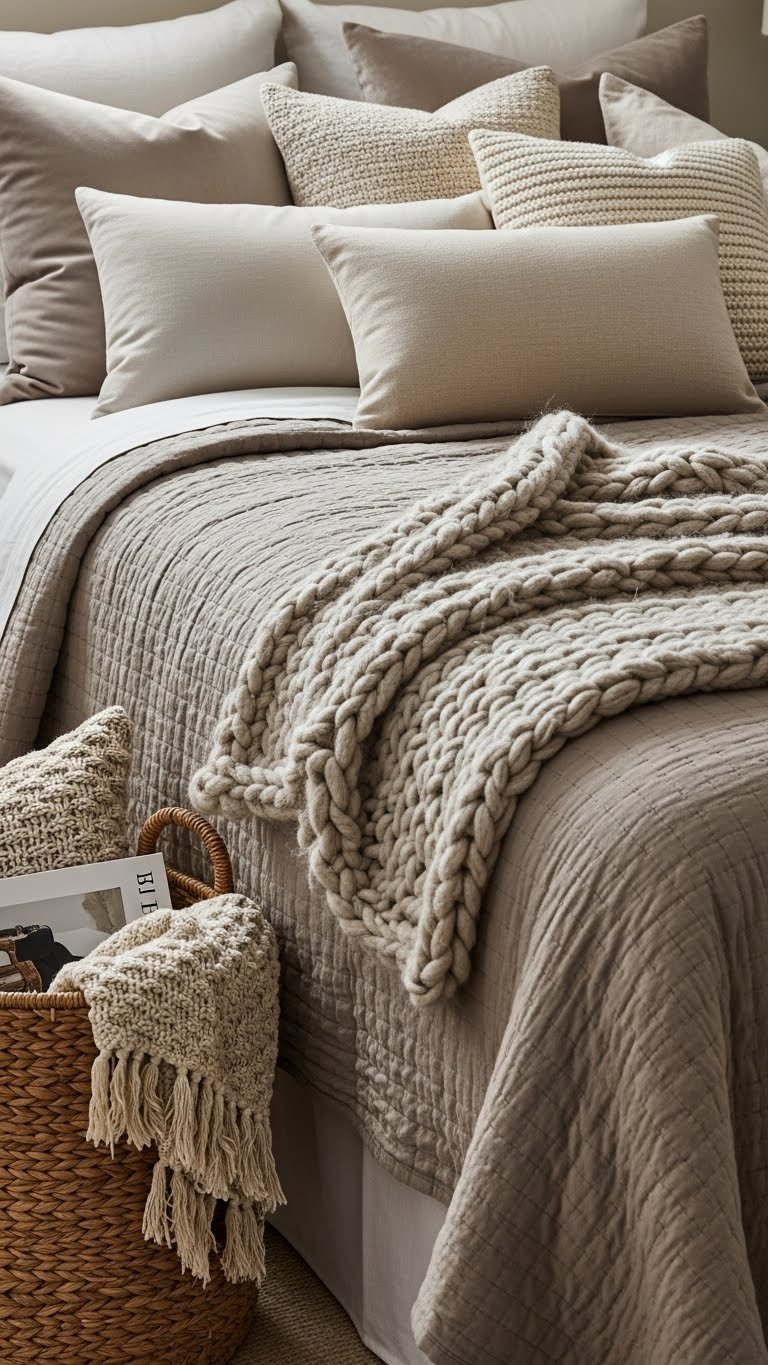
A single matching duvet set looks flat. Layering different textures—chunky knits, velvet, linen, faux fur—makes a bed look expensive and feel like a real refuge.
Start with a solid duvet ($60–$150), then add 2–3 throw pillows ($20–$50 each) in different fabrics—velvet for softness, linen for structure, knit for coziness. Drape a chunky knit throw ($30–$80) across the foot. All these pieces can come from IKEA, Target, West Elm, or thrifted for half price. Mix neutral tones (whites, grays, taupes, warm browns) so it coheres instead of clashing. The bed becomes the room’s anchor, and your teen actually wants to sit on it.
Your teen’s bed goes from “I have to sleep here” to “I want to hang out here”—perfect for studying, journaling, or just scrolling in comfort.
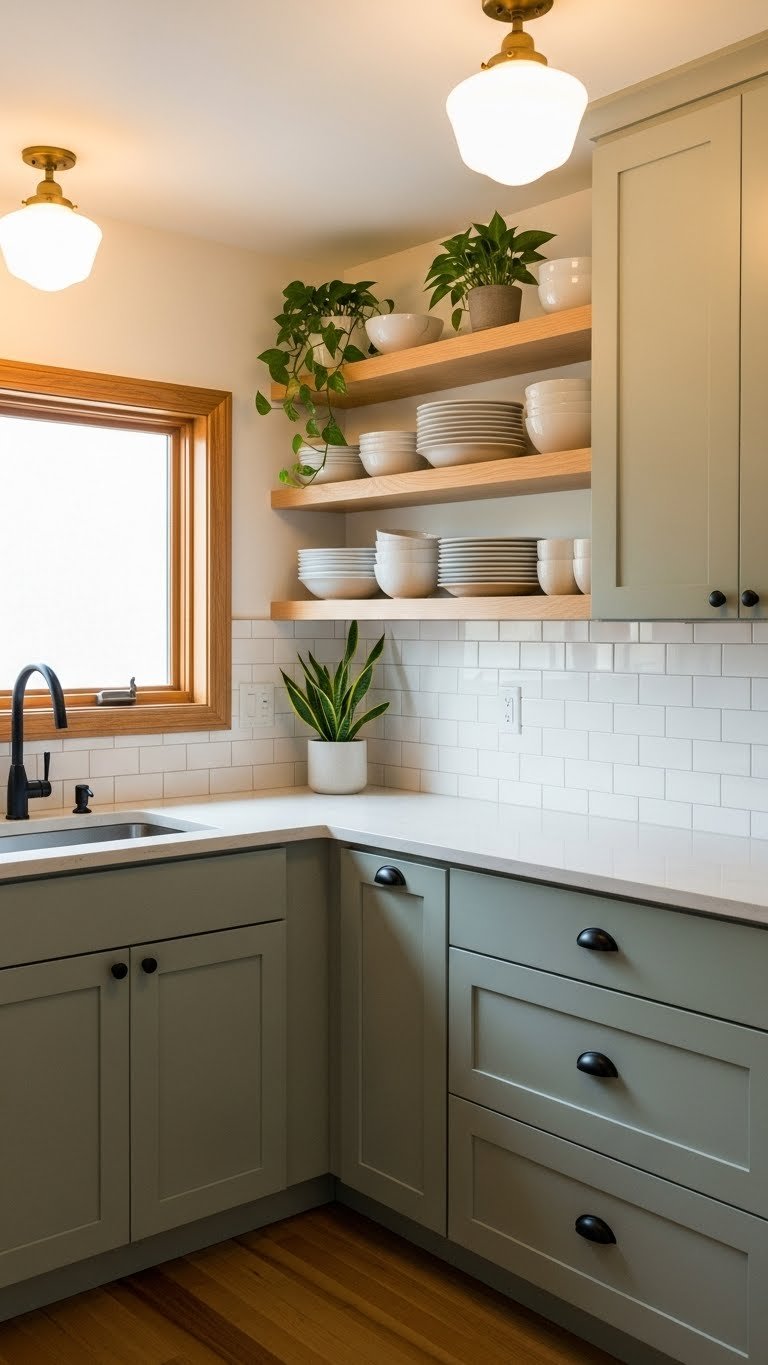
8. Paint Cabinetry or Dresser for Personality
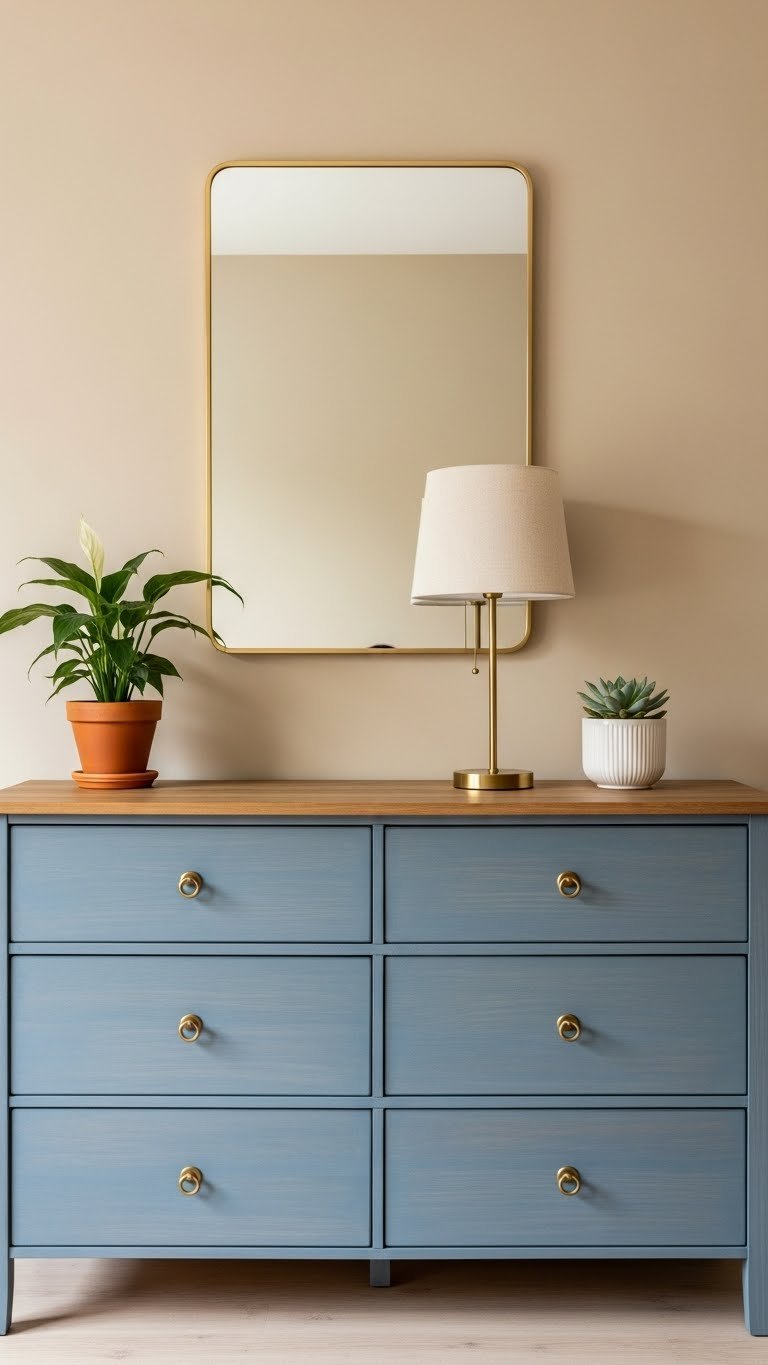
Furniture doesn’t have to stay its original color. Painting a dresser, nightstand, or bookcase totally changes a room’s vibe and costs way less than replacing it.
Use furniture paint or chalk paint ($15–$25 per can) and primer. Most small pieces need one can. Paintbrushes and supplies: $20–$40. Total project cost: $35–$65 plus a weekend of work. Pick a color that complements your wall shade—if walls are neutral, try a muted jewel tone or warm earth color on the furniture. Seal with polyurethane for durability, especially on dressers that get heavy use. Renters can do this to dressers they own and take them along when they move.
Your teen’s dresser becomes a statement piece, and the whole room feels more cohesive and styled.
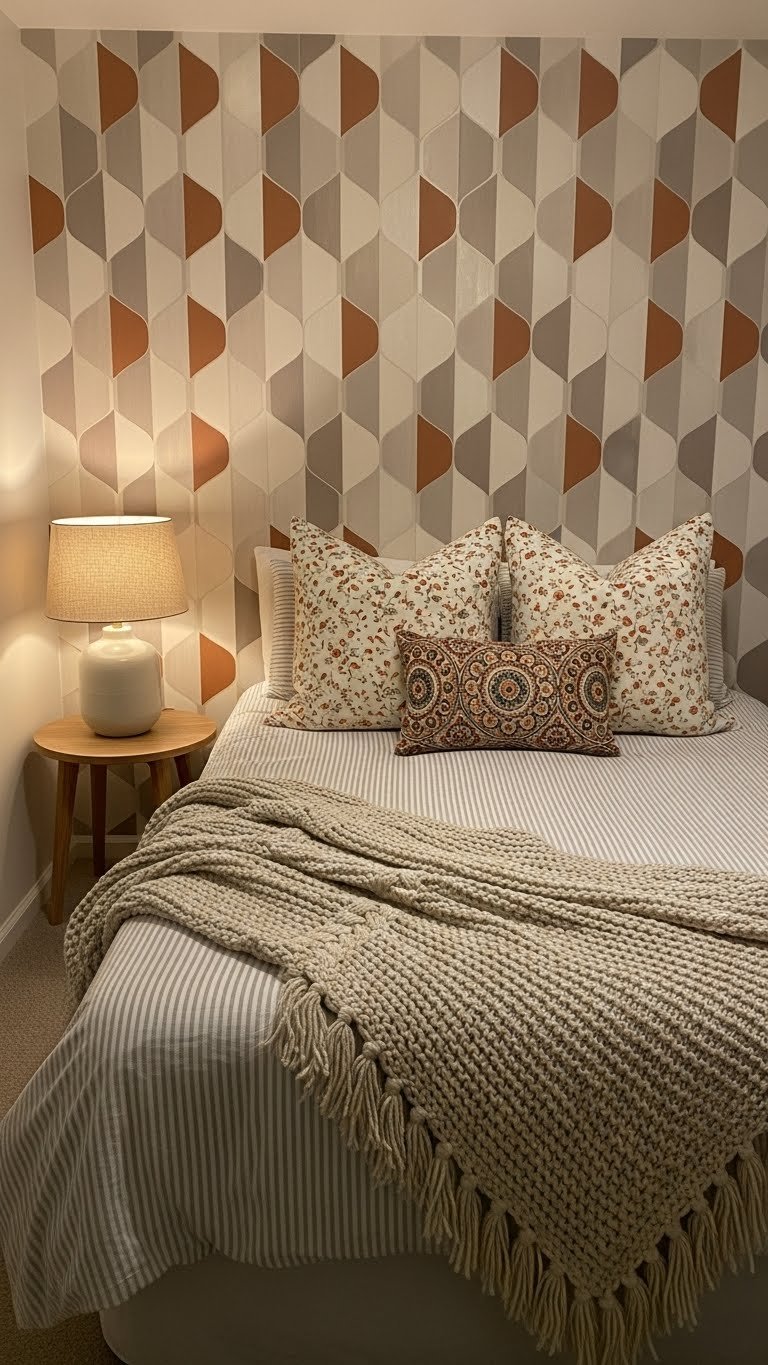
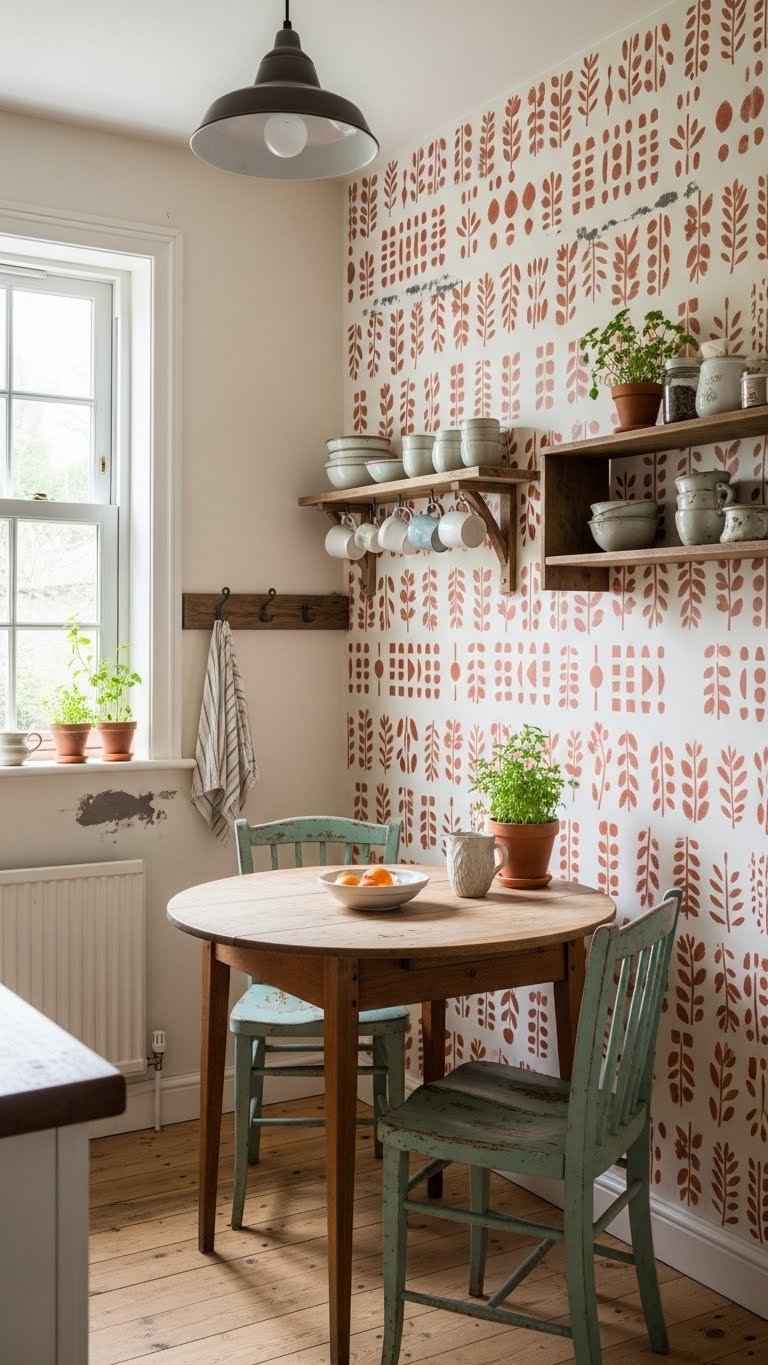
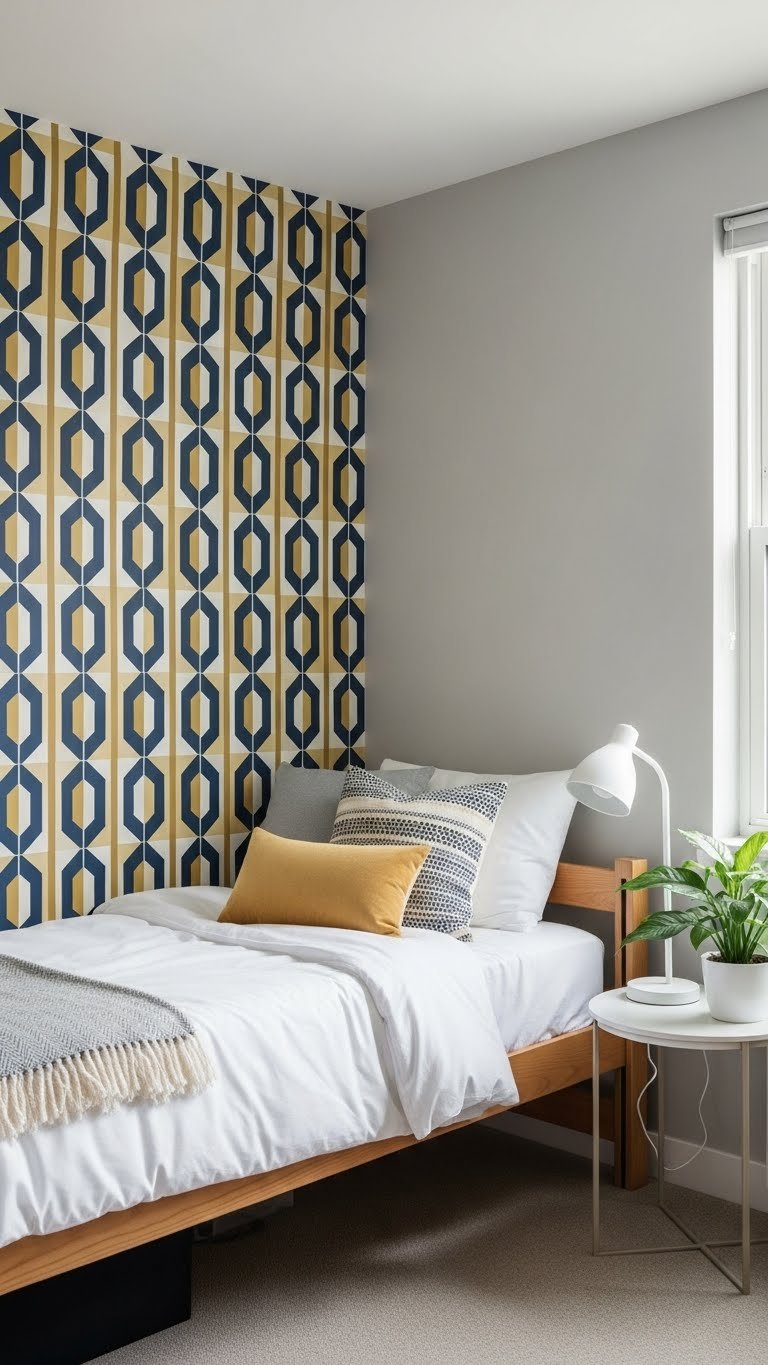
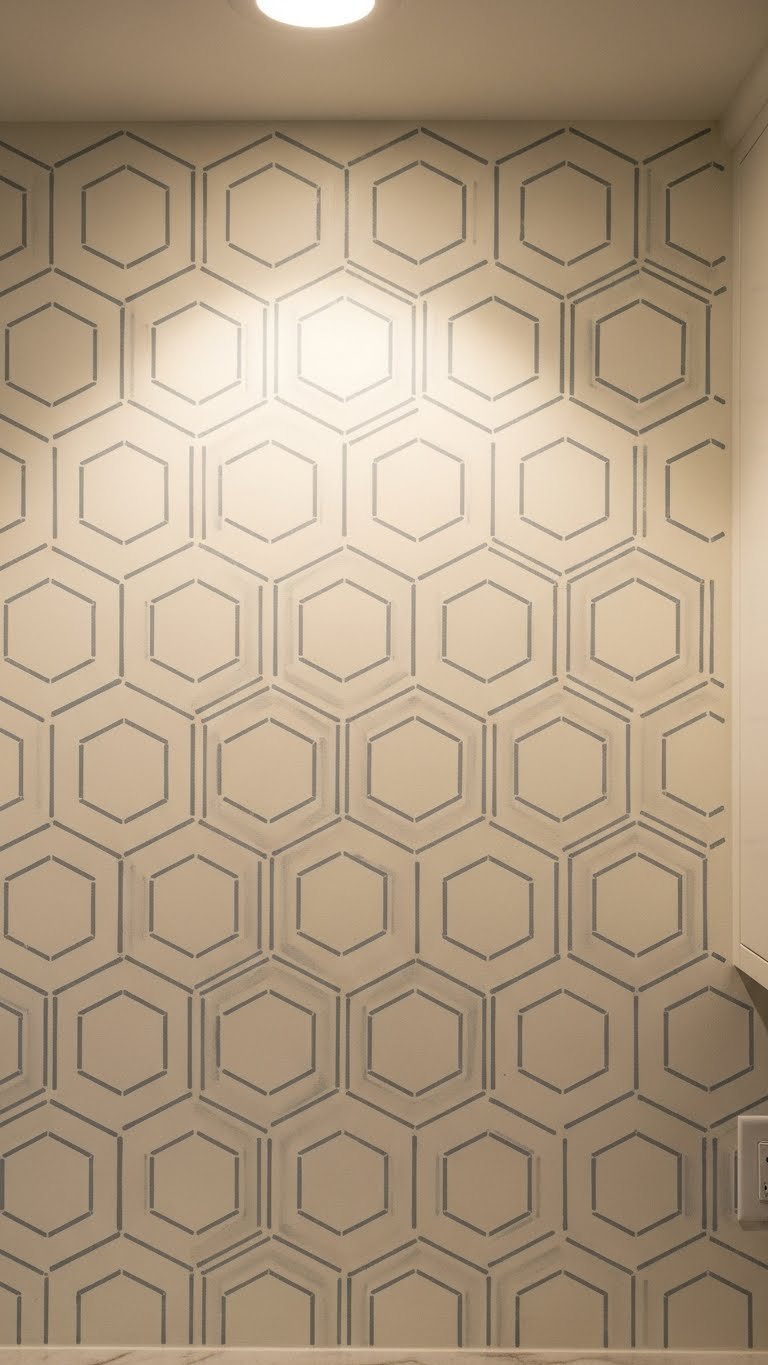
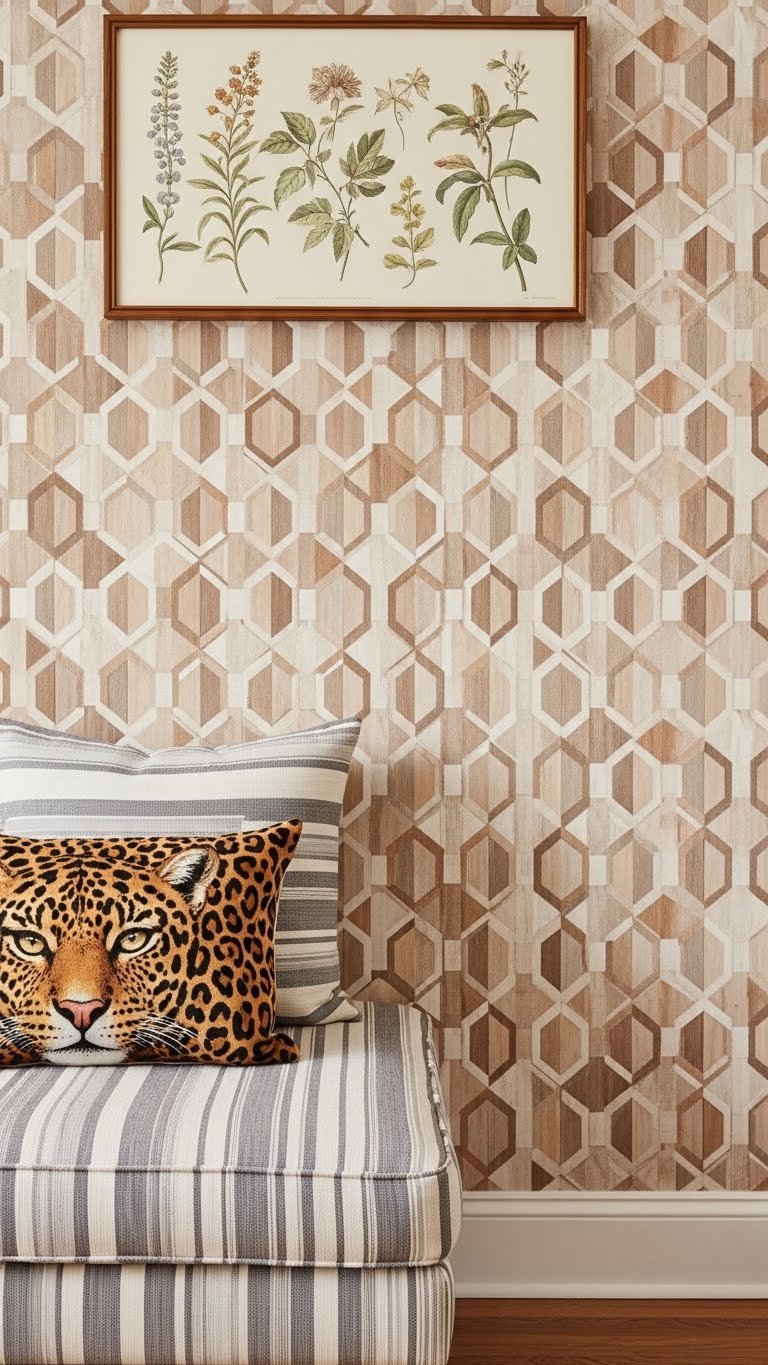
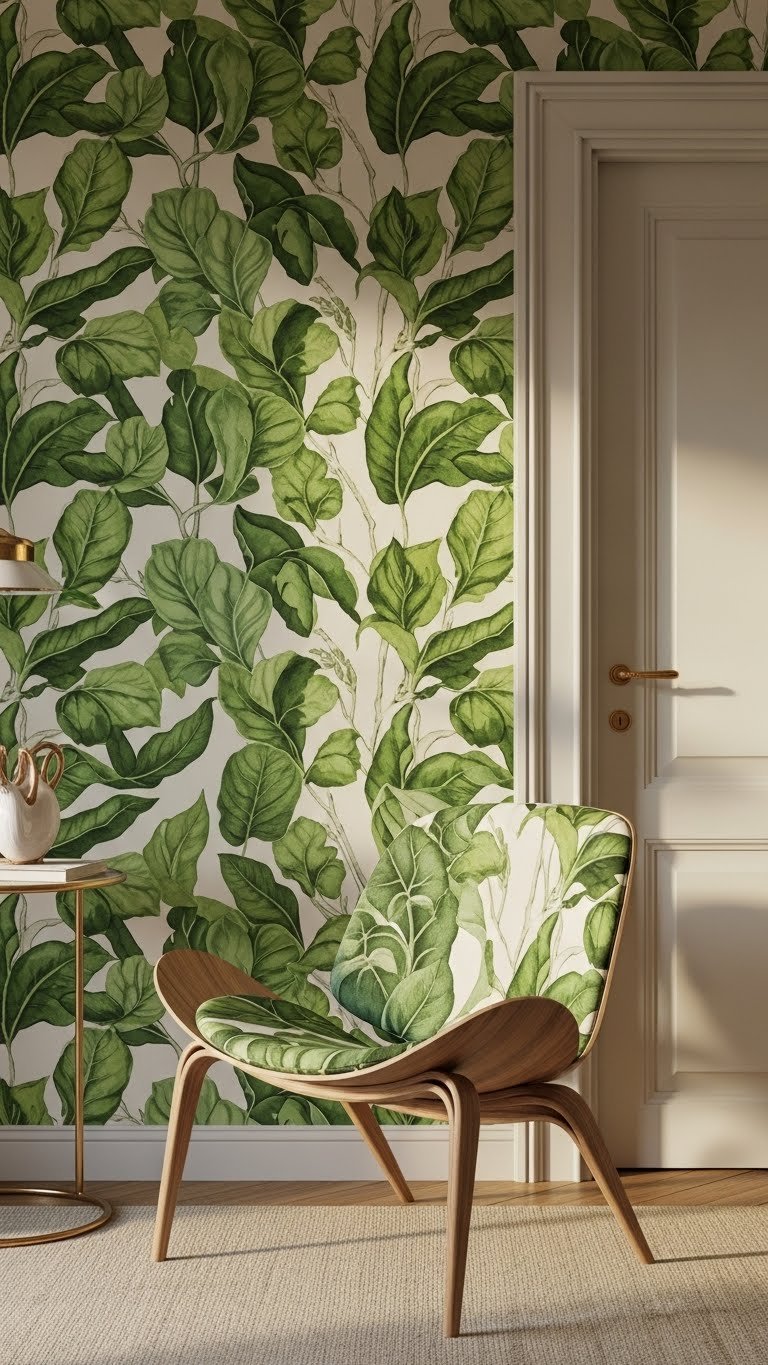
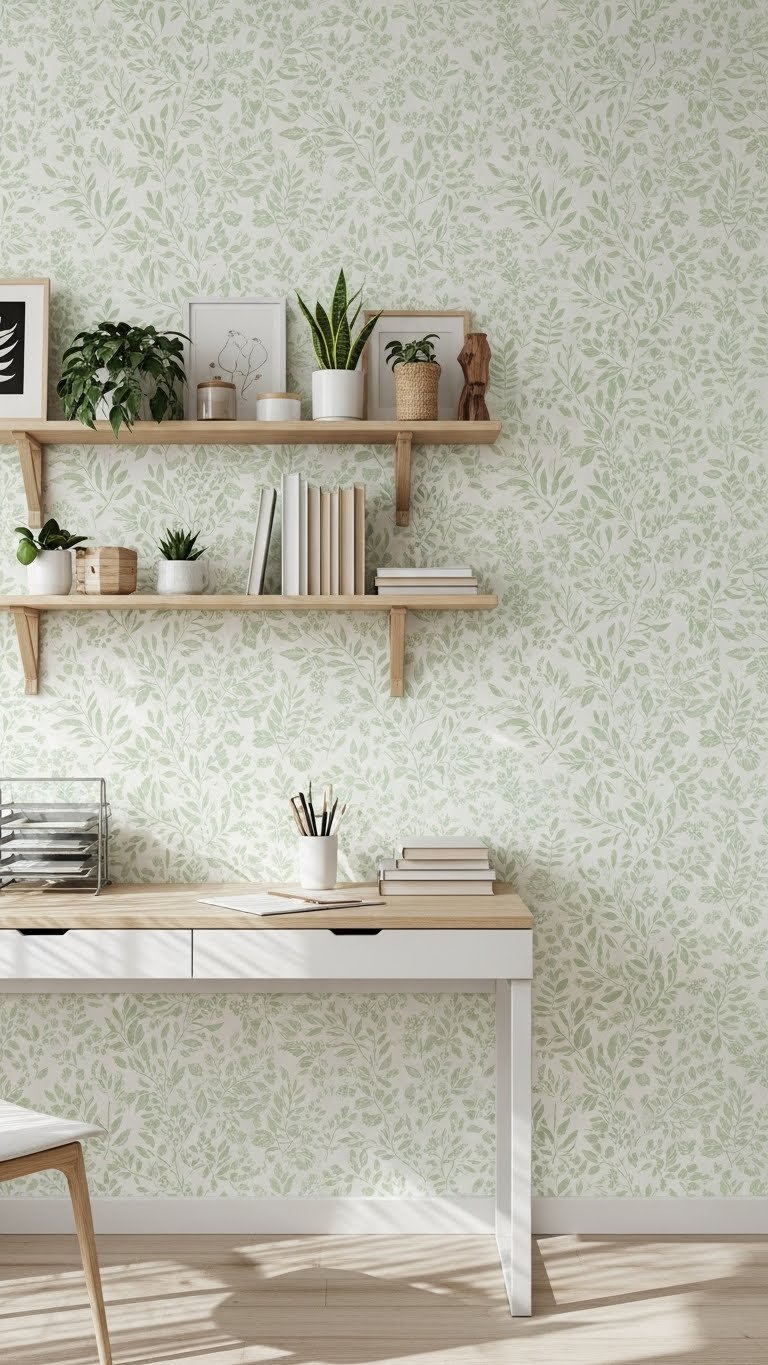
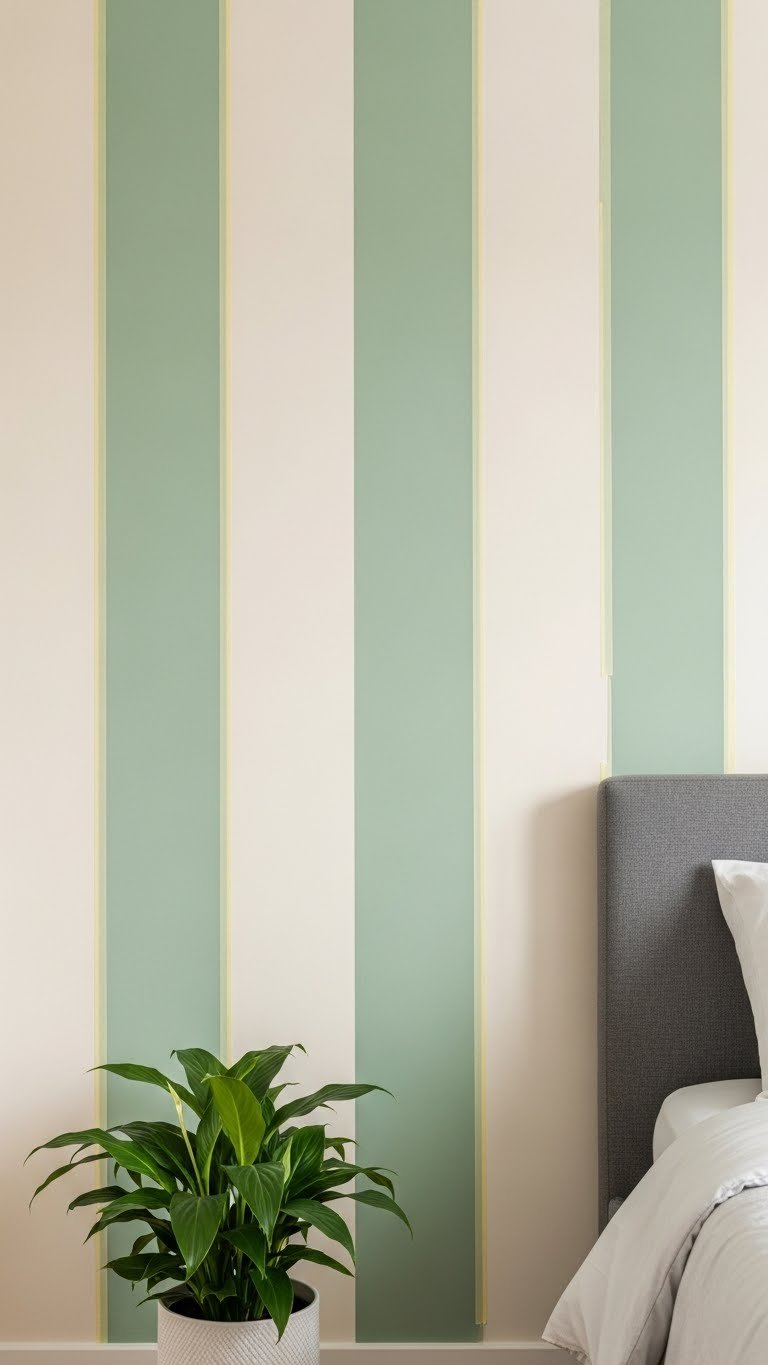
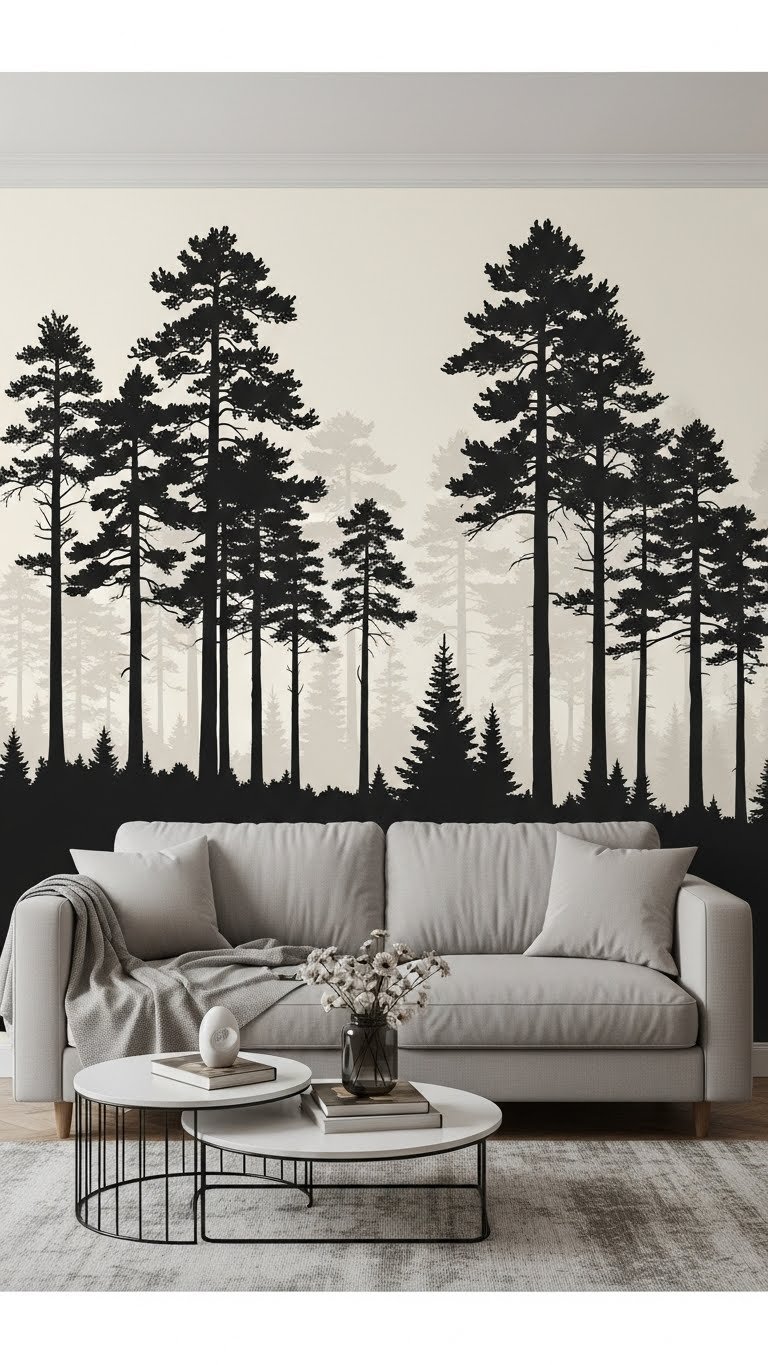
9. Hang Wallpaper on One Accent Wall
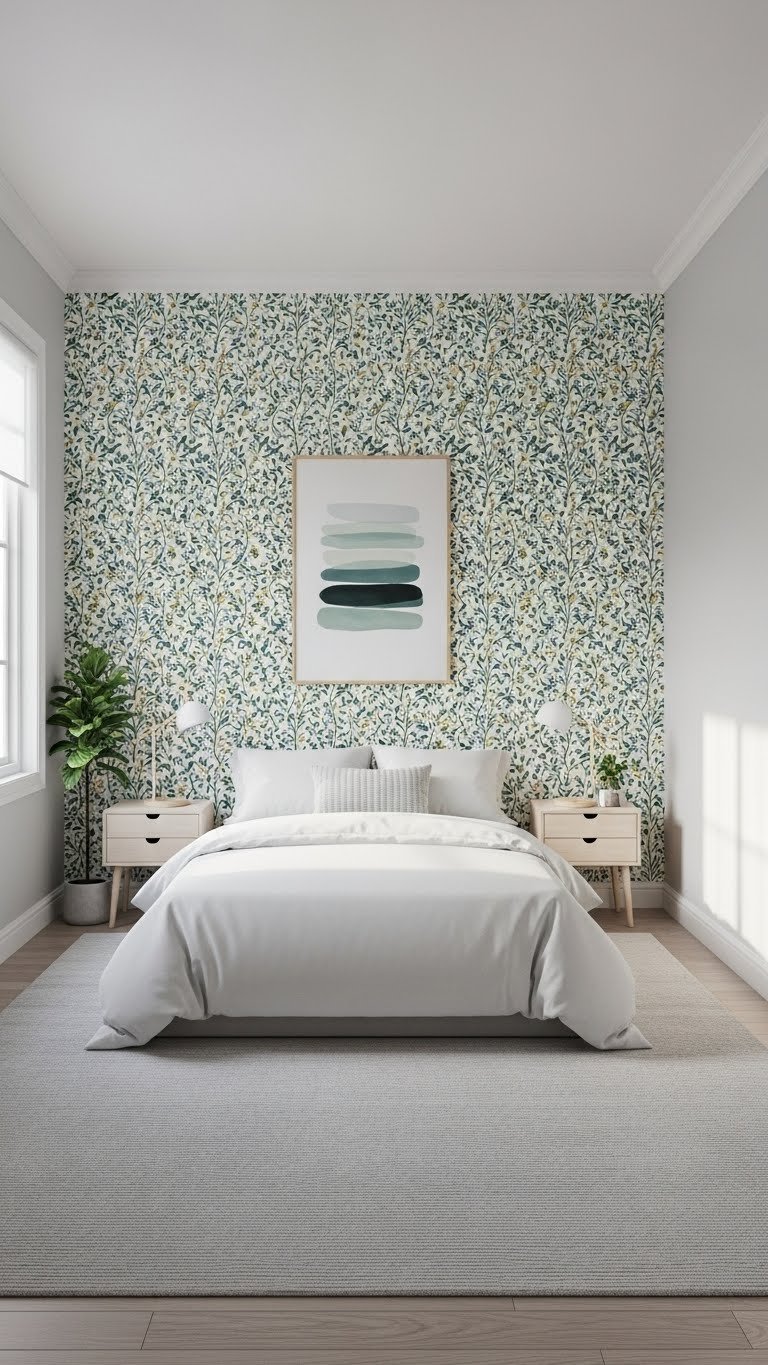
Wallpaper adds pattern and interest without the commitment of painting all walls. One patterned wall anchors the room and gives it designer energy.
Peel-and-stick removable wallpaper runs $25–$50 per roll; traditional wallpaper + paste costs $15–$40 per roll plus installation. Most accent walls need 2–4 rolls depending on size. Install peel-and-stick yourself in an hour; traditional wallpaper takes longer or hire someone. Pick a pattern that feels mature—geometric, botanical, or subtle abstracts work better than juvenile themes. Pair with solid walls so it doesn’t feel overwhelming.
One patterned wall gives your teen’s room that “magazine-worthy” polish without feeling overdone.
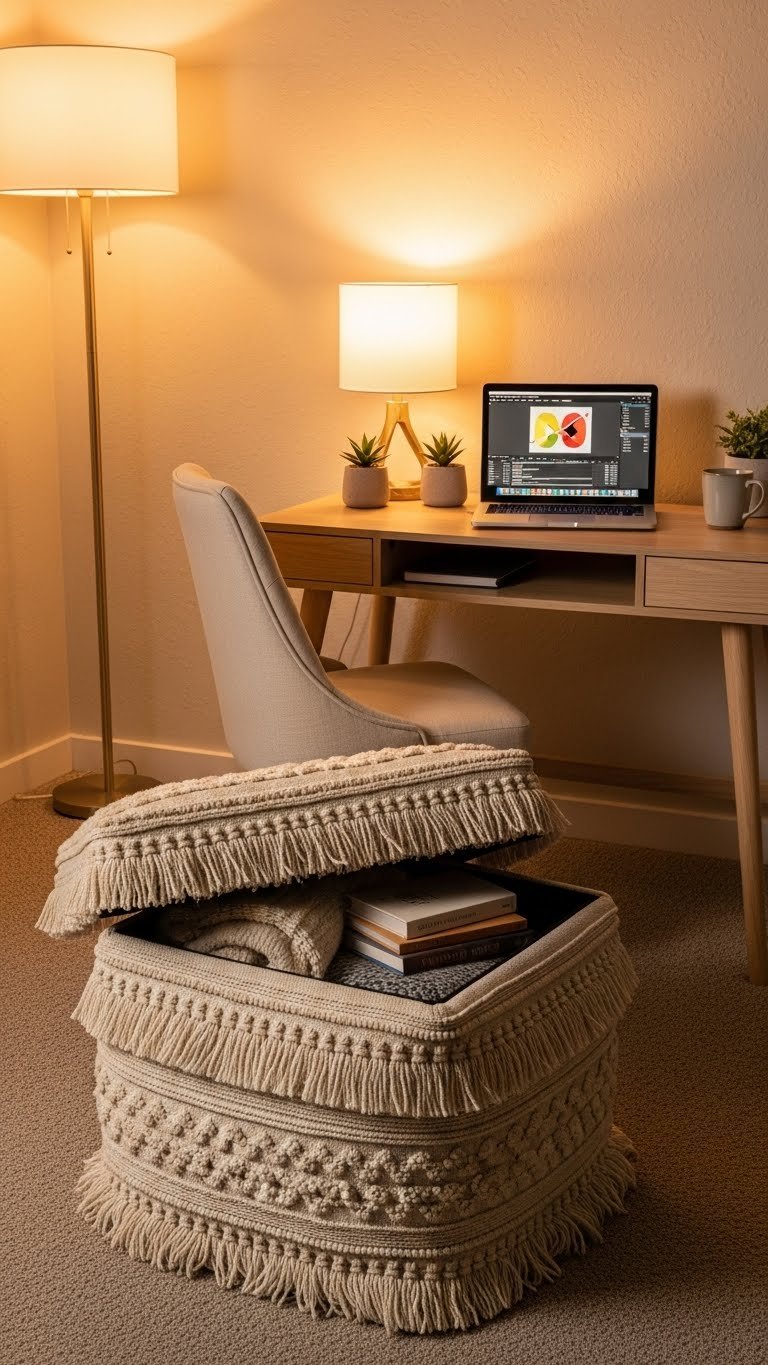
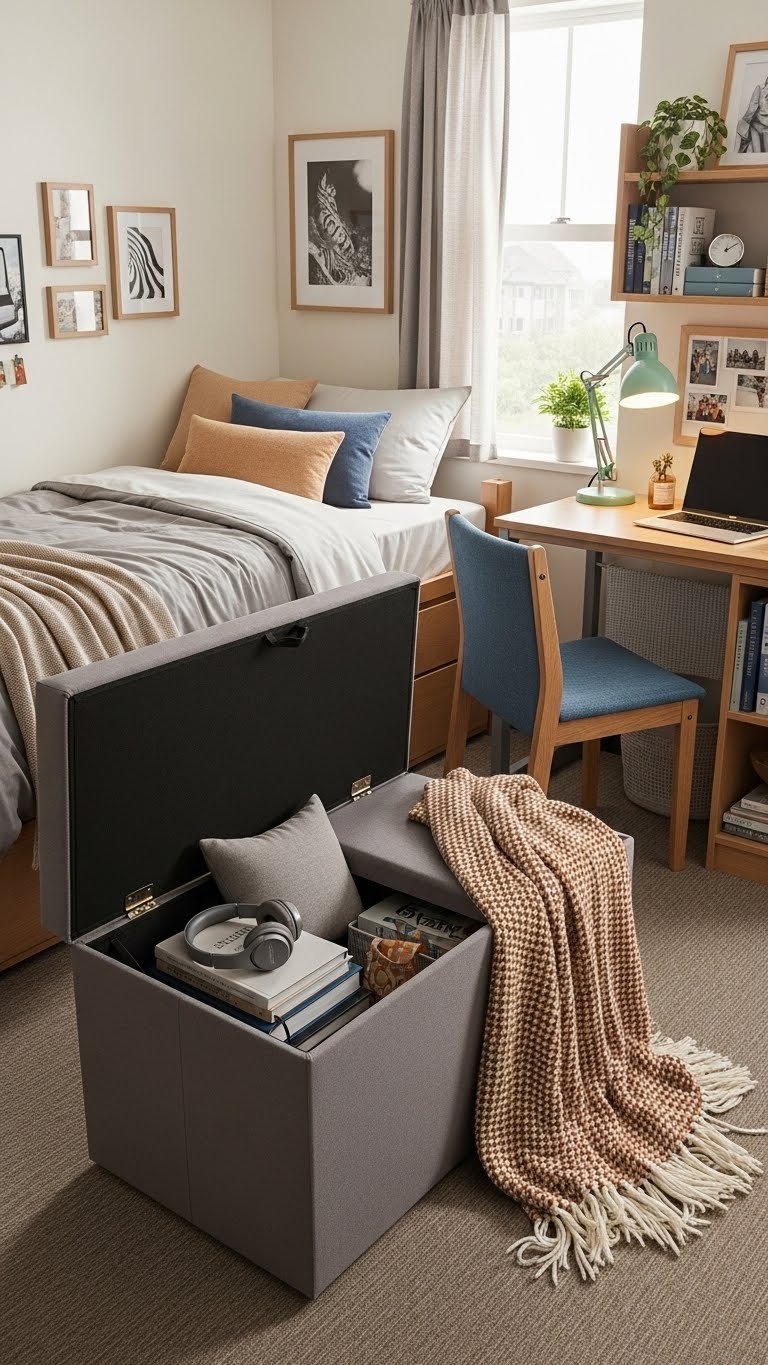
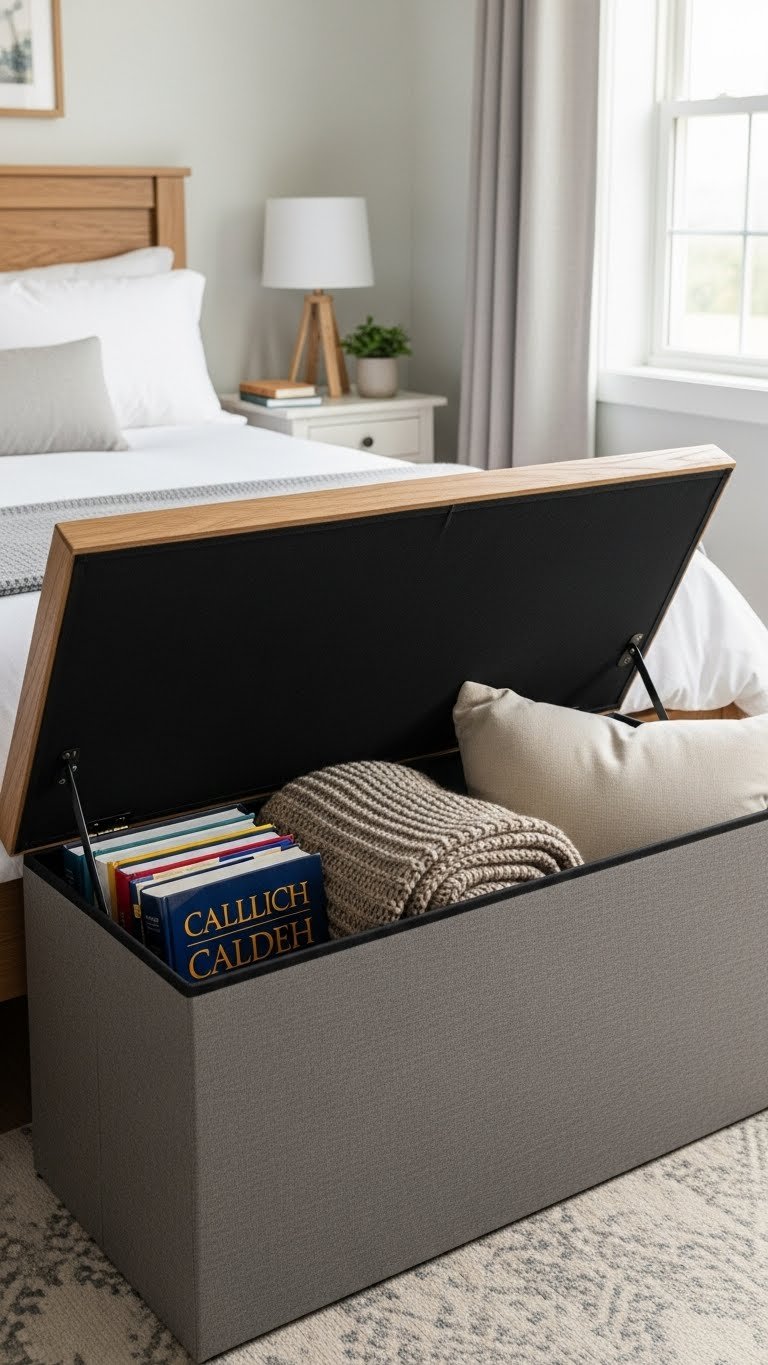
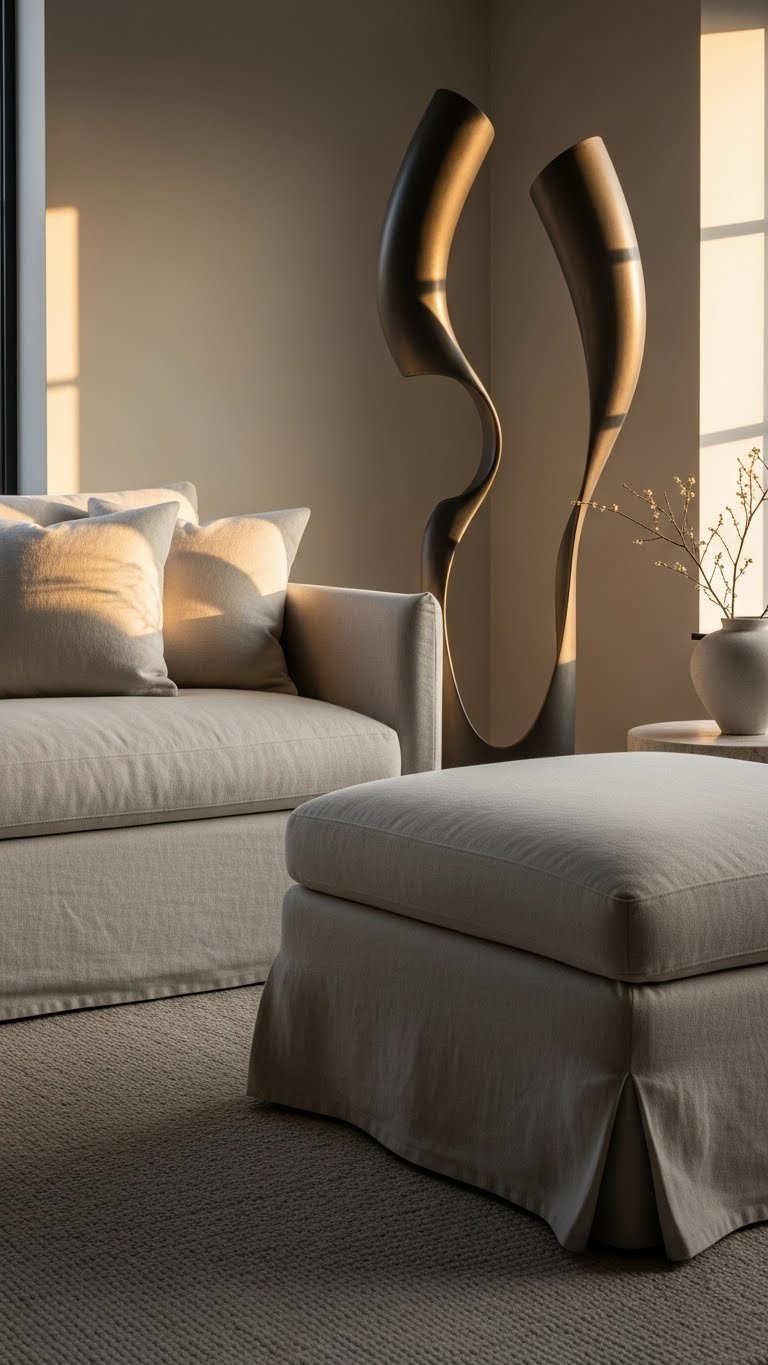
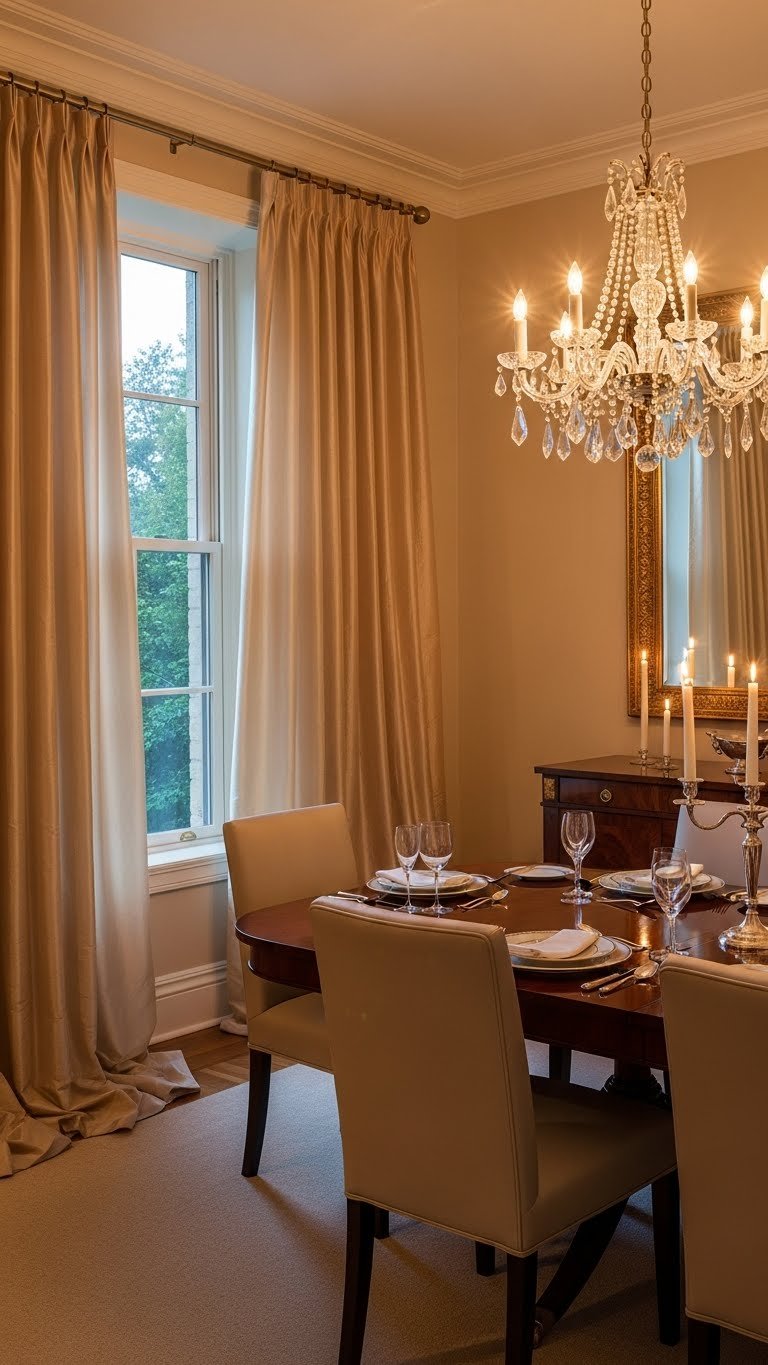
10. Add a Skirted Ottoman or Poufs
Skirted ottomans add drama and old-school charm while serving as extra seating, a footrest, or hidden storage. That little skirt detail makes furniture feel curated and intentional.
Hunt for skirted ottomans on Wayfair, West Elm, or Article ($150–$400), or find secondhand options ($40–$120). Brands like Restoration Hardware have pricier versions ($400+). Pair with a solid-colored armchair for a mini lounge zone. This works especially well in larger teen rooms where you can carve out a seating corner separate from the bed. Some have hidden storage—bonus for stashing extra blankets or off-season clothes.
Your teen goes from “I sit on my bed” to “I have a whole seating nook”—perfect for friends coming over.
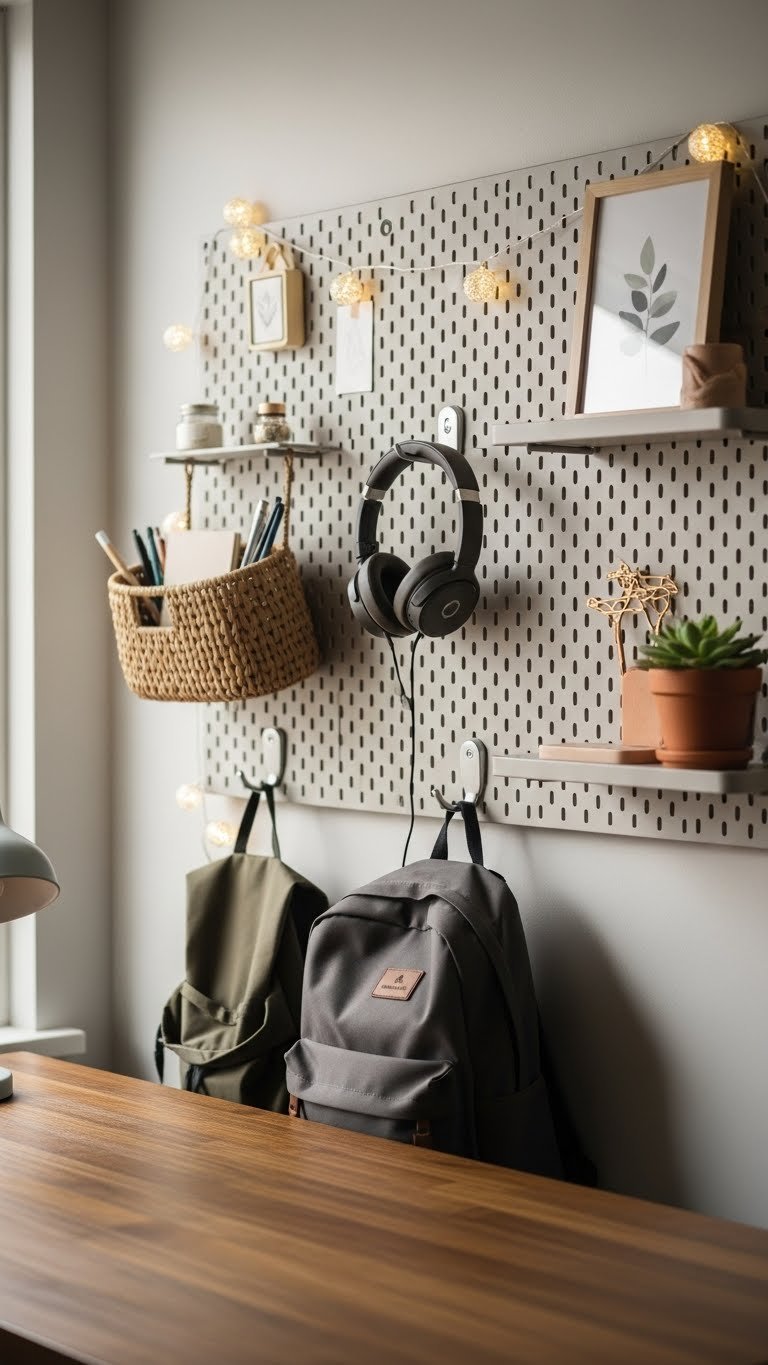
11. Install a Pegboard for Organization + Display
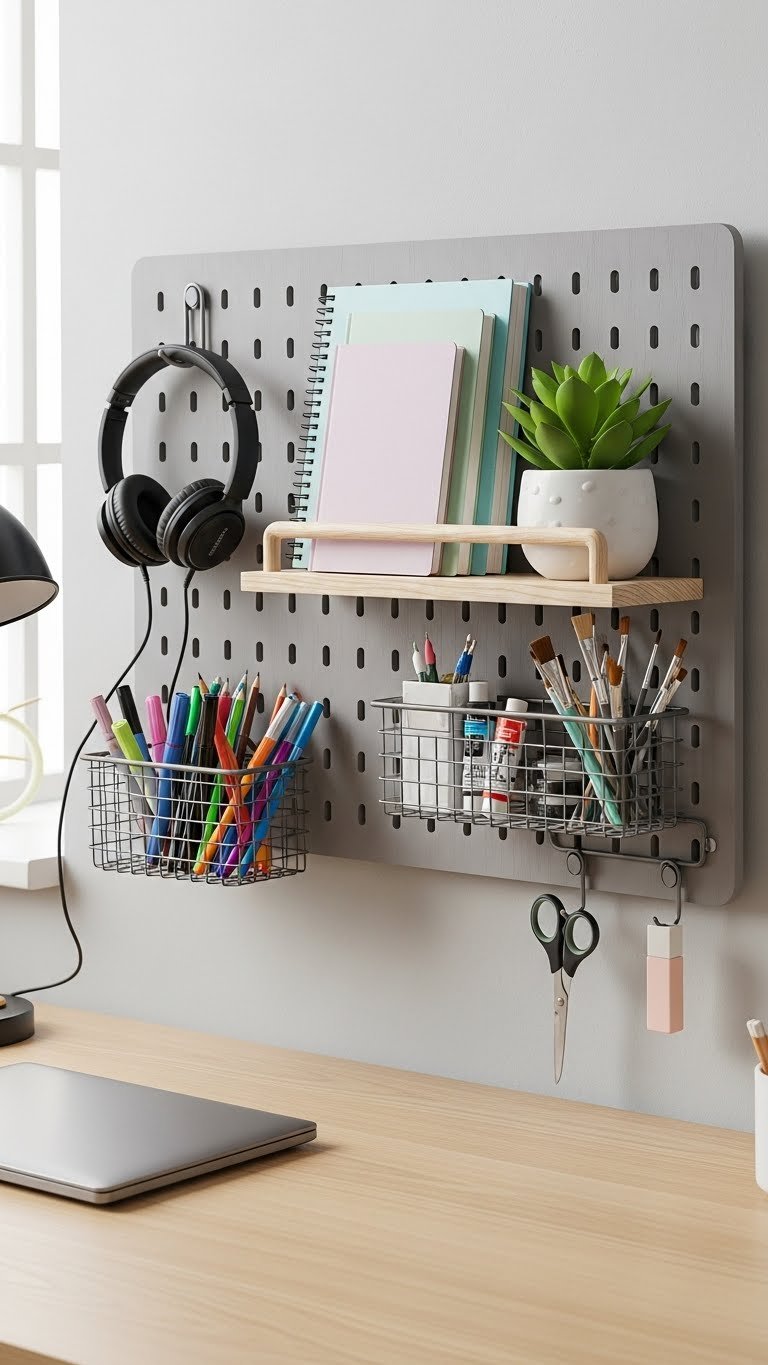
Pegboards are the Swiss Army knife of organization—they hold whatever you need and look intentional while doing it. They’re renter-friendly and adjustable as needs change.
A basic pegboard costs $20–$50 from Home Depot or IKEA; hooks, baskets, and shelves add $30–$100. Install with simple anchors (renter-safe) or wall studs. Paint it a color that matches your room ($10–$20 for paint). Arrange items by category—art supplies in one basket, writing tools in another, headphones on a hook. Leave some negative space so it doesn’t look cluttered. This is perfect for teens with hobbies (art, music, gaming) because everything has a spot and stays visible.
Your teen’s essentials become organized and decorative at the same time—no more digging through drawers.
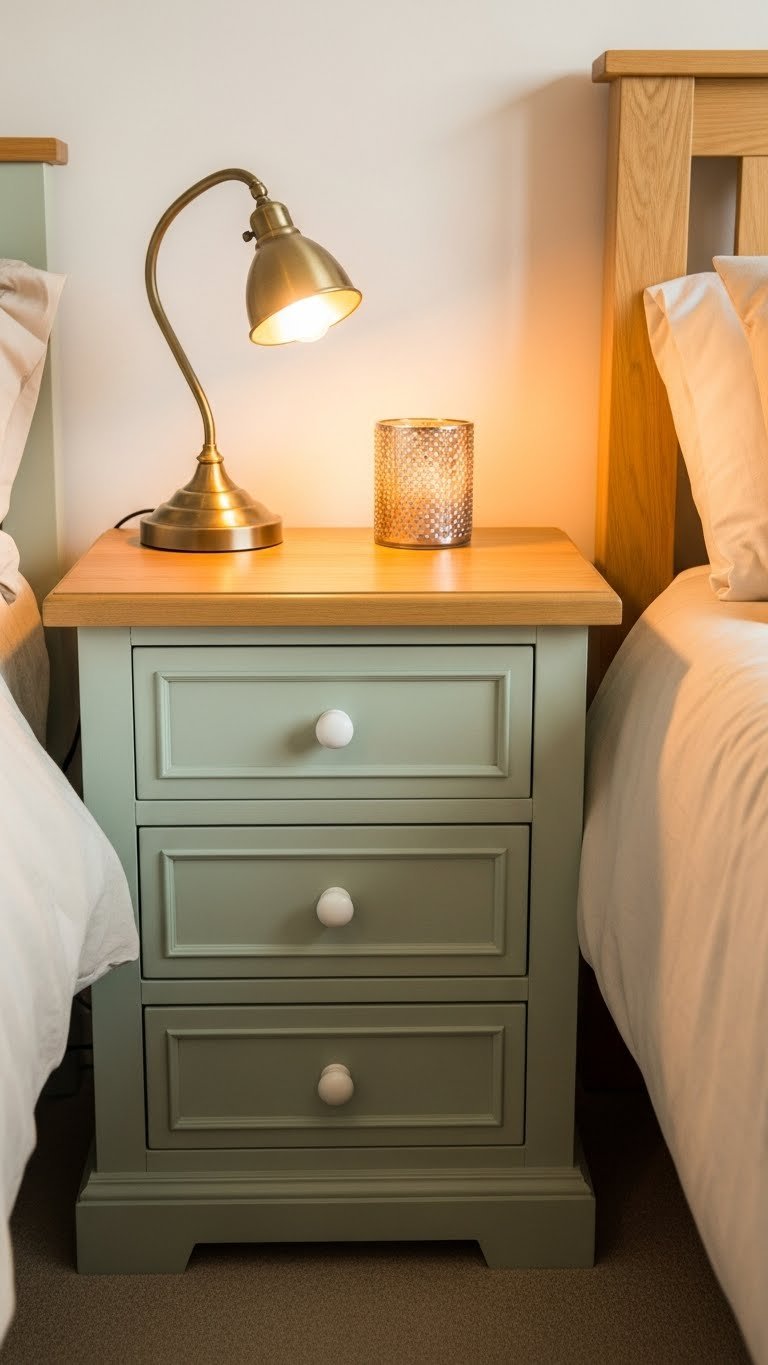
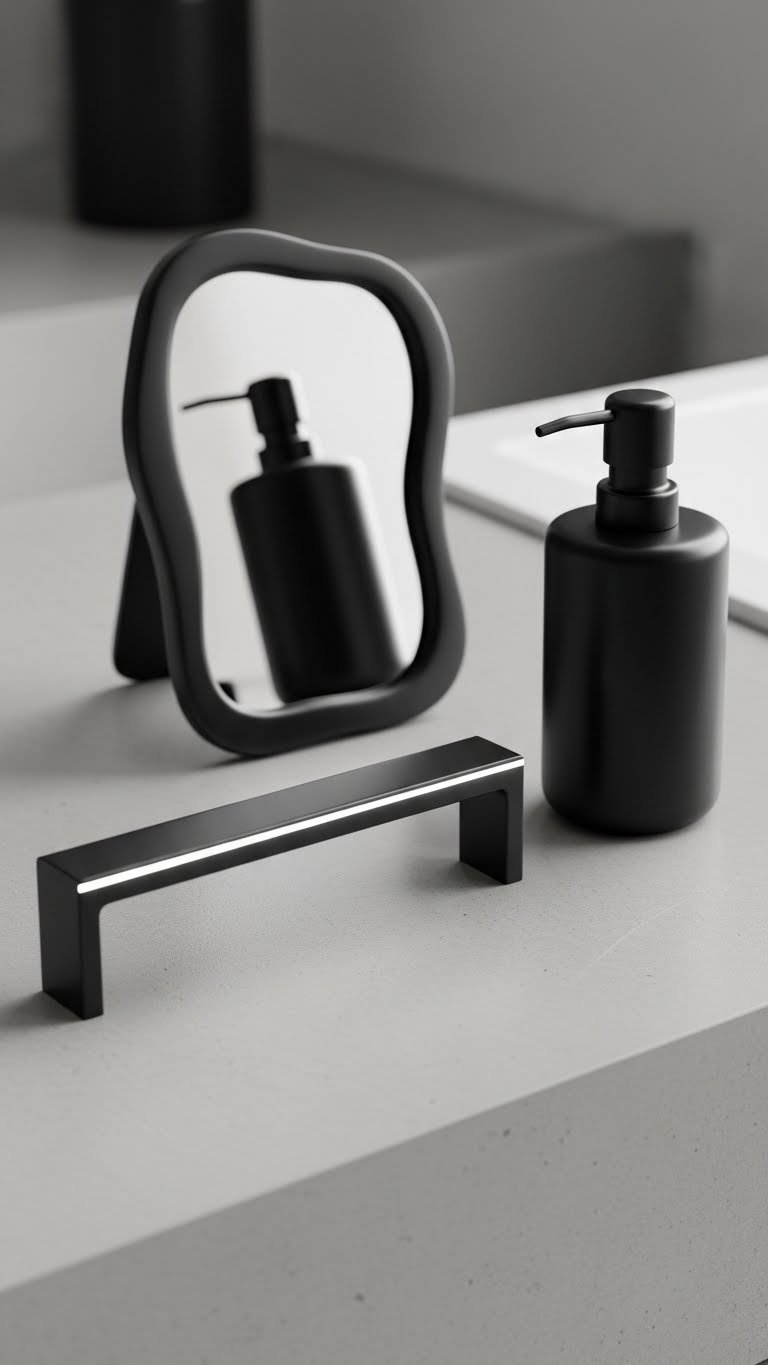
12. Swap Out Hardware on Existing Furniture
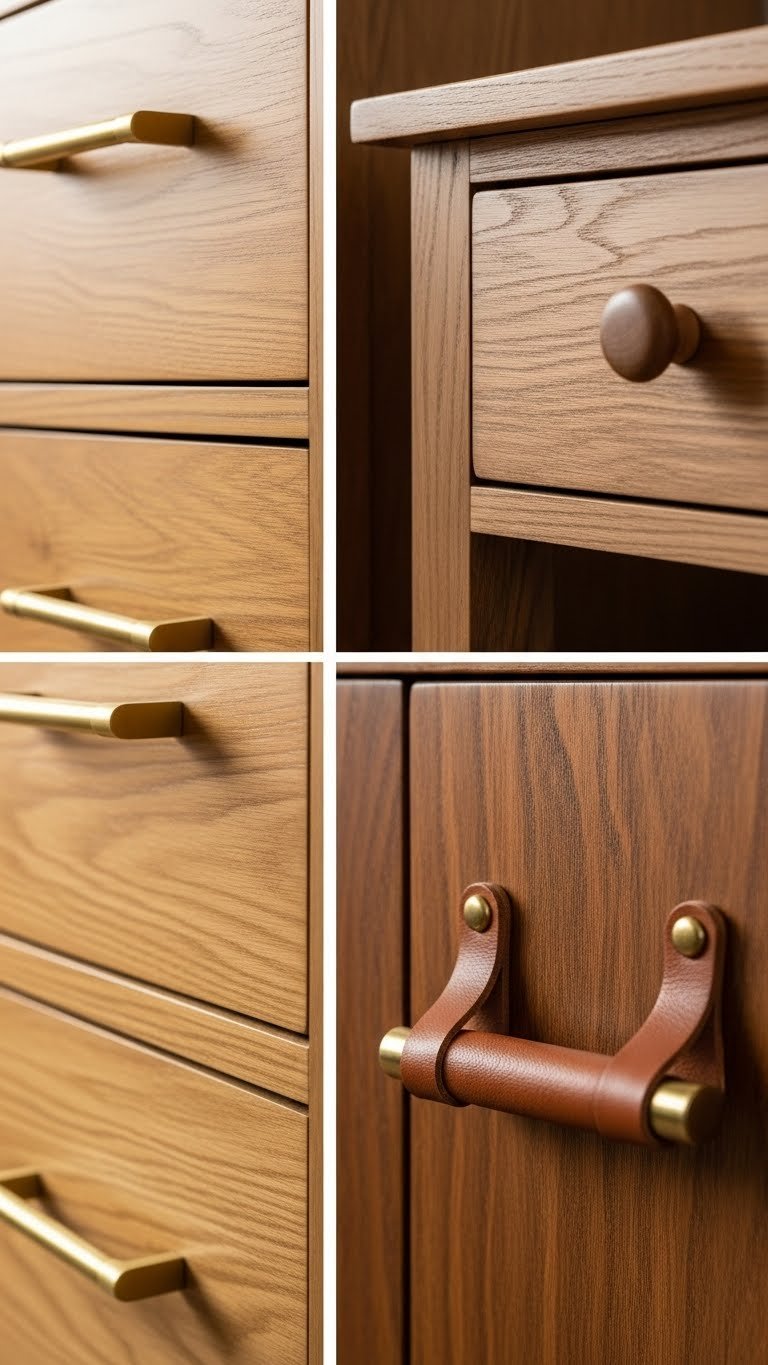
New drawer pulls and handles on existing furniture cost almost nothing and feel like a mini renovation. It’s one of the easiest upgrades with outsized impact.
New drawer pulls run $3–$15 each; a dresser with 6 drawers needs 6 pulls, so $20–$90 total. Find them at Home Depot, Wayfair, Amazon, or vintage hardware shops. Swap them out with a simple drill or screwdriver in 20 minutes. Choose brass for warmth, black metal for modern edge, or ceramic for personality. This works on nightstands, dressers, and cabinets—basically any furniture with hardware. Renters can do this if they keep the original hardware in a box.
Your teen’s furniture suddenly looks intentional and upgraded, like you actually decorated with a plan.
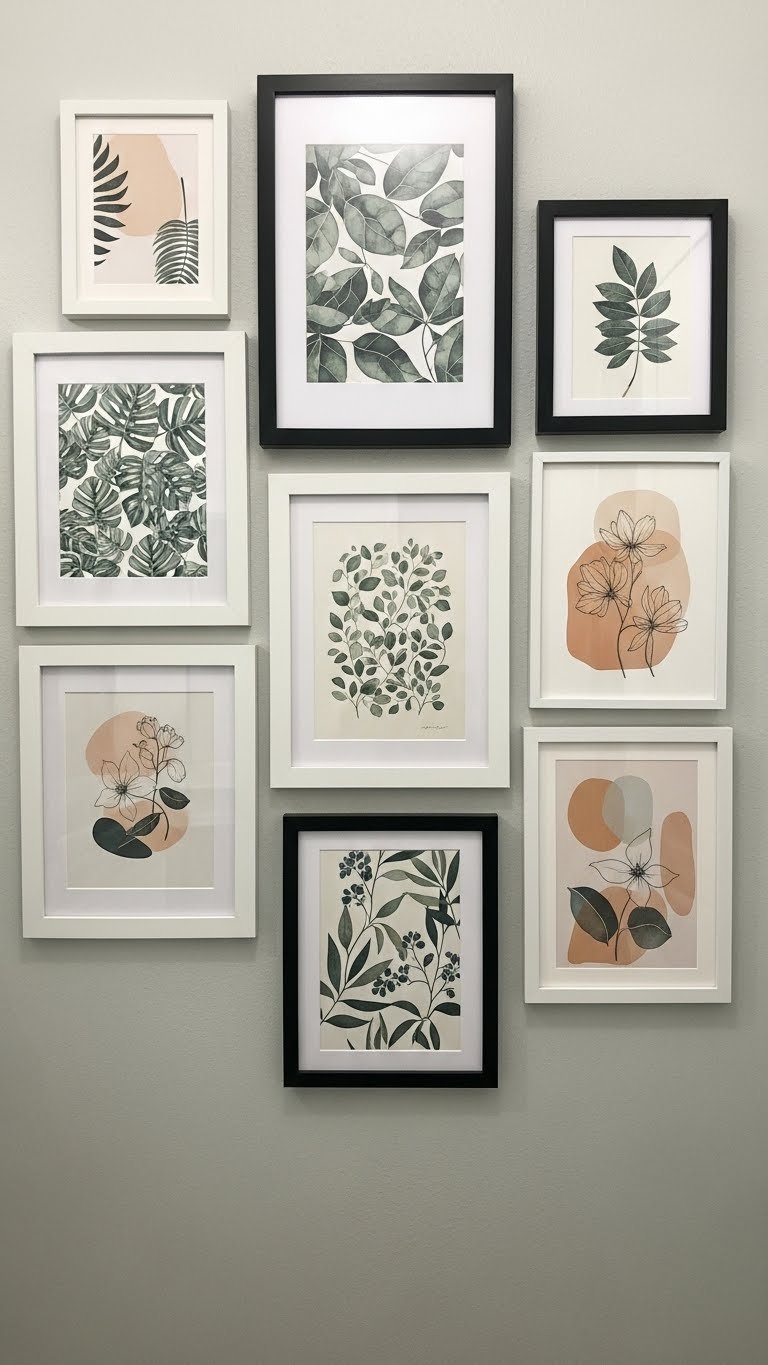
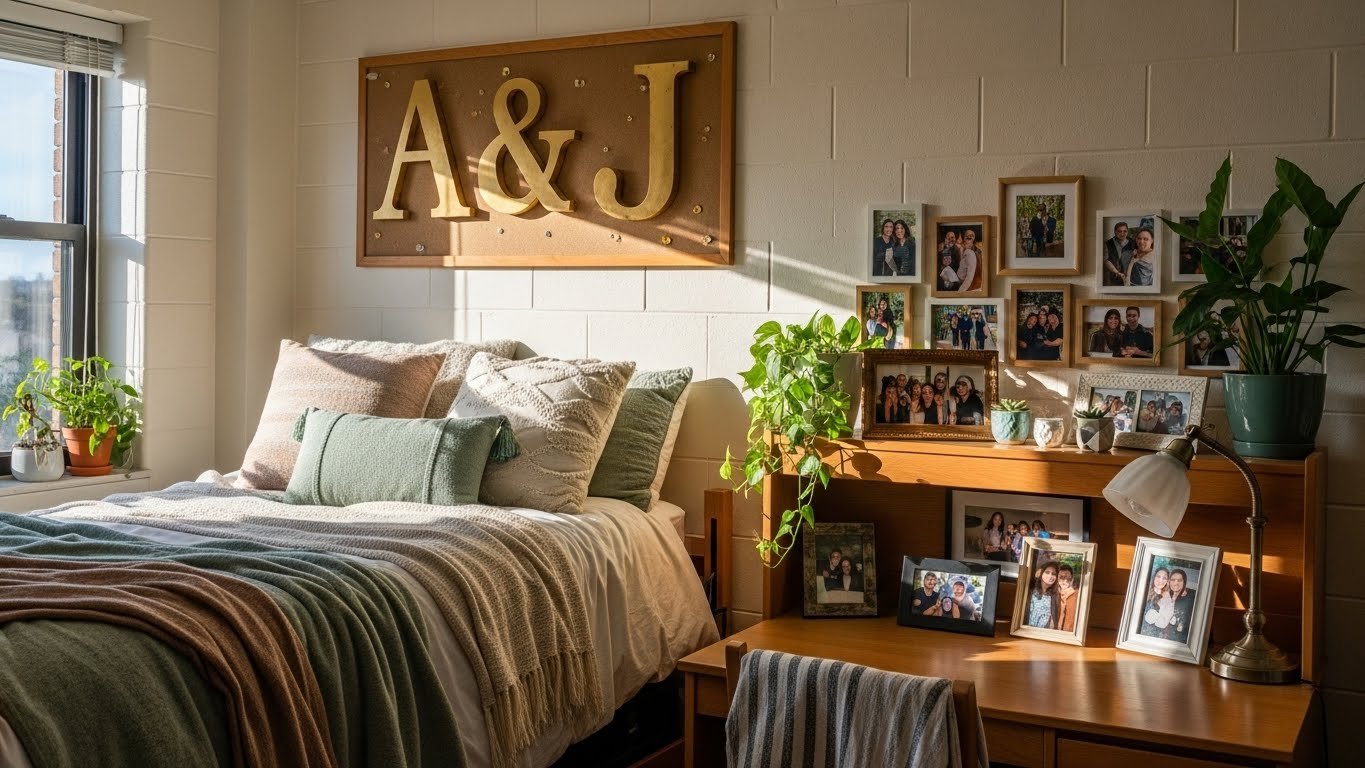
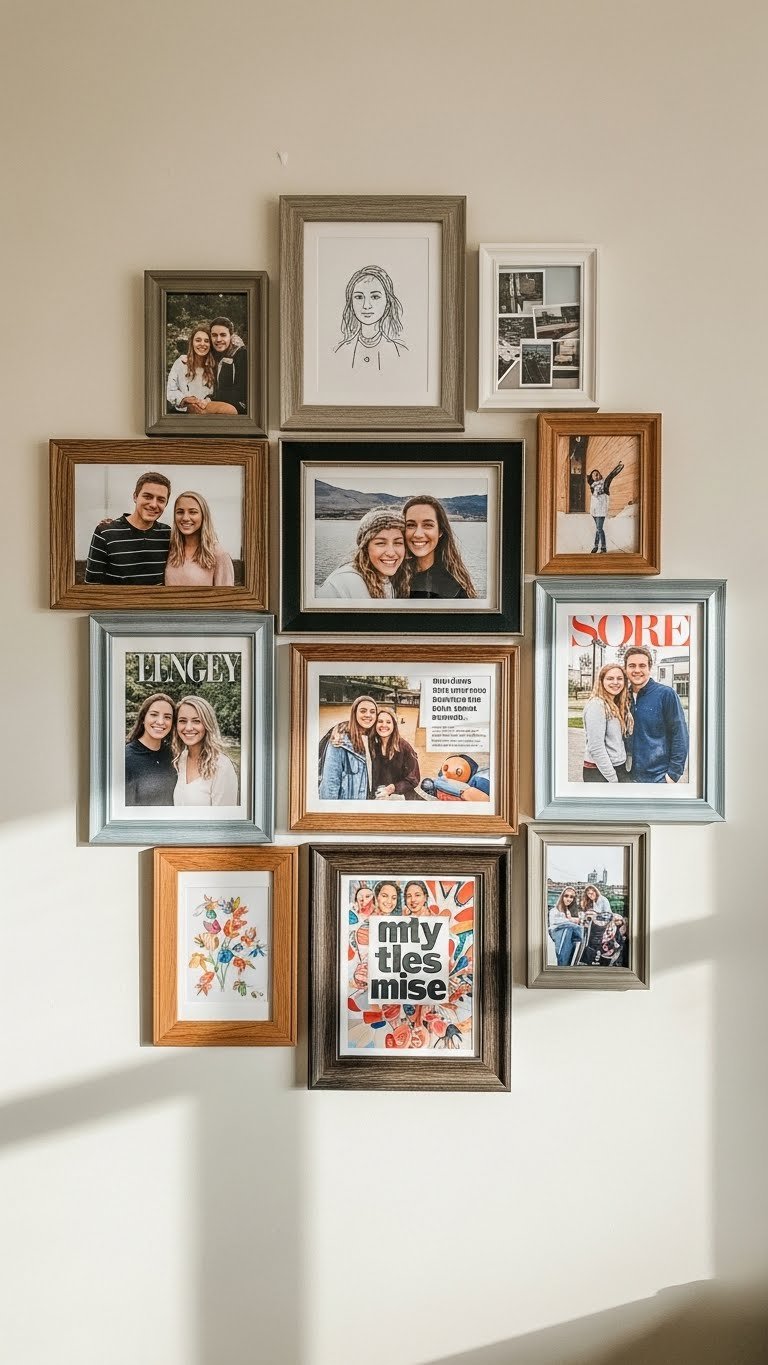
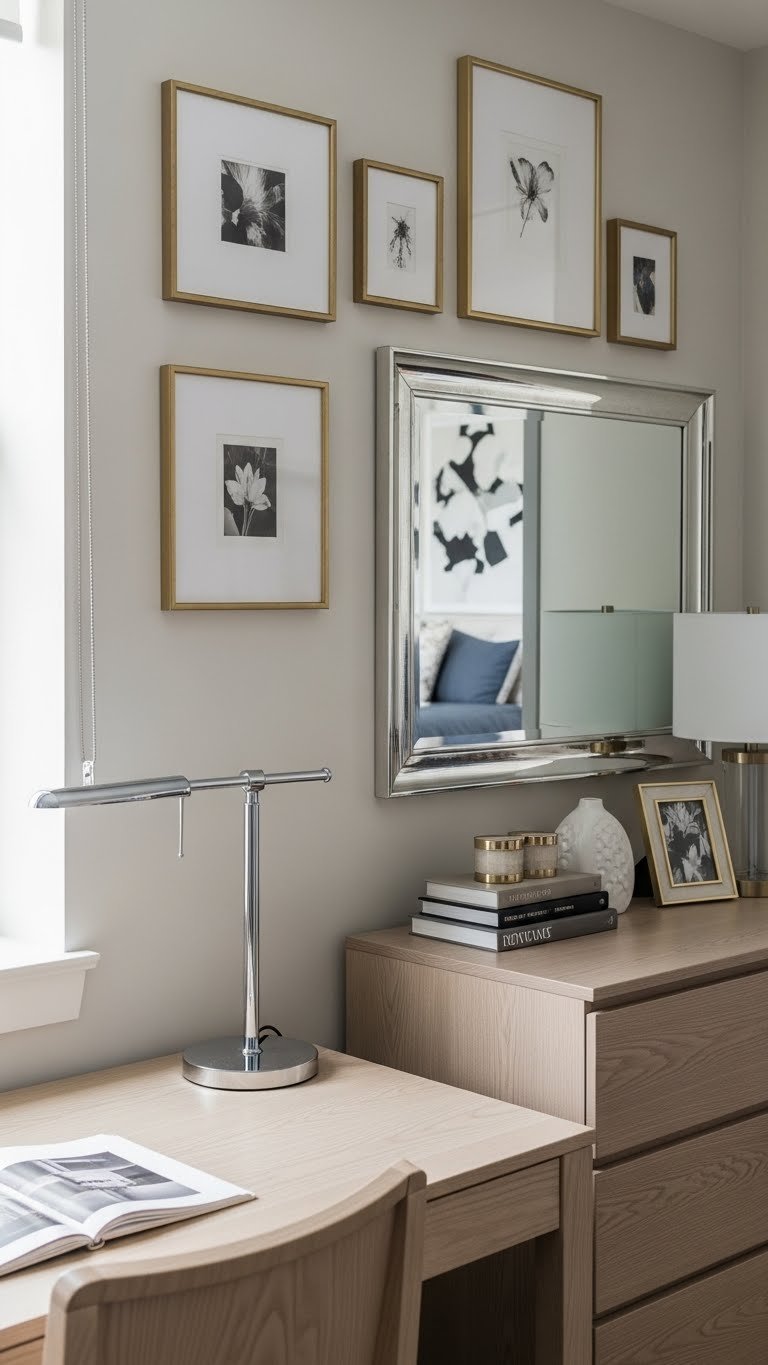
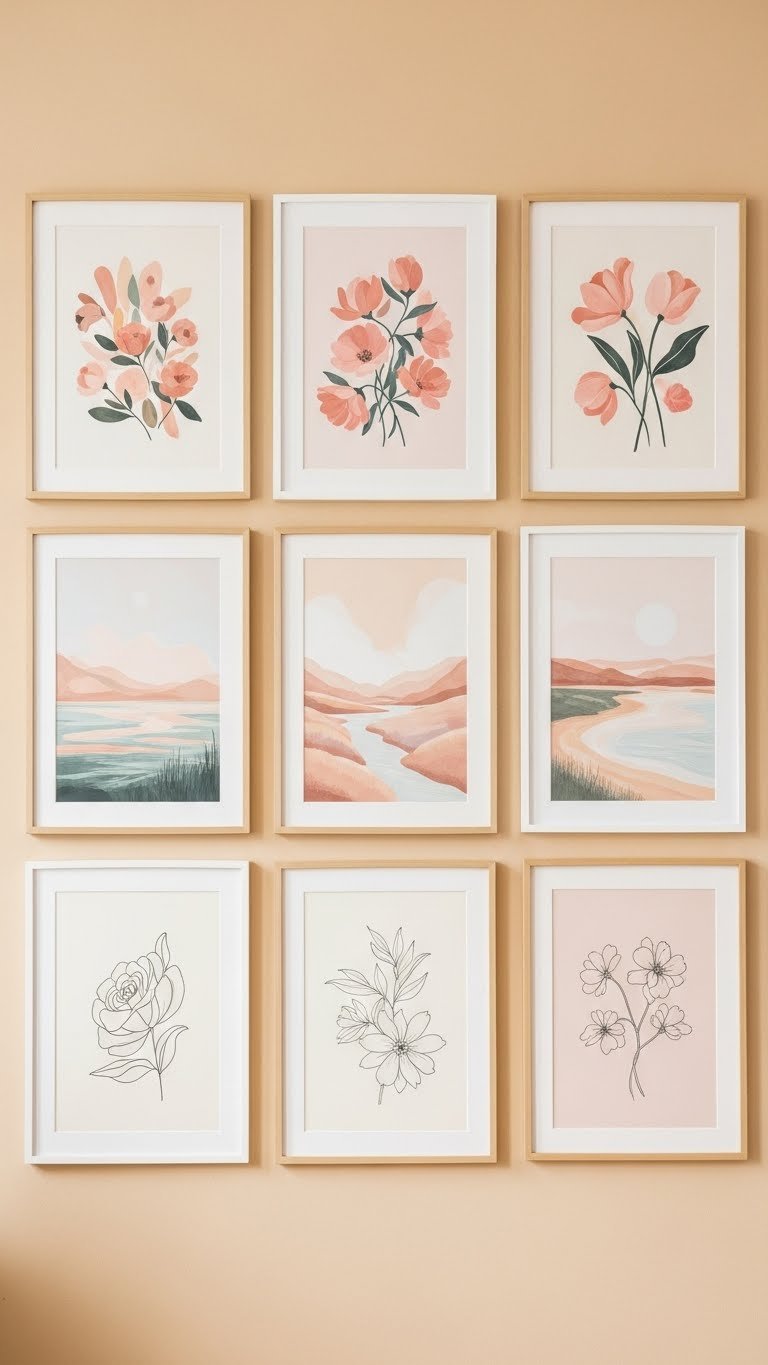
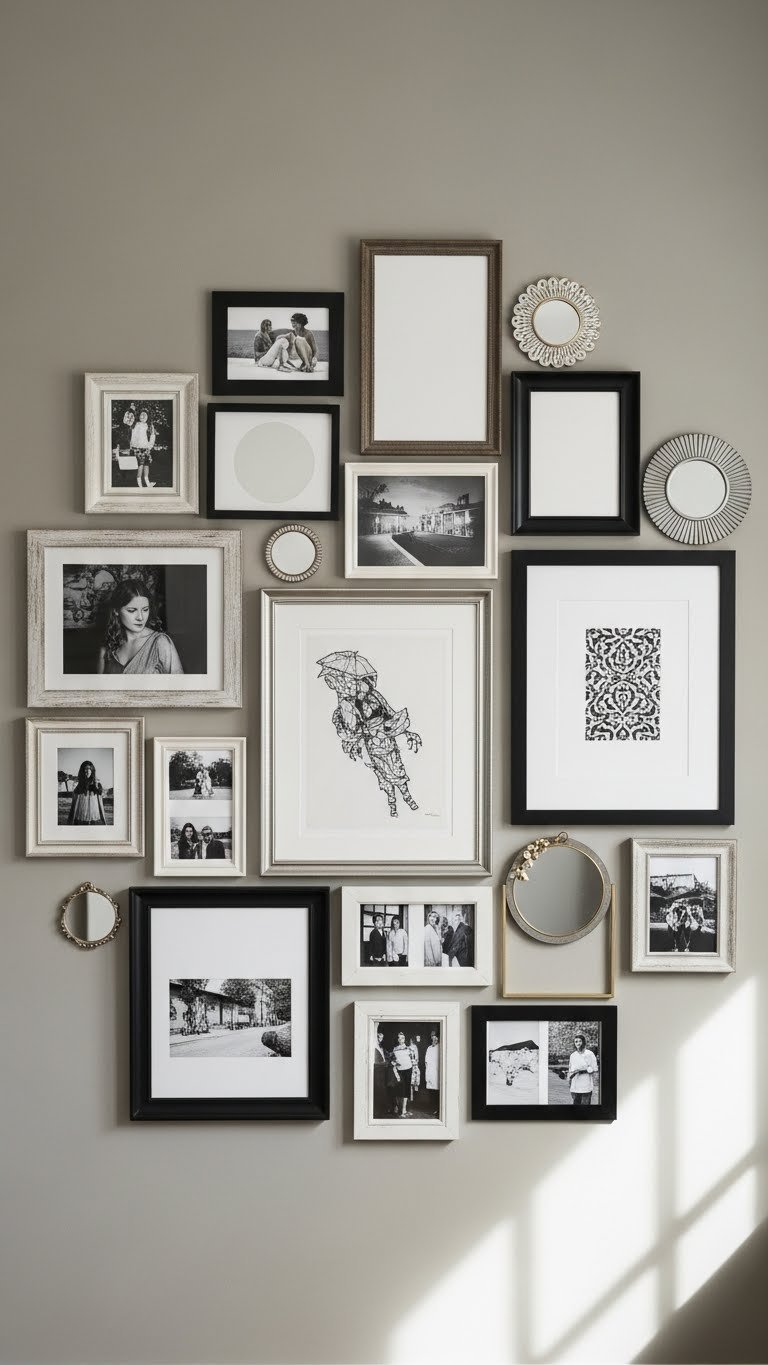
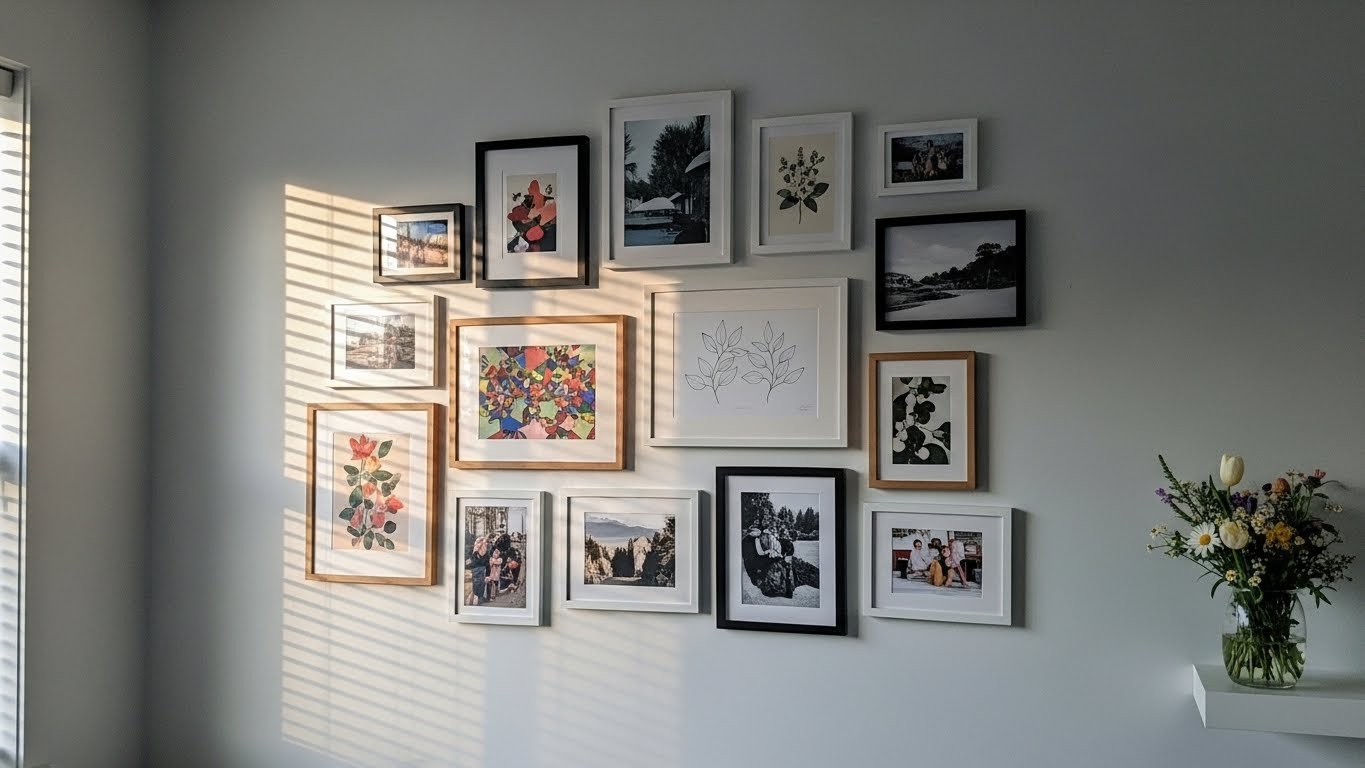
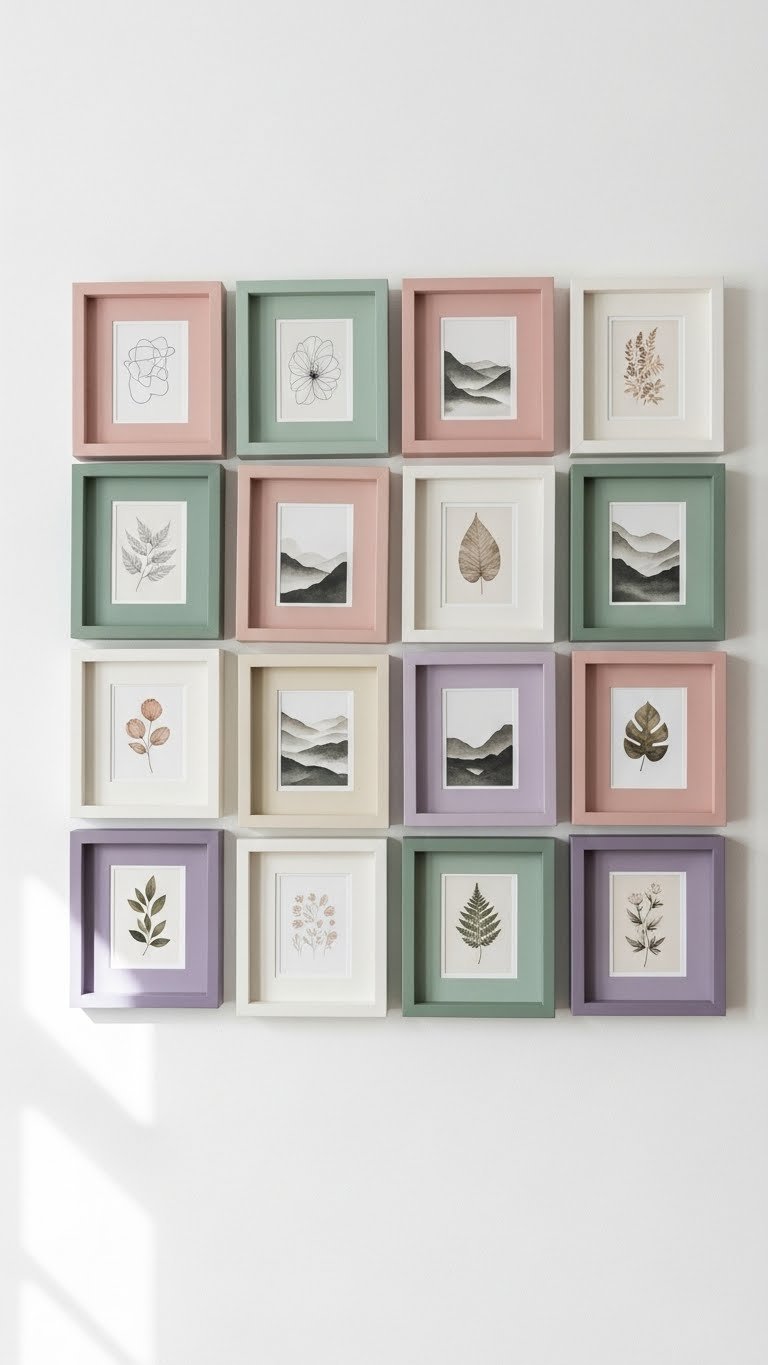
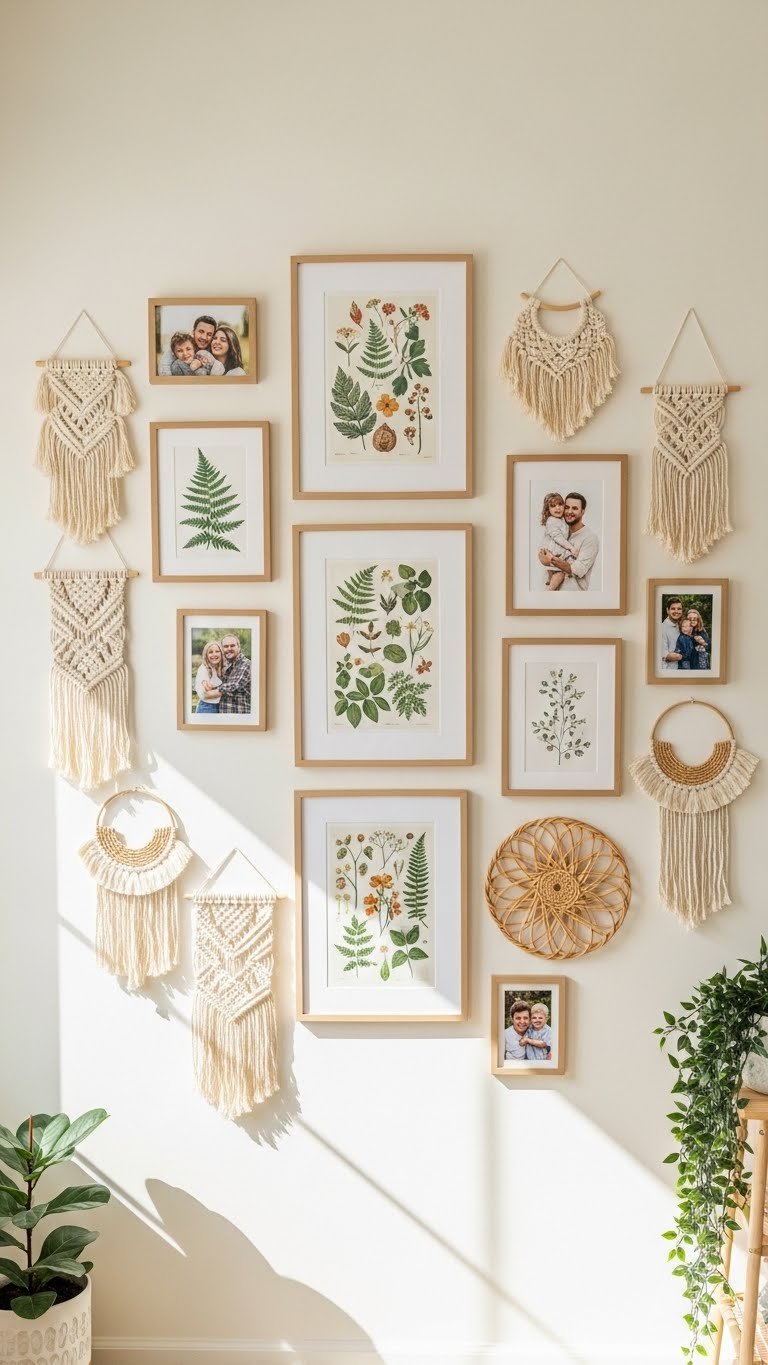
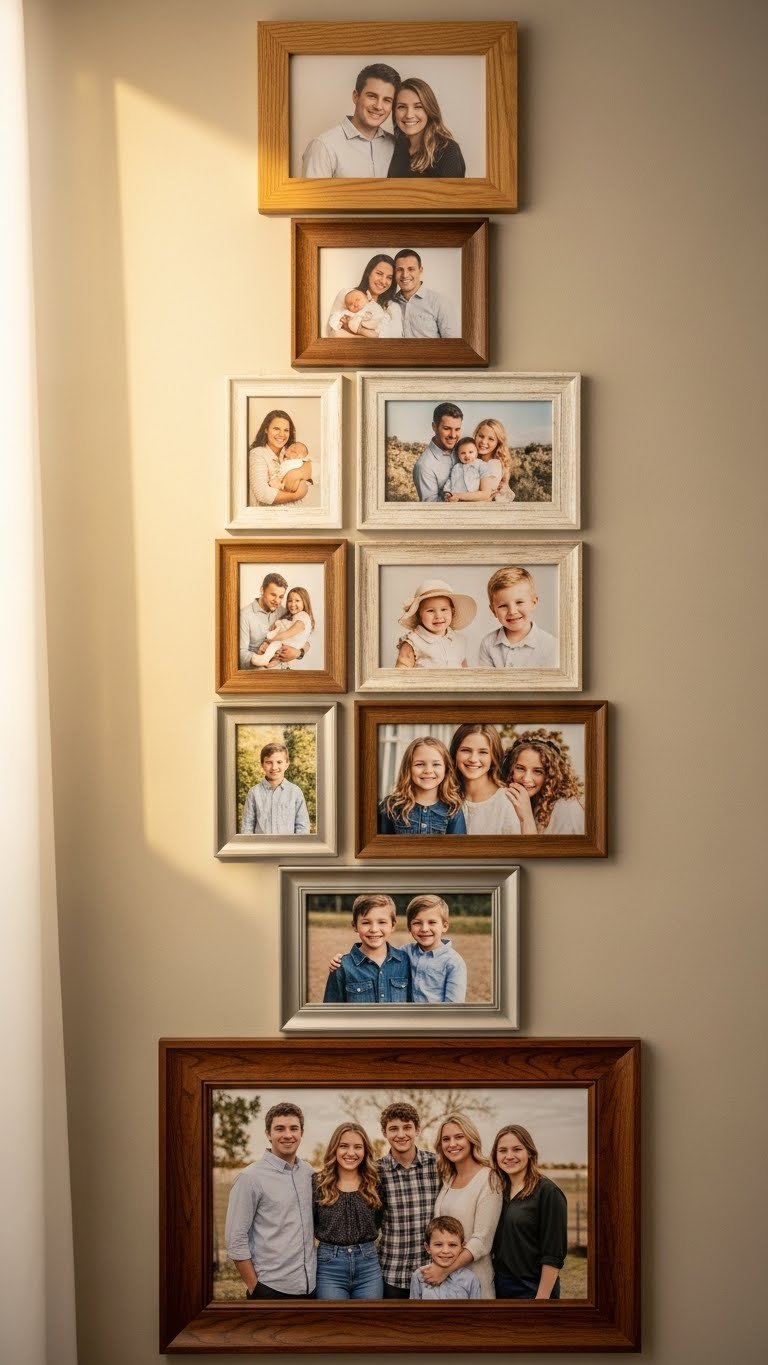
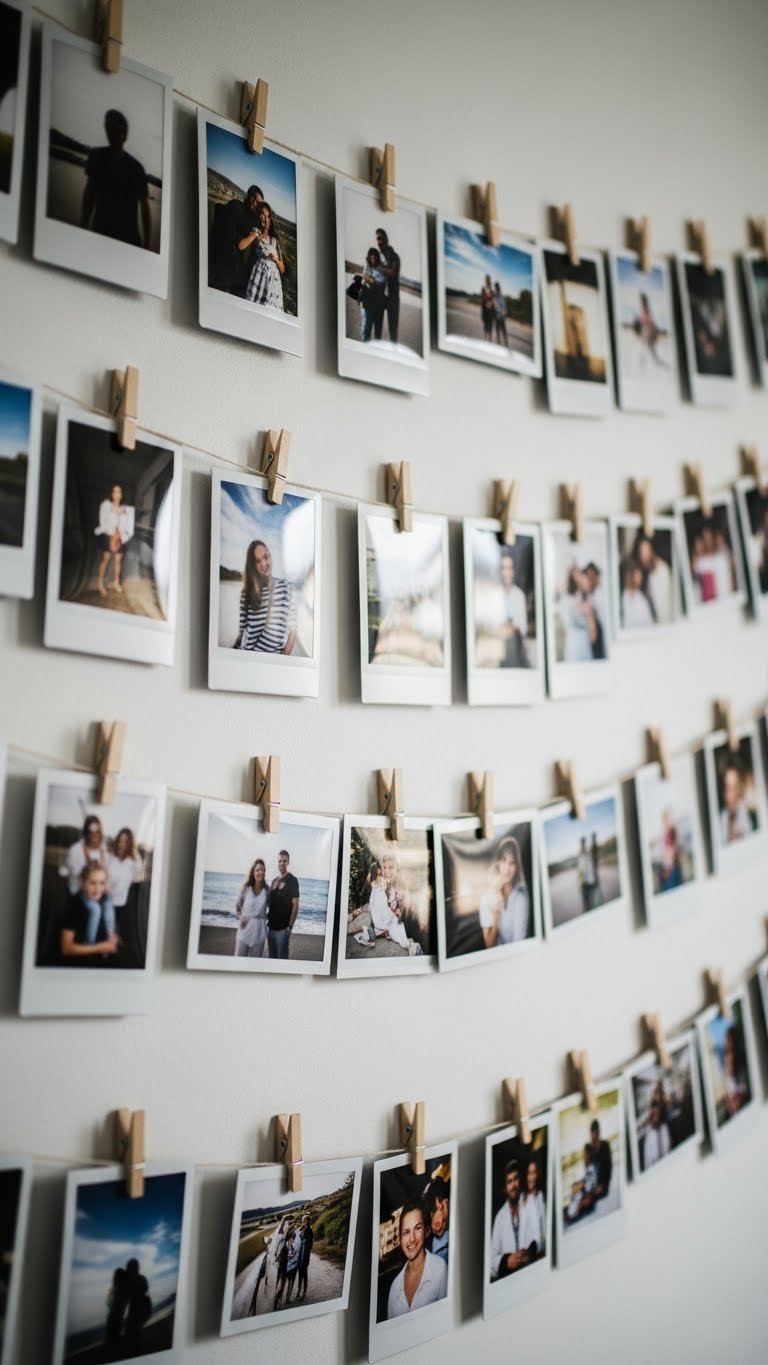
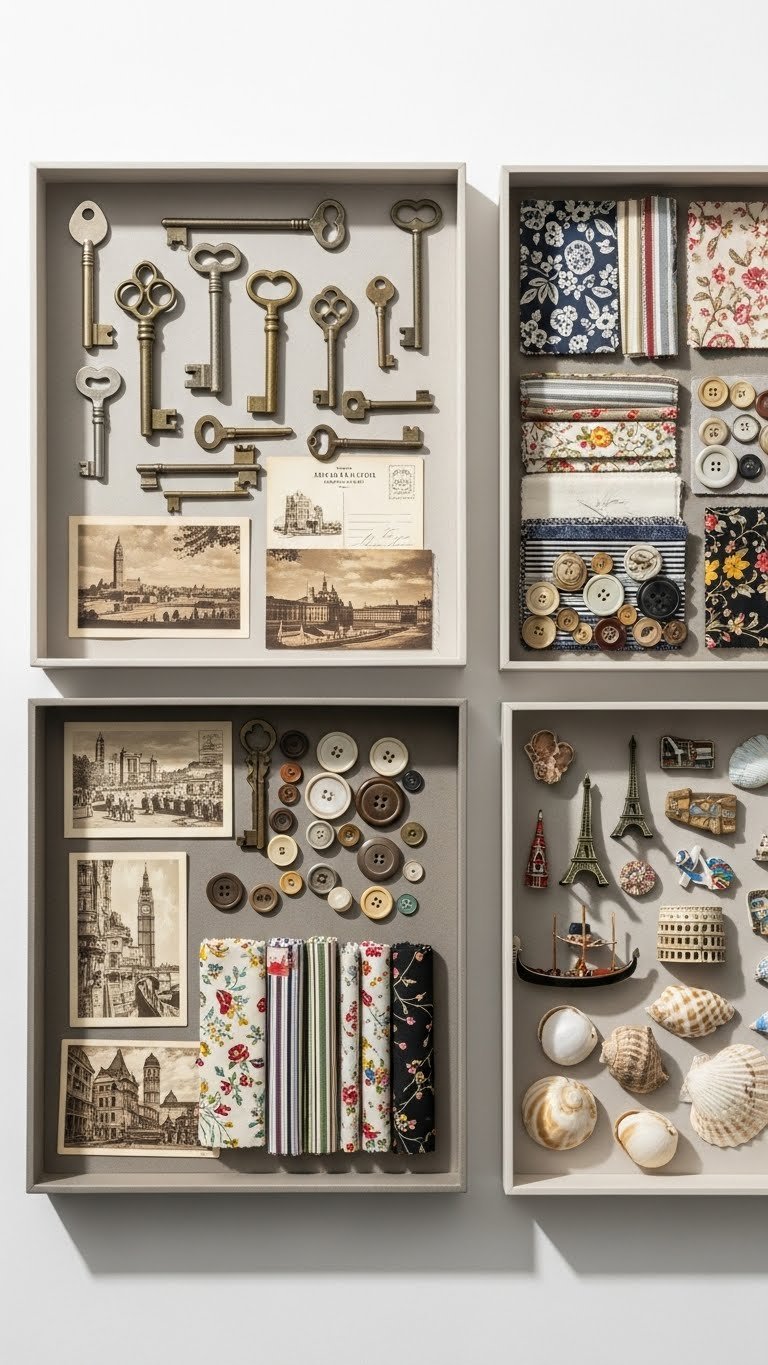
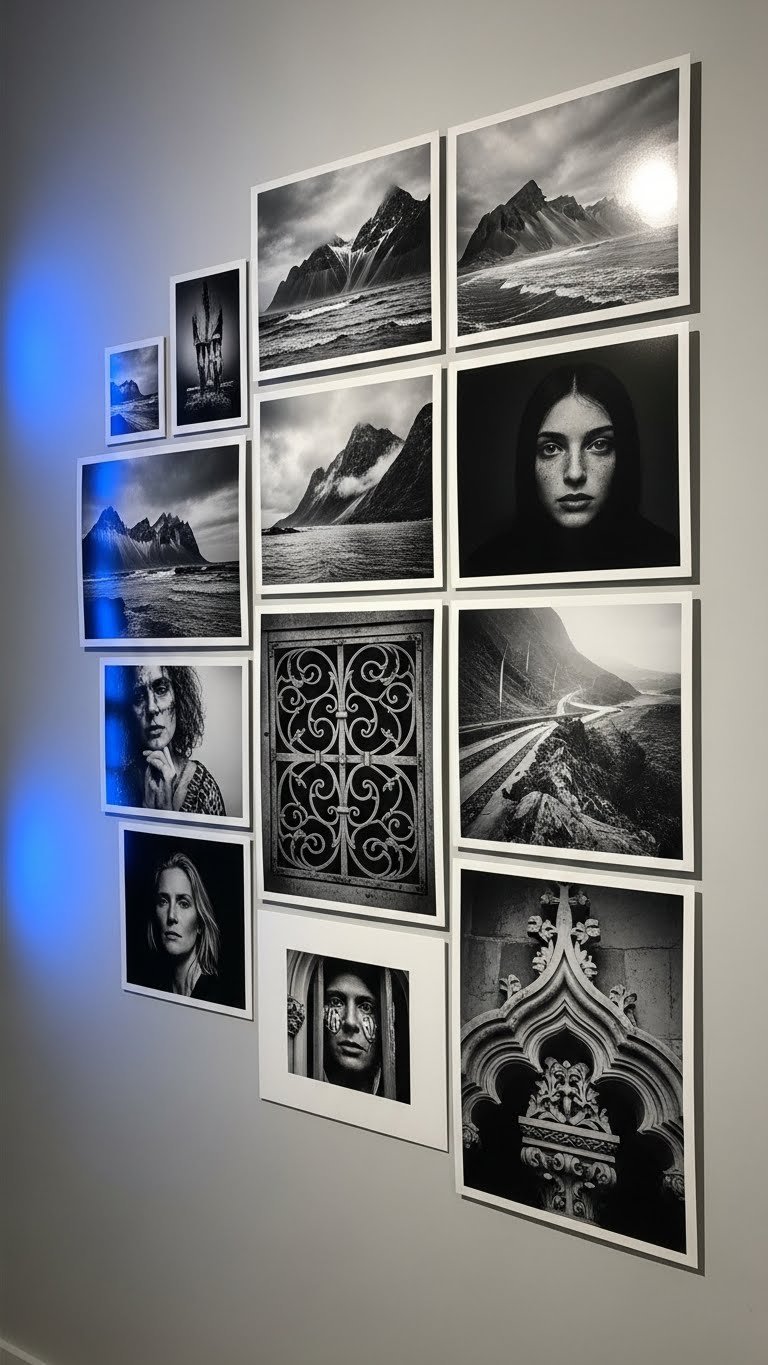
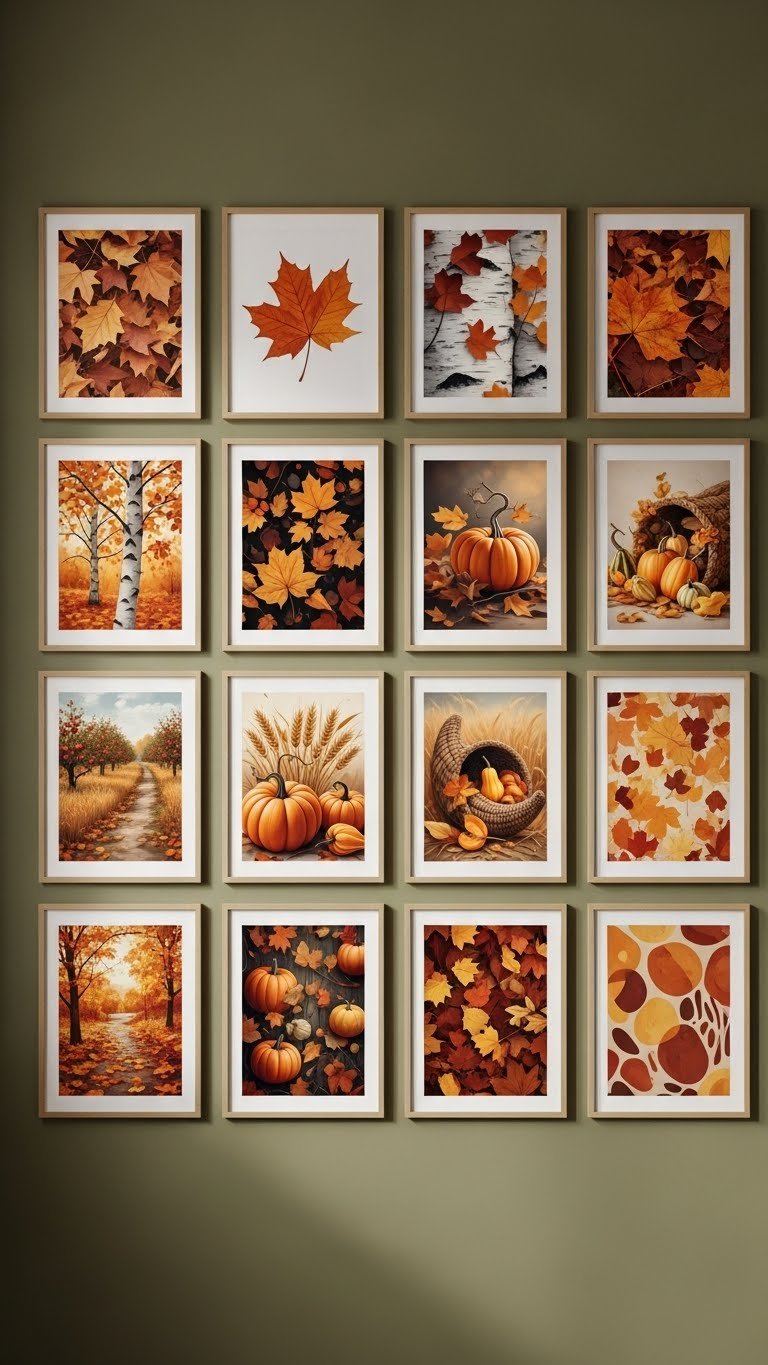
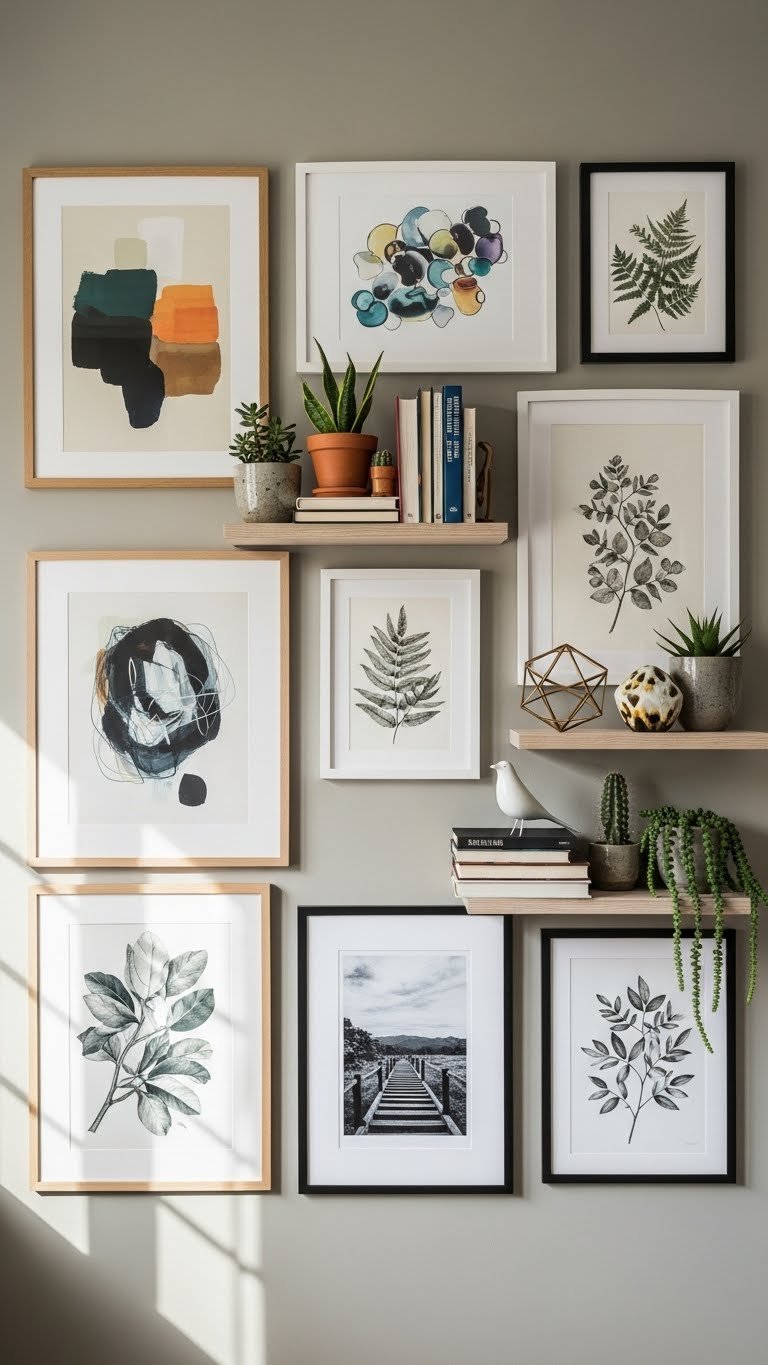
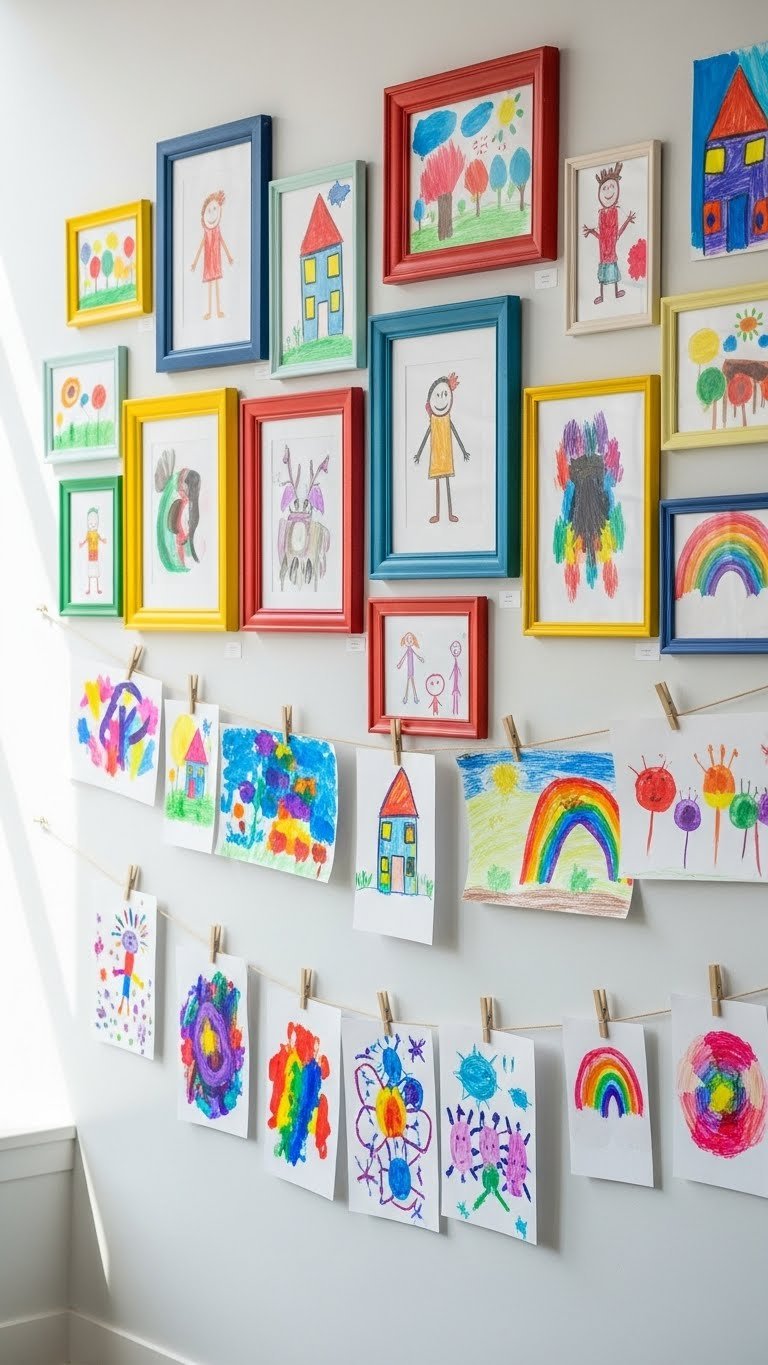
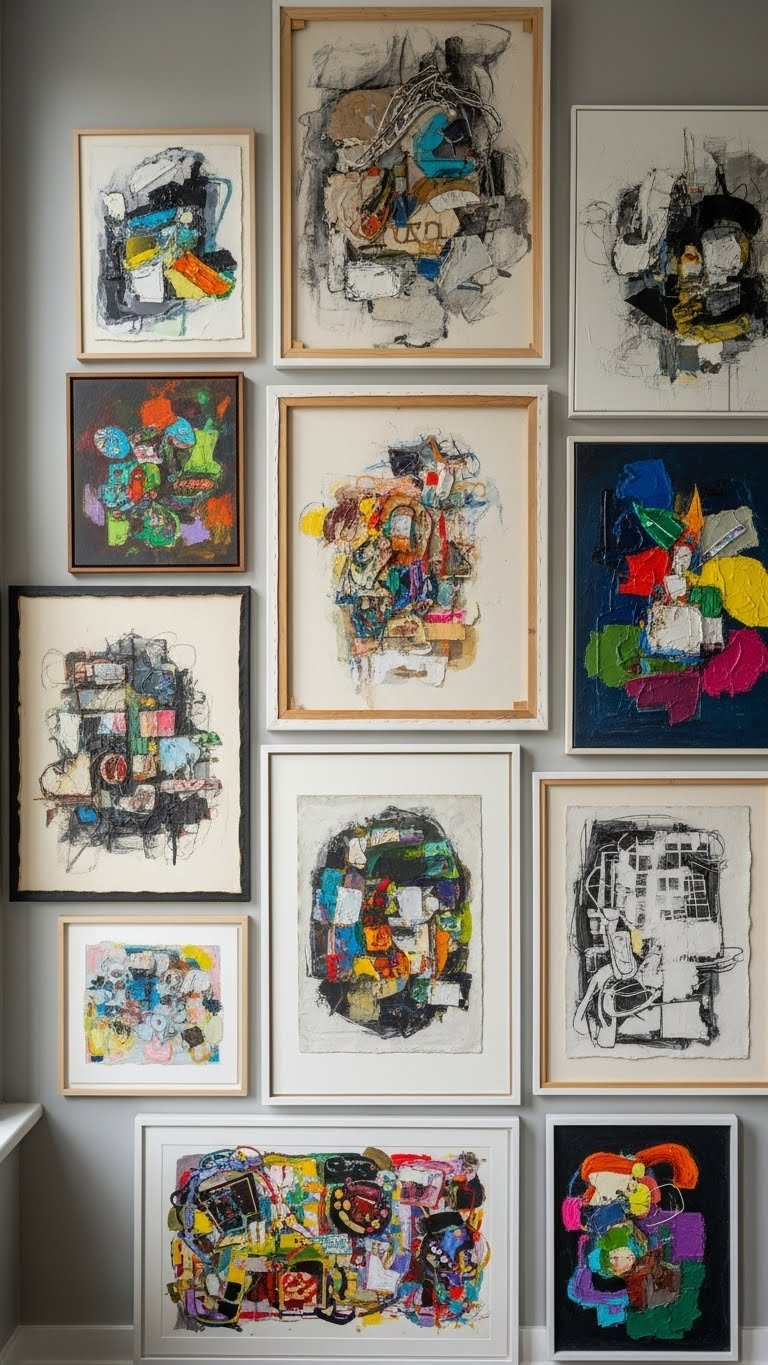
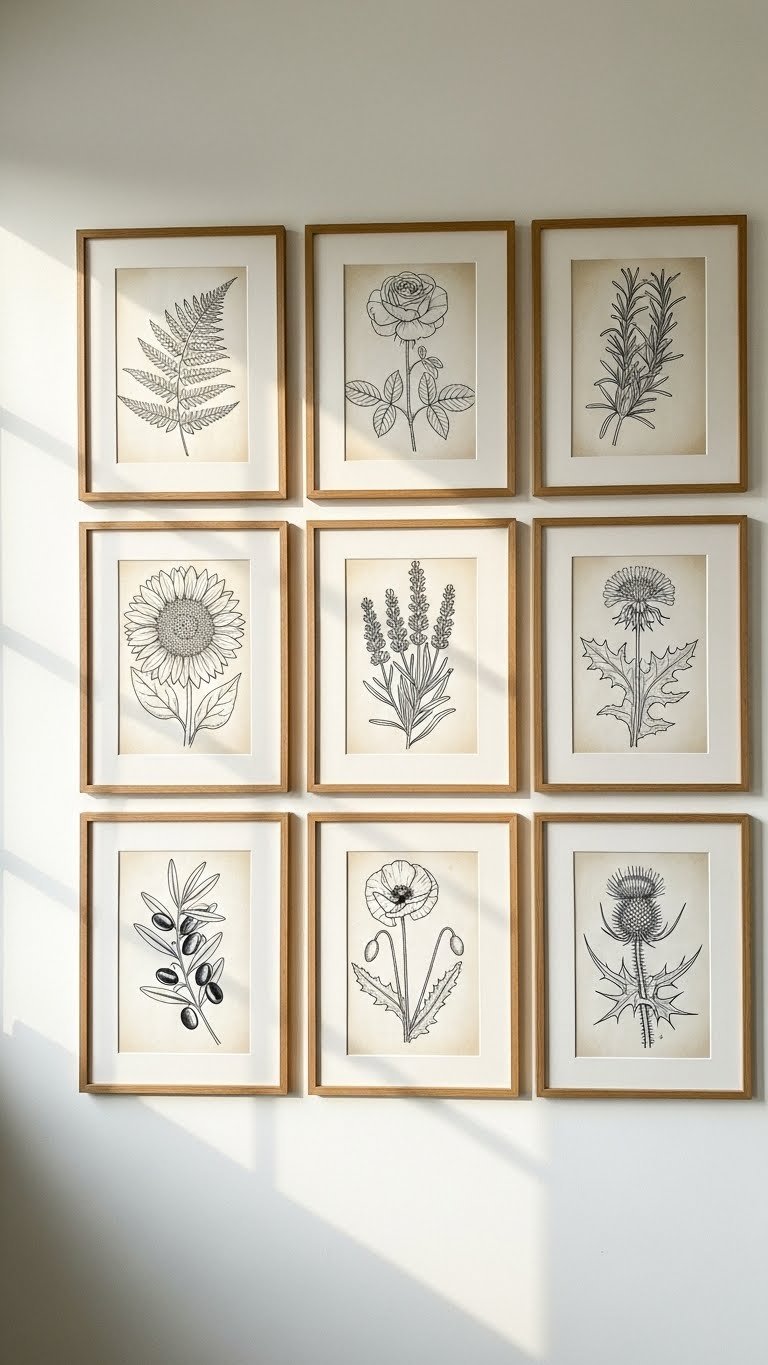
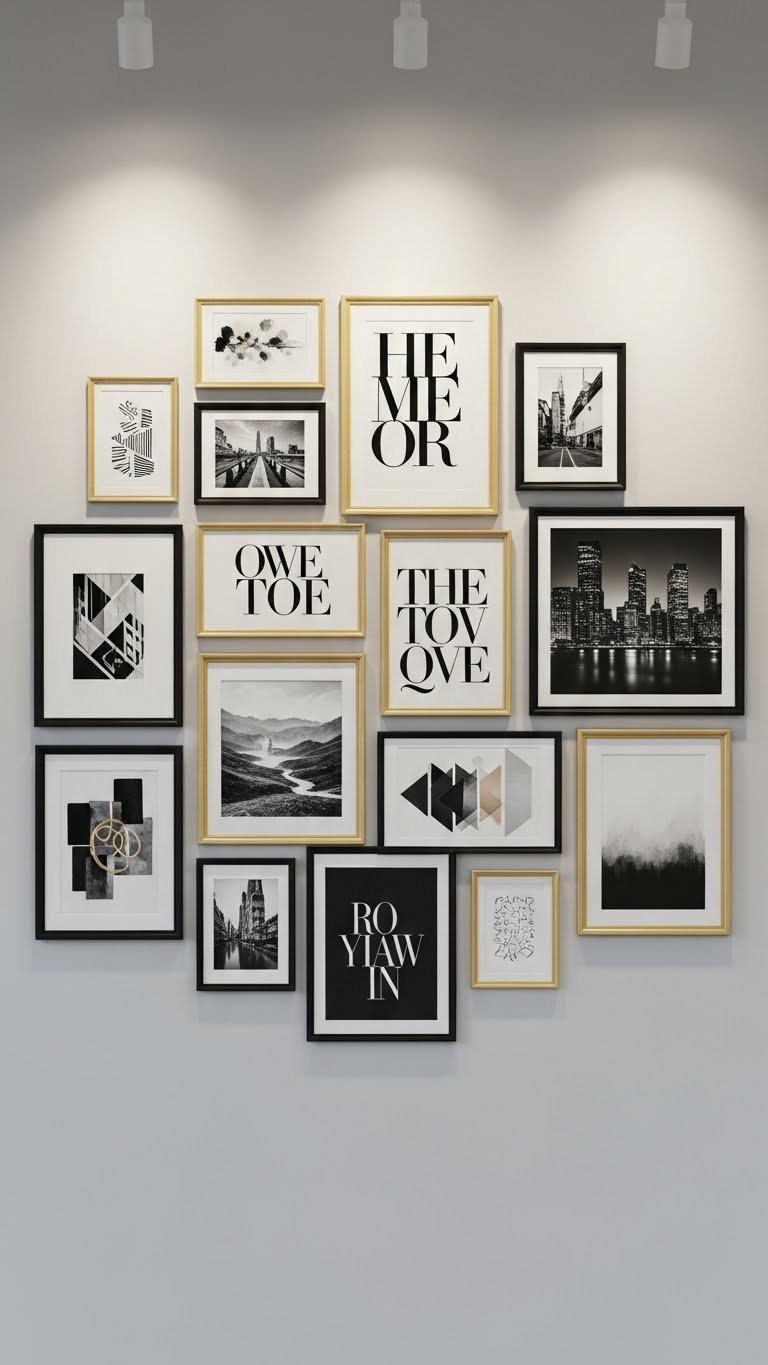
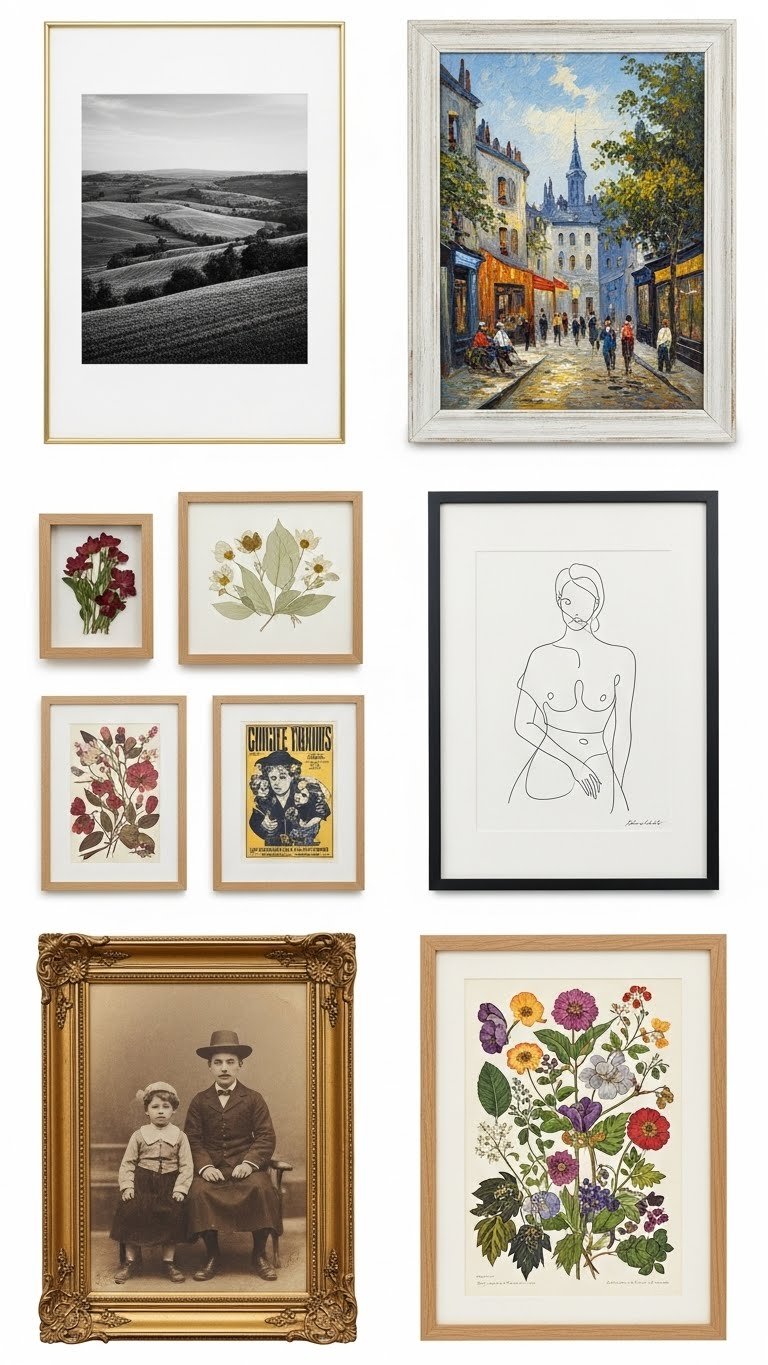
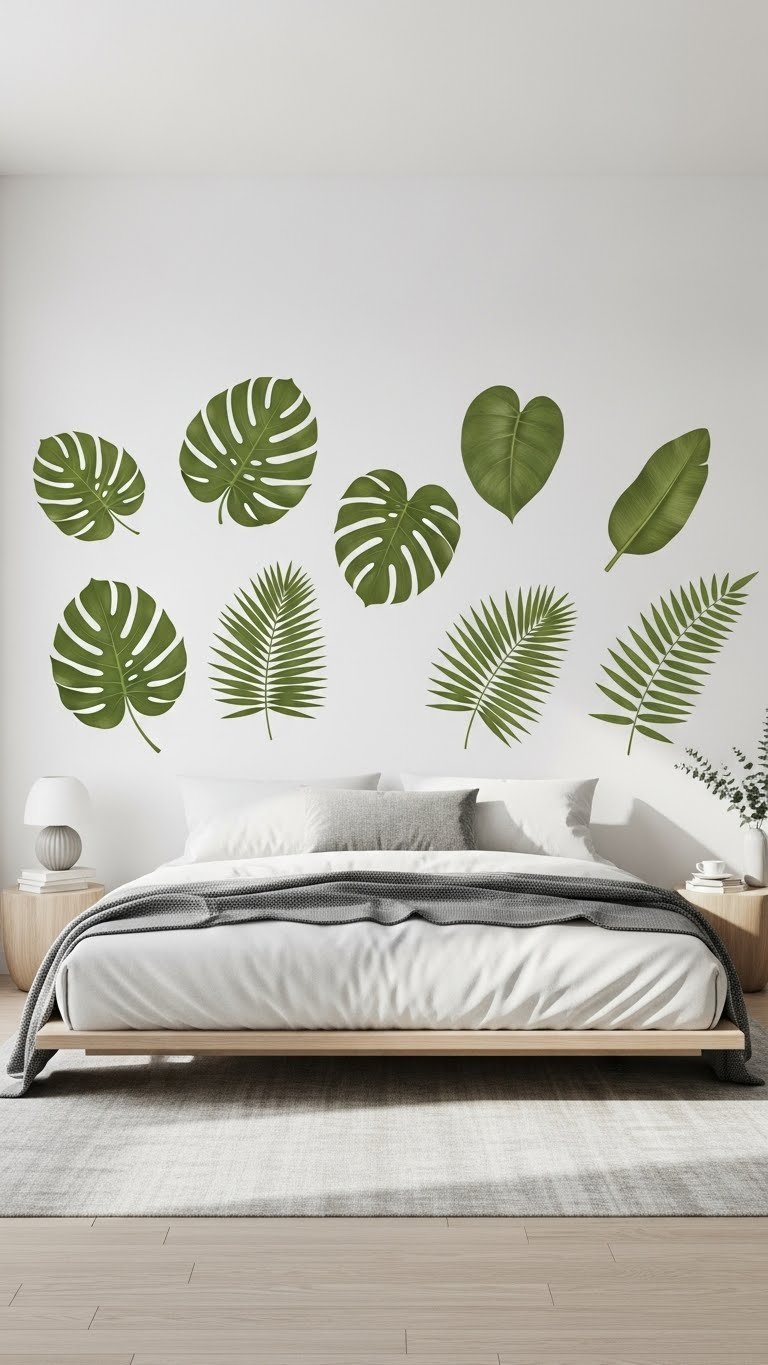
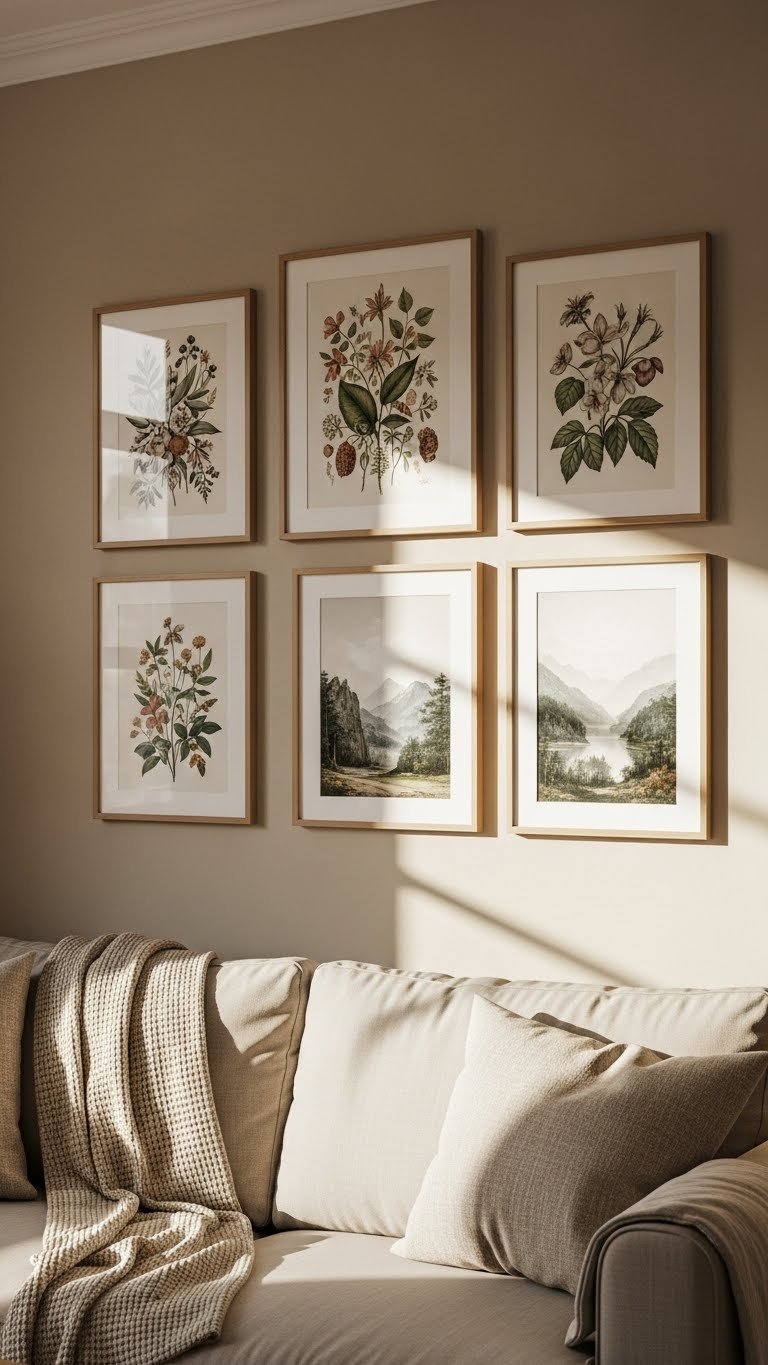
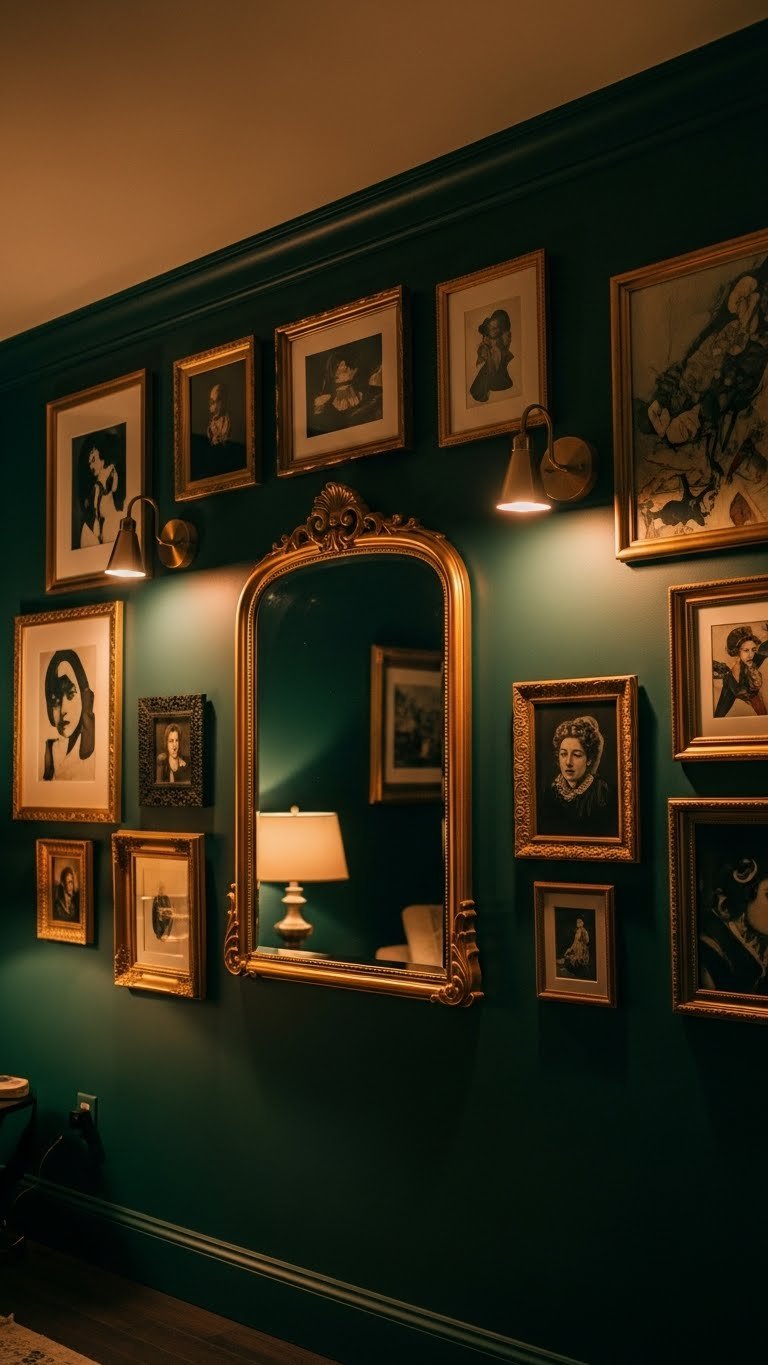
13. Create a Gallery Wall of Personal Photos + Art
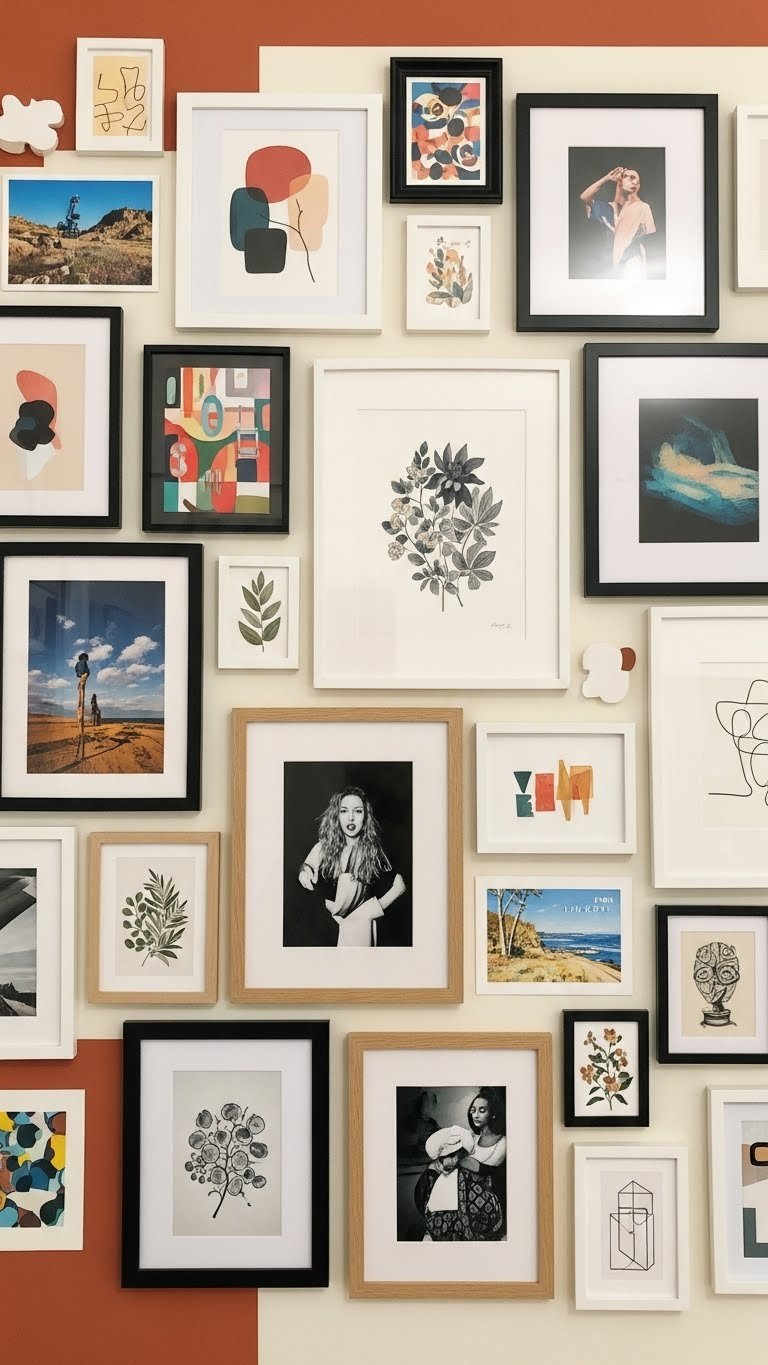
A gallery wall displays who your teen actually is—their friends, travels, art they love—instead of generic wall décor. It’s personal, and guests see instantly what matters to them.
Frame options run $5–$20 each from IKEA, Target, or thrifted. Get 8–12 frames to fill a wall. Print photos at CVS or Walgreens ($0.50–$2 per print). Arrange on the floor first to plan your layout, then hang with a level. Mix frame styles and sizes for visual interest, or go uniform (all black frames, all wood) for a cleaner look. This is a renter-dream because it’s removable and you only need picture hangers, not permanent damage.
Your teen’s walls become a reflection of their life instead of just background space.
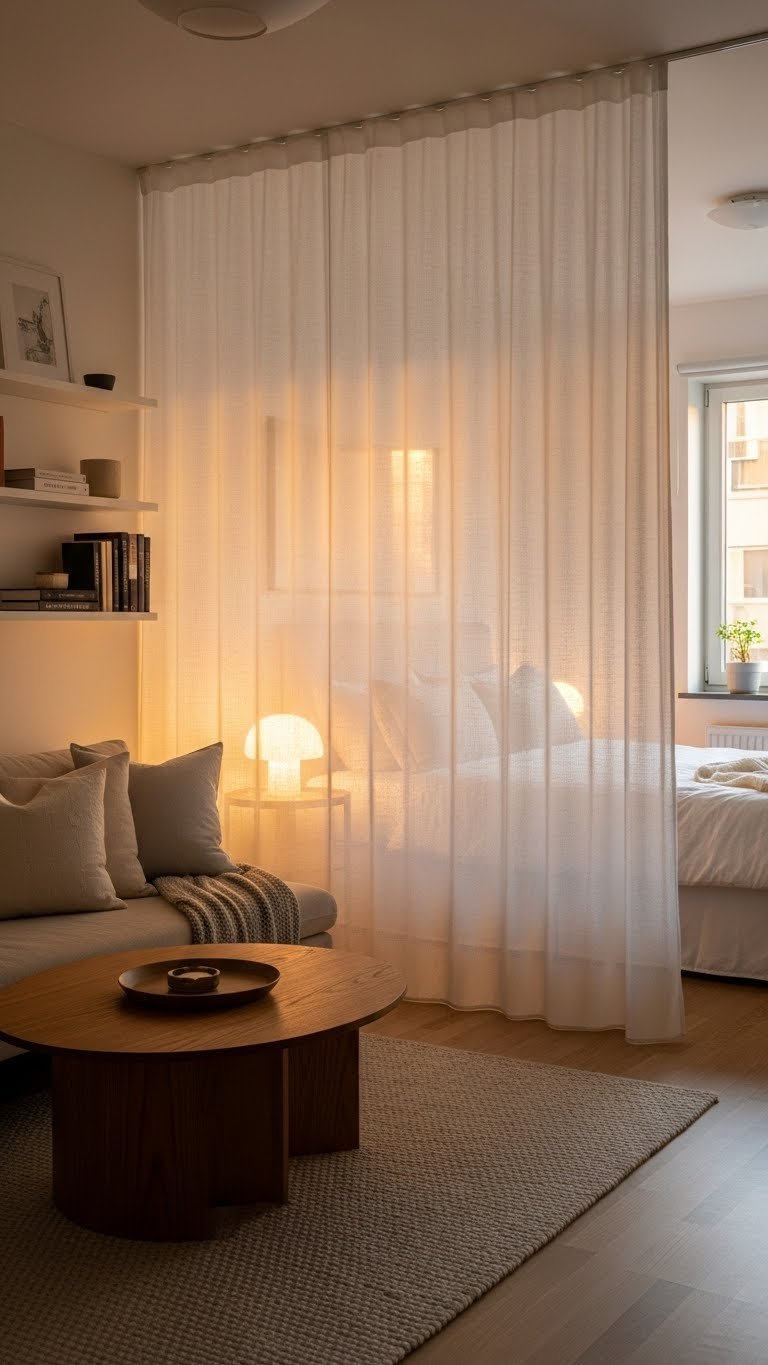
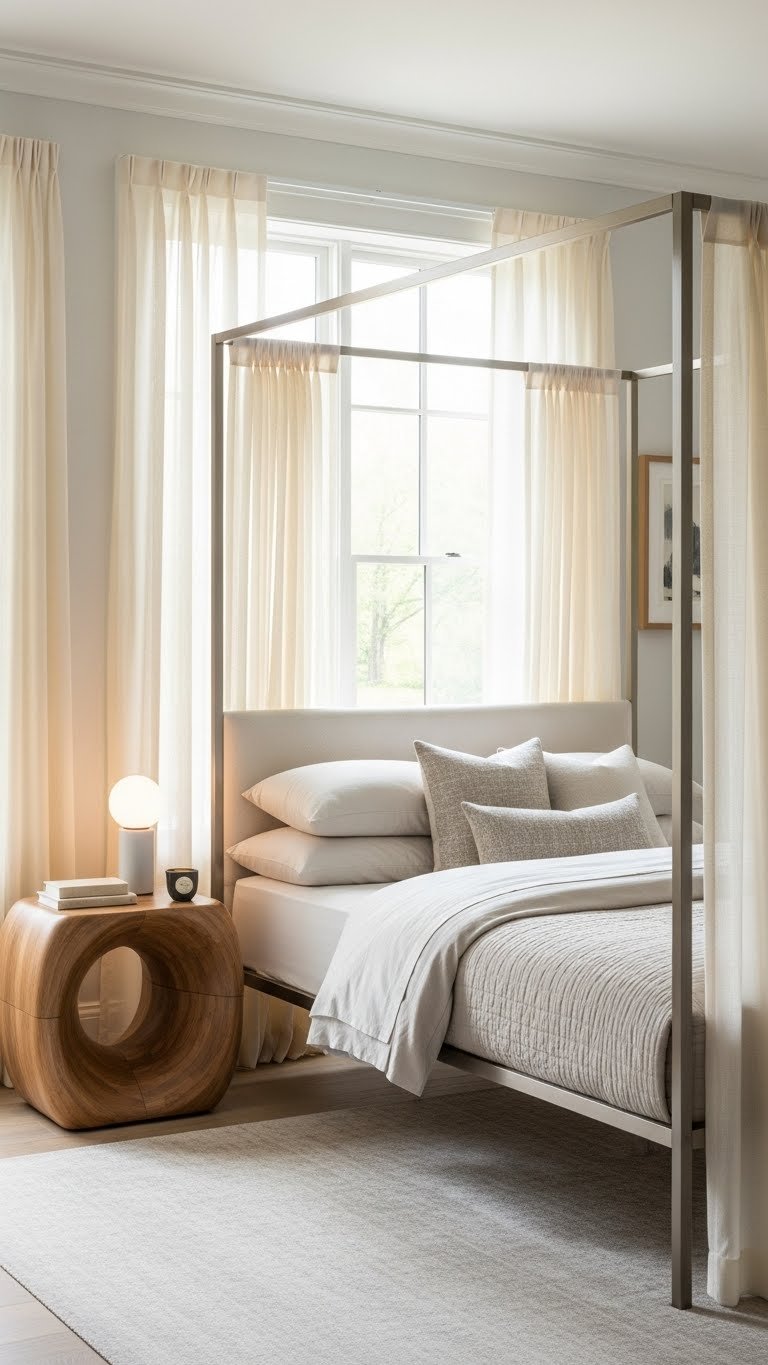
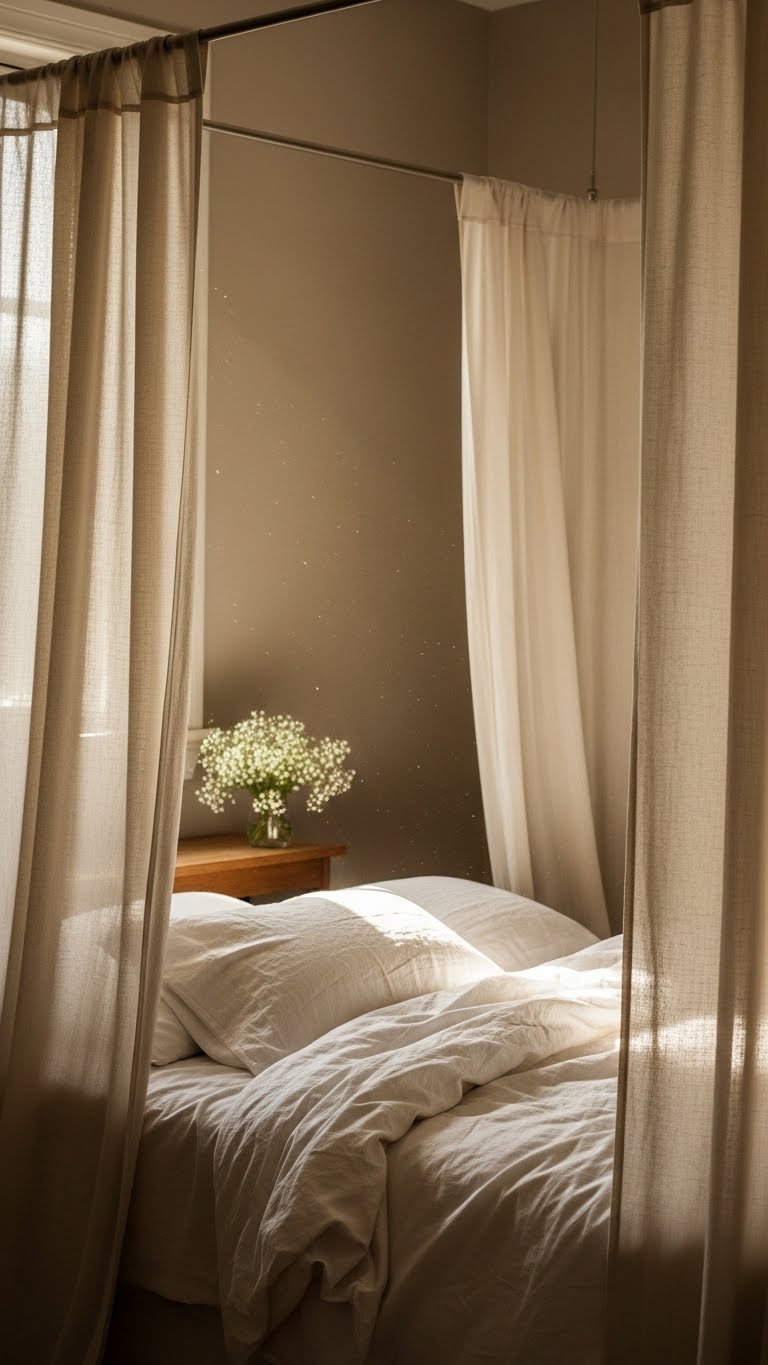
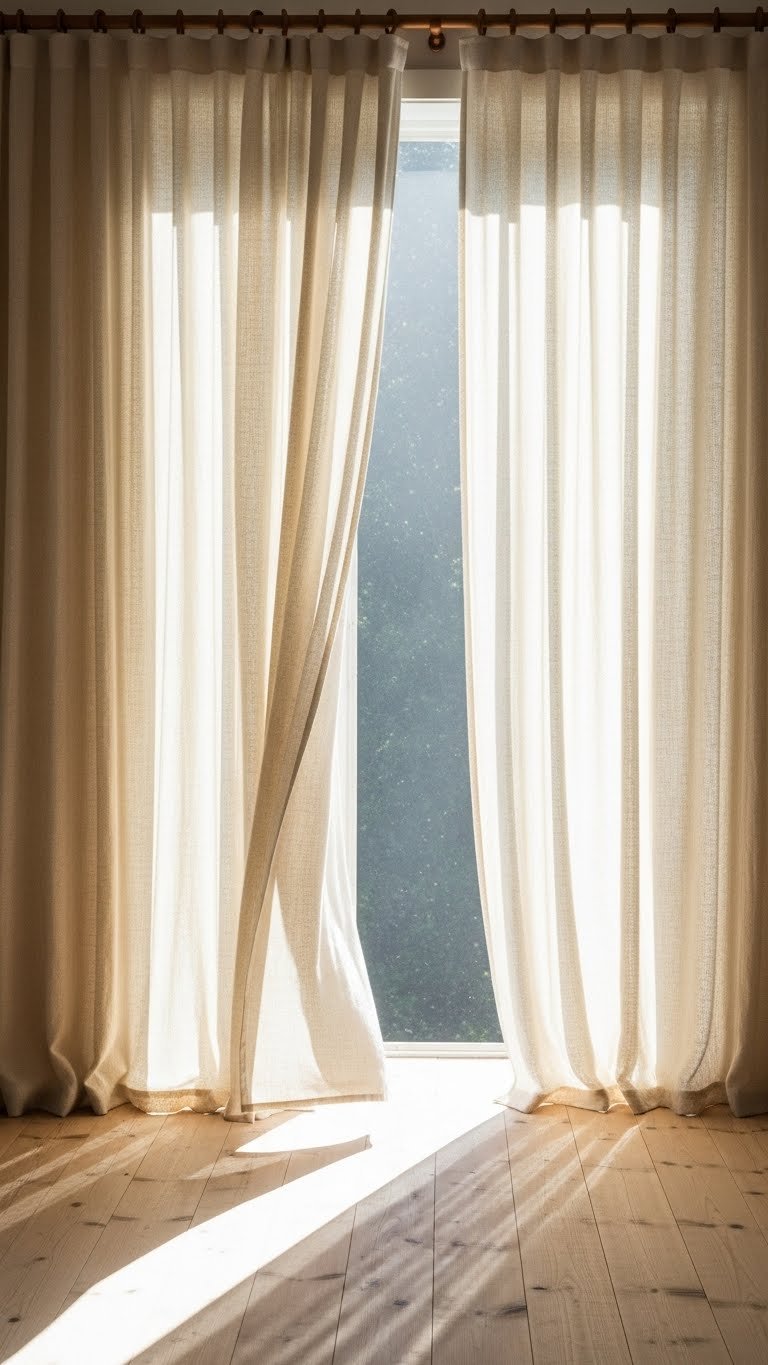
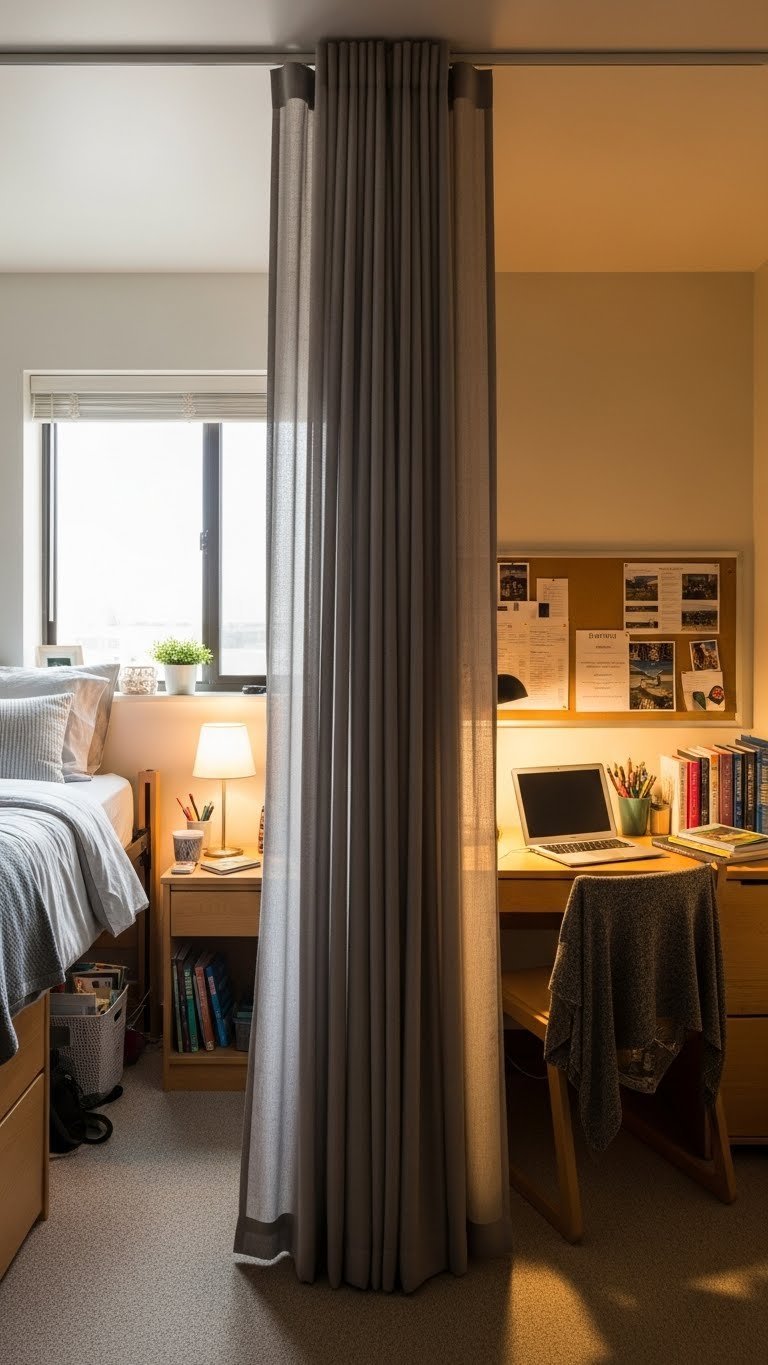
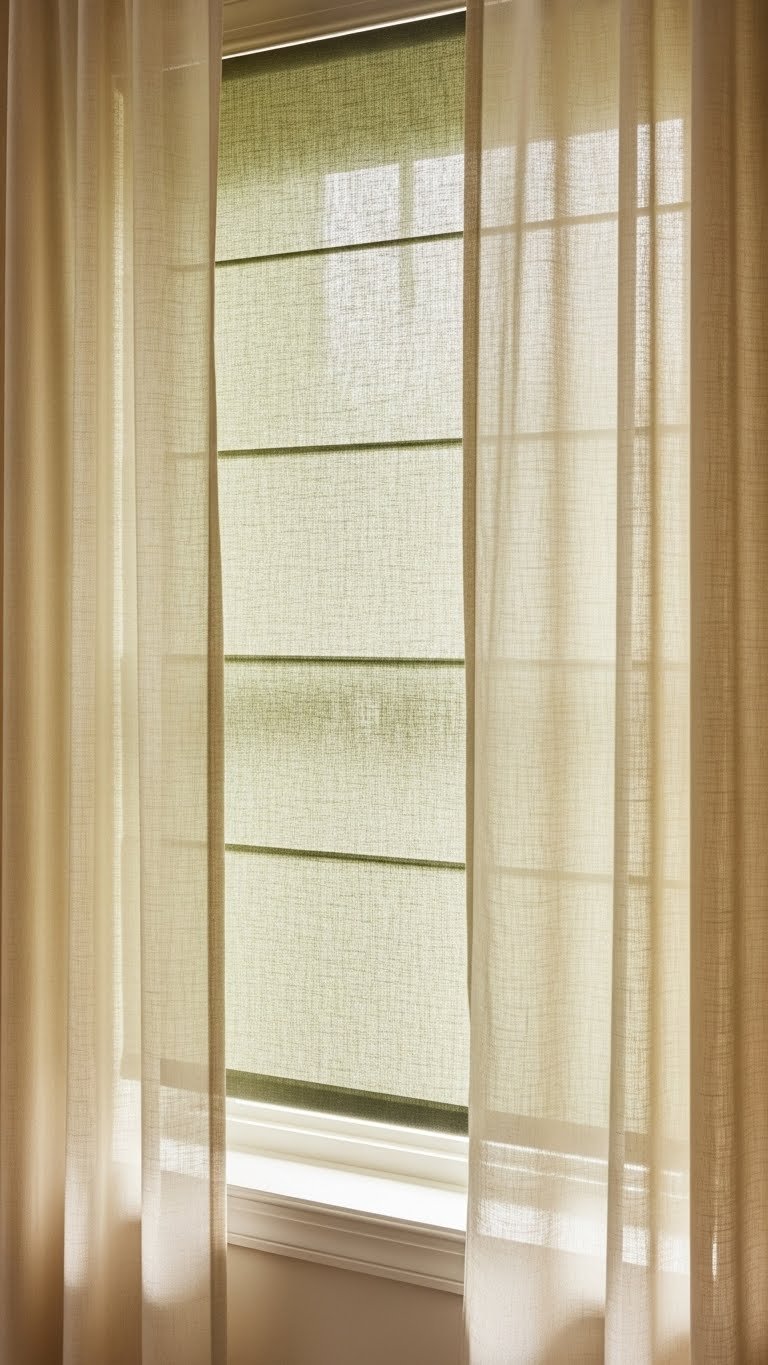
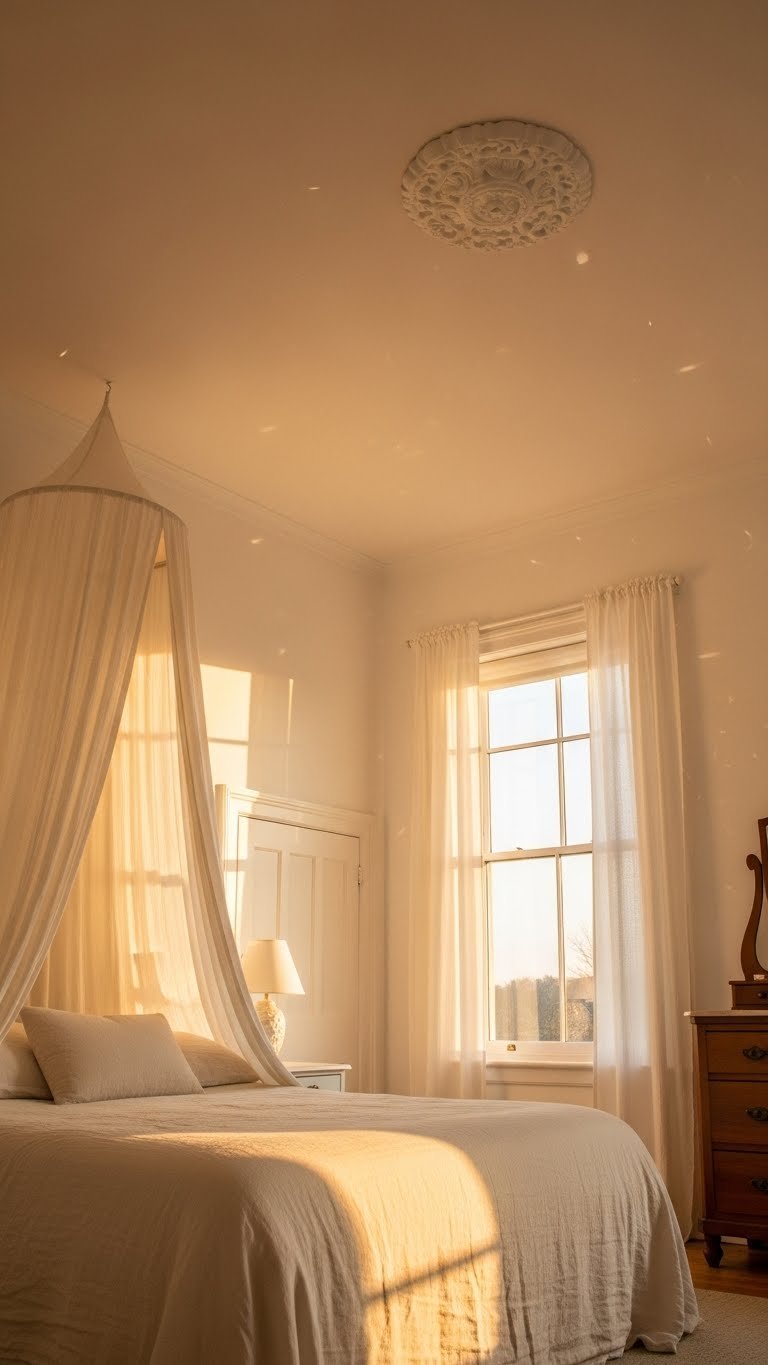
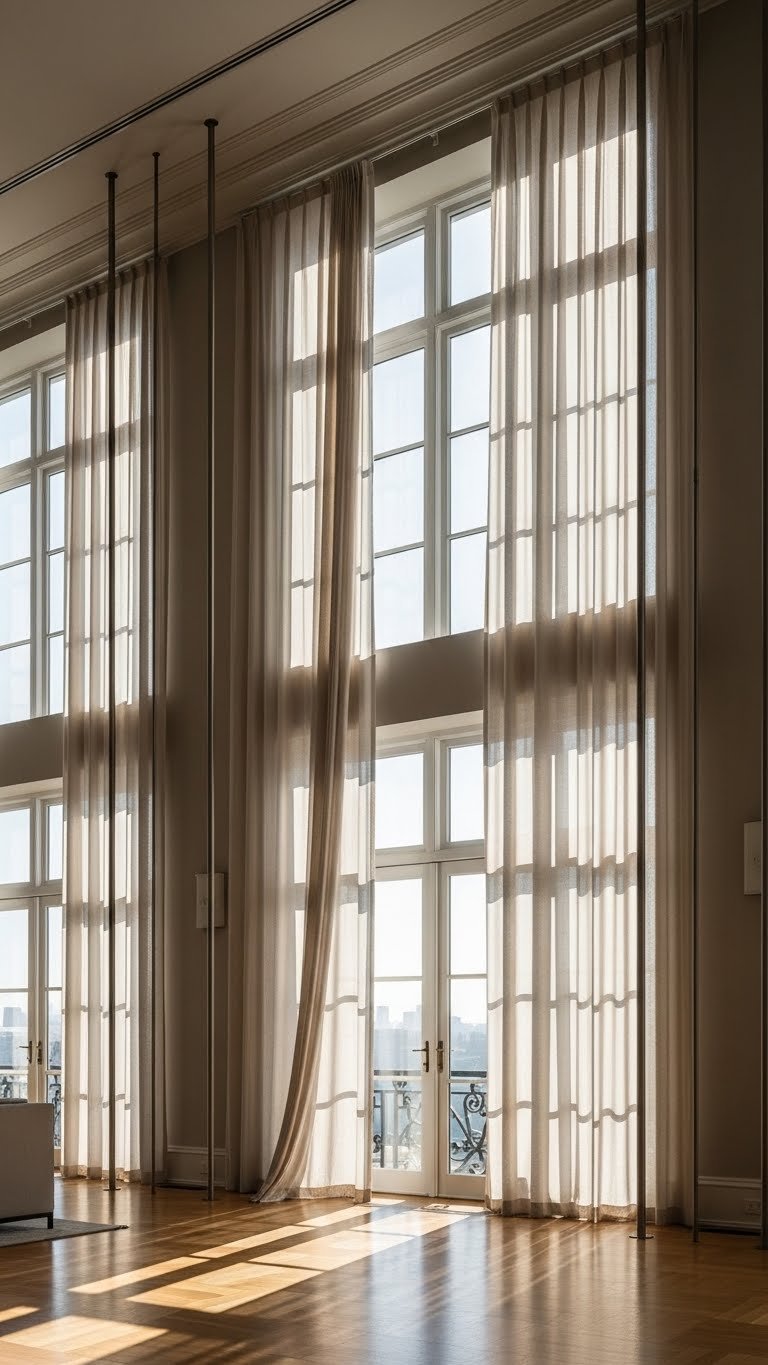
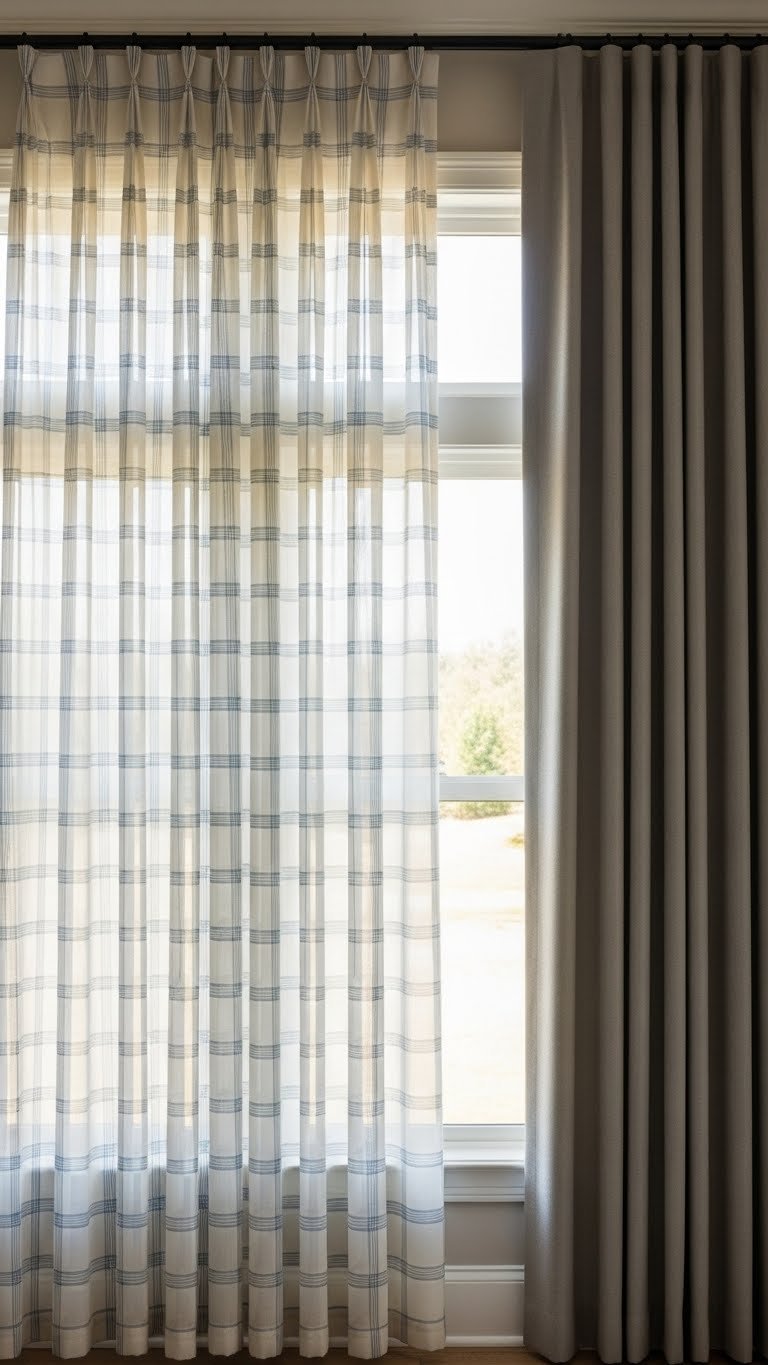
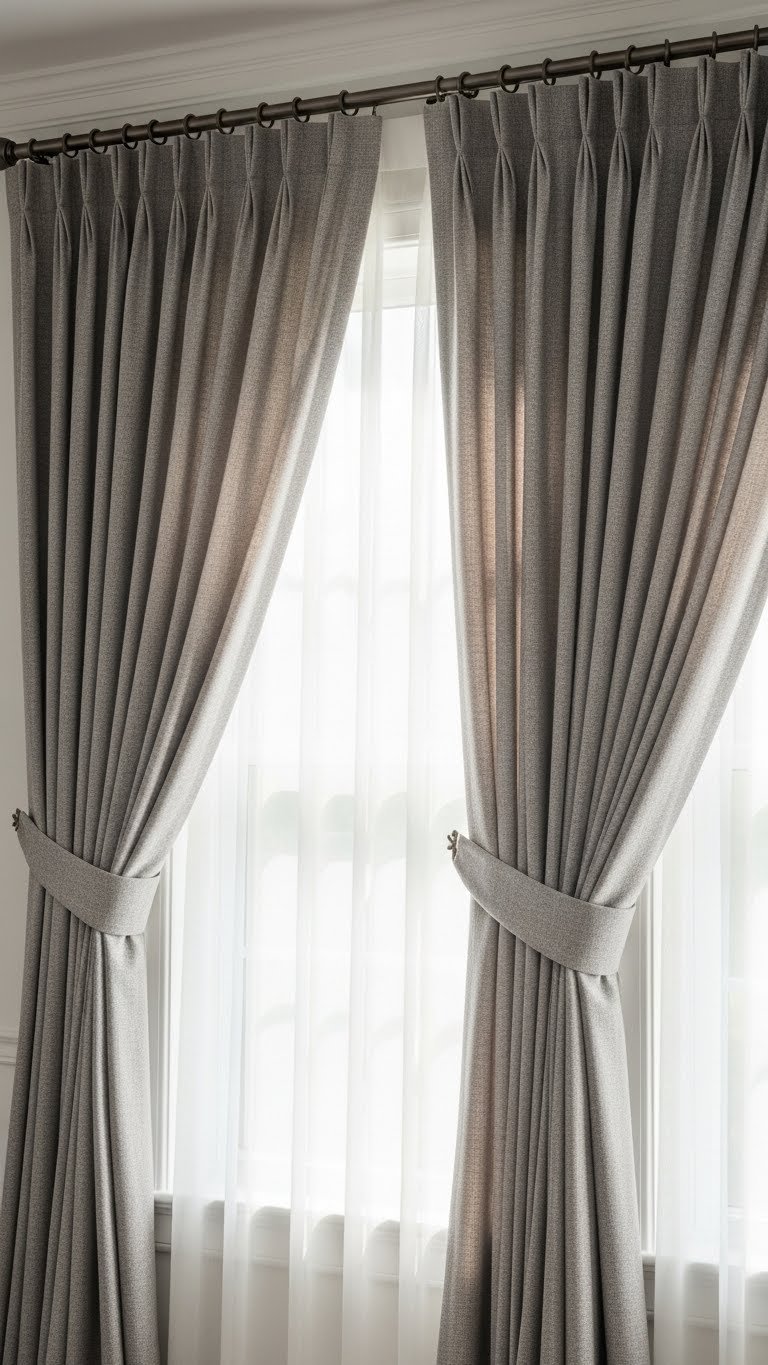
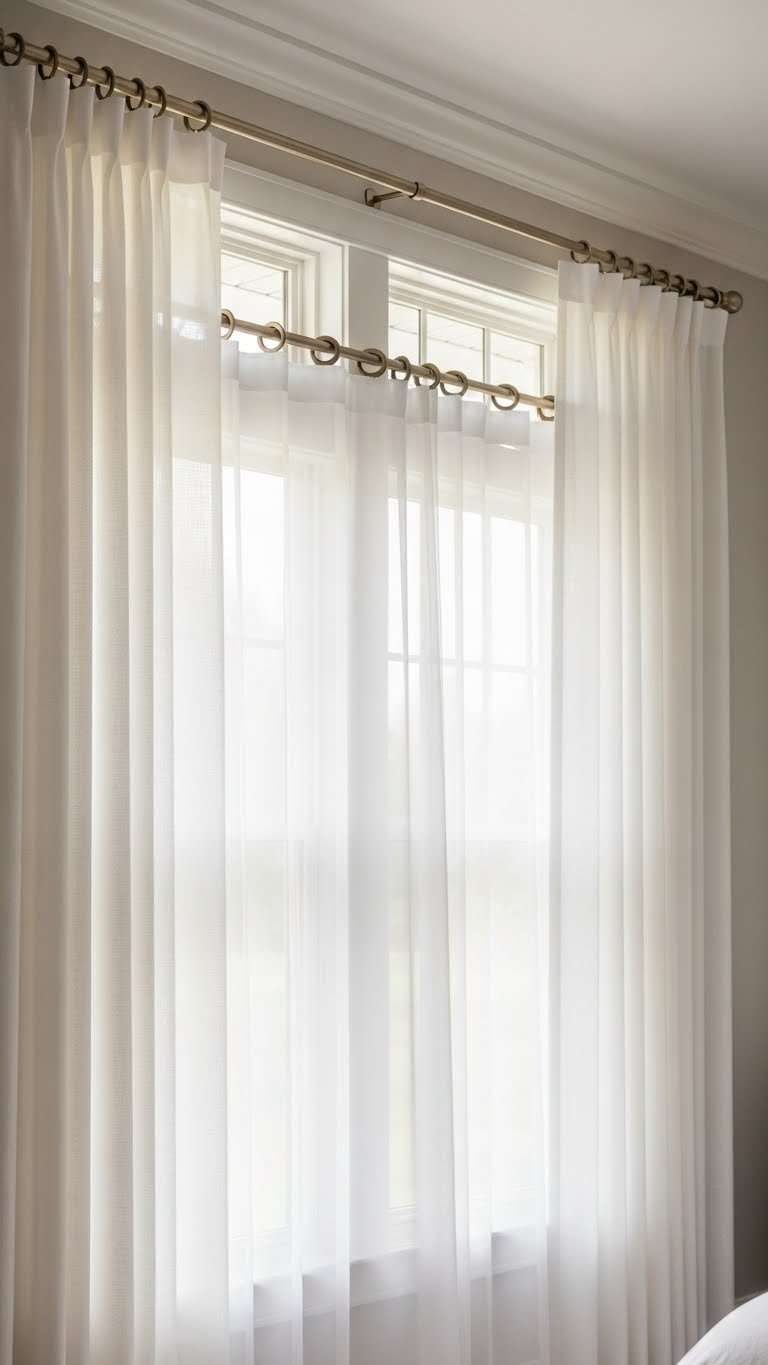
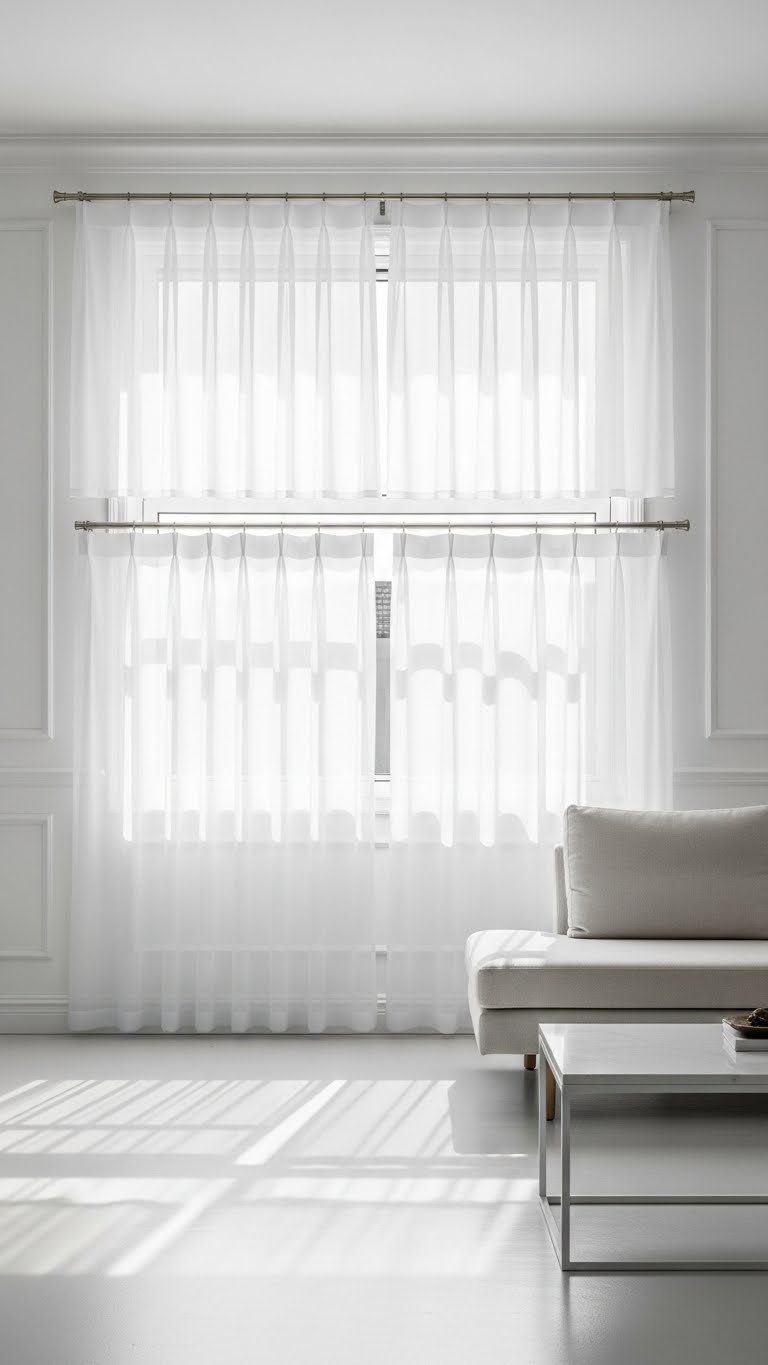
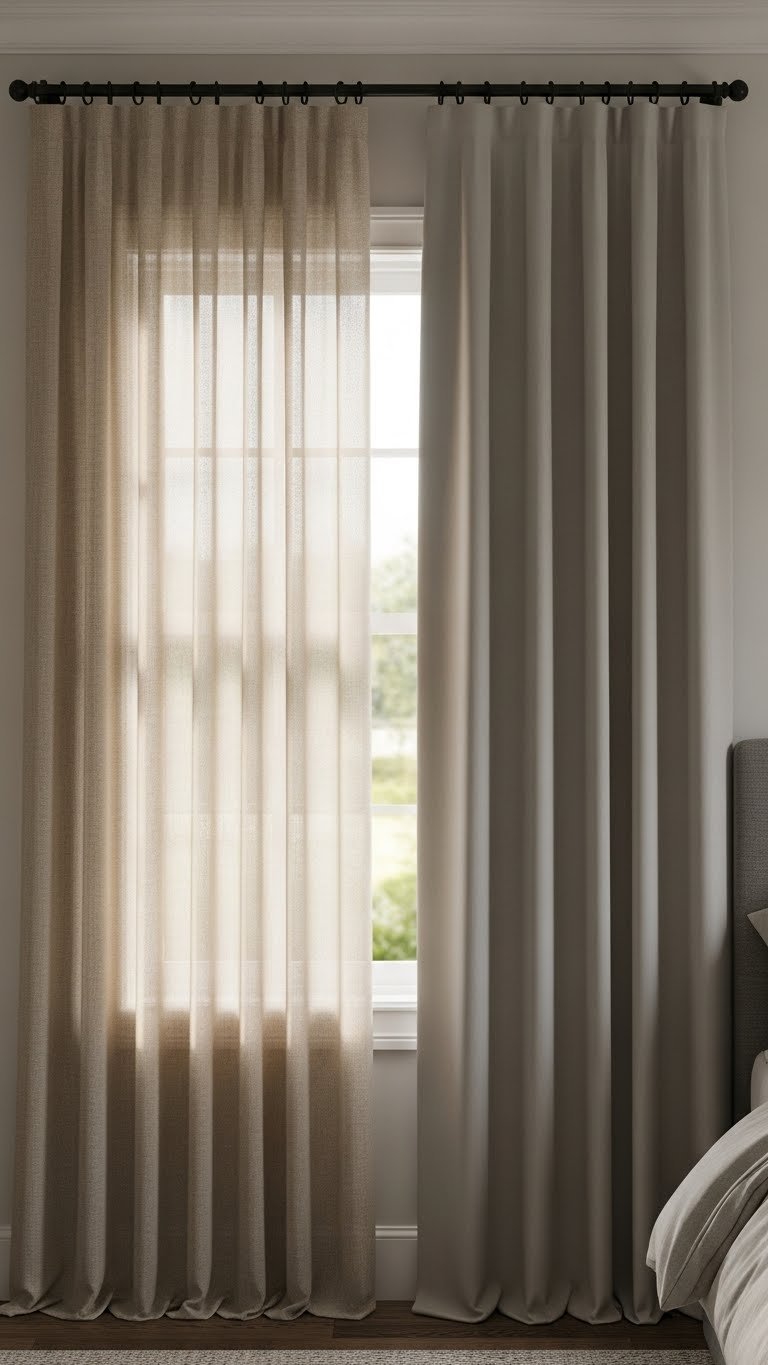
14. Add a Canopy or Fabric Drape Over the Bed

A bed canopy (fabric or frame-based) creates an instant retreat within the room—cozy, private, and visually striking. It doesn’t have to be frilly; modern versions are minimal and sophisticated.
Sheer fabric drape kits cost $30–$80 from IKEA or Etsy; wooden canopy frames run $150–$400. For a renter option, use command hooks and sheer curtain fabric ($20–$50 total). Hang fabric from ceiling corners or a simple frame and drape down the sides. Layer string lights underneath for ambiance. This is especially great for teens who want a cozy study nook or need sensory breaks. Bonus: it defines the bed zone visually in an open room.
Your teen’s bed becomes a sanctuary—a space within a space where they can decompress without closing a door.
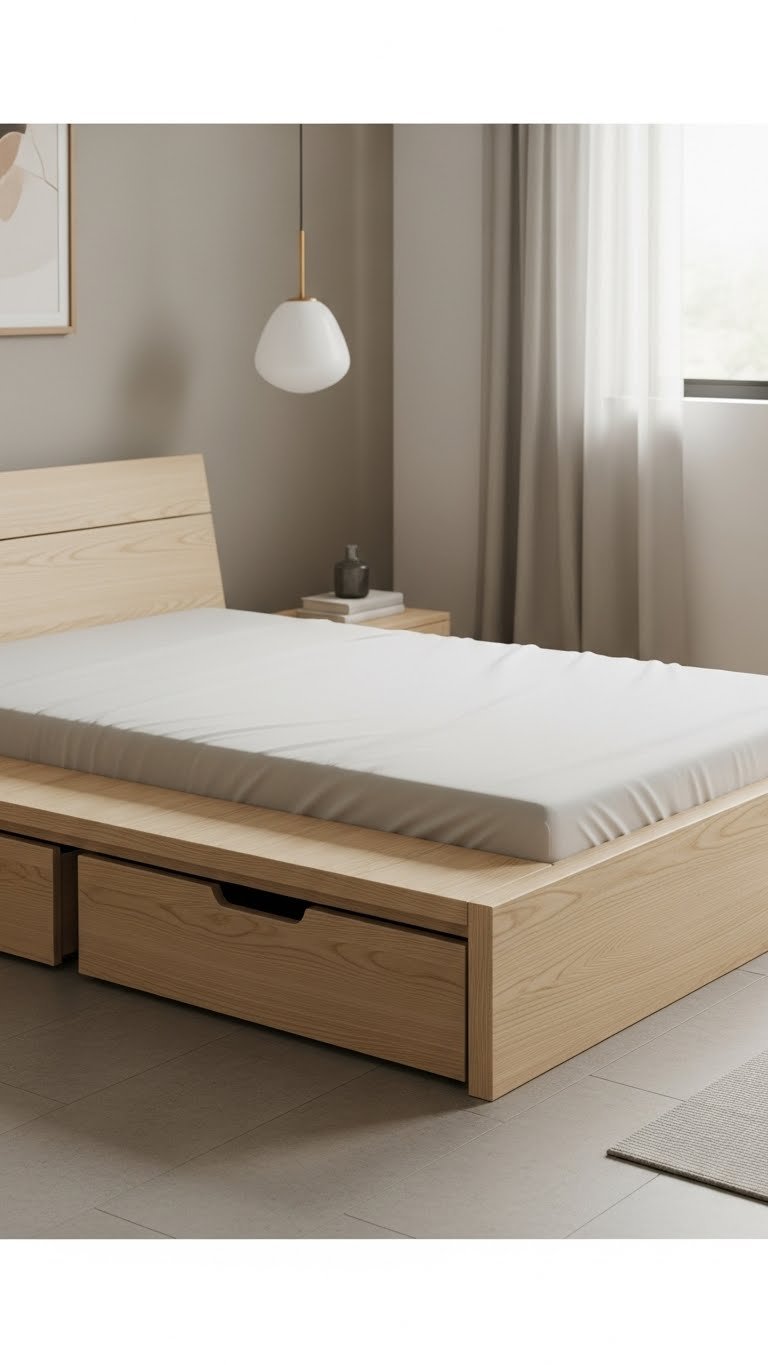
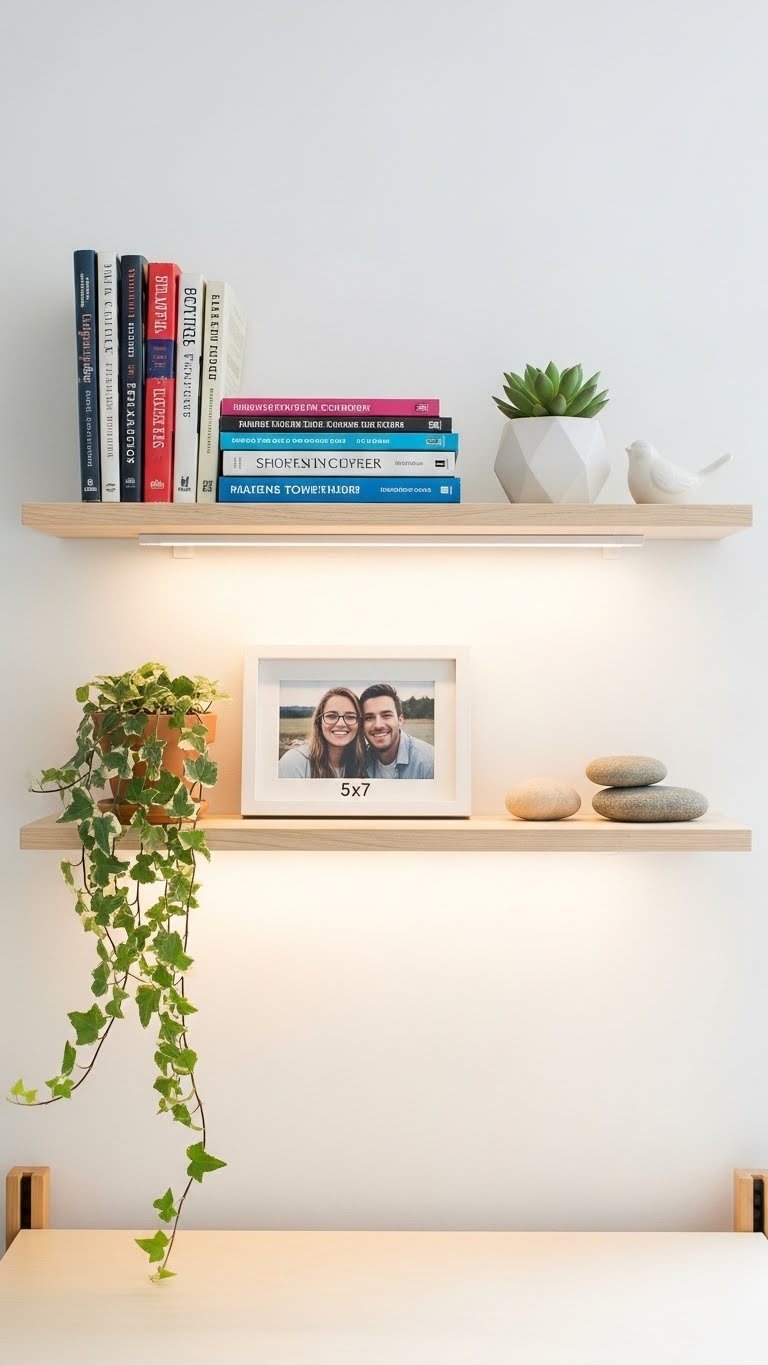
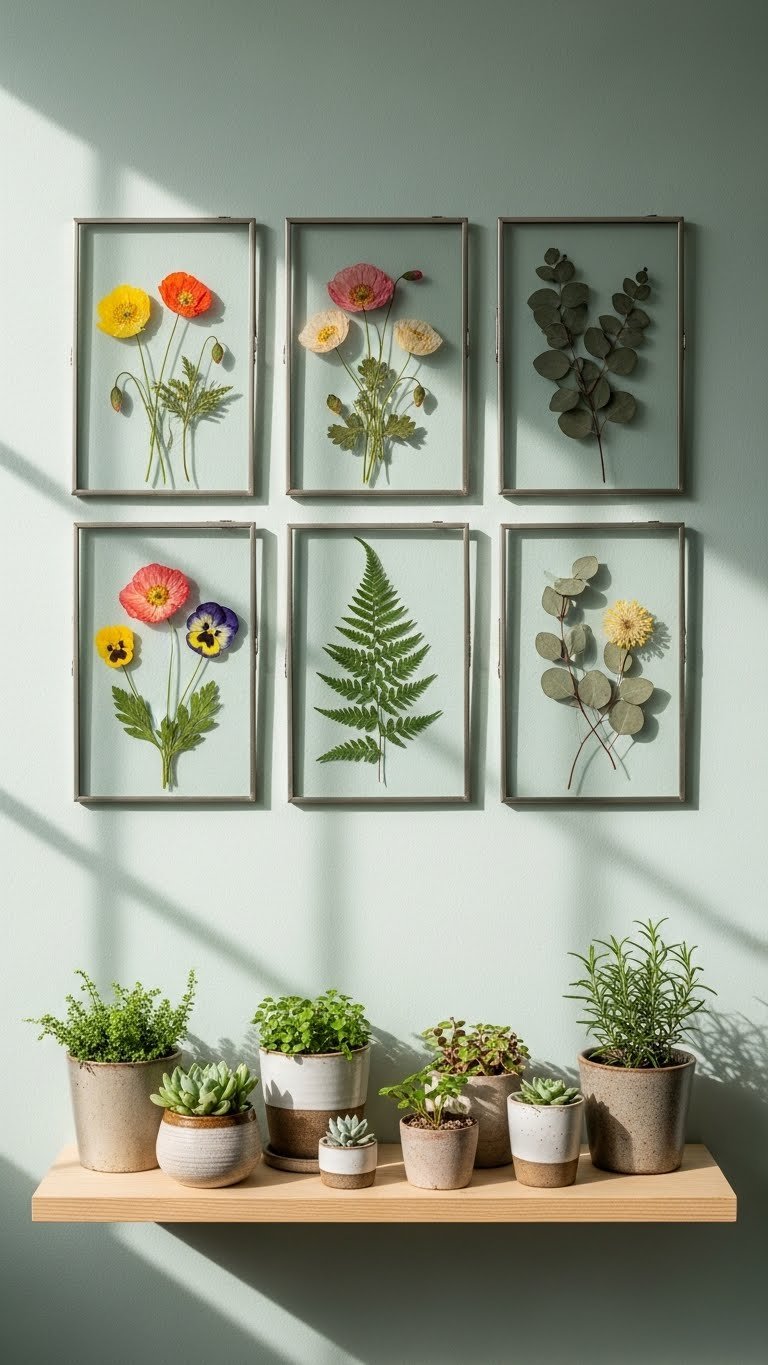
15. Install Shelves Above the Headboard
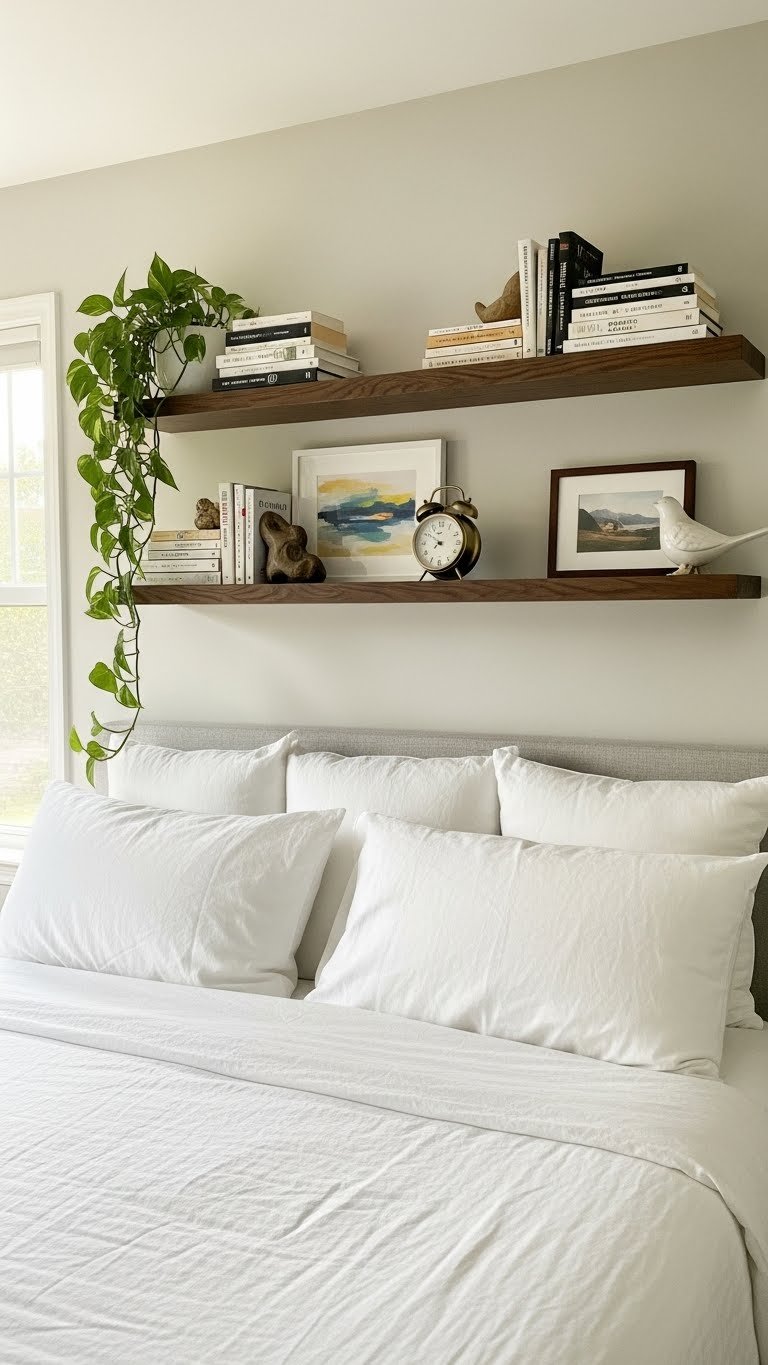
Shelves above the headboard add storage and a curated display without eating floor space. It’s a designer move that makes a small room feel intentional.
Floating shelves cost $20–$80 each; you’ll likely need 2–3 for above a bed. Install with a level and stud finder (crucial here—don’t mount shelves above a bed on drywall alone). Total install cost: $60–$240. Arrange books with spines facing out, a small plant, and artwork. Keep the styling balanced—if shelves are above the bed, don’t overload them or they’ll feel top-heavy and weird when lying down.
You create a focal point that’s both functional and beautiful, instantly elevating the room’s design.
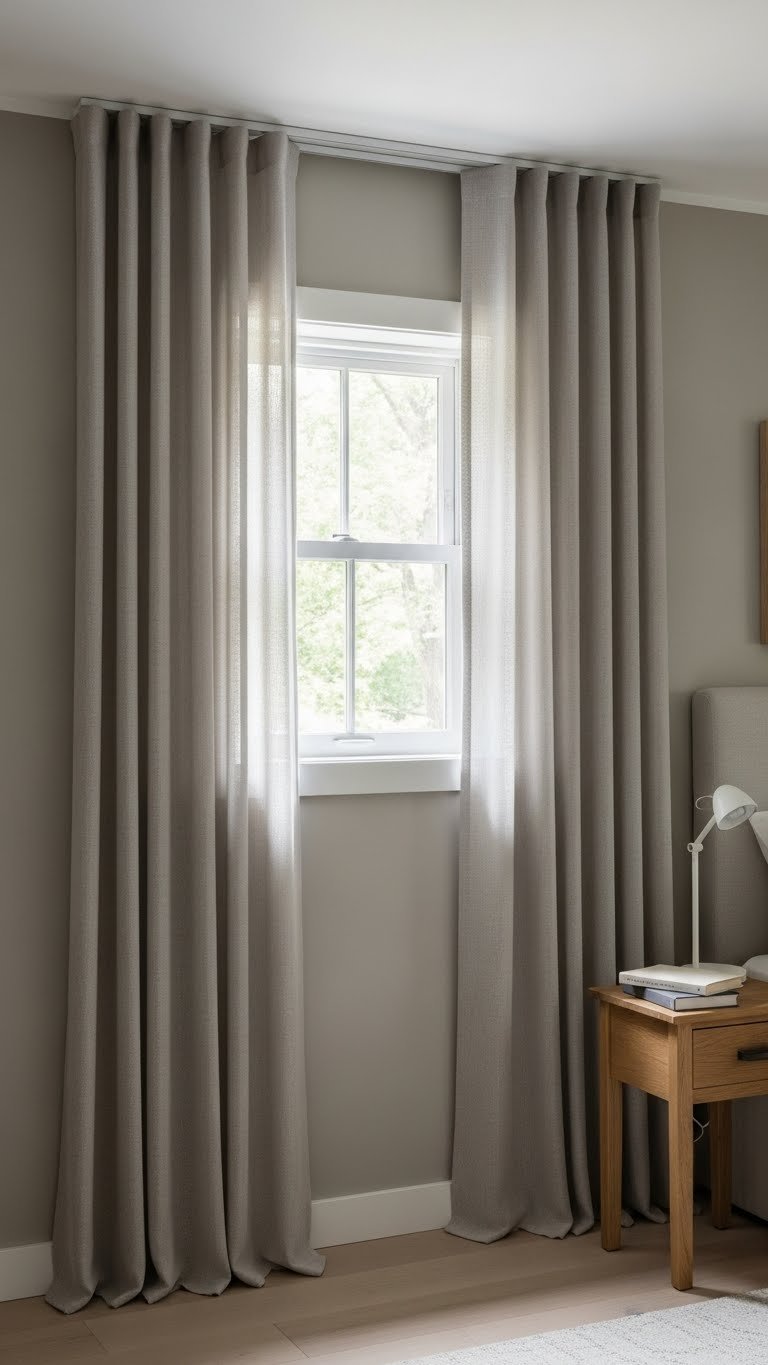
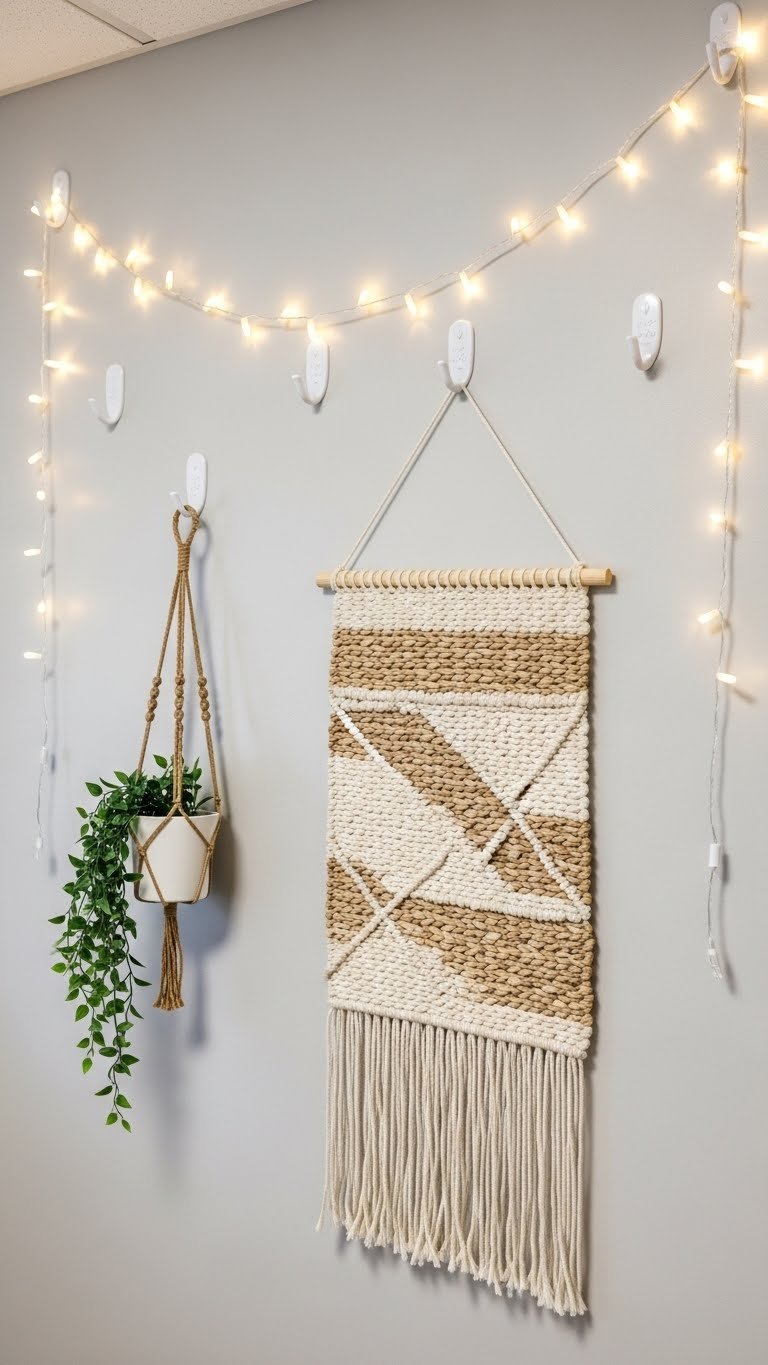
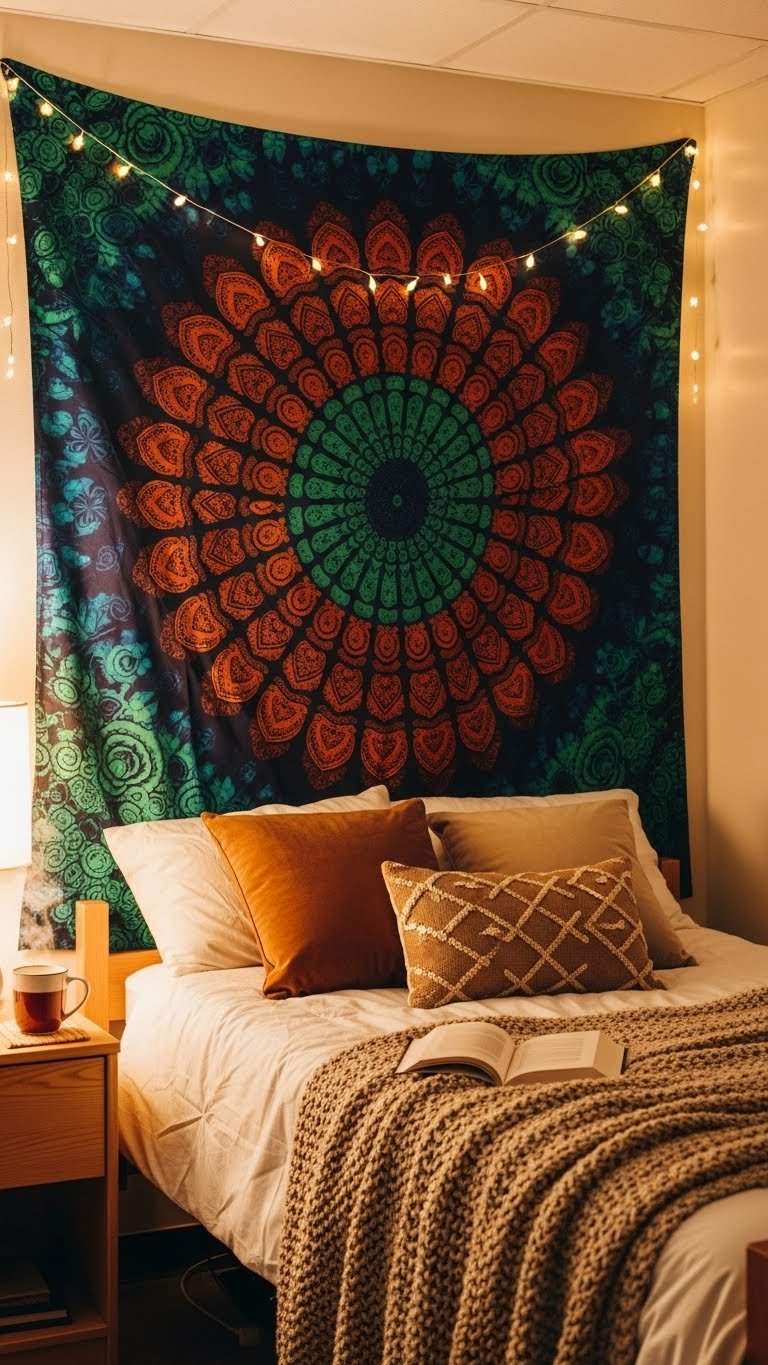
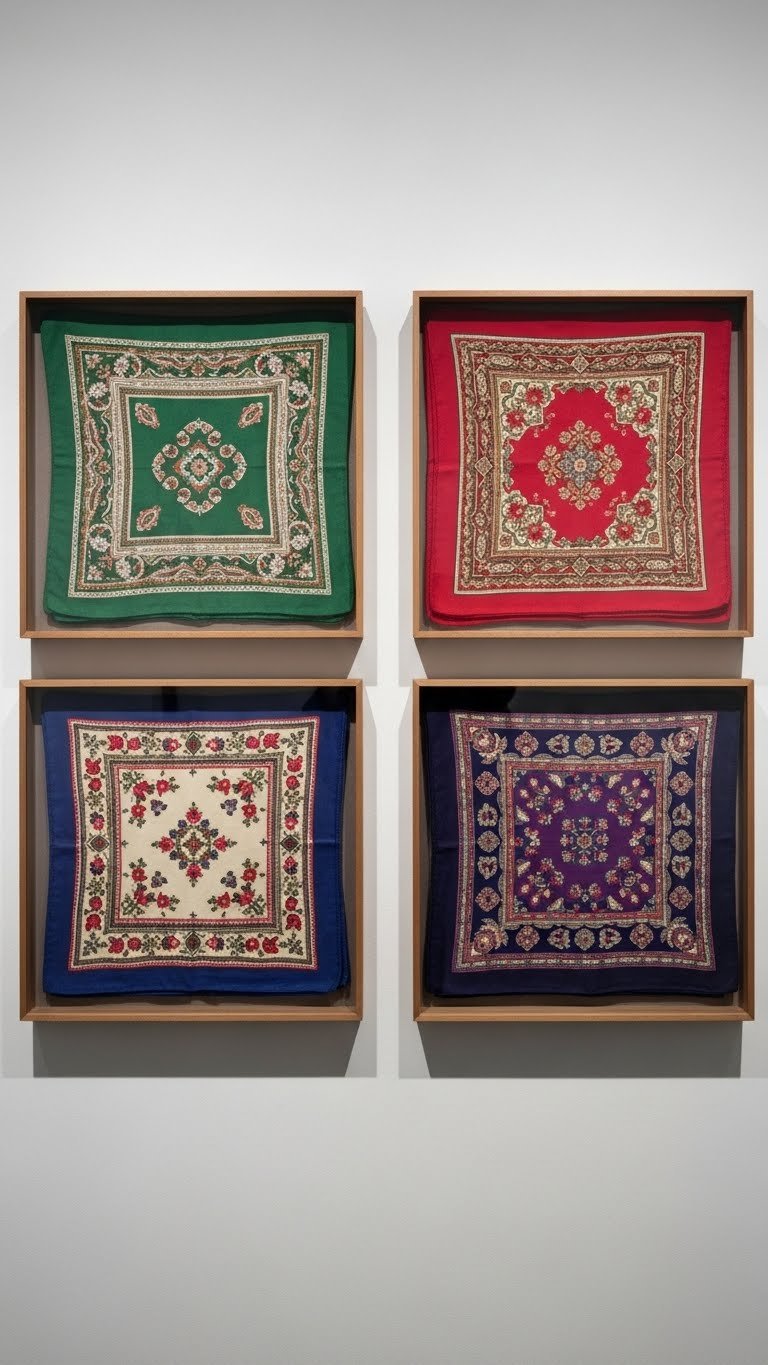
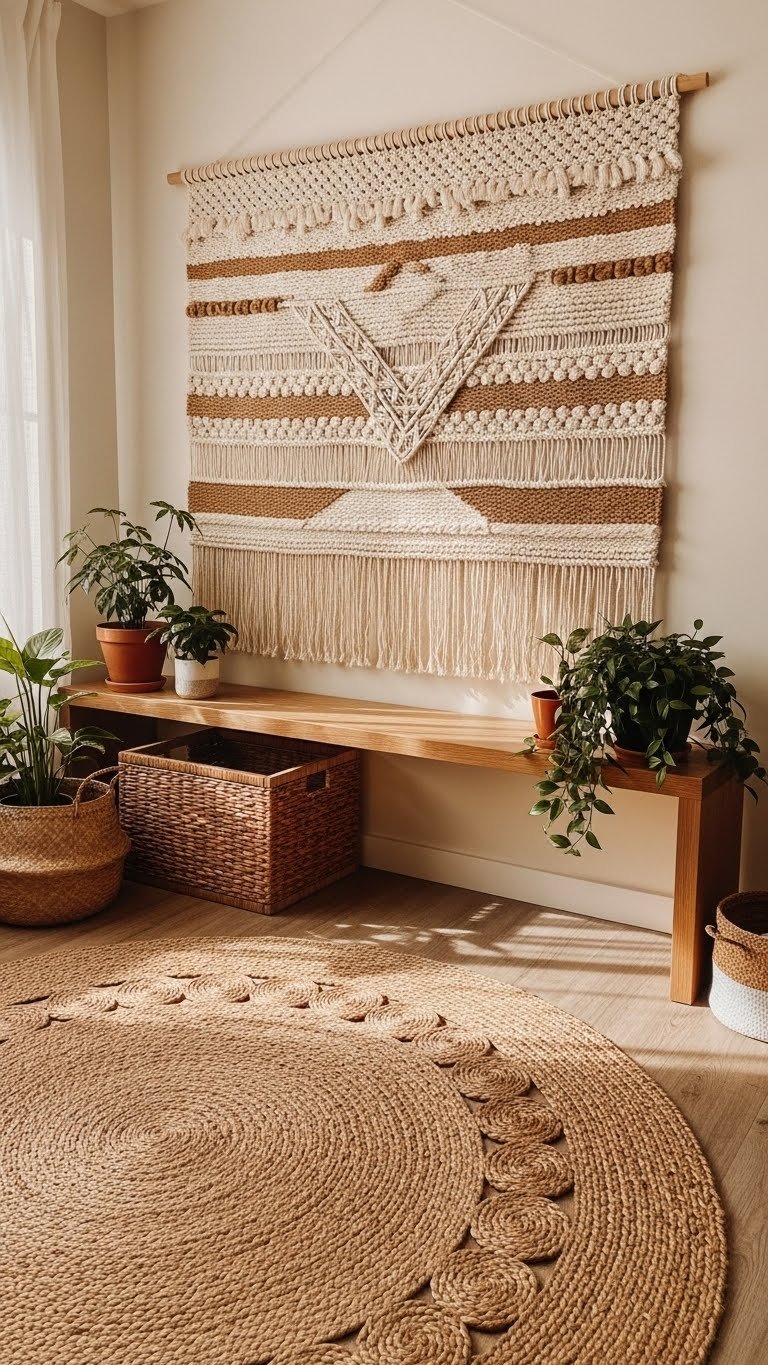
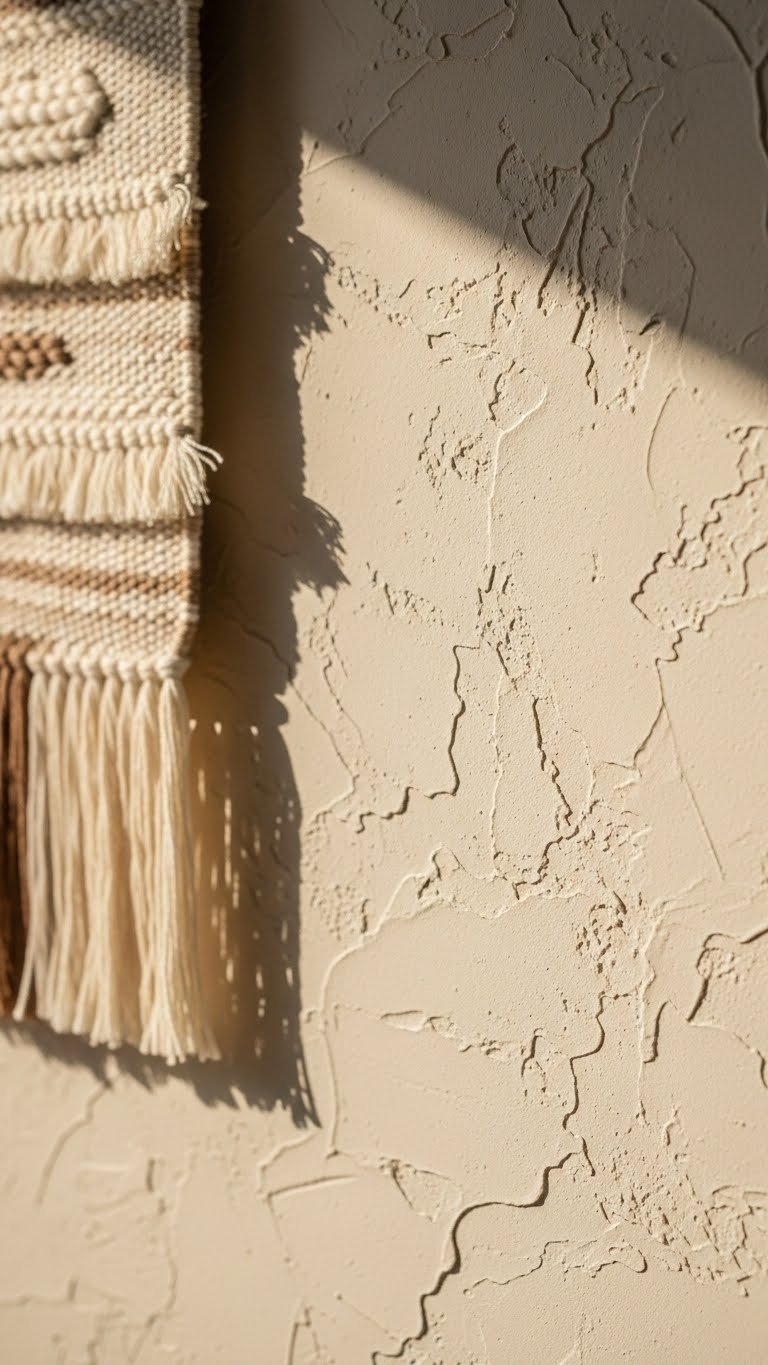
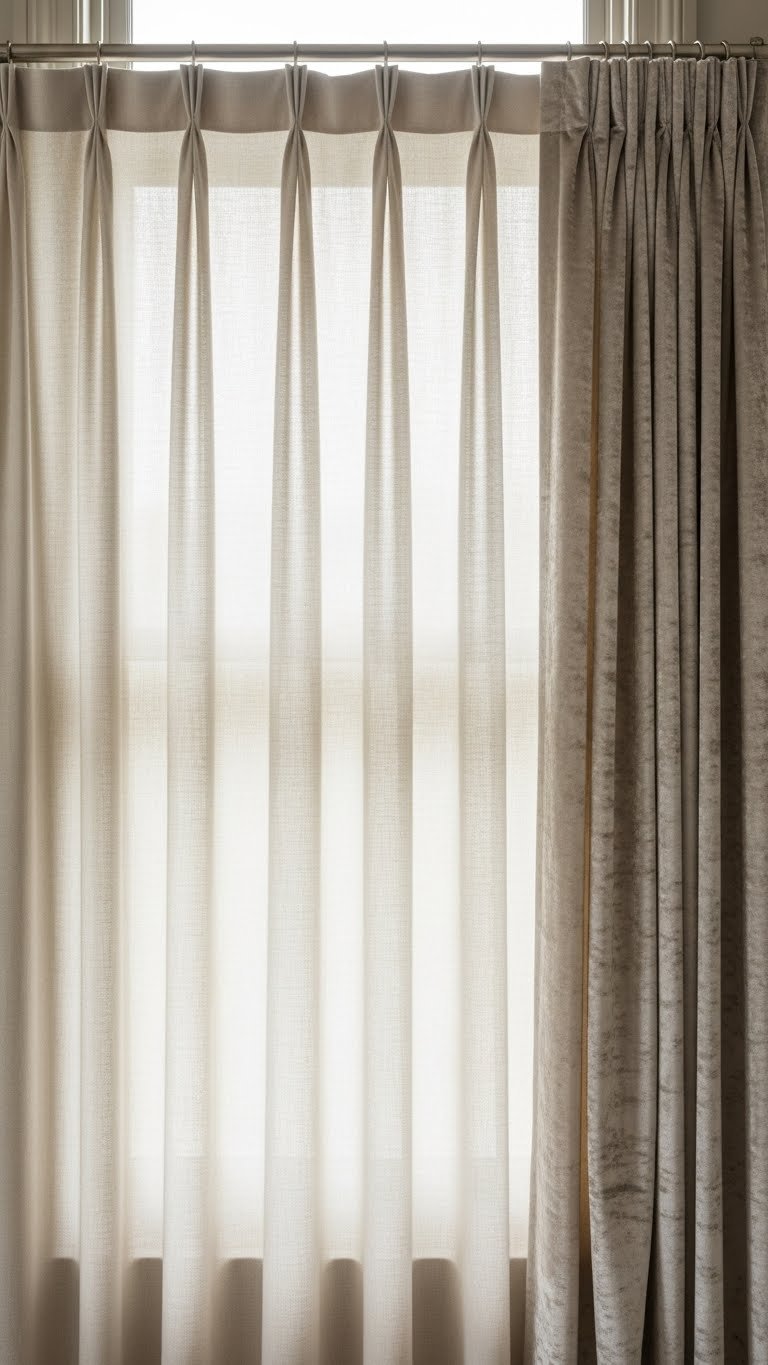
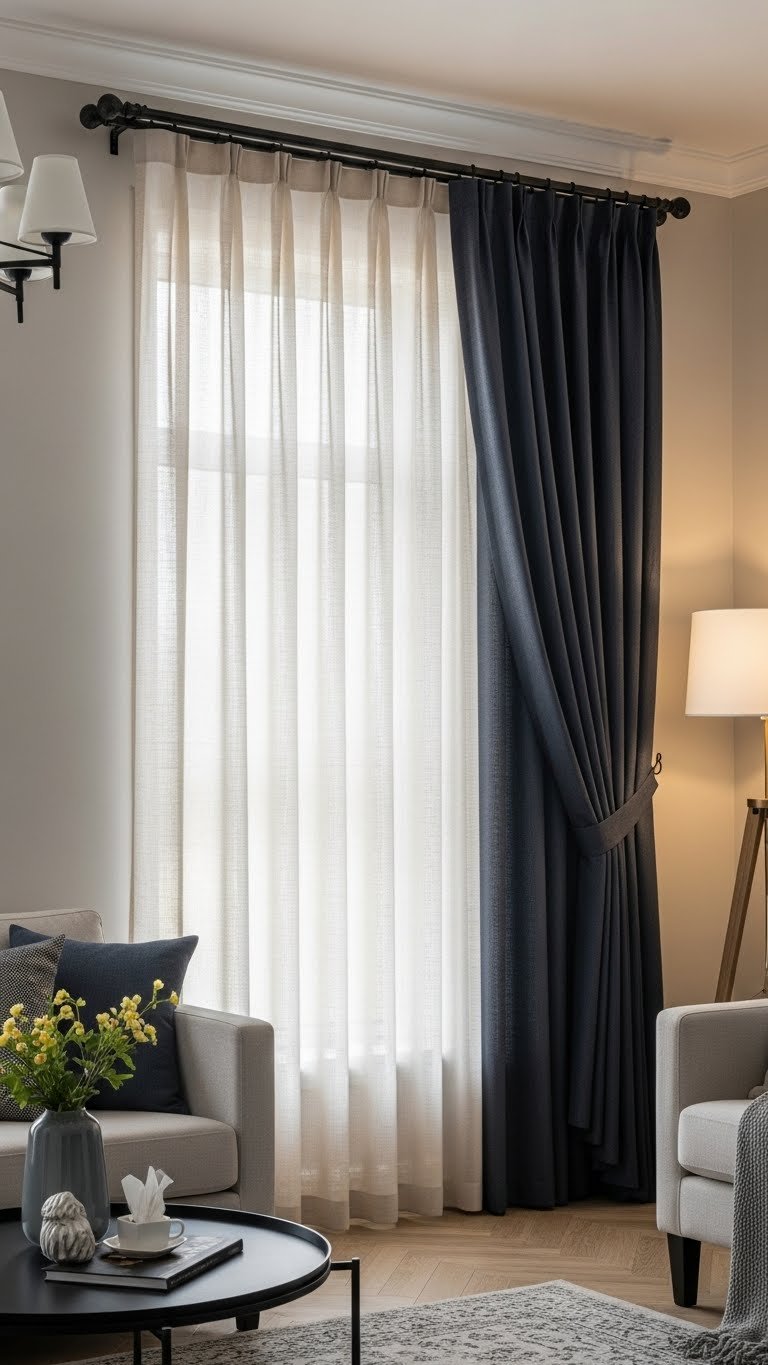
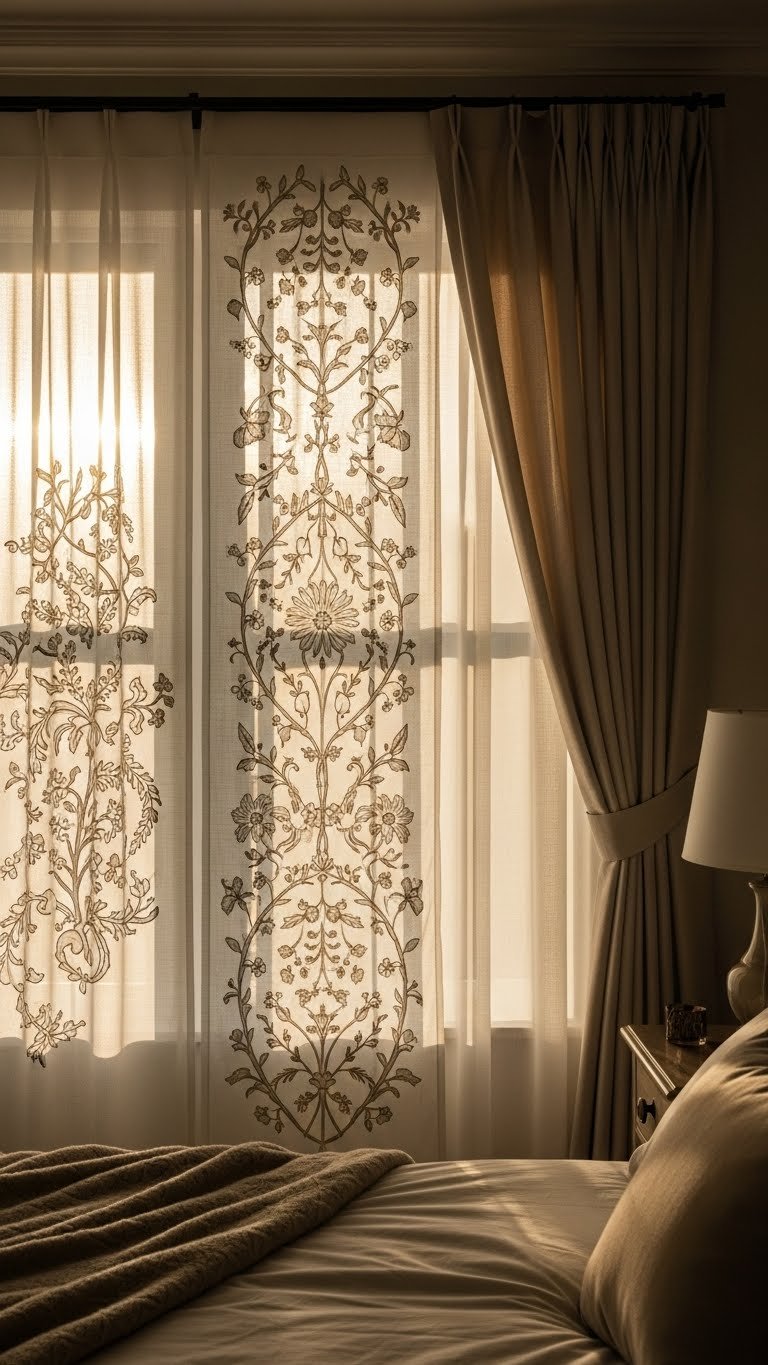
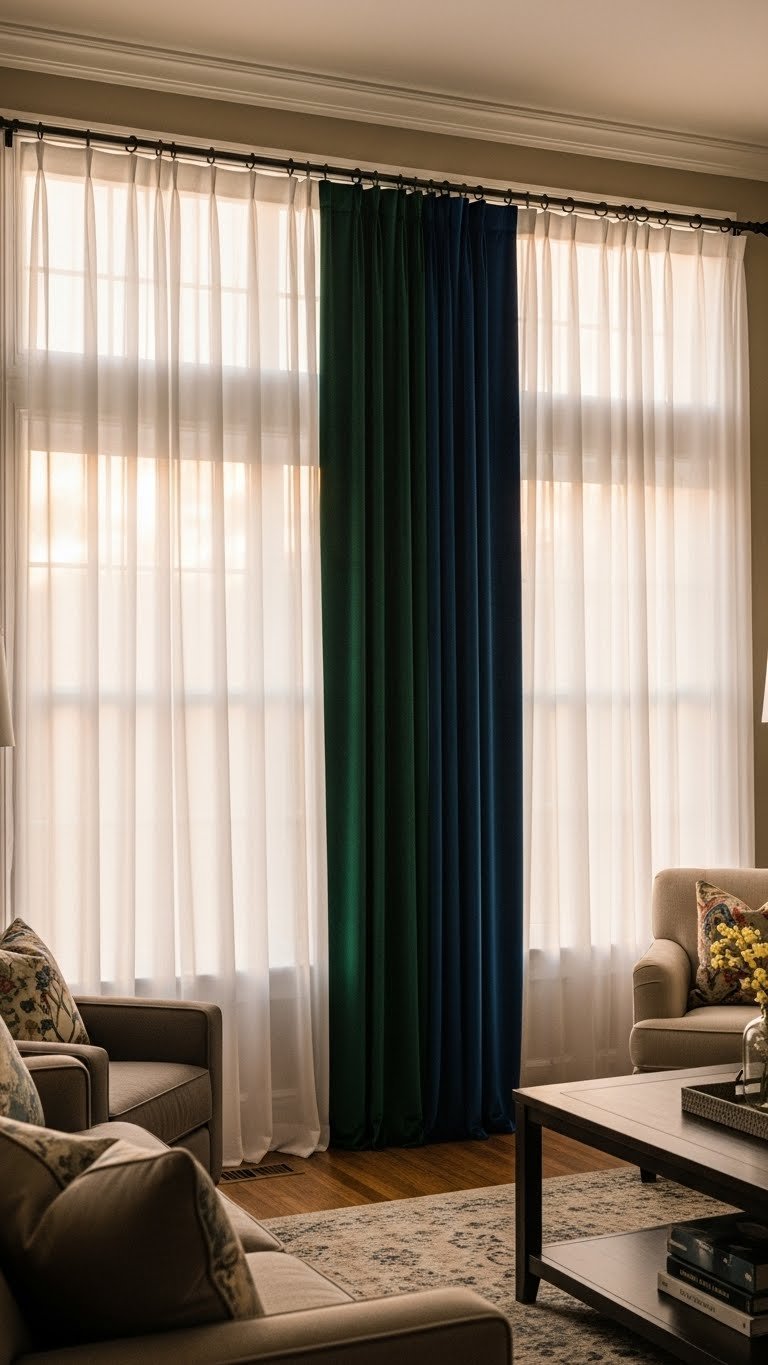
16. Use Fabric Wall Hangings Instead of Paint

For renters or commitment-phobes, fabric wall hangings give that “I painted my walls” vibe without actually painting. Tapestries, scarves, and fabric panels are cheap, easy to swap, and zero-damage.
A large tapestry costs $20–$60 from Urban Outfitters, Etsy, or Amazon. Smaller fabric scarves run $5–$20 and layer beautifully. Mount with fabric tacks, command strips, or just thumbtacks. Hang a tapestry behind the bed as a headboard substitute, or layer multiple fabrics on one wall for texture and pattern. Swap them seasonally or whenever your teen wants a new vibe. This is the most renter-friendly wall treatment available.
Your teen’s wall becomes a canvas for expression that can change as often as they want—no commitment necessary.
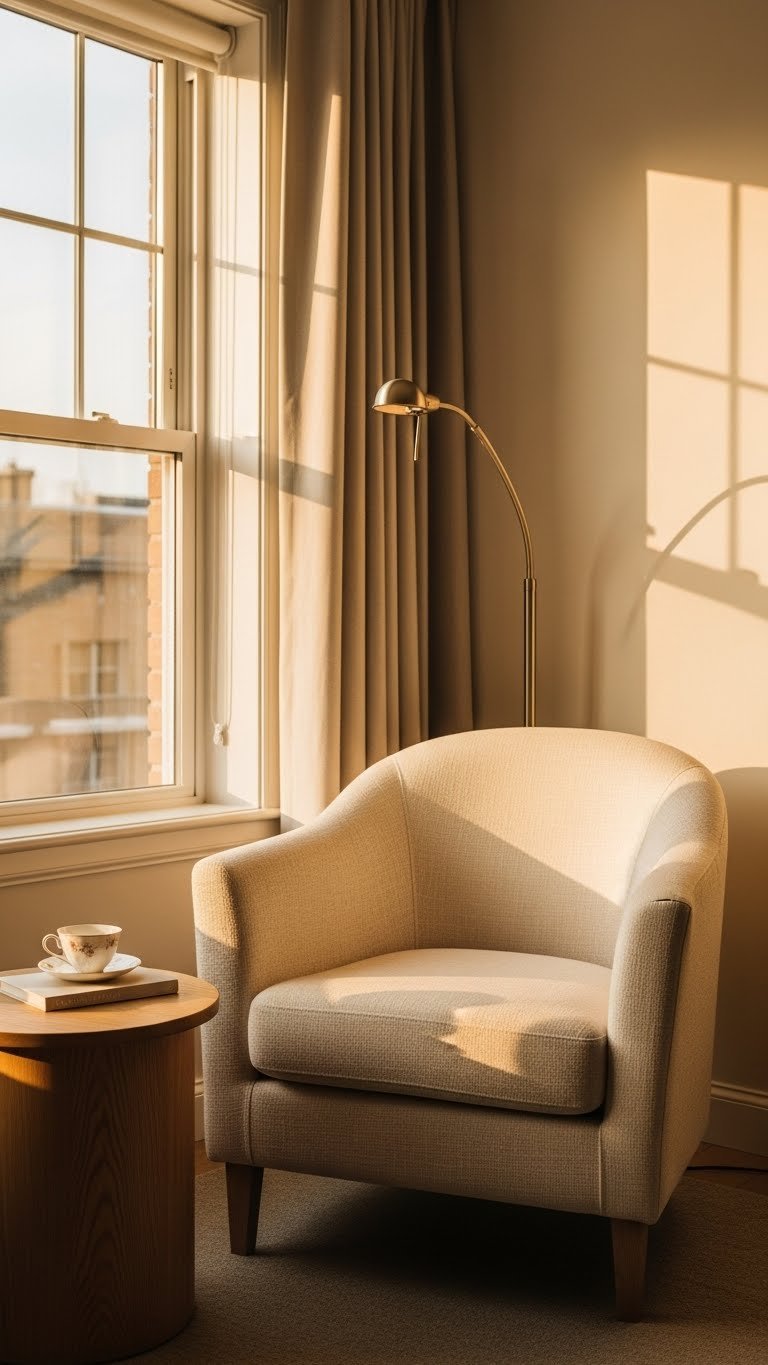
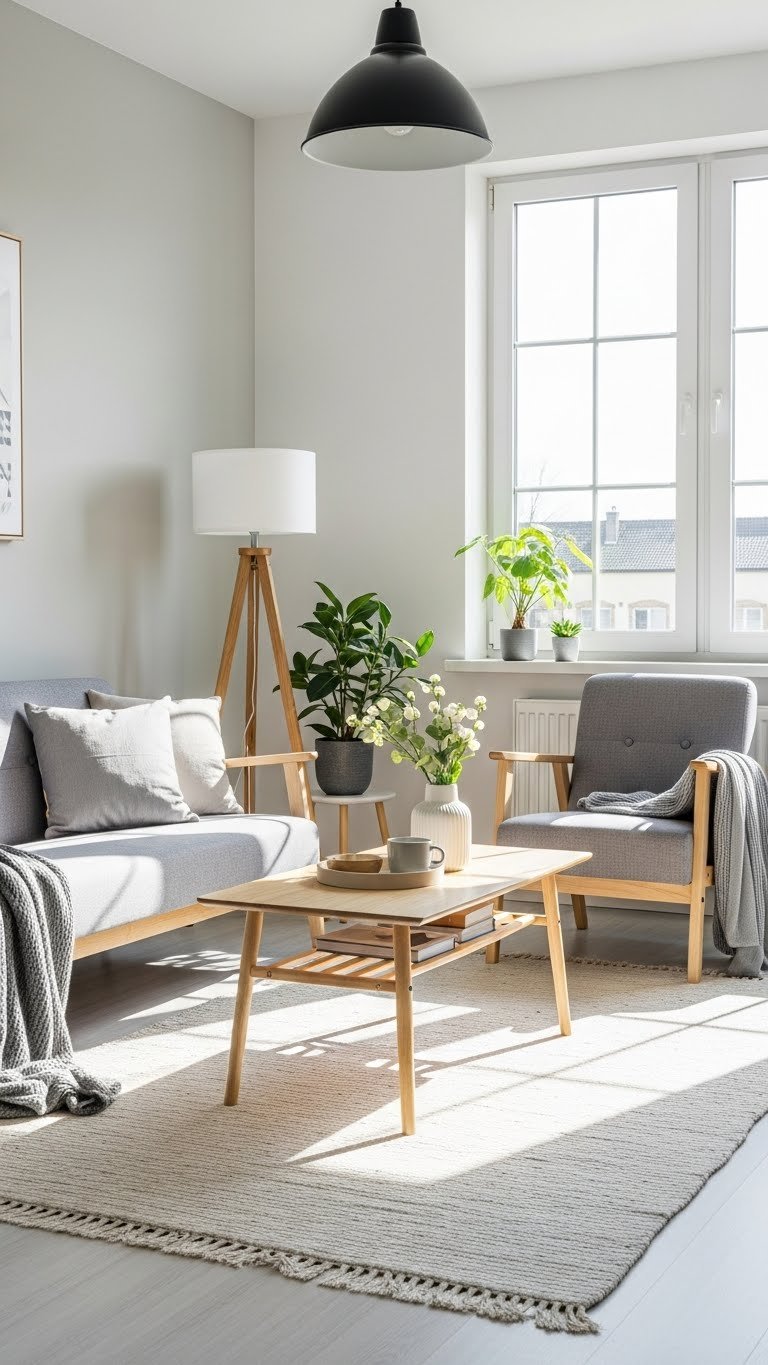
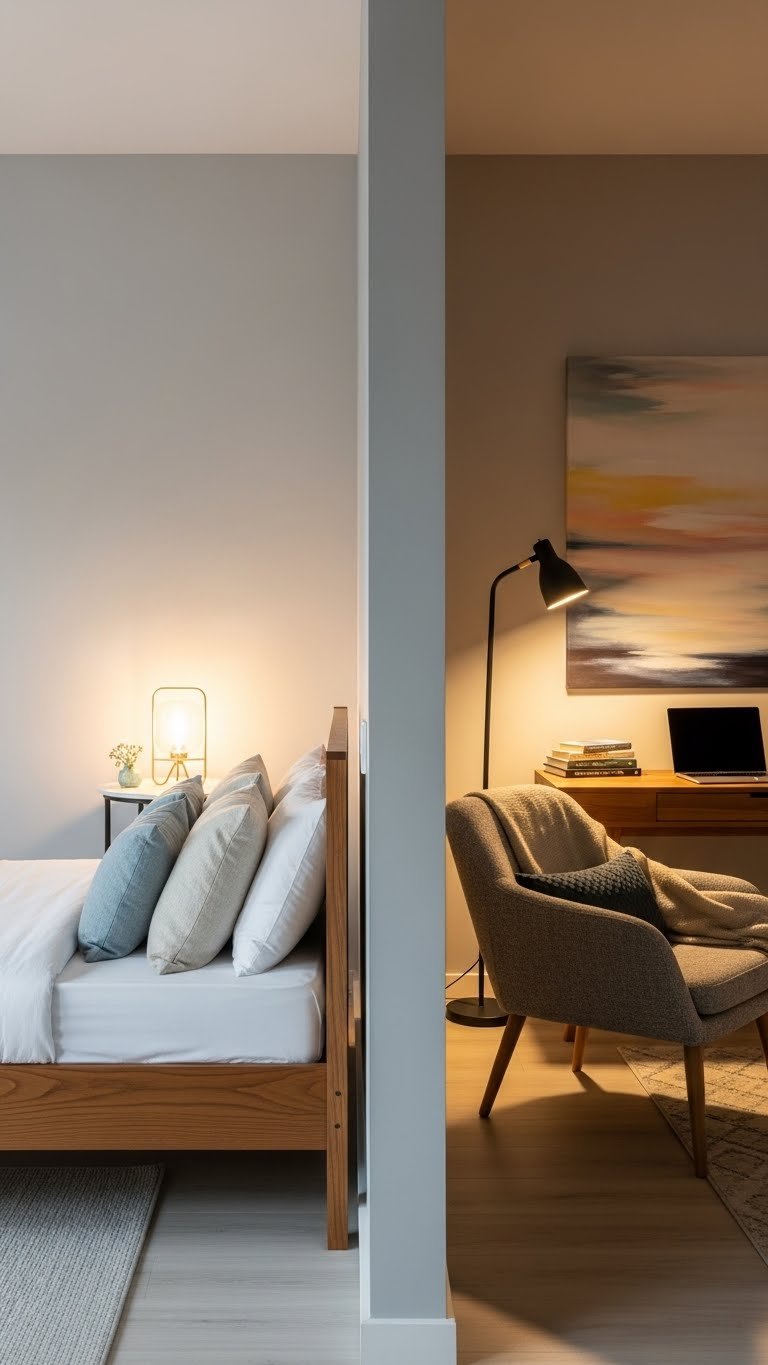
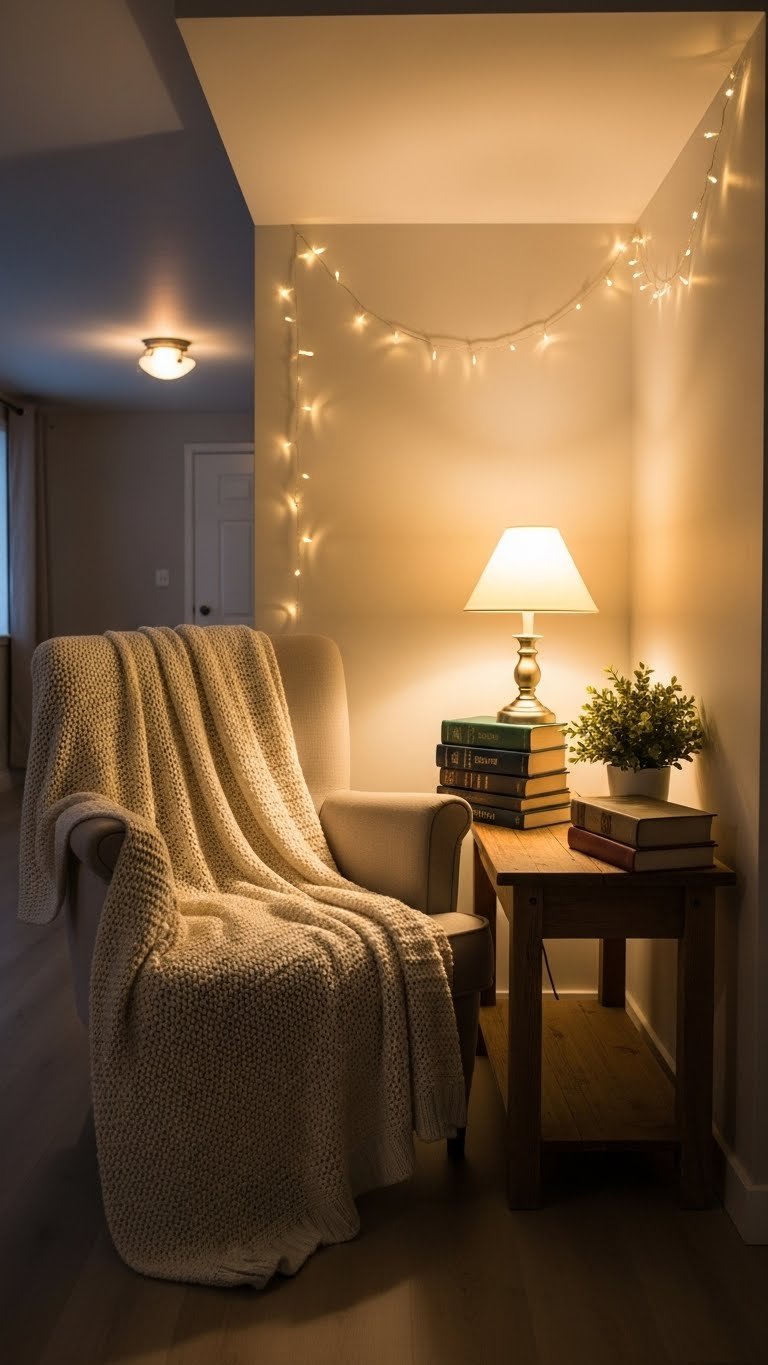
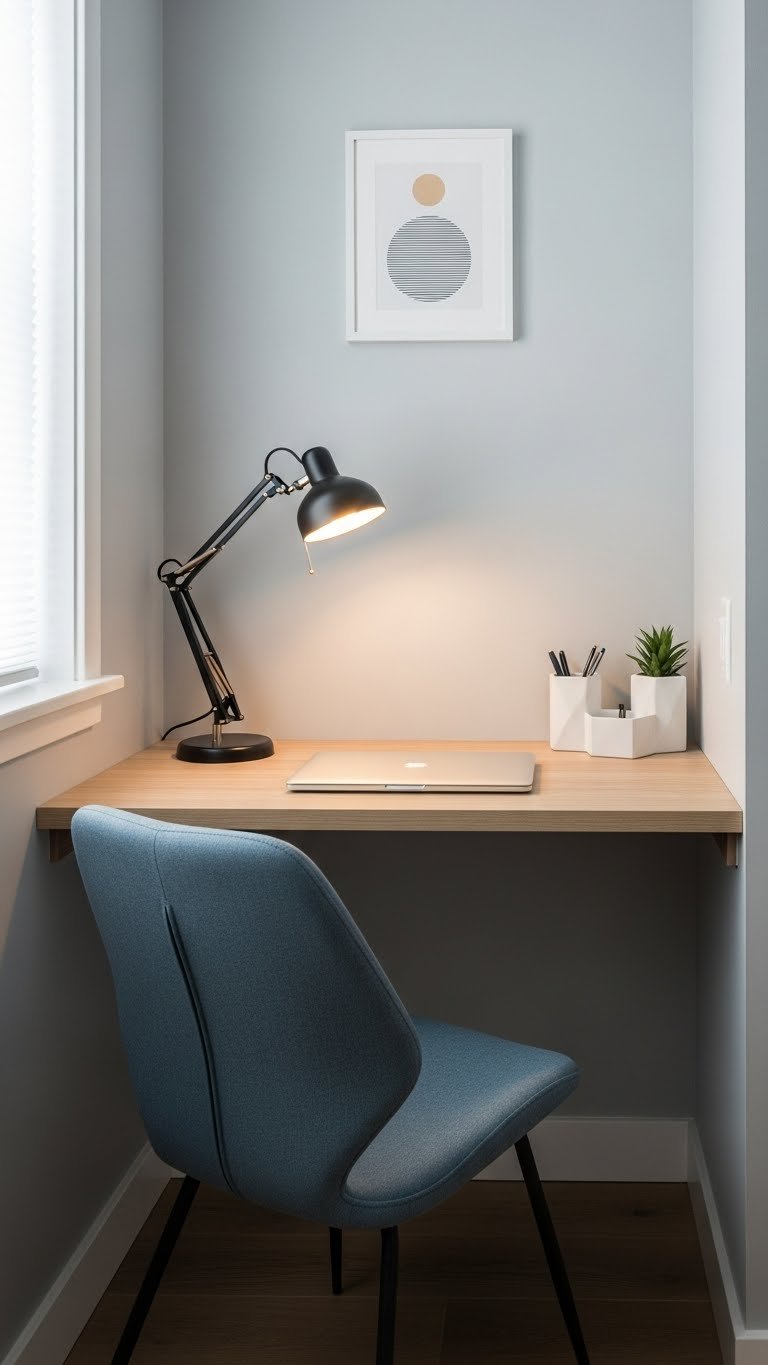
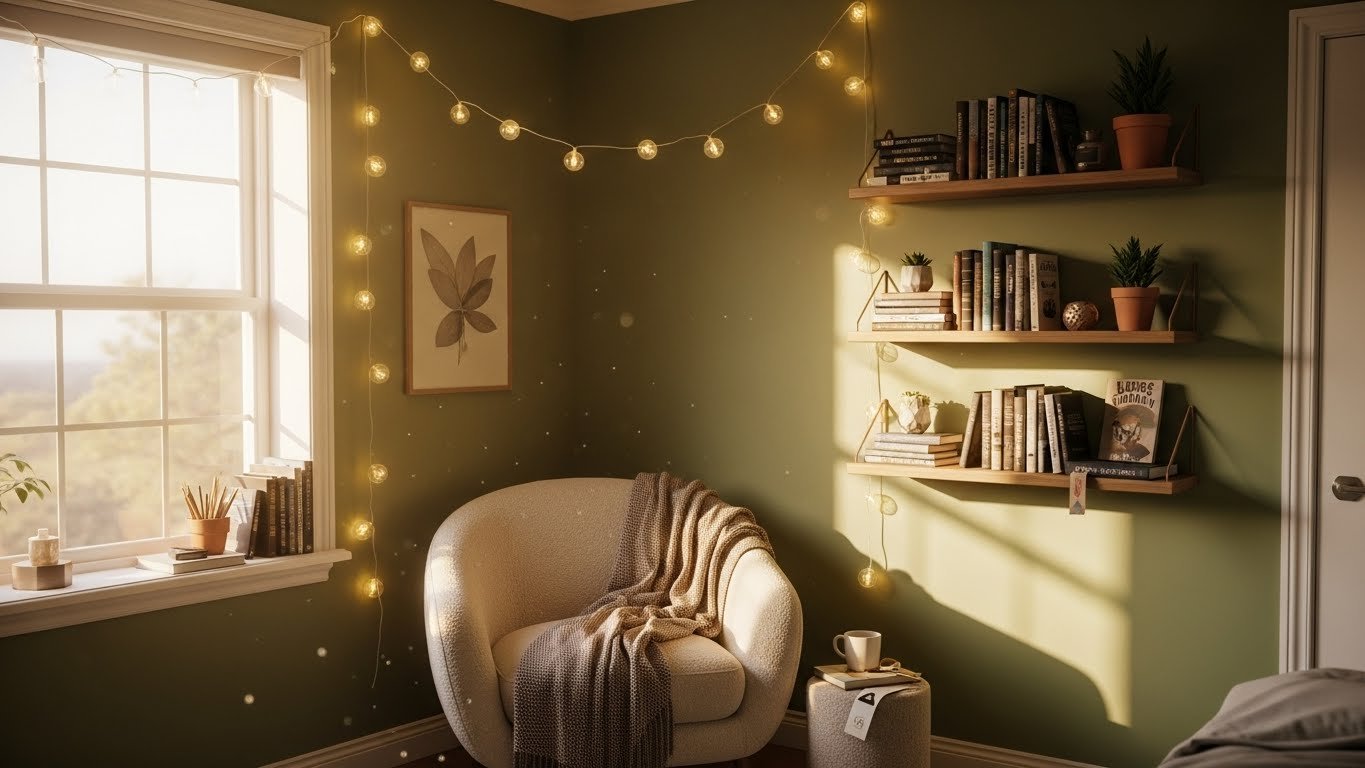
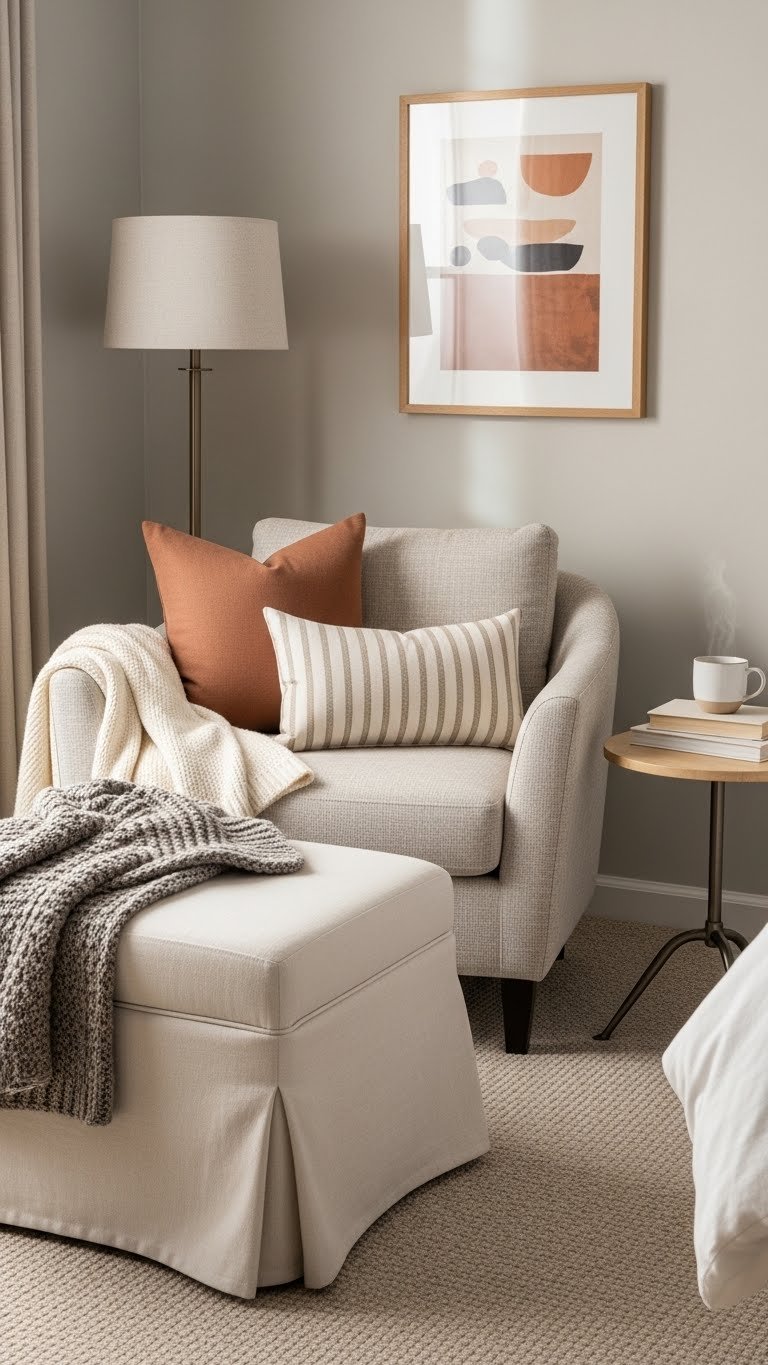
17. Create a Reading or Homework Nook in the Corner

A dedicated nook for reading, studying, or just decompressing gives your teen space to focus—or escape—without hogging the whole room. This works even in small rooms by using corner space efficiently.
Angle a comfy chair ($100–$300) or secondhand option ($20–$80) in a corner with a small side table ($30–$100). Add a floor lamp ($40–$150) and a basket for blankets ($15–$50). This whole setup runs $200–$600 new or $80–$250 thrifted. Position near a window for natural light if possible. The psychology is powerful: a designated “focus zone” helps your teen actually settle in and concentrate or relax, depending on what the space is designed for.
Your teen gains a micro-retreat where they can study, read, or just exist away from the bed—game-changer for mental health.
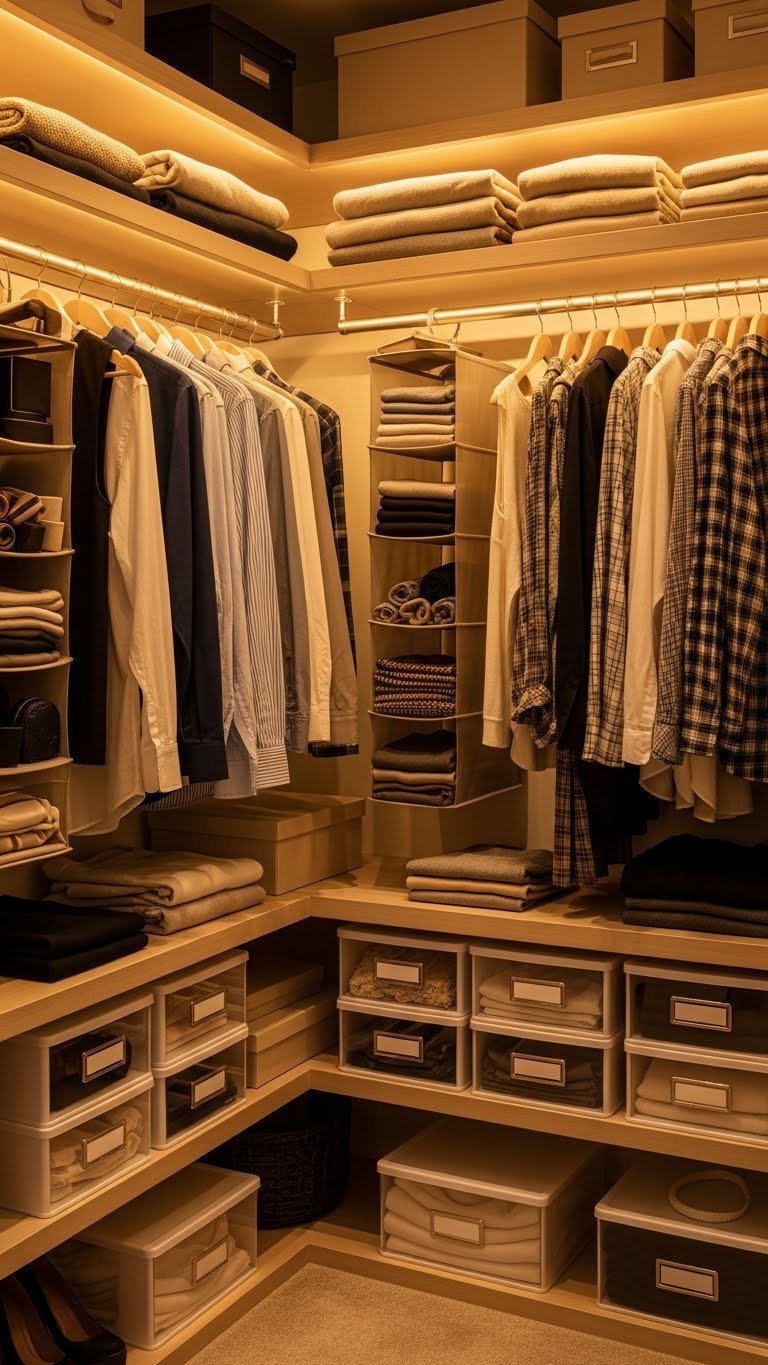
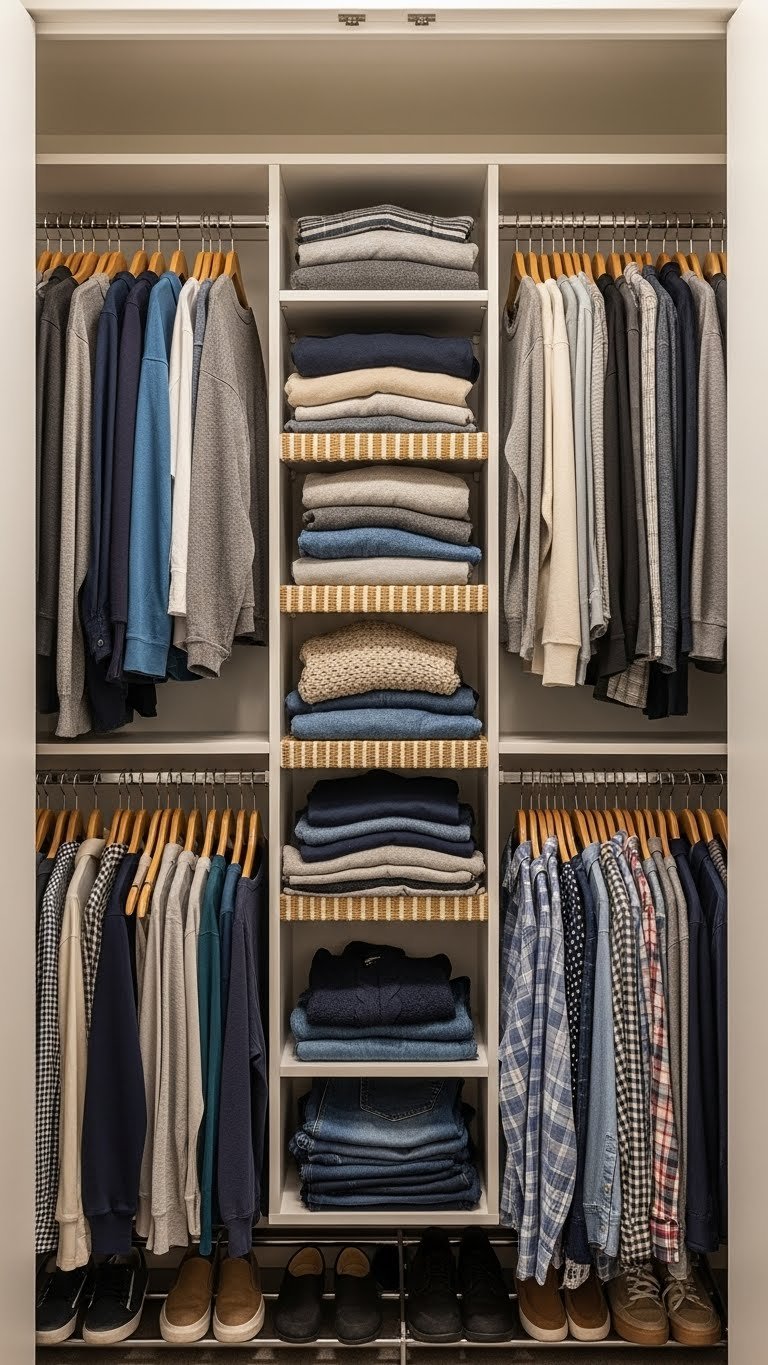
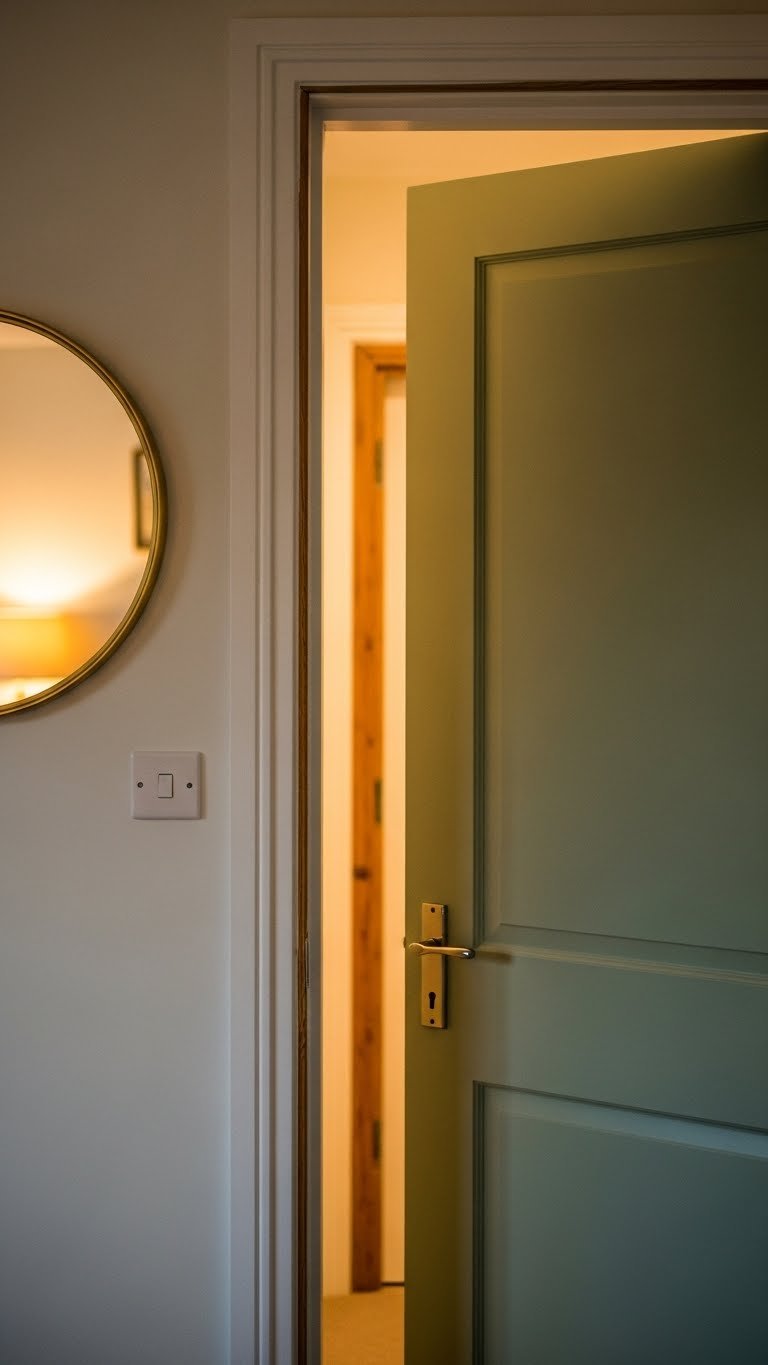
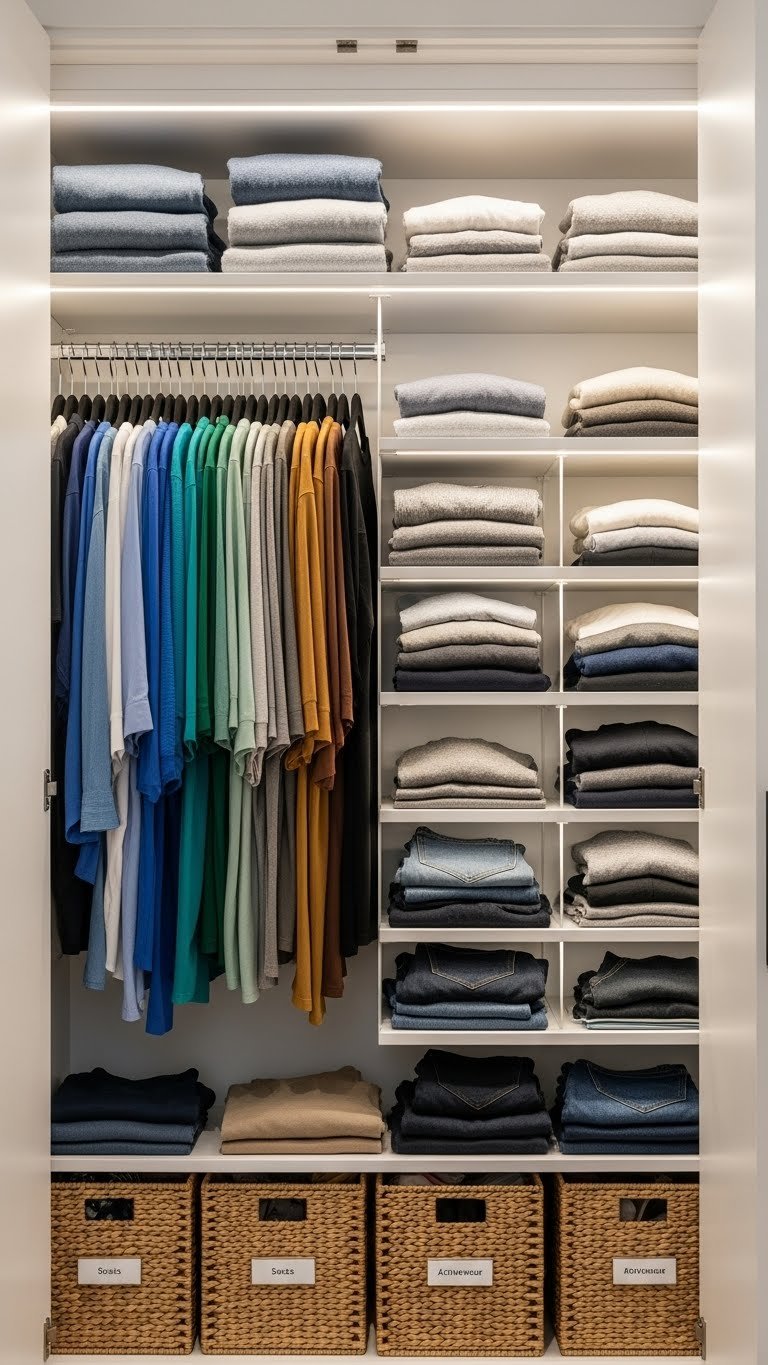
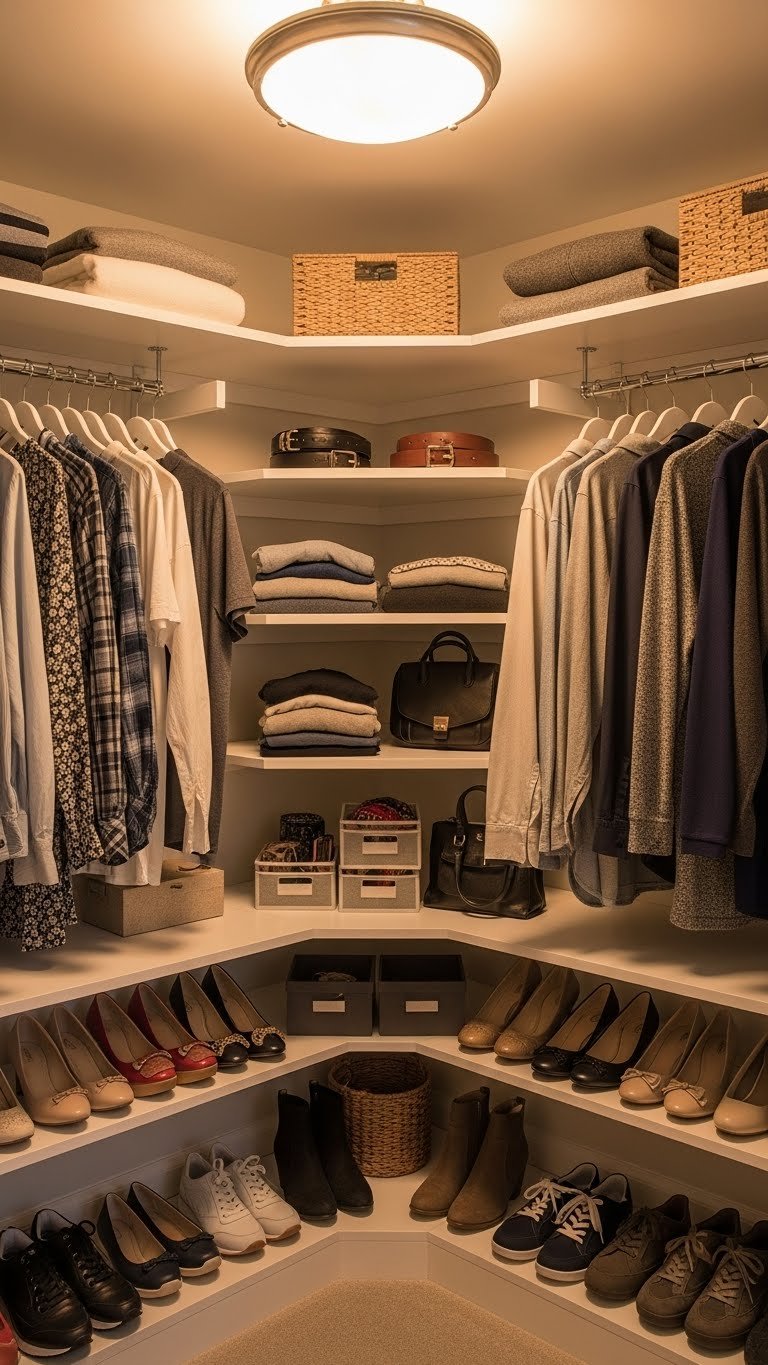
18. Paint Inside the Closet Doors

Closet doors are blank canvas most people ignore. Paint them a fun, contrasting color and suddenly opening the closet becomes a little joy moment—plus the room looks more curated.
Use the same furniture paint or regular interior paint ($15–$25). One closet door needs maybe $15–$40 worth of paint. This is a quick DIY: 2–3 coats, minimal prep, done in an afternoon. Paint them a darker shade than the walls for drama, a complementary color for visual interest, or a bold accent if you’re nervous about painting all walls. Pair with an organized closet interior so opening the doors is satisfying, not chaos-revealing.
Your teen’s closet becomes a fun detail instead of something to hide—and every time they open it, they smile at the detail.
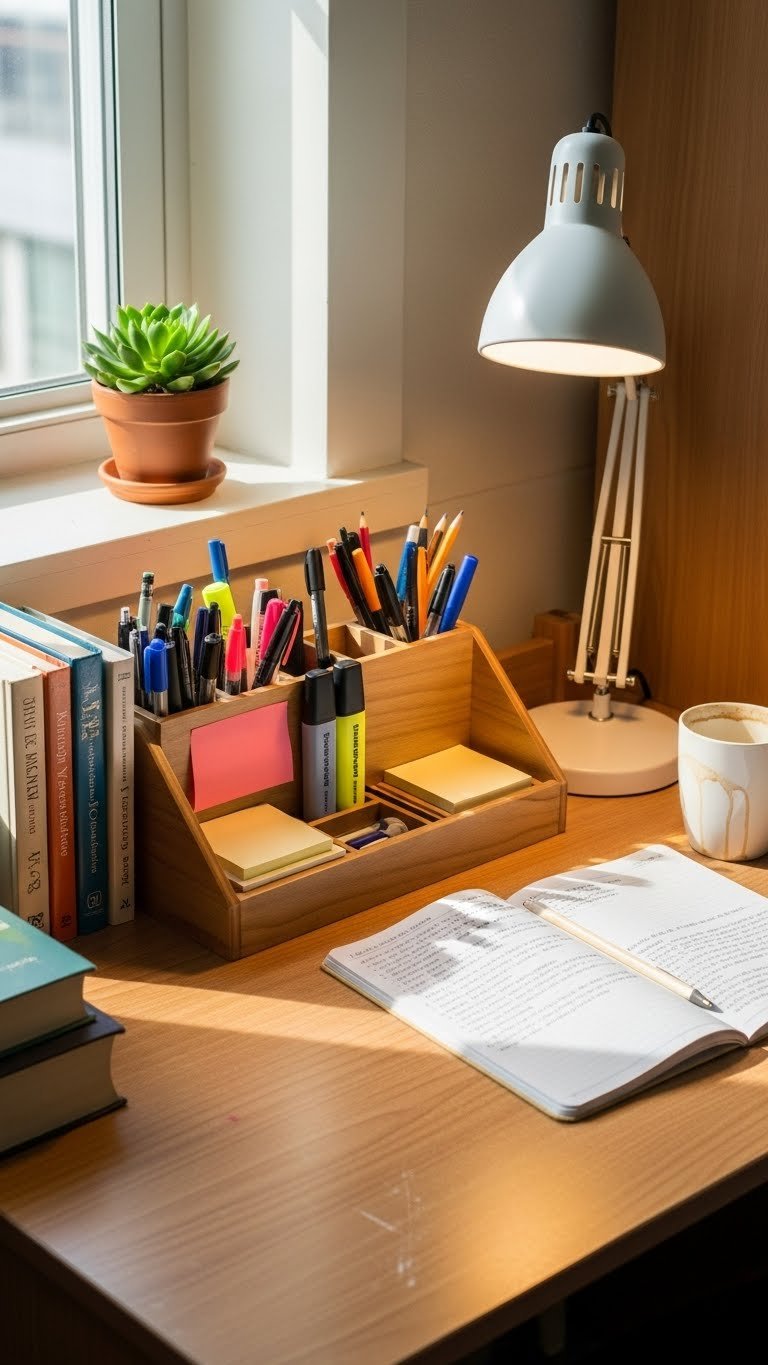
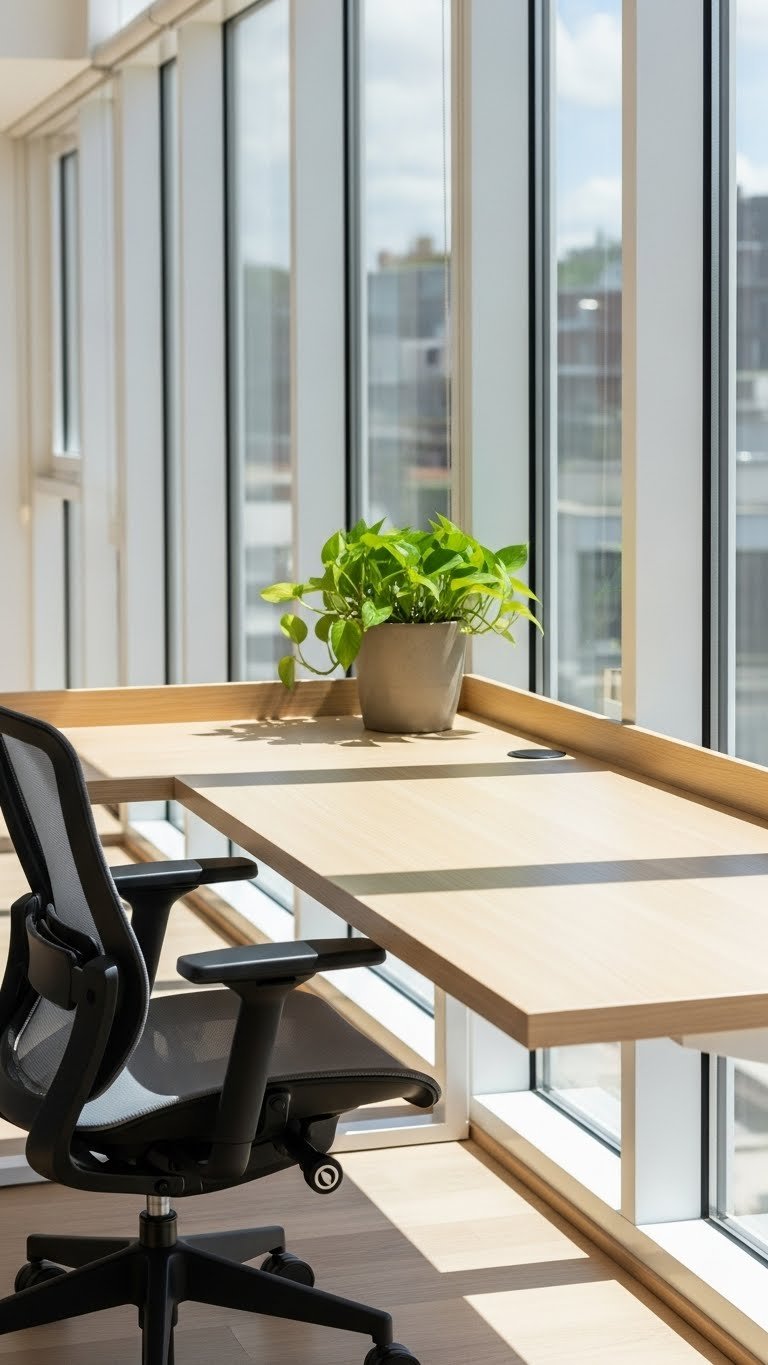
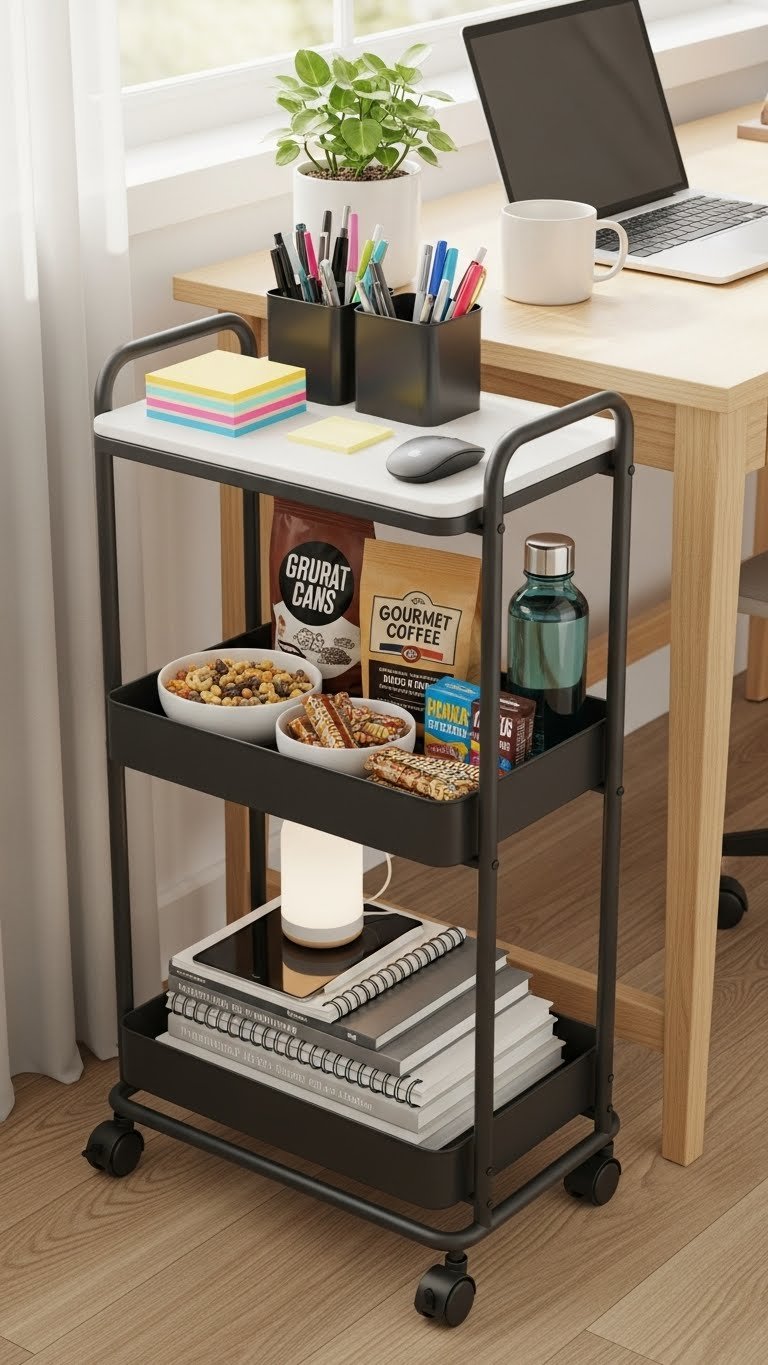
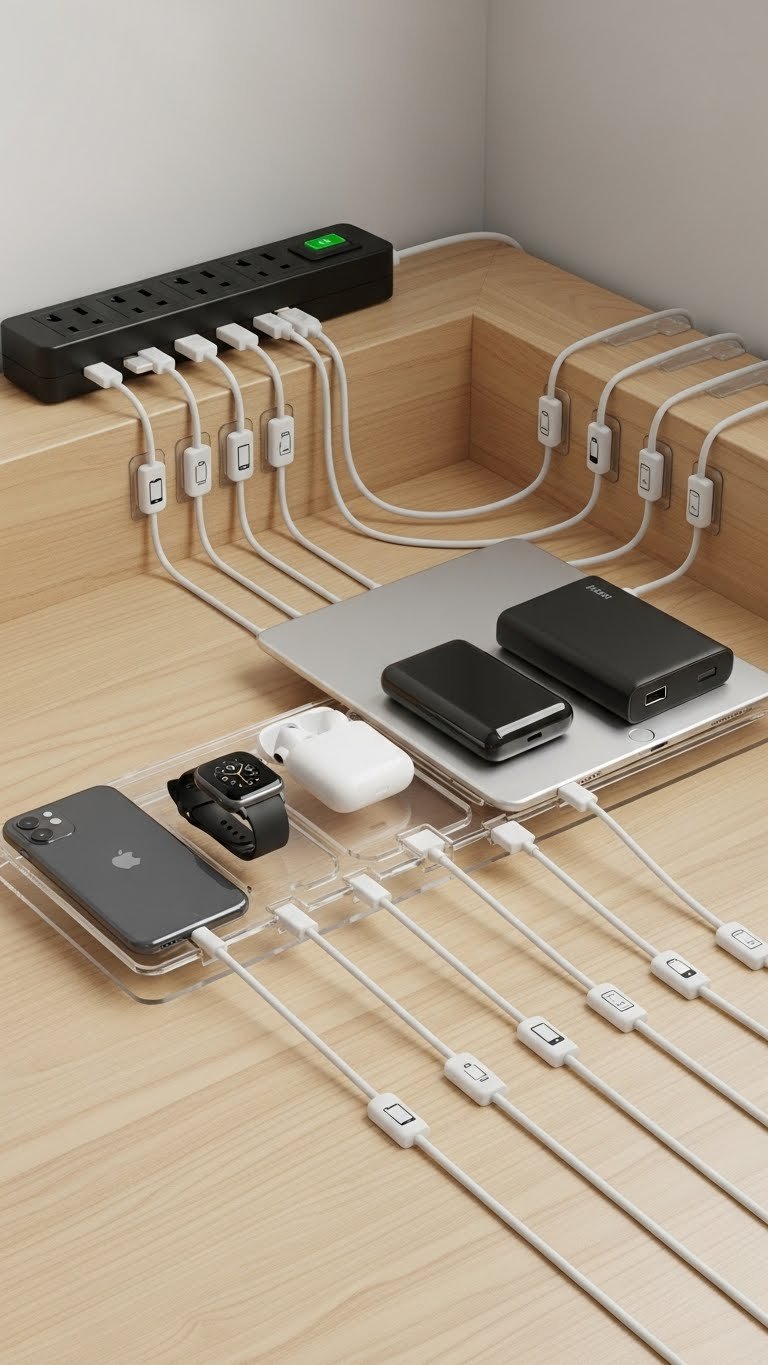
19. Add a Desk Organizer System
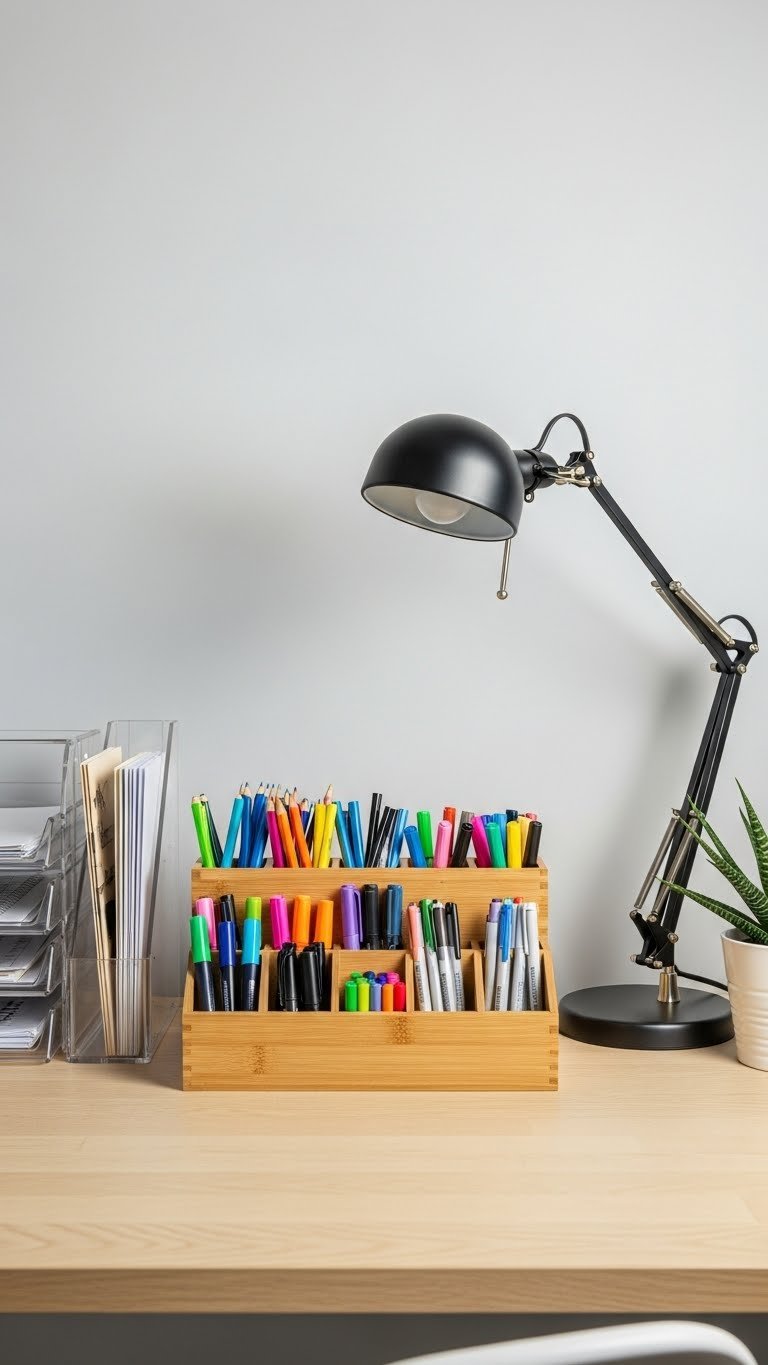
A focused study zone needs organization, or it devolves into chaos. A desk organizer system keeps supplies accessible and the desk surface clear for actual work.
Desk organizer sets run $30–$100 from Container Store, Wayfair, or IKEA. Go for wood ($40–$80) for warmth or metal/acrylic ($25–$60) for modern vibes. Include compartments for pens, notepads, sticky notes, and small supplies. Add desktop file sorters ($15–$40) for papers and homework. If your teen is a maximalist, use drawer organizers ($20–$50) inside the desk to hide clutter. This setup takes 30 minutes to assemble and organize—totally worth it.
Your teen’s desk stays functional and uncluttered, making homework and creative projects actually possible instead of frustrating.
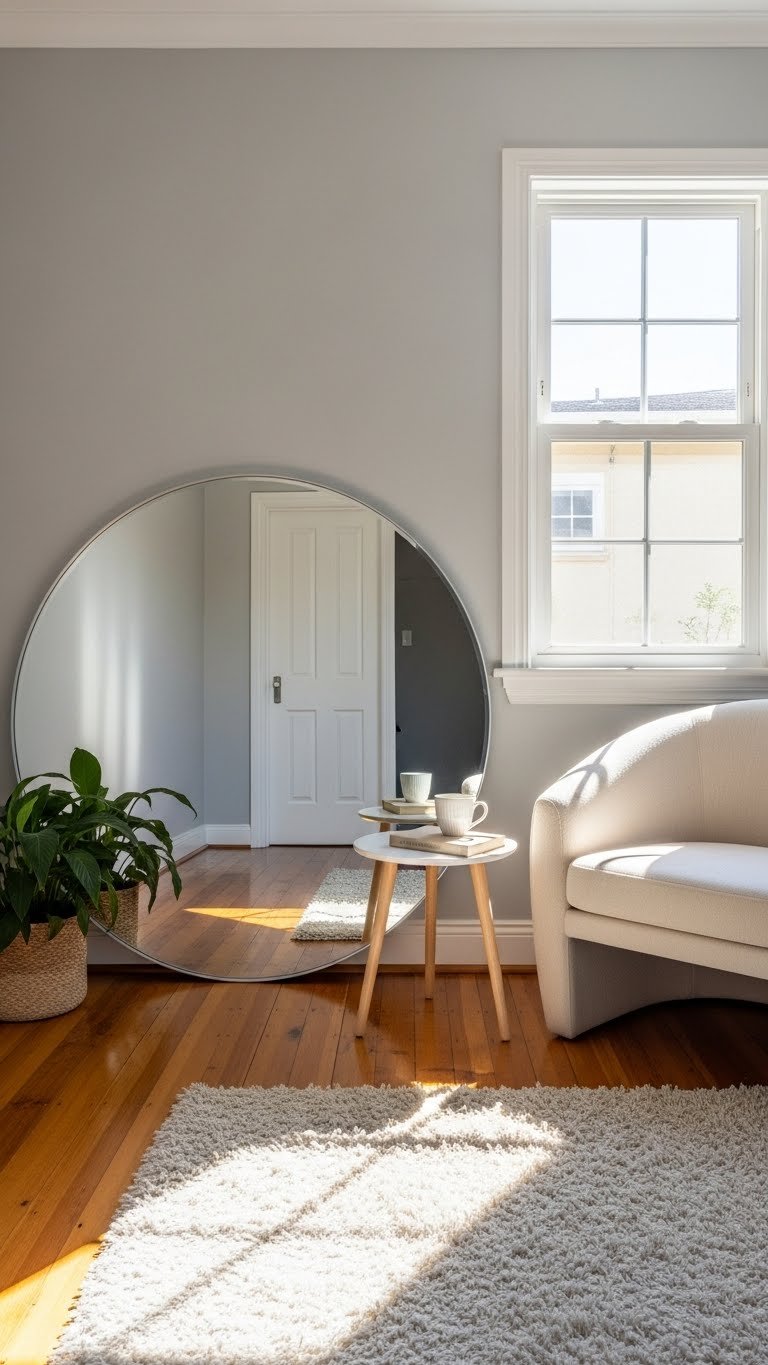
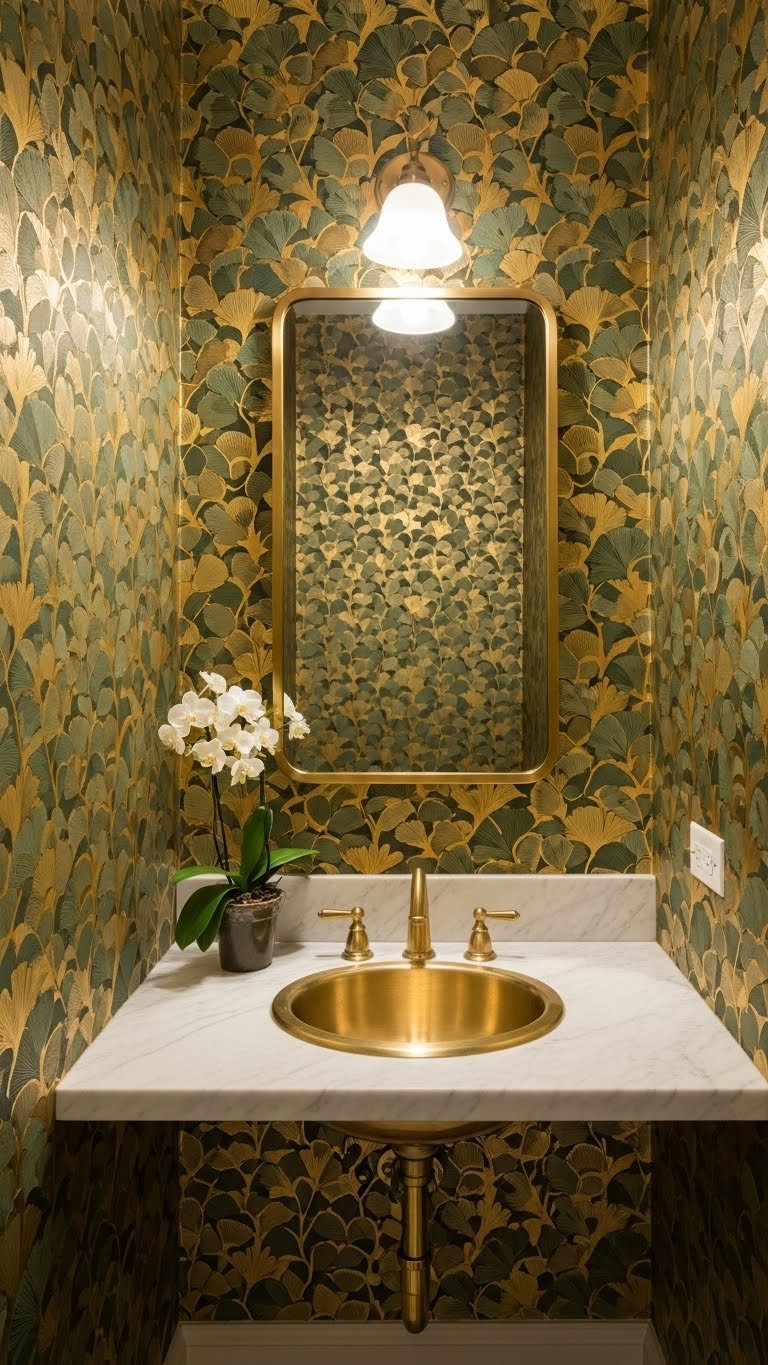
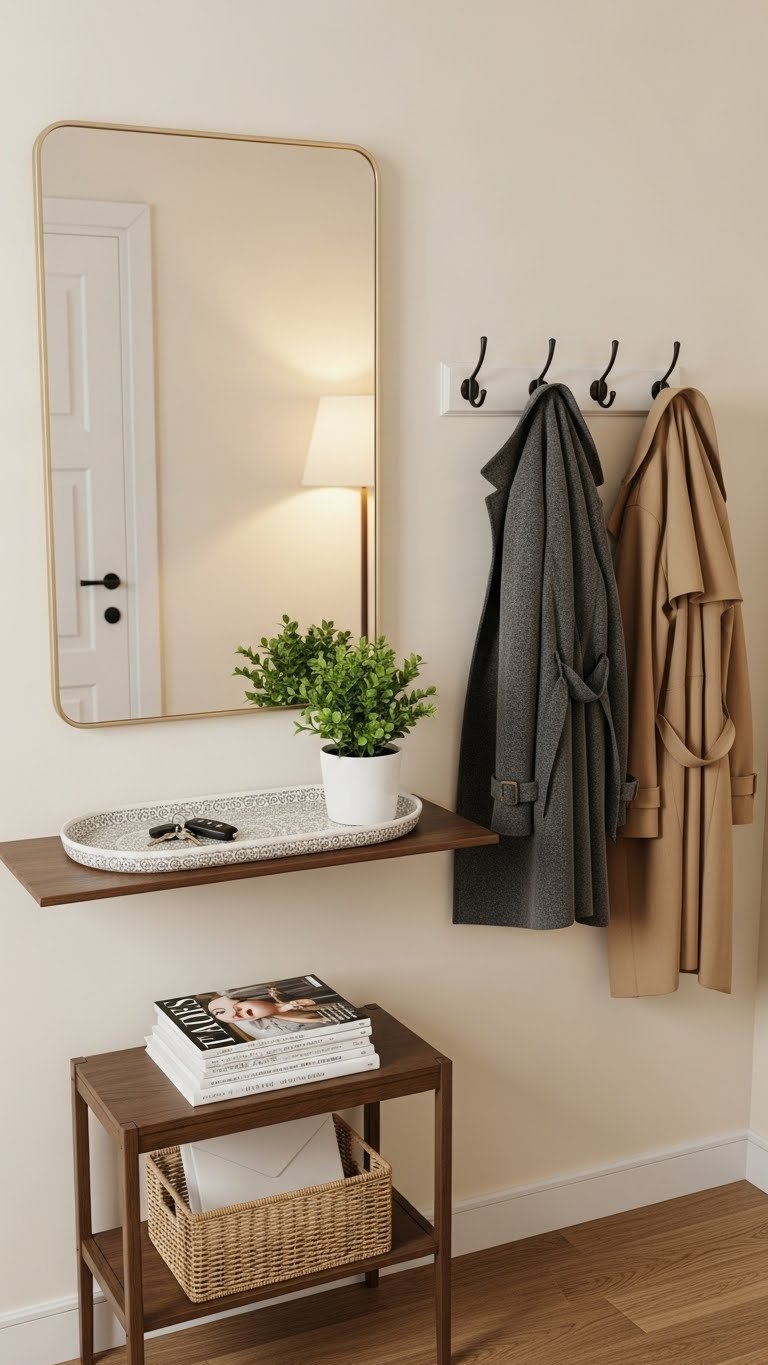
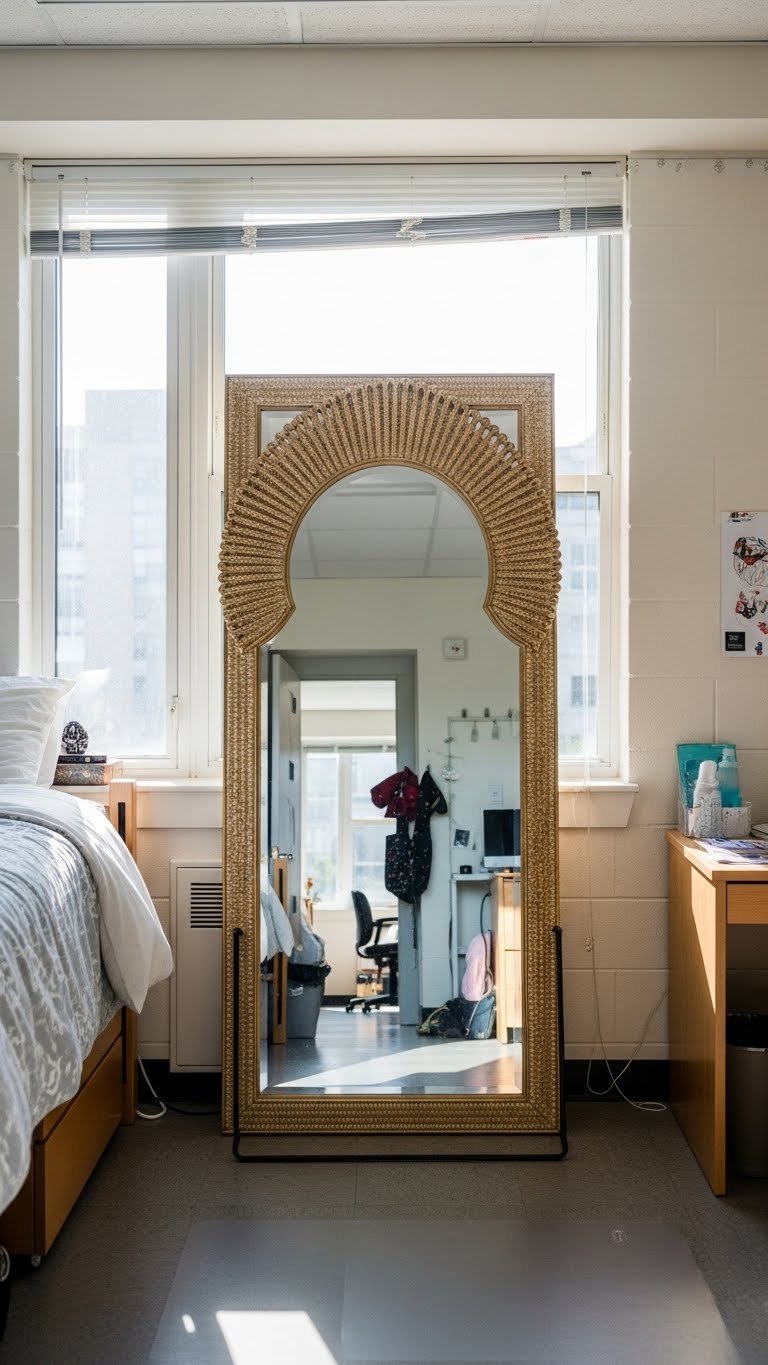
20. Hang Mirrors to Expand the Space Visually
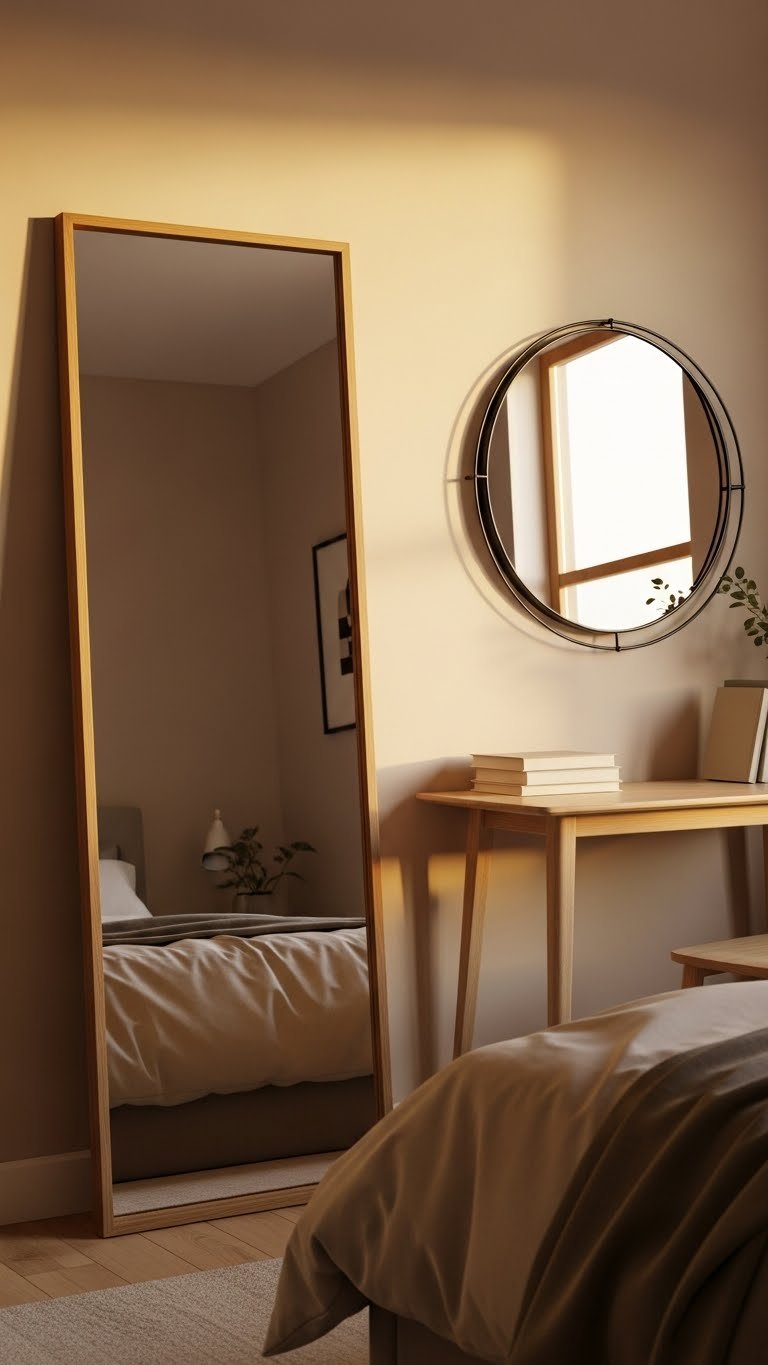
Mirrors make small rooms feel bigger and bounce light around, instantly improving both space perception and lighting. Plus, your teen has a mirror without eating floor space.
A large floor mirror costs $50–$200; smaller wall-mounted mirrors run $20–$80. Lean a mirror against the wall (renter-friendly) or hang it with simple hardware. Position across from a window to bounce natural light, or opposite the desk lamp to brighten work zones. A round mirror ($30–$100) adds softness; a rectangular mirror ($40–$150) feels contemporary. Thrift options for $10–$40.
Your teen’s room feels more open and brighter instantly—plus they have a mirror for getting ready without crowding the bathroom.
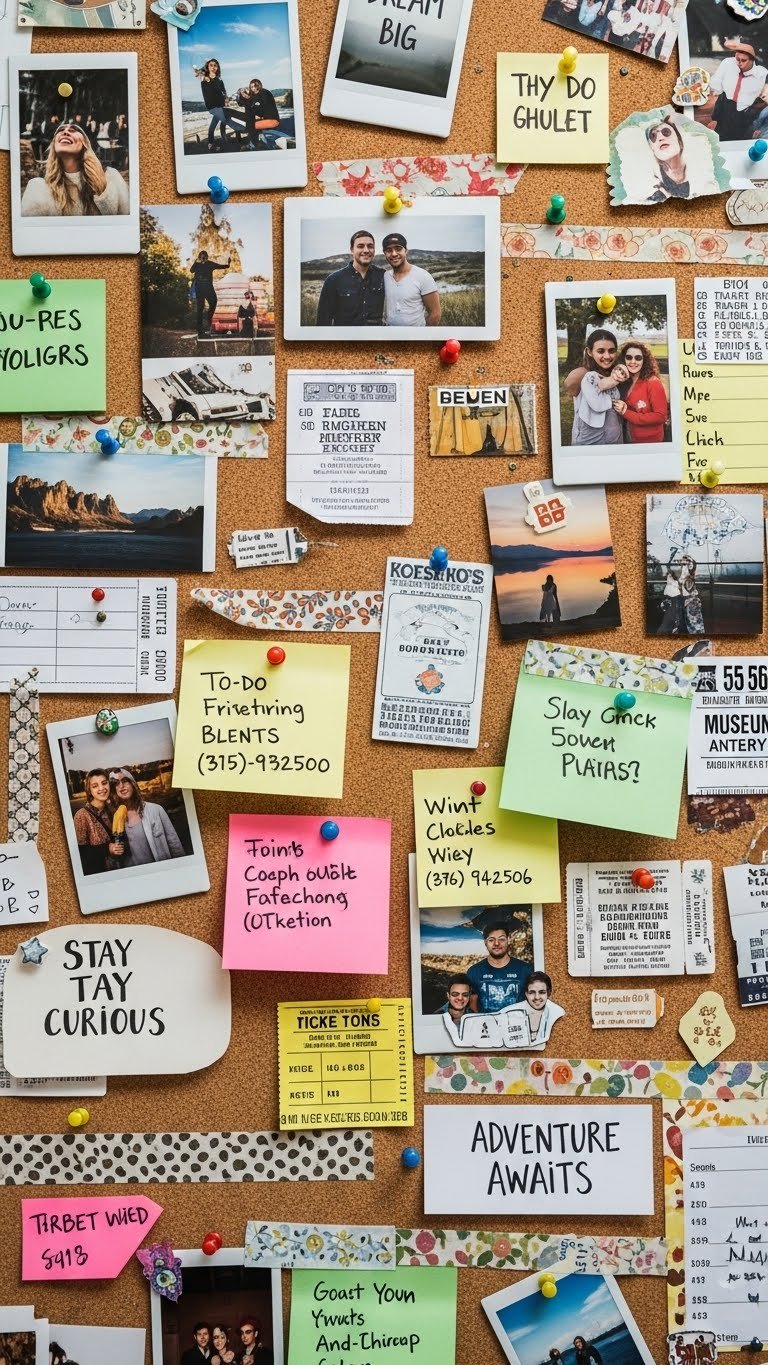
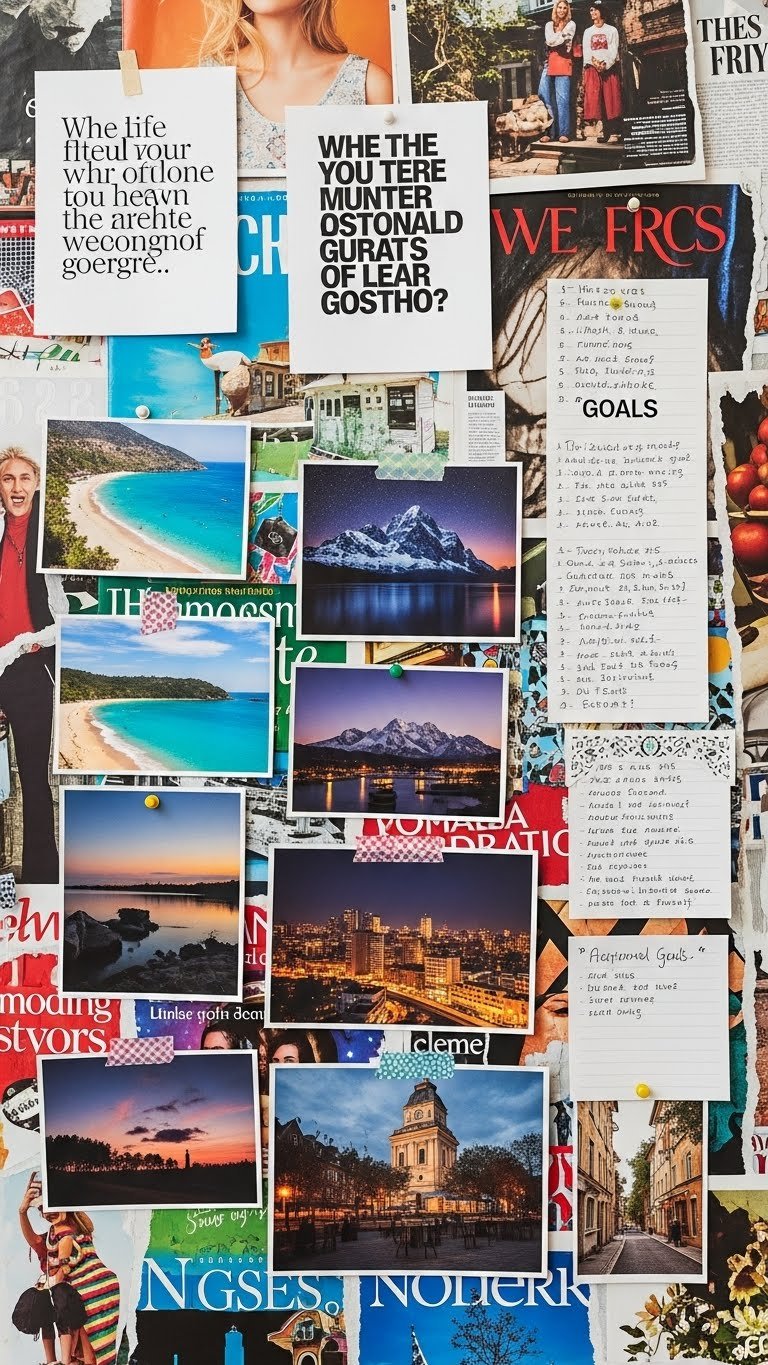
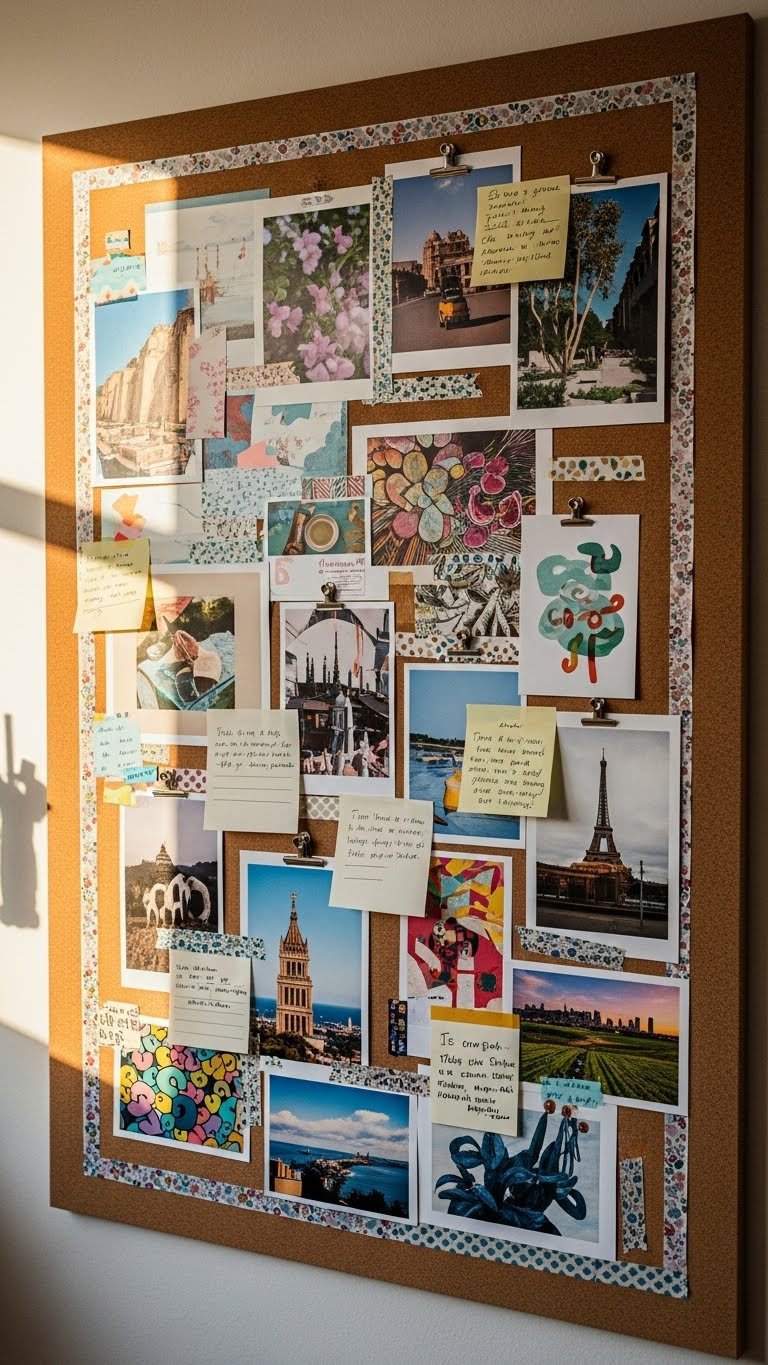
21. Create a Pin Board for Inspiration + Planning
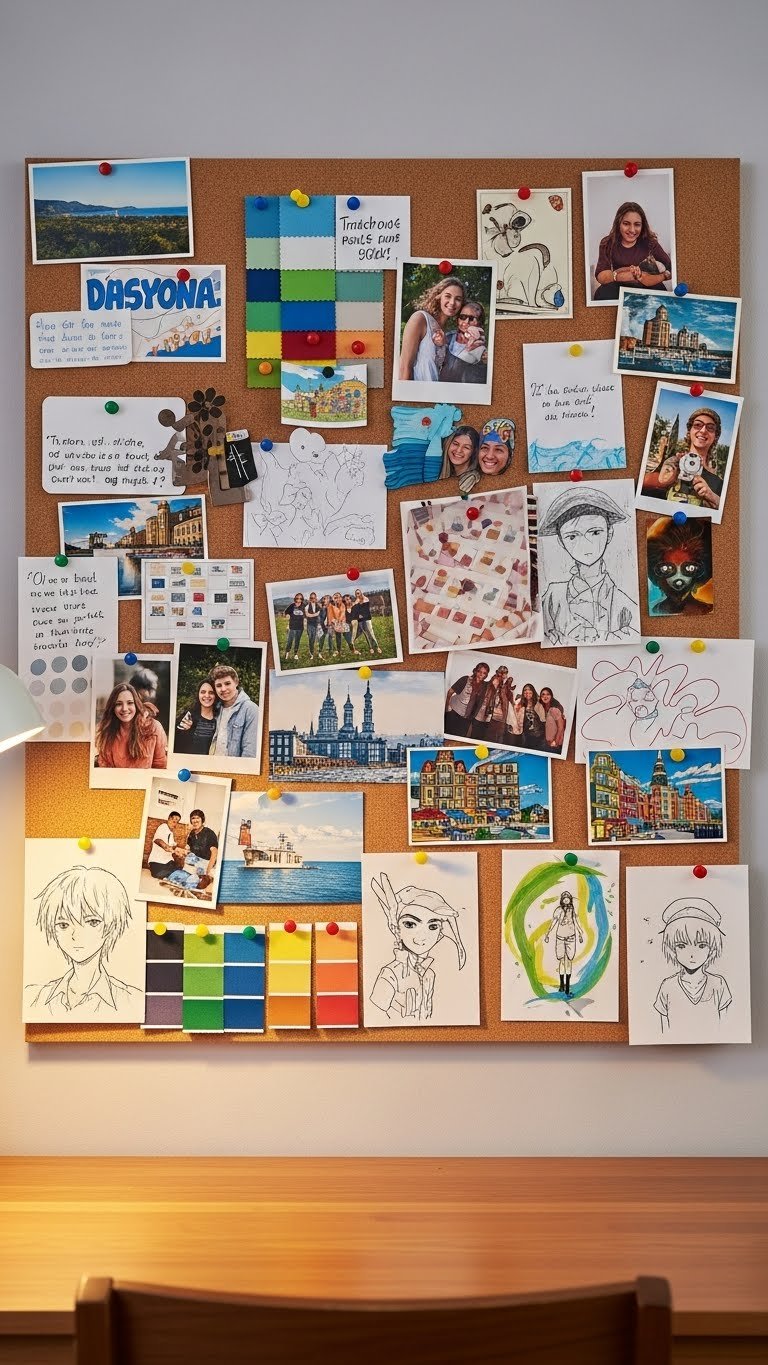
A visual pin board is a place for inspiration, goals, reminders, and random things your teen loves—way better than random stuff tacked all over walls.
A 24×36 cork board costs $20–$50 from IKEA or Michaels. Fabric or felt versions run $30–$80. Use colorful push pins ($3–$10 per pack) to attach photos, postcards, lyrics, quotes, sketches, and color swatches. This is a renter-friendly, damage-proof way to personalize walls. Your teen arranges and rearranges as interests shift—it’s a living piece of décor that actually means something.
Your teen has a dedicated spot for inspiration and self-expression that’s organized and intentional instead of chaotic and tape-filled.
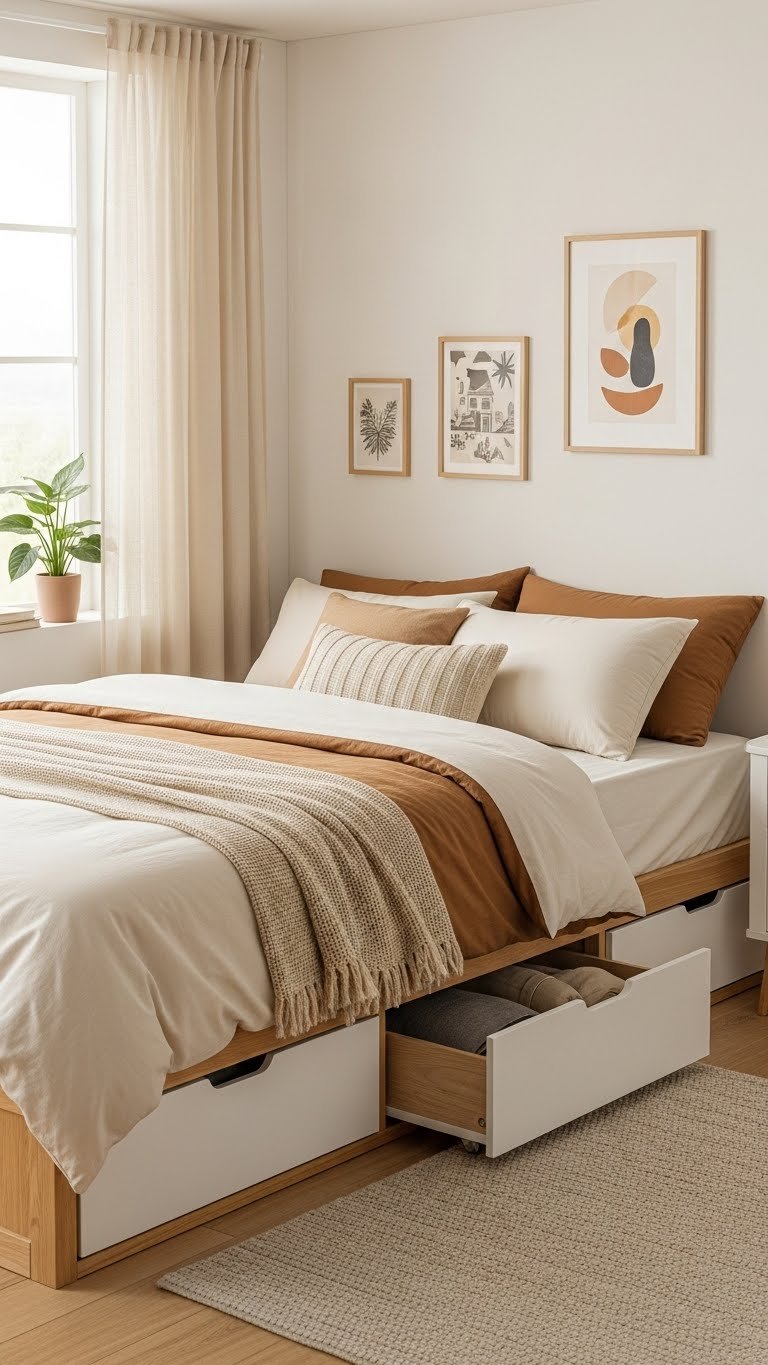
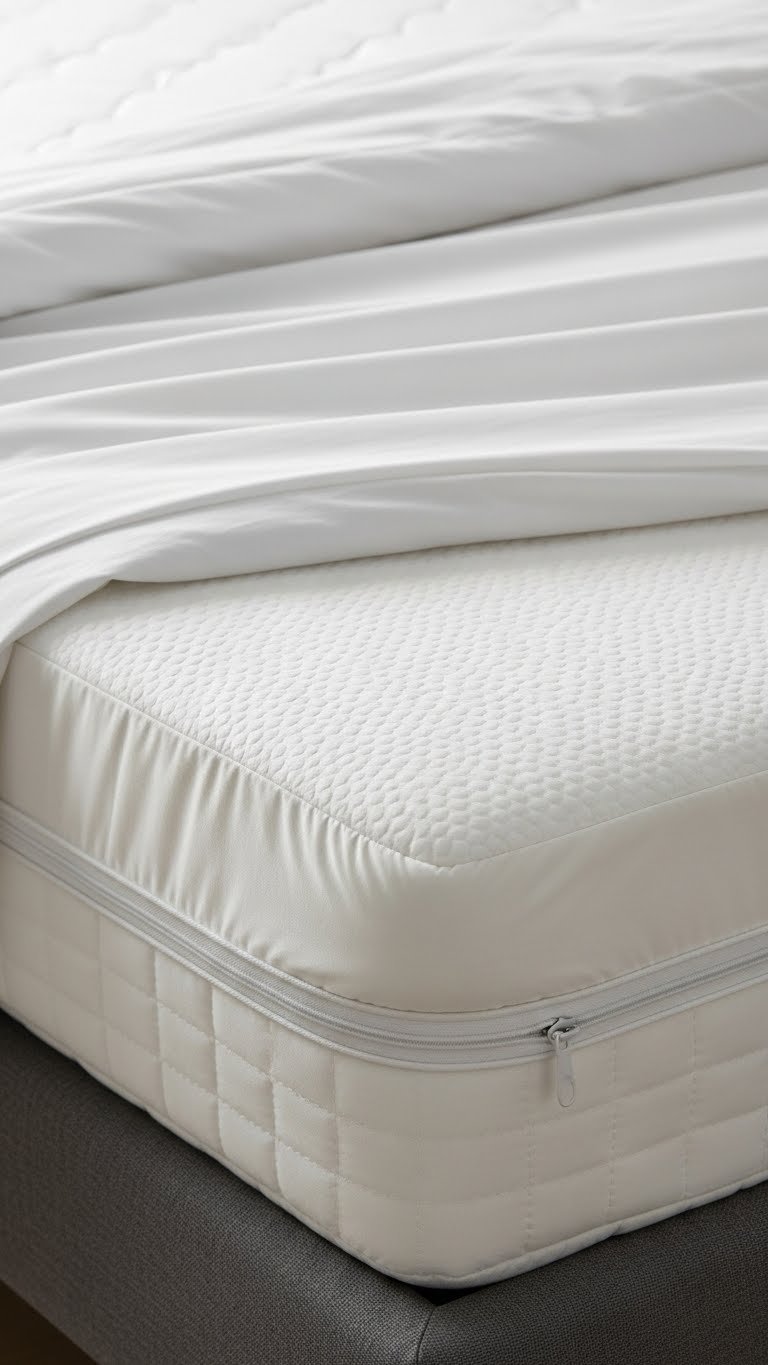
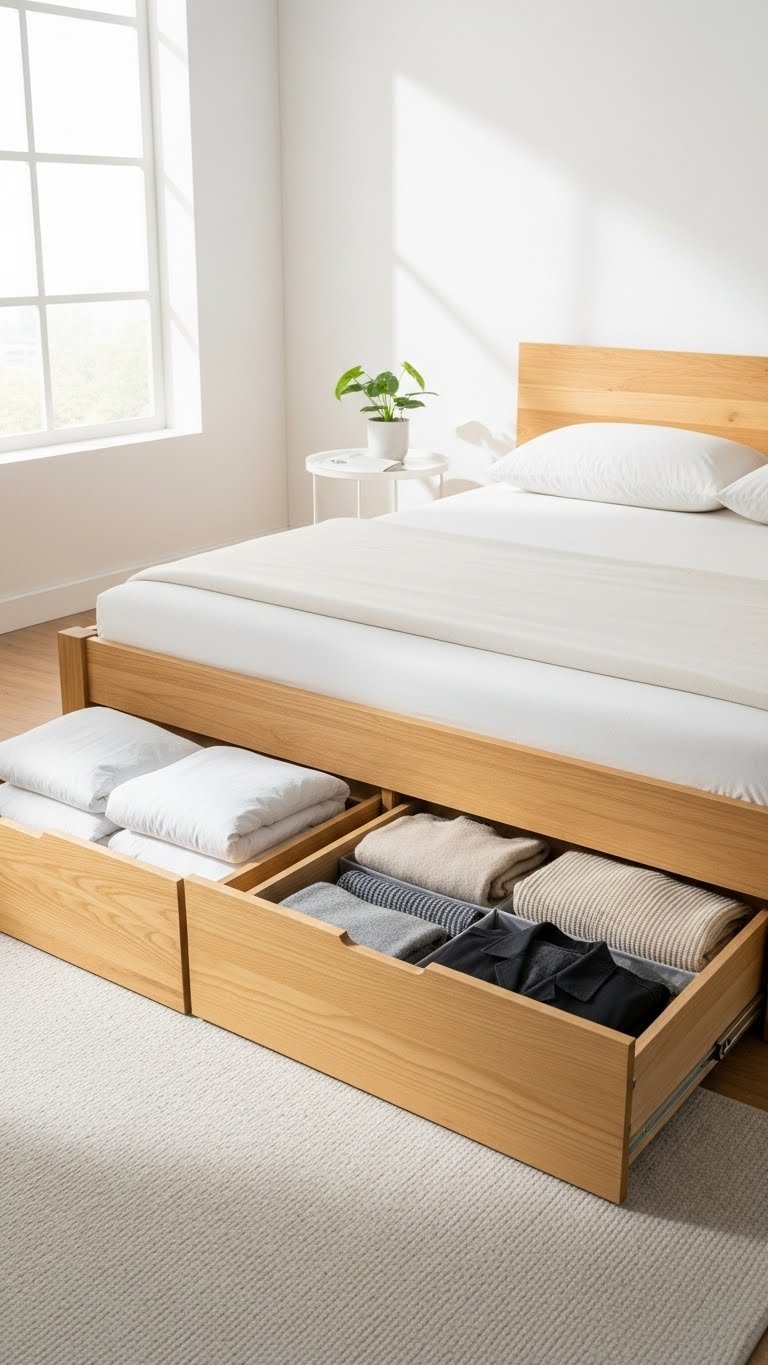
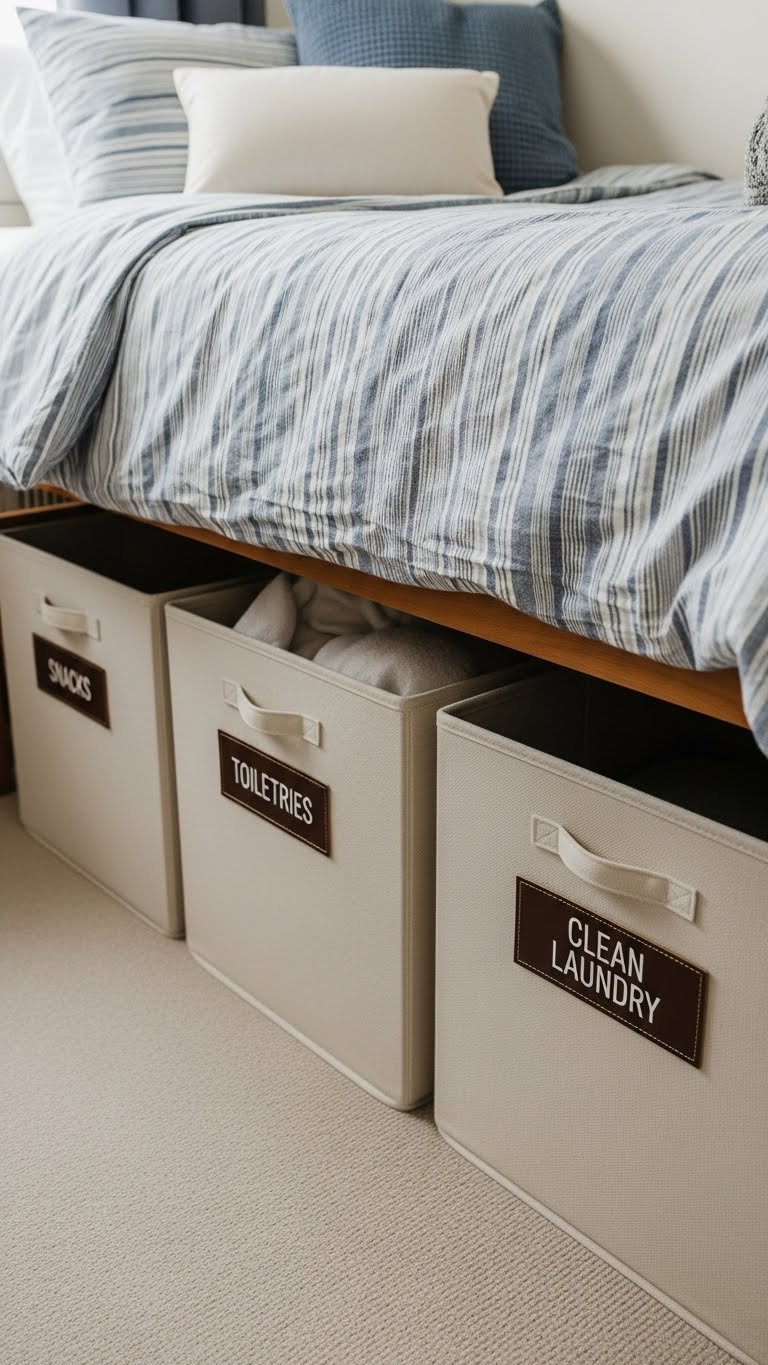
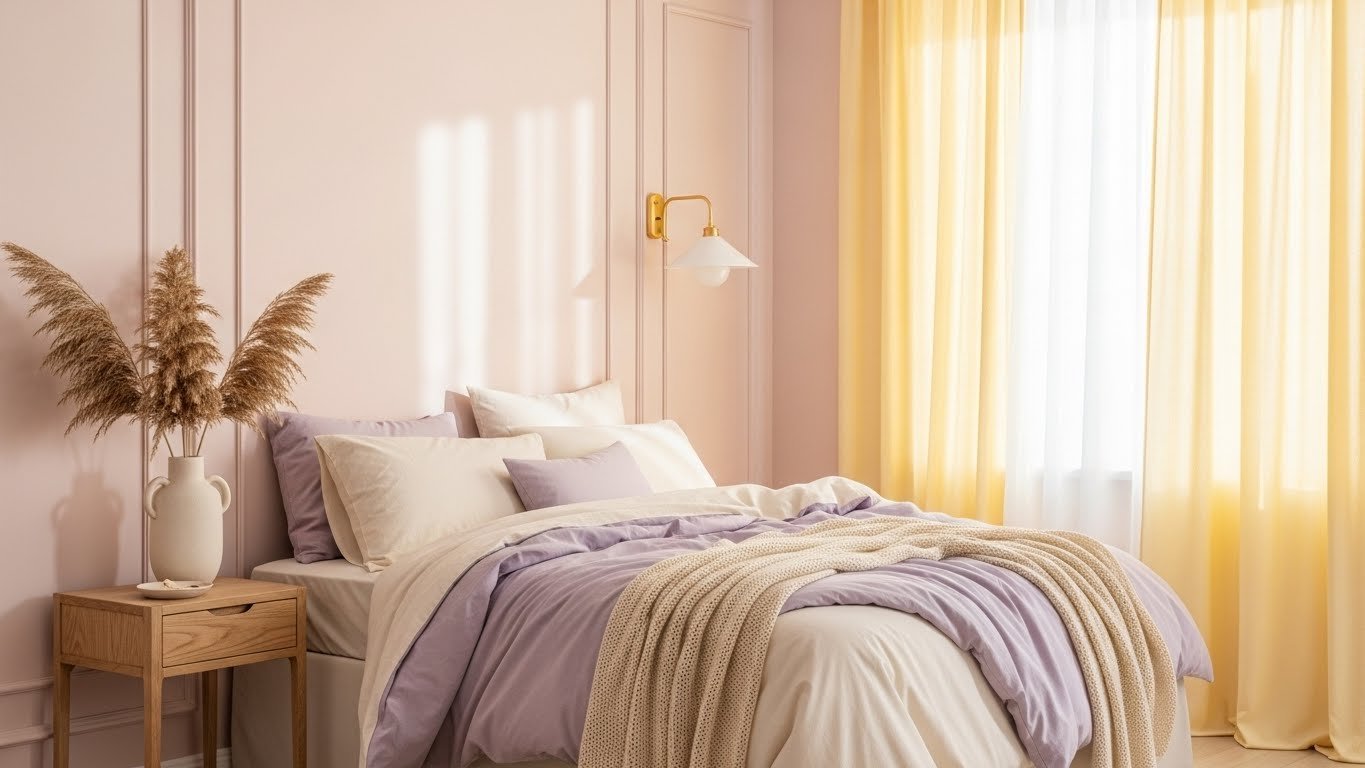
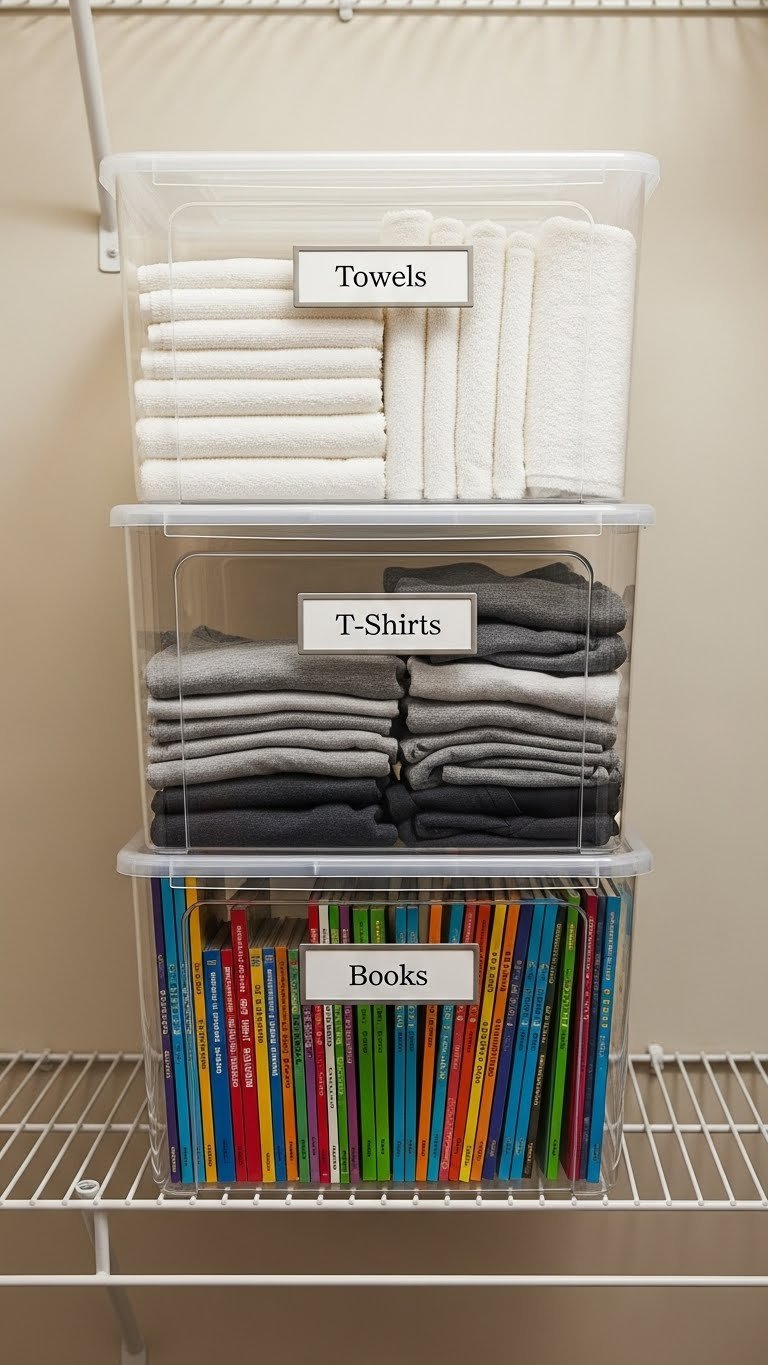
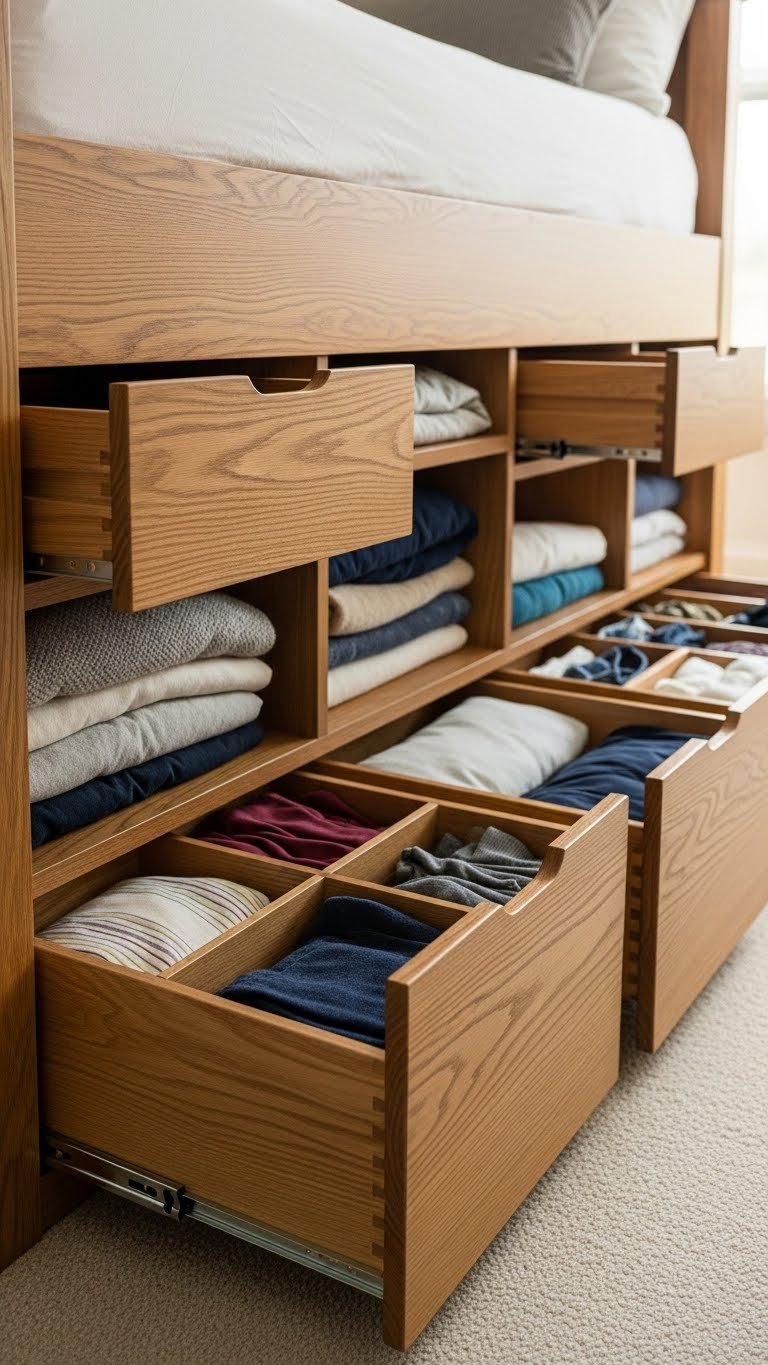
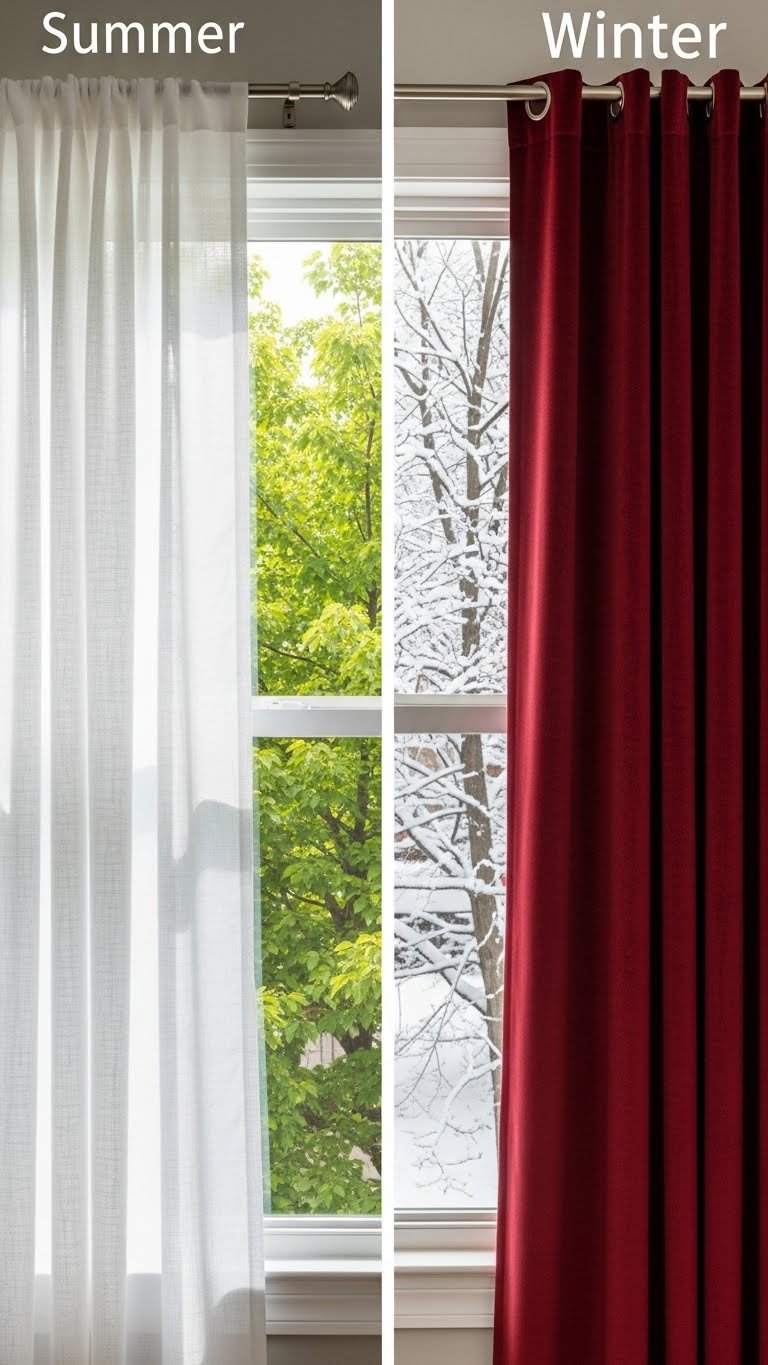
22. Swap Bedding Seasonally

Instead of one permanent bedding set, rotate seasonally or by mood. This makes your teen’s room feel refreshed without major renovation and keeps it comfortable year-round.
Invest in 2–3 quality sheet sets ($30–$80 each), a lightweight duvet for warm months ($50–$120), and a heavier one for winter ($60–$150). Mix fabrics—linen for summer (breathable), flannel or cotton for winter (cozy). Keep off-season sets in a storage bin under the bed. Total investment: $200–$500 for a complete rotation, way less than redecorating. Seasonal swaps happen in 10 minutes and make the space feel like a refresh.
Your teen’s room feels intentional about comfort—cozy in winter, cool in summer—without looking like the same space all year.
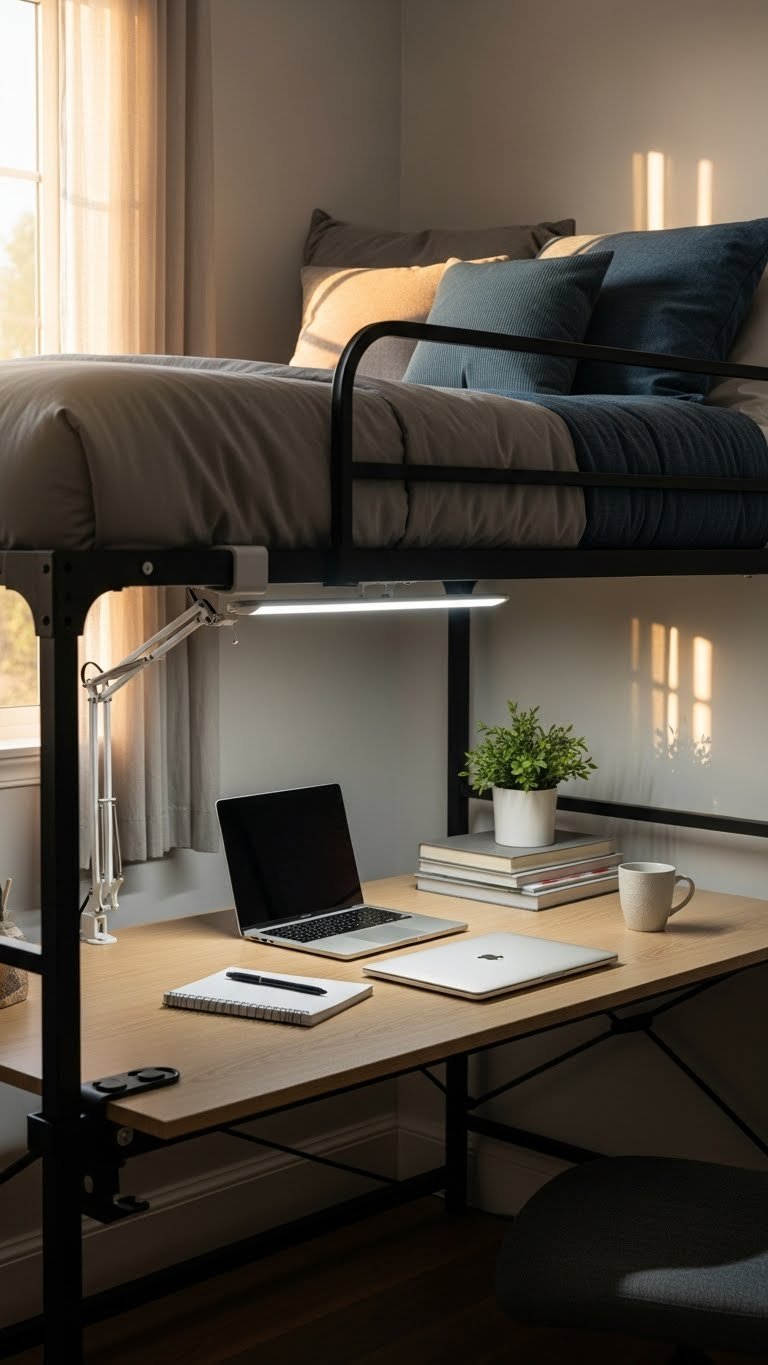
23. Install Task Lighting at the Desk
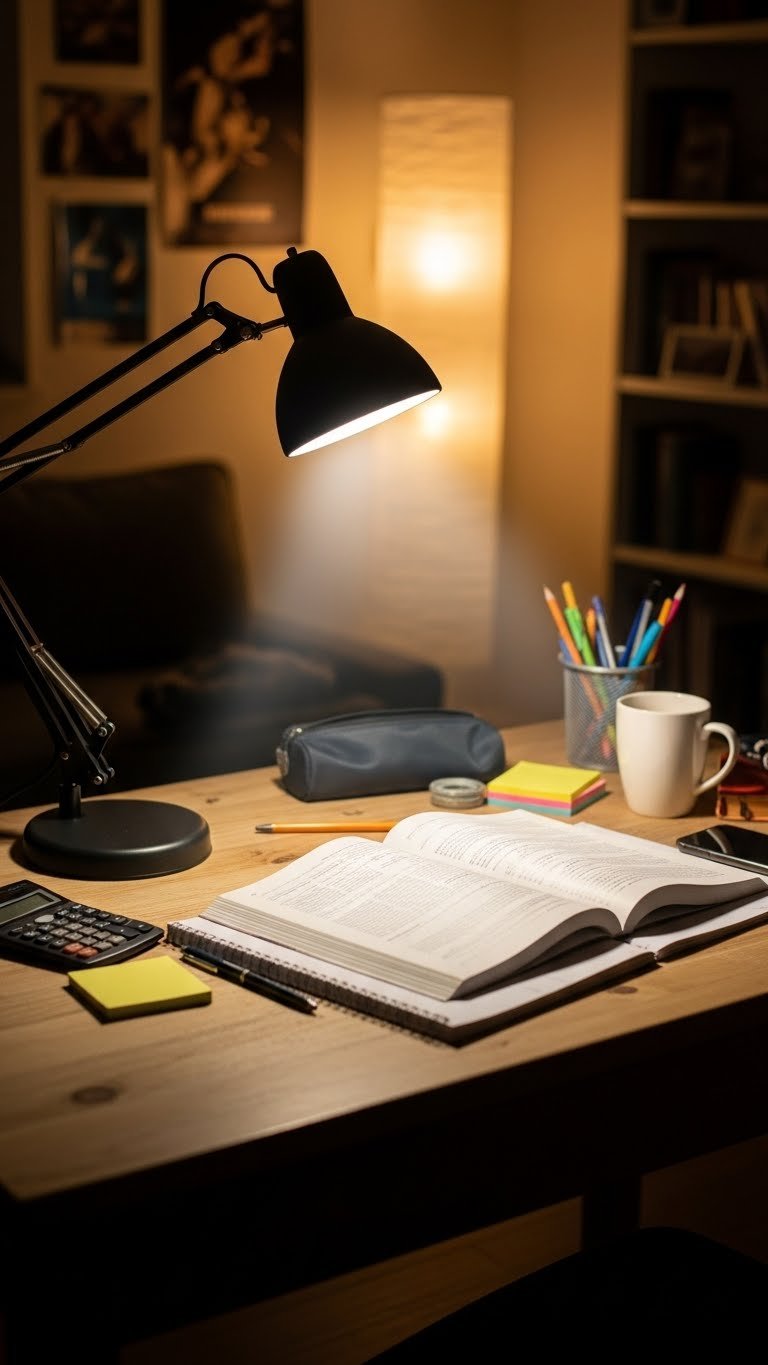
Good desk lighting is essential for focus and eye comfort. Most ceiling fixtures alone don’t cut it for studying, art, or detail work.
A quality desk lamp costs $30–$100 and should be positioned to the side of your teen’s dominant hand to avoid shadows. Look for adjustable arms ($40–$80) so light angles where needed. LED bulbs ($5–$15) last forever and stay cool. Pair with warm white (2700K) for comfort or cool white (4000K) for focus tasks. This is money well spent because eye strain is real, especially for teens doing hours of homework.
Your teen’s workspace becomes functional and comfortable—no more squinting, no more headaches from poor lighting.
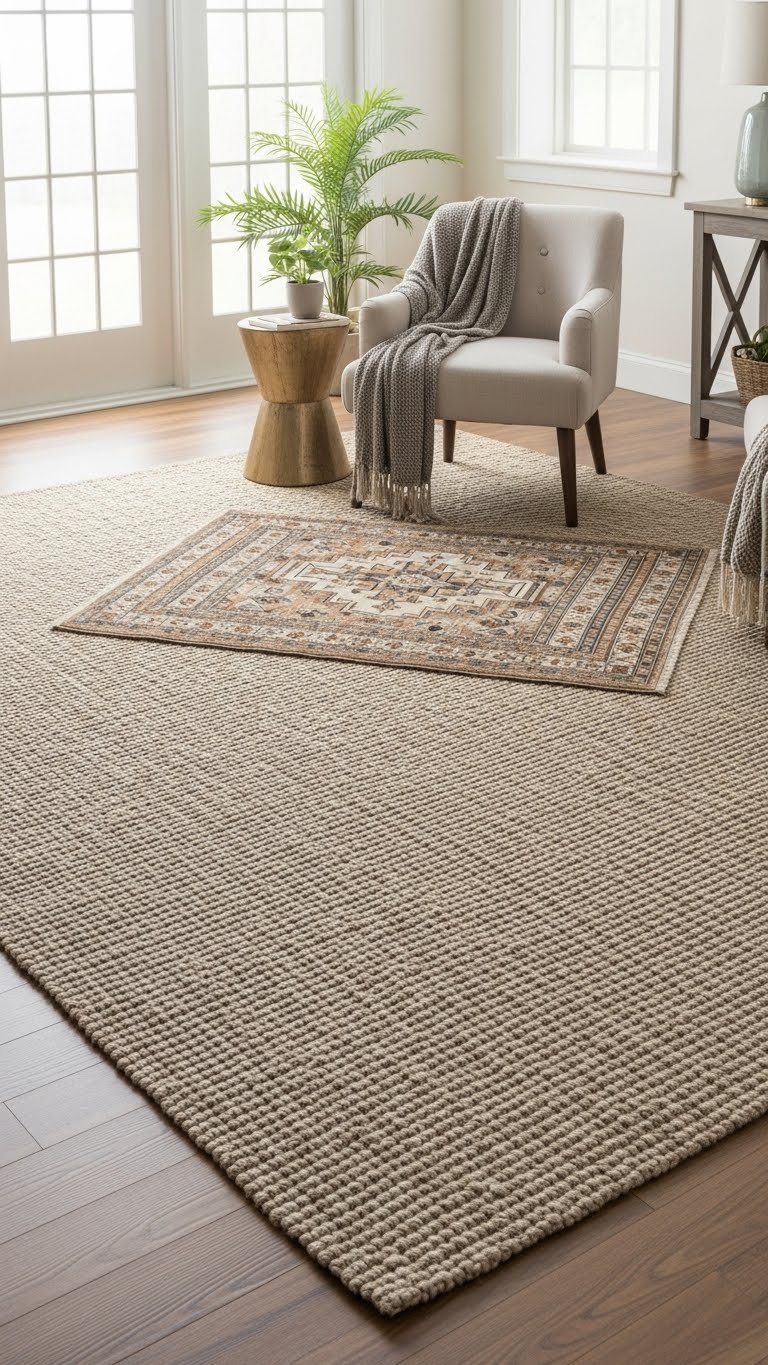
24. Add a Statement Rug Under or Beside the Bed

A bold rug anchors the bedroom and adds pattern or color without committing to painted walls. It’s also functional—soft underfoot in the morning.
A quality rug runs $100–$300 from Wayfair, Article, or Rugs USA; budget options cost $40–$100 from IKEA or Target. Go for geometric patterns, florals, or abstract for visual interest. Pair with neutral bedding so the rug shines. Position it so the front corners of the bed sit on it, anchoring the space. Thrift for $20–$80. A rug also softens sound and adds warmth textually and visually.
Your teen’s bedroom feels designed and has a clear focal point—the rug ties the whole space together.
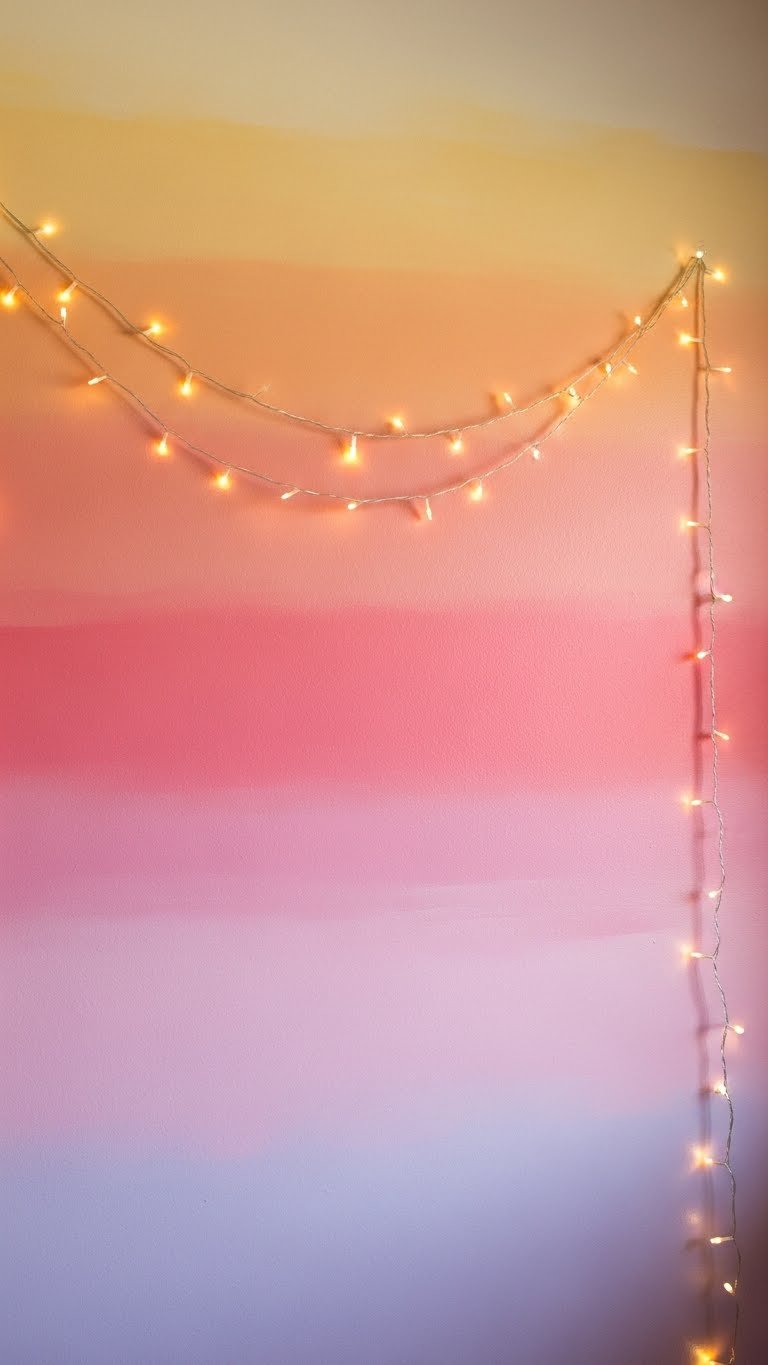
25. Paint an Ombré or Gradient Wall
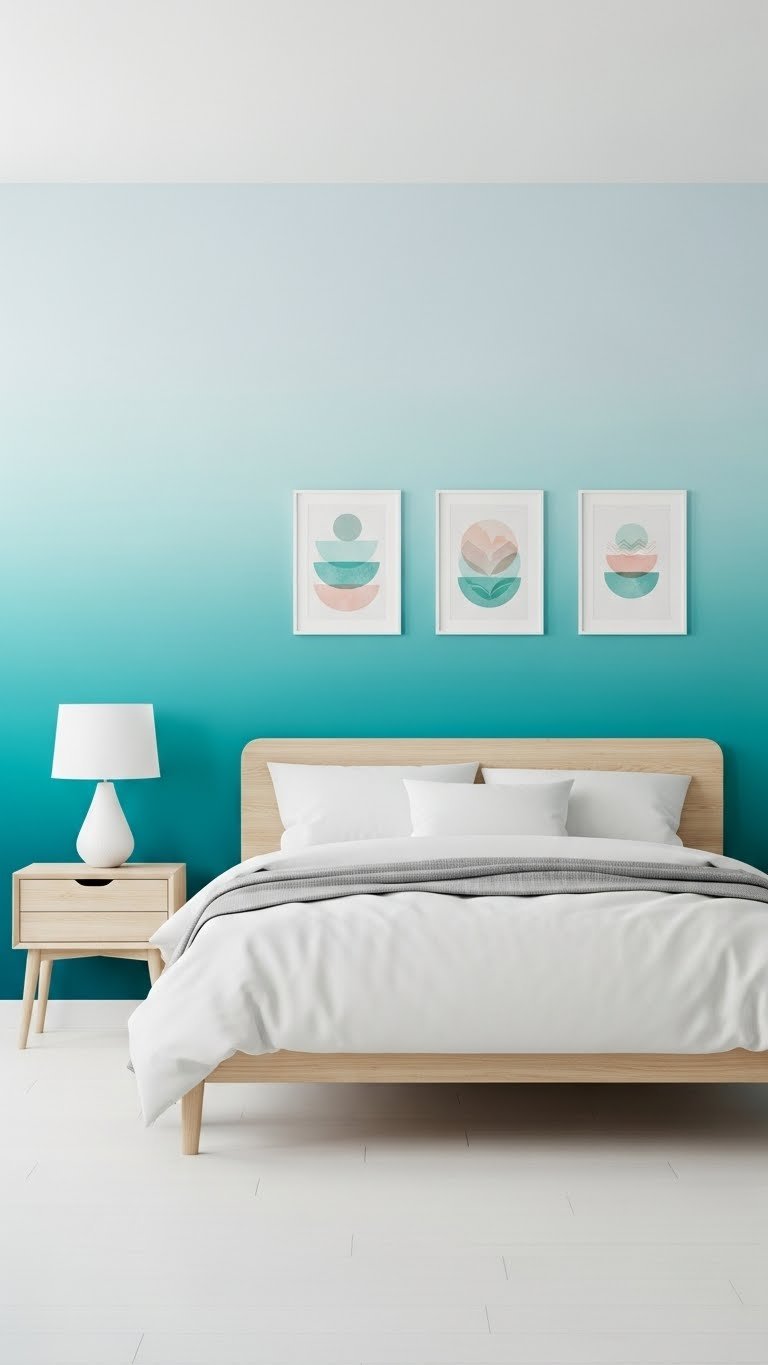
An ombré gradient wall is a step up from a single color—it’s sophisticated, visually interesting, and screams “I actually designed this.”
You’ll need 2–3 paint colors in the same family ($25–$50 total). Paint the darkest shade bottom third, medium shade middle third, lightest shade top third, then blend where they meet with a damp sponge. It takes patience and 4–6 hours, but it’s a wow factor that photographs beautifully. This is an advanced DIY—if your teen is game for it, great; otherwise, hire a painter ($400–$800). The result is a focal wall that looks expensive and intentional.
Your teen’s room becomes conversation-worthy—friends ask about that wall, and they feel proud showing it off.
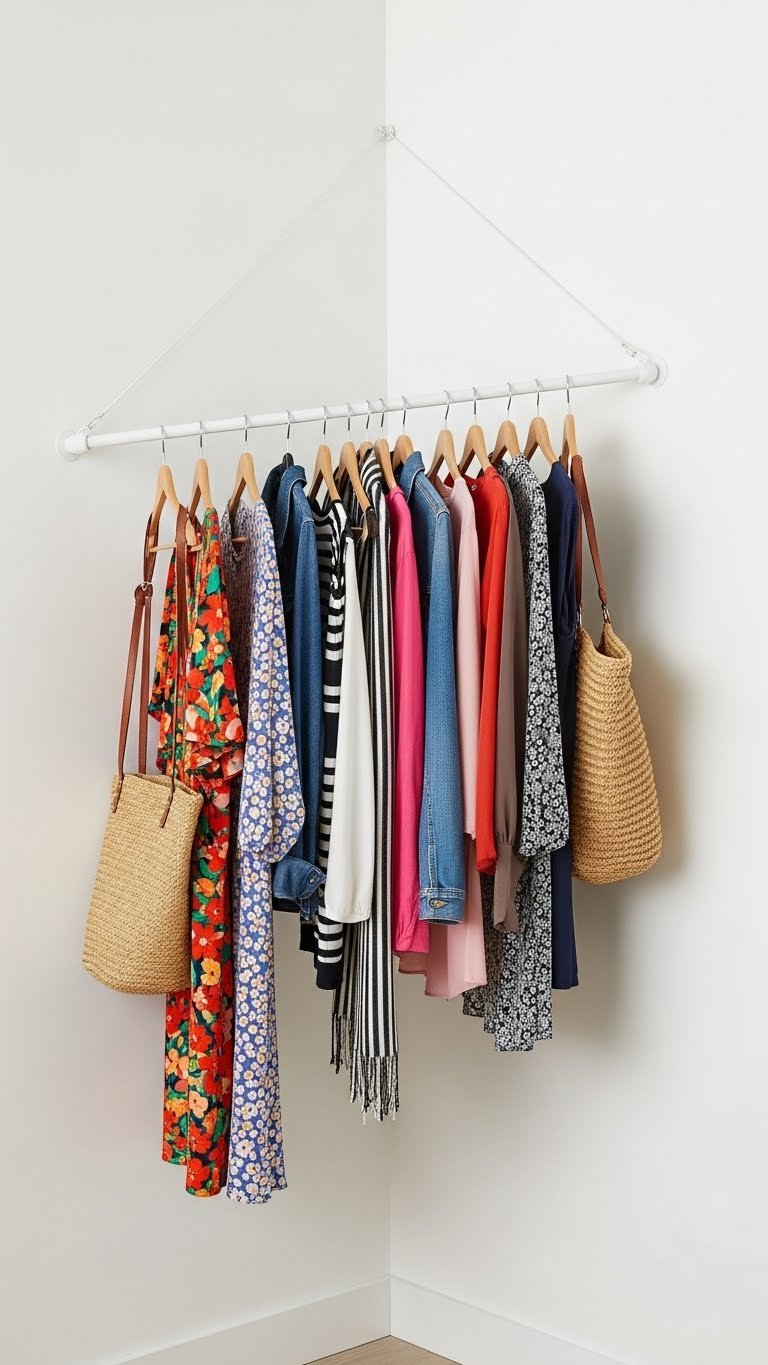
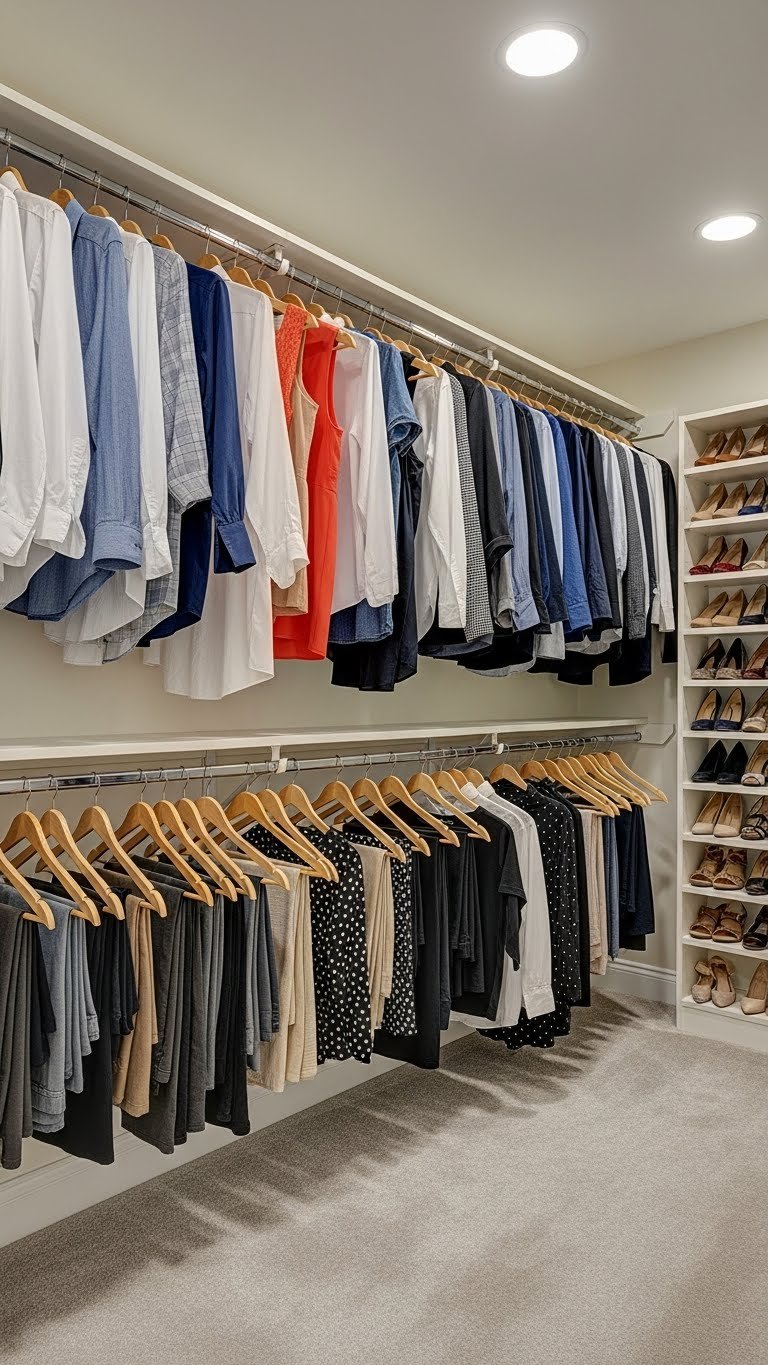
26. Curate a Styling Corner with a Dress Form or Mirror
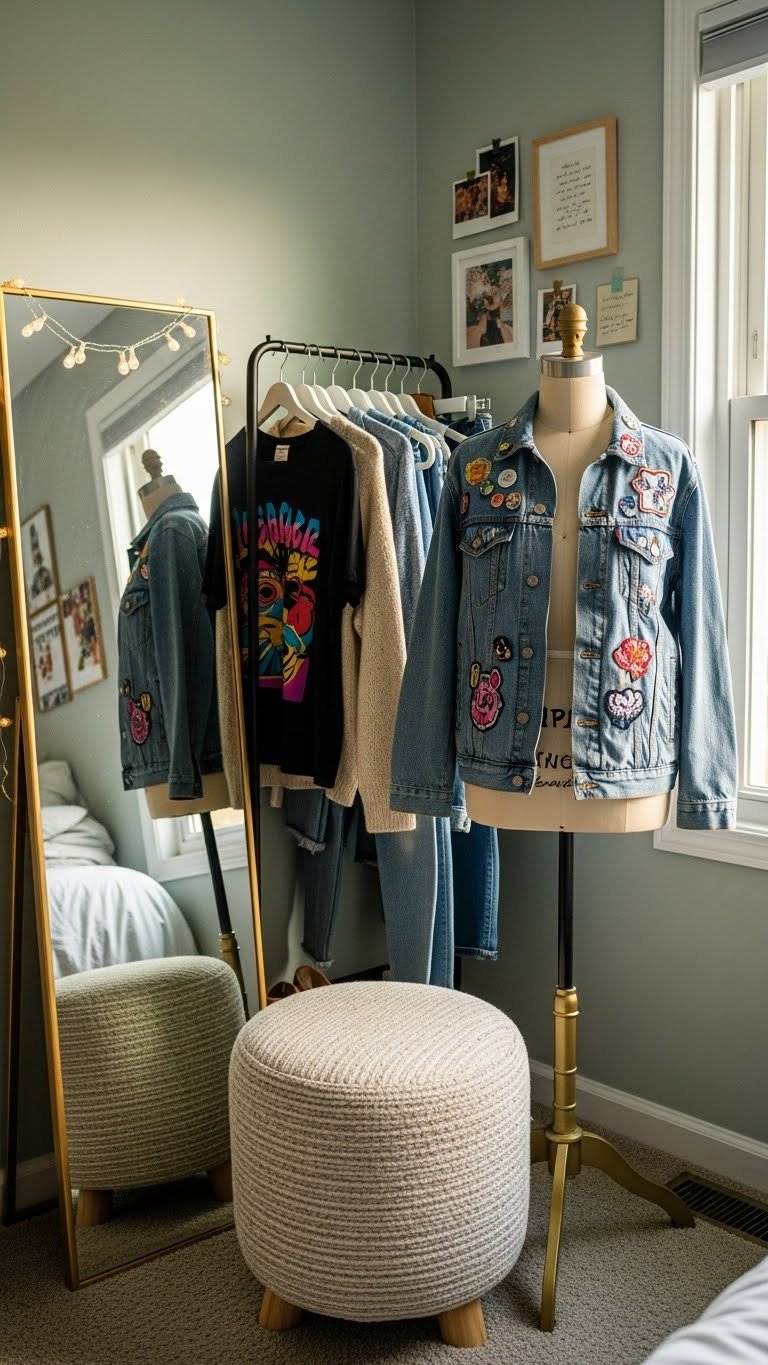
If your teen cares about fashion, giving them a dedicated styling corner—with a dress form, mirror, and small clothing rack—makes getting dressed feel intentional and is genuinely useful.
A dress form costs $40–$120 from Amazon, Etsy, or craft stores. Pair with a full-length mirror ($50–$150) and a small clothing rack ($60–$150). Hang their current-rotation favorites so they’re visible and inspiring. This is practical (helps with outfit planning) and decorative (looks cool). If space is tight, a dress form alone + mirror combo ($100–$200 total) works great.
Your teen’s clothing becomes part of their room’s décor, and getting dressed goes from “ugh, what do I wear” to “let me pick from my inspiration rack.”
Closing
Save this post and pick one idea to tackle this weekend—whether it’s swapping hardware, adding a rug, or creating a study nook. Small changes add up fast, and your teen will notice the difference immediately. Share this with other parents or teens who need a room refresh!