Your dorm room doesn’t have to feel like a temporary hotel space. With the right mix of budget-friendly updates, smart organizing, and personality-packed styling, you can turn your dorm into a cozy sanctuary that actually feels like home. Whether you’re working with a tiny single or sharing a double, these 27 ideas blend today’s hottest design trends—warm earthy tones, defined zones, and maximalist flair—with real-world constraints like limited space, no-damage rental rules, and a student budget. You’ll find free solutions, quick weekend projects, and investment pieces that’ll make your room feel intentional and lived-in. Ready to stop counting down the days until you can redecorate? Let’s start here.
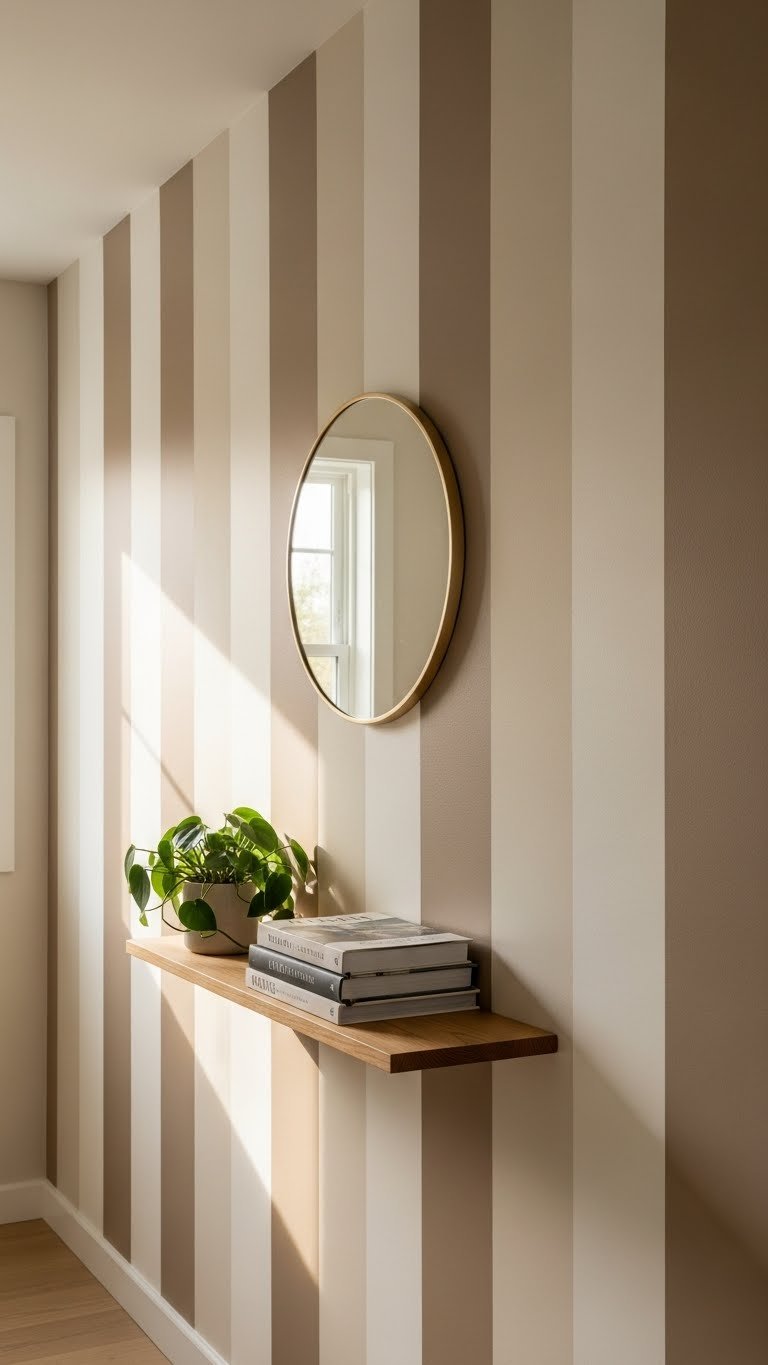
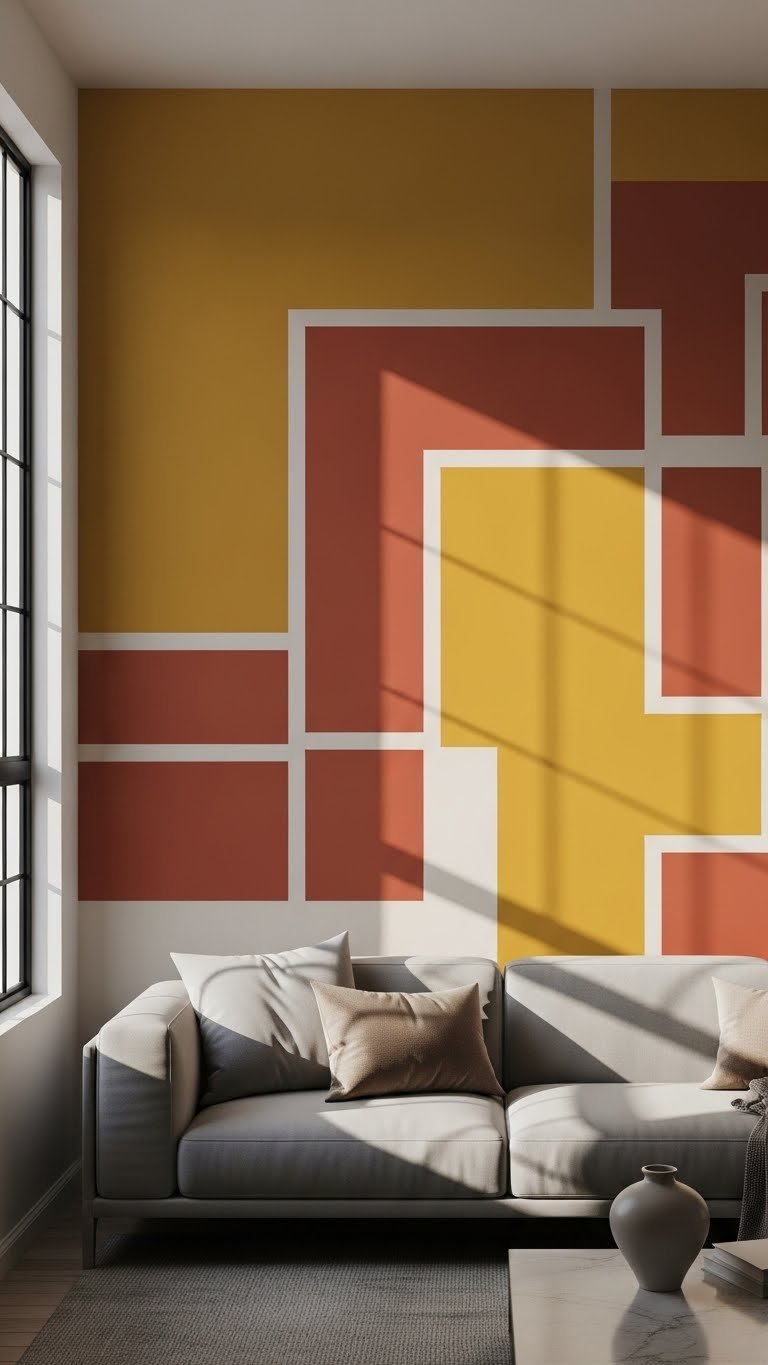
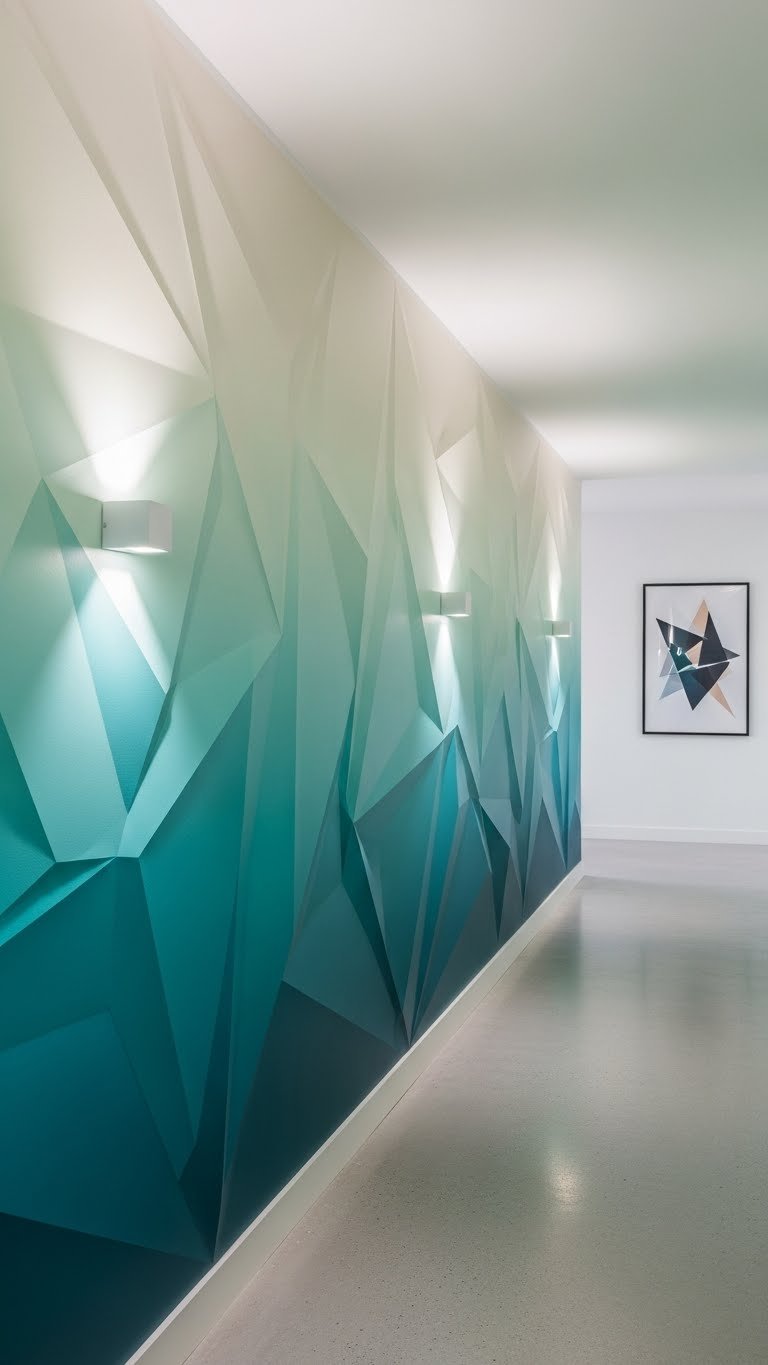
1. Paint Your Walls with Warm Earthy Tones
Forget white walls—they make dorm rooms feel sterile and impersonal. Warm earthy colors like chocolate brown, sage green, or soft burgundy create instant coziness and work as the perfect backdrop for everything else in your room.
Paint is technically a dorm violation in many places, so check your contract first. If you get permission, use removable paint (brands like Tempaper make peel-and-stick options, $15-$30) or negotiate with your RA. If traditional paint is off-limits, adhesive fabric wallpaper or large tapestries ($20-$50) give you the same vibe without permanent changes.
A single accent wall takes one afternoon. The payoff? Your entire room looks more sophisticated and grounded instantly.
2. Use Color Drenching to Make Small Spaces Feel Intentional
Color drenching means picking one warm tone and layering it throughout your room via walls, textiles, and decor instead of just one accent wall. It creates an immersive, curated feel that makes cramped quarters seem more intentional.
Start with your wall color ($15-$30 for removable paint or fabric), then add matching or complementary bedding ($40-$80), throw pillows ($15-$25 each), and a rug ($30-$70). You’re not matching everything perfectly—vary the texture and shade slightly so it looks lived-in, not sterile.
Your room becomes a cohesive retreat rather than a random collection of furniture. The continuity makes the space feel bigger and more sophisticated.
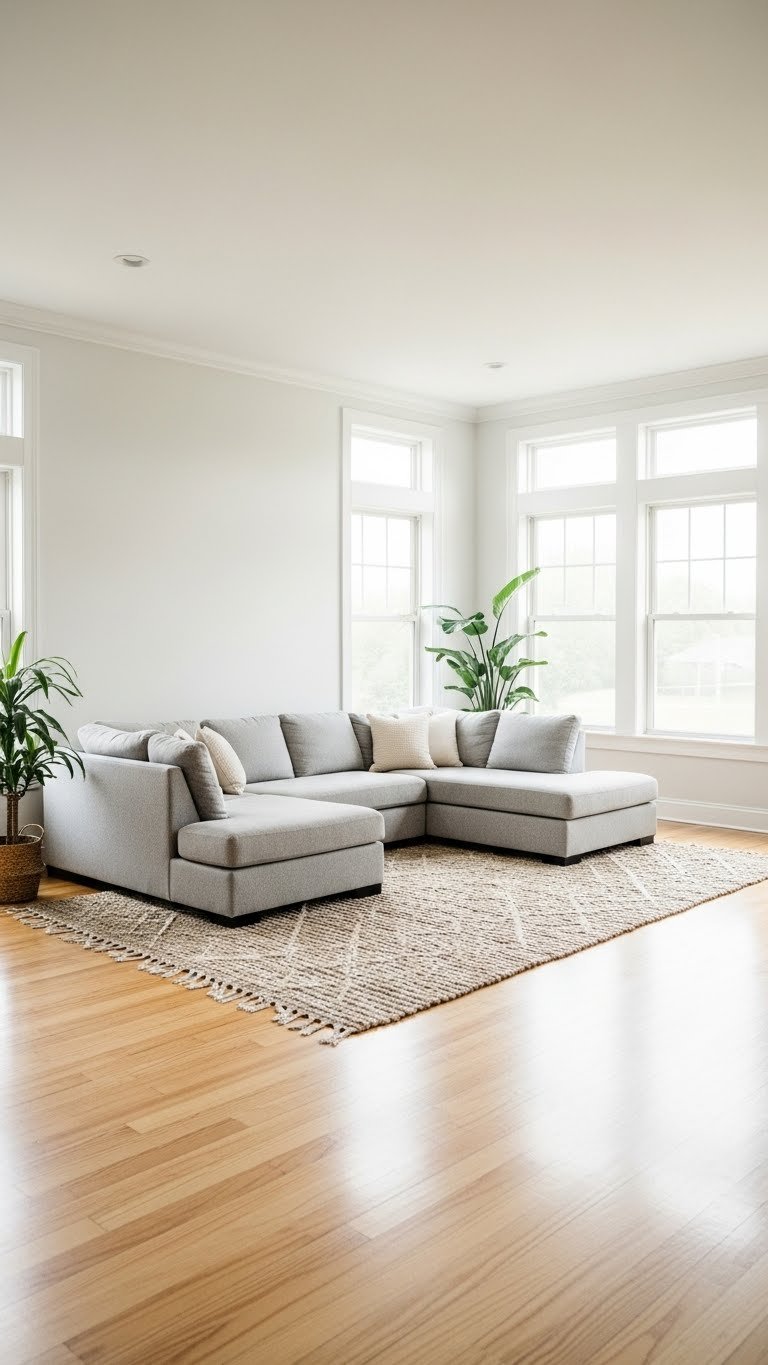
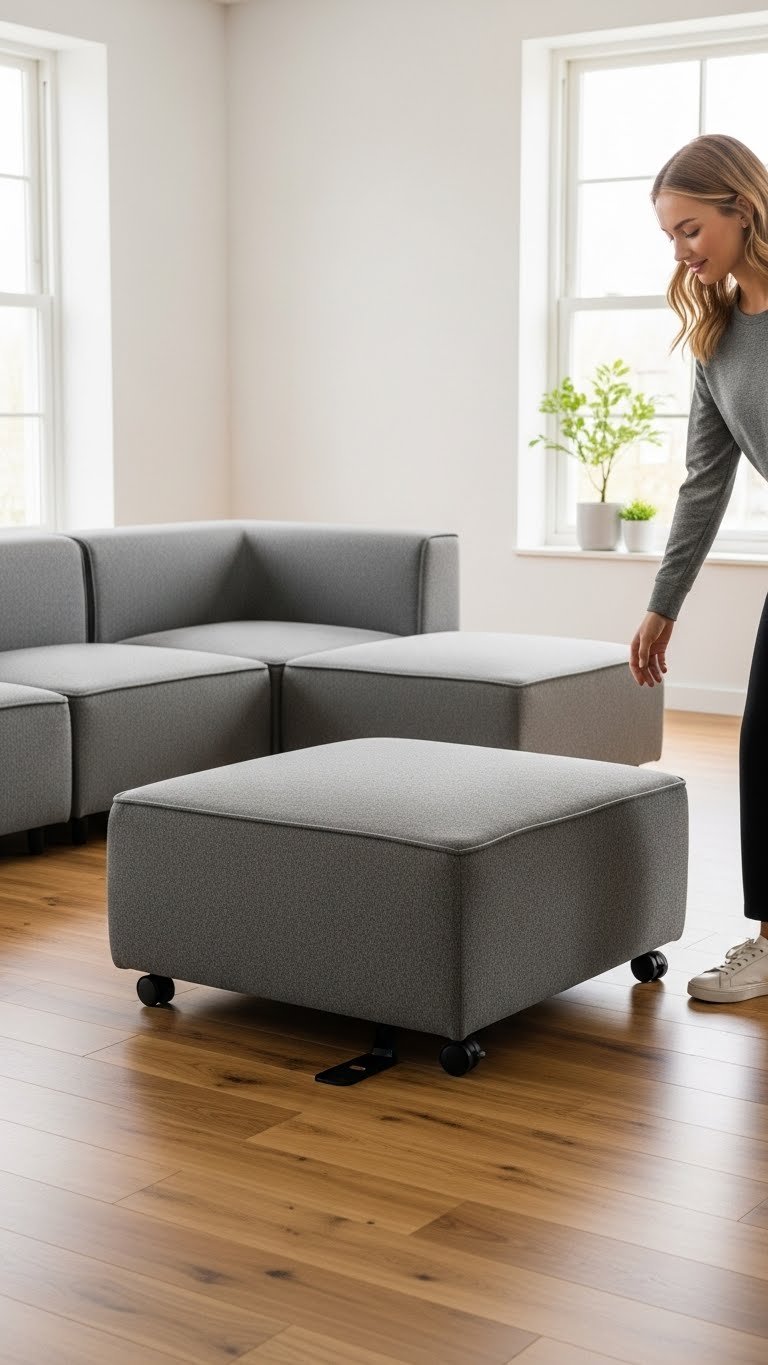
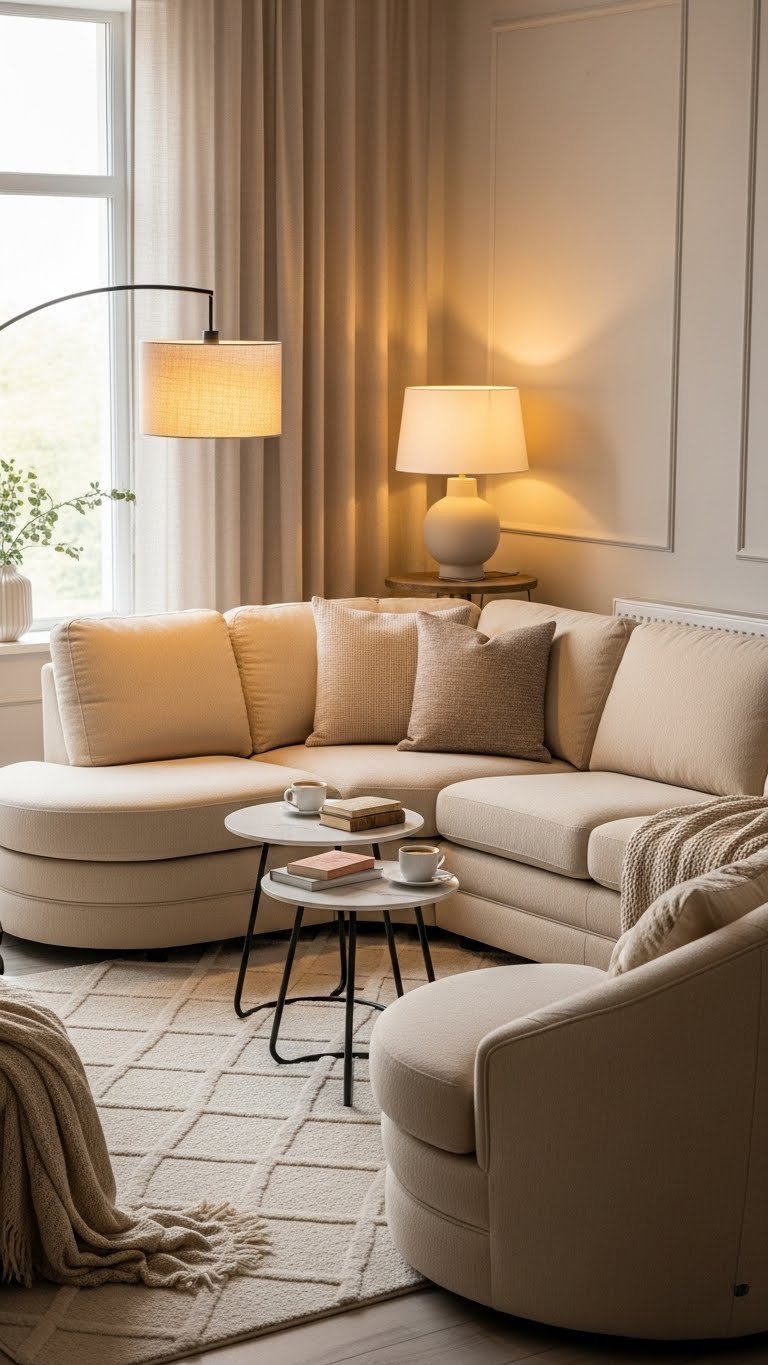
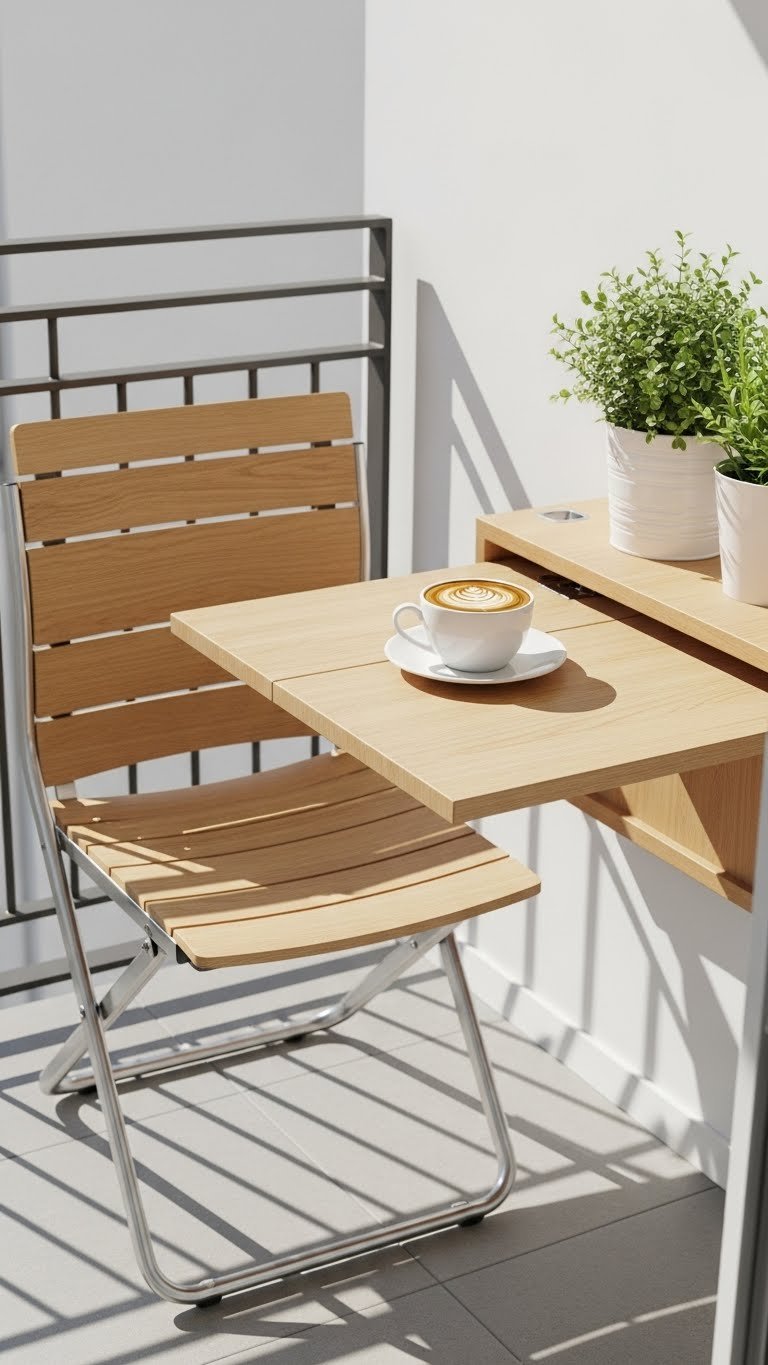
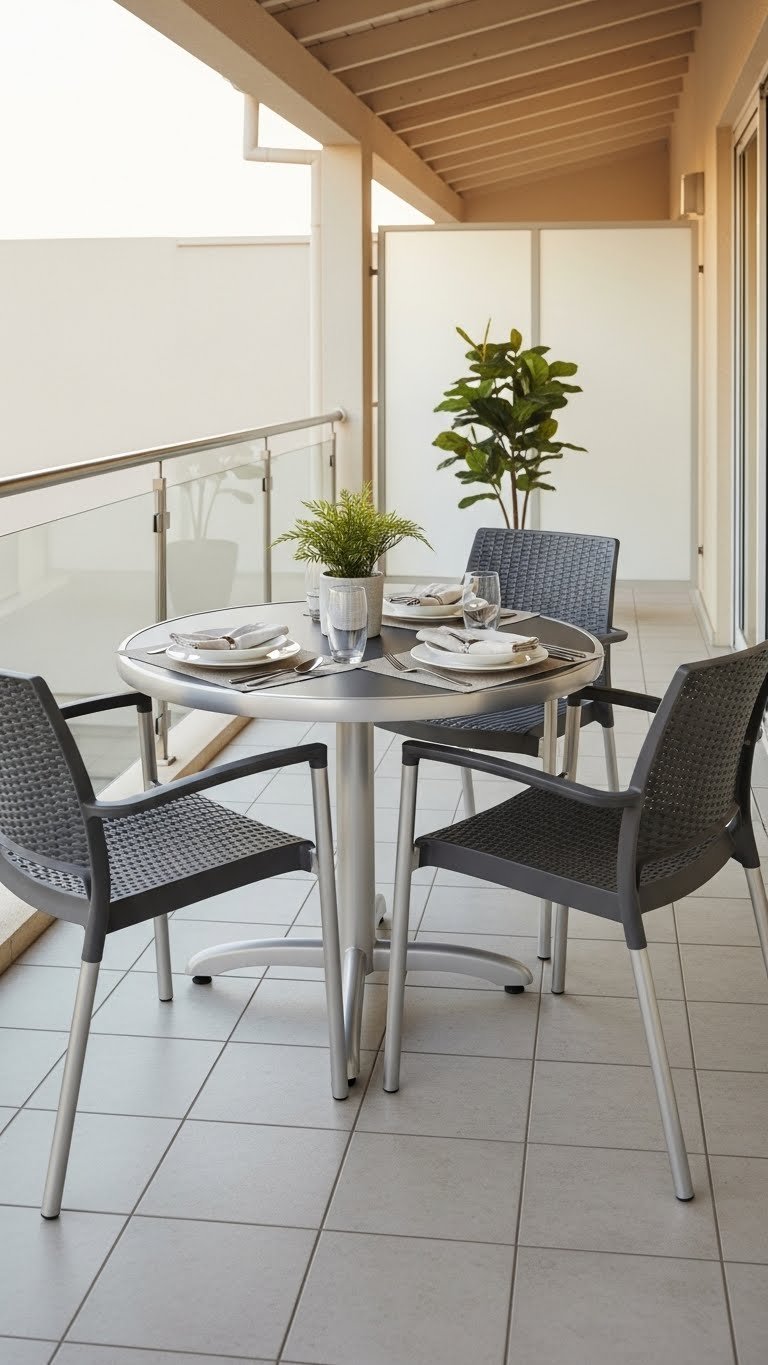
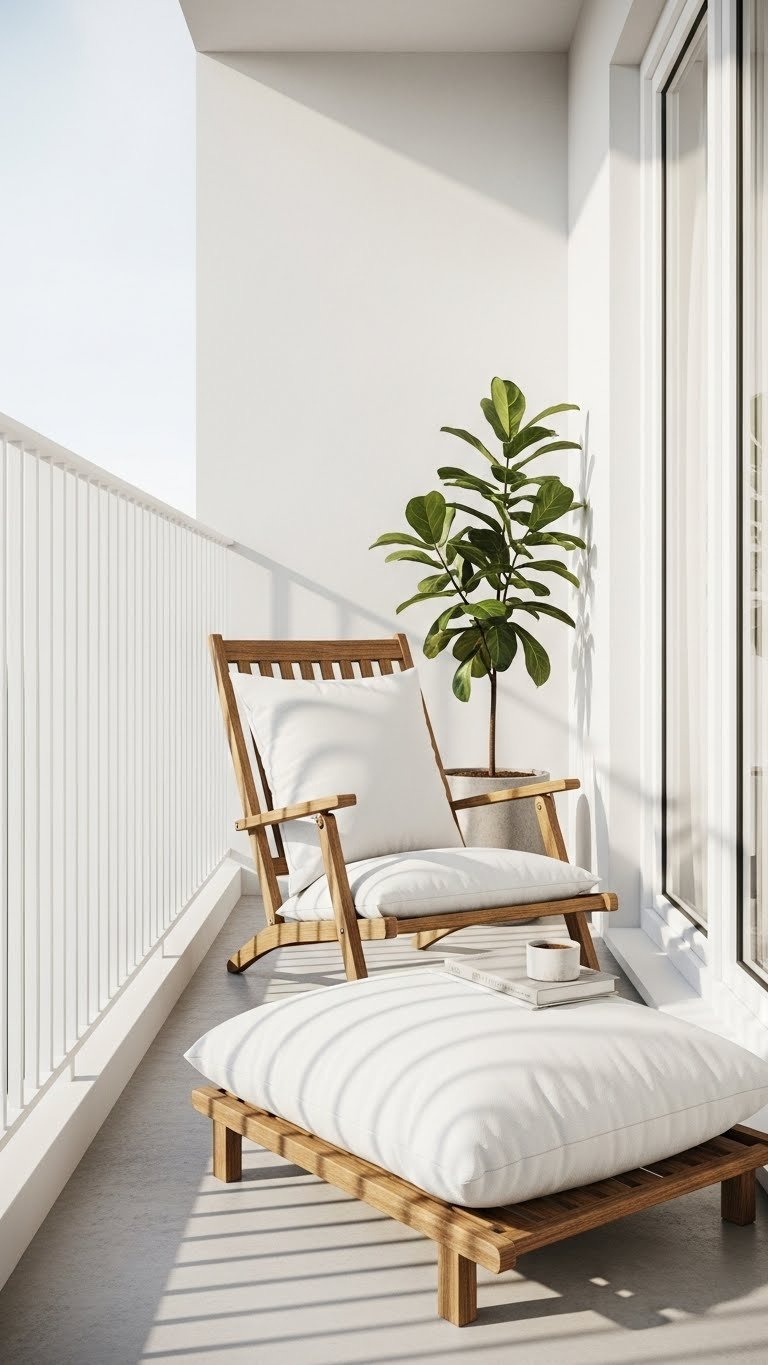
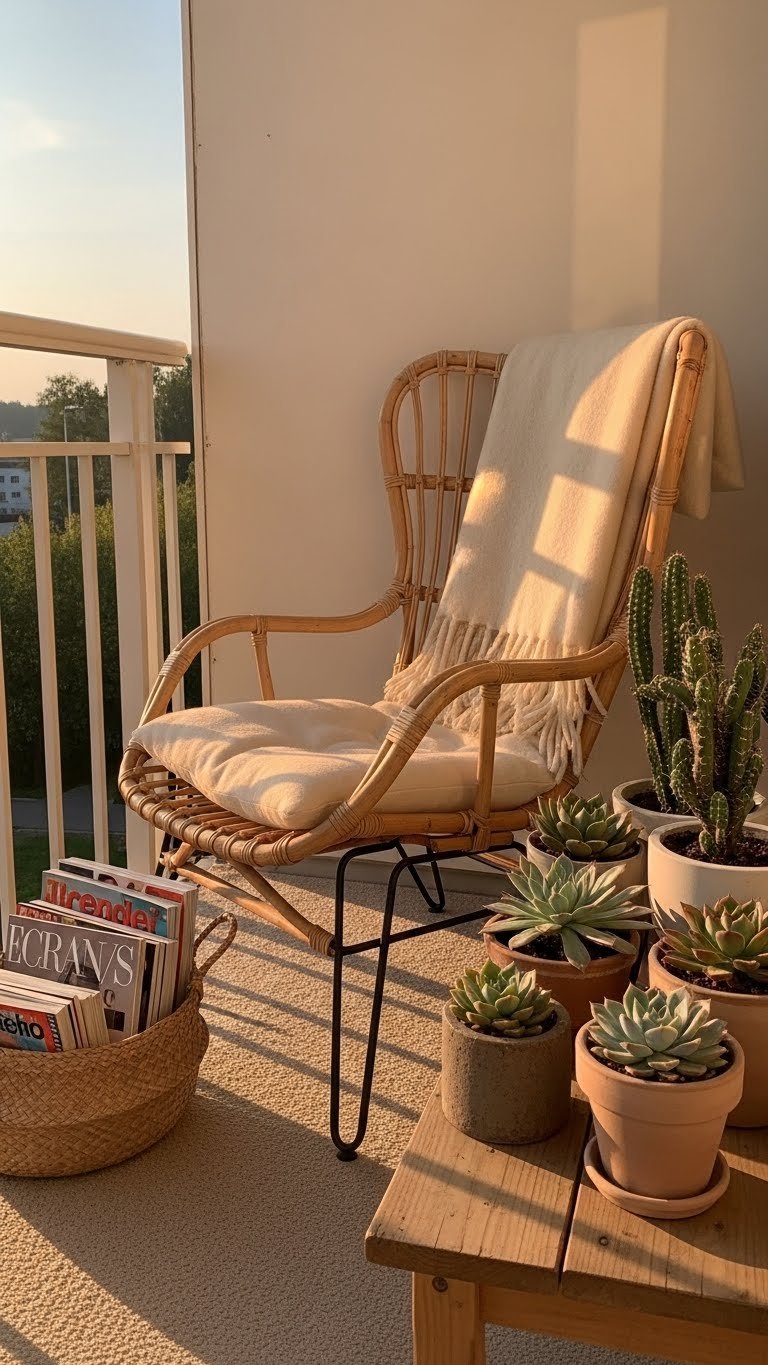
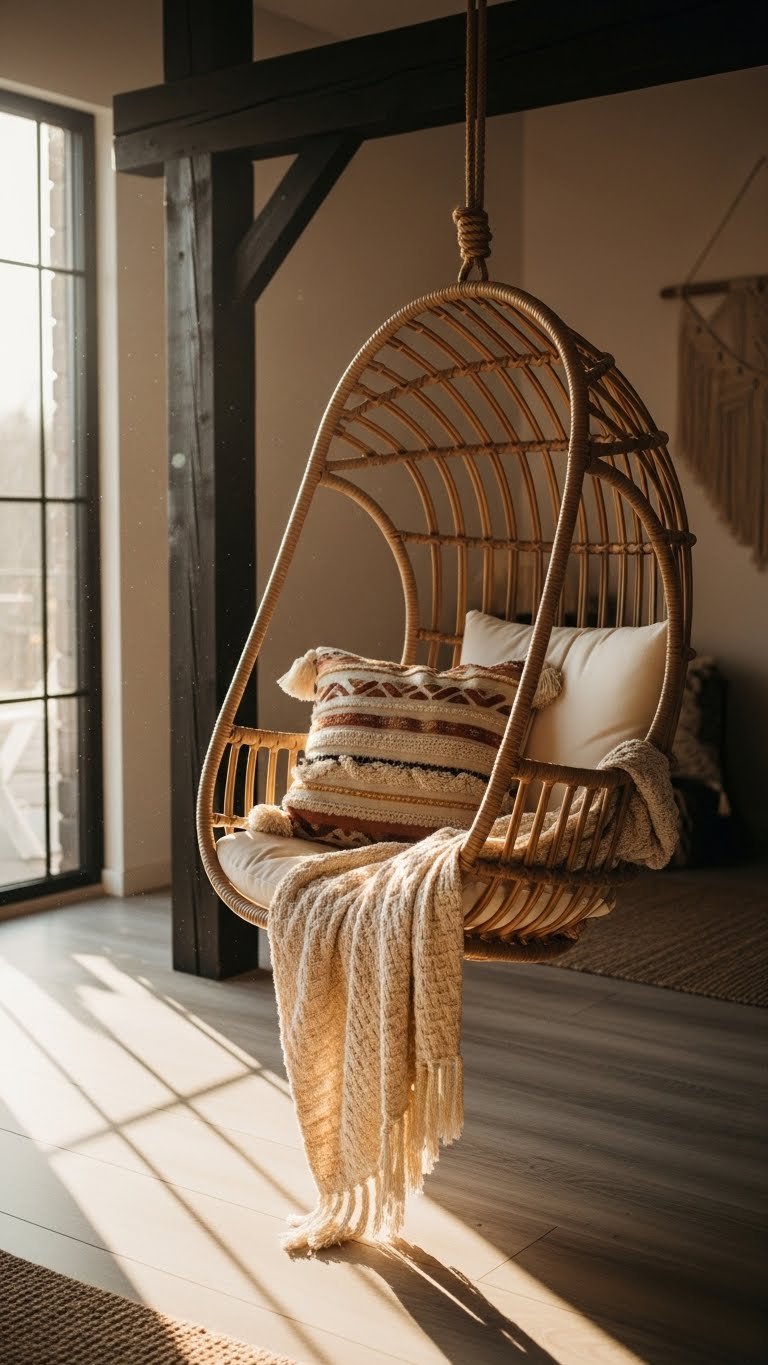
3. Invest in Curved, Sculptural Furniture for Comfort and Flow

Curved furniture pieces add softness and flow to angular dorm rooms while actually providing more comfort than rigid, modern shapes. A curved chair or rounded ottoman becomes a statement piece that makes your room feel less like a typical college setup.
Shop for curved accent chairs at IKEA ($150-$250), Wayfair ($200-$400), or thrift stores ($30-$100 for vintage finds). If budget is tight, even a curved side table ($50-$100) or rounded mirror ($40-$80) introduces that sculptural vibe without taking up much space.
These pieces look great in photos (major Pinterest energy) and actually create a more relaxed atmosphere where you want to study and hang out.
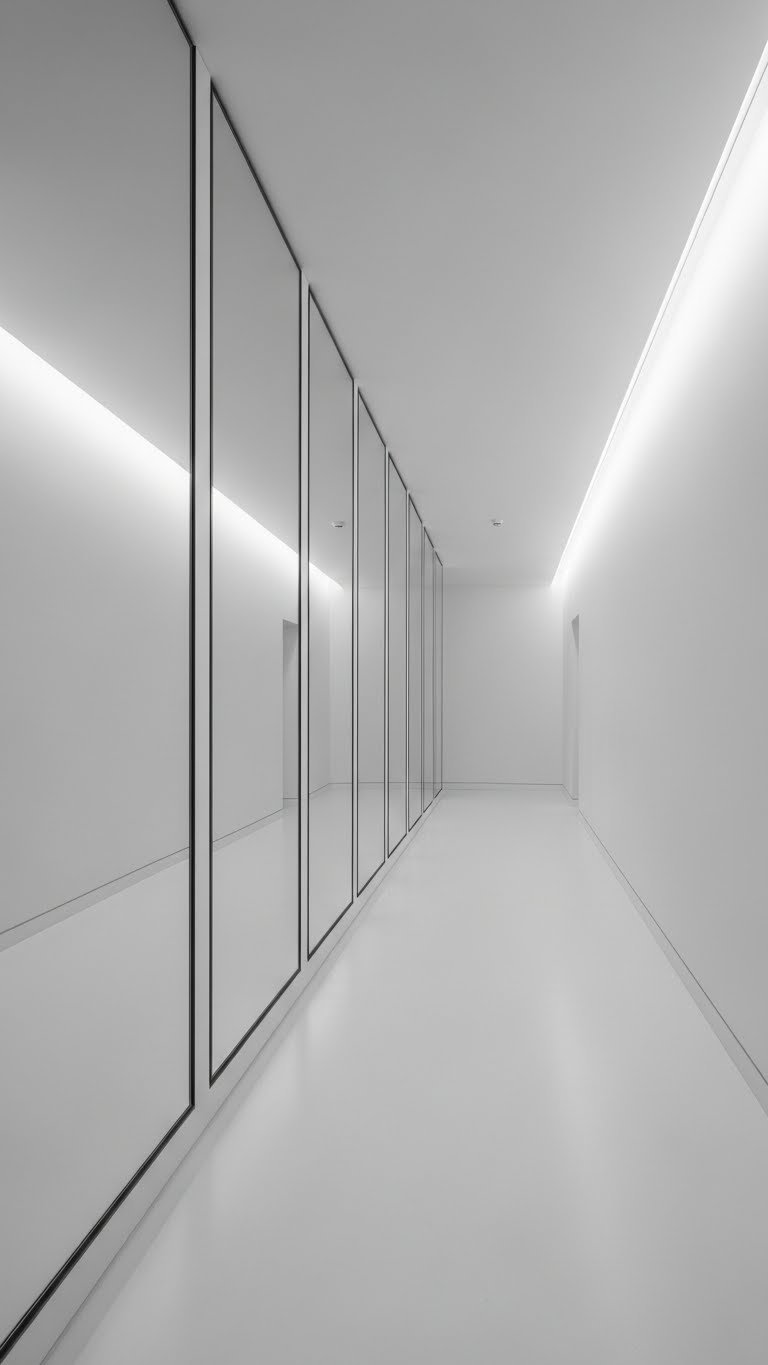
4. Create Defined Zones Without Walls
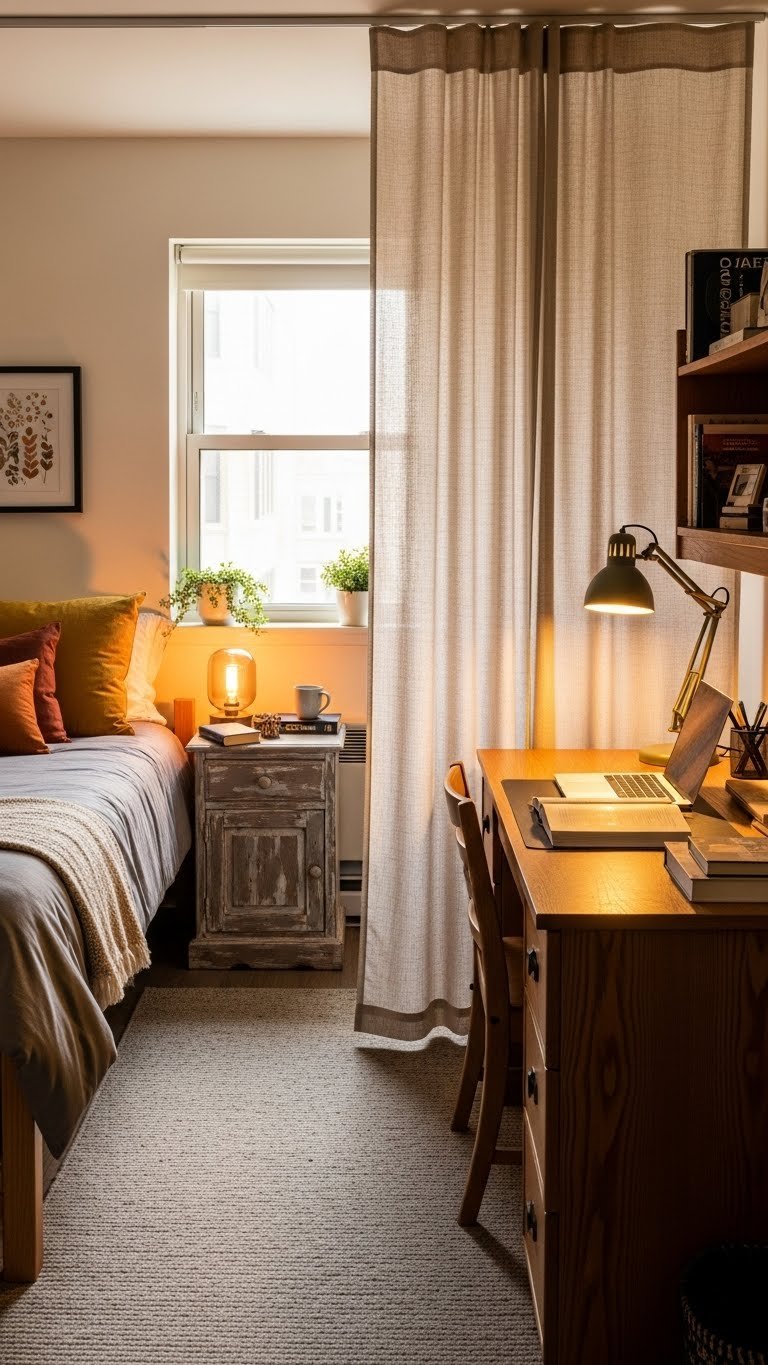
Open-concept dorm rooms lack privacy and make it hard to separate sleep from study mode. Instead of asking for wall removal (obviously not happening), use sheer curtains, a decorative room divider, or a tall bookshelf to define sleeping, studying, and relaxing areas.
A tension rod with lightweight curtain fabric costs $25-$50 and takes 10 minutes to install. Freestanding room dividers run $40-$120. Even a tall plant stand with trailing pothos ($20-$40) creates a subtle boundary without blocking light or views.
You’ll find it easier to focus at your desk and actually feel like you have privacy in your own space. Roommates appreciate the boundary too.
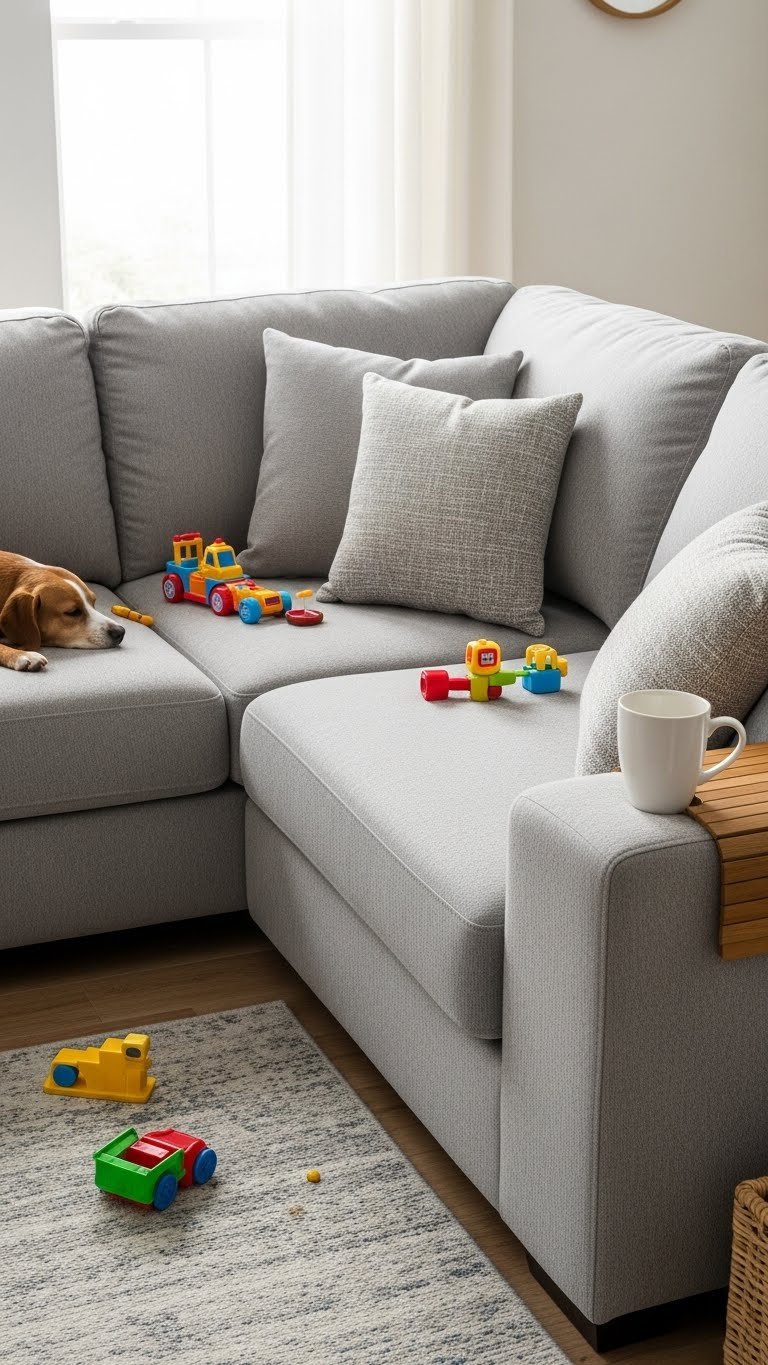
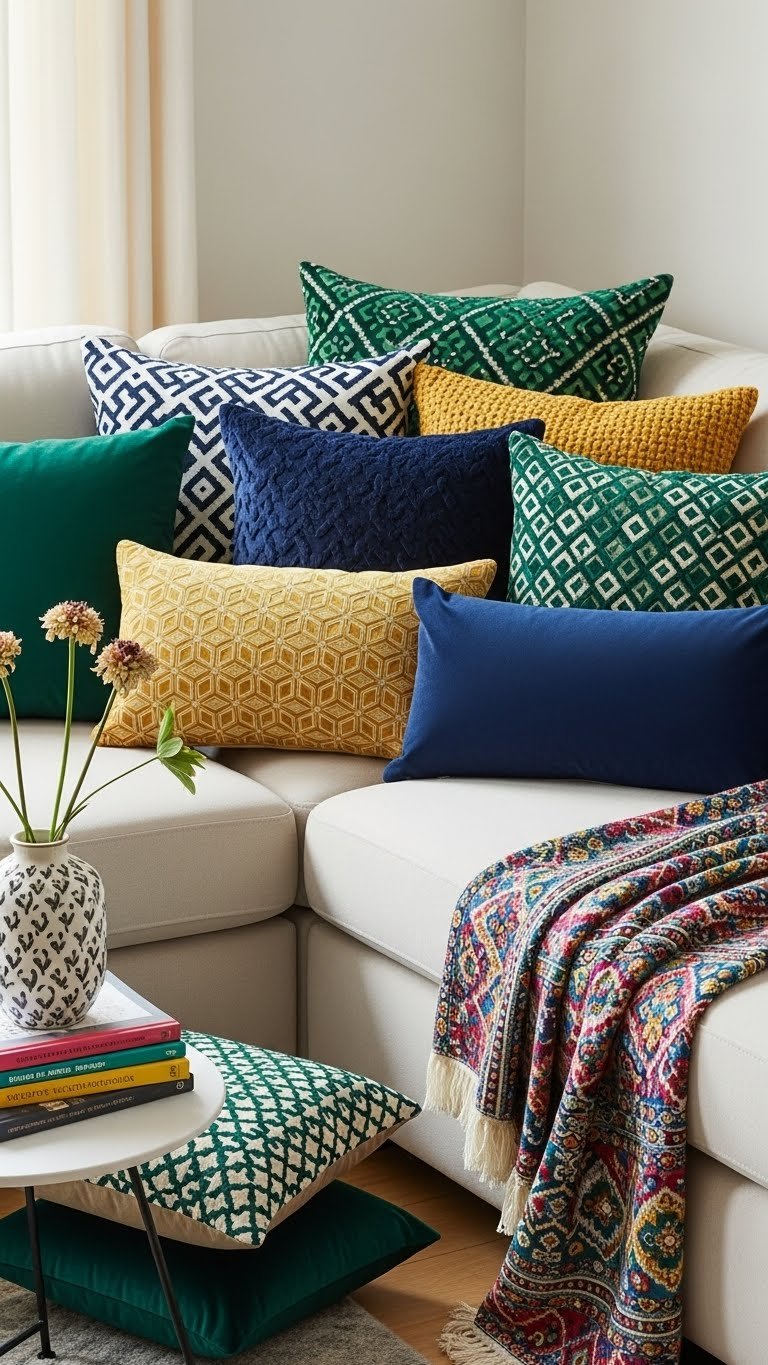
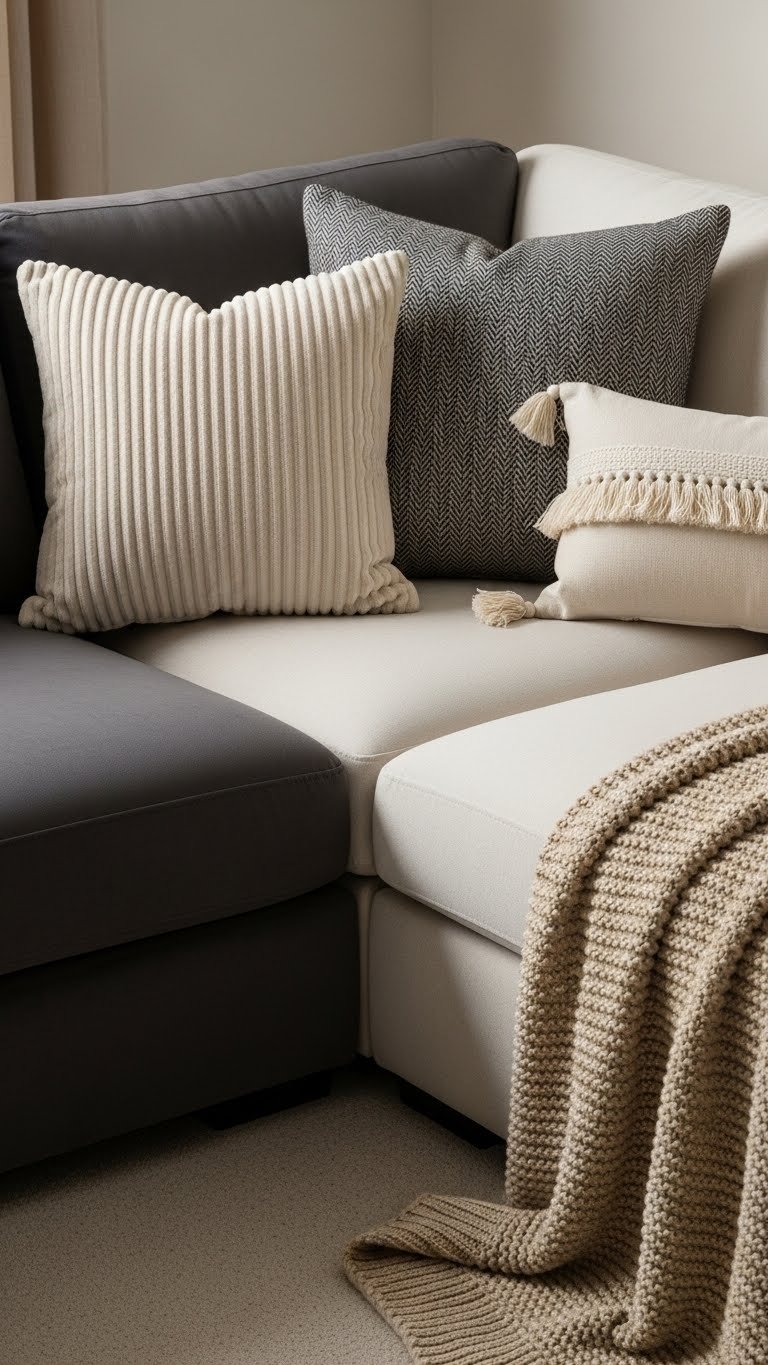
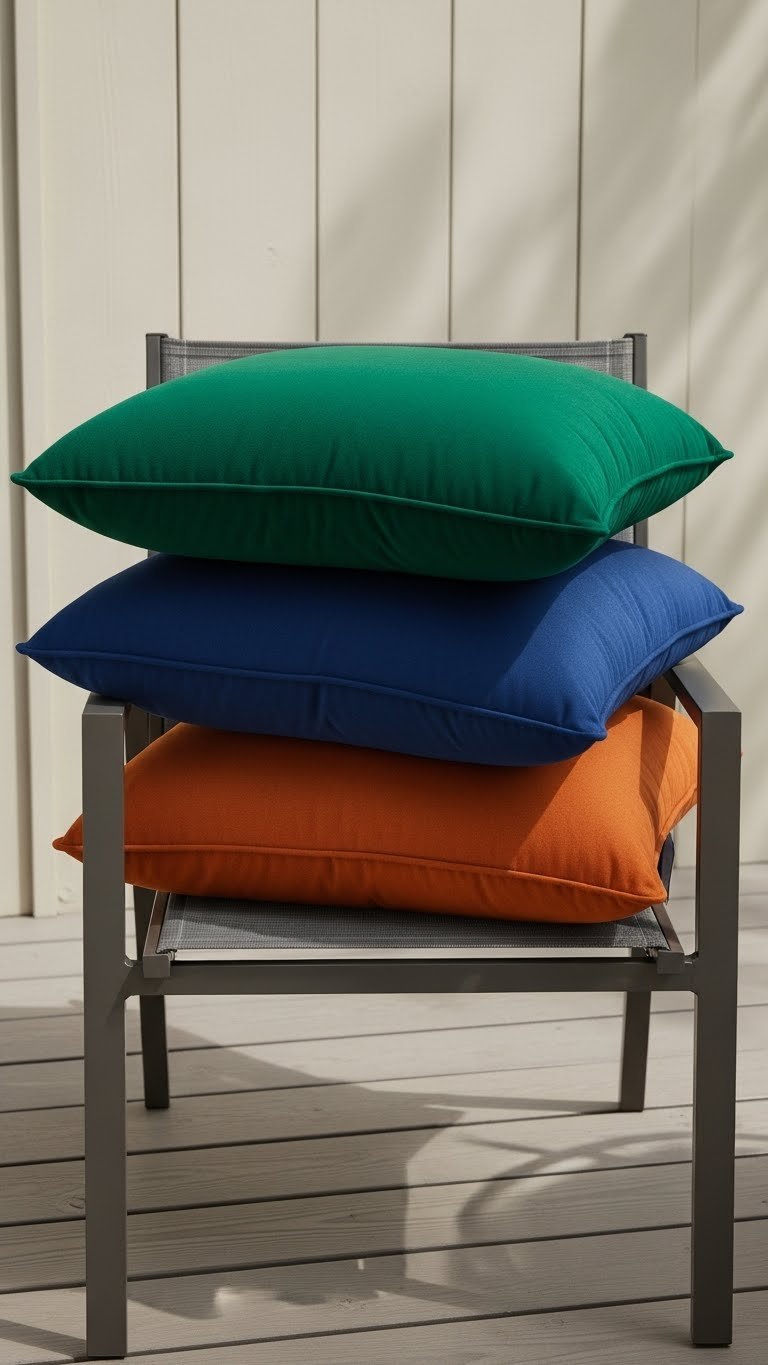
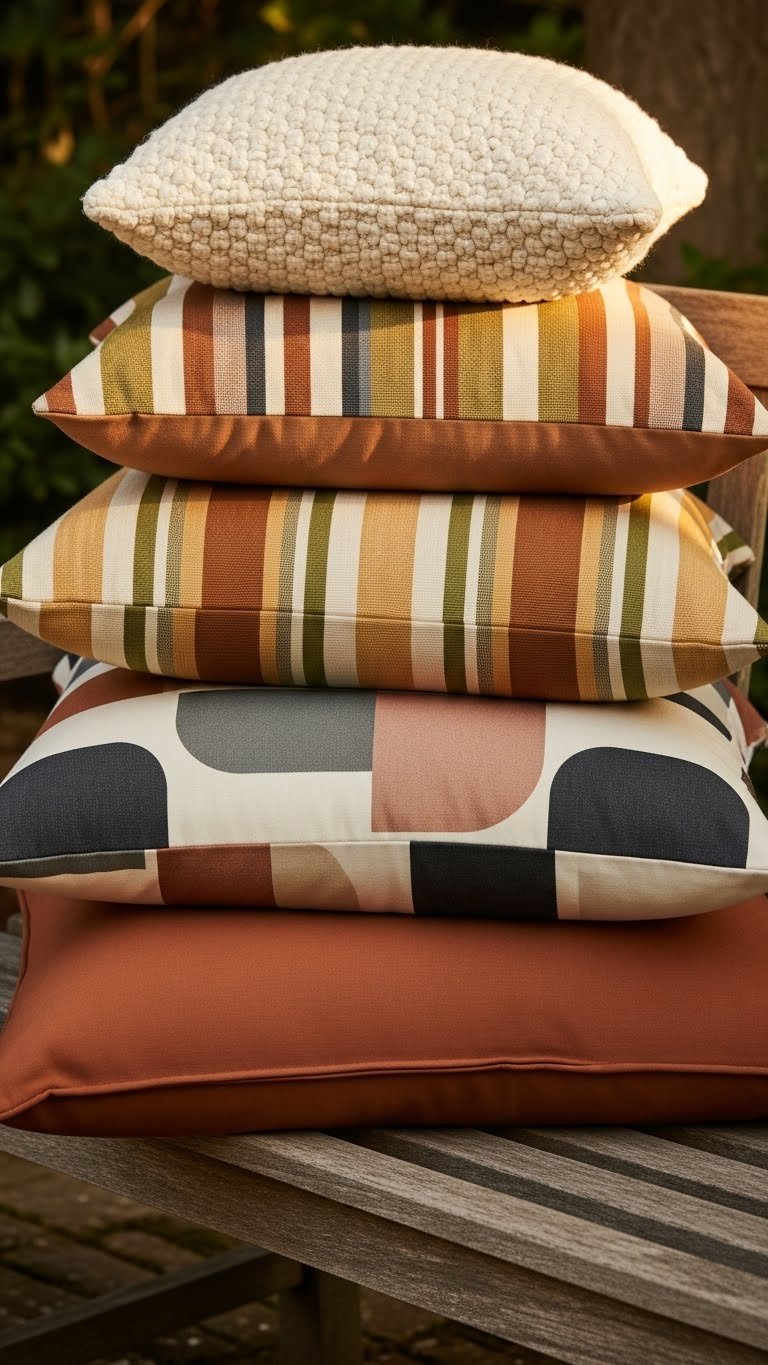
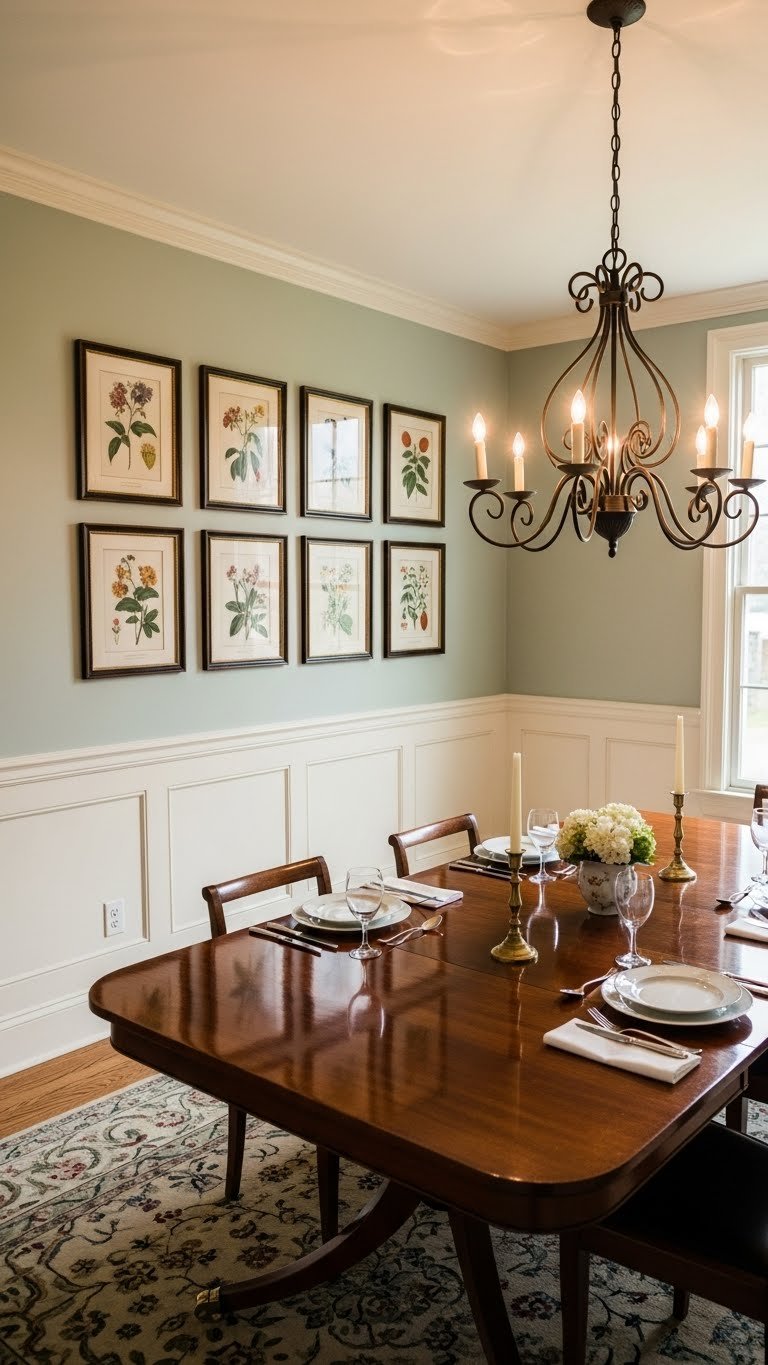
5. Layer Patterned Throw Pillows and Textiles for Maximalist Energy
Minimalist dorm rooms are boring. Maximalist rooms feel collected and personal—like someone actually lives there. Start with 3-5 throw pillows in different patterns (geometric, striped, floral) that share a color palette so they don’t clash.
Buy pillows from Target ($10-$20 each), IKEA ($8-$15), or thrift stores ($2-$5). Mix new with vintage finds for authenticity. Add a chunky knit throw ($25-$50) draped over your chair or bed and suddenly your room looks styled.
The layered texture and pattern mix creates visual interest and makes your space feel curated, not bare. Plus, all those pillows make your bed actually comfortable for studying and lounging.
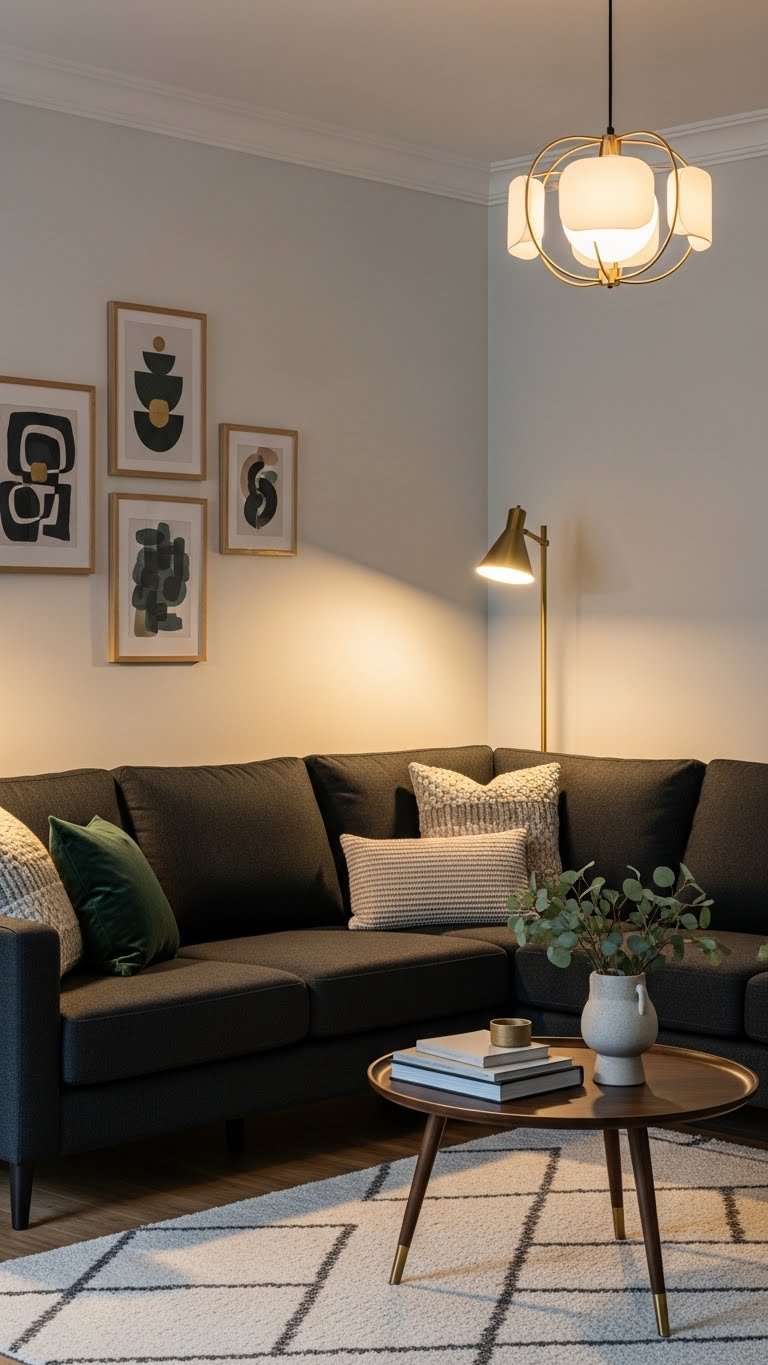
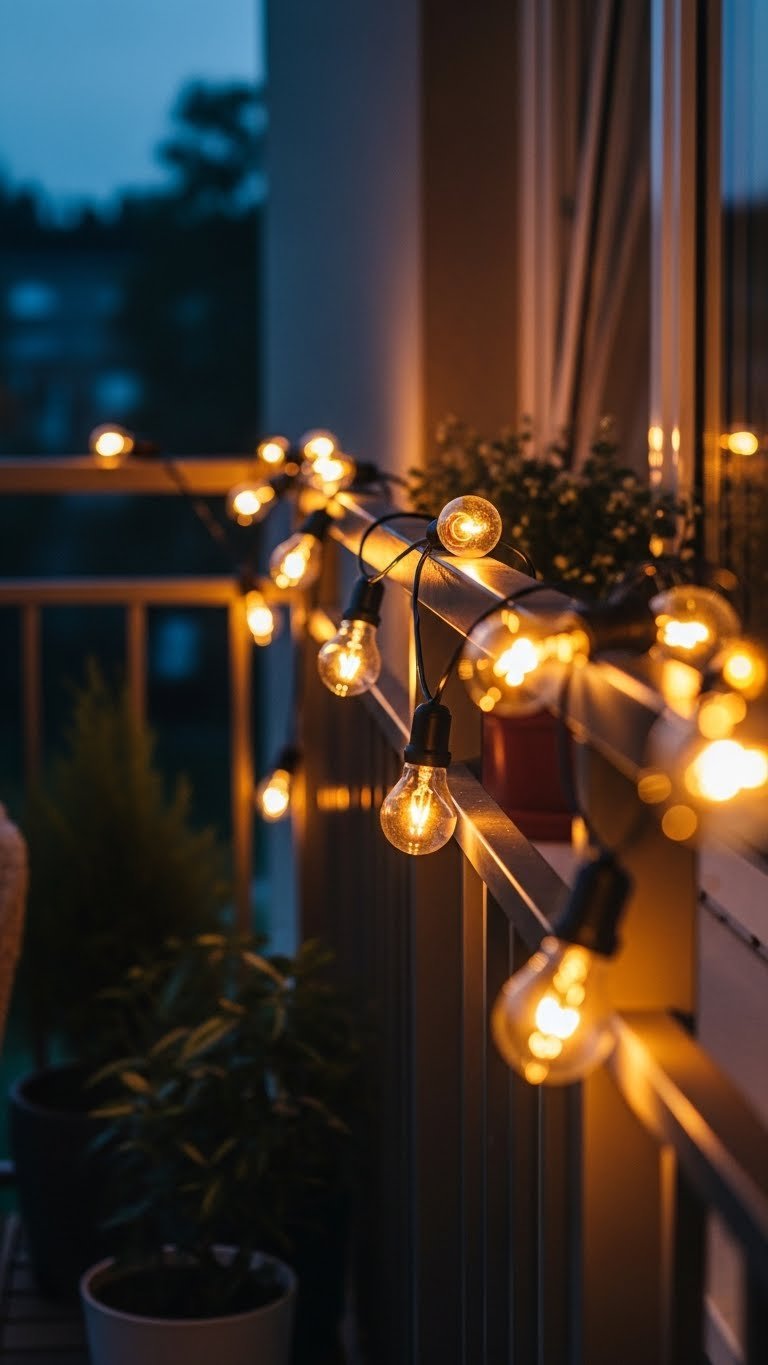
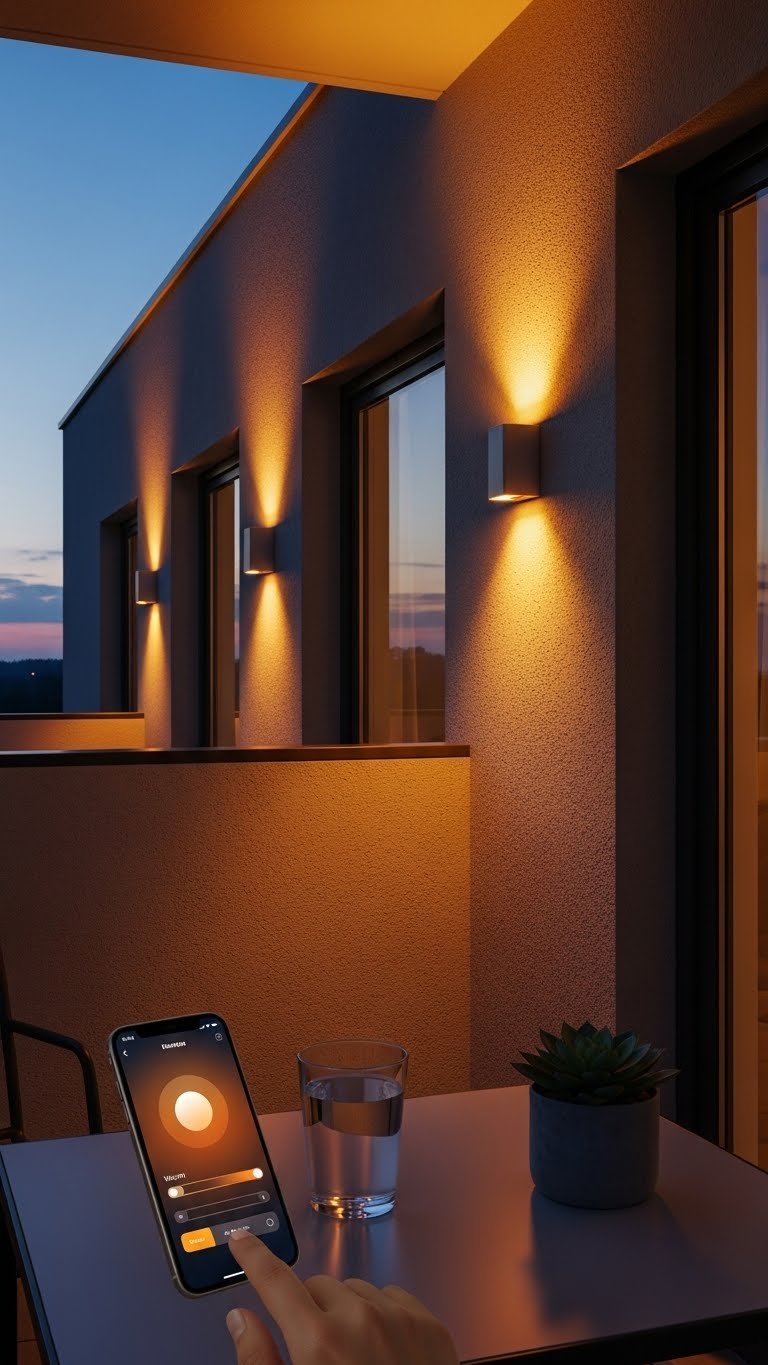
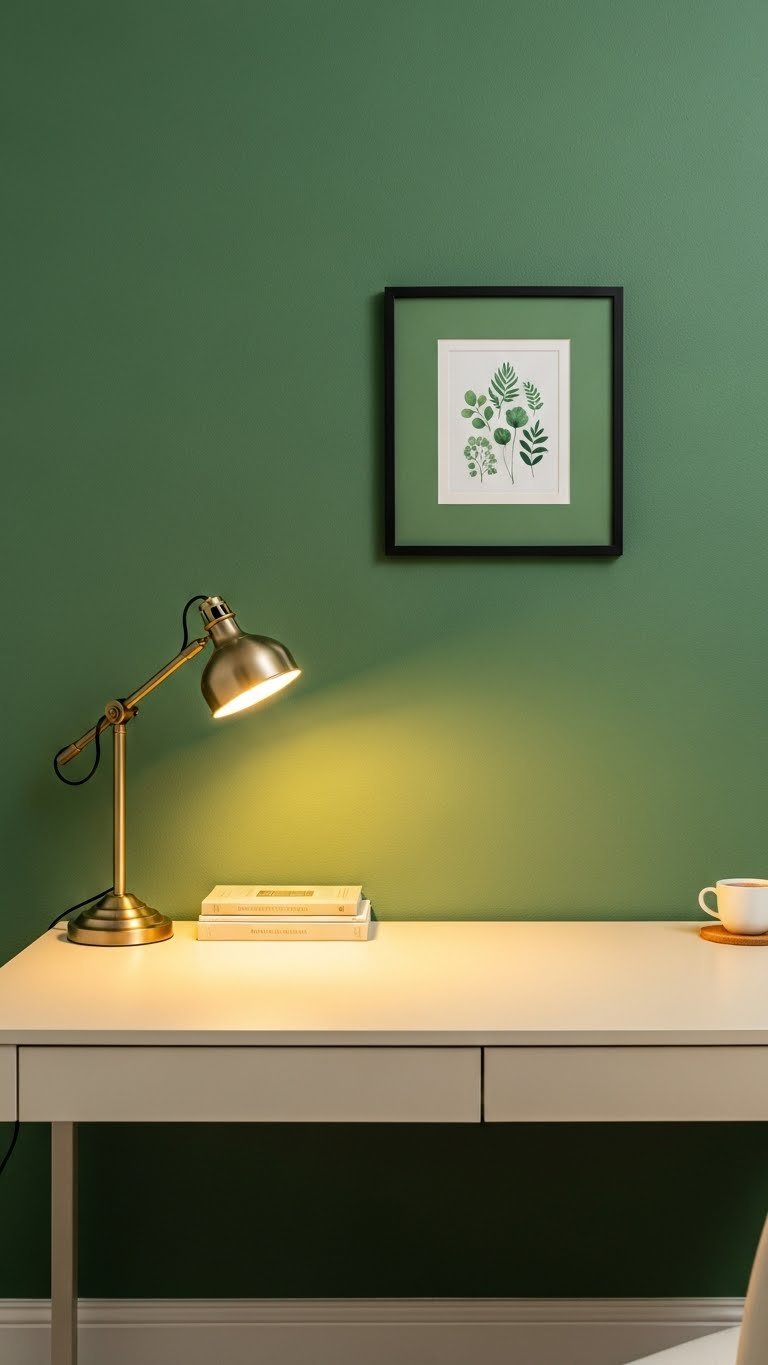
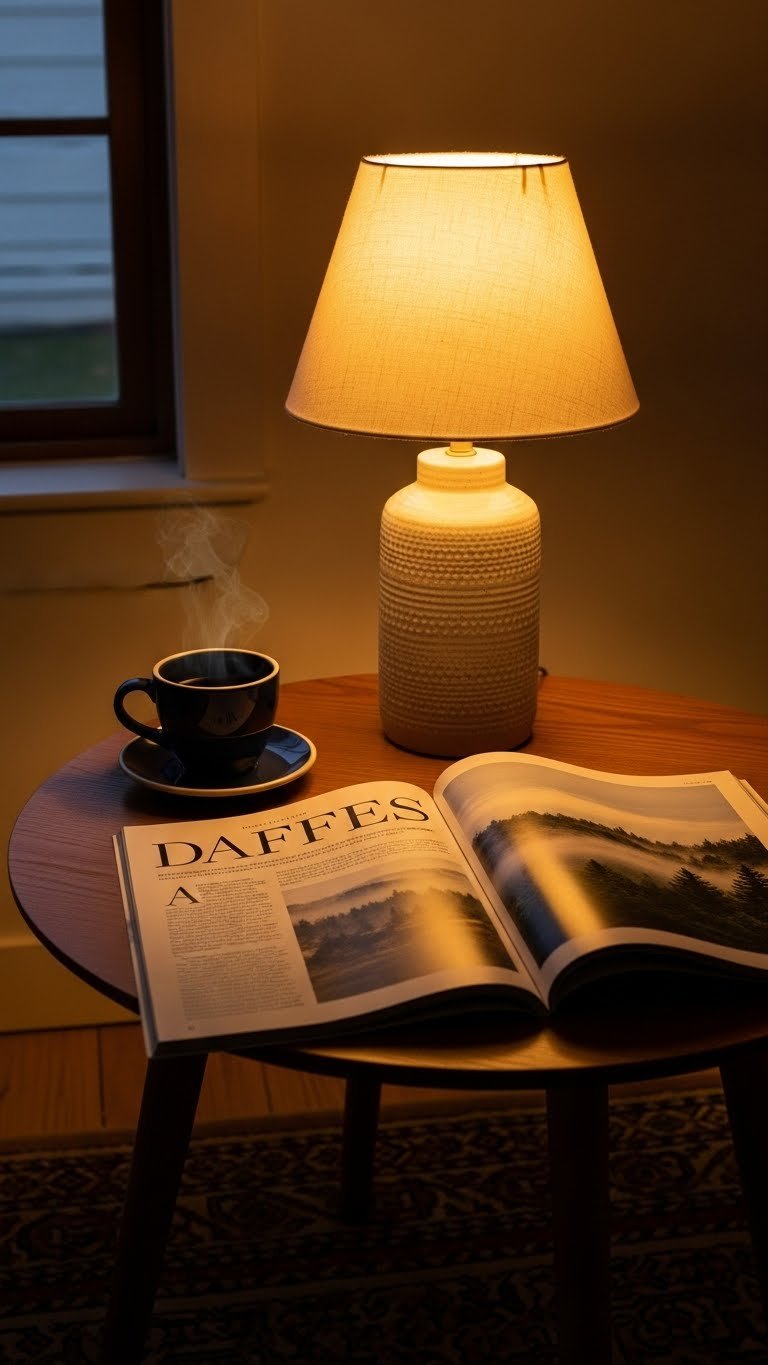
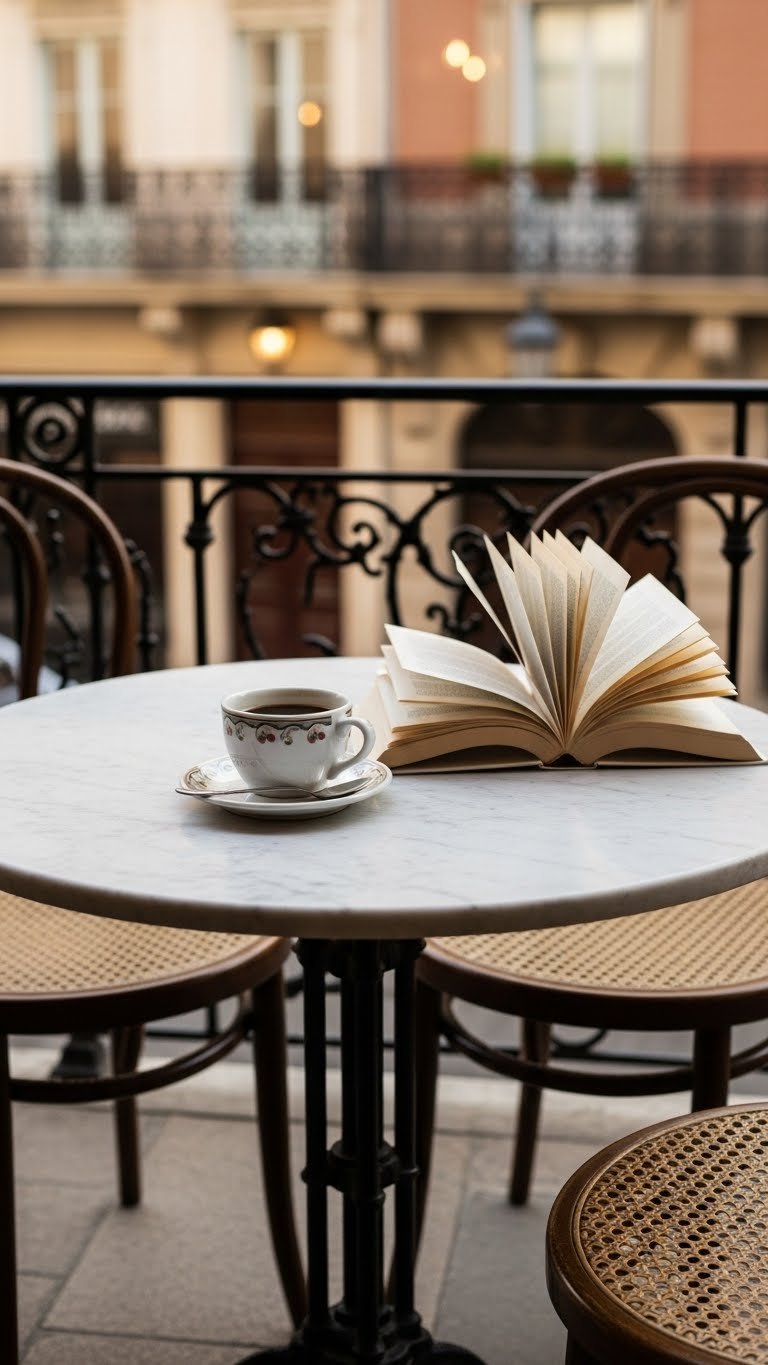
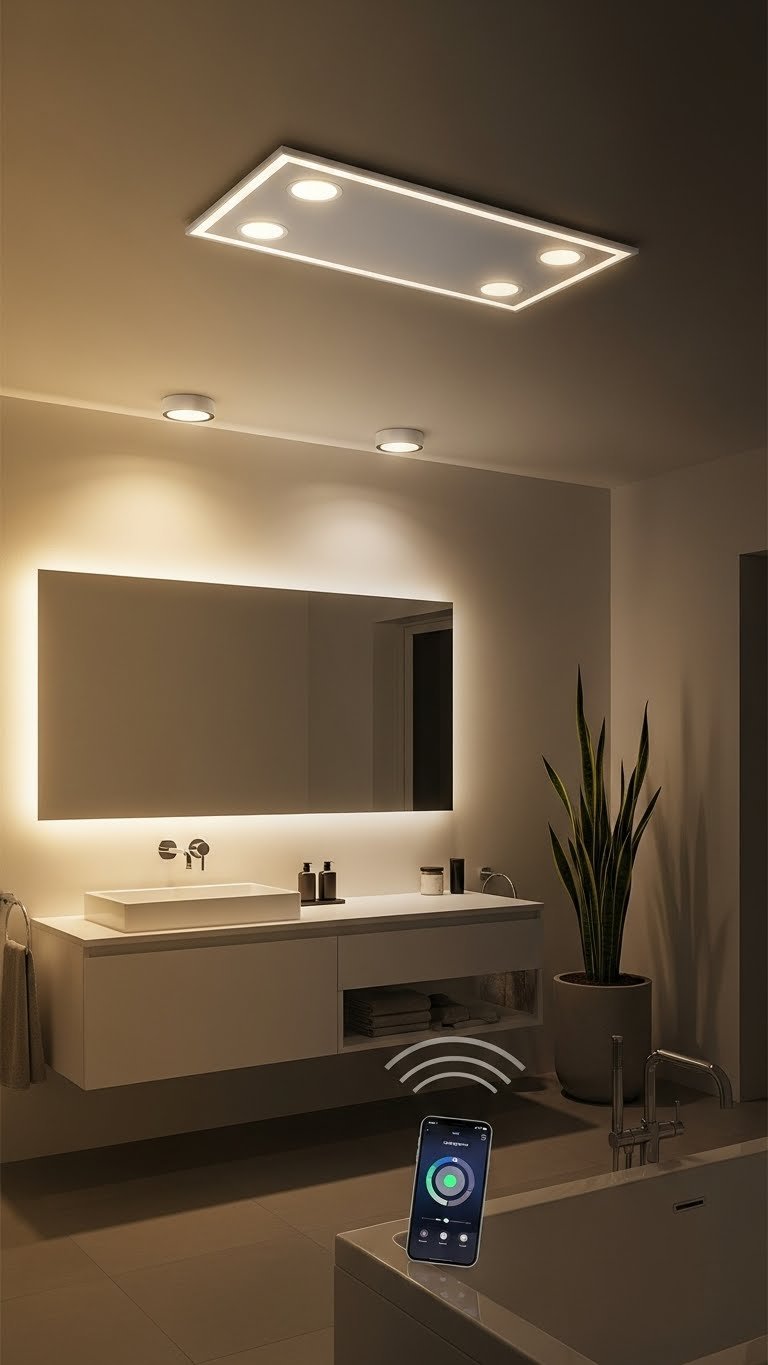
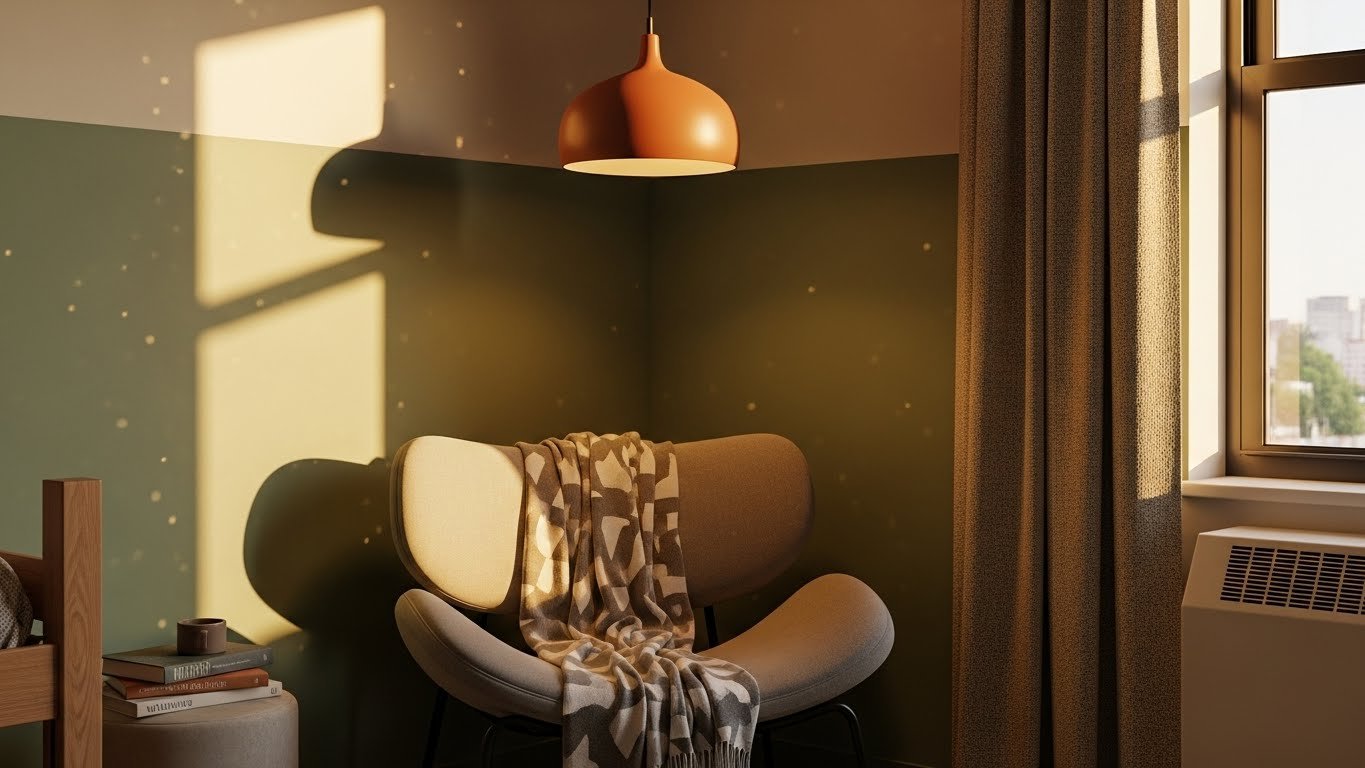
6. Add Vintage or Art Deco Lighting as a Centerpiece
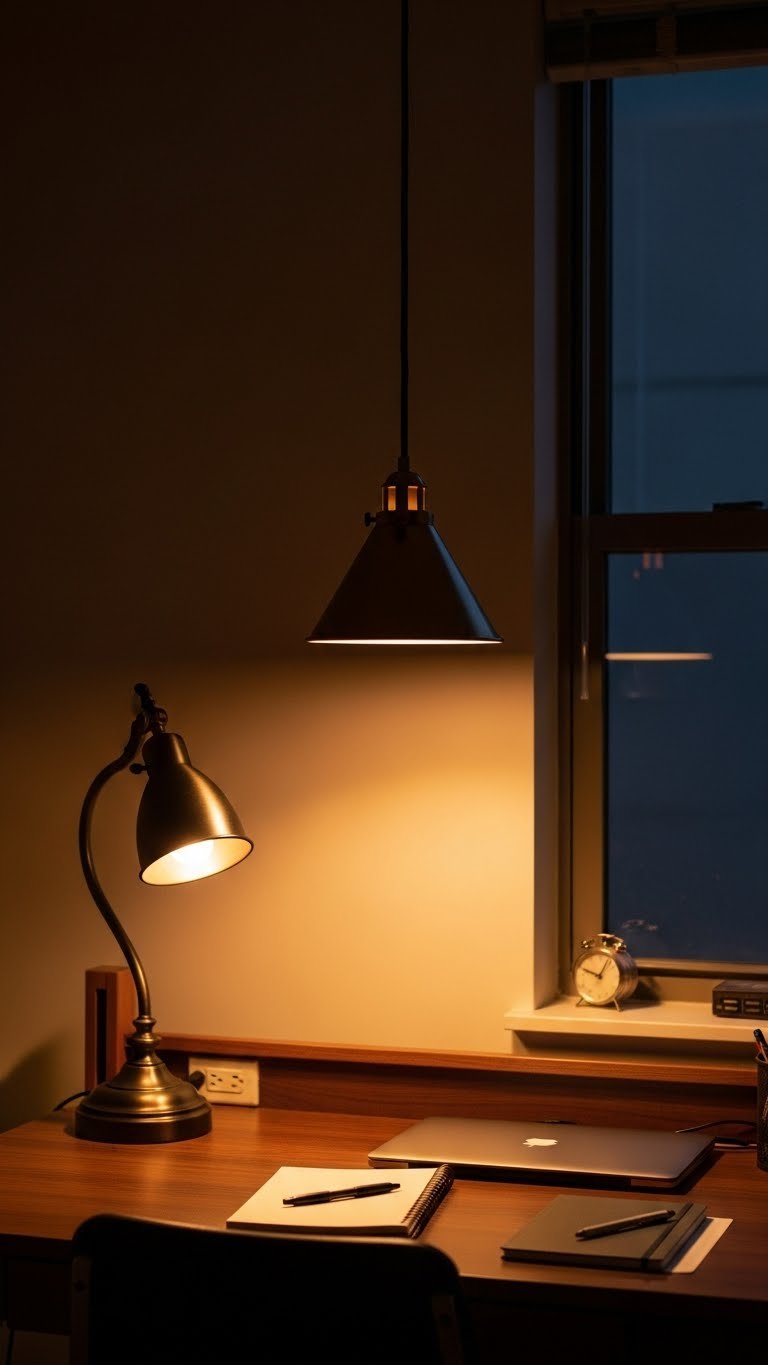
Standard dorm lighting is harsh and unflattering. Vintage or Art Deco-style lighting (pendant fixtures, table lamps with brass or colored glass) elevates your entire room and creates the warm, intentional vibe you want.
Hunt thrift stores for vintage brass lamps ($10-$30), or invest in a quality new pendant ($50-$120 from West Elm or Anthropologie). String lights ($15-$30) work too but feel more generic. Use a plug-in fixture if you can’t hardwire anything.
Good lighting makes your room feel like a boutique hotel corner, not institutional housing. It’s also better for studying and makes you actually want to spend time in your space.
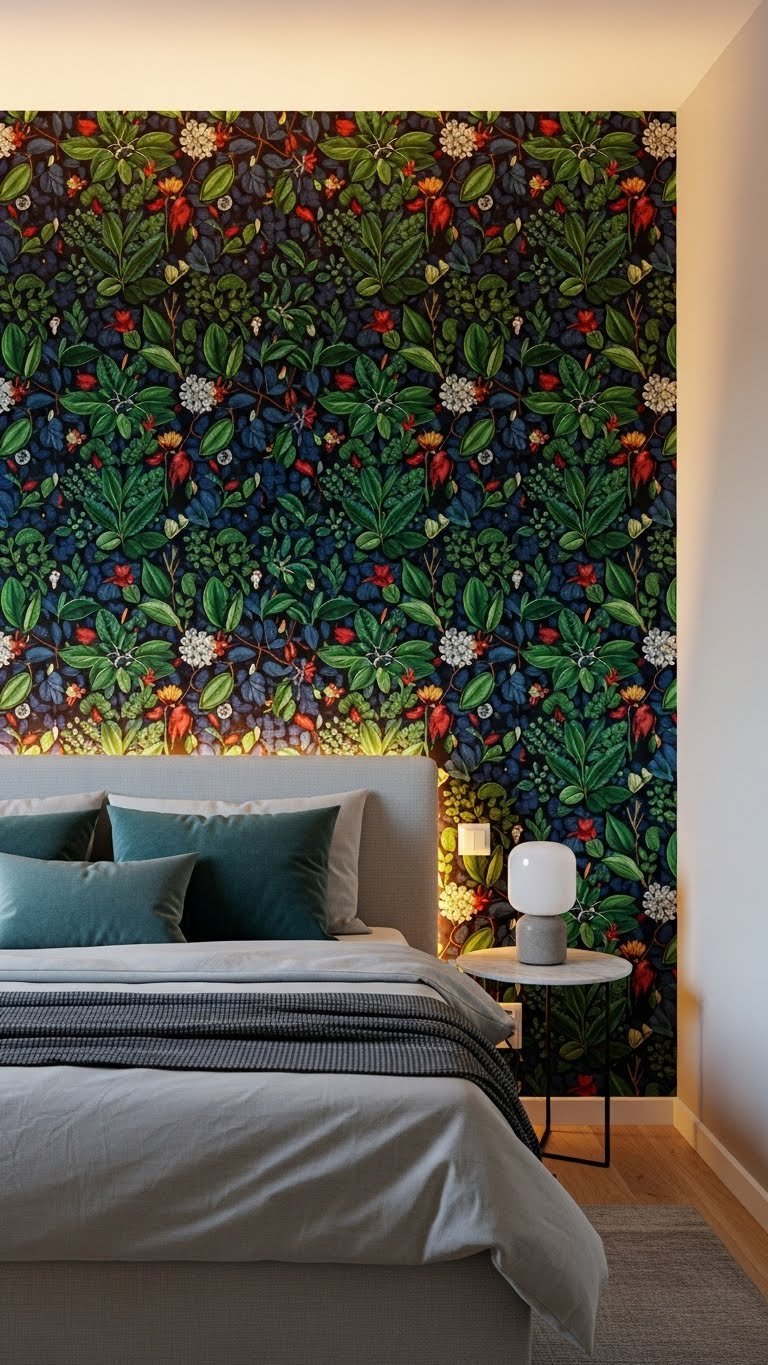
7. Try Pattern Drenching for an Immersive Bedroom Retreat
Pattern drenching goes a step beyond color drenching—you’re layering repeated motifs (florals, geometric shapes, abstract designs) throughout your room to create an immersive, almost cinematic feel. It’s bold but surprisingly sophisticated when done in a cohesive color palette.
Use peel-and-stick wallpaper on one accent wall ($30-$60), add patterned bedding ($50-$100), and layer in patterned pillows or a rug. Keep your palette tight (two or three colors max) so patterns don’t feel chaotic.
Your room becomes a distinct personality zone that’s impossible to ignore. Visitors immediately sense that someone thoughtful lives here, and you get a personal retreat that recharges you.
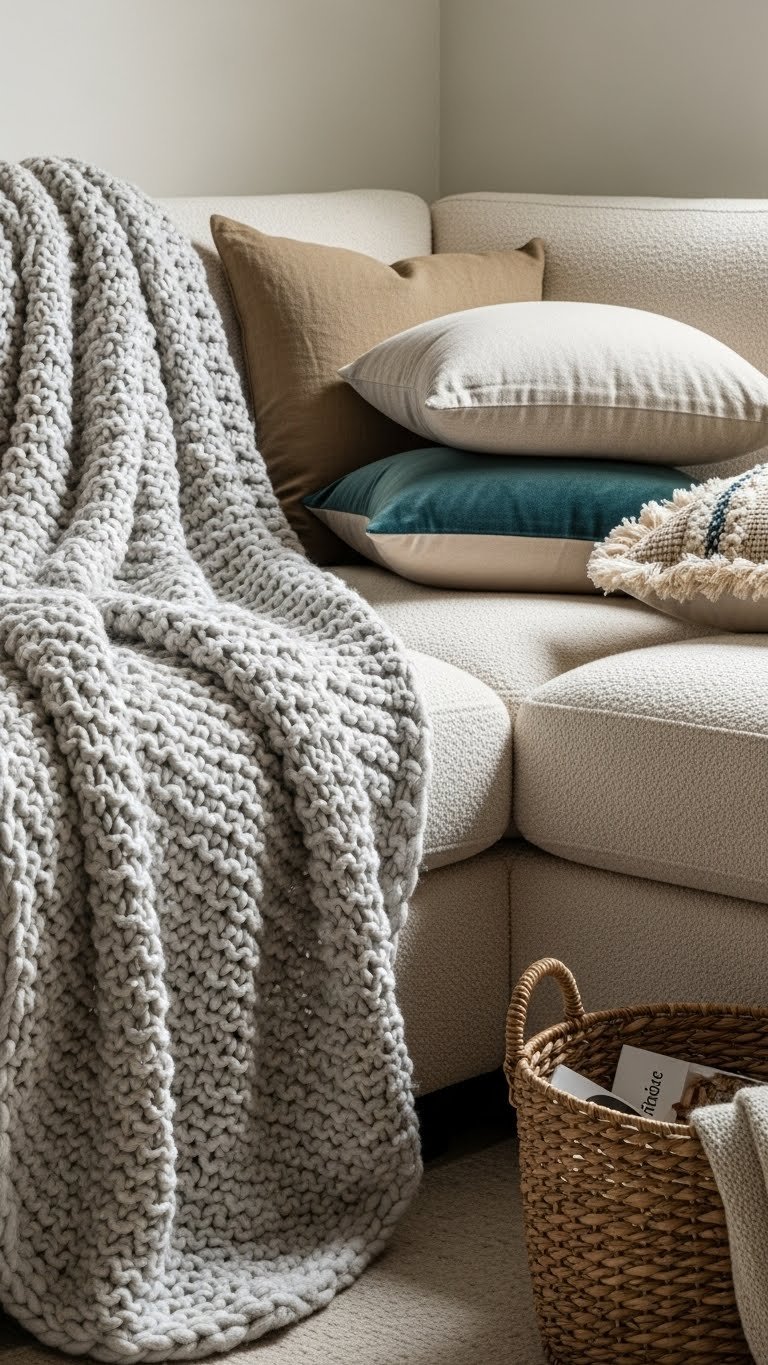
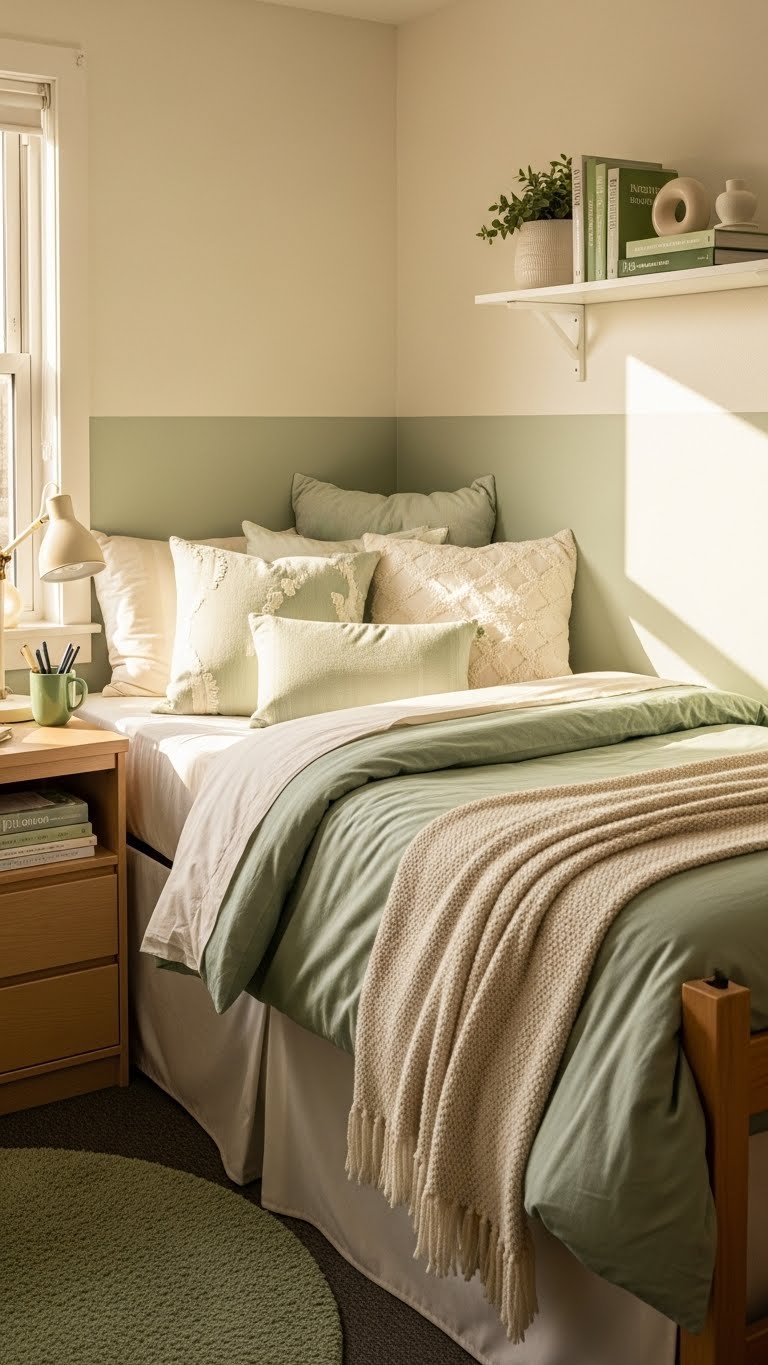
8. Swap Generic Bedding for Curated, Layered Sheets and Blankets
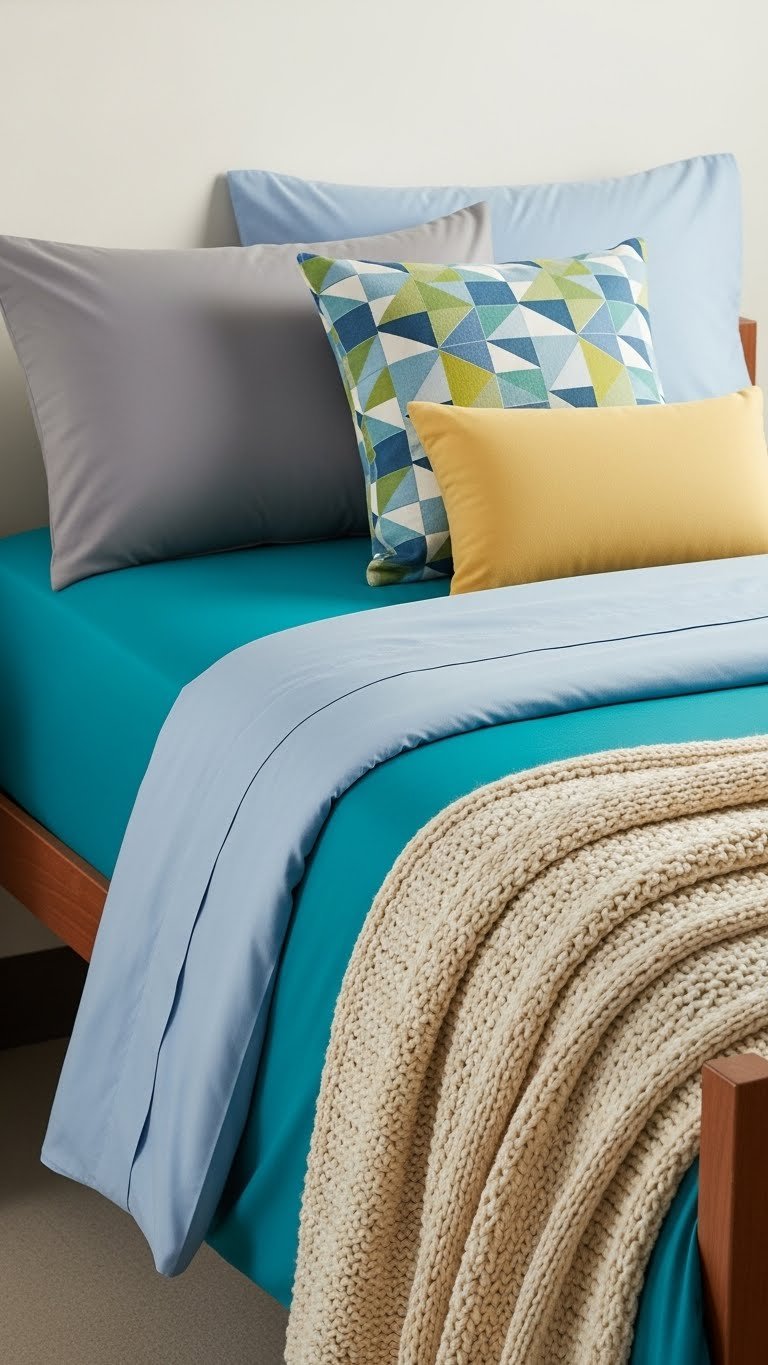
Those “bed-in-a-bag” sets are matchy and impersonal. Instead, curate your bedding by mixing fitted sheets, top sheets, blankets, and pillows in coordinating but distinct textures and tones. This approach looks more sophisticated and gives you options for different seasons and moods.
Buy quality sheets from Target or Amazon ($15-$30 per set), add a weighted blanket ($40-$80) or chunky knit throw ($25-$50), and invest in good pillows ($30-$60 each). Total investment: $100-$200, but you’re not replacing it all next year.
Your bed becomes the anchor of your room—a place you actually want to rest and read. Quality sleep setup means better rest during stressful exam weeks.
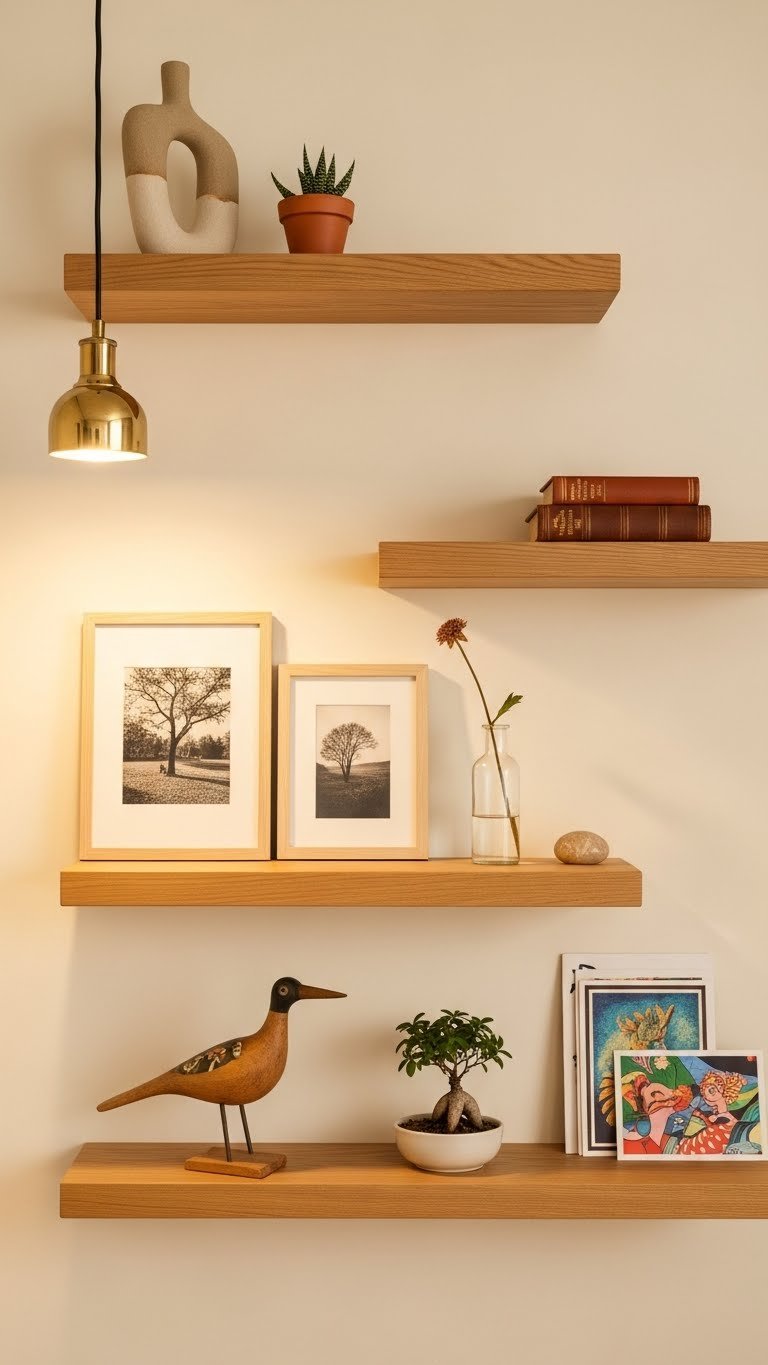
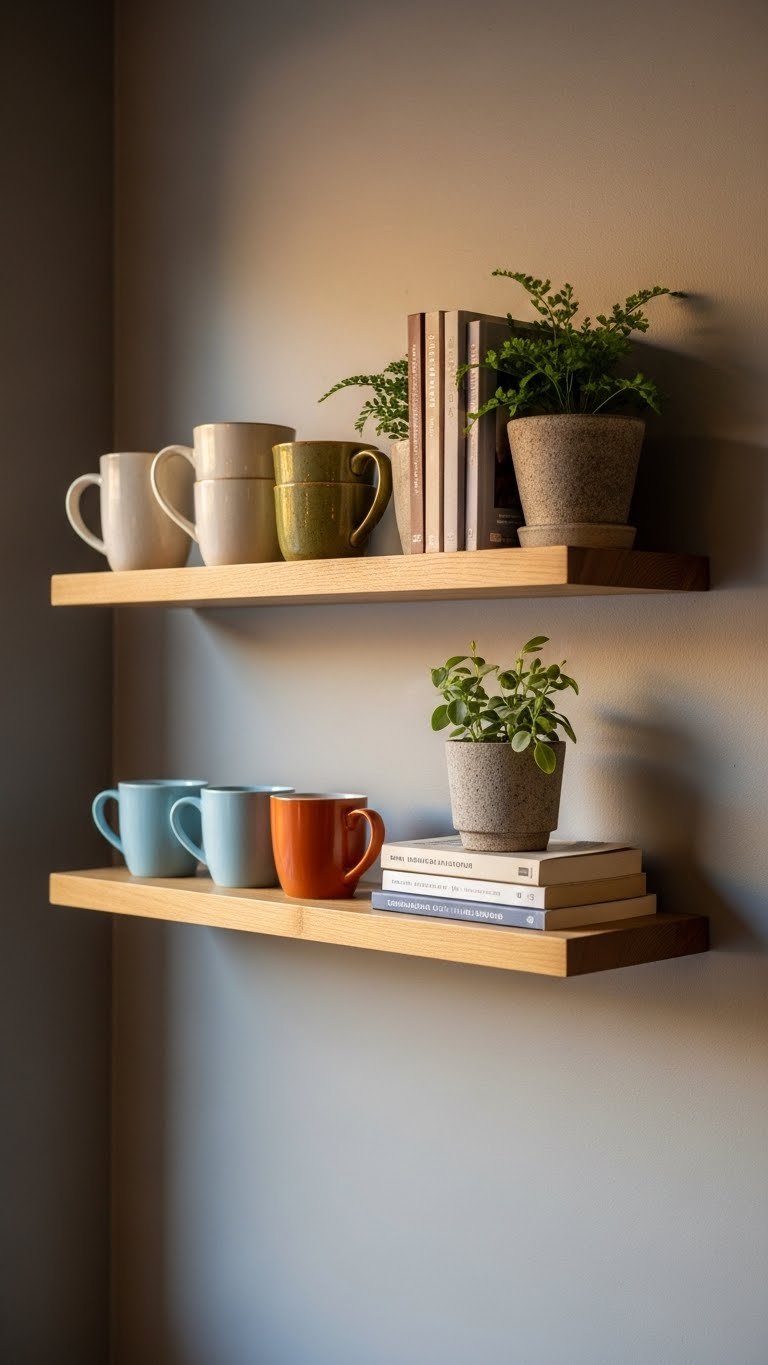
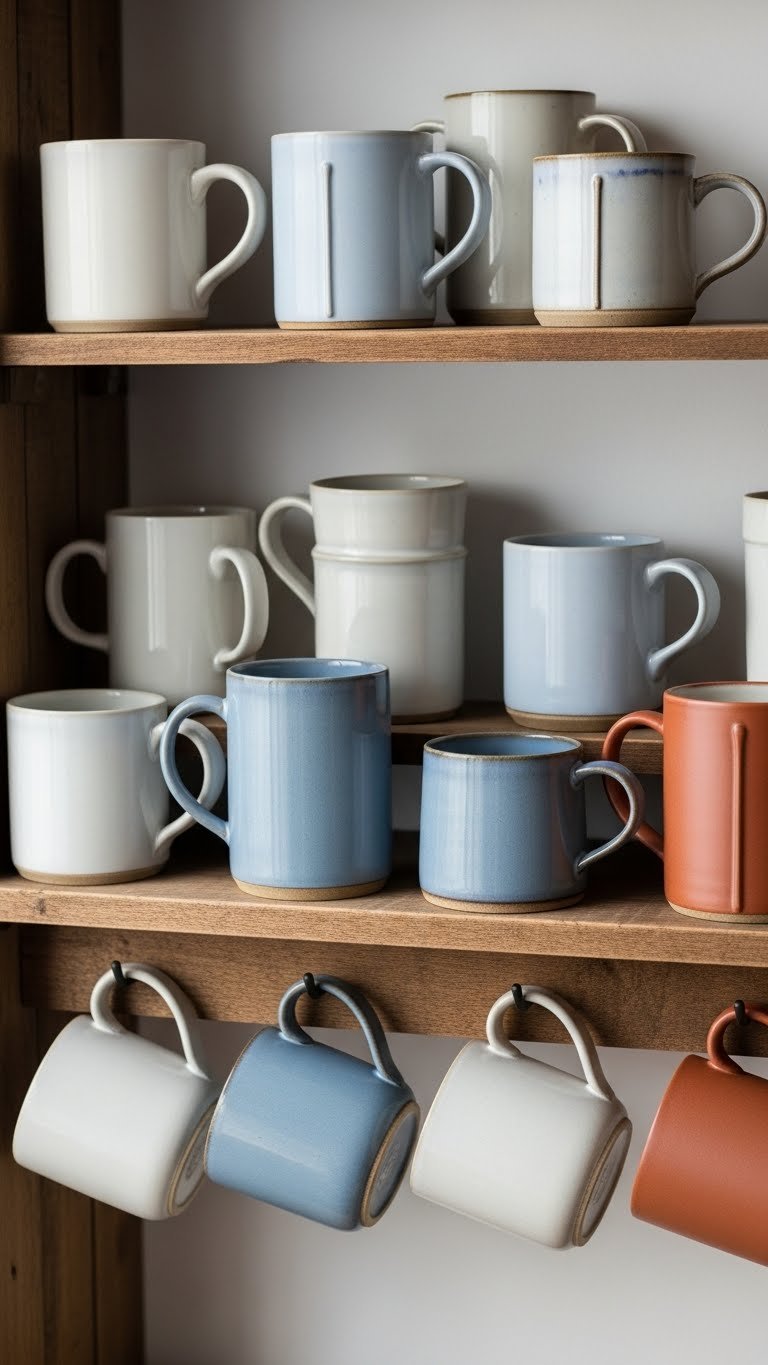
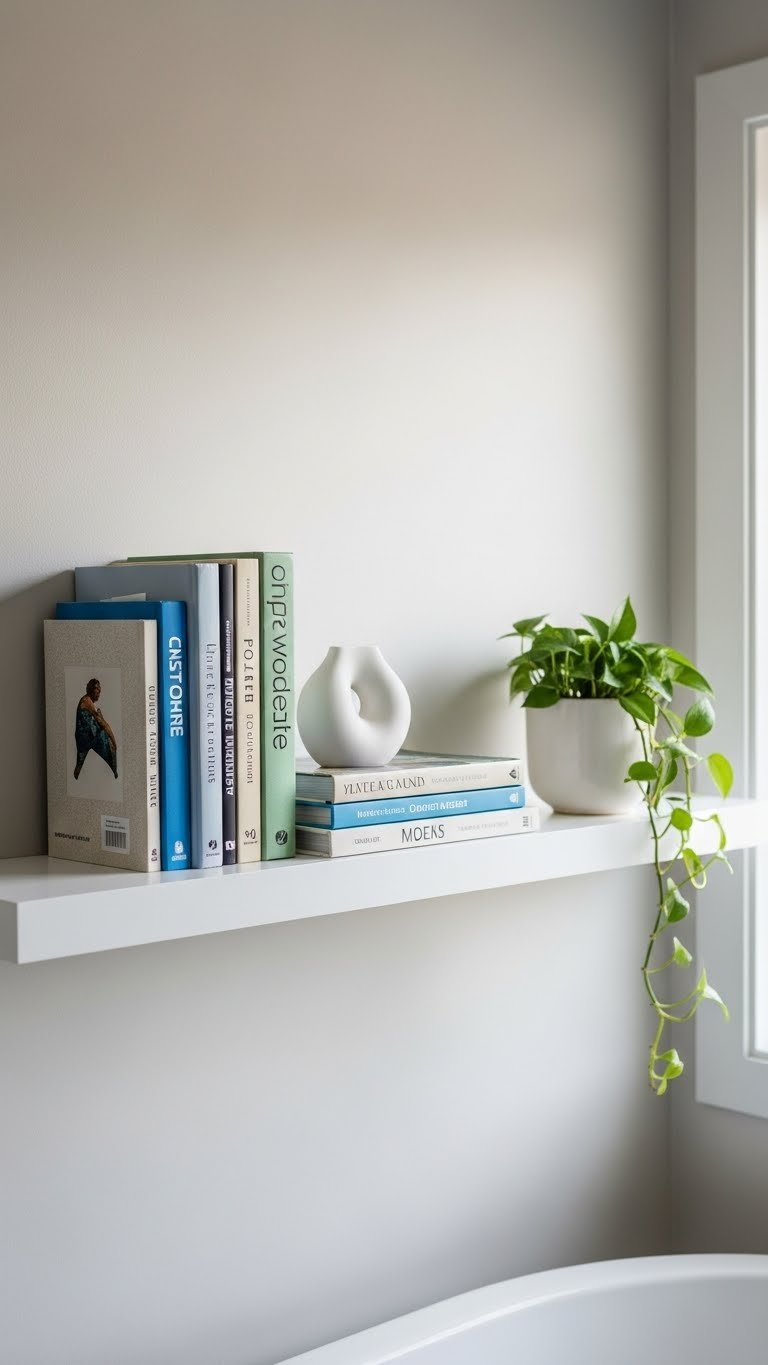
9. Install Floating Shelves for Display and Storage

Floating shelves add vertical storage without eating floor space, and they give you room to display books, plants, photos, and small decor that shows off your personality. No drilling required if you use adhesive shelves (though they’re less stable for heavy items).
Adhesive shelves run $15-$40 per shelf; traditional floating shelves need installation but cost $20-$50. Arrange books, potted plants ($5-$20 each), and a small plant stand ($15-$30) on them to create a styled, intentional look.
You’re maximizing your tiny wall space and creating a focal point that makes your dorm feel like an actual home office, not just a study desk crammed in a corner.
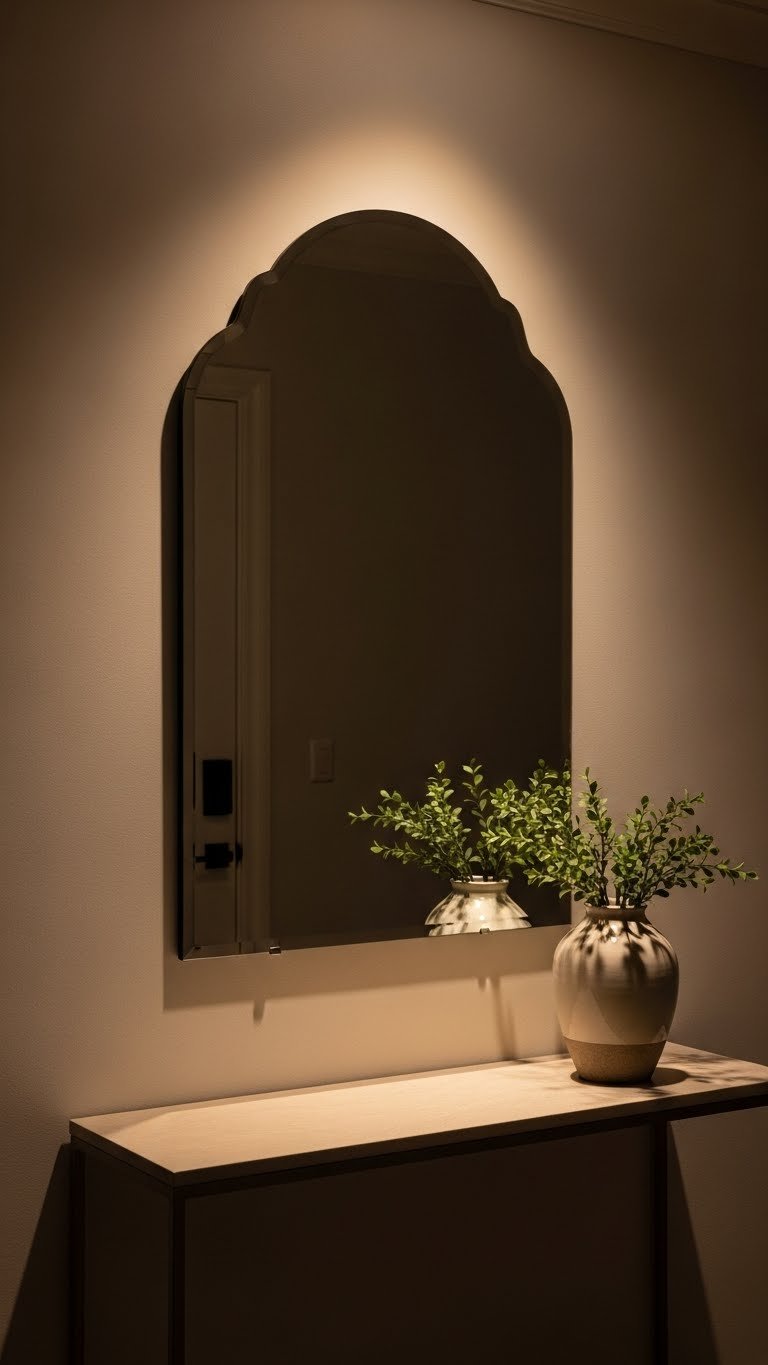
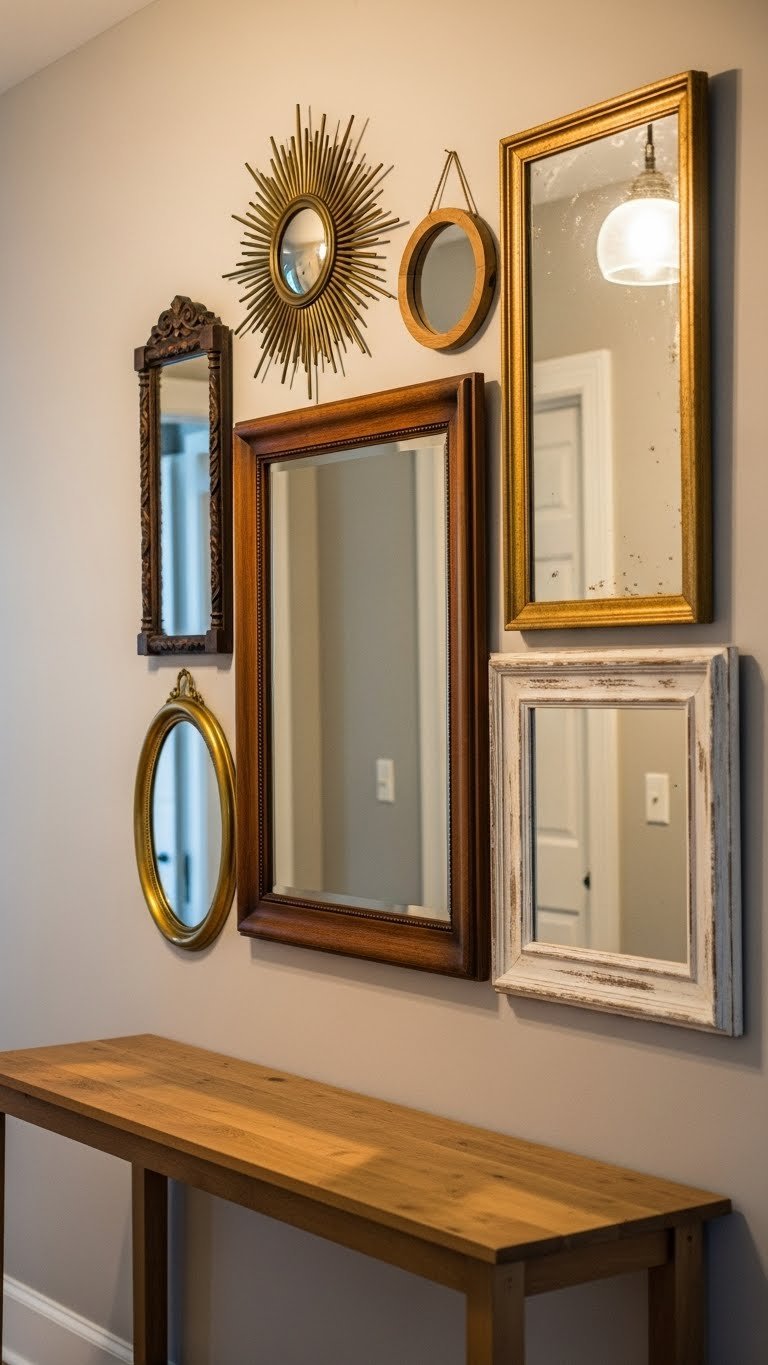
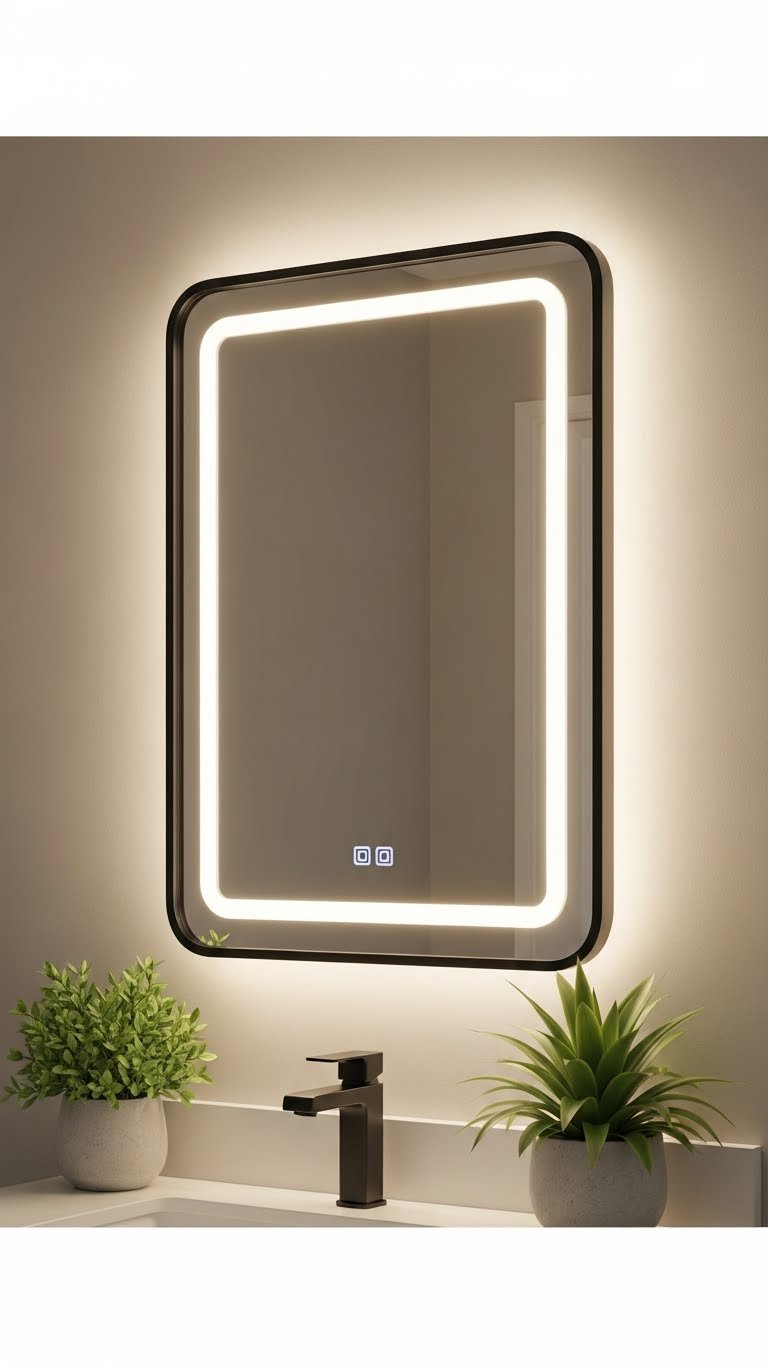
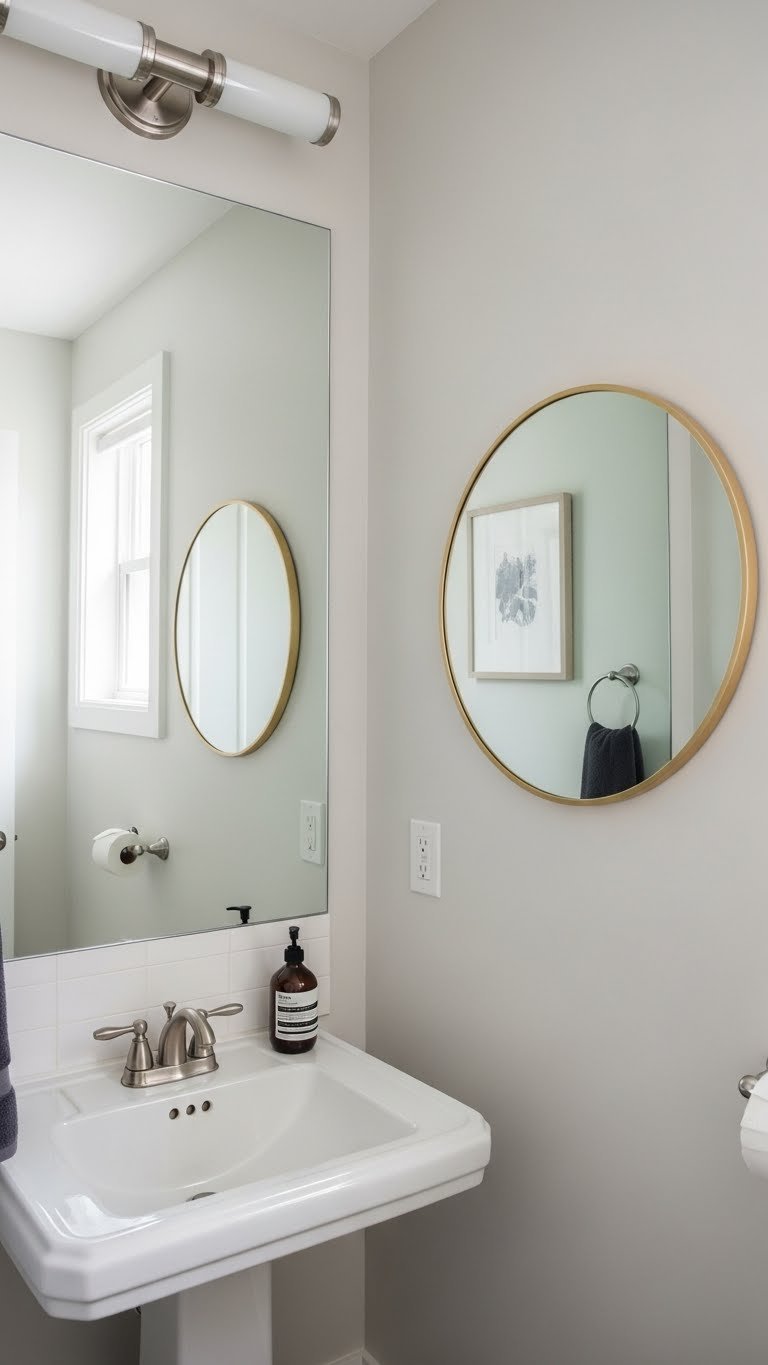
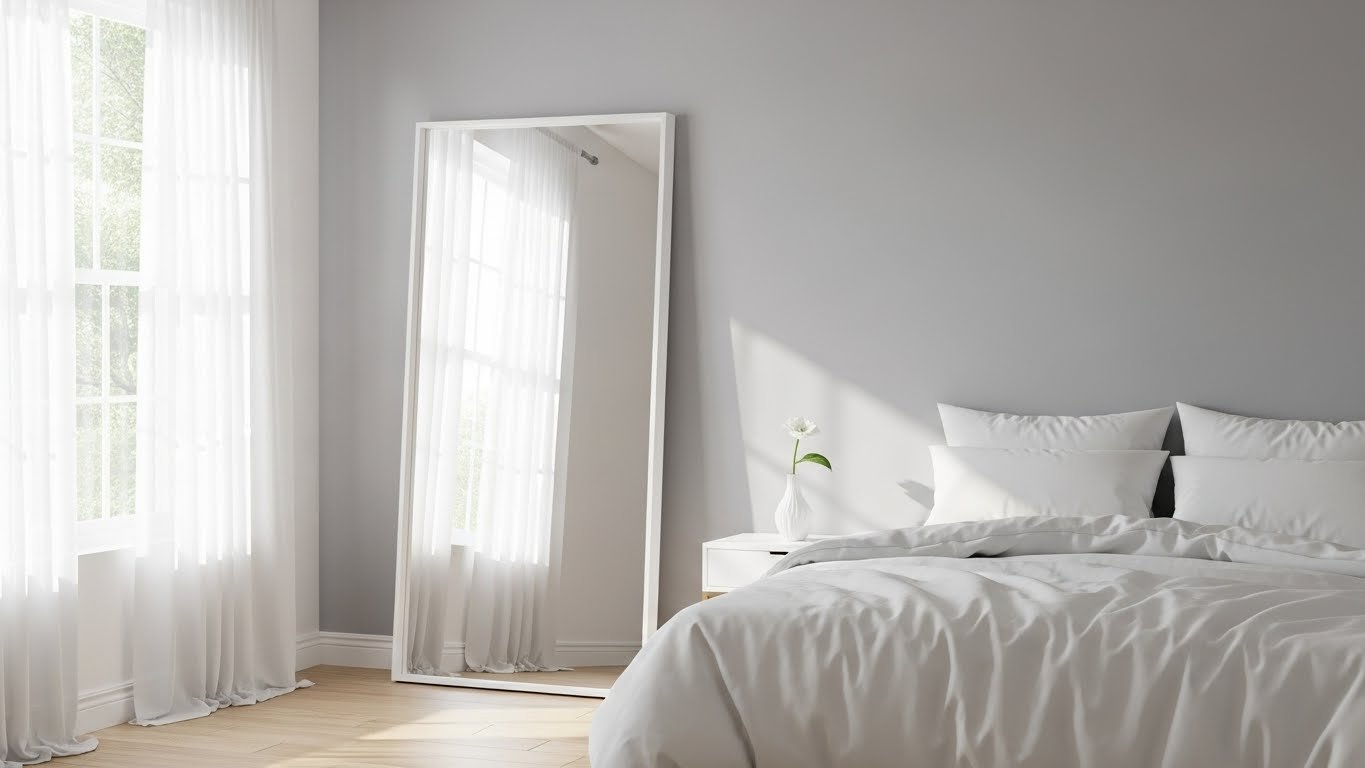
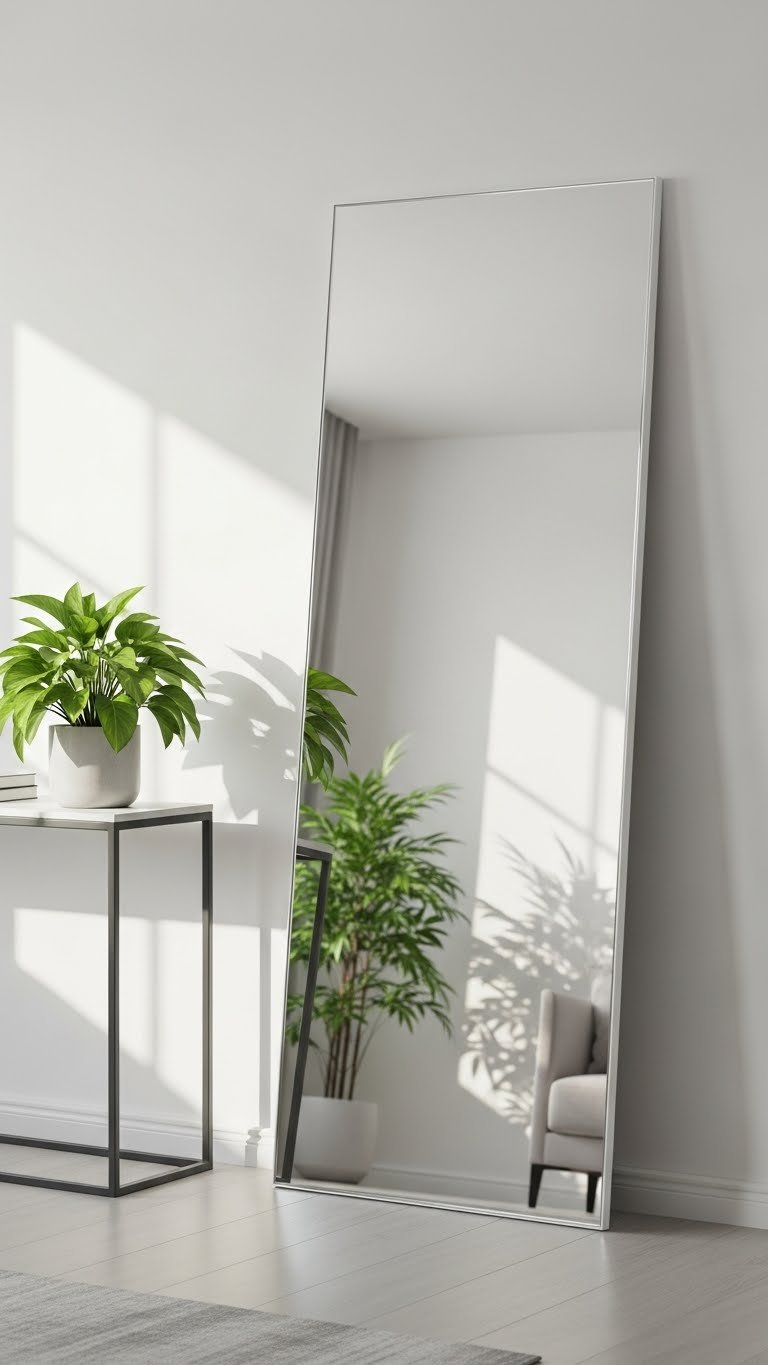
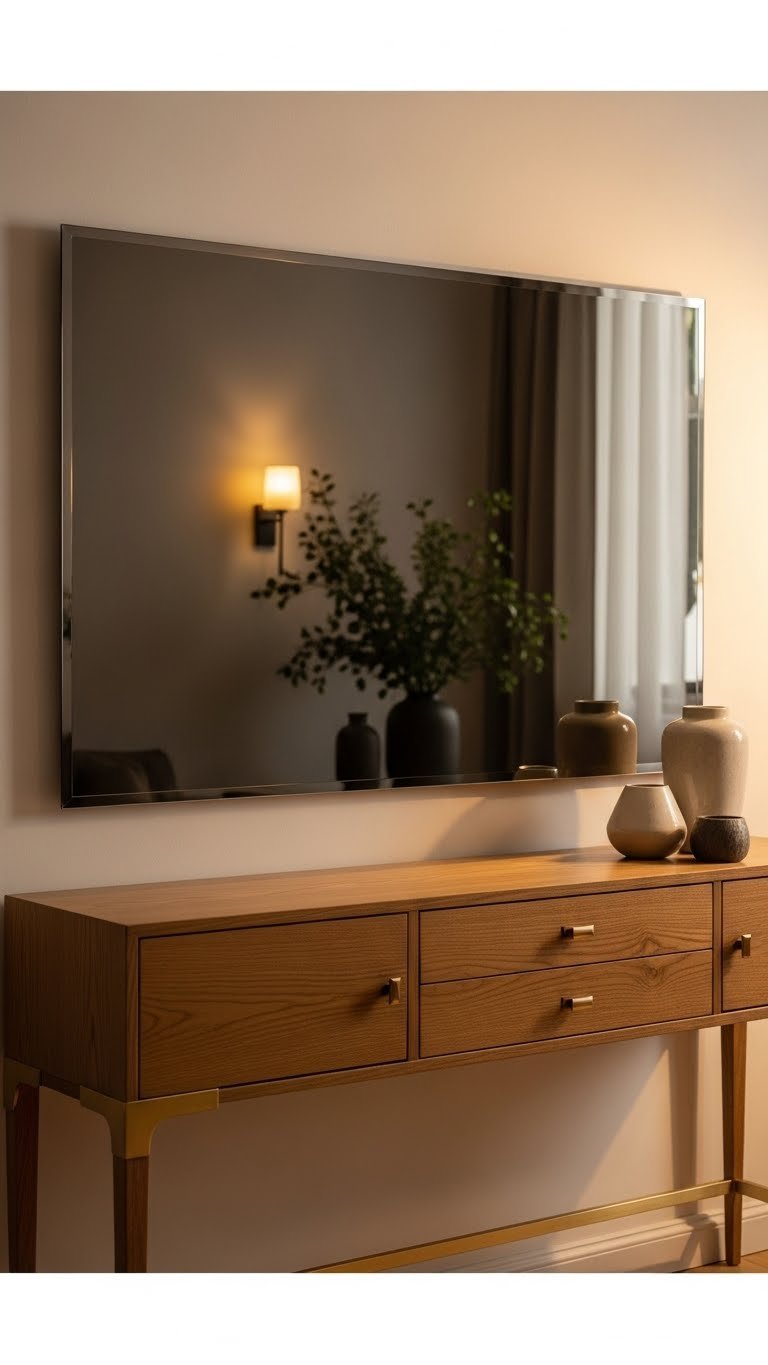
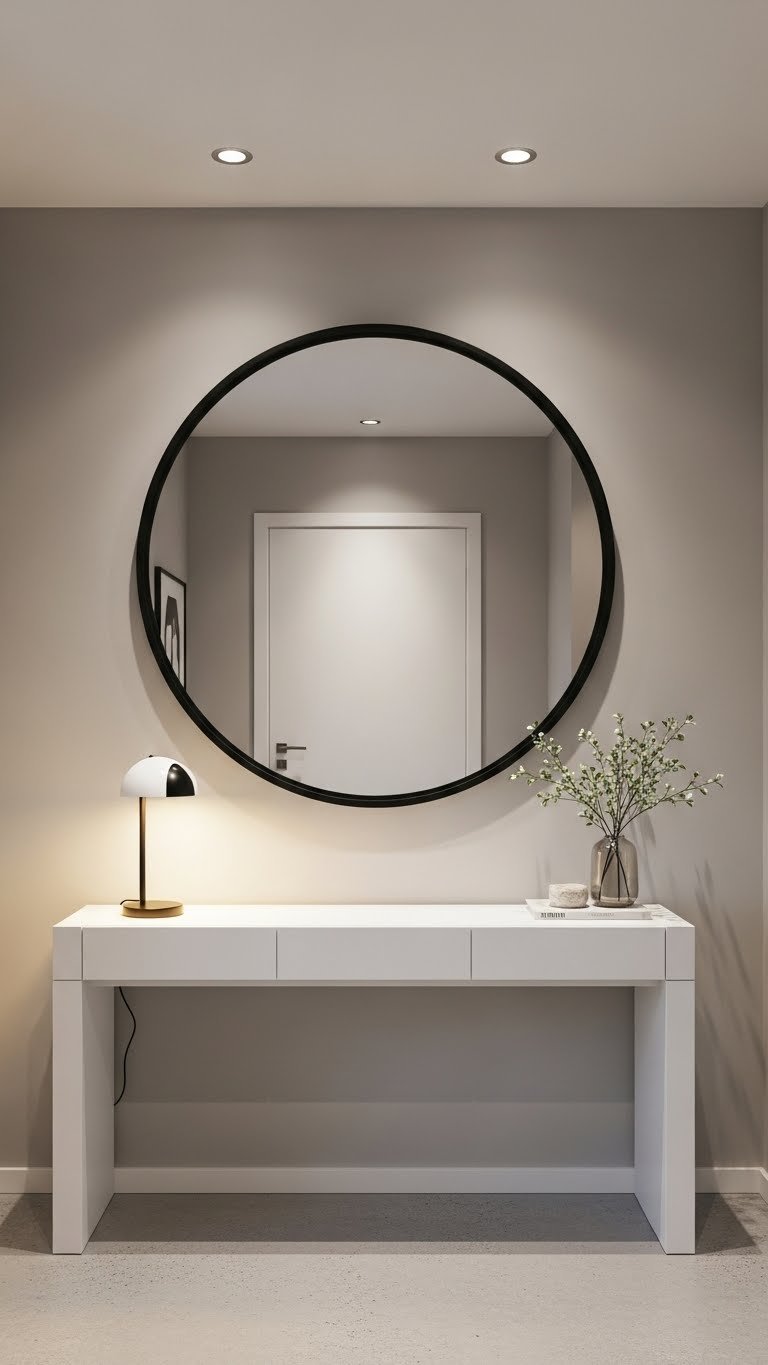
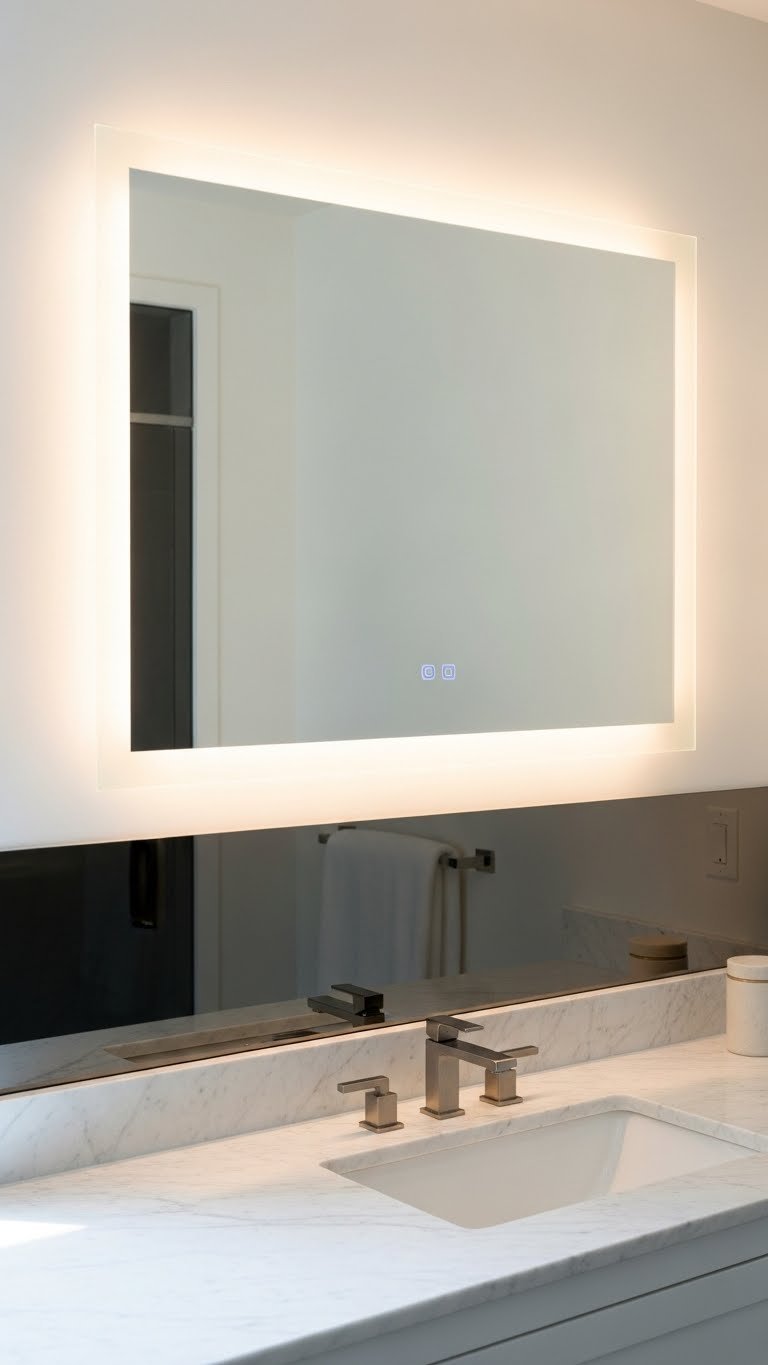
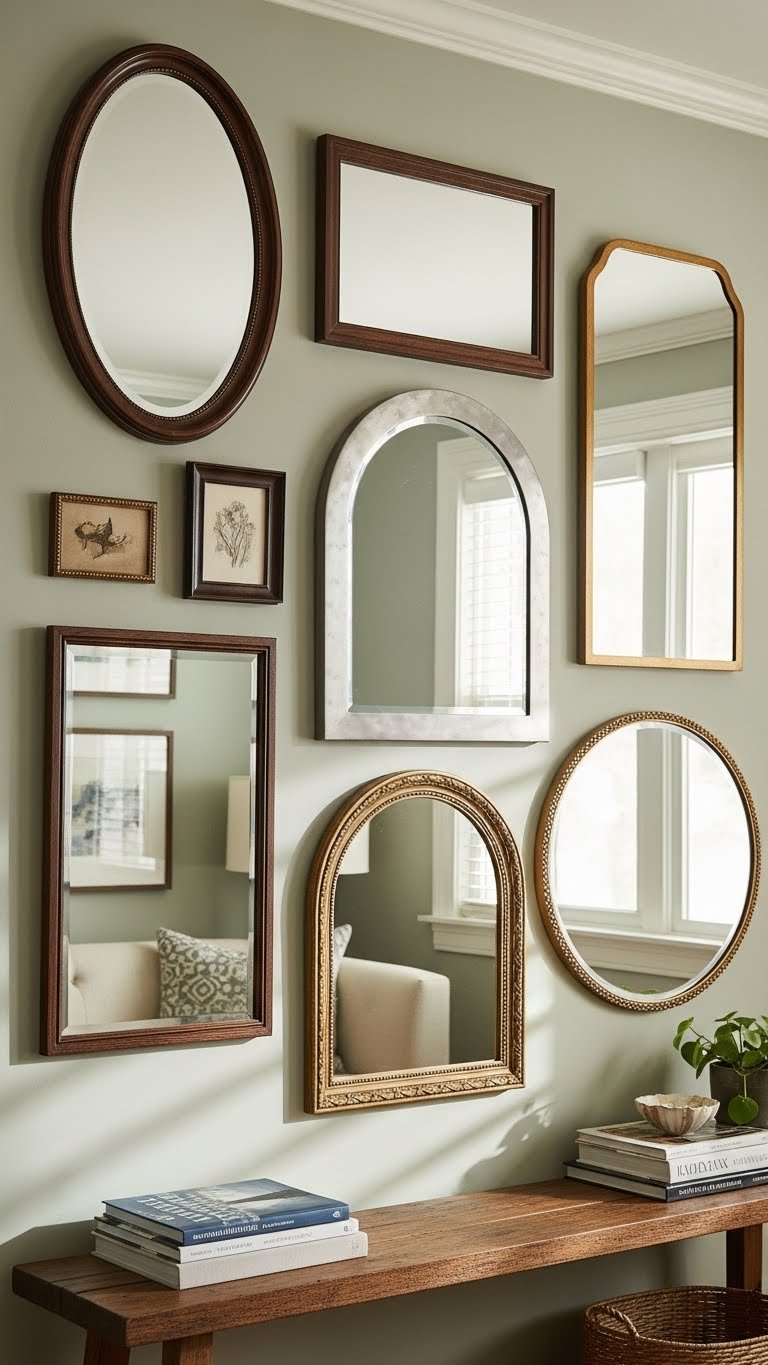
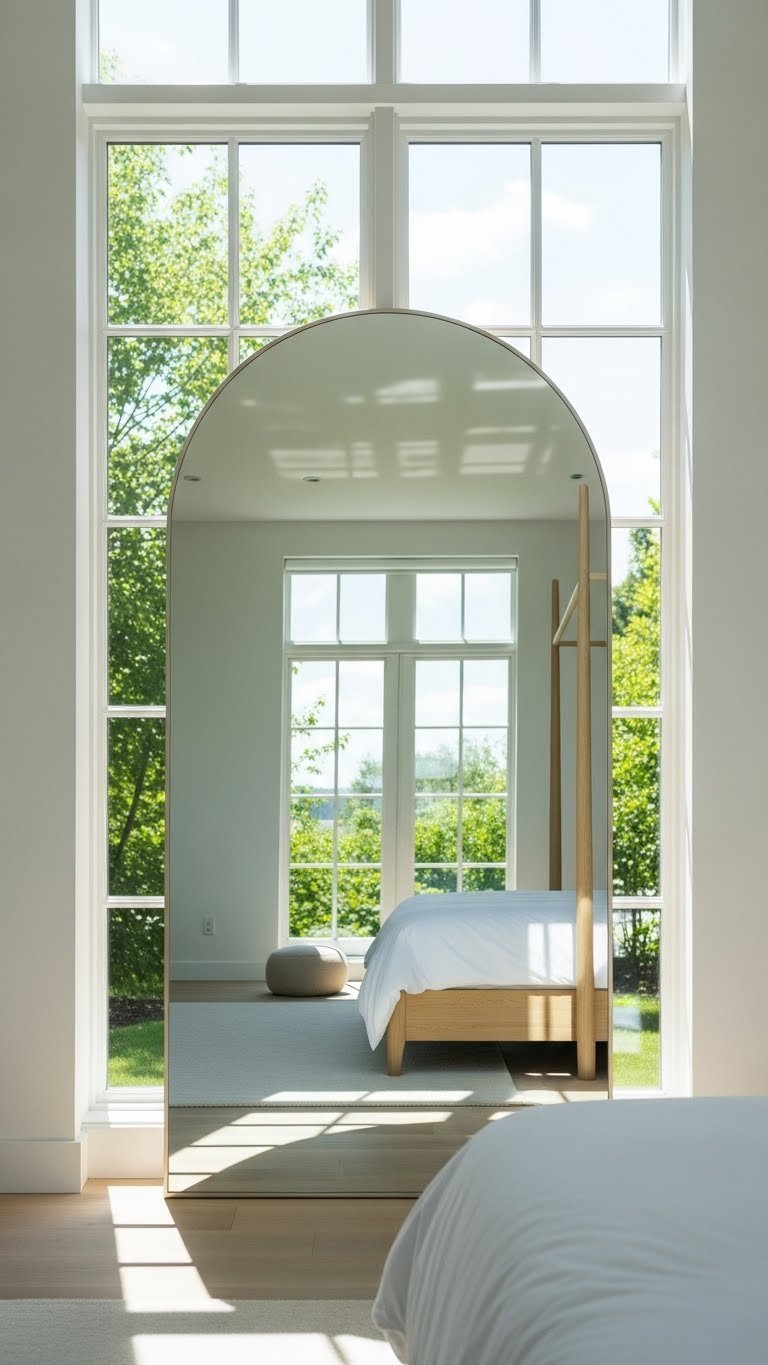
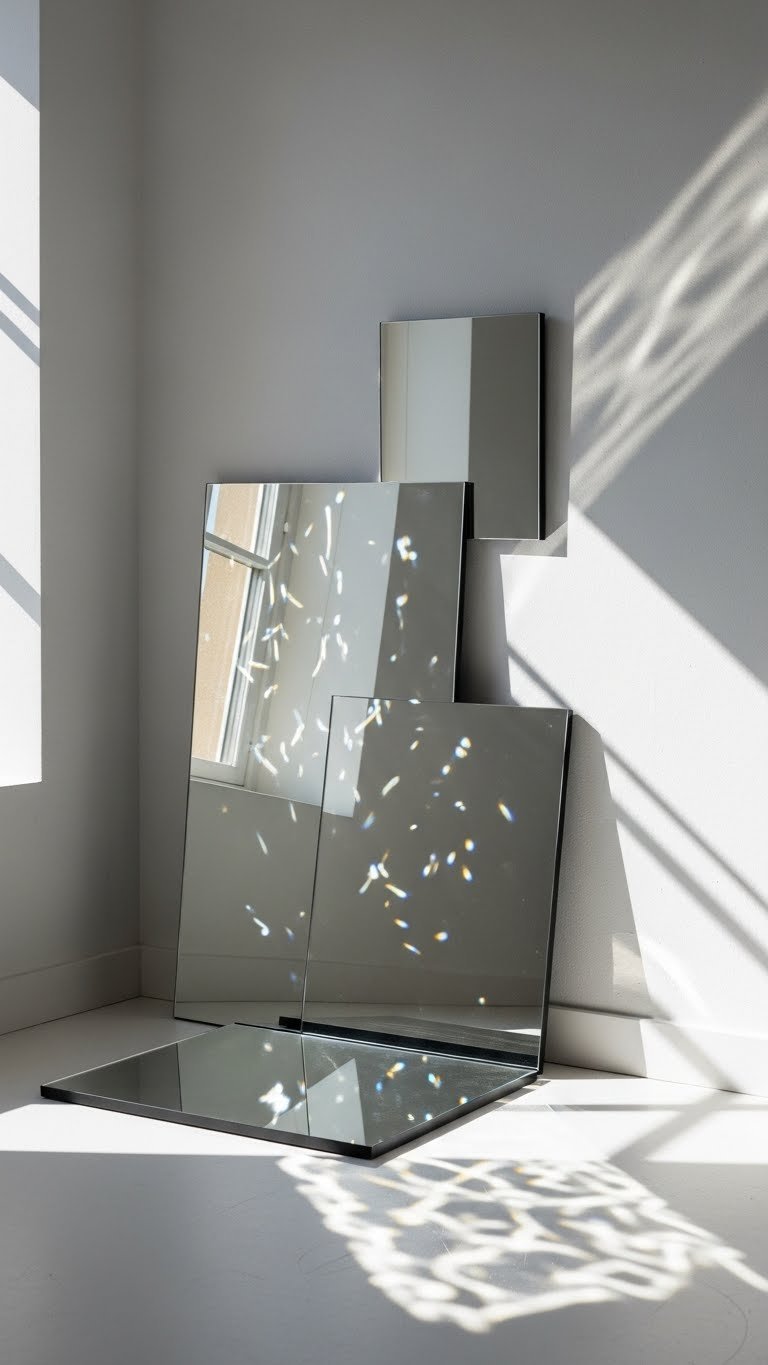
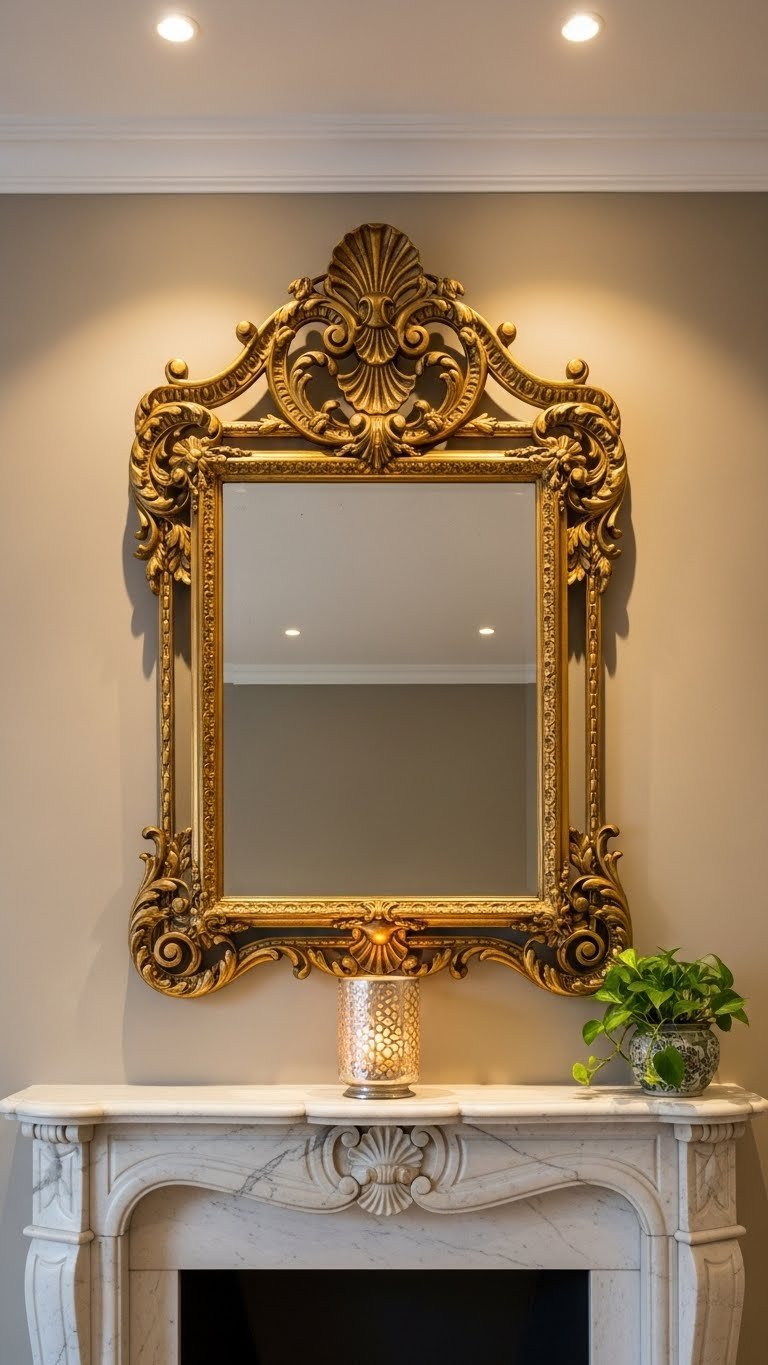
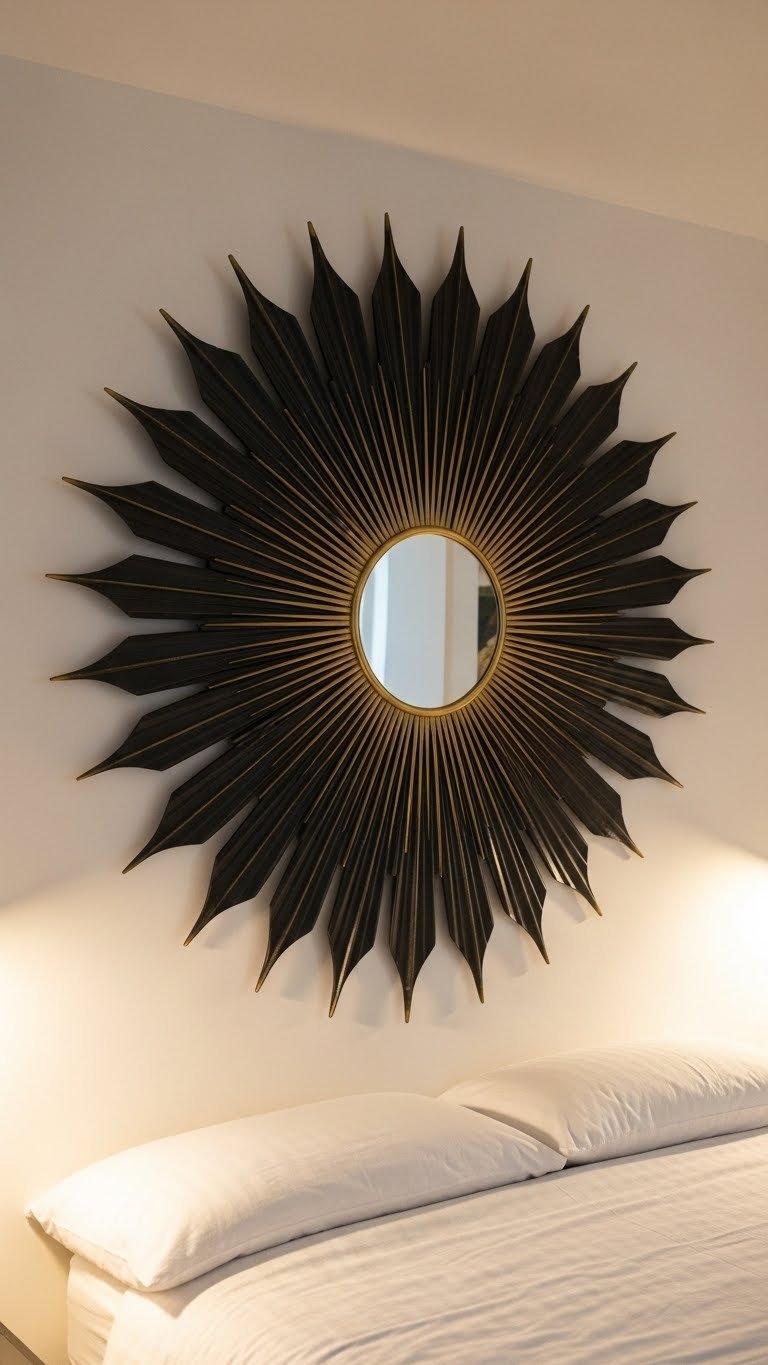
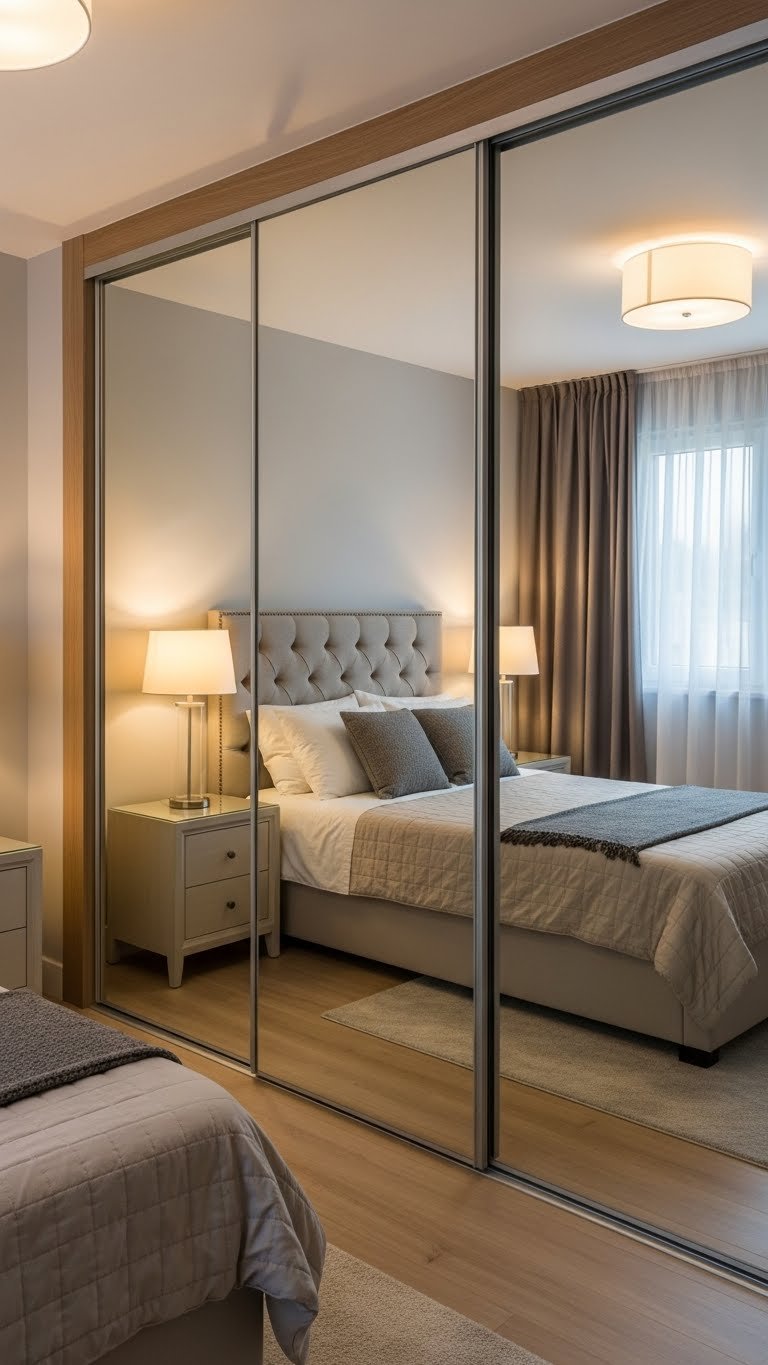
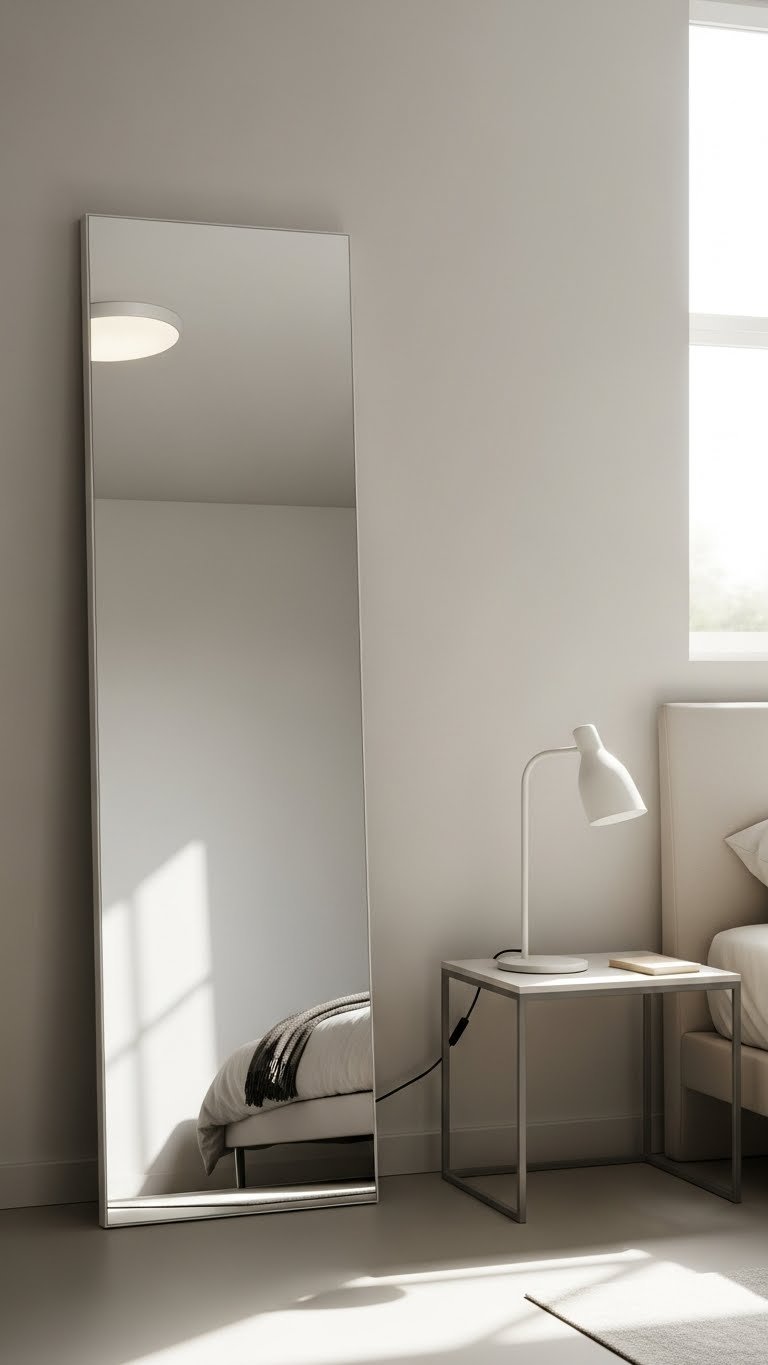
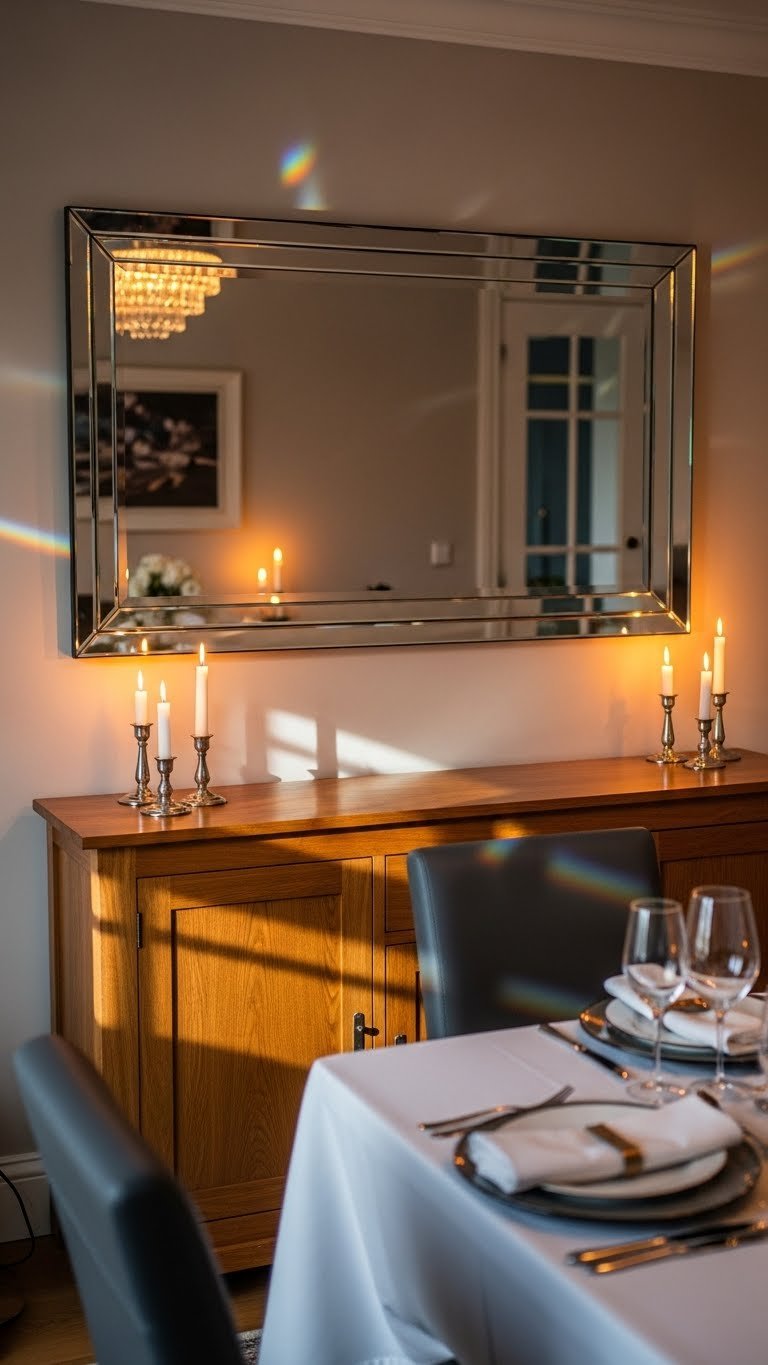
10. Use a Large Mirror to Reflect Light and Expand Space
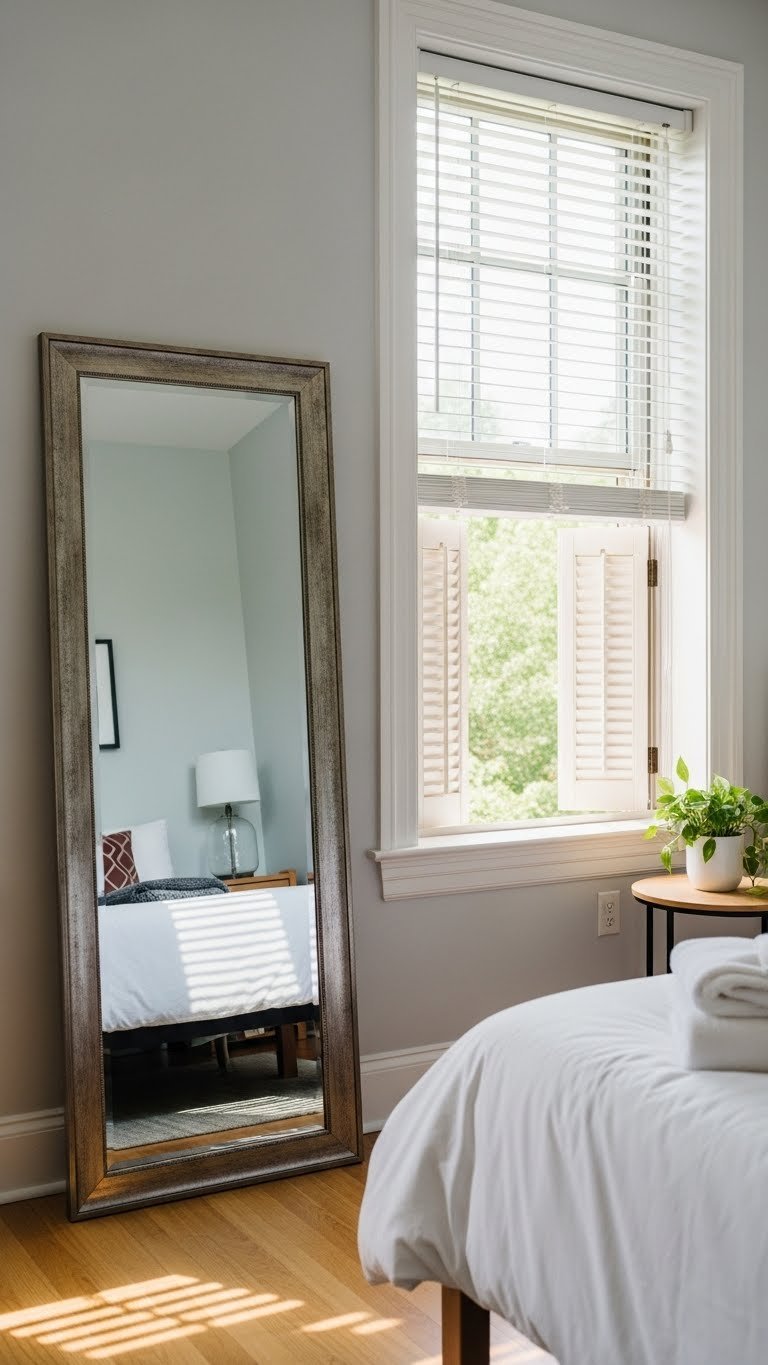
Mirrors bounce light around small spaces and make dorm rooms feel bigger and brighter. A large statement mirror (especially one with a pretty frame) also serves as decor, not just a functional item.
Leaning floor mirrors cost $30-$80 and don’t require installation. Wall-mounted mirrors in wooden or brass frames run $25-$60. Position it across from a window or light source to maximize its effect.
Suddenly your room looks lighter, airier, and more spacious. You get a practical tool plus a design element that works hard for your space.
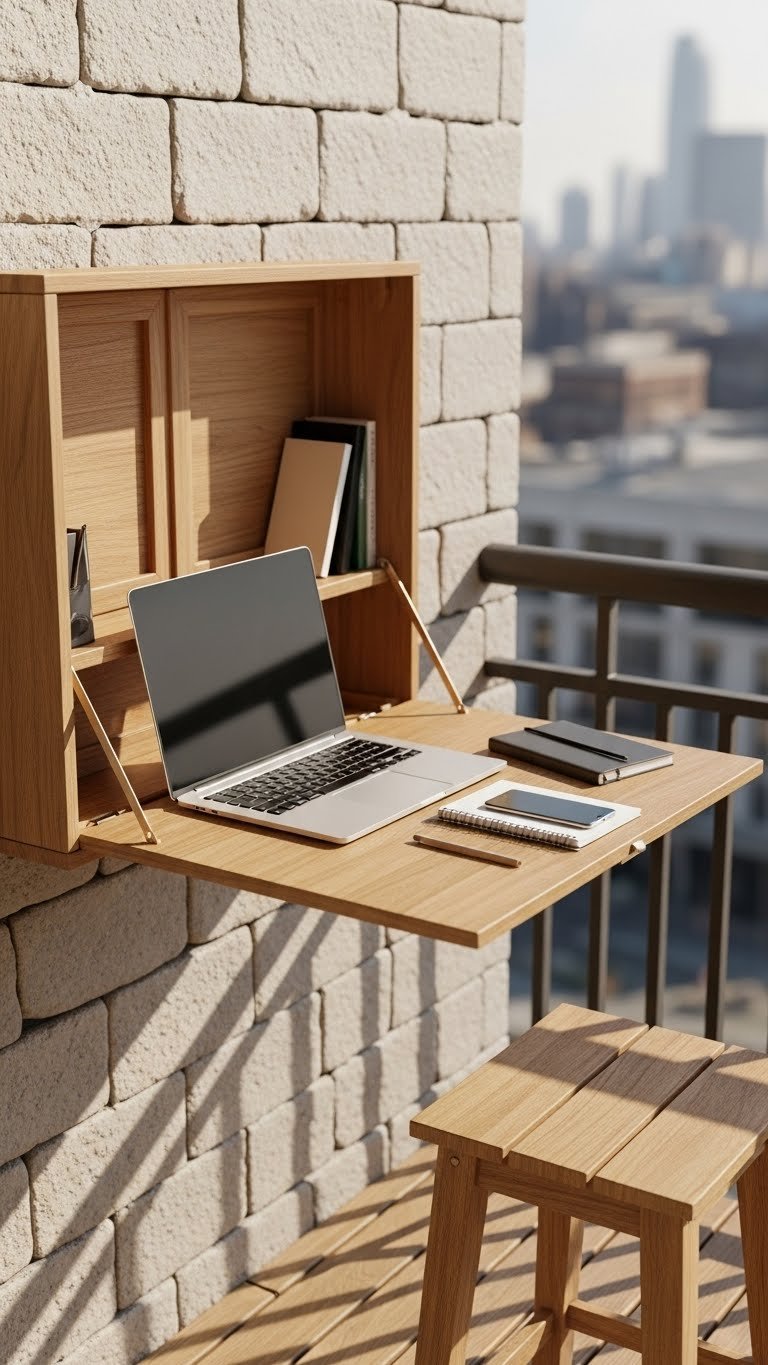
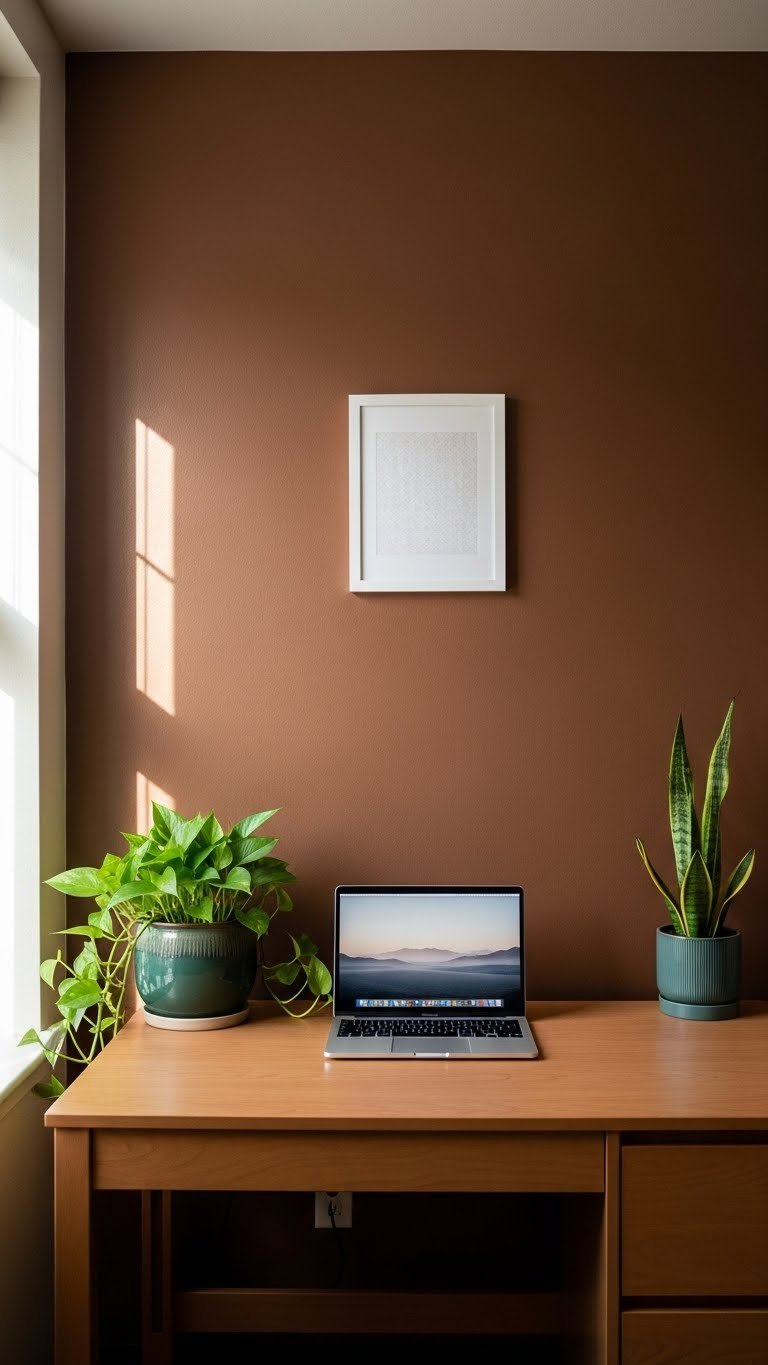
11. Paint or Update Your Desk for a Personalized Workspace
Generic particle-board desks come with the territory, but you can upgrade yours with paint, adhesive wood veneer, or a decorative desktop cover. A personalized desk makes studying feel less institutional and more intentional.
Use removable paint ($15-$30), self-adhesive wallpaper or wood grain film ($20-$40), or even a large cork or fabric desktop cover ($30-$50). The whole project takes one weekend.
You’ll actually enjoy sitting down to study when your workspace reflects your style. It’s a small change that impacts your daily life significantly.
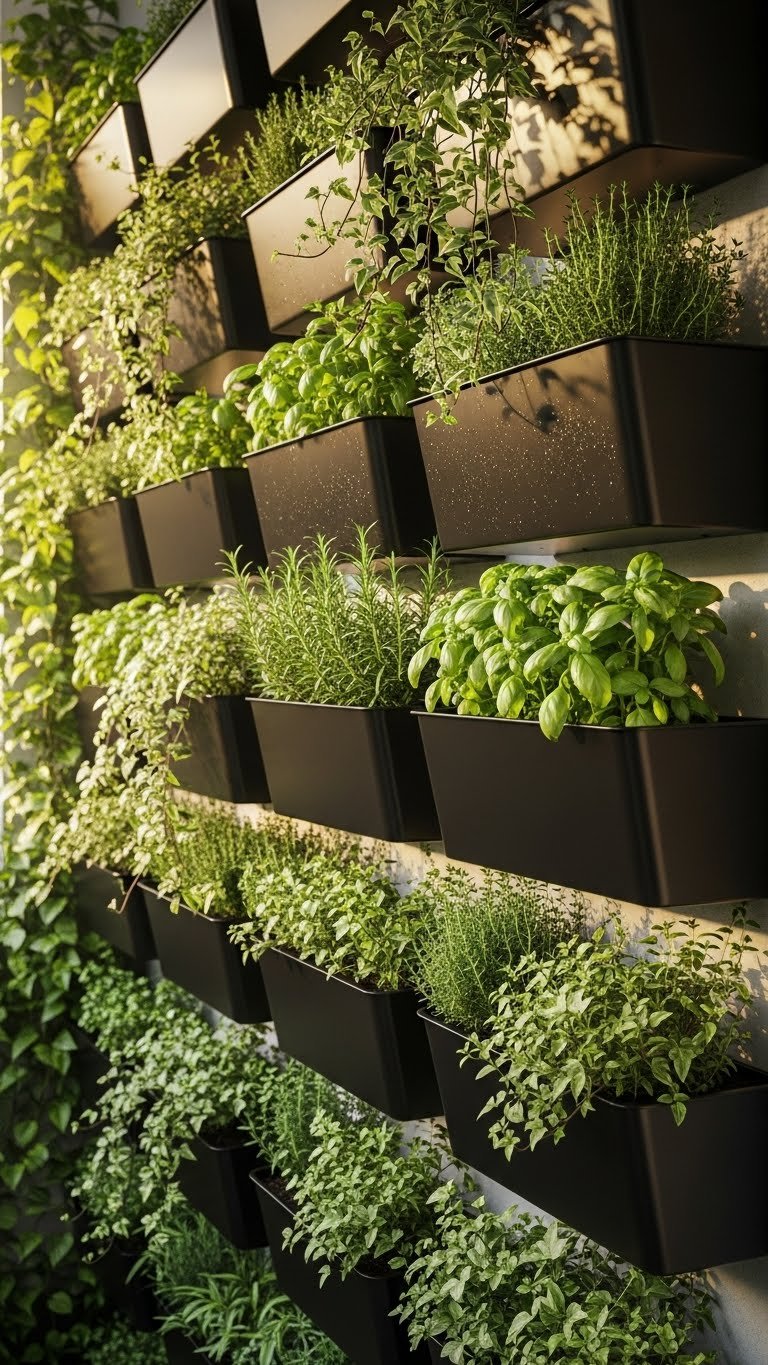
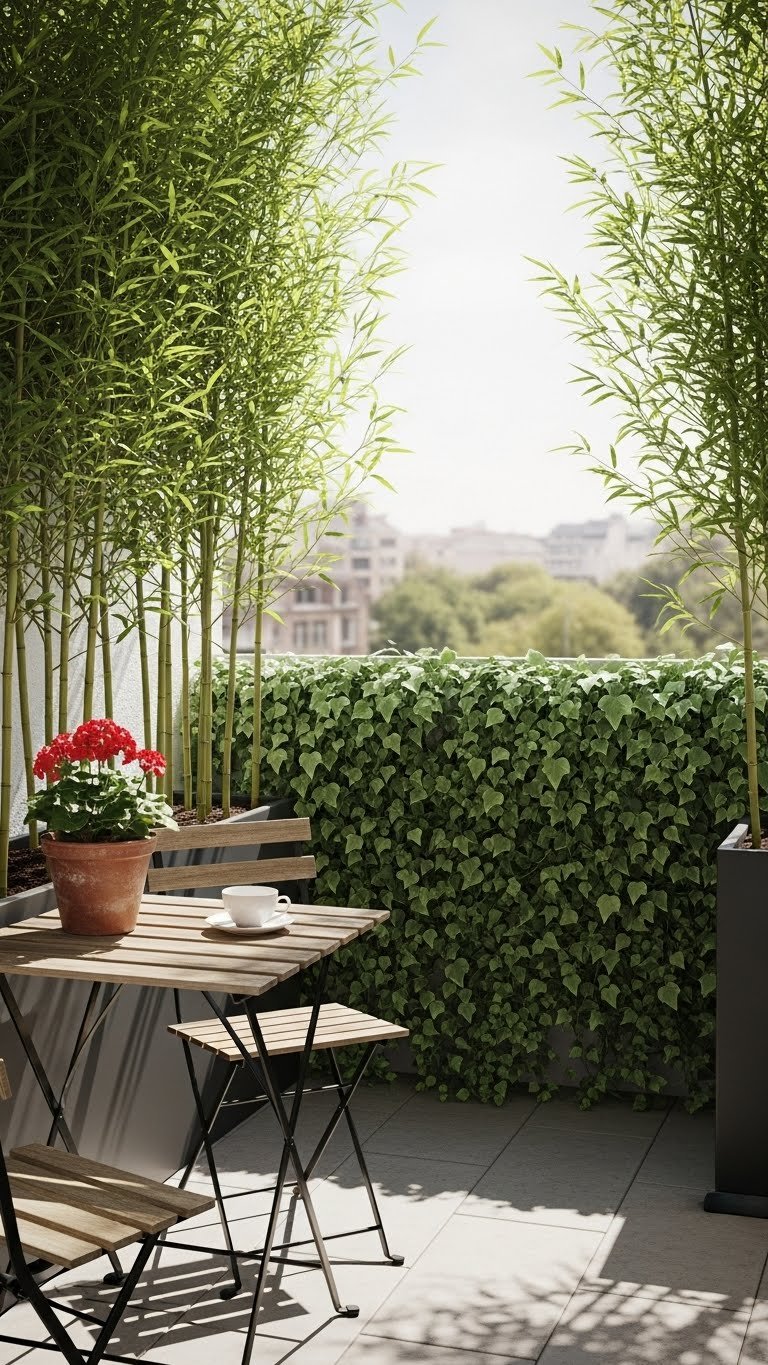
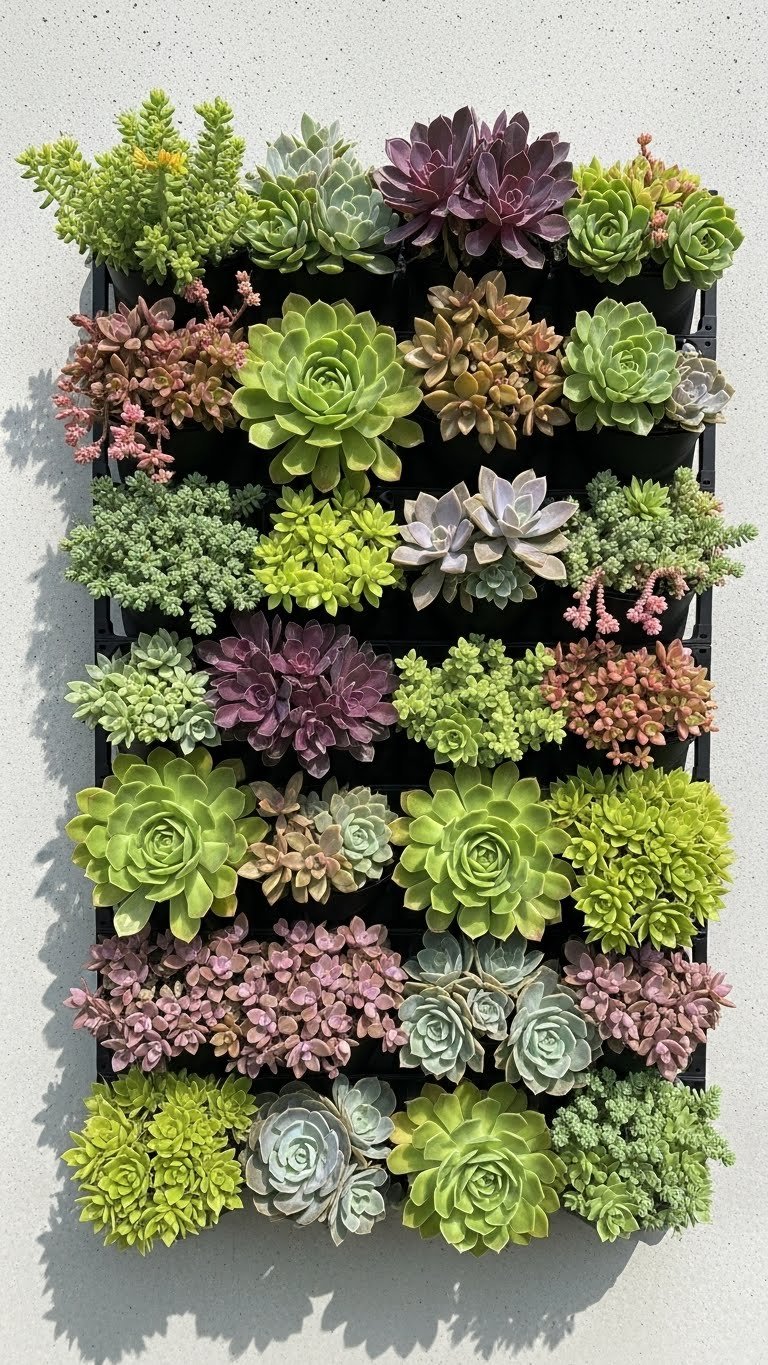
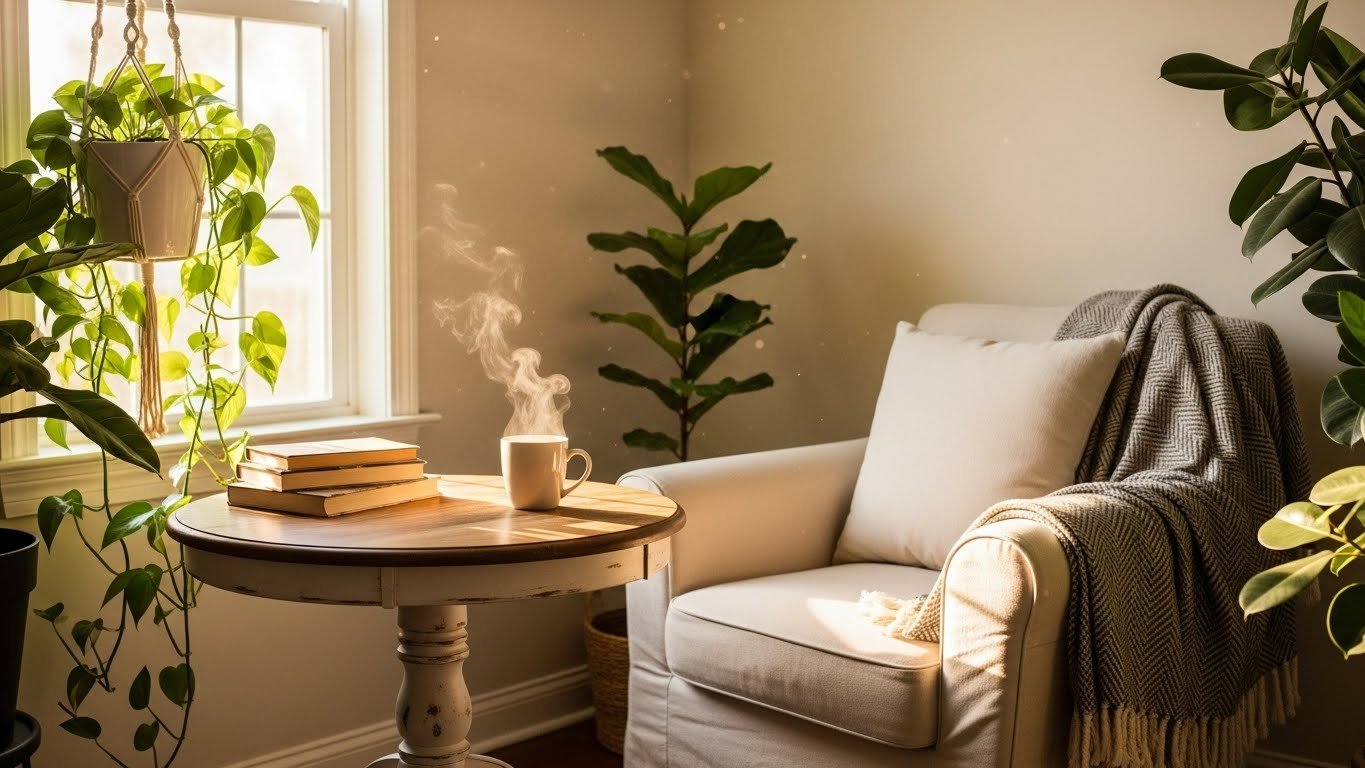
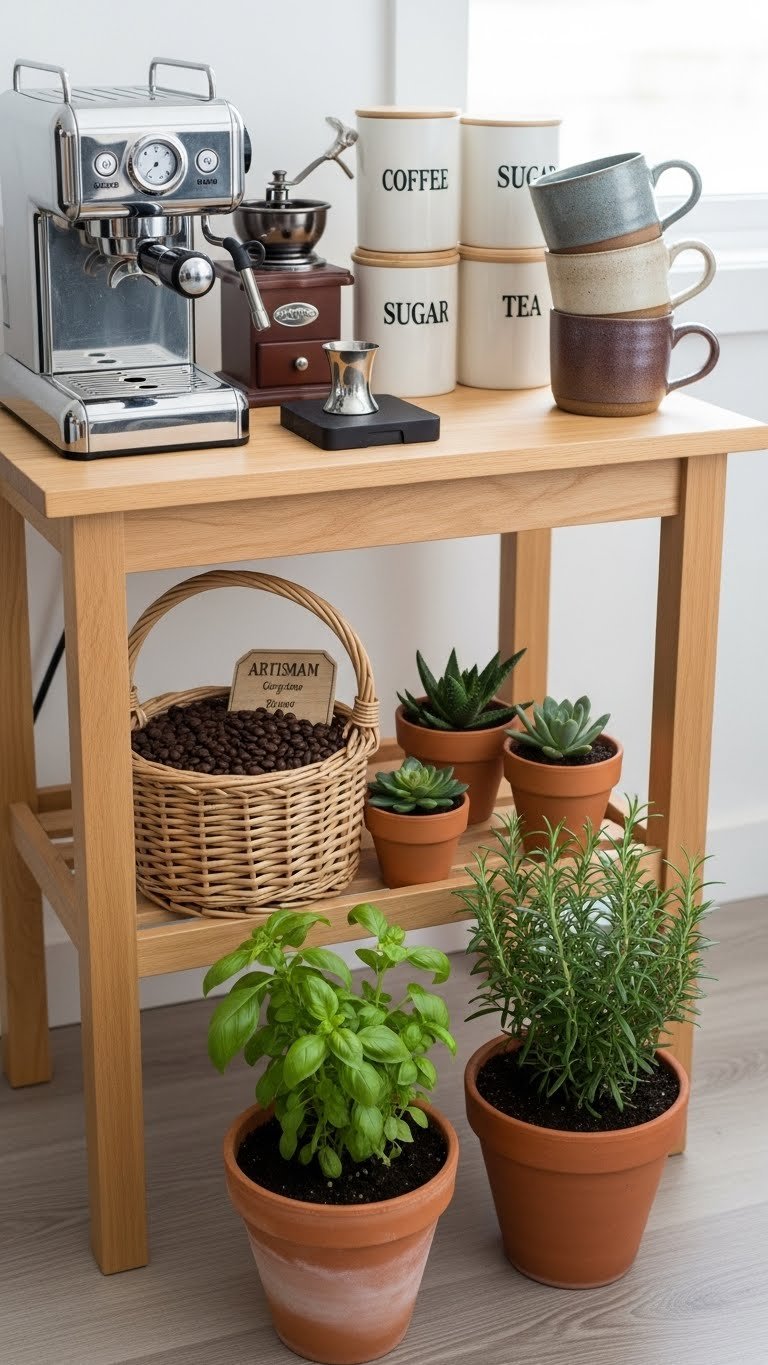
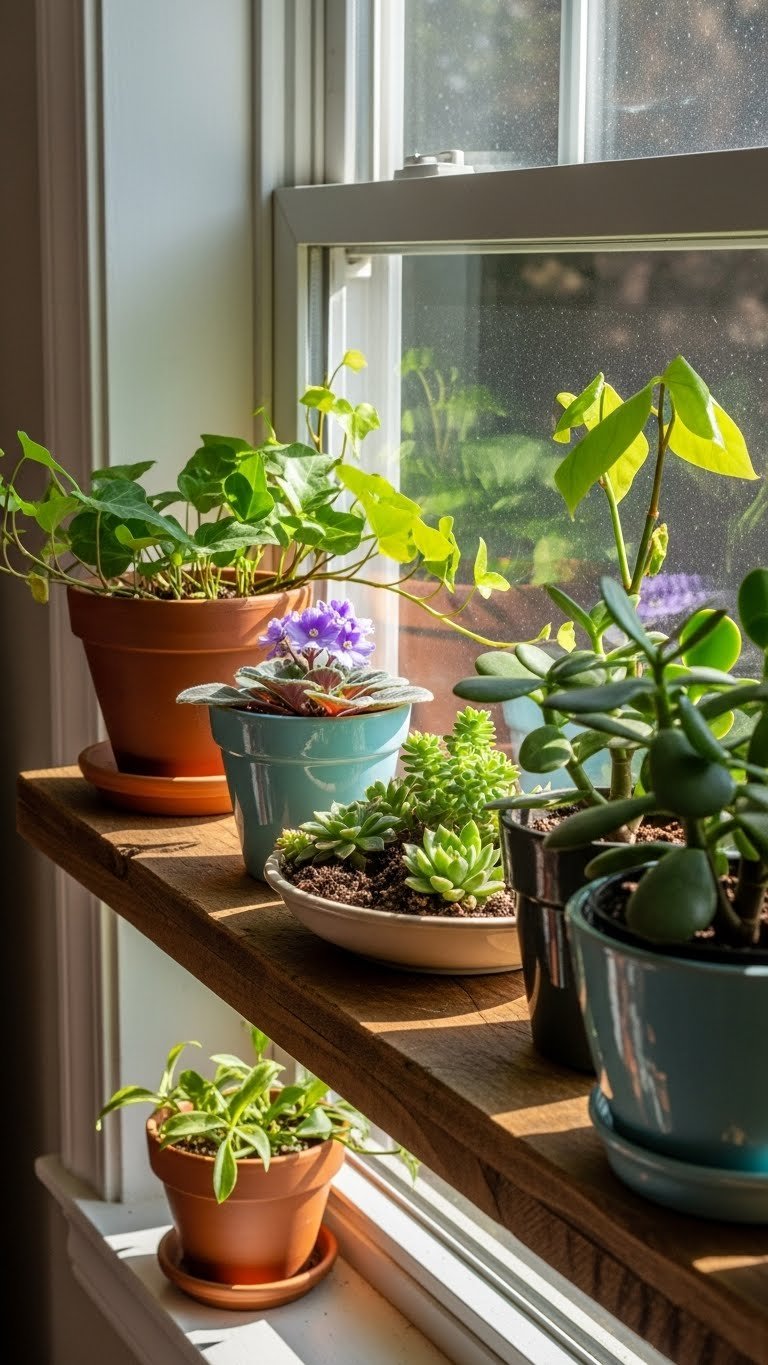
12. Add Indoor Plants for Warmth and Air Quality
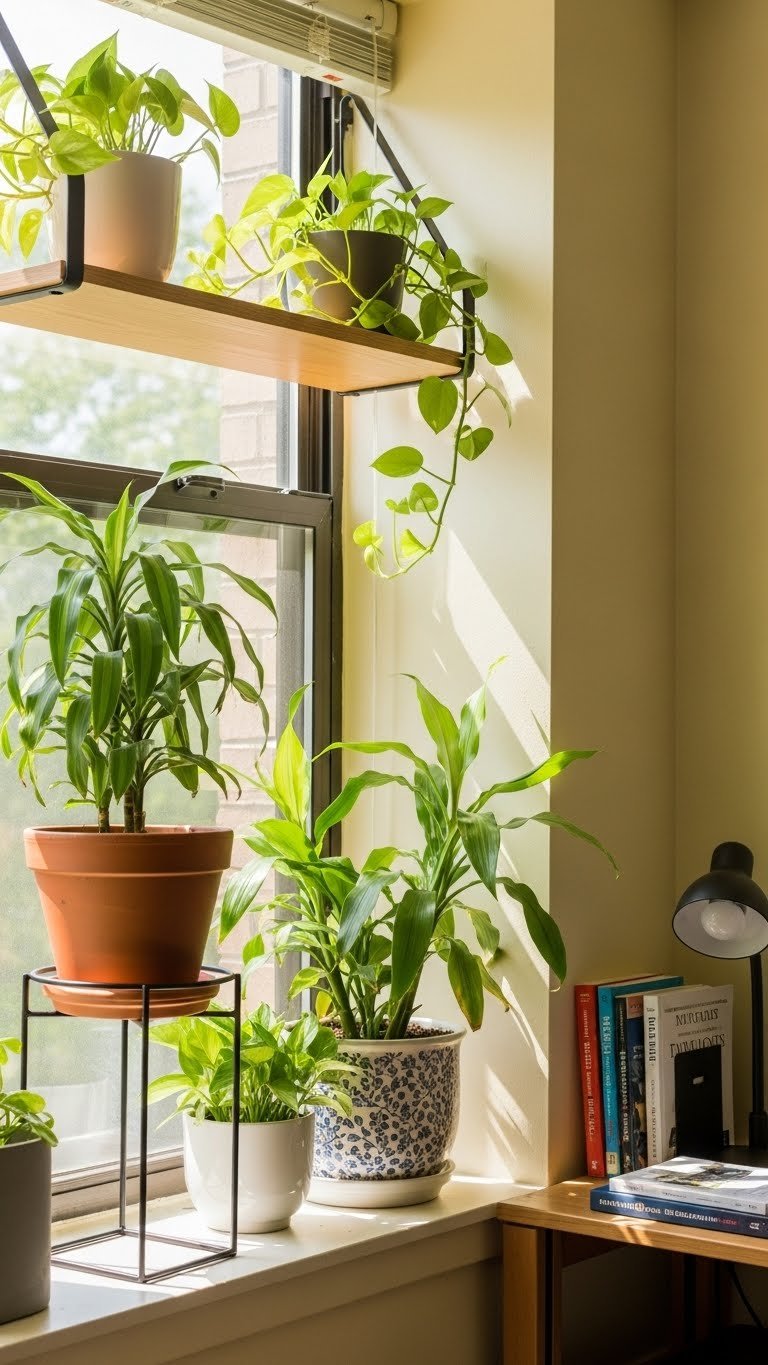
Plants add life, texture, and warmth to dorm rooms while improving air quality. Low-maintenance varieties like pothos, snake plants, and monstera thrive even if you forget to water them regularly (perfect for student schedules).
Buy small potted plants from grocery stores or garden centers ($5-$15 each) and add them to shelves, windowsills, and corners. A simple plant stand ($15-$30) creates a plant corner display.
Your room instantly feels more organic and grounded. Plus, having greenery actually boosts mood and focus during long study sessions—it’s science.
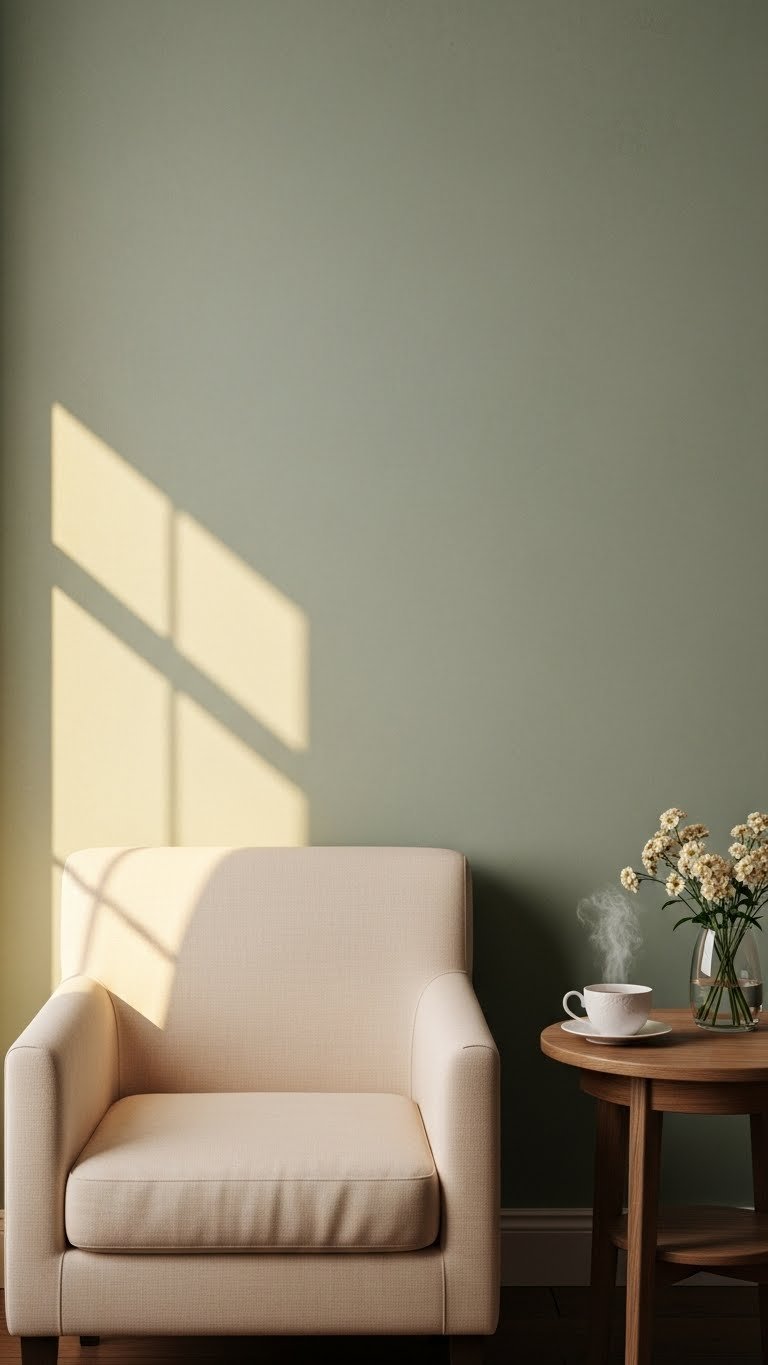
13. Create a Skirted or Draped Seating Area

Skirted furniture adds drama and coziness while making basic pieces look more intentional. You can add a skirted slipcover to a chair or ottoman, or simply drape quality fabric over seating to create that upholstered, boutique feel.
Pick up a plain chair or ottoman ($30-$80 secondhand) and add a fitted fabric skirt ($20-$40 from craft stores or Etsy). Alternatively, just drape a high-quality throw blanket for a similar effect without sewing.
Your seating area becomes a statement piece instead of something purely functional. It makes your dorm feel more grown-up and design-forward.
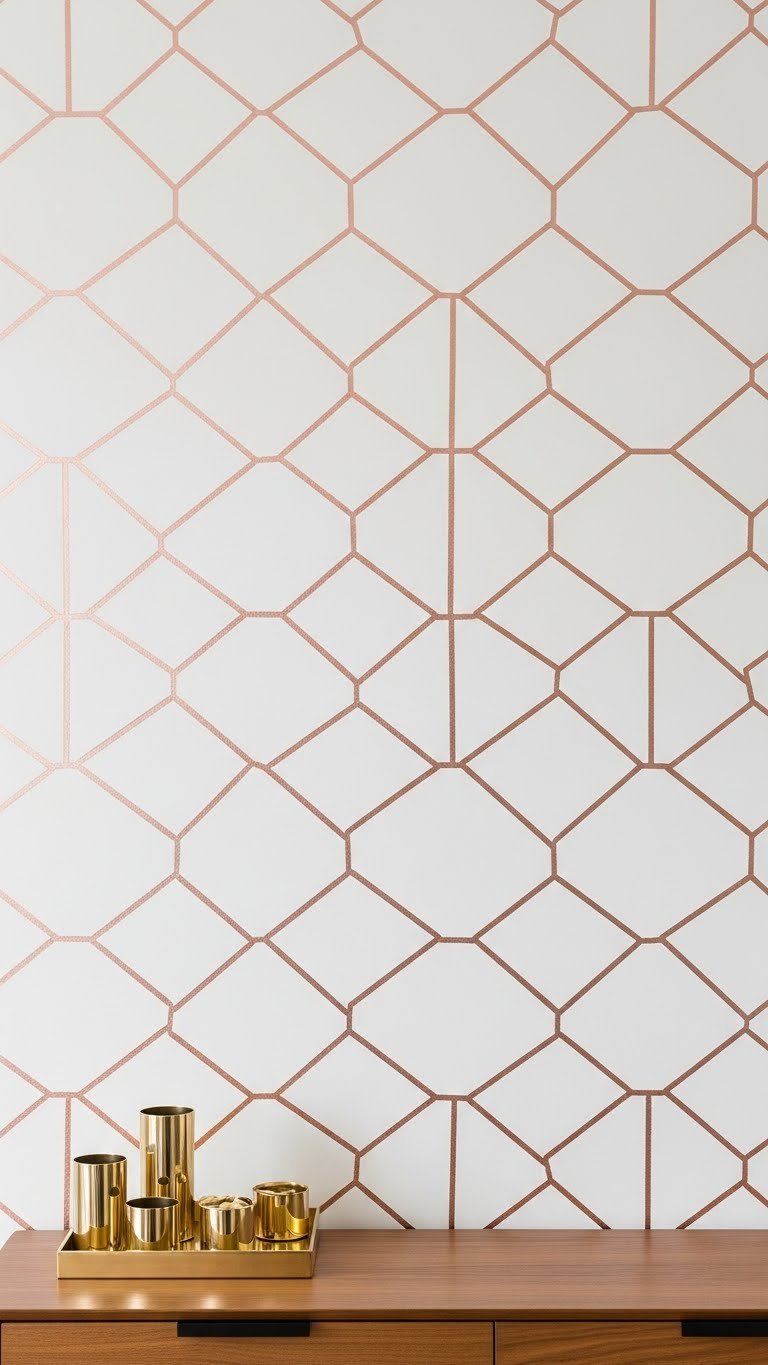
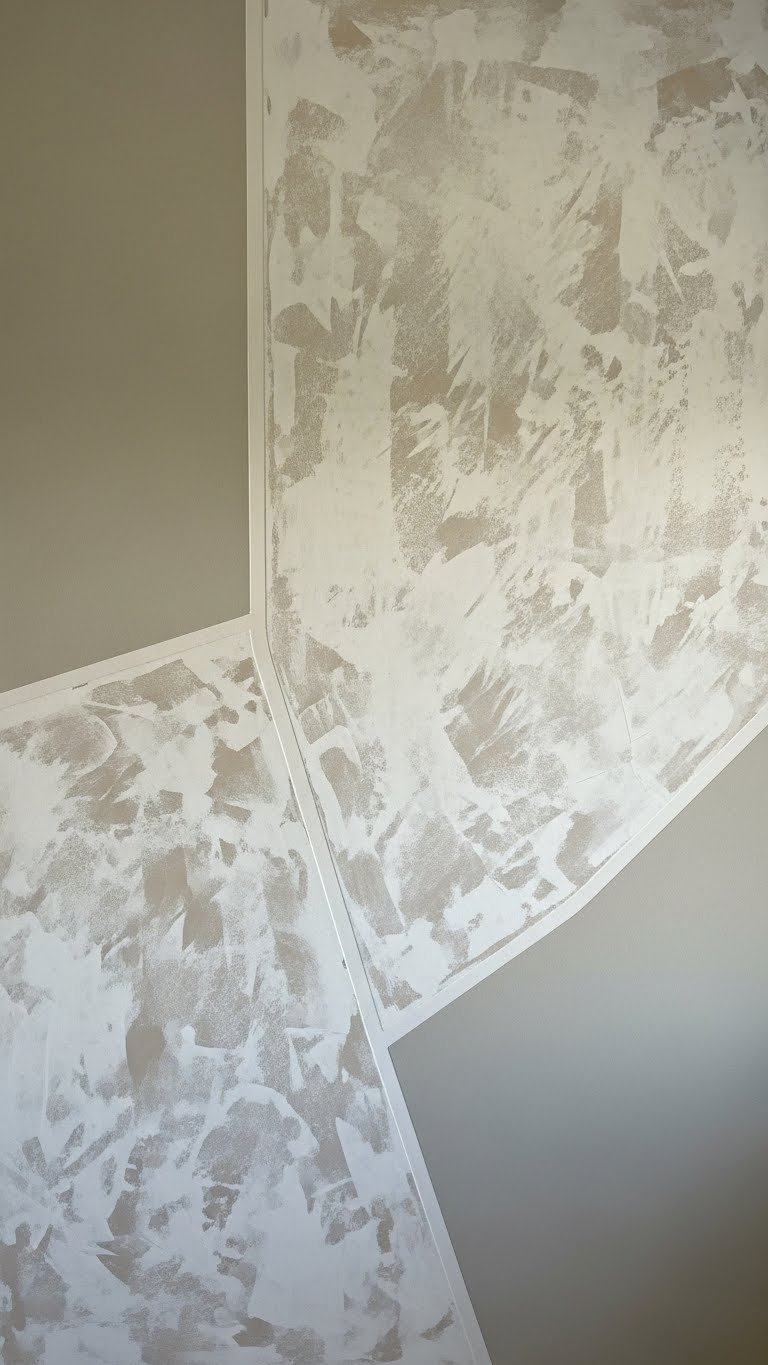
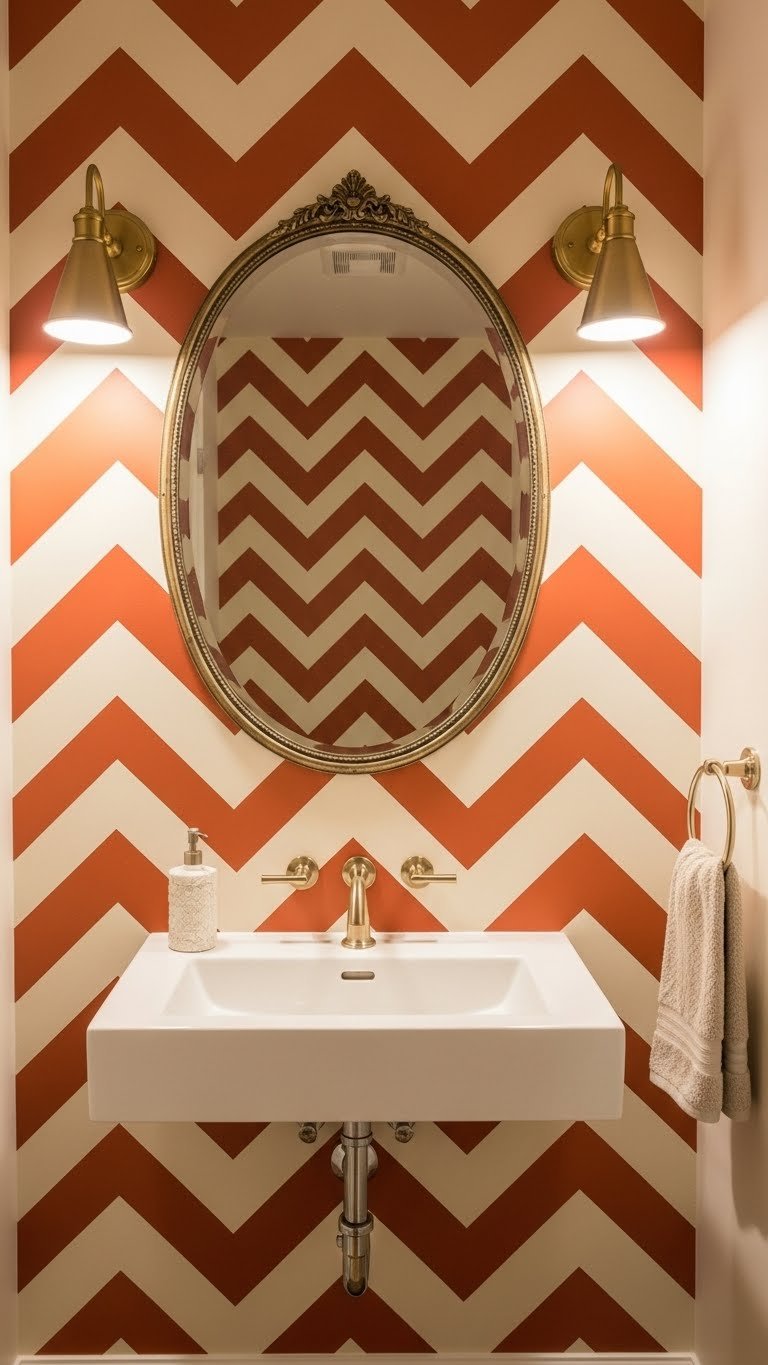
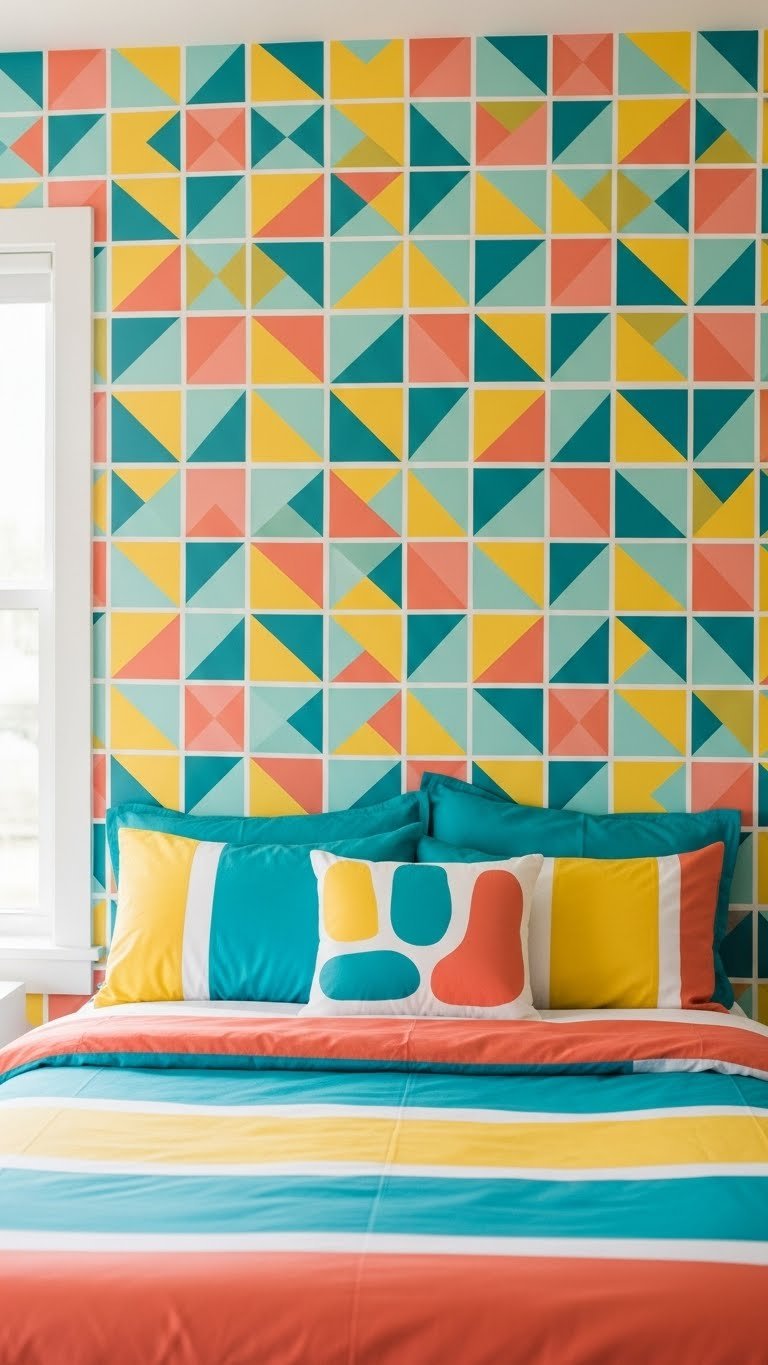
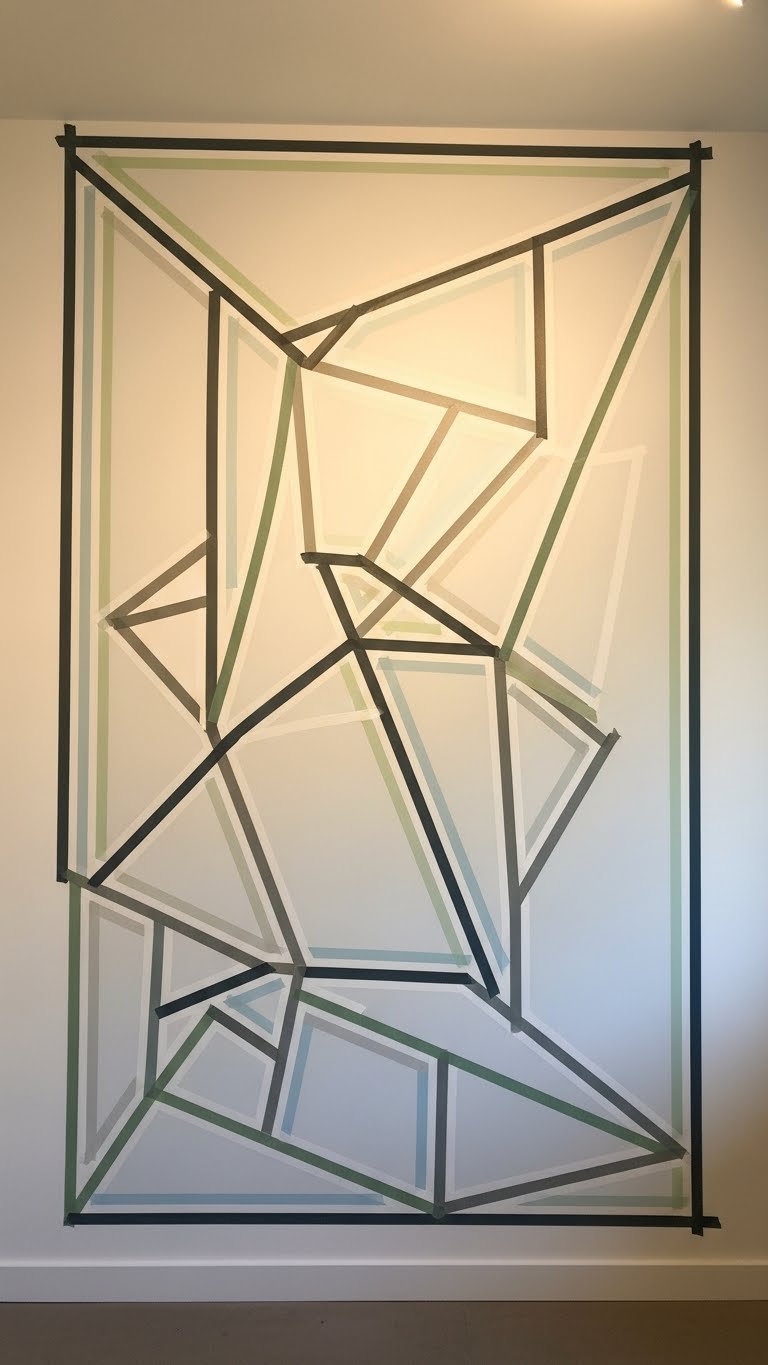
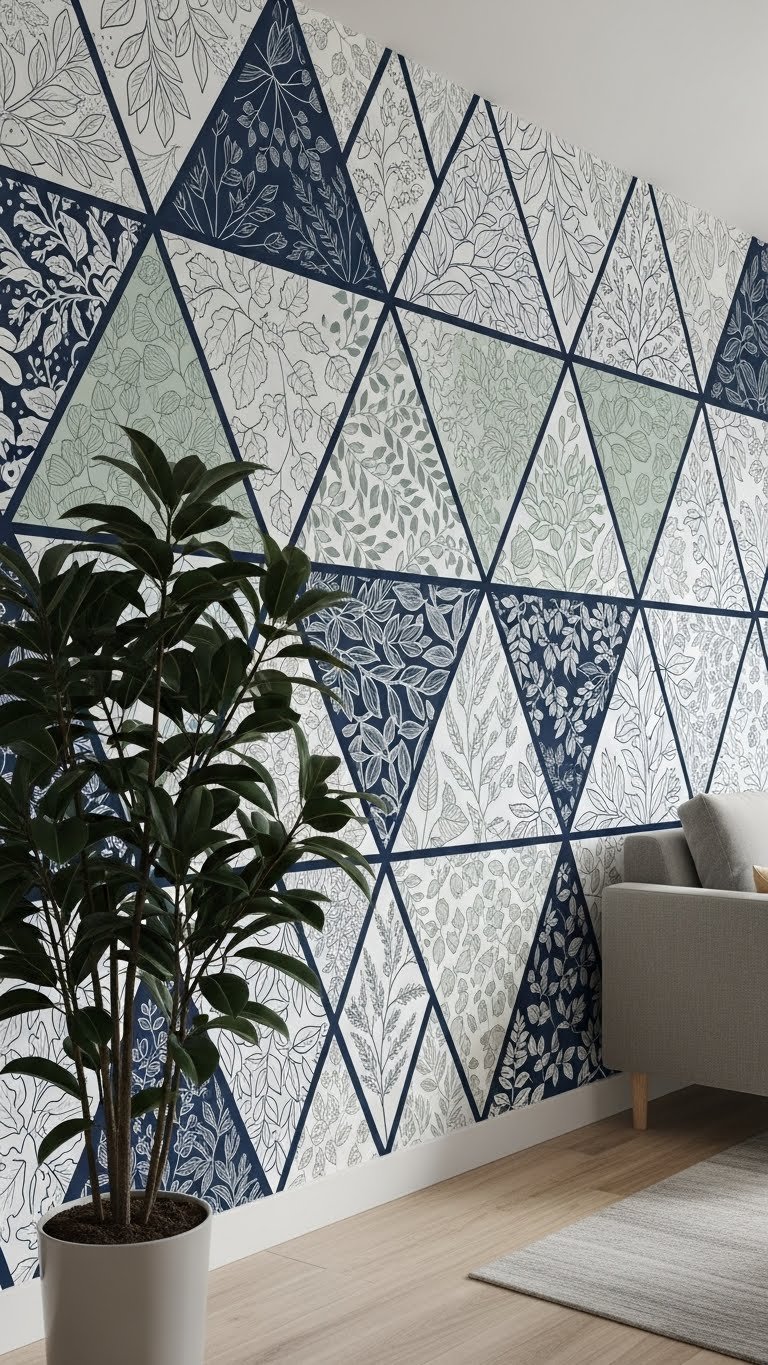
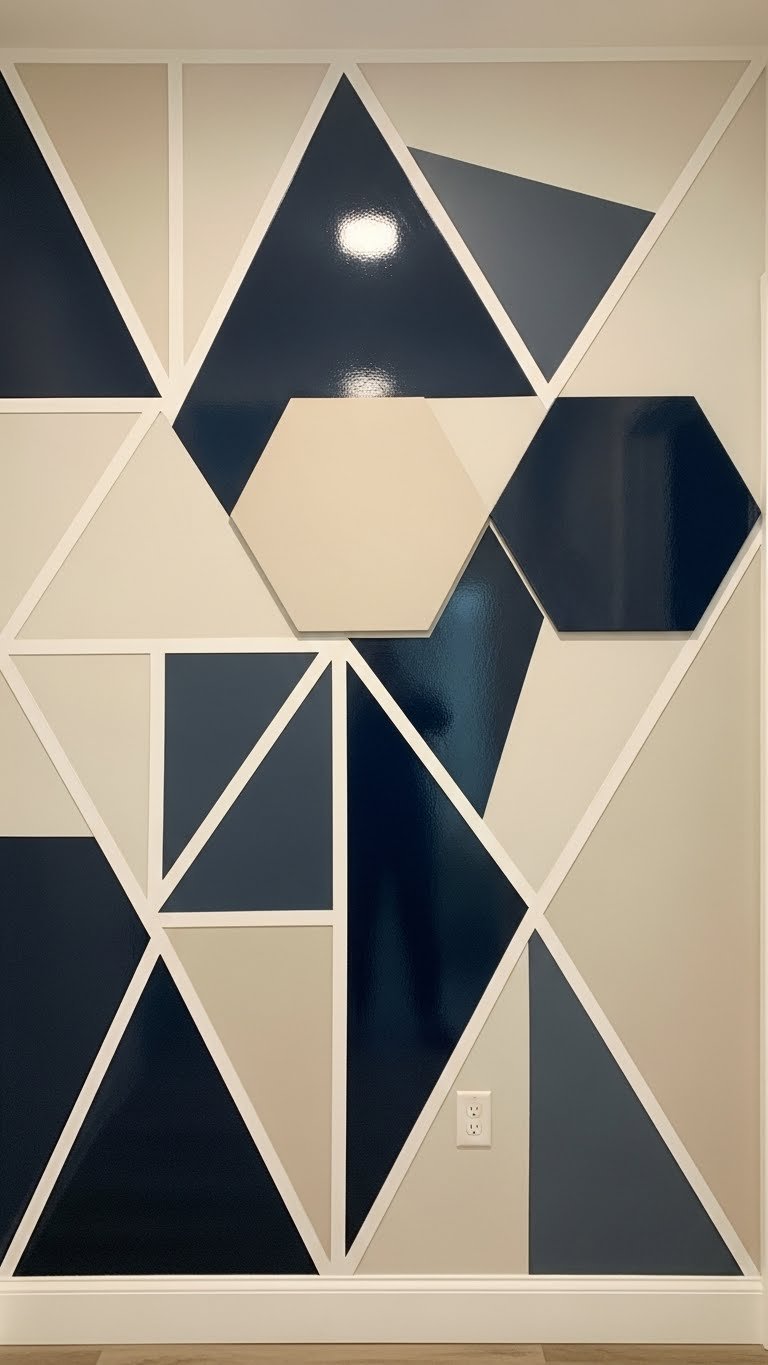
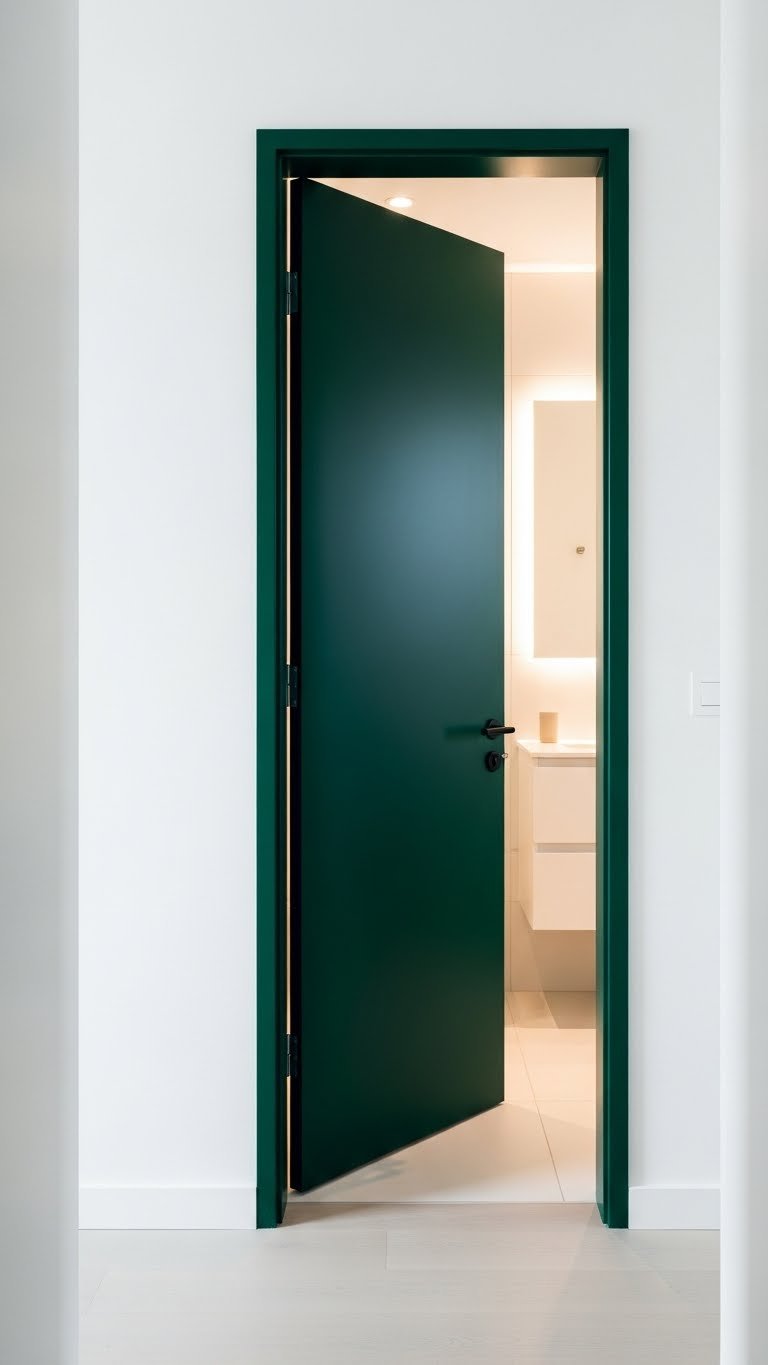
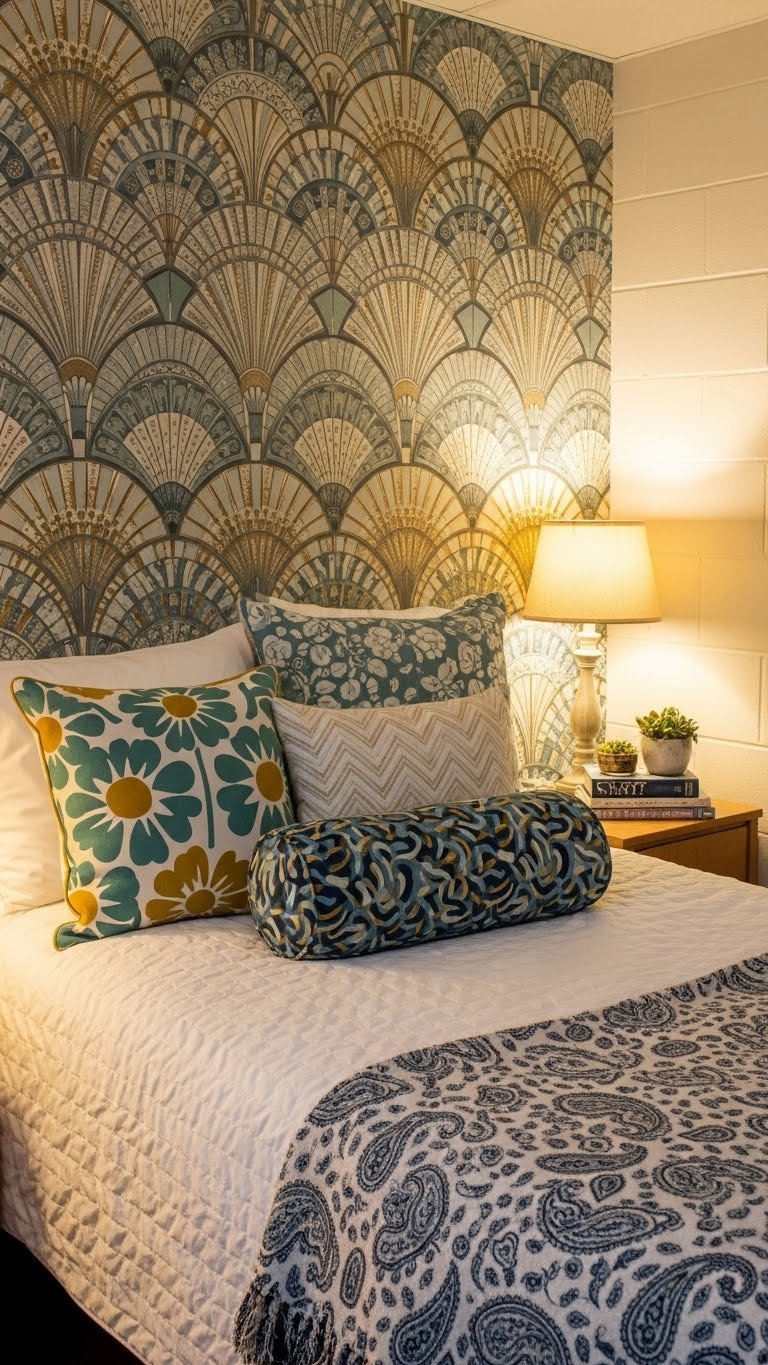
14. Use Removable Wallpaper for Pattern Without Commitment

Removable wallpaper ($20-$60 per roll) gives you all the pattern impact of traditional wallpaper without the permanent commitment or landlord drama. Modern options look just as good and stick to walls cleanly.
Measure your wall, order enough for coverage with extra, and spend 2-3 hours installing. Peel & Stick wallpaper from Spoonflower, Etsy, or Target makes it accessible. Apply to one accent wall or even your closet door for surprise personality.
You get a designer-level statement wall that comes off clean when you move. It’s the perfect compromise between boring dorm walls and actual rebelliousness.
15. Repurpose Your Closet Space as a Mini Retreat or Display Area

Most dorm closets are small and cramped, but you can transform yours into a mini reading nook, meditation spot, or display area. Add lights, a small cushion, and organized storage to make it actually functional and inviting.
String lights ($10-$20), adhesive shelves ($15-$30), and fabric storage bins ($5-$15 each) turn a dark closet into a styled space. Add a small cushion ($15-$30) and suddenly you have a quiet spot to escape.
You’re maximizing every inch of your room and creating a hidden retreat that gives you privacy and peace during chaotic dorm life.
16. Layer Rugs to Define Zones and Add Warmth
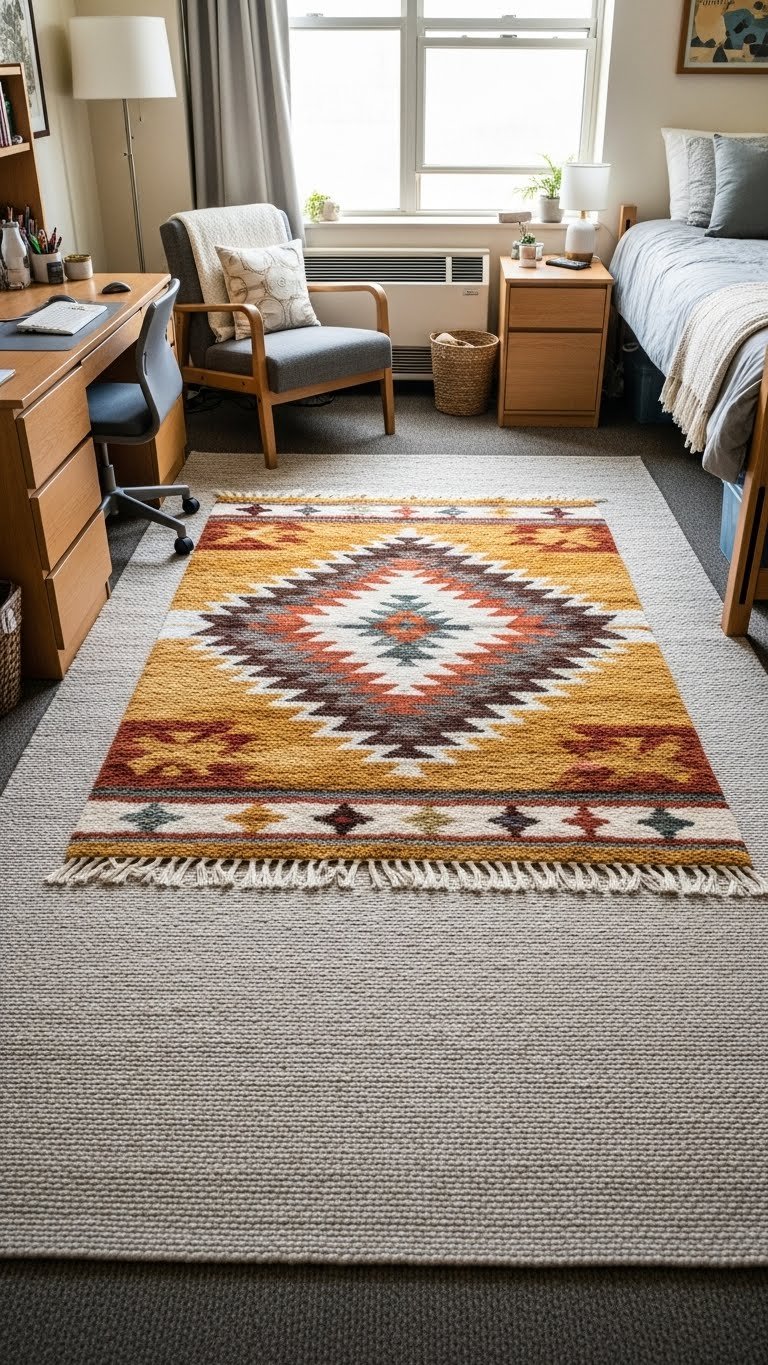
Layering rugs (a large neutral base with a smaller patterned rug on top) defines zones, adds texture, and makes cramped dorm rooms feel more intentional. It’s a maximalist move that actually works in small spaces.
Buy a large neutral rug ($30-$80) and layer a smaller runner or accent rug ($20-$50) on top. Look for natural textures like jute or wool to keep it warm and organic.
Your floor becomes a design moment instead of just bare linoleum or carpet. The layering creates visual interest and makes your room feel curated and comfortable.
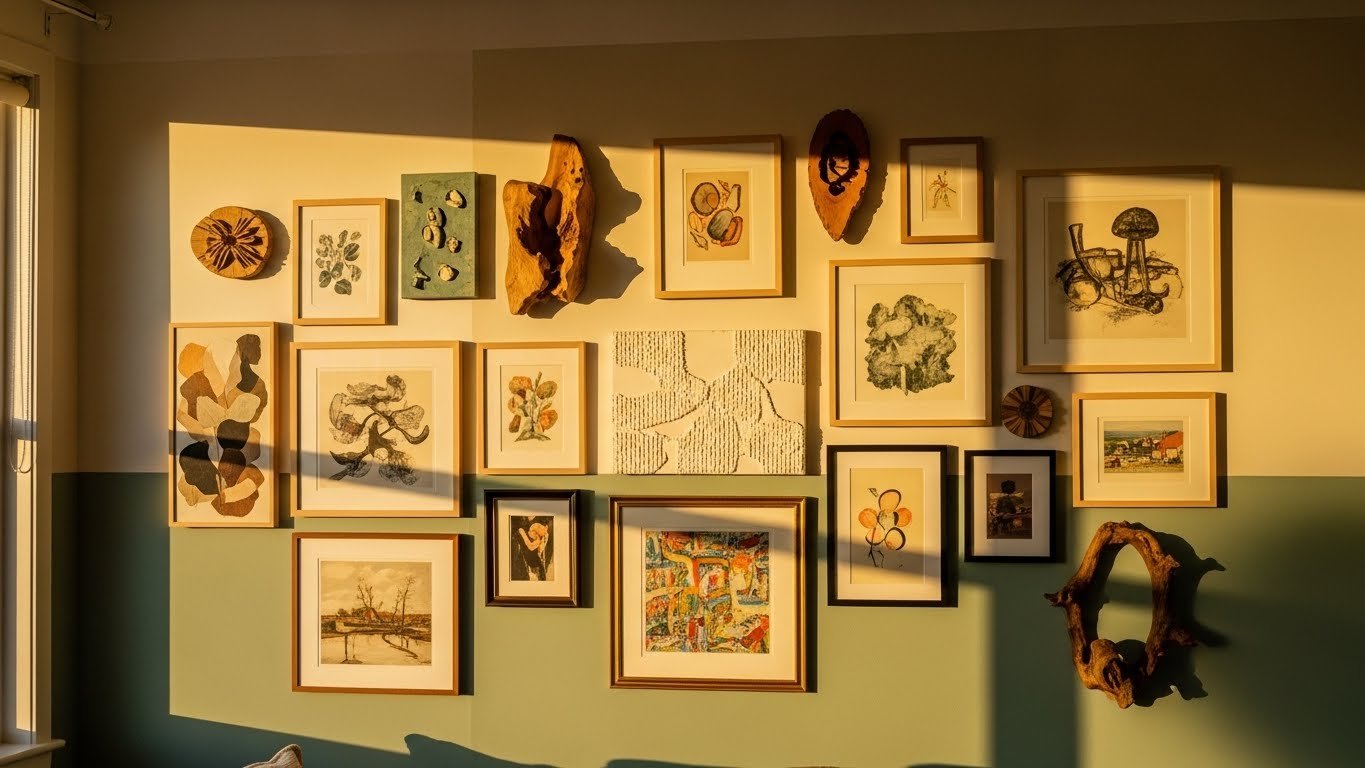
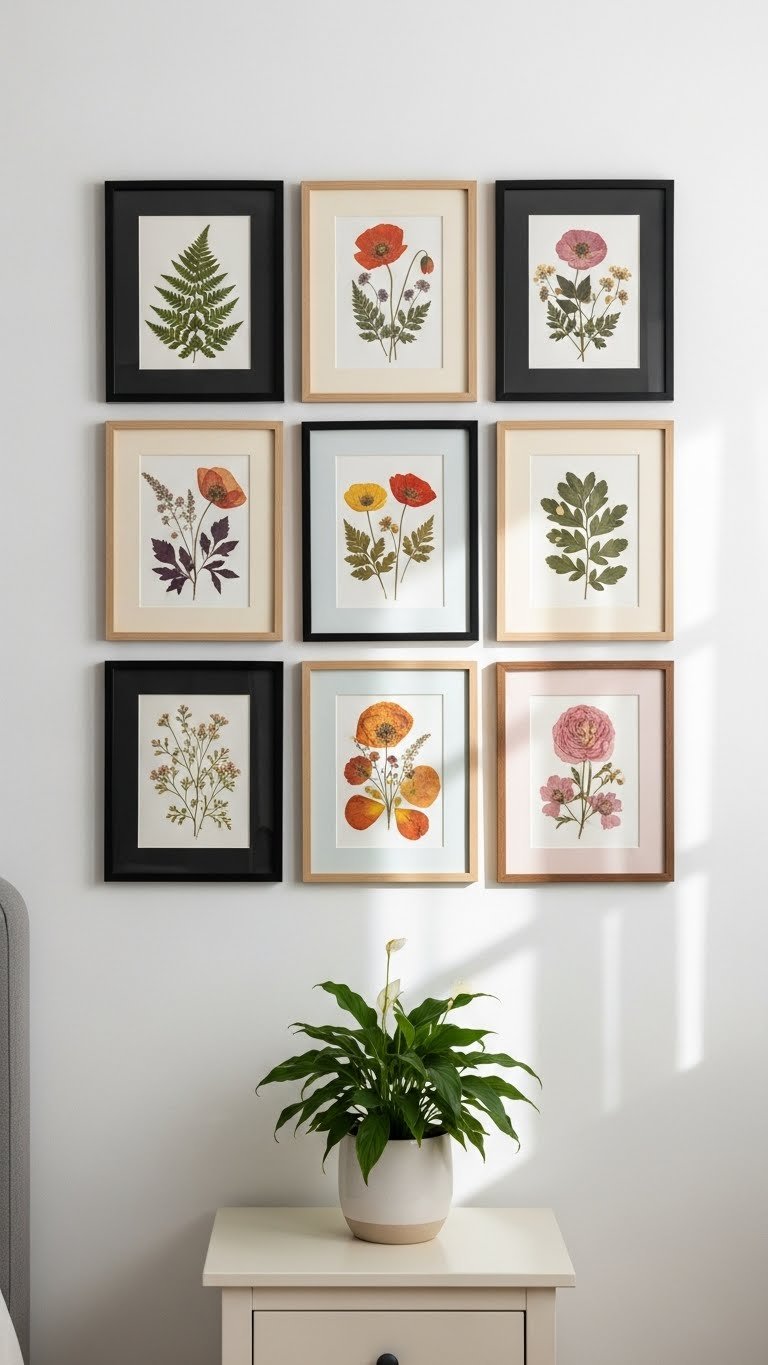
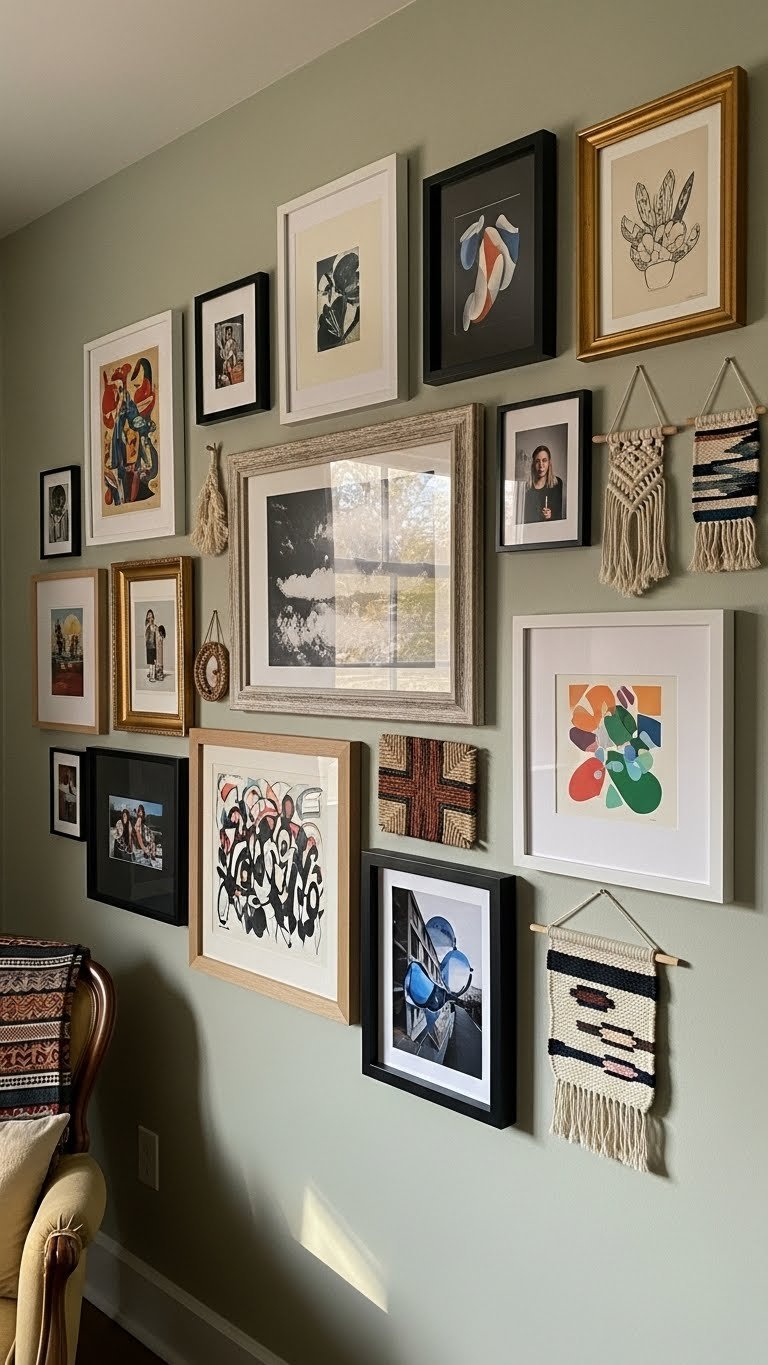
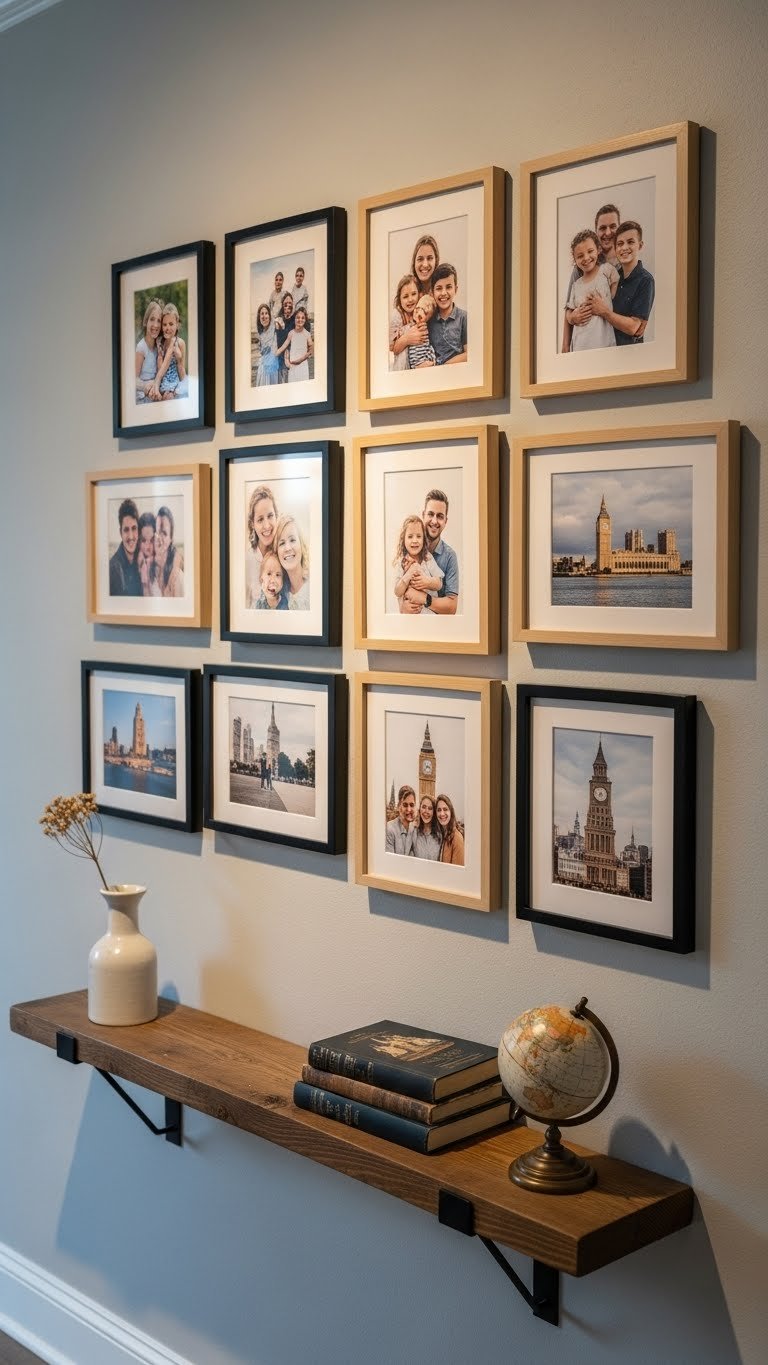
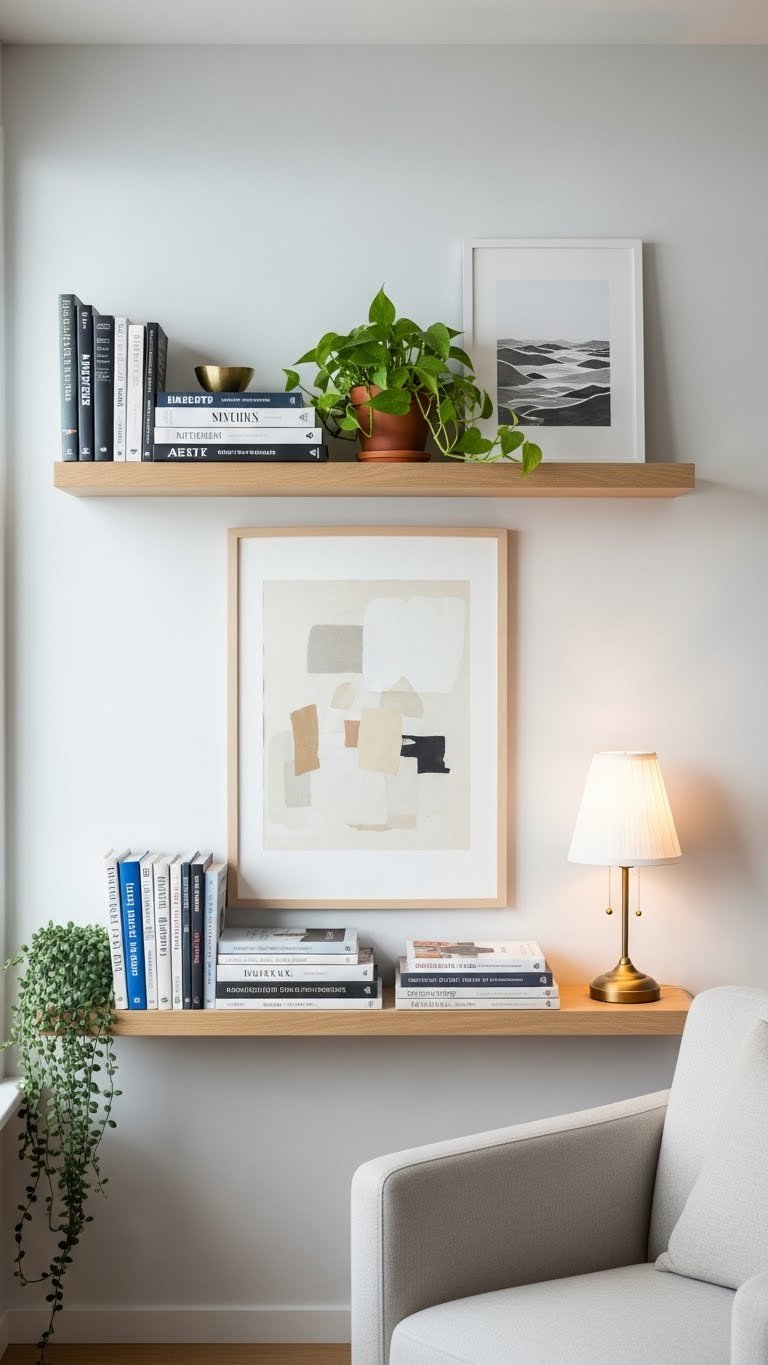
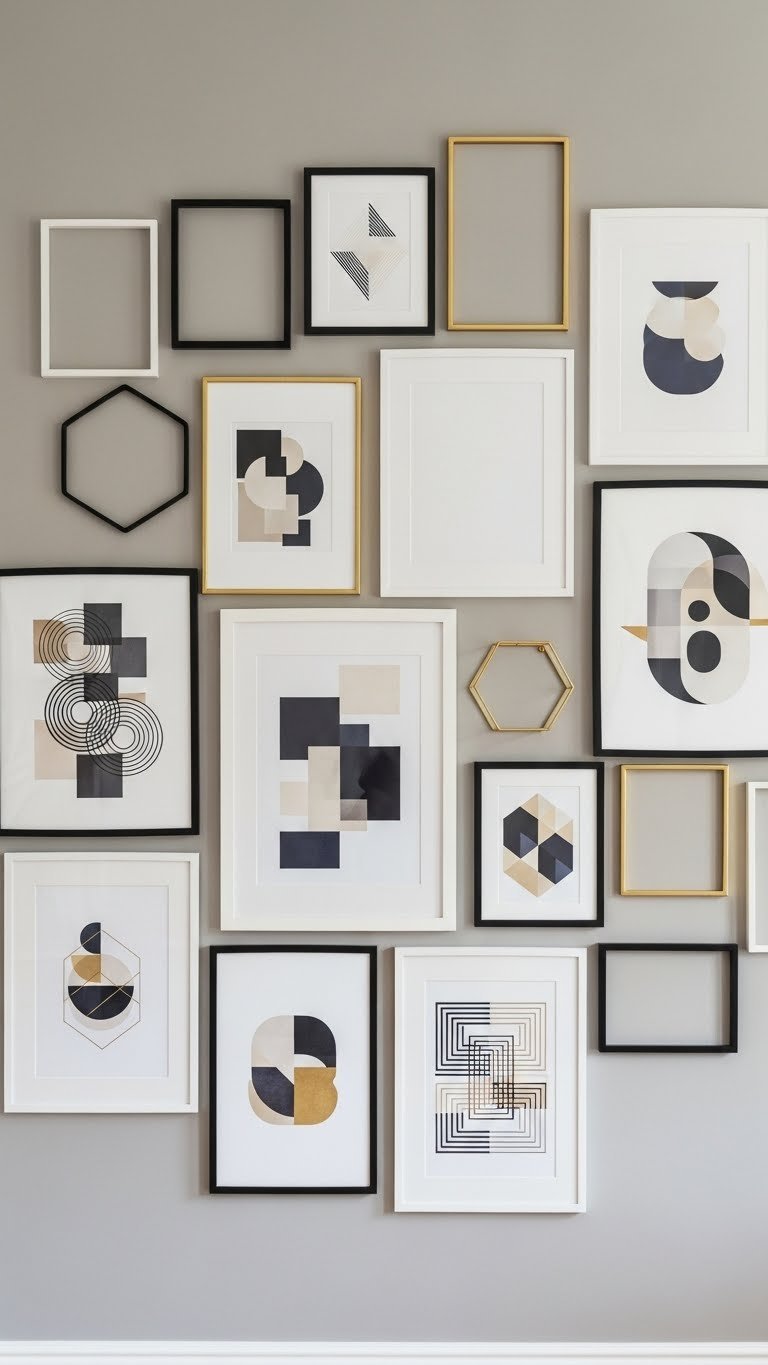
17. Create a Gallery Wall with Framed Prints and Memories
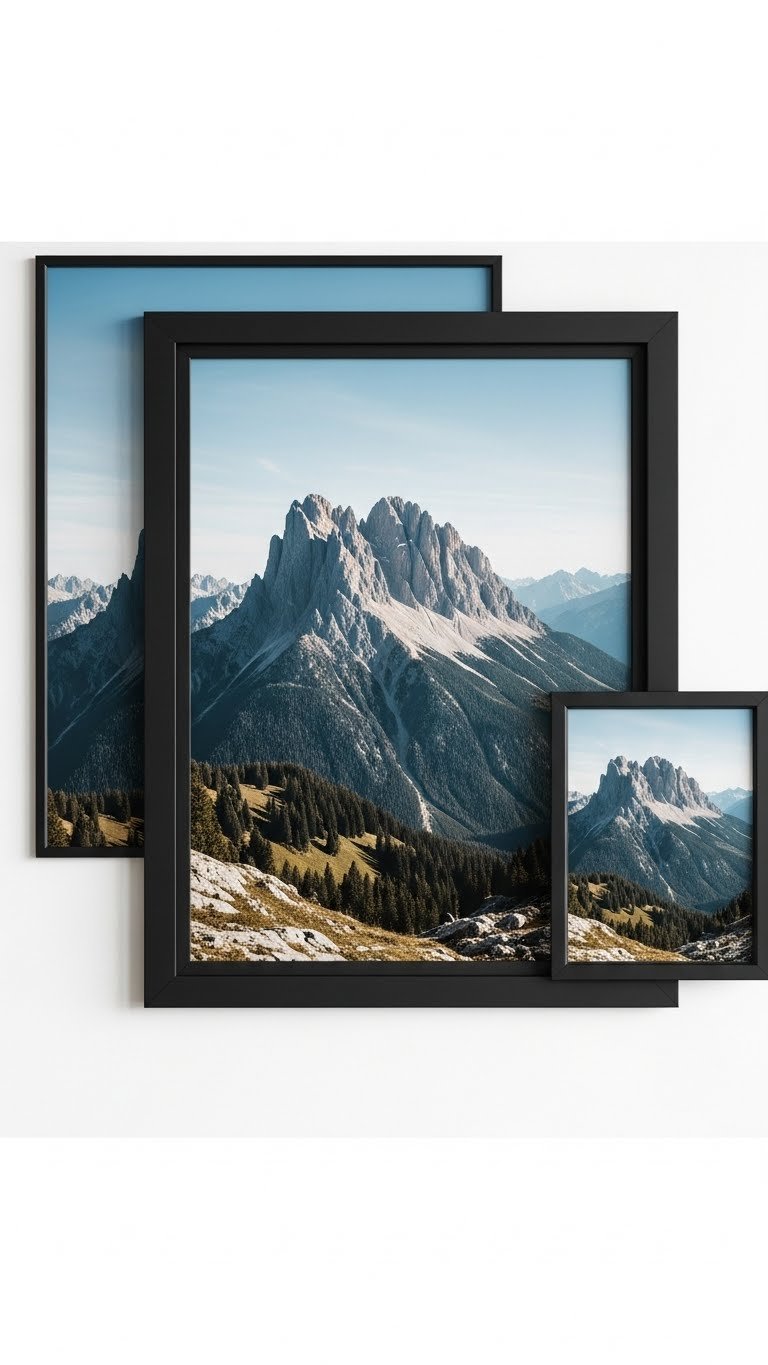
A gallery wall displays your personality and fills blank dorm walls without feeling chaotic. Mix framed prints ($5-$20 each), personal photos, and posters ($10-$30) in coordinating frames to create a cohesive, artistic focal point.
Gather frames from thrift stores ($2-$8 each) or buy matching sets from IKEA ($5-$12). Print affordable art from Etsy or free sources, then arrange on your wall using the grid or salon layout method. Takes one afternoon, lasts the whole year.
Your room looks intentional and mature. Visitors immediately know you have taste and personality, and you have a conversation starter that’s also deeply personal.
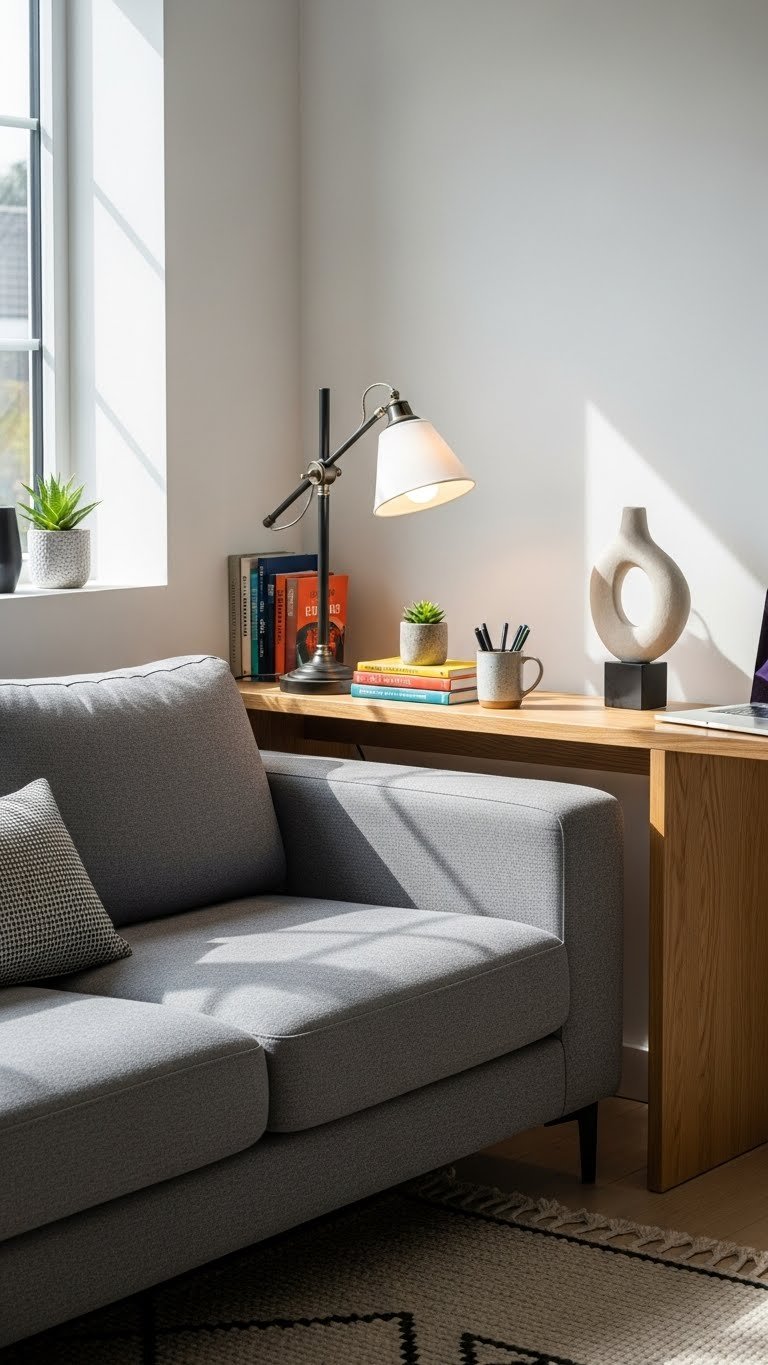
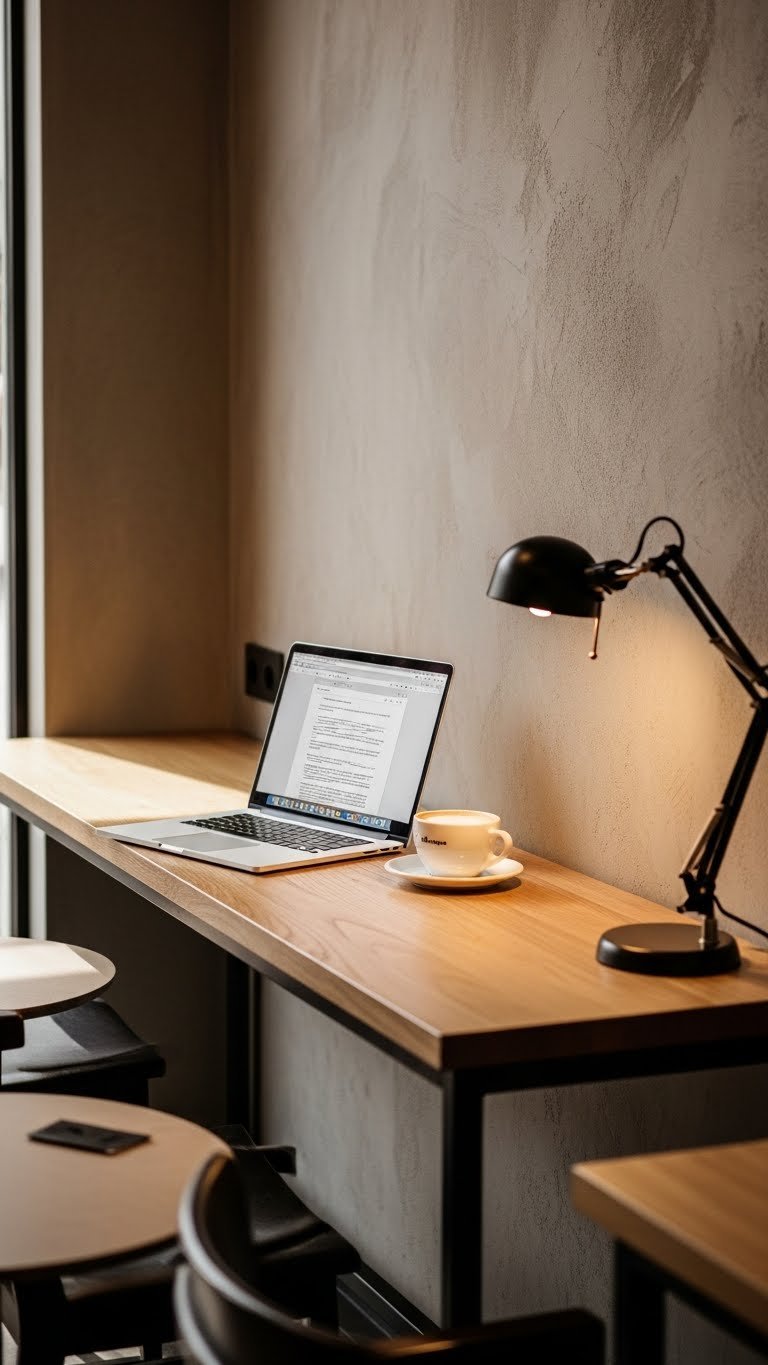
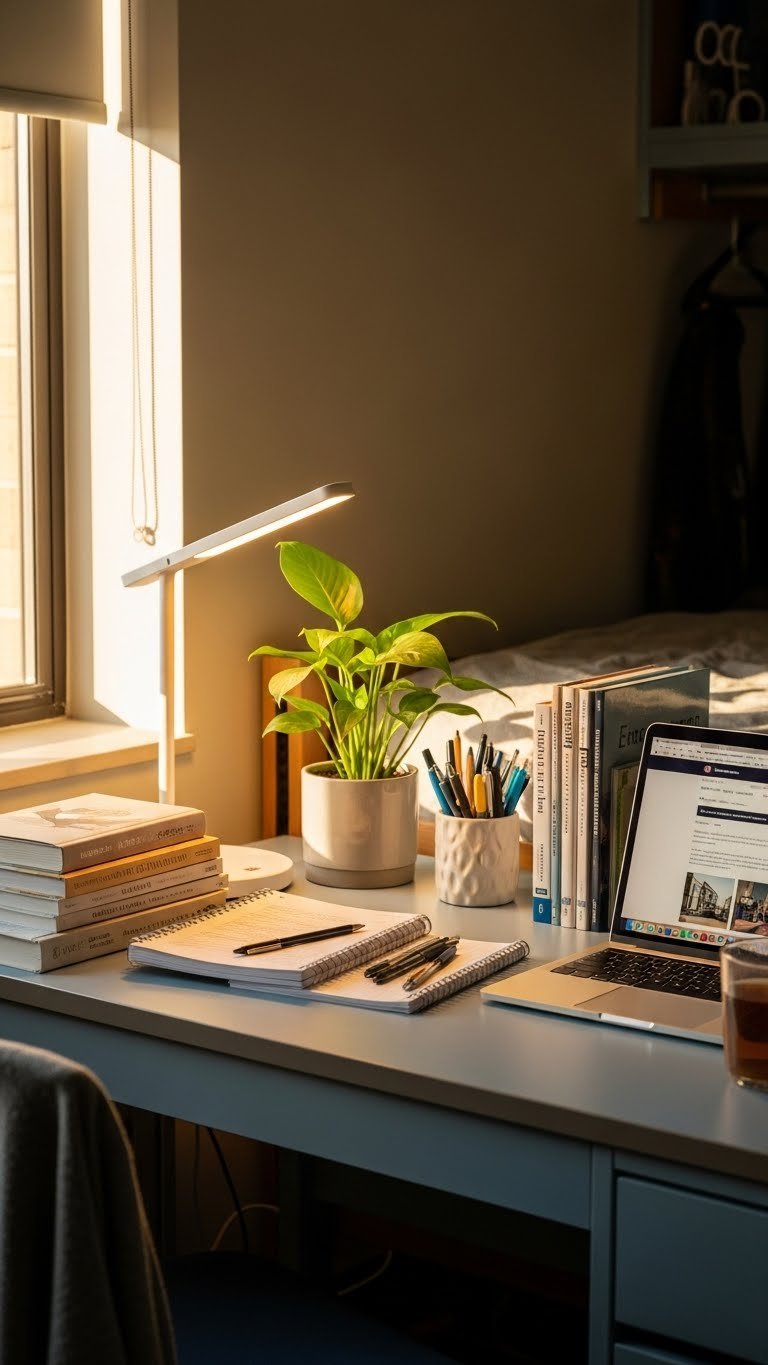
18. Invest in Quality Task Lighting for Your Study Area

Harsh overhead dorm lighting strains your eyes during long study sessions. A quality task lamp ($30-$80) provides targeted, warm light that’s better for focus and actually flattering to your space.
Look for adjustable desk lamps with warm LED bulbs (2700K color temperature) from IKEA, Amazon, or West Elm. Brass, wood, or matte black finishes look more intentional than generic plastic.
You’ll study more comfortably and your desk area becomes a functional, styled workspace instead of an institutional study carrel. Better lighting also makes your room look more sophisticated in photos.
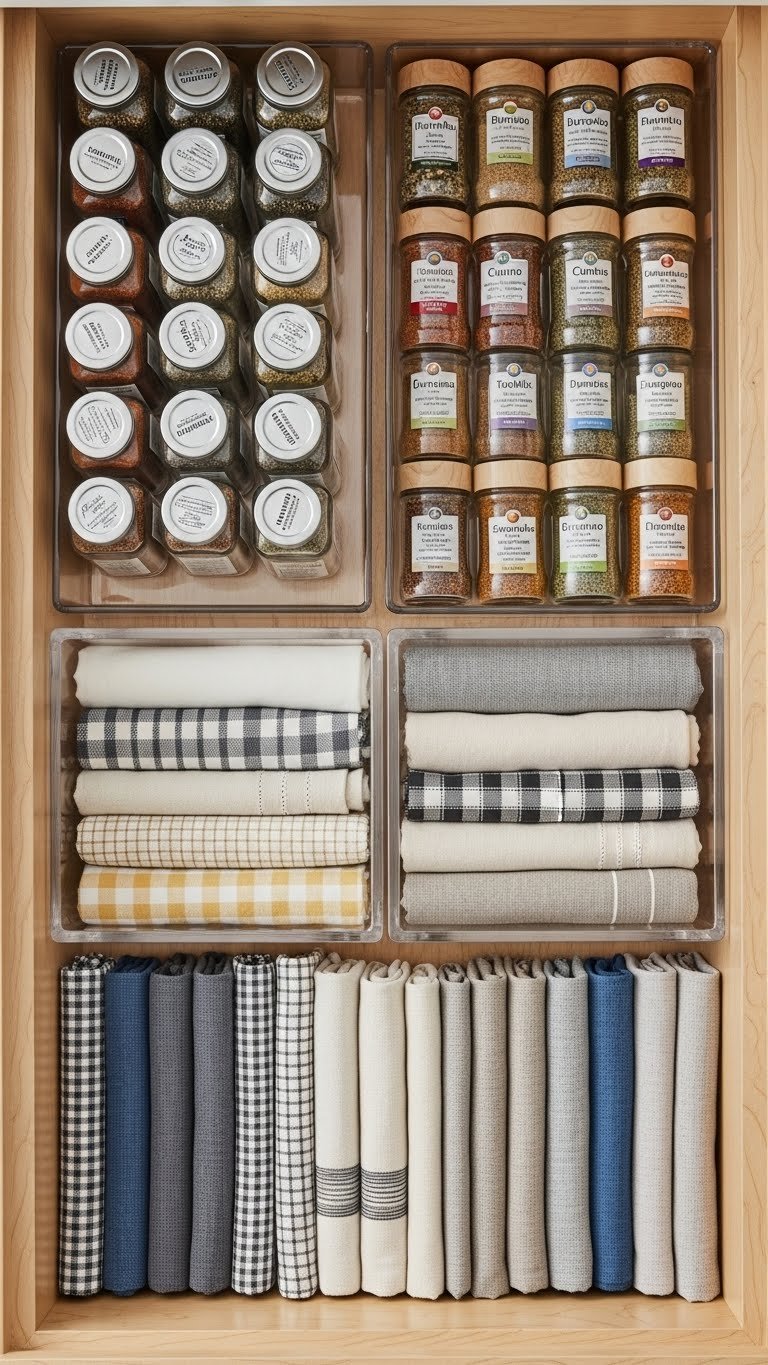
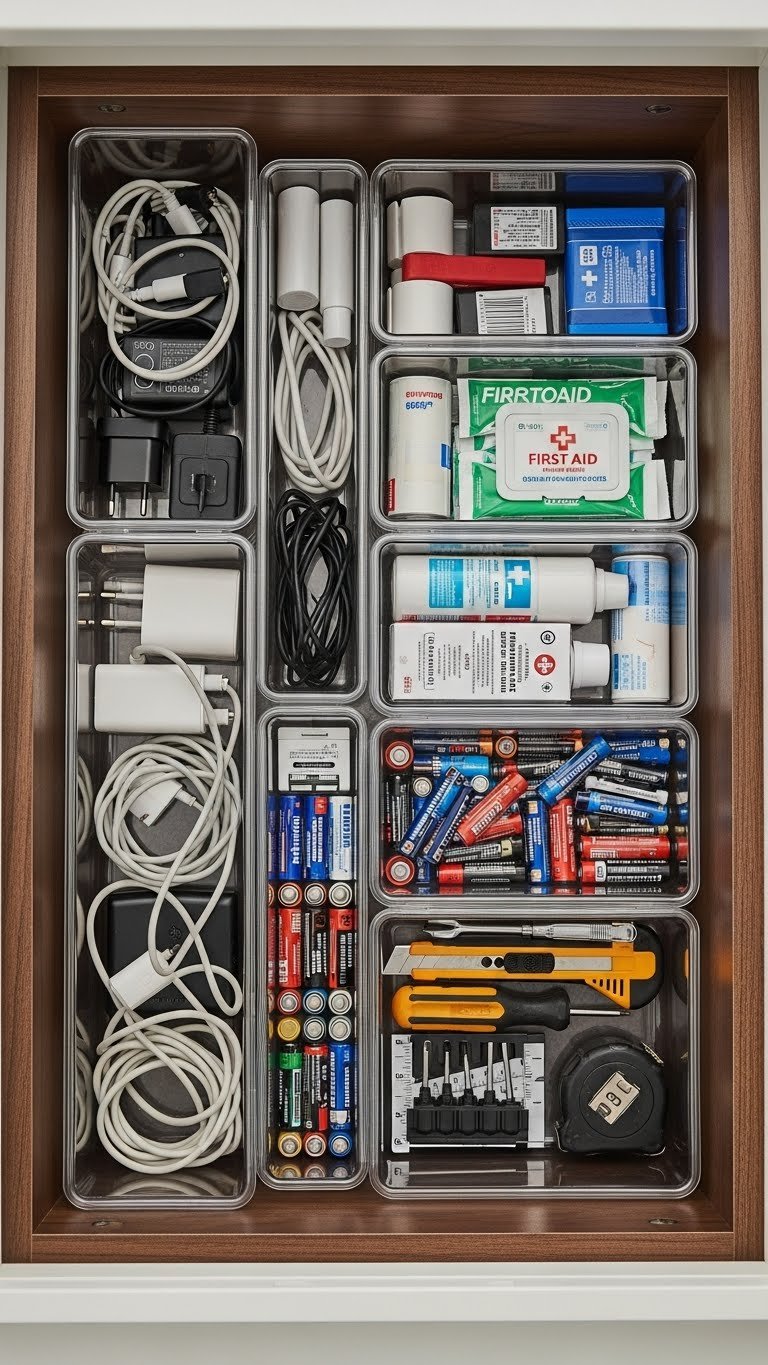
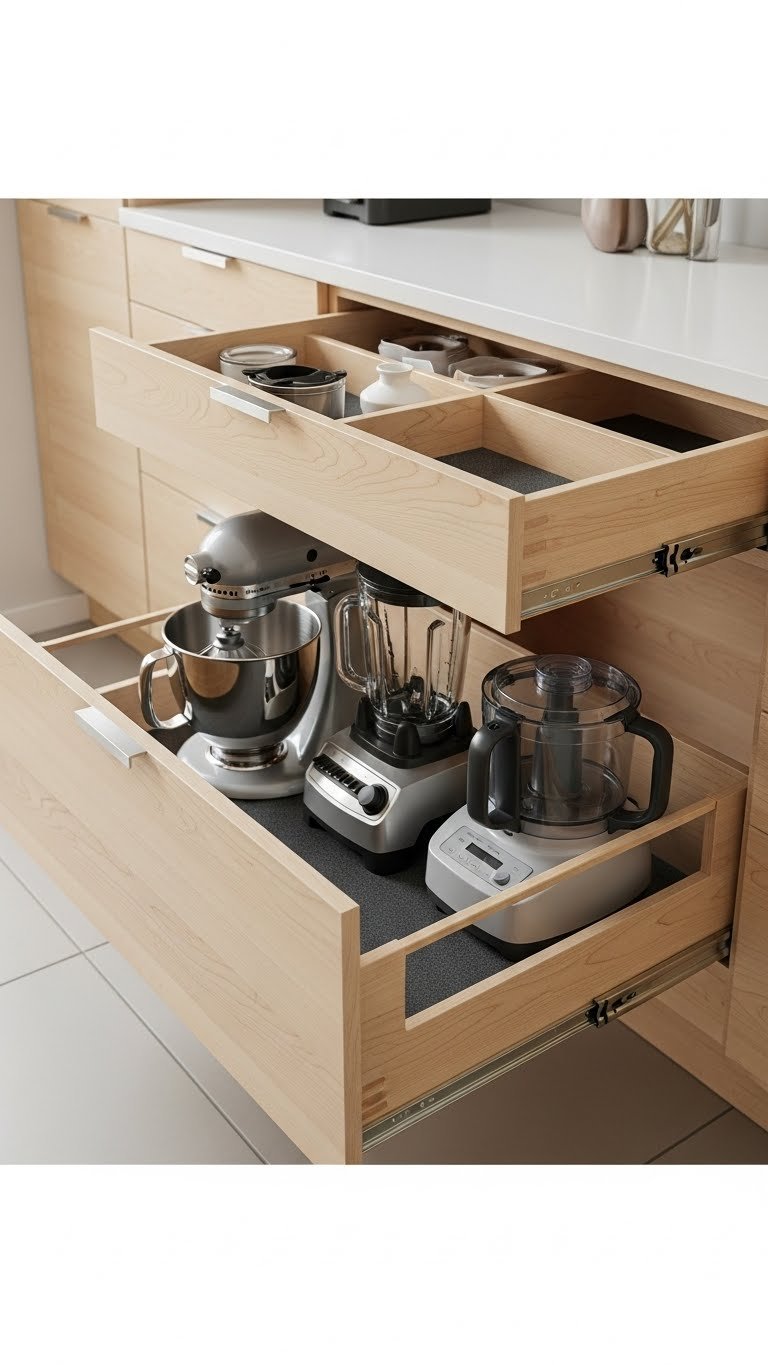
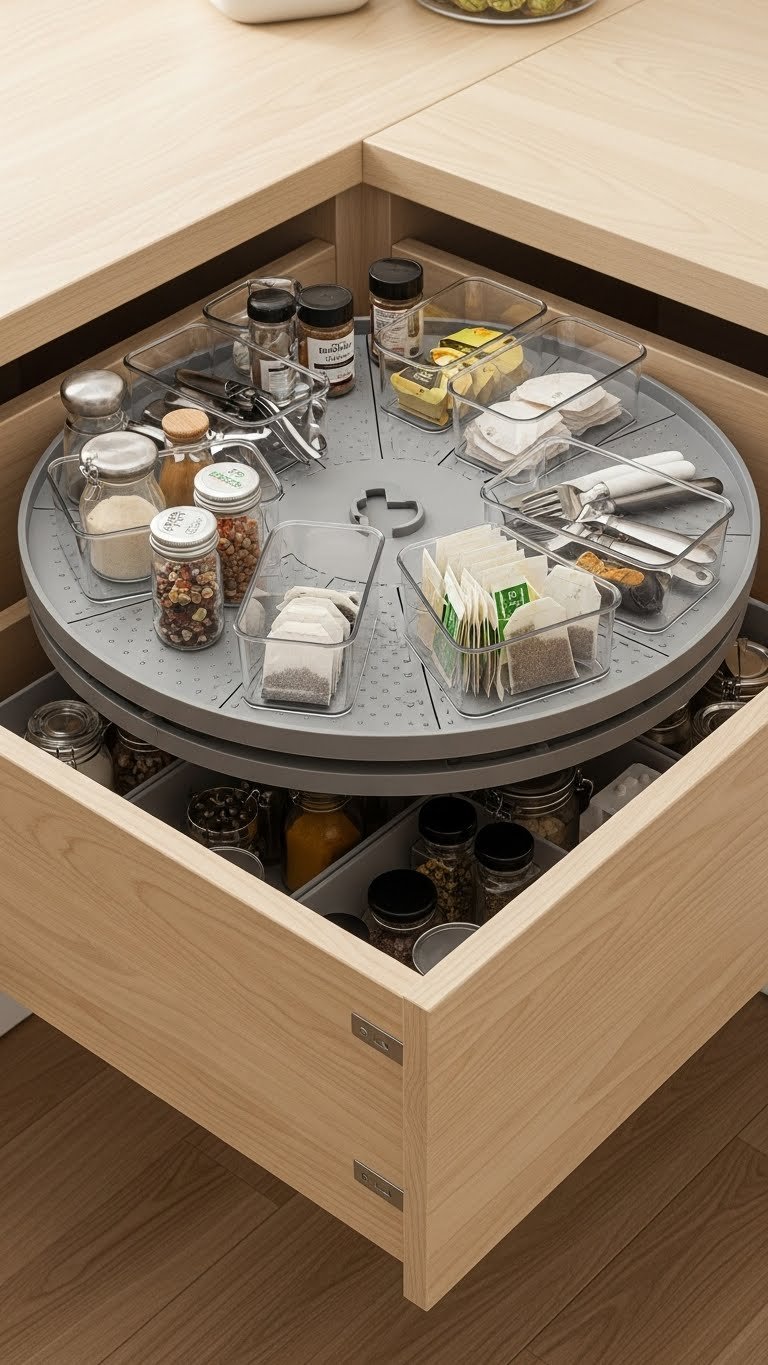
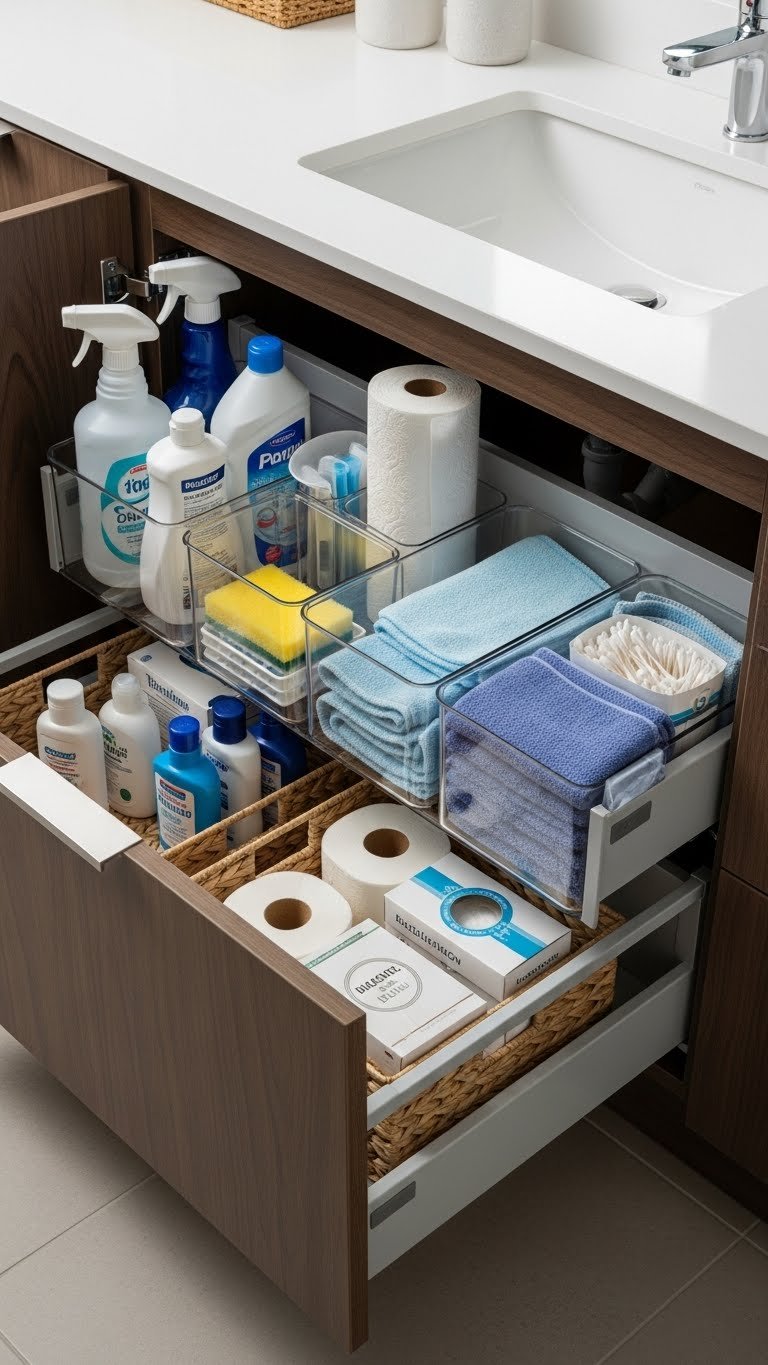
19. Use Under-Bed Storage Containers for Hidden Organization
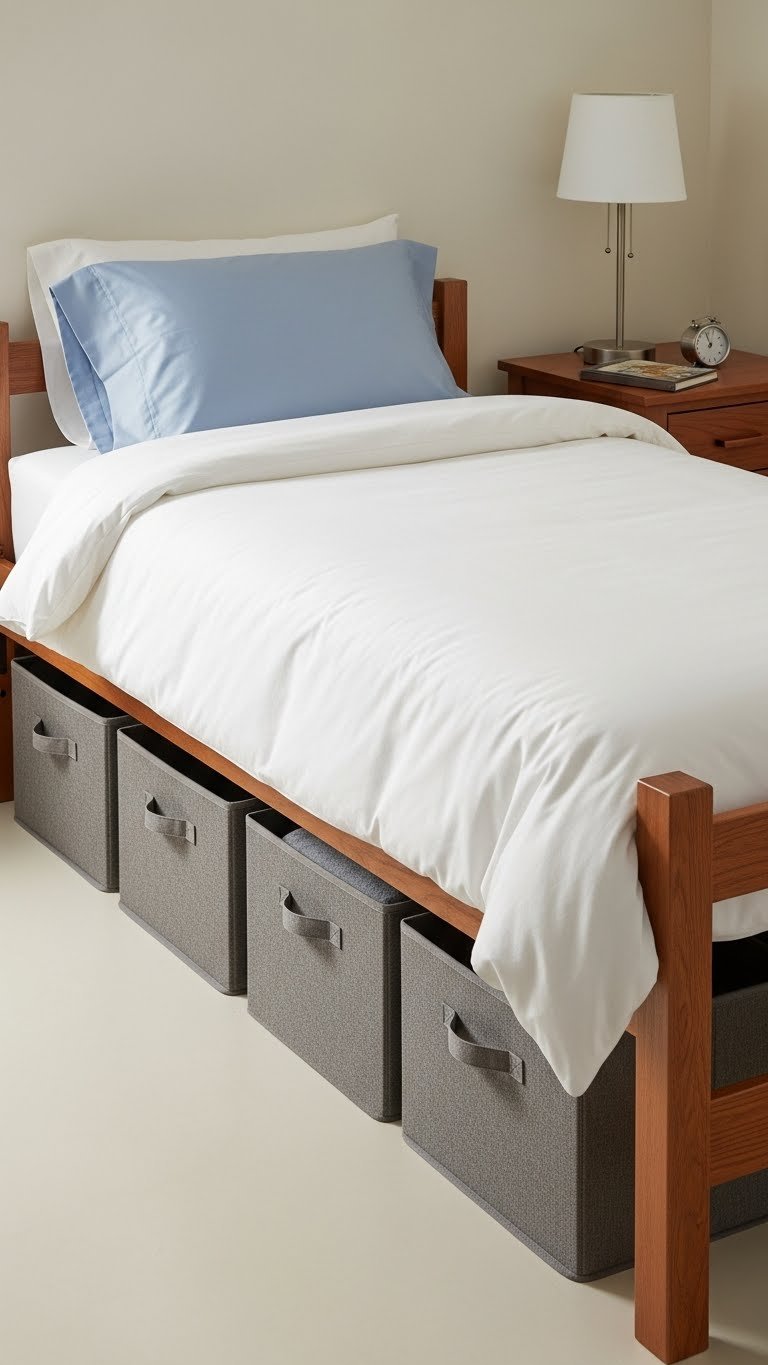
Under-bed storage maximizes your limited floor space by hiding seasonal clothes, extra bedding, and supplies where they don’t create visual clutter. Rolling containers make them even more accessible.
Fabric storage bins ($10-$25 each) or rolling underbed containers ($20-$40) keep things organized and hidden. Label them so you know what’s where without opening each one.
Your room stays clean and organized-looking without sacrificing storage. It’s the behind-the-scenes infrastructure that lets you actually live comfortably in a small space.
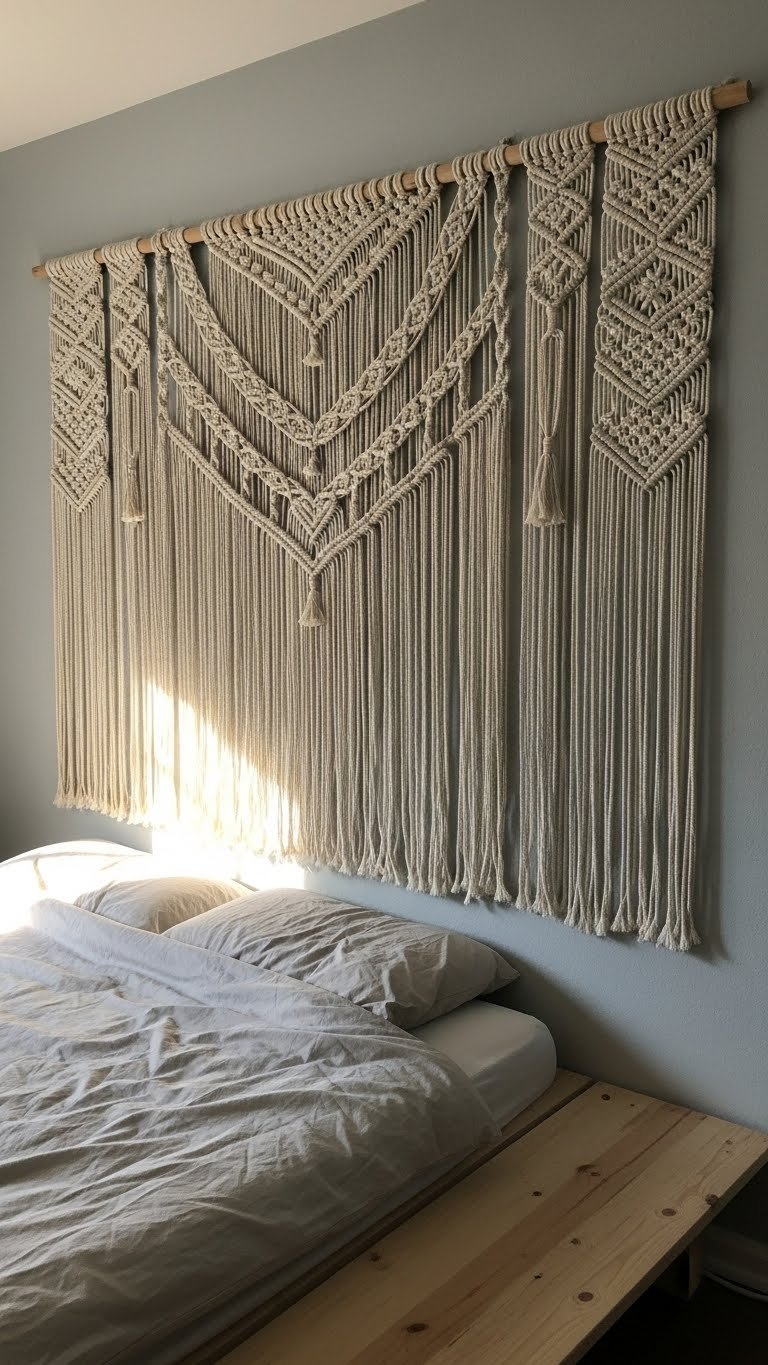
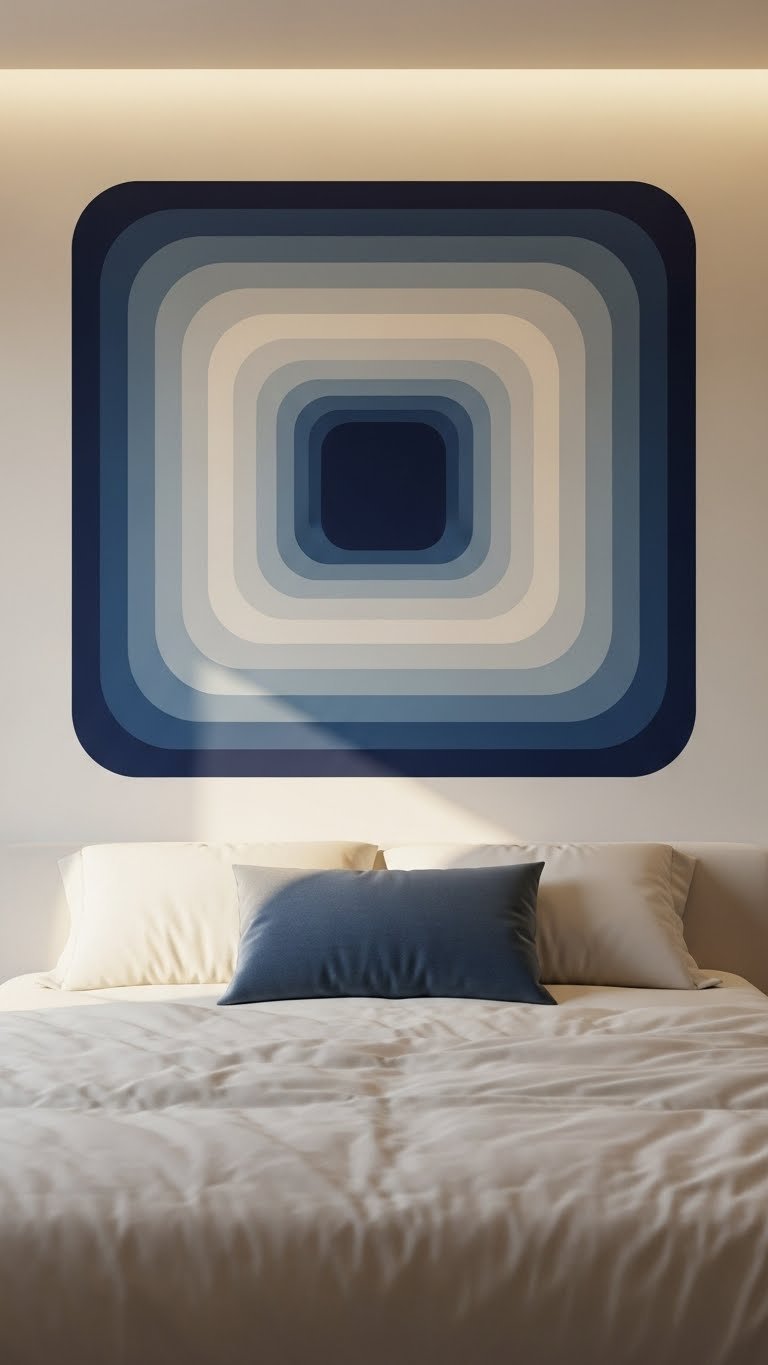
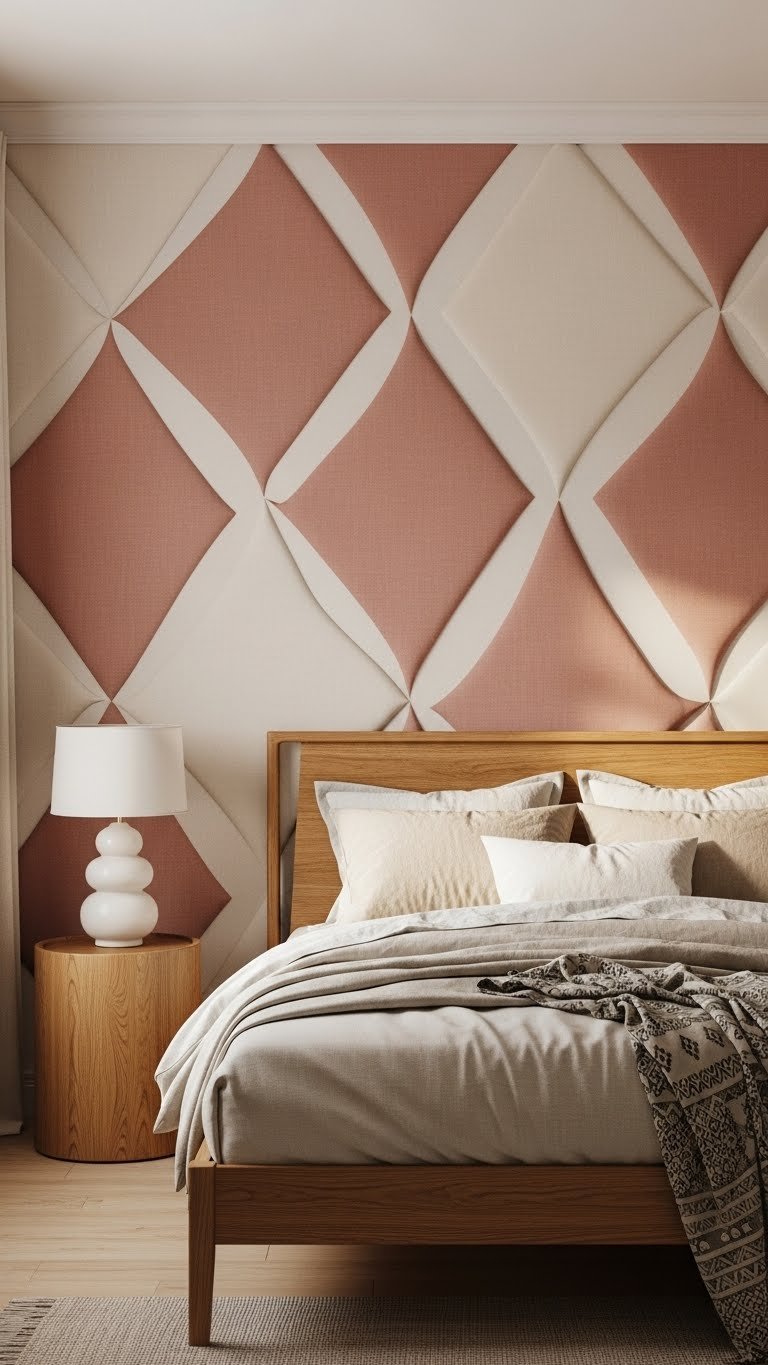
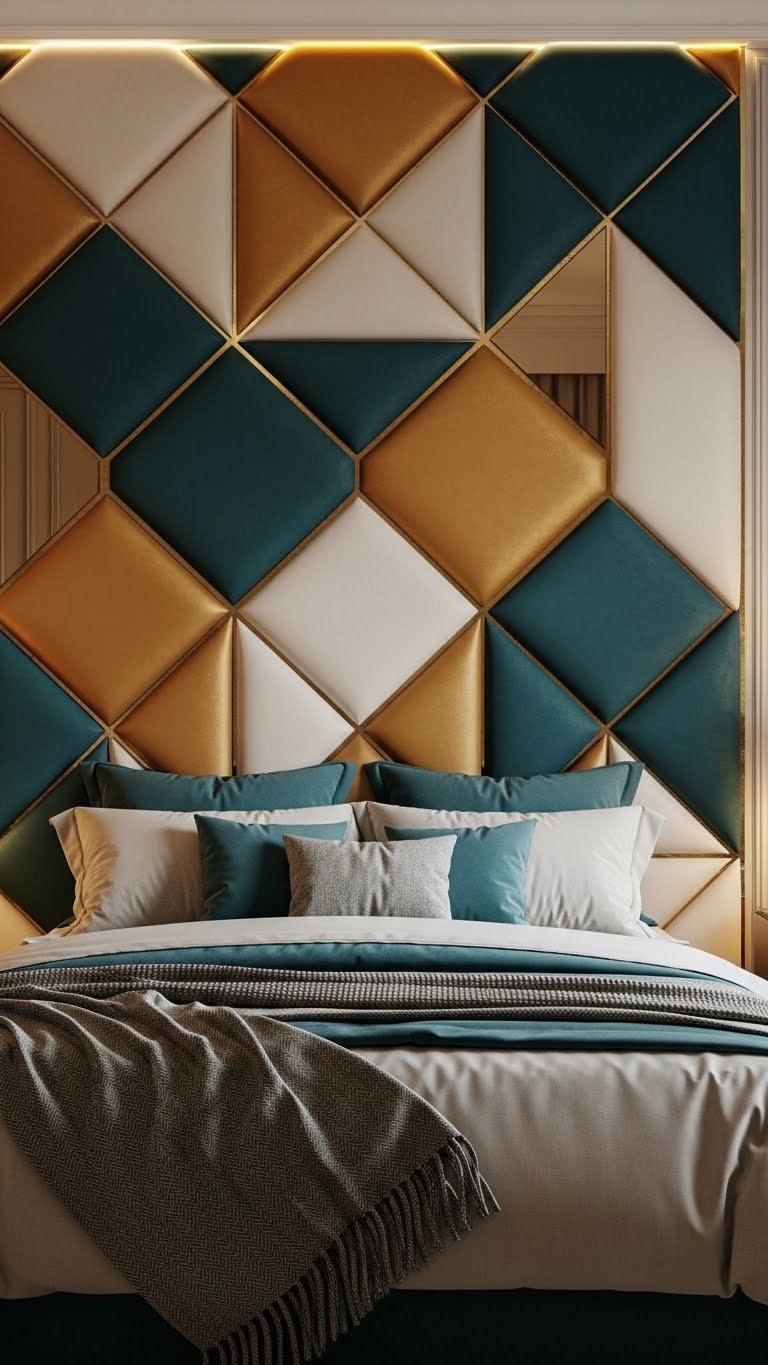
20. Add a Statement Headboard Using Fabric or Wallpaper

A headboard grounds your bed visually and makes a tiny dorm room feel more like an actual bedroom. Use temporary materials that don’t require drilling or permanent installation.
Peel-and-stick wallpaper ($30-$60), adhesive fabric panels ($20-$40), or even a hanging tapestry ($15-$35) creates the headboard effect. Measure your bed width and create a shape behind it—doesn’t have to be perfect.
Your bed becomes the focal point instead of just a mattress on a frame. It instantly makes your dorm room feel more intentional and bedroom-like.
21. Organize Your Desk with Stylish Desk Accessories
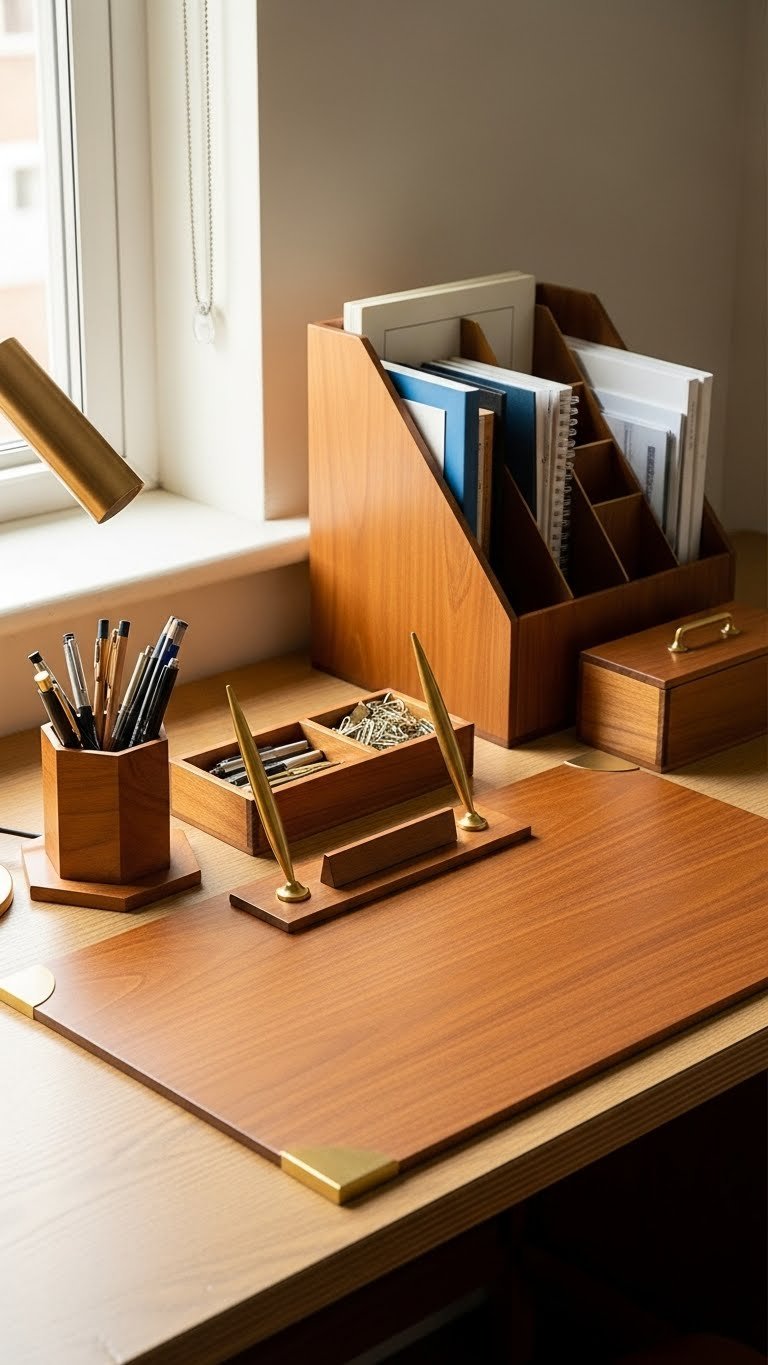
A messy desk makes your whole room feel chaotic. Matching desk accessories (pen holders, file organizers, desk pads, storage boxes) keep things tidy while adding a design cohesion that elevates your workspace.
Buy coordinating sets from IKEA ($15-$40 for a bundle), or mix-and-match from Target, Wayfair, or thrift stores. Look for materials like wood, brass, or ceramic that feel more intentional than plastic.
Your desk stays organized and functional, which actually helps you focus better. Plus, a styled workspace makes your room look more mature and together.
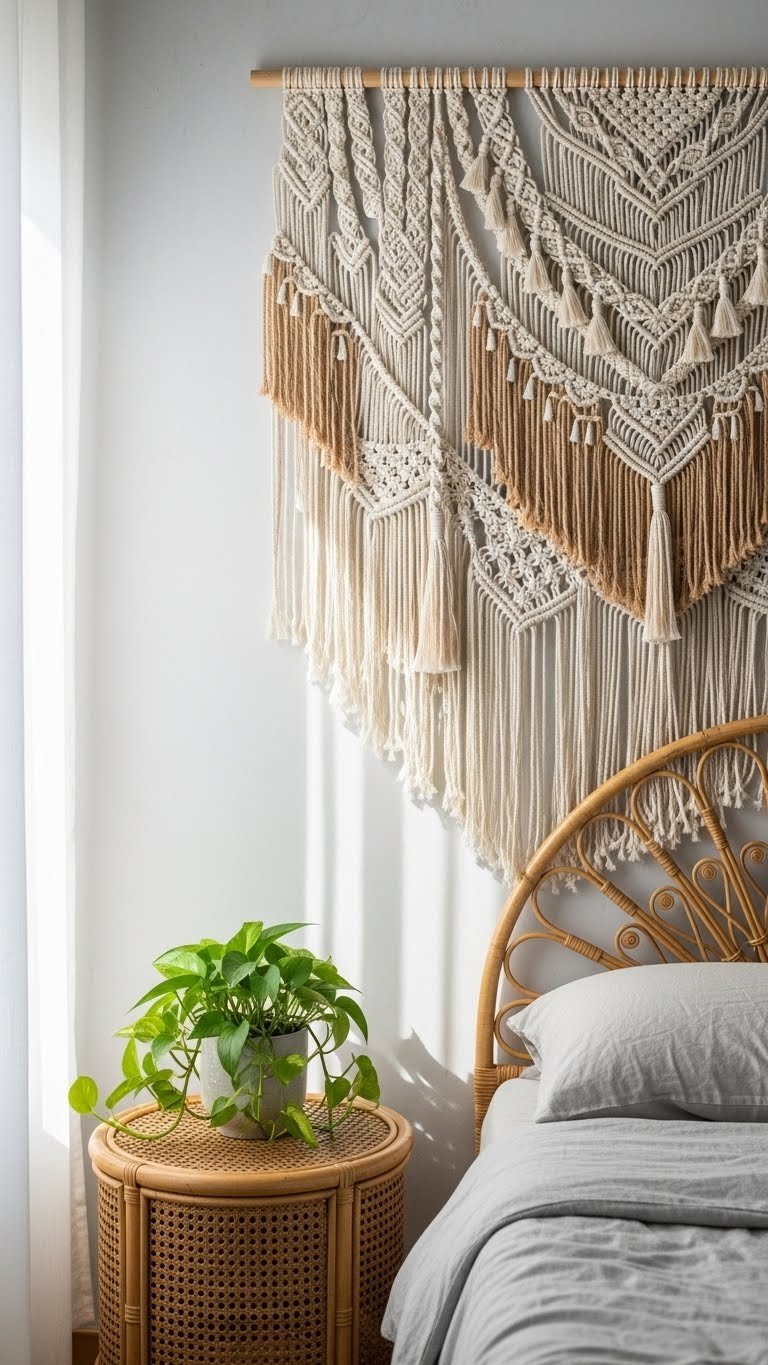
22. Hang a Tapestry or Fabric Wall Hanging as Instant Decor

A tapestry instantly covers blank wall space and adds warmth, pattern, and personality without permanent damage to walls. It’s one of the easiest dorm upgrades and instantly transforms a basic room.
Buy tapestries from Urban Outfitters ($20-$50), Etsy ($15-$60), or thrift stores ($5-$20). Hang with removable hooks ($5-$10). You can change it seasonally or whenever you want a refresh without any commitment.
Your walls immediately feel less bare and institutional. A good tapestry becomes a focal point that defines your room’s vibe and shows off your taste.
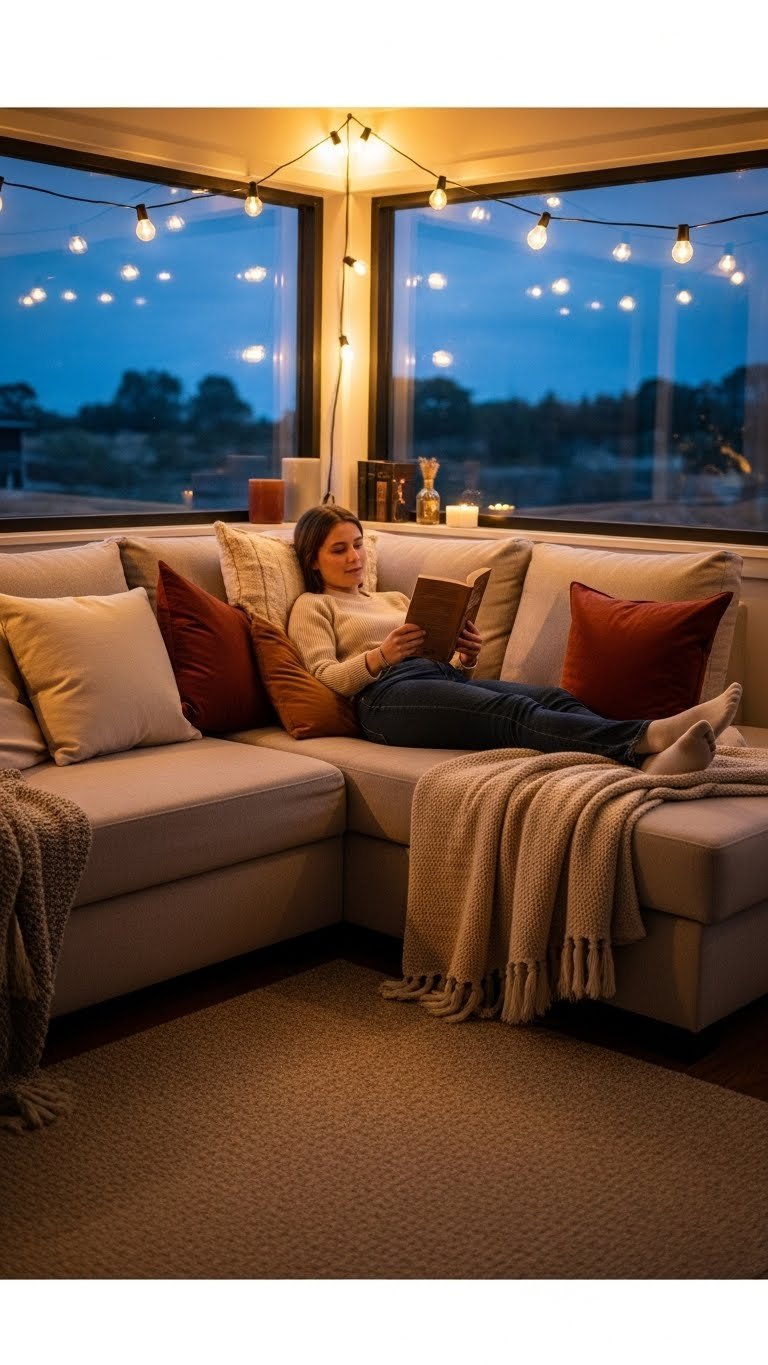
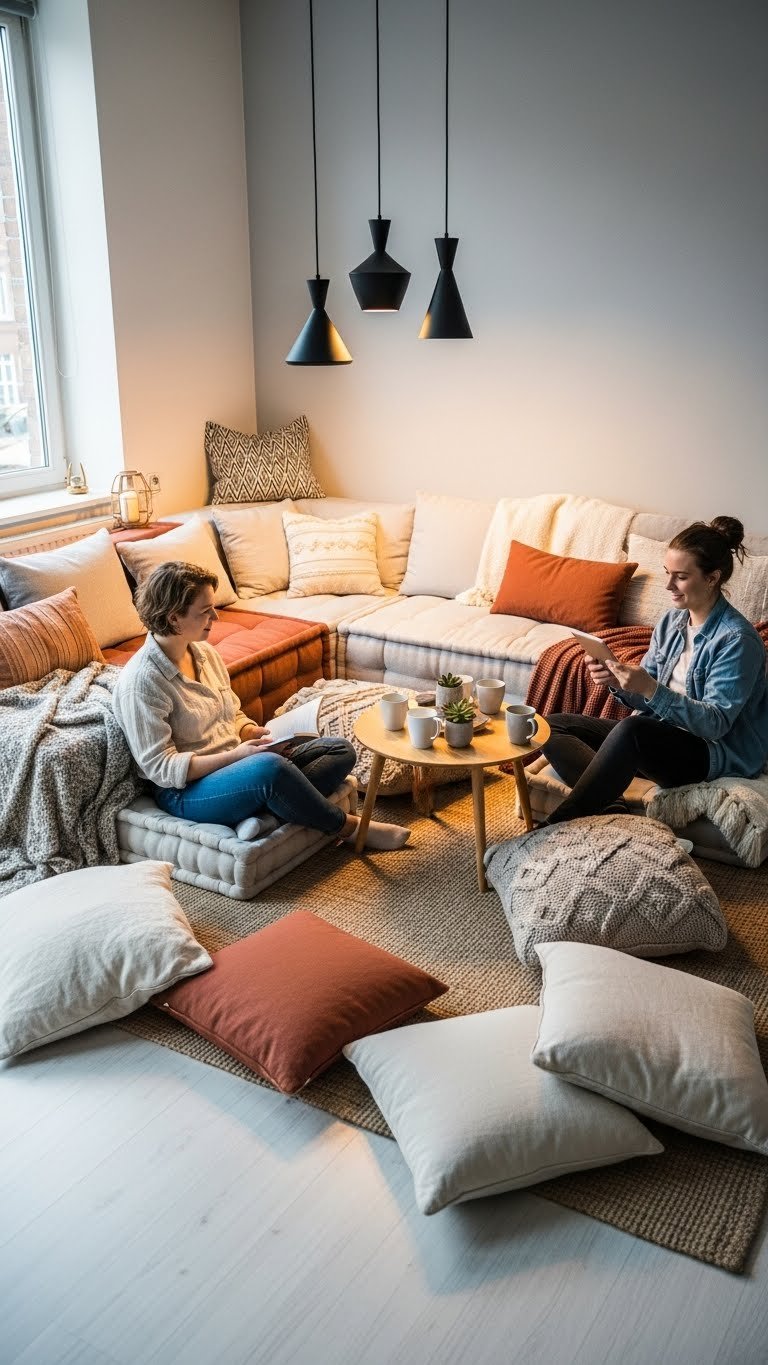
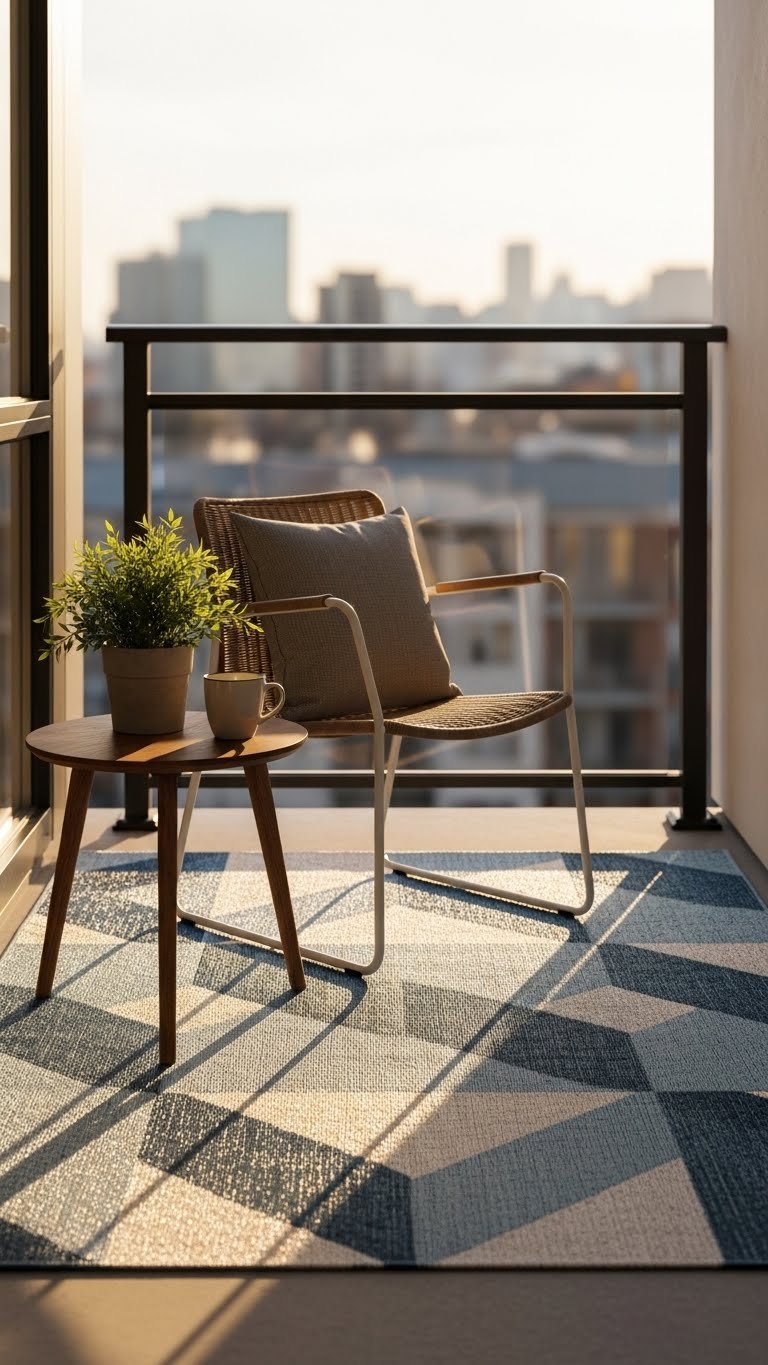
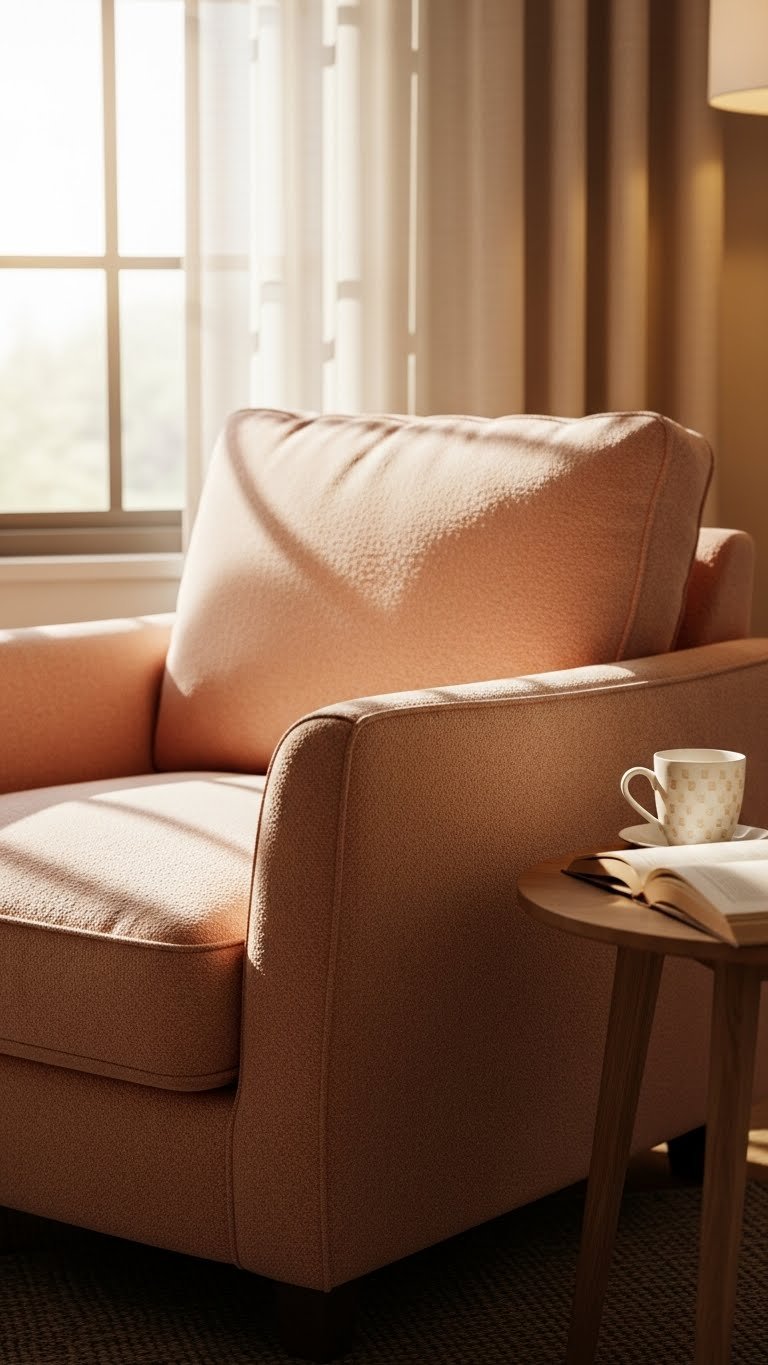
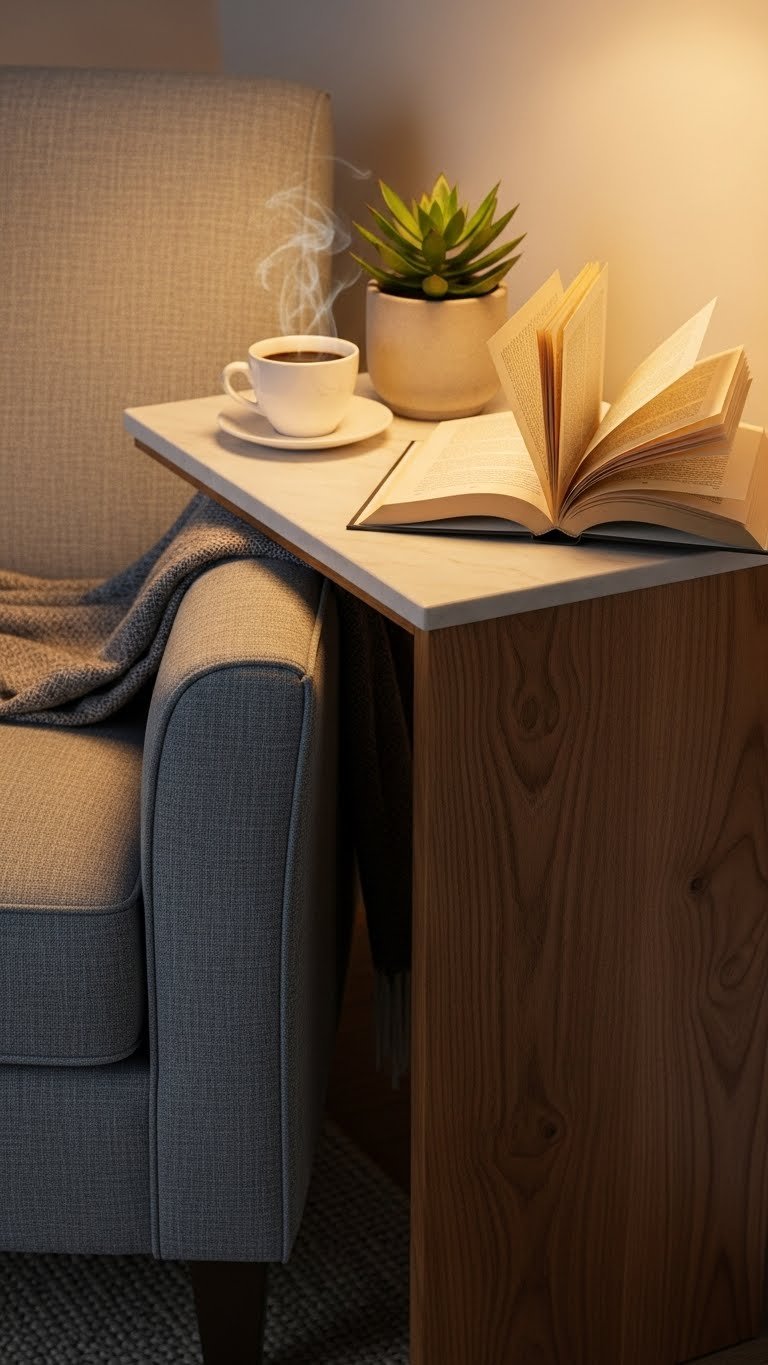
23. Create a Cozy Reading Nook with Layered Seating and Lighting
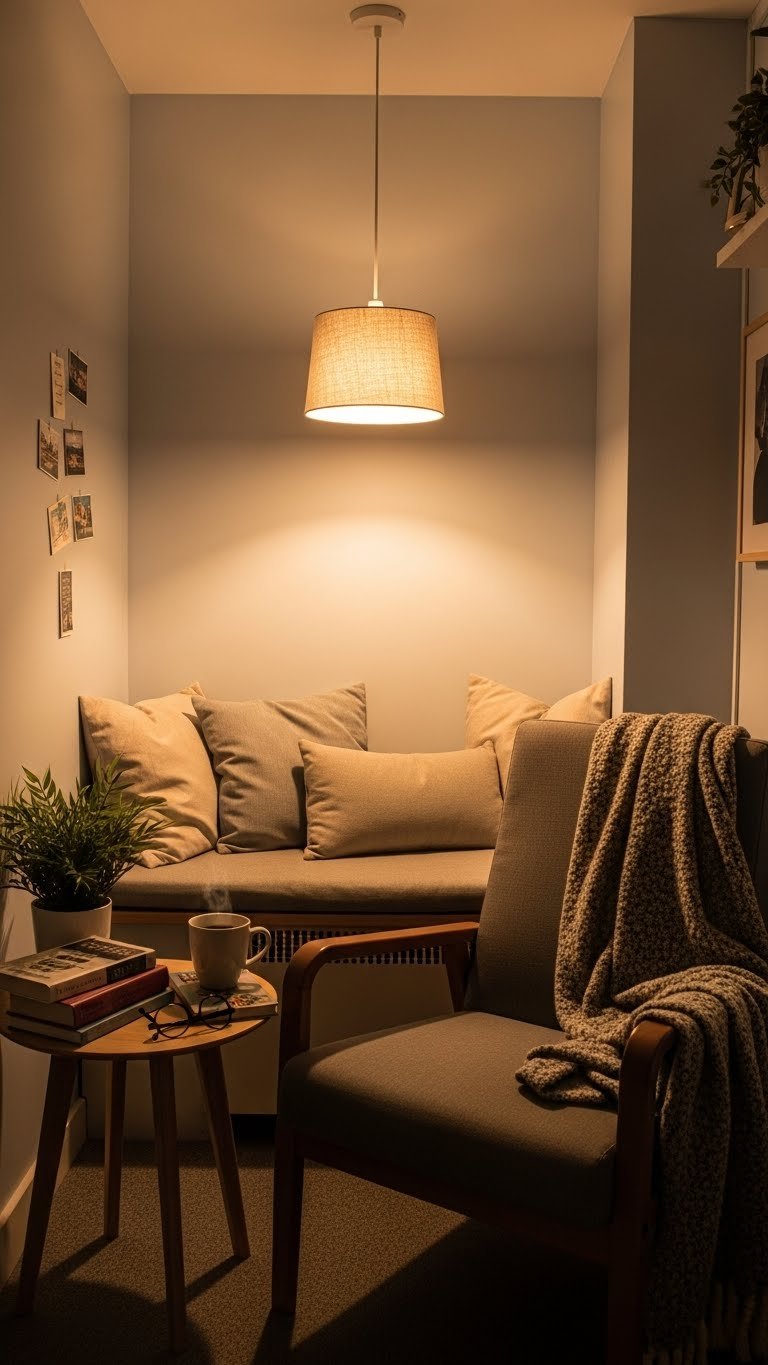
Even in a tiny dorm, you can carve out a small reading nook where you can actually relax between classes. Layer a comfortable chair, warm lighting, a small table, and pillows to create a functional escape.
A secondhand armchair ($40-$100), a small side table ($20-$50), warm string lights or a pendant fixture ($15-$40), and cozy pillows ($10-$25 each) total around $100-$200 but create a meaningful retreat.
You have a designated space to actually rest and recharge instead of constantly working from your bed. It’s a small investment in mental health that pays off throughout your college years.
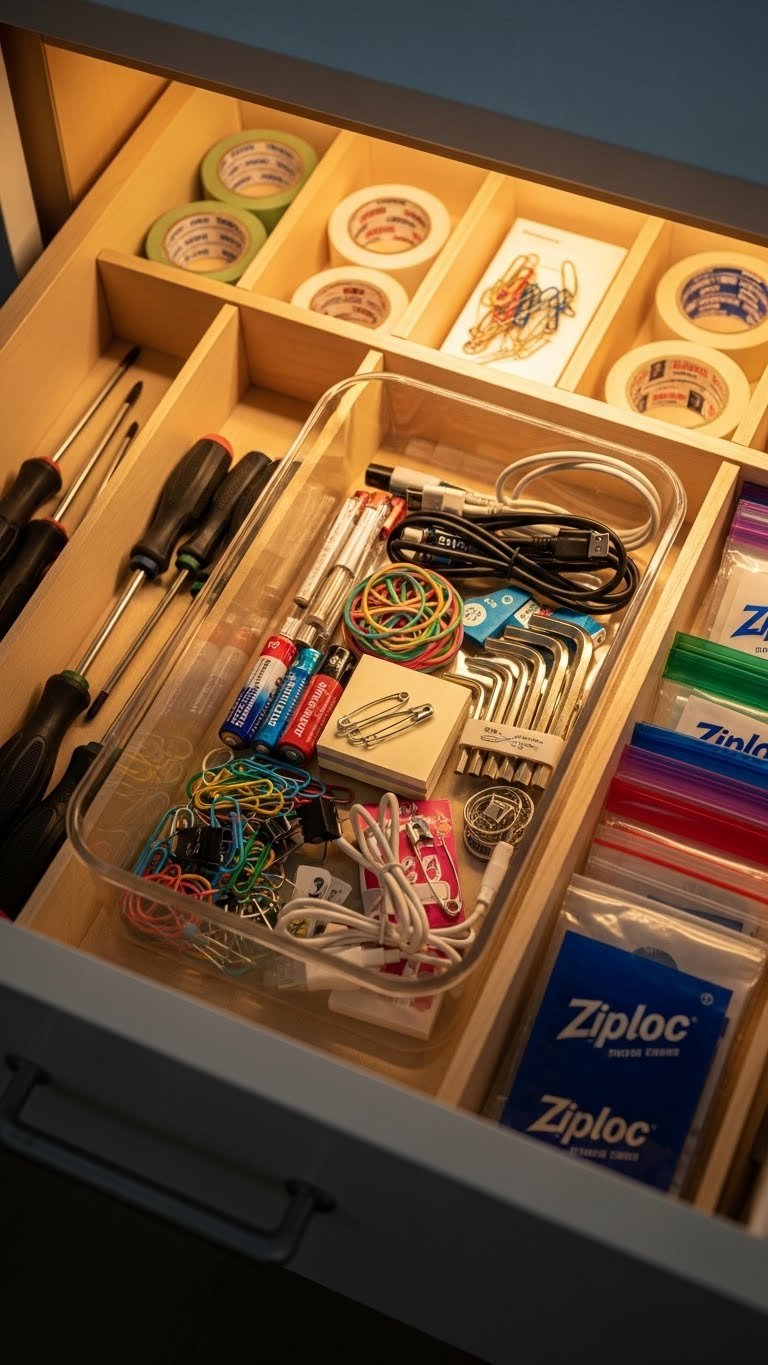
24. Use Adhesive Hooks and Command Strips for Renter-Friendly Organization
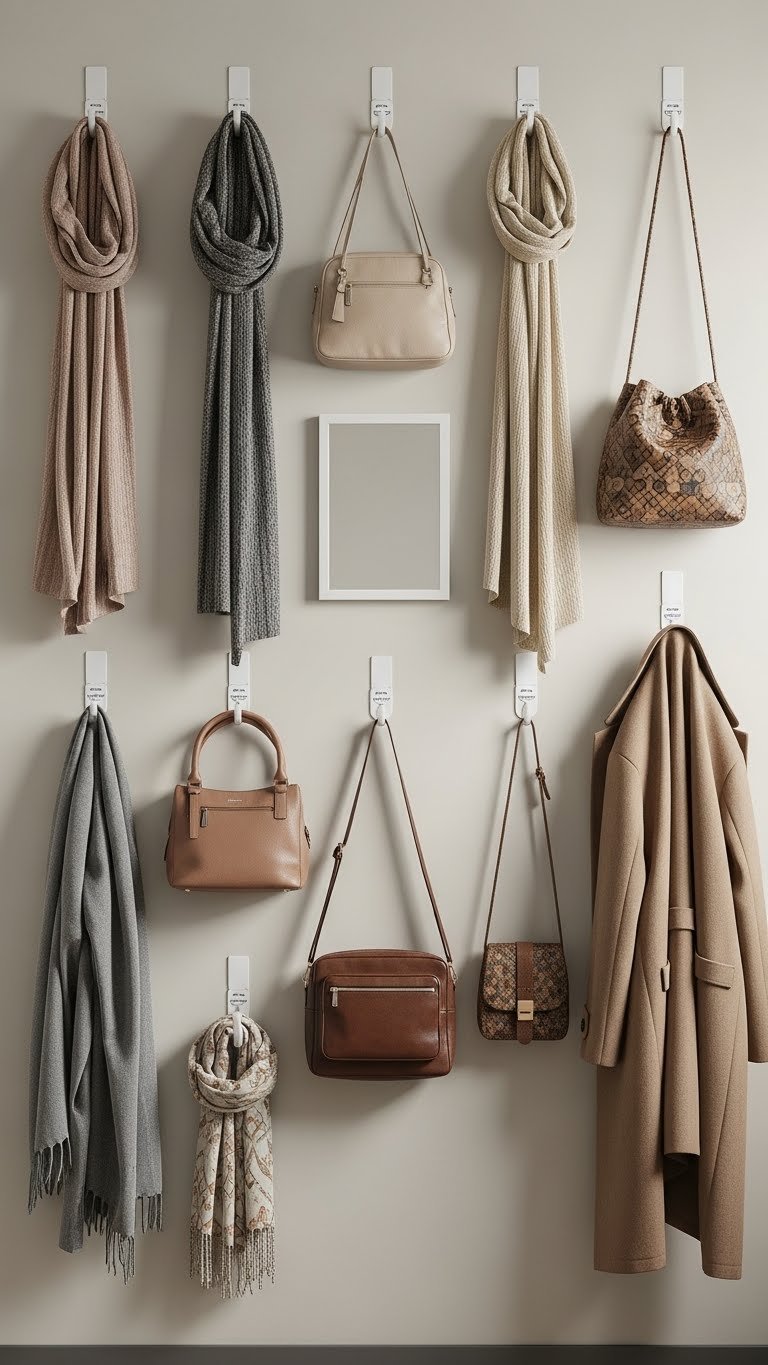
Maximize vertical space with damage-free adhesive hooks and strips (Command brand is reliable, $5-$15 for a pack). Hang bags, scarves, jackets, and accessories to keep your floor clear and your items accessible.
Buy the right hooks for your items’ weight and follow application instructions carefully. Test on a less-visible wall first. They remove cleanly when you move.
You suddenly have functional storage that doesn’t require landlord approval or compromise your security deposit. Your room feels more organized and intentional.
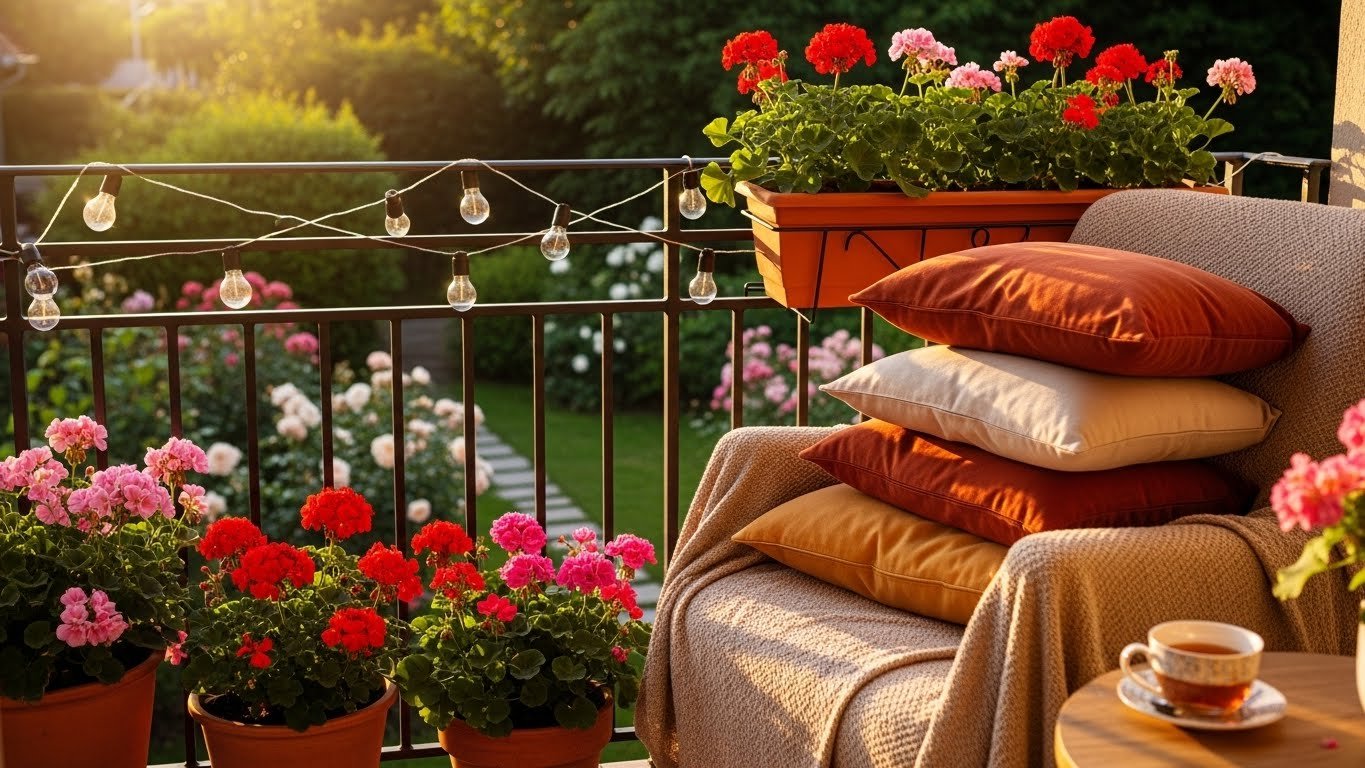
25. Add Warm-Toned Curtains or Sheer Panels for Softness

Bare dorm windows feel harsh and institutional. Warm-toned curtains or sheer panels soften light, add texture, and make your room feel cozier while providing privacy and light control.
Tension rods with lightweight curtain fabric cost $25-$50 total. Sheer panels ($20-$40) diffuse sunlight beautifully. Look for natural linen textures or soft colors that complement your warm palette.
Your window becomes a design moment instead of just an opening. You control light quality, get privacy, and add visual warmth that changes how your whole room feels.
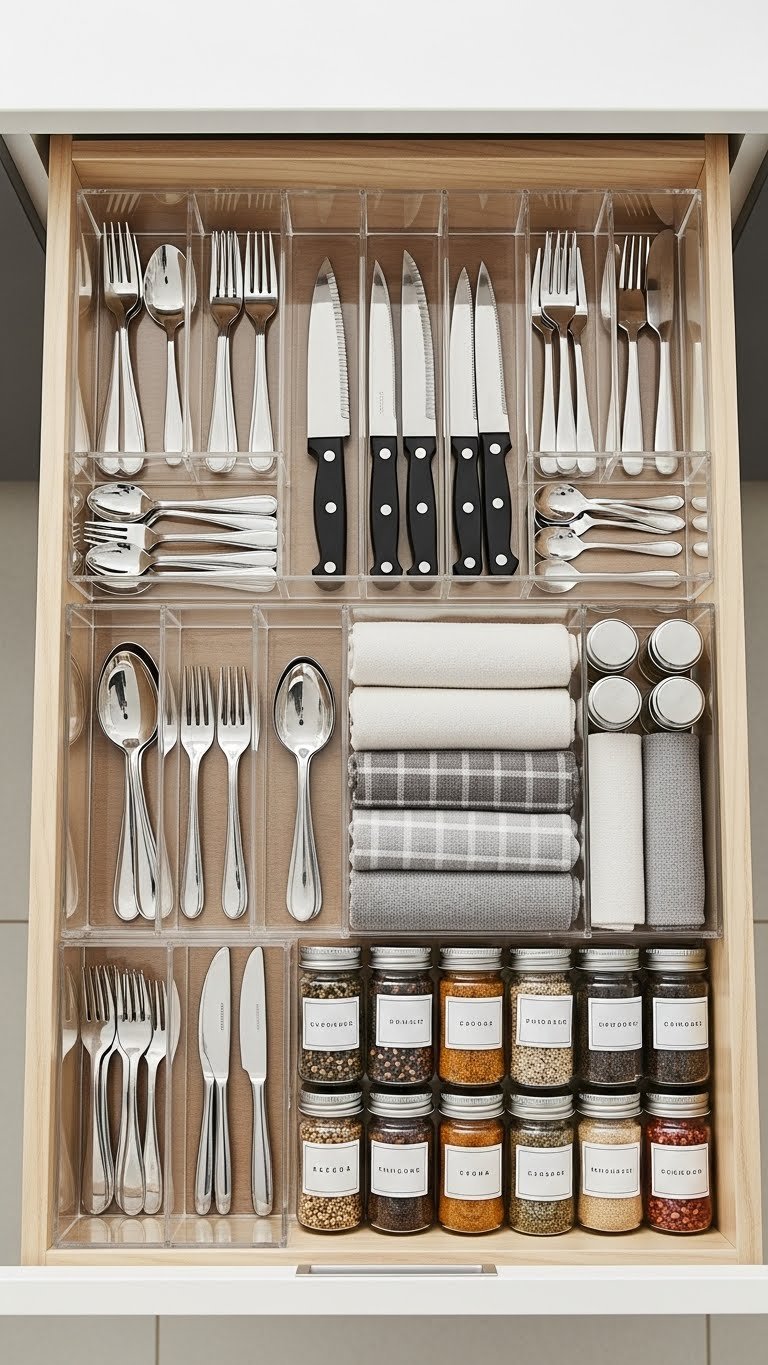
26. Style Open Storage with Coordinating Bins and Labels
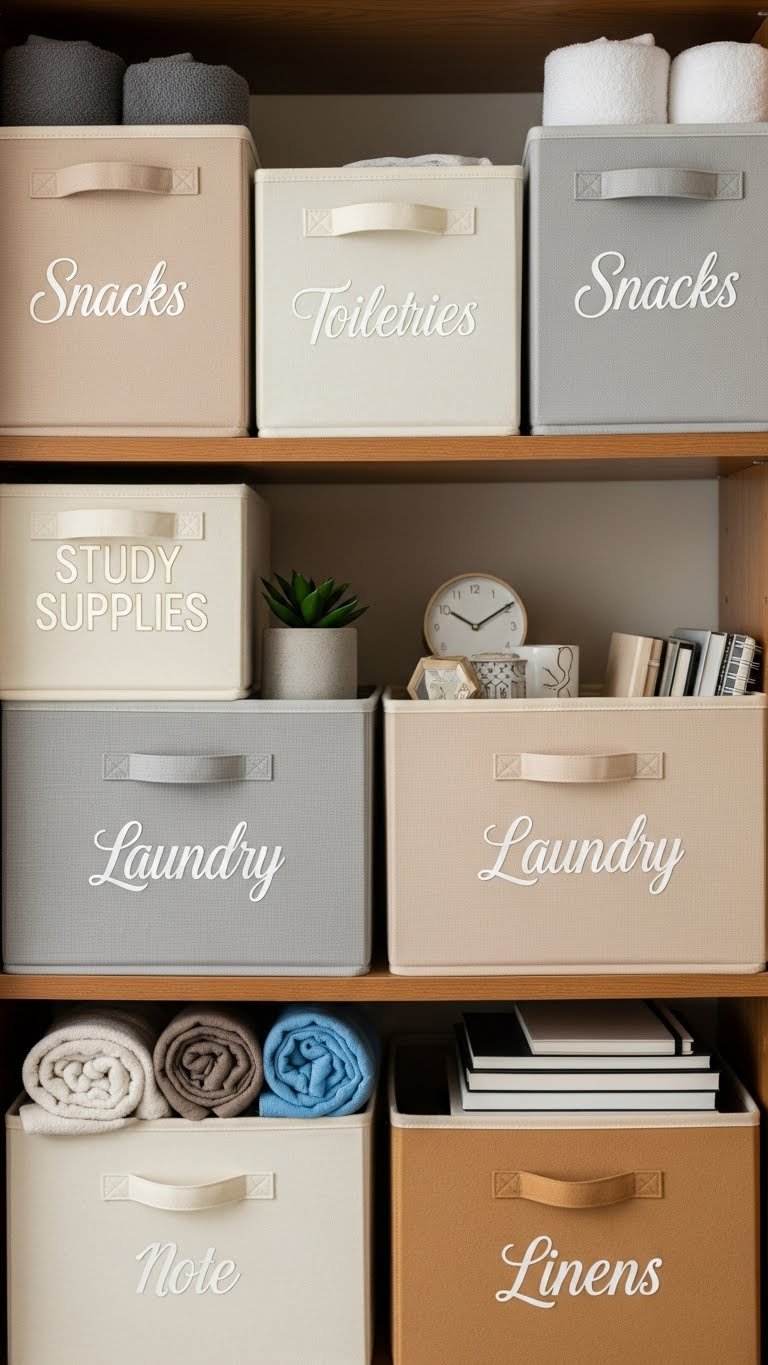
If you have open shelving or storage, make it beautiful by using matching bins and clear labels. Coordinating containers hide clutter while looking intentional and styled.
Fabric bins in neutral tones ($8-$20 each) and a label maker or printed labels ($10-$30 total) transform chaotic storage into a designed element. Keep your color palette tight—no more than two or three bin colors.
Your room looks organized and curated instead of cluttered. Open storage becomes an opportunity to show off your style rather than expose chaos.
27. Personalize Your Space with Meaningful Objects and Collections
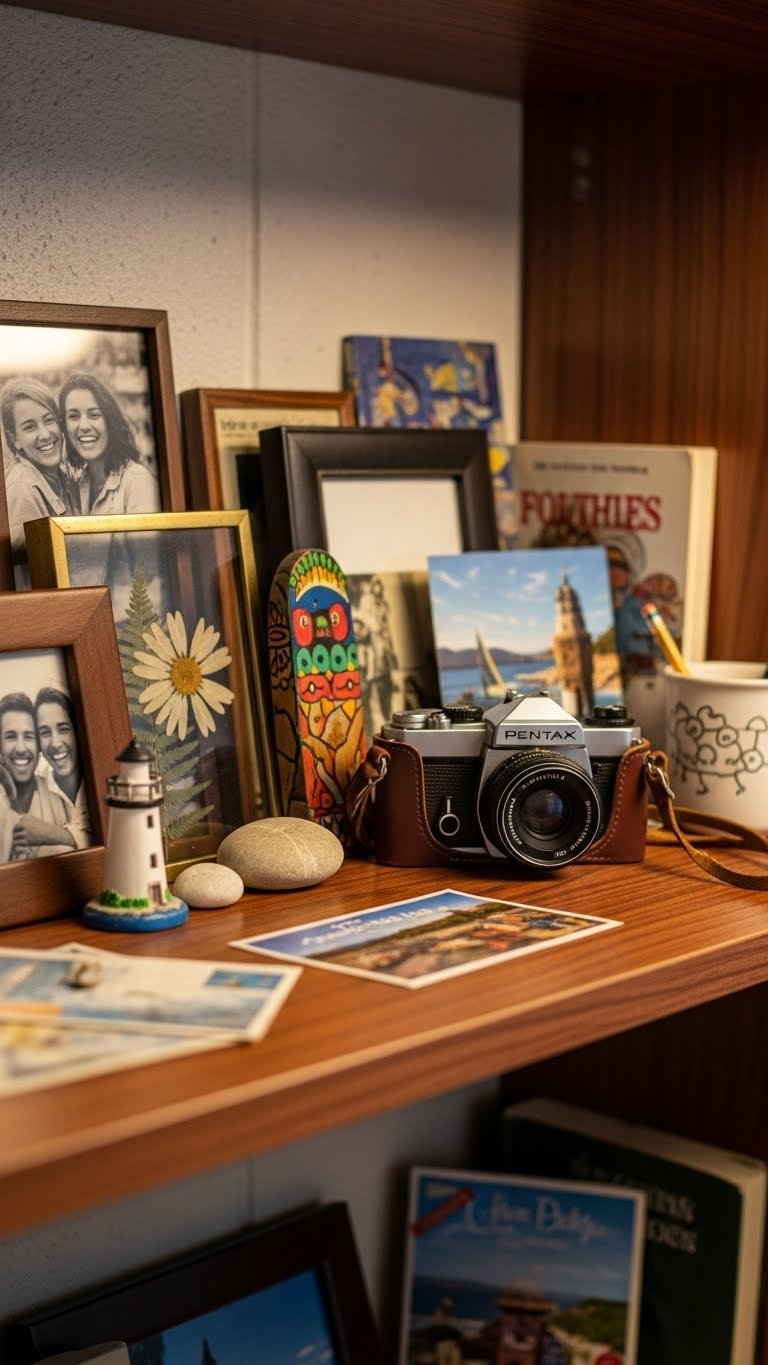
The most important element of making your dorm feel like home is filling it with objects that mean something to you. Arrange framed photos, collected souvenirs, small plants, and meaningful items that remind you of home, friends, and your travels.
No budget needed—use what you already have and display it intentionally. Group items on shelves or a small side table rather than scattering them randomly.
Your room becomes a reflection of you instead of just a generic dorm setup. These personal touches transform the space from a temporary college housing situation into an actual home you’re proud to spend time in.
Save this post and try one idea this weekend—you’ll be surprised how fast a bare dorm room becomes a space you actually love. Small changes add up, and your room deserves to feel like yours.