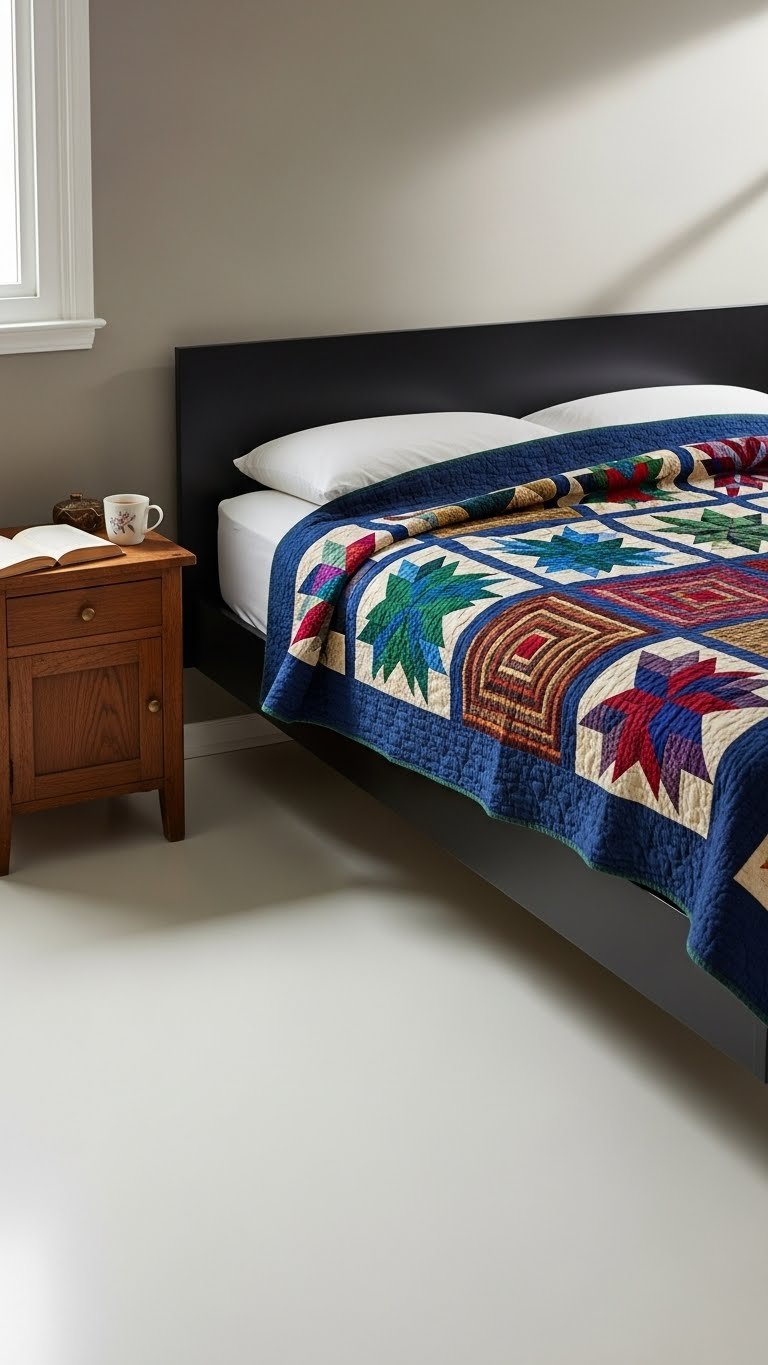
There’s something tricky about arranging two twin beds—you want them to look intentional and balanced, not cramped or awkward. Whether you’re designing a guest room, kid’s bedroom, or shared dorm space, the layout can make or break how the room feels. The good news? Small spacing choices, styling tricks, and smart furniture placement can turn a basic two-bed setup into a room that looks pulled together and actually functions better for the people using it. Here are 26 practical arrangements and styling ideas that work for real spaces with real constraints.
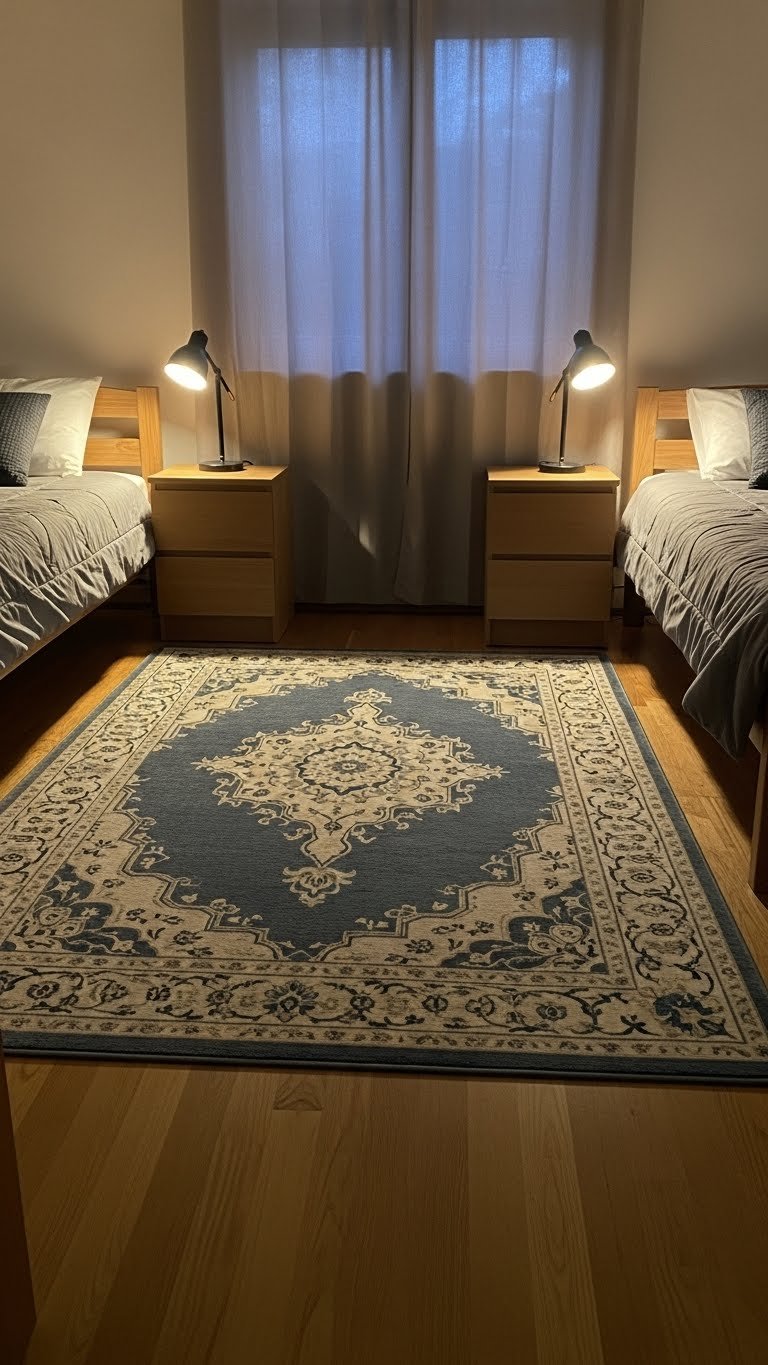
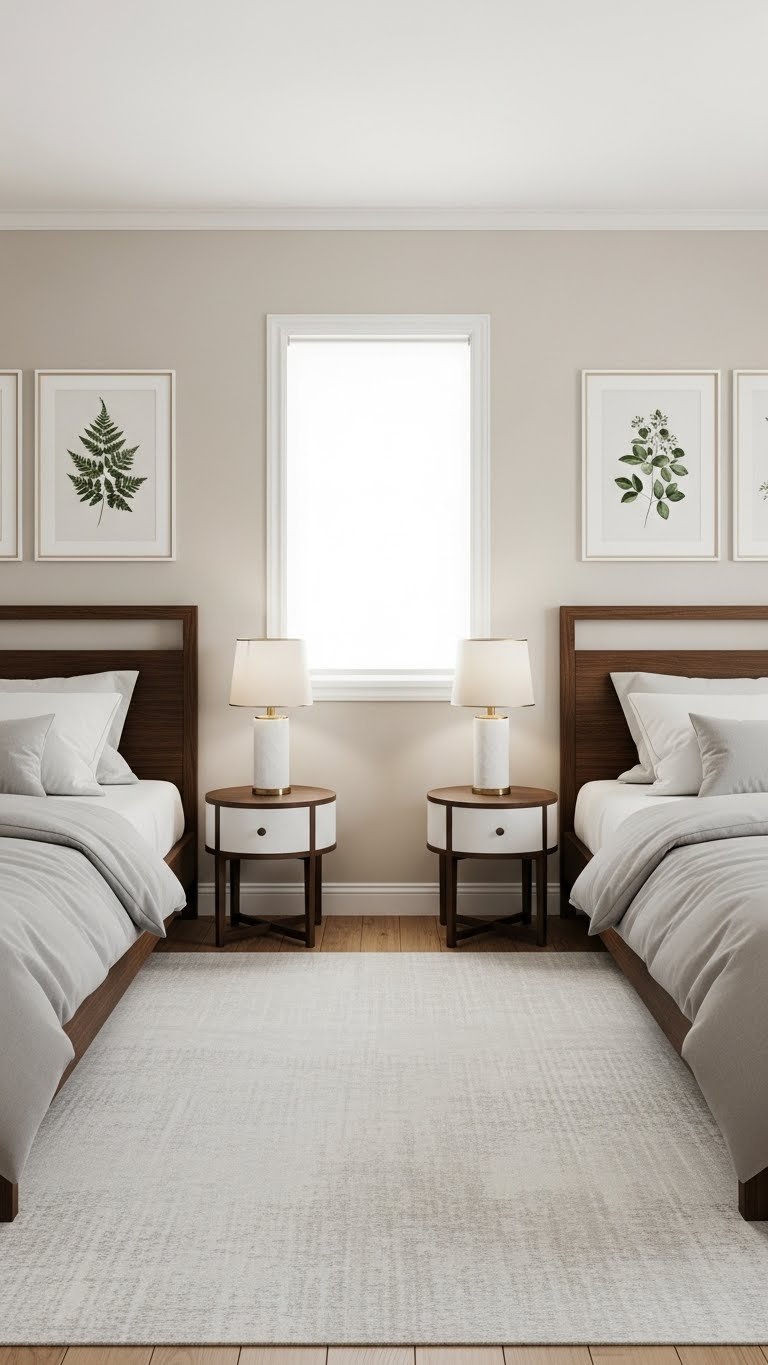
1. Mirror Them on Opposite Walls

Mirroring beds on opposite walls creates instant visual balance and makes the room feel intentional rather than random. This is the safest layout for shared spaces—each person gets equal territory and natural light access.
Position beds headboard-to-headwall on opposite sides, leaving at least 2–3 feet of walking space down the center. Add matching nightstands (or similar heights) on each side. You can find affordable matching nightstands at IKEA, Target, or Wayfair ($40–$150 per pair). Keep bedding coordinated but slightly different (same color, different textures) so it reads as intentional rather than creepy twin-room hotel vibes. Takes 15 minutes to arrange once beds are in place.
This layout maximizes floor space and makes furniture shopping way simpler since you just need two of everything. Both sleepers feel equally valued in the space.
2. Stack Them Headboard-to-Headboard
Pushing headboards together creates a cozy, unified look while saving lateral wall space—perfect for narrow bedrooms or when you want the beds to feel less separated.
Position the beds so headboards touch or nearly touch, creating a long rectangle or L-shape depending on your room. Add a long runner rug under both beds ($30–$80 from Amazon or Rugs USA). Lean throw pillows against each headboard so they have visual separation even though they’re touching. This works especially well if you can tuck the footboards toward a window or against the wall.
The biggest perk? You’ve created one focal point instead of two, so styling is simpler. Add a shared floating shelf above the headboards ($20–$60) for books and decor that serves both beds.
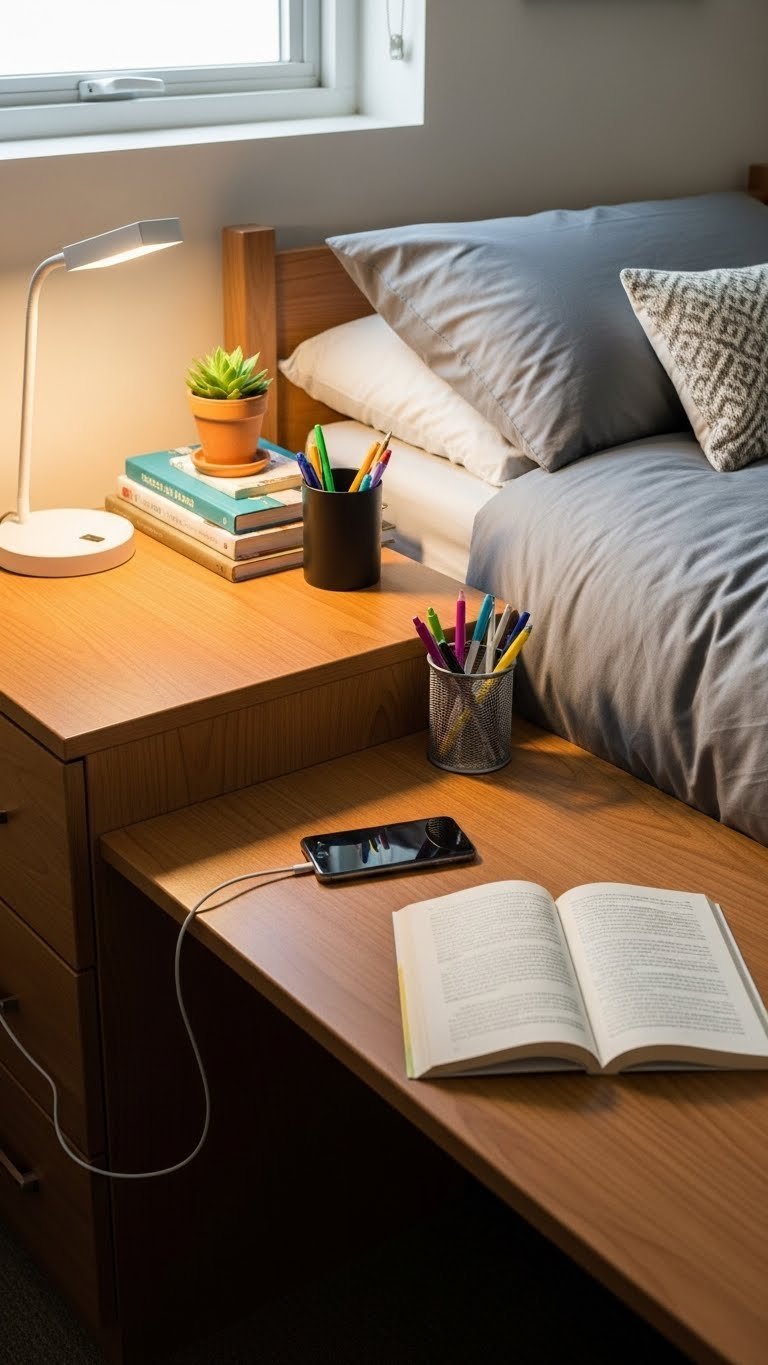
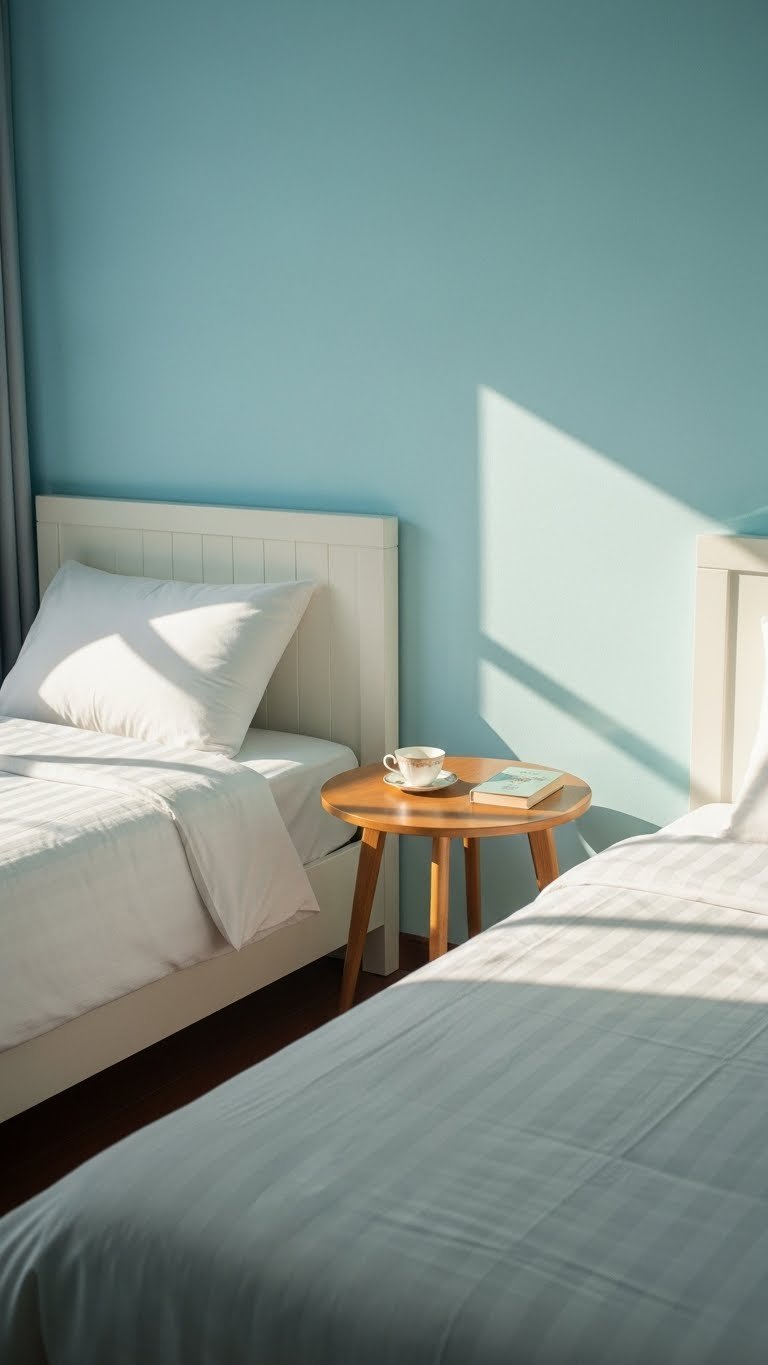
3. Use a Shared Nightstand Between Them
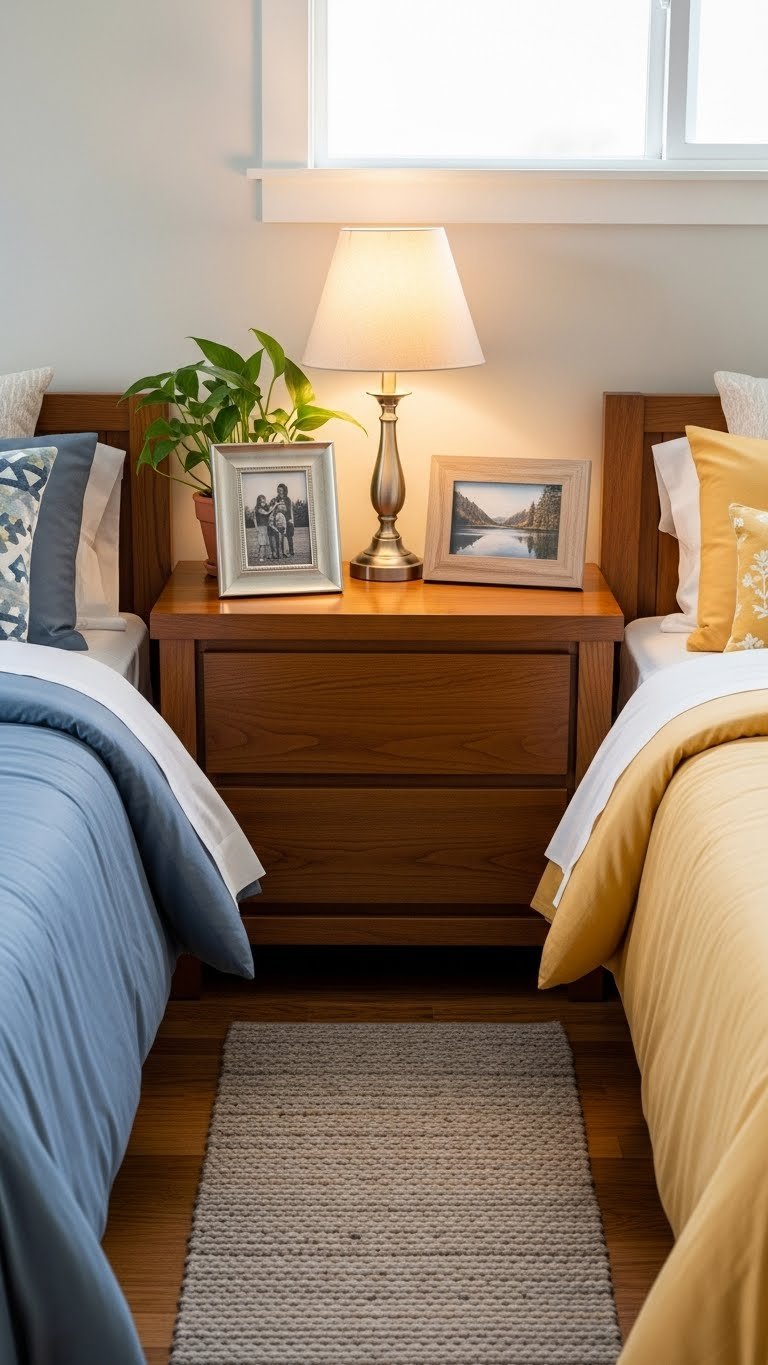
A single nightstand between beds saves money and space while creating a natural anchor point for the beds to relate to each other.
Position beds parallel to each other with just enough space for a nightstand—typically 18–24 inches between mattress edges. Choose a wider piece (IKEA’s BESTÅ, 24–48 inches, $60–$200) so it feels intentional rather than squeezed. Add one good table lamp with enough height to serve both beds. This layout cuts nightstand cost in half and keeps the room less furniture-heavy.
The downside? Each person has limited personal space on the nightstand. Keep it minimal: one lamp, a small plant, and maybe one decorative item. This arrangement looks hotel-guest-room cool and is perfect for siblings or roommates who don’t mind sharing a bit.
4. Angle Them in Opposite Corners
Angling beds into opposite corners opens up the center of the room and works beautifully for awkwardly shaped or smaller bedrooms.
Place one bed in the top-left corner and one in the bottom-right corner (or vice versa). This breaks up the boxy feel of parallel beds and creates more usable floor space in the middle for a seating area, desk, or walkway. Add nightstands on the inner wall of each bed so they don’t stick out awkwardly. Use a central rug to visually tie the arrangement together.
This layout feels more dynamic and modern—like someone intentionally designed the space rather than just squeezing in two beds. It’s great for creating a lived-in, personal feel. Takes about 30 minutes to arrange and style.
5. Create an L-Shape with Desk or Bench
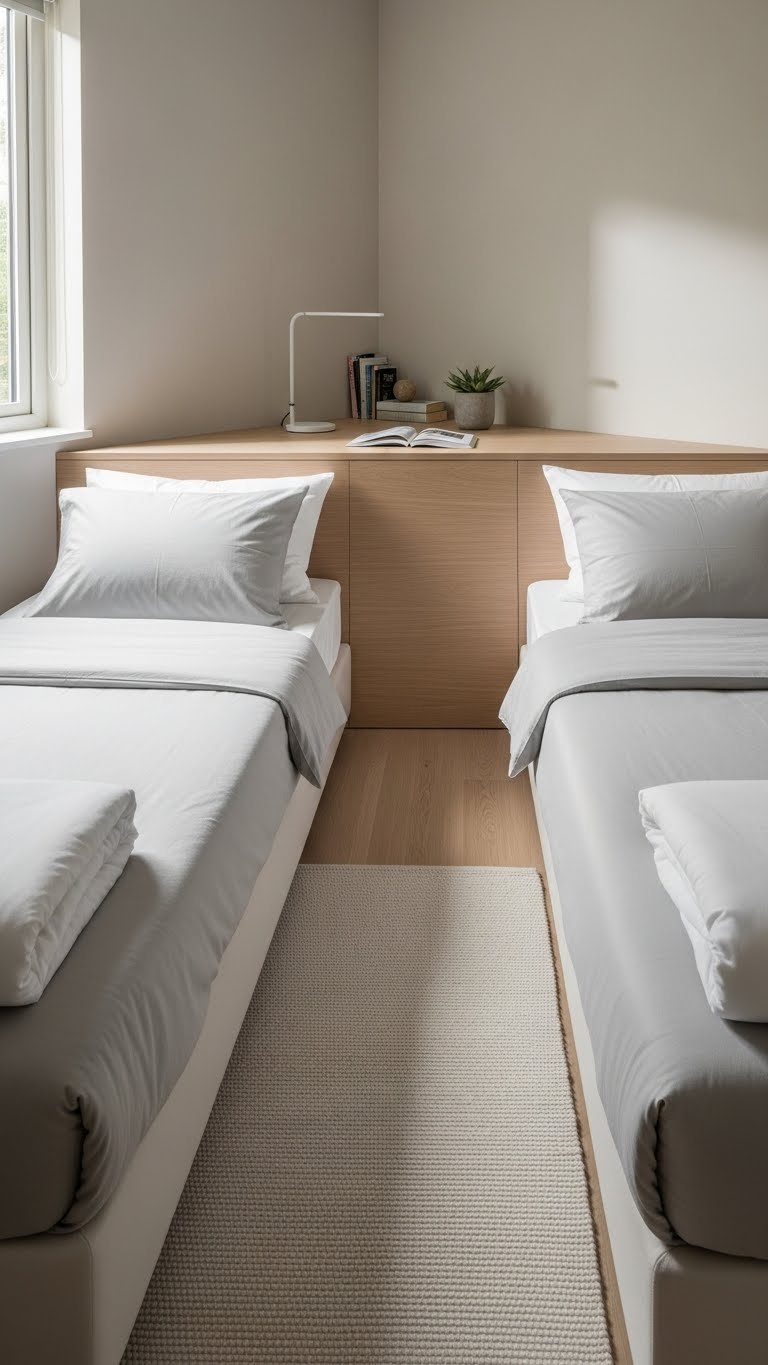
An L-shaped arrangement with a desk or bench at the corner creates natural zones and maximizes functionality without adding bulky furniture.
Position one bed along the top wall and one along the side wall, meeting at a corner. Tuck a small desk, vanity, or bench into the corner point (try IKEA’s LISABO desk, $150–$200, or a simple Wayfair bench, $80–$150). Add a task lamp and you’ve created a study zone that doesn’t feel cramped. Use coordinating bedding so the two beds read as one intentional arrangement.
This setup is ideal for kid’s rooms or shared student spaces where people need both sleep and work areas. The corner piece acts as a visual and functional anchor. You get three zones (bed one, bed two, work area) in roughly the space of two beds.
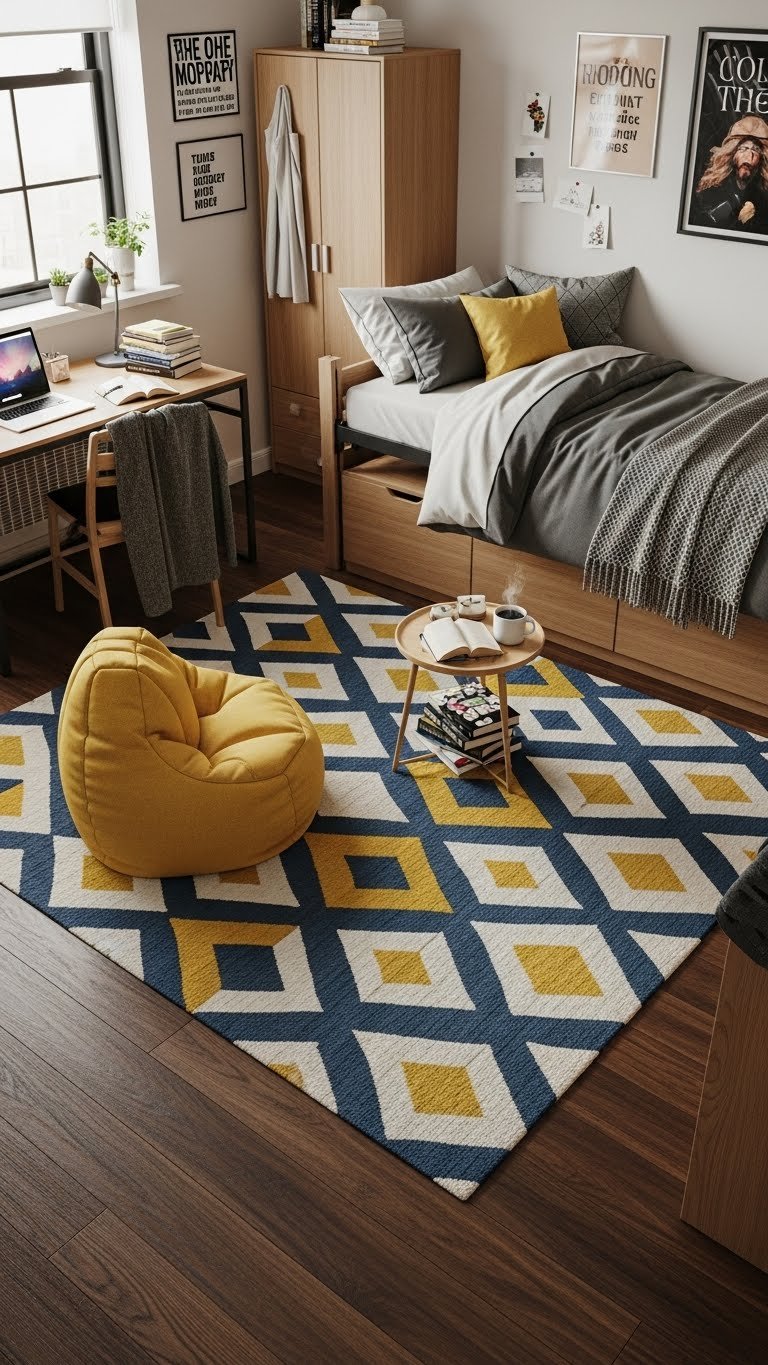
6. Float Them on Area Rugs
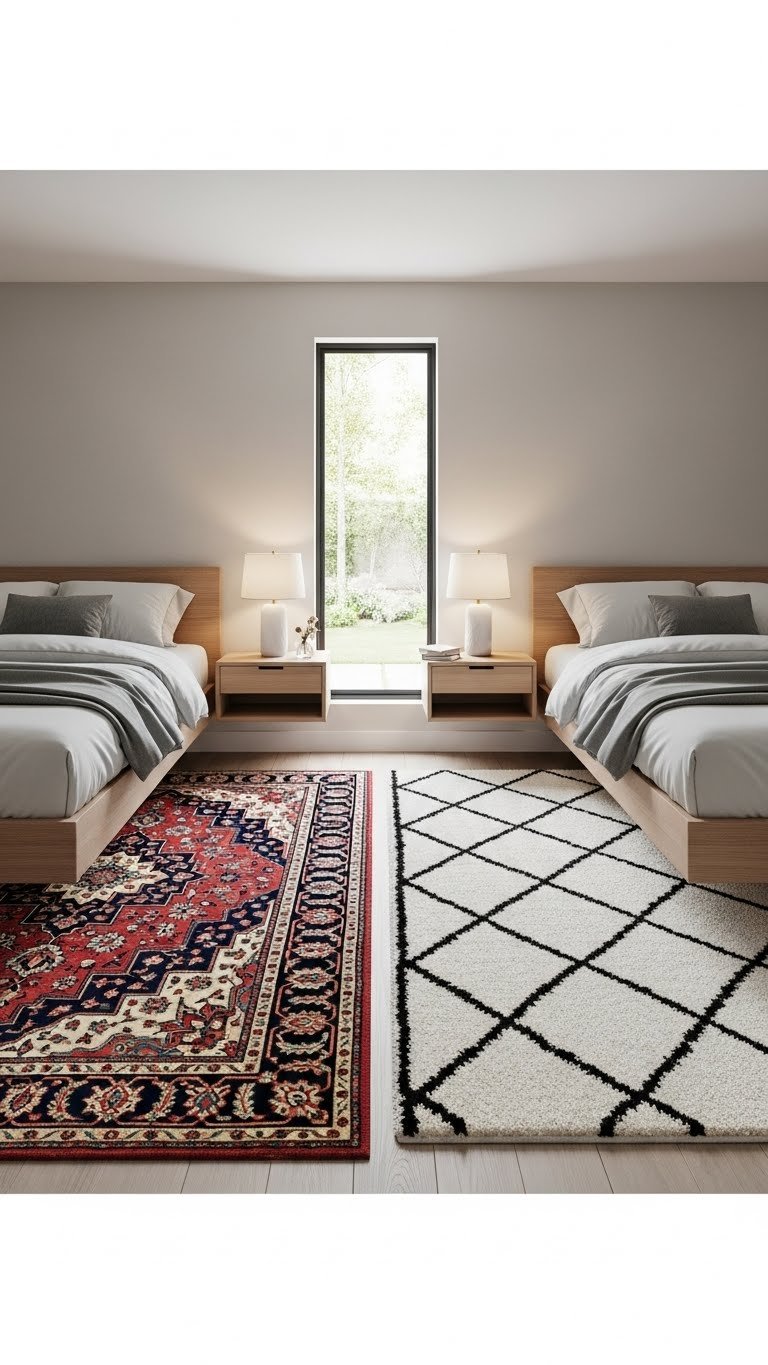
Floating beds on individual rugs creates visual separation and defines personal zones, even in an open layout.
Place each bed on its own 5×7 or 5×8 area rug ($50–$150 each from Target, Wayfair, or Amazon). This works best when beds are on opposite walls. The rugs visually anchor each bed and make the arrangement feel intentional. Choose complementary rug colors or patterns that tie back to your bedding. Leave at least 2–3 feet of clear floor between the rugs so the center of the room stays open.
The rugs don’t just look good—they reduce noise and make the space feel warmer underfoot. This is a renter-friendly way to define zones without paint or permanent changes. It’s an easy way to add personality too.
7. Use Twin Bed Frames with Built-In Storage
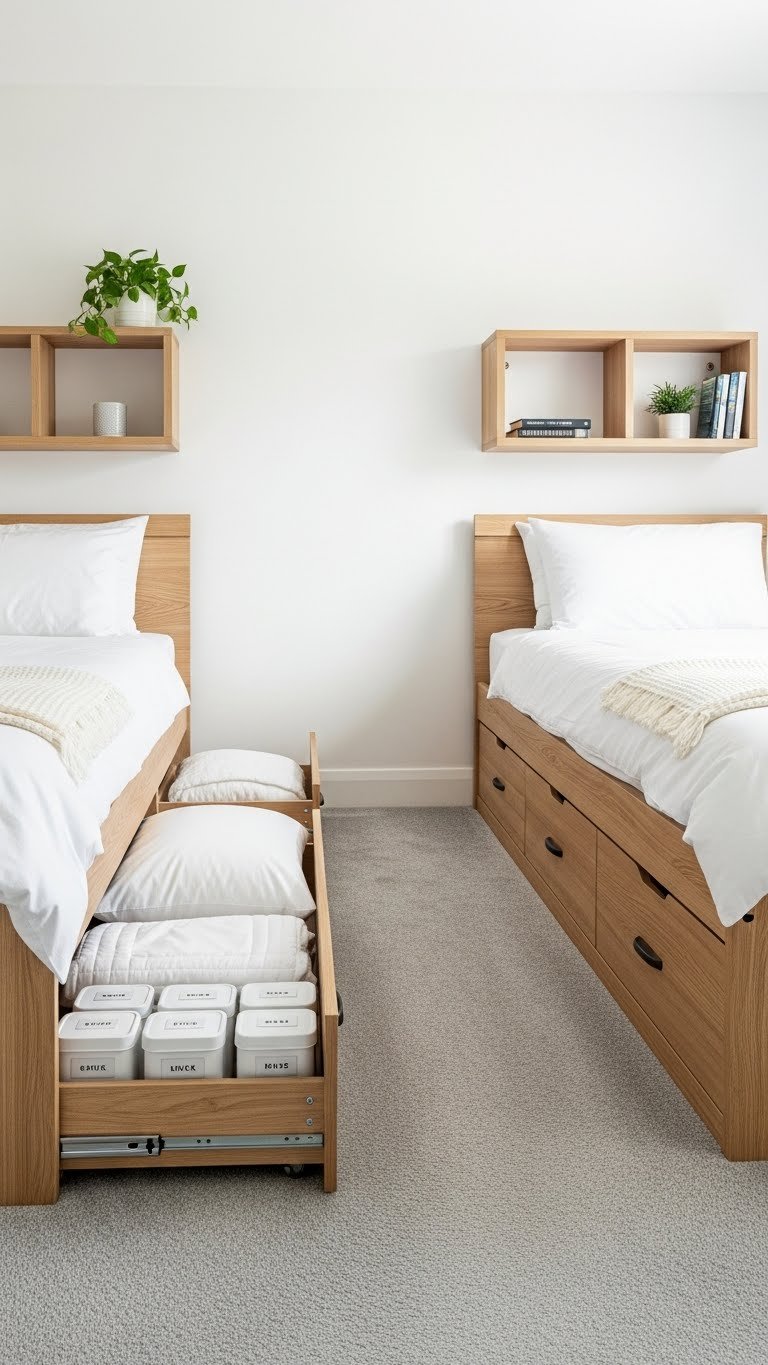
Frames with built-in drawers eliminate the need for under-bed storage bins and create a cleaner look while maximizing storage.
Invest in twin bed frames with storage drawers (IKEA HEMNES, $200–$300 per frame, or Wayfair options at $150–$400). Position them as you normally would on opposite walls or in an L-shape. The drawers become prime real estate for off-season clothes, extra bedding, or shared supplies. This saves money on separate storage furniture and keeps the floor visually clear.
Built-in storage frames cost more upfront but look significantly more polished and eliminate clutter. You’ll use every inch of that storage, especially in shared rooms. Worth the investment if space is tight.
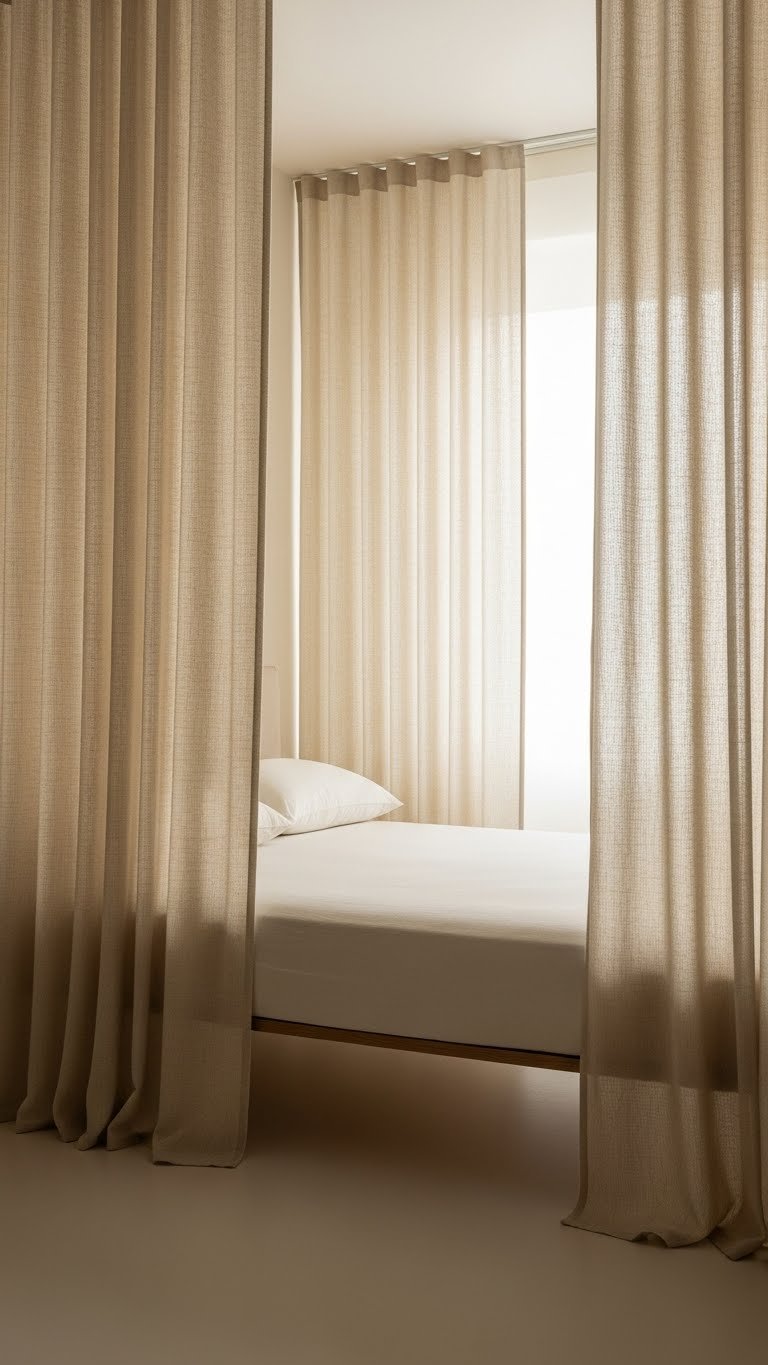
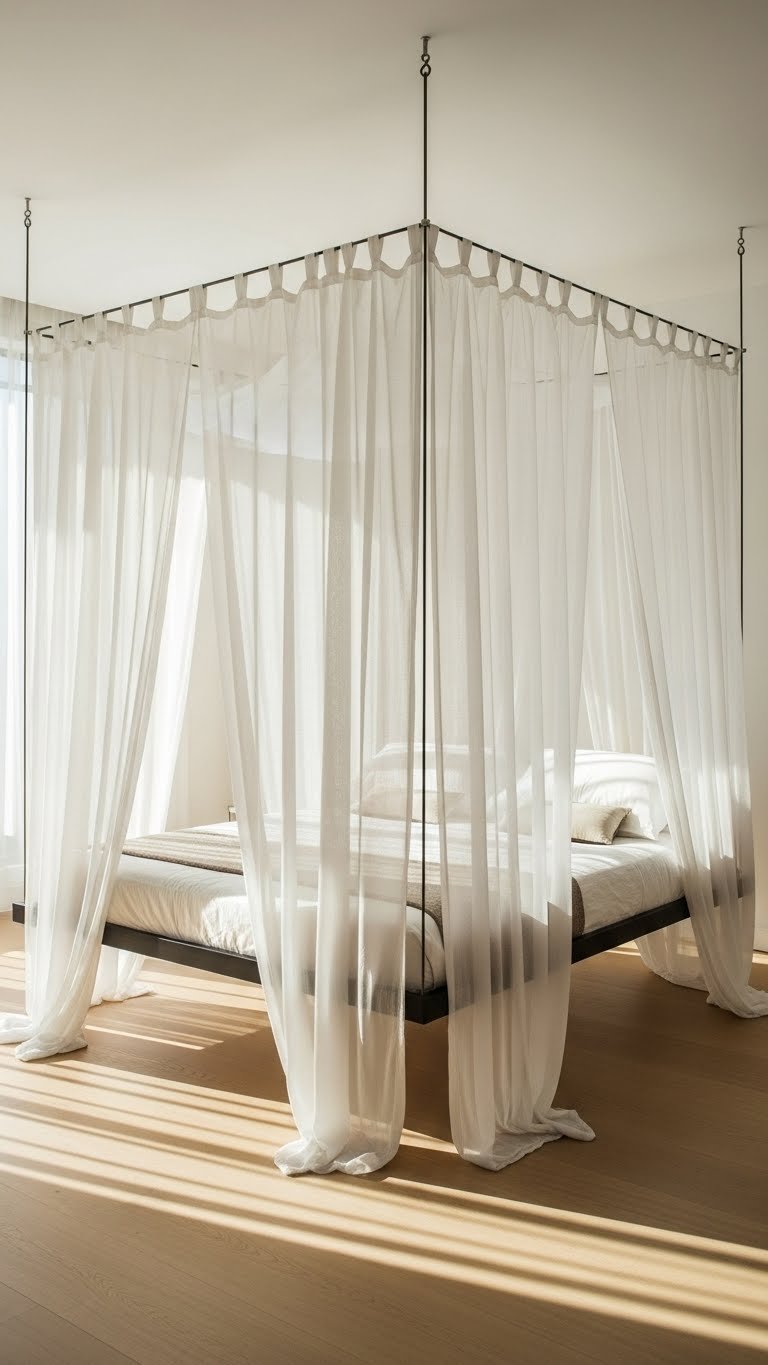
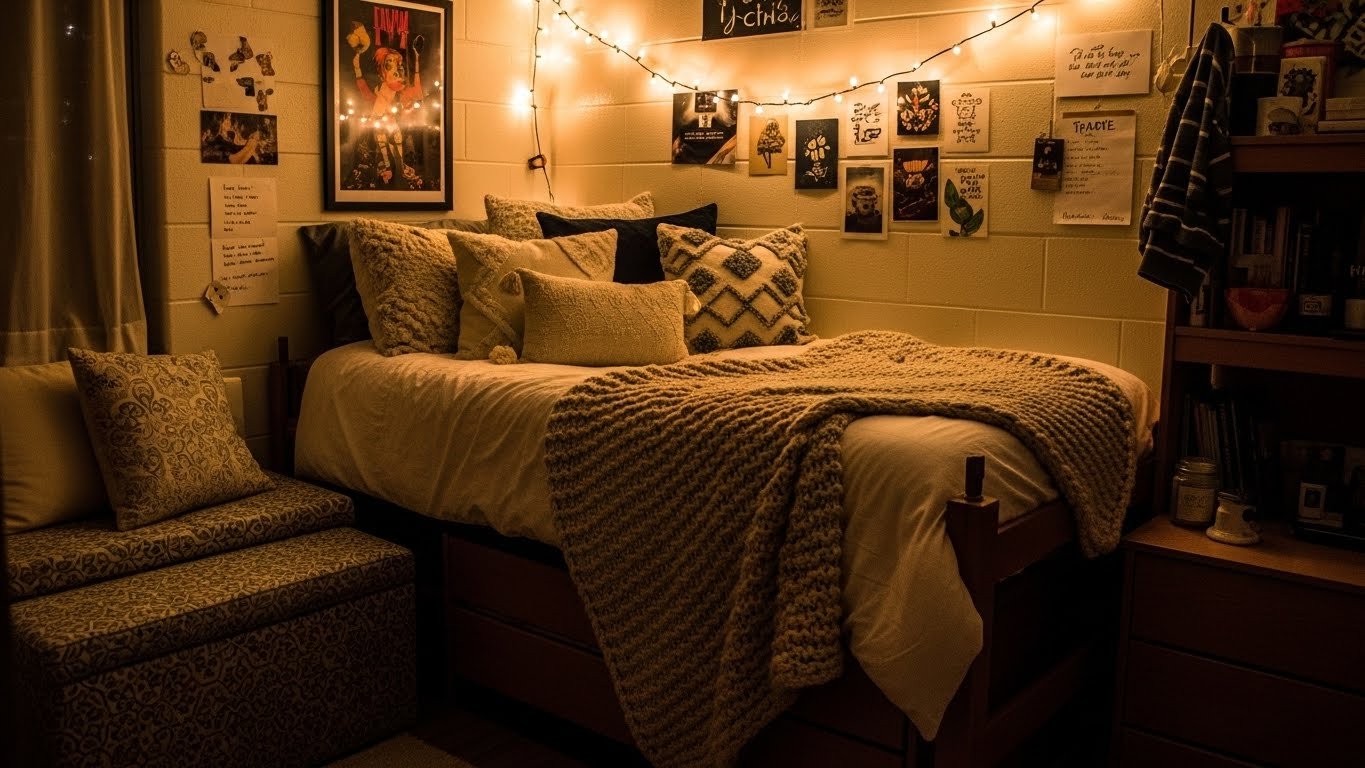
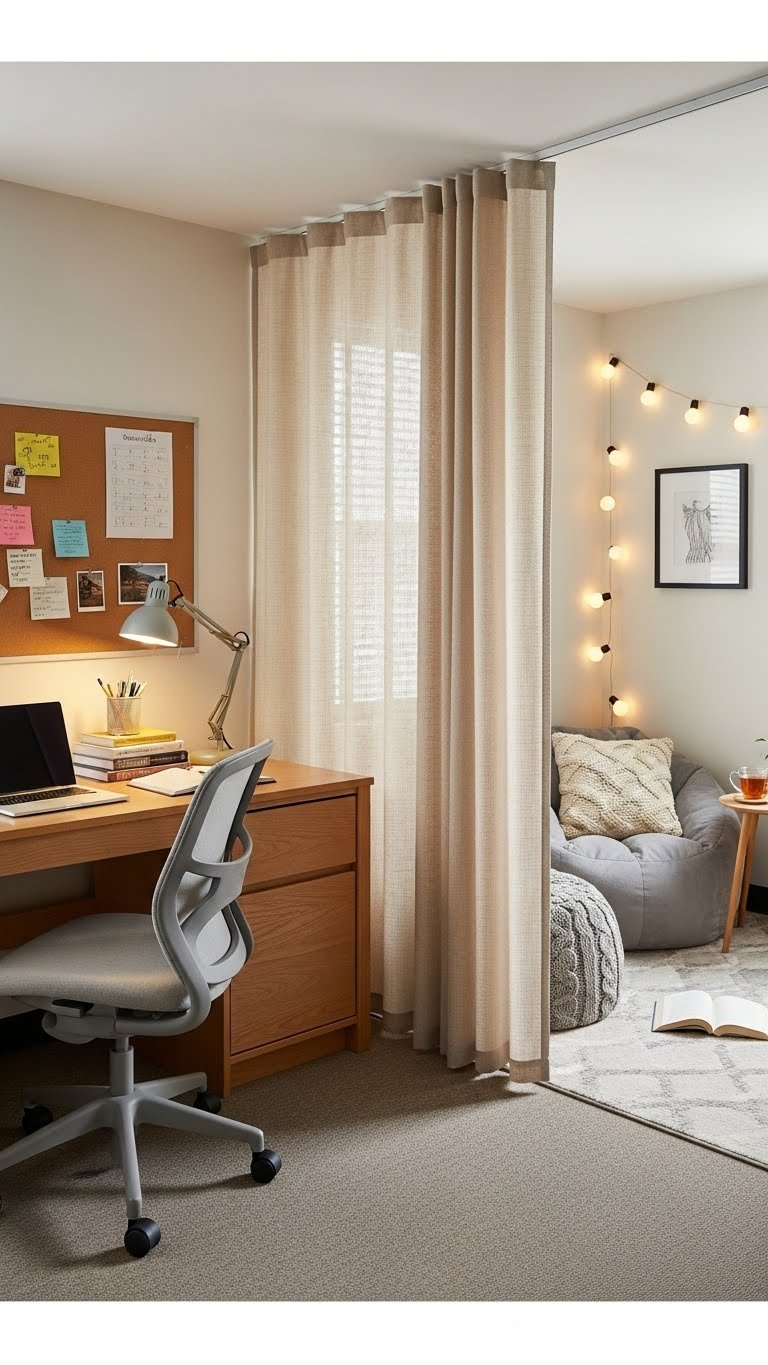
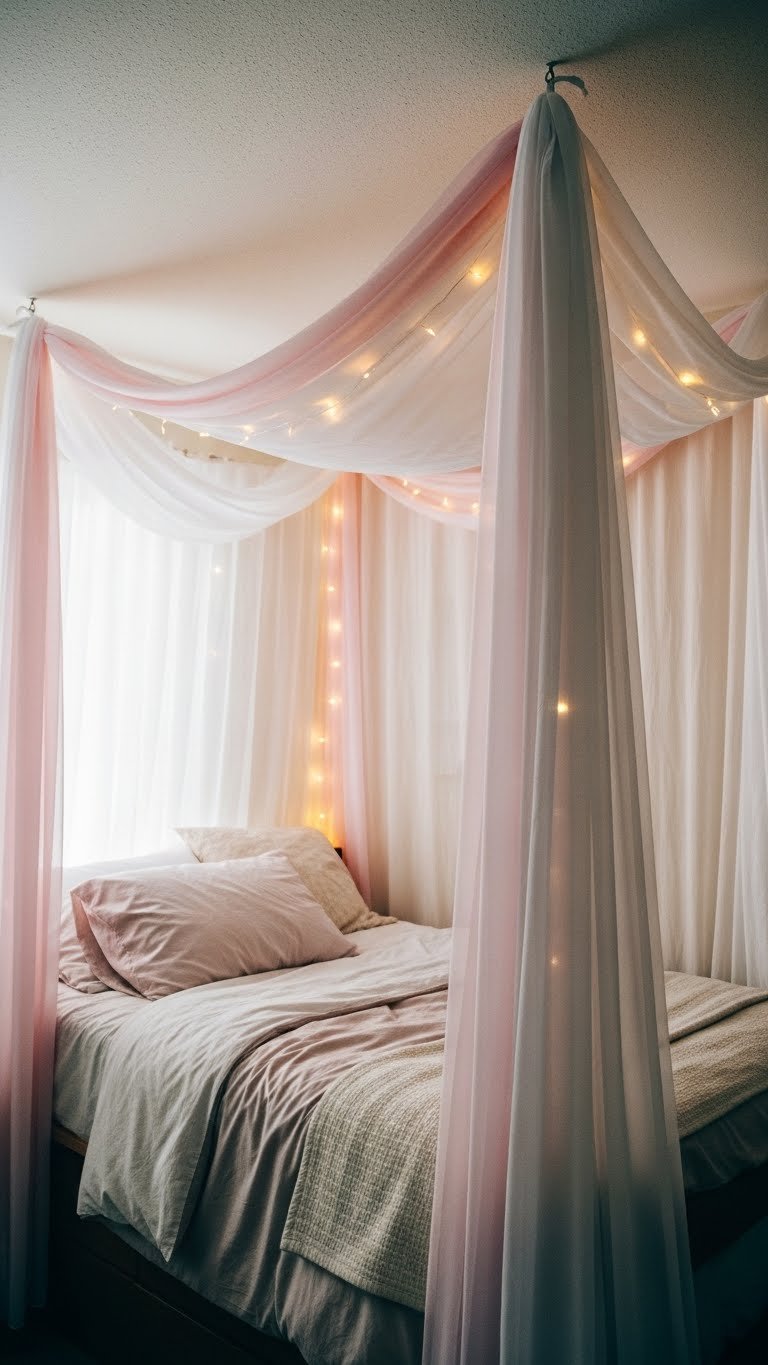
8. Add a Canopy or Fabric Drape Above
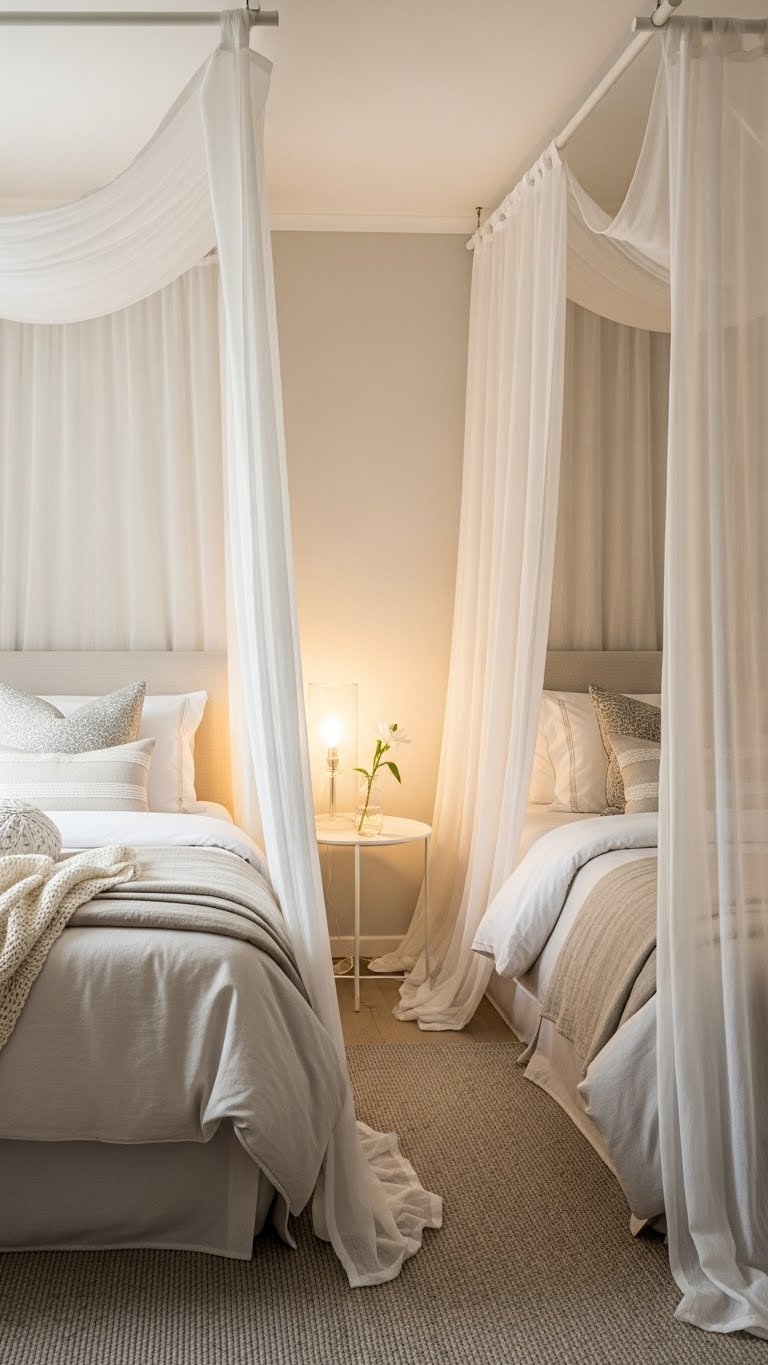
Hanging fabric drapes above beds creates separation, adds architectural interest, and makes compact spaces feel intentional and cozy.
Use a tension rod or simple ceiling mount ($15–$30 from hardware stores) and drape lightweight fabric (sheer curtain panels, $20–$50 from Target or Amazon). Hang one canopy per bed if they’re on opposite walls, or one shared drape if they’re headboard-to-headboard. This adds vertical interest without taking up floor space.
Canopies work great for creating visual separation in shared rooms. They also absorb some sound and create a cozier sleeping environment. Very Pinterest-worthy and totally renter-friendly if you use adhesive hooks instead of screws.
9. Position Beds Perpendicular
A perpendicular arrangement creates an unusual, thoughtful layout that works beautifully in rectangular or awkwardly proportioned rooms.
Place one bed along the longest wall and one along the wall that meets it at a right angle (think T-shape or cross). Add a small side table or stool in the junction area to anchor the arrangement. This layout uses space efficiently and feels less cookie-cutter than parallel beds.
The perpendicular setup works especially well if your room has an unusual shape or if one sleeping person needs more privacy. It’s also ideal for rooms where one person might study while another sleeps. Feels thoughtfully designed rather than default.
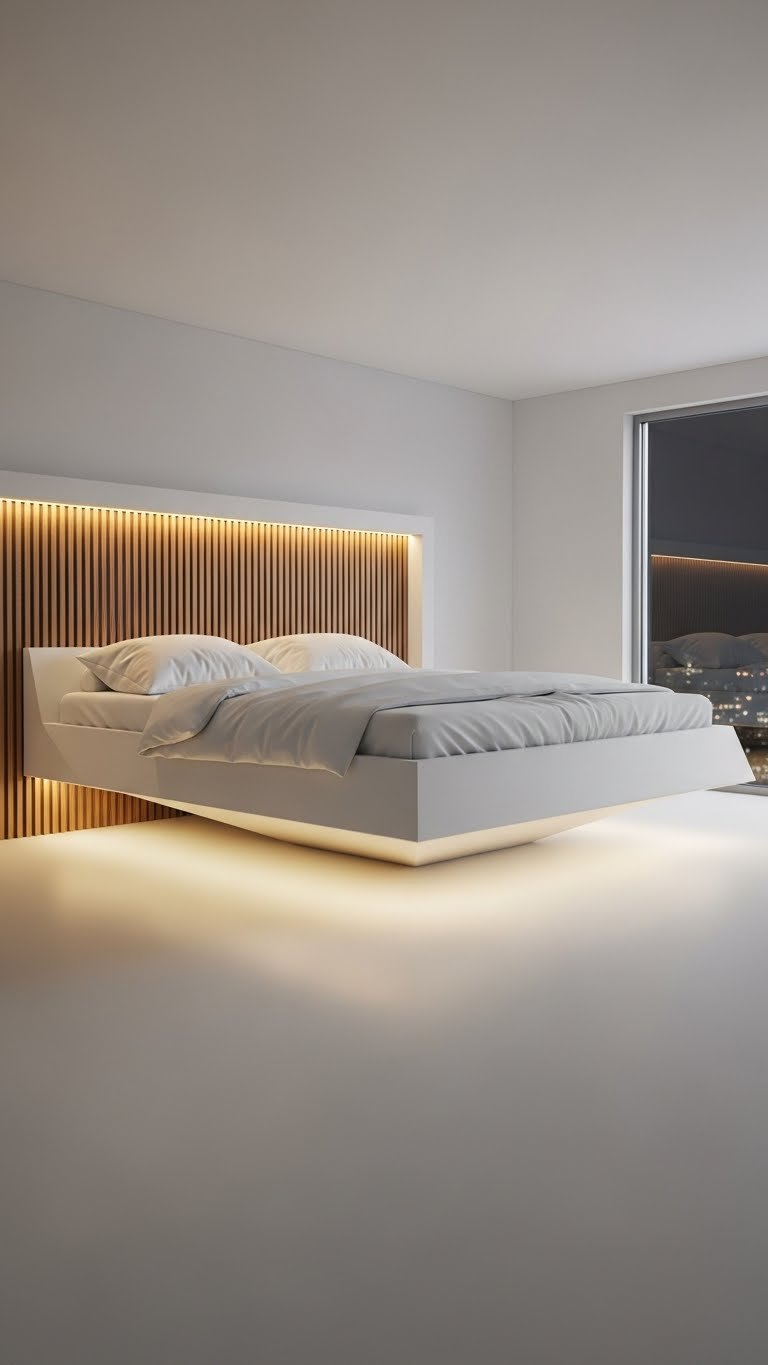
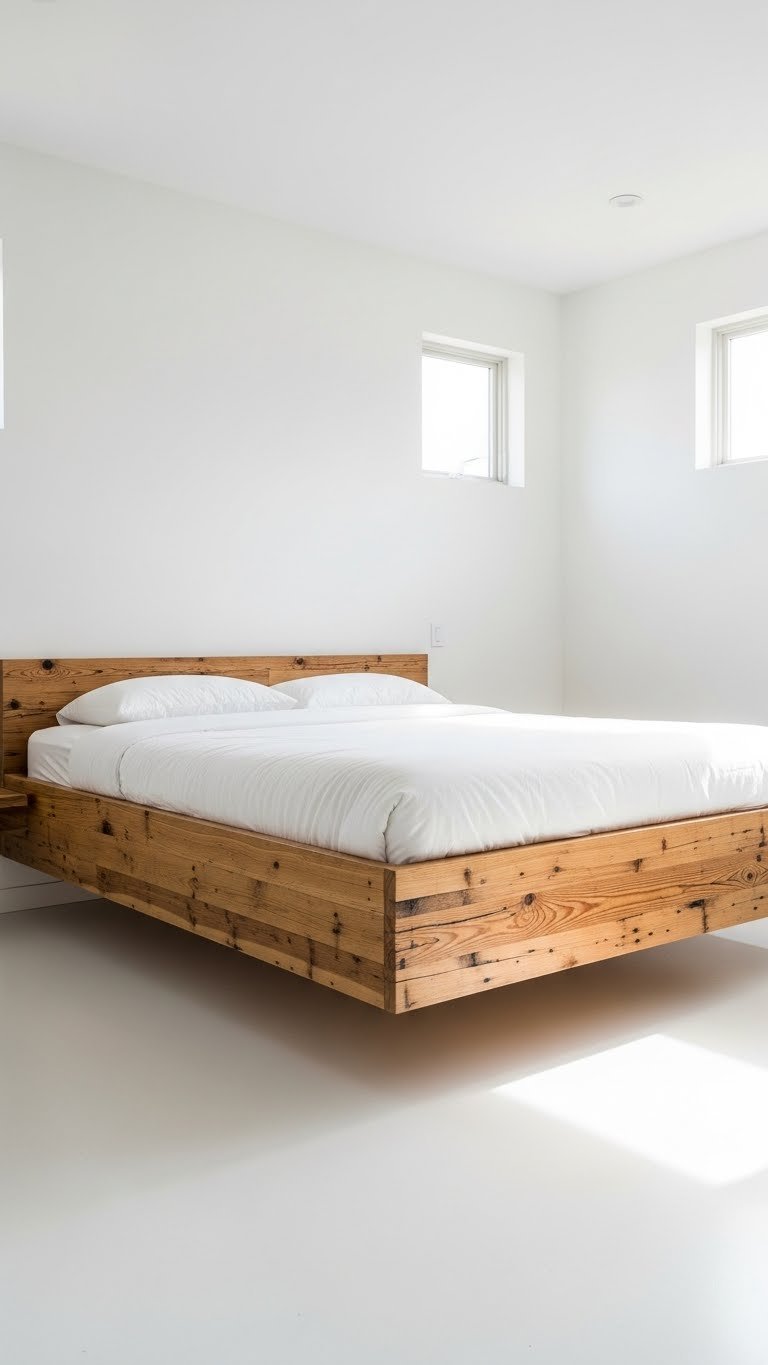
10. Use Platform Beds Without Headboards
Platform beds without headboards maximize visual space and create a sleek, modern look perfect for small or shared rooms.
Choose simple platform beds in wood or metal (IKEA MALM or SONGESAND, $150–$250 each; Wayfair modern platforms, $200–$400). Position them symmetrically on opposite walls. Without bulky headboards, the room visually opens up and feels less cramped. Keep bedding minimal and tailored—sham, one decorative pillow, folded throw.
This style reads as intentional and modern rather than “we just crammed beds in.” Works beautifully with neutral palettes or bold color accents. The low profile also makes it easier to clean under and around the beds.
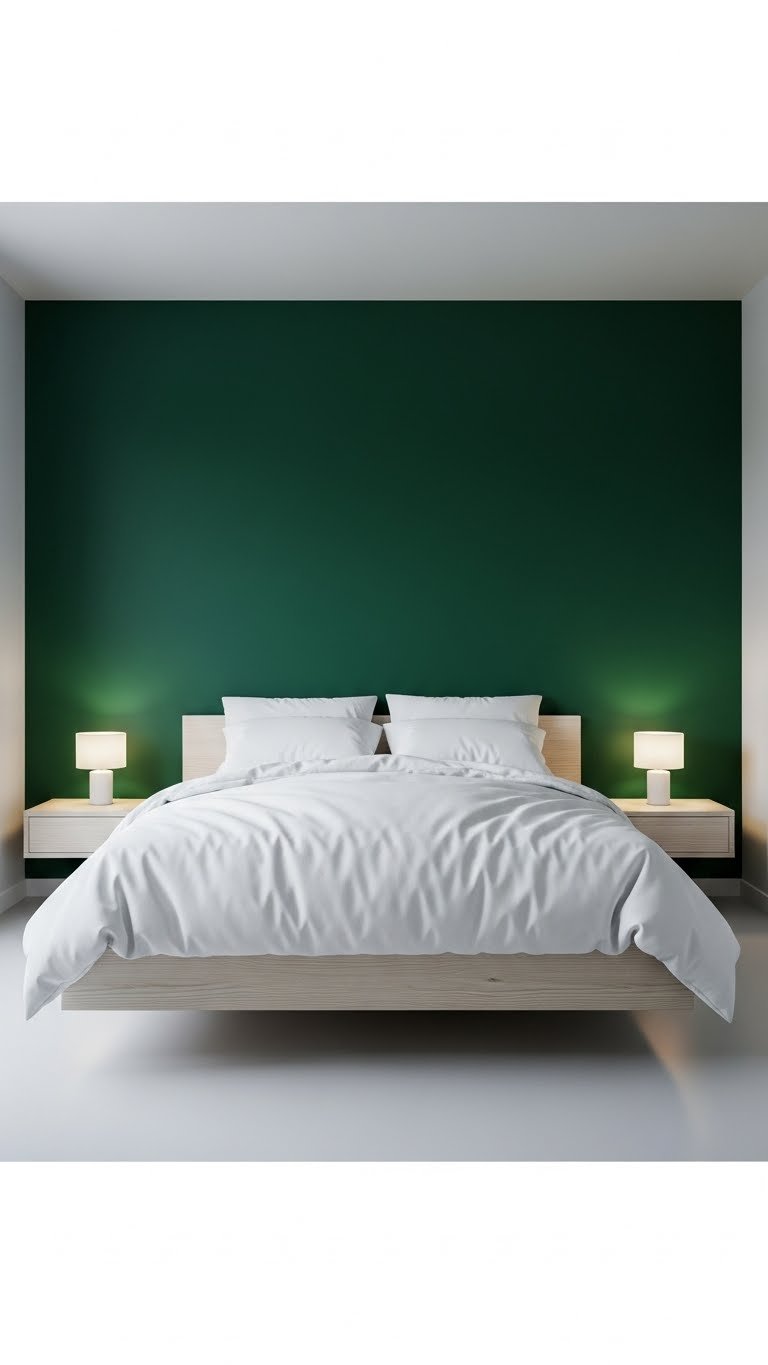
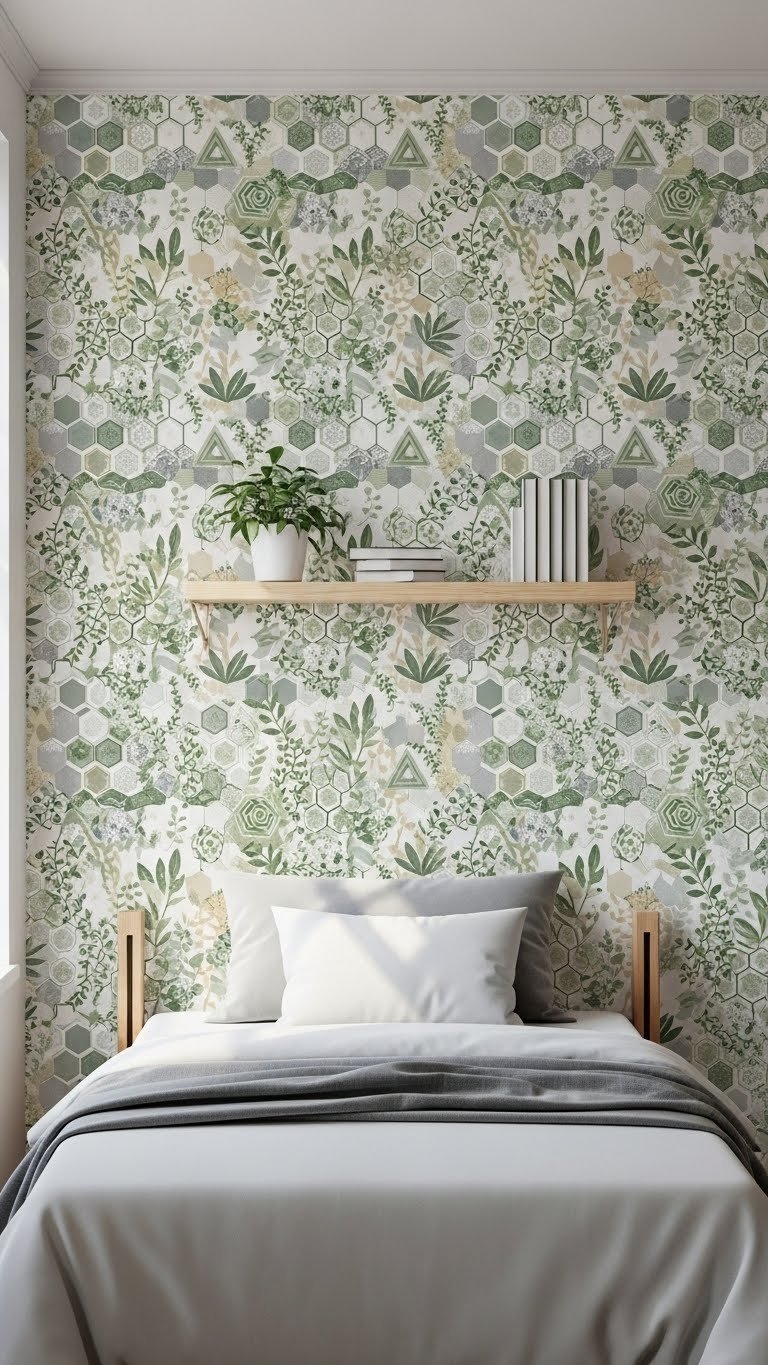
11. Create Visual Separation with Paint or Wallpaper
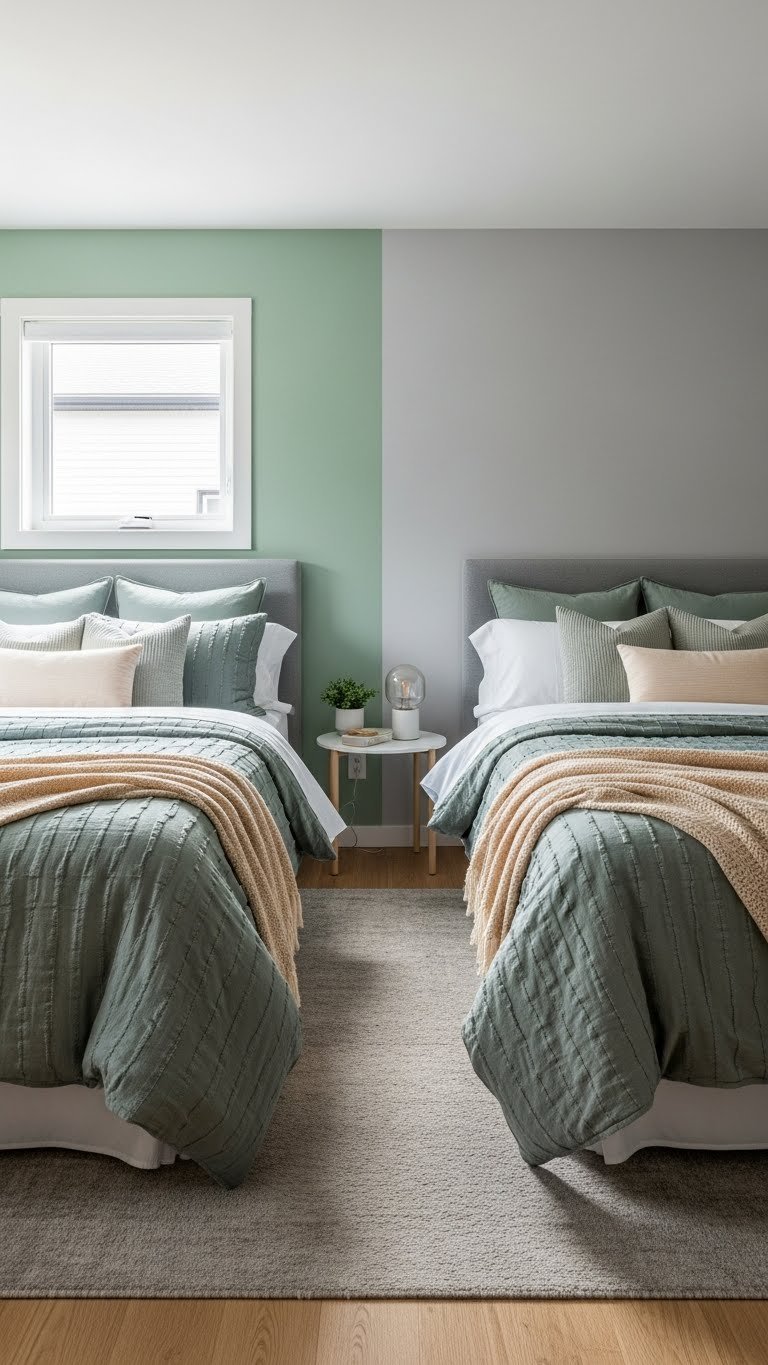
Painting each bed wall a subtly different color creates zones and makes the arrangement feel designed rather than random.
Paint (or use peel-and-stick wallpaper, $20–$50 per roll from Amazon or Target) one wall a soft neutral and the opposite wall a slightly different tone—think sage and gray, or cream and soft blue. Keep both colors muted so they don’t clash; the goal is subtle separation, not visual chaos. Add bedding that bridges both colors so the beds read as intentional together.
This strategy makes small rooms feel larger because each zone has its own identity. It’s also totally renter-friendly if you use peel-and-stick wallpaper and remove it when you move. Takes a weekend to wallpaper but creates a custom look for under $100.
12. Add Individual Reading Lights Above Each Bed
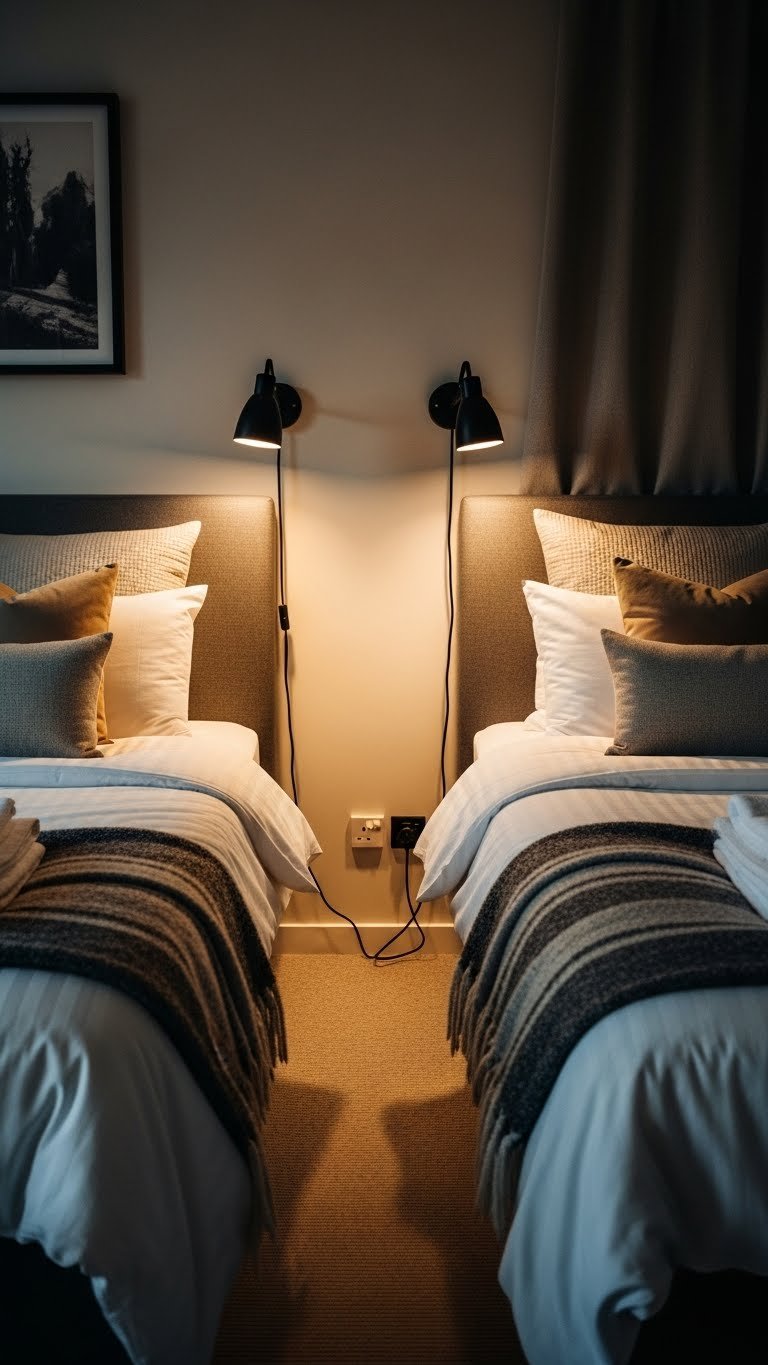
Wall-mounted reading lights above each bed add functionality and create a boutique hotel feel without consuming valuable nightstand space.
Install brass or wood reading lights ($30–$80 each from Rejuvenation, West Elm, or Amazon) on the wall above or beside each headboard. Use adhesive strips or renter-safe mounts if you’re not drilling. This provides task lighting for reading while keeping nightstands clear. Position lights so they cast light downward onto the bed, not into the room.
Reading lights add sophistication and solve the “where do I put a lamp?” problem in tight spaces. They’re also safer than bedside lamps that could get knocked over. Total time: 30 minutes once you’ve chosen your fixtures.
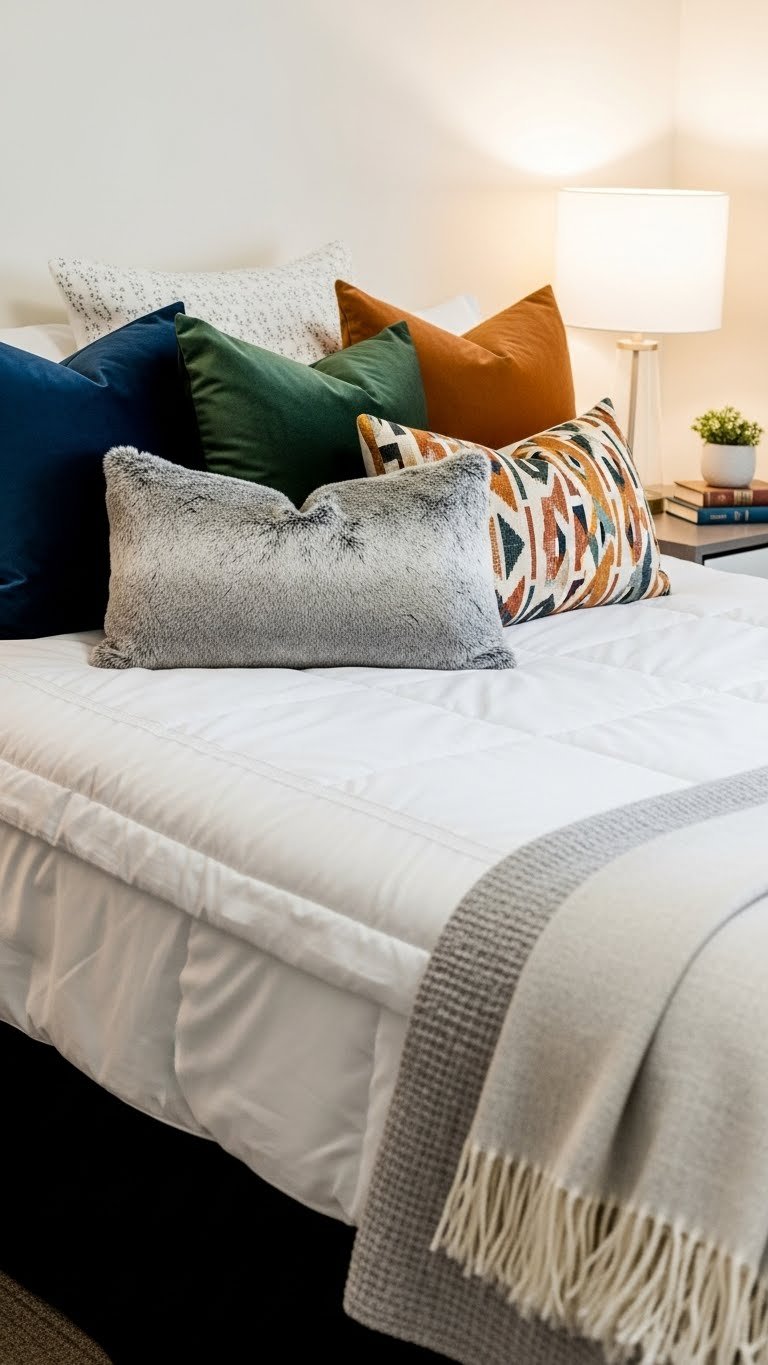
13. Use Coordinating Bedding in Different Colors
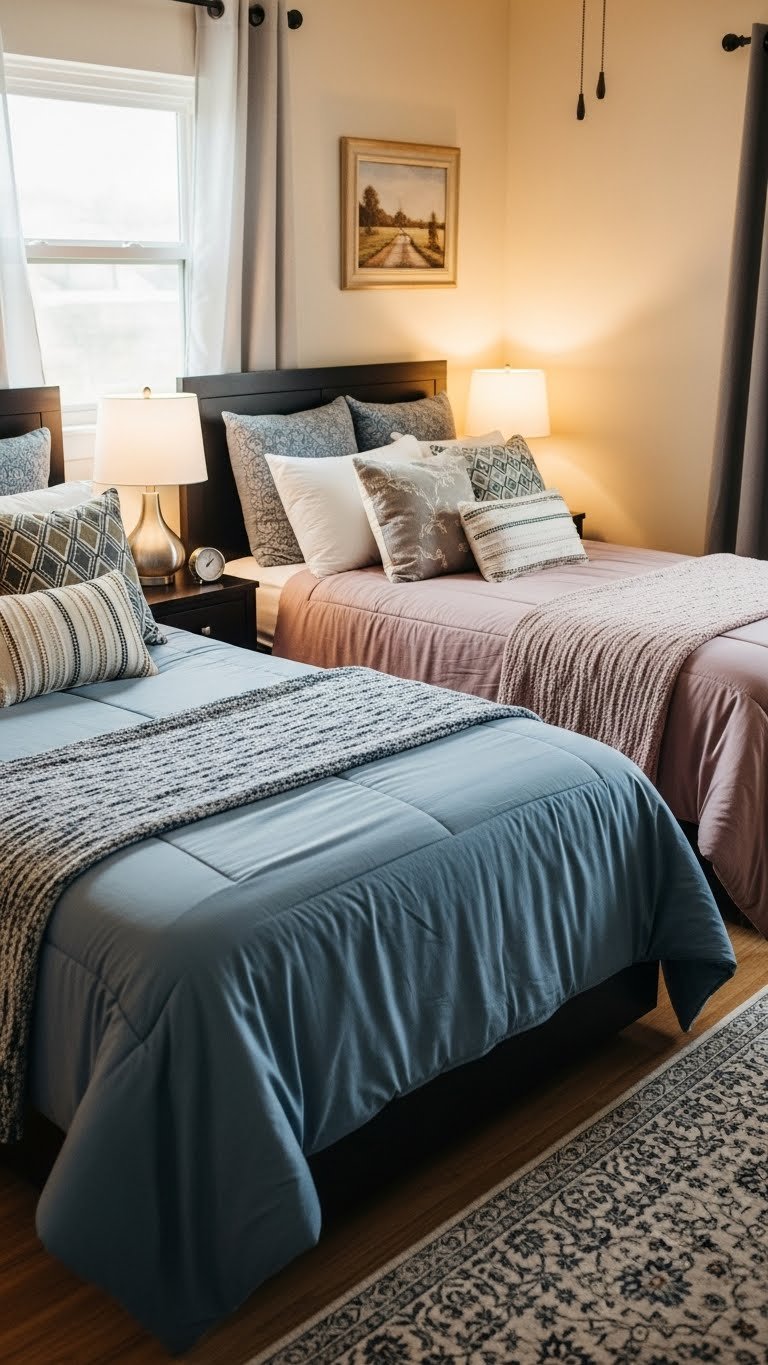
Matching bedding styles in different colors creates unity while letting each sleeper have their own identity within the shared space.
Choose the same bedding set in two different colorways—for example, Threshold Performance bedding in blue and gray ($50–$100 per set from Target). Add coordinating throw pillows so each bed has personality. This approach signals intentional design (not a dorm default) while keeping the room from feeling chaotic.
The beauty of this strategy is that it looks pulled-together without being matchy-matchy. Each person gets choice and ownership over their sleeping space. Swapping colors seasonally keeps the room fresh.
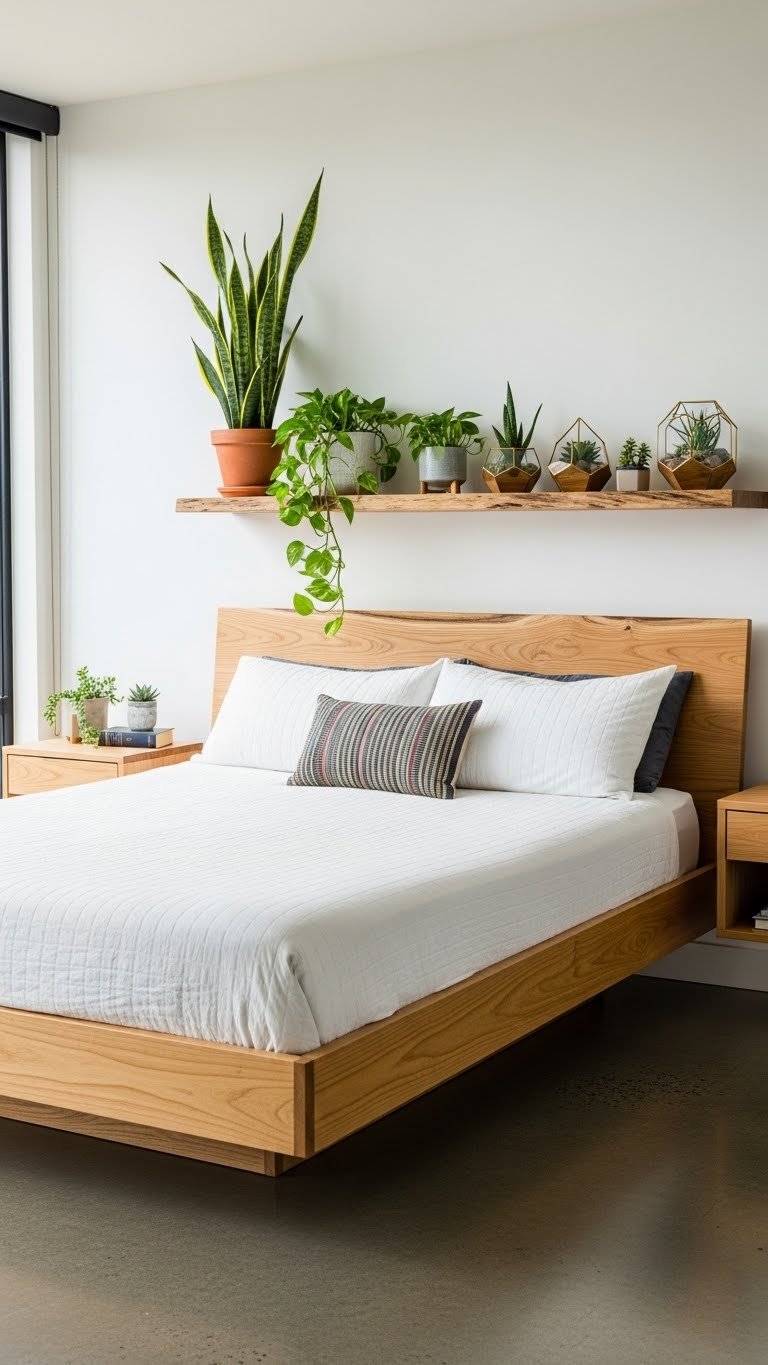
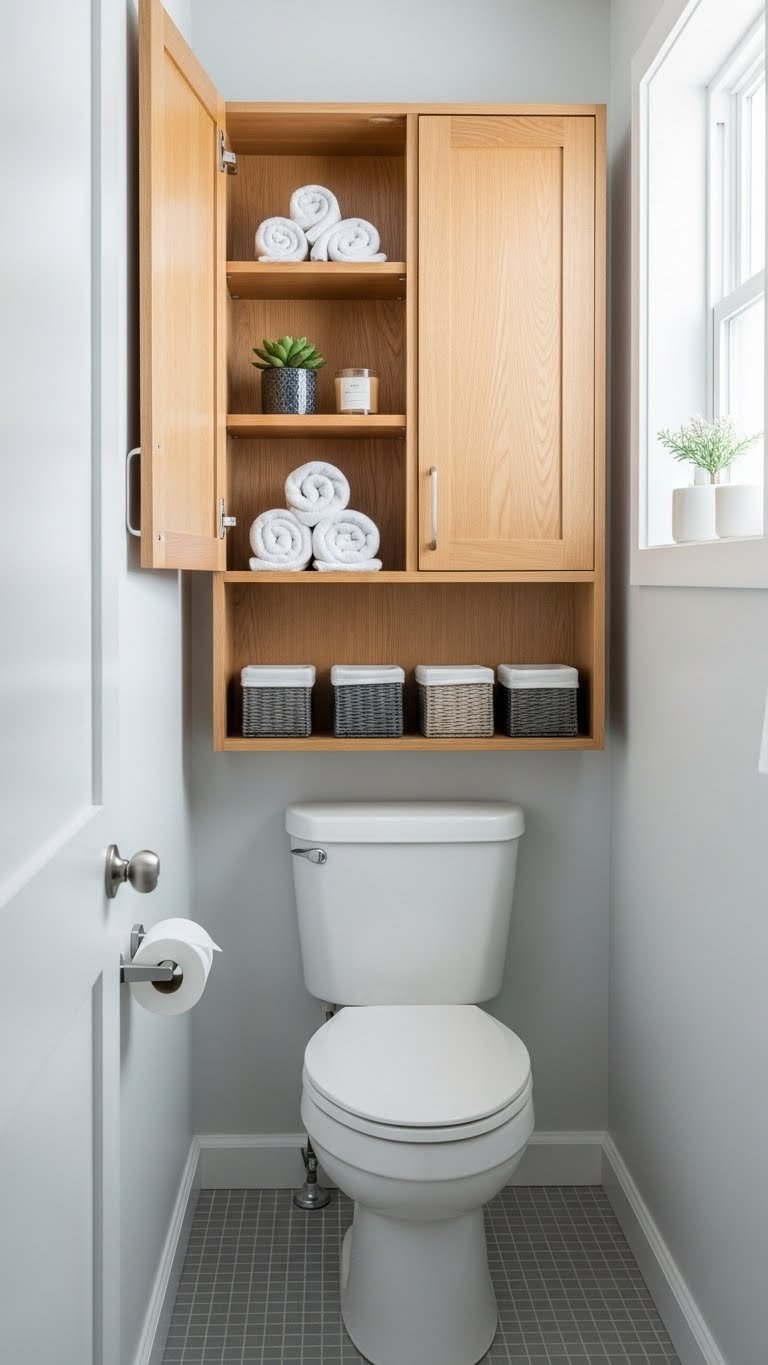
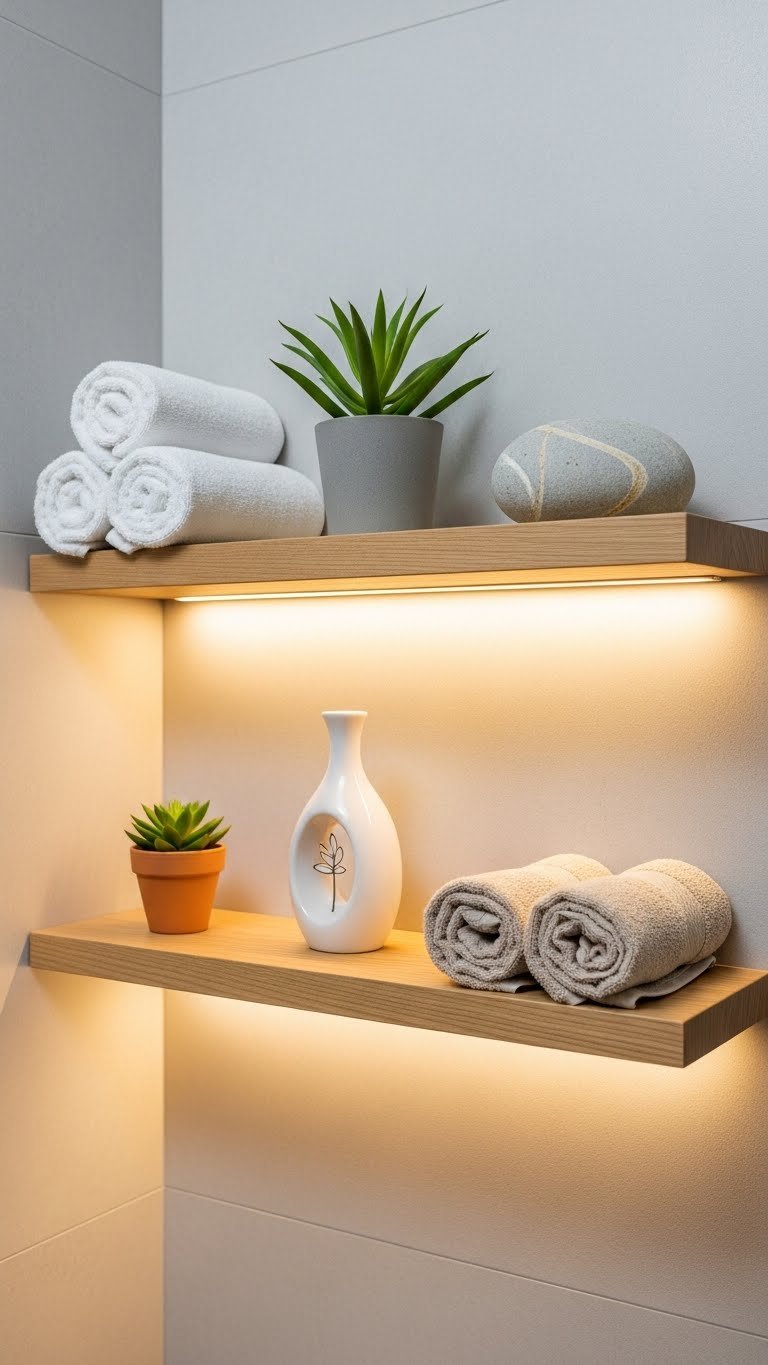
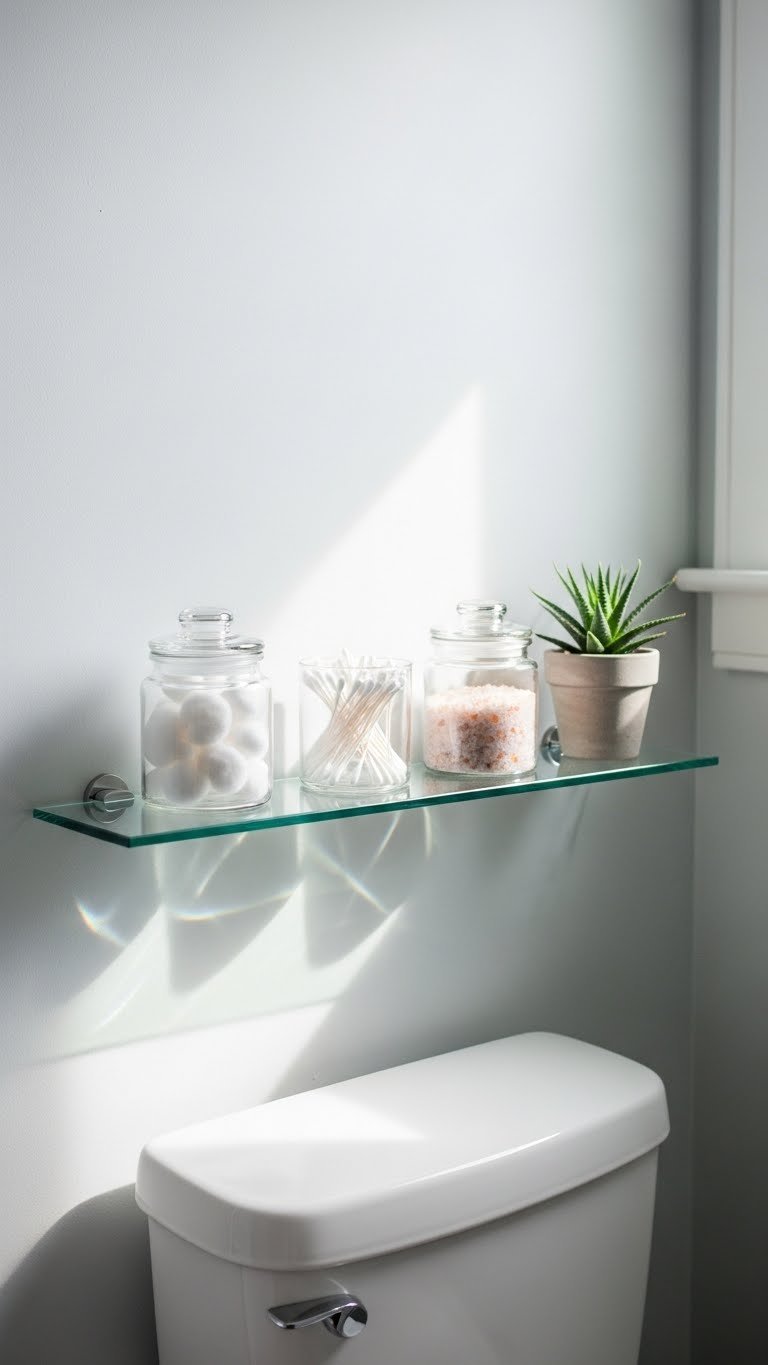
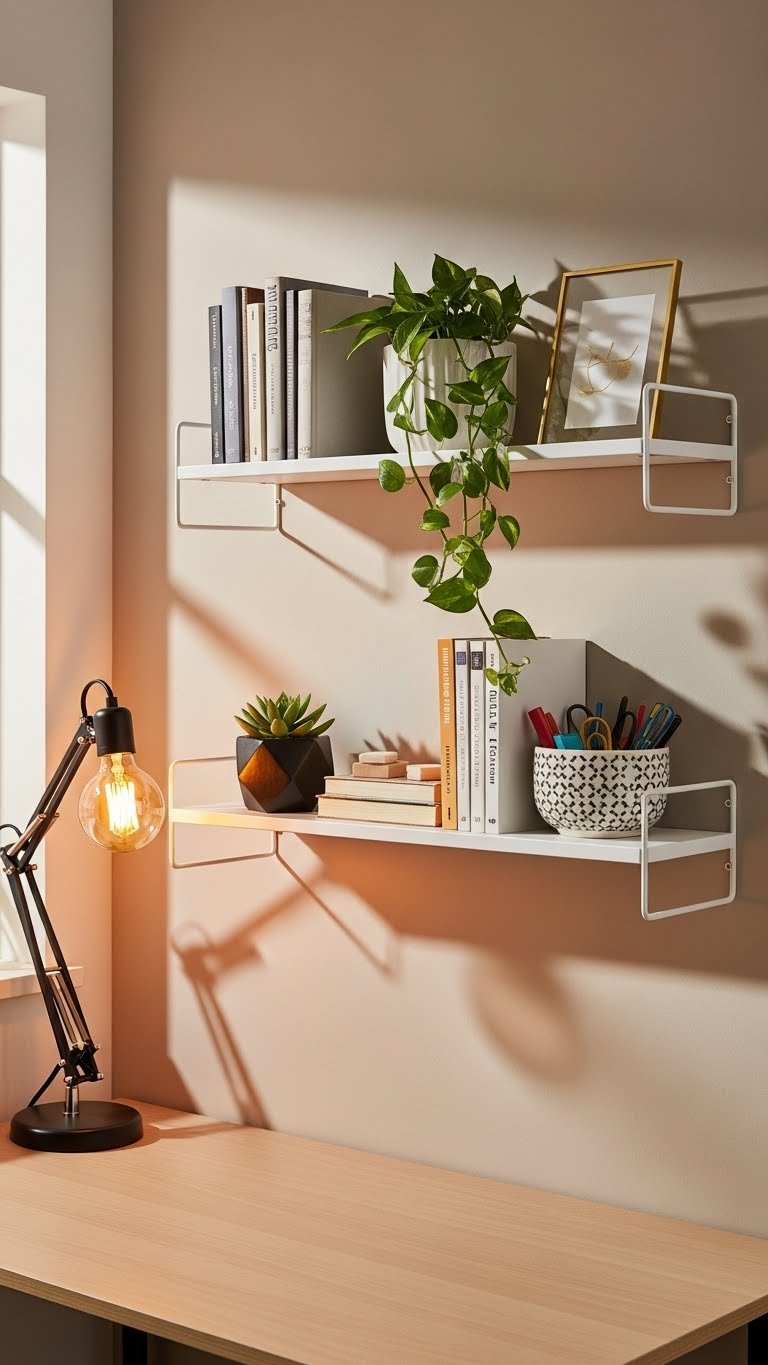
14. Install Floating Shelves Above Each Bed
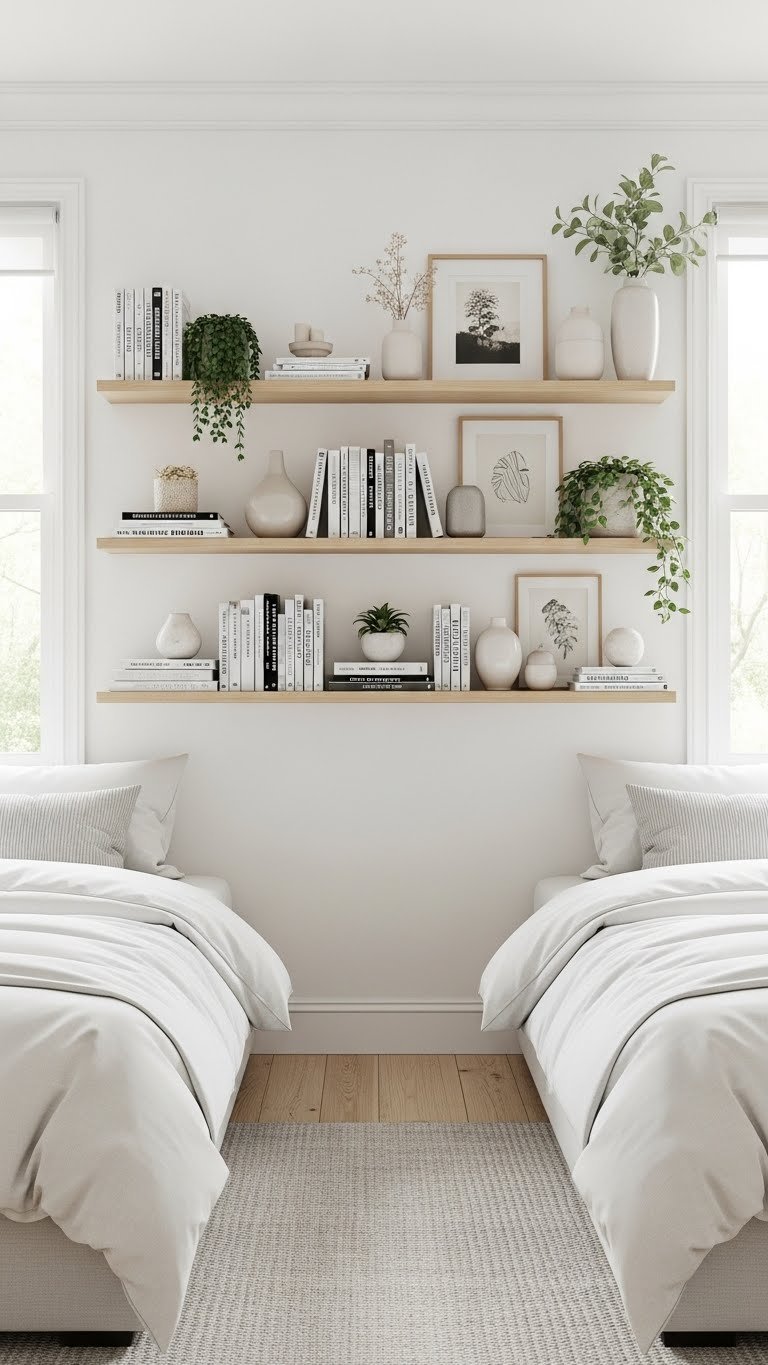
Floating shelves above each bed provide storage and display space while adding visual interest without taking up floor room.
Install simple wood shelves ($20–$50 each from IKEA, Home Depot, or Wayfair) above each headboard using wall anchors or studs. Style with books, small plants, and personal items—keep it sparse so shelves don’t feel cluttered. This is especially helpful in bedrooms without closets or in dorms where floor and nightstand space is limited.
Shelves add a polished, curated look while serving a real function. They draw the eye upward, making the room feel taller. Renter-friendly options use removable adhesive strips if drilling isn’t allowed.
15. Separate Beds with a Tall Bookshelf
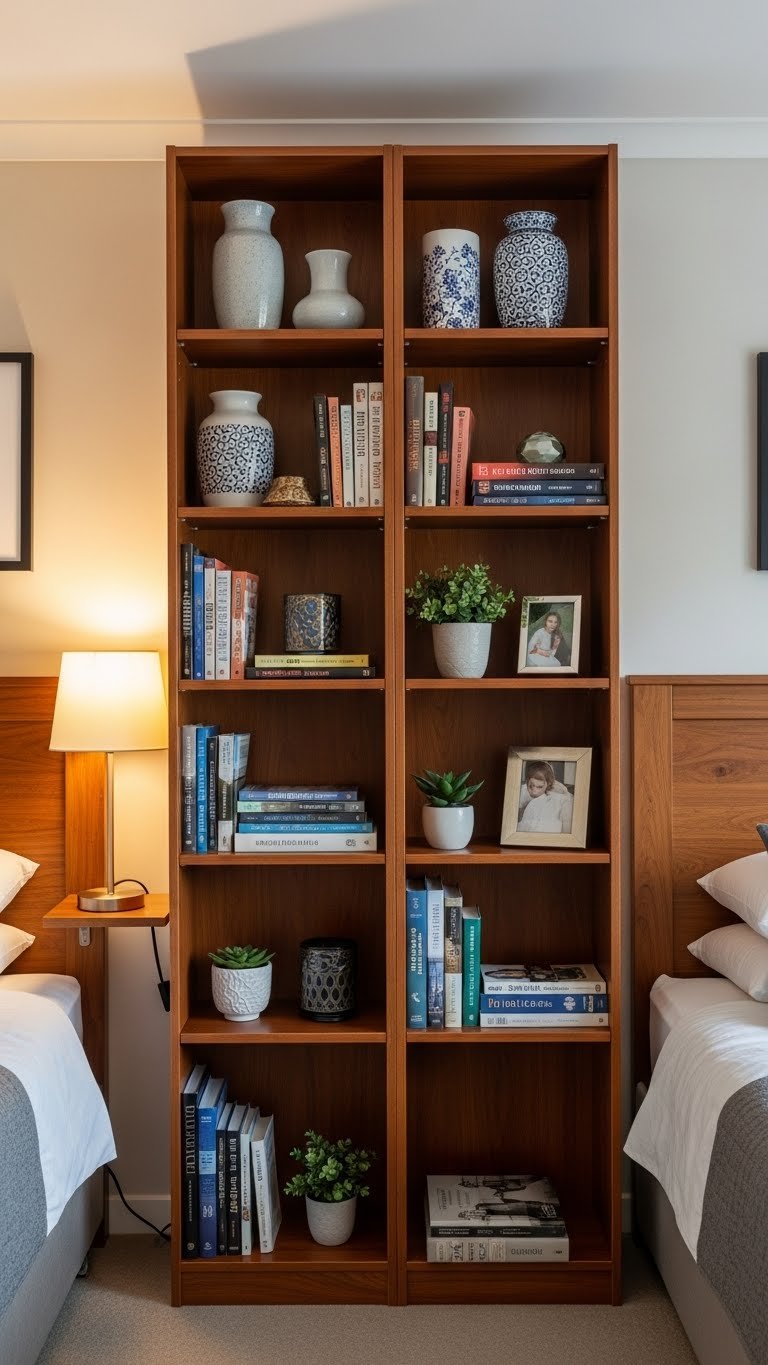
A vertical bookshelf between beds creates a privacy divider and storage in one piece, perfect for shared rooms or open layouts.
Place a tall, narrow bookshelf ($80–$200 from IKEA BILLY, Wayfair, or Target) between beds positioned headboard-to-headboard or in a line. This creates a visual barrier without blocking light or making the room feel cramped. Style both sides so it looks intentional—books on one side, books and decor on the other. This works especially well in dorm rooms or sibling bedrooms where privacy matters.
The bookshelf serves double duty: storage and separation. It’s less formal than a wall but more defined than just floating beds. Takes an hour to assemble and style.
16. Use Matching Headboards as a Focal Point
Identical headboards create visual cohesion and make the room feel intentionally designed rather than randomly furnished.
Invest in matching headboards (IKEA MALM or HEMNES, $100–$300 each; Wayfair upholstered options, $150–$400) for both beds. The repetition creates rhythm and harmony. Position beds symmetrically so the headboards are the focal point as you enter the room. Keep bedding neutral so the headboards stand out.
Matching headboards elevate the space instantly. They signal intention and investment. Even budget headboards look more curated when they’re identical and symmetrically arranged. Worth the money for the design payoff.
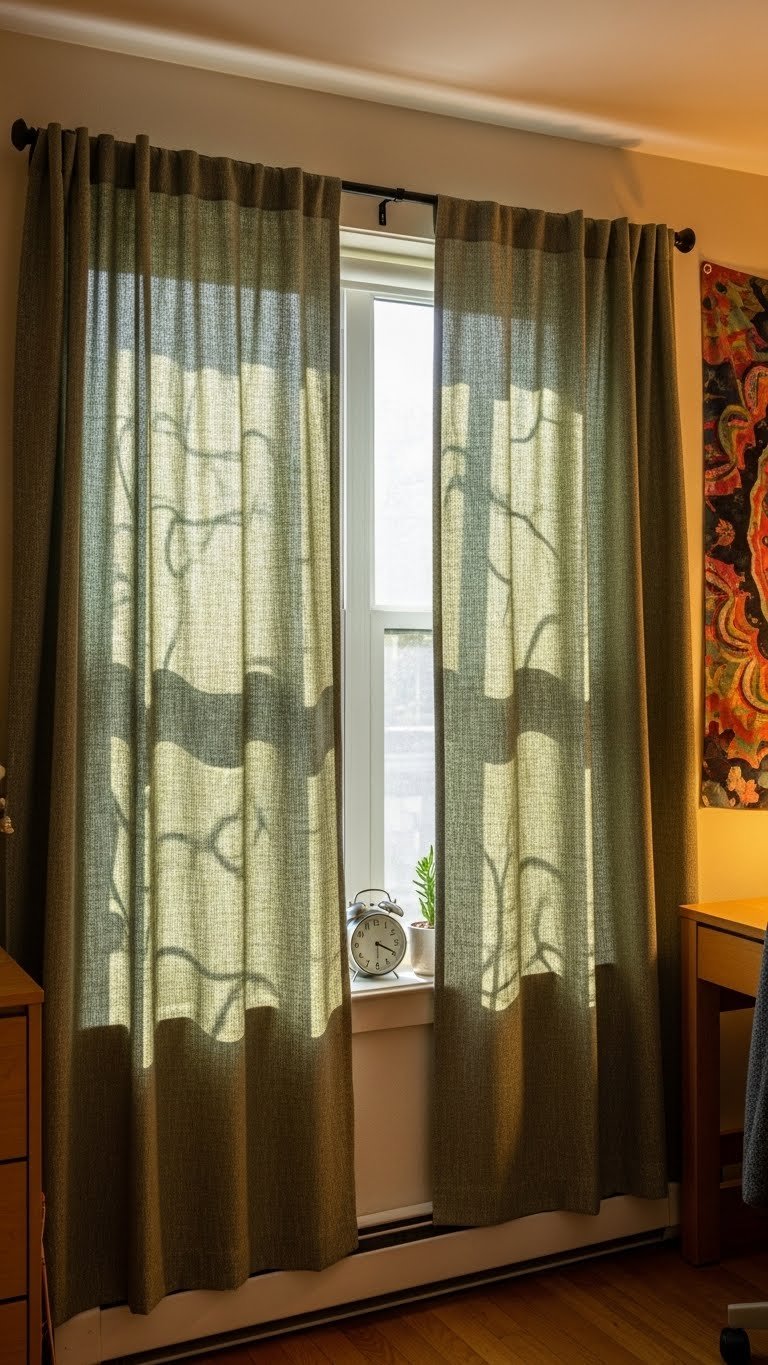
17. Add Window Treatments Above and Around Beds
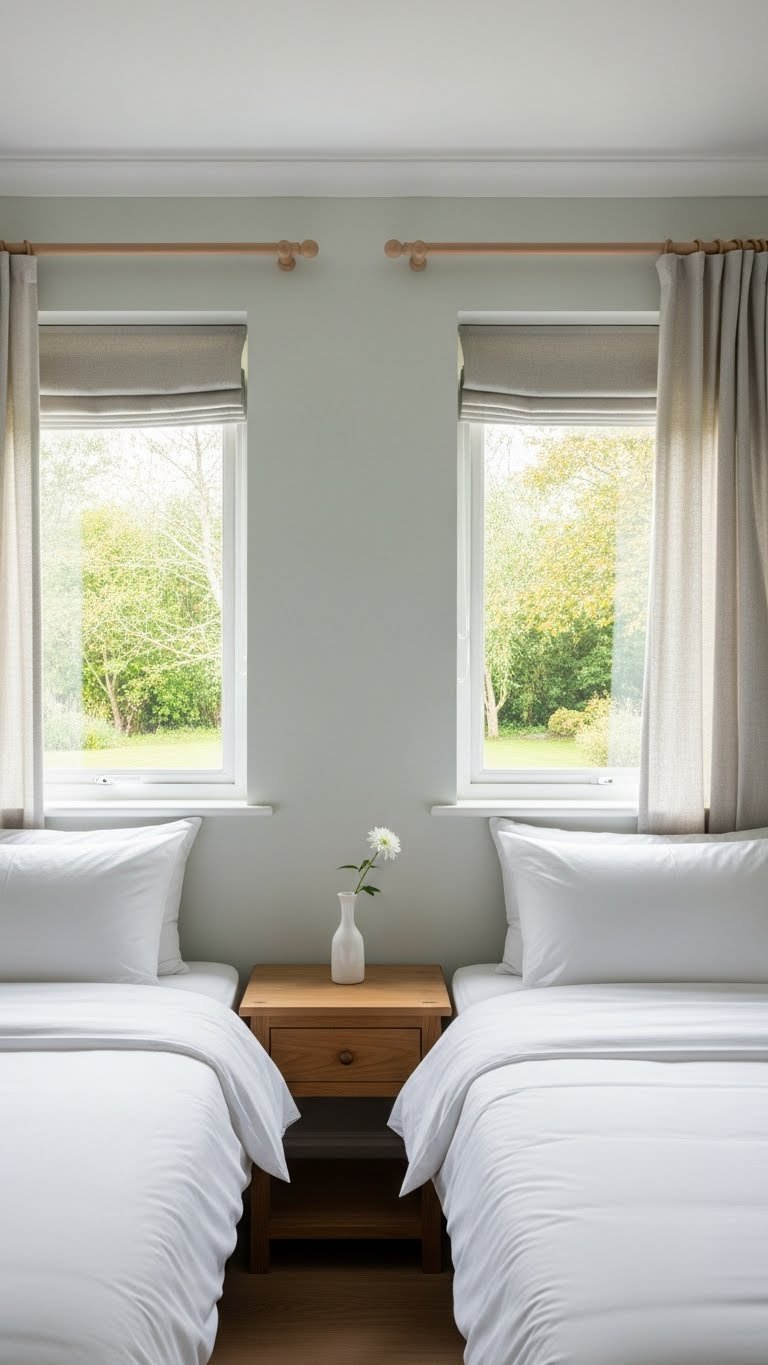
Framing windows with matching curtains ties beds to natural light and creates symmetry that anchors the room visually.
Install simple curtain rods ($20–$50 each from Target, Amazon, or Wayfair) above windows near each bed. Hang lightweight linen or cotton curtains ($30–$80 per panel from Target, Pottery Barn Teen, or Amazon). This creates a built-in frame for each bed and maximizes natural light. Use the same curtain style on both windows so the room reads as cohesive.
Window treatments are a renter-friendly upgrade (use tension rods if you can’t drill) that immediately elevate a basic room. The symmetry of matching curtains makes the whole arrangement feel intentional and designed.
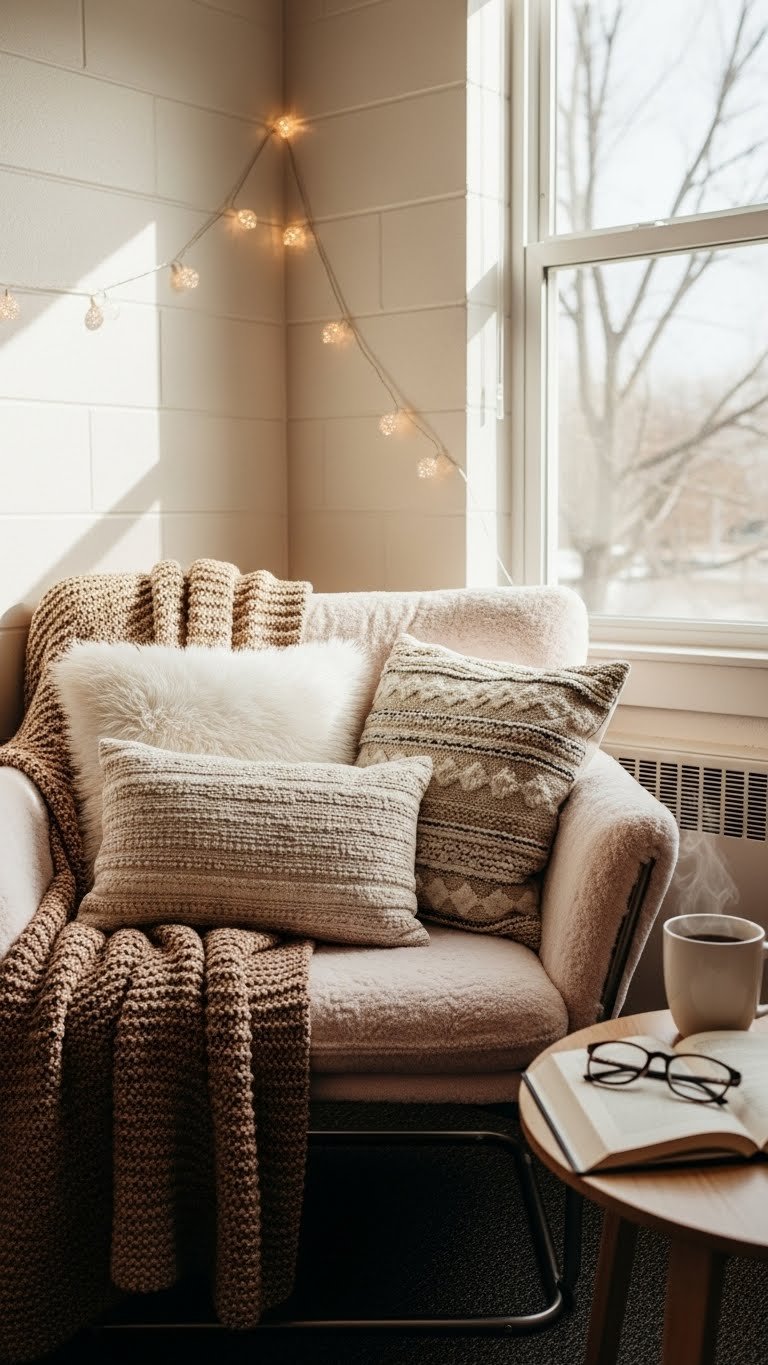
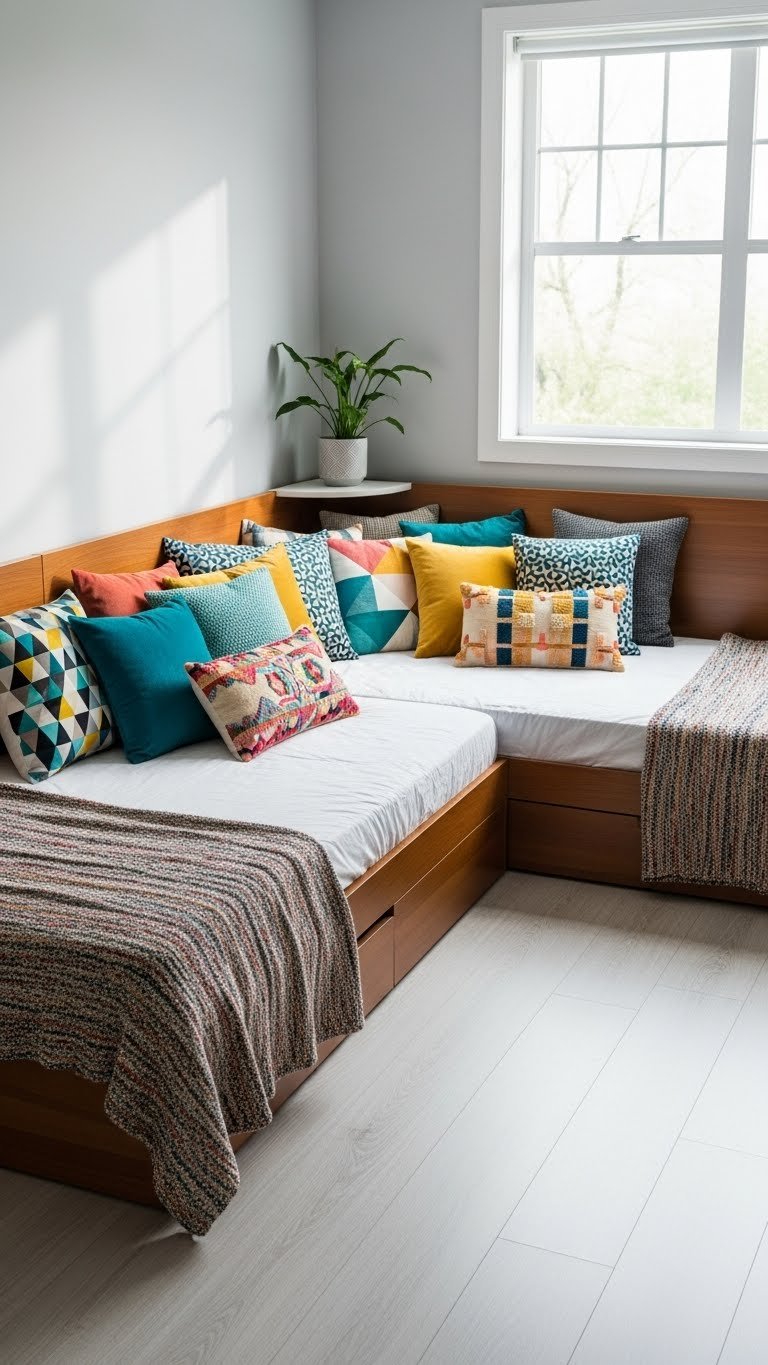
18. Create a Cozy Nook with Pillows and Throws
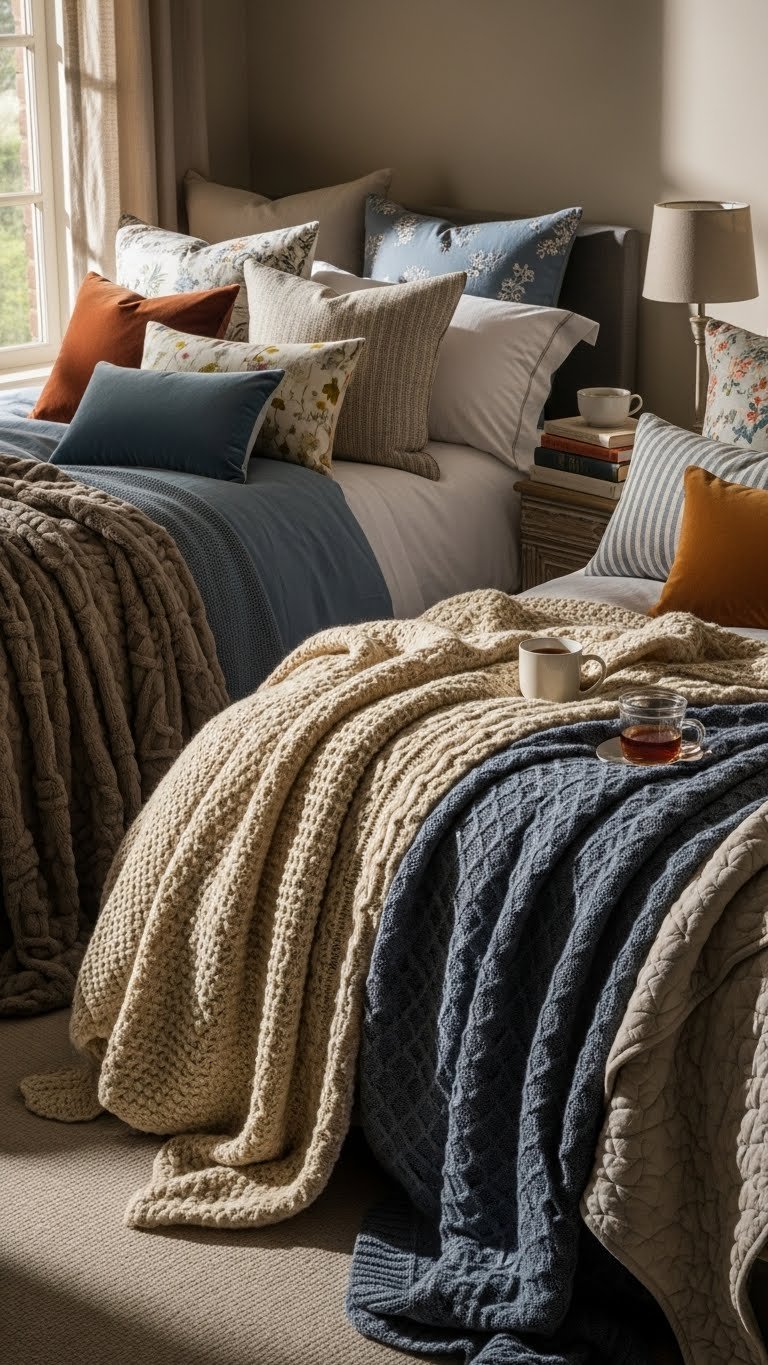
Layering pillows and throws creates visual interest and makes even basic beds look styled and intentional.
Add 3–5 decorative pillows per bed ($10–$30 each from Target, Wayfair, or HomeGoods) in coordinating colors and textures. Drape chunky knit or faux fur throws ($25–$80 from Amazon, Target, or West Elm) across the foot of each bed. Mix textures: velvet, linen, wool. This styling makes small beds look bigger visually and creates an inviting, layered aesthetic.
The layering trick is simple but transforms basic bedding into something that photographs beautifully and feels luxe. Takes 20 minutes to arrange and costs $50–$200 depending on your choices. Totally worth it for the cozy factor.
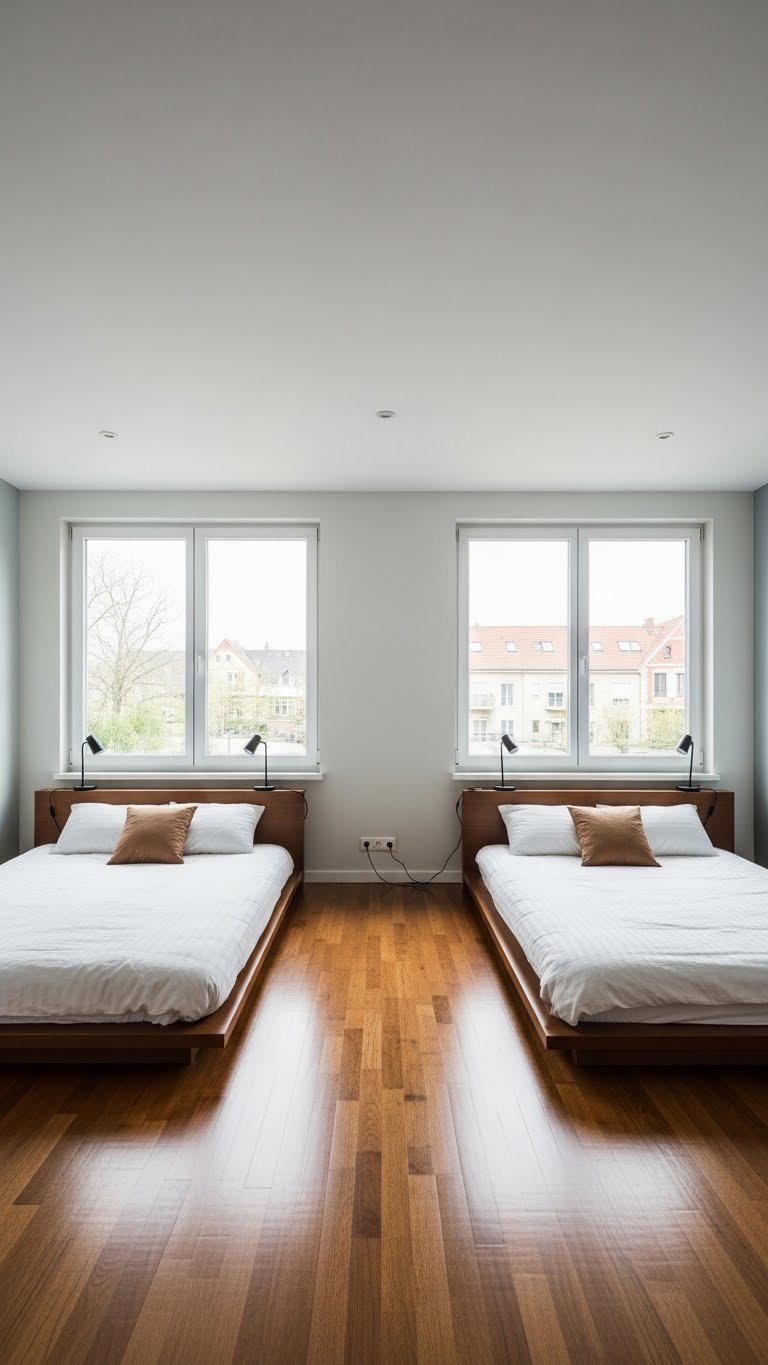
19. Keep the Space Between Beds Clear and Minimal

Keeping the center floor clear and furniture-minimal makes the room feel larger and less cluttered, even with two beds.
Position beds on opposite walls with at least 3–4 feet of clear floor between them—no rugs, no furniture, no storage in the middle. Keep nightstands low and recessed. This open sightline makes even small rooms feel spacious and organized. It’s also safer and easier to clean.
The empty space is your friend in small rooms. Resist the urge to fill every corner with furniture. This strategy works especially well in dorms or guest rooms where simplicity reads as intentional design rather than emptiness.
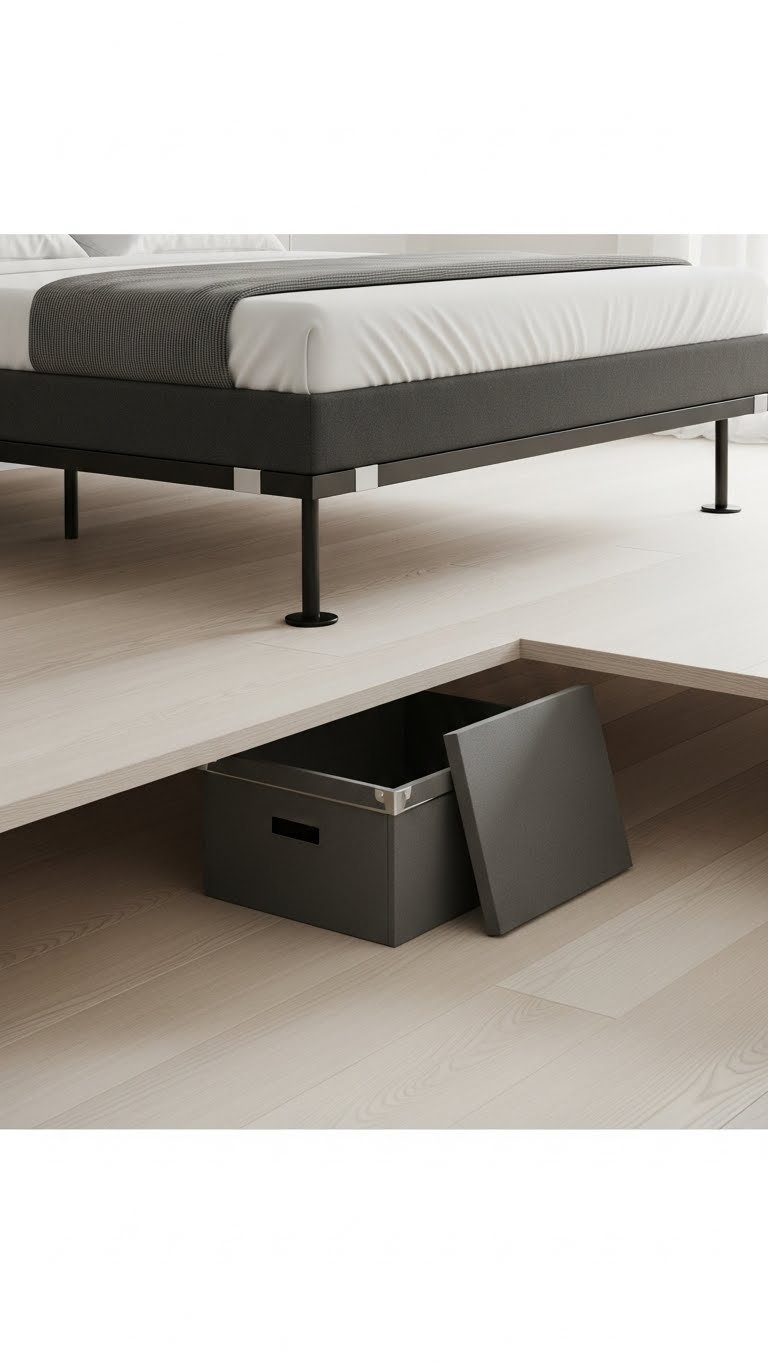
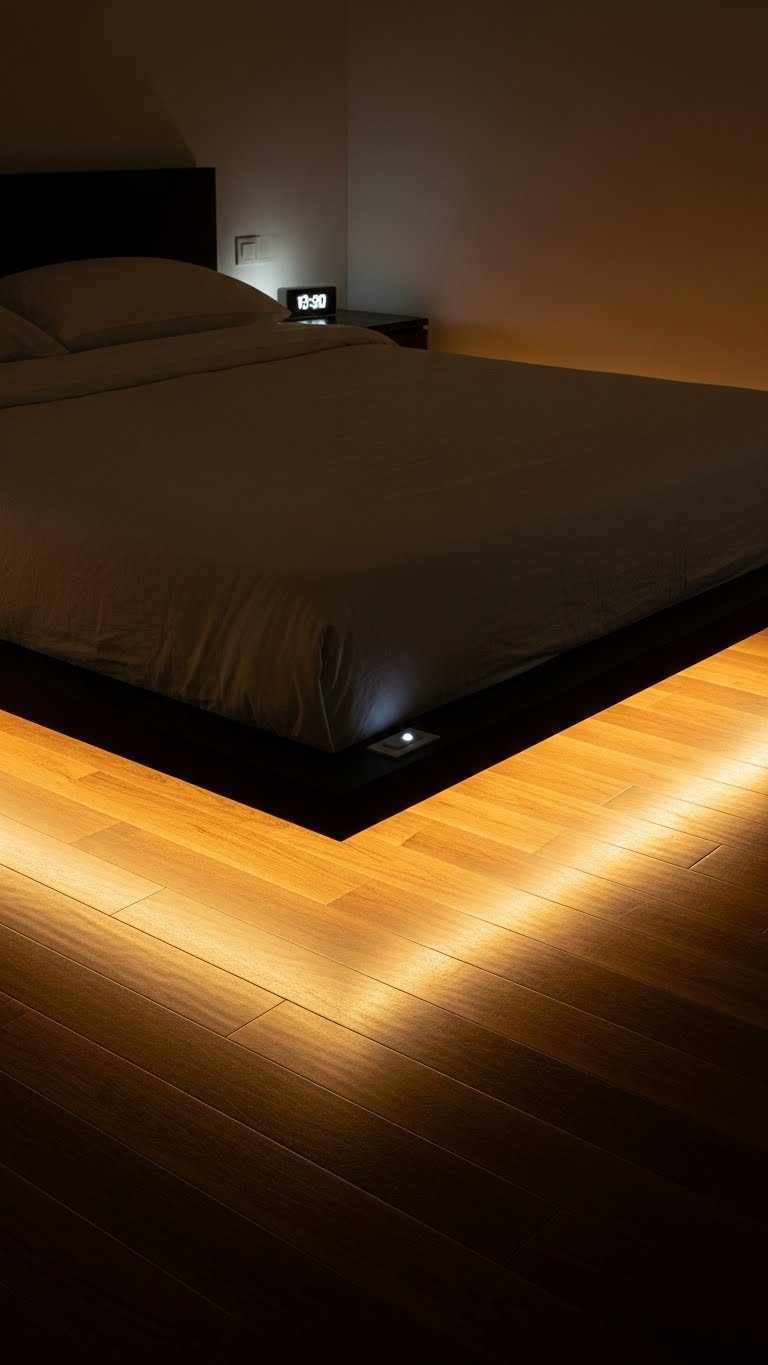
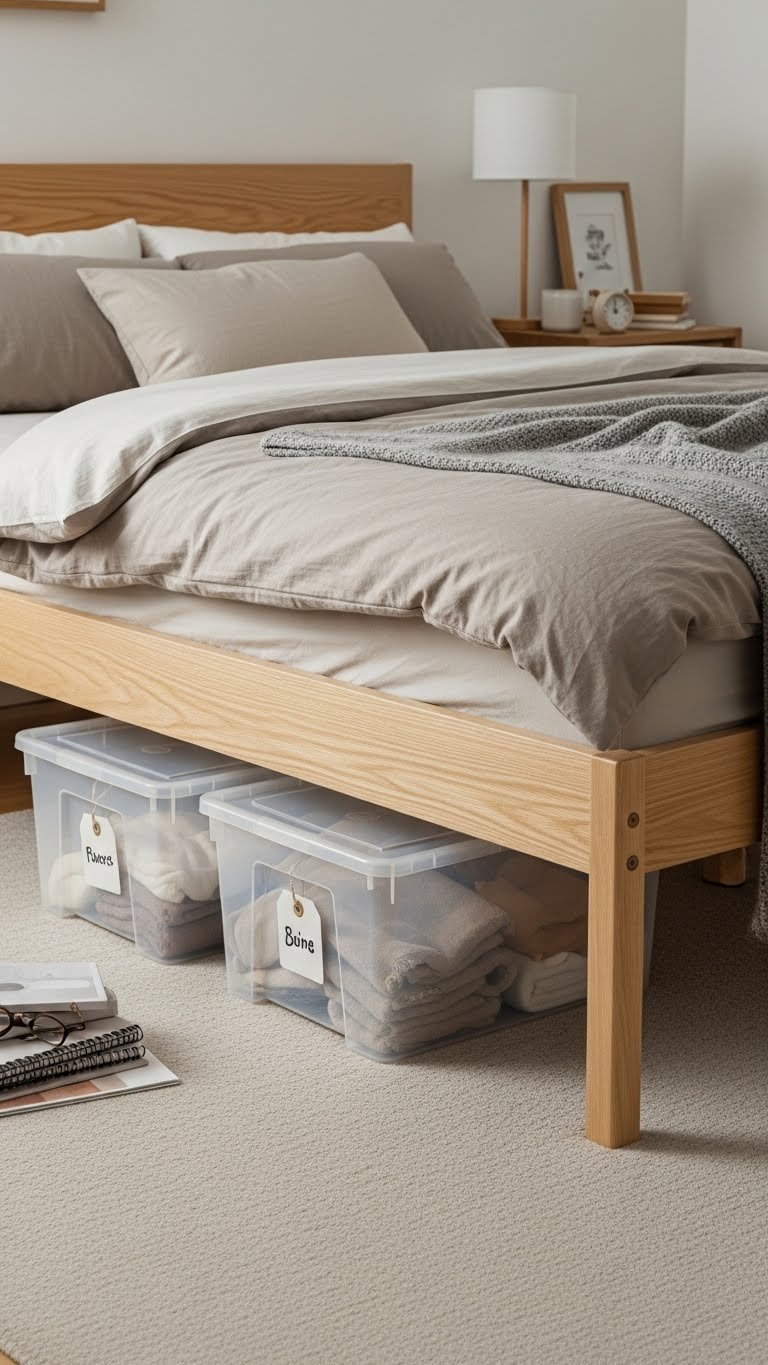
20. Use Bed Risers to Create Underbed Storage
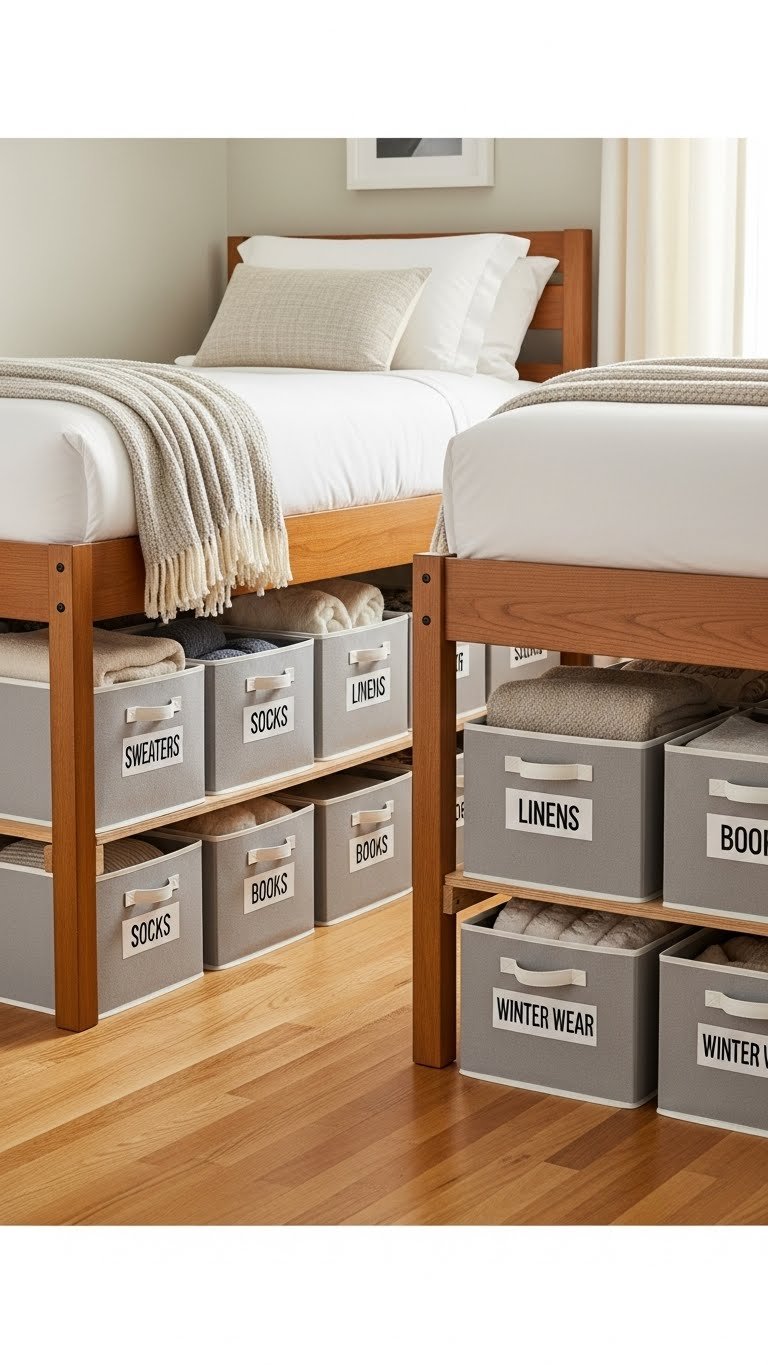
Bed risers lift frames 6–12 inches higher, creating significant underbed storage that stays organized and accessible.
Install wooden or metal bed risers ($15–$40 per set from Amazon, Target, or Home Depot). This lifts each frame enough to slide storage bins underneath. Use labeled fabric bins ($10–$20 each from The Container Store or Amazon) for seasonal clothes, extra bedding, or shared supplies. This keeps the room floor-clear while maximizing hidden storage.
Risers are a budget-friendly investment that pays off immediately. The extra height also makes beds easier to get in and out of, which is a nice bonus. Takes 15 minutes to install per bed.
21. Install Blackout Shades for Different Sleep Schedules
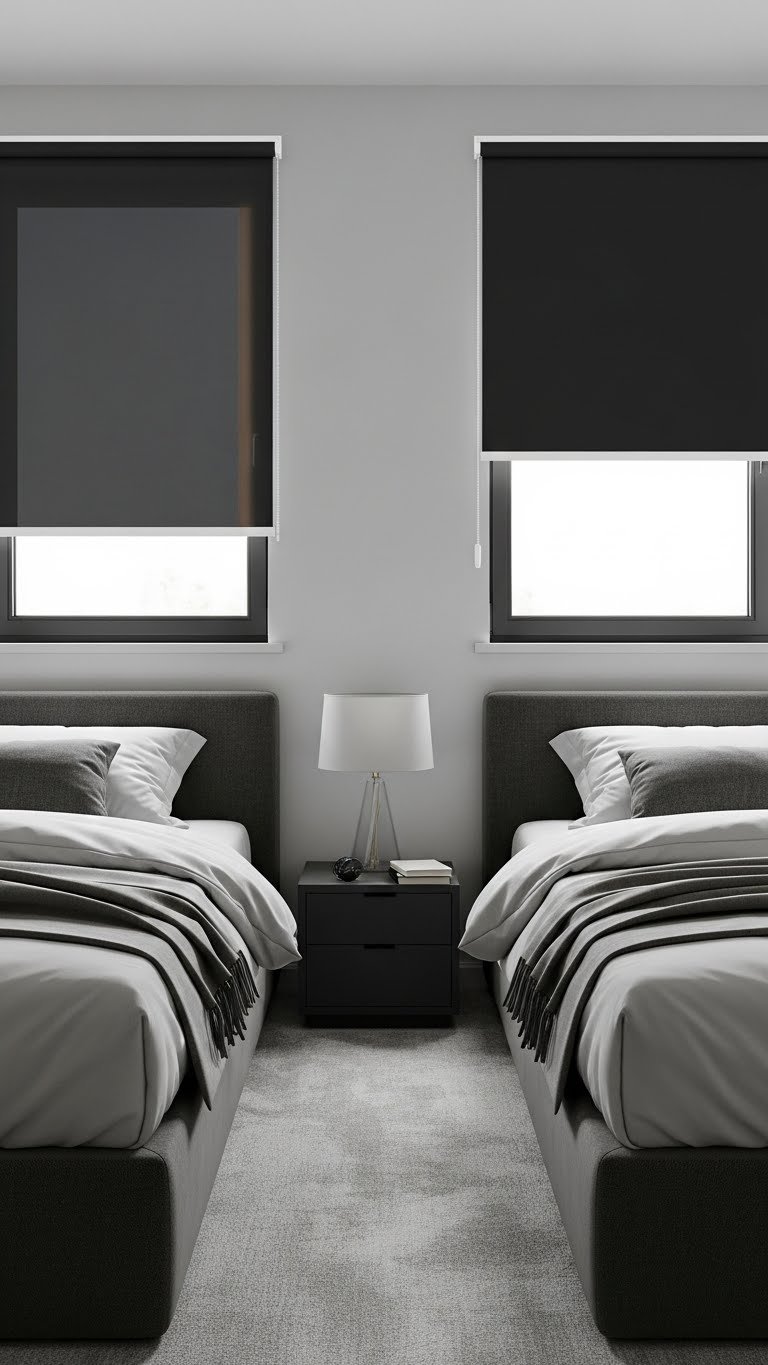
Individual blackout shades over windows let each sleeper control light independently—essential if bedtimes or wake-up times differ.
Install blackout roller shades ($30–$80 each from Amazon, Target, or Home Depot) above or inside window frames near each bed. Choose the same style and color for both windows. This lets one person sleep while another enjoys morning light. It’s a game-changer for shared rooms or different schedules.
Blackout shades are practical and surprisingly affordable. They’re also renter-friendly if you choose tension rods or adhesive models. Bonus: they reduce outside noise slightly. Total cost: under $200 for a pair.
22. Add Matching Bedside Organizers or Caddies
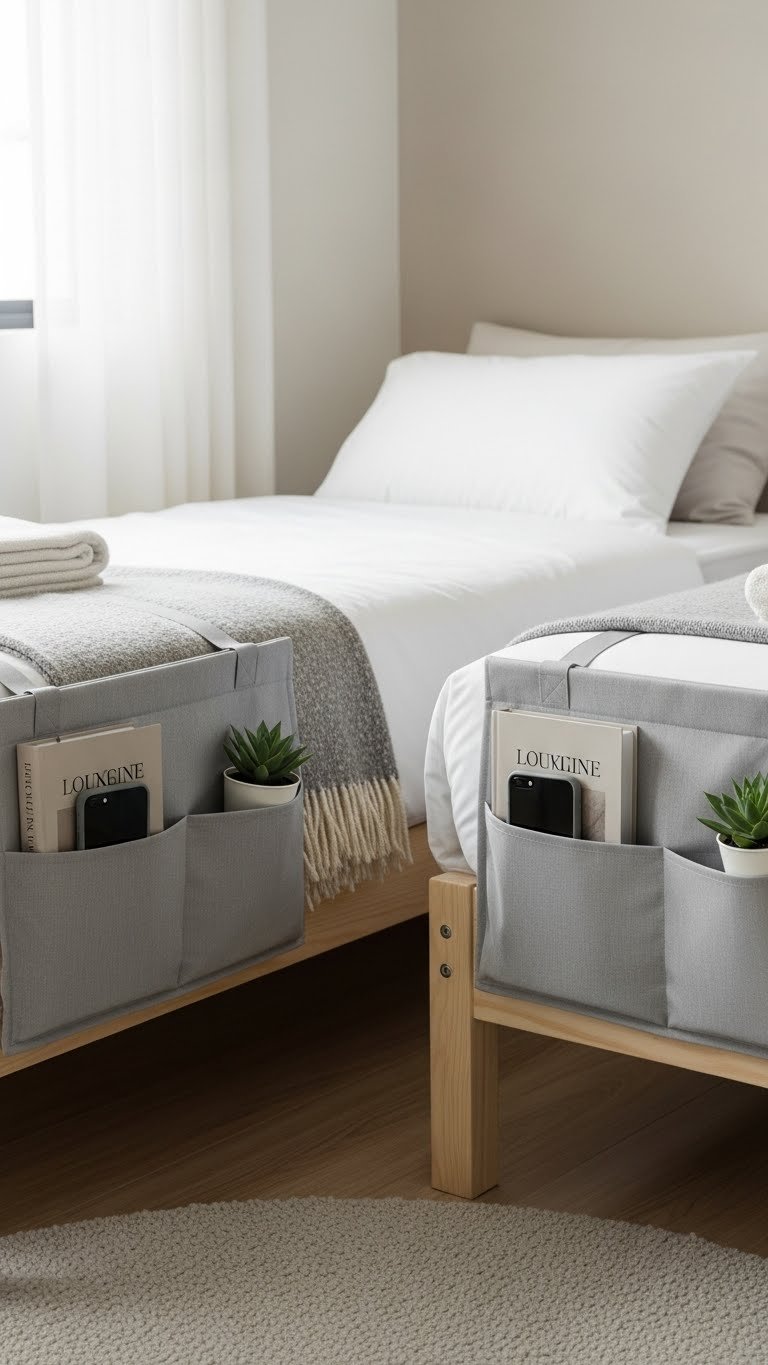
Hanging organizers on bed frames keep personal items accessible without needing nightstands or taking up floor space.
Use fabric bed caddies or hanging organizers ($15–$35 each from Amazon or The Container Store) hung on the side of each bed frame. These hold phones, books, glasses, chargers—everything within arm’s reach while sleeping. This is especially useful in dorms or shared rooms where nightstand space is nonexistent or limited.
Caddies are genius for tight spaces. They’re removable, affordable, and look intentional rather than thrown-together. Takes 5 minutes to hang and instantly adds functionality.
23. Use Coordinating Throw Blankets for Easy Refreshes
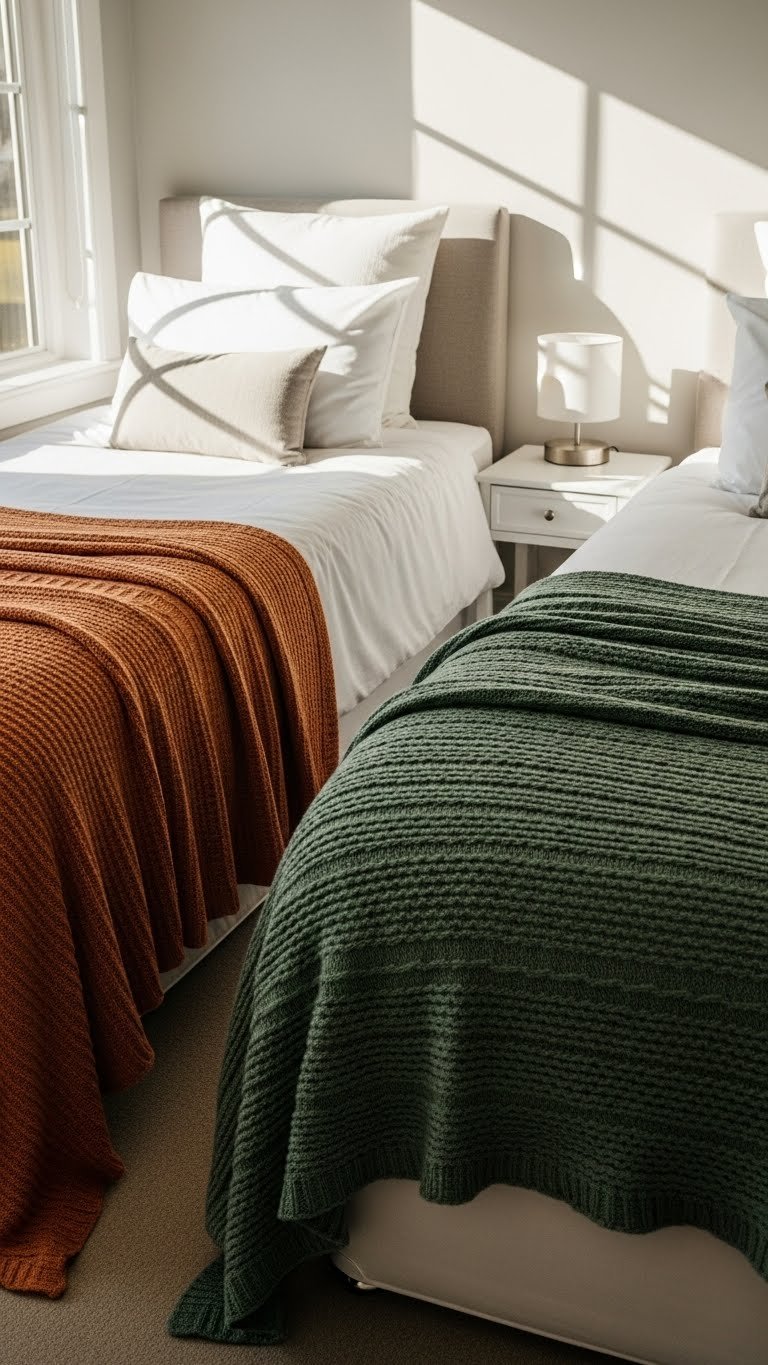
Coordinating throws in different colors add visual interest, warmth, and an easy way to refresh the space seasonally.
Choose two throw blankets in complementary colors—think cream and sage, or gray and blush ($25–$60 each from Target, West Elm, or Amazon). Drape one across each bed’s footboard. This adds texture, color, and coziness without committing to new bedding. Swapping throws seasonally keeps the room fresh.
Throws are the easiest decor update around. They’re affordable, flexible, and instantly make a room feel more intentional. You can fold them neatly or drape them casually depending on your vibe.
24. Position Beds to Frame a Window or Architectural Feature
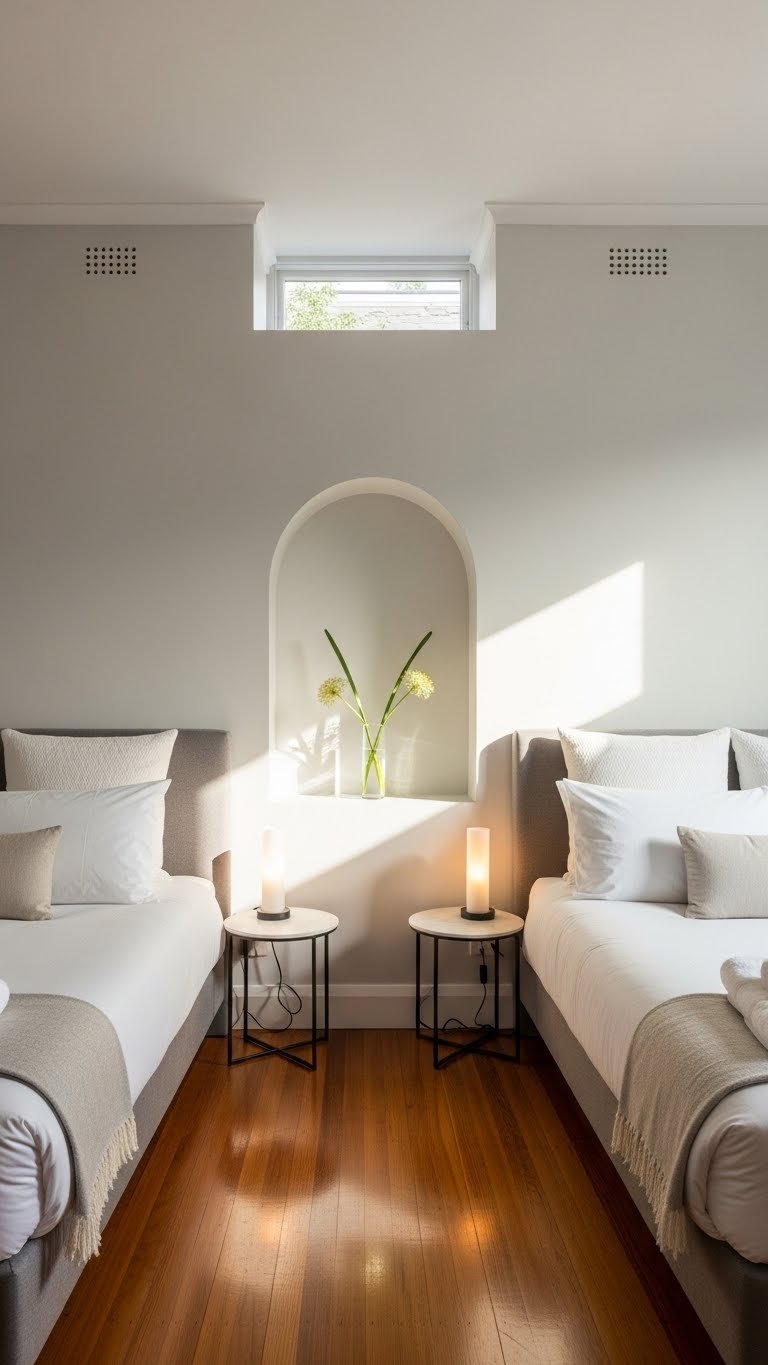
Flanking a window or alcove with beds creates natural symmetry and makes the window the focal point of the room.
If your room has a prominent window, built-in shelf, or architectural feature, position one bed on each side of it. This creates instant visual balance and makes the room feel intentionally designed rather than beds just filling available space. Use matching nightstands and bedding to enhance the symmetry.
This layout works beautifully in rooms with unusual shapes or interesting architectural details. It also draws attention to the room’s best feature. If you don’t have a window, you can create the same effect by centering beds around a floating shelf or wall art.
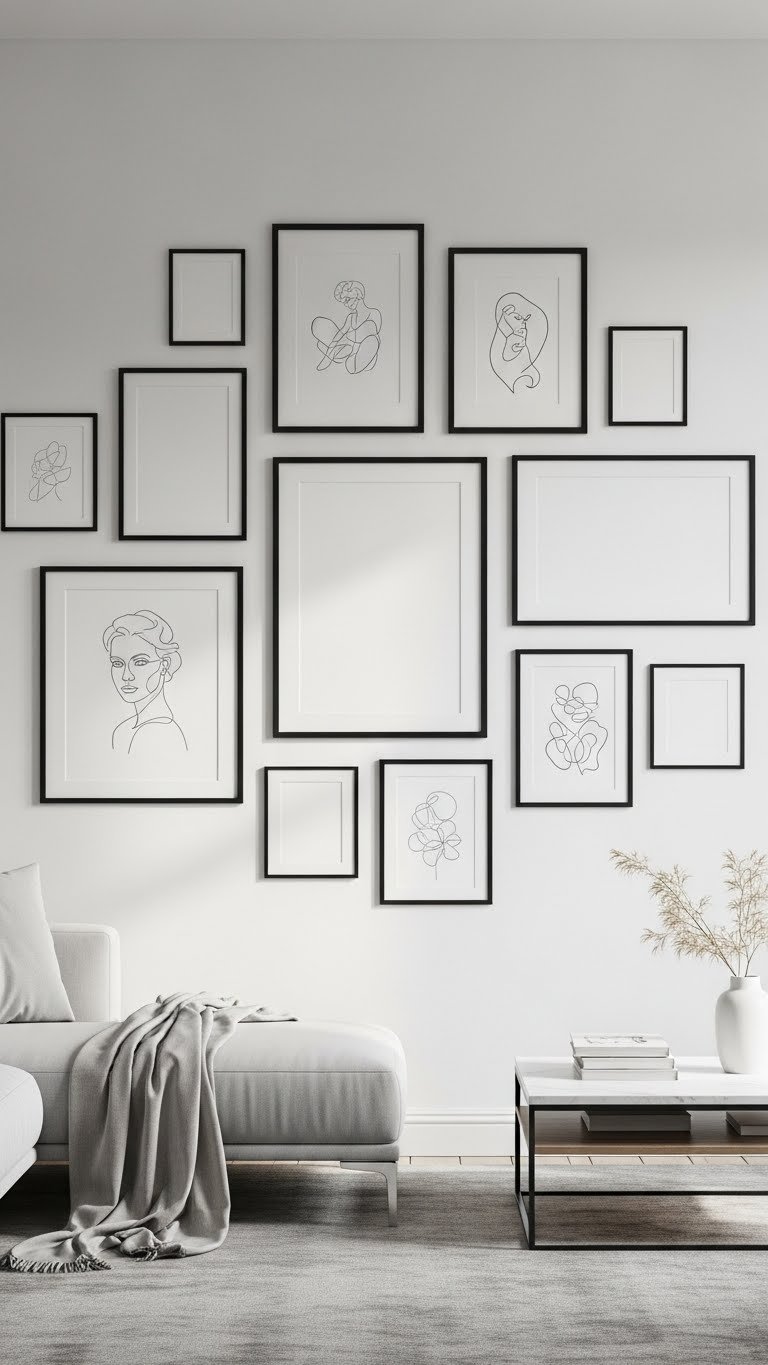
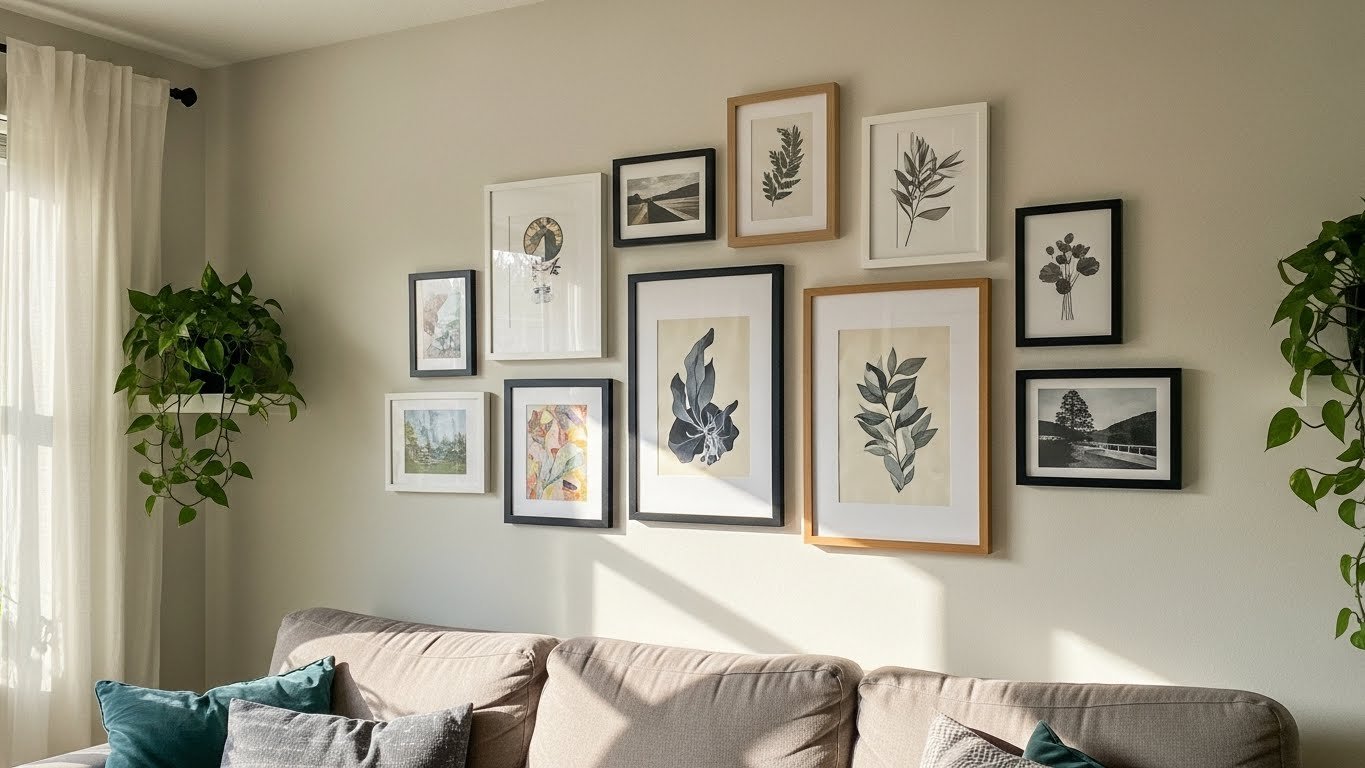
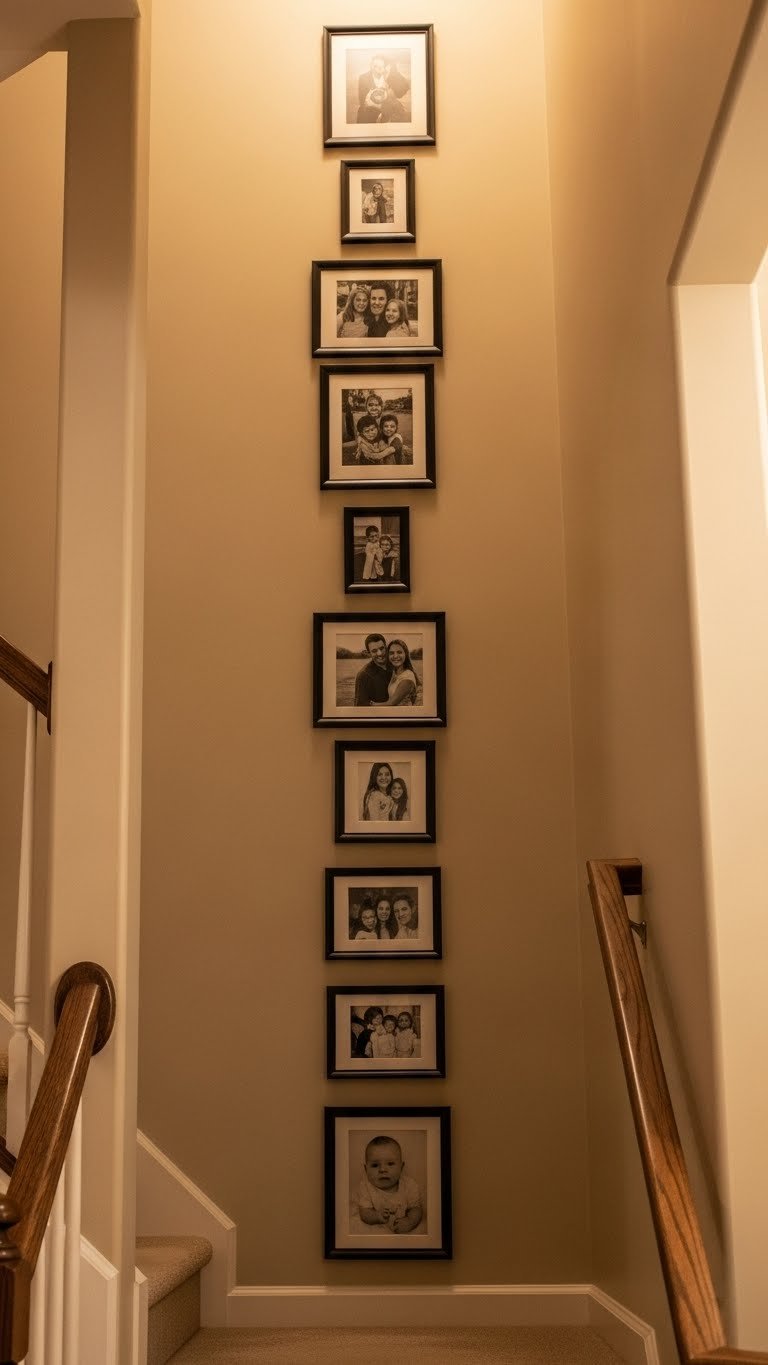
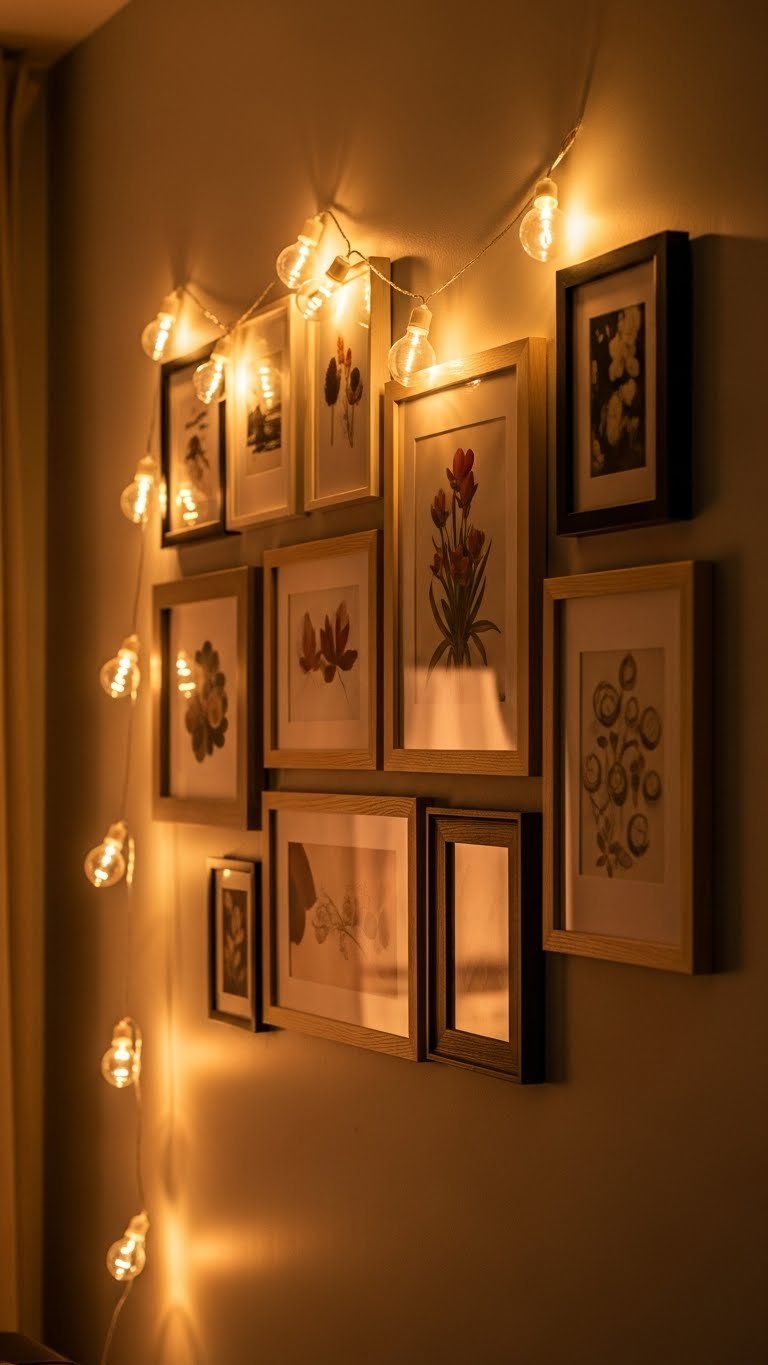
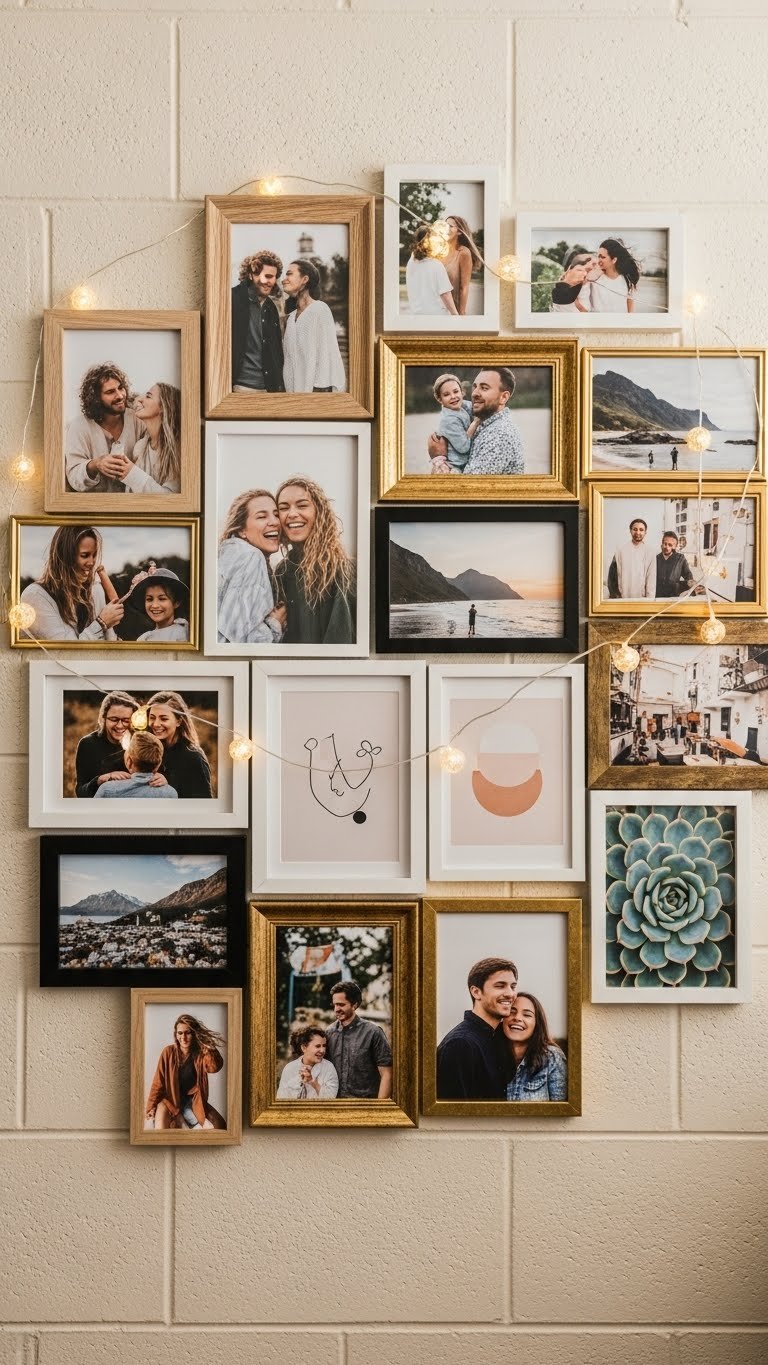
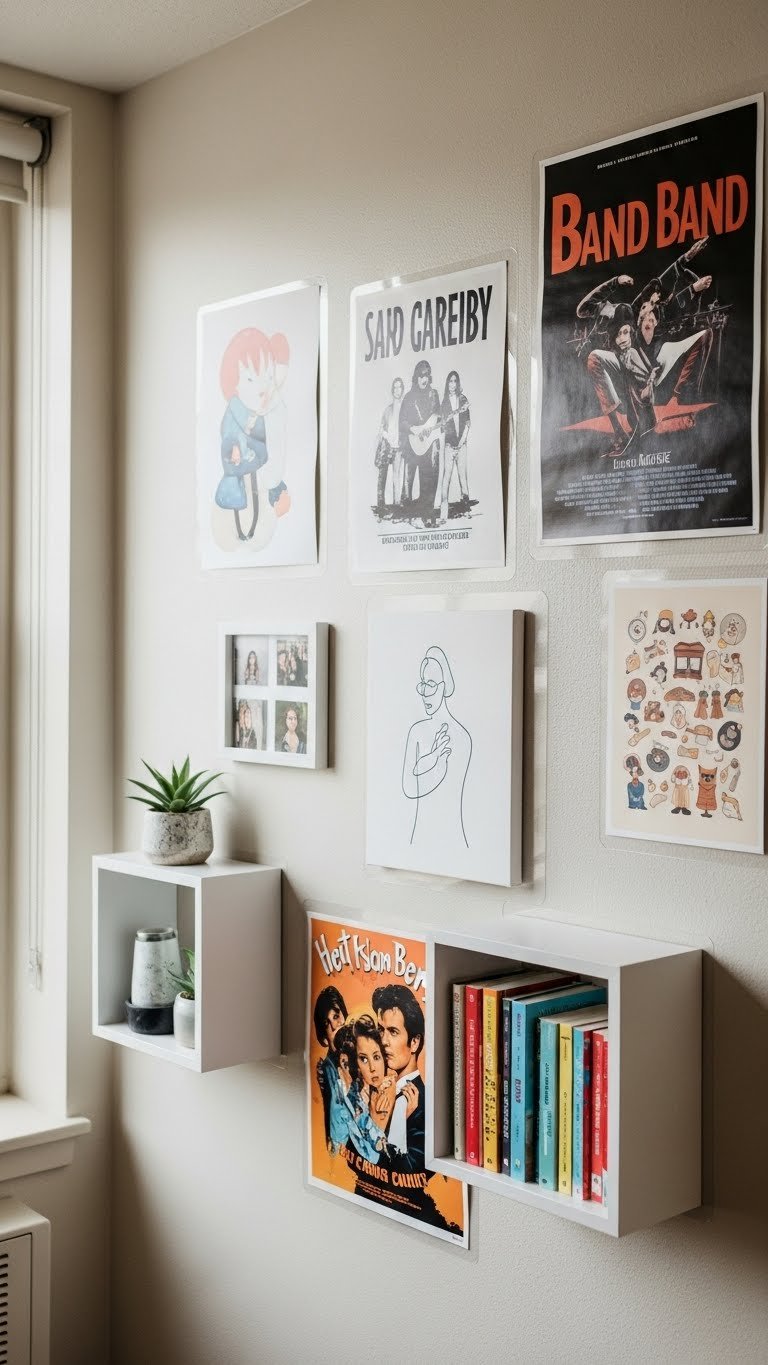
25. Add Personal Decor and Photos Above Headboards
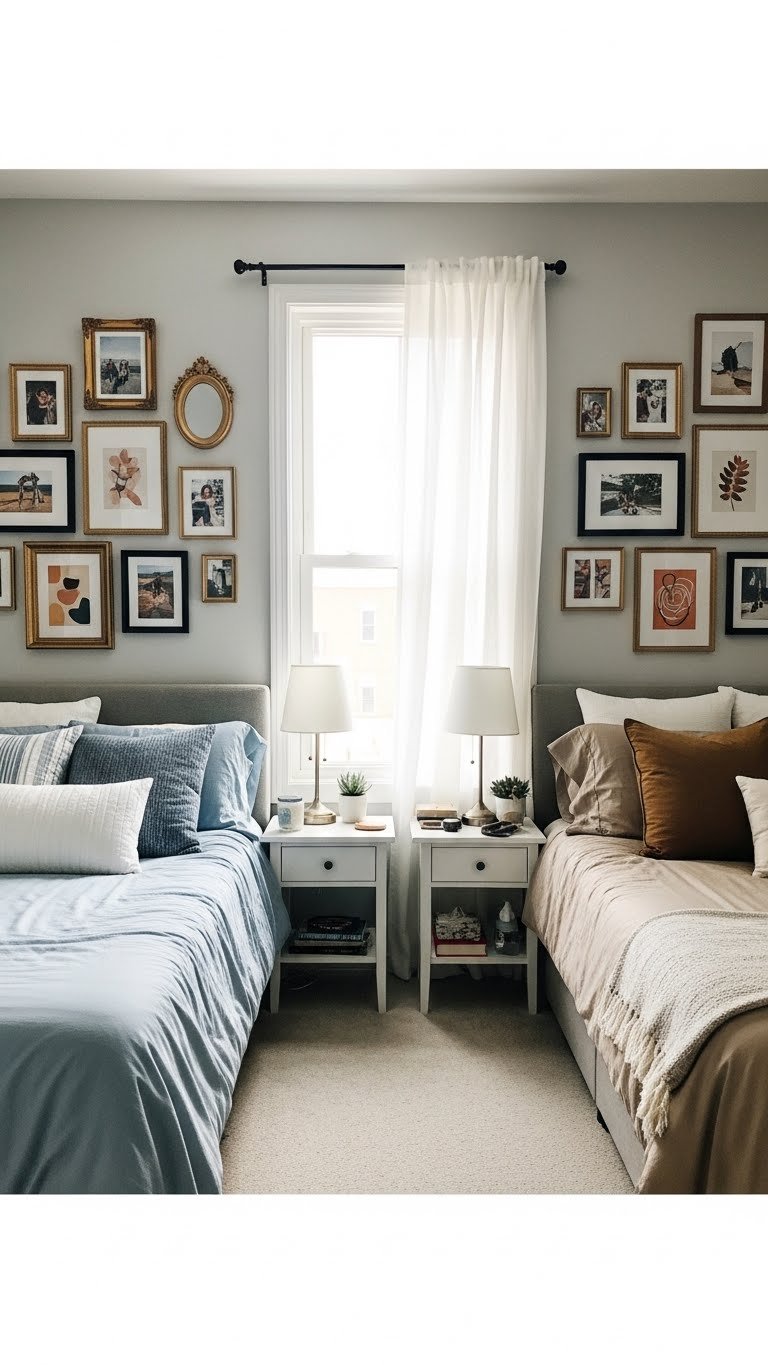
Personal photos and artwork above each headboard make the space feel individual and lived-in while using vertical space.
Create a small gallery wall above each headboard ($30–$100 per wall for frames and prints from IKEA, Target, or Minted) with a mix of framed photos, inspirational prints, and artwork. Use command strips (renter-safe, $5–$10) so you’re not drilling holes. Mix frame sizes and styles for visual interest. Keep each gallery to 5–7 pieces so it feels curated, not chaotic.
Gallery walls add so much personality and make rooms feel like actual homes rather than temporary spaces. They’re also affordable and totally customizable. Update them seasonally for a fresh look.
26. Establish a Shared Styling Agreement

Agreeing on a basic style framework keeps a shared space cohesive even when two people have different aesthetics.
Before buying anything, chat with your roommate or co-sleeper about: color palette (three main colors max), style vibe (modern, cozy, minimalist), and budget for shared pieces like rugs or lighting. Agree that nightstands should be similar heights, bedding should coordinate, and major purchases get discussion. You don’t need to be identical, but alignment prevents visual chaos.
This conversation takes 15 minutes but saves stress and awkward furniture conflicts later. Shared spaces work best when there’s a plan, even a loose one. The result? A room that looks intentionally designed instead of accidentally assembled.
Save this post for your next bedroom refresh and pick one or two ideas to tackle this weekend. Small arrangement tweaks and styling changes add up faster than you’d think—try just one idea and watch how much more put-together your space immediately feels.