Your bedroom should be the most comfortable room in your home—the place where you actually want to spend time. Yet most of us settle for whatever bedding came in a set or throw on scratchy pillows without thinking twice. The truth? The fabrics you choose directly impact your sleep quality, how rested you feel, and whether you wake up wanting to stay in bed or rush out the door.
This guide walks you through 24 fabric ideas that go beyond just looking pretty. You’ll discover materials that regulate temperature, reduce motion transfer, breathe better in summer, trap warmth in winter, and actually feel amazing against your skin. Some ideas cost nothing (rearranging what you have), while others are weekend shopping trips under $50. A few are investment pieces worth saving toward. By the end, you’ll know exactly which fabrics solve your specific sleep problems—whether that’s night sweats, static hair, pet allergies, or just wanting to feel like you’re sleeping in a luxury hotel.
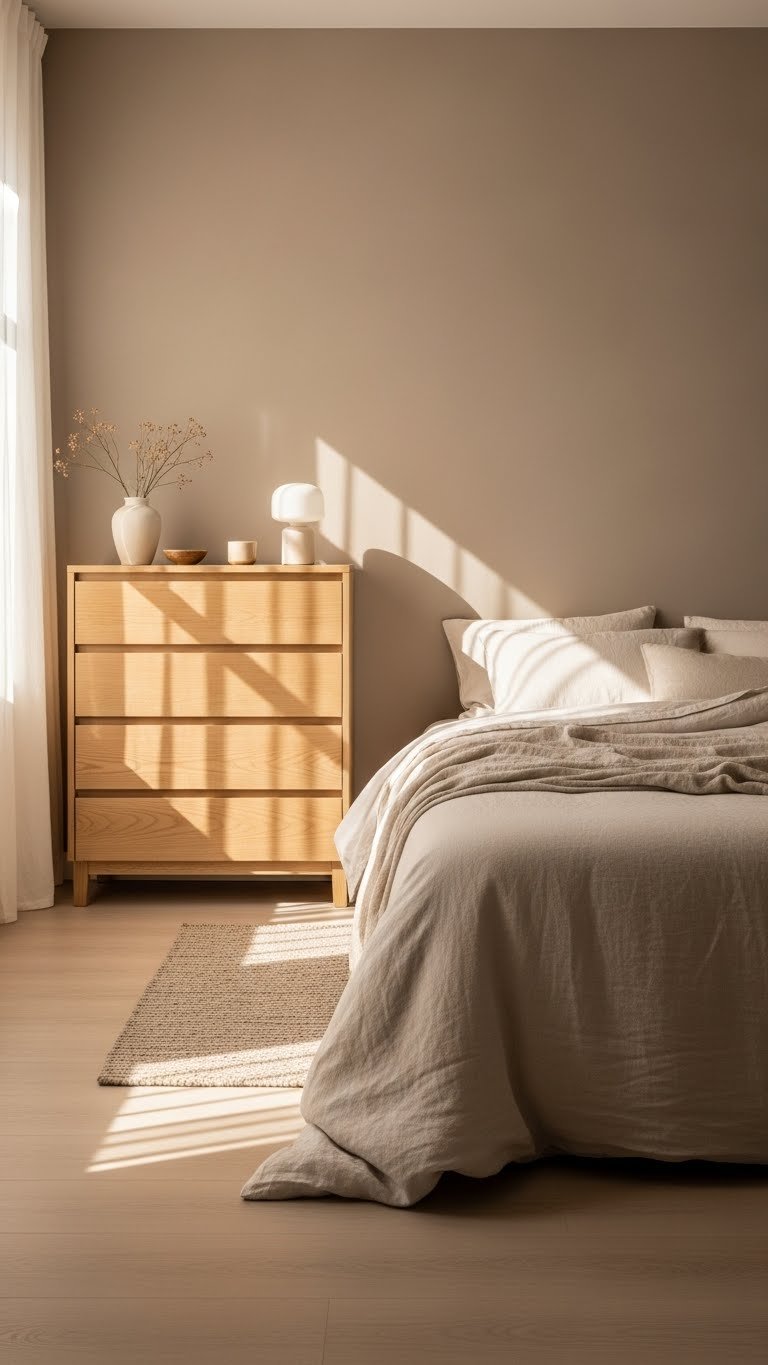
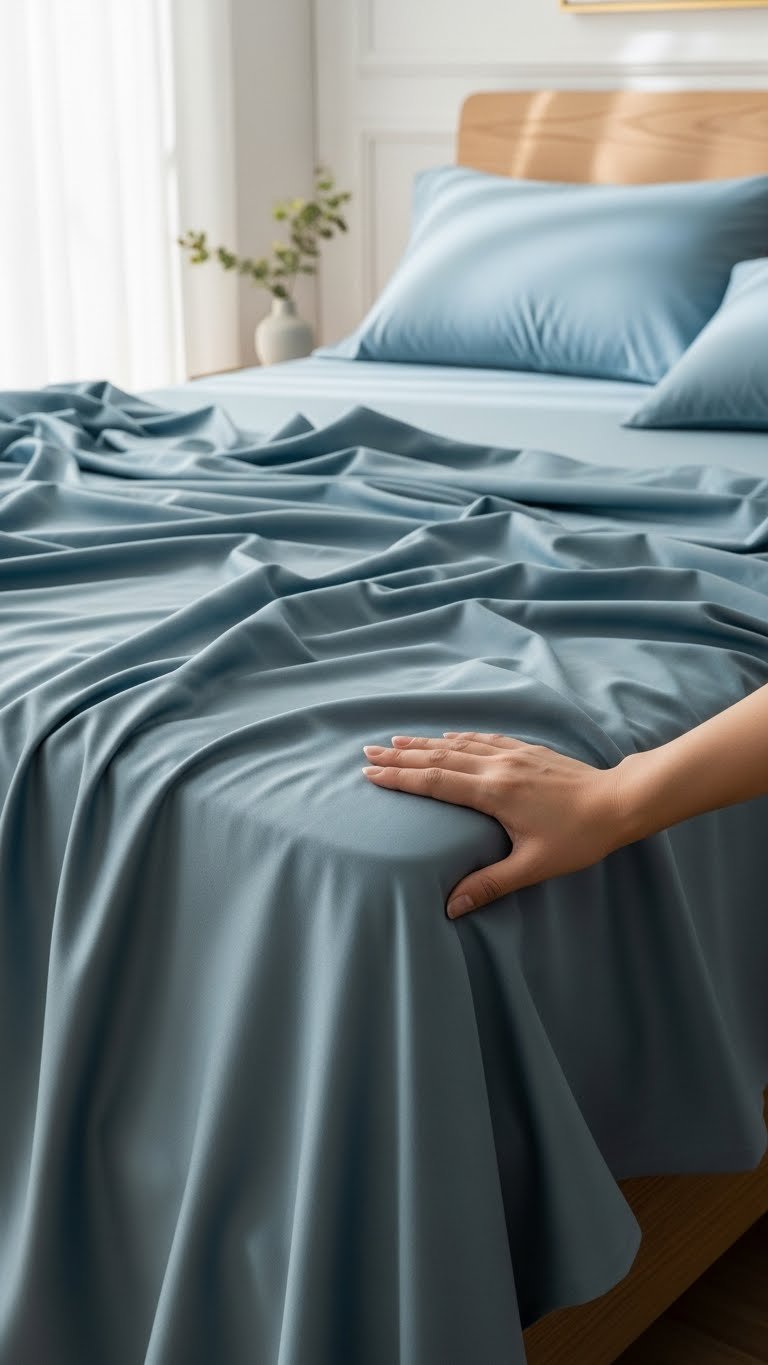
1. Layer Linen Under Your Duvet for Year-Round Breathability
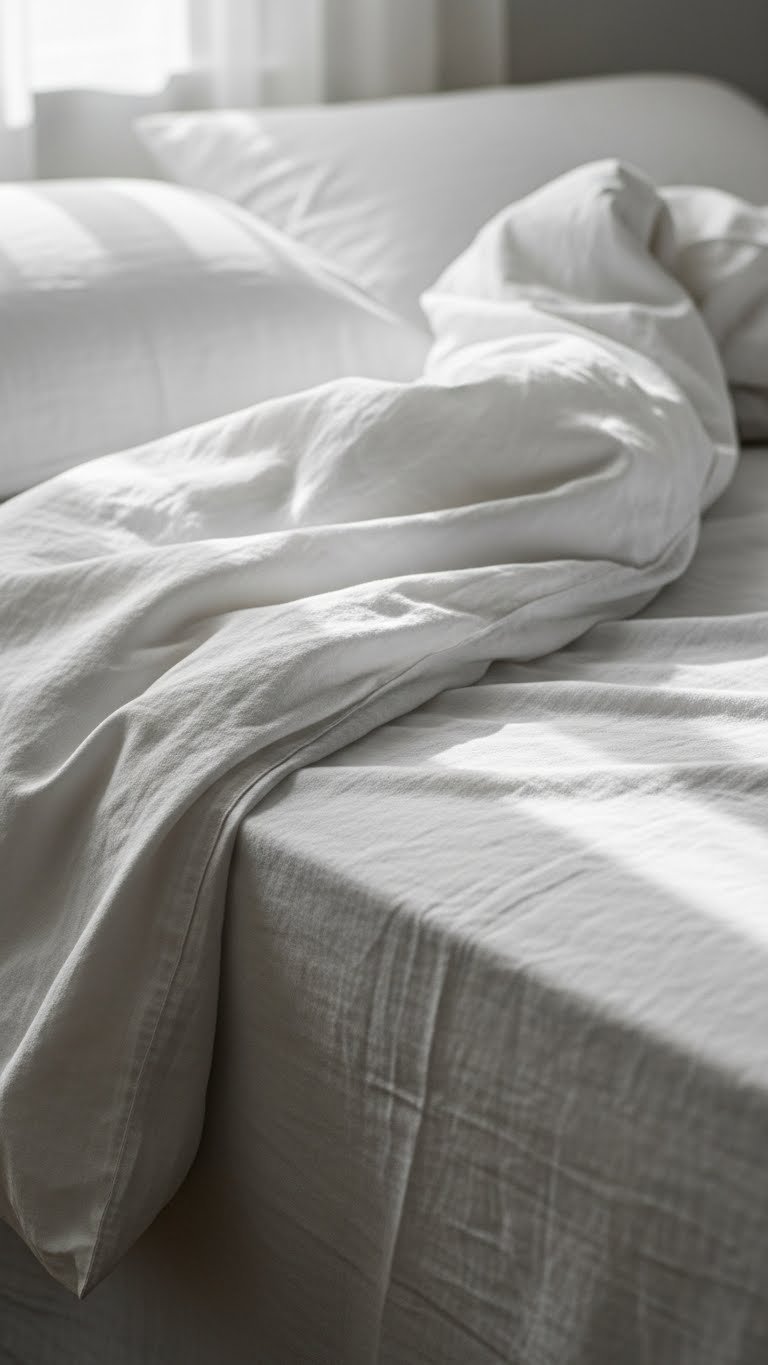
Linen is the sleep fabric that keeps giving, whether it’s summer heat or winter cold. It breathes better than cotton, gets softer with every wash, and naturally regulates temperature instead of trapping body heat.
Start with a quality linen sheet set as your base layer directly on the mattress—$60-$120 for a good set from IKEA, Bed Bath & Beyond, or Parachute. Add a lightweight linen duvet cover on top ($80-$180). The magic happens when linen sheets wick moisture away while still feeling cool to the touch. Pair with a duvet insert in summer (breathable cotton) and switch to a heavier insert in winter. Time to switch: five minutes per season.
Pro tip: Linen wrinkles naturally—this isn’t a flaw, it’s the look. If that bothers you, cotton-linen blends ($50-$100) give you 70% of linen’s benefits with a crisper finish.
You’ll stop waking up damp and sweaty. The texture improves every month, and your sheets actually feel better in January than they did in June.
2. Add a Weighted Blanket for Deep Sleep and Grounding
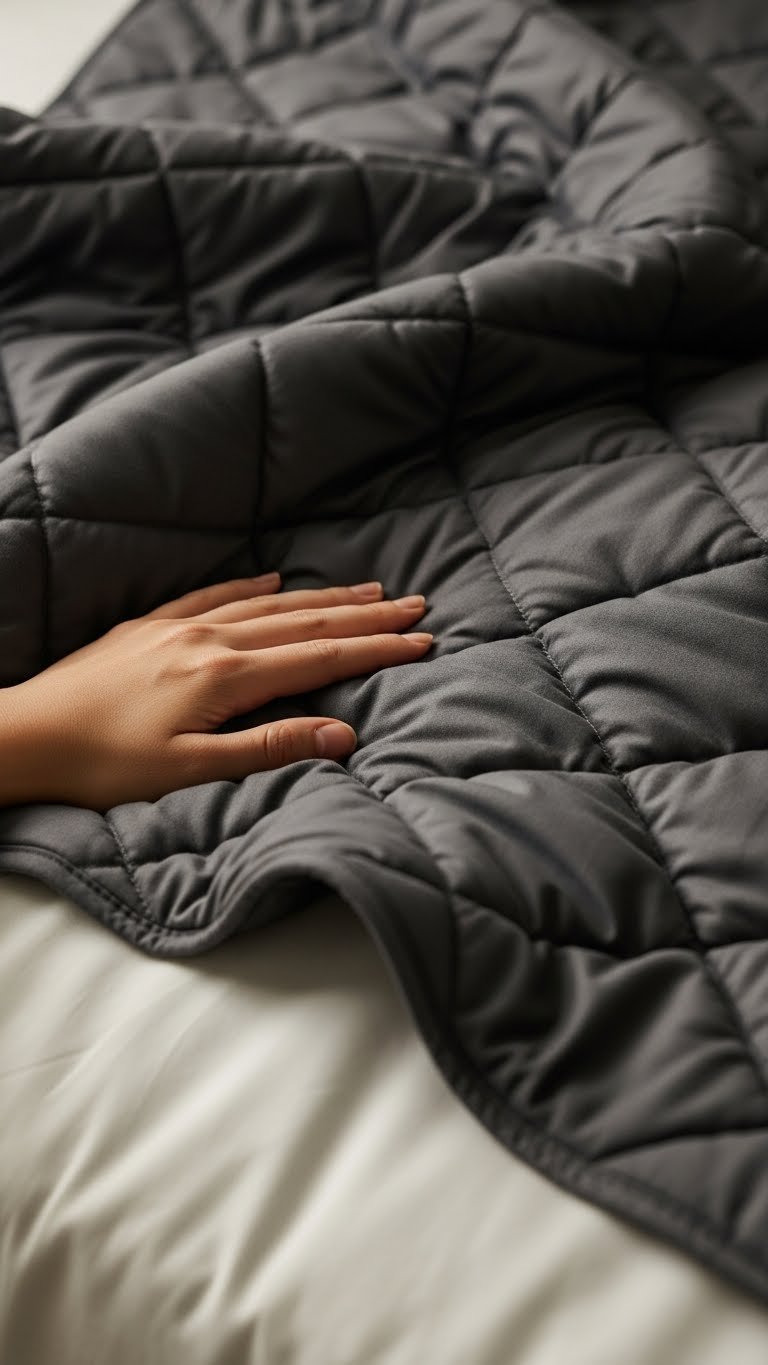
Weighted blankets use gentle pressure to calm your nervous system—similar to a therapeutic hug. They’re backed by sleep research and genuinely help people fall asleep faster and wake less during the night.
Buy a weighted blanket that’s about 10% of your body weight. A 150-pound person needs roughly a 15-pound blanket ($80-$250 from Amazon, Target, or Casper). Material matters: look for cotton covers (breathable) or cooling fabrics if you run hot. Layer it over your regular duvet or use it as your only top layer in warmer months. Wash the cover separately; most inner blankets need spot-cleaning only.
Pro tip: Start with one night a week to adjust to the sensation, then gradually use it every night. Some people find it uncomfortable at first—that’s normal and passes.
Your sleep deepens noticeably. You’ll wake fewer times in the night and feel more rested by morning. Many people say they can’t sleep without it after two weeks of use.
3. Invest in Mulberry Silk Pillowcases to Reduce Friction Damage
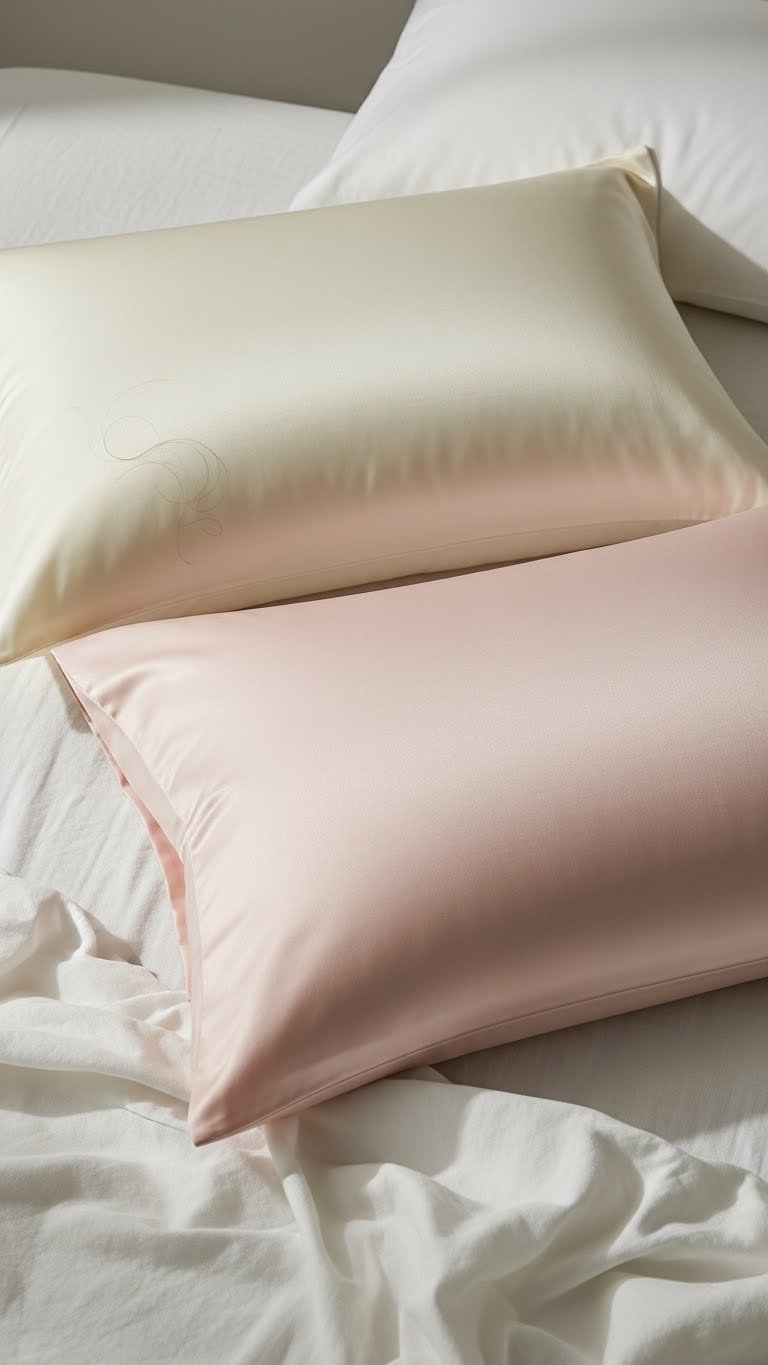
Silk pillowcases aren’t just a beauty hack—they actually improve sleep quality by reducing friction that wakes you during the night. Mulberry silk is the highest grade and lasts 5+ years with proper care.
Expect to pay $40-$80 per pillowcase from brands like Slip, Kitsch, or Etsy sellers. Buy at least two so you can rotate them. Wash on delicate cycle in cool water with silk-specific detergent ($8-$12 per bottle). They feel cool against your skin in summer and insulating in winter. The smoothness prevents creasing on your face and tangling in your hair.
Pro tip: Can’t afford mulberry silk yet? Satin pillowcases ($15-$30) give you 80% of the benefits at half the price. They’re not quite as durable but still transform your sleep.
You’ll notice less hair breakage within a week. Mornings feel smoother literally and figuratively. Your pillow stays in place instead of shifting around all night.
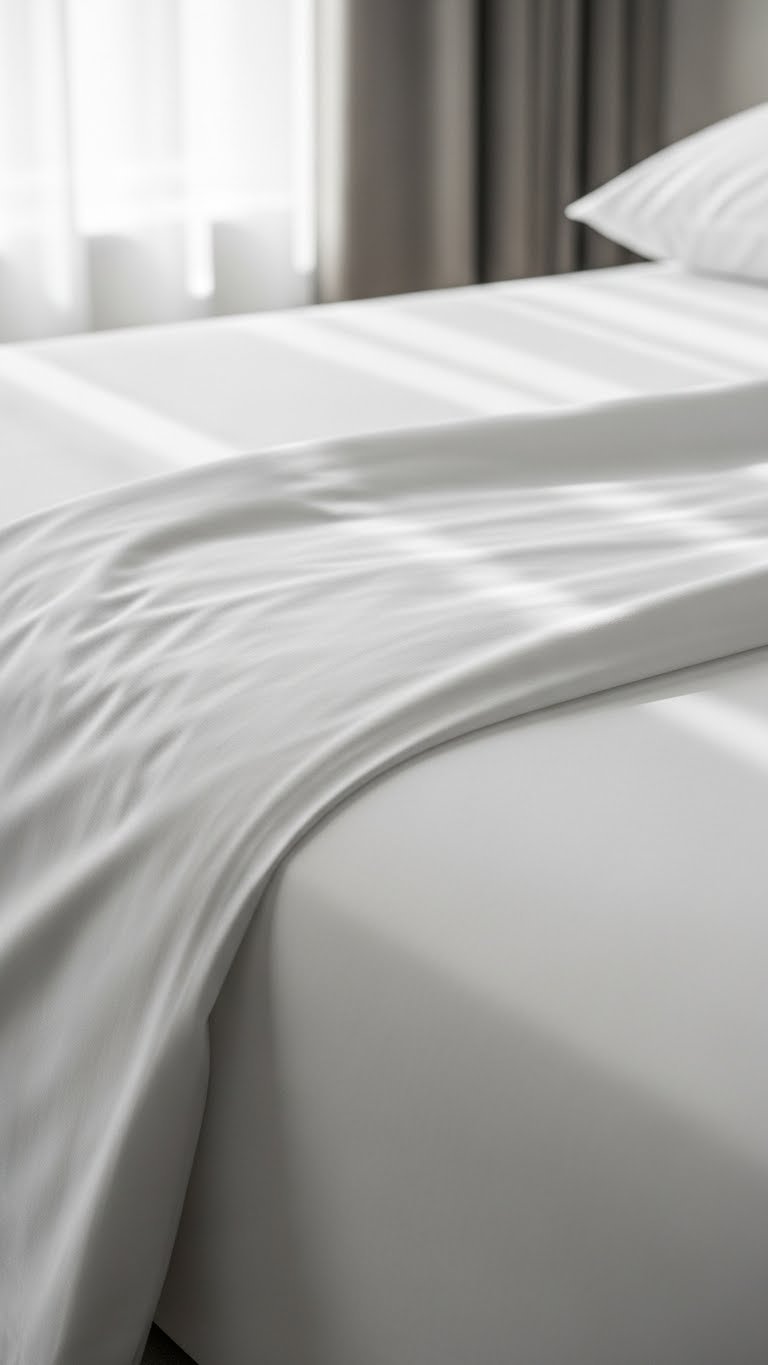
4. Layer a Cotton Sateen Sheet Set for Silky-Smooth Comfort

Cotton sateen has a subtle sheen and silky-smooth feel that rivals high-end hotels, but costs a fraction of silk. The weave creates that luxury feel while staying breathable and washable.
Buy a sateen sheet set in quality cotton ($80-$150 from Parachute, L.L.Bean, or Target’s Room Essentials line). Look for thread count between 300-600—anything higher is marketing fluff. Wash in warm water on gentle cycle; tumble dry low or air dry to preserve the sheen. A set lasts 3-5 years with normal care.
Pro tip: Sateen and linen are different feels. Sateen is smooth and slippery; linen is textured and crisp. Try both and see which your body prefers for sleep.
Your skin feels pampered every night without the high maintenance of true silk. The sheen catches light beautifully when guests see your bed during the day, too.
5. Use Thermal-Regulating Bamboo Viscose for Night Sweats
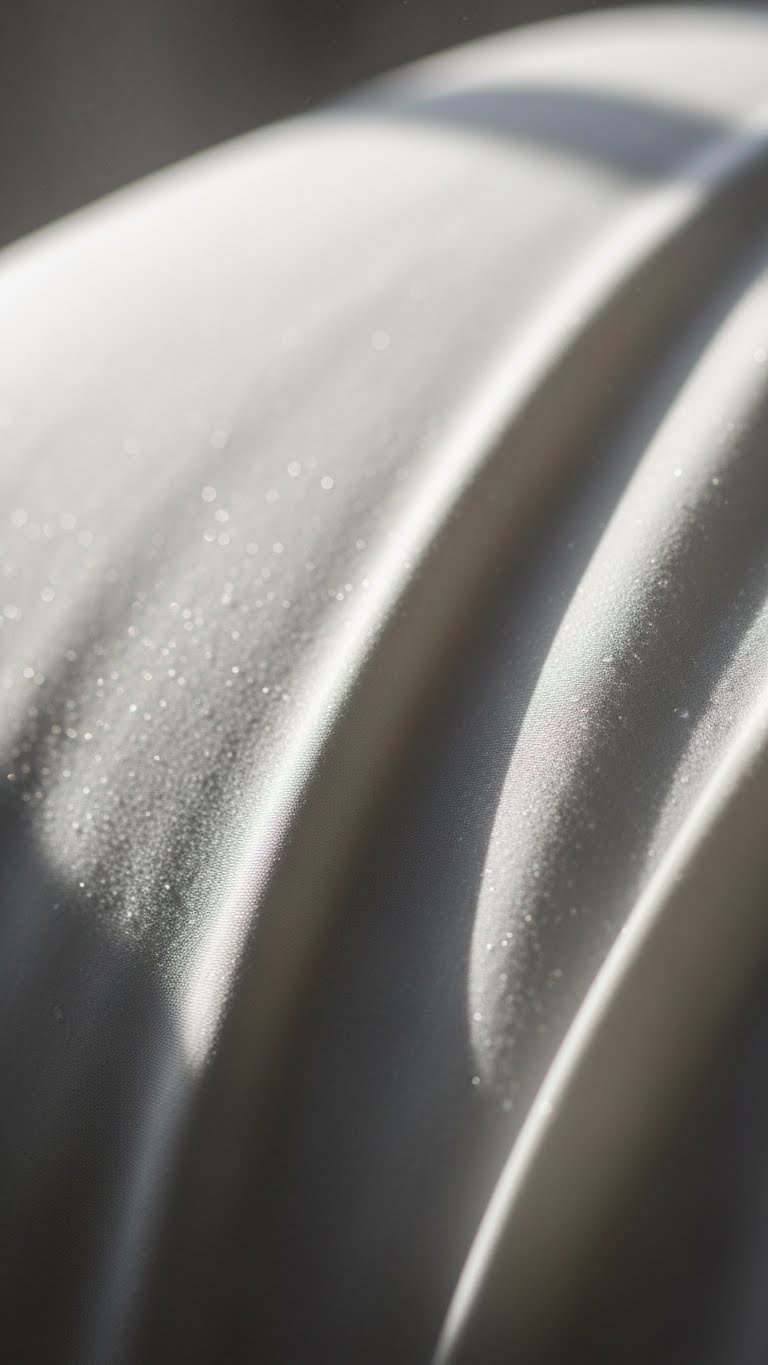
Bamboo viscose is processed from bamboo pulp and naturally wicks moisture faster than cotton. If you wake up soaked or throw off covers at 3 a.m., this is your answer.
Purchase bamboo viscose sheets ($70-$140 per set) or a bamboo pillowcase to start ($25-$45). They’re softer than cotton and nearly as affordable. Machine wash cool, tumble dry low. Note: bamboo viscose is less durable than linen or high-quality cotton—expect 2-3 years of regular use before thinning occurs.
Pro tip: Bamboo silk blends ($60-$120) last longer than 100% bamboo viscose and regulate temperature even better. Worth the extra $10-$20.
You’ll stay dry throughout the night. No more middle-of-the-night temperature adjustments or waking in a sweat puddle. Your sleep becomes continuous.
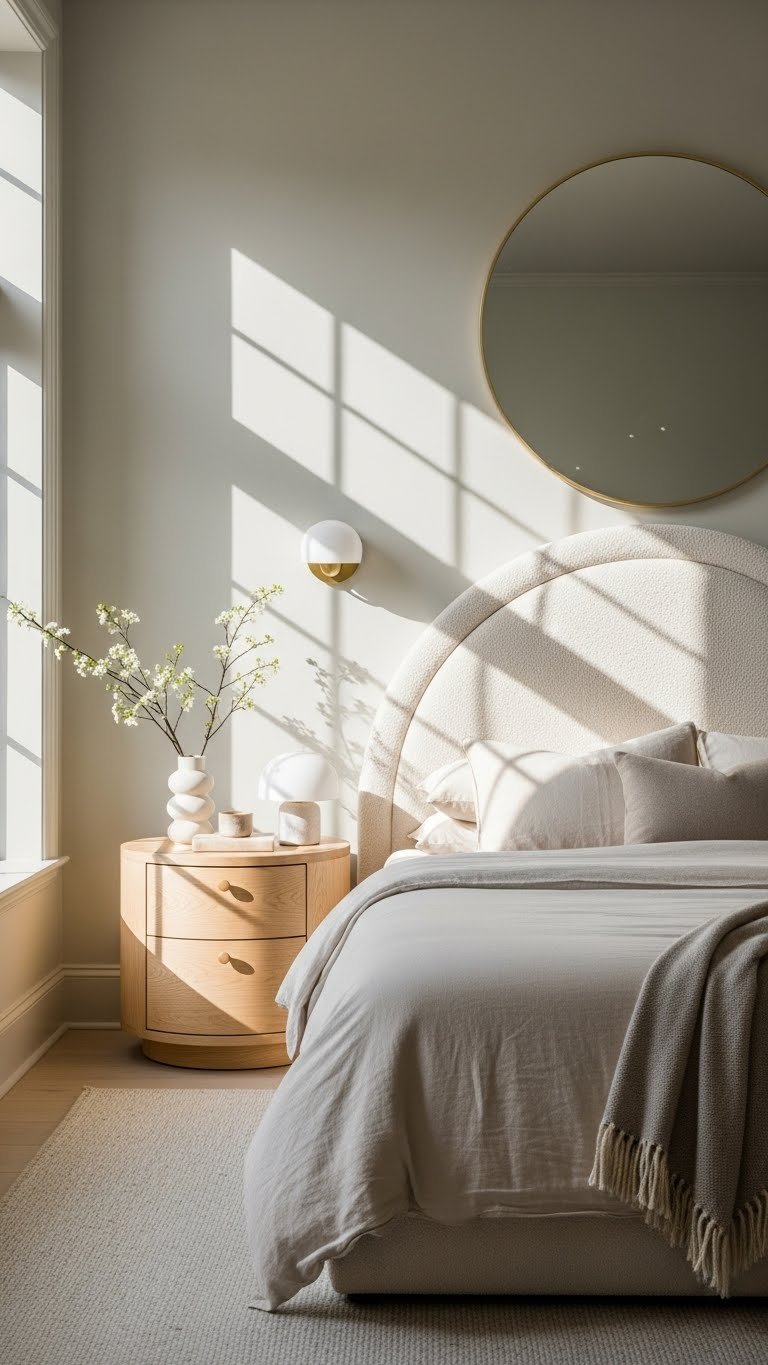
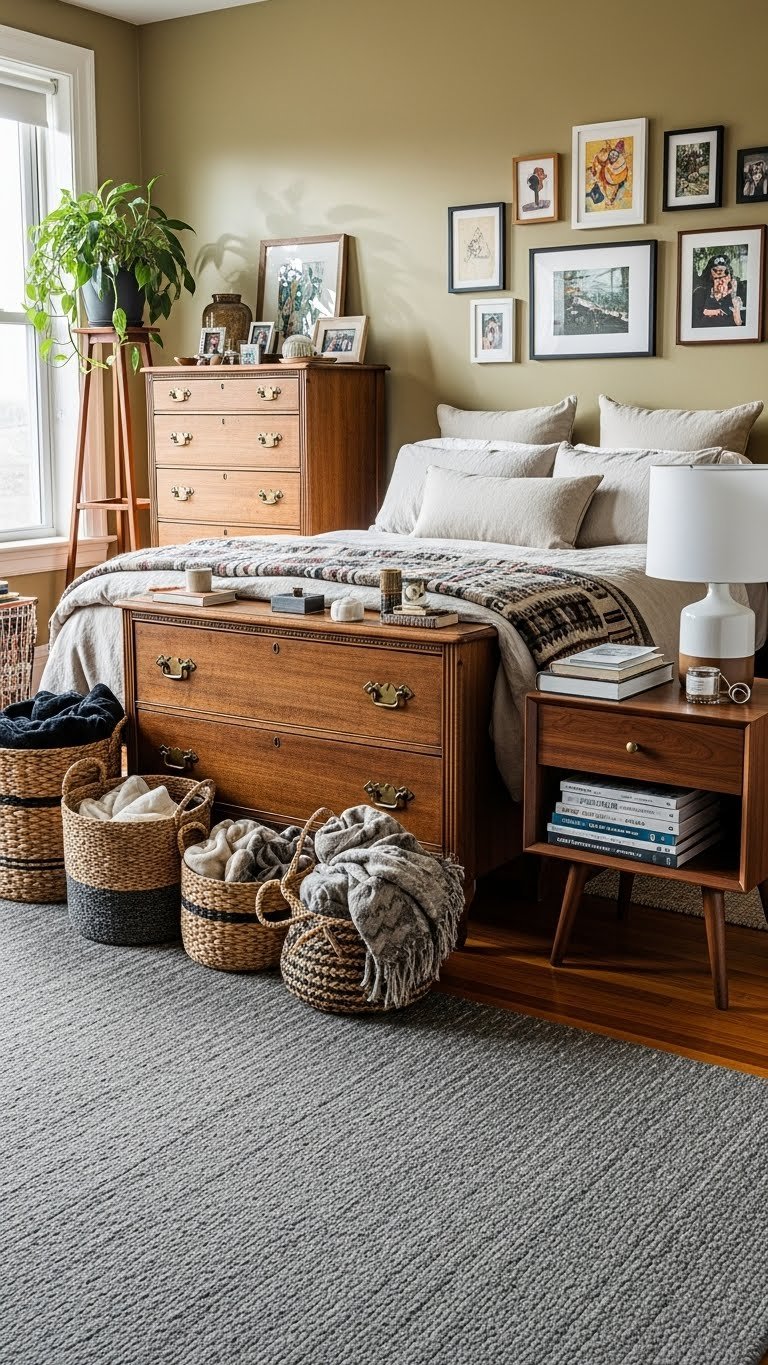
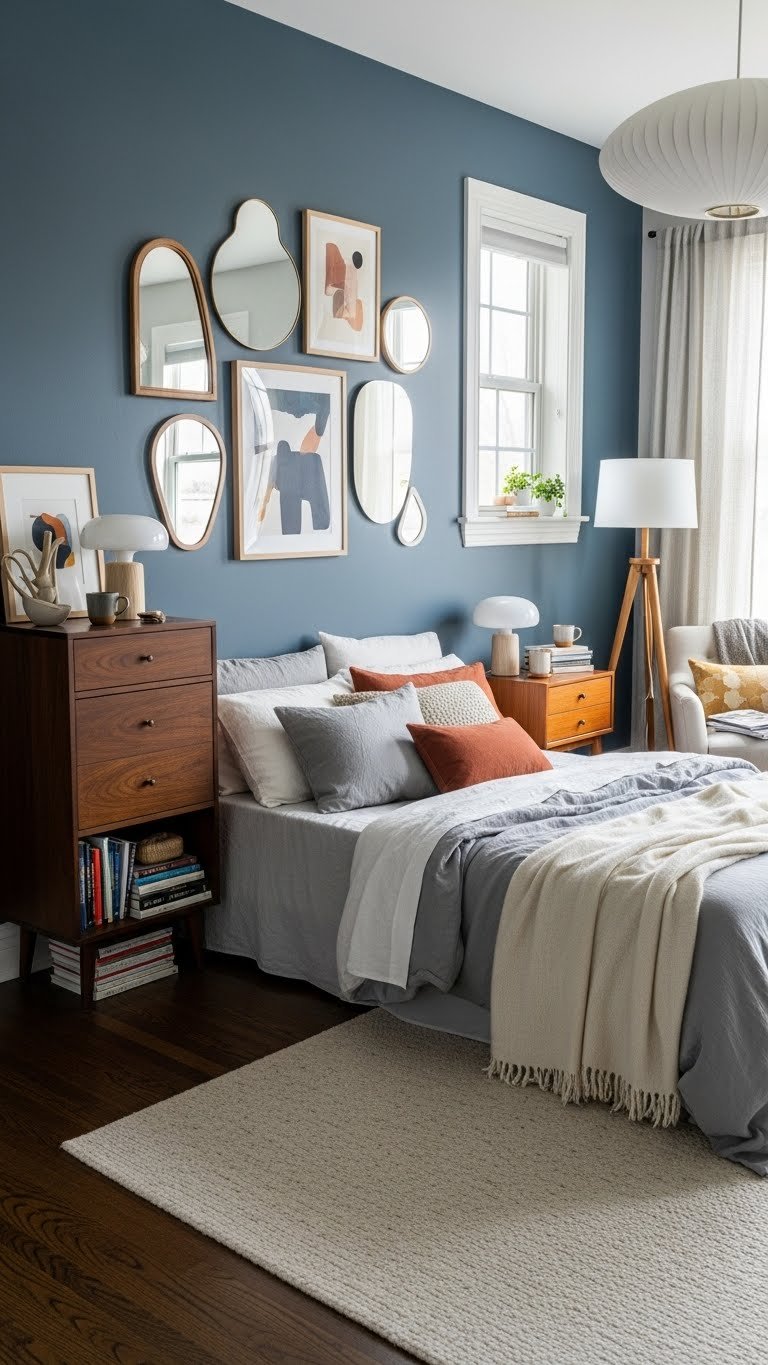
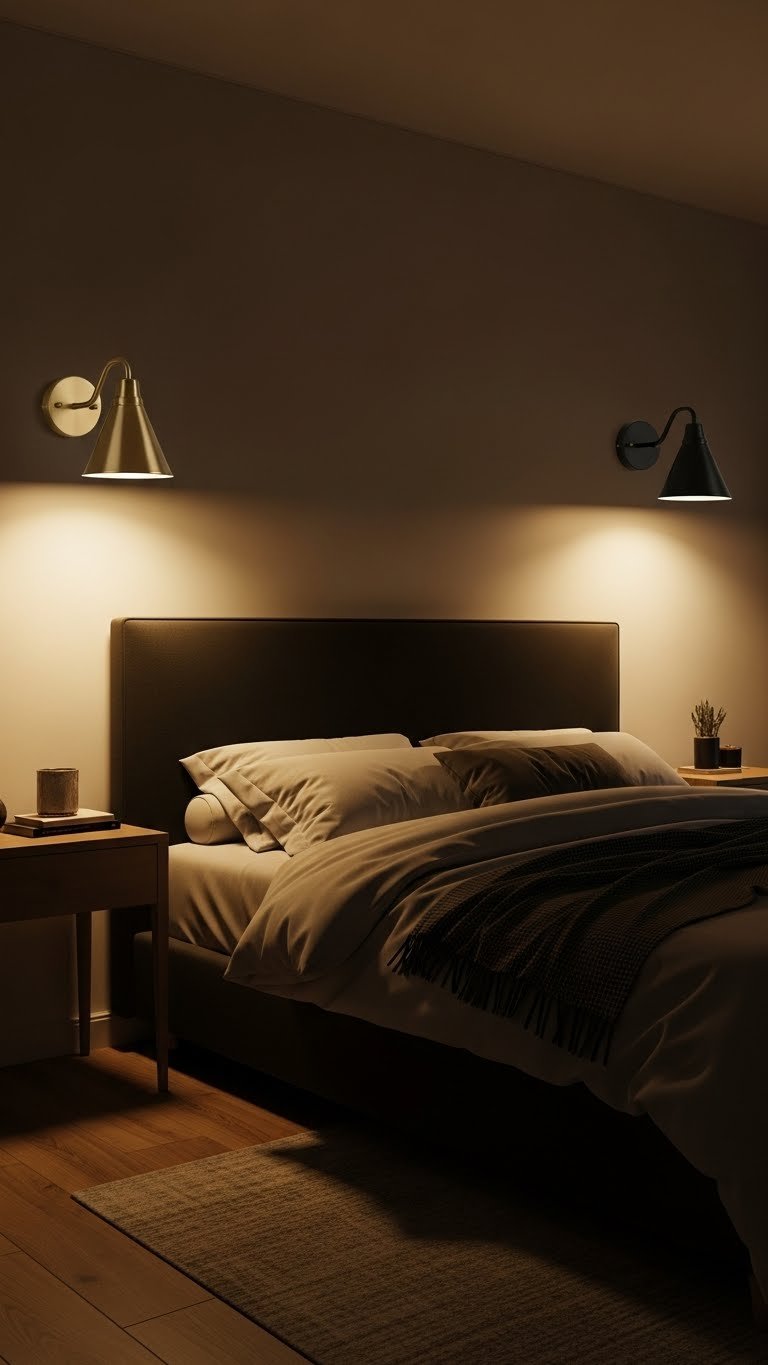
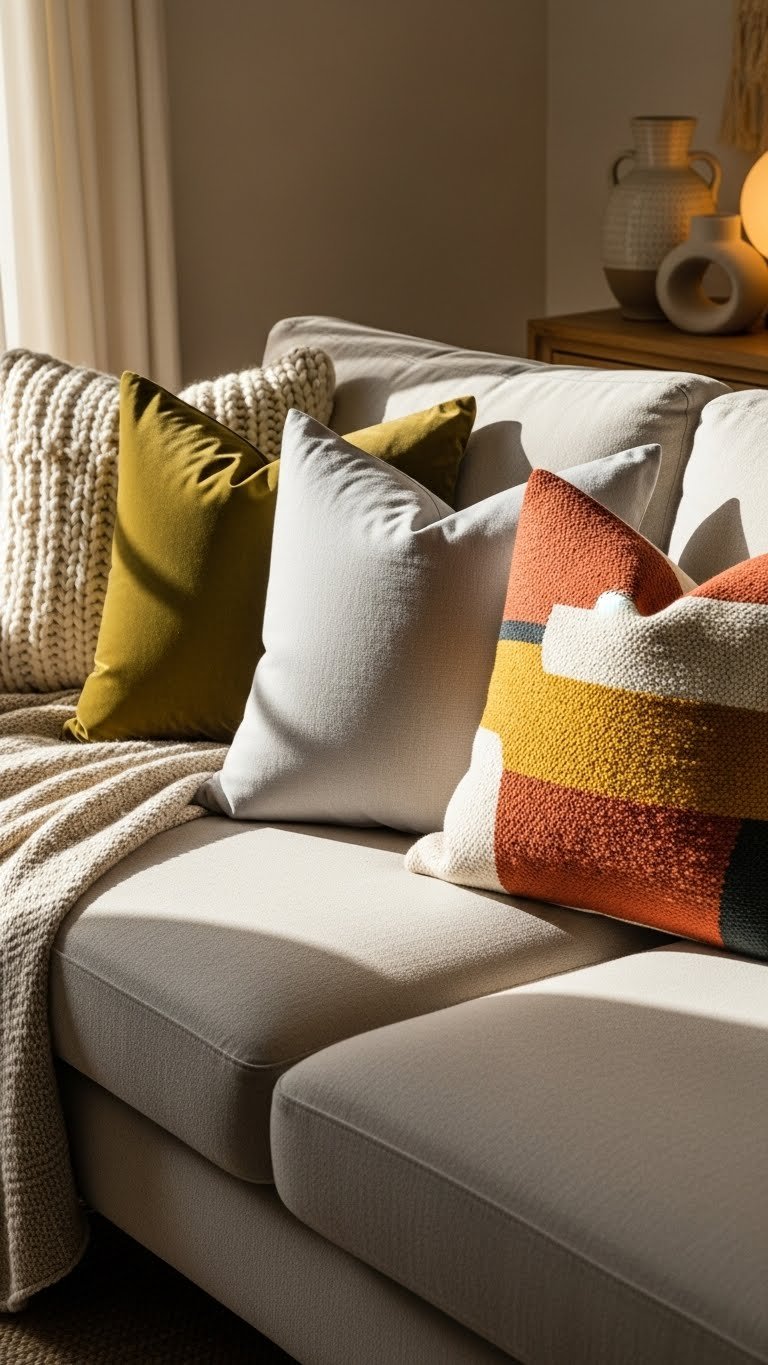
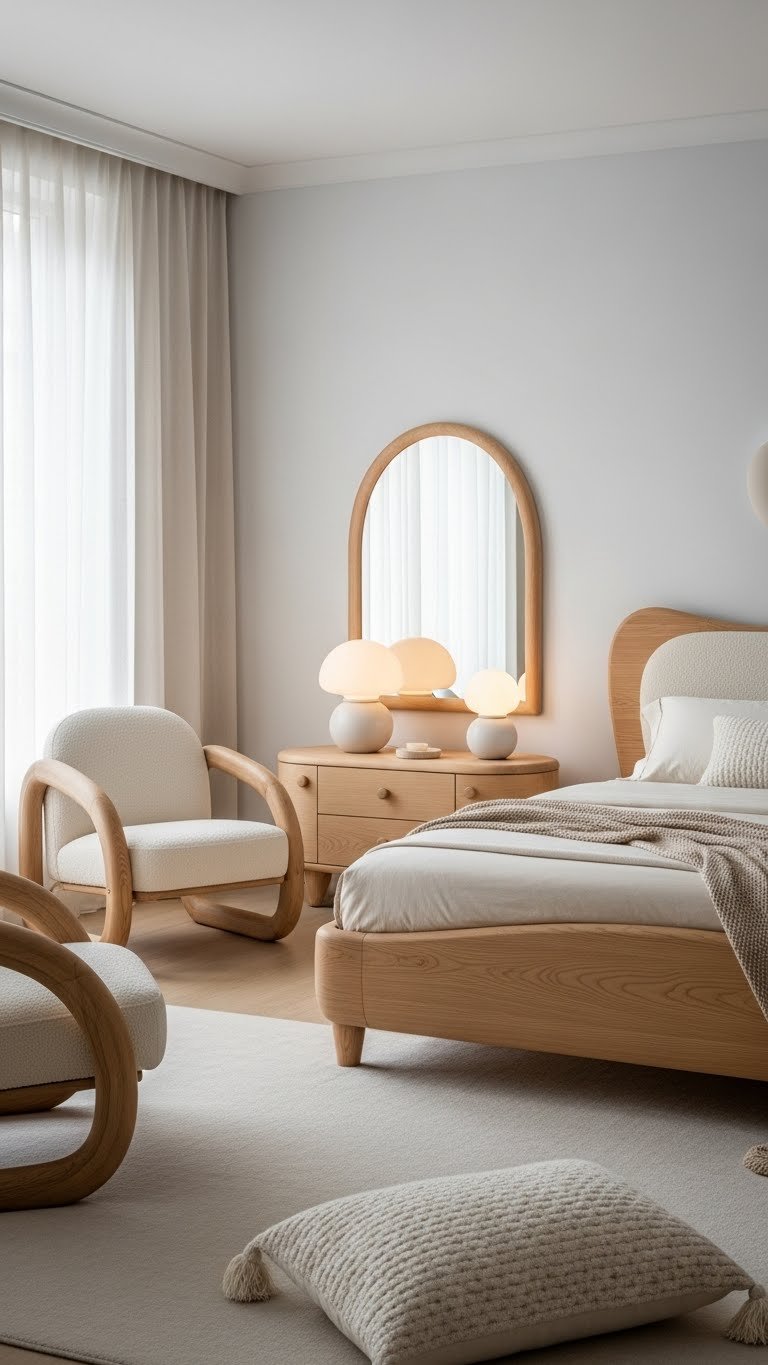
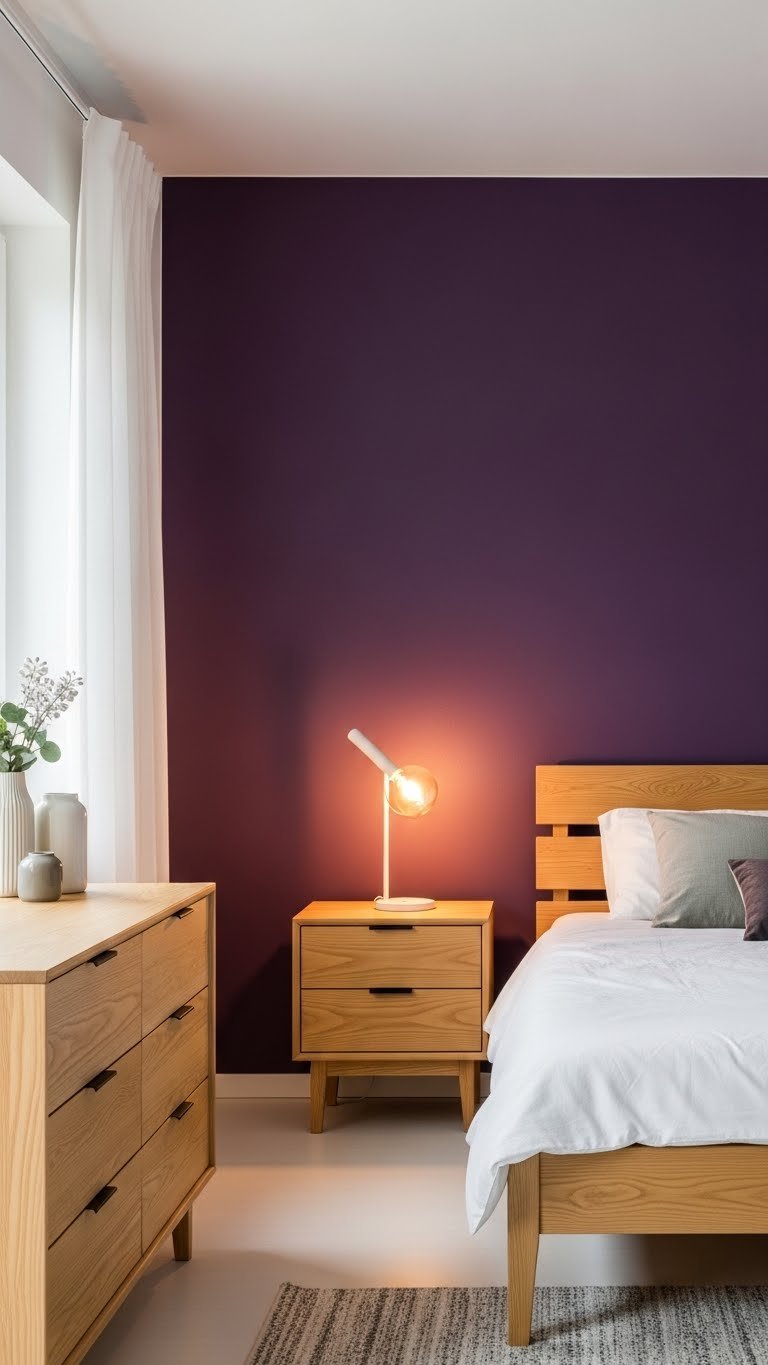
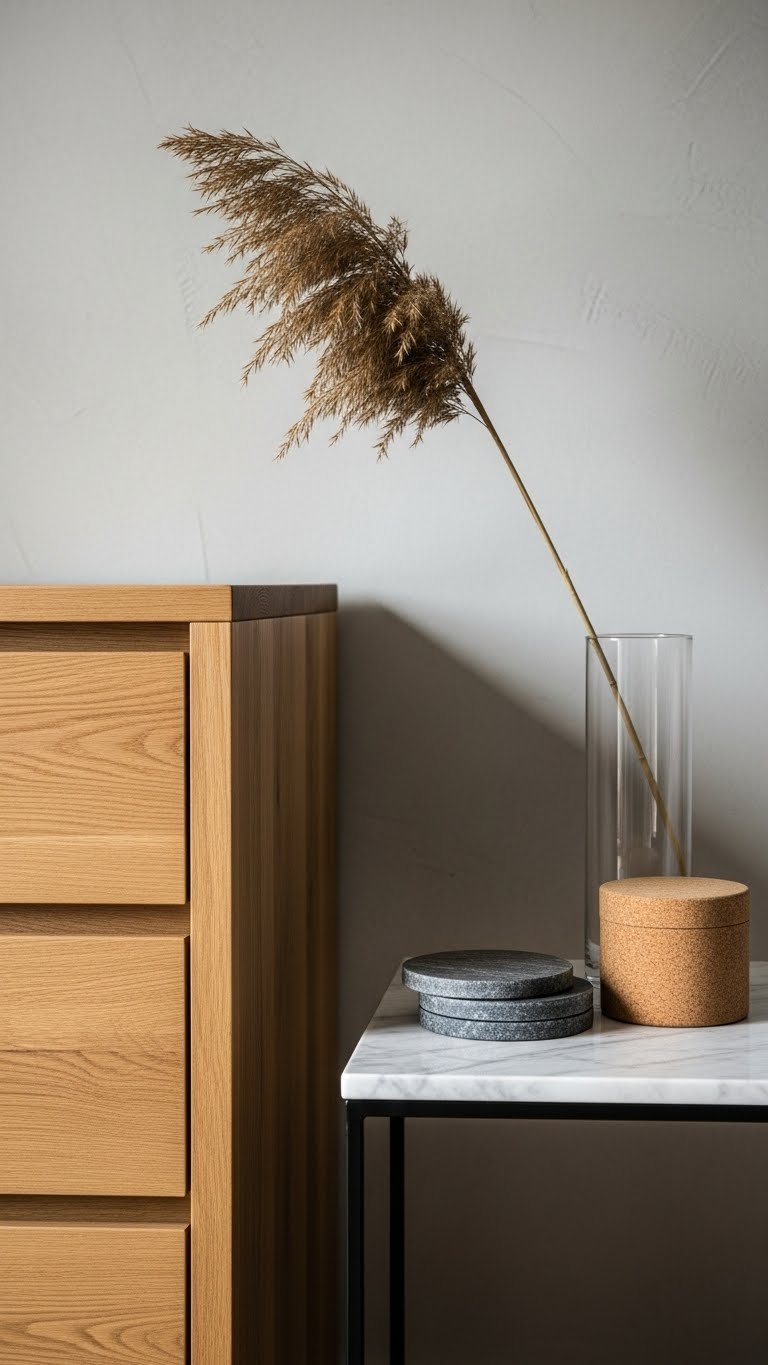
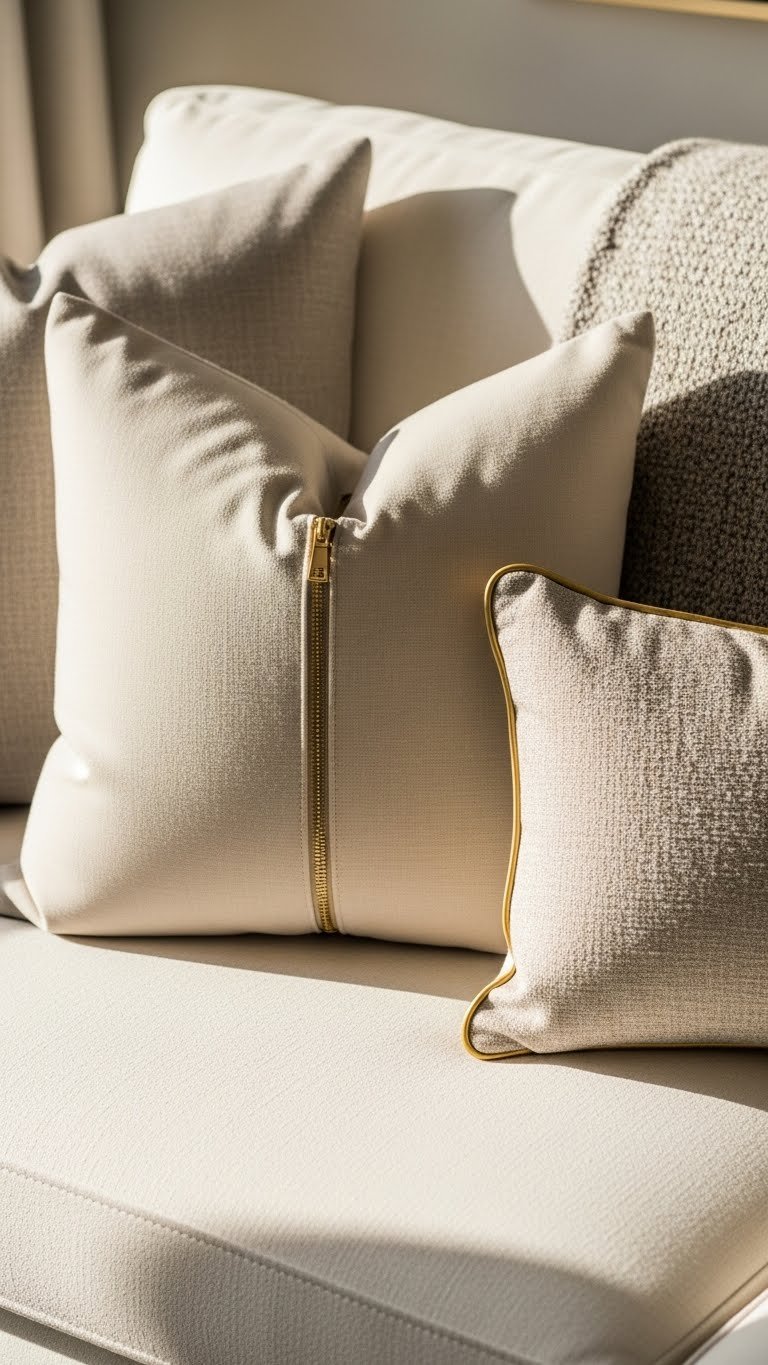
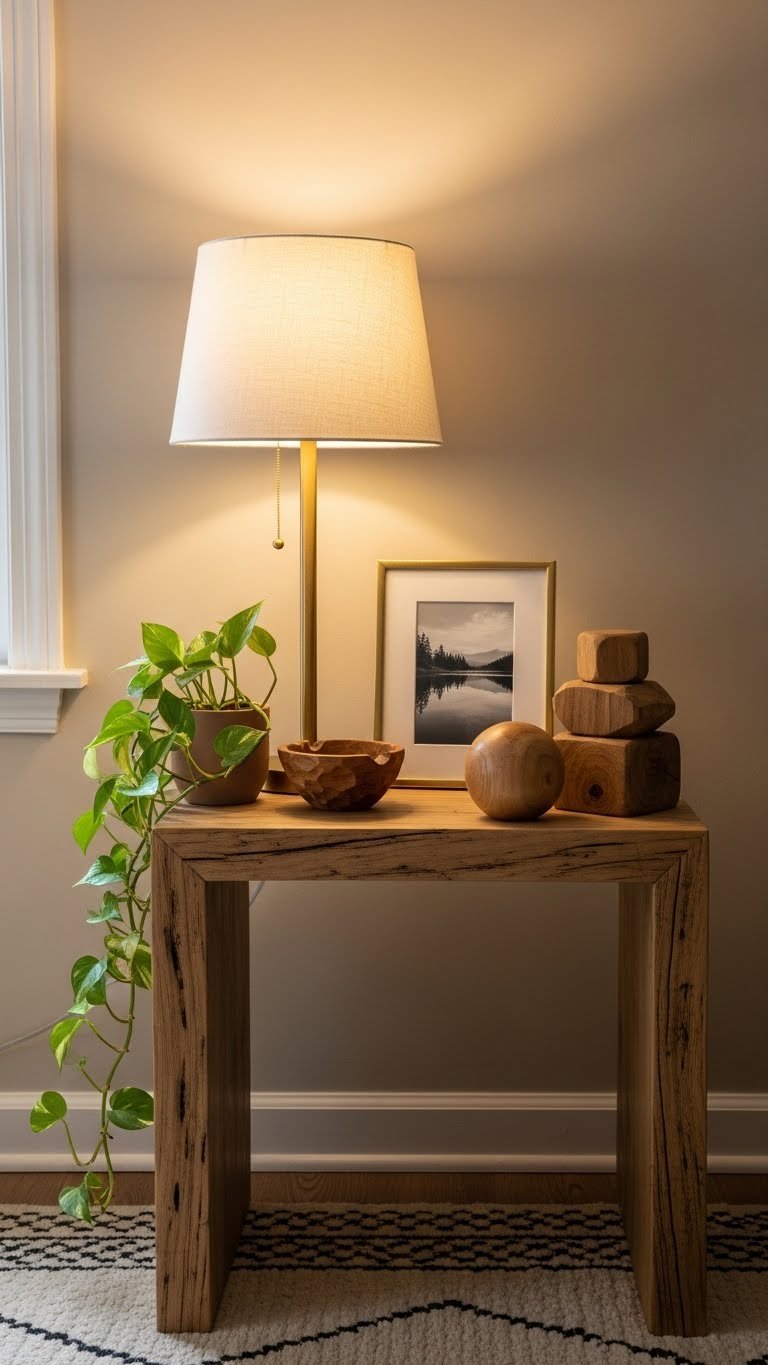
6. Add Linen Throw Pillows for Textural Interest and Extra Support
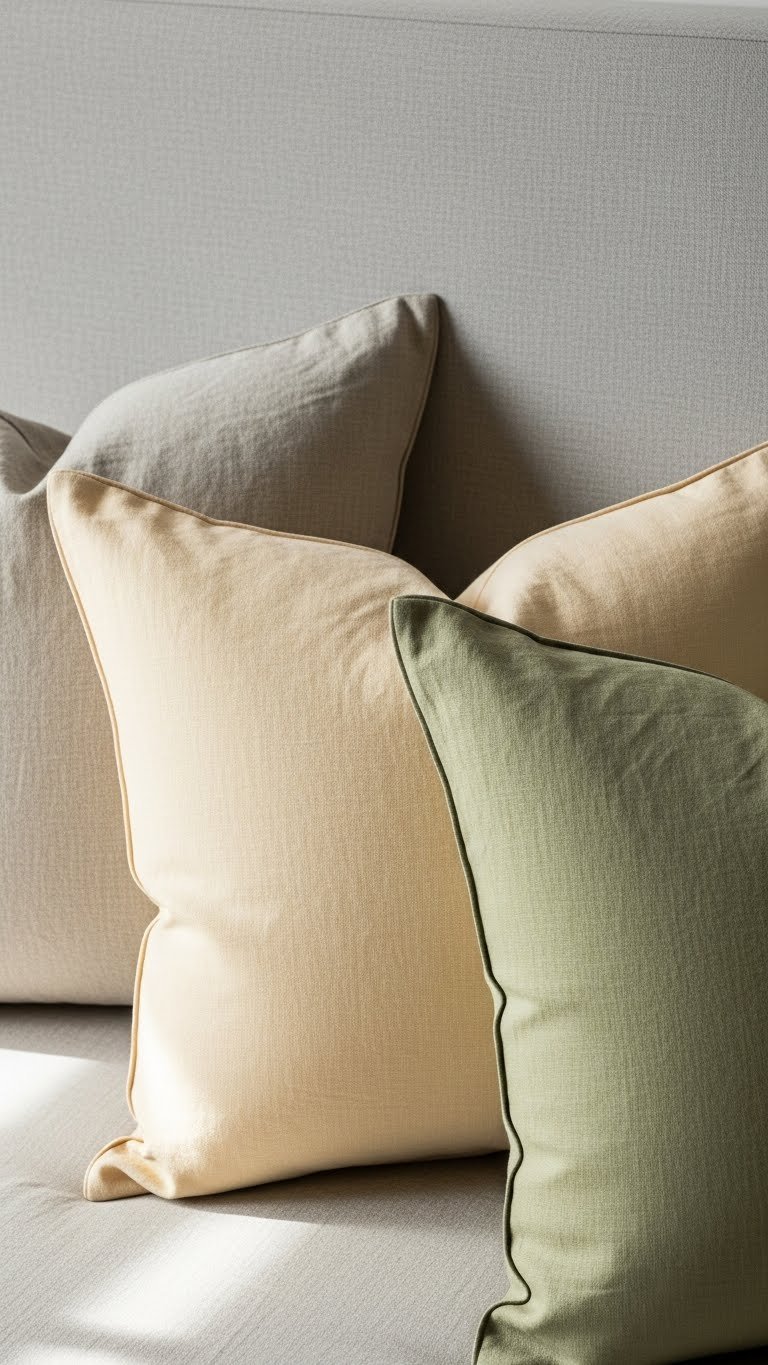
Beyond your sleep pillows, decorative linen throw pillows add visual warmth and give you extra support for reading or propping yourself up. Linen’s nubby texture looks intentional and cozy.
Buy 2-3 linen throw pillows ($20-$60 each from IKEA, West Elm, or Etsy) in neutral tones or one accent color. Fill them with down or hypoallergenic poly fill depending on your allergies ($15-$40 per pillow if buying separately). Layer them against the headboard or at the foot of the bed. Spot-clean fabric or use removable covers you can wash.
Pro tip: Mix linen with velvet or wool throw pillows to create textural contrast. One solid, one patterned, and you’ve got instant sophistication.
Your bed looks layered and intentional. You get comfortable back support when you’re reading or working in bed. The texture makes the space feel handcrafted and personal.
7. Switch to Percale Sheets for a Crisp, Cool-Sleeping Feel
Percale is cotton woven extra-tight, creating that hotel-crisp feeling that actually sleeps cooler. It’s not silky like sateen—it’s more like high-quality linen but with different benefits.
Buy a percale sheet set ($60-$140 from Brooklinen, Helix Sleep, or Target) in quality cotton. Thread count 200-400 is ideal for percale (higher doesn’t help as much as it does with other weaves). These sheets get softer with washing, which is unusual and wonderful. They last 3-5 years easily.
Pro tip: Percale wrinkles slightly more than sateen, but that’s part of the charm. If you love ironed sheets, percale rewards you—it presses beautifully.
Your bed feels noticeably cooler at night. You stay on top of sheets instead of under them, which is perfect for warm sleepers. The crispness feels fresh and clean every single night.
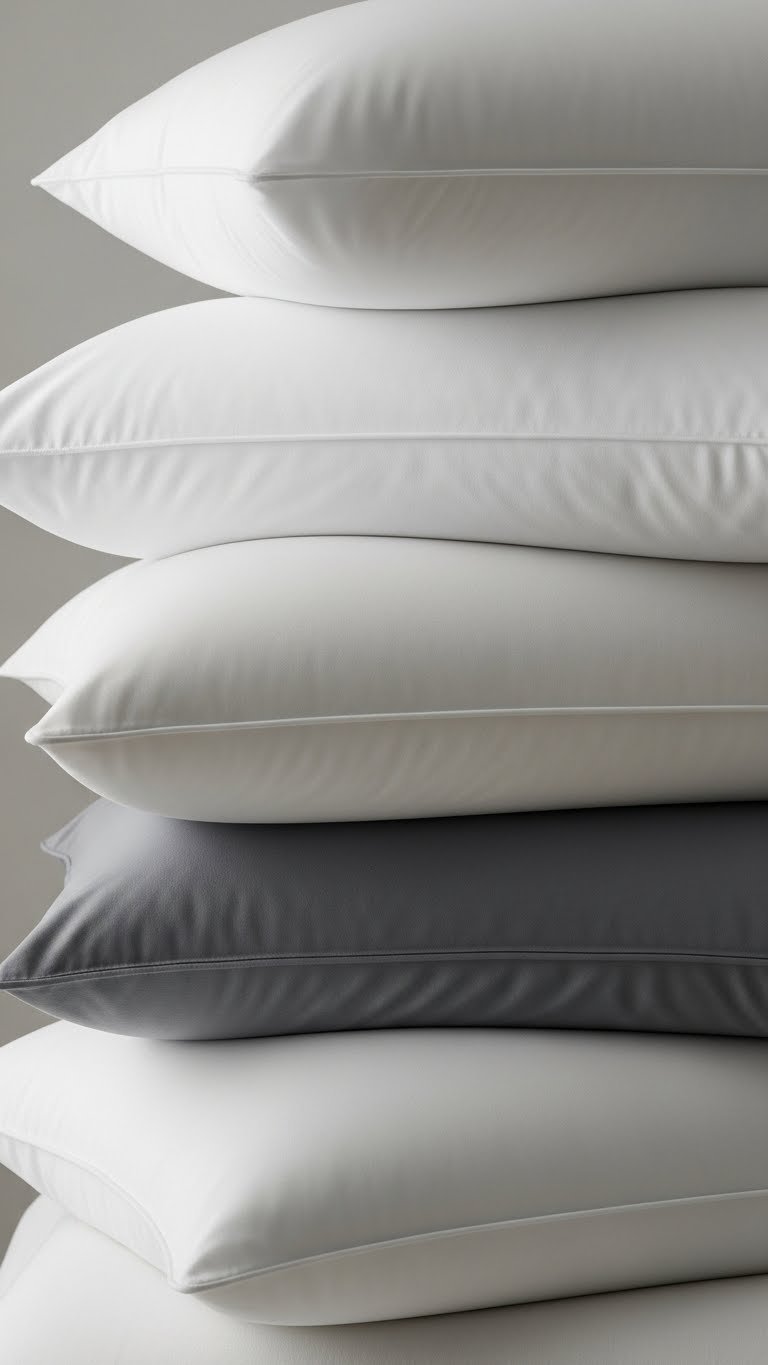
8. Layer a Cooling Gel Pillow Underneath Your Regular Pillow
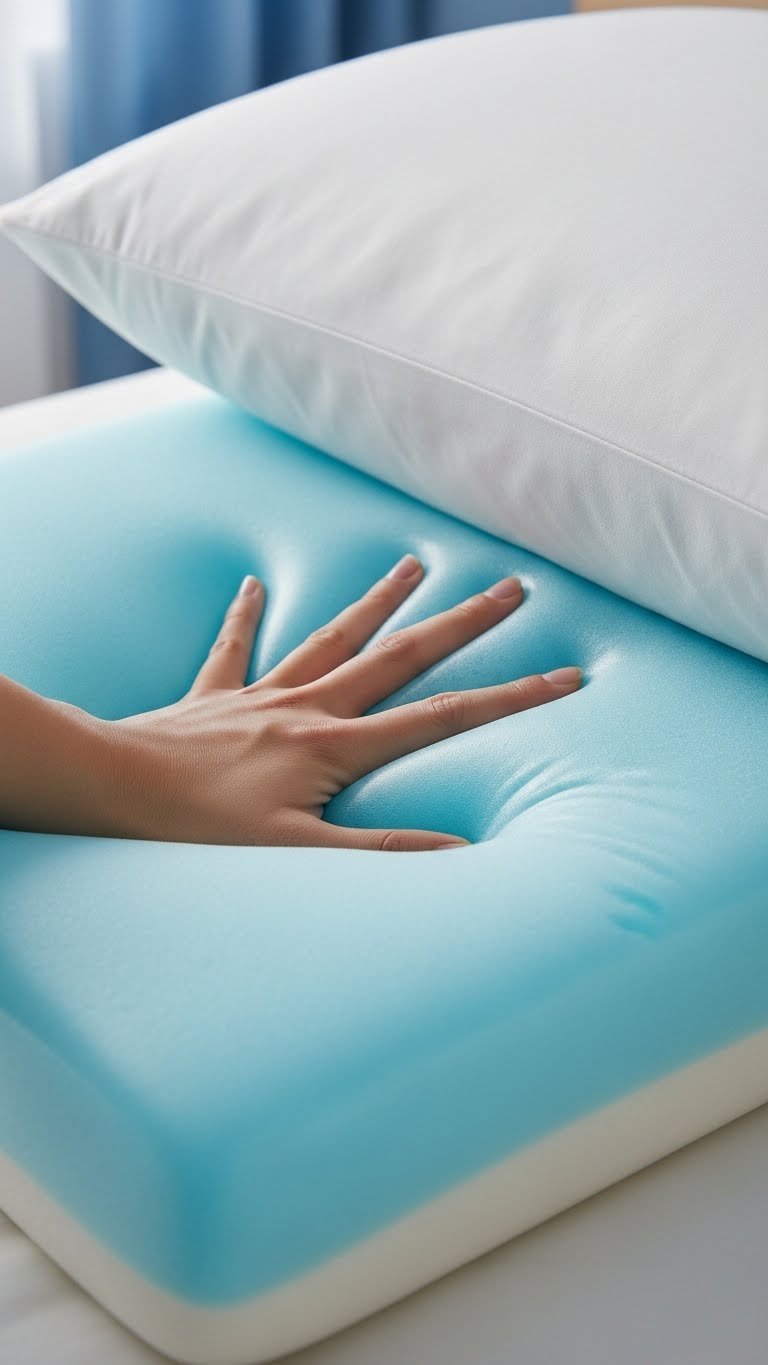
Cooling gel pillows absorb and disperse body heat, keeping the spot where your head rests at an ideal temperature. They work best as a base layer under your regular pillow rather than alone.
Buy a cooling gel pillow ($40-$80 from Casper, Purple, or Amazon) with an open-cell foam design for maximum breathability. Place it flat on the mattress, then your regular pillow on top. Wash the cover monthly and air-dry the core (don’t machine wash). These last 2-3 years before losing cooling effectiveness.
Pro tip: Cooling gel pillows get firm in cold rooms and softer in warm rooms. If your bedroom is cold, this might not feel like an upgrade—save it for warm months or warmer climates.
You’ll keep your head cool without overheating the rest of your body. Your pillow won’t transform into a hot pocket at 2 a.m. Night sweats related to head temperature improve significantly.
9. Use a Wool Blanket for Winter Weight Without Bulk
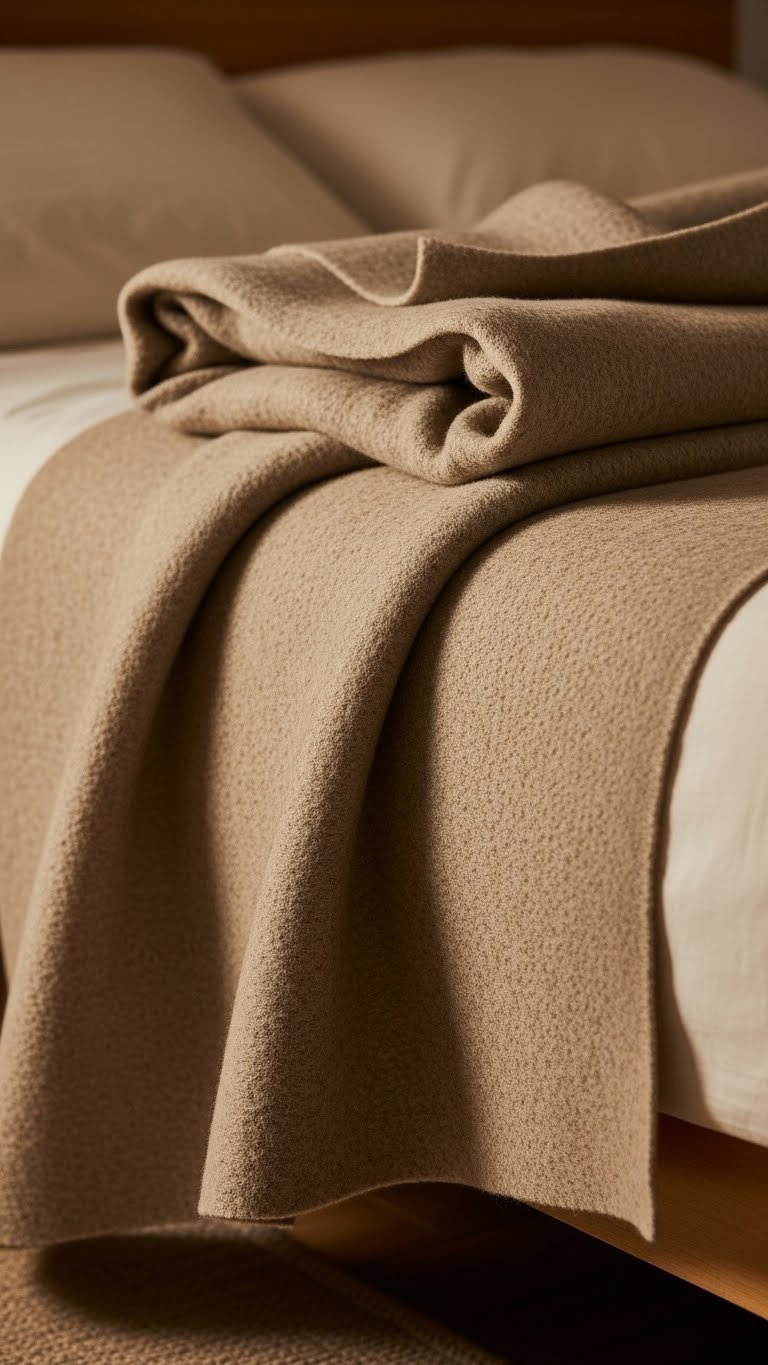
Wool blankets are misunderstood—quality wool is soft, not scratchy. Merino wool specifically is temperature-regulating, breathable, and lasts forever. One wool blanket can replace three regular blankets.
Purchase a merino wool blanket ($150-$300 from Patagonia, Pottery Barn, or specialty outdoor brands). Spot-clean or dry-clean only. Properly cared for, wool blankets last 10+ years. Layer it under your duvet in winter or over top for extra weight. The density means you need less actual bulk—one wool blanket feels like two quilts.
Pro tip: If wool feels itchy, you have the wrong kind. Merino wool shouldn’t itch. If it does, try alpaca wool instead ($180-$350)—it’s even softer.
You’ll sleep warmer without feeling weighted down. Your bedroom stays cooler because one blanket regulates as well as three regular ones. This is a one-time purchase that lasts years.
10. Add a Cotton-Poly Blend Pillowcase for Easy Care (Renter-Friendly)
If you rent or travel frequently, cotton-poly blend pillowcases offer 90% of cotton’s comfort at half the care requirements. They wash easily, dry quickly, and resist wrinkling.
Buy pillowcases ($8-$15 each) from Target, IKEA, or Amazon. Machine wash hot, tumble dry high—they love aggressive washing. Pack them easily for travel. Replace every 2-3 years as they gradually thin. Stock 4-6 so you always have clean options.
Pro tip: 60% cotton, 40% poly is the sweet spot. Higher poly percentages feel plasticky; higher cotton percentages wrinkle more.
You get soft pillowcases without obsessing over care. Laundry day is genuinely easy. These are perfect for kids’ rooms or guest beds too.
11. Invest in Eucalyptus Tencel Sheets for Sensitive Skin
Tencel is made from eucalyptus wood pulp using a closed-loop process and is gentler on sensitive skin than most fabrics. It’s hypoallergenic, breathable, and feels impossibly soft.
Buy eucalyptus Tencel sheets ($80-$160 per set from brands like Ettitude, Organic Basics, or Brooklinen). They’re eco-friendly production-wise too, which feels good. Wash in cool water on gentle cycle. These sheets last 2-3 years before showing wear, which is typical for Tencel.
Pro tip: If you have eczema or psoriasis, Tencel noticeably reduces irritation. Many dermatologists recommend it specifically for reactive skin.
Your skin feels calm and happy. No more waking with rash-like marks from synthetic fibers. Sensitivities that flare with other fabrics stay calm here.
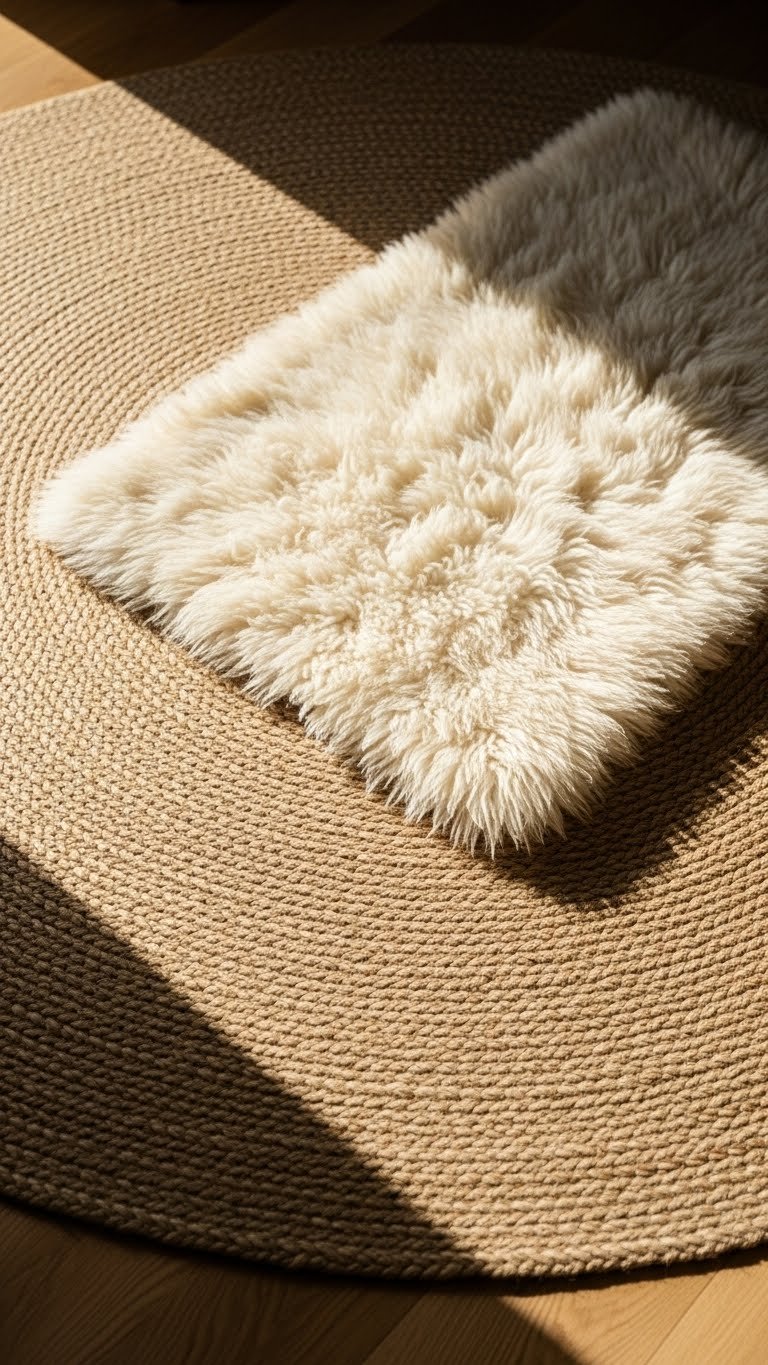
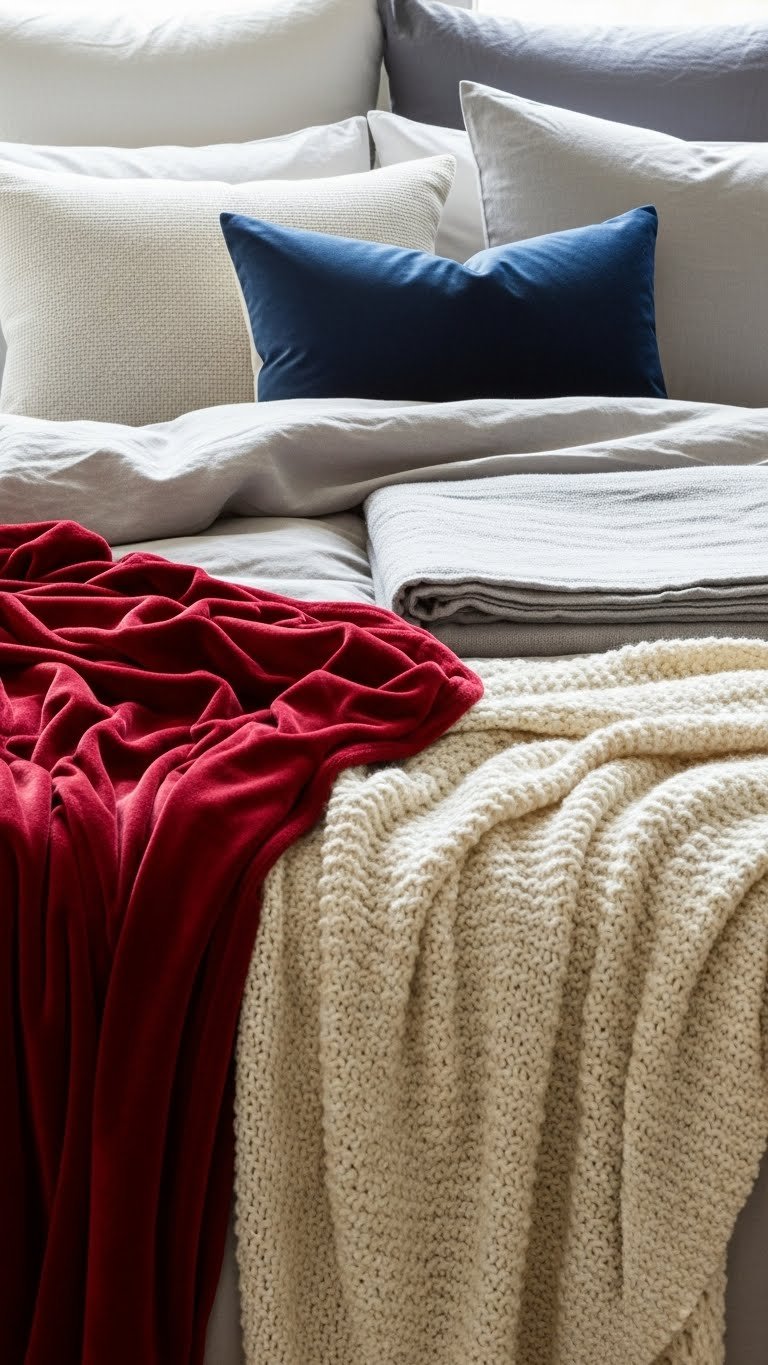
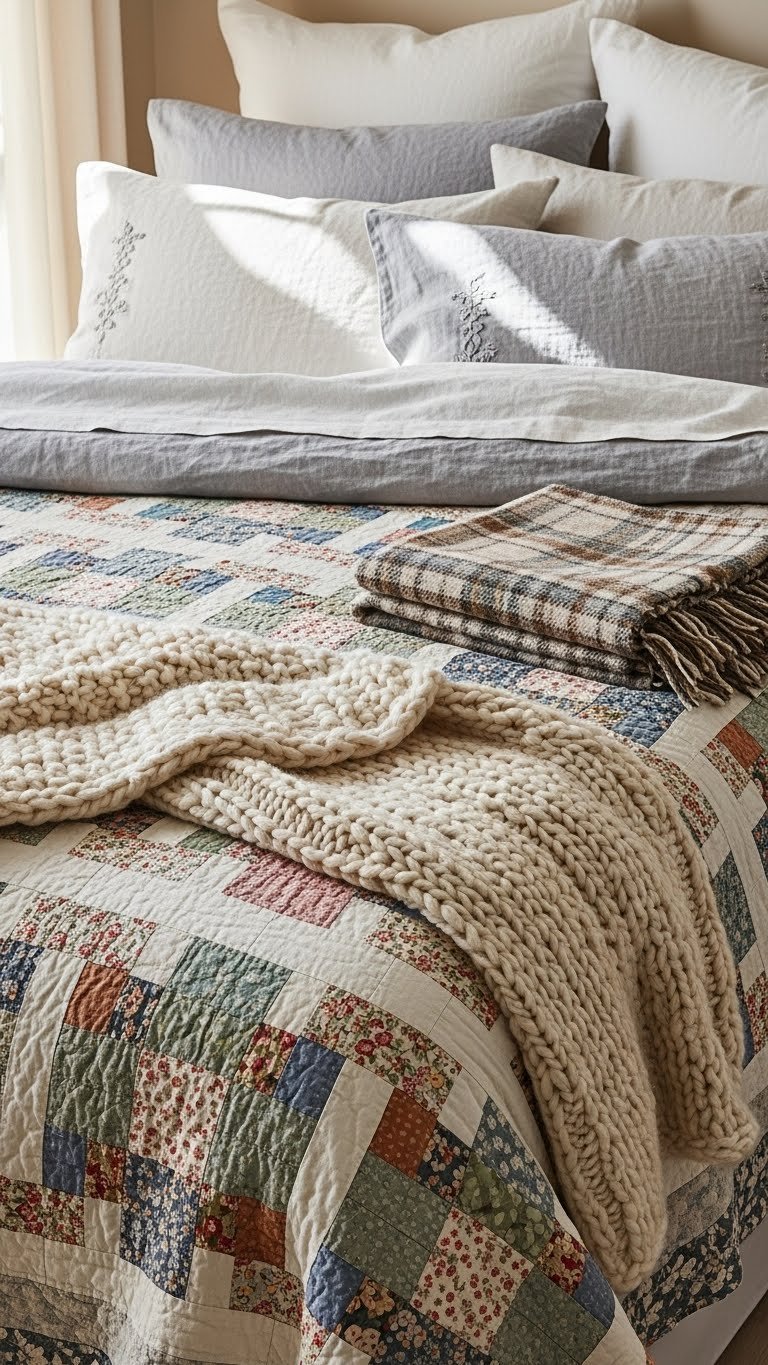
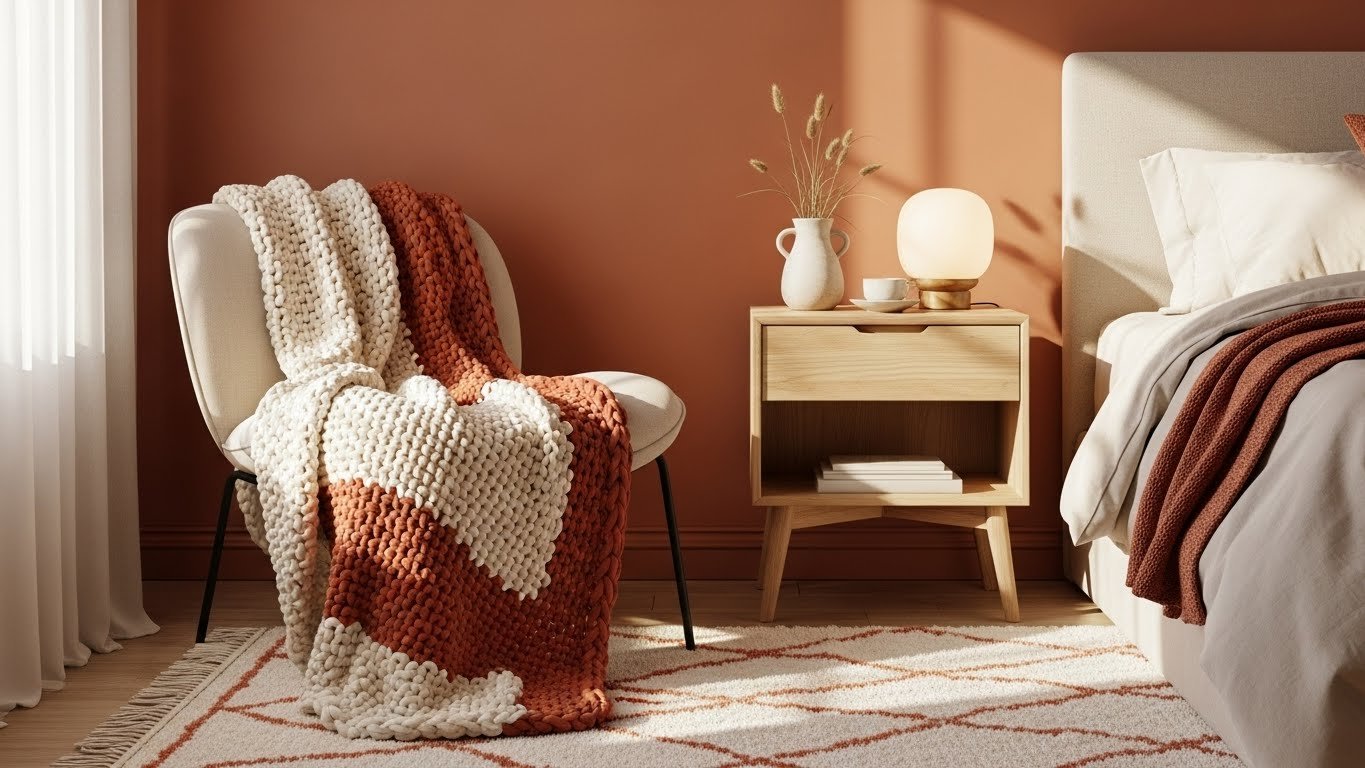
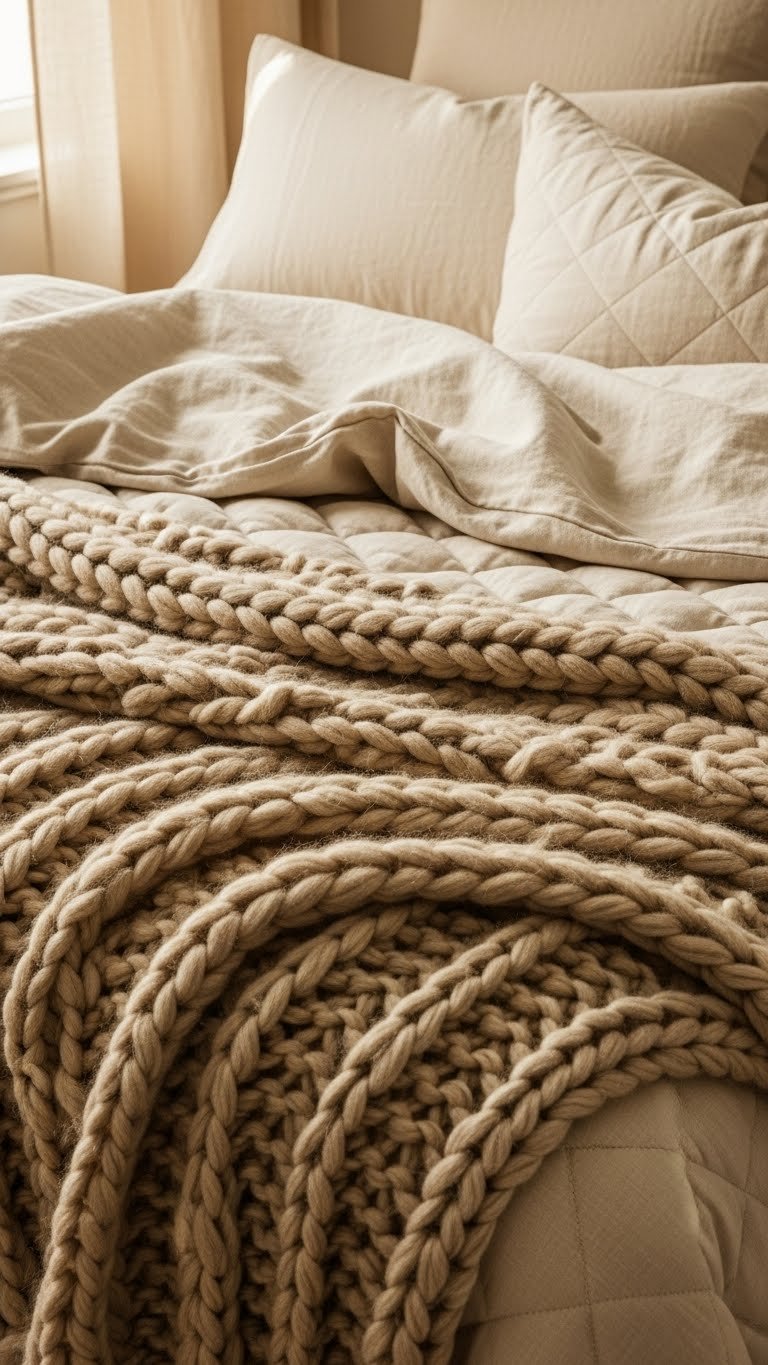
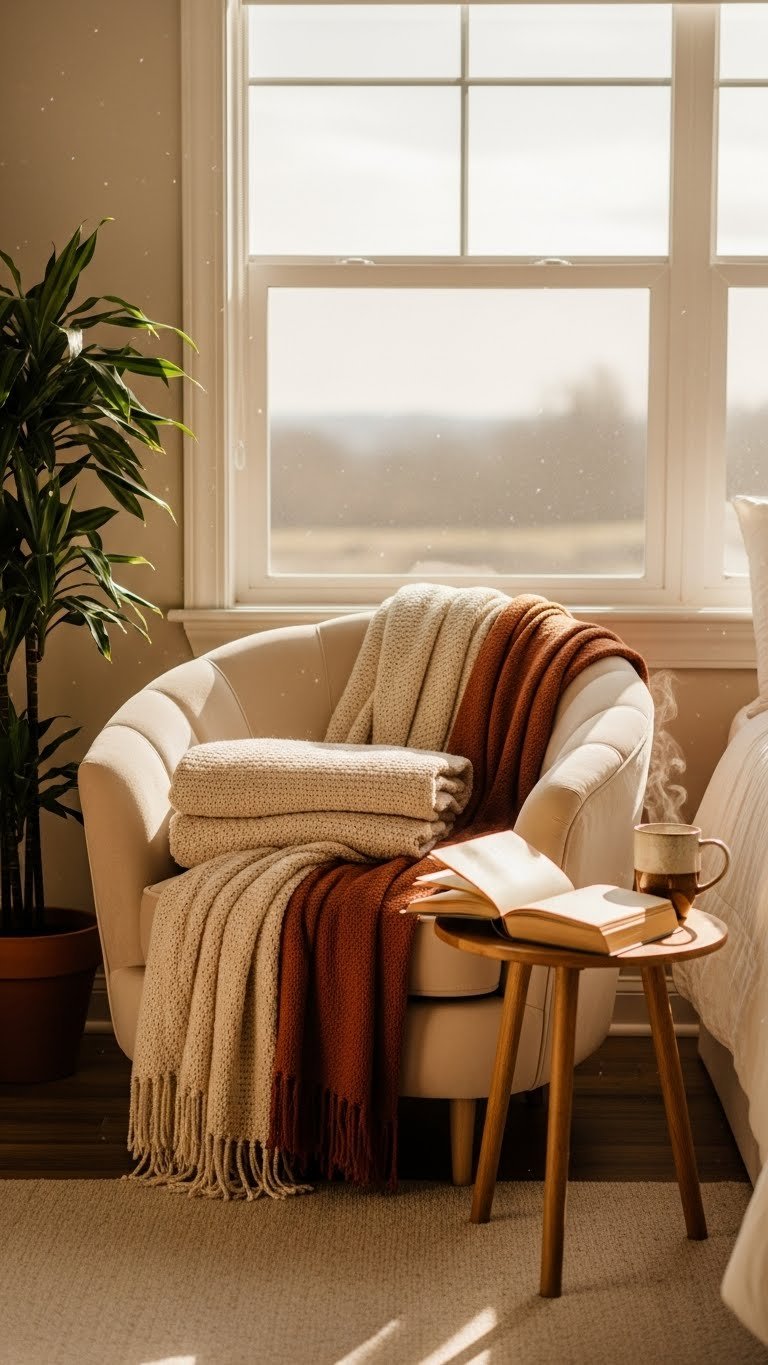
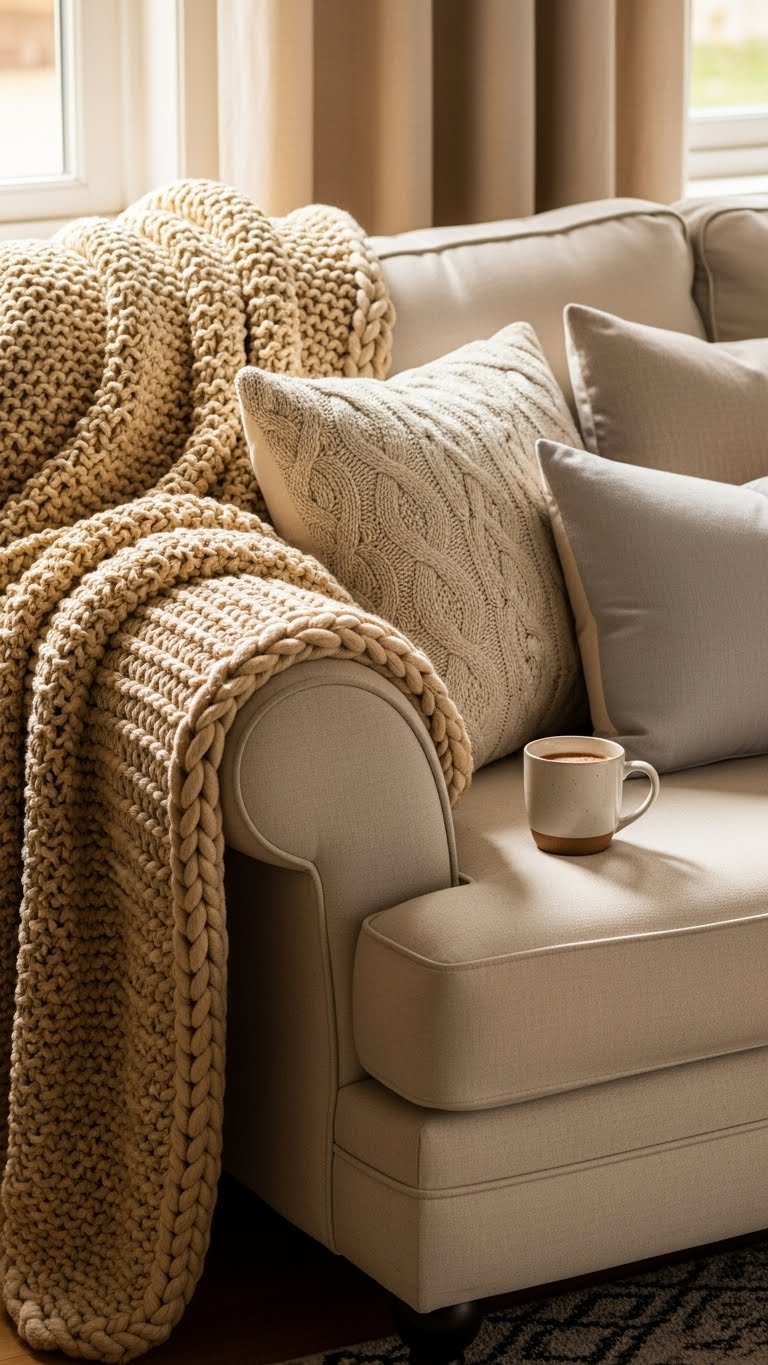
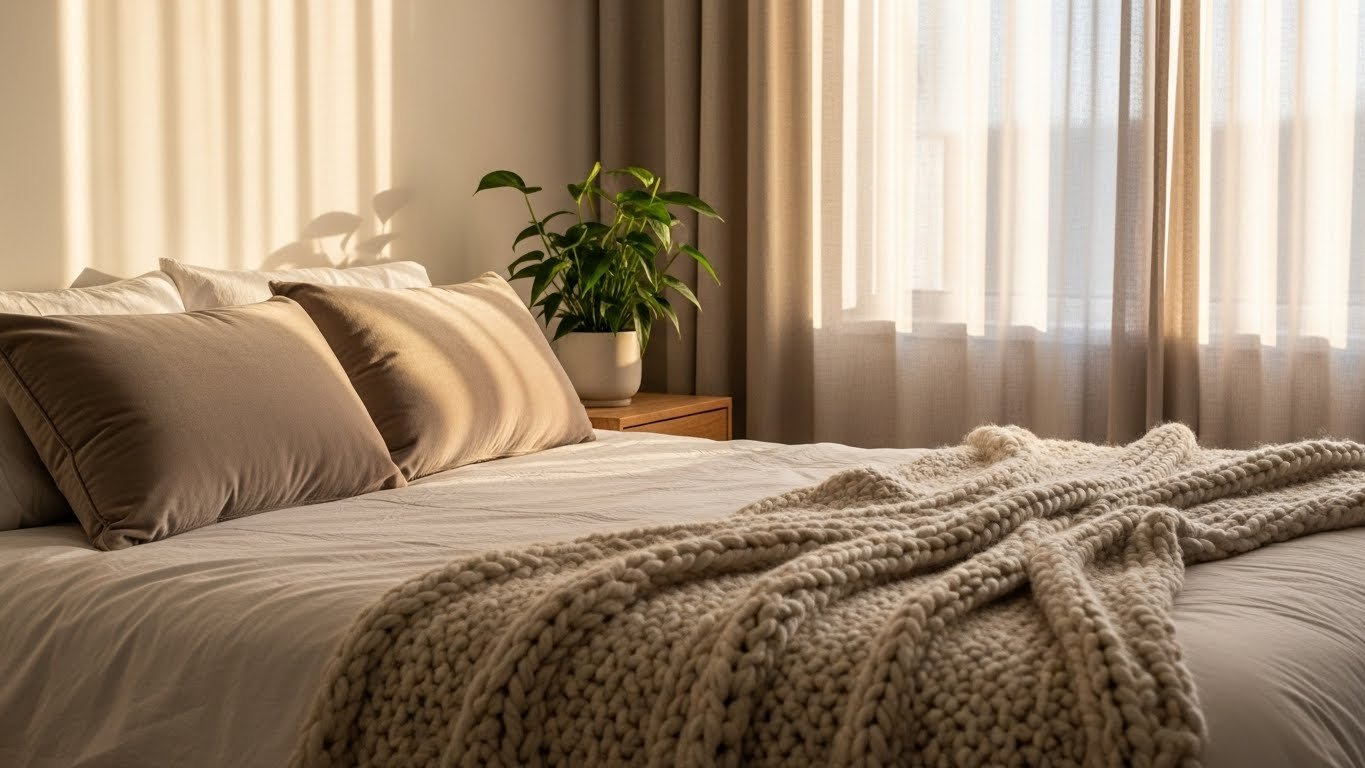
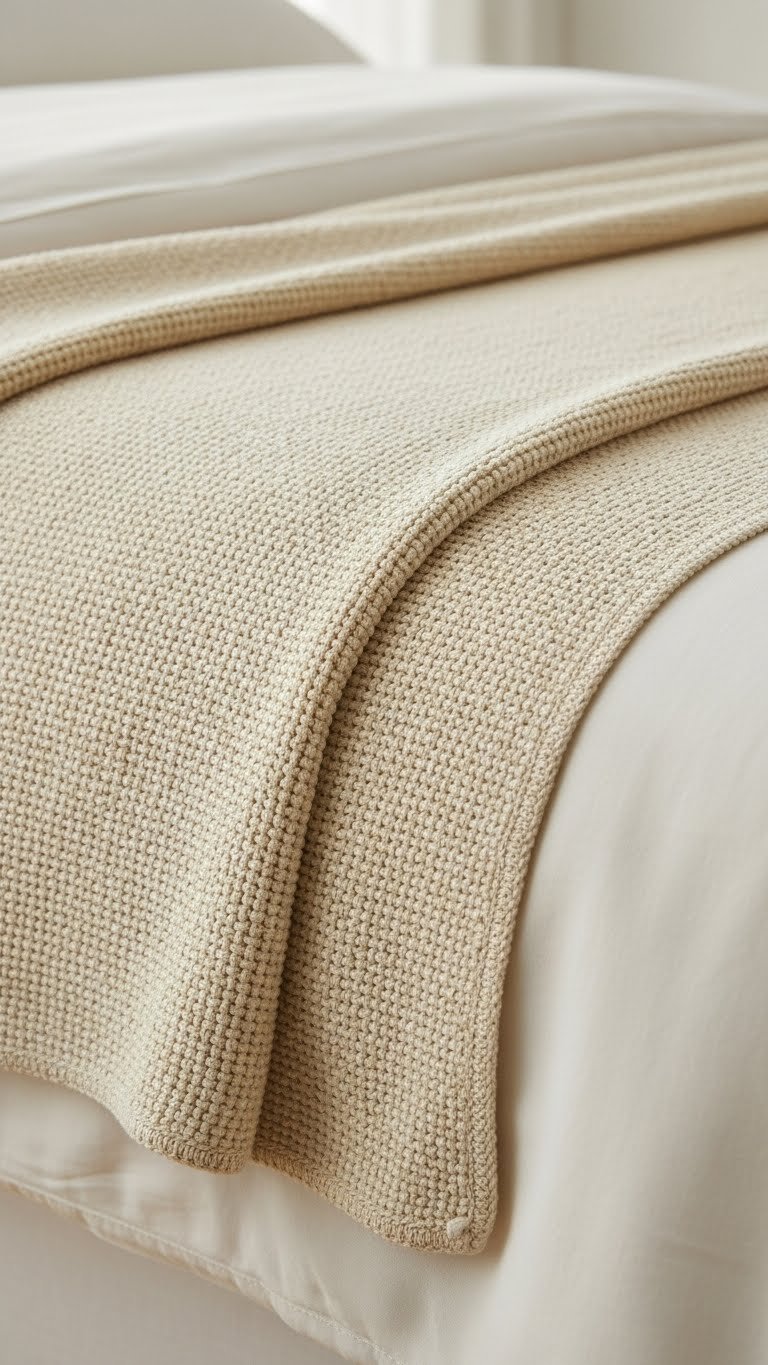
12. Layer a Chunky Knit Throw for Textural Contrast and Warmth

Chunky knit throws add visual interest and actual warmth without the heaviness of traditional blankets. They photograph beautifully and create that Instagram-cozy vibe that actually functions.
Buy a chunky knit throw ($40-$100 from West Elm, H&M Home, or independent makers on Etsy) in wool, cotton, or linen. Drape it over the foot of your bed or the side for easy access. Spot-clean or hand-wash gently. These work year-round—summer nights when you want light texture, winter when you layer under or over your regular blanket.
Pro tip: Look for throws made from merino wool or cotton blends rather than acrylic. They breathe better and age beautifully instead of pilling.
Your bed looks intentionally styled without trying too hard. You have cozy texture accessible for chilly nights. The casual drape adds personality that flat blankets can’t achieve.
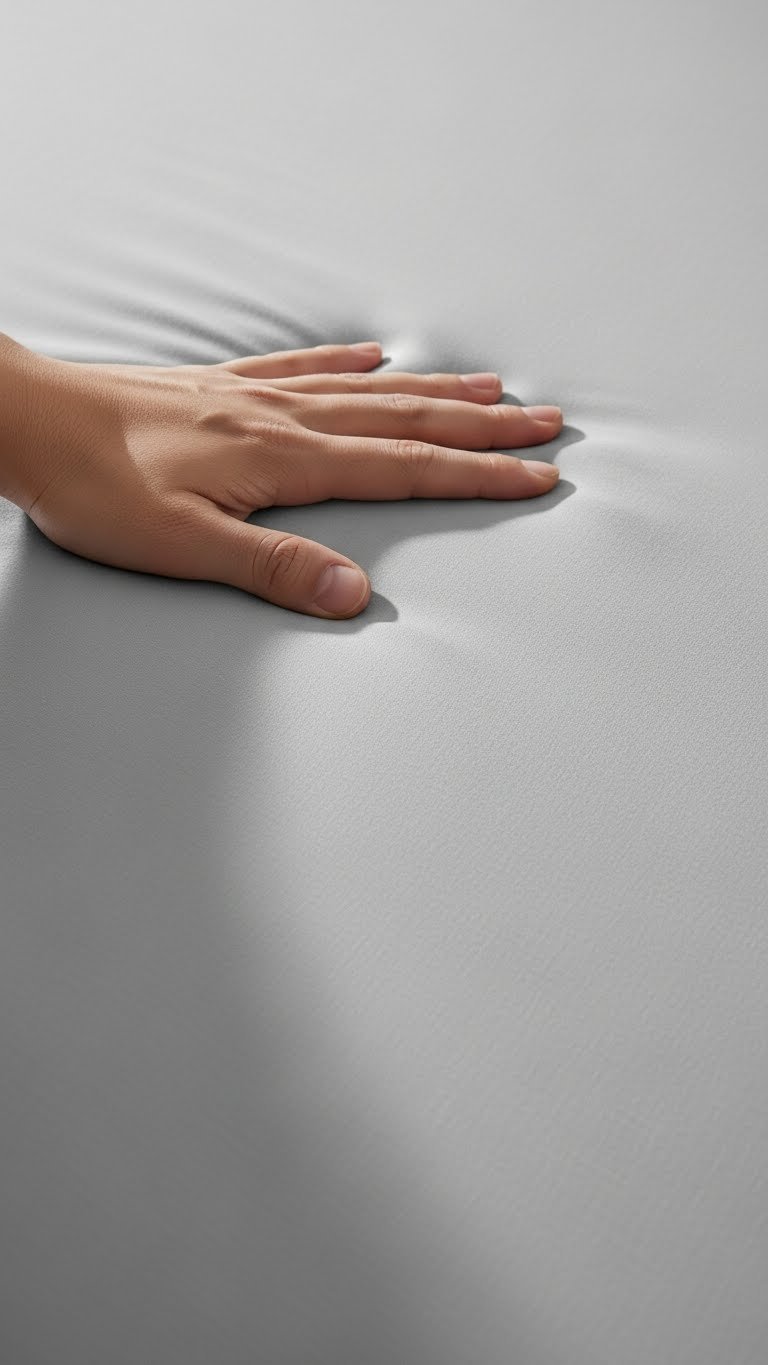
13. Use a Mattress Protector Pad in Bamboo Viscose for Comfort Plus Function

Mattress protectors extend your mattress life and protect against spills, but traditional ones feel plasticky and trap heat. Bamboo viscose pads protect while breathing like regular sheets.
Install a bamboo viscose mattress pad ($60-$120 from Saatva, Helix, or Amazon Basics). Choose one that’s machine-washable for easy care. It sits directly on your mattress under your fitted sheet. You won’t feel it, but you’ll appreciate it when your toddler has an accident or you spill coffee in bed.
Pro tip: Look for pads with deep pockets (usually 8-18 inches) matching your mattress depth so it doesn’t slip around.
Your mattress stays pristine and lasts longer. You sleep soundly knowing spills won’t ruin your investment. The fabric breathes so well you forget it’s there.
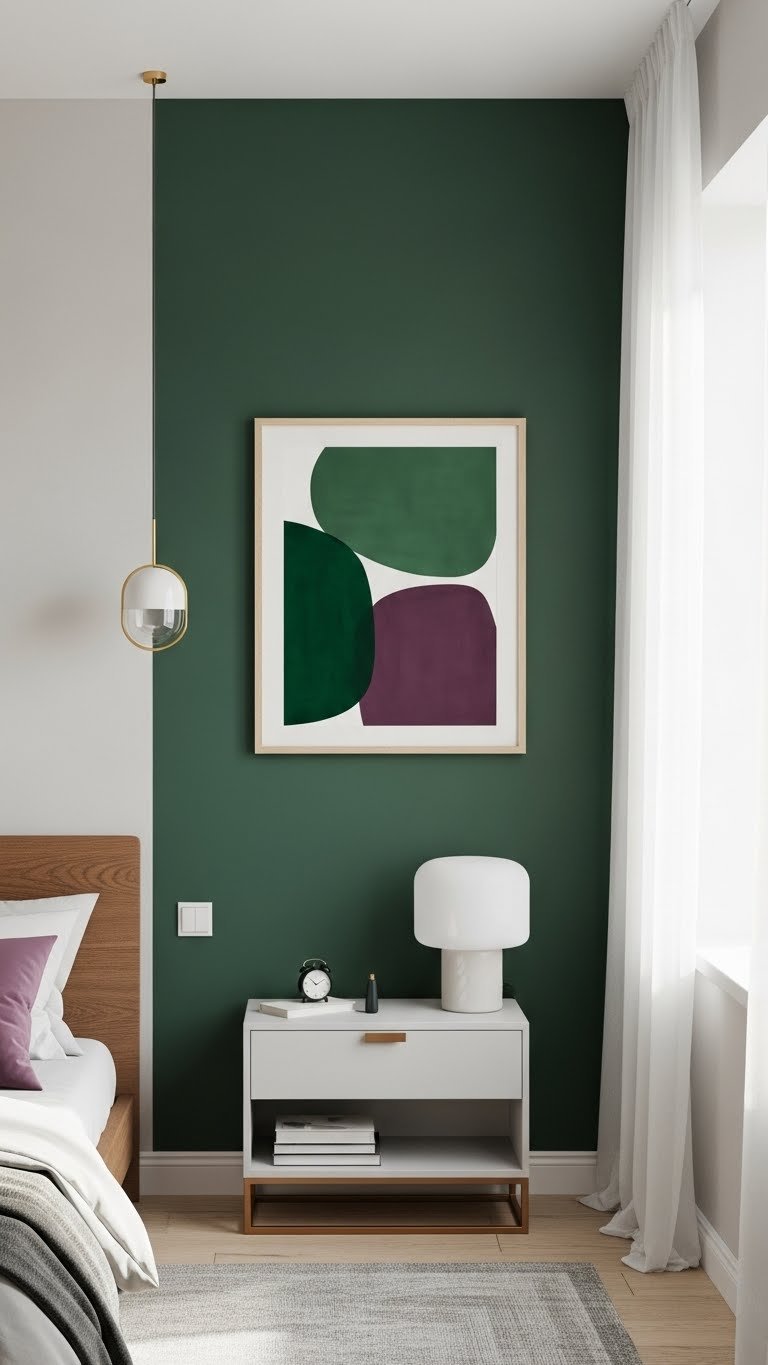
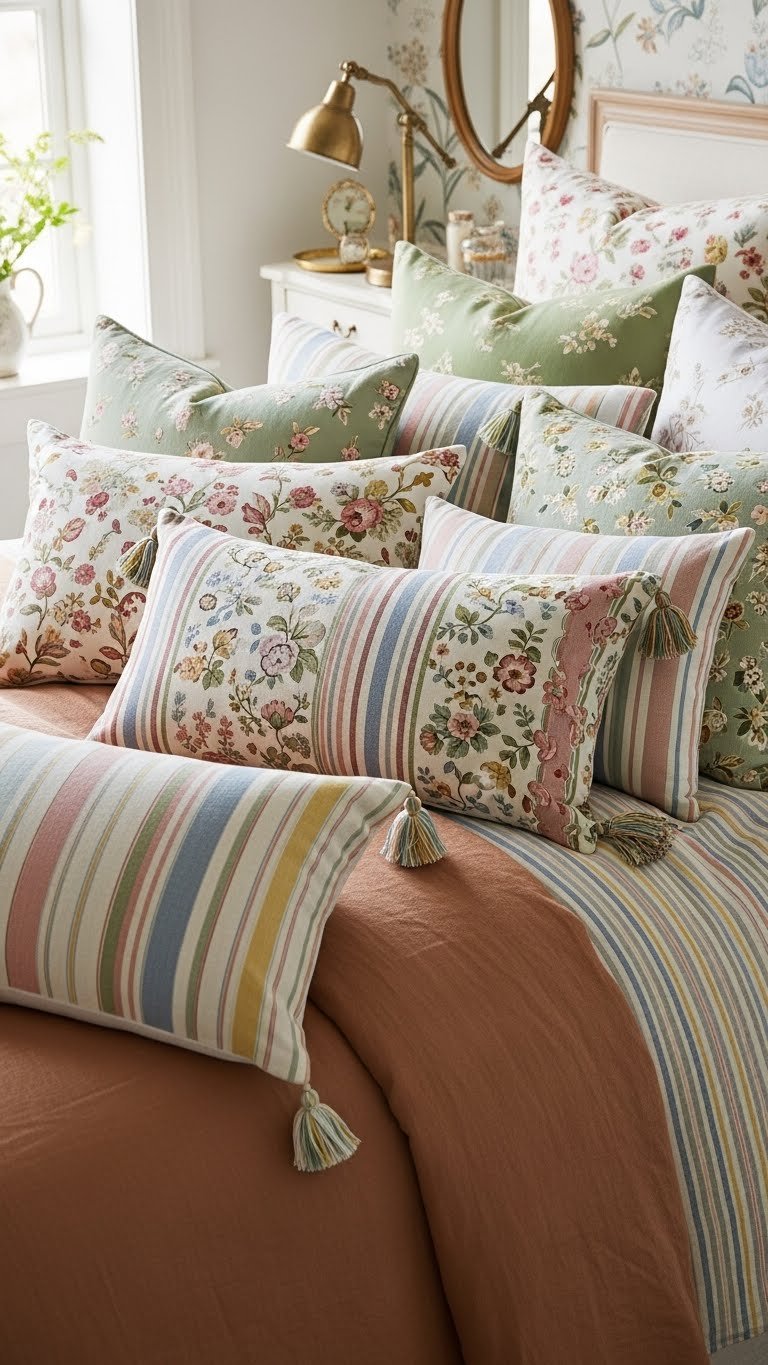
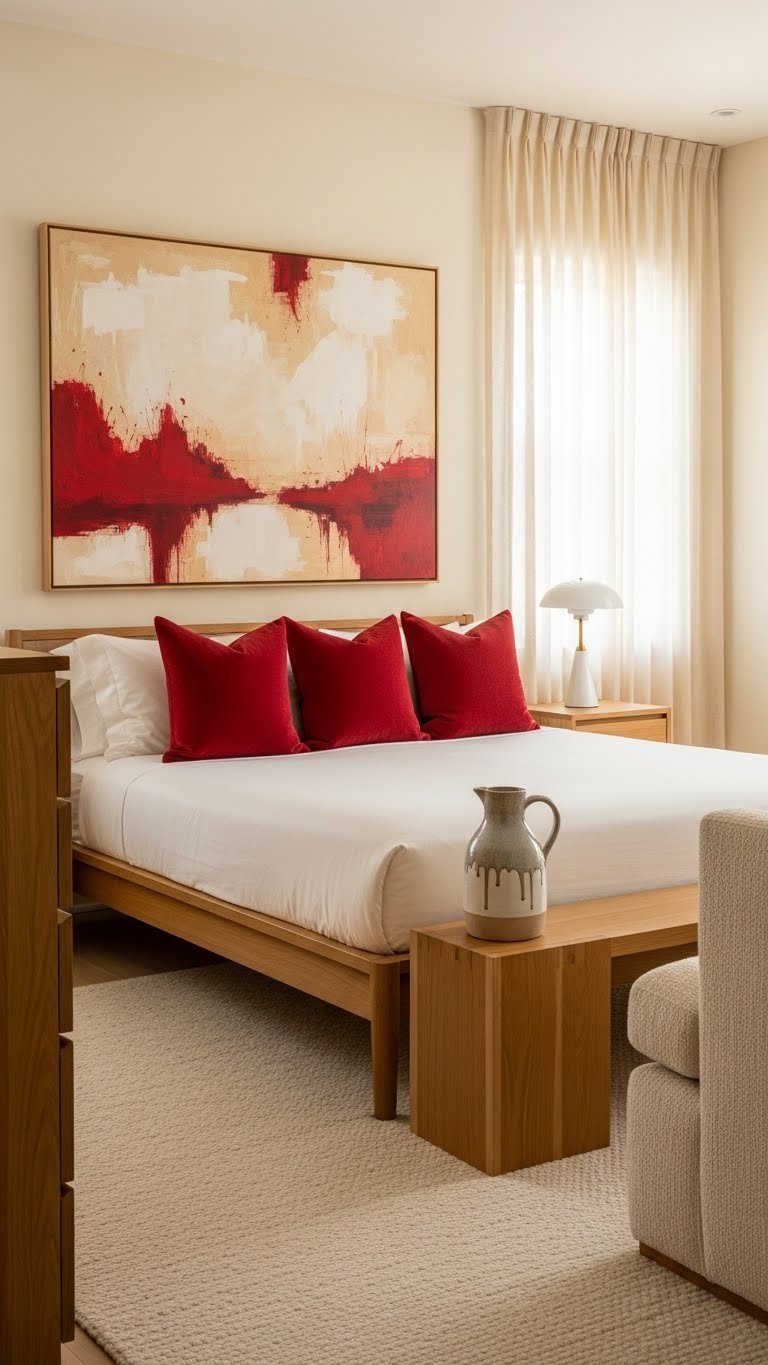
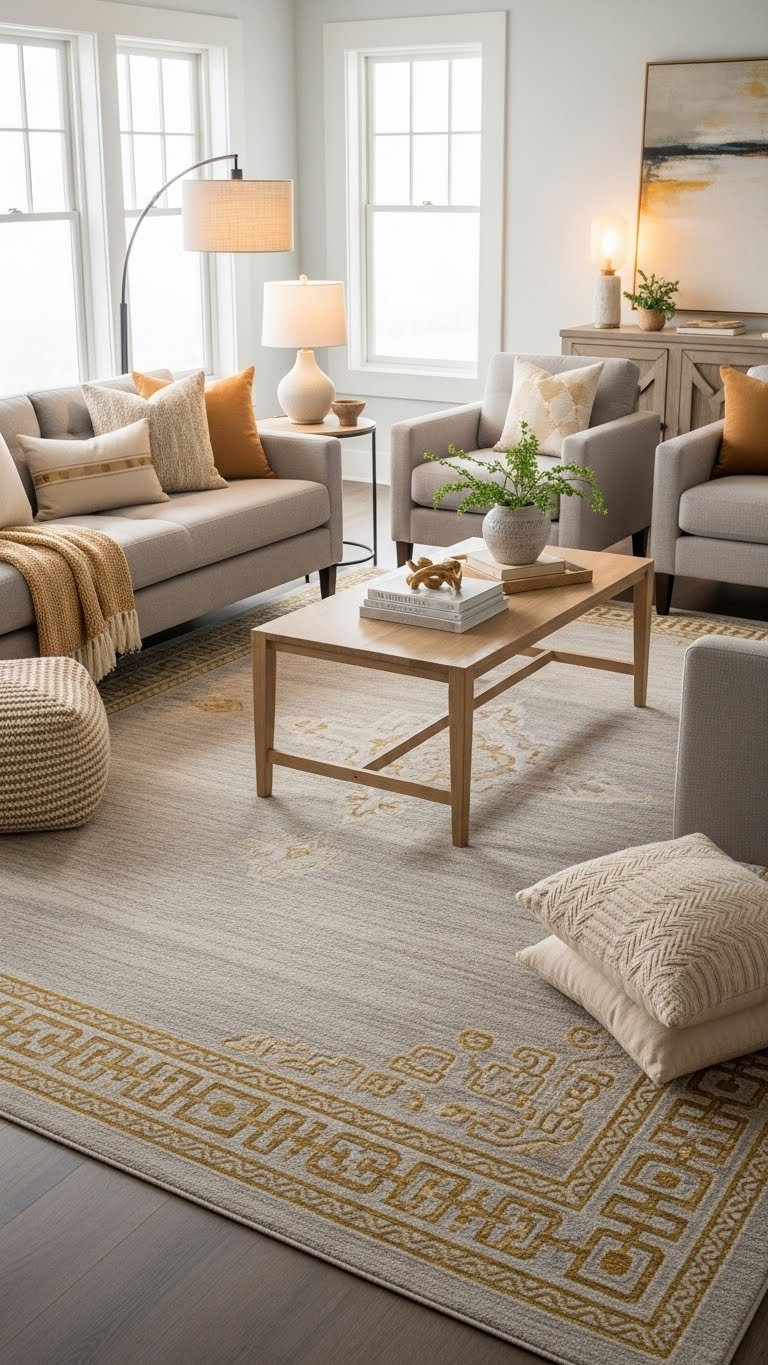
14. Add Velvet Accent Pillows for Luxury Texture on a Budget
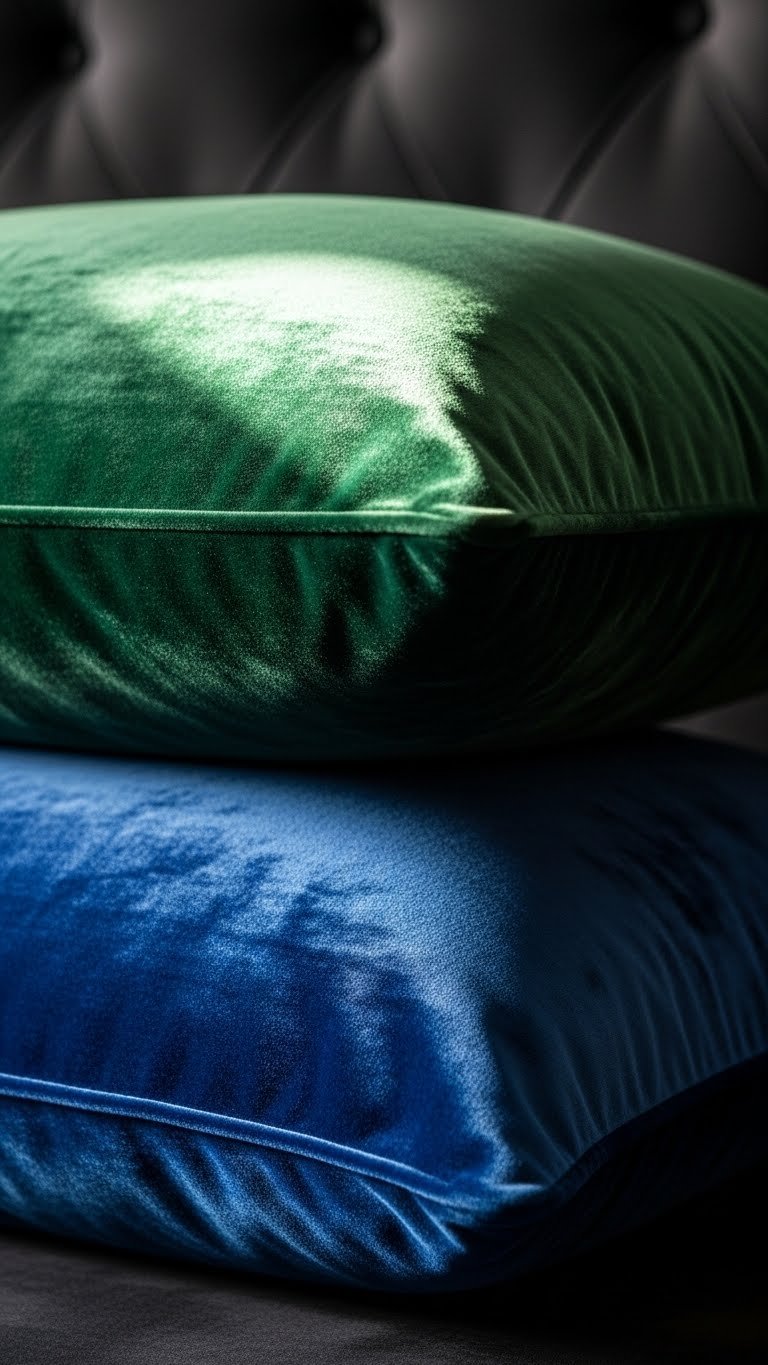
Velvet pillows create that high-end hotel feel for surprisingly little money. The fabric’s light-catching properties make any bedroom look intentional and designed. Quality matters here—choose carefully.
Buy velvet accent pillows ($25-$60 each from Target, Article, or West Elm). Look for cotton velvet (most breathable) or velvet blends. Avoid 100% polyester velvet if possible—it feels cheaper and doesn’t age well. Layer 1-2 velvet pillows with your linen ones for contrast. Spot-clean only; don’t machine wash.
Pro tip: Deep jewel tones (emerald, sapphire, burgundy) feel more luxurious than bright colors and hide dust better.
Your bed looks styled without feeling fussy. Guests notice the quality immediately. The texture mix of soft velvet against crisp linen creates visual and tactile interest that changes the whole room’s energy.
15. Switch to Organic Cotton for Chemical-Free Sleep
Organic cotton is grown without synthetic pesticides and bleached naturally, making it gentler on sensitive skin and better for the environment. It costs slightly more but lasts just as long as conventional cotton.
Buy organic cotton sheets ($80-$160 per set from Patagonia, Organic Basics, or Coyuchi). Look for certifications like GOTS (Global Organic Textile Standard) to verify authenticity. Care for them like regular cotton—warm water wash, medium heat dry. Many people report their skin feels calmer with organic cotton immediately.
Pro tip: Organic cotton starts softer and stays softer. It wrinkles more than sateen but less than linen. If you care about reducing chemical exposure, this is worth the investment.
You sleep on fabric that’s gentler on your skin and the planet. Your body absorbs fewer chemicals through the night. That matters more than you think.
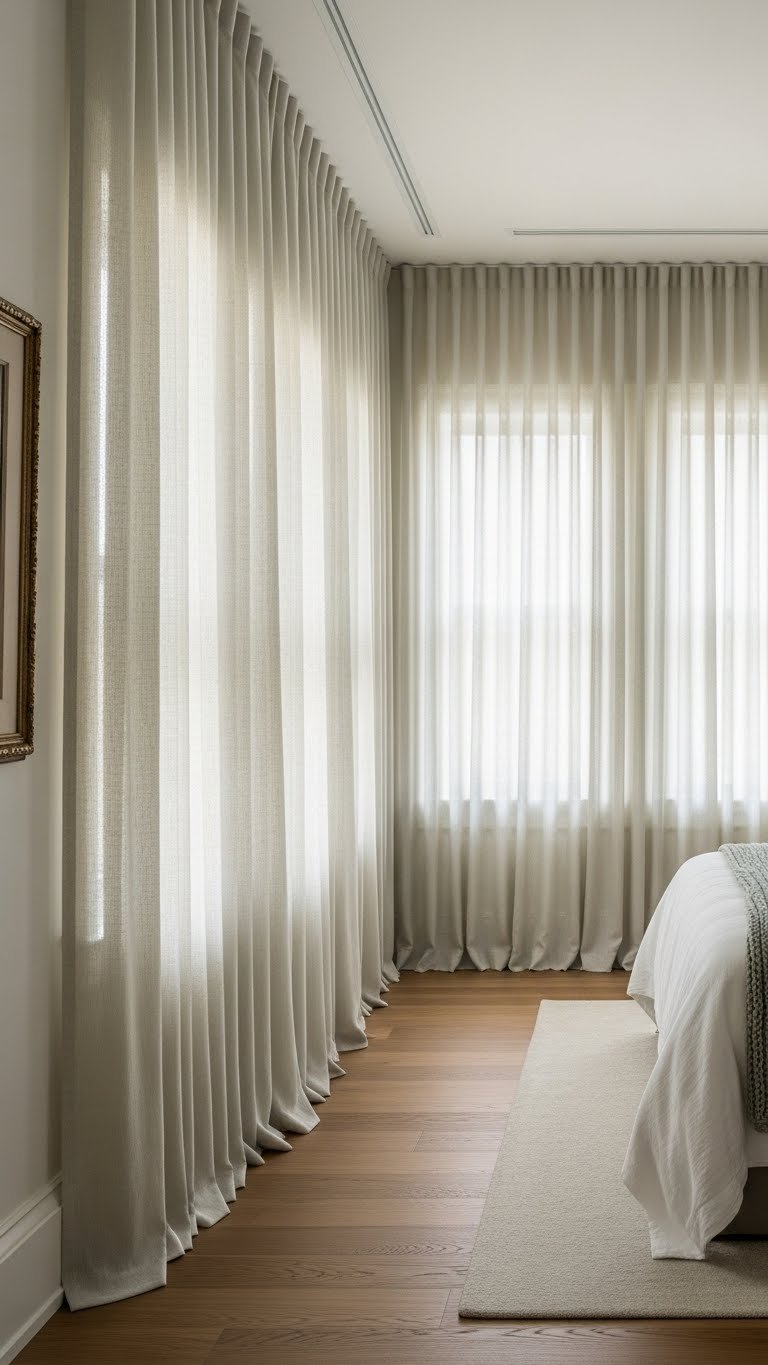
16. Layer Linen Duvet Covers for Easy Seasonal Swapping

Linen duvet covers are the MVP of bedroom flexibility. Instead of replacing your entire comforter, you swap covers seasonally. Lightweight linen in summer, heavier duvet inside in winter, same cover.
Buy 2-3 linen duvet covers ($80-$180 each from Parachute, Etsy, or IKEA) in neutral colors so they mix and match with different duvet inserts. Measure your duvet before buying—queen, king, etc. Wash separately first time to prevent dye transfer. These last 5+ years minimum.
Pro tip: Look for covers with interior ties or corner clips so your duvet doesn’t shift around inside the cover at night.
You get seasonal updates without buying new bedding. Summer feels light and breathable; winter feels substantial and warm. The same visual base works year-round.
17. Use Memory Foam Pillows with Cooling Gel for Neck Support

Memory foam molds to your head and neck, providing support that prevents morning stiffness. Add cooling gel and you’ve solved two problems with one pillow.
Buy a memory foam pillow with cooling gel ($50-$120 from Tempur, Casper, or Nectar). Test the firmness before buying if possible—some people prefer plush, others prefer firm. Memory foam takes 48 hours to fully decompress after unpacking, so don’t judge it the first night. Wash the cover; spot-clean the foam. Lasts 3-5 years.
Pro tip: If traditional memory foam smells chemical-y, look for gel-infused memory foam versions—they off-gas less.
You wake without neck pain. Your head stays supported throughout the night. If you’re a side sleeper, this is a game-changer that’s worth every penny.
18. Add a Wool Pillow Insert for Natural Dust Mite Resistance
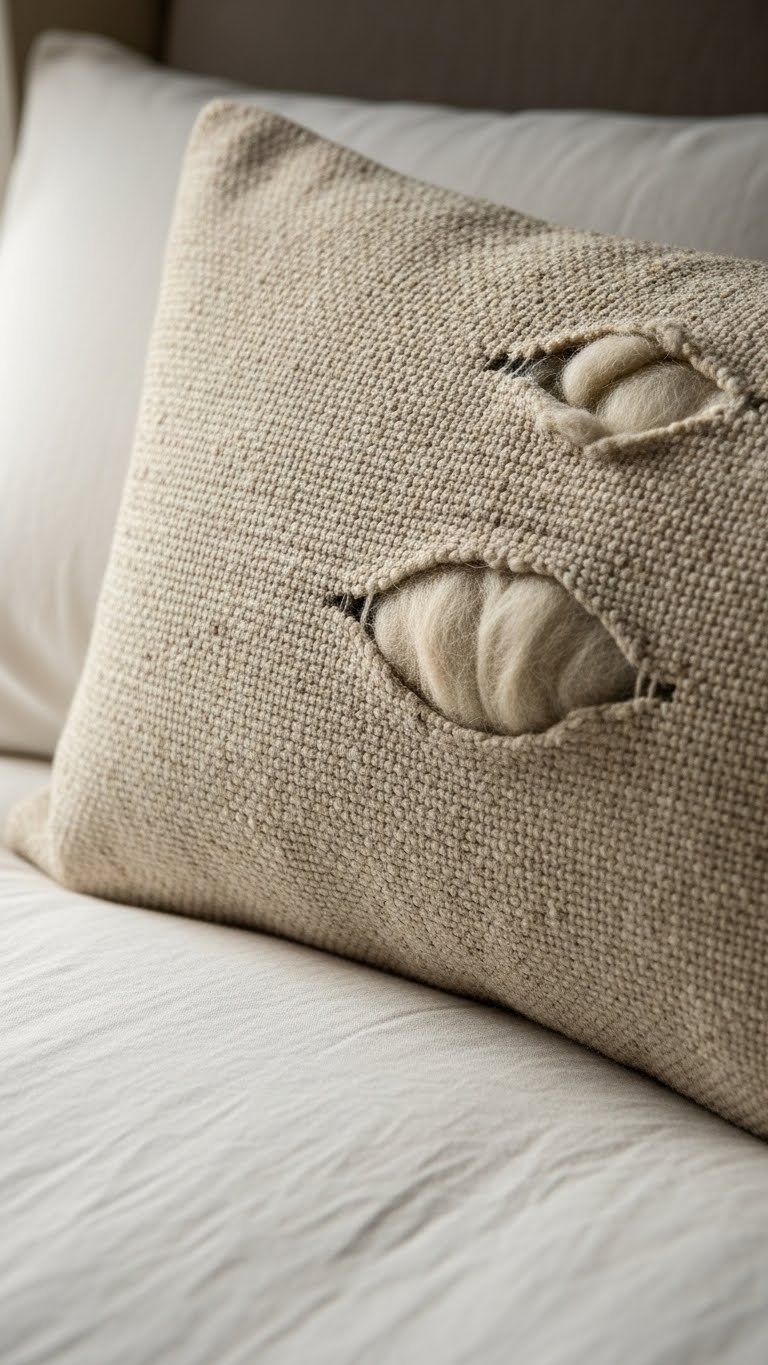
Wool pillow inserts are naturally resistant to dust mites and allergens, making them perfect for people with allergies. They regulate temperature and last years longer than synthetic fills.
Buy wool pillow inserts ($40-$90 each from specialty bedding sites or Amazon) or fill existing pillow covers with wool. The lumpiness is normal—it’s not a manufacturing flaw. Most people adapt within a week. Aerate the pillow by fluffing it regularly. These last 5-7 years.
Pro tip: Wool can feel firm at first. If that bothers you, look for wool-blend inserts ($30-$60) that soften faster while keeping allergy benefits.
Your allergies calm down. You stop waking with stuffy sinuses or itchy eyes. The pillow molds to your head over time instead of going flat immediately like synthetic fills.
19. Invest in a High-Quality Down Alternative Comforter for Durability
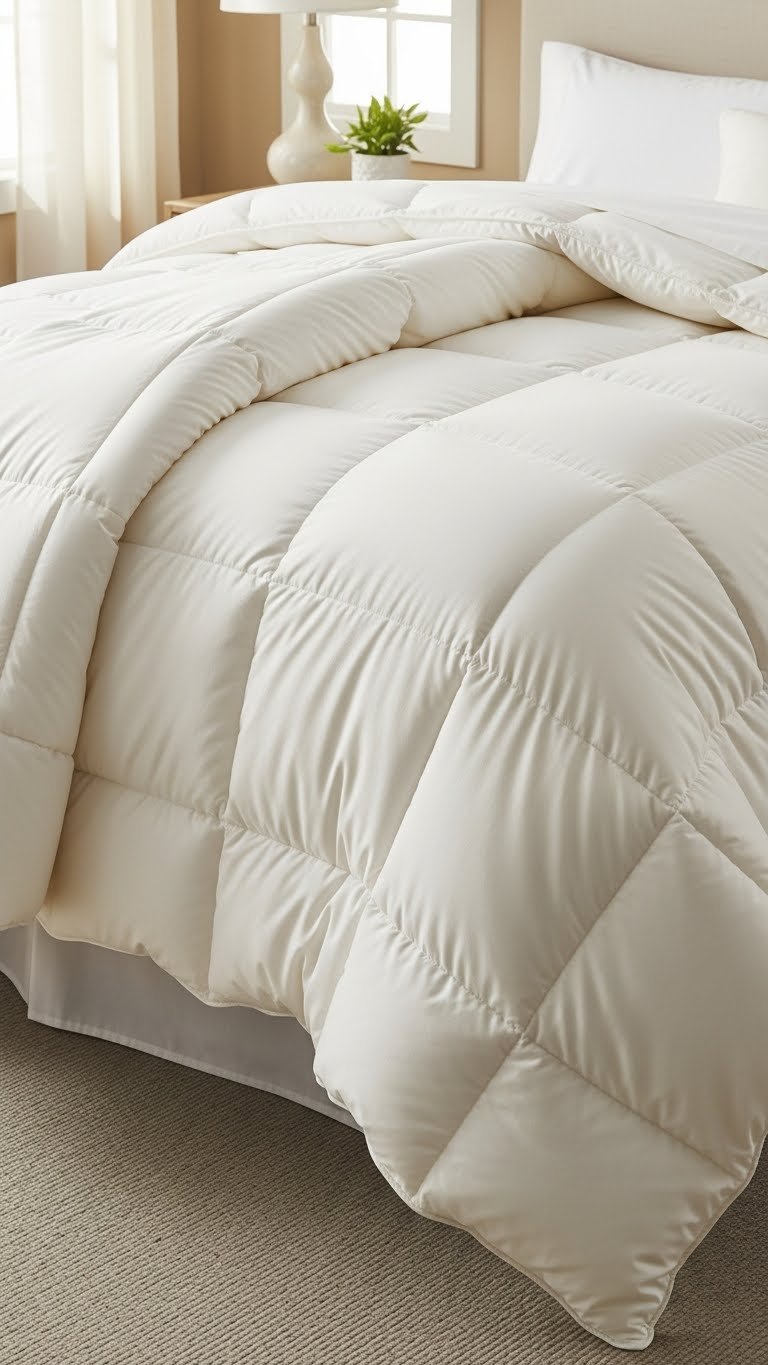
Down alternative mimics real down’s warmth and fluffiness without the allergy triggers or high maintenance. Quality matters—cheap versions flatten in one season.
Buy a down alternative comforter ($100-$250 from Brooklinen, Helix, or Patagonia) with a high fill power rating (usually listed as 600+). Machine wash separately in cool water on delicate cycle once or twice yearly. Air-dry on low or hang-dry to preserve loft. Lasts 5-7 years with proper care.
Pro tip: Look for comforters with interior construction that prevents shifting—either baffle-box or sewn-through designs.
Your bed looks luxuriously full and inviting. The warmth feels genuine while staying allergy-friendly. You’re not constantly redistributing filling like with cheaper versions.
20. Use a Woven Cotton Blanket for Breathable Extra Warmth
Woven cotton blankets are exactly what they sound like—simple, breathable, and endlessly layerable. No synthetics, no off-gassing, just honest cotton textile.
Buy a quality woven cotton blanket ($50-$120 from Schoolhouse Electric, Parachute, or Pottery Barn) in neutral tones. Machine wash warm, tumble dry medium. Fold and layer it at the foot of your bed for easy temperature adjustment. These genuinely last forever—our grandmothers had some that still function.
Pro tip: Look for blankets made from cotton sateen weave ($70-$140) instead of plain weave for a slightly softer feel with the same breathability.
You have a lightweight, breathable backup for cool nights without the bulk of traditional blankets. The timeless aesthetic means it works in any room design. It’s the most practical purchase on this list.
21. Layer Hypoallergenic Polyester Microfiber for Softness Without Allergens
Polyester microfiber gets a bad reputation, but quality microfiber sheets are genuinely soft and completely hypoallergenic—perfect for severe allergy sufferers or pet-owners worried about dander accumulation.
Buy microfiber sheets ($30-$70 per set) from any major retailer. Wash in warm water, tumble dry on medium. They resist wrinkles naturally and require zero maintenance. Replace every 2-3 years as they eventually pill slightly. Budget option? This is it.
Pro tip: Microfiber traps heat more than natural fibers. If you sleep hot, skip this and go for bamboo viscose or linen instead.
Your allergies don’t flare at night. Your budget stays intact. These sheets are perfect for guest beds or kids’ rooms where durability matters more than luxury feel.
22. Add a Quilted Mattress Pad for Extra Cushioning and Softness

A quilted mattress pad adds a cloud-like layer between your body and the mattress. Suddenly your bed feels premium and cushioned instead of firm. This works on any mattress—soft, medium, or firm.
Install a quilted pad ($50-$150 from Wayfair, Amazon, or specialty bedding stores) in cotton or microfiber. Machine-wash monthly and tumble-dry on low. Choose one with deep pockets matching your mattress depth. Lasts 3-5 years before compression occurs.
Pro tip: If your mattress is already plush, skip this. If your mattress is firm and you want softness without replacing it, this is genius.
Your mattress feels instantly more comfortable. That first night, you’ll feel the difference immediately. Budget-conscious upgrade? This beats replacing your entire mattress.
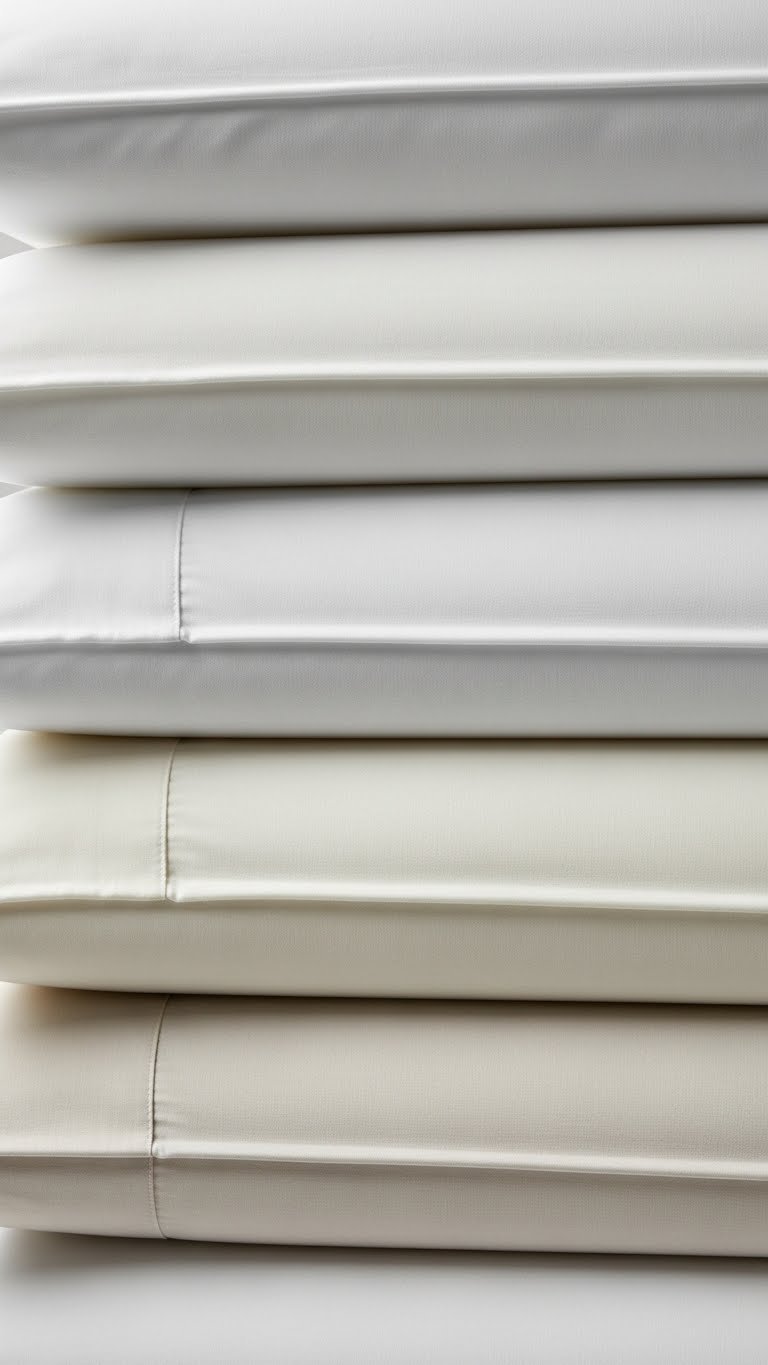
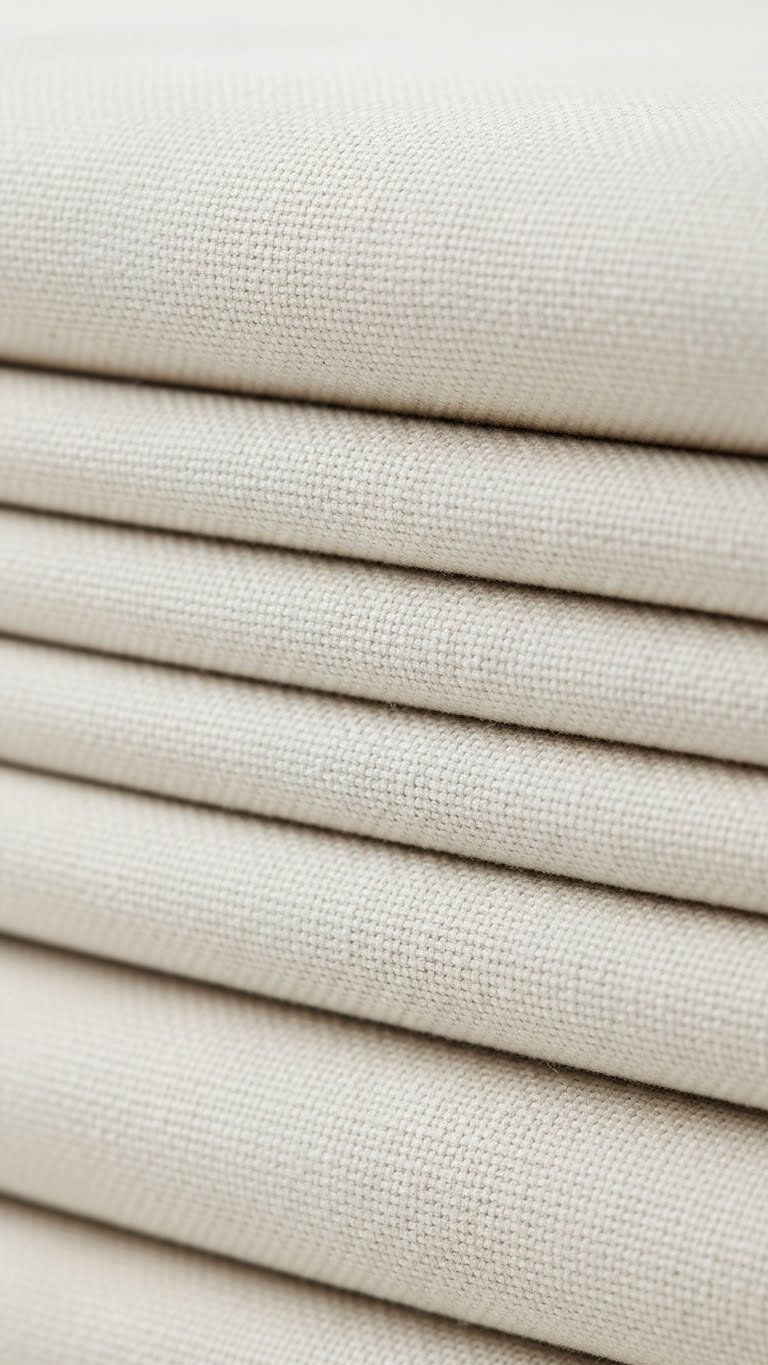
23. Use Linen-Cotton Blend Sheets for Balance Between Crisp and Soft
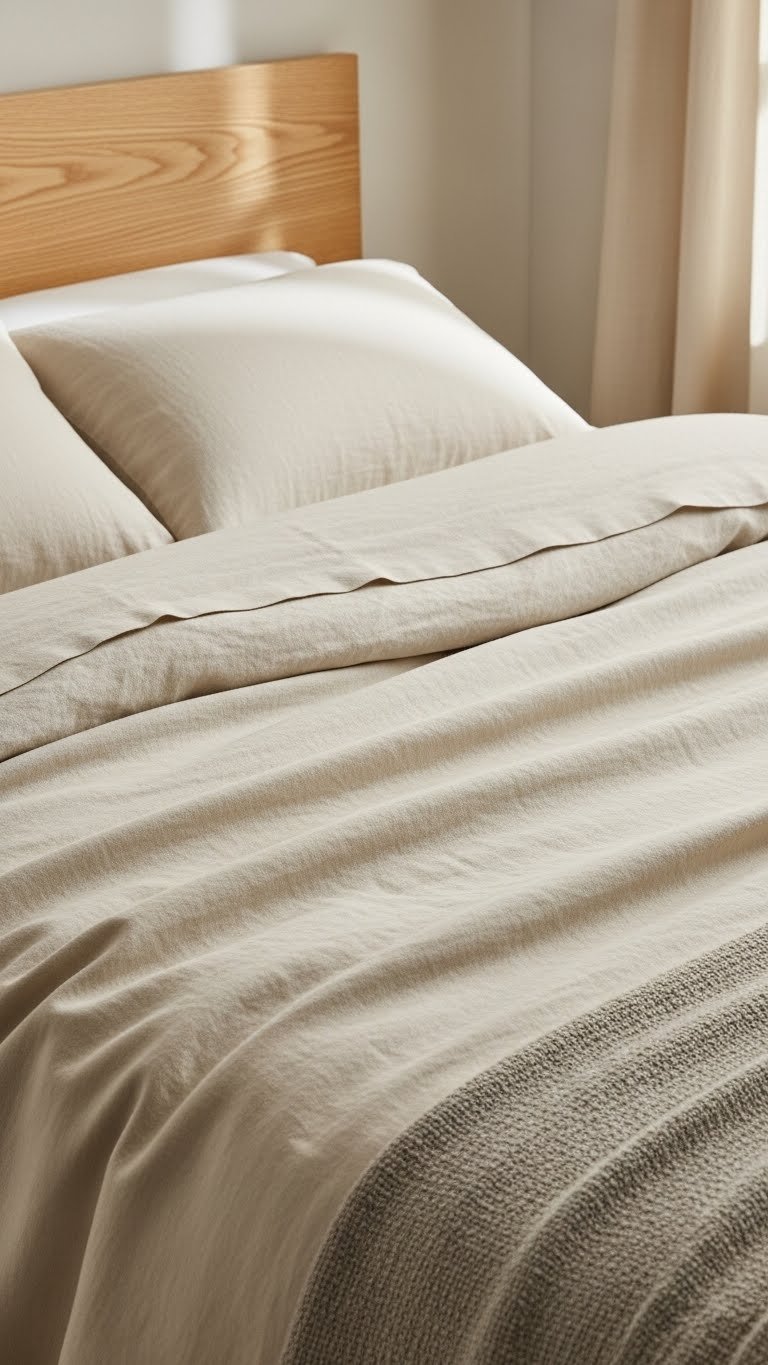
Linen-cotton blends (usually 50/50 or 60/40 ratios) give you linen’s breathability with softer, less textured feel. Perfect if you love linen but find pure linen too nubby or textured.
Buy a linen-cotton blend sheet set ($70-$140 from Brooklinen, Etsy, or specialty bedding brands). Wash in warm water on gentle cycle. These last 4-5 years and get softer with washing while maintaining breathability. You get the health benefits of linen in a softer package.
Pro tip: 60% linen, 40% cotton gives you maximum linen benefits. 50/50 feels softer but loses some temperature regulation.
You sleep on linen’s cooling properties without the rough texture keeping you awake. If you’ve wanted to try linen but weren’t sure about the feel, start here. This is the gateway to becoming a linen devotee.
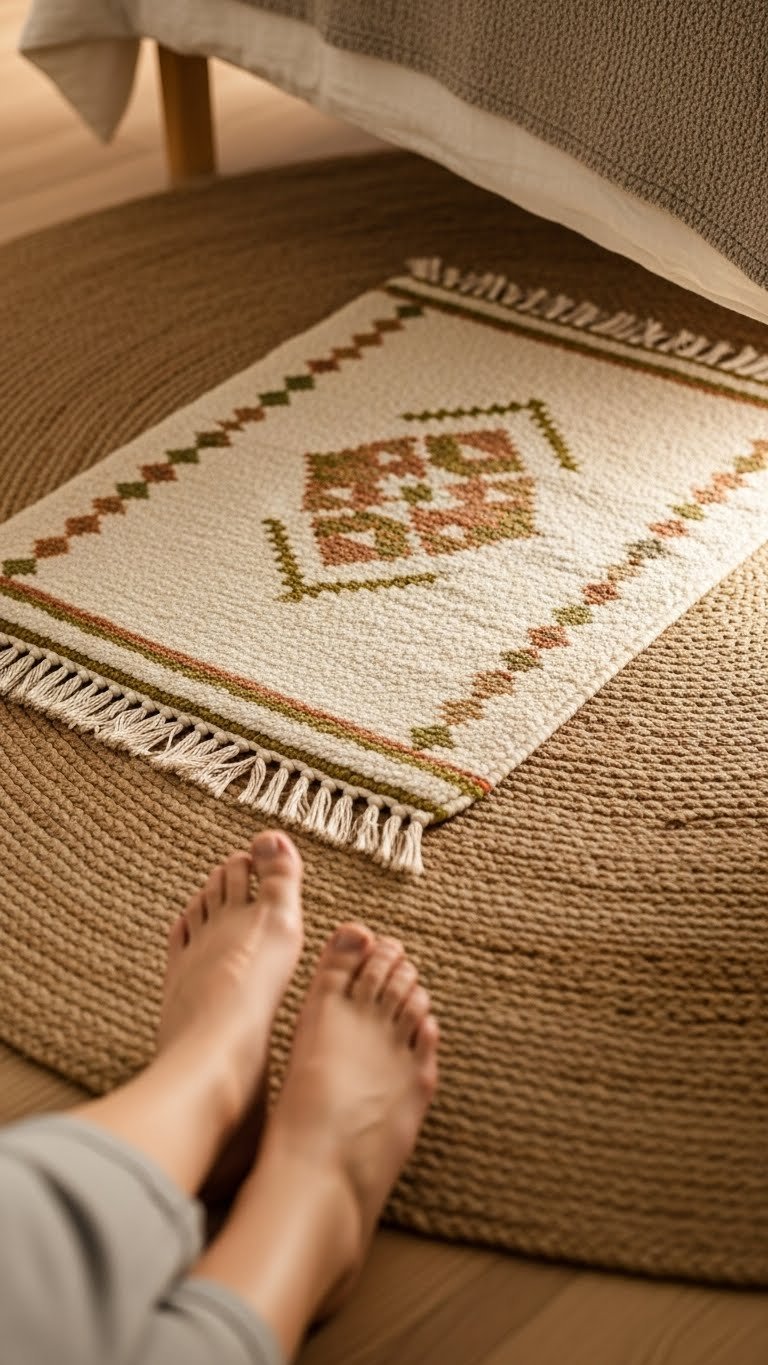
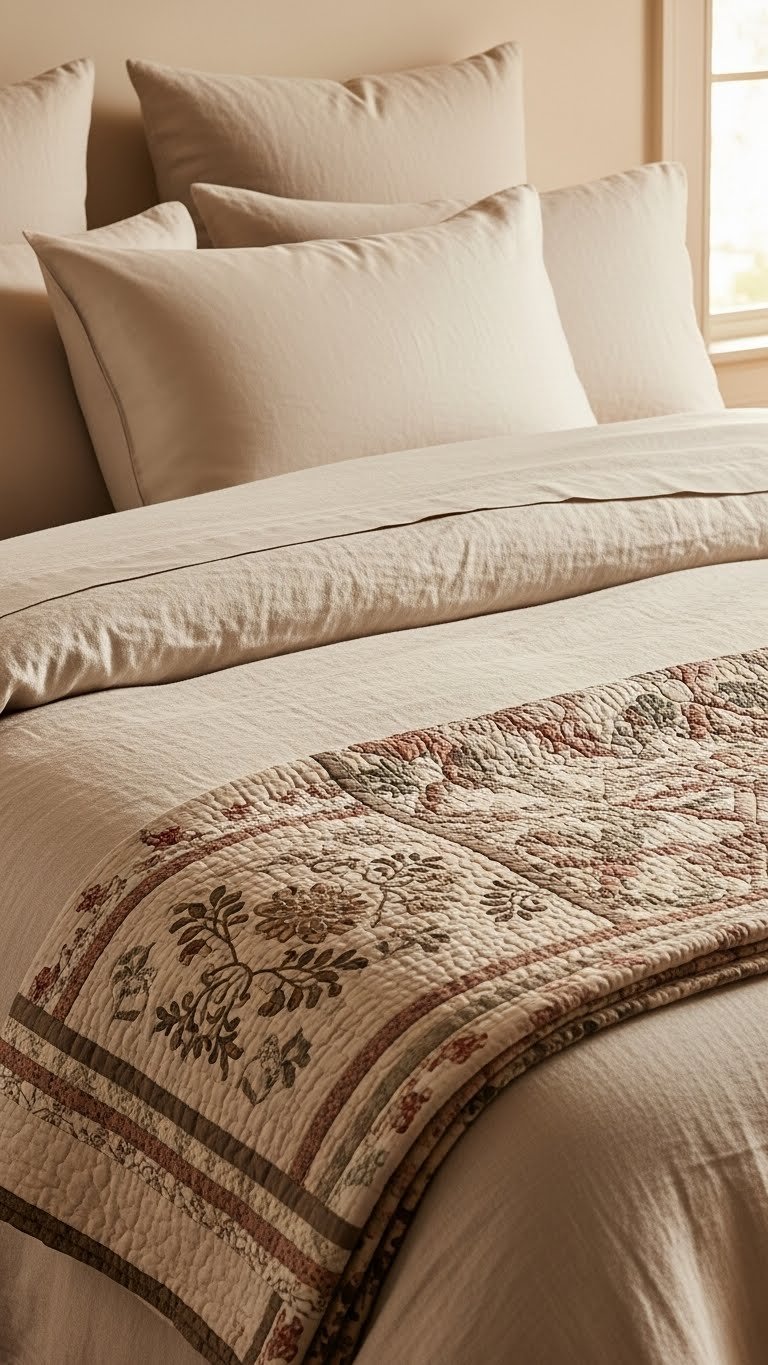
24. Layer a Linen Flat Sheet Over Your Fitted Sheet for Ultimate Texture

This styling trick isn’t just aesthetic—layering a linen flat sheet on top of your fitted sheet creates texture, improves breathability, and reduces the number of times you need to wash your duvet cover.
Buy one additional linen sheet ($25-$50) to layer on top of your fitted sheet and under your pillows. The rumpled, textured look is intentional and design-forward. Wash with your other bedding. This extends your duvet’s life by reducing direct contact with your body oils.
Pro tip: Use a neutral tone linen sheet over any colored fitted sheet for visual interest without clashing.
Your bed looks styled and layered. You wash your duvet cover half as often. The extra texture adds visual depth and comfort simultaneously—the bed becomes a focal point you actually want to rest in.
Save this post for your next bedroom refresh. Try one fabric idea this weekend—swap your pillowcase or add one throw blanket—and notice how your sleep actually changes. Small upgrades to what touches your skin matter way more than you’d think.