Your dorm room is about 200 square feet of real estate—and you need it to be a bedroom, study zone, lounge, and storage unit all at once. Multi-use furniture isn’t just a nice-to-have; it’s your secret weapon for fitting everything you actually need without feeling cramped. We’ve rounded up 27 furniture ideas that pull double (or triple) duty, designed specifically for renters and budget-conscious students who refuse to sacrifice style for function. From ottomans that hide storage to beds that create extra seating, these pieces solve the space puzzle while looking intentional. Ready to make every inch count? Let’s dive in.
1. Invest in a Storage Ottoman That Works as Seating

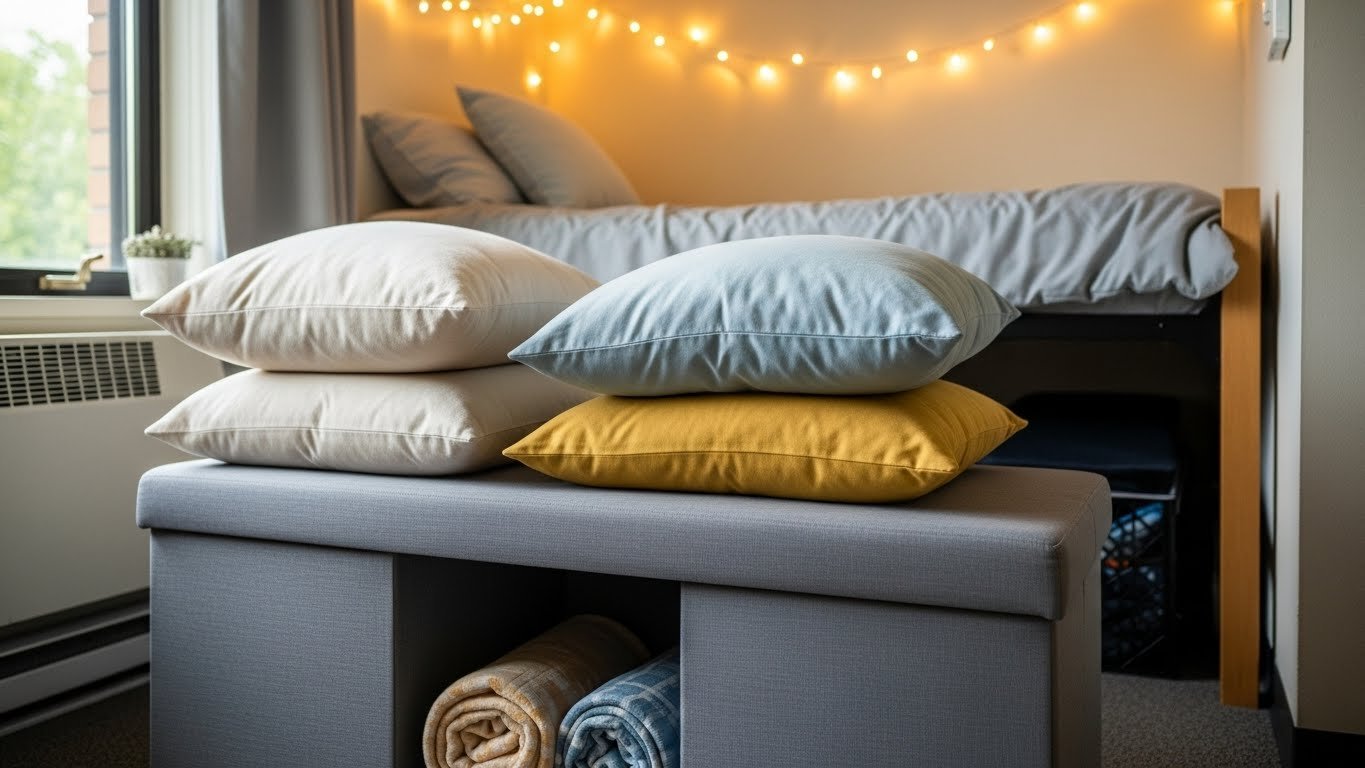
An ottoman is your MVP piece—it’s seating, a footrest, a coffee table, and hidden storage in one compact item. When you open the lid, you get instant access to extra bedding, seasonal clothes, or supplies you don’t need daily. Look for ottomans with soft-close lids (so they don’t slam your fingers) and sturdy construction that can handle regular weight.
Brands like IKEA’s EKTORP ($80–$120), Amazon’s Ornavo Home Ottoman ($60–$90), and Wayfair’s West Elm collection ($150–$250) offer renter-friendly options that don’t require assembly skills. Measure your doorway before ordering—larger ottomans won’t fit through narrow dorm entrances. Installation is literally just unboxing; softer upholstery hides stains better than leather finishes.
You get a seat for friends, a soft landing spot for your feet after class, and hidden storage for everything else.
2. Choose a Lofted Bed Frame to Unlock Floor Space

A lofted bed lifts your mattress 4–5 feet high and opens up an entire room-sized area underneath for a desk, seating nook, or storage unit. This is the single biggest space-multiplier for tiny dorms. You essentially gain a second room on your floor without adding square footage.
Metal lofted frames run $150–$400 depending on weight capacity and adjustability. IKEA’s TUFFING frame ($180–$220) is student-approved and assembly-takes-two-people-and-two-hours. Amazon carries dozens of options with safety railings and built-in shelves. Check your dorm’s weight limits and clearance from the ceiling before purchasing. Some dorms restrict lofting entirely, so verify with your housing office first.
Once installed, you’ve doubled your usable room layout and eliminated the cramped feeling completely.
3. Add Rolling Storage Bins Under the Bed
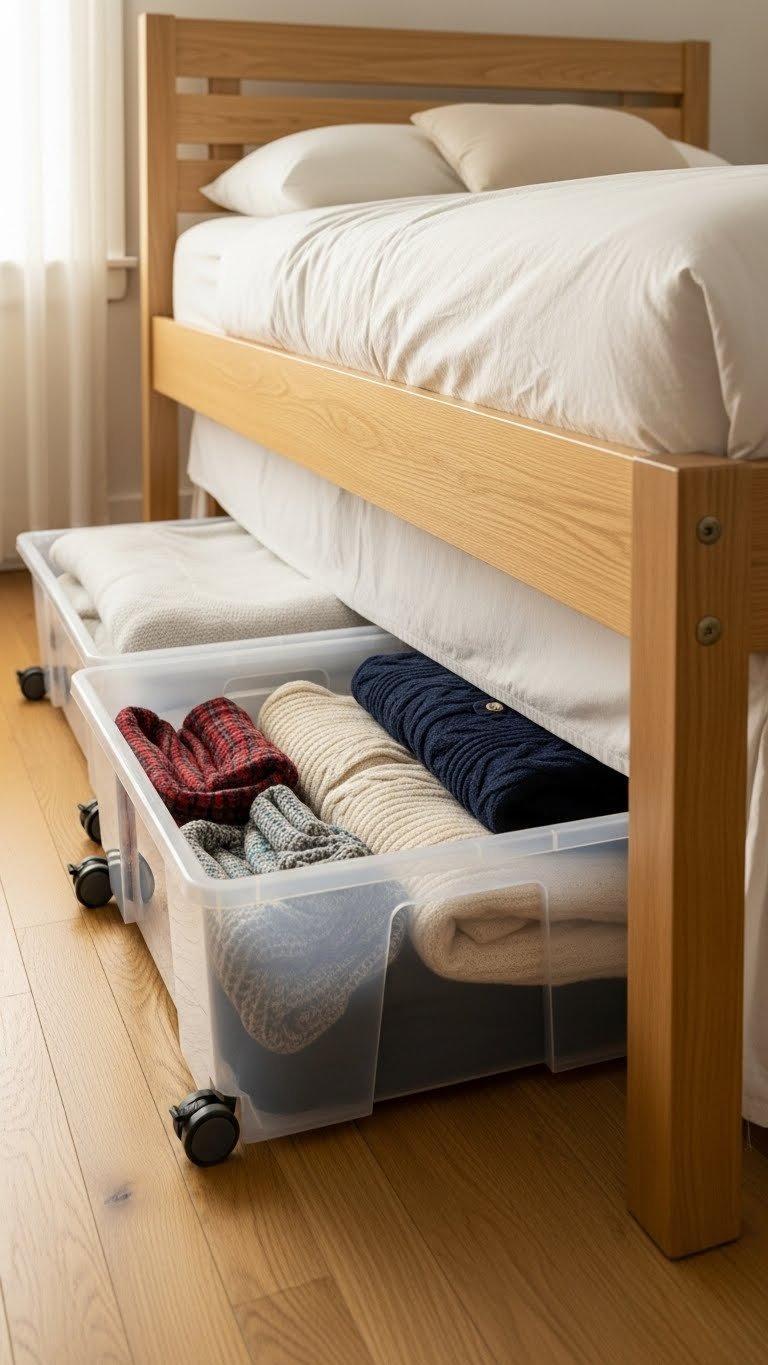
You already have square footage under your bed—you just haven’t claimed it yet. Flat rolling bins slide in and out smoothly, store more than you’d think, and cost almost nothing. Unlike boxes that get stuck, wheels mean you can actually access what’s inside.
Grab IRIS weathertight bins ($25–$40 per bin) or Target’s Room Essentials collection ($15–$30) in whatever size fits under your bed frame. Buy two for full coverage. Label each bin’s contents on a small tag so you’re not hunting around blind. The investment is under $50–$80 total, and you’ve created storage for an entire season’s worth of clothes without buying furniture.
Your off-season wardrobe and extra bedding finally have a home, and your floor stays clutter-free.
4. Use a Hanging Organizer for Wall Space Storage

Over-the-door organizers give you 10–15 pockets of storage without drilling, nailing, or taking up floor space. Use them for charging cables, snacks, stationery, hair products, or anything small that usually ends up in a pile. They’re renter-gold because they hang on any door and remove cleanly.
Target’s SturdyMax collection ($12–$18), Amazon’s Homz over-the-door organizer ($10–$20), and IKEA’s fabric pockets ($8–$15) are all solid options. Installation takes two minutes: hang the hooks and slide the organizer on. The key is not overstuffing—heavier items should go in lower pockets to prevent tipping.
Your essentials are visible, accessible, and organized. No more digging through drawers or losing chargers under the bed.
5. Swap Your Dresser for a Tall Wardrobe Cabinet

Traditional dressers take up tons of floor space and require a ton of drawer management. A wardrobe cabinet with hanging rods combines closet functionality with furniture storage—and takes up roughly the same footprint as a dresser.
IKEA’s DOMBAS wardrobe ($120–$180), Wayfair’s simple cabinets ($150–$250), and Amazon’s portable closet solutions ($80–$140) all work. Look for styles with both a hanging rod and shelves so you can store pants, jackets, and folded items in one piece. Assembly usually takes 45 minutes with the instructions clearly laid out. Measure your ceiling height first—tall cabinets won’t fit in rooms with low ceilings.
You’ve replaced two pieces of furniture with one, gained hanging space for proper garment storage, and made your dorm feel less cluttered instantly.
6. Get a Bed Frame with Built-In Drawers

Instead of treating the space under your bed as wasted real estate, choose a frame with built-in drawers from day one. These frames combine bedding, storage, and support in one thoughtful design. You don’t need a separate storage solution—it’s already there.
IKEA’s MALM frame with drawers ($180–$280), Wayfair’s solid wood platforms ($200–$350), and Amazon’s upholstered frames ($150–$280) all include drawer systems. They cost more upfront than basic frames, but you’re avoiding the purchase of separate storage bins. Assembly ranges from 30–90 minutes depending on complexity. Make sure to measure your doorway before ordering.
Built-in storage means everything has a designated spot, and your under-bed space is actually usable.
7. Layer a Desk-Shelf Combo Unit for Study + Display
A desk with shelves above it combines your work surface and display space without sprawling across your room. It’s perfect for small dorms where a traditional desk takes up half the floorplan.
IKEA’s LISABO desk with shelves ($200–$300), Wayfair’s ladder-style combinations ($150–$250), and Amazon’s wall-mounted options ($100–$200) let you work while keeping books, plants, and inspiration visible. Some styles are floating (no visible legs), which makes the room feel more open. Installation takes 1–2 hours if you’re comfortable with basic tools. Use a stud finder to locate wall support before mounting anything permanent—or ask your dorm’s maintenance team for help.
Your study area looks intentional, organized, and functional. No more papers scattered around because you had nowhere to put them.
8. Choose a Chair That Doubles as Guest Seating and Storage

A saucer chair or papasan seat isn’t just comfy—it’s the perfect guest furniture that also works as a bedroom anchor. Some styles have hidden storage underneath. It gives you casual seating that’s way more stylish than a generic folding chair.
Urban Lifestyles Faux Fur Saucer Chair ($60–$100), Target’s comfy chair collection ($80–$150), and Amazon’s papasan options ($50–$120) come in fabric options that hide dirt and match most dorm aesthetics. If you want the storage bonus, look for models with ottomans that have zippered bases. Most assemble in 10–15 minutes.
Your room now has multiple seating options, making it feel more like a hangout spot than a solo sleeping quarters.
9. Add a Compact Bookcase for Vertical Storage
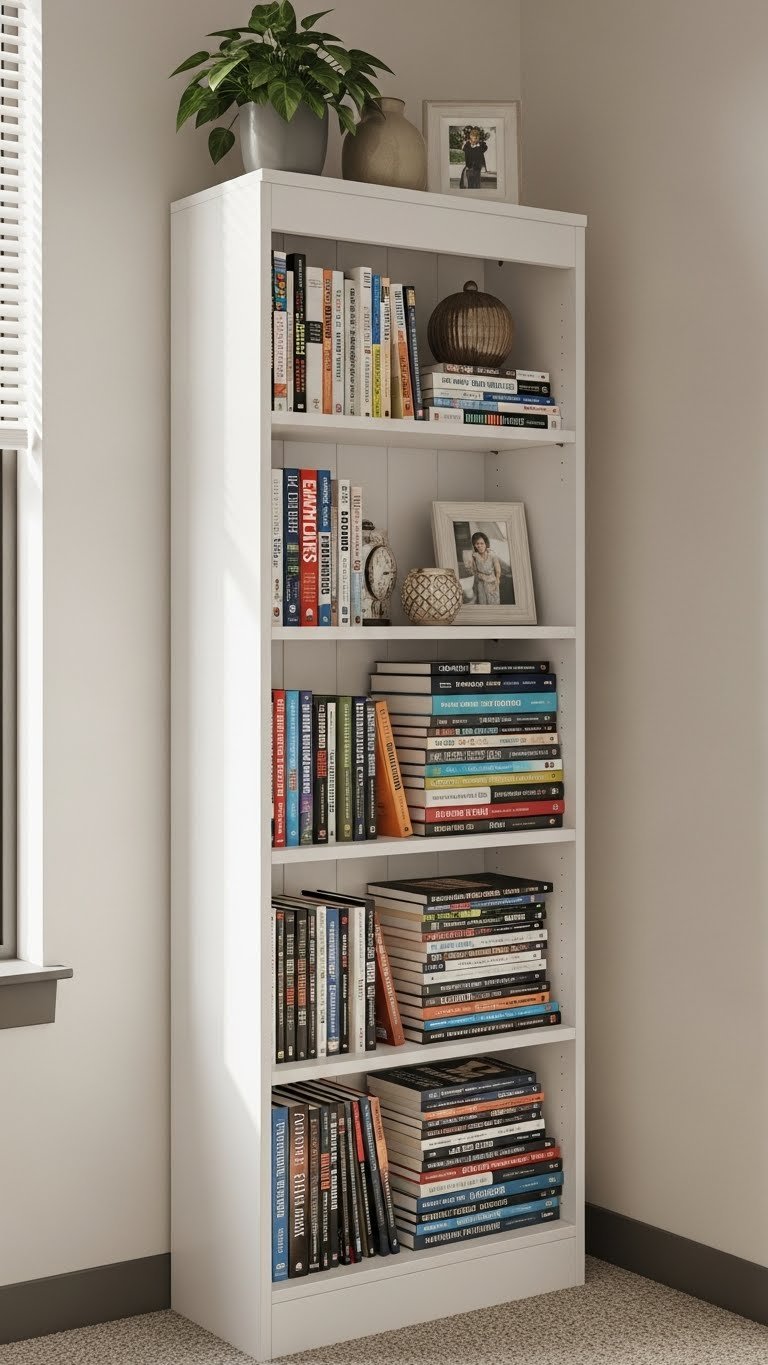
Bookcases force you to use vertical space instead of spreading stuff across your floor. A tall, narrow style takes up minimal footprint but stores a shocking amount. Style it with textbooks, decor, and personal items for a curated look.
IKEA’s BILLY bookcase ($30–$80), Target’s tall narrow options ($50–$120), and Wayfair’s industrial styles ($100–$200) all work in small rooms. Choose a design no wider than 24 inches to avoid overcrowding your space. Assembly is usually 15–30 minutes. Anchor it to the wall if you’re putting heavy textbooks on multiple shelves—unanchored tall furniture can tip over.
Your books and keepsakes have a proper home instead of stacking on your nightstand and desk.
10. Use a Folding Room Divider to Create Zones
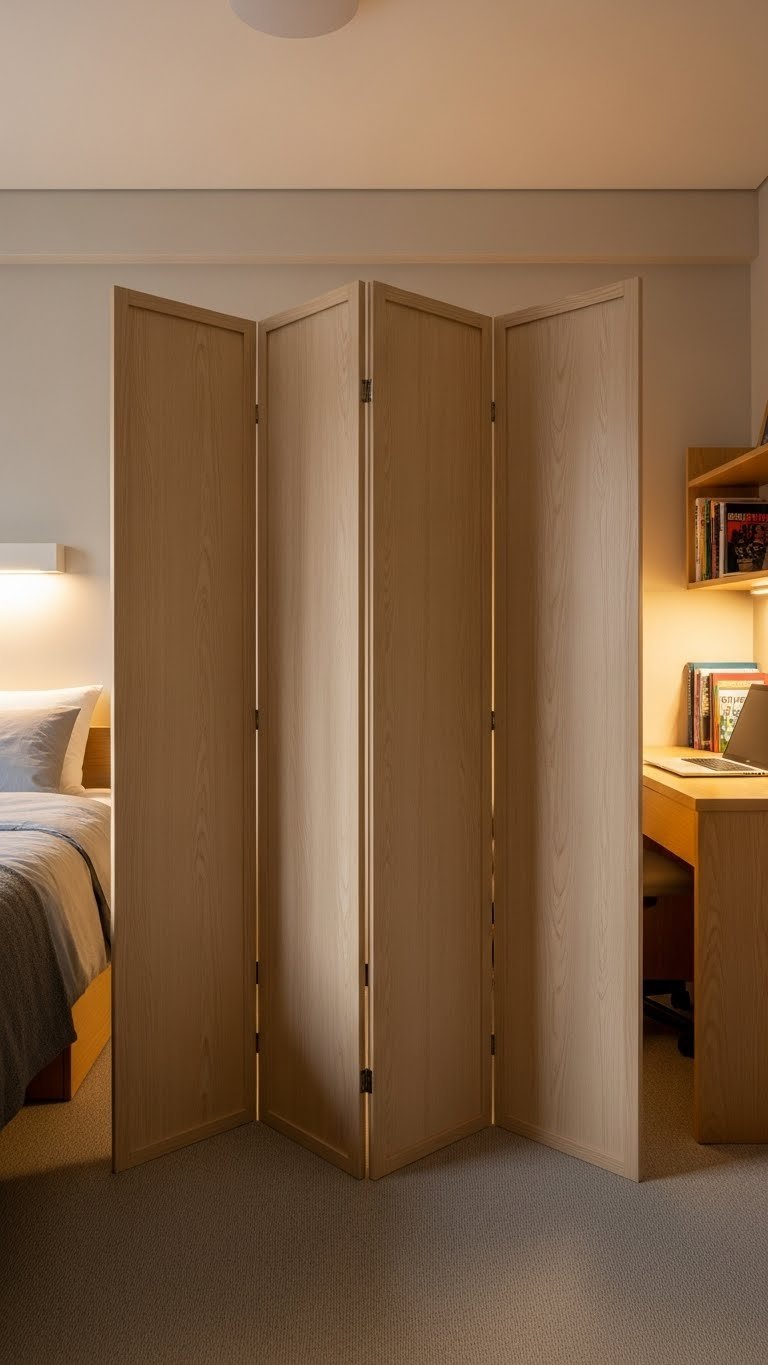
A folding divider creates psychological separation between your sleep and work zones without taking up permanent space like a wall would. It’s renter-safe, movable, and instantly makes your room feel more organized. Bonus: it can hide a messy corner during video calls.
Target’s room dividers ($40–$80), IKEA’s folding screens ($30–$60), and Amazon’s fabric panels ($35–$100) come in styles from minimalist to patterned. Most weigh under 10 pounds and assemble in seconds. Choose a height that matches your bed (usually 5–6 feet) so it actually creates a visual break.
Your dorm feels less like one box and more like distinct areas for different activities.
11. Opt for a Floating Desk to Save Floor Real Estate
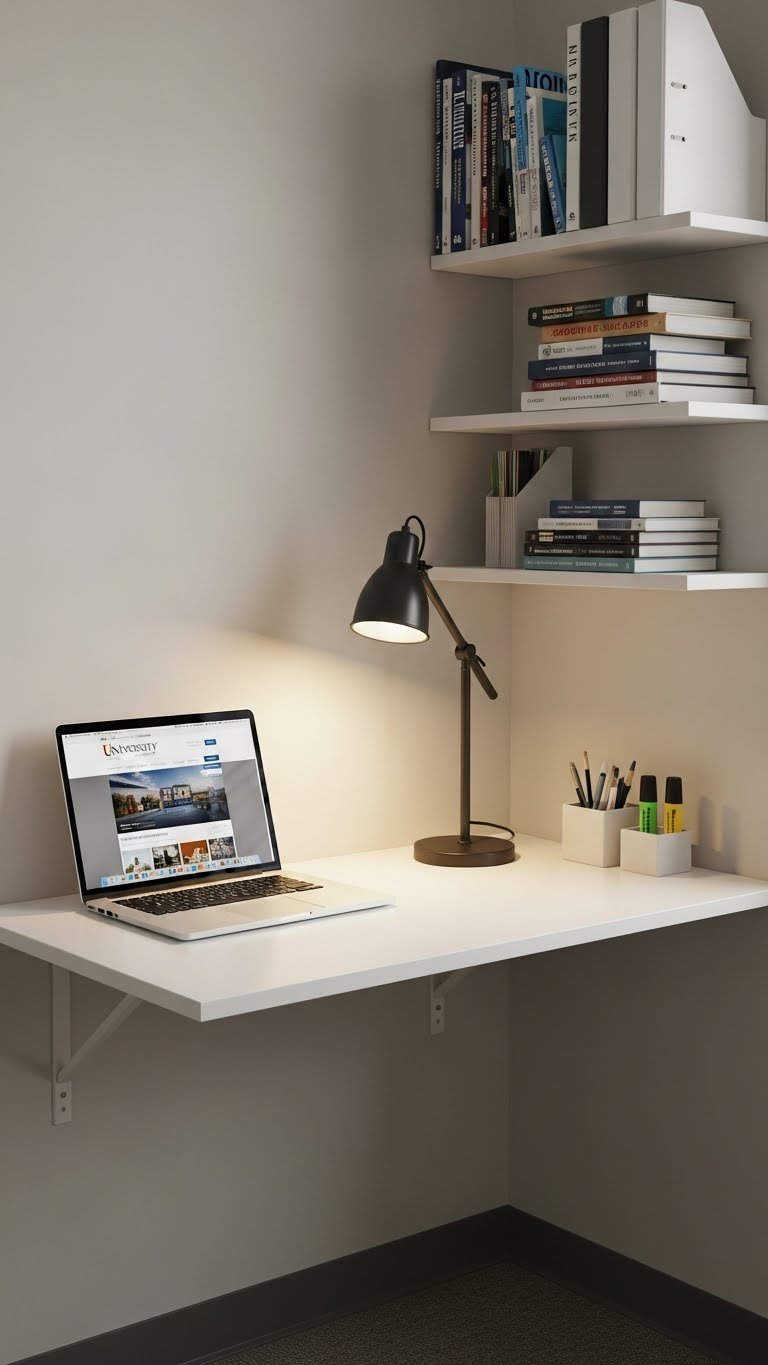
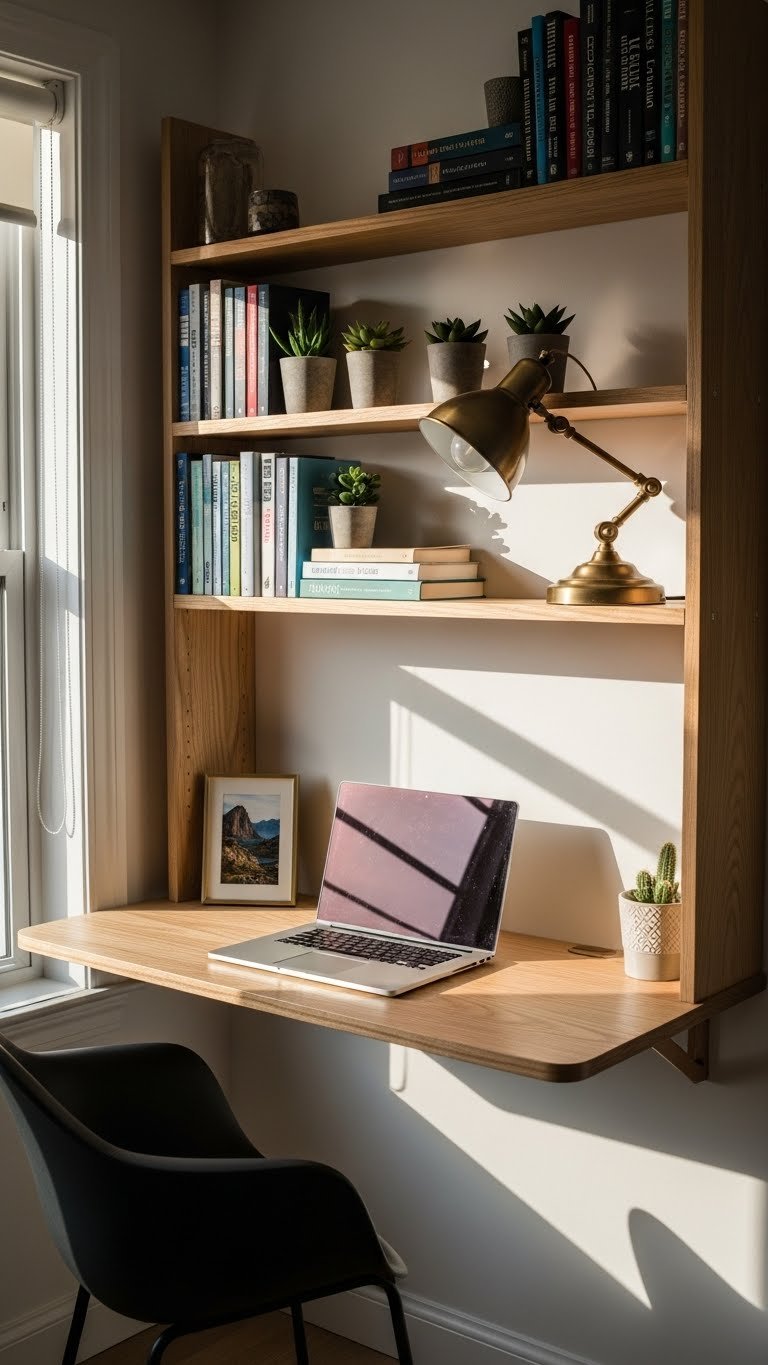
Floating desks are wall-mounted surfaces that leave your floor completely open underneath. They create a dedicated work zone without eating into your already-limited square footage. They look minimal and modern while being super functional.
IKEA’s NORBERG floating desk ($60–$100), Wayfair’s wall-mounted options ($80–$150), and Amazon’s simple shelves ($40–$90) are solid budget choices. Installation requires finding wall studs and using proper anchors—this is one situation where asking maintenance for help is completely reasonable. Floating desks support 25–50 pounds depending on the model, so check weight capacity before loading it with a monitor and supplies.
You’ve claimed a work zone without giving up any floor space, and your room instantly looks less cramped.
12. Pick an Expandable Closet Rod to Maximize Hanging Space
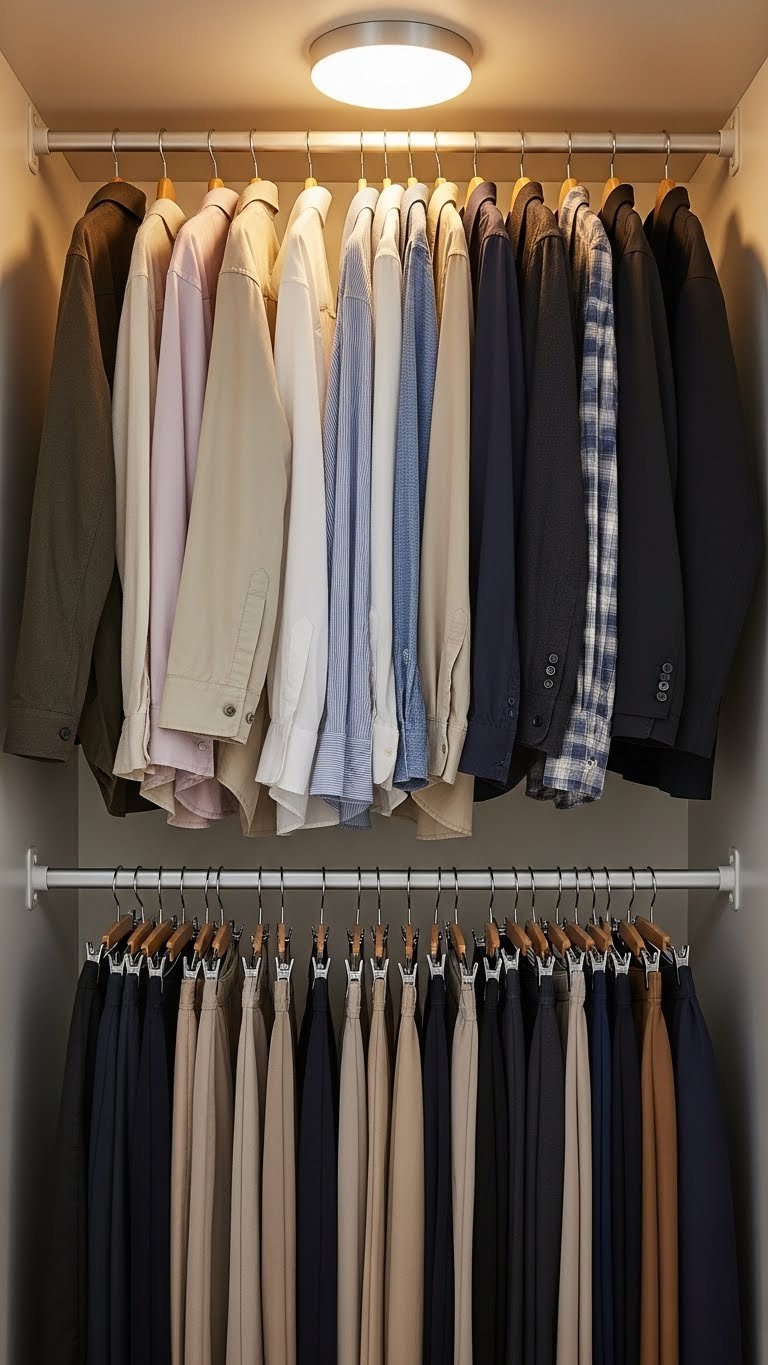
Your dorm’s standard closet rod probably maxes out around 12 hanging items before it’s slammed. An expandable second rod doubles your hanging capacity in seconds and costs almost nothing. It’s one of the easiest upgrades you can make.
Simple expandable rods cost $8–$20 at Target, IKEA, and Amazon. Installation takes two seconds: expand it to fit your closet width and slide it onto the existing rod, creating two tiers. It holds about 20–25 pounds per rod, which is enough for everyday clothes. The lower rod will hang about 3 feet down, so make sure that height works for your closet layout.
Your hanging closet suddenly fits twice as many clothes without buying a single new piece of furniture.
13. Invest in a Desk Hutch for Overhead Storage and Organization
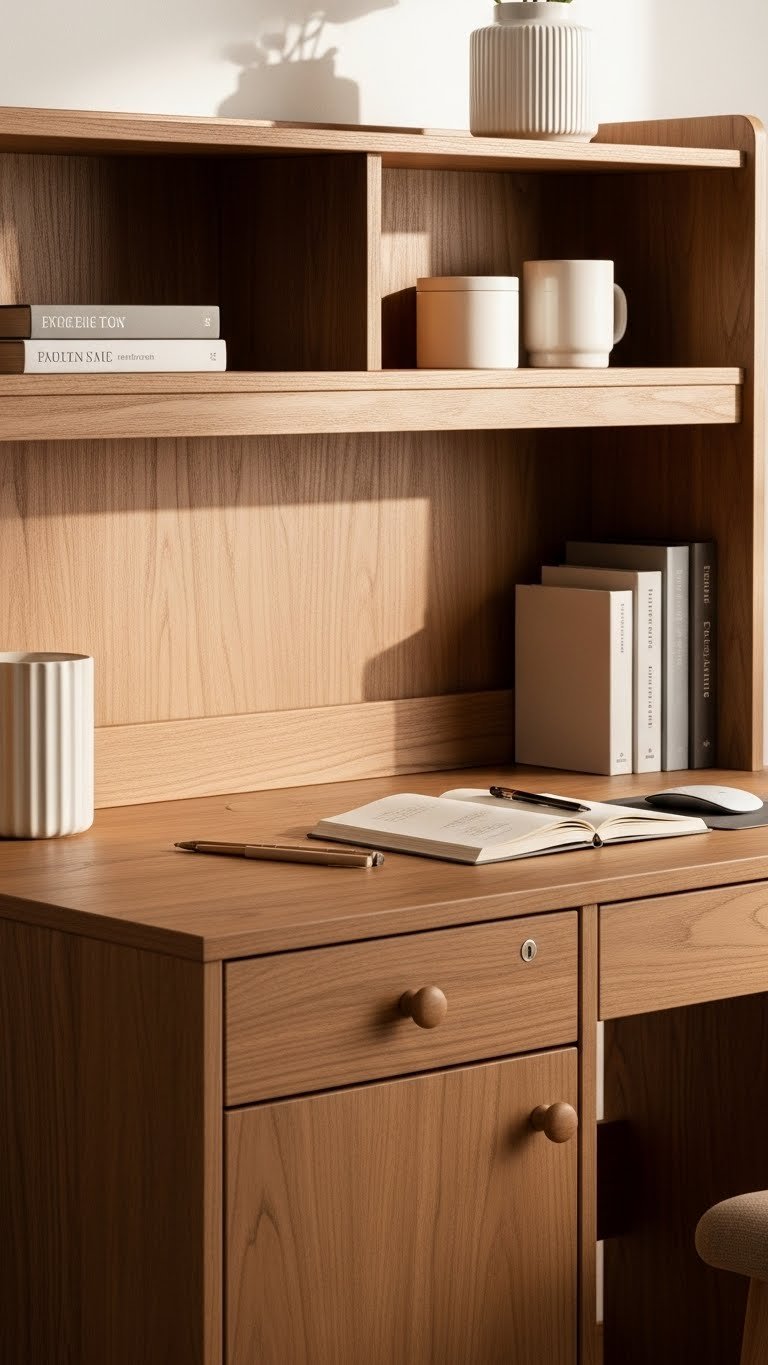
A desk hutch sits on top of your desk or is wall-mounted above it, creating overhead storage that keeps your work surface clear. It’s perfect for organizing supplies, books, and decor without sprawling sideways across your desk.
IKEA’s MÖRBYLÅNGA hutch ($150–$250), Wayfair’s floating options ($120–$220), and Amazon’s compact hutches ($80–$150) range in size and style. Some mount to the wall; others sit on top of an existing desk. Assembly usually takes 45–60 minutes. Make sure your desk surface can support the hutch weight before installing—many are designed to sit directly on wood without additional fastening.
Your desk becomes an actual work zone instead of a catch-all surface, and you’ve added storage without buying a second piece of furniture.
14. Use a Nightstand with Built-In Shelves or Drawers

A nightstand should earn its real estate by doing more than holding your lamp. Look for models with shelves, drawers, or both so it becomes a catch-all for books, phone chargers, skincare, and other bedside essentials.
IKEA’s RAST nightstand ($30–$50), Target’s multi-shelf options ($40–$80), and Wayfair’s drawered styles ($60–$120) all combine style with functionality. Choose an open-shelf version if you want your items visible and accessible, or go with drawers if you prefer a cleaner aesthetic. Assembly is usually under 20 minutes. Measure the space between your bed and wall first—some nightstands are deeper than you’d expect.
You’ve consolidated your bedside clutter into one organized spot, and your room doesn’t feel like stuff exploded everywhere.
15. Try a Bed Skirt to Hide Under-Bed Chaos

A bed skirt isn’t just decor—it’s the disguise that hides all your storage containers and under-bed mess while making your bed look intentional and styled. It’s one of the easiest visual upgrades in your room.
Basic bed skirts run $15–$40 from Target, IKEA, and Amazon. Choose a length that drapes to the floor (usually called “drop” or “fall”) to fully hide whatever’s underneath. Most are just elastic and fabric, so installation is literally sliding it under your mattress. Pick a color that matches your bedding or complements your aesthetic. Natural linen or cotton hides dust better than synthetics.
Your messy under-bed storage becomes invisible, and your room looks significantly more organized from the ground up.
16. Add a Rolling Cart for Mobile Storage and Display

A rolling cart is storage that moves with you. Use it as a nightstand, mini kitchen for snacks, textbook holder, or style display. When you need the space, just roll it to the side or closet. It’s perfect for renters who can’t commit to permanent furniture placement.
IKEA’s RÅSKOG cart ($30–$50), Target’s options ($25–$45), and Amazon’s multicolor selections ($20–$40) are all under $60 and worth every penny. Most are lightweight and roll smoothly, even on thick carpet. You can access items from three sides, so nothing is hidden in the back. Some come with brakes so it won’t accidentally roll during video calls.
Your storage becomes mobile, flexible, and instantly more stylish than a pile of bins in the corner.
17. Use Wall-Mounted Shelves to Create Open Display Storage

Wall-mounted shelves create storage and display space without using your floor. They’re perfect for showing off books, plants, photos, and decor while keeping items accessible and visible.
IKEA’s LACK shelves ($8–$15 per shelf), Wayfair’s floating styles ($20–$60 per shelf), and Amazon’s brackets and boards ($30–$80 for a set) are all installation-friendly. Floating shelves look seamless but require finding wall studs for proper support—don’t skip this step or they’ll sag. Shelf brackets are usually included. Mix different shelf depths to create visual interest. Stagger heights so it doesn’t look institutional.
Your vertical wall space becomes functional and beautiful at the same time, multiplying your storage capacity without eating floor space.
18. Choose a Compact Coffee Table for Your Lounge Area
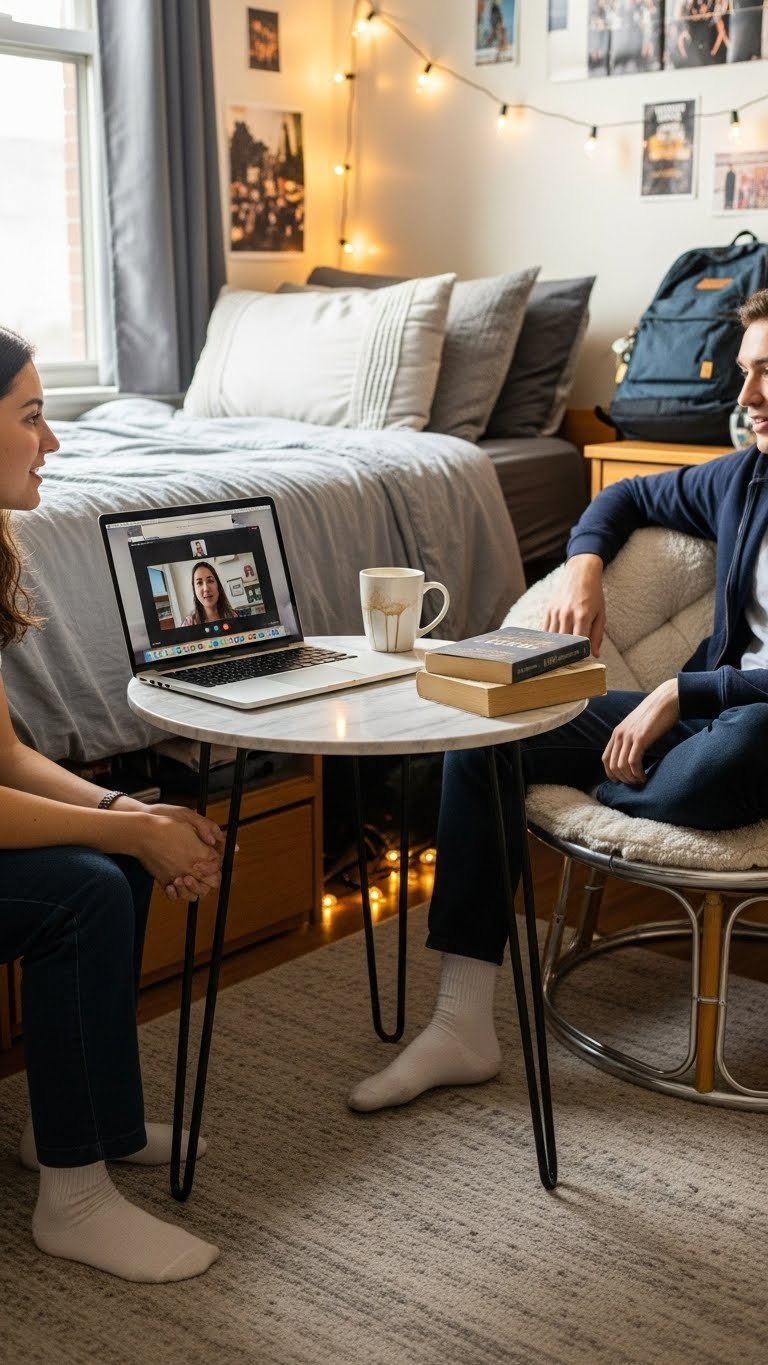
If your dorm allows it, a small coffee table or side table creates a lounge focal point in your room. Choose compact styles that don’t dominate the space but add functionality and style to your seating area.
IKEA’s GLADOM table ($30–$50), Target’s marble options ($40–$80), and Wayfair’s compact designs ($50–$120) work for tight spaces. Look for tables with shelves underneath for hidden storage, or choose simple tops if you prefer minimal visual weight. Most are under 24 inches square, so they don’t overwhelm a dorm. Check your lease to make sure furniture isn’t restricted before bringing one in.
Your room now has a casual gathering spot, and that small table becomes the heart of your hangout area.
19. Install a Tension Rod Curtain Divider for Privacy Without Commitment
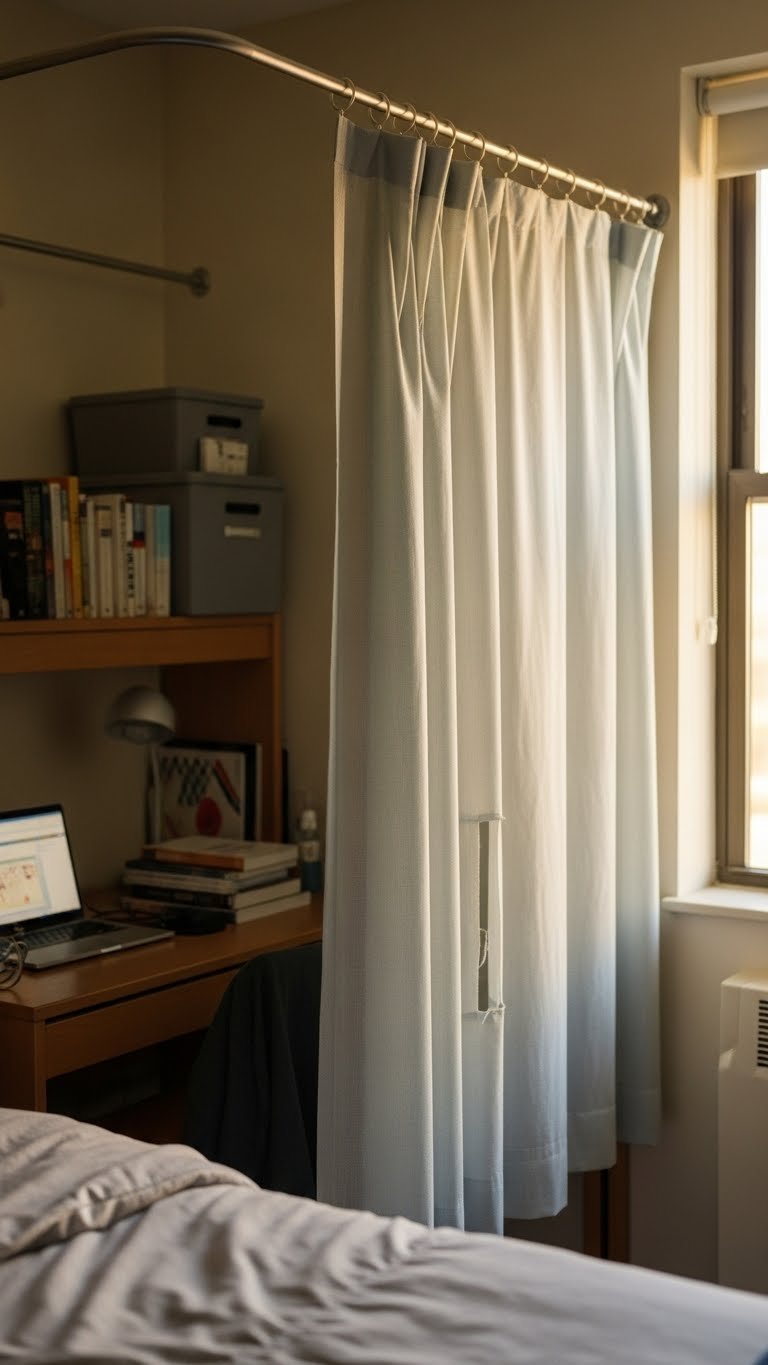
A tension rod and lightweight curtain create temporary partitions for changing, storage, or privacy without damaging walls. It’s renter-safe and adjustable if your room layout changes.
Basic tension rods cost $8–$20, and a lightweight curtain panel runs $10–$30. Installation takes two minutes: extend the rod to fit your doorway or corner width and hang it. Choose a tension rod with a diameter that fits your window width or wall width exactly—measure twice. Pair it with a semi-sheer or solid fabric that complements your aesthetic. The rod stays up with tension alone, no nails required.
You’ve created a private zone without permanent damage and can remove it instantly when you move out.
20. Get a Ladder Shelf Unit for Angled Storage and Style

Ladder shelves are narrow, angled, and incredibly space-efficient. They work well in corners or along walls and hold a surprising amount of stuff while looking intentional and styled rather than cluttered.
IKEA’s PINNIG ladder shelf ($20–$40), Target’s leaning designs ($50–$100), and Wayfair’s tiered options ($40–$90) are all compact. The angled design means items won’t slide off as easily as straight shelves, and they photograph well for social media. Assembly usually takes 15 minutes. Since they lean rather than mount to the wall, they’re renter-safe and can be repositioned whenever you want.
You get substantial storage in a small footprint, plus a decor element that looks way more intentional than random shelving.
21. Add a Hanging Closet Rod for Extra Garment Storage
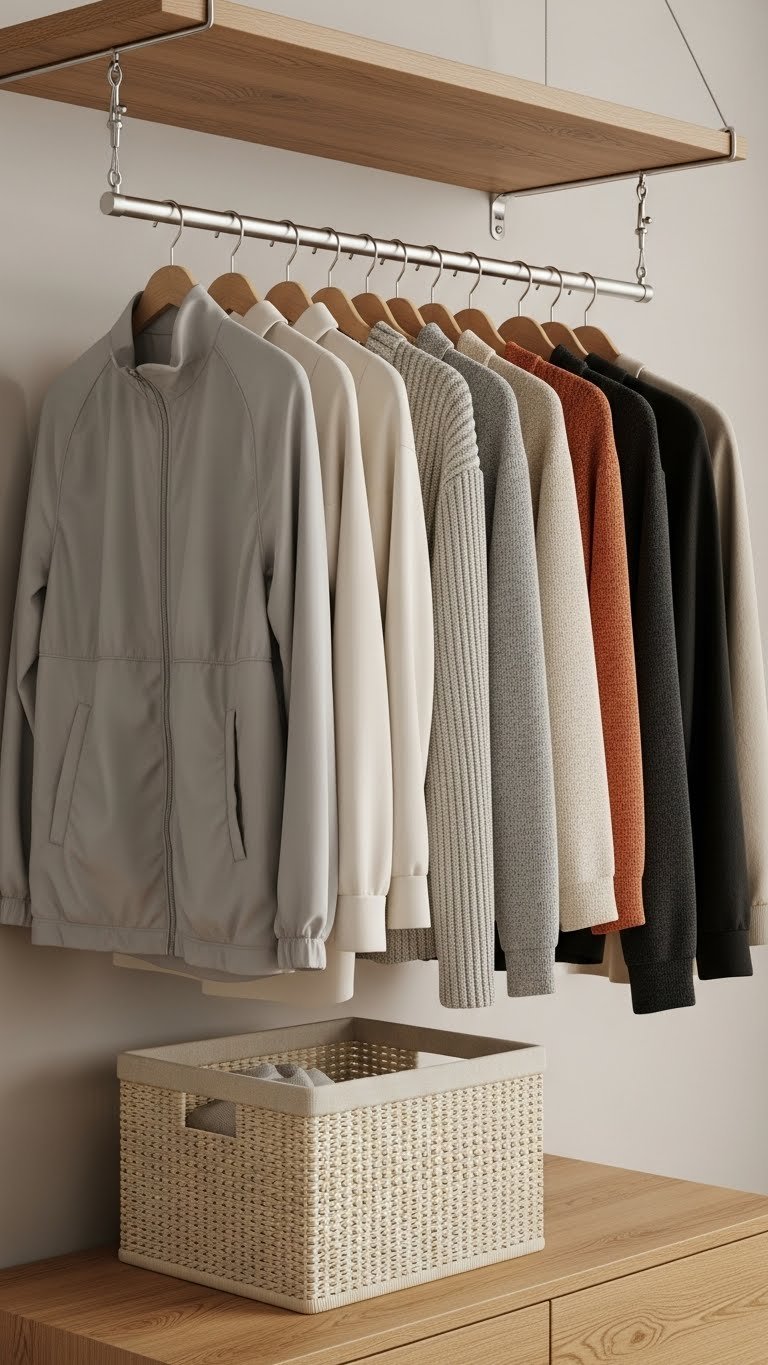
If your dorm’s closet is tiny, a hanging rod clipped to existing furniture or suspended from the ceiling adds immediate garment storage. It works great for seasonal items, jackets, or everyday clothes you want accessible but not taking up closet space.
Hanging rods with clips cost $15–$35 and are available at Target, Amazon, and IKEA. Some clamp to bunk beds or shelves; others mount to the ceiling with hooks. Installation is super quick—usually just tightening a clamp or hanging hooks. Make sure whatever you’re suspending it from can handle the weight (usually 20–40 pounds depending on the rod). Check your dorm rules before ceiling mounting anything.
You’ve doubled your accessible clothing storage without sacrificing closet space or taking up floor real estate.
22. Use an Underbed Drawer System on Wheels for Seasonal Swaps

Unlike static bins under your bed, rolling drawer systems slide out smoothly and give you easy access to seasonal clothes without moving your entire bed or digging around blind.
Flat rolling drawers cost $30–$60 each and are sold at IKEA, Target, and Amazon. Buy two to use the full space under your bed. Look for models with smooth-rolling casters and reinforced bottoms that can handle heavy textbooks or winter coats. Label each drawer clearly so you know what’s inside without opening it. The investment is under $100 for a pair, and they’ll outlast your college years.
Your off-season wardrobe stays organized and accessible, and you don’t have to disturb anything to get to items you need.
23. Invest in a Desk Organizer System with Multiple Compartments

A desktop organizer keeps your desk functional by giving every small supply a specific spot. It prevents the desk-as-junk-drawer situation and keeps you from losing pens and chargers.
IKEA’s desk organizers run $10–$25, and Target’s compartment systems cost $15–$35. Choose something with 5–8 compartments for pens, pencils, chargers, sticky notes, and miscellaneous small items. Some are stackable so you can add a second tier if needed. Look for materials that match your desk aesthetic—natural wood blends better than plastic if you care about cohesion.
Your desk becomes a functional work space instead of a catch-all, and you can actually find what you need instantly.
24. Add a Pegboard Wall for Customizable Storage and Display
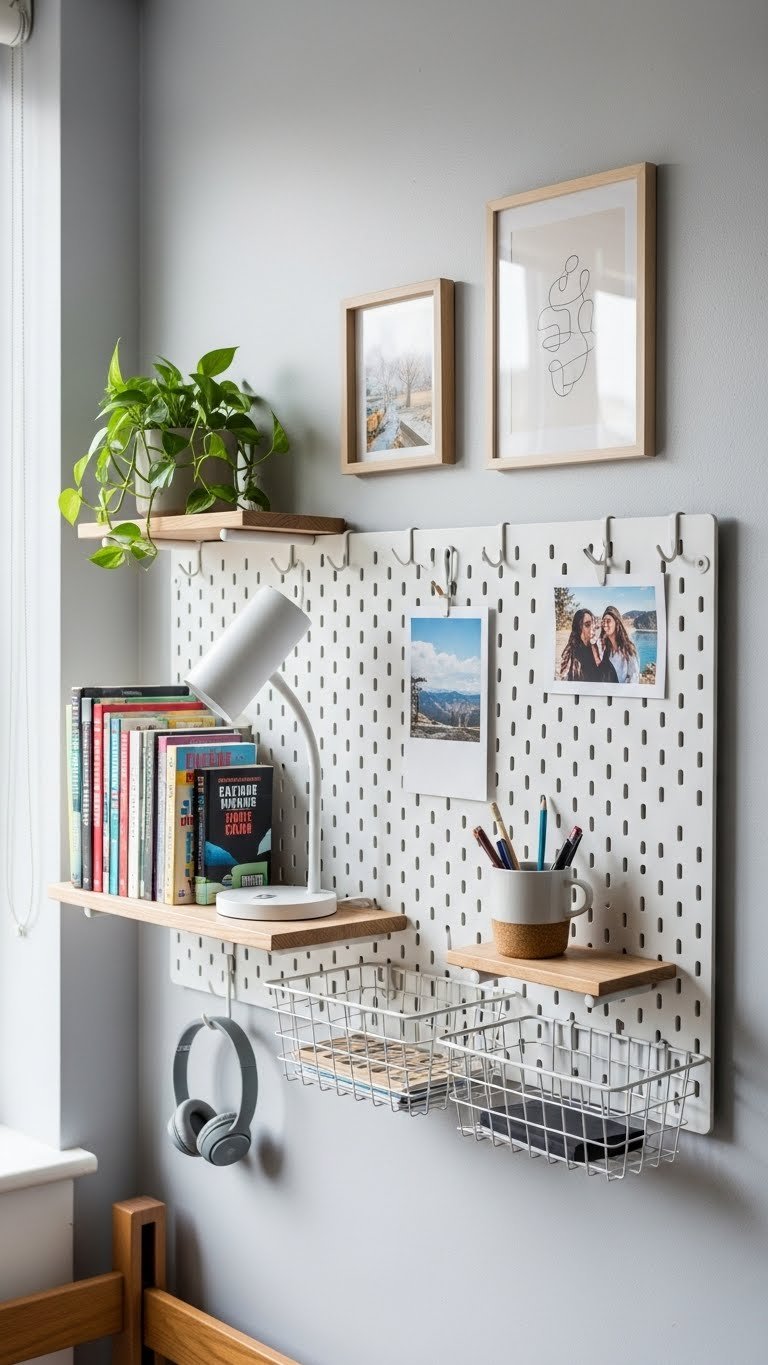
A pegboard lets you arrange and rearrange storage and display to match your changing needs. It’s visual, functional, and super customizable—plus it’s renter-safe if you use damage-free wall strips.
Pegboards themselves cost $15–$40 depending on size, and hooks and baskets run $2–$8 each. IKEA, Target, and Amazon all carry them in various colors and sizes. Mount it using damage-free strips if you’re renting, or small nails if you own your space. Start with a basic set of hooks and add specialty pieces (shelves, baskets) as you figure out what you actually need.
You have customizable storage that adapts as your needs change throughout the semester and across years.
25. Try a Bed Canopy or Curtain Rod for Cozy Separation
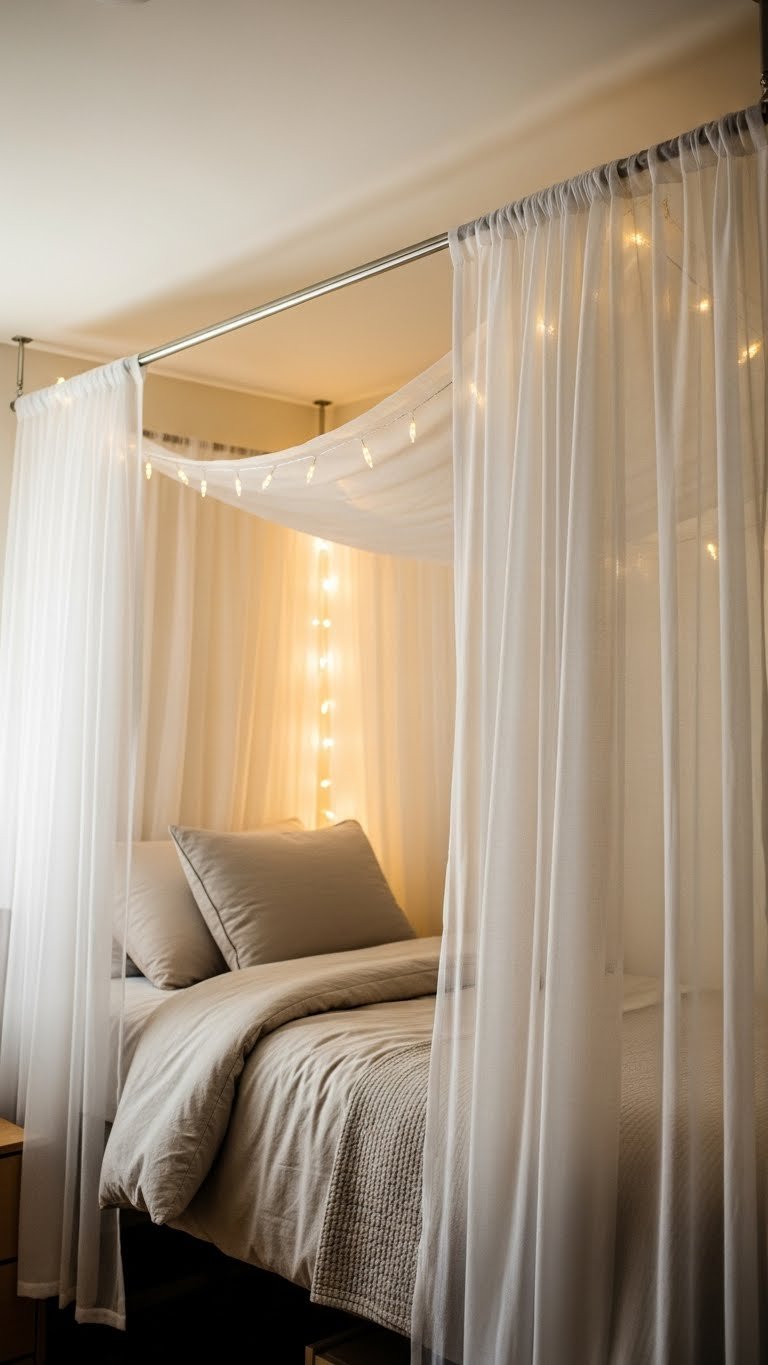
A bed canopy or curtain rod frame creates a cozy cocoon above your bed and can hold lightweight storage or decor. It’s purely optional but adds major style points and makes your sleep space feel distinct from the rest of your room.
Simple curtain rods cost $20–$40, and fabric draping materials run $15–$35. Some styles are adjustable tension rods that don’t require any mounting. Pair with lightweight gauze, cotton, or tulle fabric. You can clip string lights to the rod for ambient lighting that’s cheaper than replacing your ceiling fixture. Installation takes 10 minutes for tension rods, longer if you’re mounting to walls.
Your bed becomes a retreat within your room, and the visual separation makes your sleep space feel special and intentional.
26. Add a Compact Shoe Rack or Organizer Behind the Door
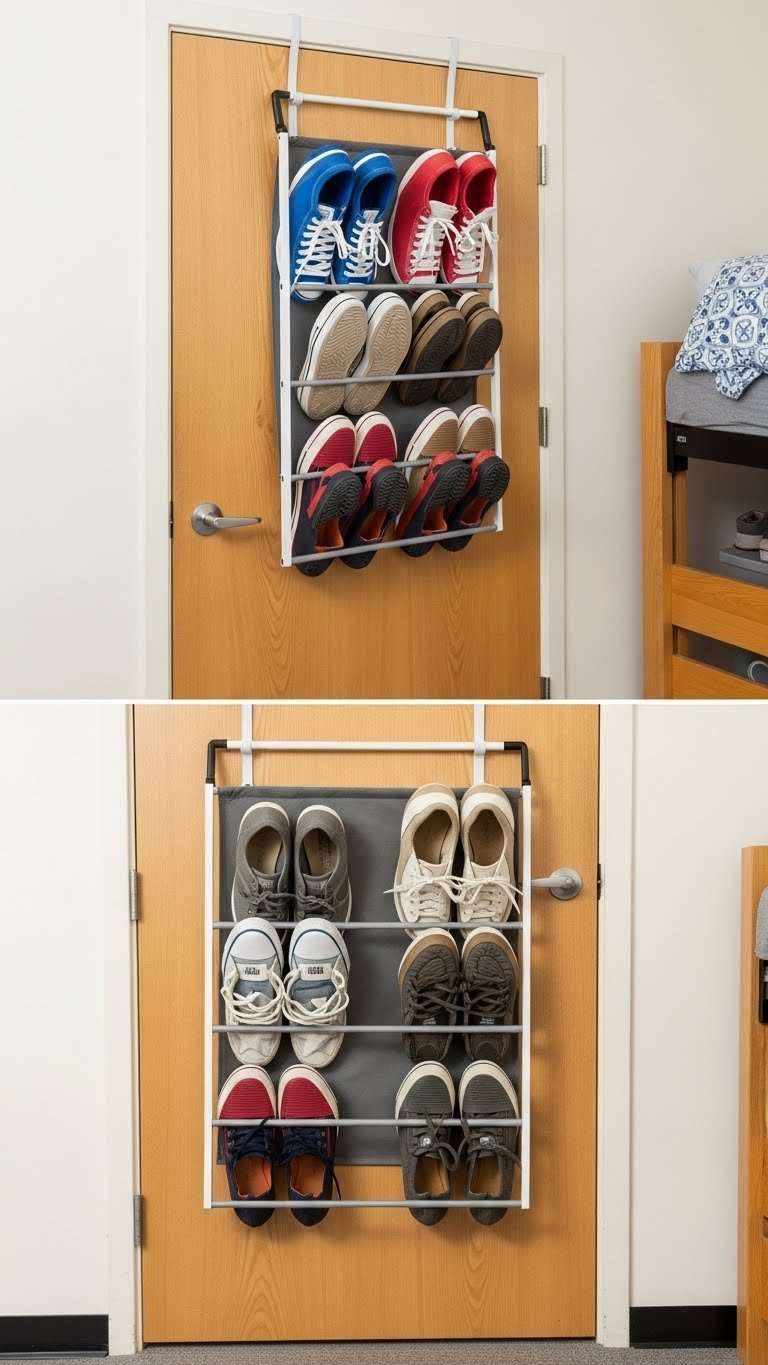
Shoes take up a ton of floor space, but an over-the-door or behind-the-door rack keeps them organized, visible, and off your carpet. It’s one of the best space-saving hacks for footwear storage.
Over-the-door shoe racks cost $12–$25 and are widely available at Target, IKEA, and Amazon. Choose a style with clear pockets so you can see all your options at a glance. Most hold 8–12 pairs depending on shoe size. Installation takes two minutes: hang it on your door and slide shoes into pockets. Check the weight capacity before loading it—some maxes out around 10 pounds.
Your shoes are organized, visible, and using space that would otherwise be wasted behind your door.
27. Use a Tension Rod Under Your Bed for Hanging Storage
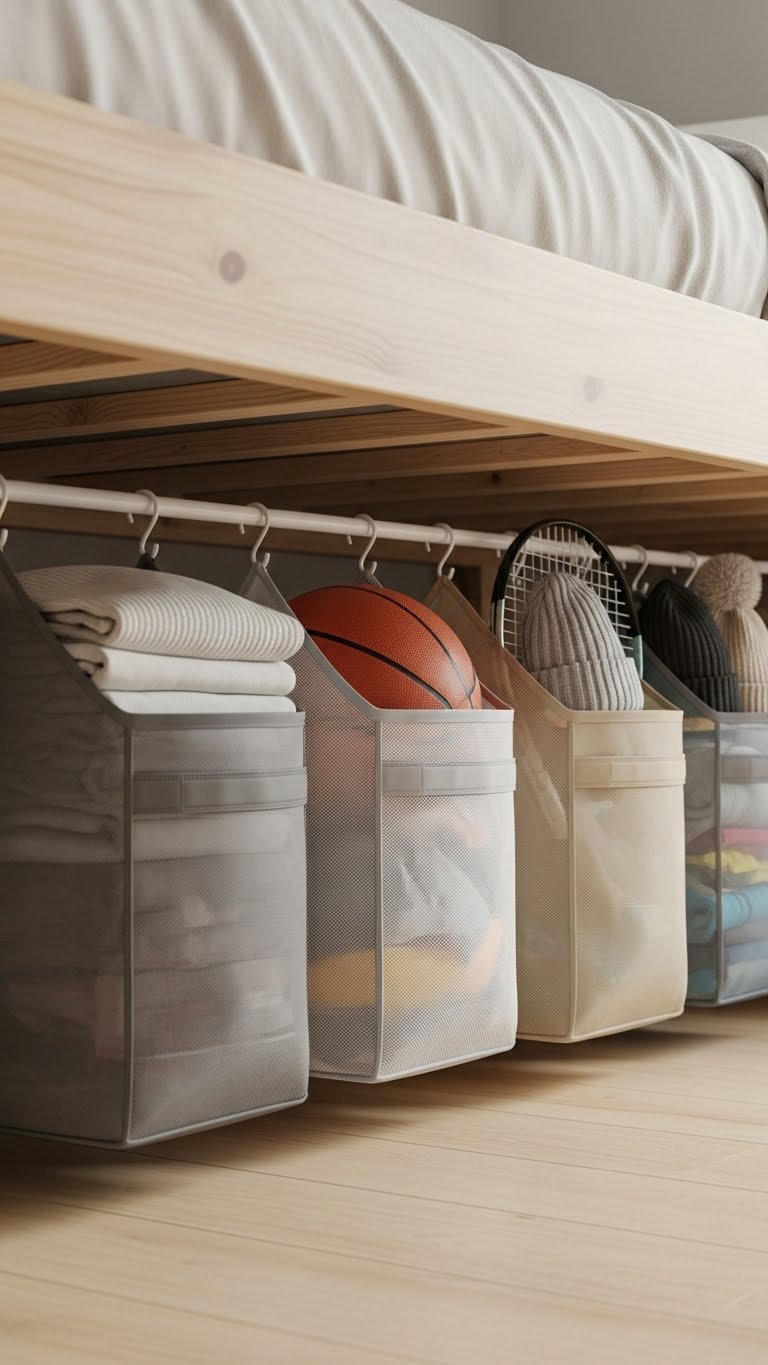
If your bed is raised high enough (lofted or platform style), a tension rod under the frame creates hanging storage for lightweight bags or garments. It’s genius for storing things you need to keep but don’t access constantly.
Basic tension rods cost $8–$15, and lightweight hanging storage bags run $15–$30 each. Measure the width and height under your bed frame first to ensure the rod fits and leaves enough clearance. Install the rod by extending it to fit snugly between two support beams. Load it with seasonal clothes, gym gear, or lightweight items only—heavy bags will sag and make sleep uncomfortable.
You’ve utilized dead space that usually just collects dust, adding substantial storage without buying furniture.
Ready to maximize your space? Pick one or two ideas that match your current setup and budget, then start this weekend. Even small changes add up fast when every piece pulls double duty. Which idea are you trying first?
Leave a Reply