Glass-front cabinets are having a major moment—and for good reason. They instantly showcase your favorite dishes, add visual interest to your kitchen, and make spaces feel bigger and airier. But here’s the thing: glass-front cabinets only work when you’re intentional about what goes inside. That means styling them thoughtfully, knowing which items photograph well together, and understanding how to keep everything looking intentional rather than cluttered.
If you’ve been thinking about adding glass-front cabinets or refreshing the ones you already have, this guide walks you through 24 distinct concepts—from styling strategies to installation hacks to creative display ideas. Whether you’re a renter looking for temporary solutions or a homeowner ready to commit to new cabinetry, you’ll find something here. Let’s explore how to make glass-front cabinets work beautifully in your space.
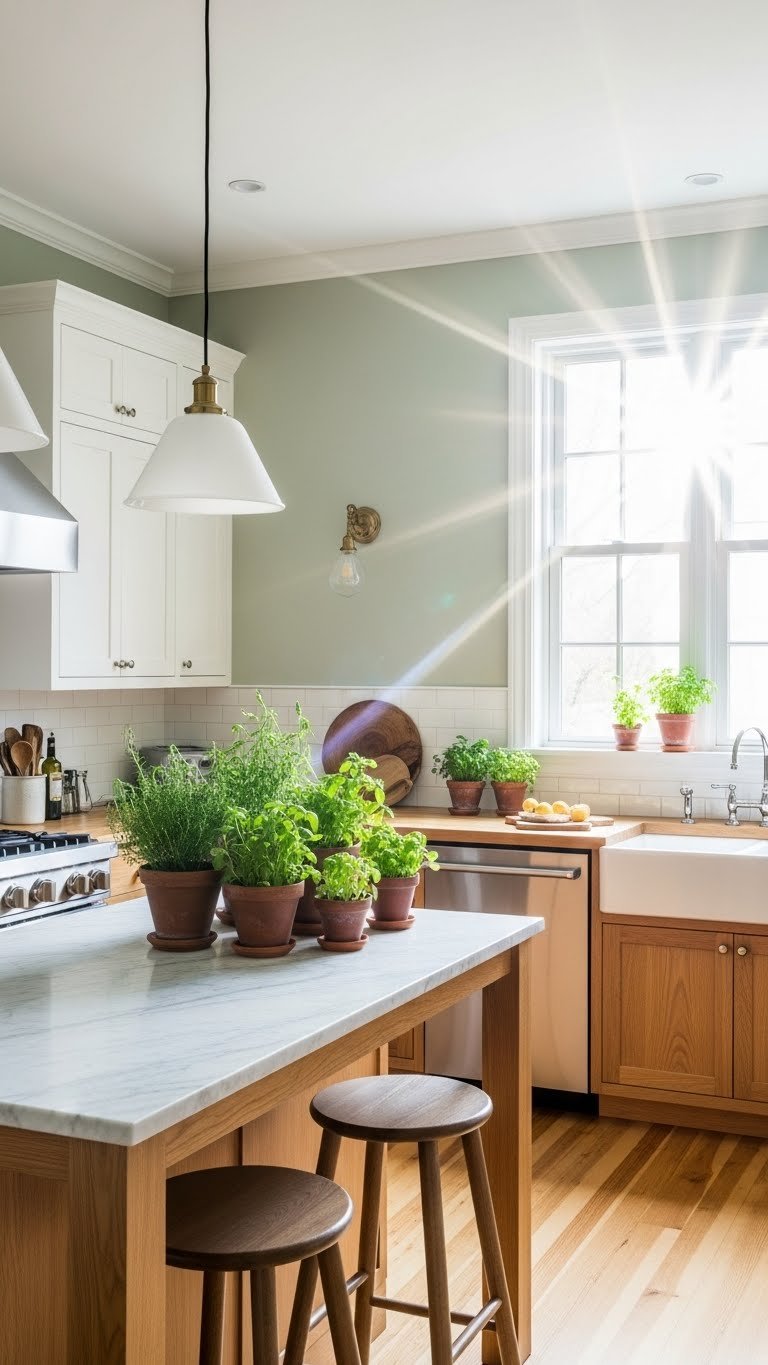
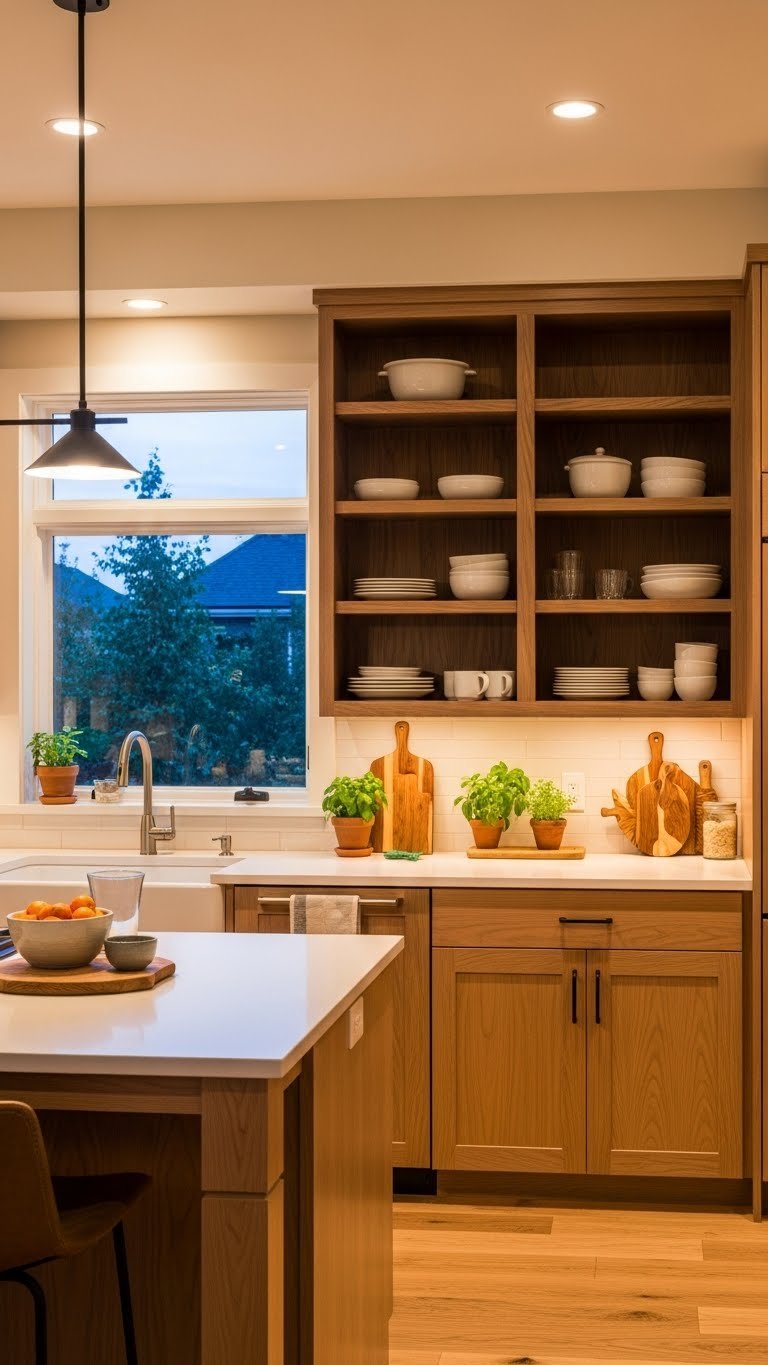
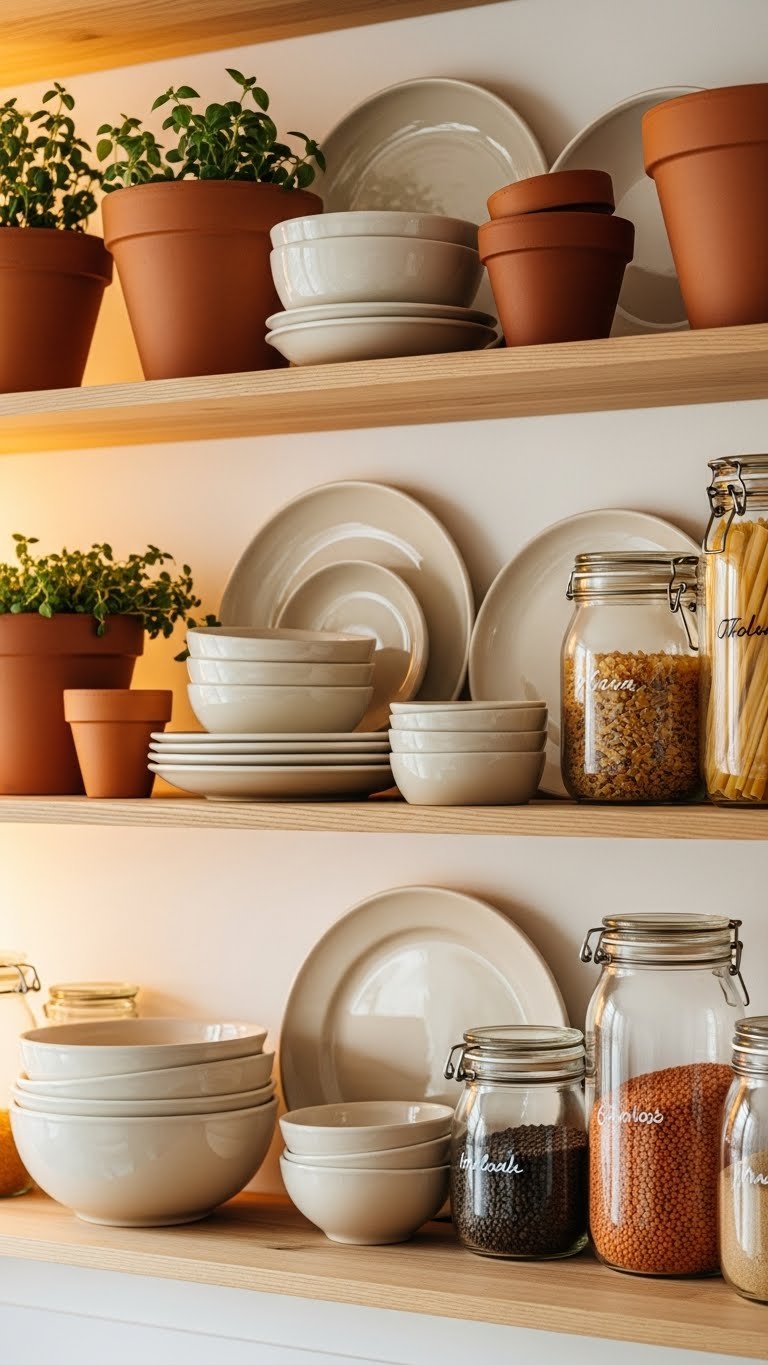
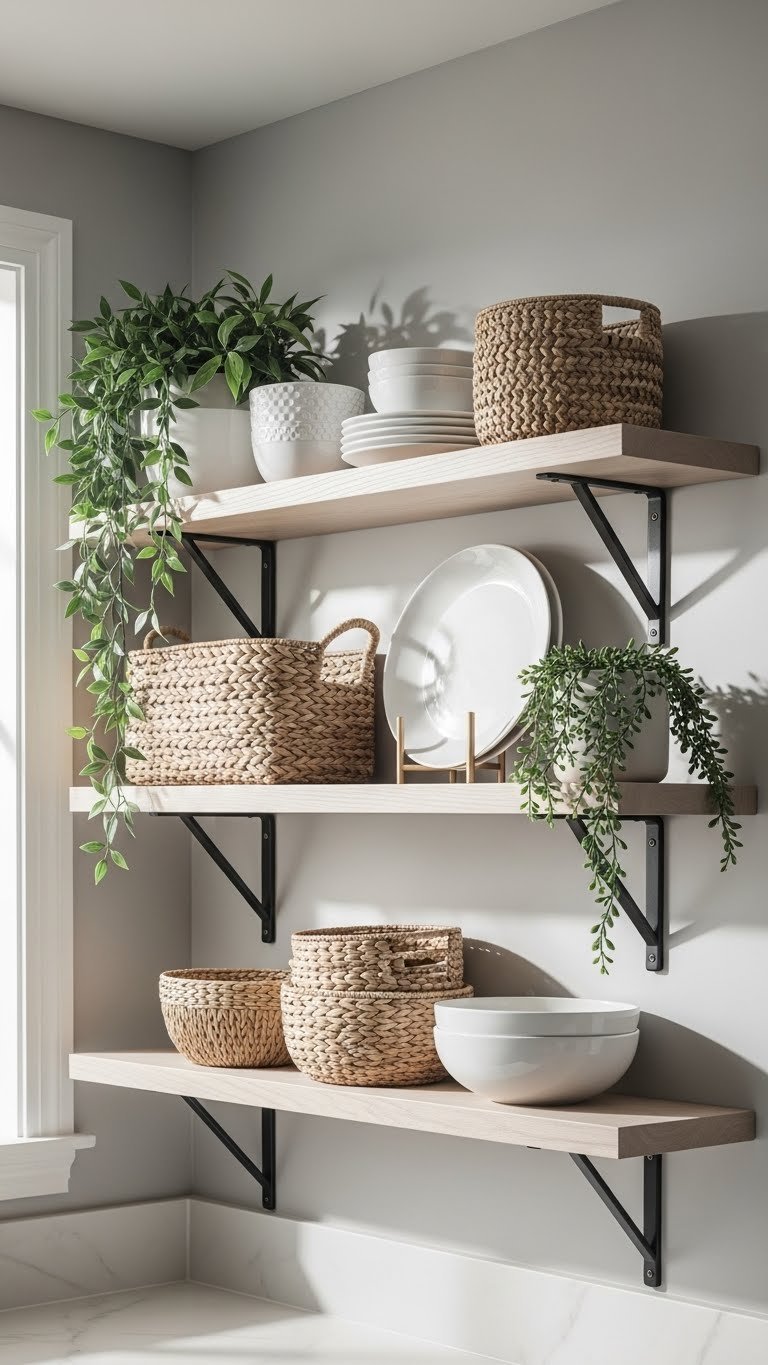
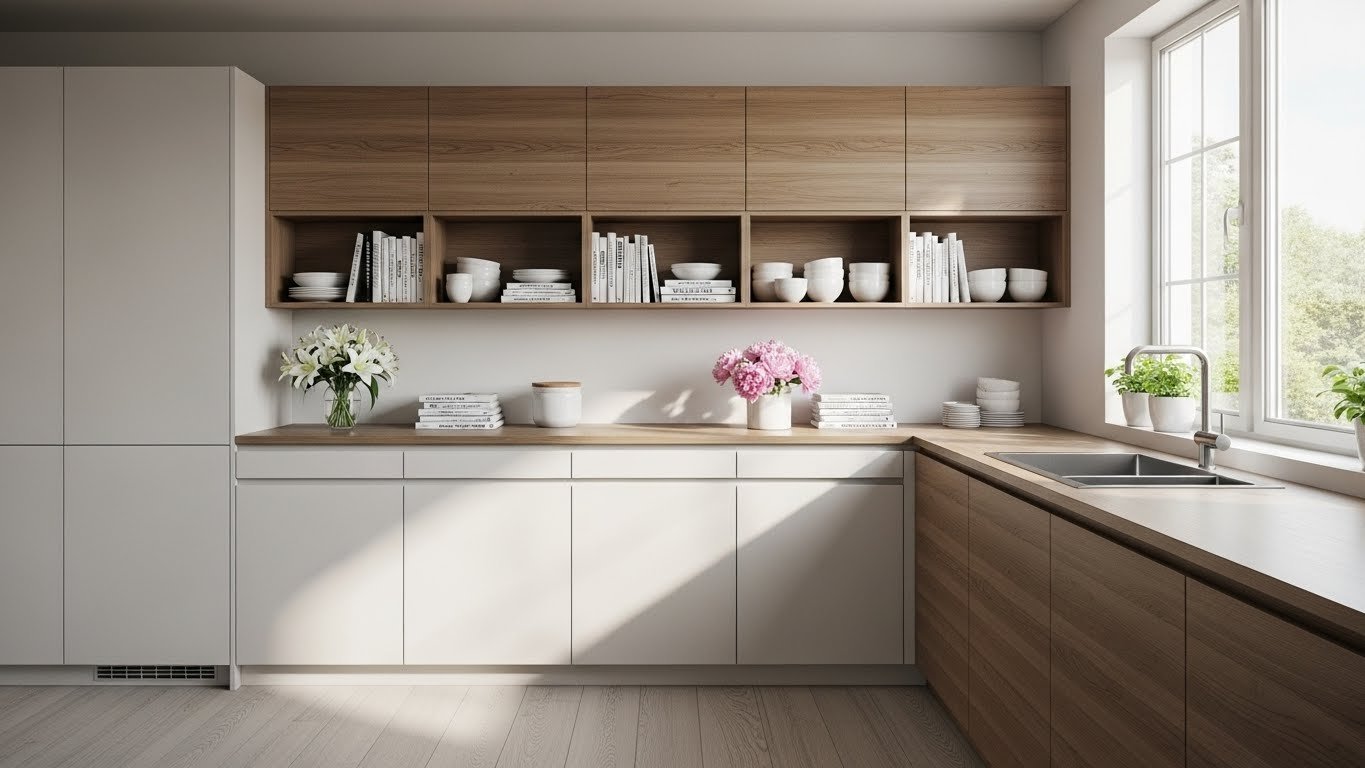
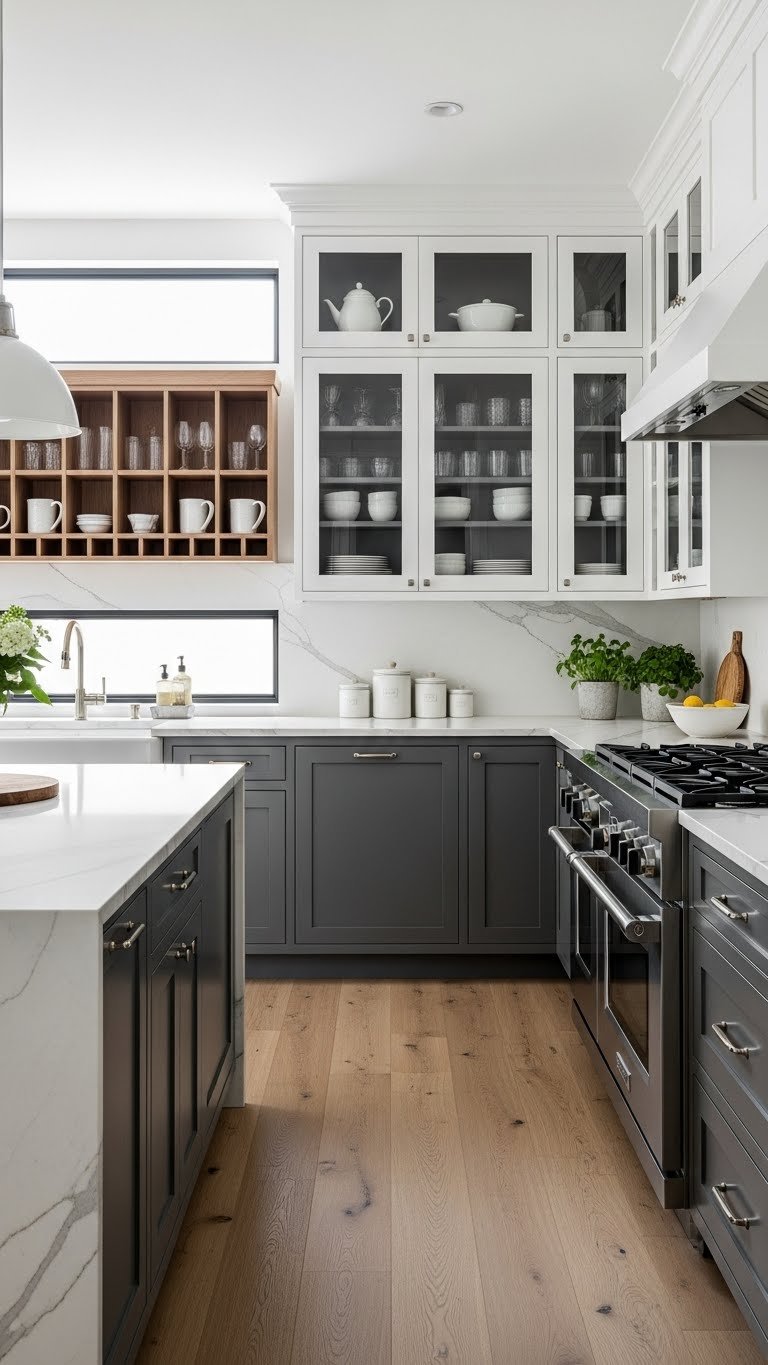
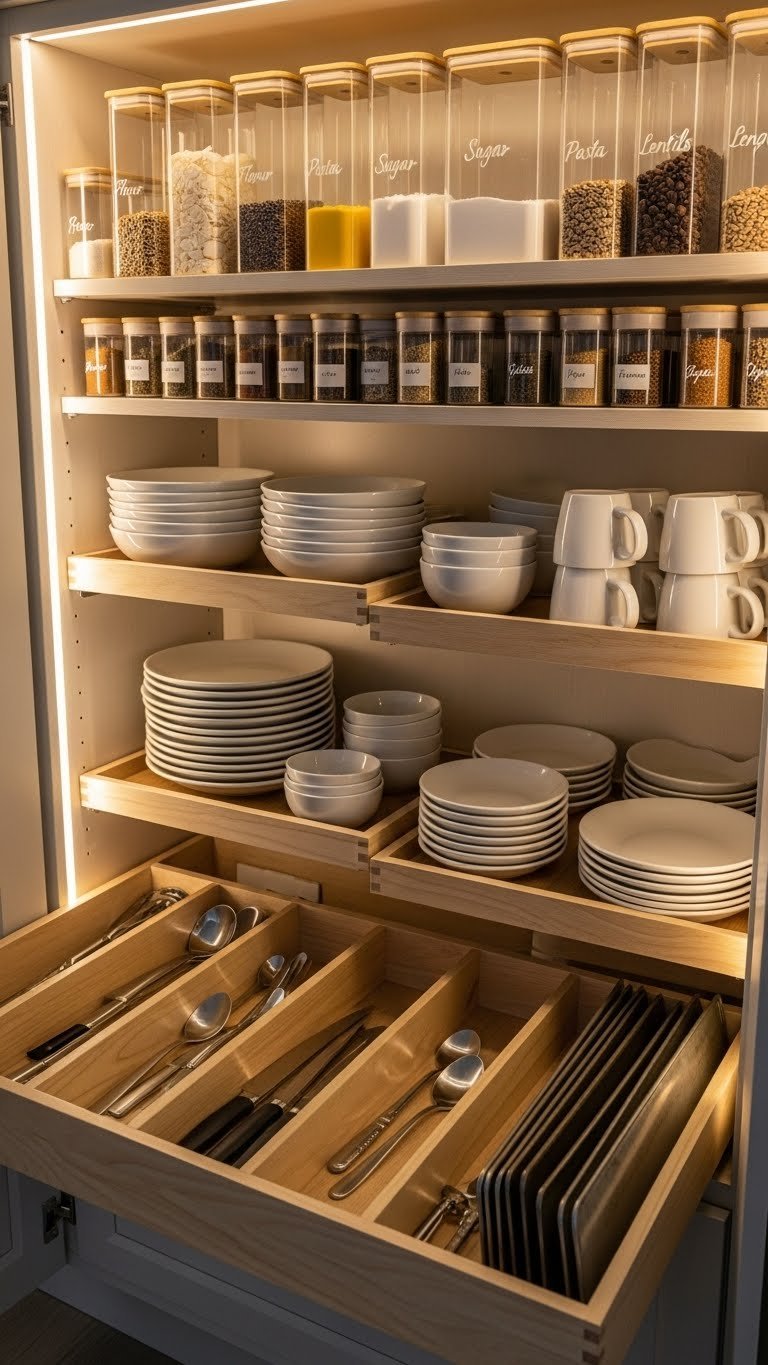
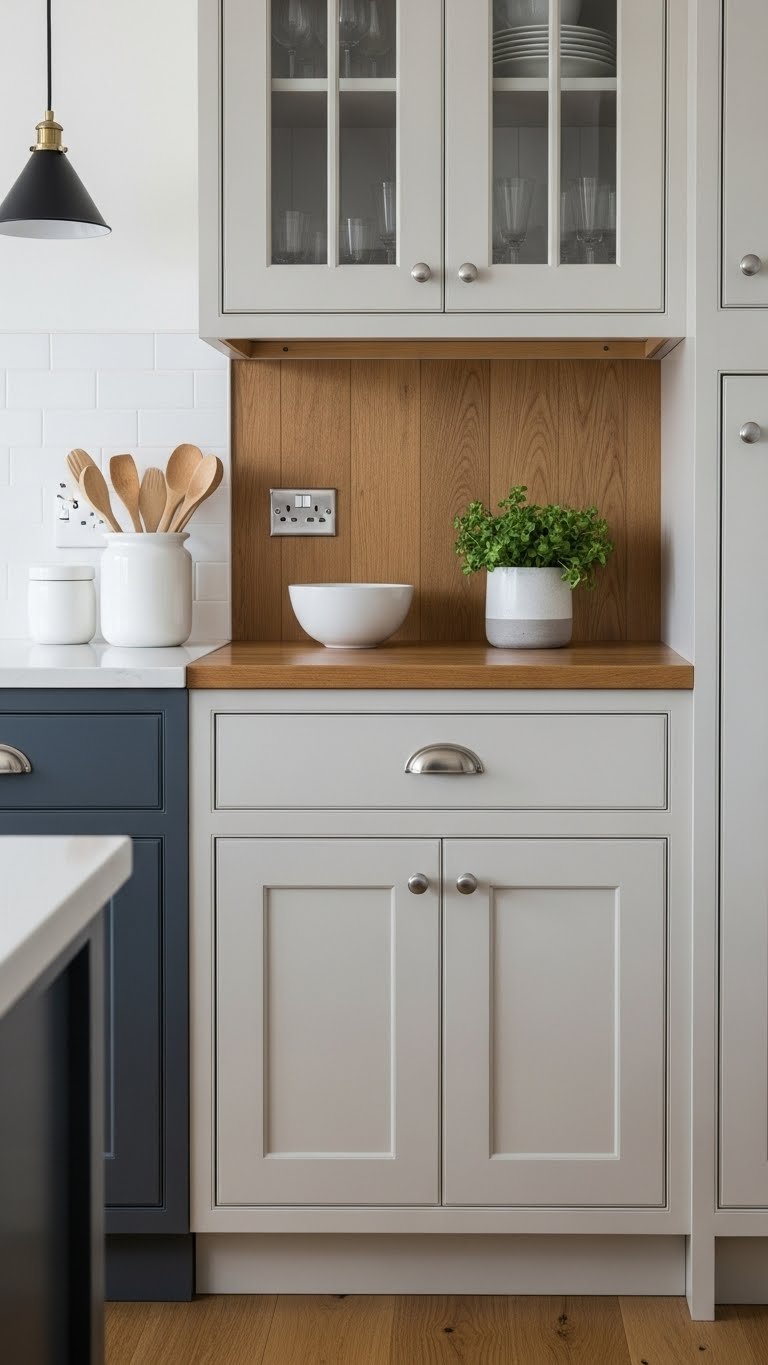
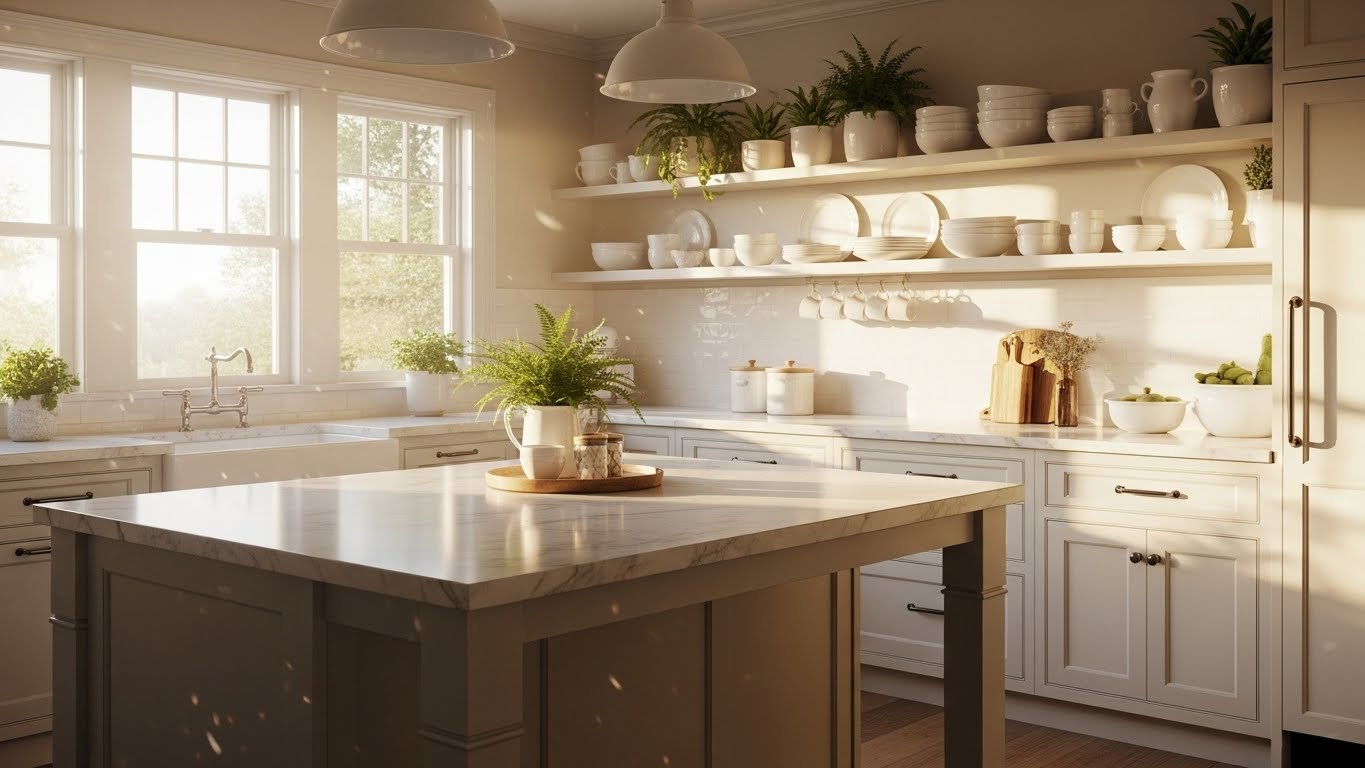
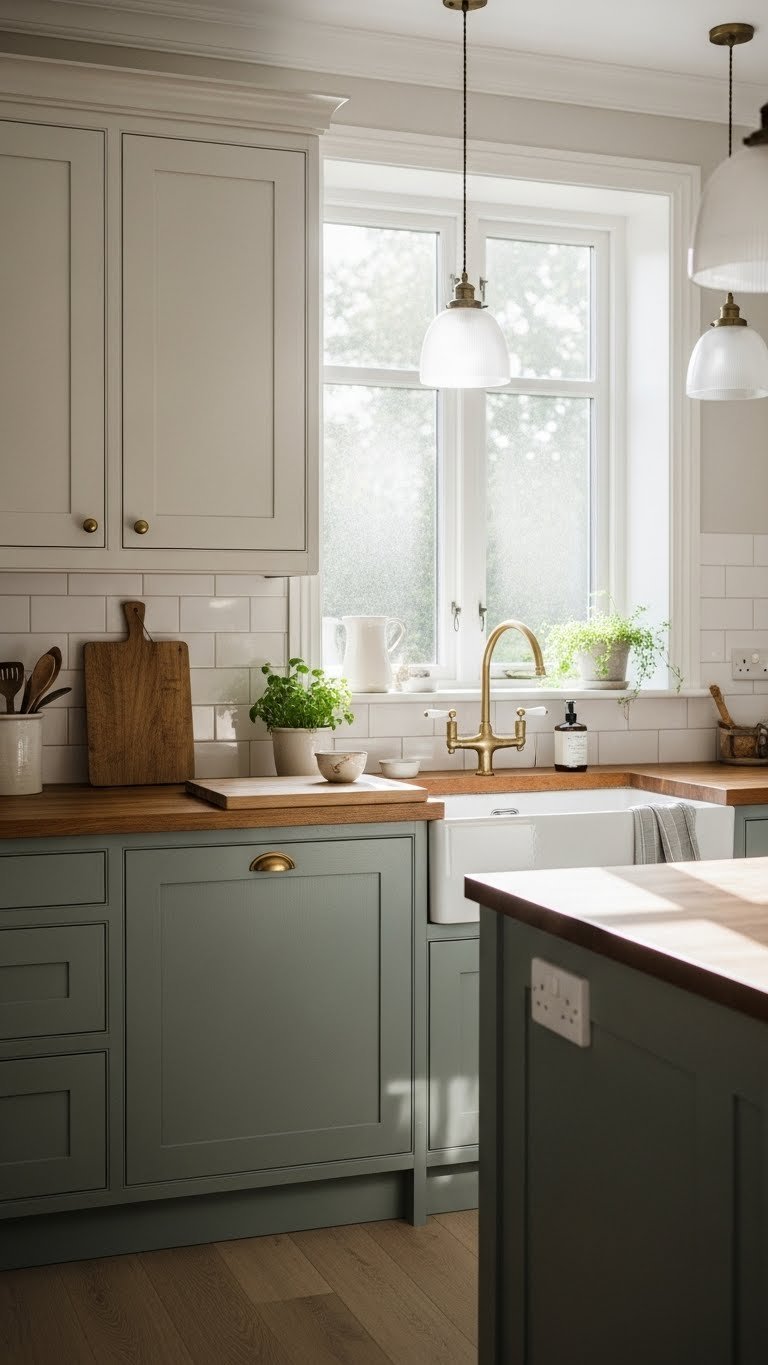
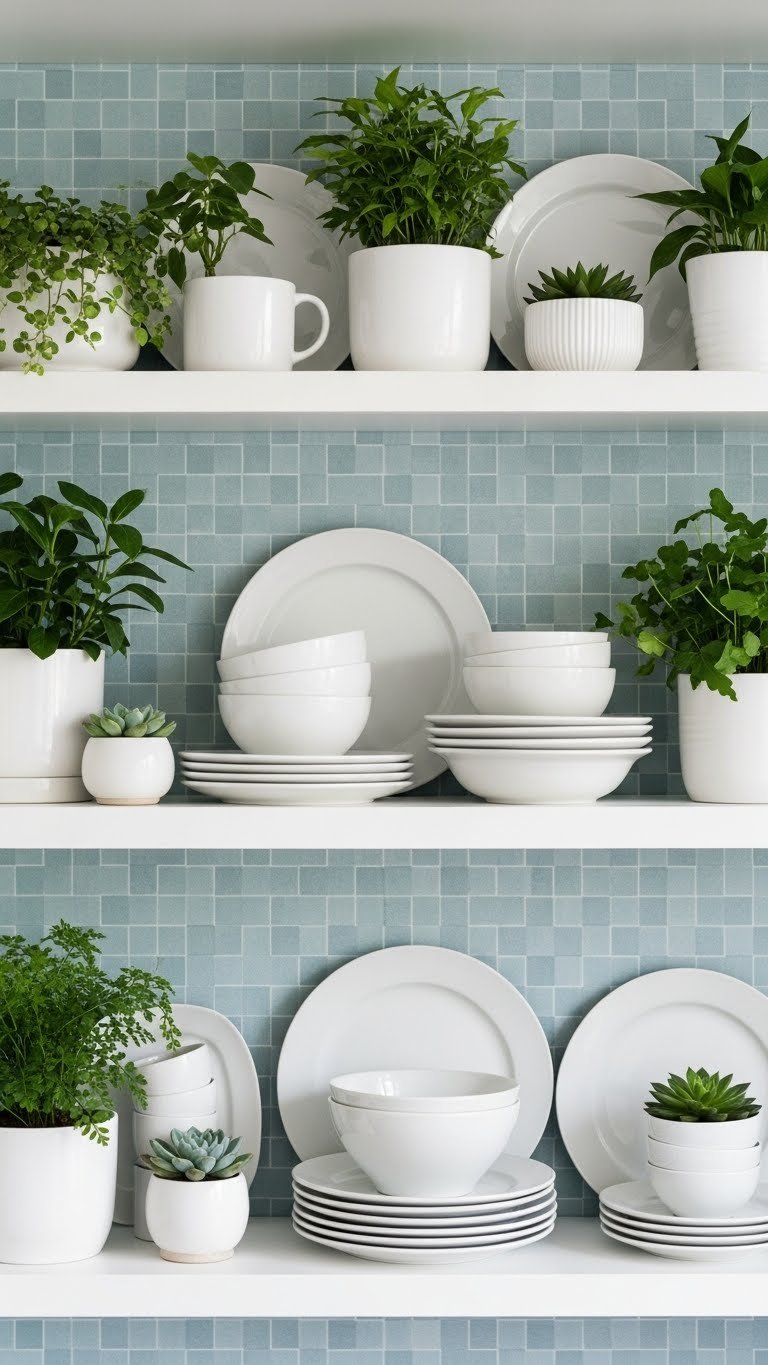
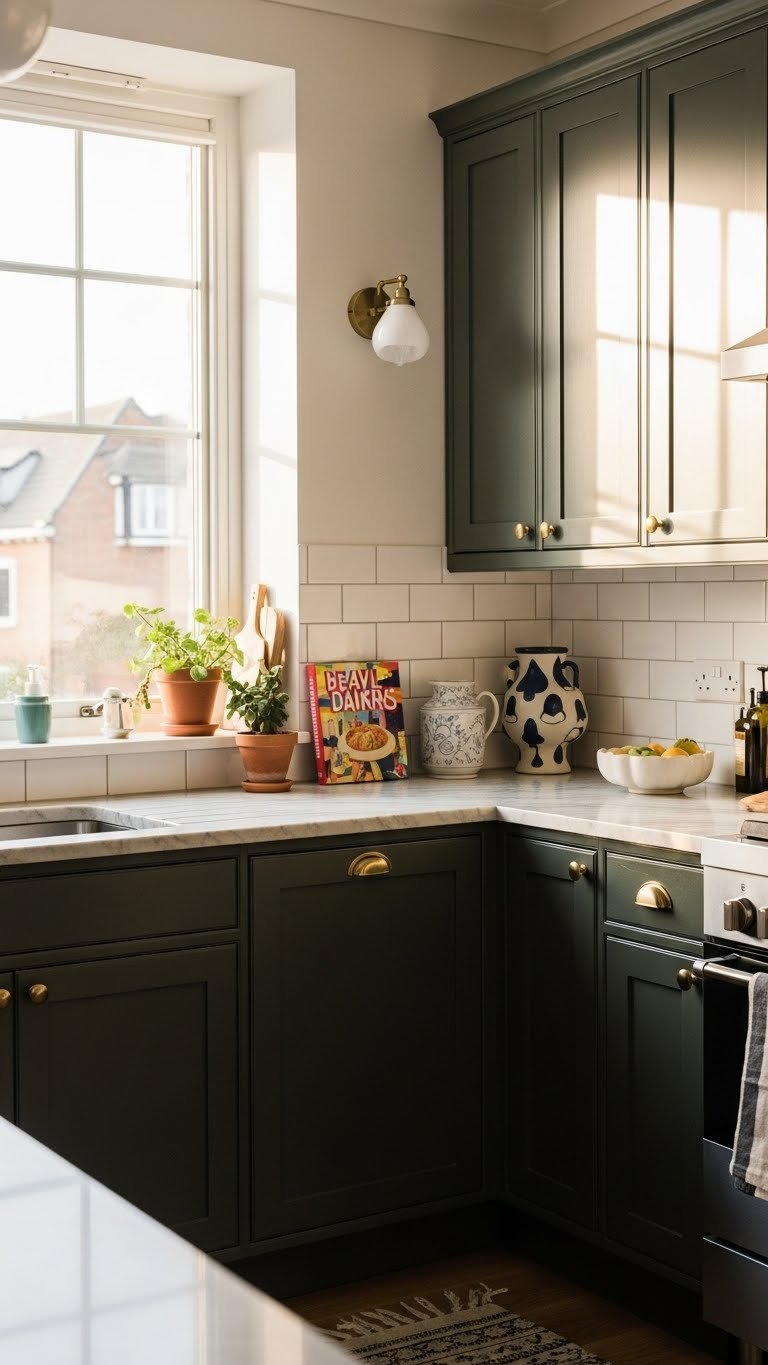
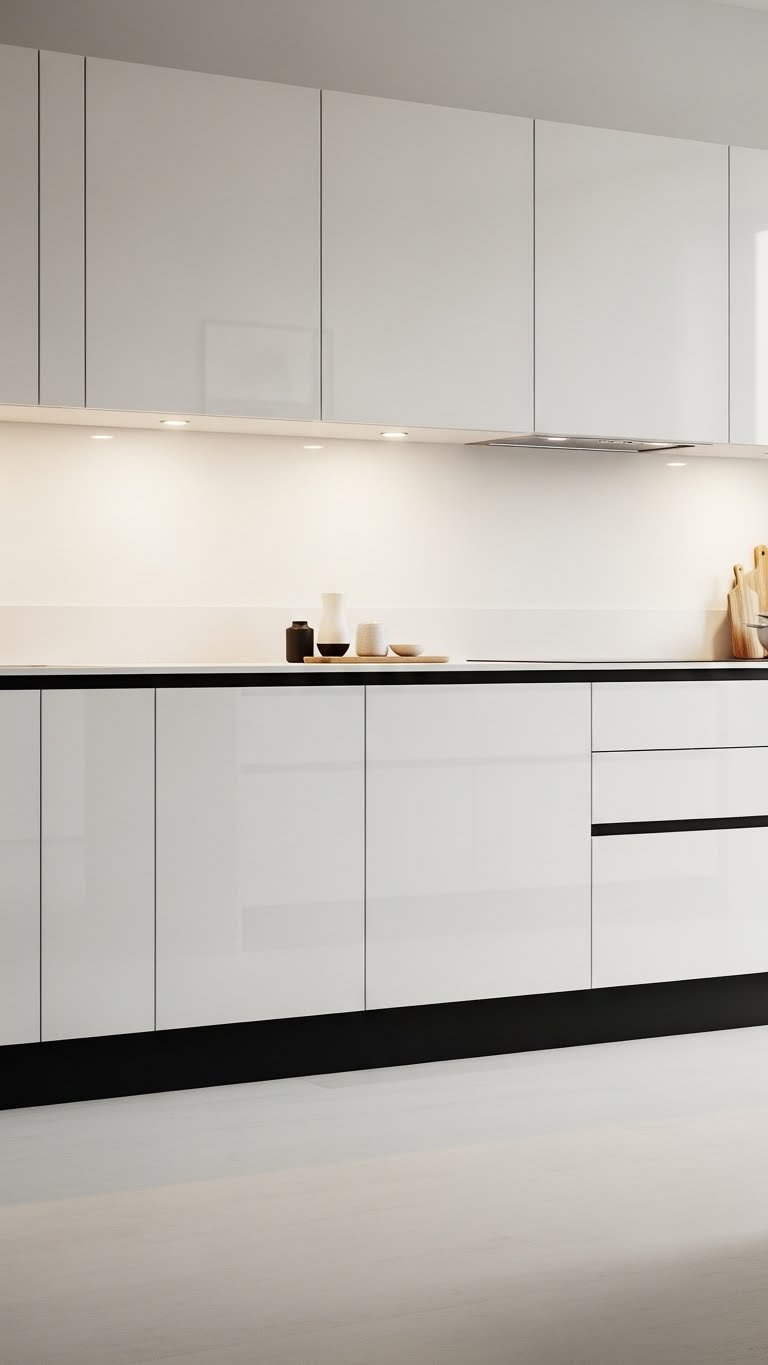
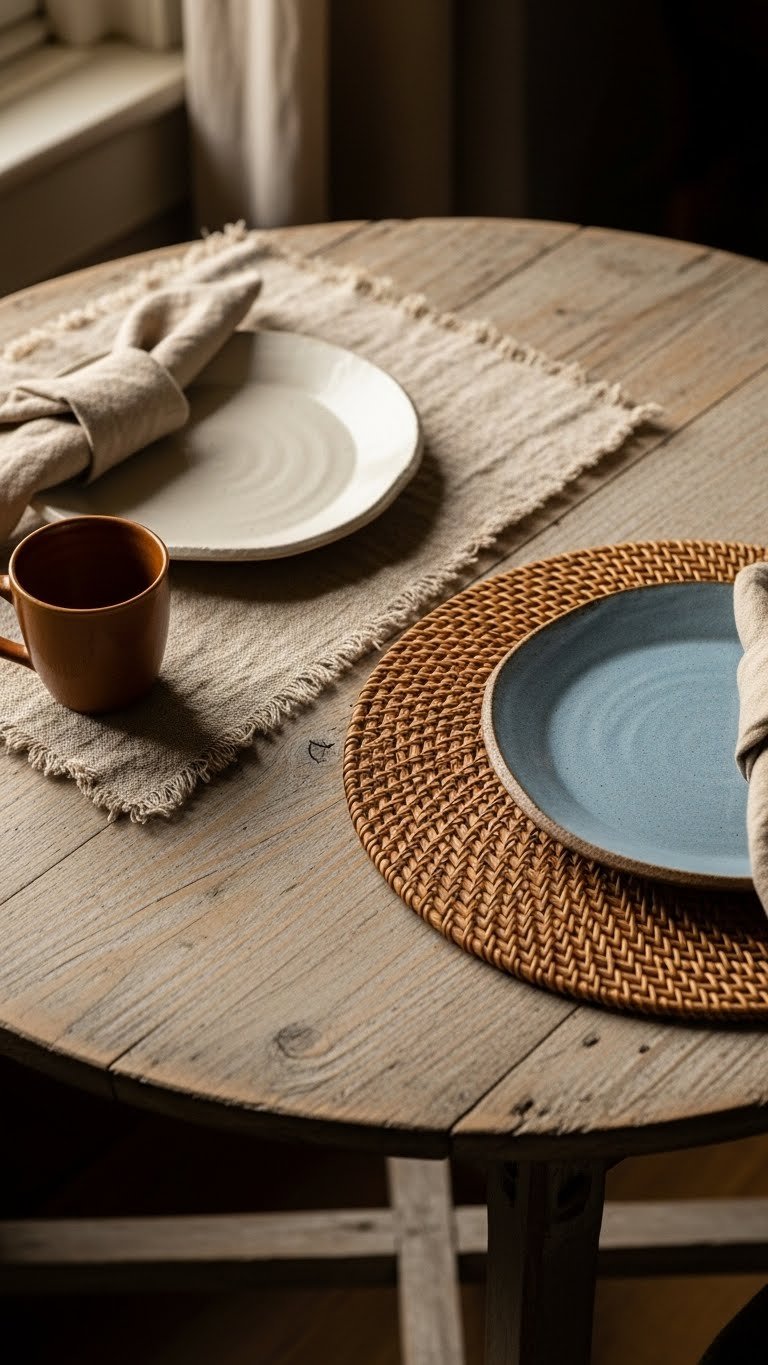
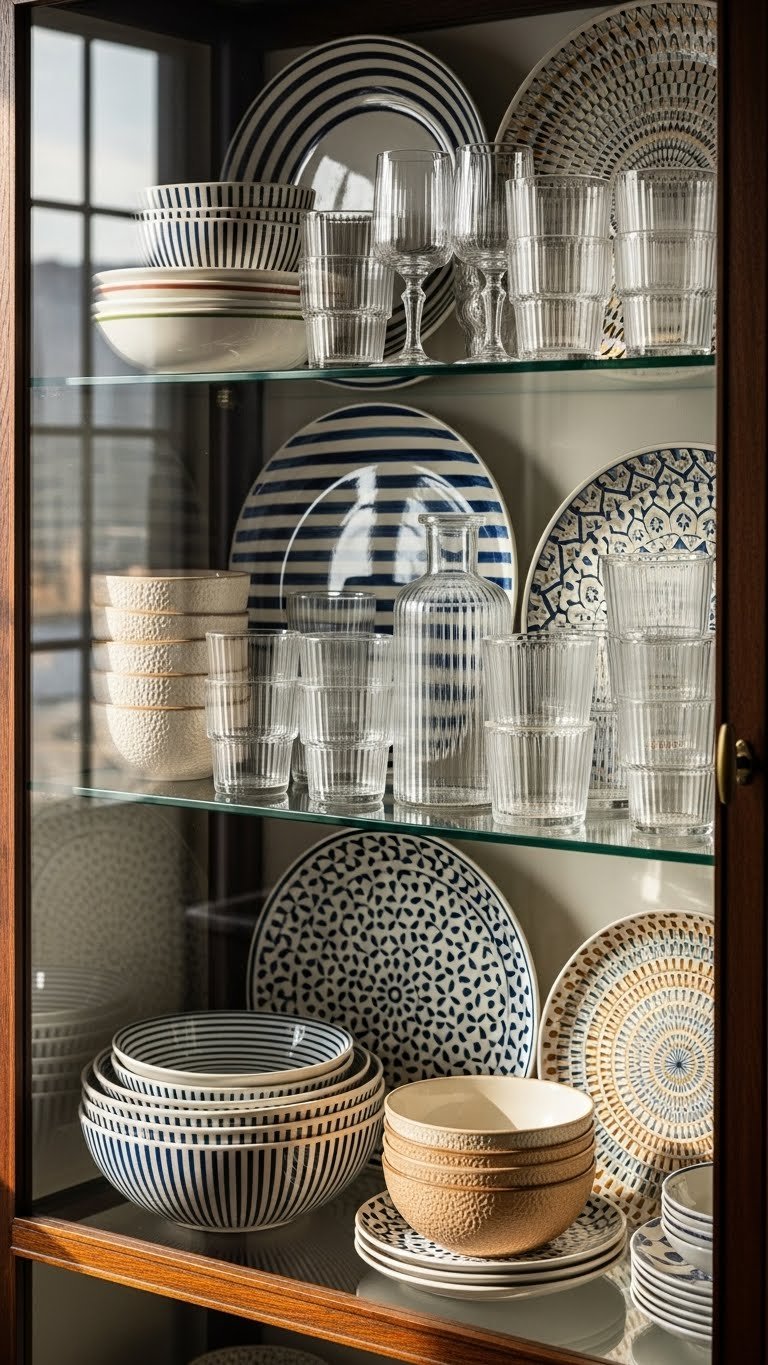
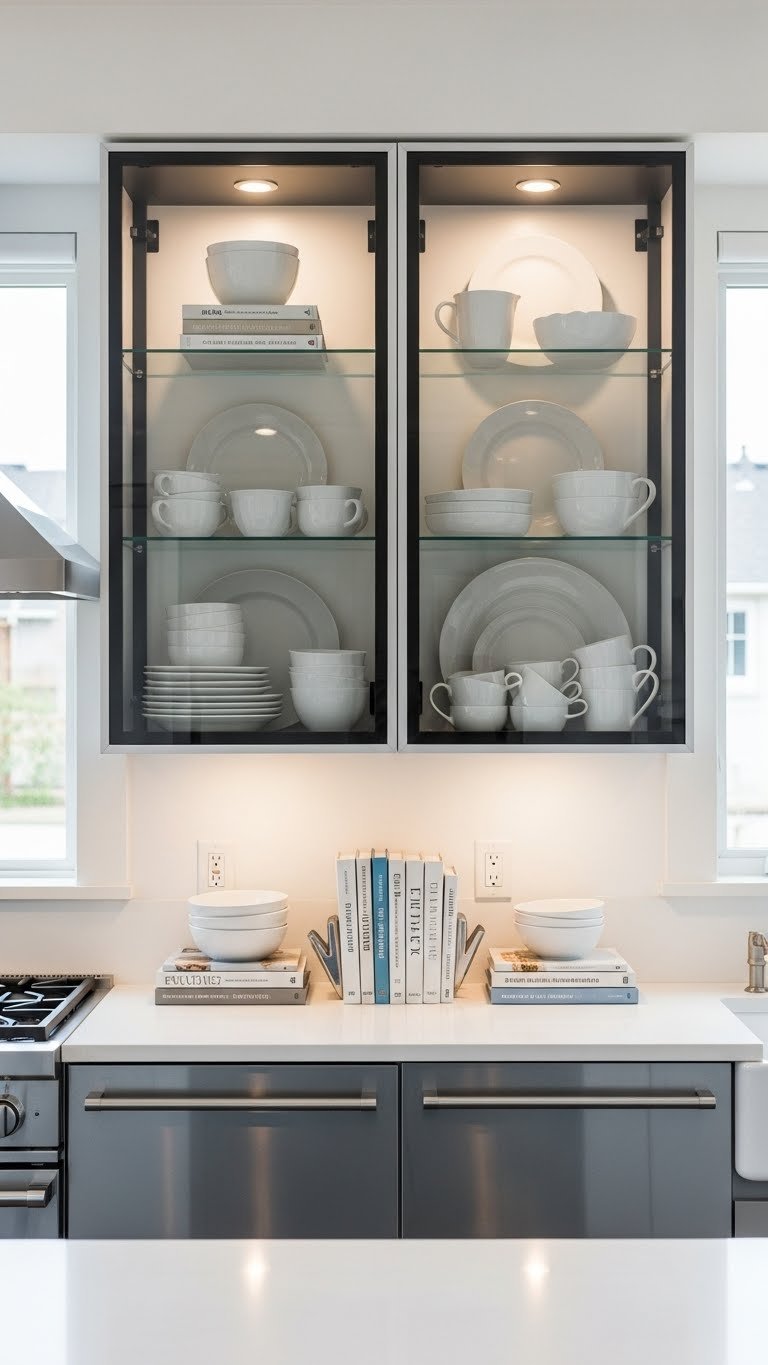
1. Display White Dishware Against Earthy Backgrounds

White dishes against a colored or natural wood backdrop create visual contrast that photographs beautifully. This works because the white stands out while the background prevents the cabinet from looking sterile or boring.
Remove the original backing or add a removable adhesive wallpaper in sage green, soft blue, or leave natural wood exposed. Stack plates vertically or horizontally in odd numbers, then tuck mugs and bowls into the arrangement. This takes about 30 minutes to style and costs $0–$30 if you’re using wallpaper (try Spoonflower or Peel & Stick options from Target). If you’re renting, skip the wallpaper and simply arrange items on the existing backing.
The contrast makes each piece feel intentional, and your everyday dishes become décor. Plus, you know exactly where everything is when you need it.
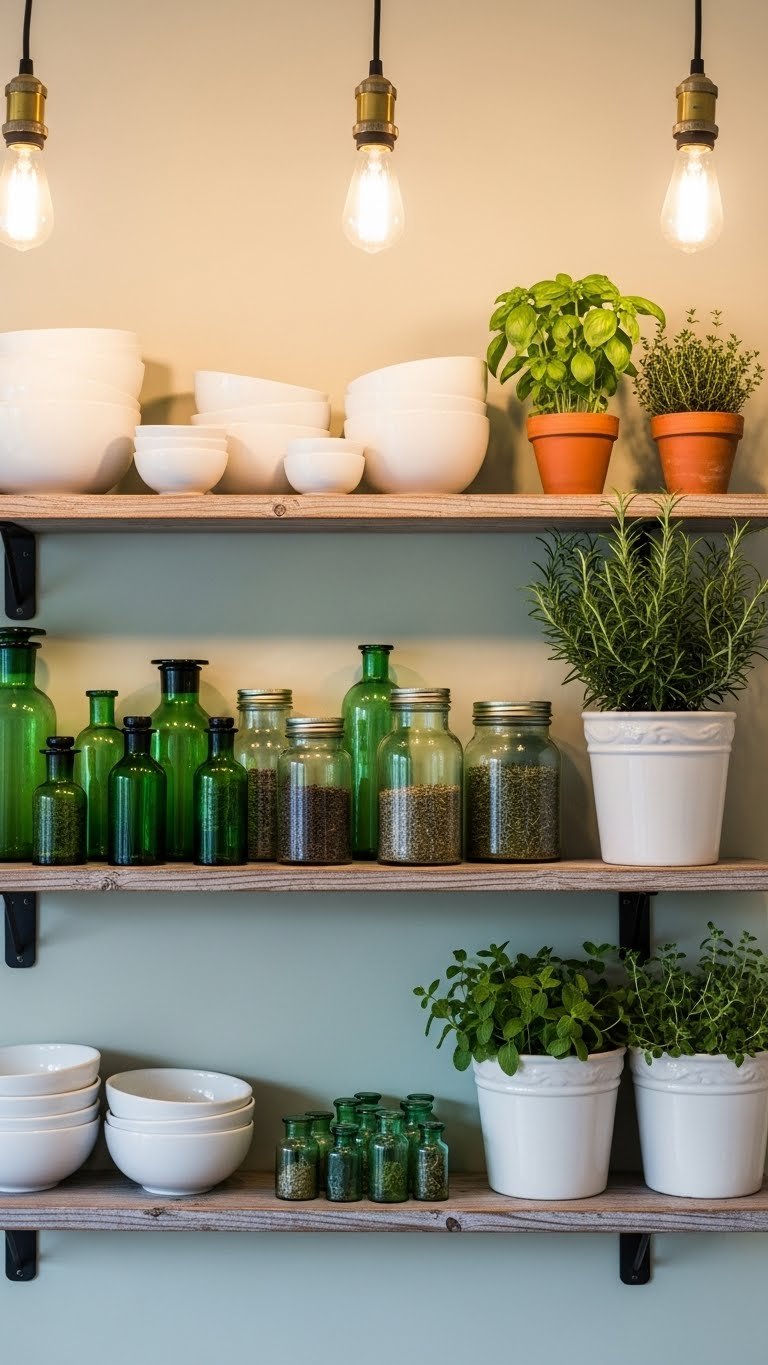
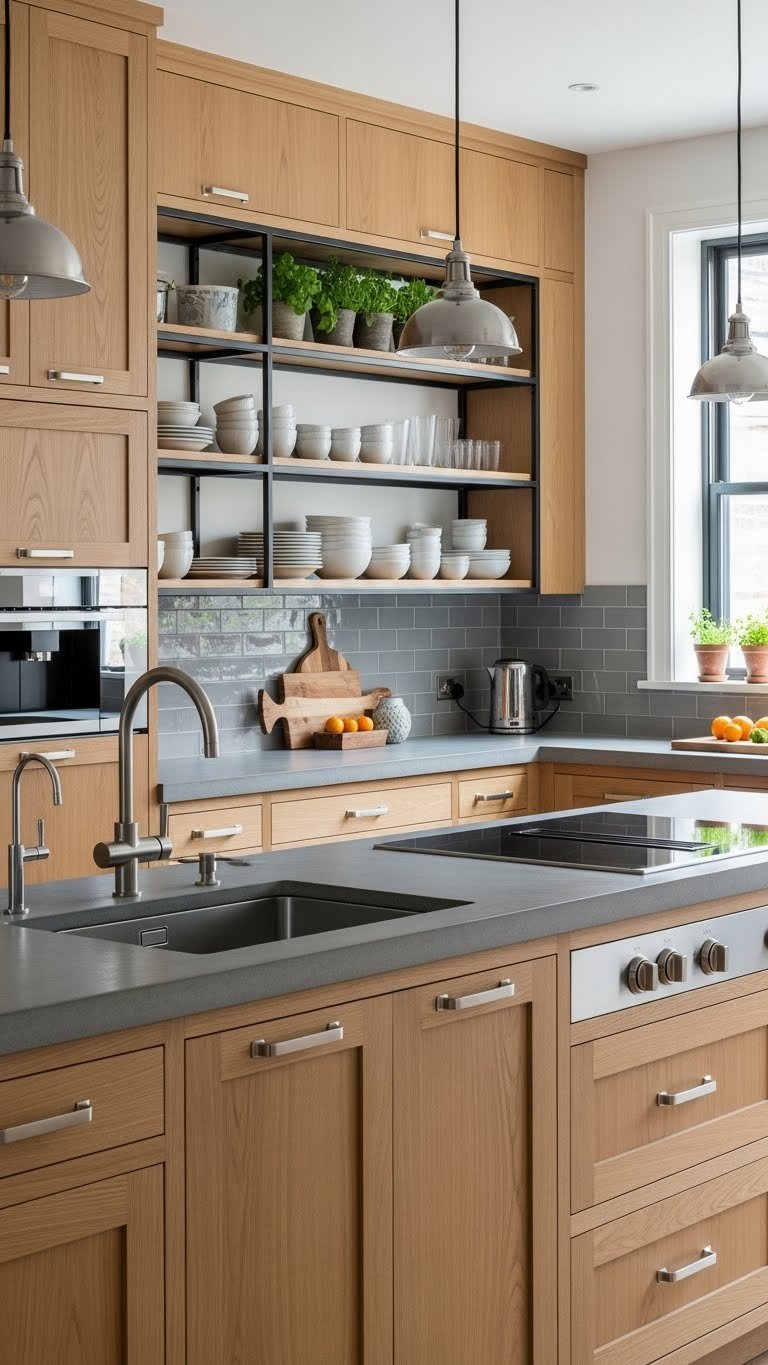
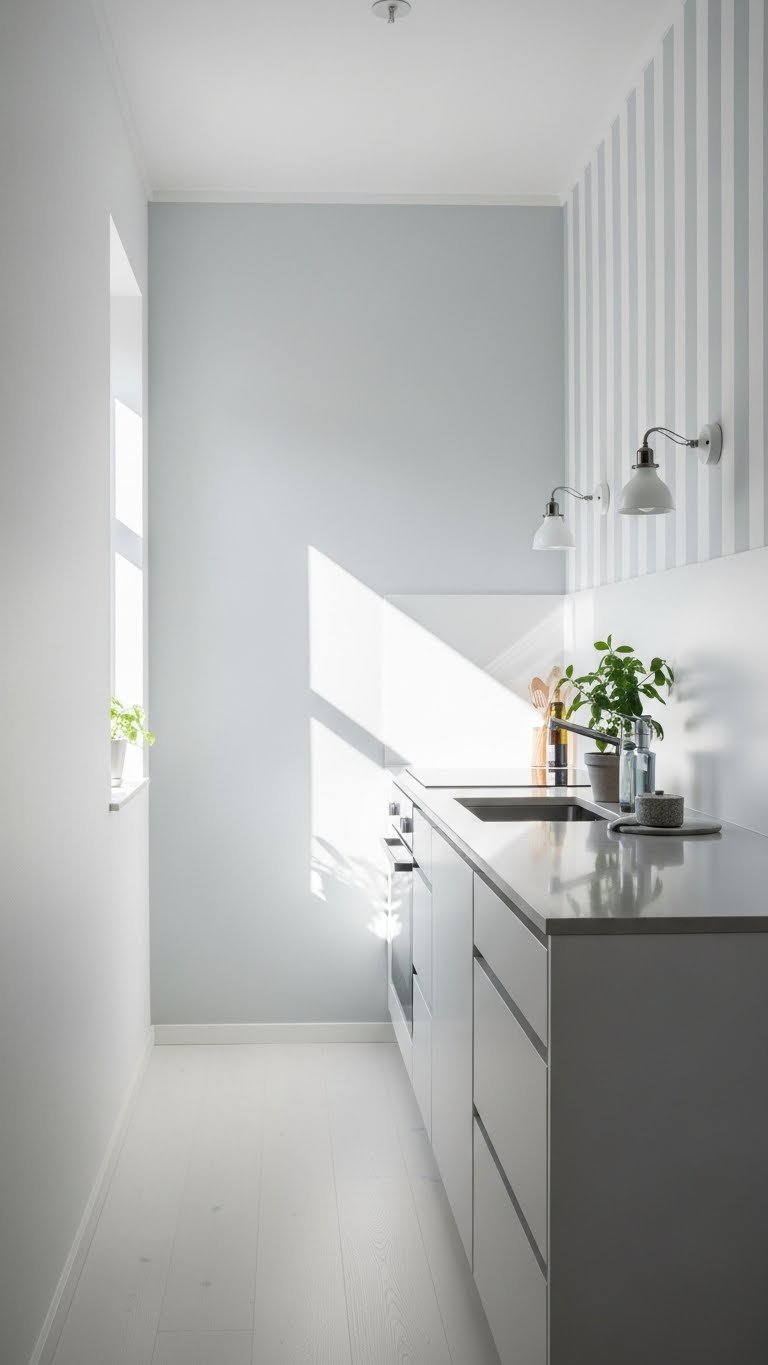
2. Mix Open Shelving With Glass Doors for Balance
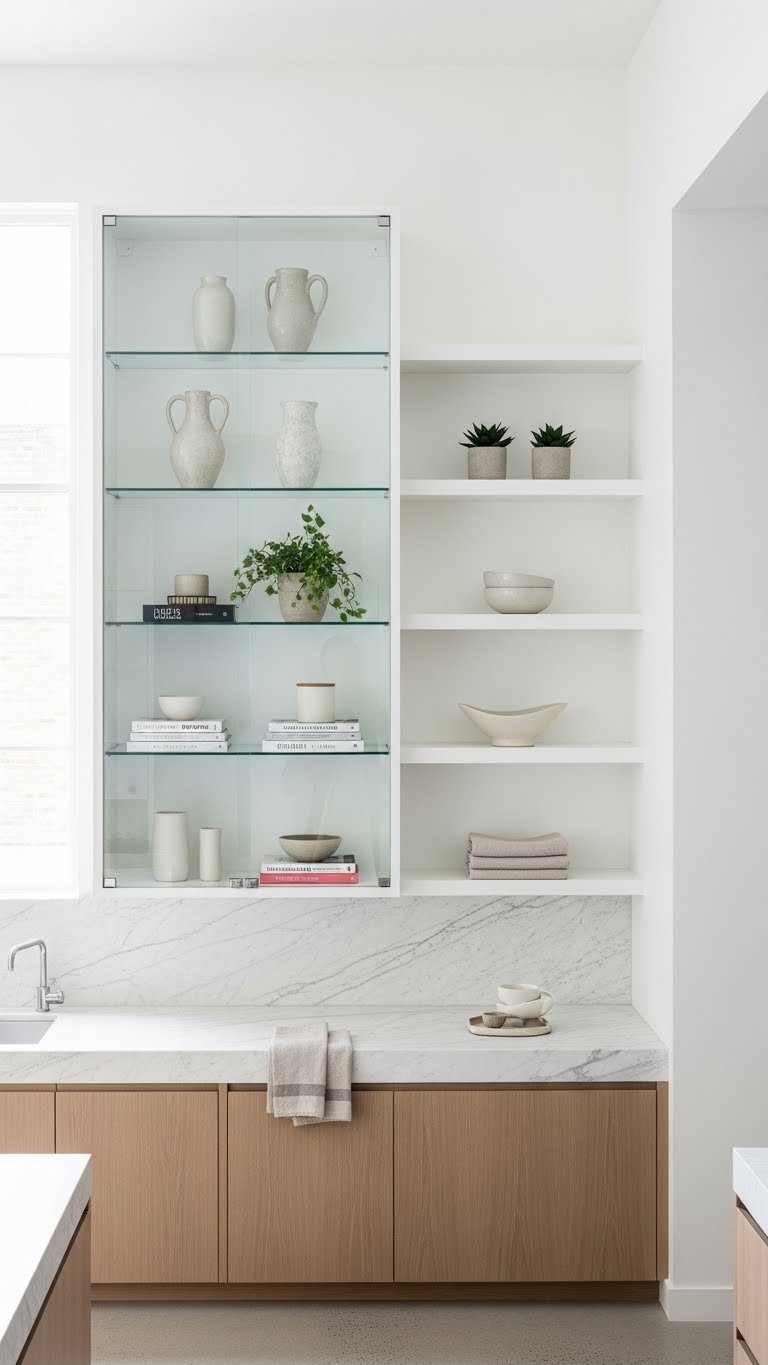
Alternating glass-front cabinets with open shelving (no doors at all) prevents the space from feeling too enclosed or display-heavy. Open shelves give your eye a break while glass doors protect and showcase what matters most.
If you’re replacing existing cabinets, discuss this mix with your contractor—many modern kitchens pair one or two glass-front sections with open shelving elsewhere. Cost varies based on your cabinet choice: IKEA’s glass-front units run $50–$150 per unit, while custom options start at $300+. For renters, floating shelves work great alongside a glass-front cabinet unit.
This balance makes your kitchen feel curated without overwhelming the senses. You get the display factor without the “all eyes on me” pressure.
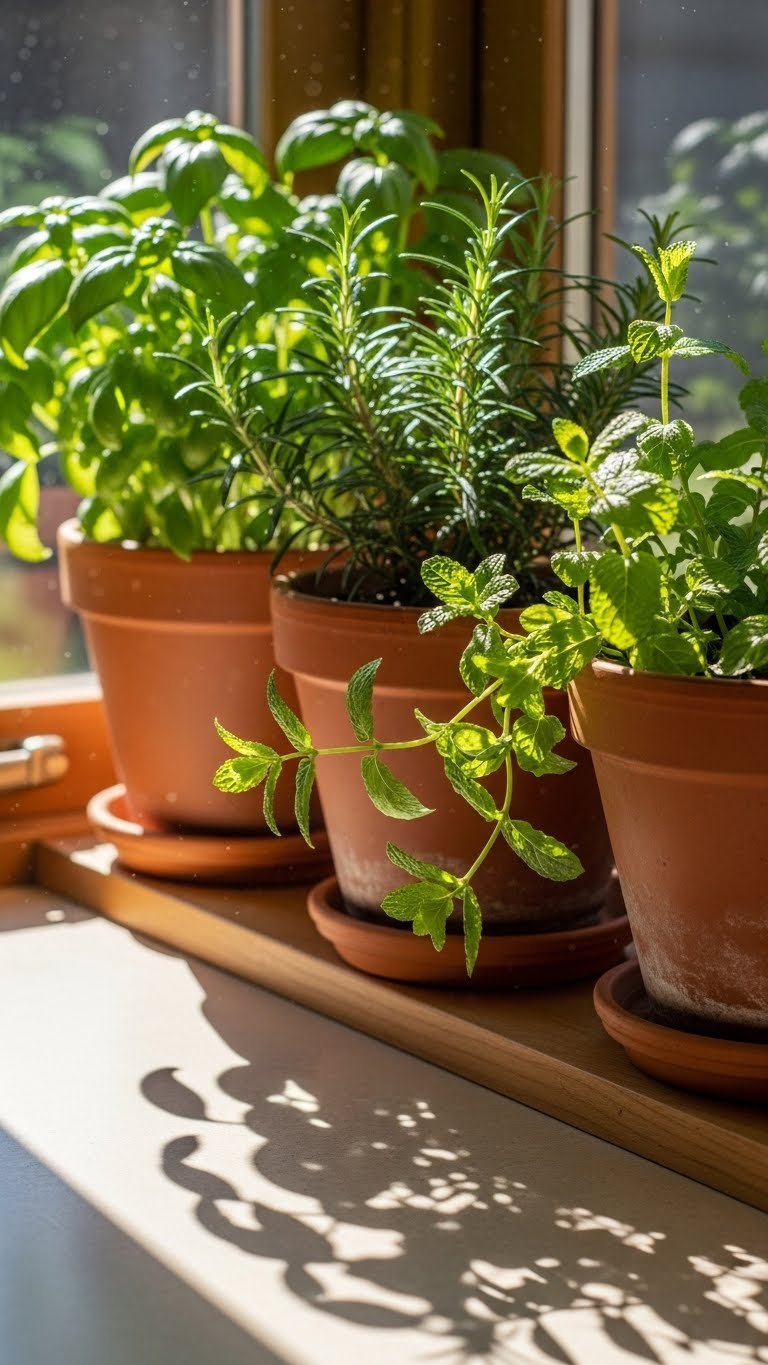
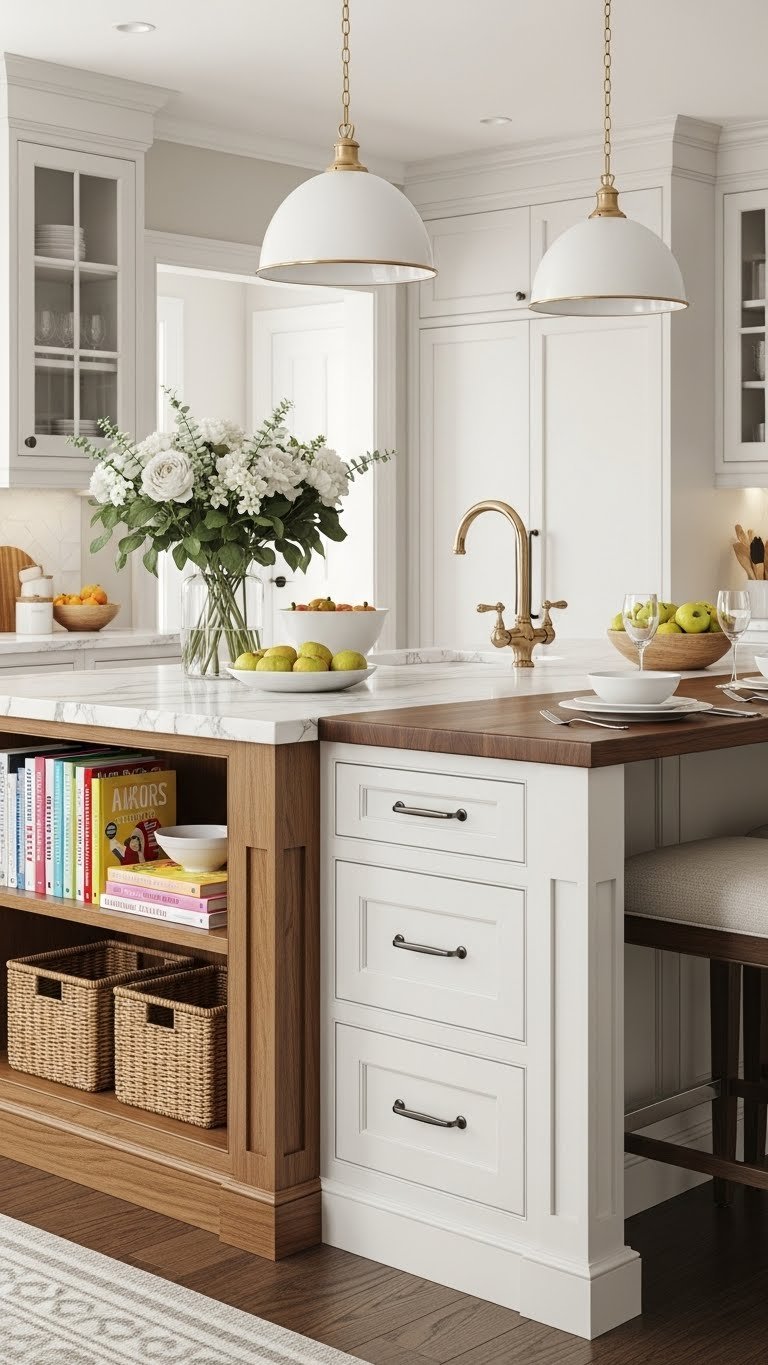
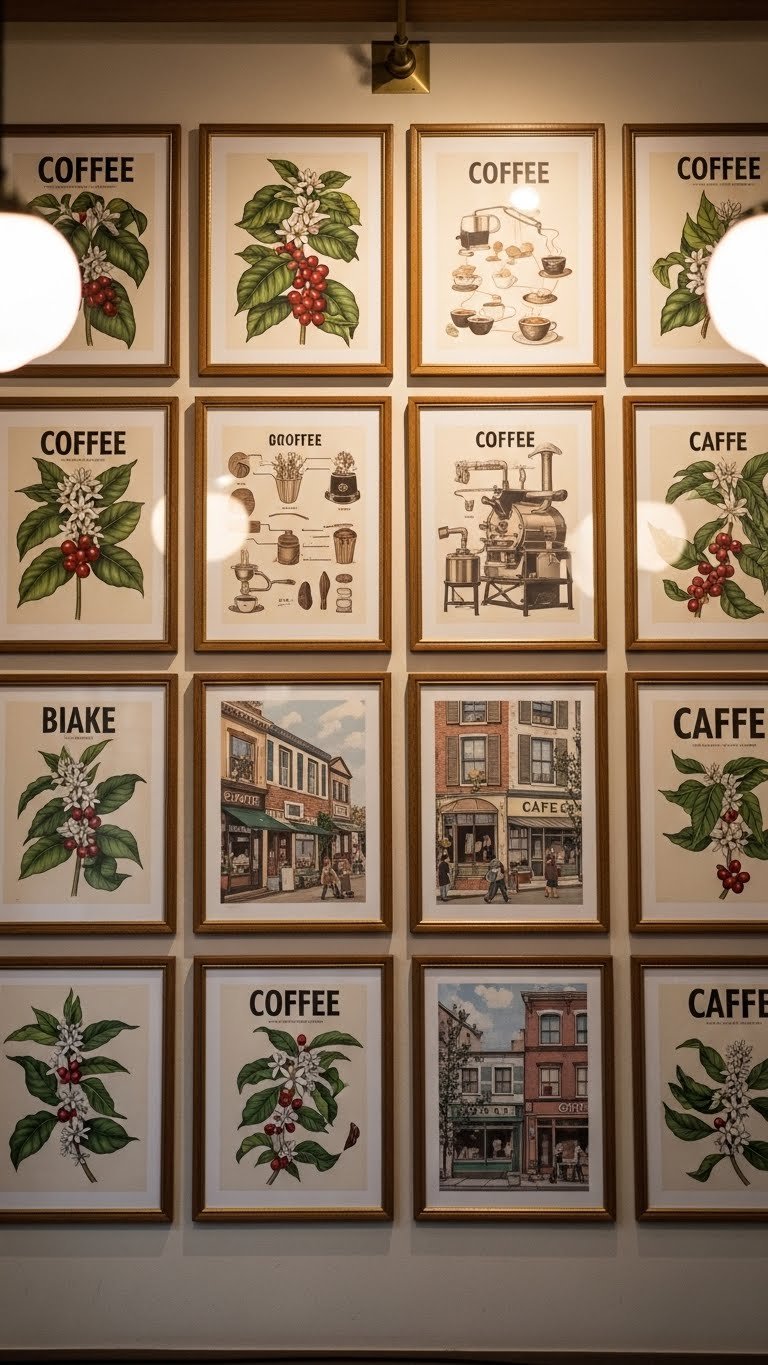
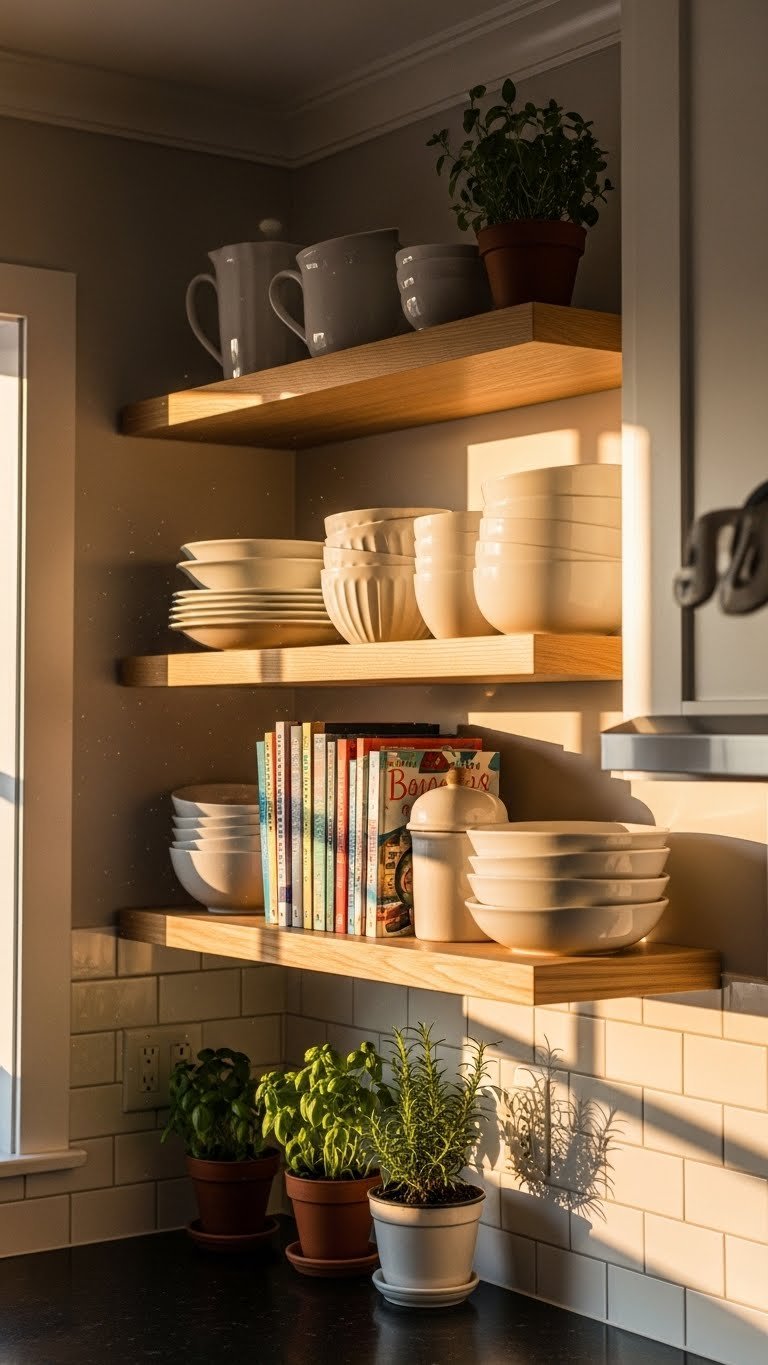
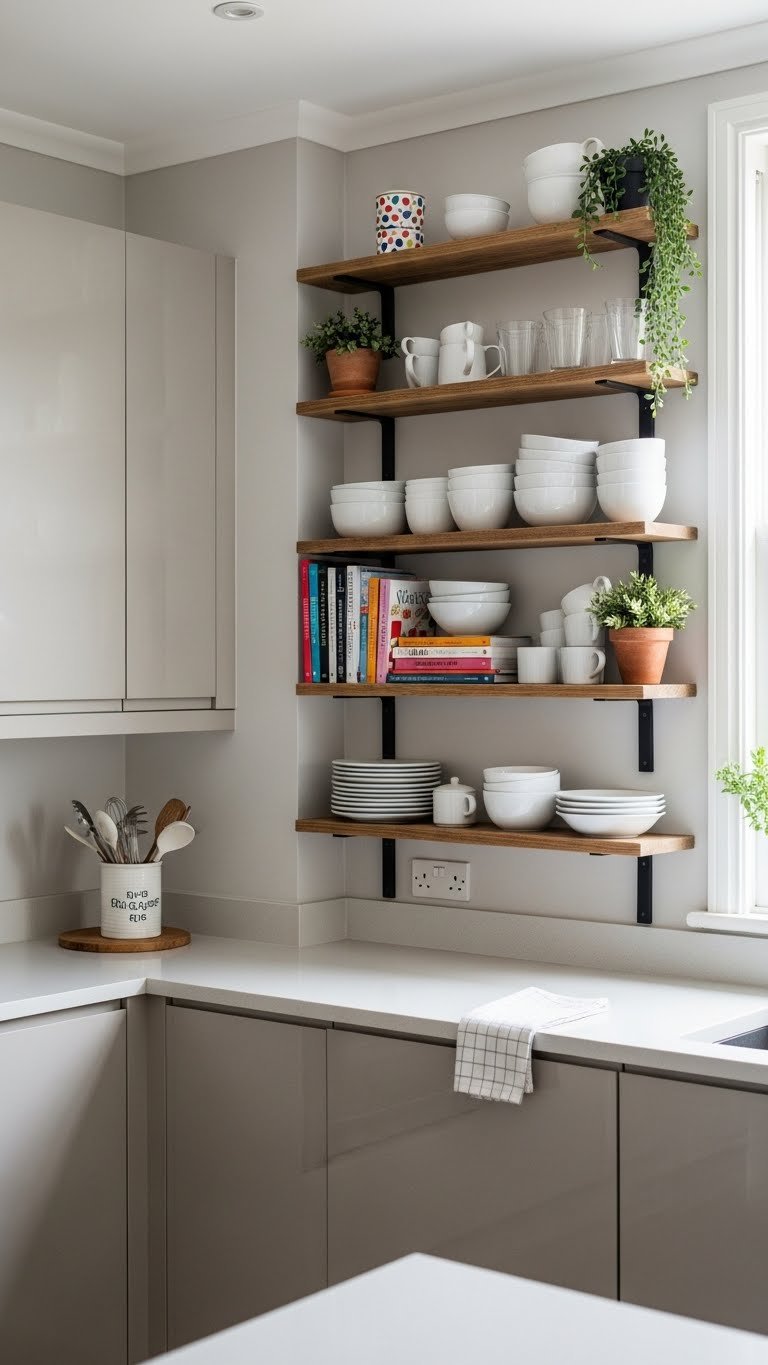
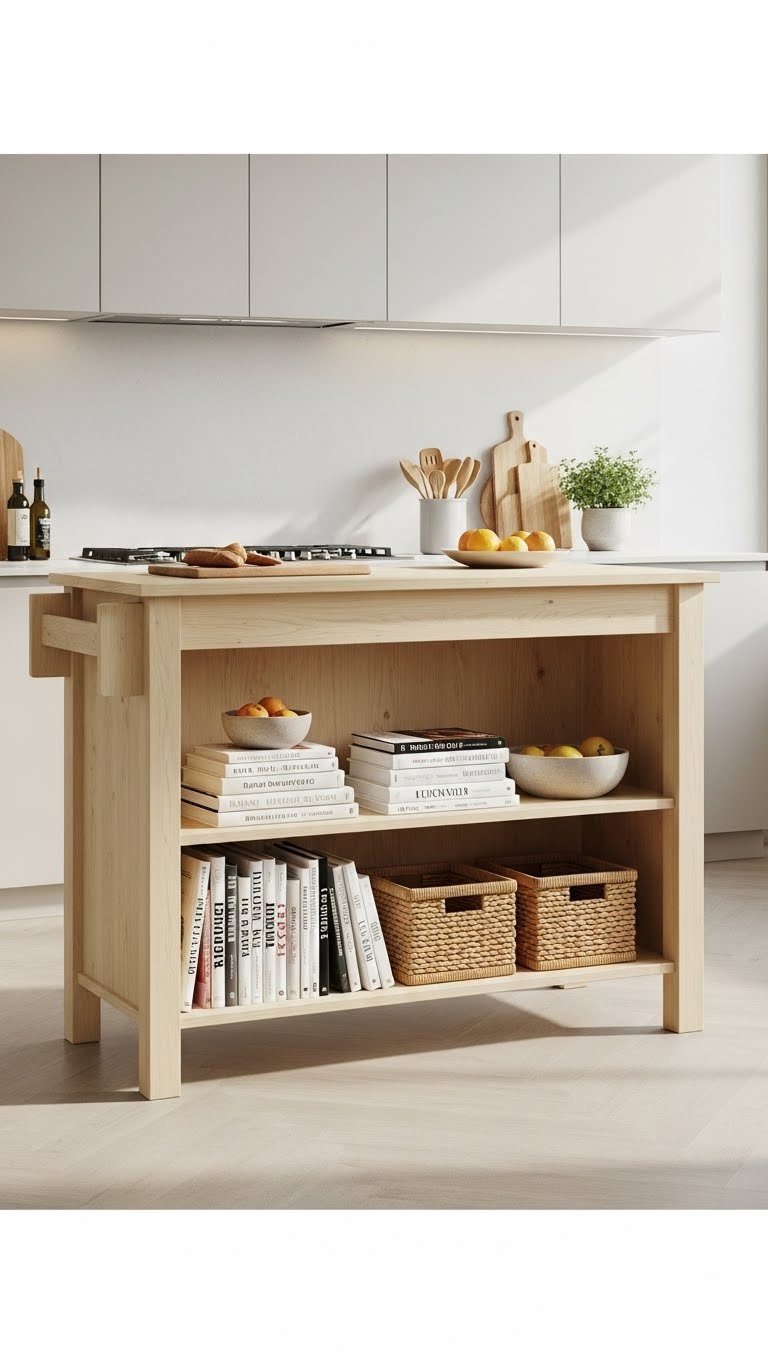
3. Arrange Cookbooks Spine-Out for Color and Personality
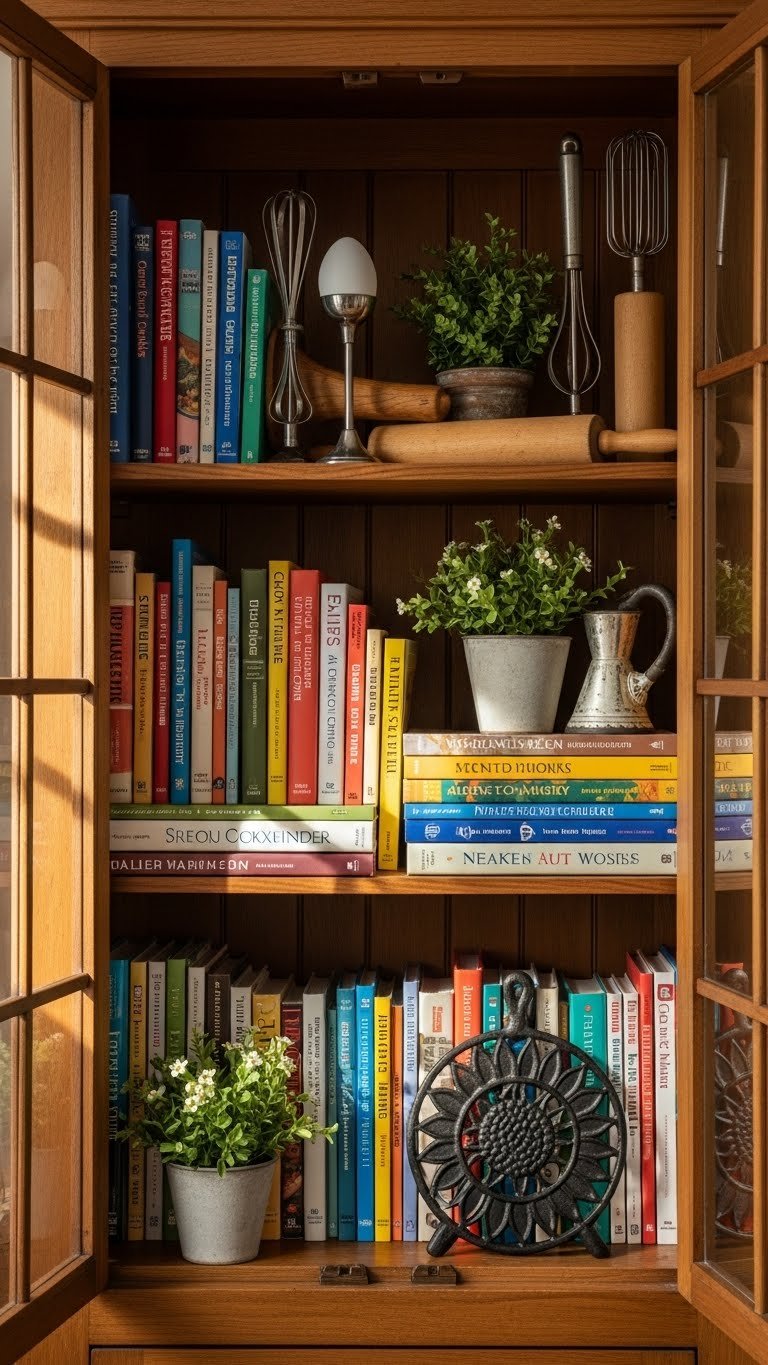
Cookbooks are perfect for glass-front cabinets because they add color, texture, and personality instantly. Spine-out displays make book titles visible and create a gallery effect.
Arrange cookbooks by color family or group by cuisine type for visual rhythm. Mix in small potted herbs, a vintage scale, or a pretty serving spoon between books to break up the lines. This costs $0 (you already own the books) and takes 20 minutes to arrange. If you want new cookbooks, thrift stores and library sales offer them for $1–$3 each.
Your cabinet becomes a conversation starter instead of just storage. It signals that you cook, you’re curious, and your kitchen is a lived-in space.
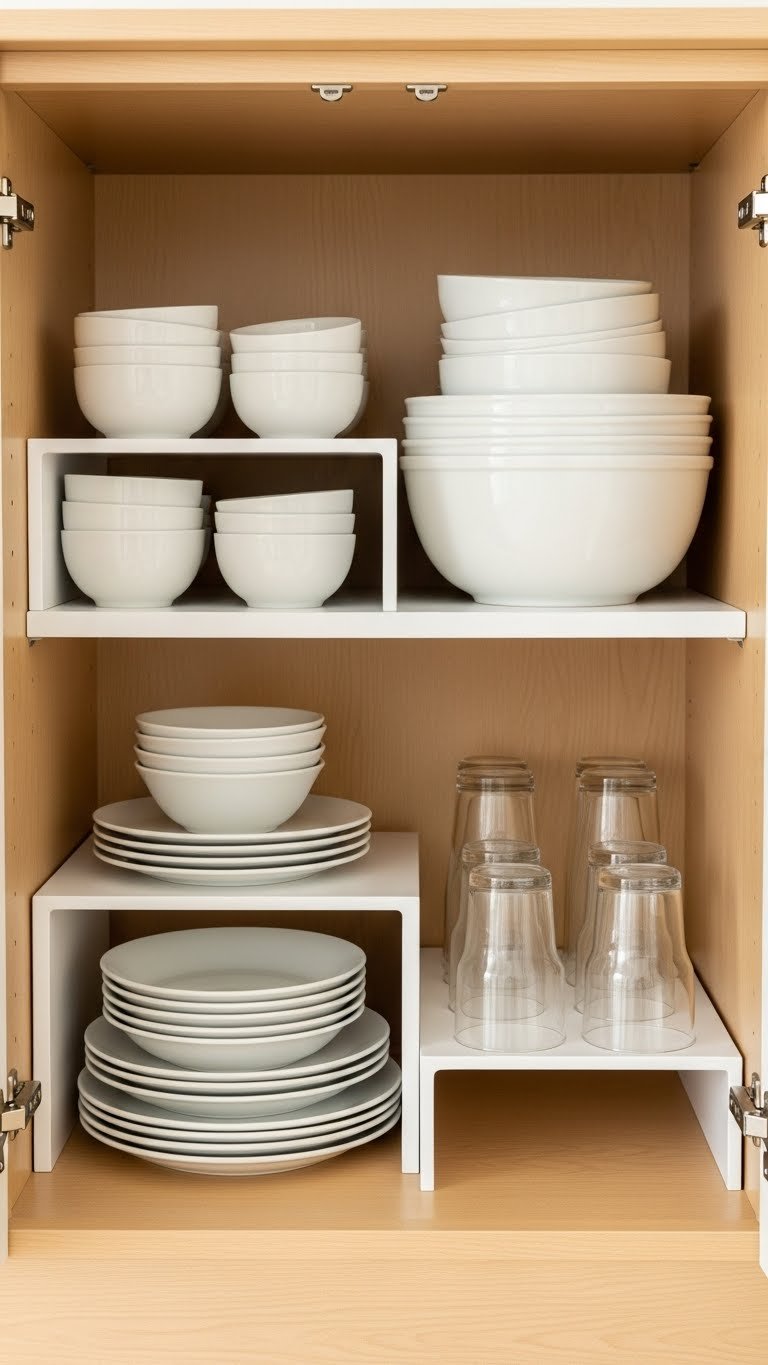
4. Create Height Variation With Risers and Pedestals
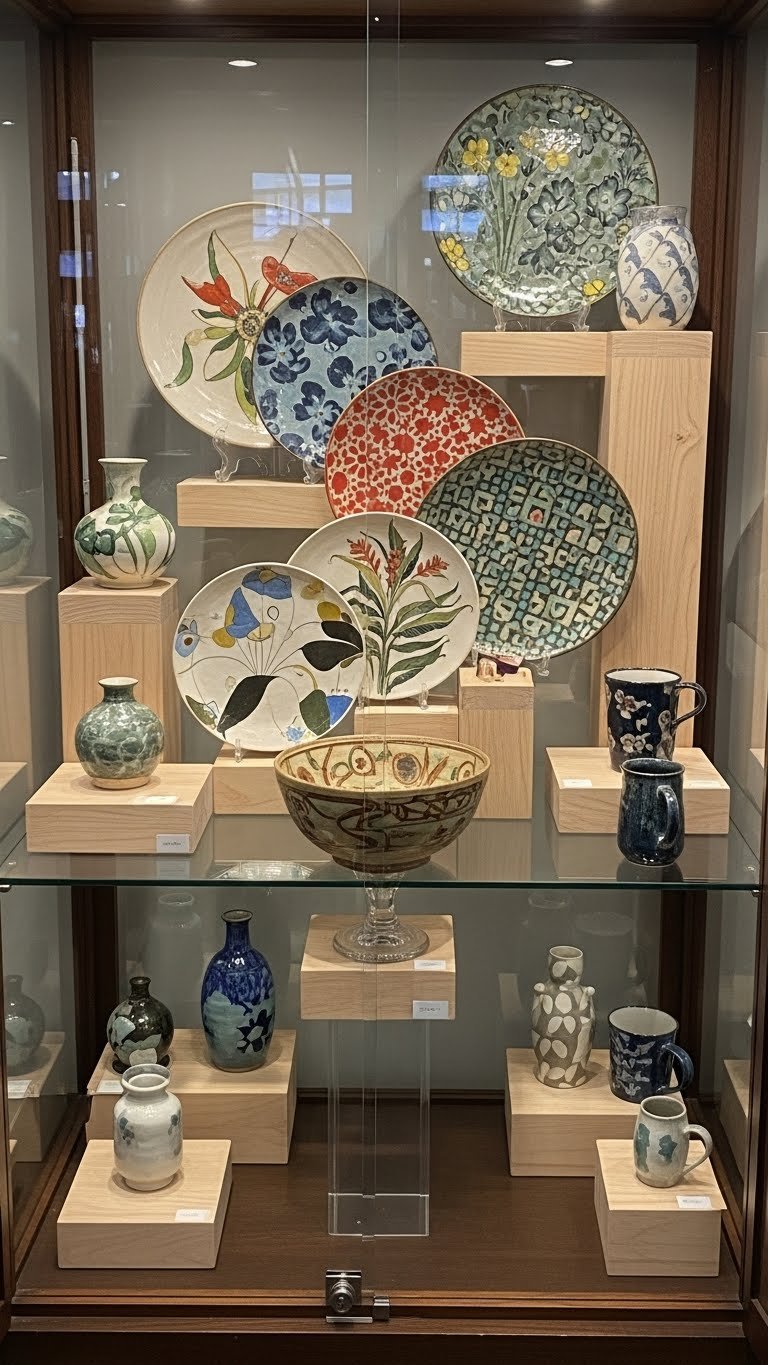
Flat, single-level shelves look boring in glass cabinets. Adding height variation with risers and small pedestals creates dimension and makes the display more interesting to look at.
Pick up wooden risers or ceramic pedestals from HomeGoods, Target, or IKEA ($5–$20 each). Place a large bowl or platter on a riser, nest smaller items around and behind it, and adjust heights so each piece is visible. This takes 15 minutes and costs $10–$40 total. Renters can use stacked books as risers—just cover them with a neutral cloth first.
The eye travels through the cabinet naturally instead of resting on one flat plane. Suddenly your everyday items look like an intentional collection.
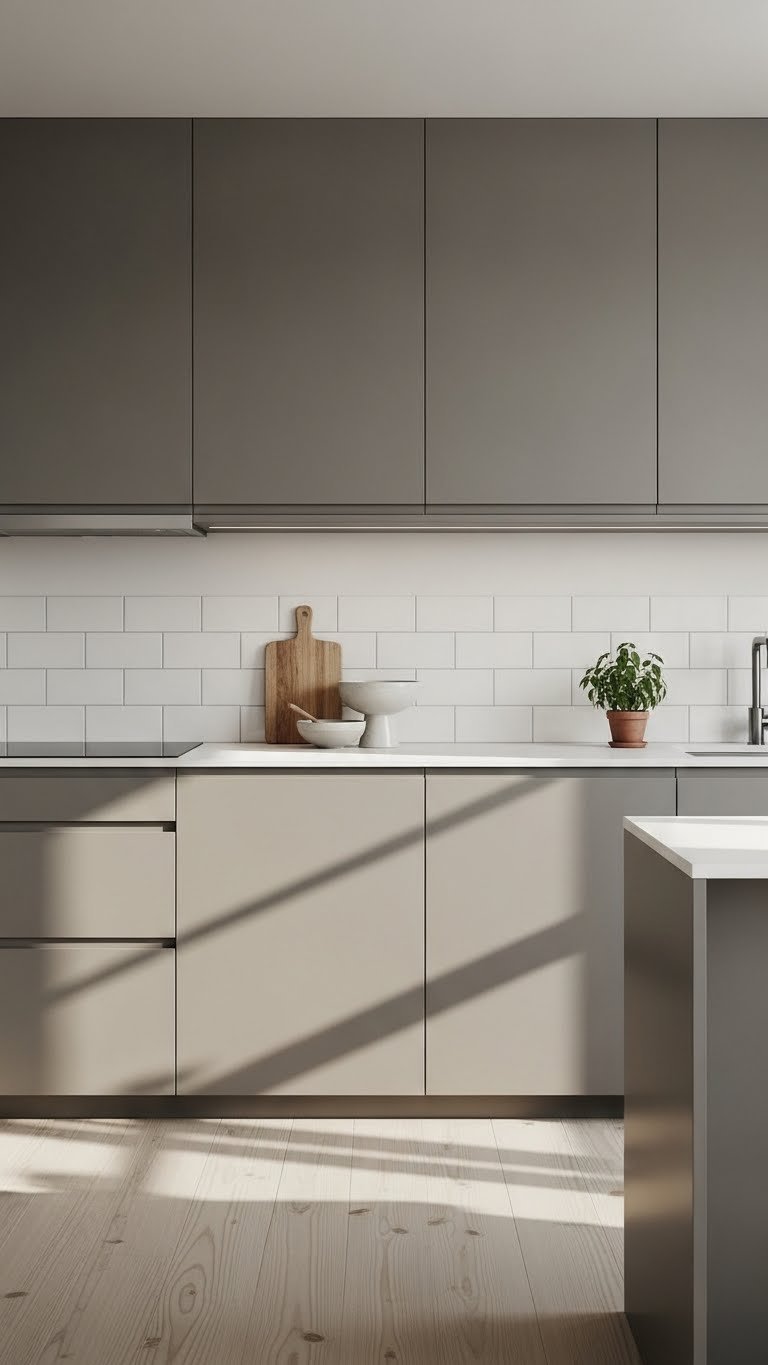
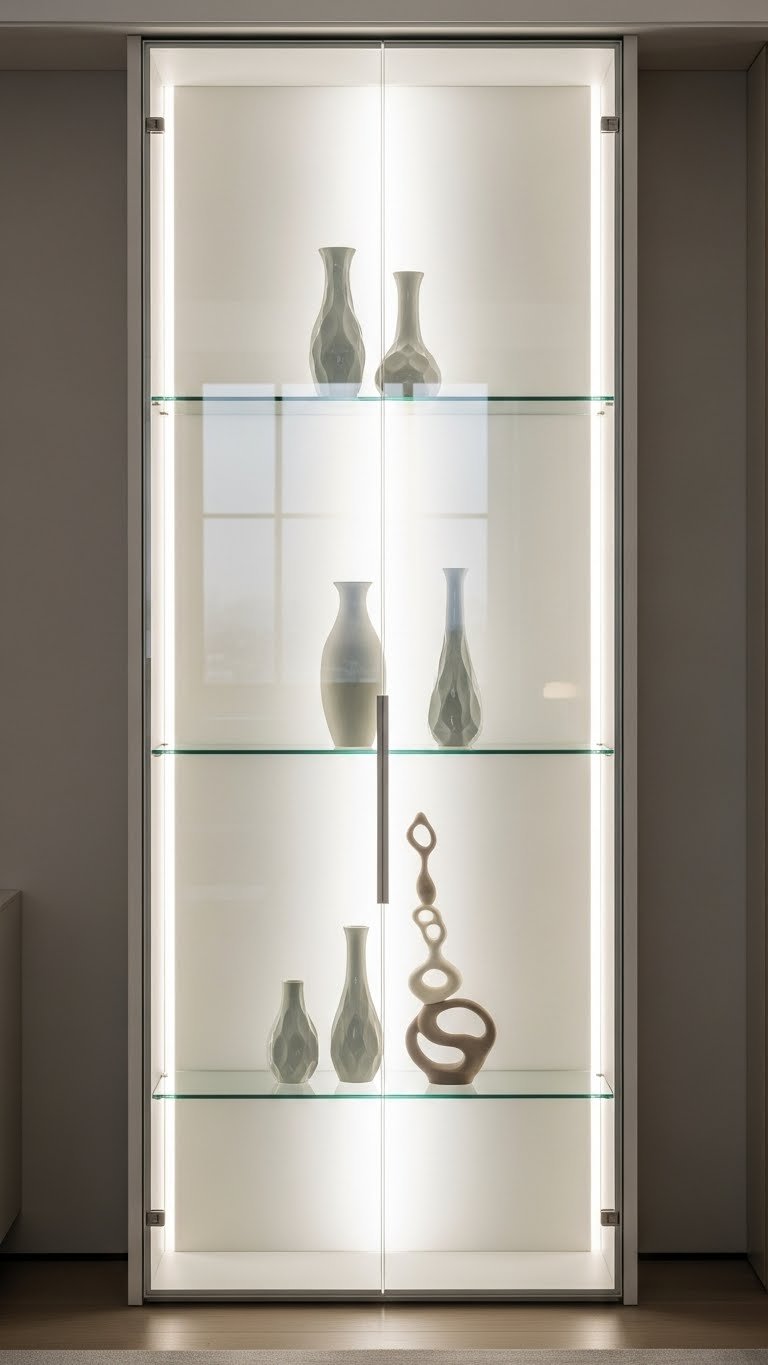
5. Go Minimal With One Item Per Shelf
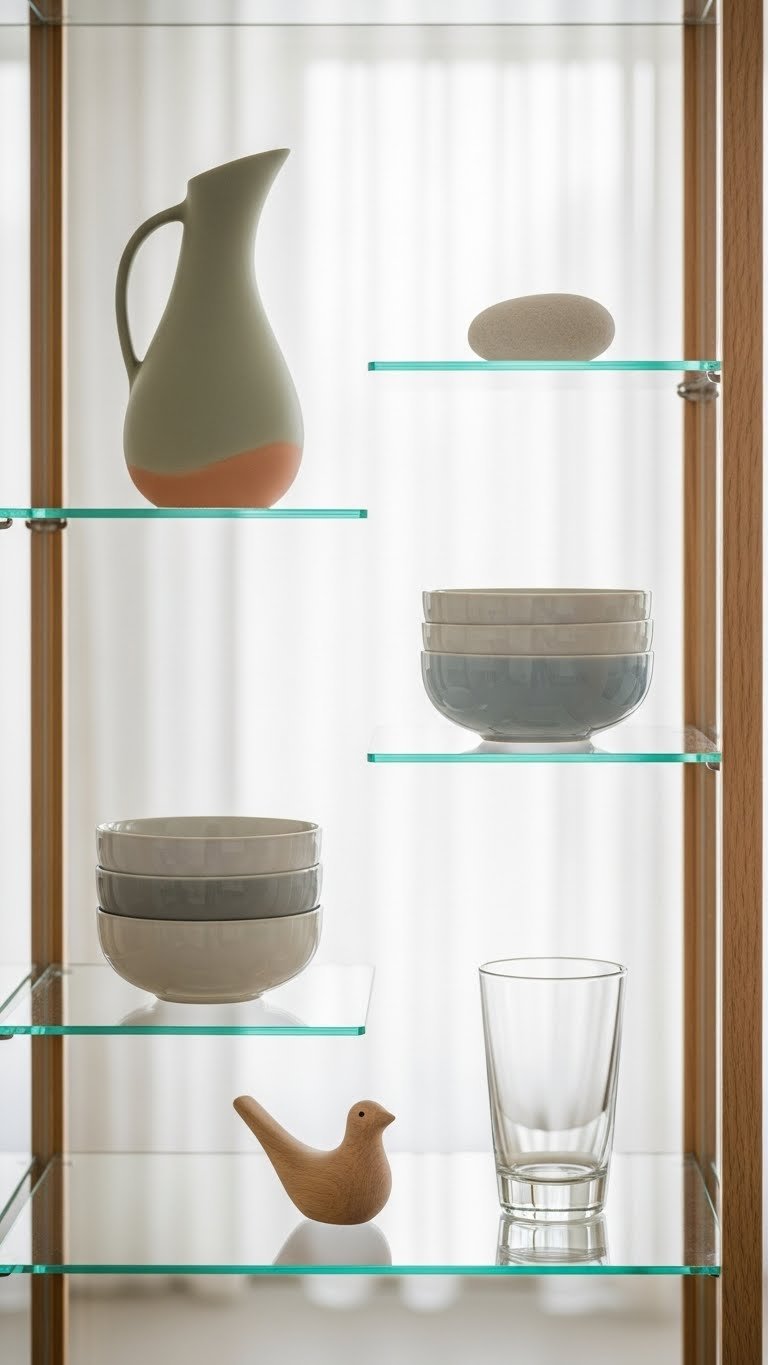
Sometimes less is more. One stunning piece per shelf—or one carefully edited group—feels high-design and expensive, even if the items cost next to nothing.
Choose items with interesting shapes or colors: a ceramic vase you love, a set of matching bowls, a collection of vintage glassware. Leave at least two-thirds of each shelf empty. This costs $0 (style with what you own) and takes 10 minutes. The key is editing ruthlessly—if an item doesn’t spark joy or visual interest, it doesn’t go in the cabinet.
This approach makes your space feel calm and curated. Visitors see intentionality, not clutter. Plus, cleaning is a breeze.
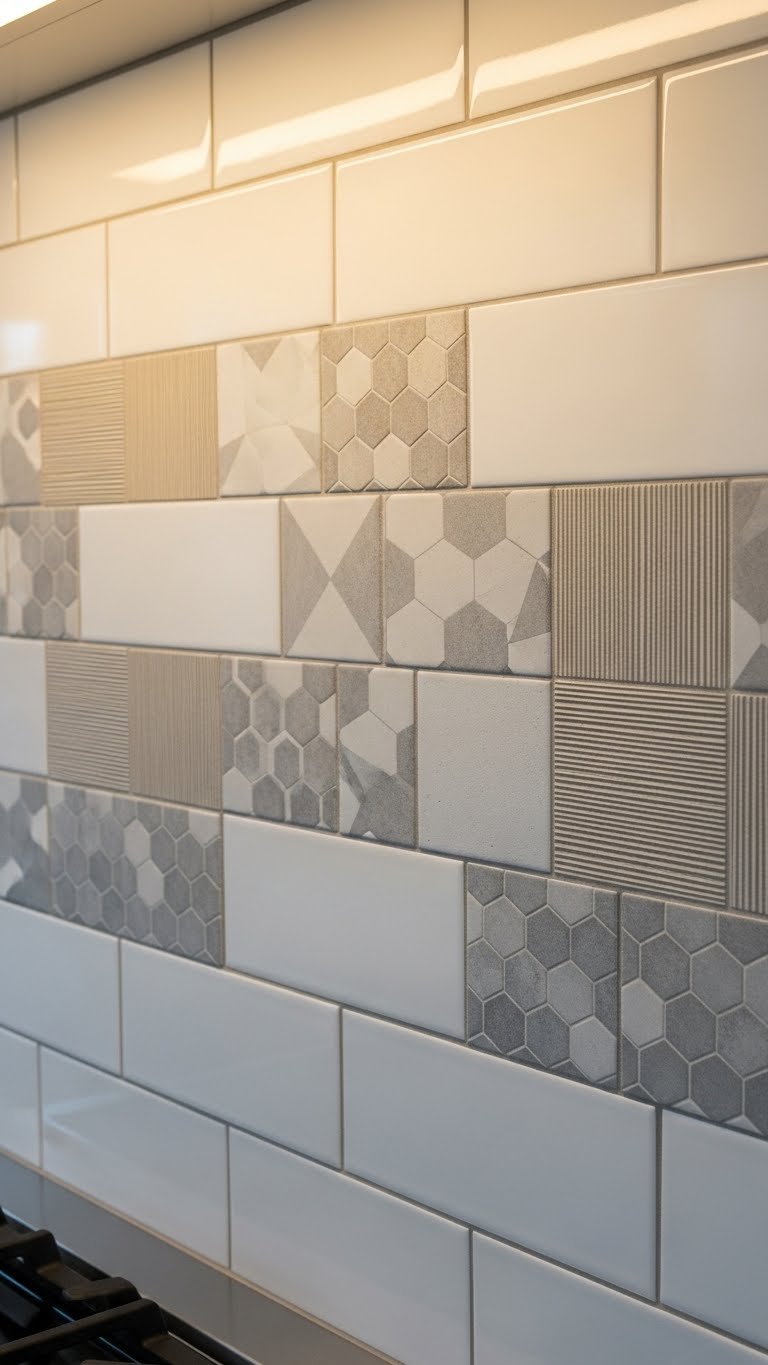
6. Incorporate Textured or Patterned Dishware for Visual Interest
Flat, solid-colored items can feel boring together. Adding pieces with patterns, ridges, or unique textures gives your cabinet visual richness and depth.
Look for dishware with interesting details: fluted or ribbed glassware, patterned plates, textured ceramics with raised designs. Brands like Heath Ceramics, Schoolhouse Electric, and even Target’s Project 62 line offer textured options ($15–$60 per piece). Thrift stores often have vintage textured glassware for $1–$5 per piece. Mix these with solid items to let the textures shine.
The interplay of smooth and textured surfaces makes your display more engaging. It looks collected and thoughtful, not cookie-cutter.
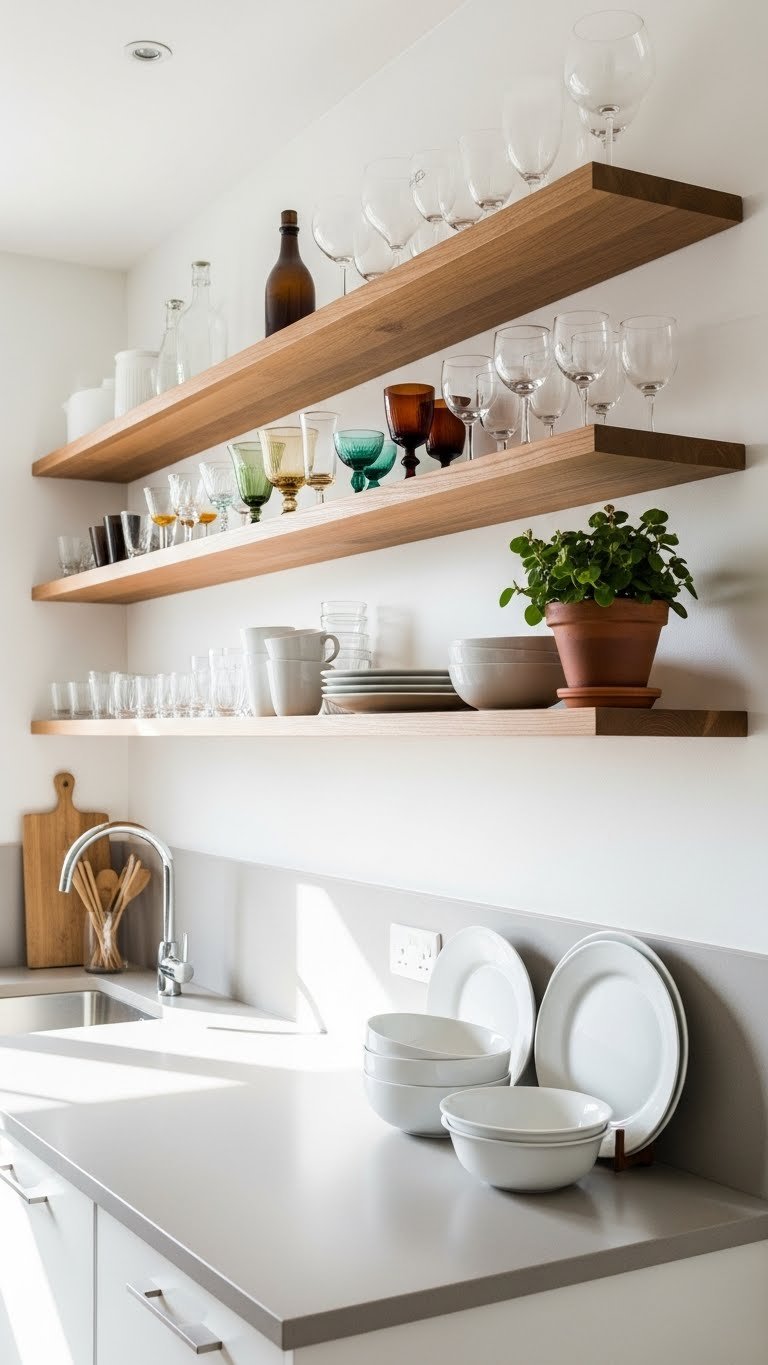
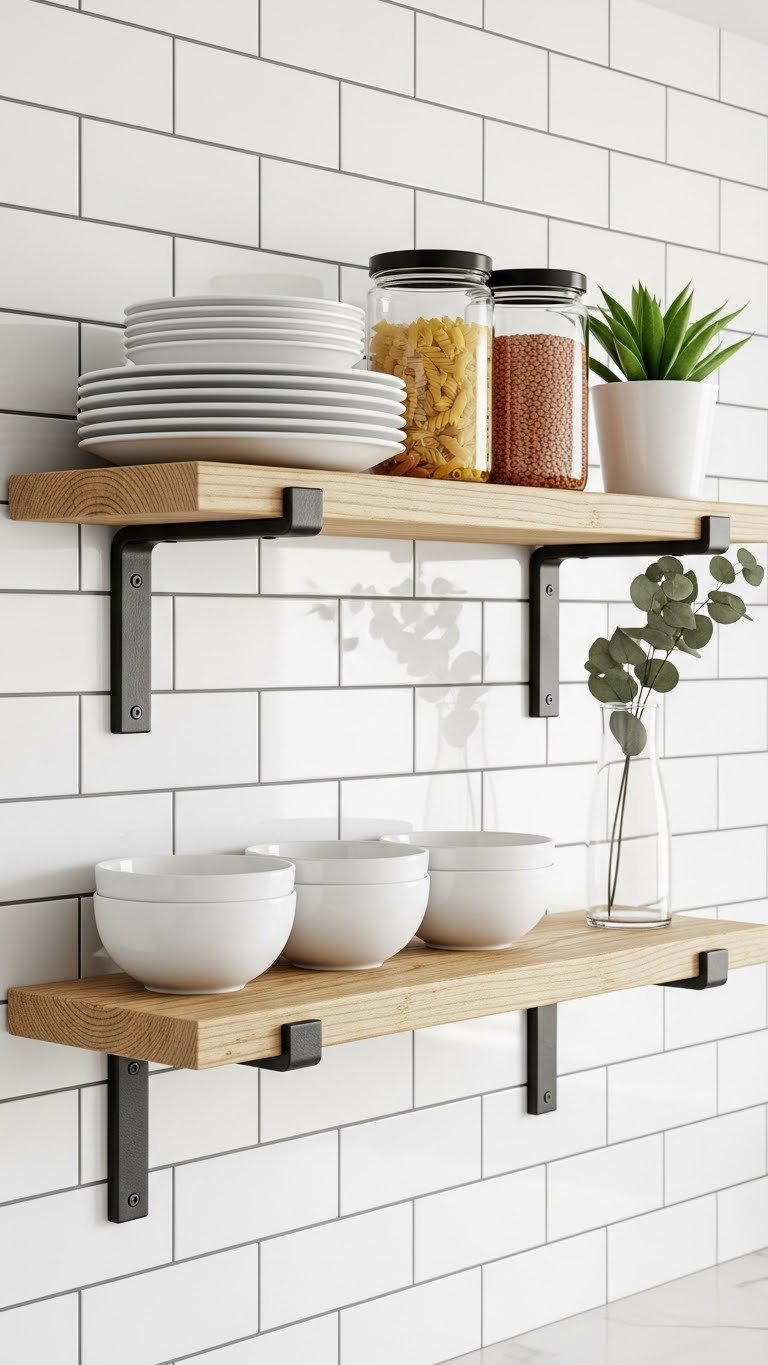
7. Use Floating Shelves With Integrated Glass for Renter-Friendly Display
If you rent and can’t install permanent glass-front cabinets, floating shelves with integrated glass panels mimic the effect without landlord drama. These mount to studs and look built-in.
Search “floating shelf with glass” on Amazon or Wayfair—options range from $40–$150 per shelf. Installation takes 1–2 hours with a drill and level (or hire a handyperson for $50–$100). Choose shelves that match your kitchen’s style: industrial metal frames, warm wood, or minimalist white. You can fit 4–6 favorite items comfortably on a 24-inch shelf.
You get a custom-looking display without any permanent damage. When you move, the shelf comes with you.
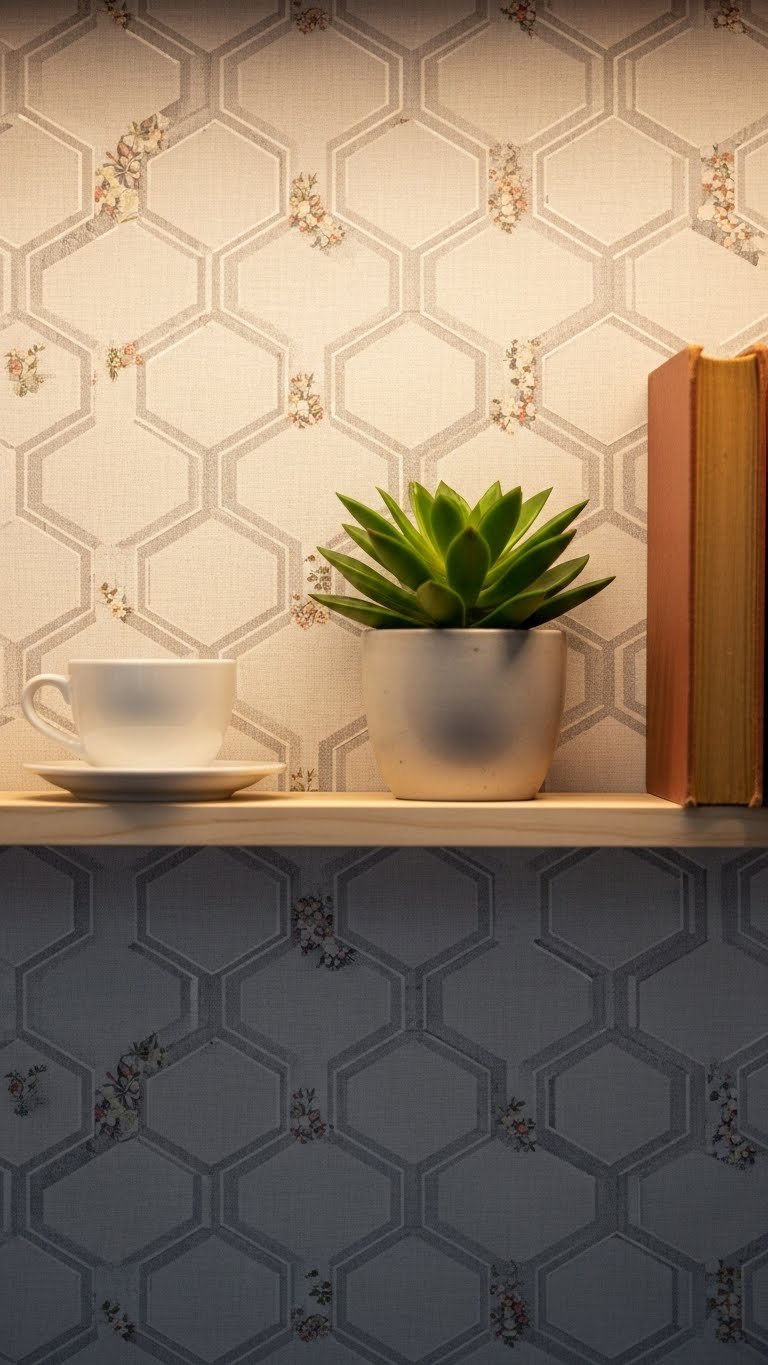
8. Back Your Cabinet With Removable Wallpaper for Color Pop
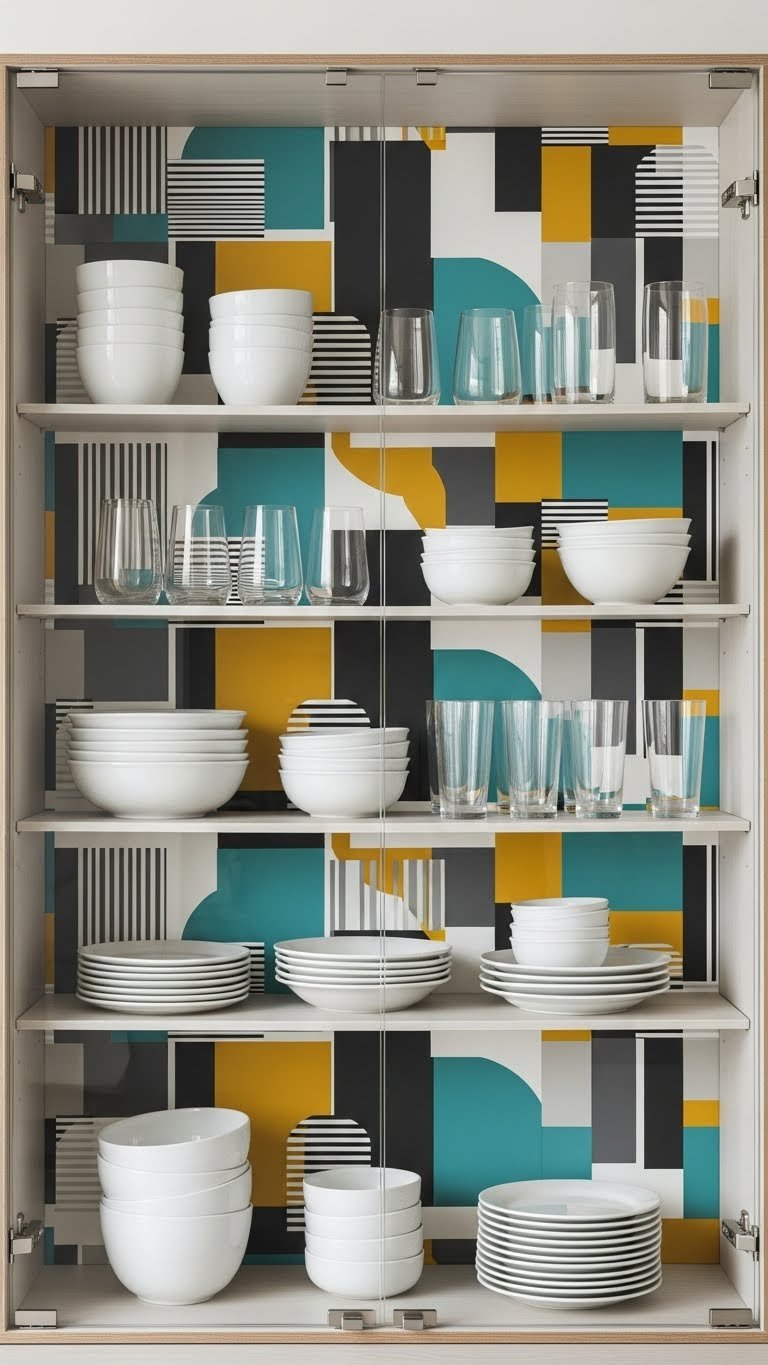
The interior background of your glass cabinet has huge design impact. Removable wallpaper instantly changes the vibe without damage or commitment.
Measure the interior back wall of your cabinet and order removable peel-and-stick wallpaper from Spoonflower, Chasing Paper, or Target ($25–$50 per roll). Options include geometric prints, subtle patterns, or bold colors. Installation takes 20–30 minutes—smooth application is important so it adheres properly and looks crisp. Renters love this trick because it peels off cleanly.
The background frames your dishes like art. What looked basic suddenly feels designed and intentional.
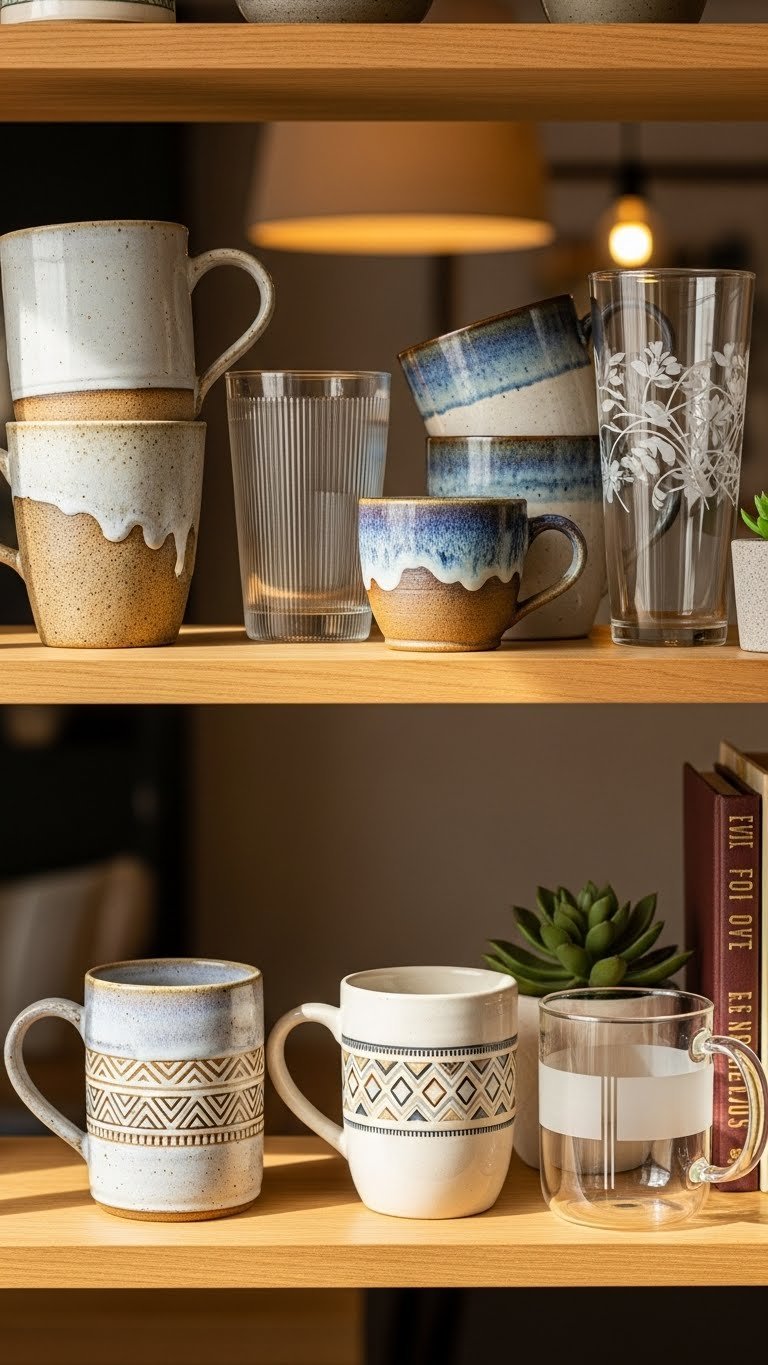
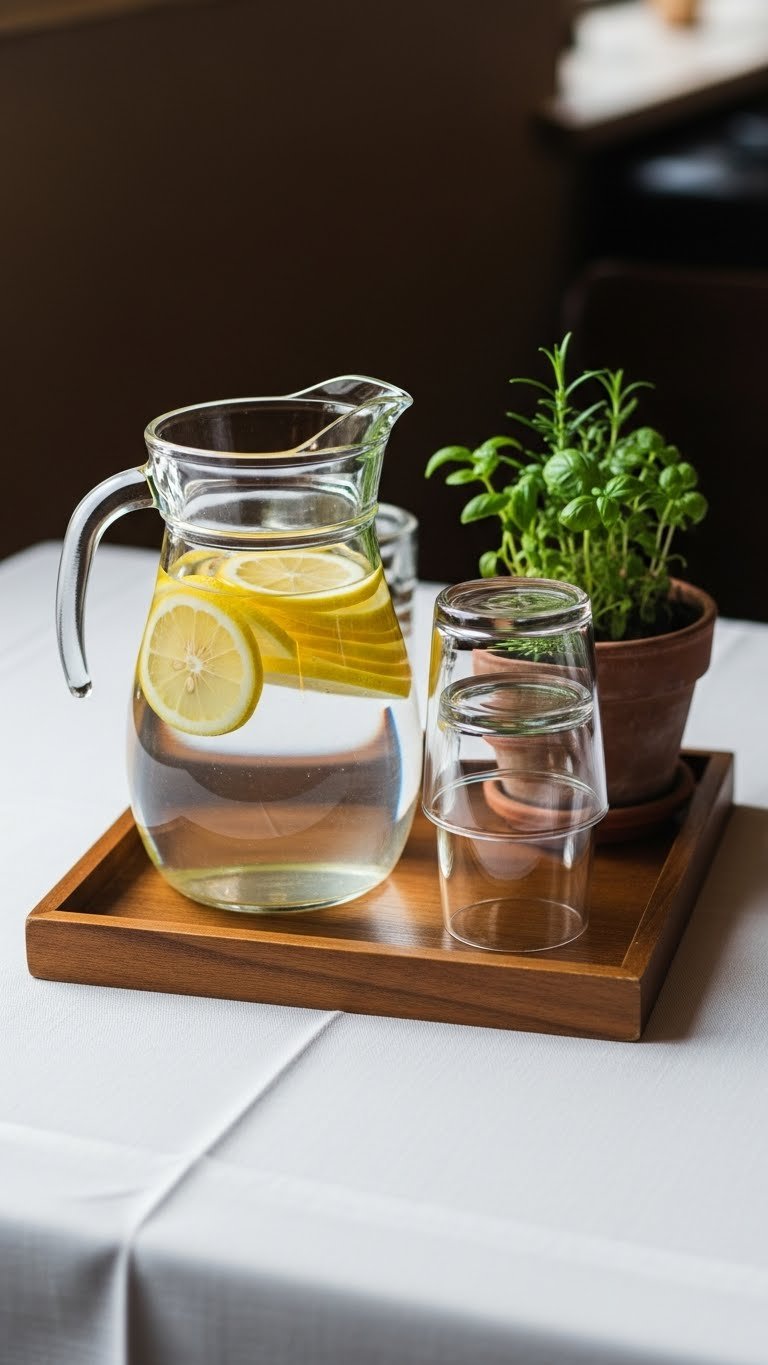
9. Style With Varying Glass and Ceramic Heights
Playing with height differences isn’t just about risers—it’s about choosing items that naturally vary in size and allowing the silhouettes to tell a story.
Select drinkware in graduated heights: tall water glasses, shorter tumblers, wine glasses, and small juice cups. Arrange them in descending height order or cluster by type. Add ceramic bowls or a pitcher nearby for contrast. This costs $0–$30 if you thrift pieces ($1–$3 each at Goodwill) and takes 15 minutes to arrange.
The varied silhouettes create visual movement. Your cabinet looks collected and intentional without trying too hard.
10. Feature Vintage or Heirloom Pieces as Focal Points

Glass-front cabinets are perfect for showing off pieces that tell a story: your grandmother’s china, a vintage find from a flea market, or something handmade by someone you love.
Choose one or two hero pieces and place them where light hits them best—usually eye level and slightly off-center. Arrange supporting items (smaller bowls, neutral glassware) around them to create context without competing for attention. This costs $0 (use what you own) or $10–$50 if you’re hunting for a meaningful vintage piece. Styling takes 20 minutes.
Every time you look at your cabinet, you see memories and meaning. That’s the point of display—it’s not just storage, it’s celebration.
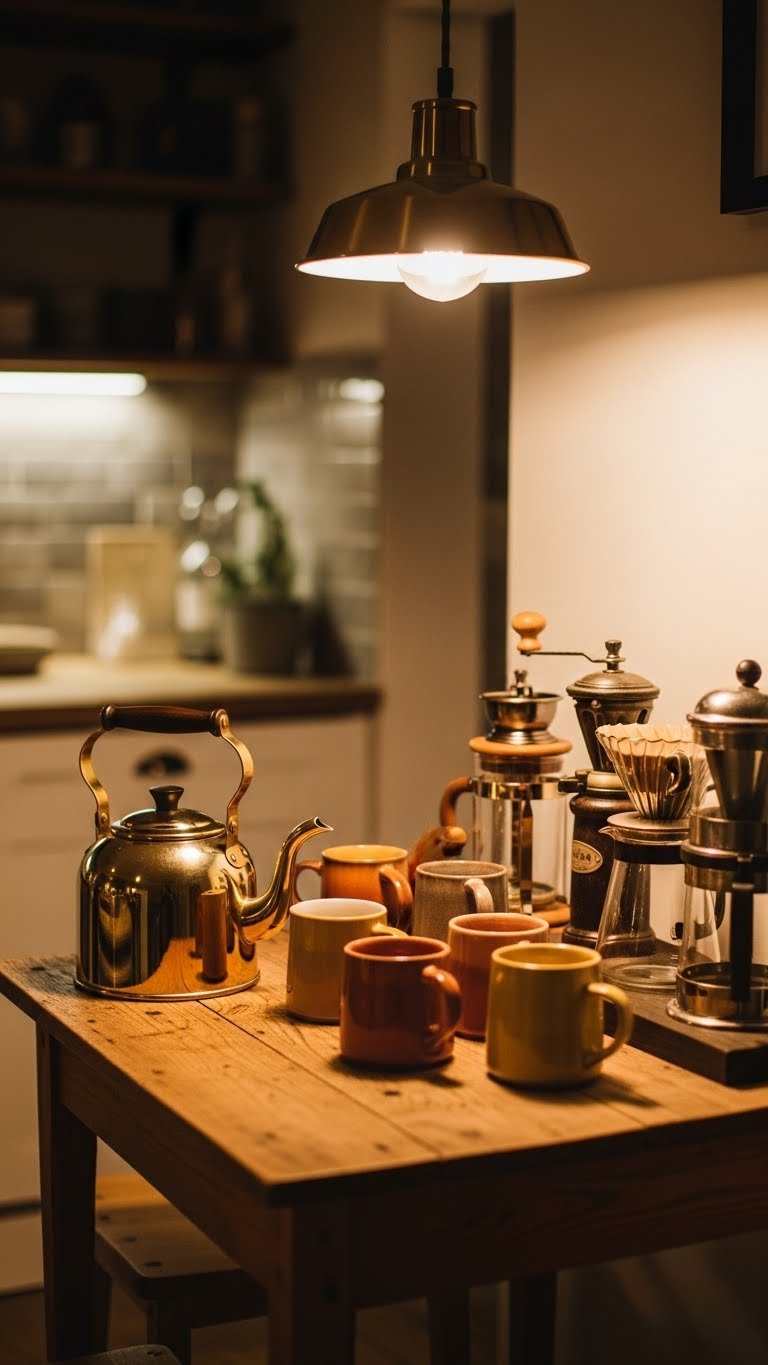
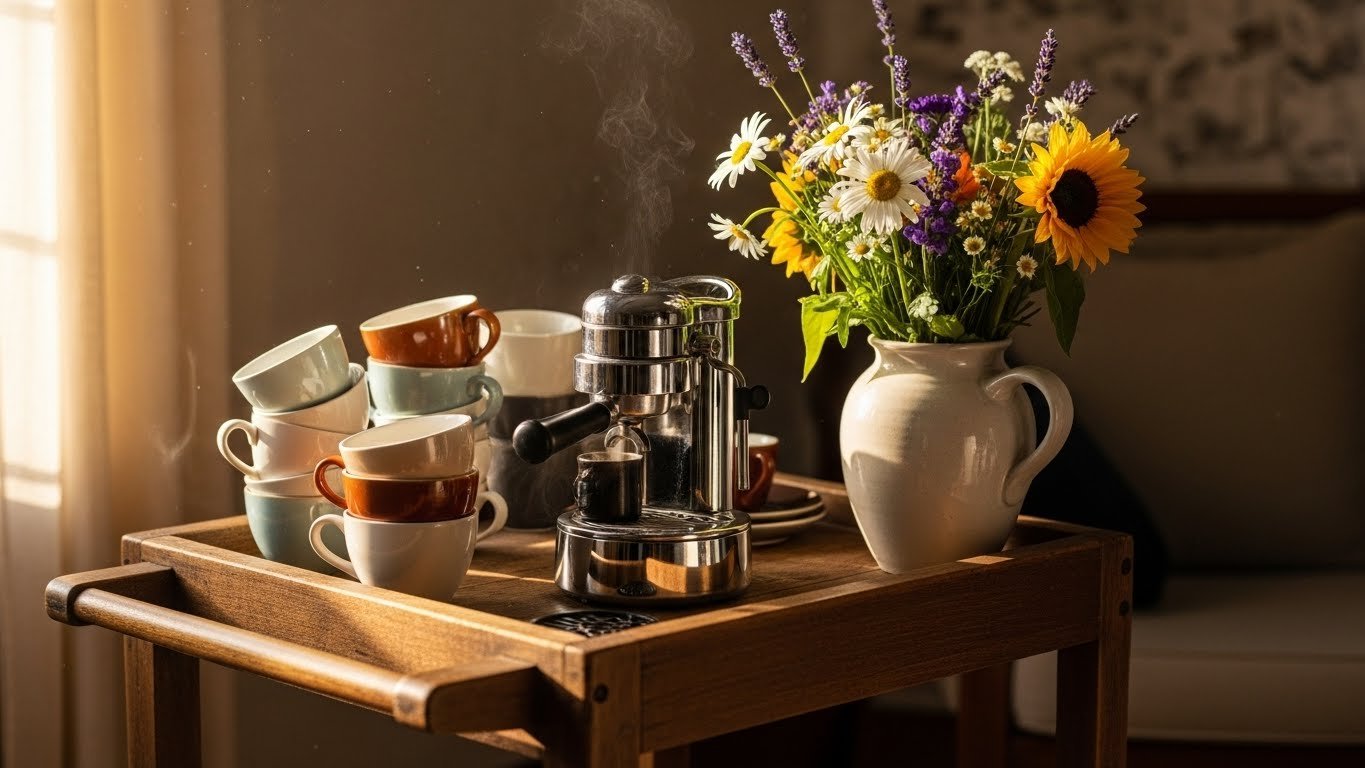
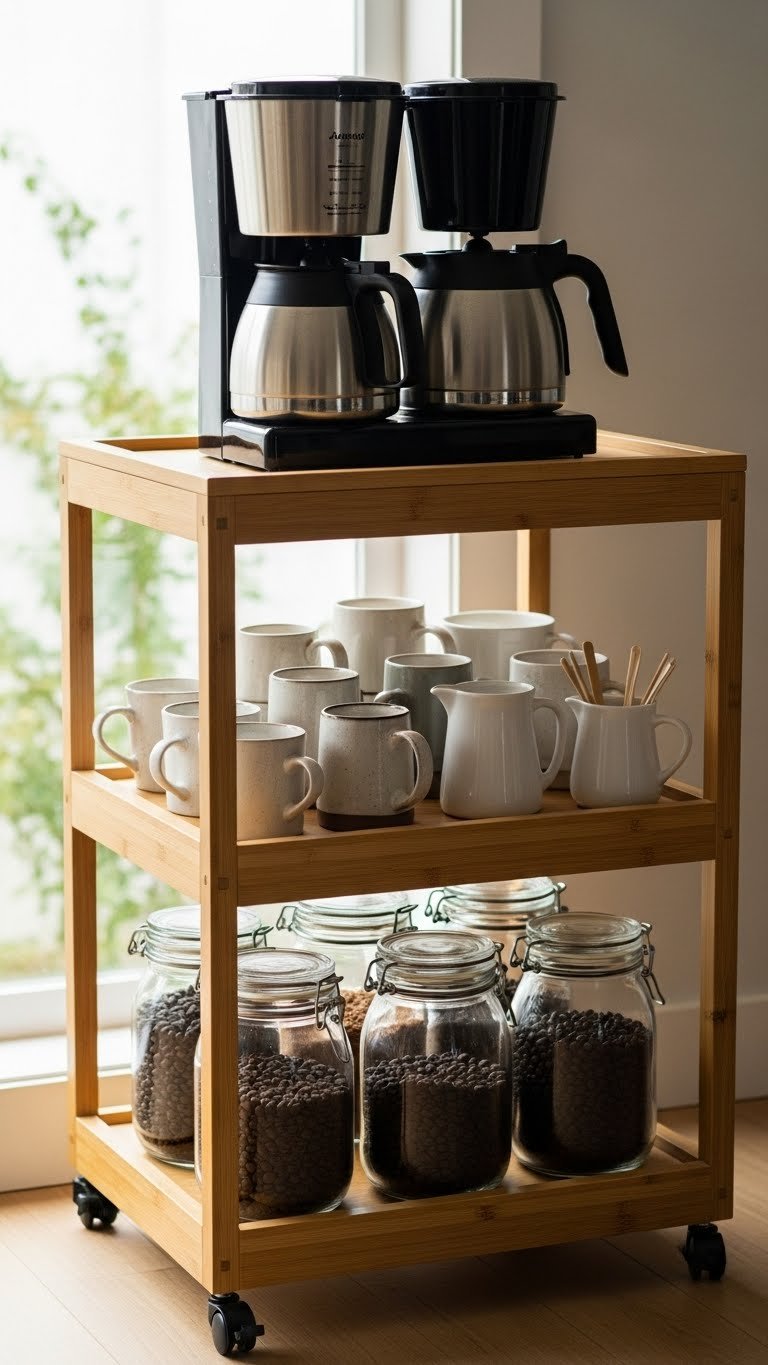
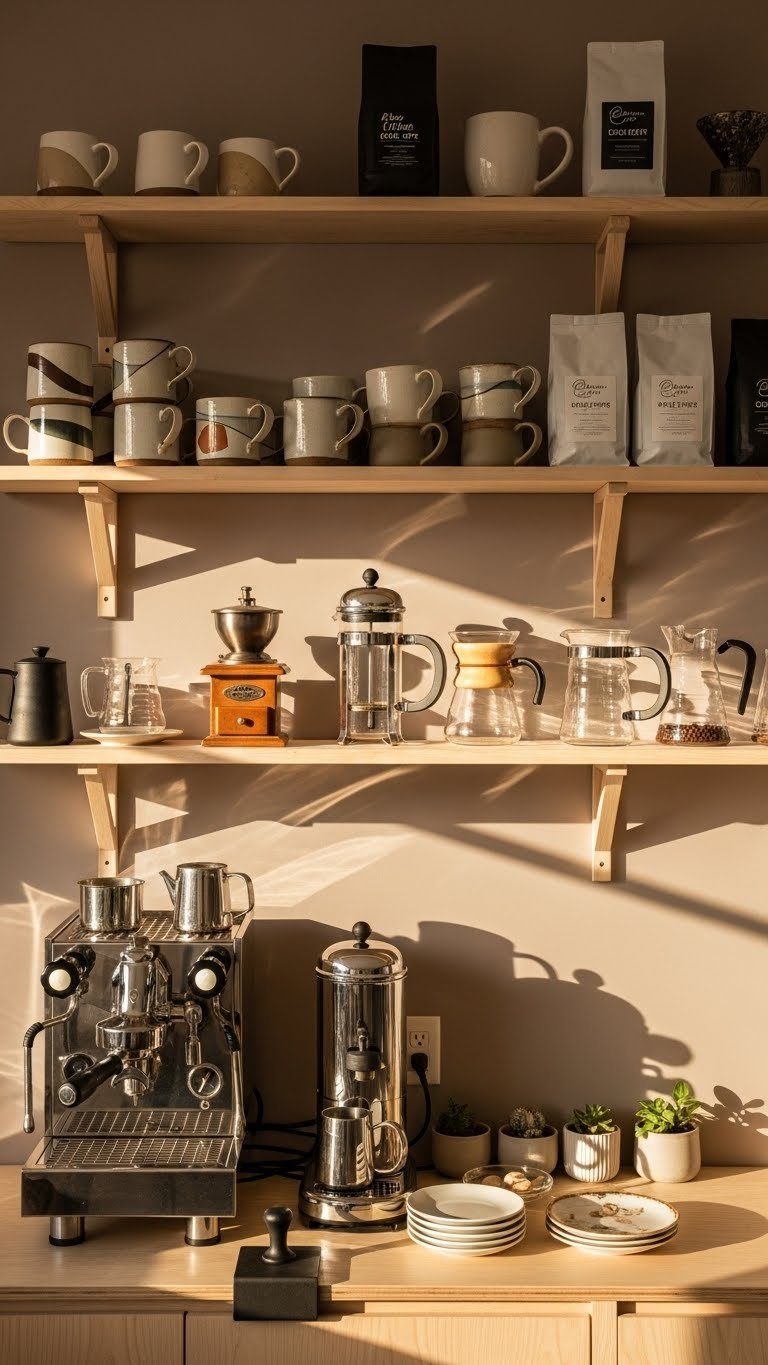
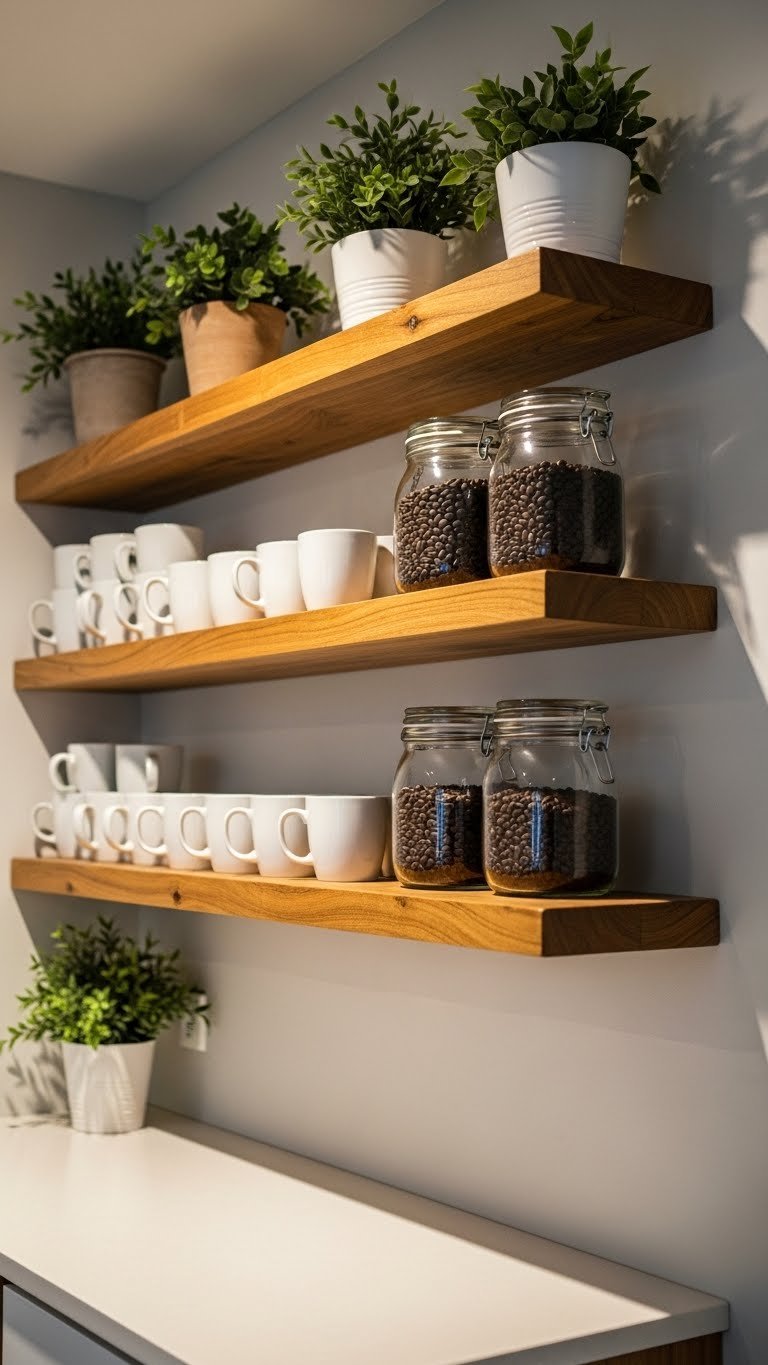
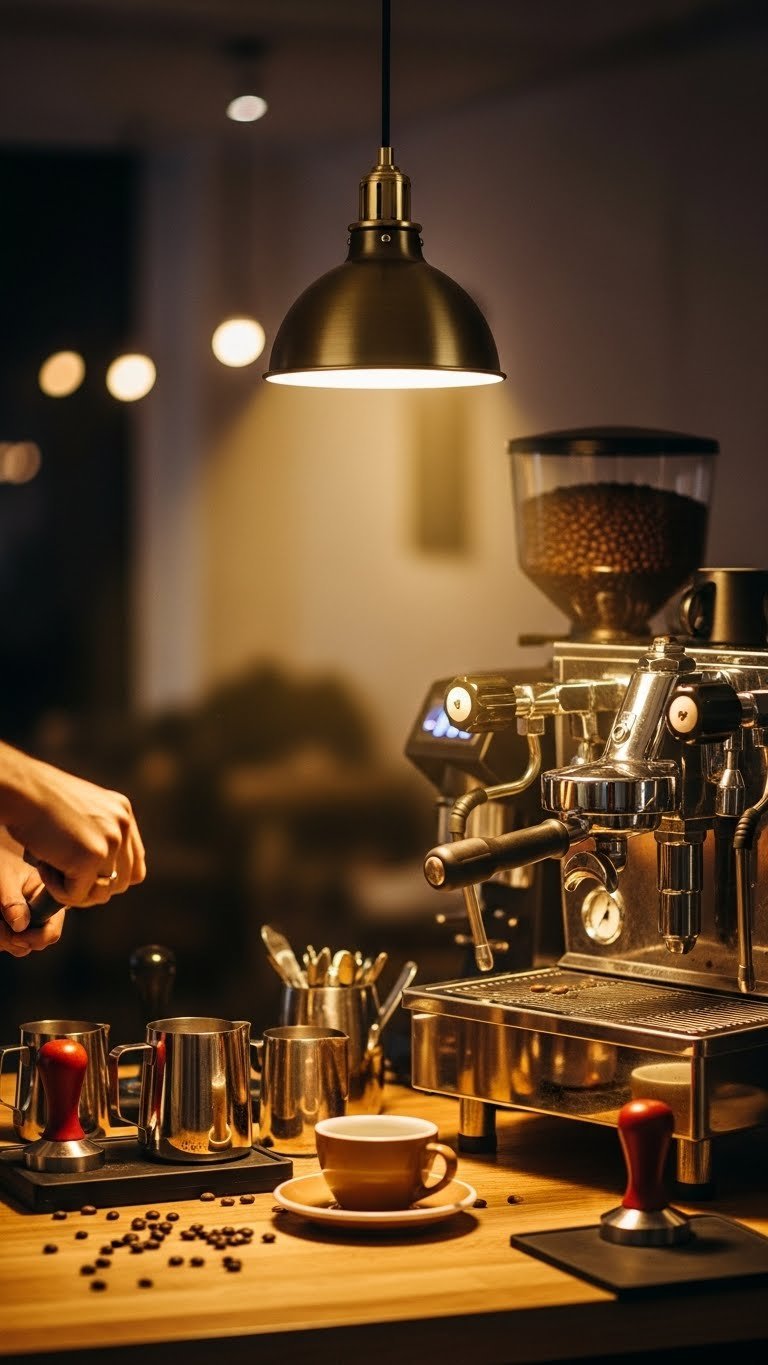
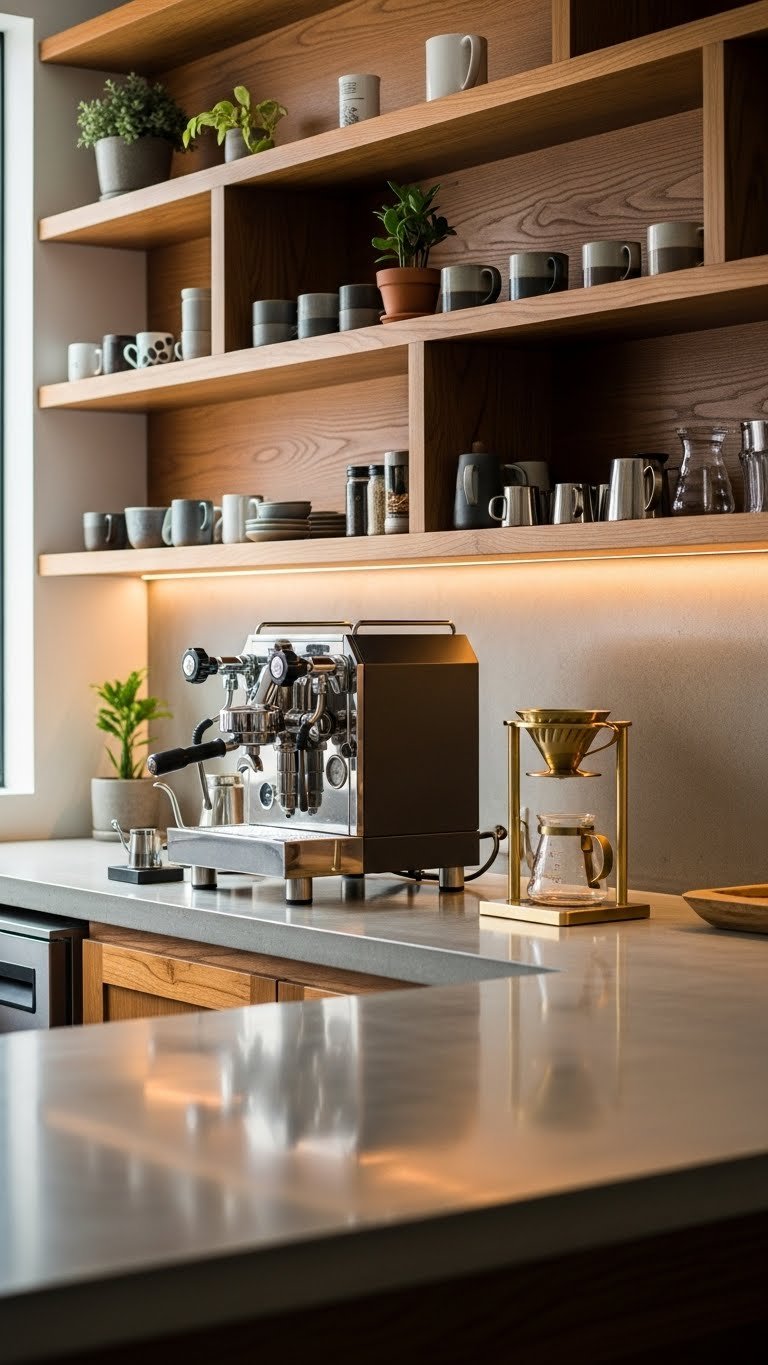
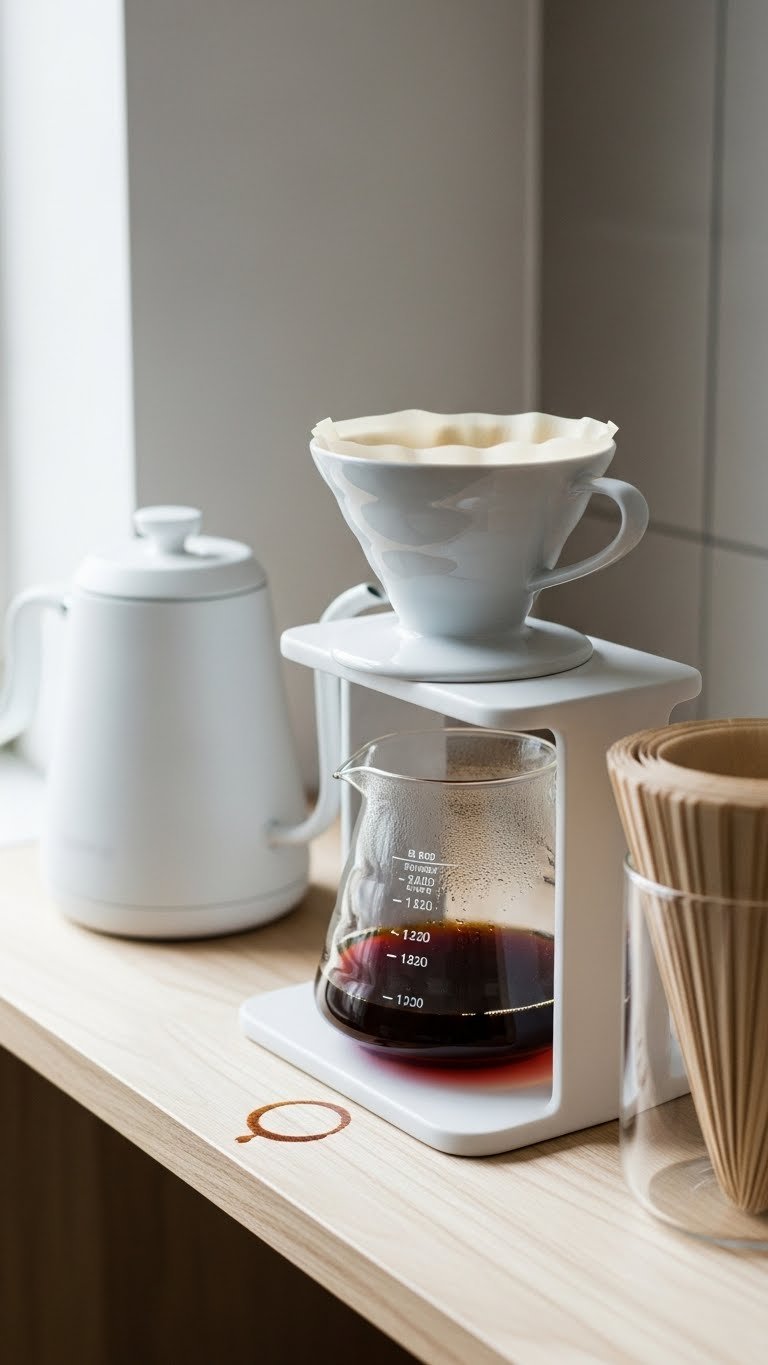
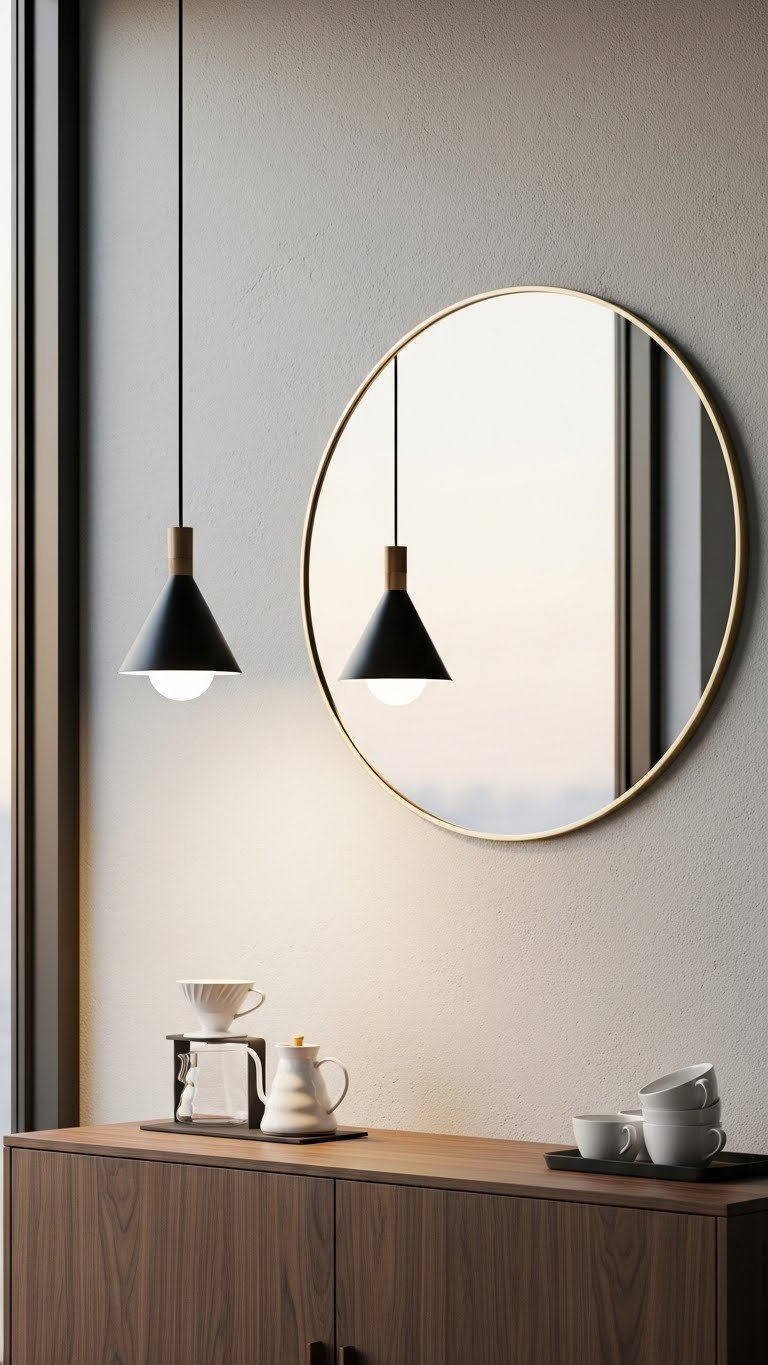
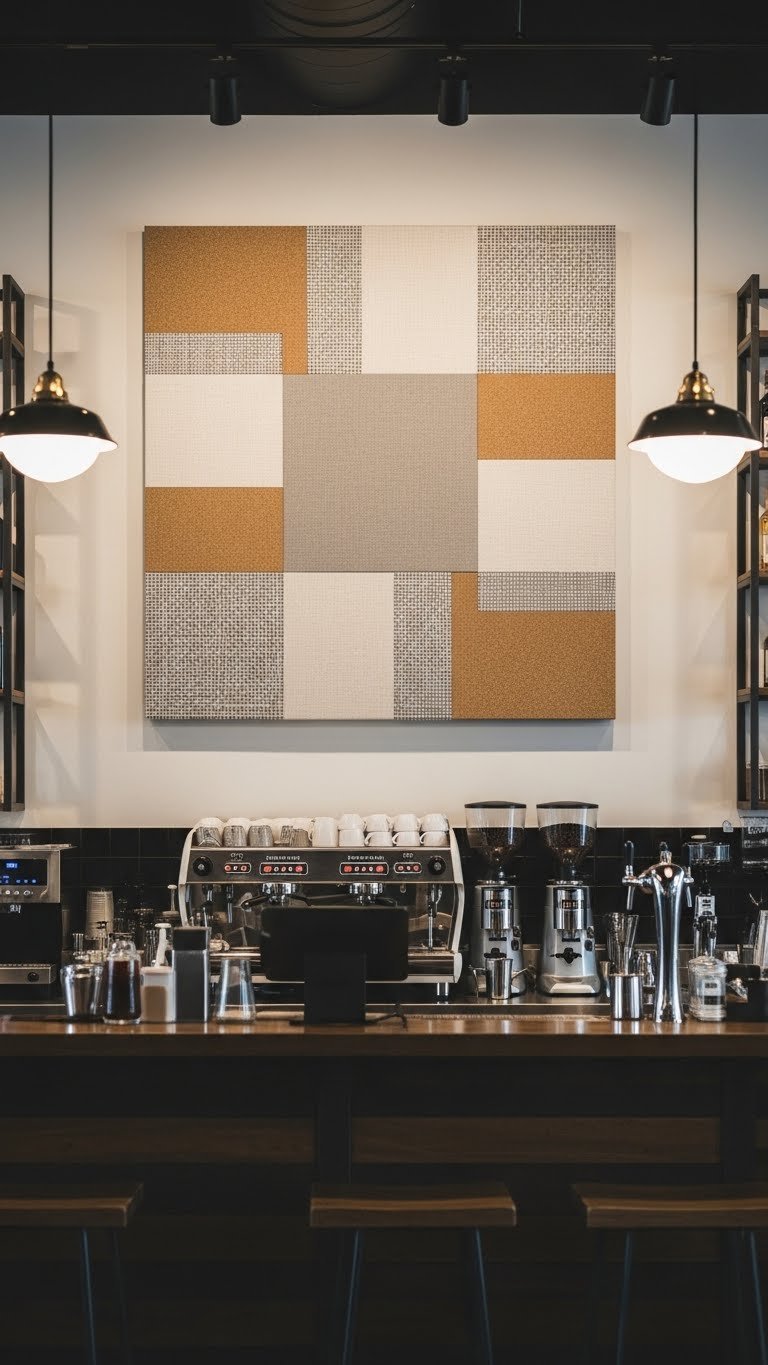
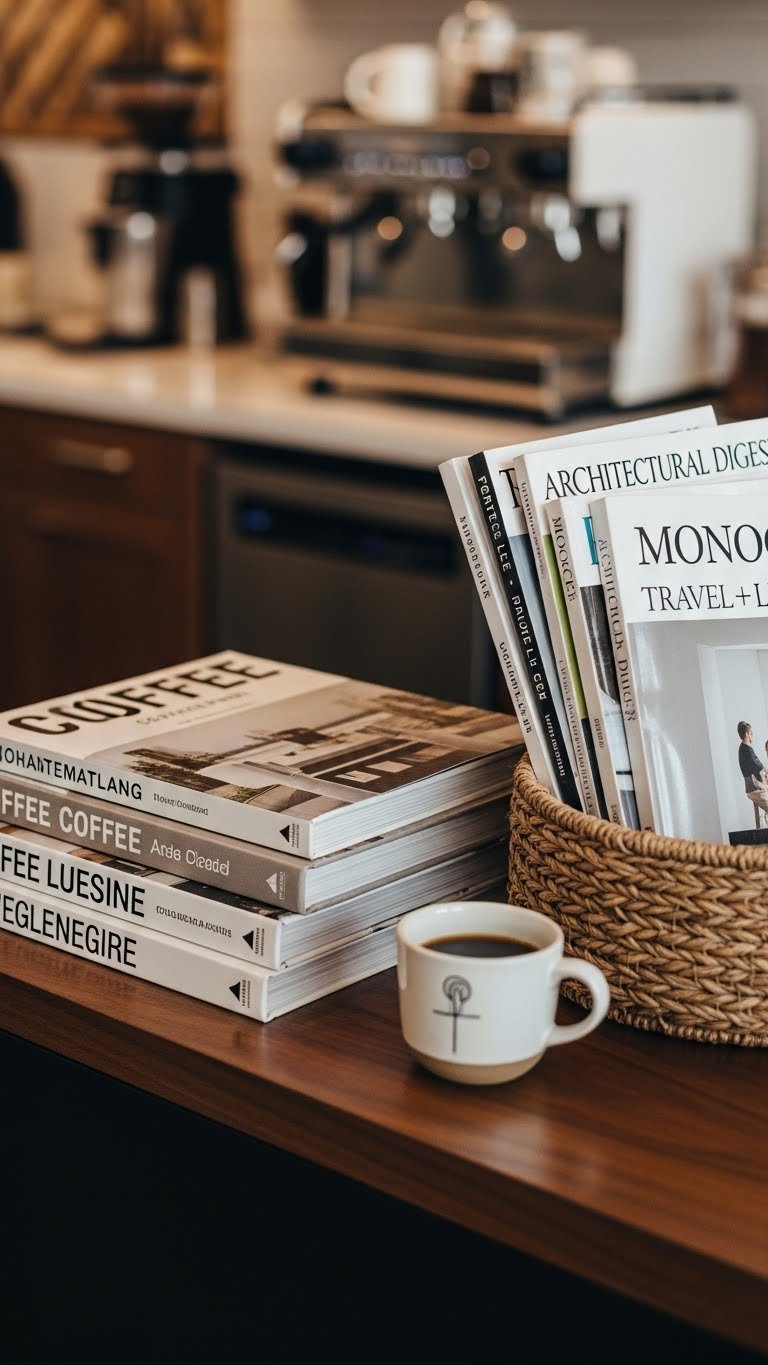
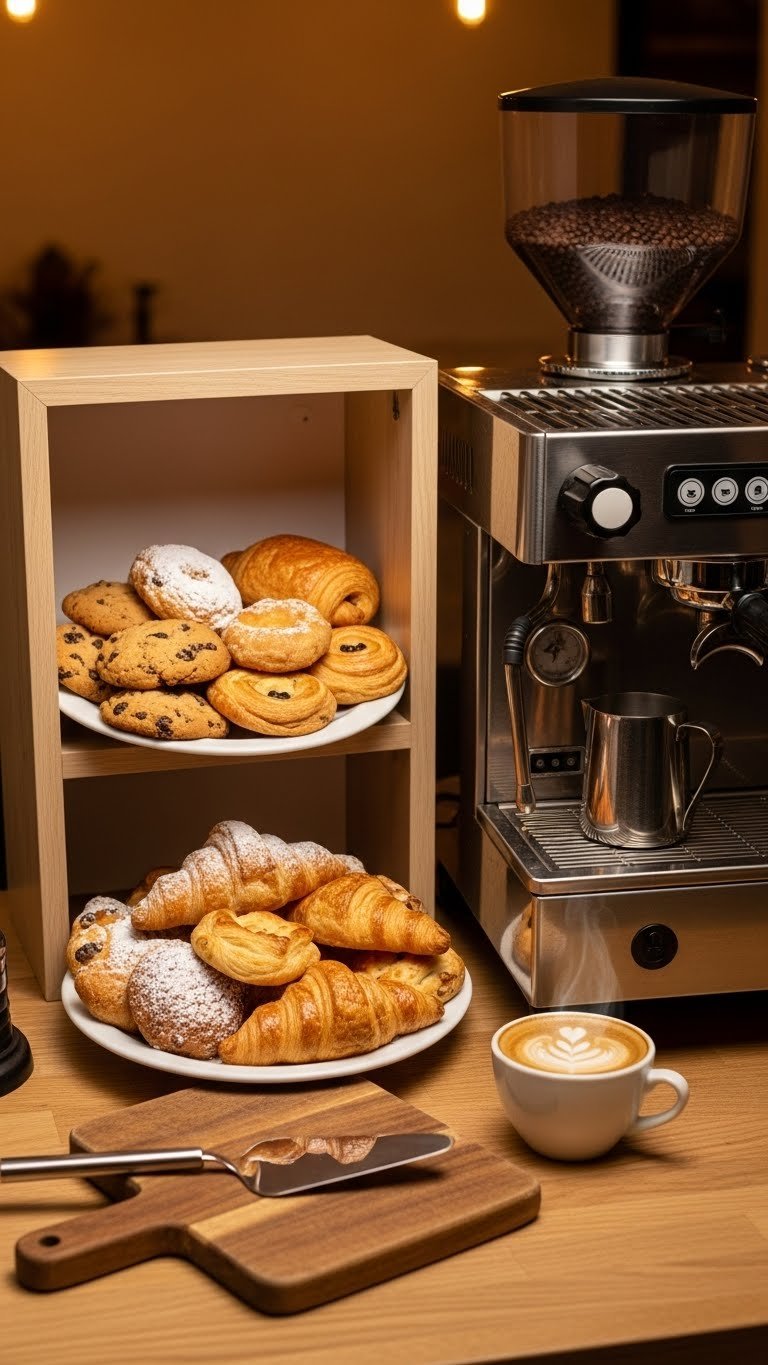
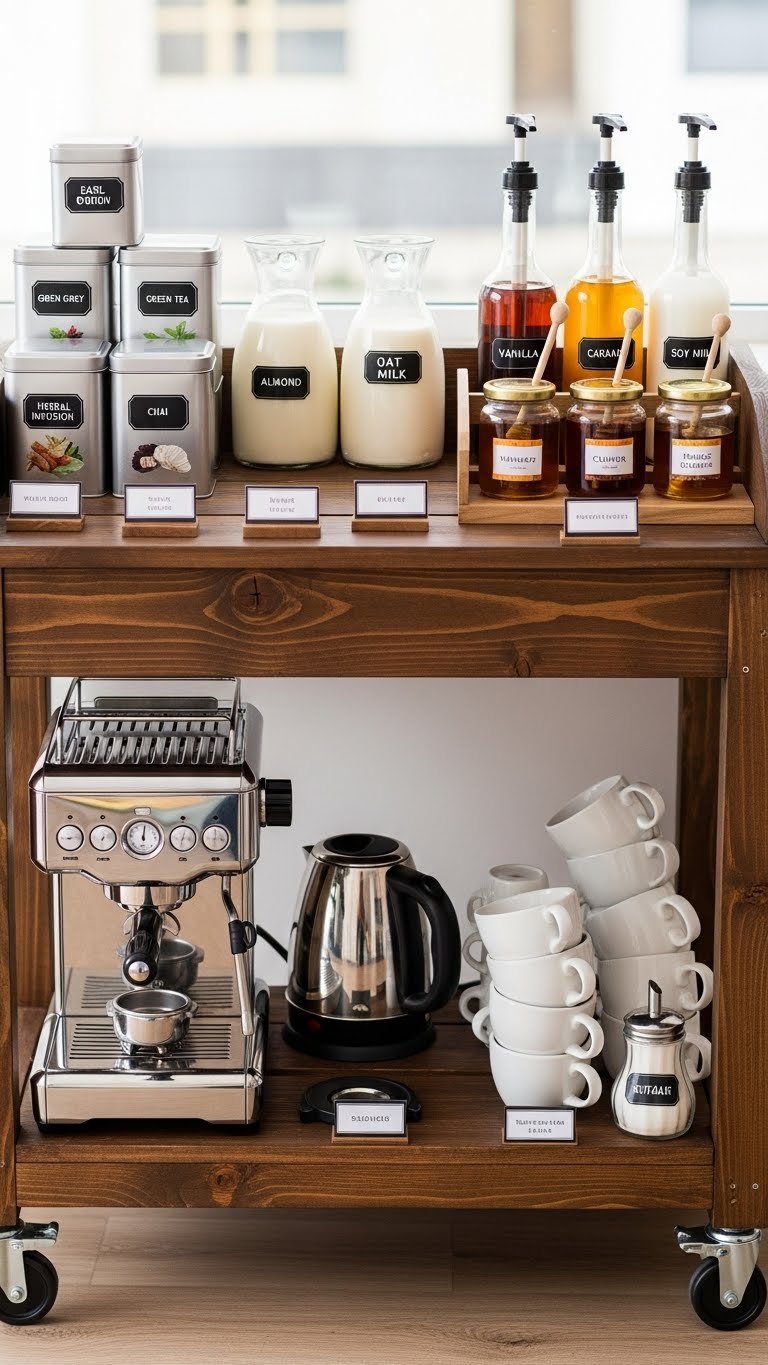
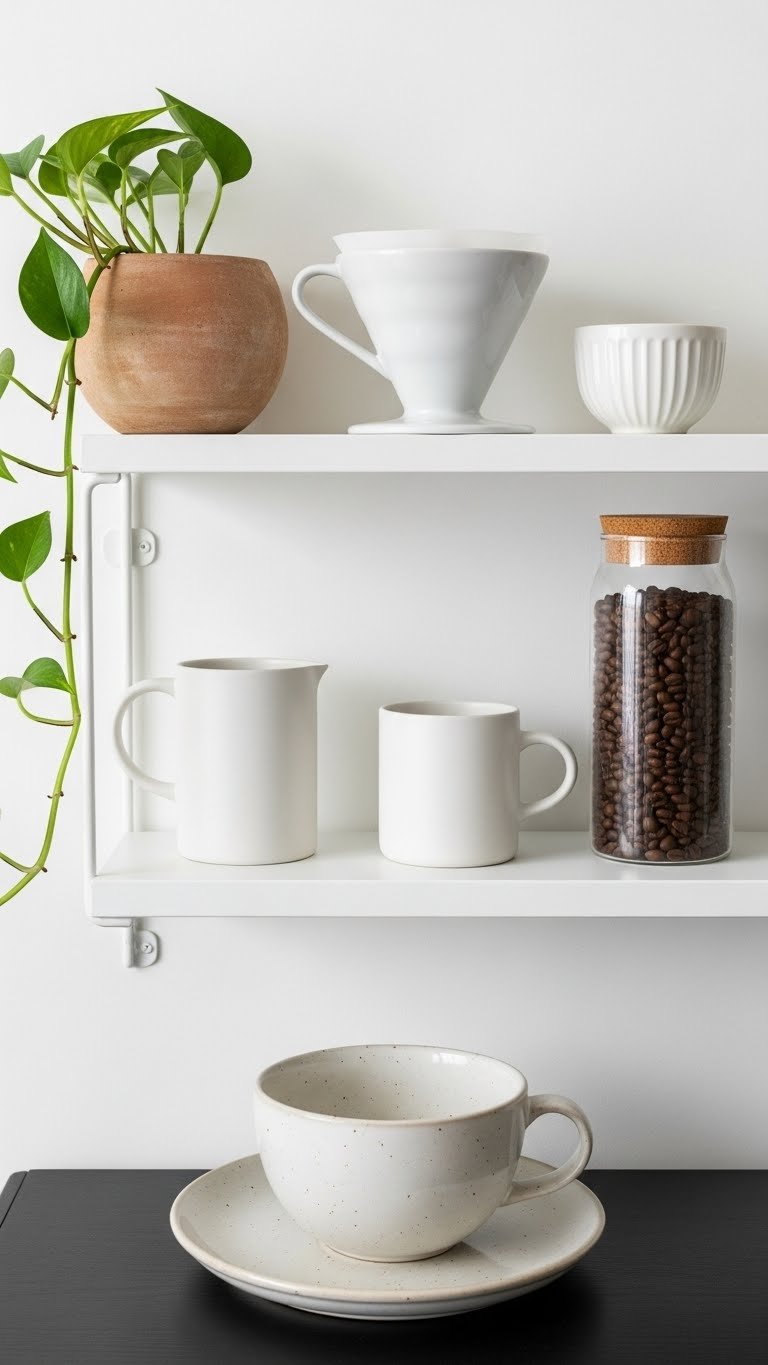
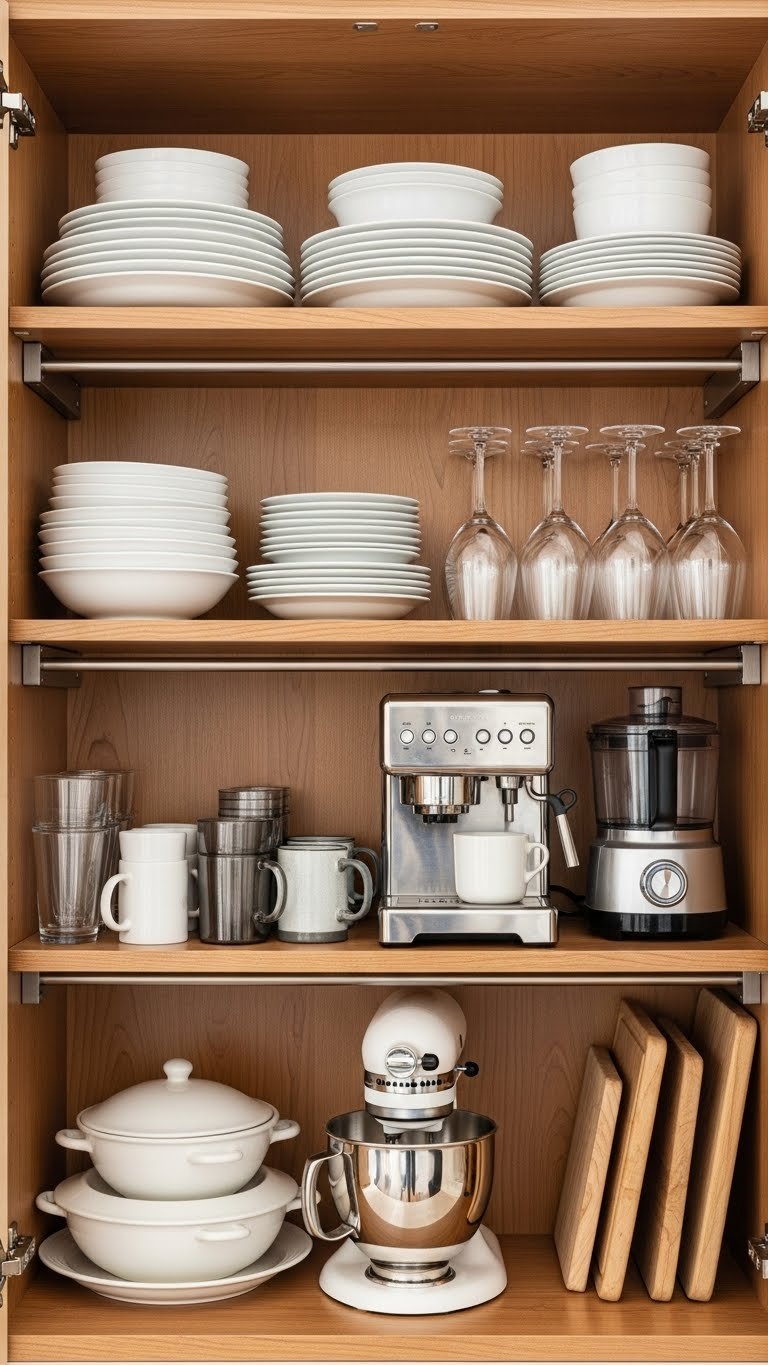
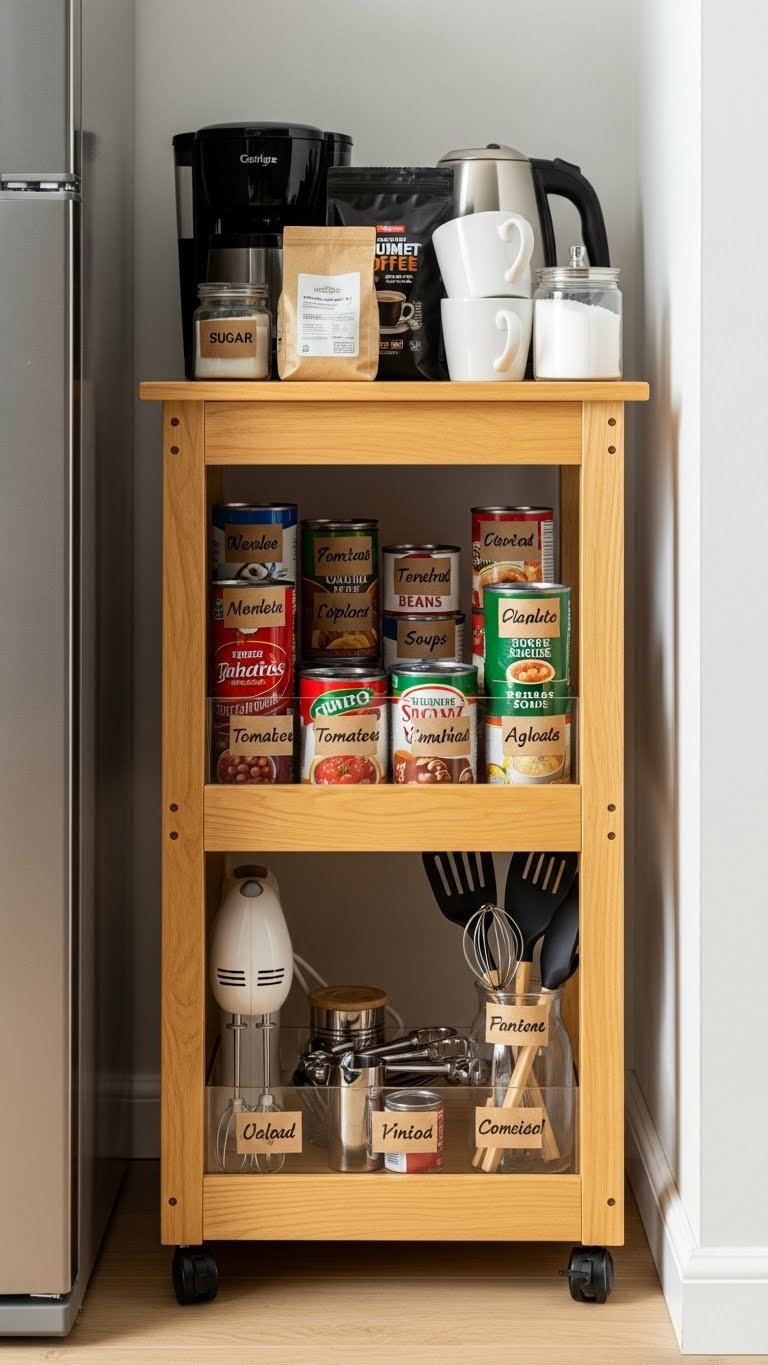
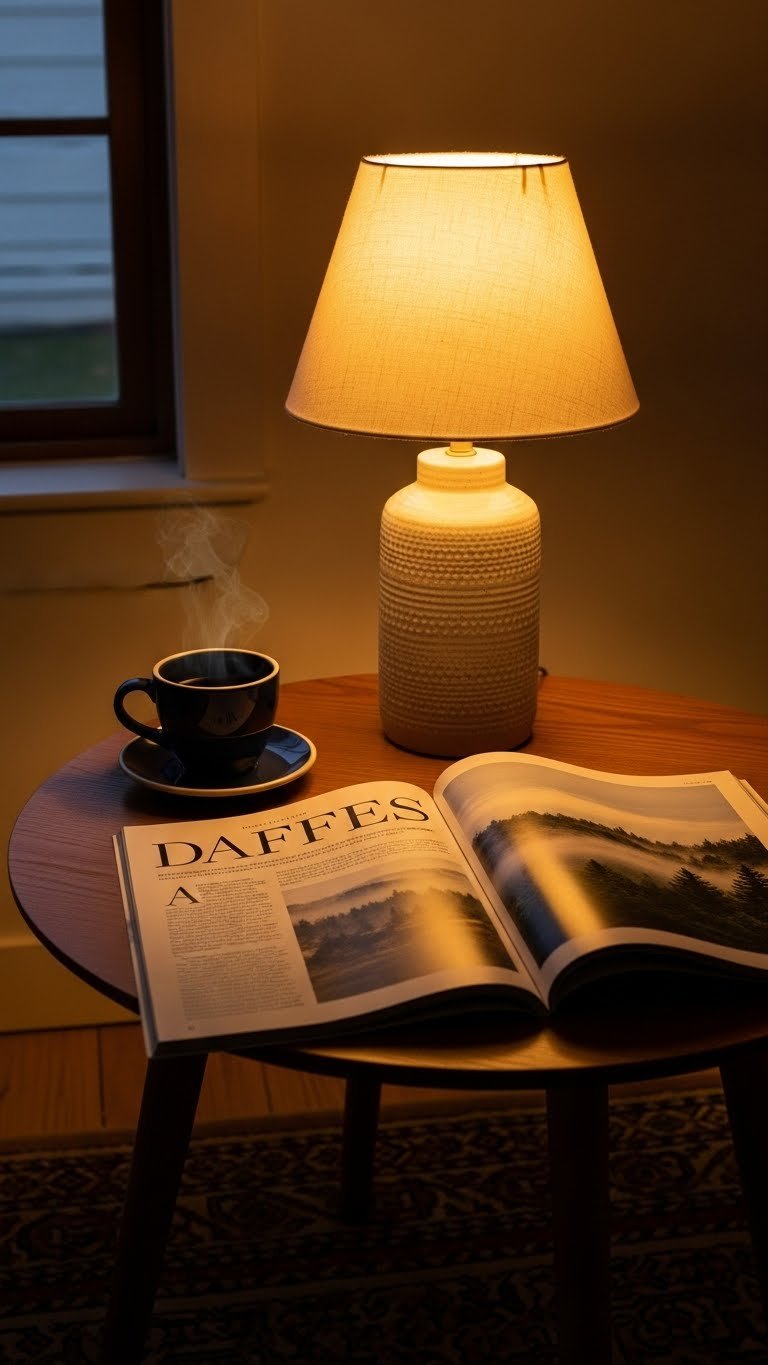
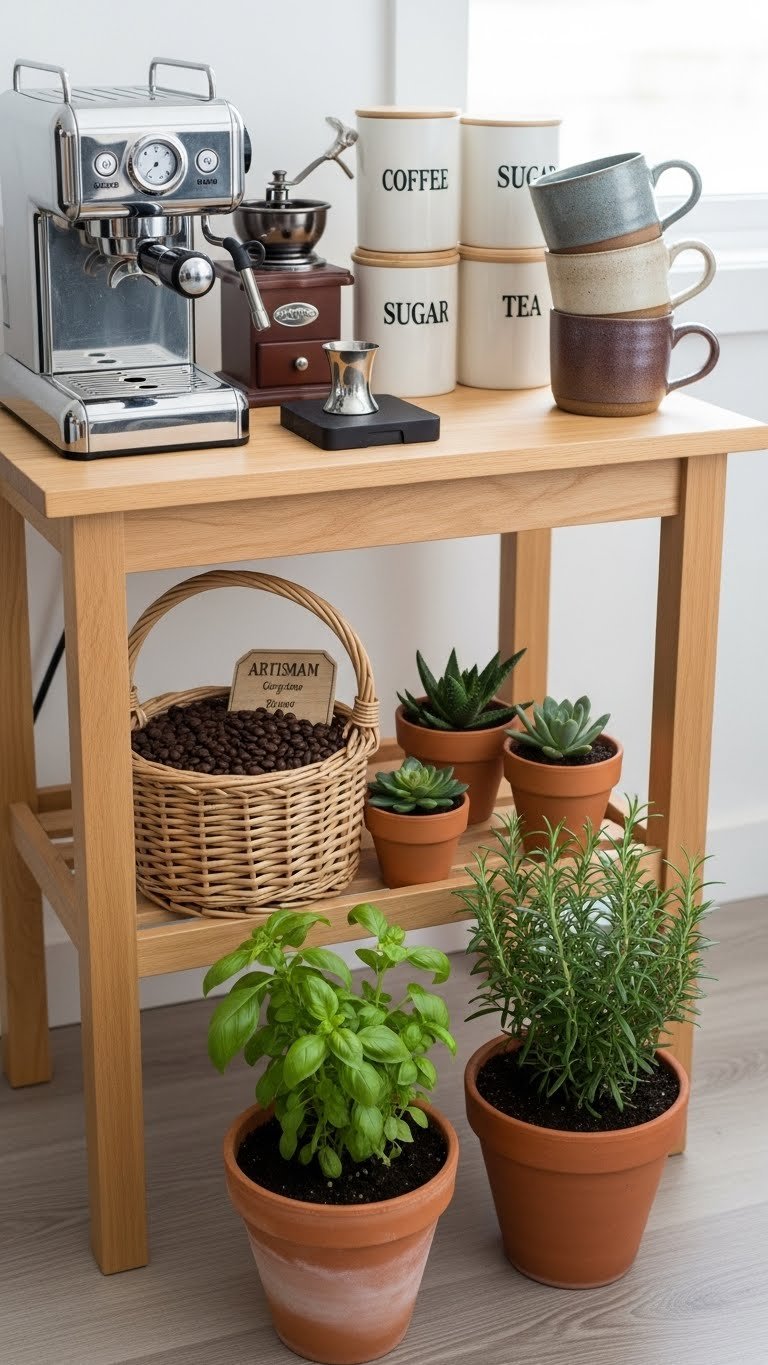
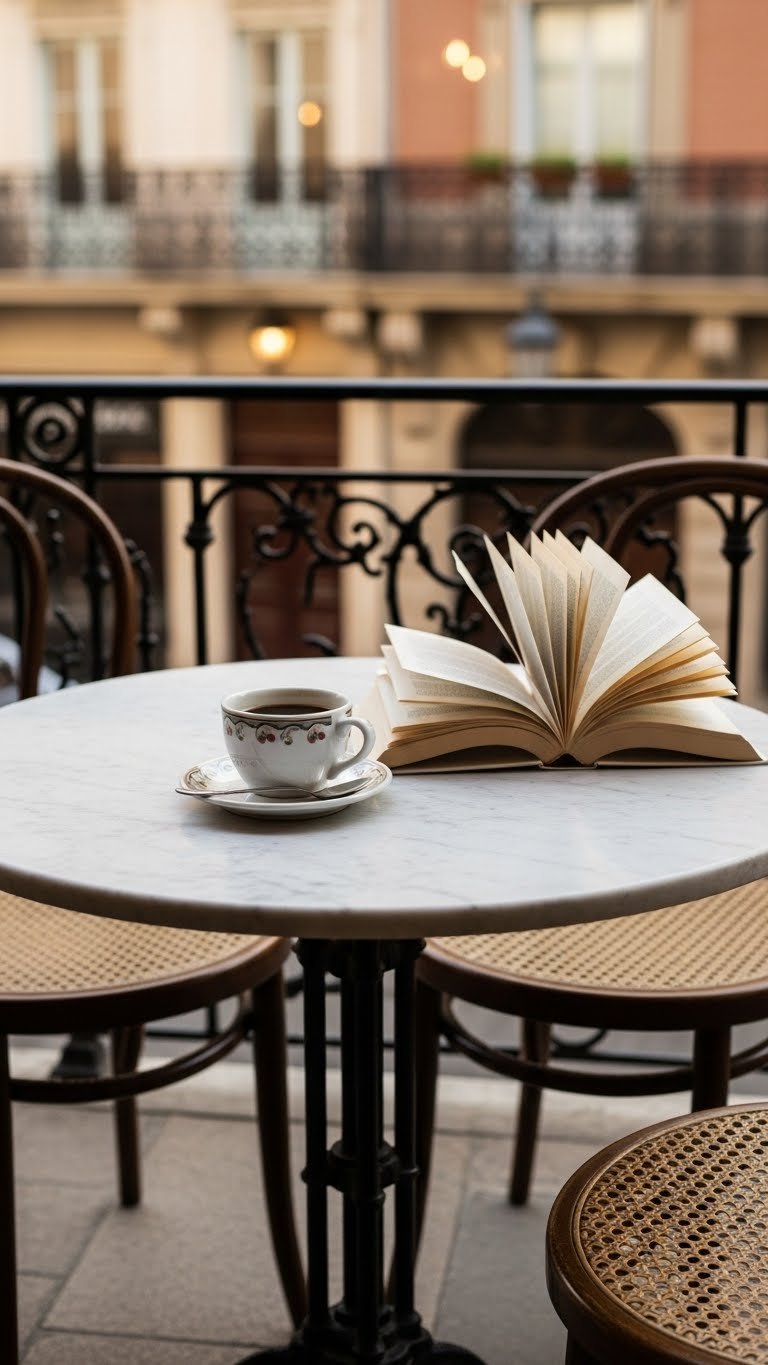
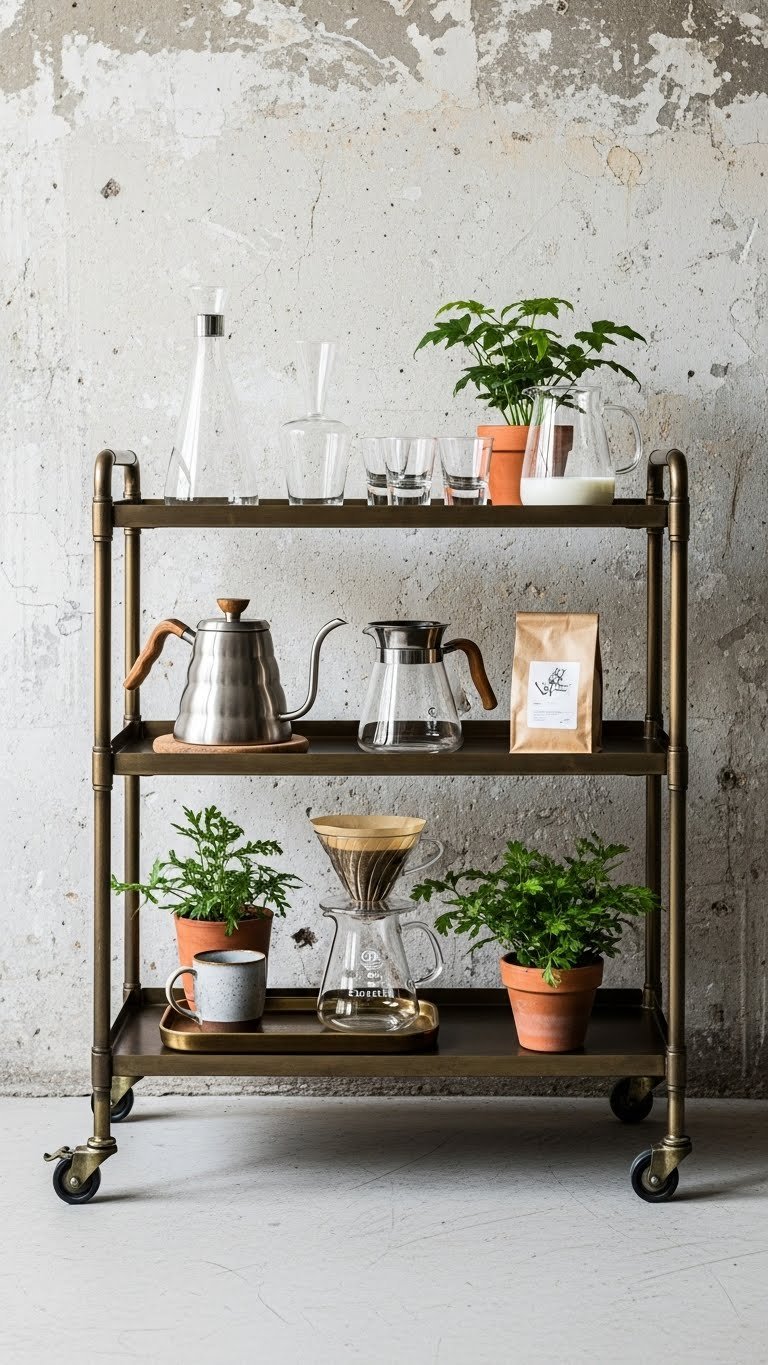
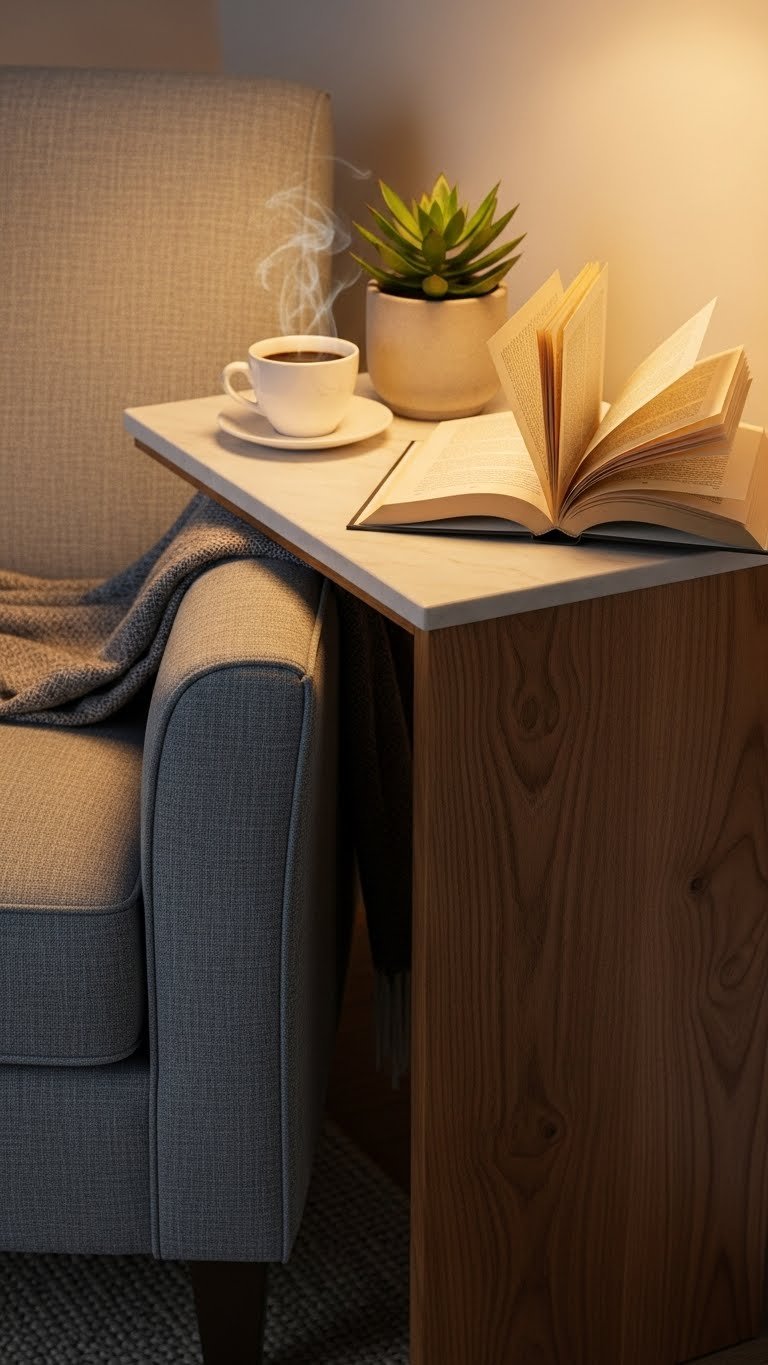
11. Create a Coffee Bar Display Within Your Cabinet
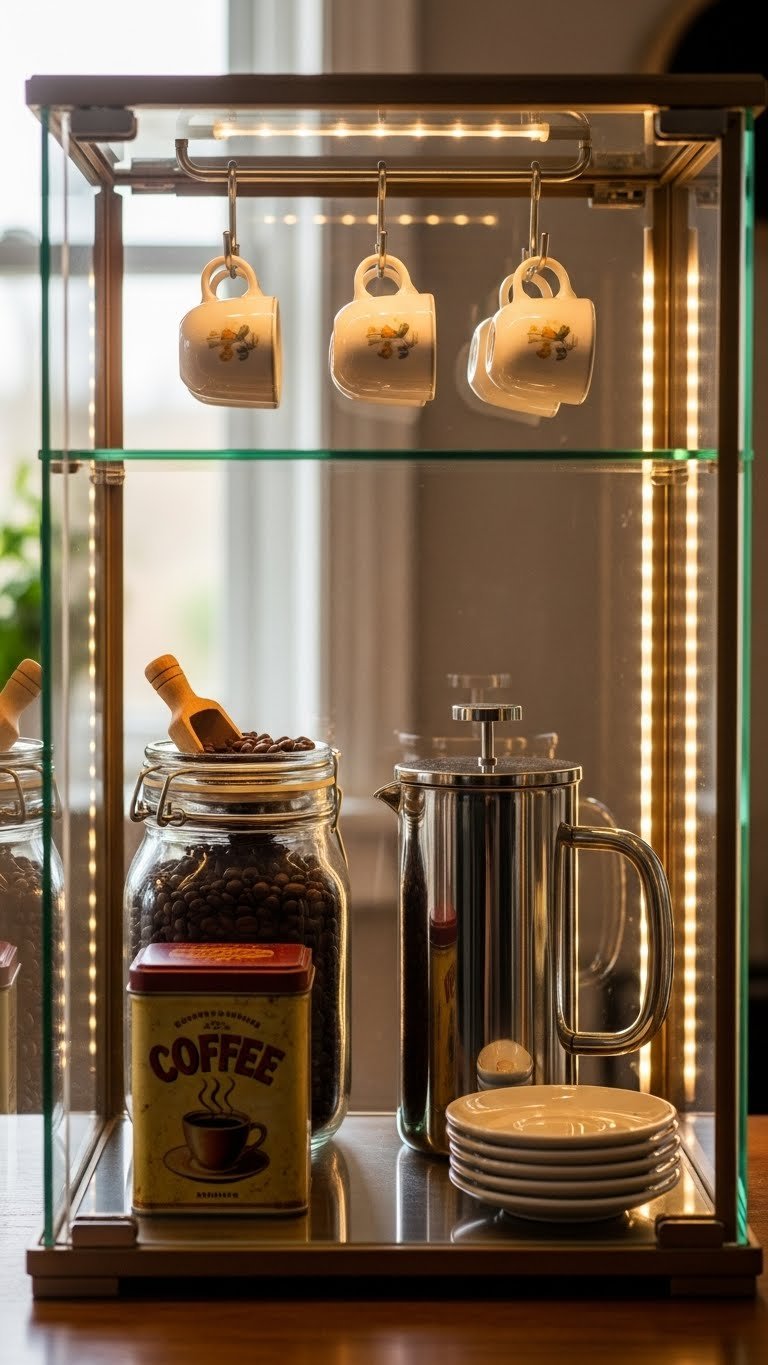
If you’re a coffee person, dedicate one or two shelves of your glass cabinet to a styled coffee display. It’s functional and beautiful at the same time.
Arrange espresso cups, a small pour-over dripper, a coffee bean container, and maybe a vintage coffee tin or grinder. Choose items in a cohesive color palette—matte black, cream, and wood tones work well. Cost depends on what you own: $0 if styling with what’s already there, or $20–$60 for a few special pieces (a pretty jar, a vintage tin). Takes 15 minutes to arrange.
Every morning, you’re greeted by a mini café right in your kitchen. That’s the kind of detail that makes a space feel special.
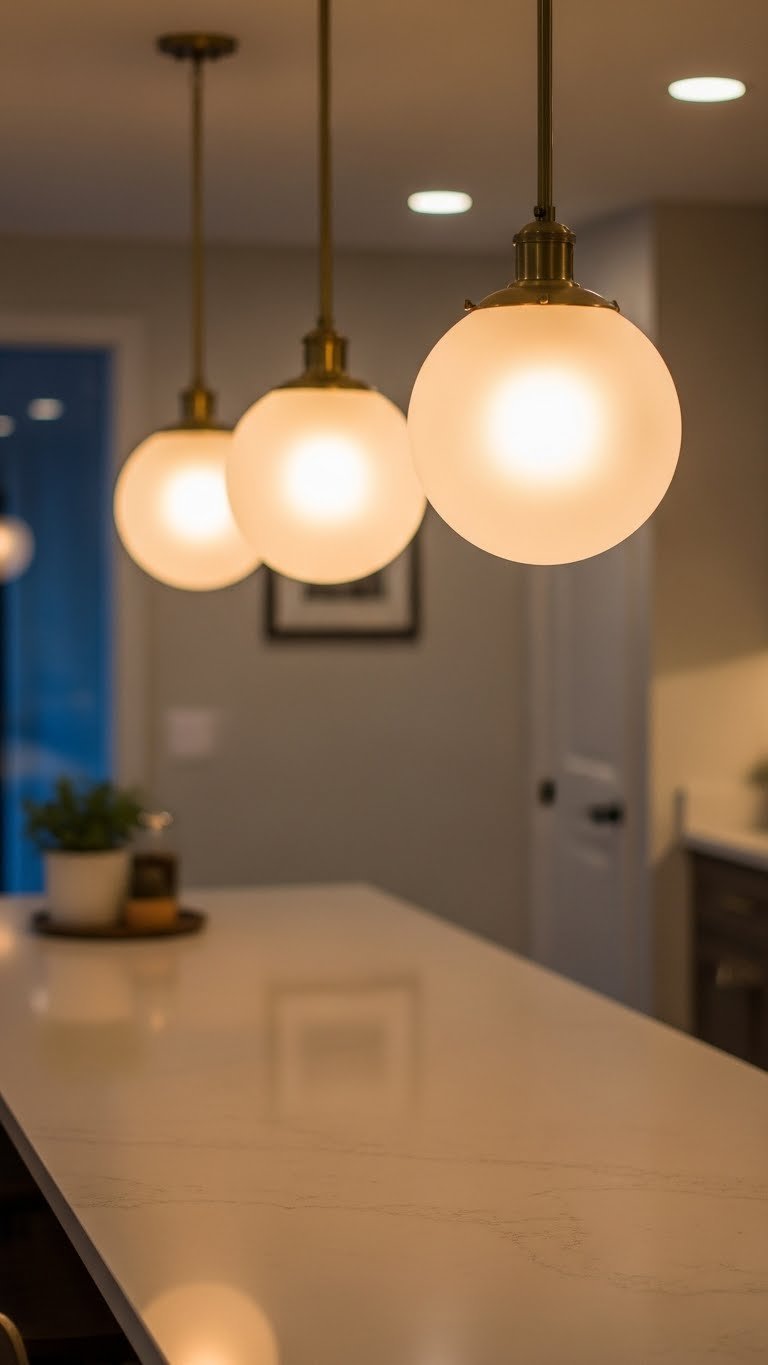
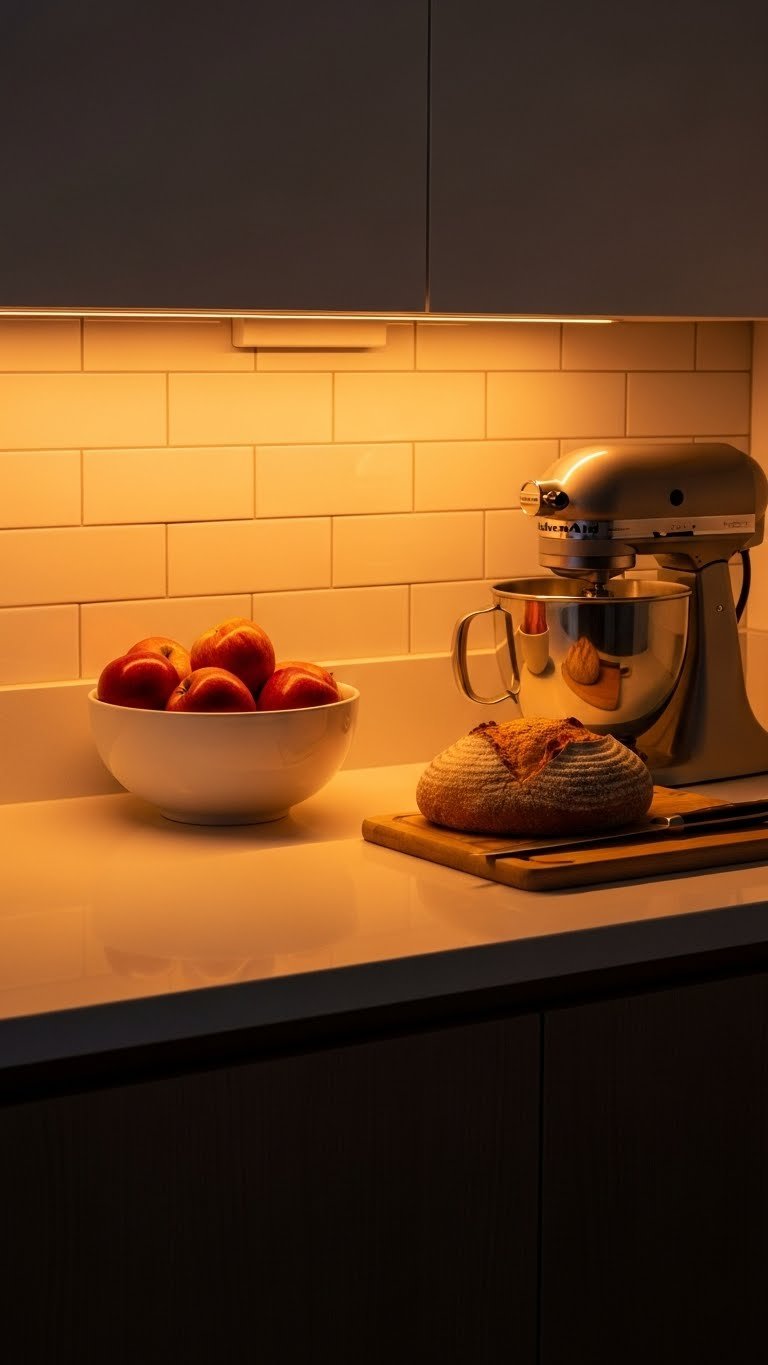
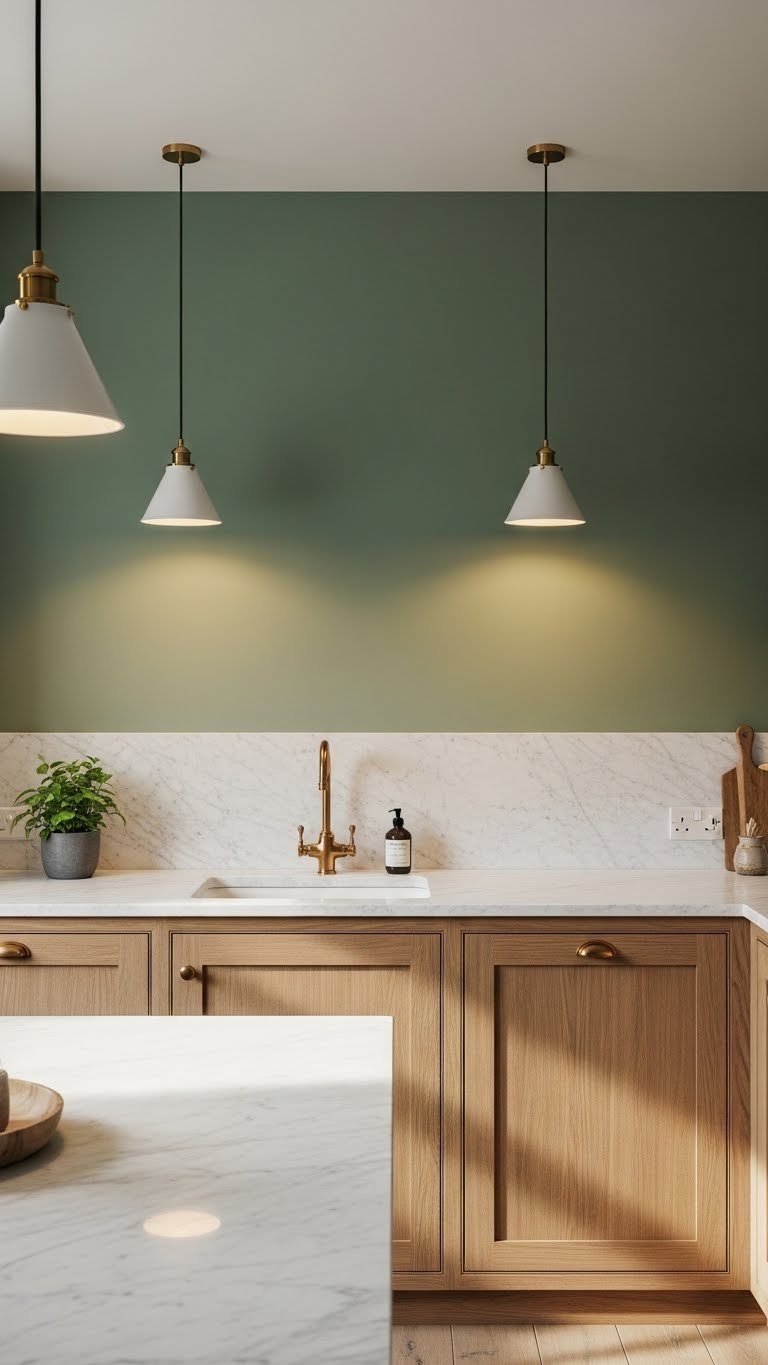
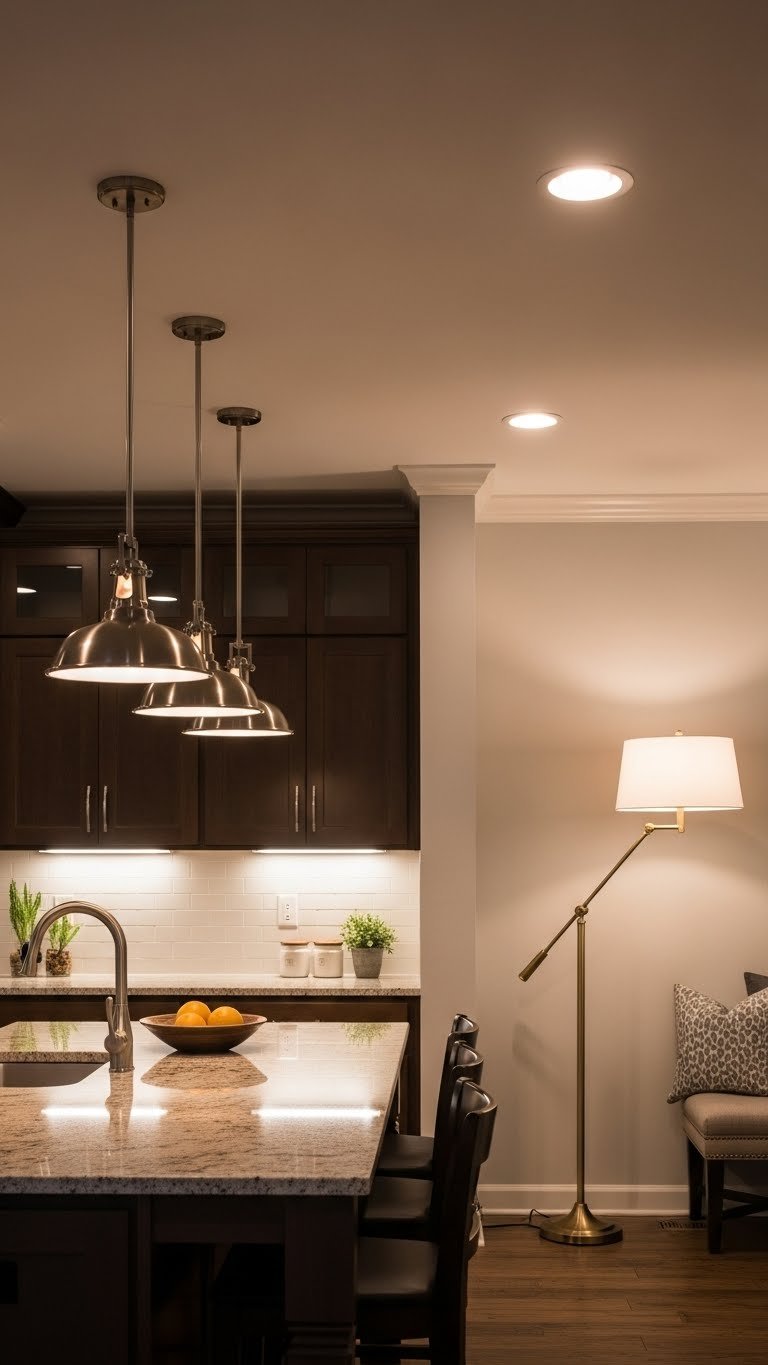
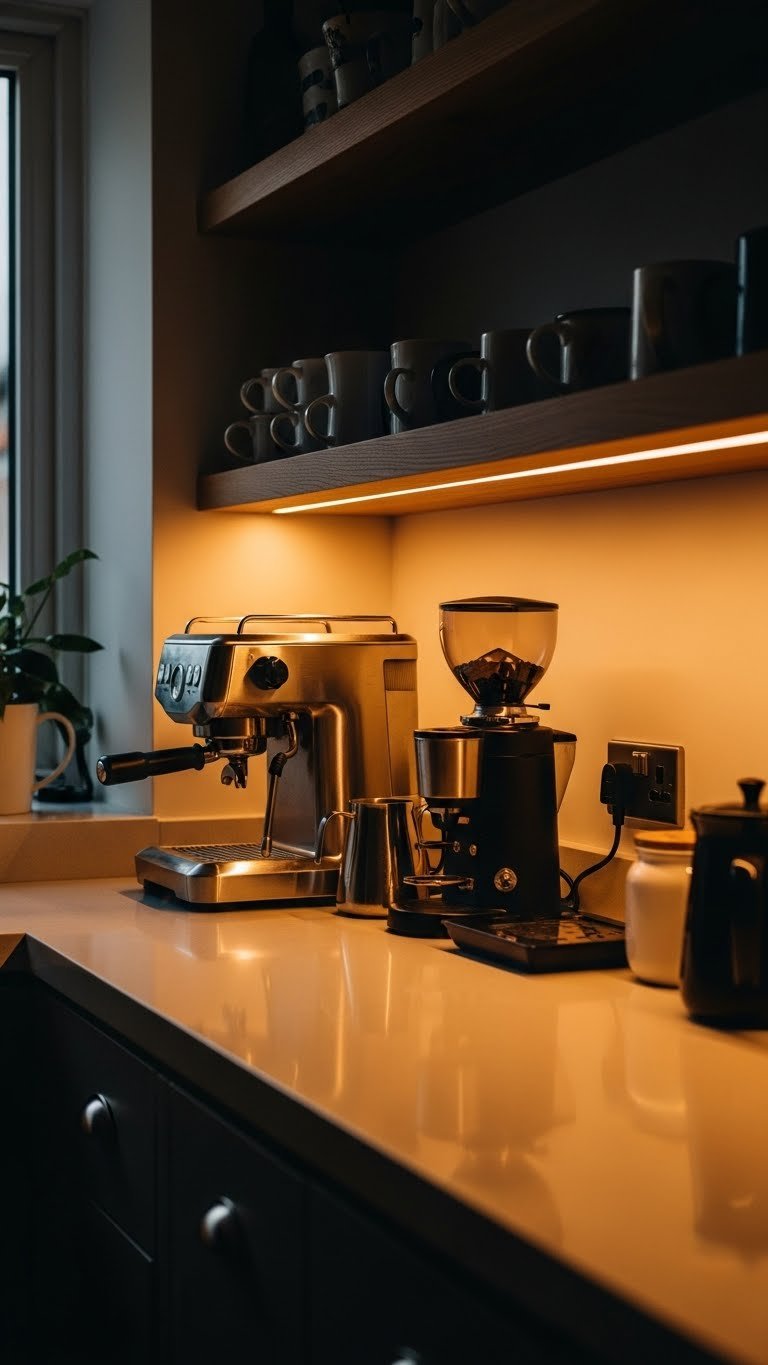
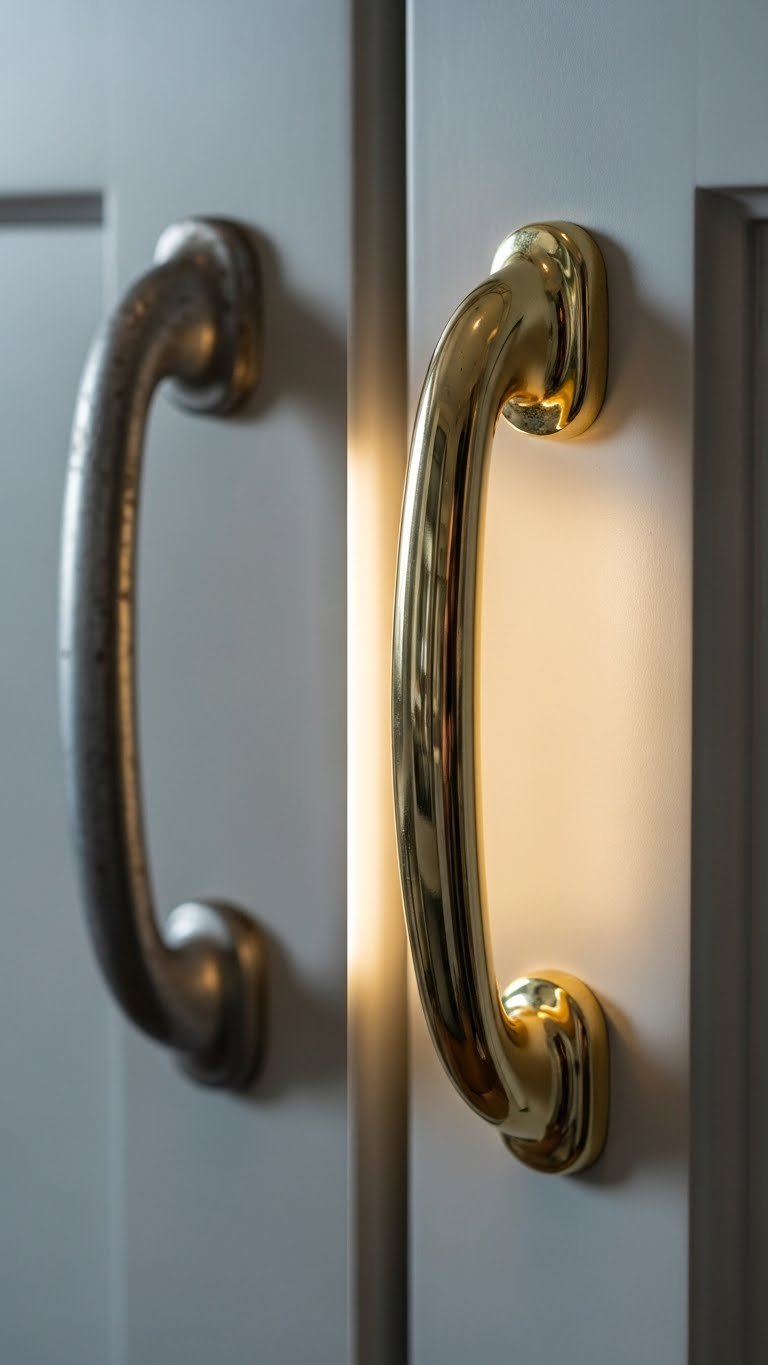
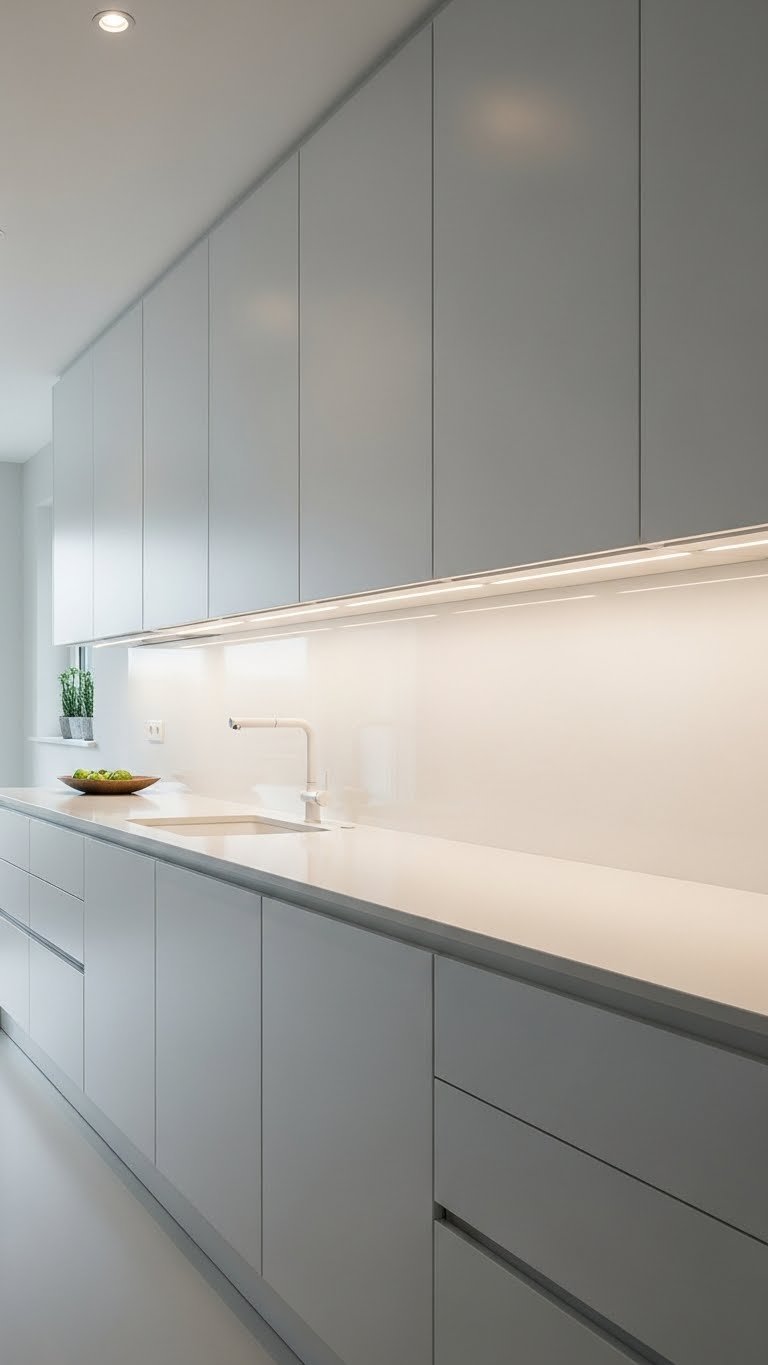
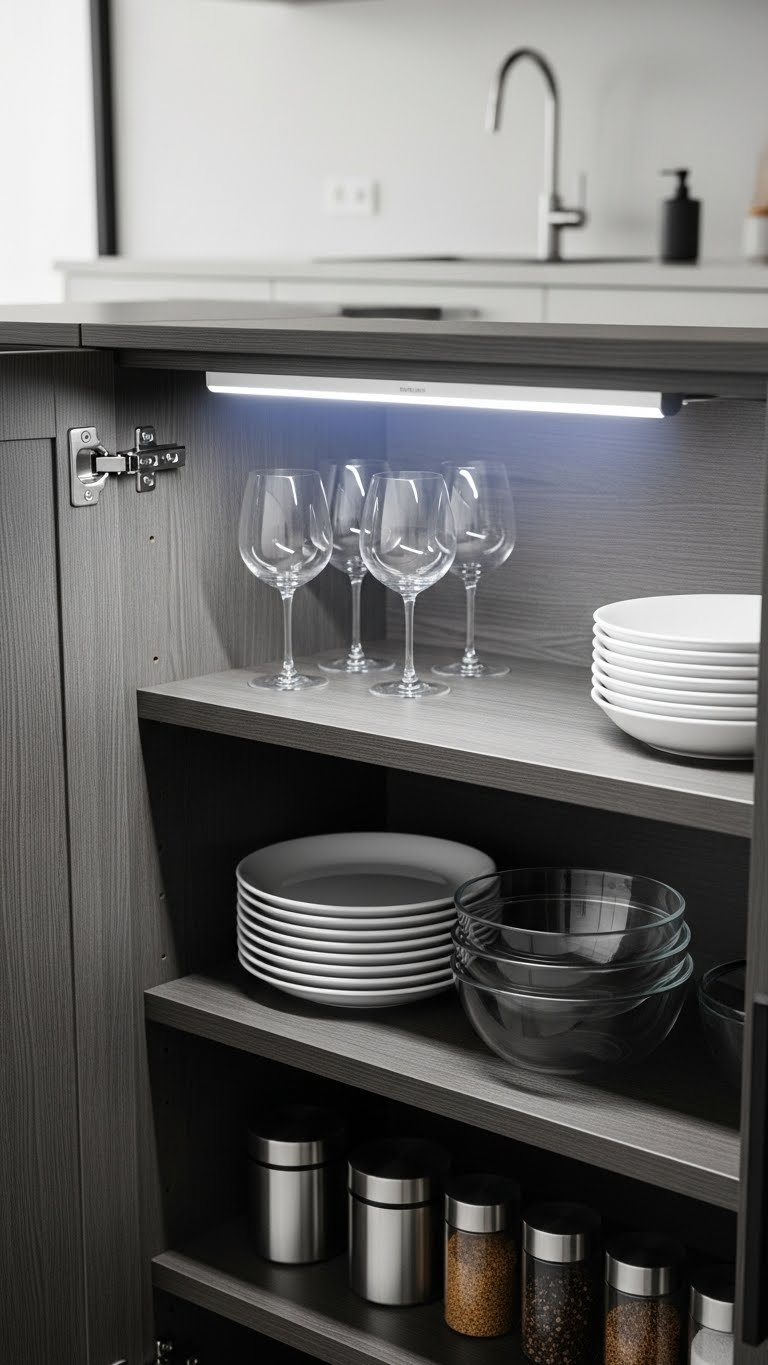
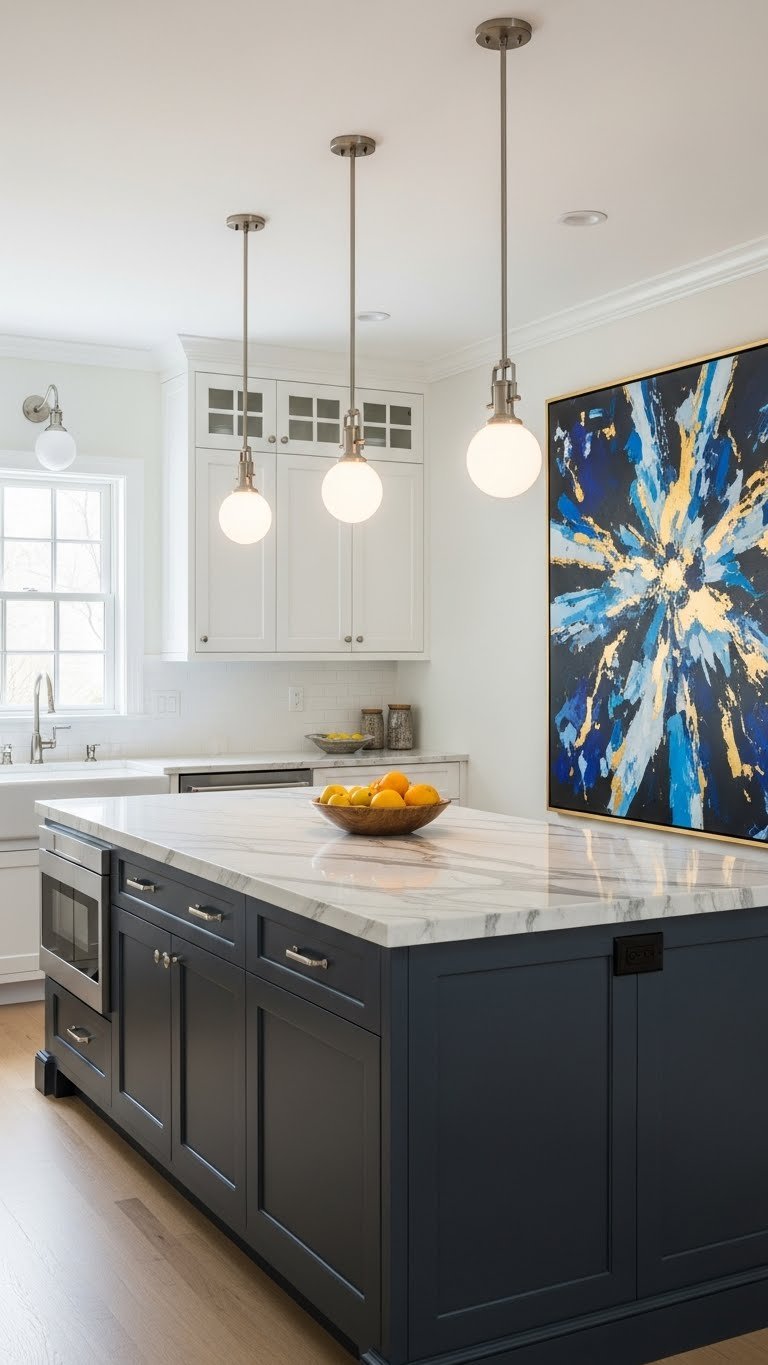
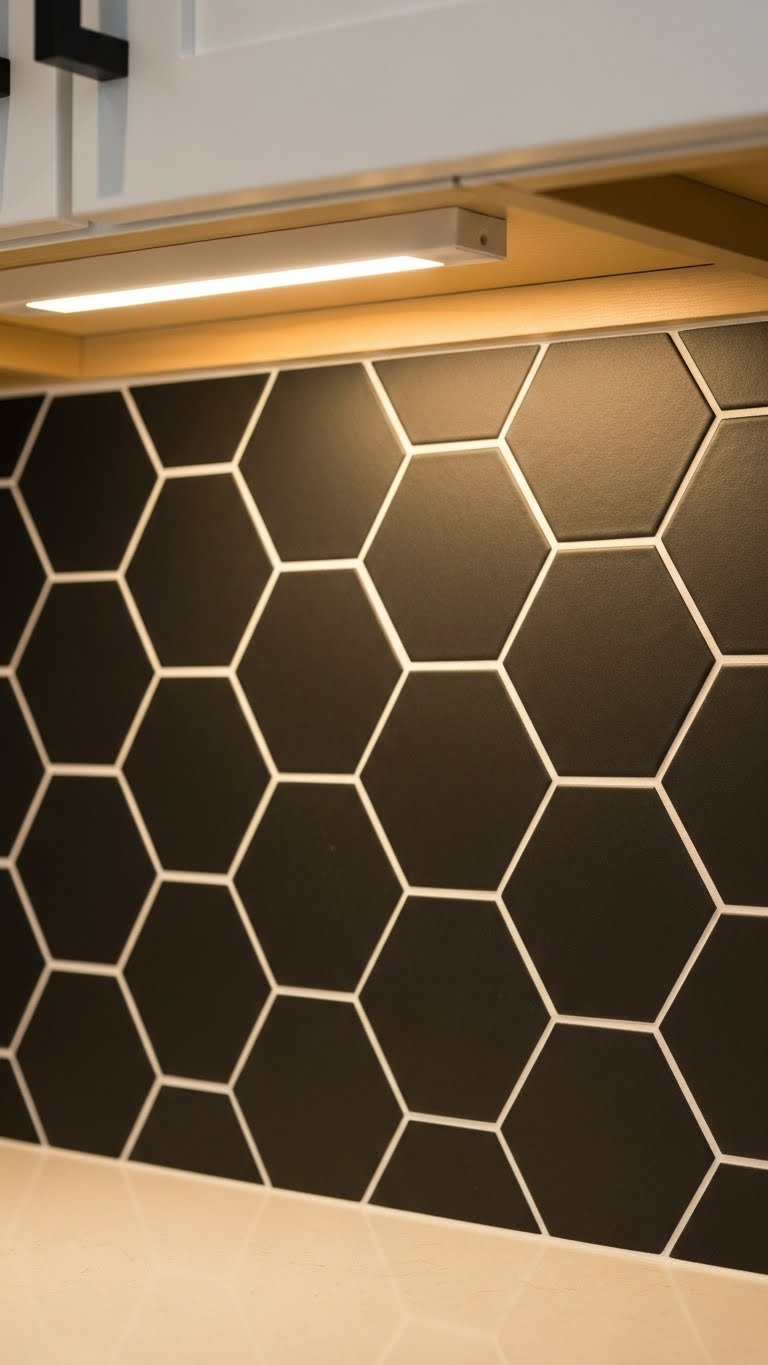
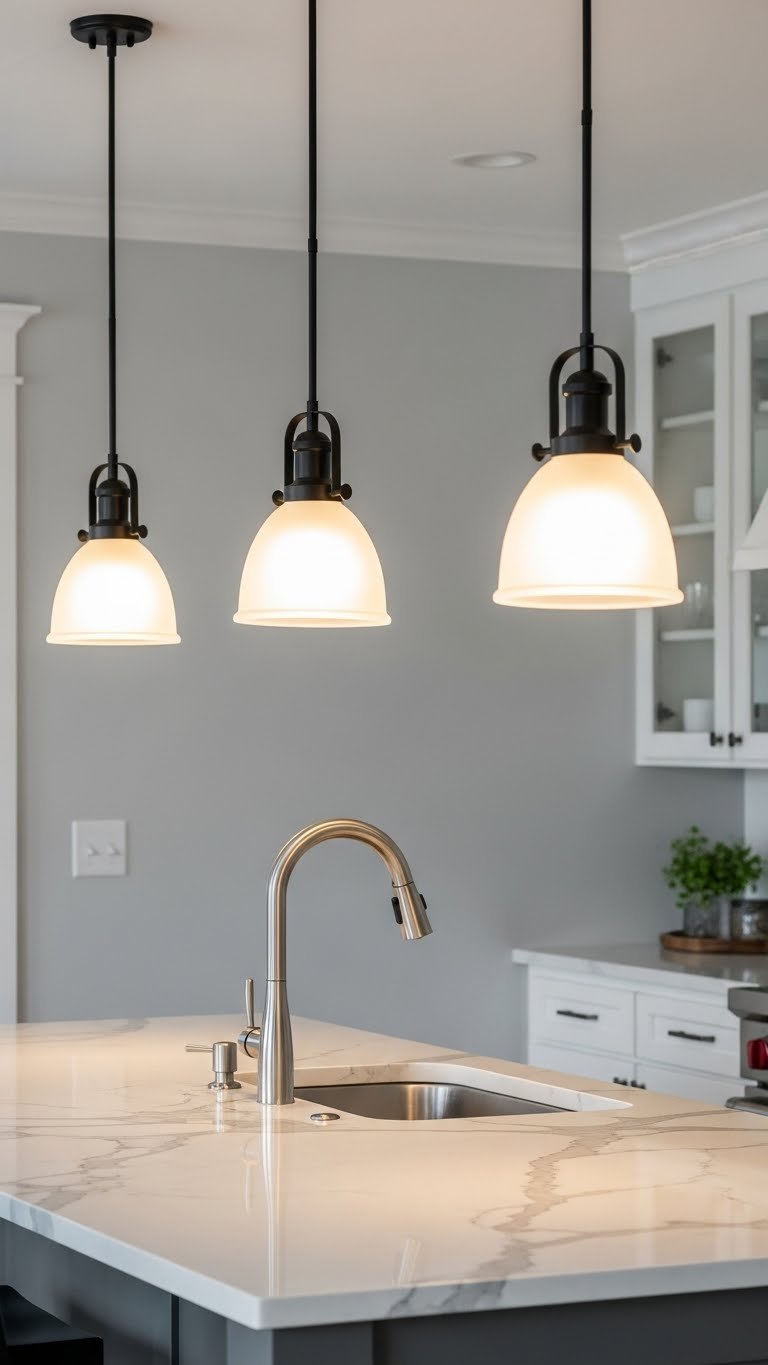
12. Pair Glass Cabinets With Open Shelves and LED Strip Lighting

LED strip lighting inside glass cabinets adds ambiance and makes your display visible even in low light. It’s a small investment that feels high-end.
Measure the interior width of your cabinet and purchase warm white LED strip lights from Amazon or Home Depot ($15–$40). Stick them to the top interior edge and plug into the outlet inside (or run them along the side). Installation takes 15 minutes—no tools needed if you go the adhesive route. Renters: check if your cabinet has internal power; some do, some don’t.
At night, the soft glow highlights your dishes and creates restaurant-quality ambiance. During the day, natural light is enough.
13. Display Vintage Glassware Collections by Era or Style

If you love vintage glassware, a glass-front cabinet is your moment. Collections look stunning when organized by visual theme rather than chronologically.
Group similar silhouettes together or organize by color progression. Mix eras—a 1970s juice glass next to a modern minimalist tumbler creates visual interest. Hunt at thrift stores, estate sales, and online (Etsy, eBay) for $1–$5 per piece. A full 24-piece display costs $20–$60 if thrifting. Arranging takes 30 minutes to get the groupings right.
Your cabinet becomes a conversation piece about taste and hunt skills. Plus, vintage glassware is durable and adds character that new items can’t match.
14. Use Floating Glass Shelves Without Visible Brackets for Seamless Look

Floating glass shelves with hidden or minimal brackets create an almost magical “items in air” effect. It’s the minimalist’s dream.
Choose shelves with internal support (hidden mounting into studs) rather than external brackets. Options include minimalist metal studs (nearly invisible) or fully hidden wall-mounted systems. Brands like Floating Shelf Company and custom glass shops offer these ($80–$200 per shelf depending on width). Installation requires studs and often a professional ($100–$200 labor)—or DIY if you’re confident with a stud finder and drill.
The seamless look makes your kitchen feel more spacious and modern. Items appear to float, supported by nothing but air—or careful engineering.
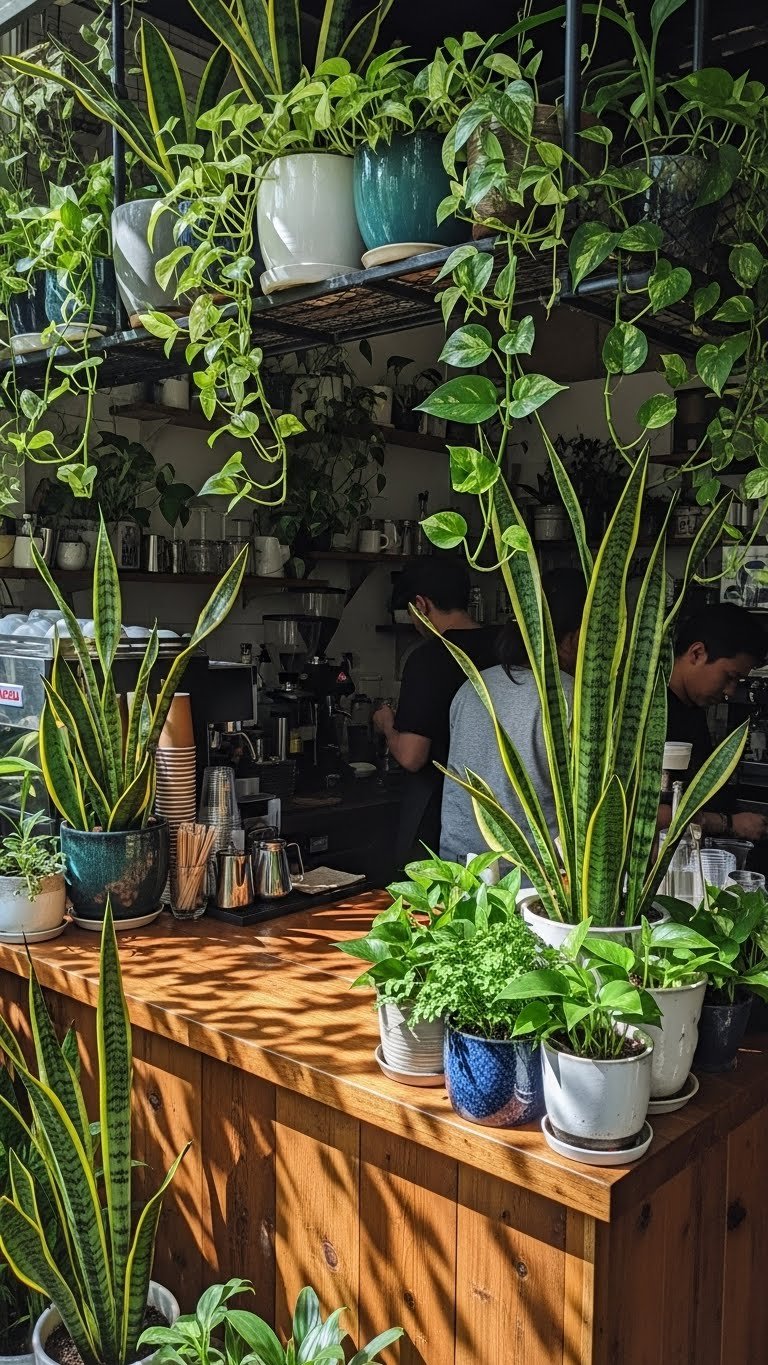
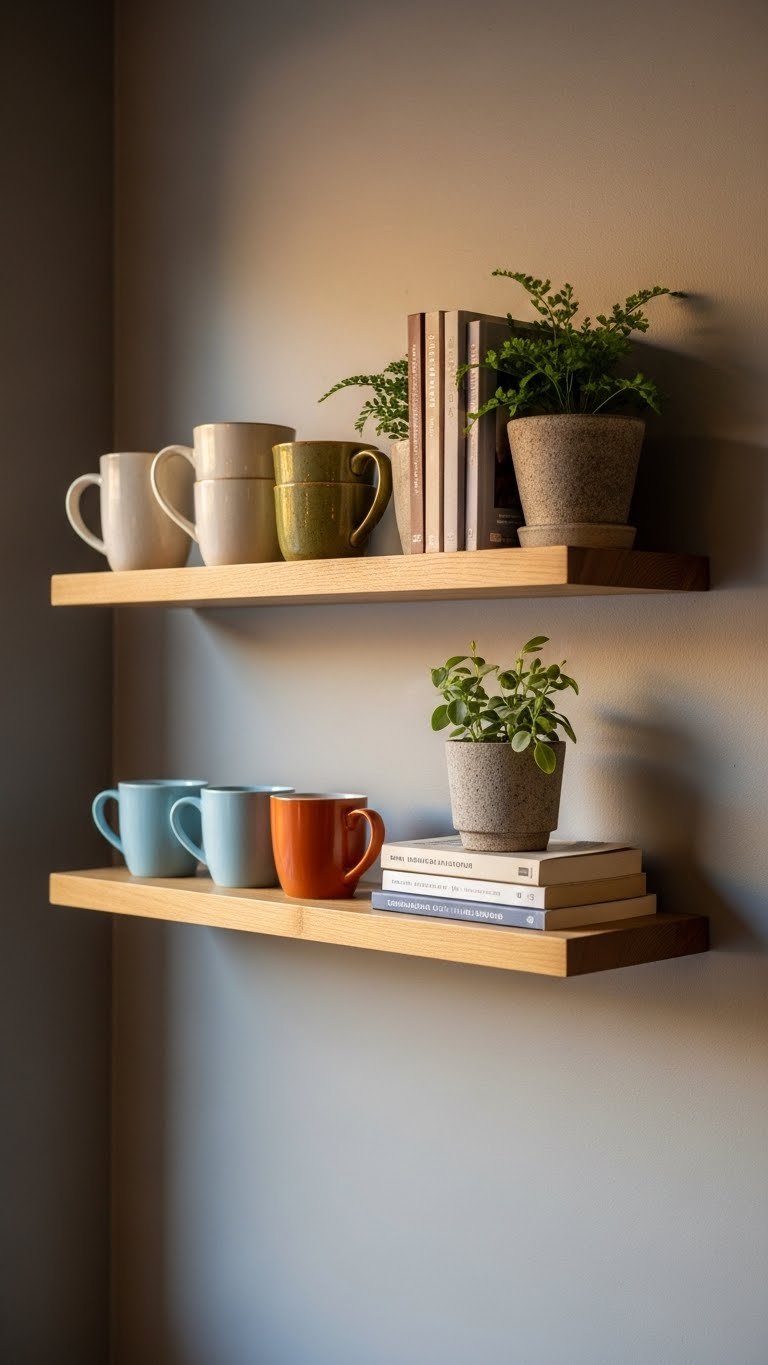
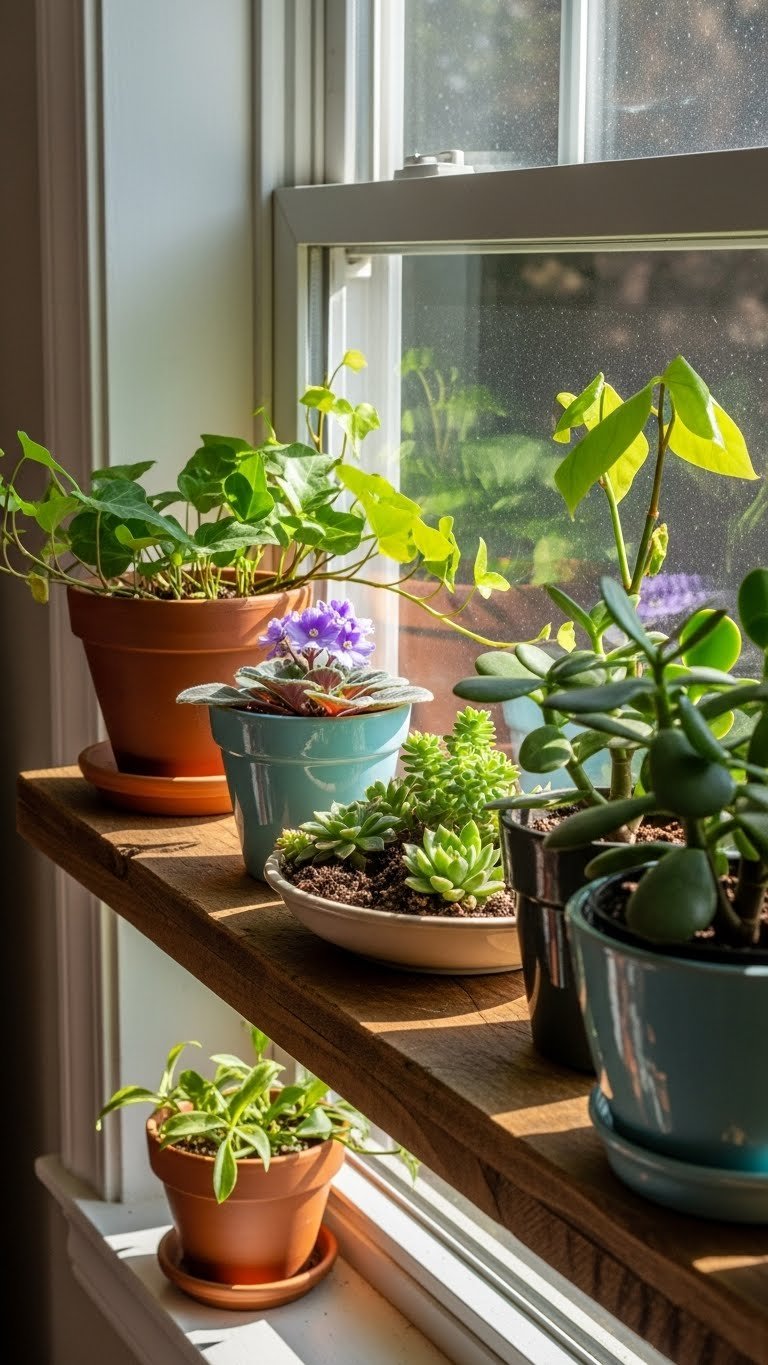
15. Mix Functional and Decorative: Everyday Dishes Plus Pretty Things
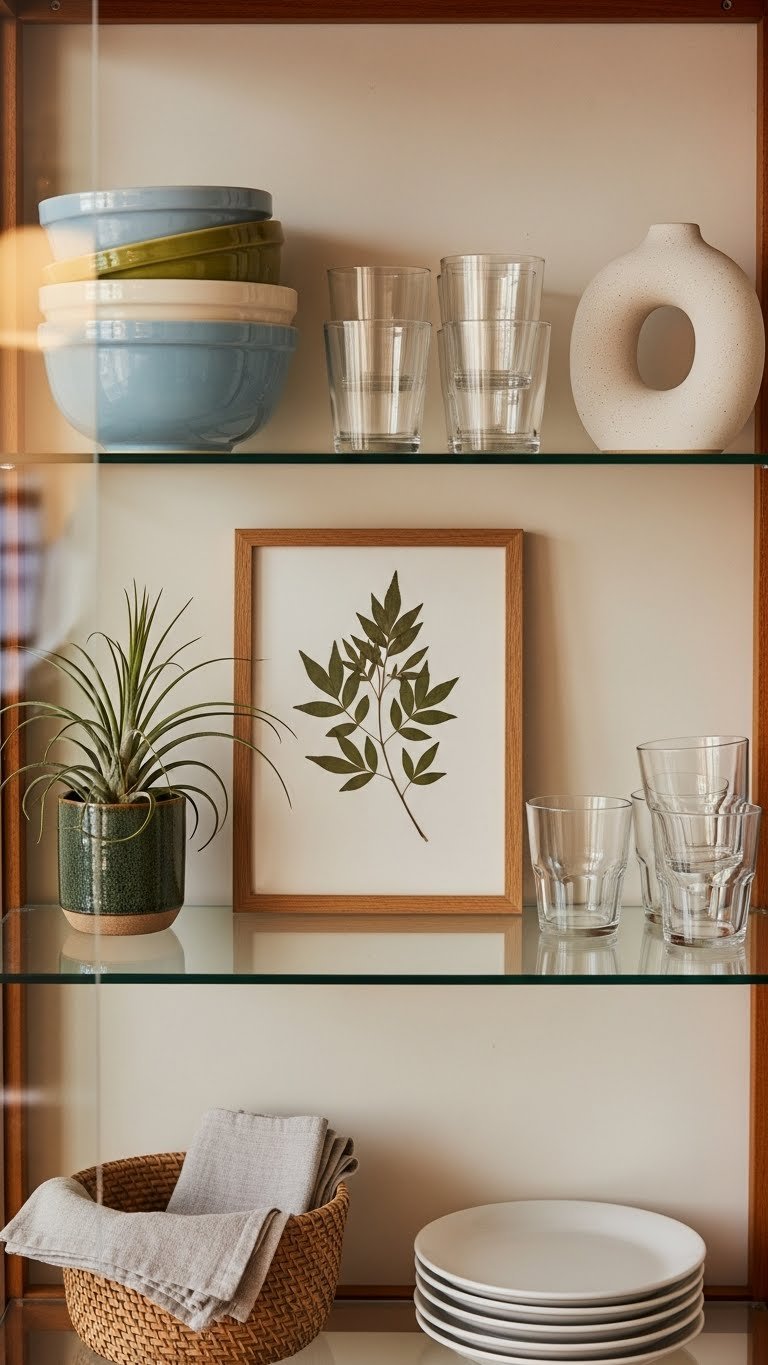
The best glass cabinets feel lived-in, not like a museum. Mixing everyday items with decorative pieces creates this balance.
Put some of your actual dishes in the cabinet rather than pretending it’s only for fancy things. This could be your everyday coffee mugs, the bowls you use regularly, the glasses you reach for. Tuck one or two special pieces around them—a small plant, a pretty bowl you don’t use, a framed photo. Everything should make you happy to see. Costs $0 and takes 20 minutes to style thoughtfully.
Your cabinet becomes functional and beautiful. You’re not afraid to actually use these things—because you do.
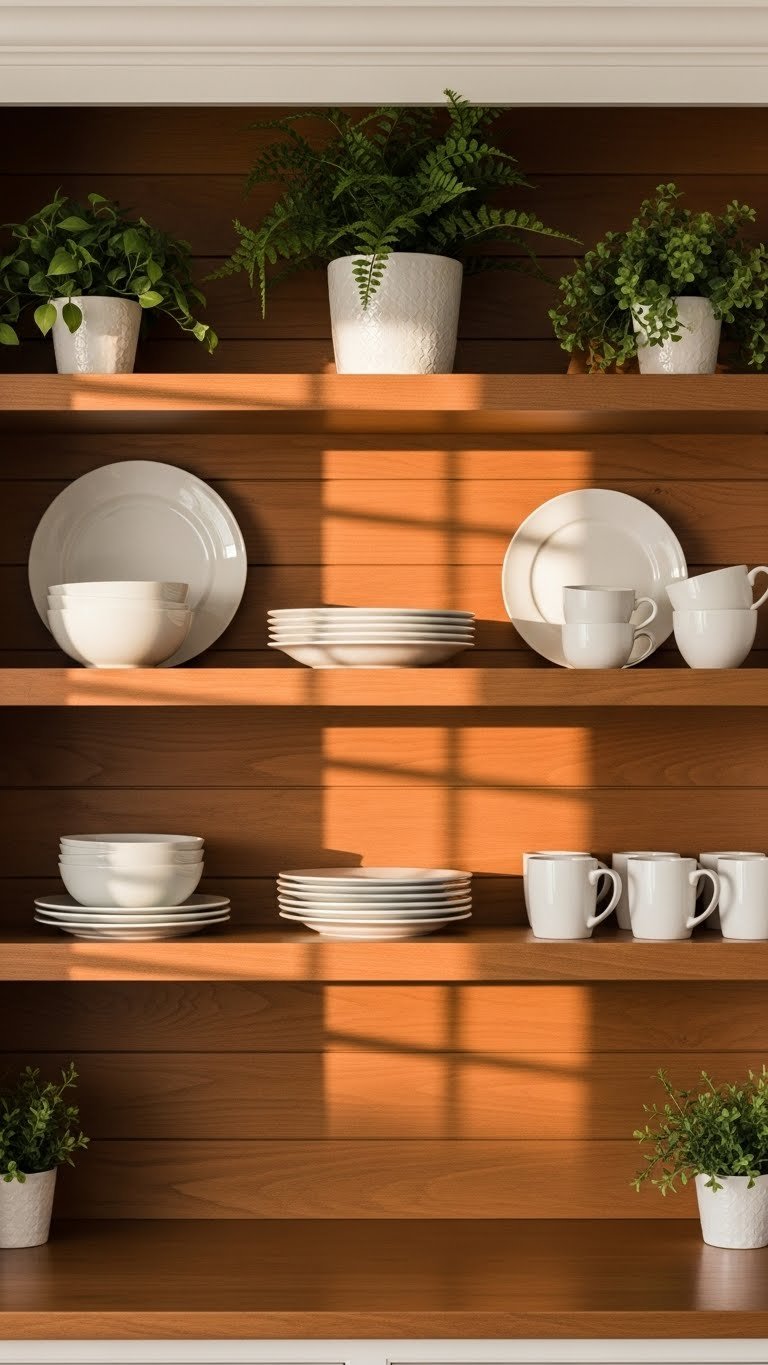
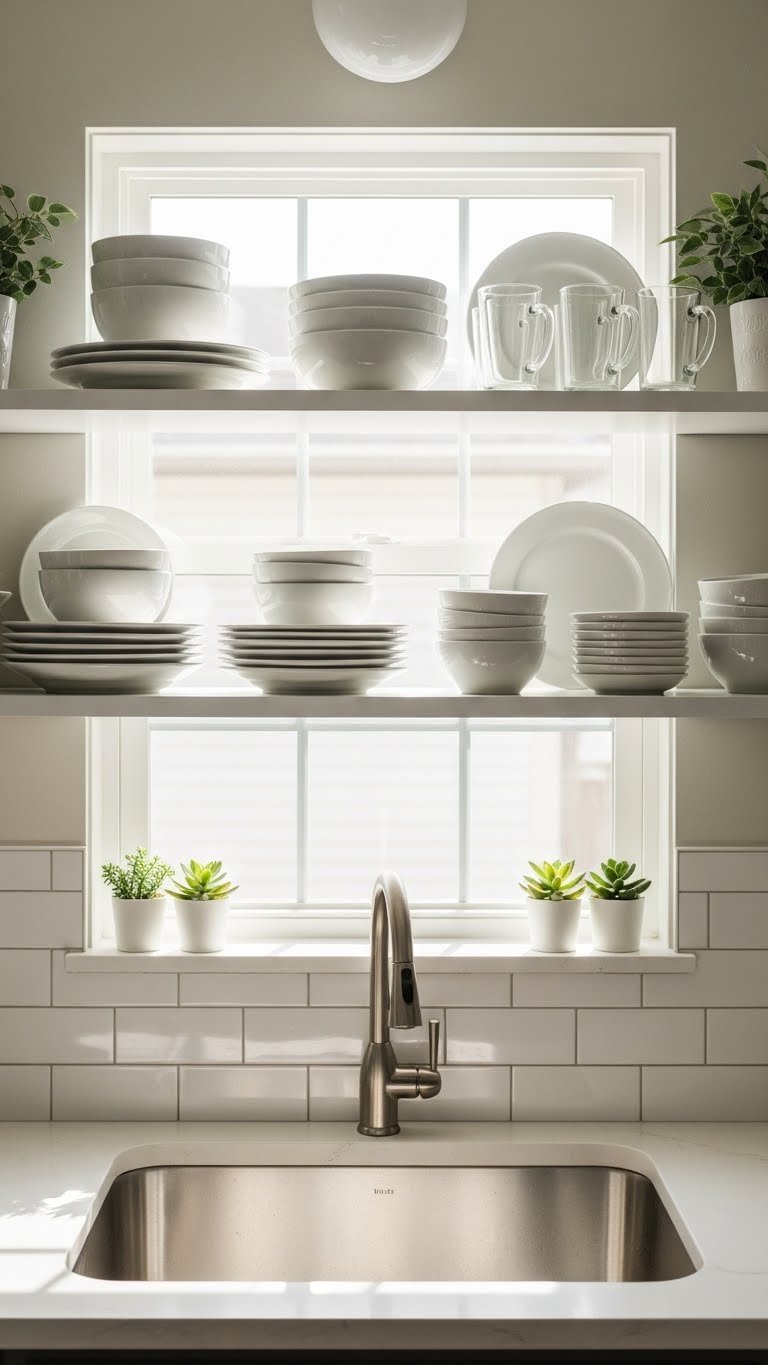
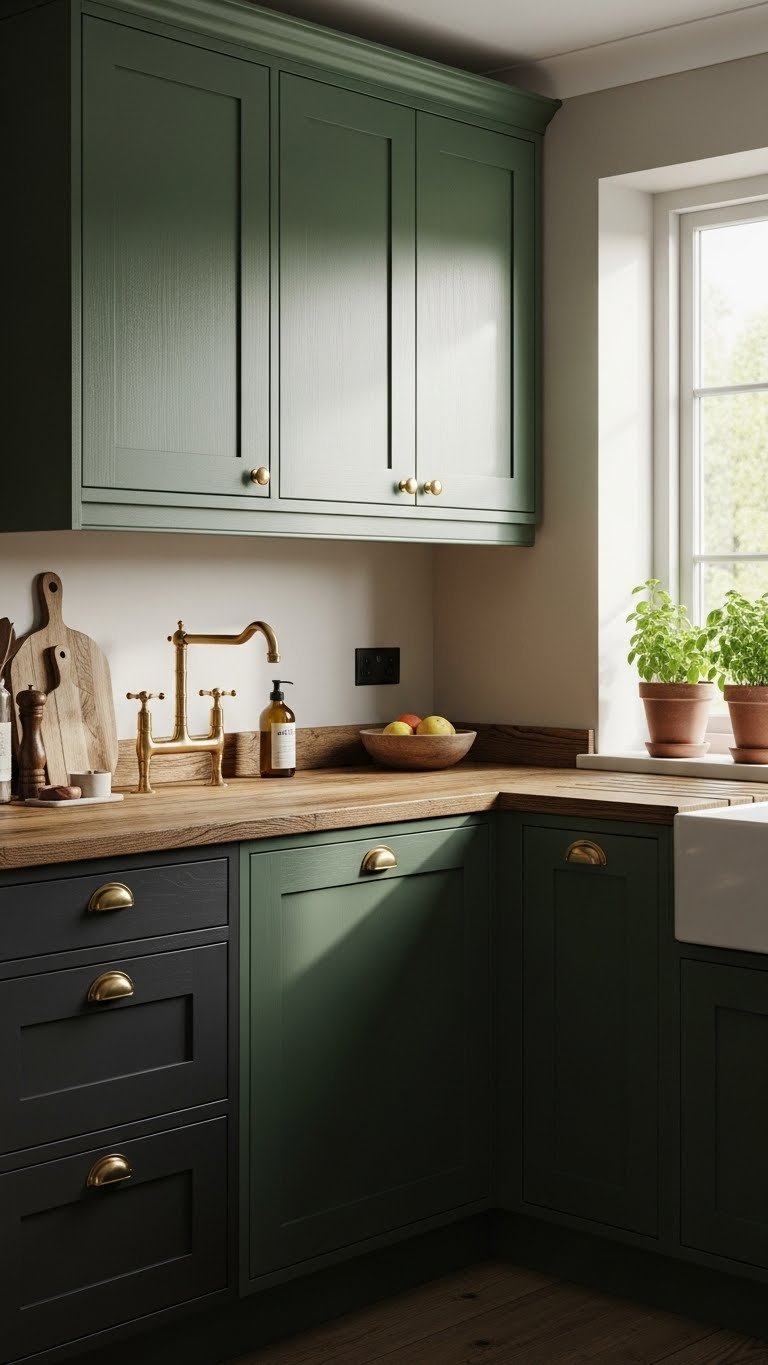
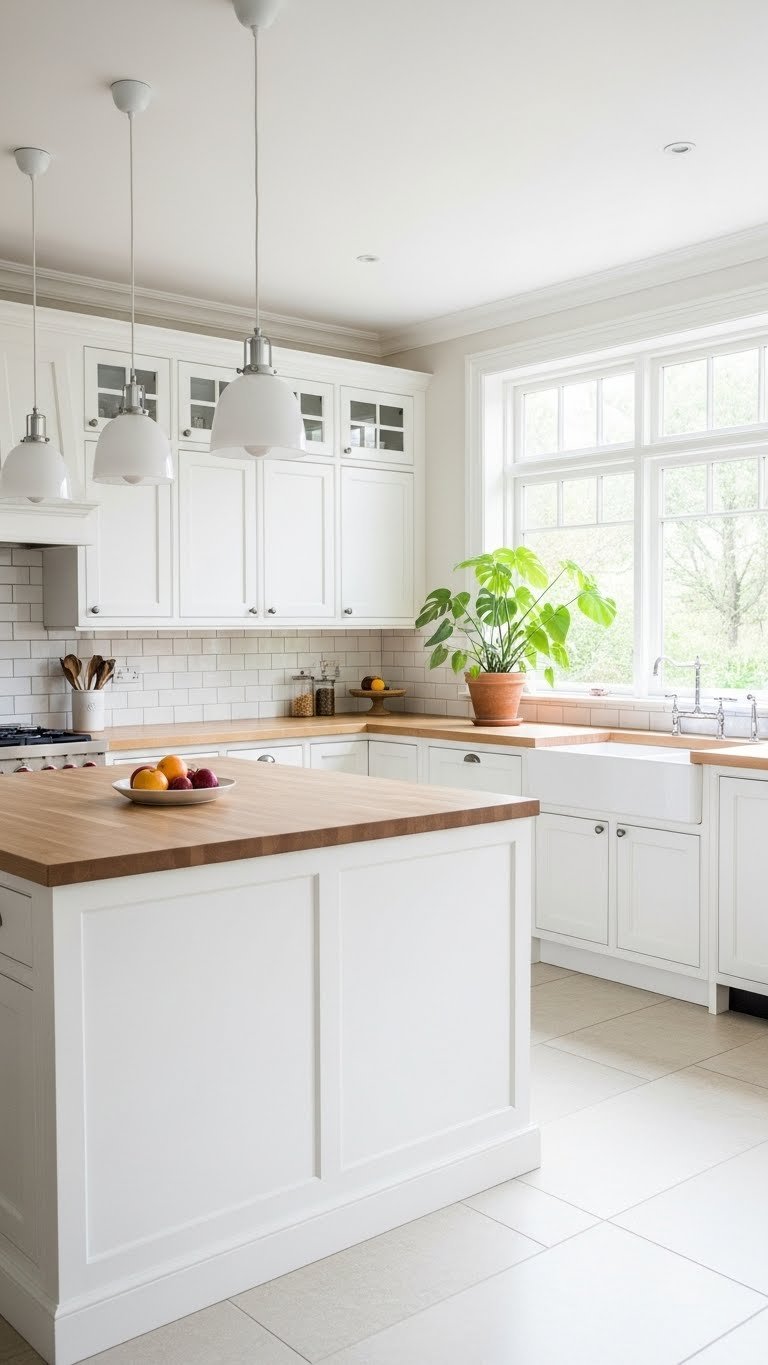
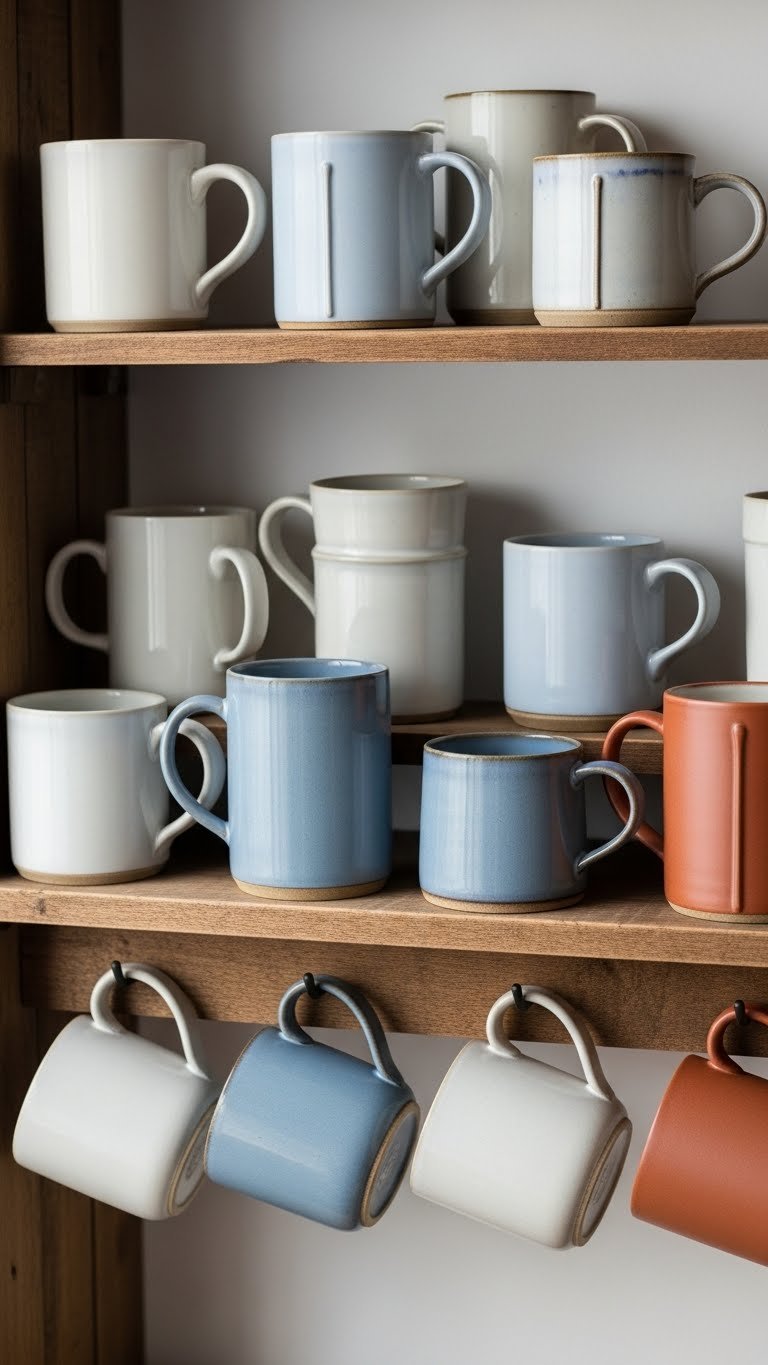
16. Go Monochrome: Display All White or All Neutral Dishware

An all-white or all-neutral cabinet has a sophisticated, spa-like quality. The restraint is actually the statement.
Collect white dishware gradually: plain white dishes from Target or IKEA ($10–$20 per set), vintage white ceramics from thrift stores ($1–$5 per piece), and white glassware. Include texture variety—some smooth, some ribbed, some with subtle patterns. The monochrome makes these texture differences pop. Costs $30–$80 for a full display if mostly thrifted. Takes 30 minutes to arrange by size and shape.
The simplicity feels intentional and expensive. Your kitchen looks calm, organized, and thoughtfully designed.
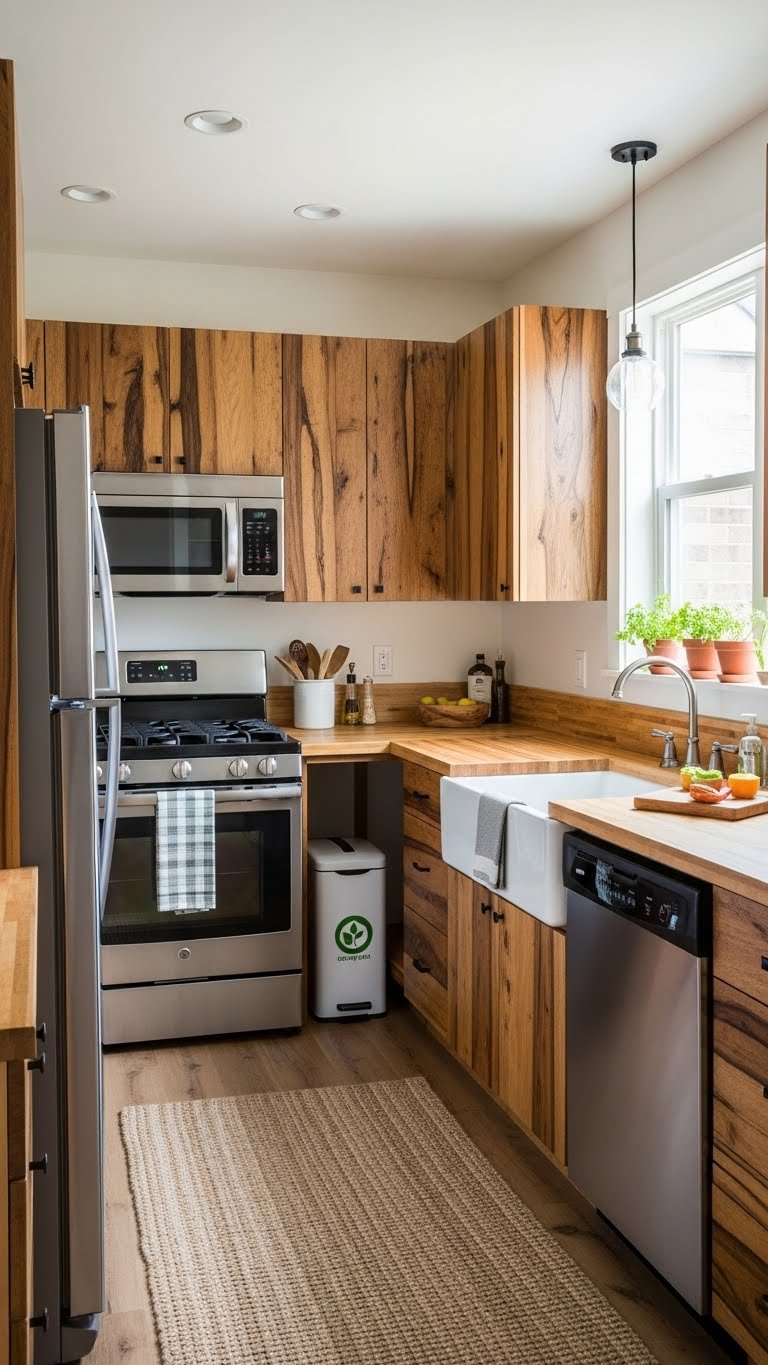
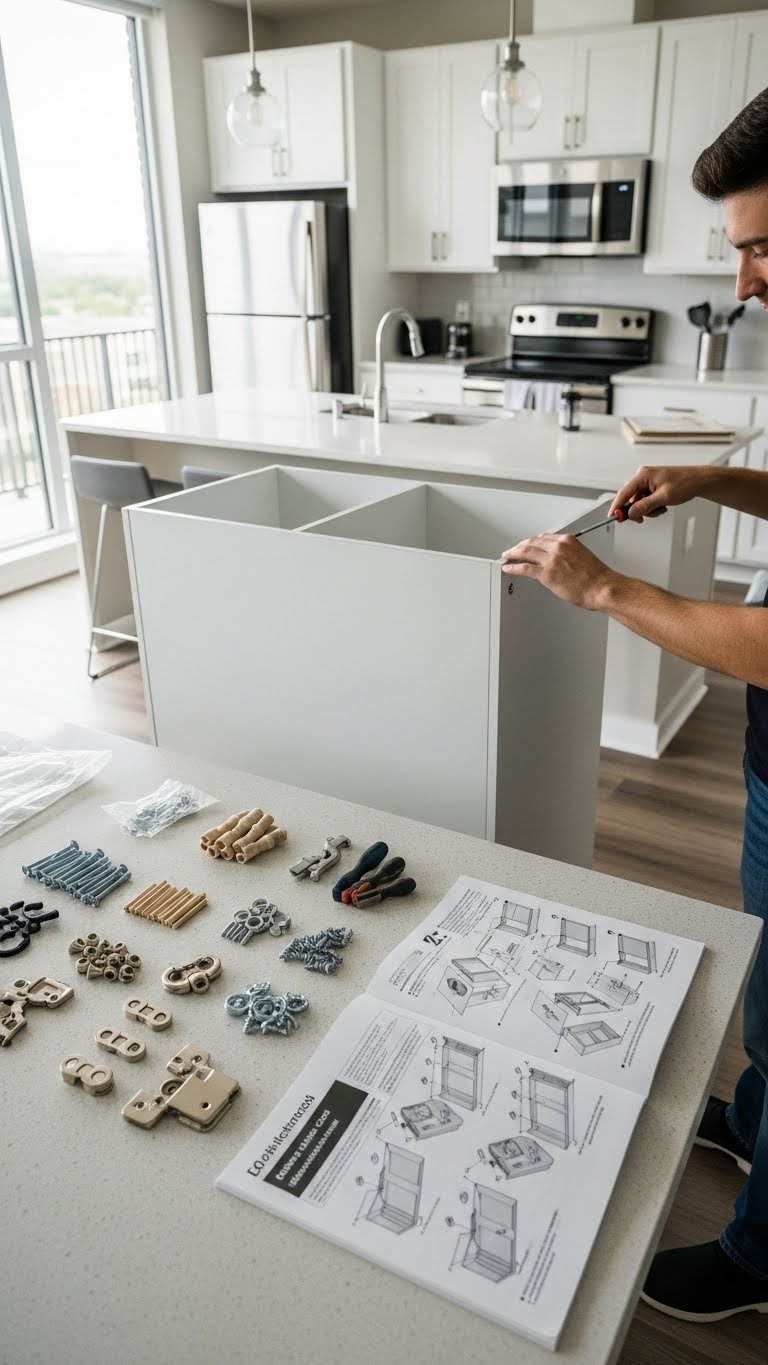
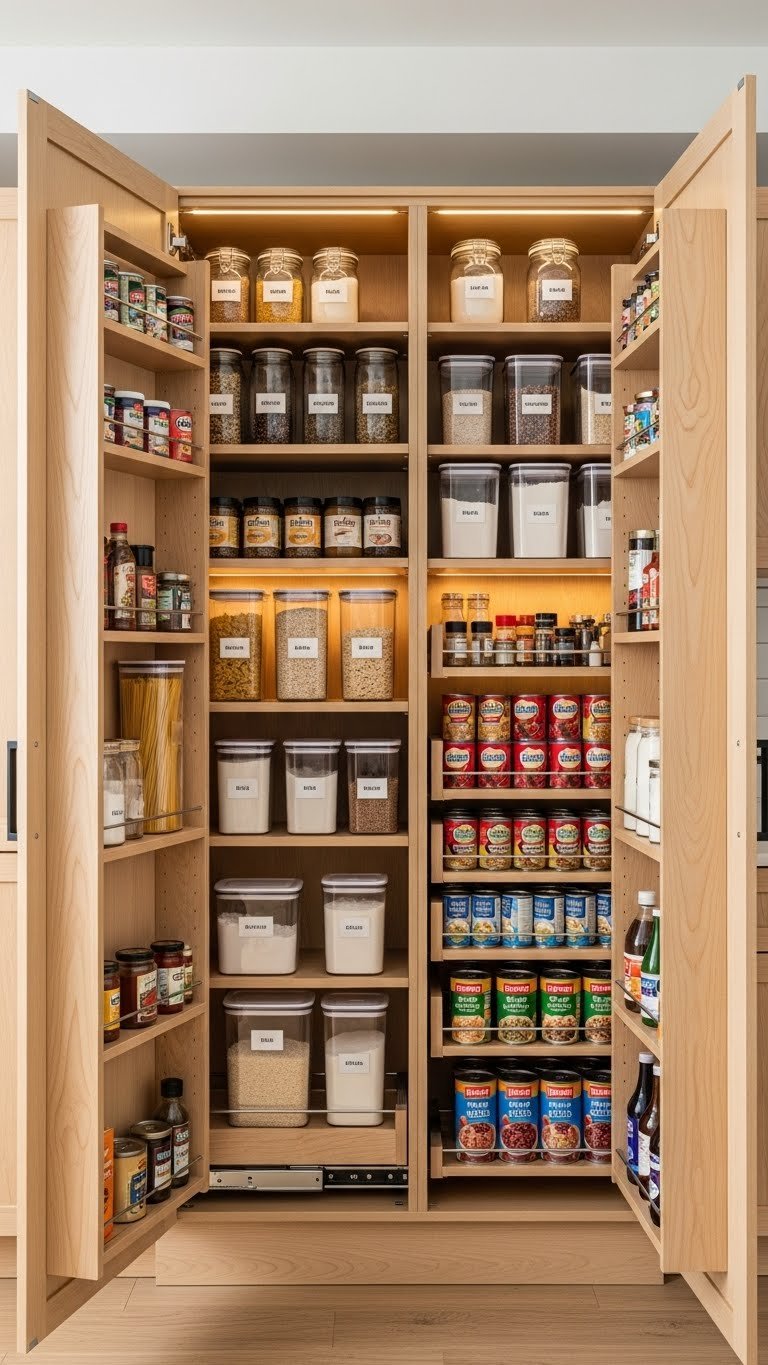
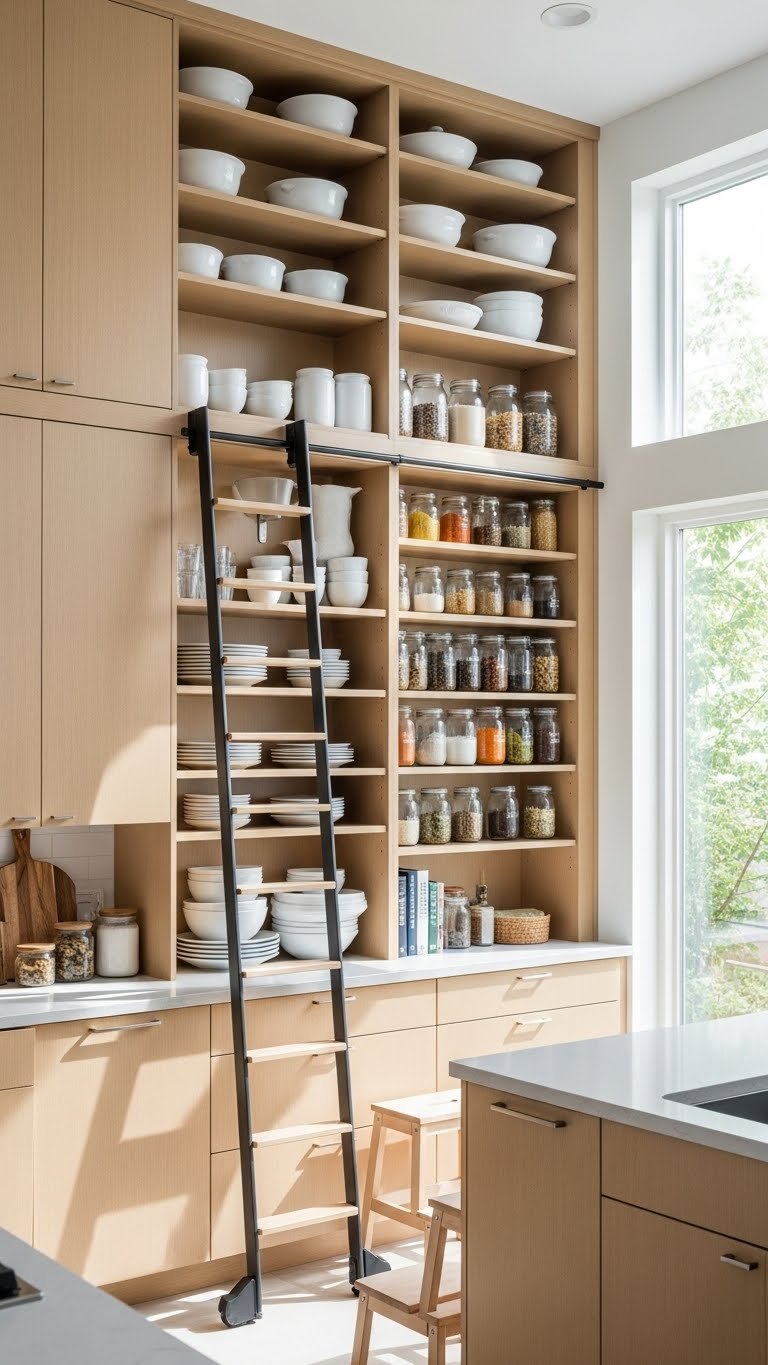
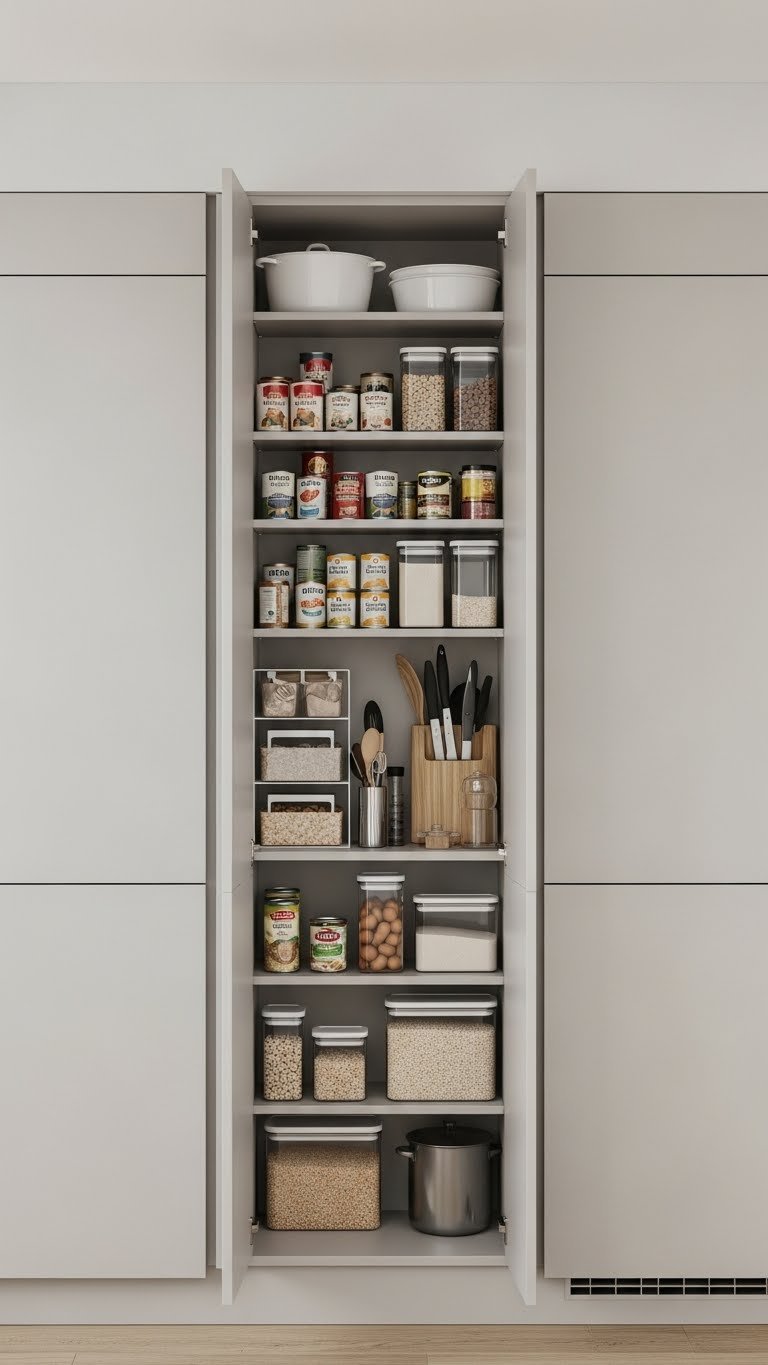
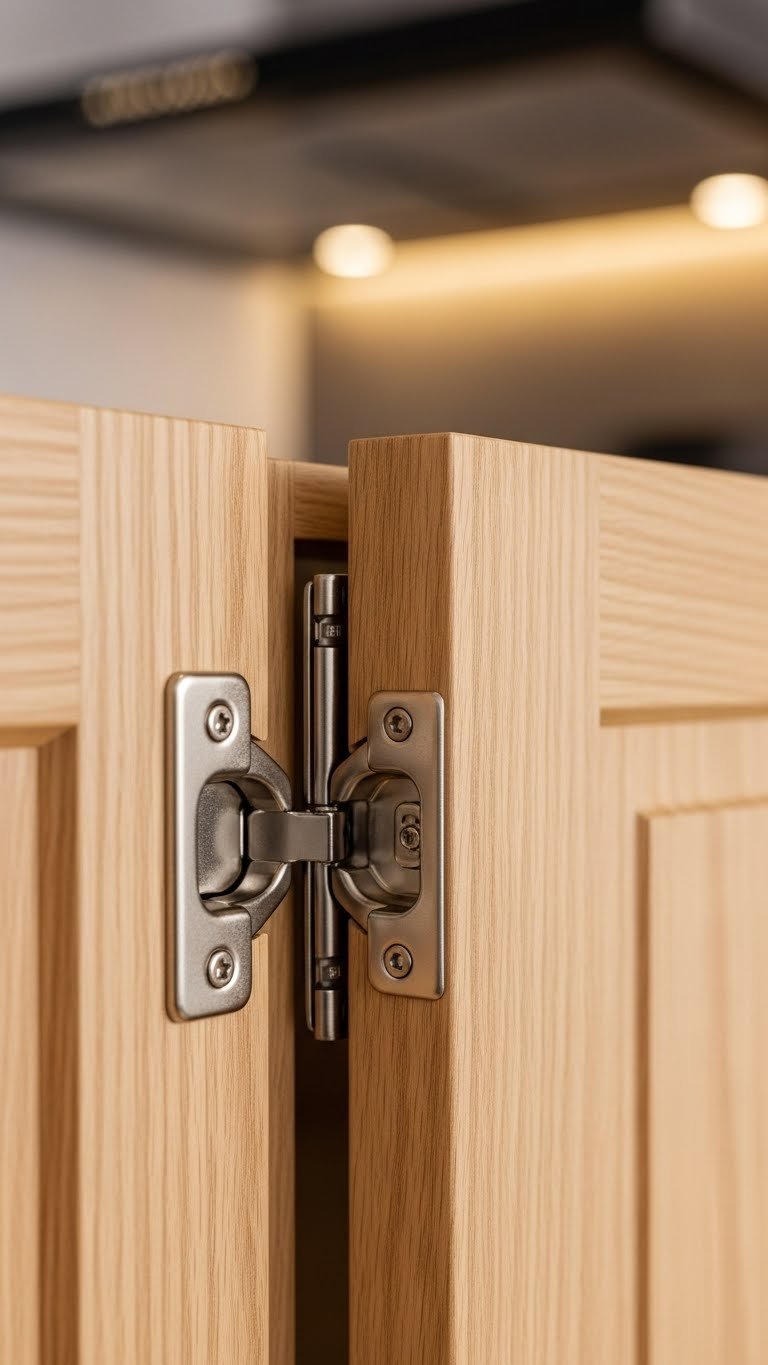
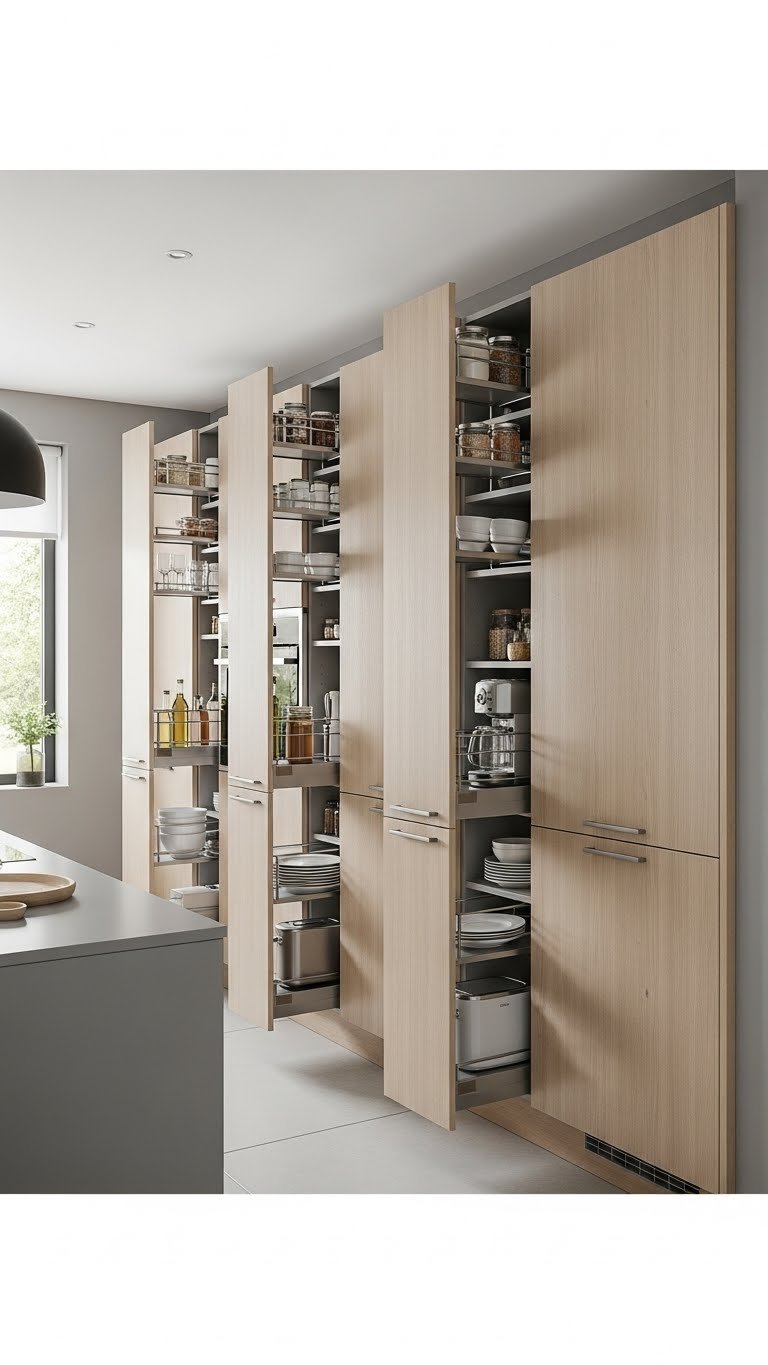
17. Install Glass Cabinets With Adjustable Shelving for Flexibility

Adjustable shelves inside glass cabinets let you optimize spacing for whatever you’re displaying. They’re more flexible than fixed shelves.
When selecting glass cabinets, choose models with adjustable shelf pegs or rails (most modern options have this). This lets you raise or lower each shelf to fit your items perfectly—no wasted space above a short stack of bowls. Installation varies by cabinet type: $0 if your cabinets come with adjustable shelves, or $50–$100 if retrofitting existing cabinets with new shelving hardware. This takes 1–2 hours per cabinet.
You can rearrange whenever you want without waste. If you change your collection or style, the cabinet adapts with you.
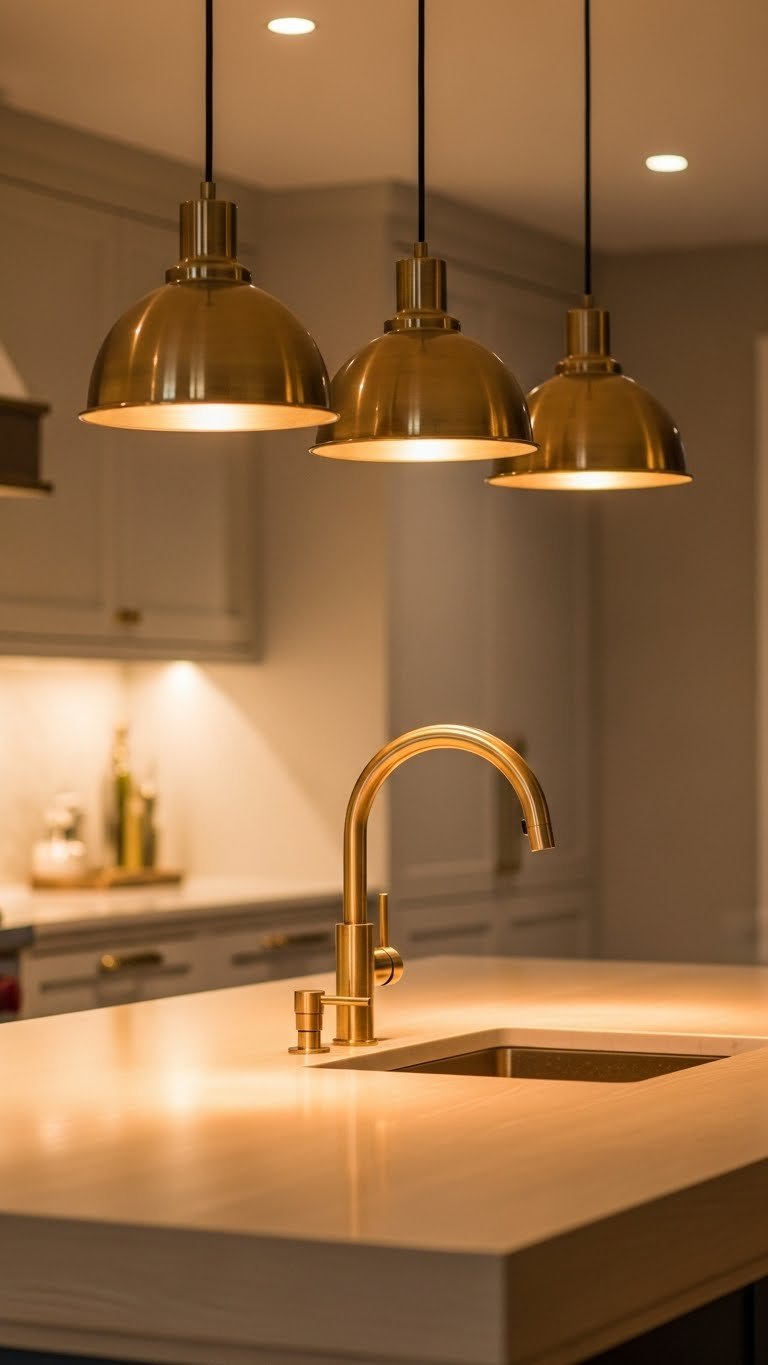
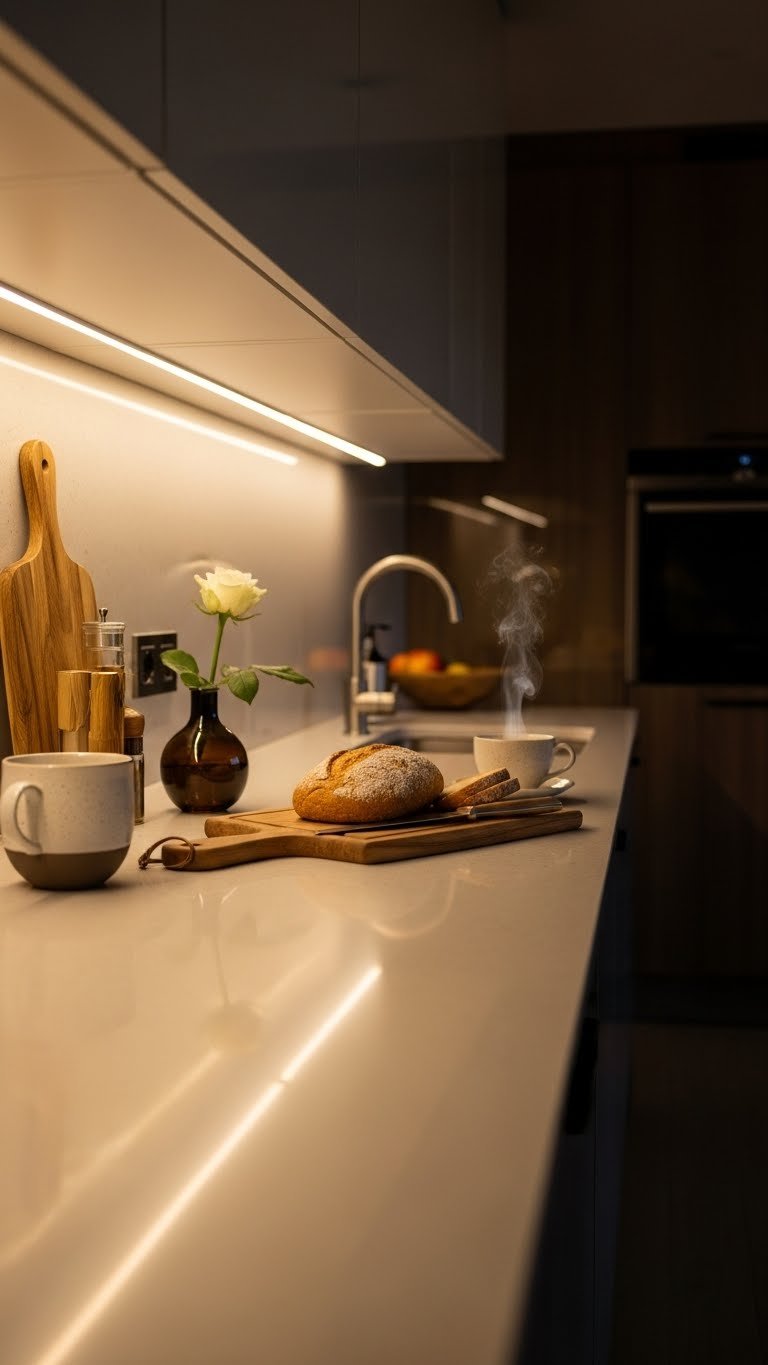
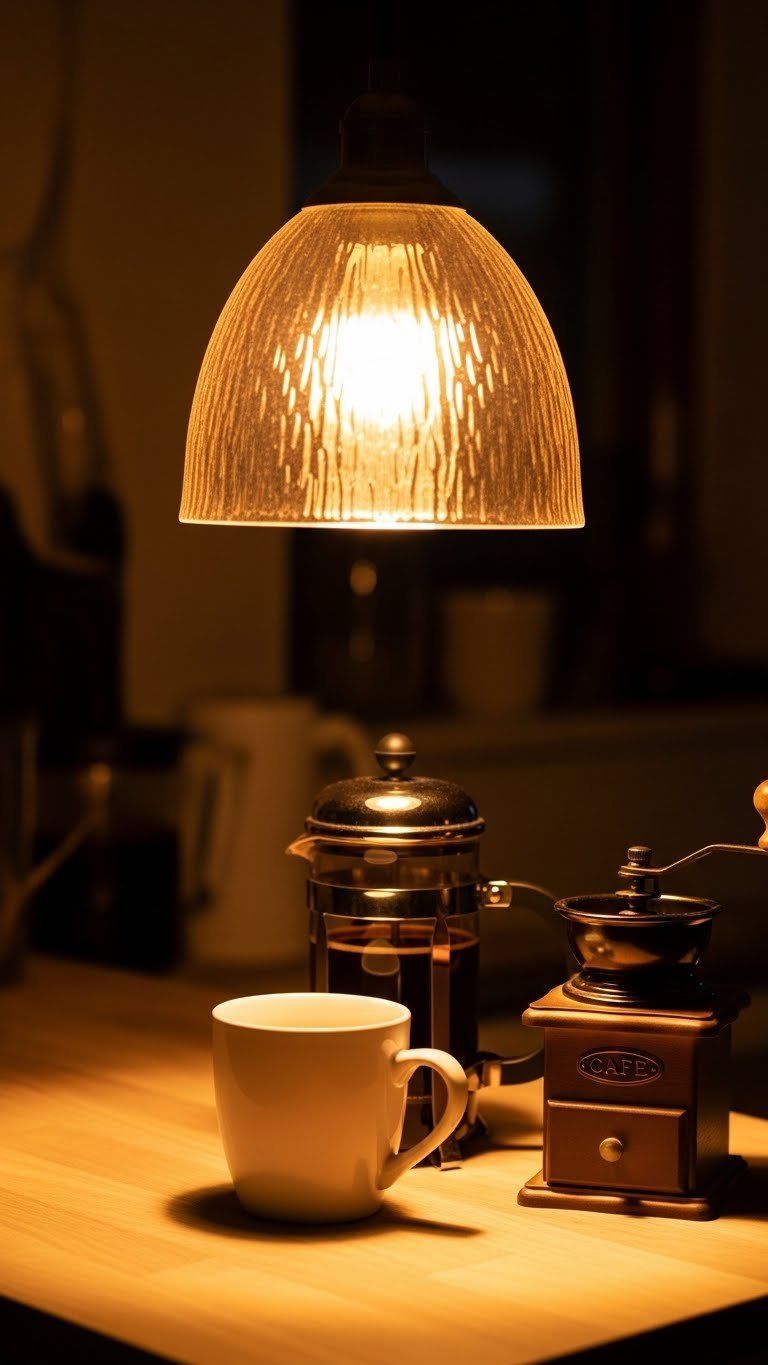
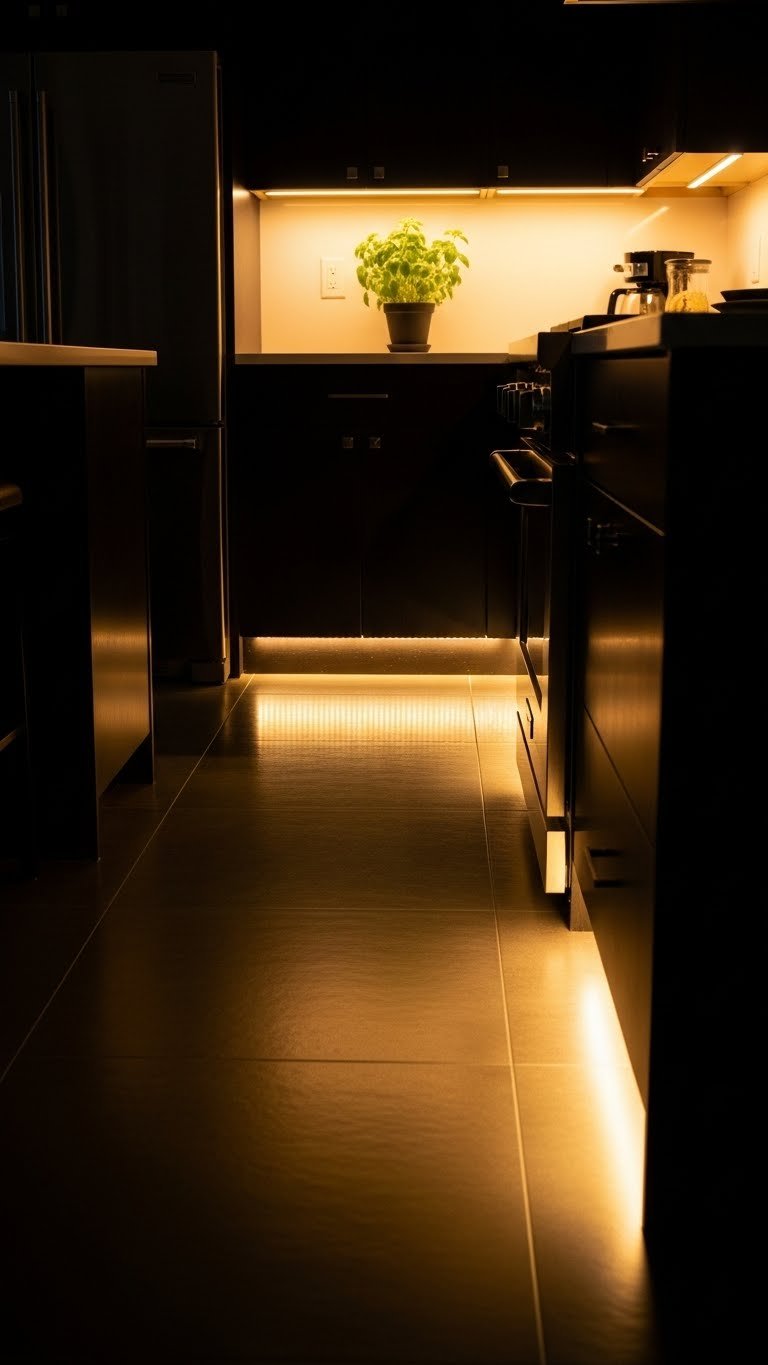
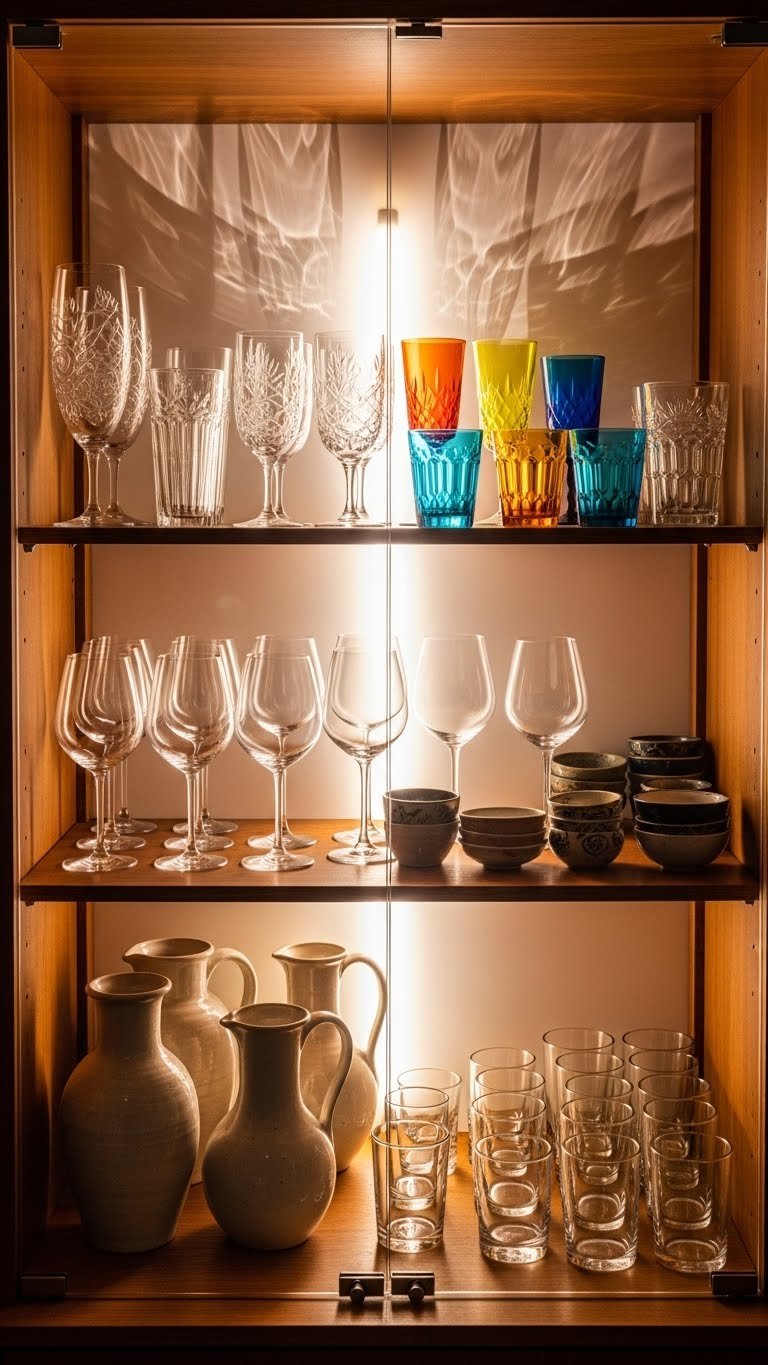
18. Add Ambient Lighting Inside for Nighttime Visual Appeal
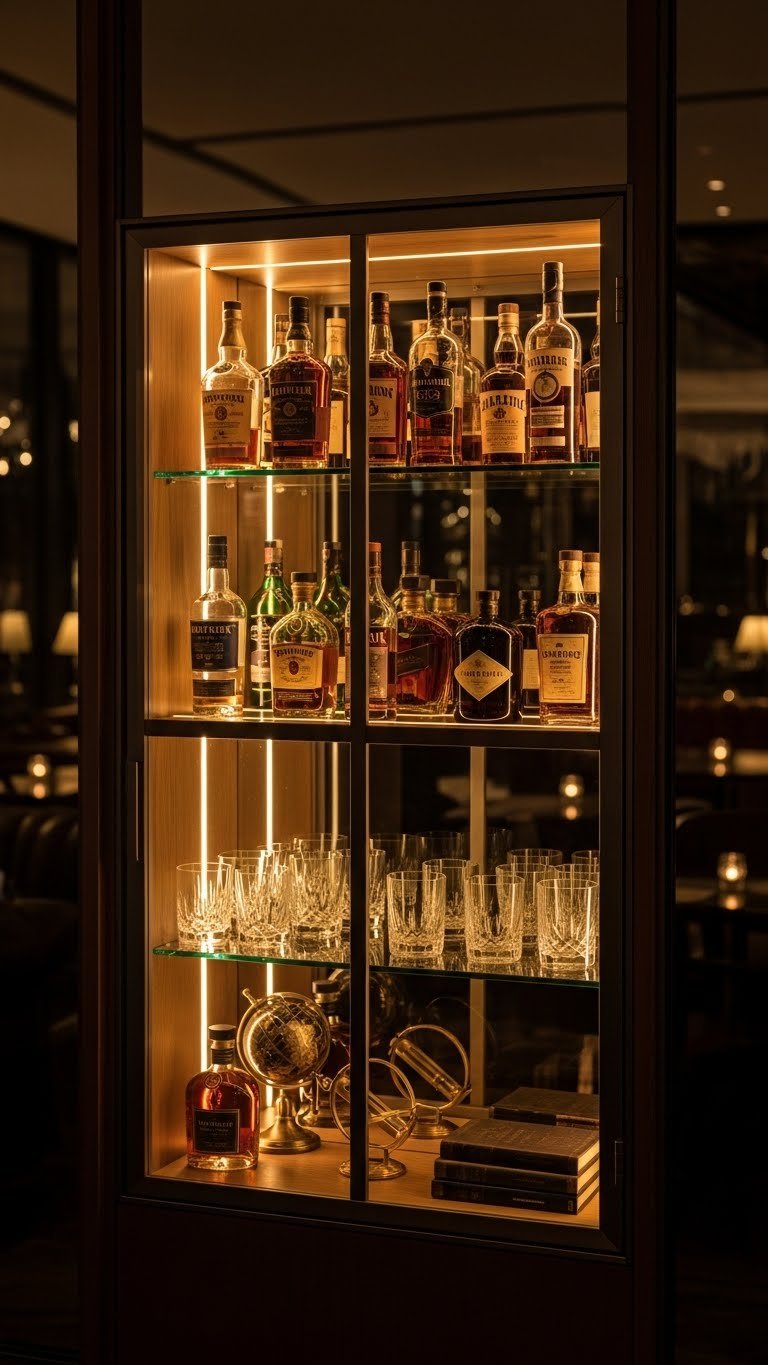
Interior lighting transforms your cabinet into a design feature that works around the clock. Warm white light is best for kitchen vibes.
Install warm white LED strip lights (2700–3000K color temperature) along the interior top or sides ($20–$50). Battery-operated options exist if you can’t access an outlet ($15–$35). Use dimmable lights if you want the option to adjust brightness. Installation takes 15–20 minutes and requires no wiring for battery options.
Your cabinet becomes a glowing focal point at night. It adds ambiance and makes your kitchen feel like a high-end space—even at 11 PM on a Tuesday.
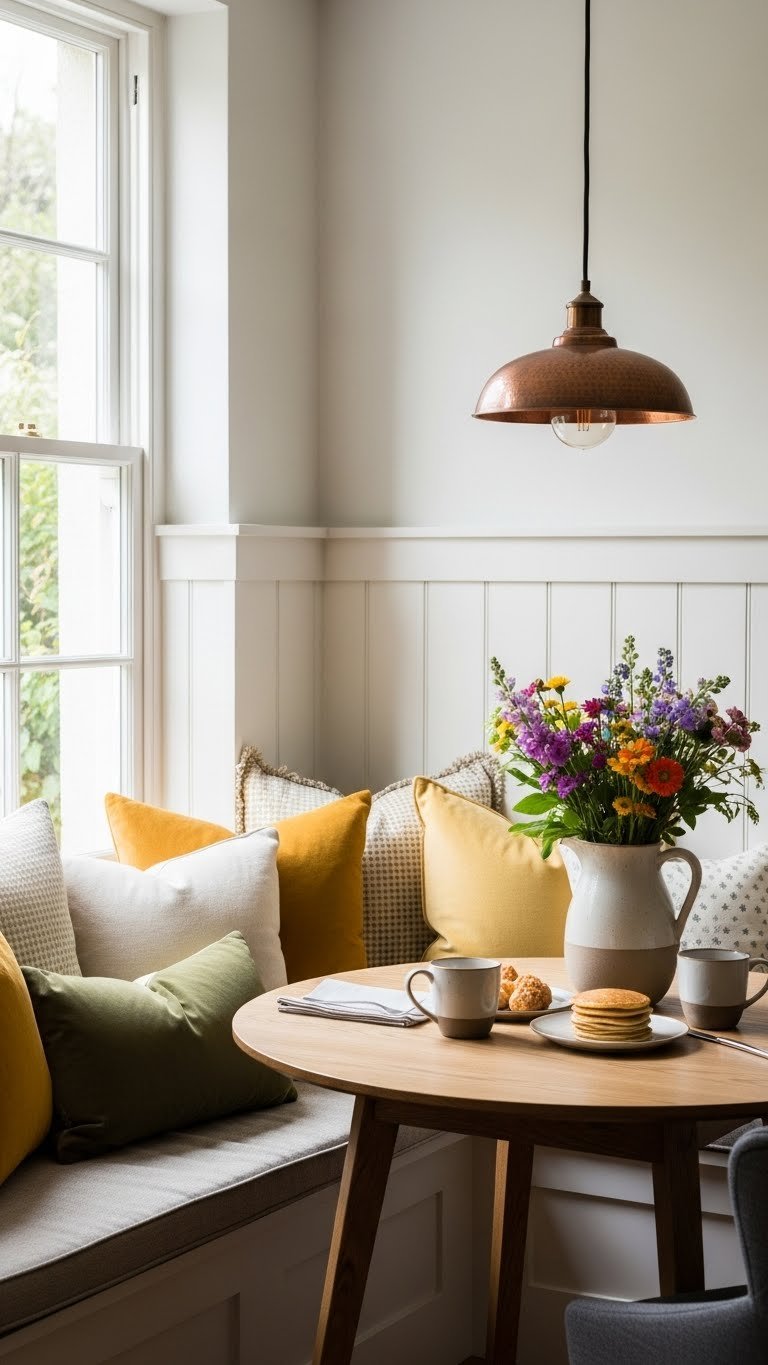
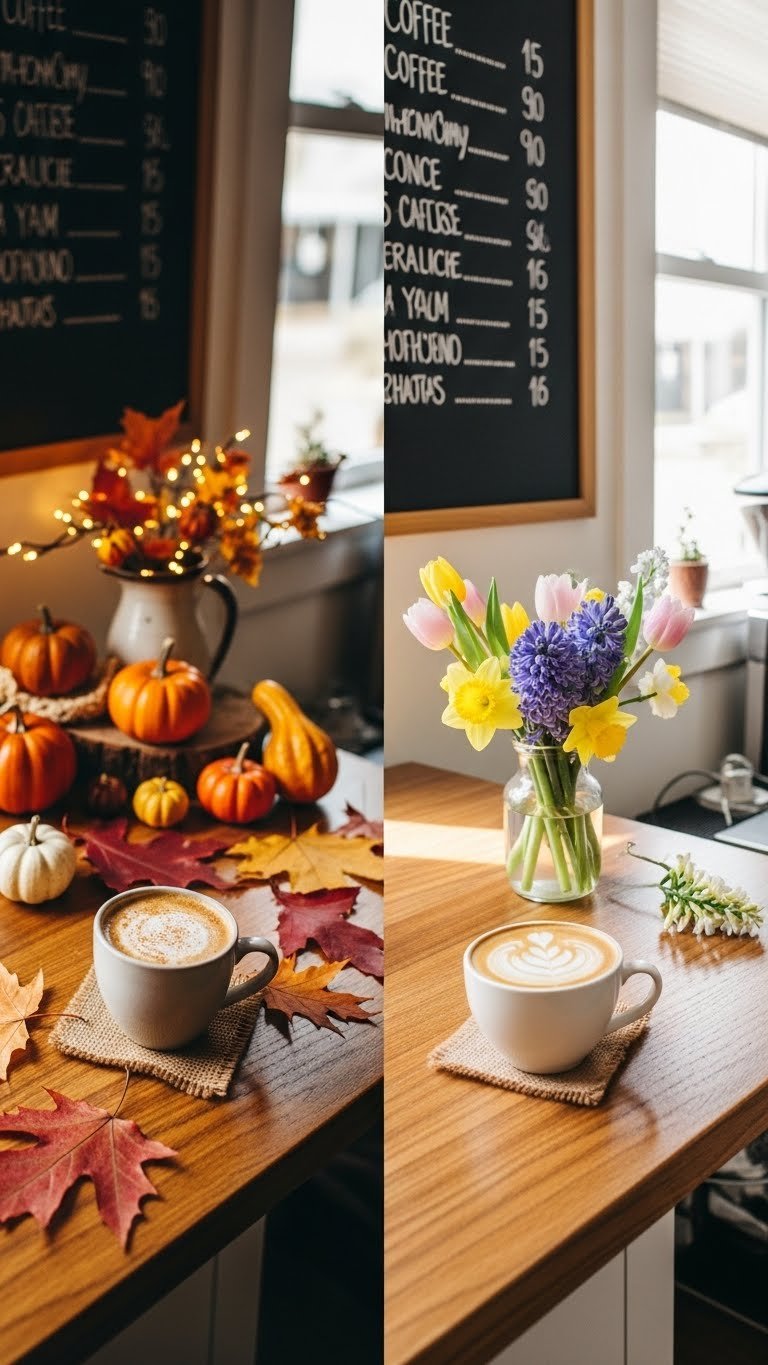
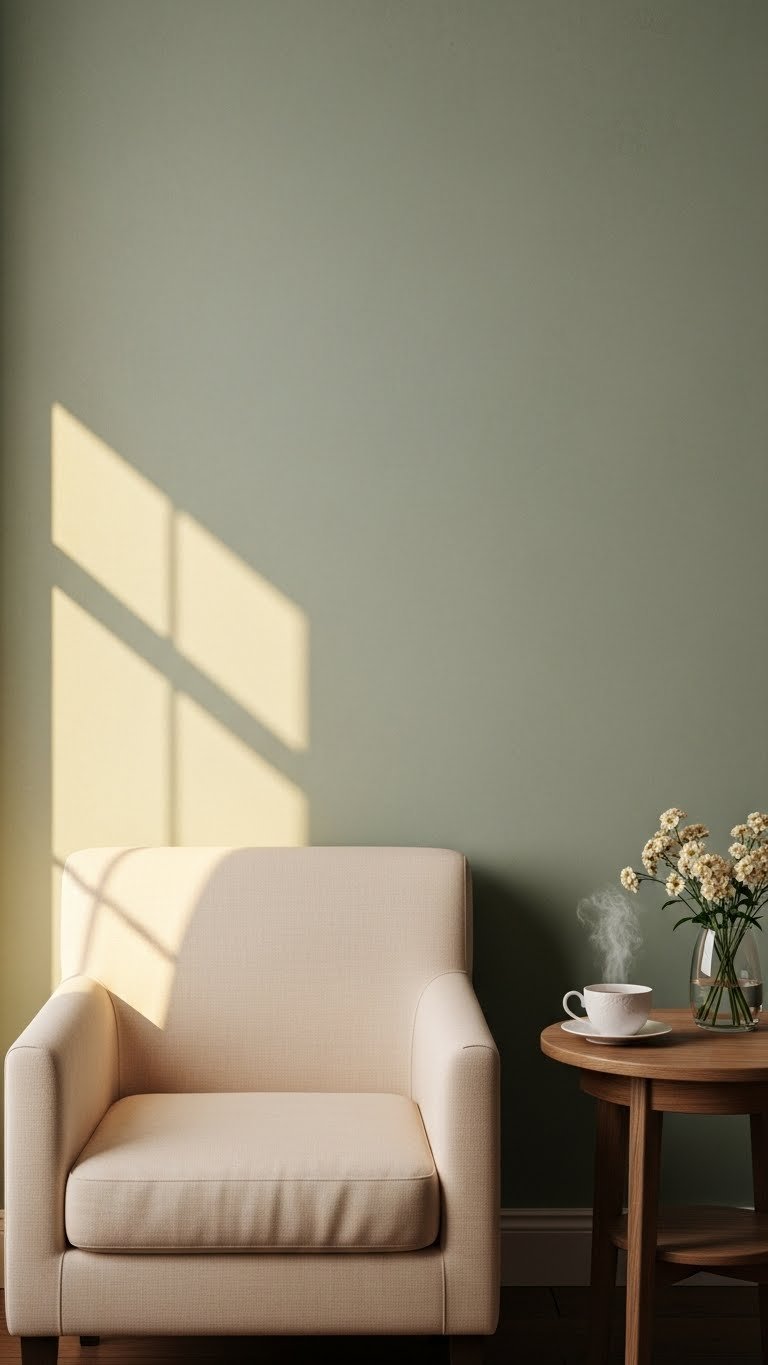
19. Style Seasonal Displays for Fresh Rotation Every Few Months
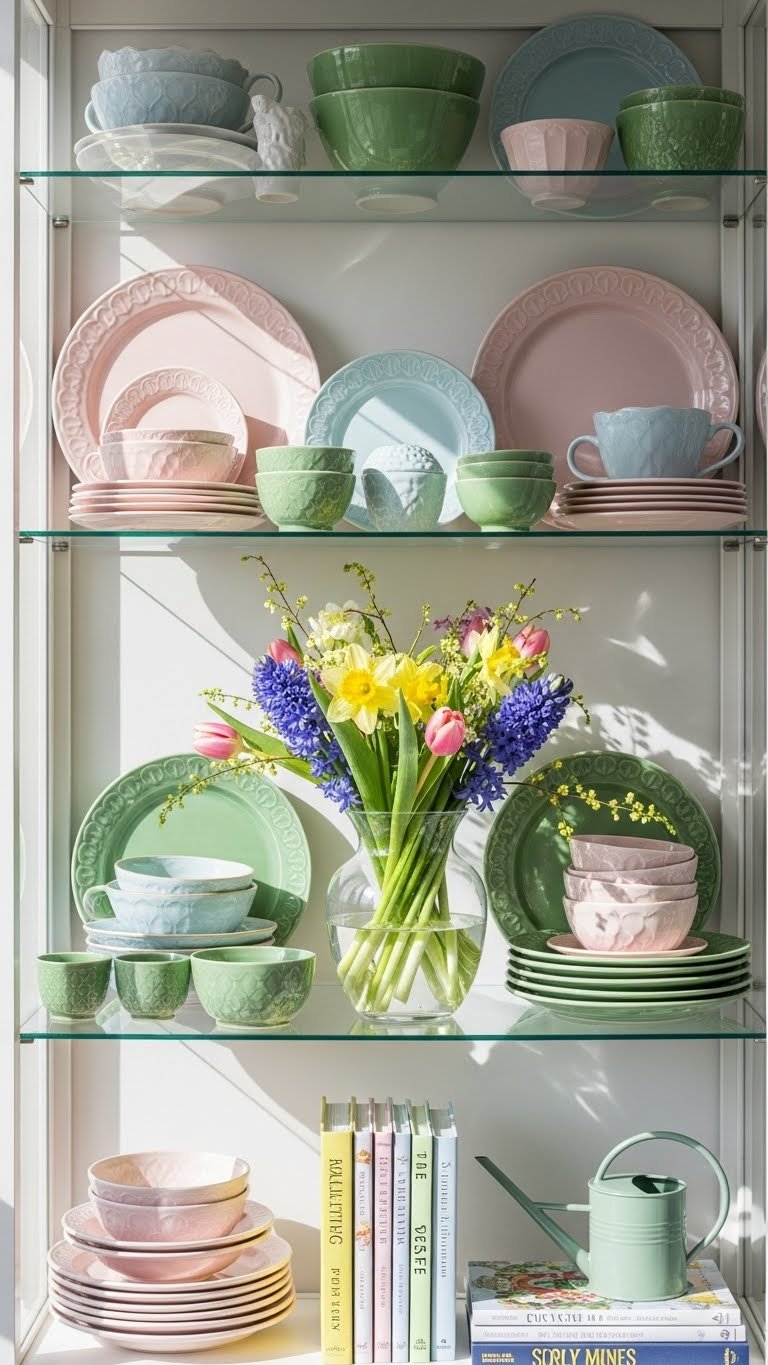
Switch up your cabinet display with the seasons. It keeps things fresh and gives you a reason to rearrange—which honestly, feels good.
Spring: pastels, fresh flowers, light glassware. Summer: bright colors, outdoor entertaining pieces, colorful linens tucked in. Fall: warm tones, harvest-themed items, cozy textures. Winter: cool neutrals, metallic accents, minimalist spacing. Costs $0 (rotate what you already own) or $10–$30 if you pick up seasonal pieces from HomeGoods or TJ Maxx. Rearranging takes 20–30 minutes.
Your kitchen stays visually interesting year-round. It’s a reason to pause and refresh—and that’s basically home décor therapy.
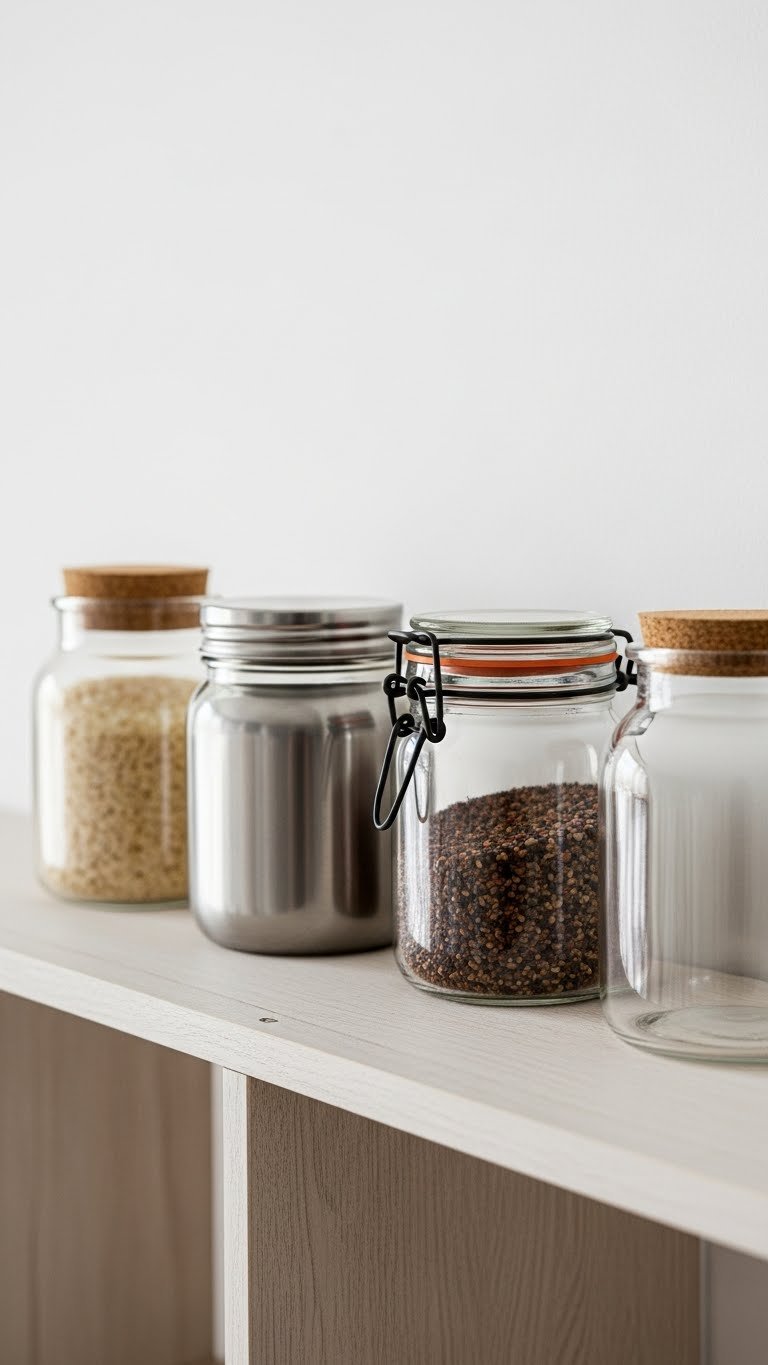
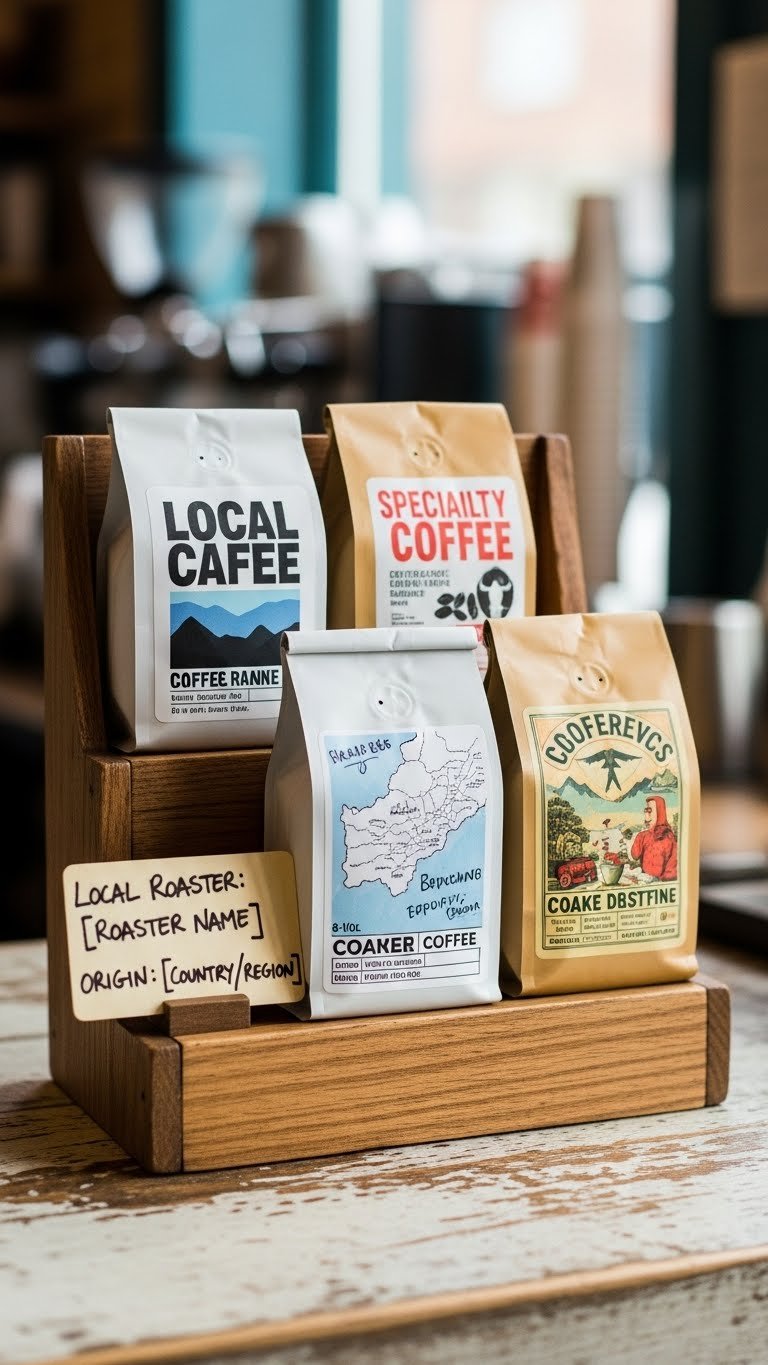
20. Feature a Collection You’ve Been Building (Vintage Tins, Ceramic Animals, Etc.)
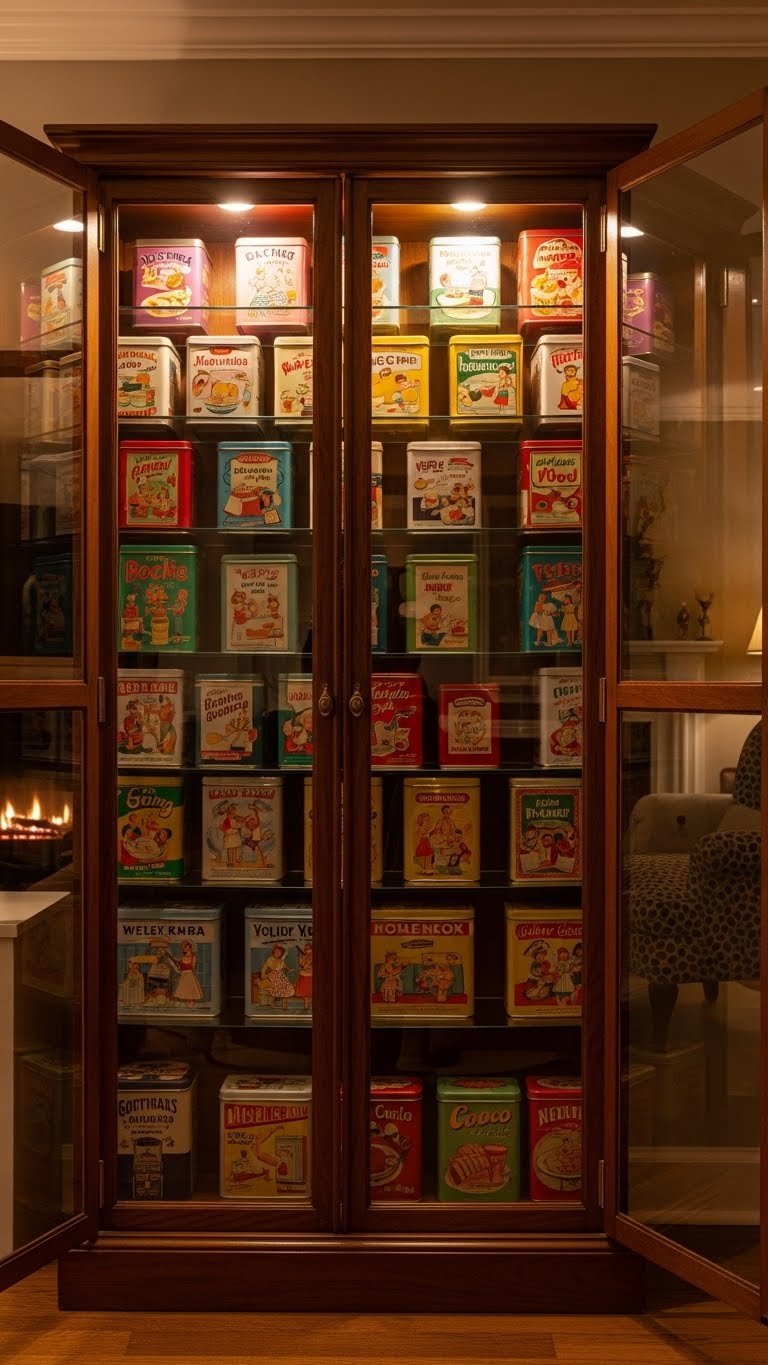
If you collect anything—vintage kitchen tins, small ceramics, old measuring cups, retro salt-and-pepper shakers—a glass cabinet is the perfect home. Your collection deserves to be seen.
Group similar items together or organize by color, era, or size depending on what makes sense for your collection. Leave some breathing room so each piece is visible. This costs $0 (use your collection) and takes 30 minutes to style thoughtfully. If you’re building a collection, thrift stores and online shops offer pieces for $1–$10 each.
Suddenly your cabinet tells the story of what you love to hunt for and collect. It’s a reflection of your taste and your time—way more interesting than a cookie-cutter display.
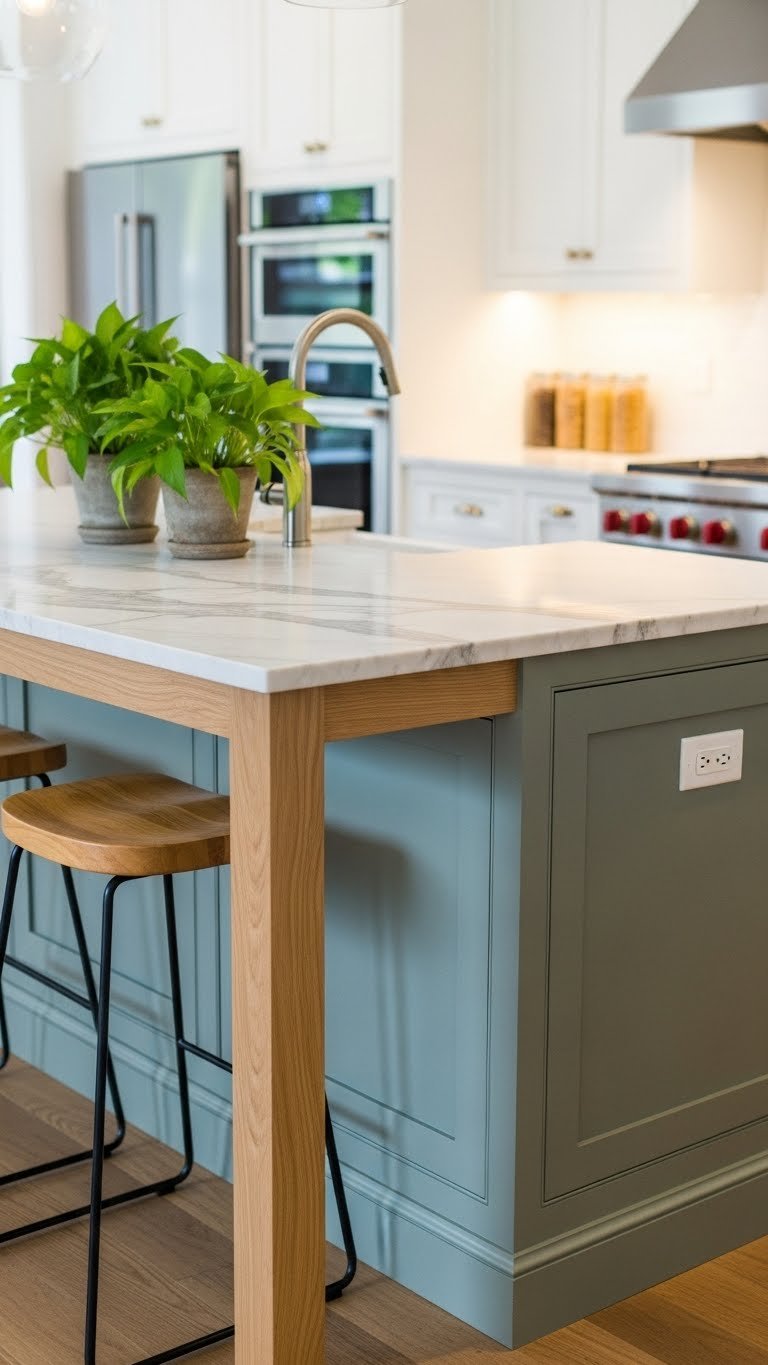
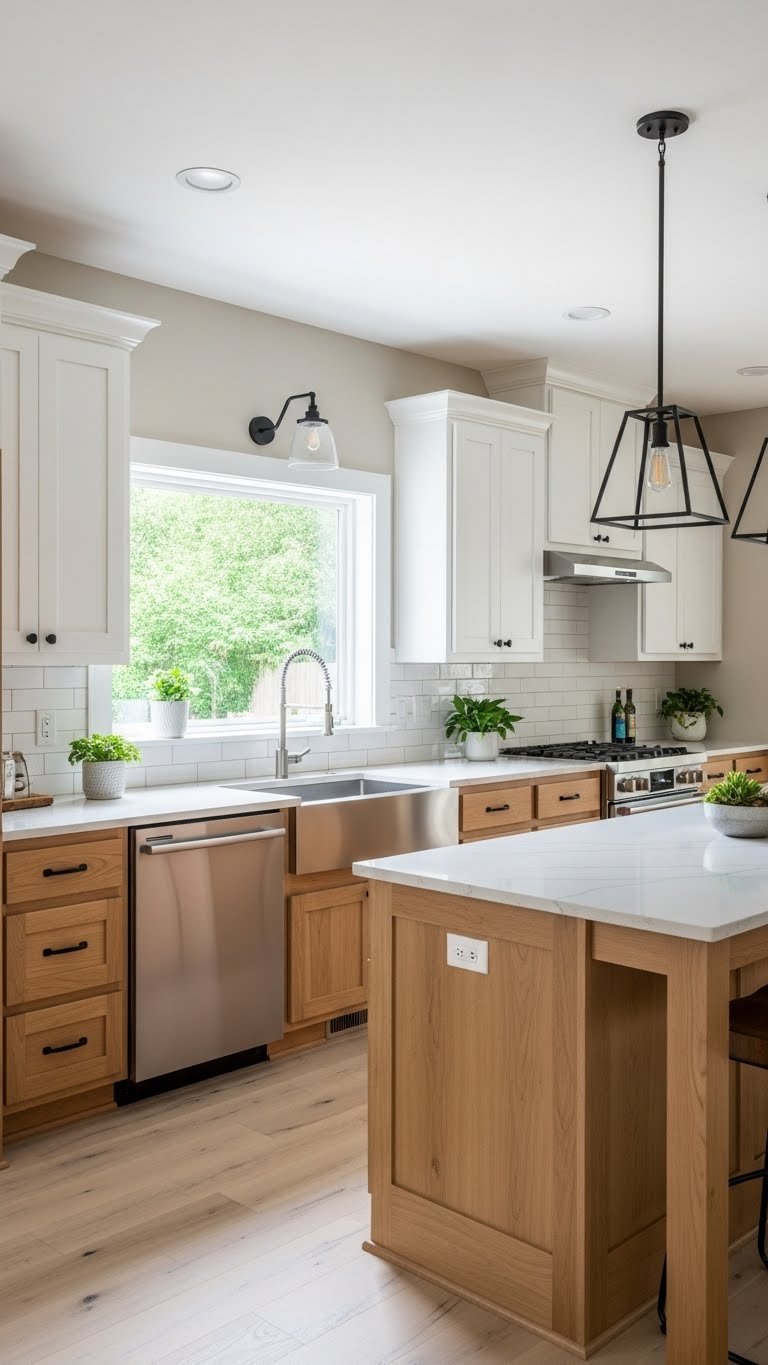
21. Combine Glass Cabinets With a Matching Open Shelf for Unified Design
Pairing a glass-front cabinet directly beside an identical open shelf creates visual balance and flexibility. You get the display benefit of glass plus the openness of open shelving.
Choose cabinets and shelves from the same line or brand (IKEA, Wayfair, custom builders all offer matching sets). Install them side by side and style them as one cohesive display. Costs depend on cabinet choice: $100–$400 per unit for mid-range options, more for custom. Installation usually runs 2–4 hours or $200–$400 if hiring help.
The unified look makes your kitchen feel intentionally designed rather than accidentally assembled. The combination of glass and open gives you both visual interest and breathing room.
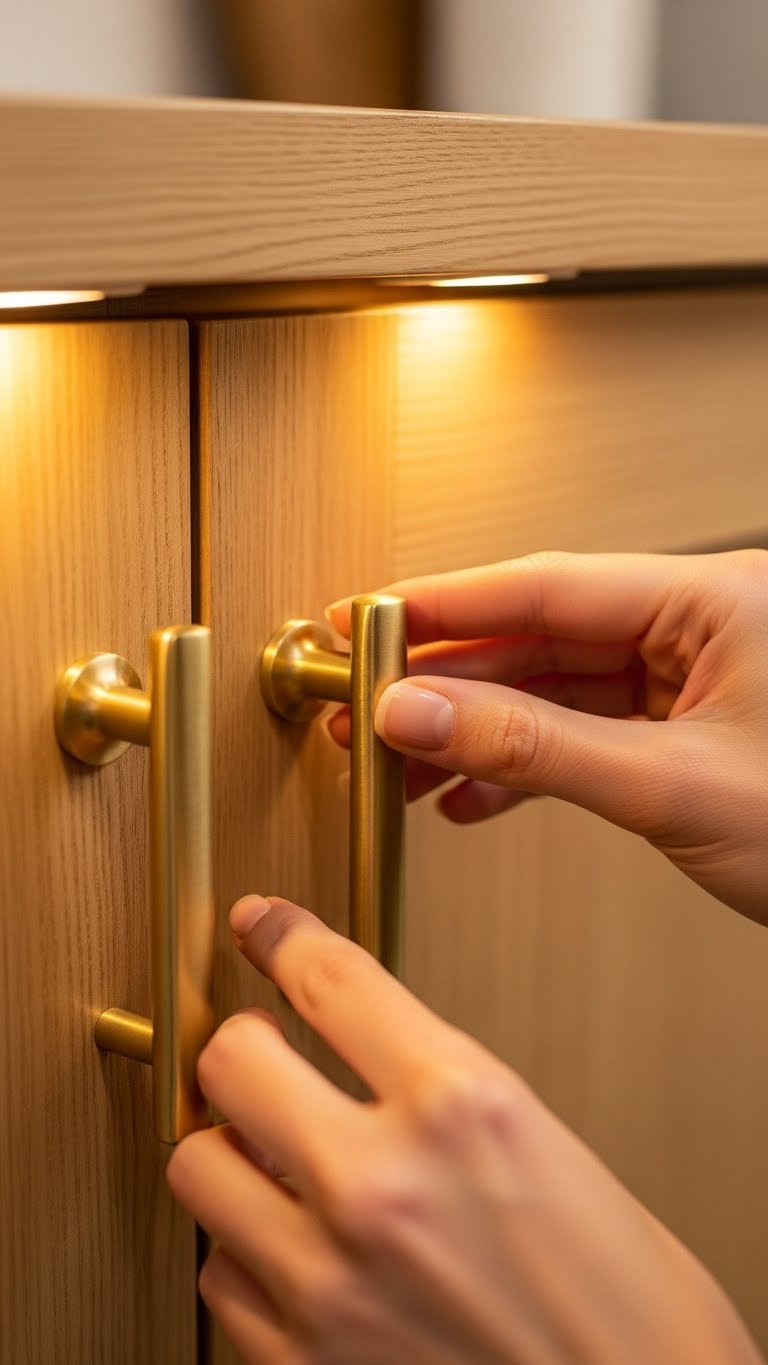
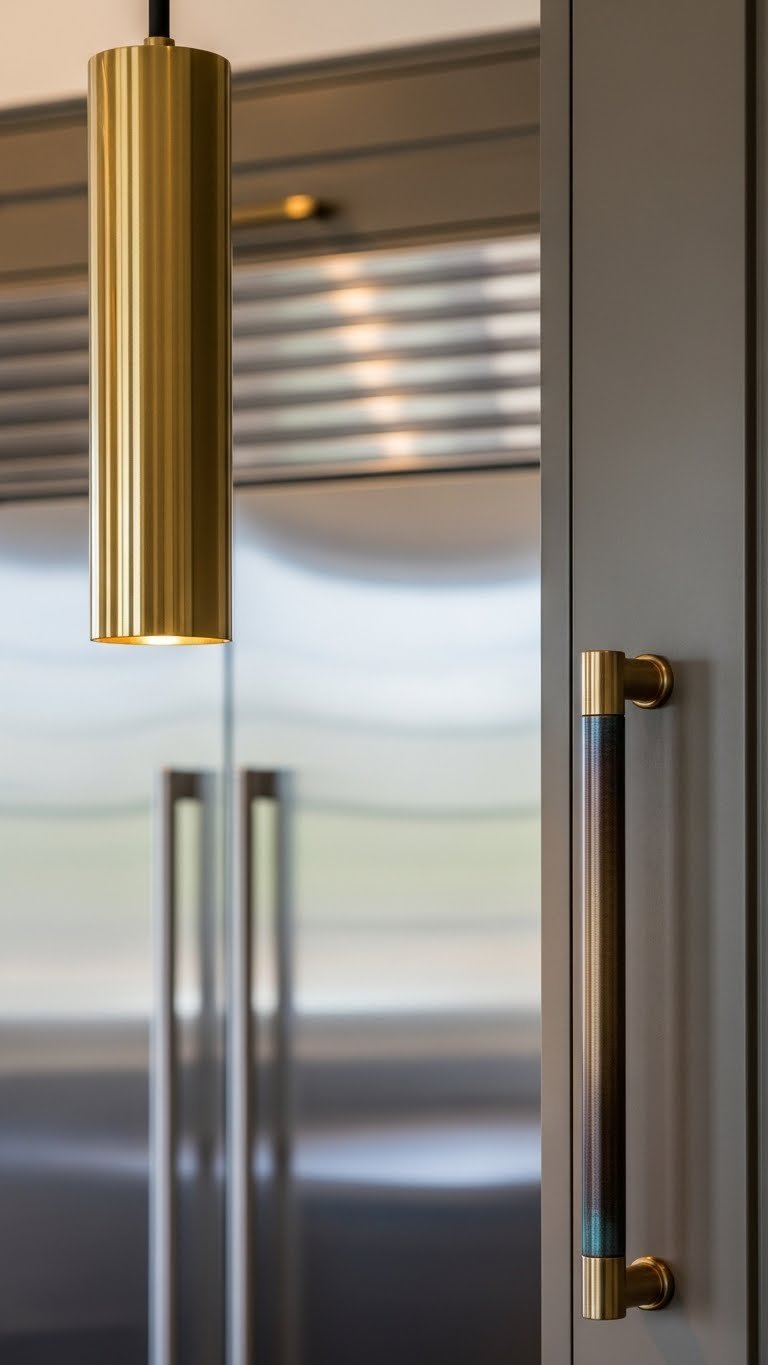
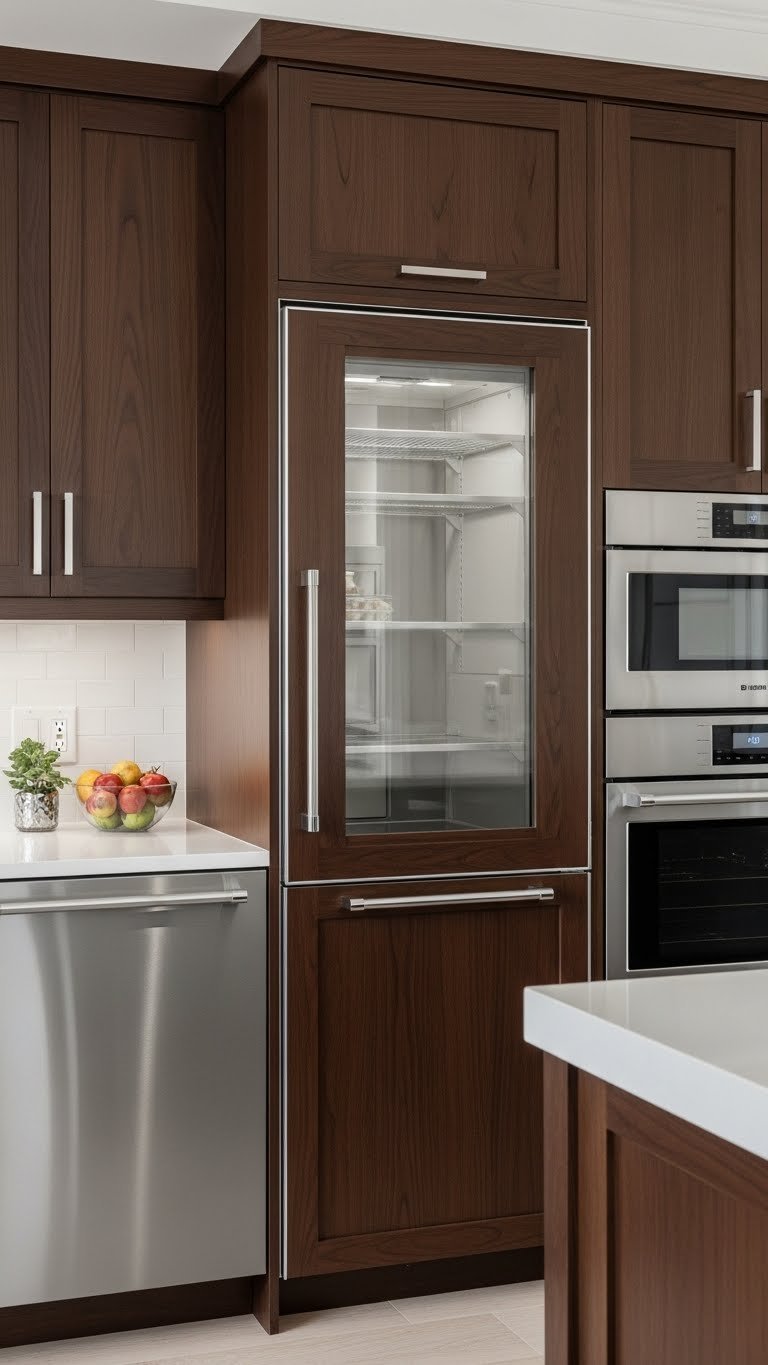
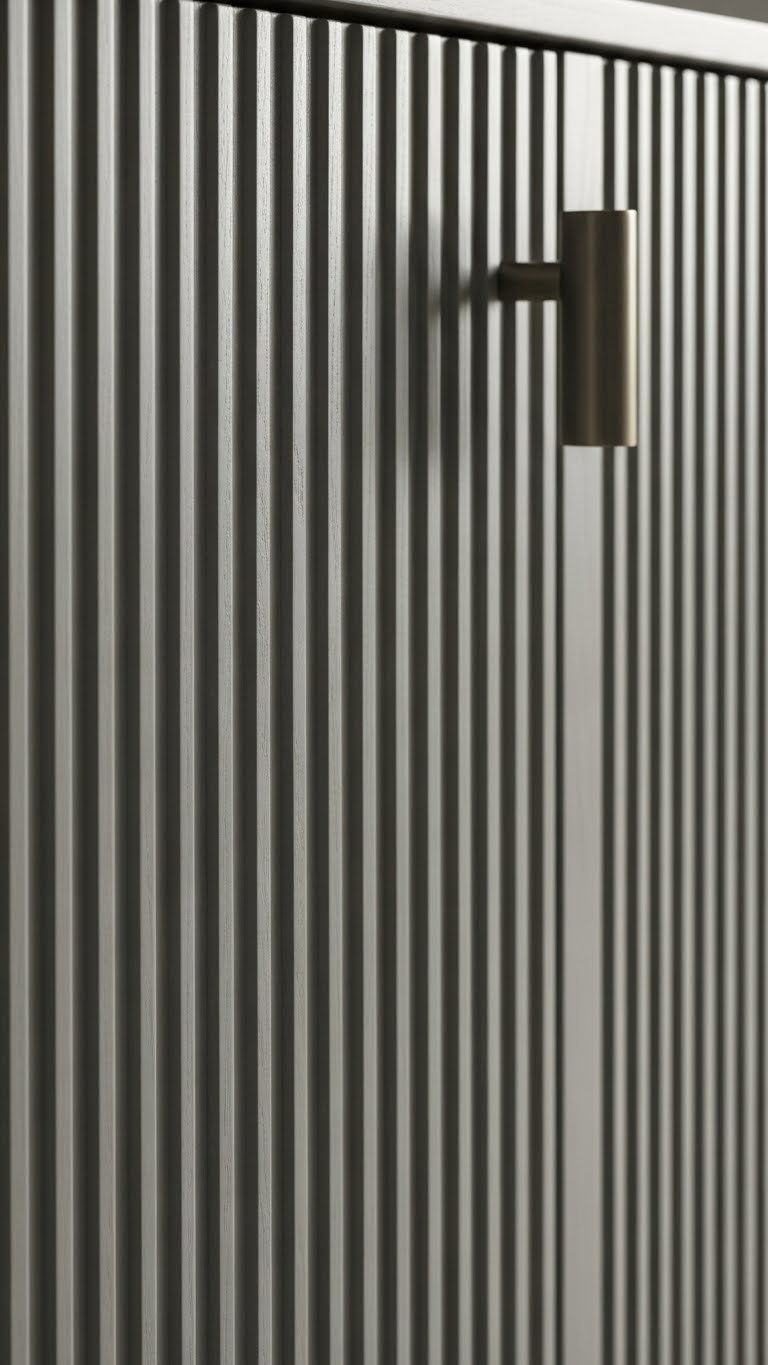
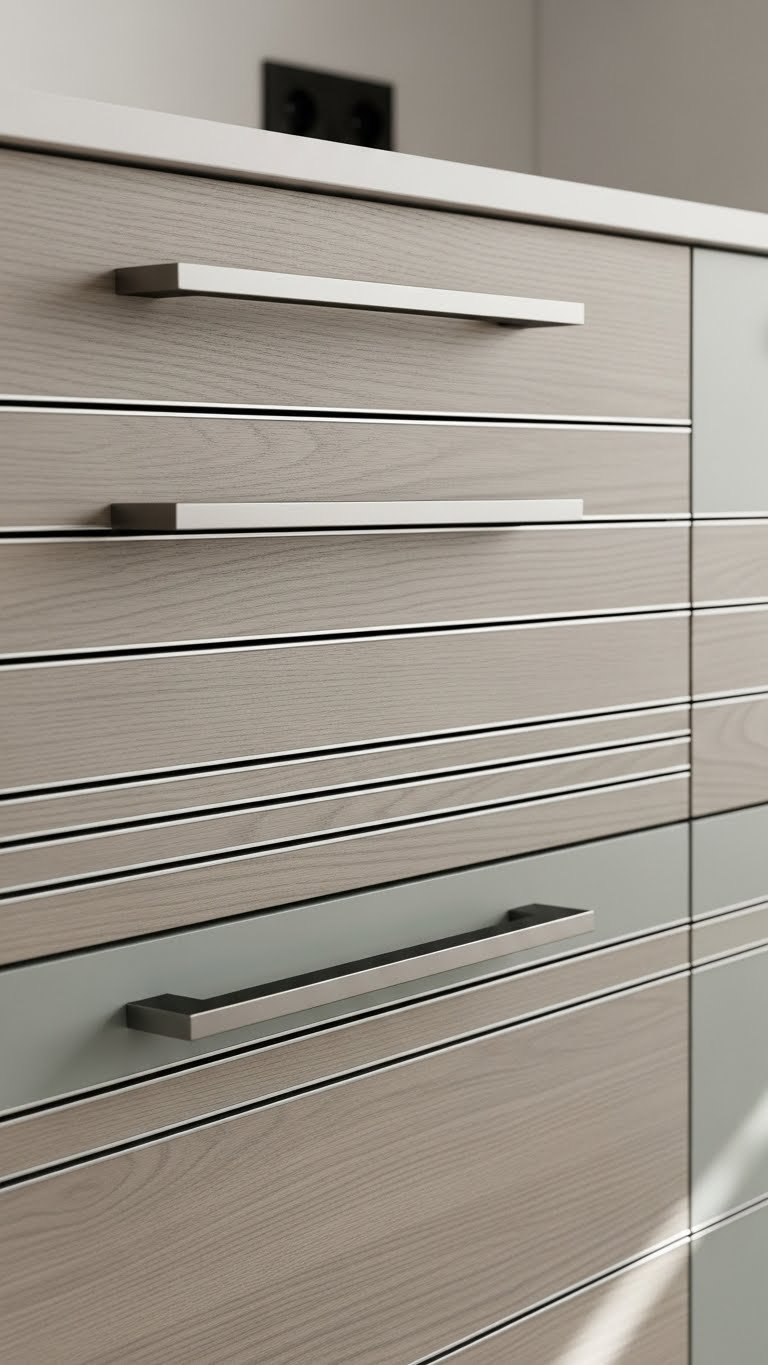
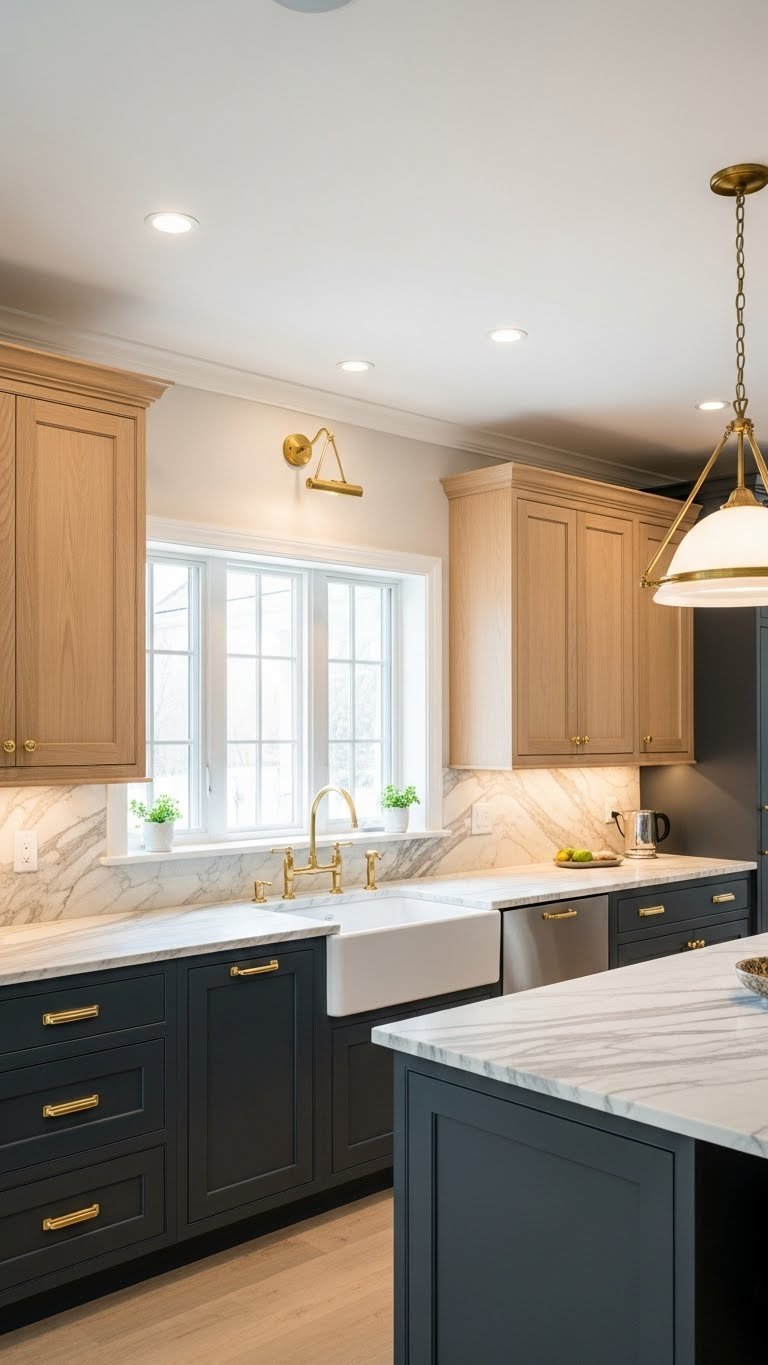
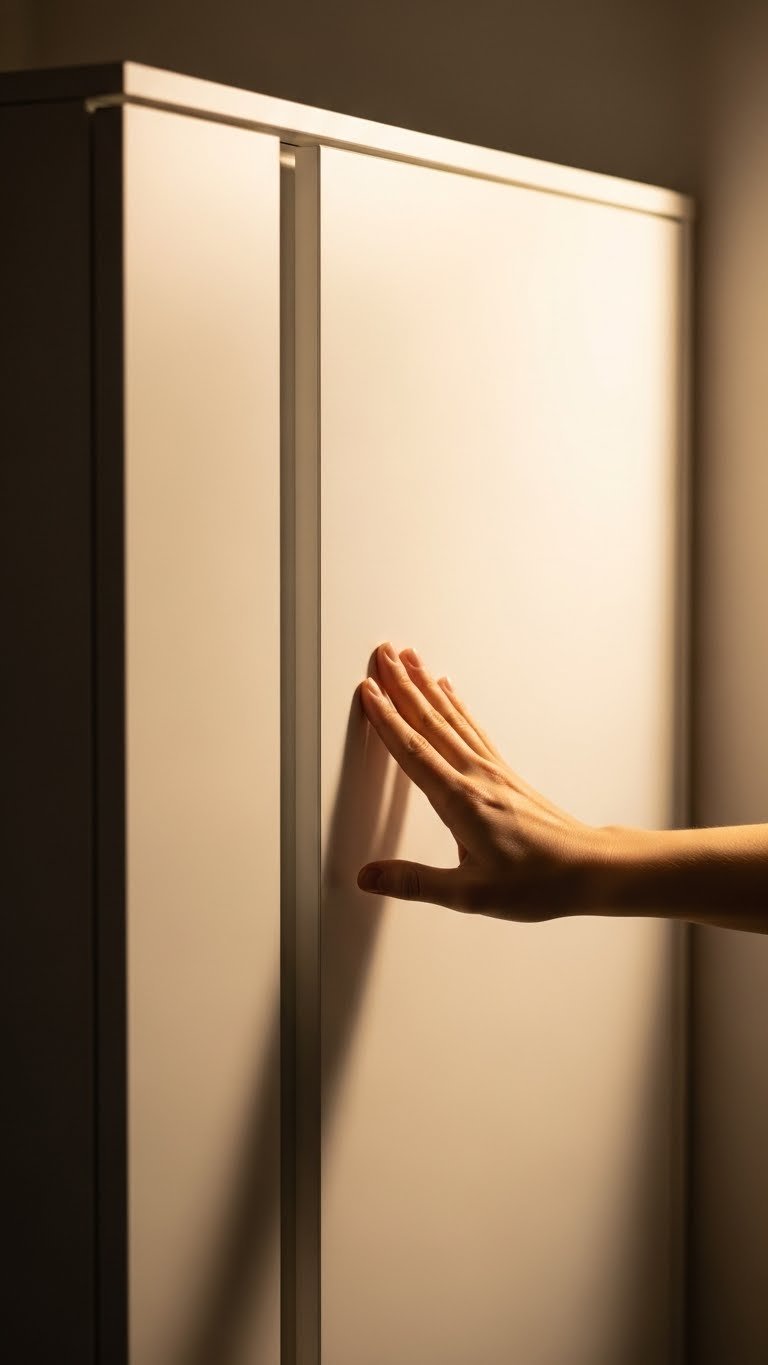
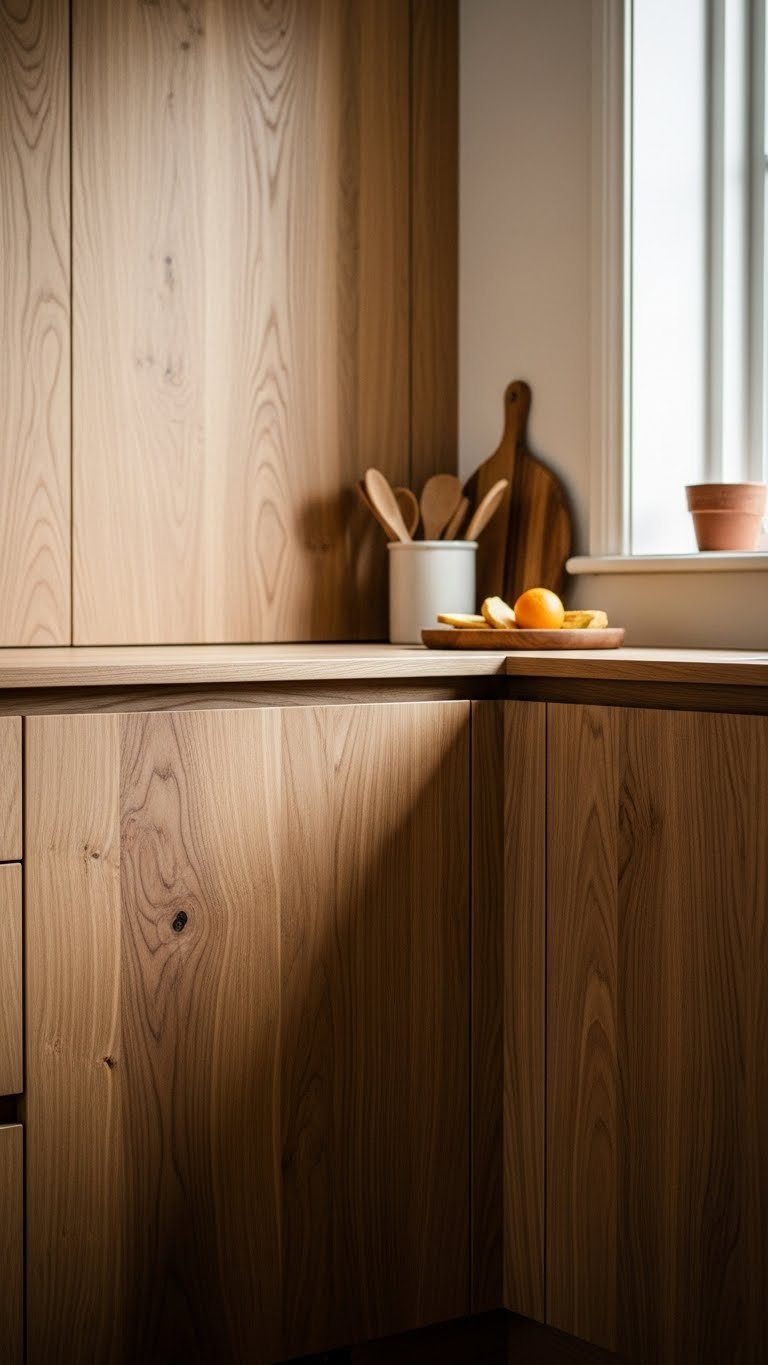
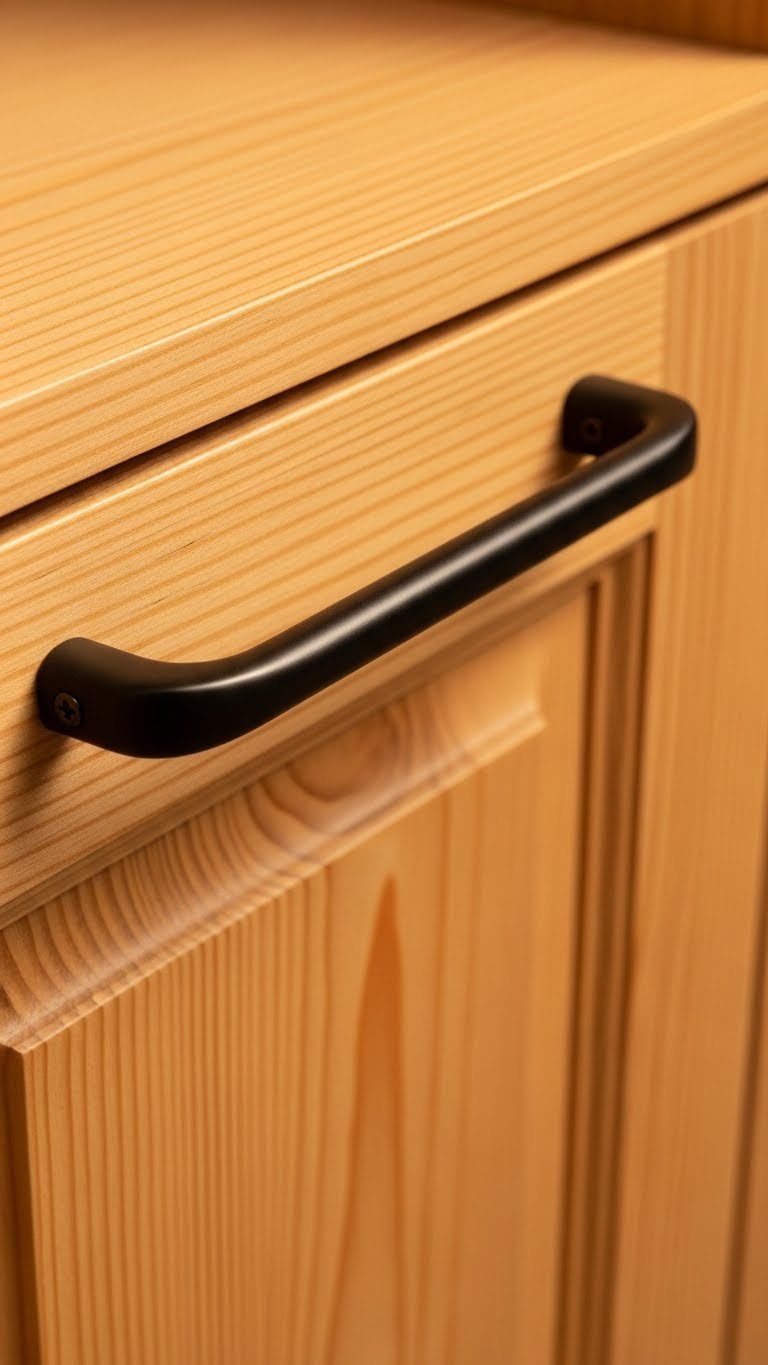
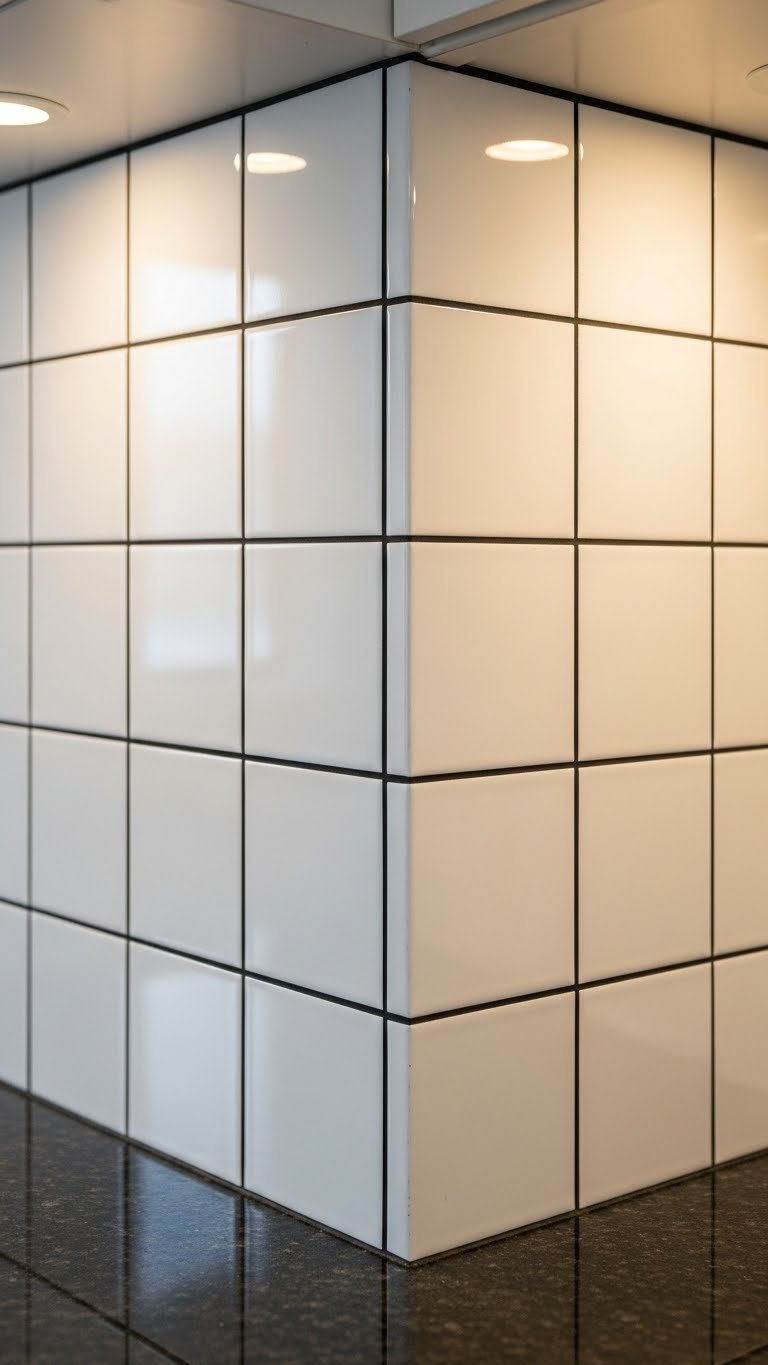
22. Use Slim Cabinet Doors to Maximize Views of Your Display
Some glass cabinet doors have thick frames; others are almost all glass with minimal framing. Minimal-frame designs let more light through and give a better view of what’s inside.
When shopping for glass cabinets, ask about door frame thickness. Frames should be 1–2 inches wide maximum to keep focus on the display, not the hardware. Brands like IKEA Sektion, Wayfair, and custom glass shops offer slim-frame options. Costs vary: $80–$250 per door depending on size and customization. Installation is the same as any cabinet door.
You see more, the light travels better, and the focus stays on your beautiful display. The minimalist framing feels modern and intentional.
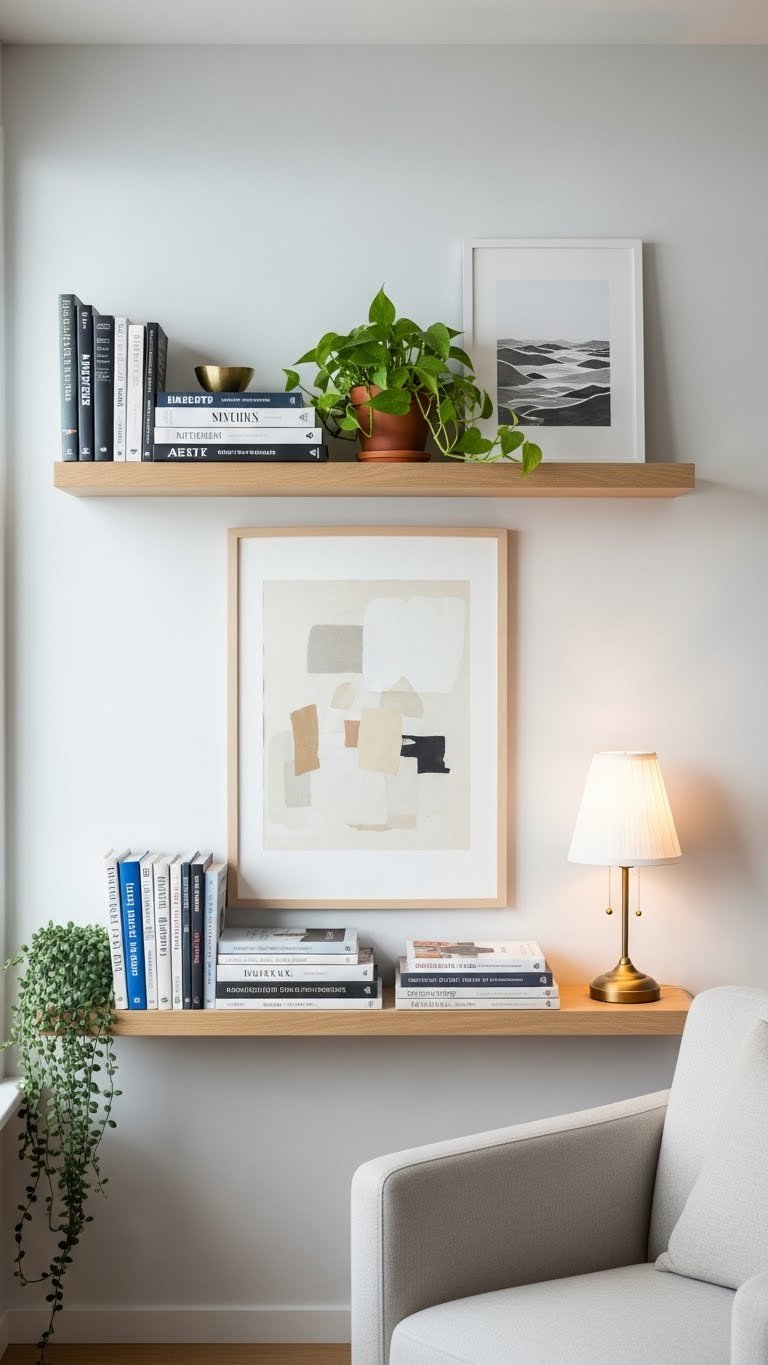
23. Display Cookbooks and Dishware Together for Functional Beauty

Mixing cookbooks with the dishes they celebrate creates a functional, beautiful narrative. It’s practical display that also looks intentional.
Arrange cookbooks vertically, then tuck related dishes around them: a soup cookbook near bowls, a baking book near your pretty ceramic vessels, a cocktail guide near your special glassware. Group by color or theme for cohesion. Costs $0 (you own these) or $20–$50 if you’re adding a few thrifted pieces. Takes 30–40 minutes to style thoughtfully.
Your cabinet stops being decoration and becomes a functional guide to how you actually cook and entertain. It’s useful and beautiful—the best of both worlds.
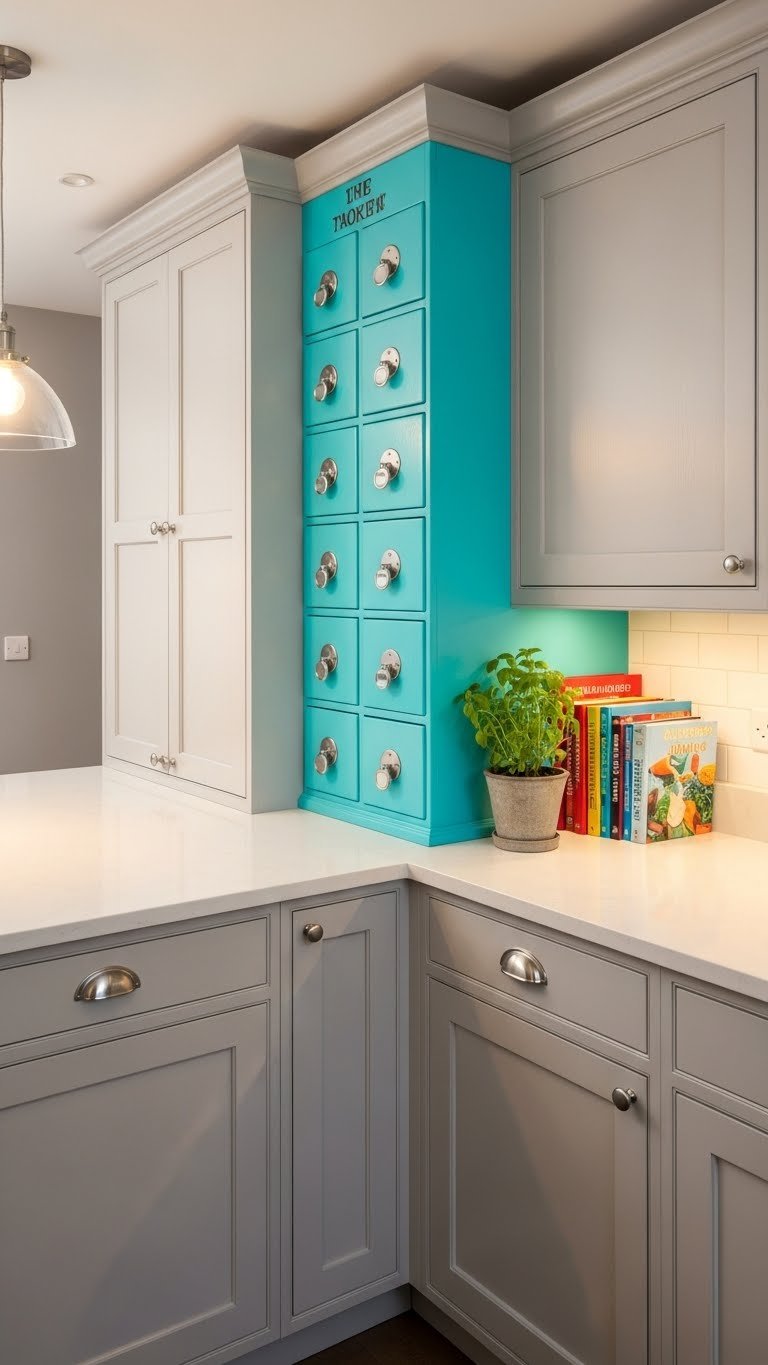
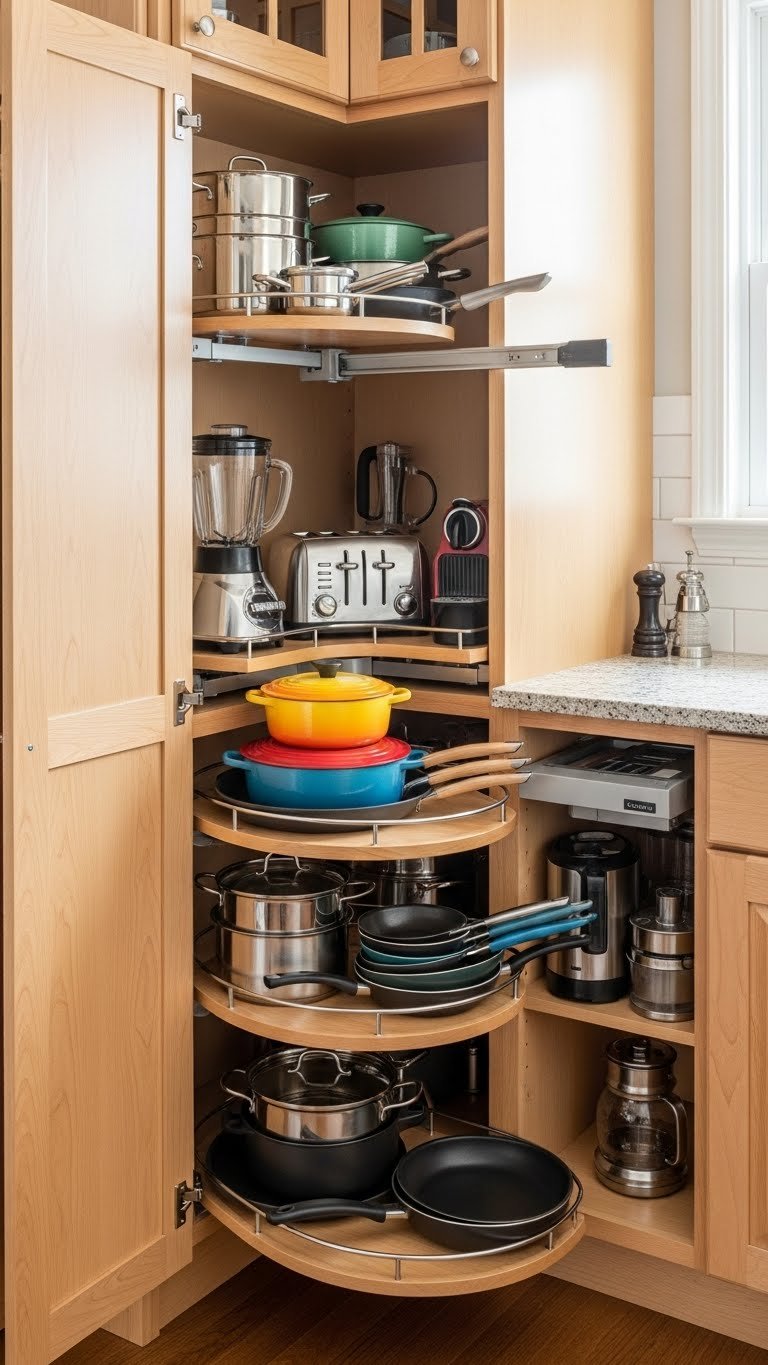
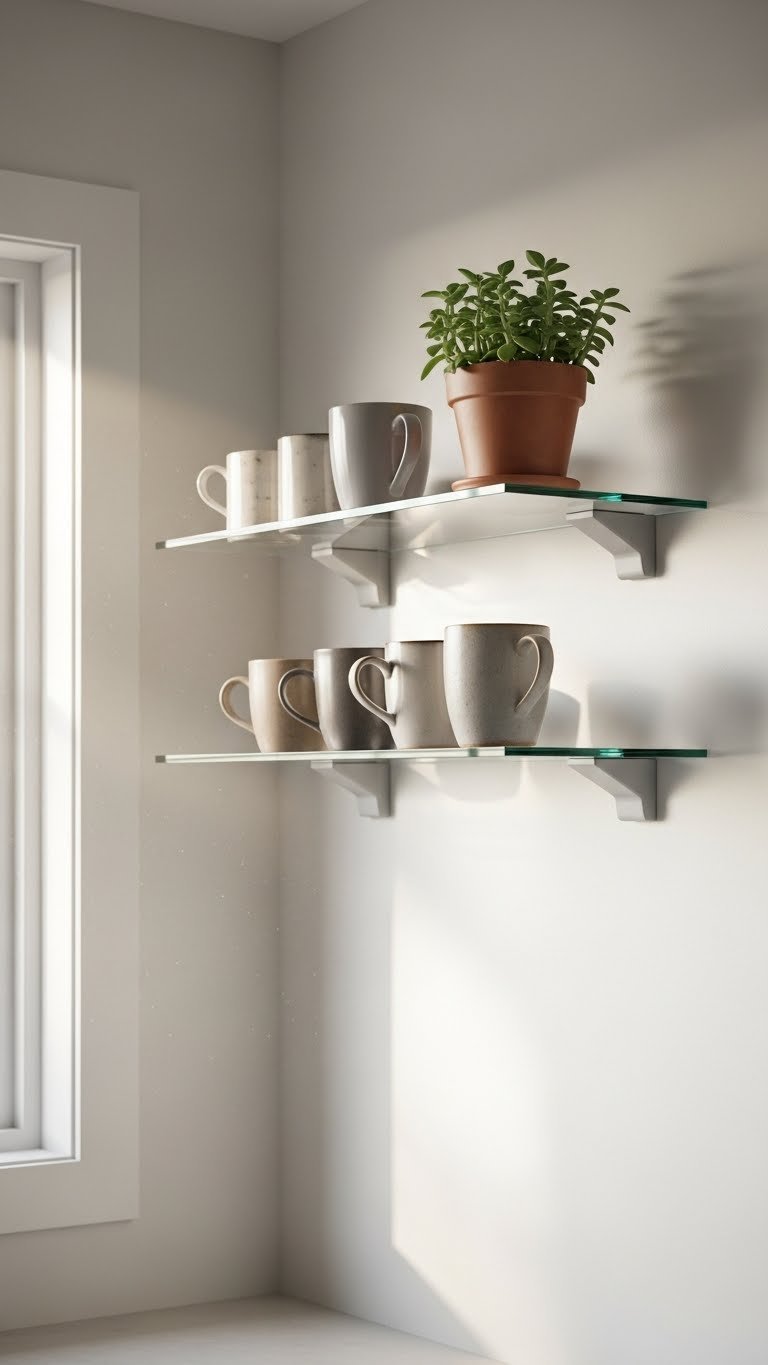
24. Opt for Corner Glass Cabinets to Utilize Often-Wasted Space

Corner cabinets are often neglected, but they’re prime real estate for glass-front display if you install one purposefully.
Measure your corner space and choose a corner glass cabinet designed for that layout (many brands offer these). They open from the front with shelves angled or straight inside. Costs $150–$400 depending on size and quality. Installation requires careful measurement but usually takes 2–3 hours or $150–$250 with professional help. These work great in kitchens where wall space is limited.
You suddenly have display space you thought was wasted. Corner cabinets add character to awkward architectural features—and make the most of every square inch.
Save this post for your next kitchen refresh. Pick one or two styling ideas and try them this weekend—chances are you already own most of what you need. Which concept speaks to your space?