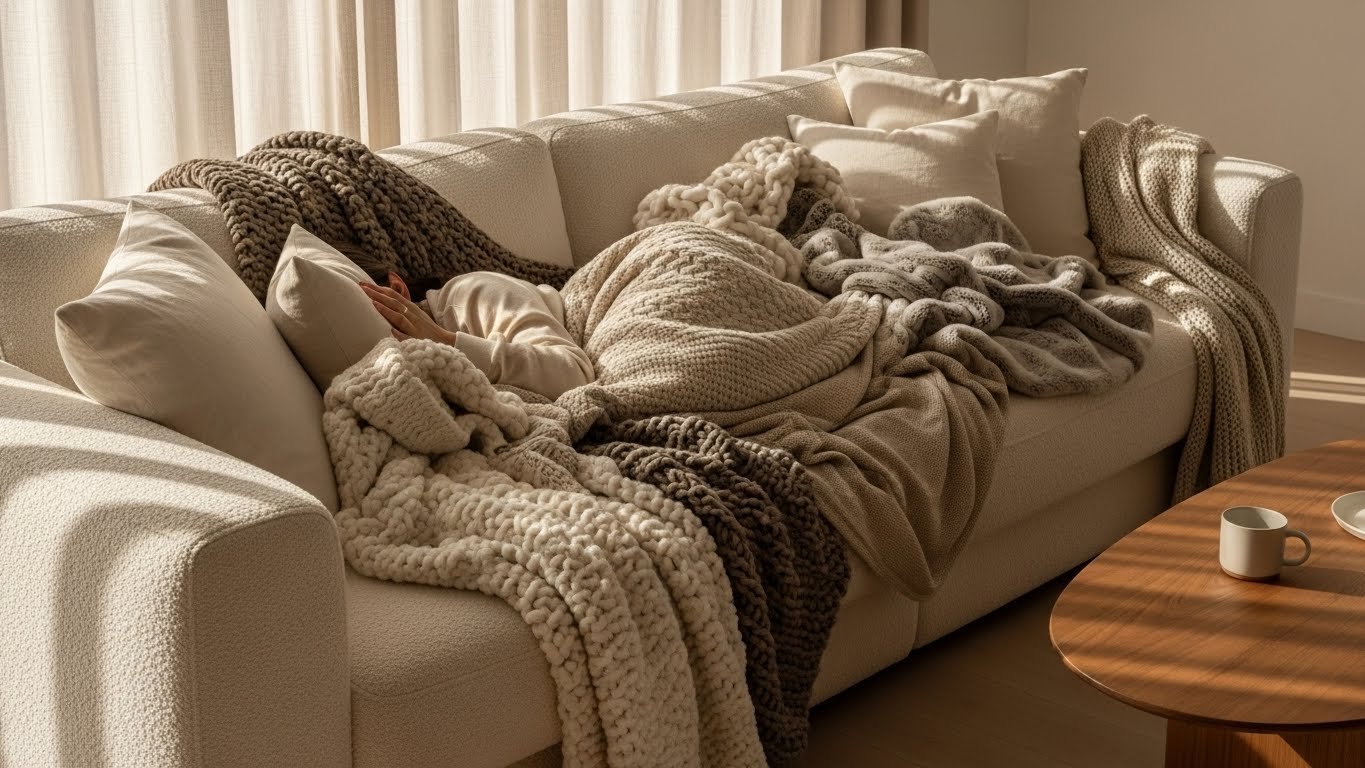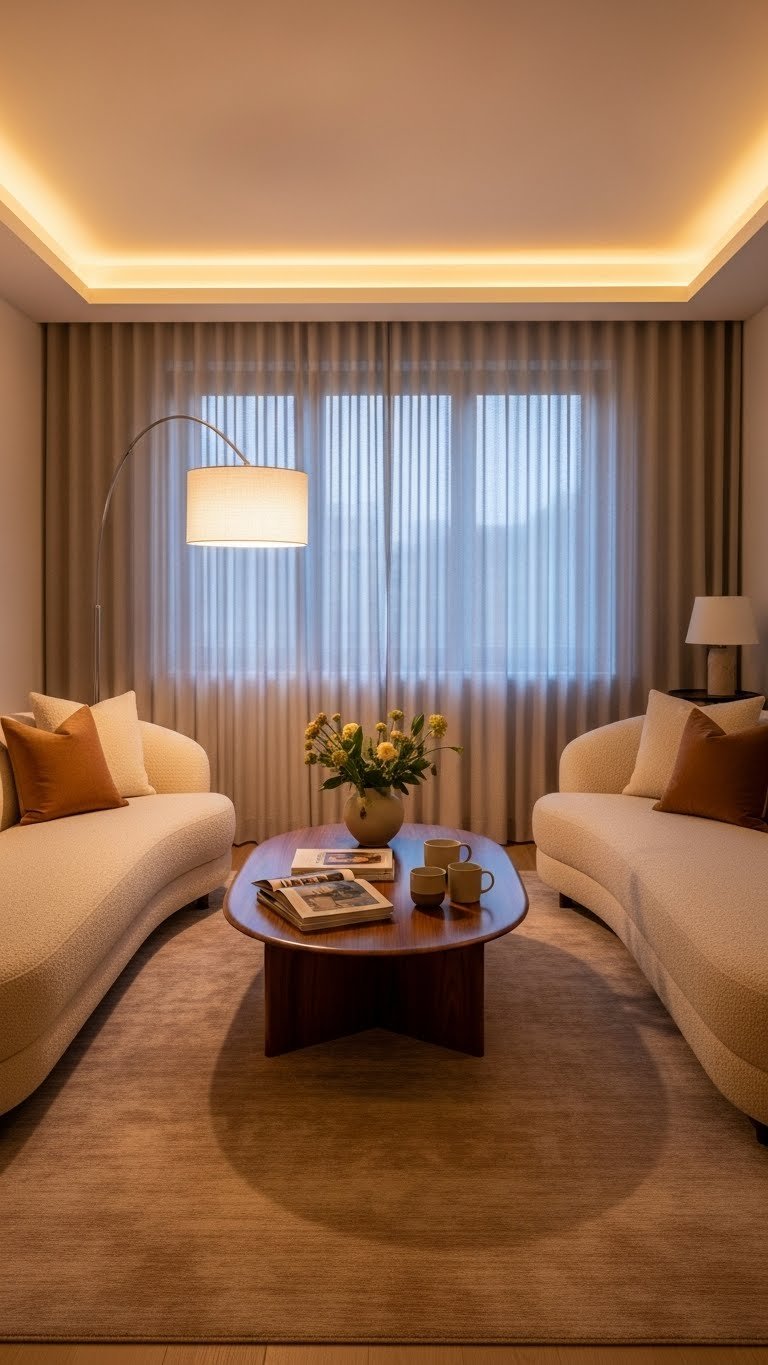
Your living room probably feels either too bright and sterile, or dark and gloomy—rarely just right. The secret? Layered lighting. It’s not about one overhead fixture or a single lamp; it’s about combining different light sources at various heights and intensities to create warmth, flexibility, and visual interest. Whether you’re working with natural light, task lighting, accent fixtures, or ambient glow, the right combination makes your space feel intentional, cozy, and actually usable for everything from movie nights to morning coffee. This guide gives you 27 specific, actionable ideas—from free rearrangements to investment pieces—so you can customize your living room’s lighting to match your lifestyle and mood.
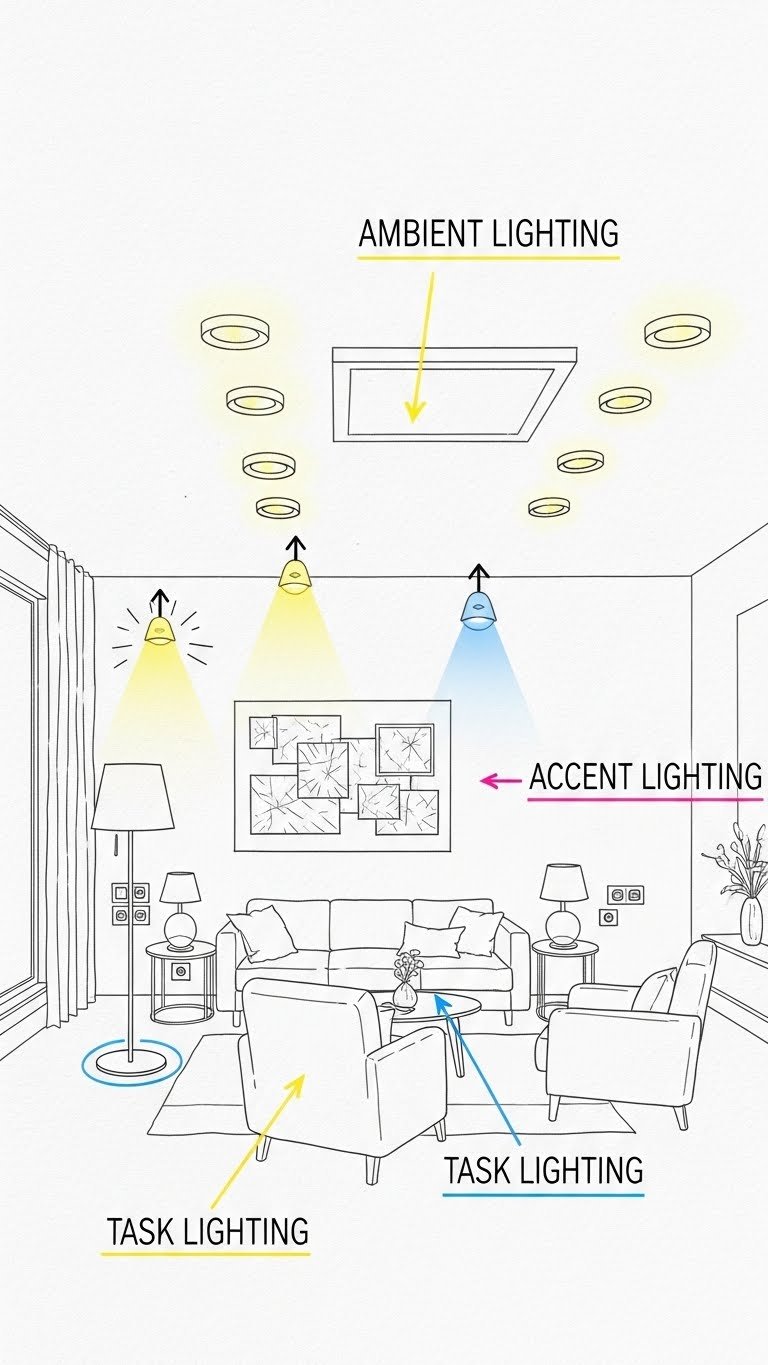
1. Map Your Three Lighting Layers First
Understanding the foundation makes everything else click into place. Professional designers use three categories: ambient (overall room brightness), task (focused light for reading or working), and accent (highlights specific objects or areas). Most living rooms default to one ceiling light, which creates flat, unflattering shadows.
Start by identifying where you need each type. Ambient fills the whole room; task lighting clusters near seating and desks; accent lighting adds drama to artwork or architectural features. Spend an hour walking through your room at different times of day to notice where shadows fall and where you naturally reach for a lamp.
The beauty of this framework? Once you know your three layers, every other upgrade makes sense and fits together cohesively. You’ll stop buying random lamps and start building a system.
2. Install Dimmer Switches for Mood Control
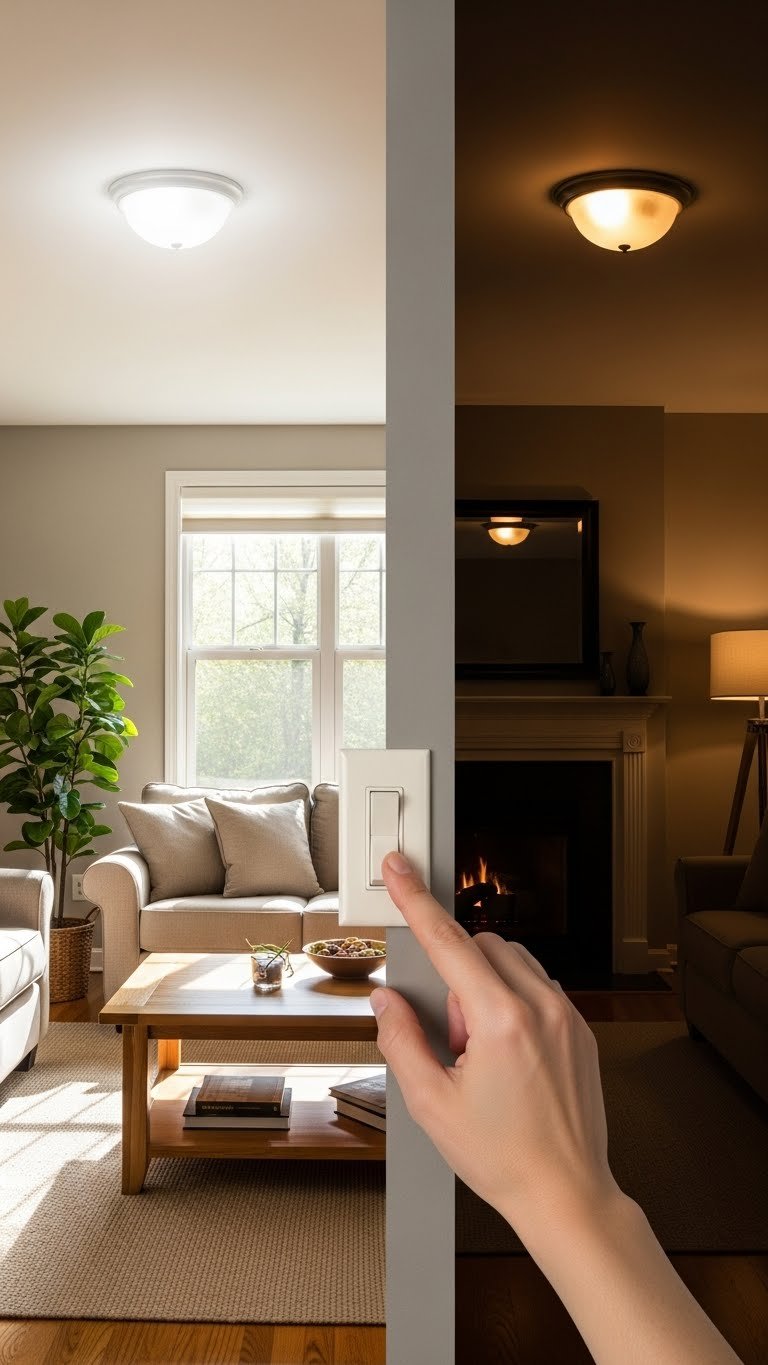
Dimmers are the cheapest way to multiply your lighting options without buying anything new. A single overhead fixture becomes three different moods: bright for cleaning, medium for entertaining, and low for unwinding.
Installation takes 15–30 minutes if you’re comfortable with basic electrical work; hire a handyman for $75–$150 if not. A basic dimmer switch costs $15–$40 from Home Depot or Lowe’s. Smart dimmers (like Lutron or GE Cync) run $40–$80 and let you adjust brightness from your phone—game-changing if your light switches are far from your seating area.
The pro tip: pair dimmers with warm-toned bulbs (2700K color temperature) for a naturally cozy feel even at high brightness. You’ll discover you actually use that overhead light instead of always defaulting to lamps.
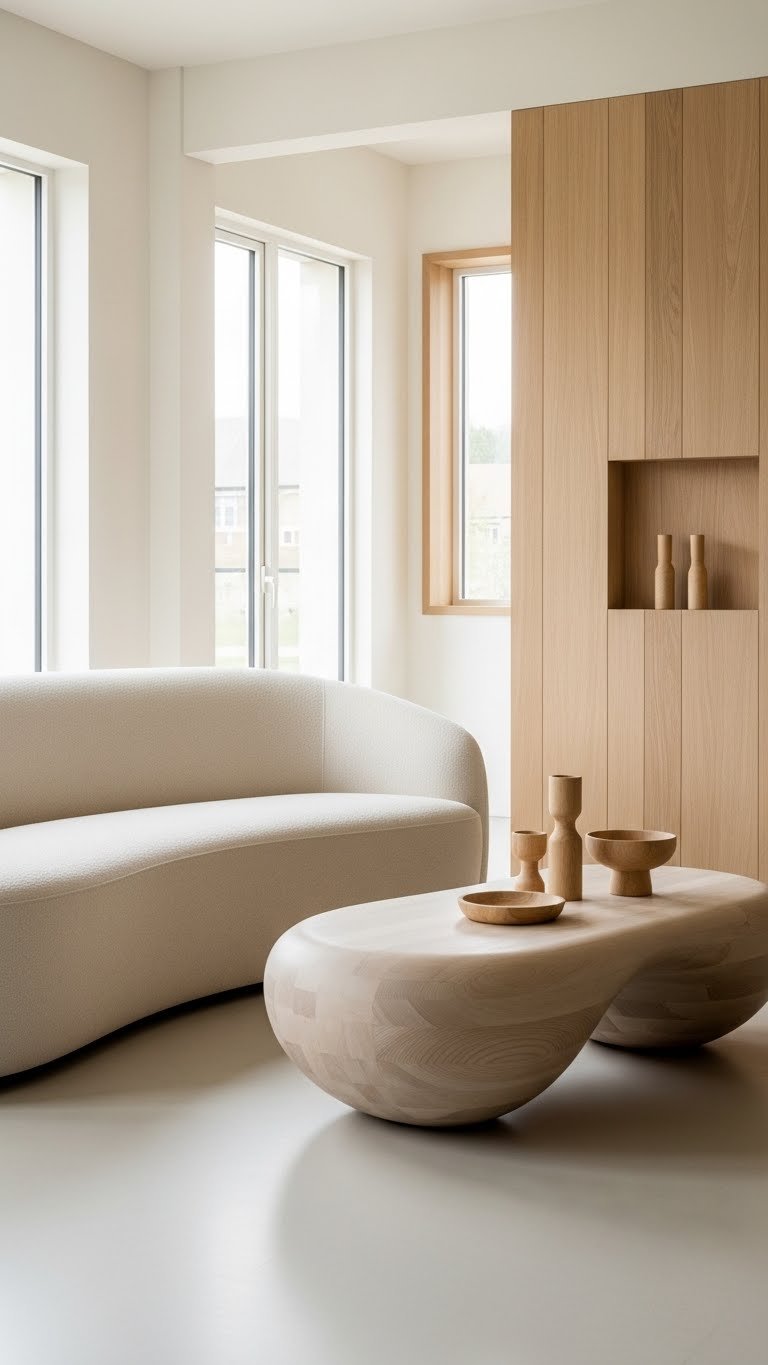
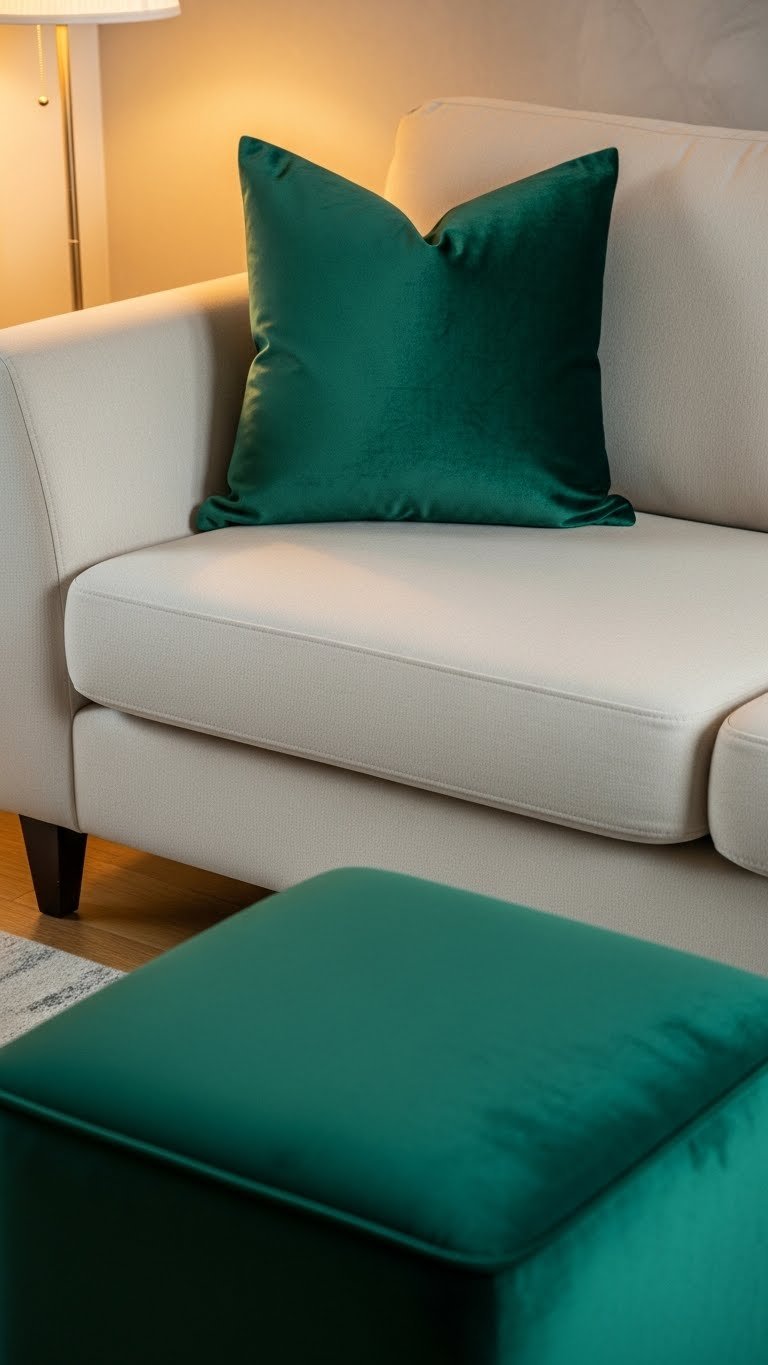
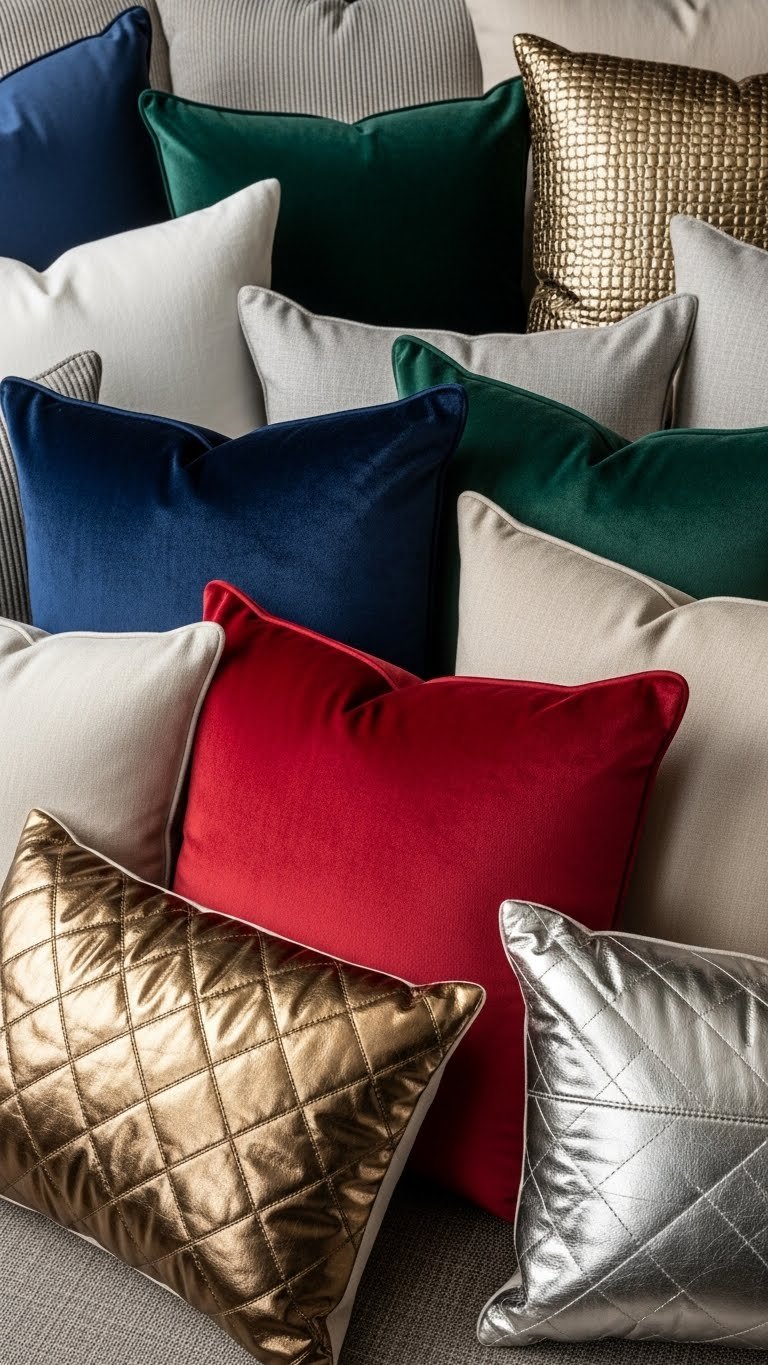
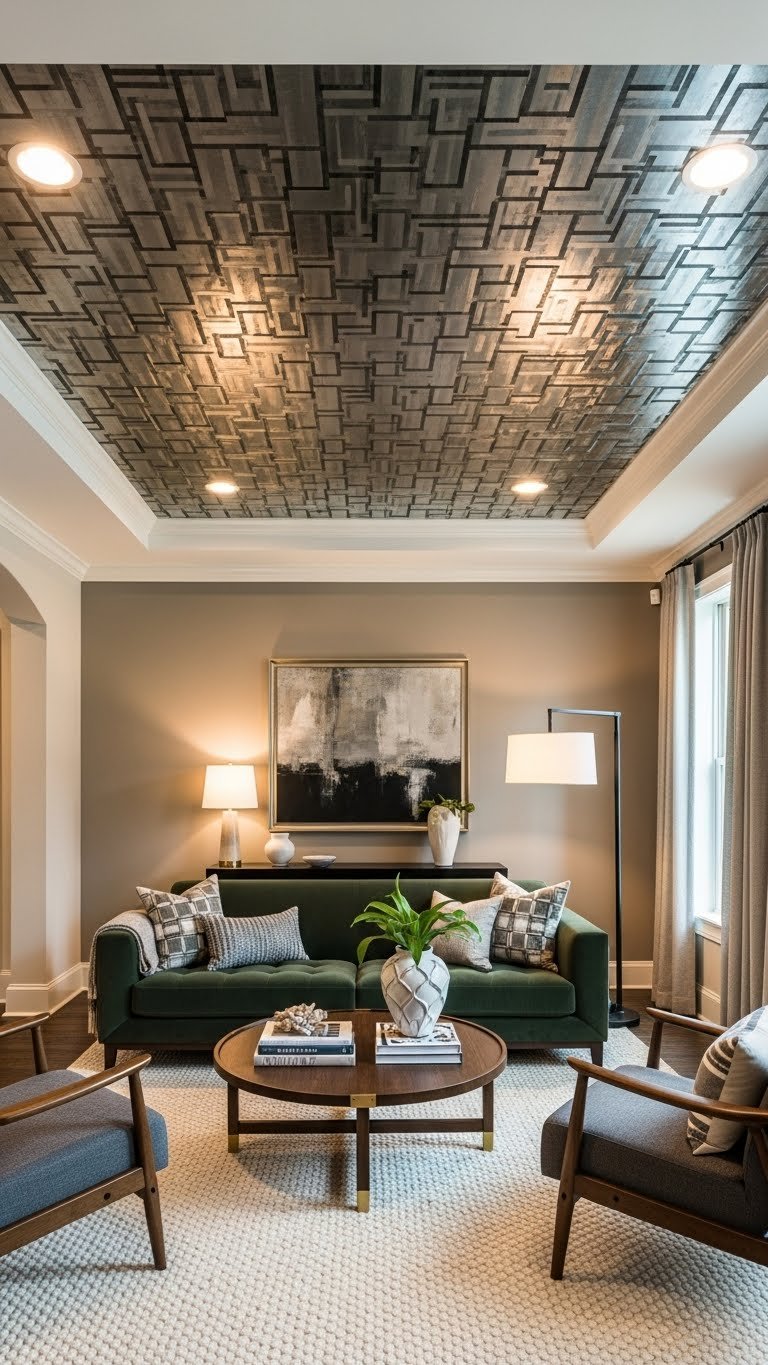
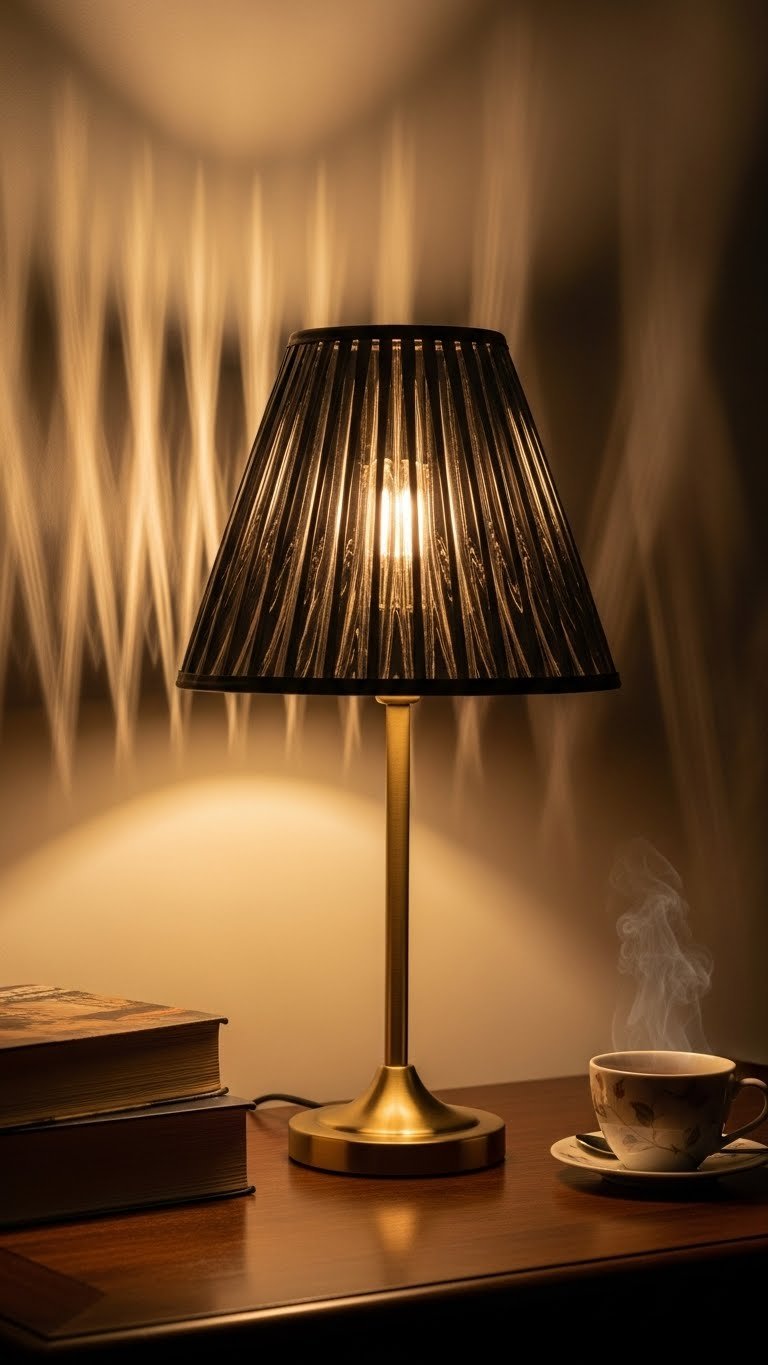
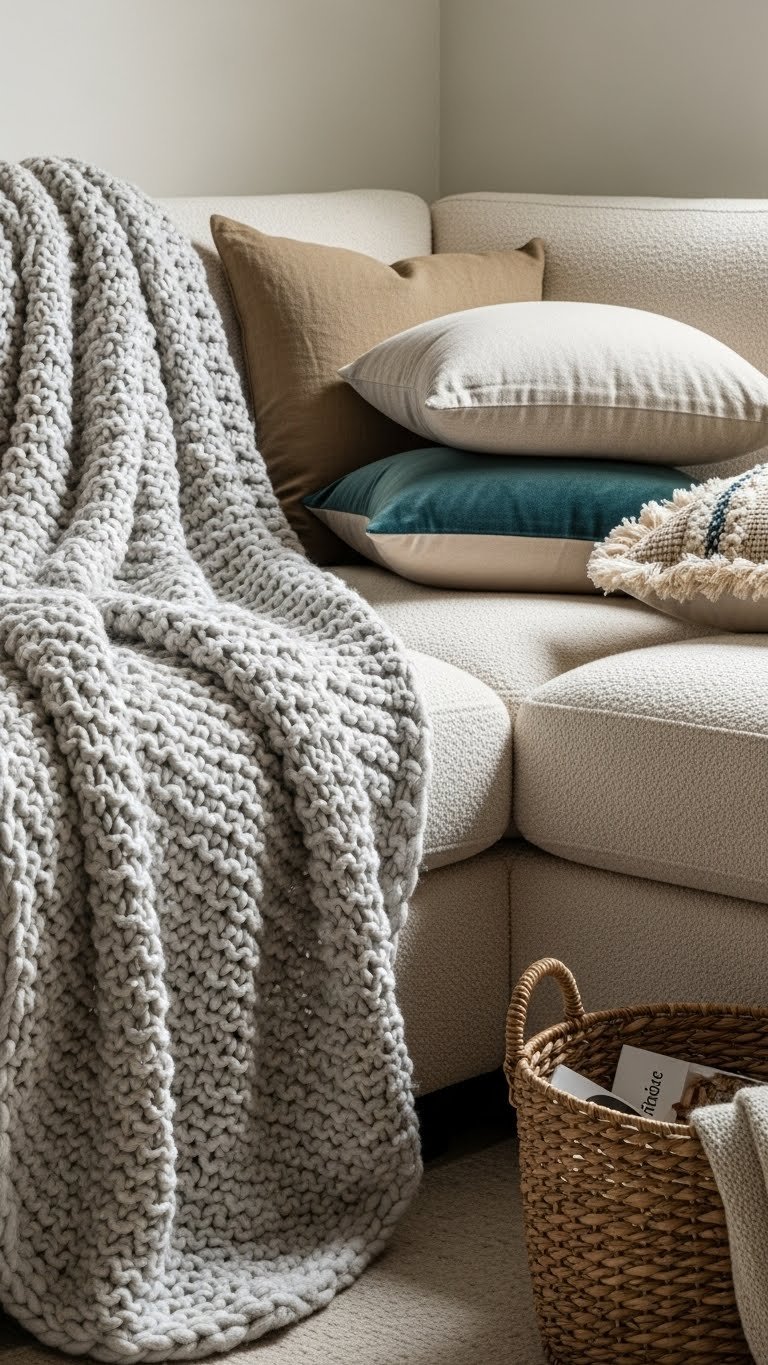
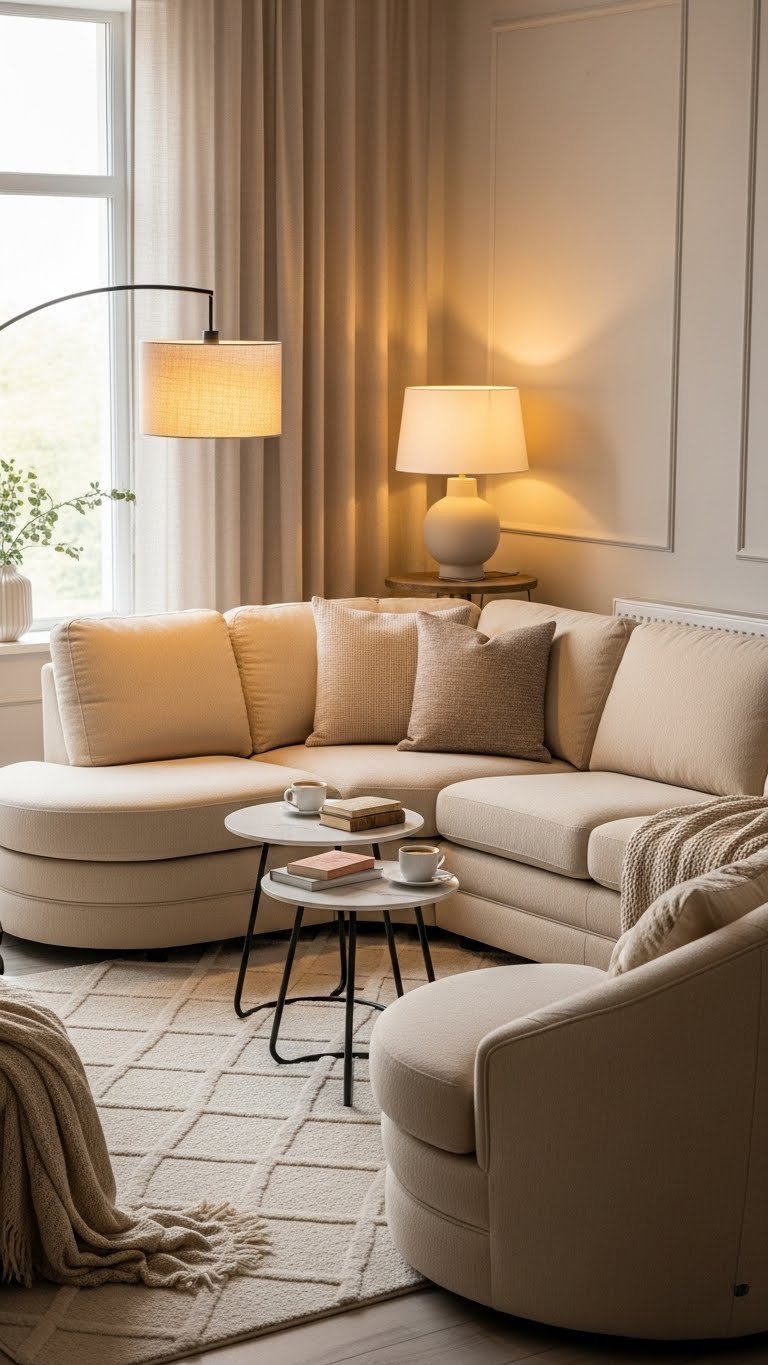
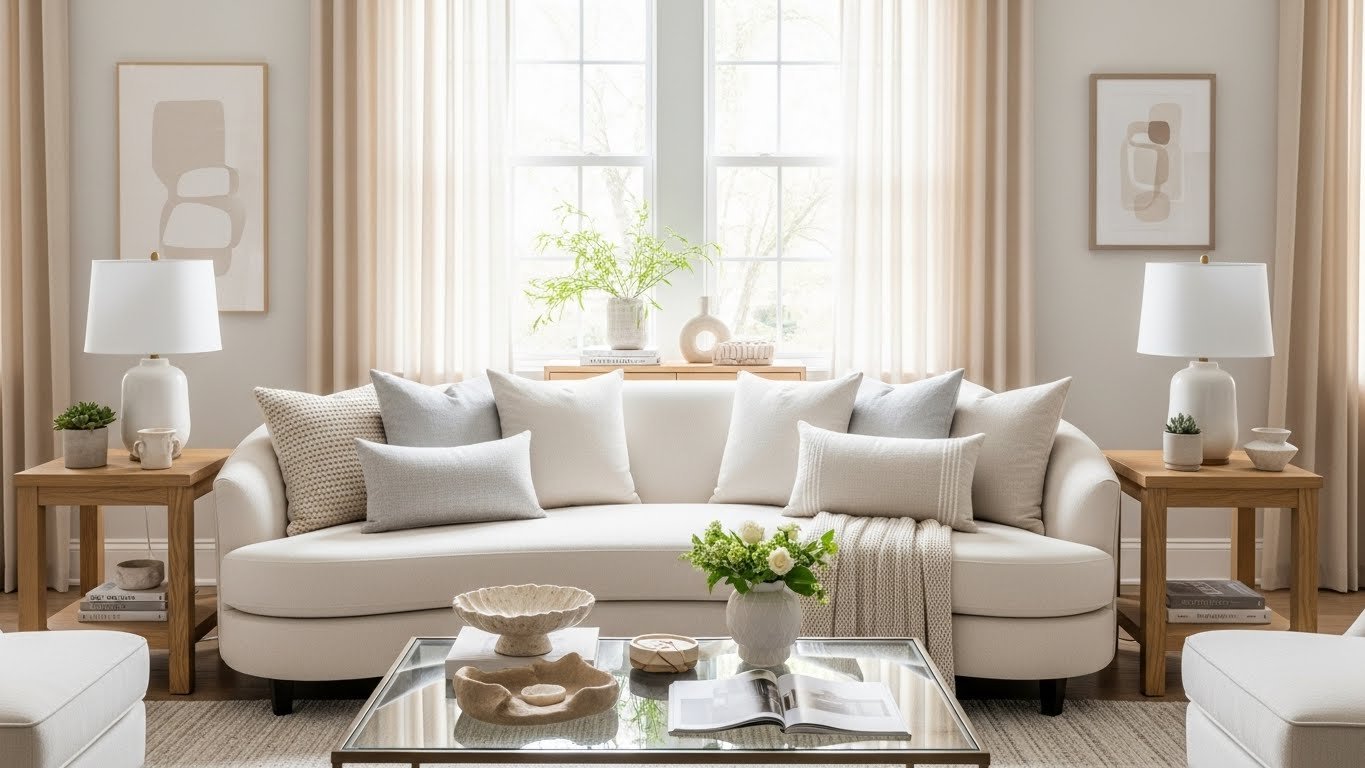
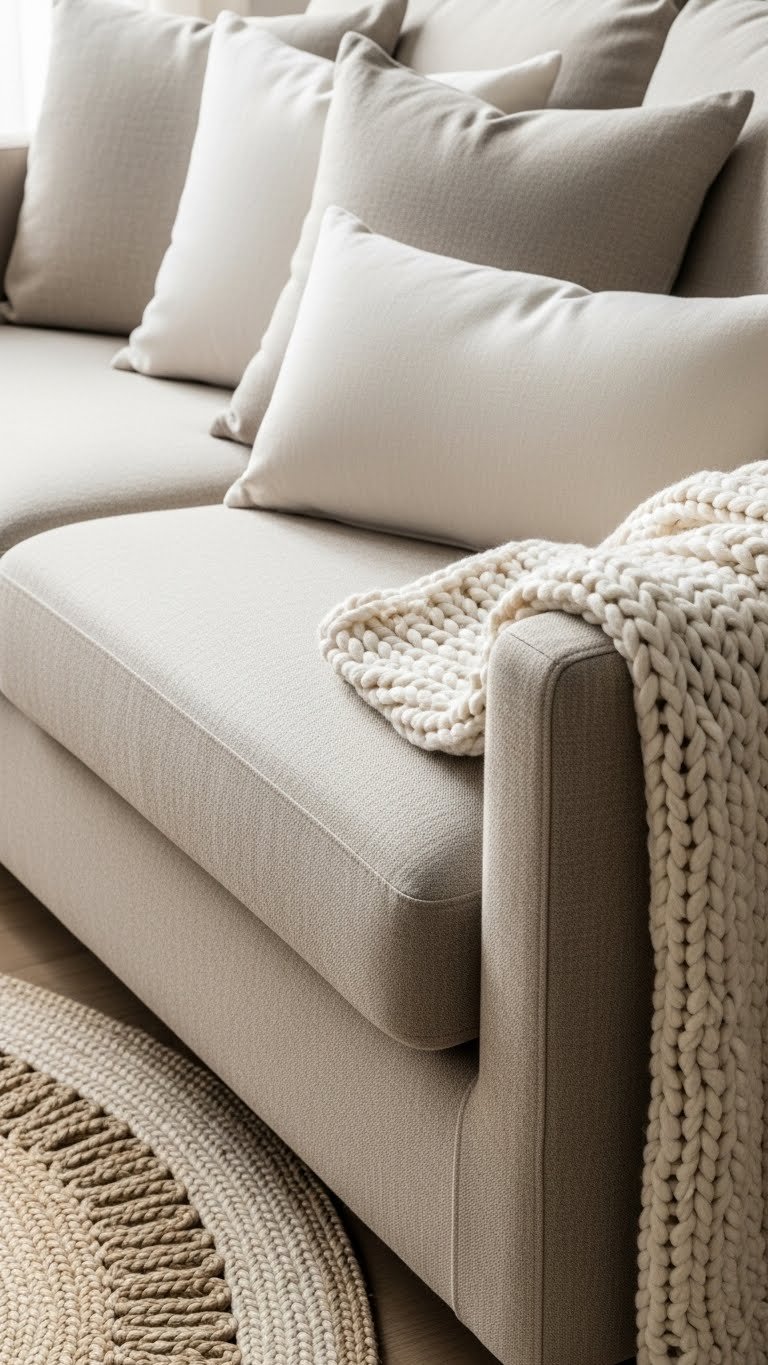
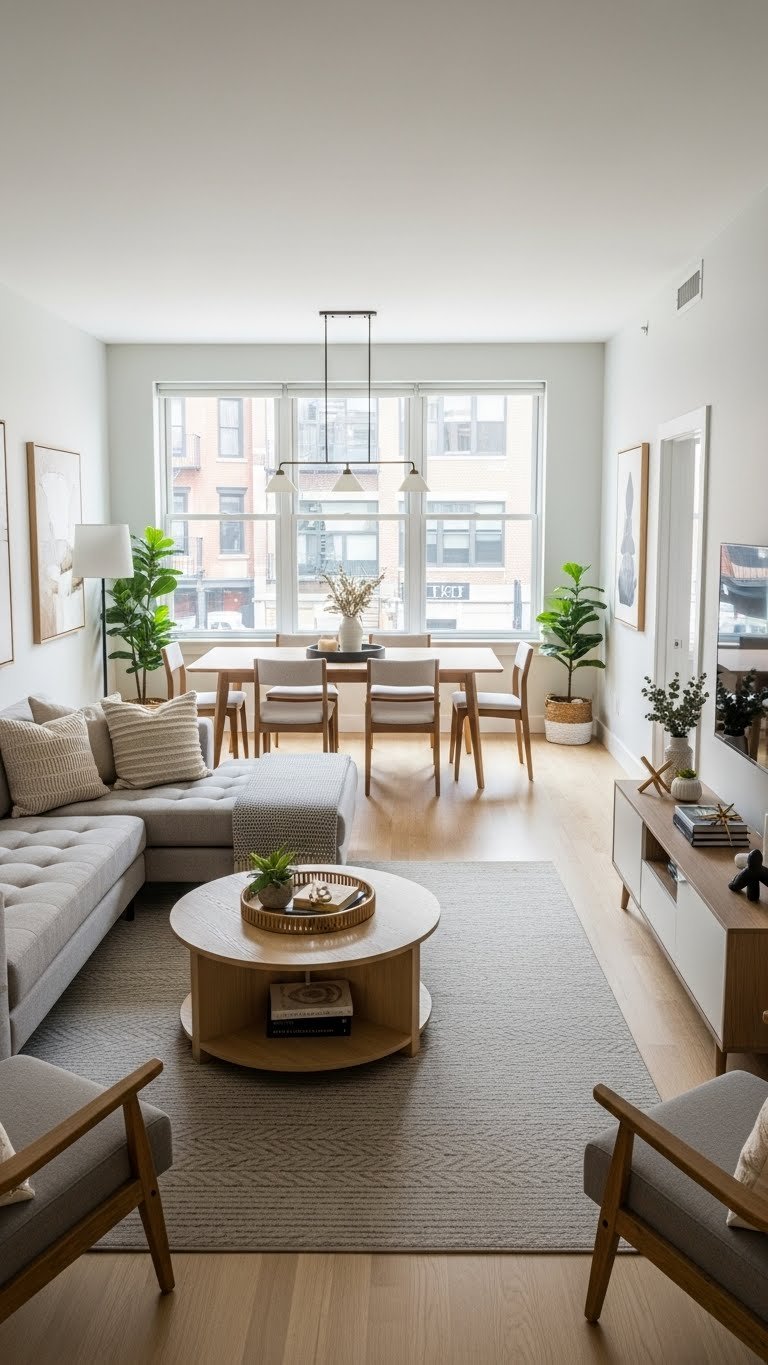
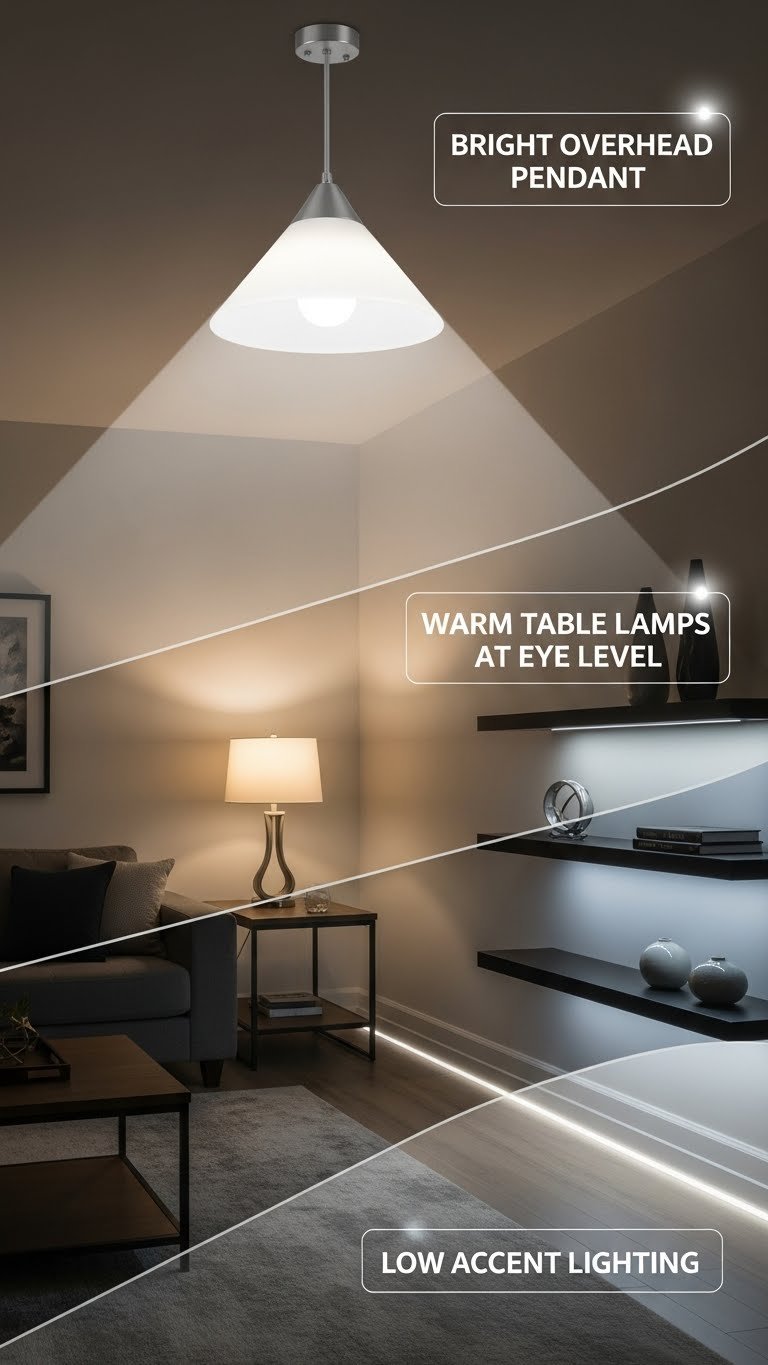
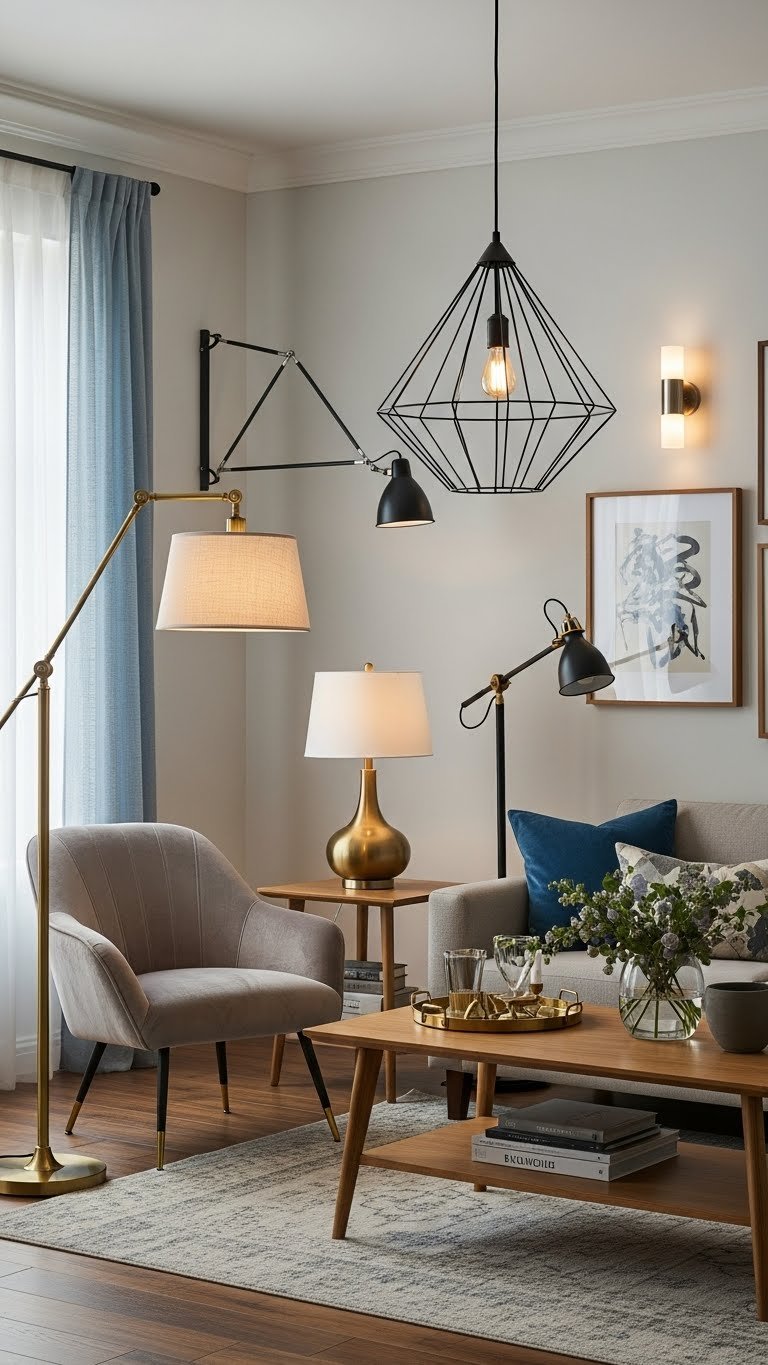
3. Layer Table Lamps at Varying Heights
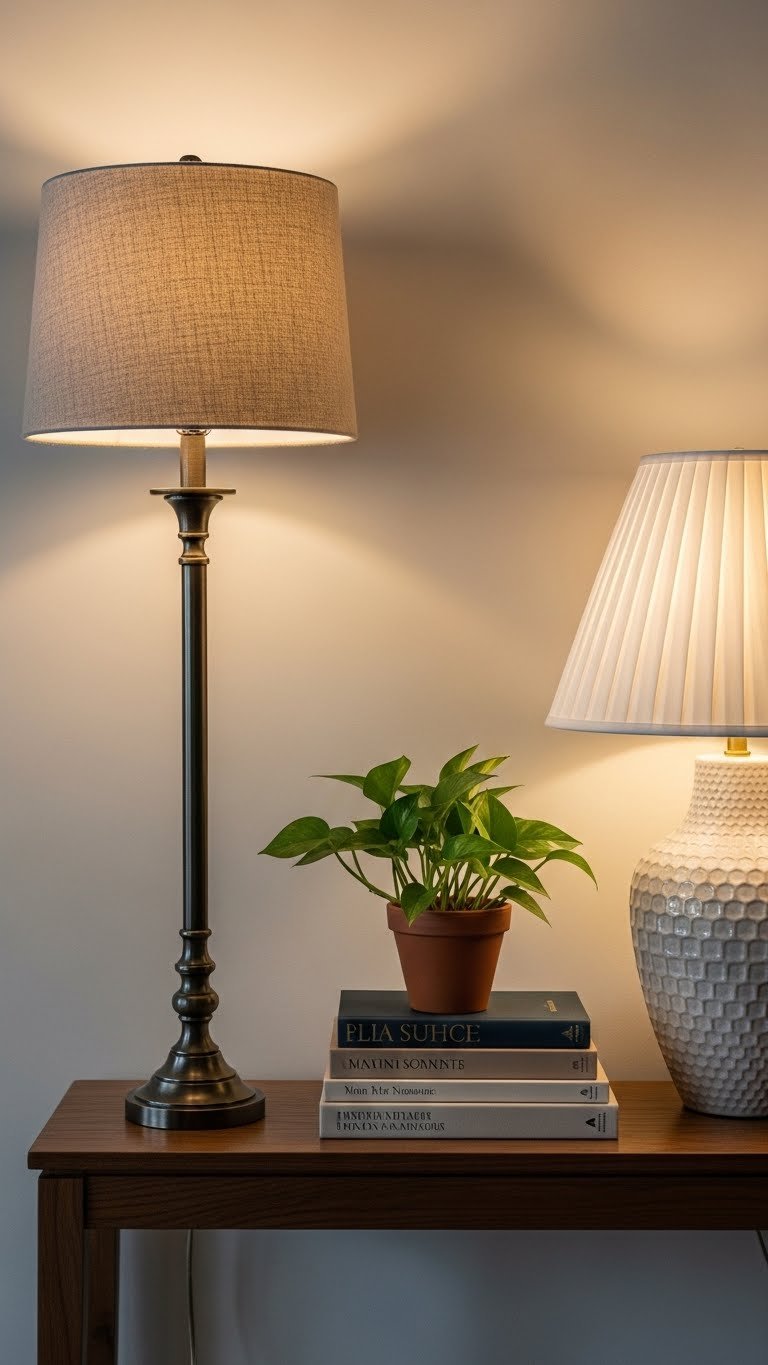
Table lamps create pools of light that feel intimate and let you control brightness in specific zones. The key is using at least two different heights per room section to avoid a flat, repetitive look.
Place one taller lamp (30–36 inches) on a console or side table to bounce light upward and outward. Pair it with a shorter accent lamp (18–24 inches) on a low table or shelf nearby. This creates visual rhythm and functional flexibility—you can turn on just the tall one for ambient glow or both for task lighting. Target, IKEA, and Wayfair have great options in the $30–$80 range; splurge on a designer piece ($150–$400) if it’s a visible focal point.
Mix materials too: ceramic, wood, metal, and textured bases all photograph beautifully and add tactile interest. Now you have flexibility to adjust brightness and warmth based on your activity.
4. Use Warm Bulbs (2700K) Everywhere Possible
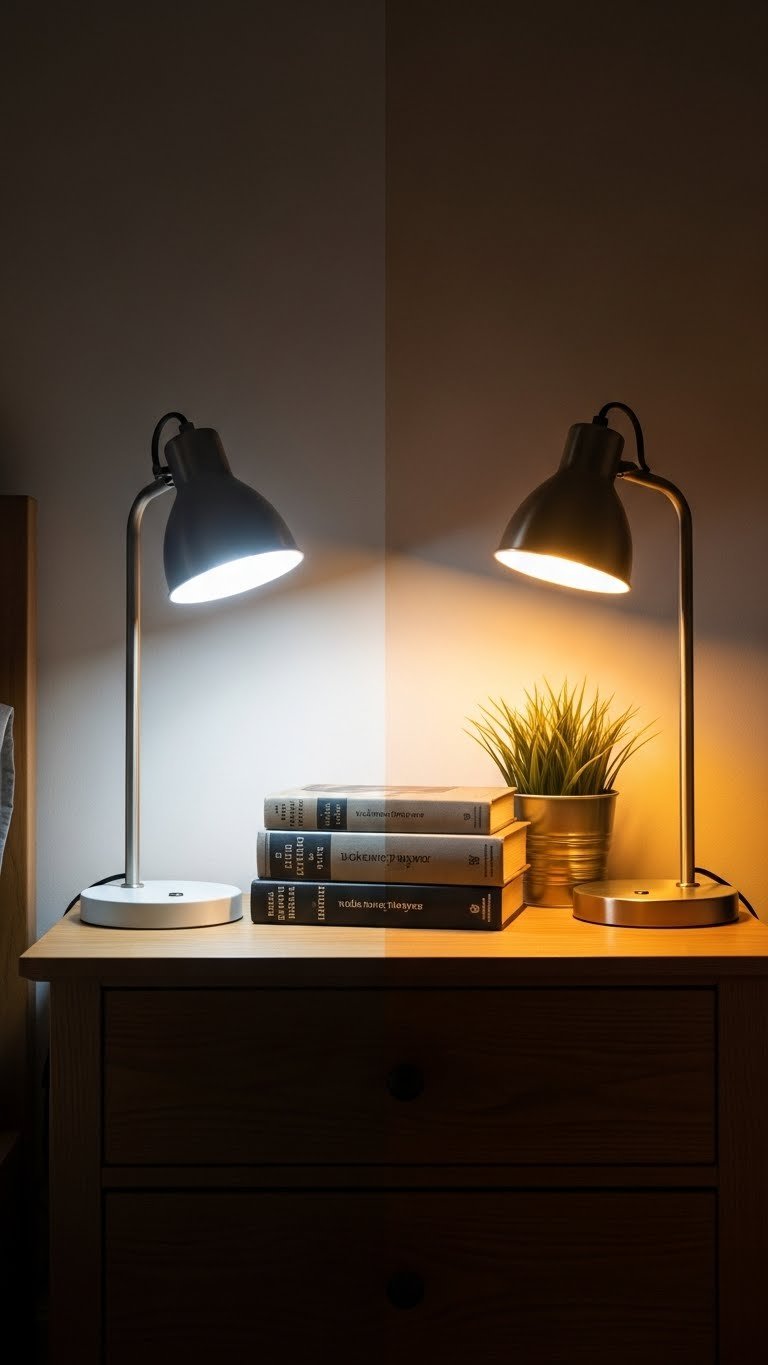
This single swap makes the biggest immediate difference in how your room feels. Cool white bulbs (4000K–5000K) feel clinical and bright; warm bulbs (2700K) feel like candlelight and make everything look better.
Switch out all your living room bulbs to warm 2700K LEDs from Amazon or any hardware store—a full room costs $20–$40 for a 10-pack. LEDs last 25,000+ hours, so you’re not replacing them for years. Avoid anything labeled “daylight” or “cool white” in your living room.
This works because warm light flatters skin tone, wood furniture, and fabric textures. You’ll notice friends and family looking healthier and your space feeling more welcoming. Combined with dimming, you create professional-caliber lighting in minutes.
5. Add Recessed Ceiling Lights for Subtle Ambiance
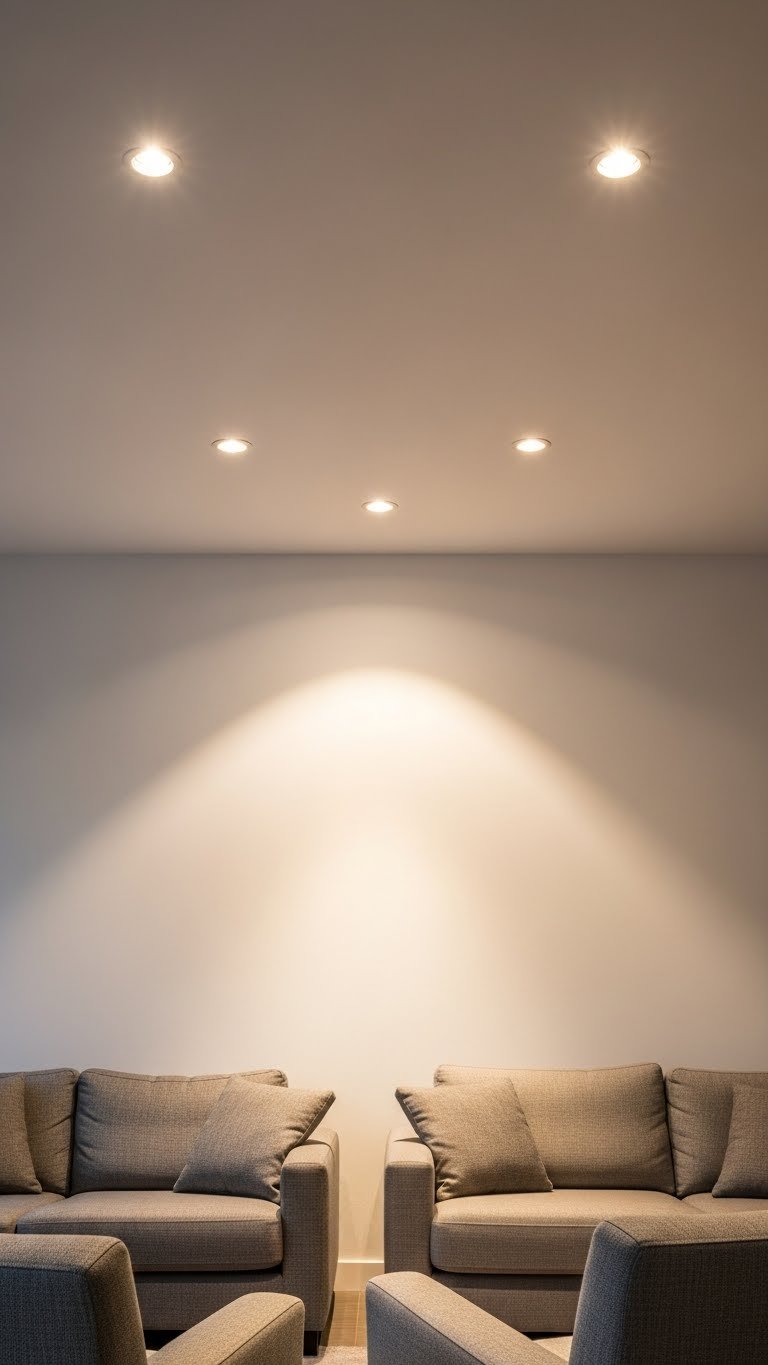
Recessed lighting gives you ambient brightness without visible bulky fixtures cluttering your aesthetic. Install these along the ceiling perimeter or in a grid pattern, and they essentially disappear while providing steady, even light.
Installation requires drywall cutting and electrical work—budget $400–$800 for a professional to install 4–6 fixtures, or $100–$200 if your ceiling already has framing space. LED retrofit kits exist for renters ($50–$100 per fixture, magnetic mount to existing ceiling holes). Use warm 2700K, dimmable LED bulbs for maximum control.
The payoff: your room feels intentionally lit without lamp clutter. Pair these with task lamps for complete flexibility—recessed lights handle ambient brightness while table lamps give you focused task lighting when needed.
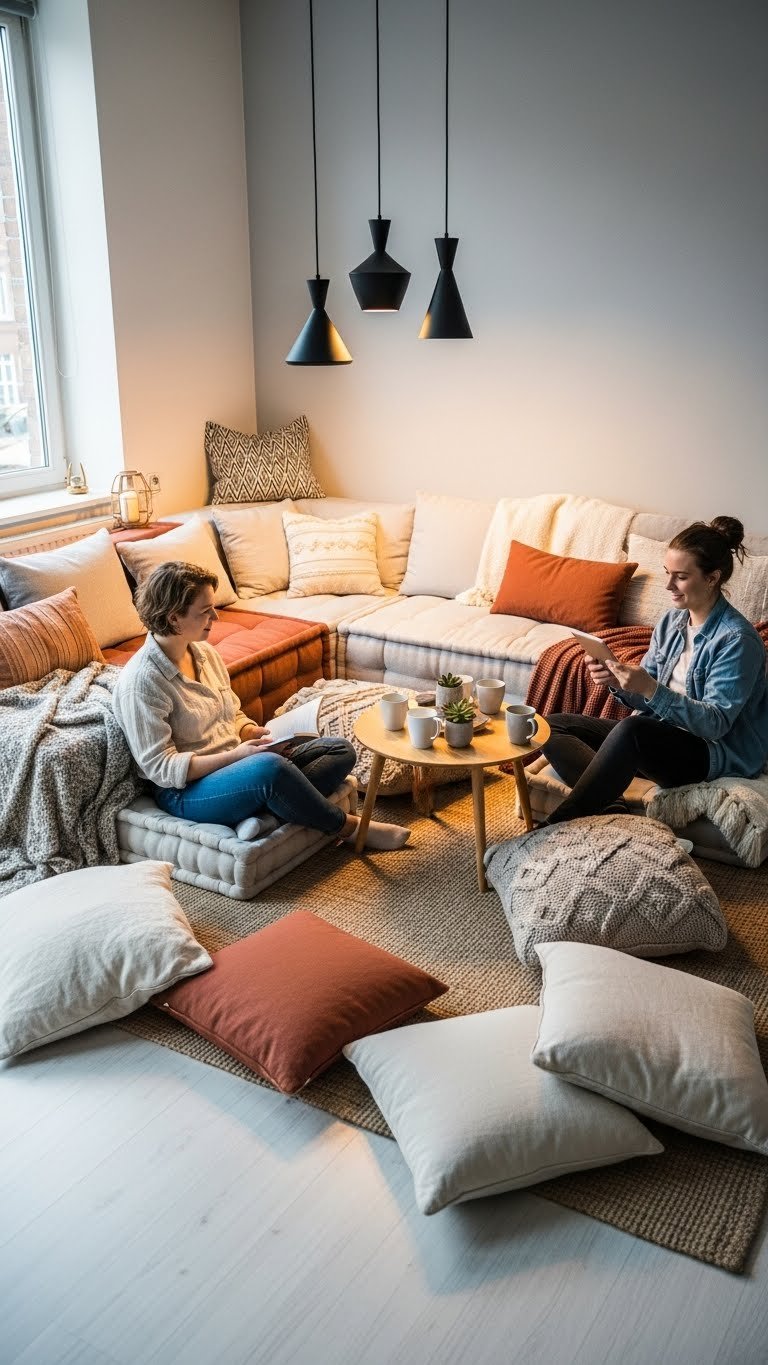
6. Hang a Statement Pendant Over a Coffee Table
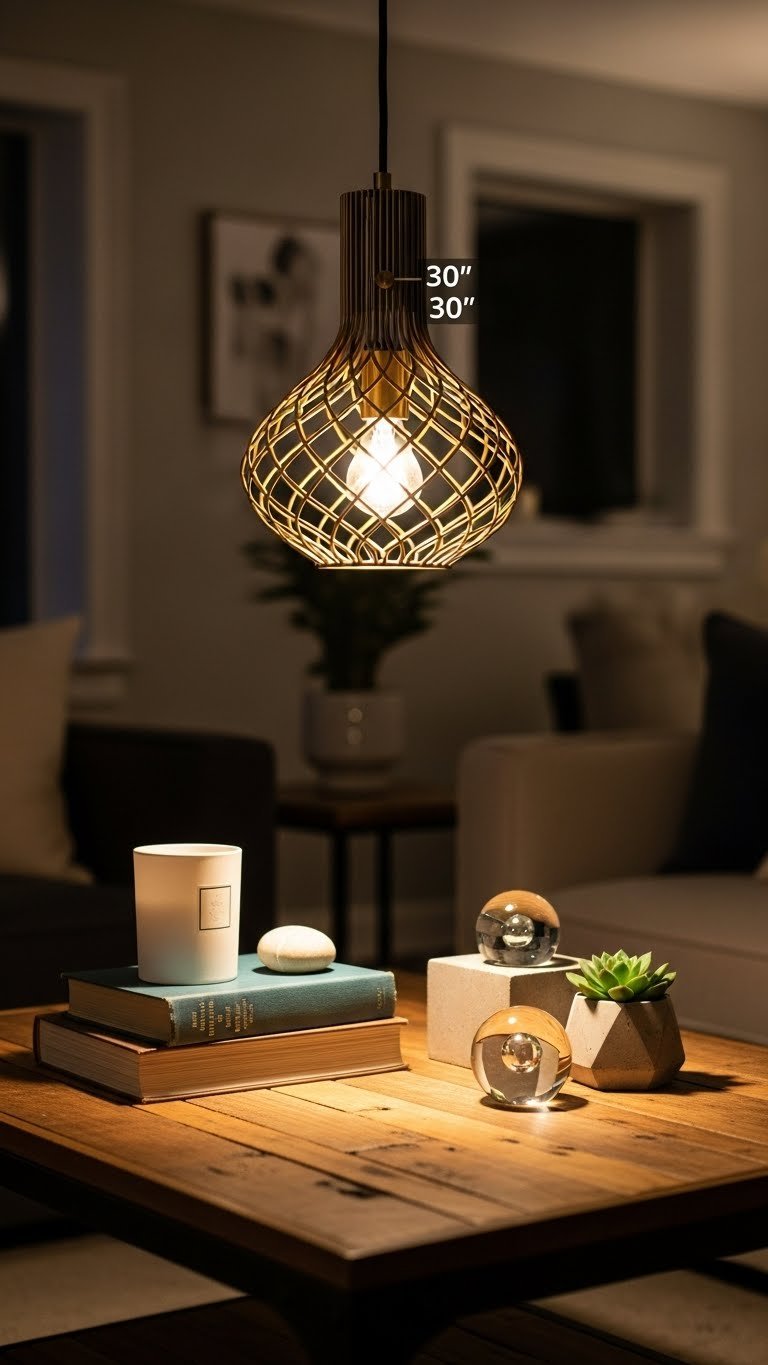
A stylish pendant makes a decorative statement while solving your lighting puzzle. Unlike traditional chandeliers, modern pendants feel current and work in any décor style—from mid-century to minimalist to cottagecore.
Hang it 30–36 inches above your coffee table or seating cluster. Installation involves basic electrical work; hire an electrician for $150–$300 or DIY if you’re confident ($30 for hardware, 1–2 hours). Pendant styles range from $40–$60 (IKEA, Target) to $300+ (Rejuvenation, Design Within Reach). Choose one that complements your color palette and doesn’t overwhelm your room proportions.
The benefit extends beyond light: a pendant becomes a sculptural focal point that grounds your furniture arrangement and adds personality. When paired with dimming, you control whether it feels subtle or dramatic.
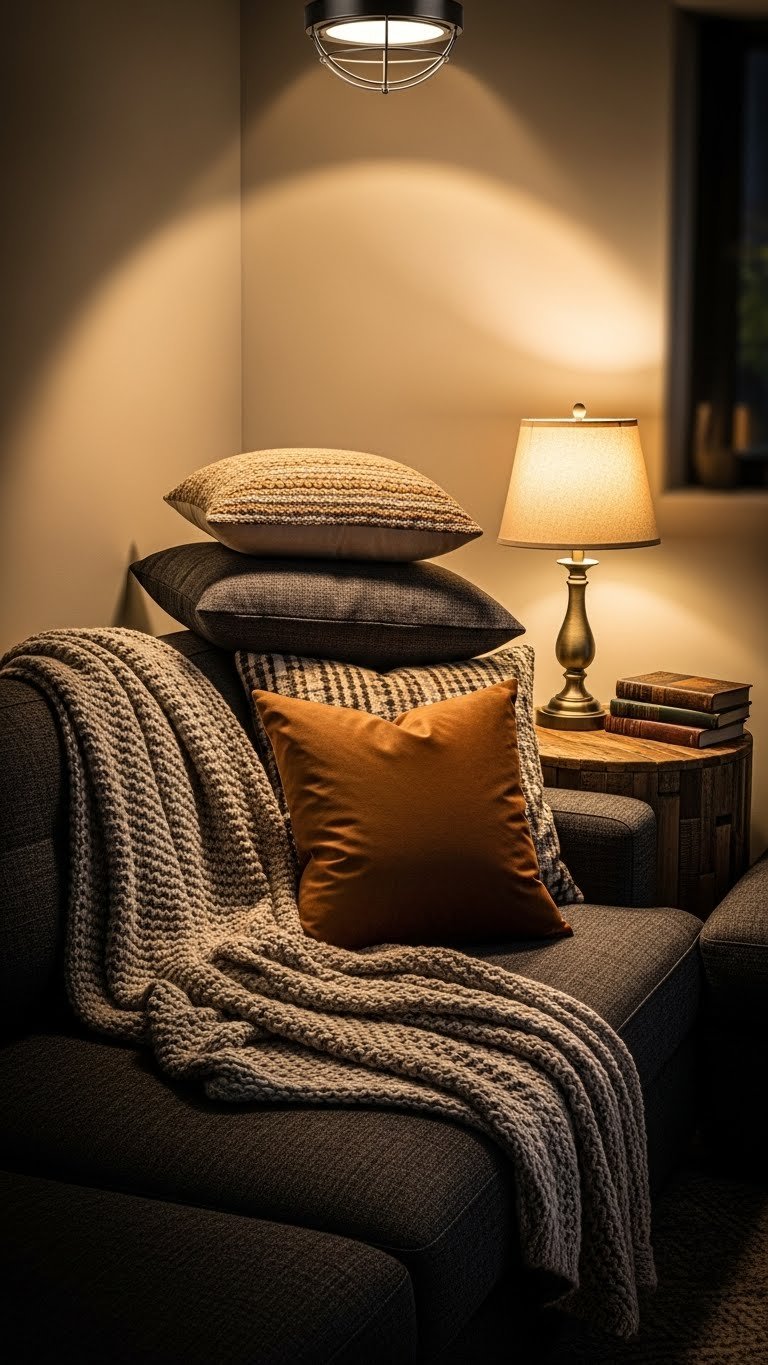
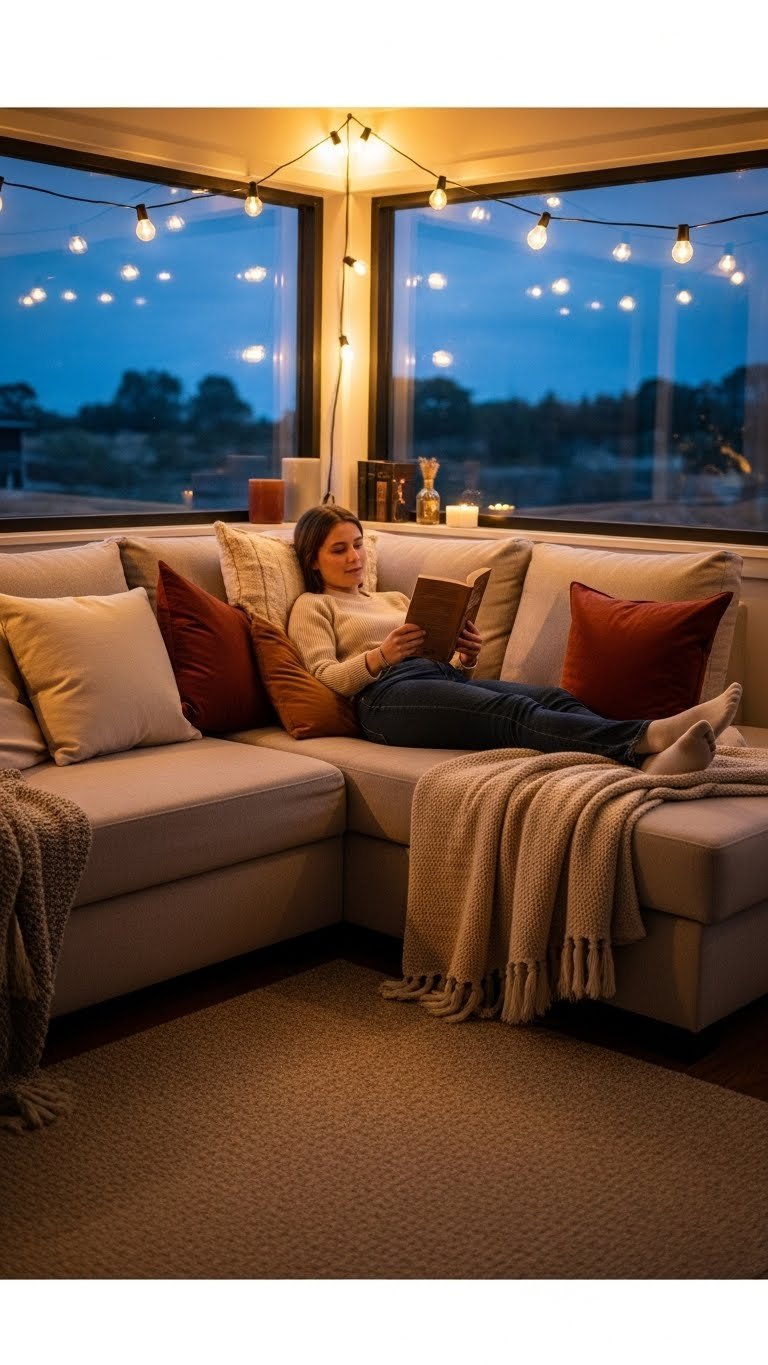
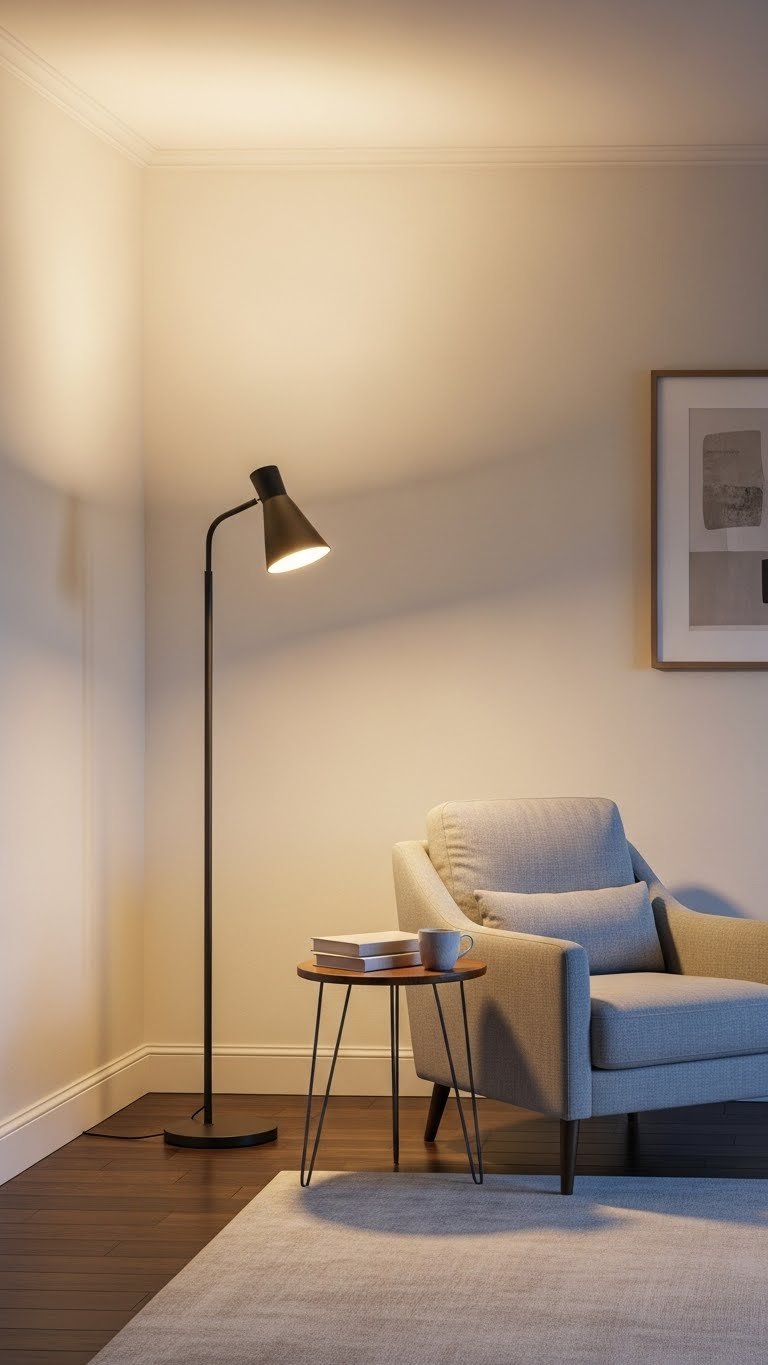
7. Position Reading Lamps Behind Seating

Task lighting positioned behind or beside your seating prevents shadows across your face and book when reading. This is essential if you spend evenings reading or working in your living room.
An arc floor lamp (flexible arm that extends over seating) costs $50–$150 and works in tight spaces; a traditional tall lamp next to an armchair is cheaper ($30–$80). Position the light so it shines over your shoulder, not directly in your eyes. Adjustable, swiveling heads give you control to direct light exactly where you need it.
You’ll immediately notice the difference when reading or doing detailed work—no more squinting or shifting positions to catch light. This also prevents eye strain from reading in shadows, making evening relaxation actually relaxing.
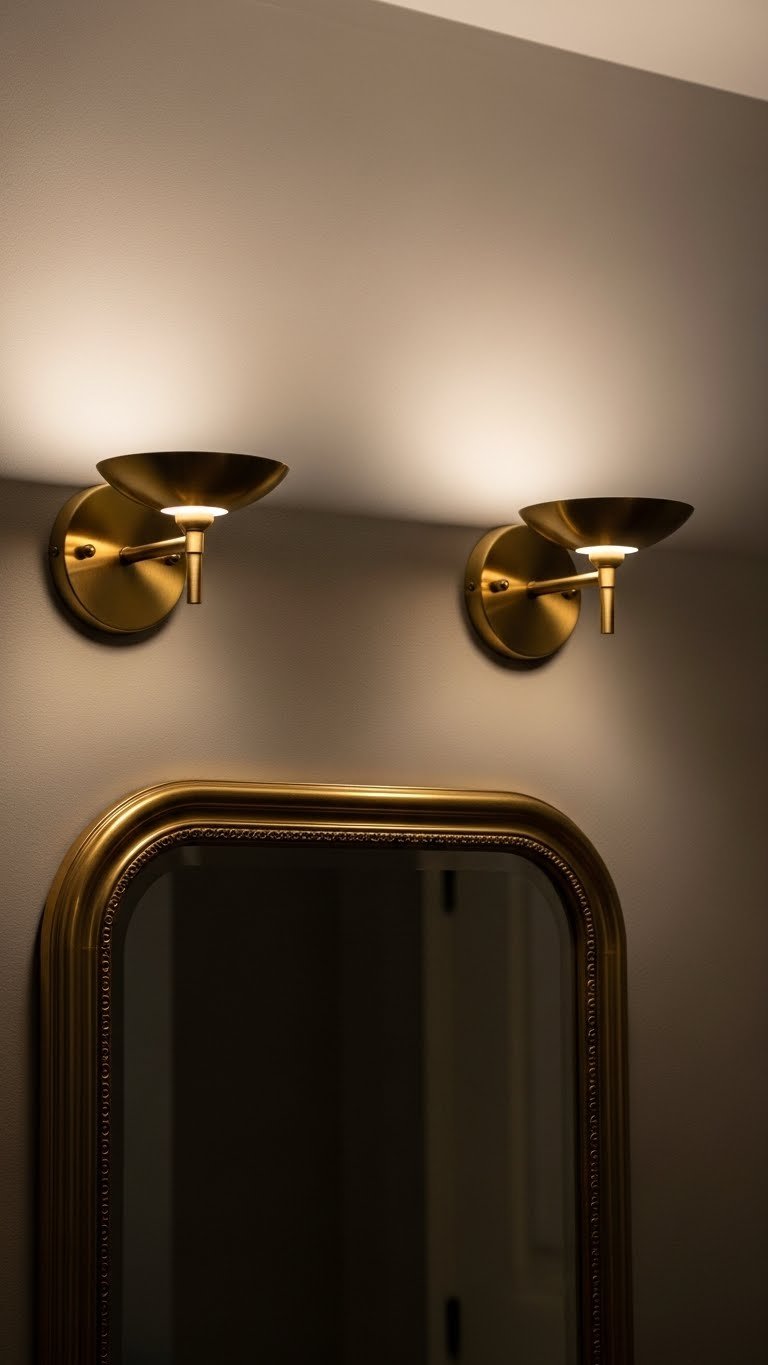
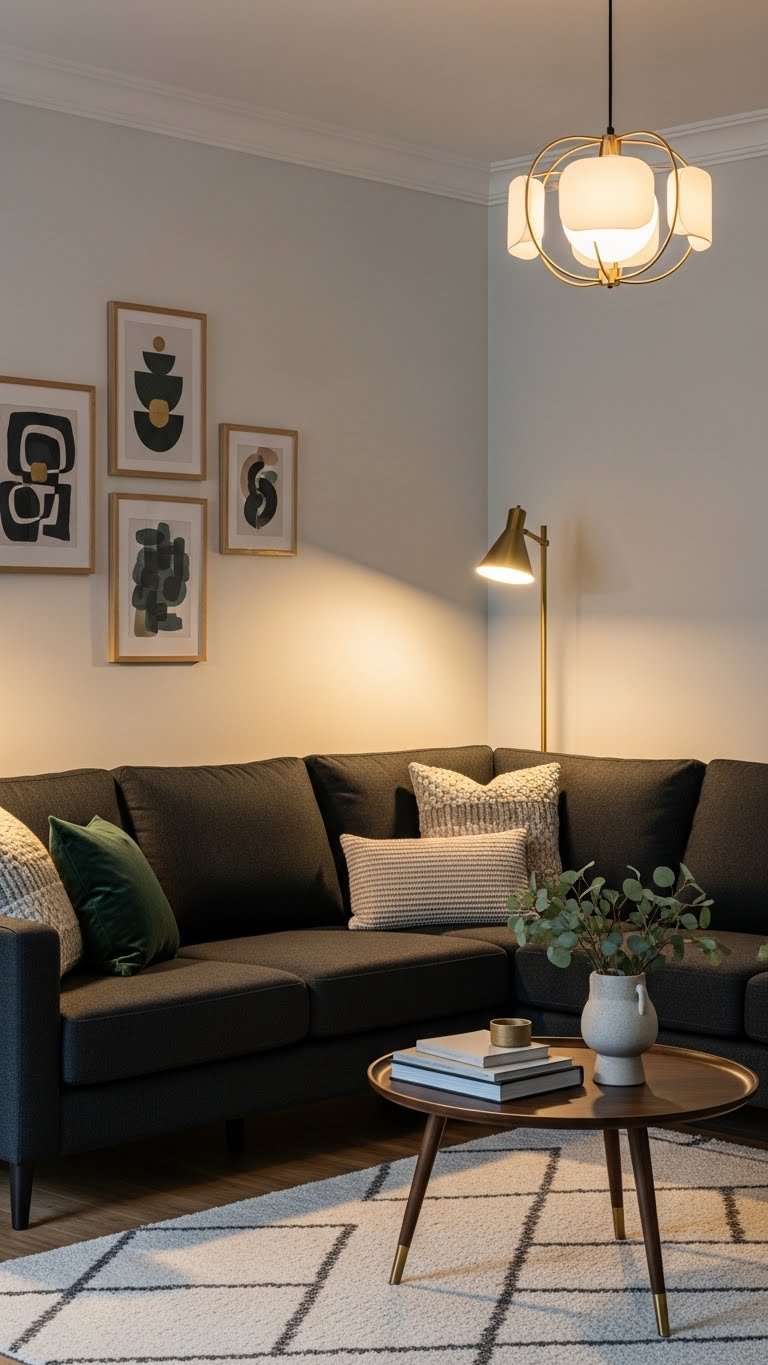
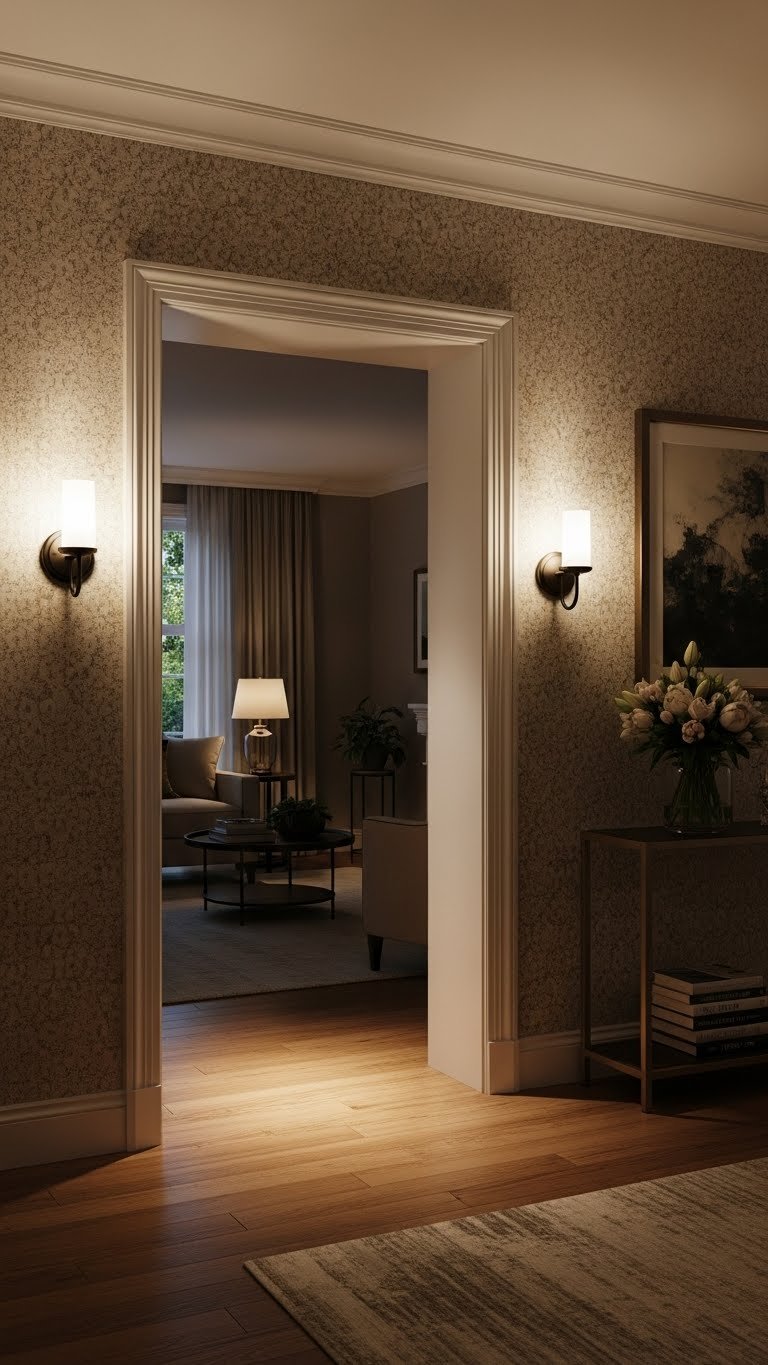
8. Install Wall Sconces Flanking Artwork
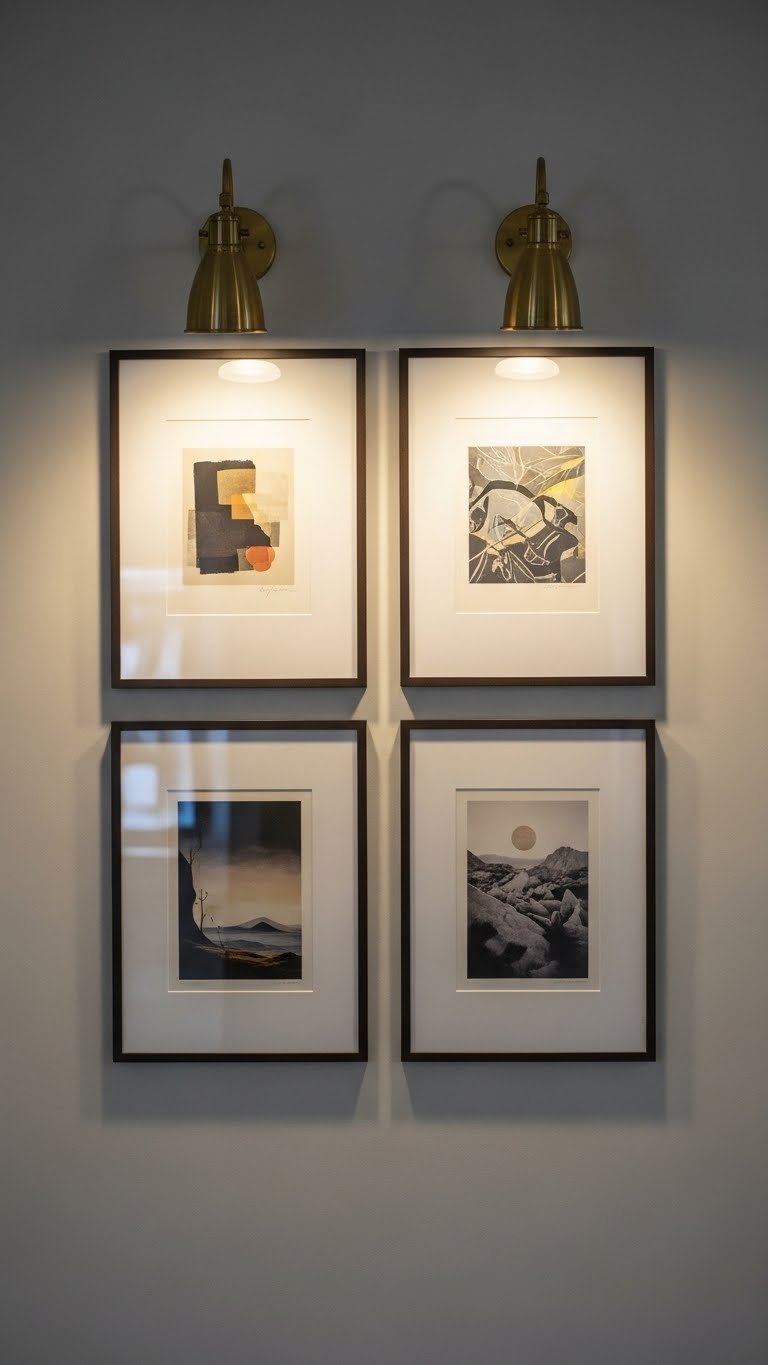
Sconces are decorative AND functional—they light artwork while adding sculptural interest. Flanking a mirror, gallery wall, or console with matching sconces creates instant sophistication.
Installation means drilling into studs and running electrical wire; professional installation costs $200–$400 per pair. Sconces themselves range from $40–$150 each (Target, West Elm) to designer pieces at $300+. Choose styles that echo your décor: industrial metal for modern spaces, ceramic or brass for traditional rooms.
Position sconces at eye level (around 60 inches high) for flattering light angles. The glow highlights texture on artwork and creates depth on your walls. This also reduces dependence on overhead lighting—two sconces over a console with a table lamp nearby gives you complete flexibility.
9. Create Layered Corner Lighting with Multiple Sources
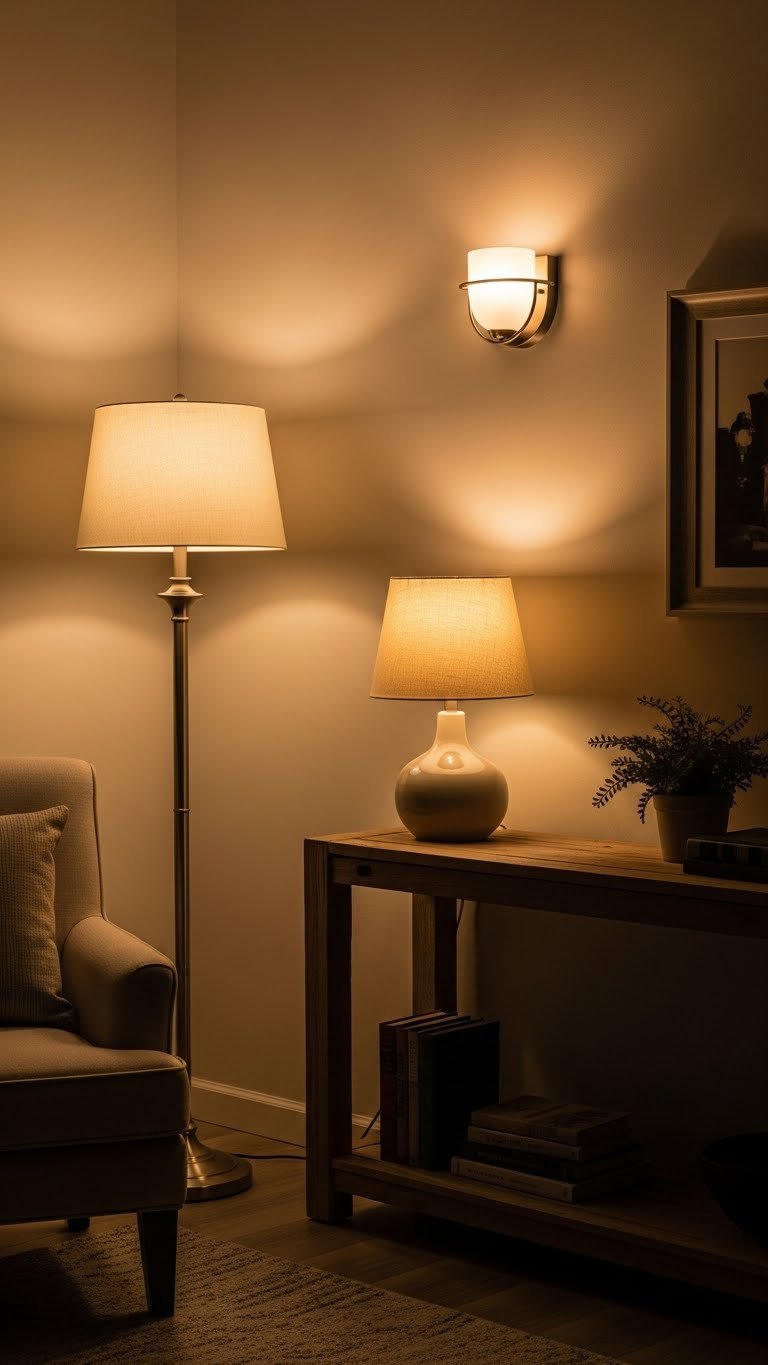
Corners are often forgotten dark zones. Grouping multiple light sources transforms a dead space into an inviting reading nook or display area.
Use a combination: a tall floor lamp (back corner), a smaller table lamp on a side table or console (mid-height), and optionally a wall sconce above for accent lighting. This creates depth and layering. Total investment: $80–$250 depending on fixture quality. Budget 2–3 hours for installation if adding a sconce; otherwise just plug in lamps.
The result is a multi-dimensional corner that feels intentional and usable. You can adjust which lights are on based on mood or task—one lamp for subtle glow, all three for functional brightness.
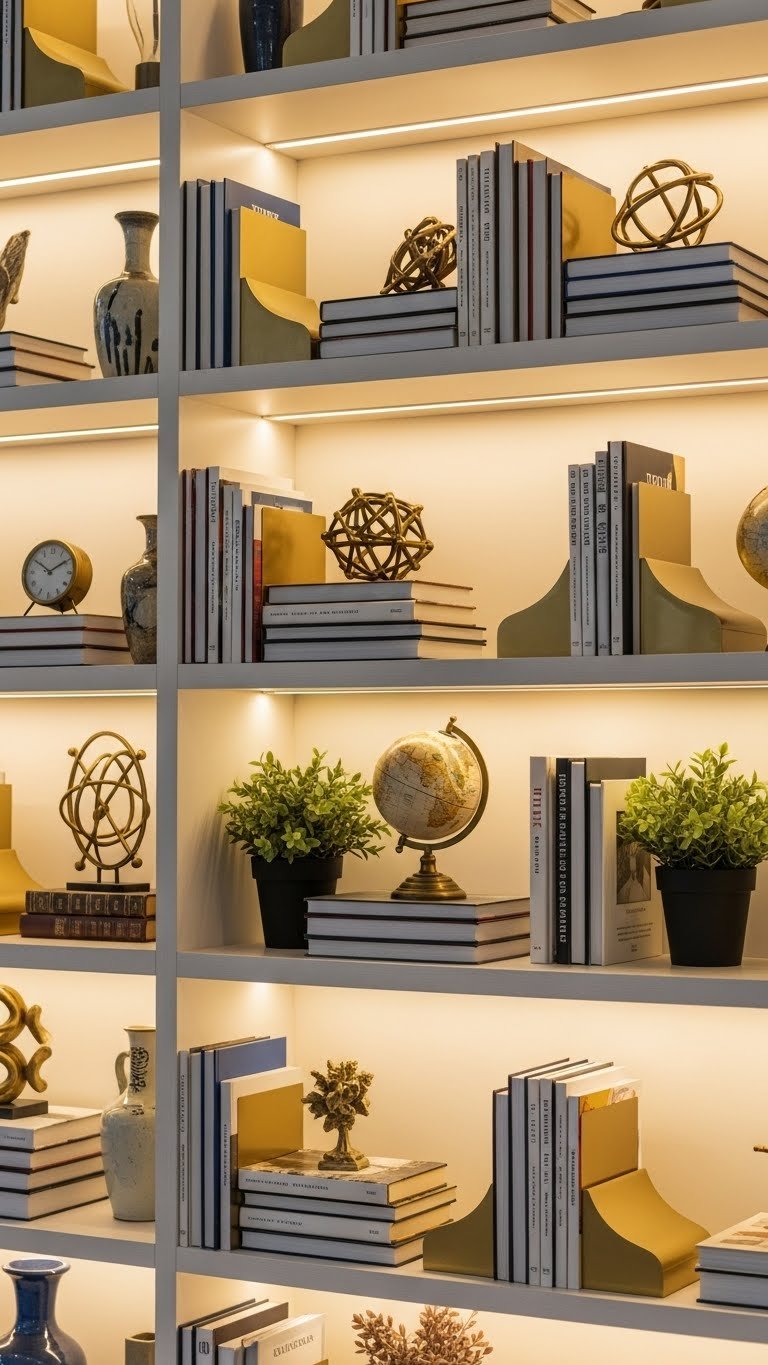
10. Use LED Strip Lighting Behind Floating Shelves
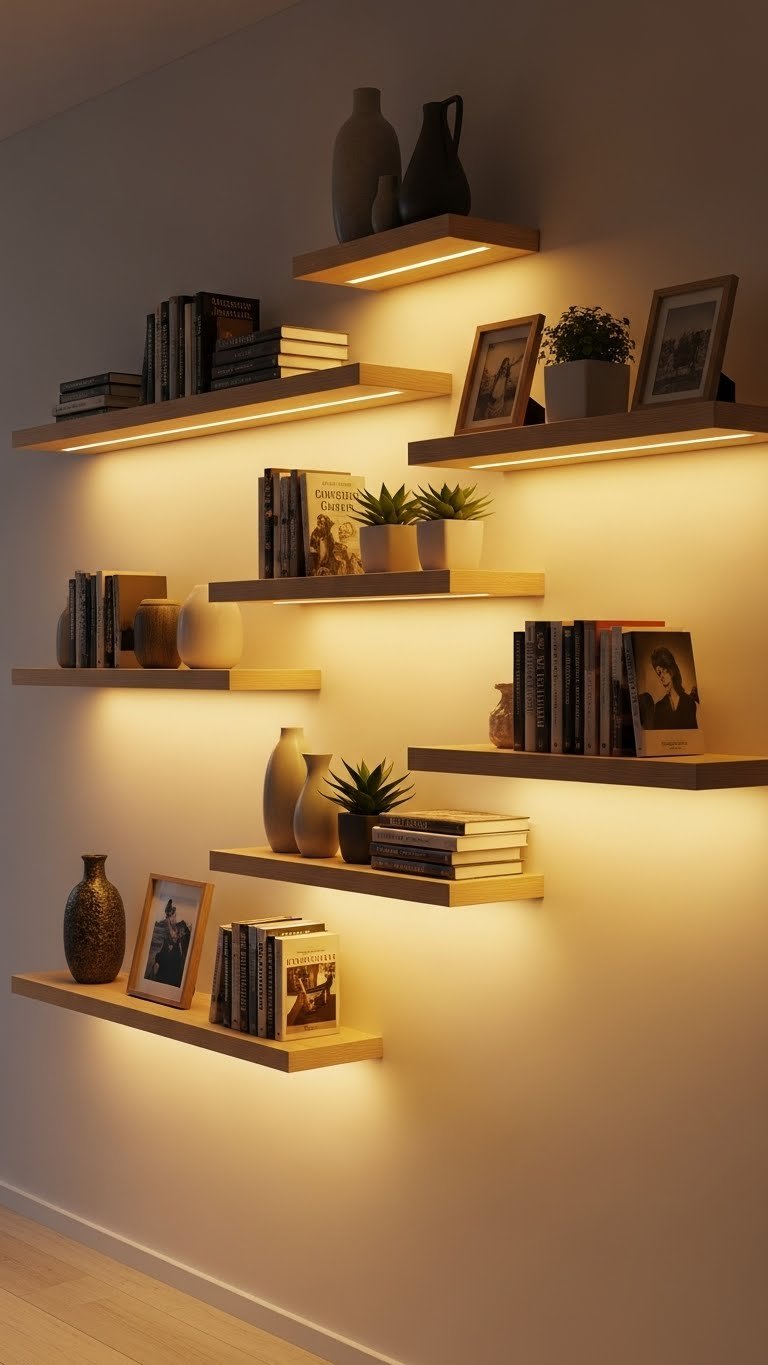
LED strip lighting is cheap, easy, and transforms how shelves feel. The downward glow highlights displayed objects while adding ambient brightness without visible fixtures.
Self-adhesive LED strips cost $15–$40 and stick directly under shelf edges; no wiring required for battery or USB versions. Plug-in versions need a nearby outlet but offer brighter output. Installation takes 10 minutes. Choose warm white (2700K) and look for dimmable options for more control.
The payoff: your shelves become a glowing display rather than a dark shadow. Books, plants, and décor look curated and gallery-like. This layers beautifully with overhead and table lighting to create sophisticated depth.
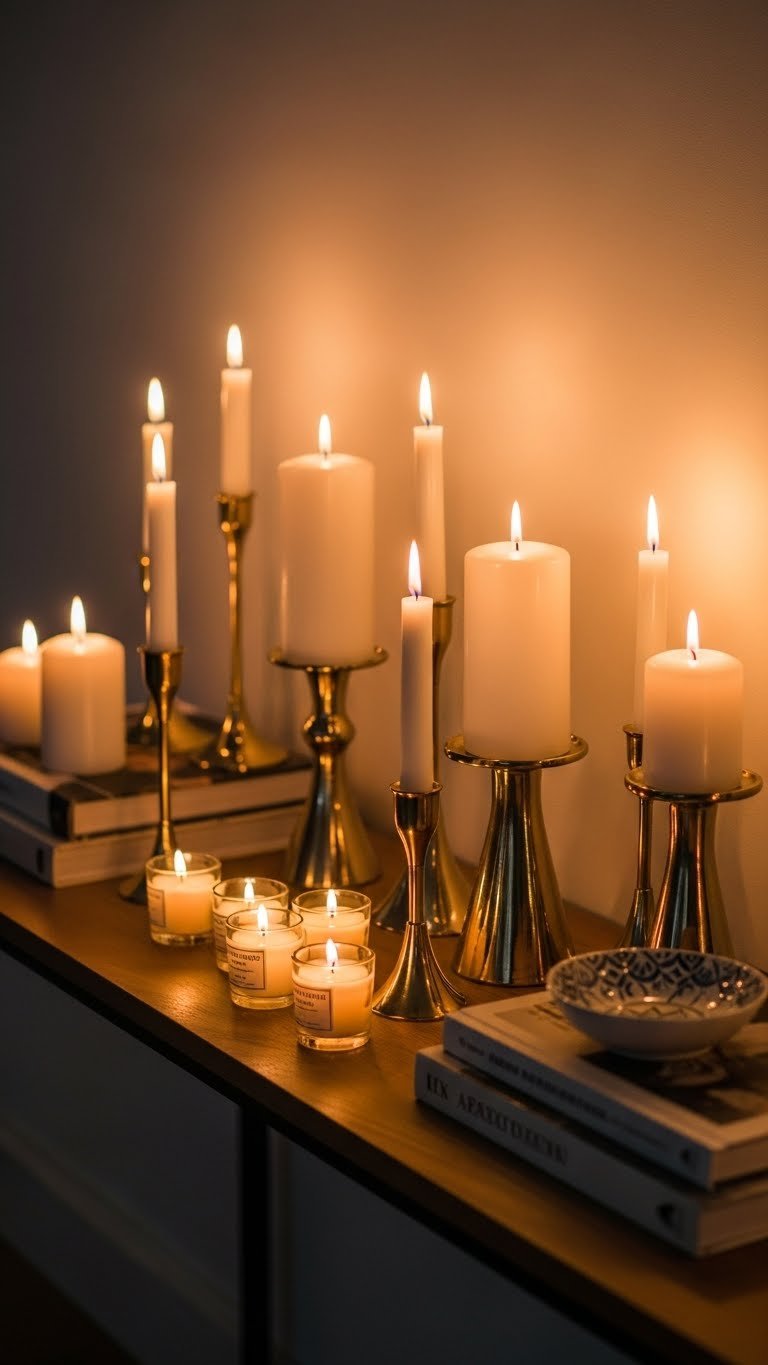
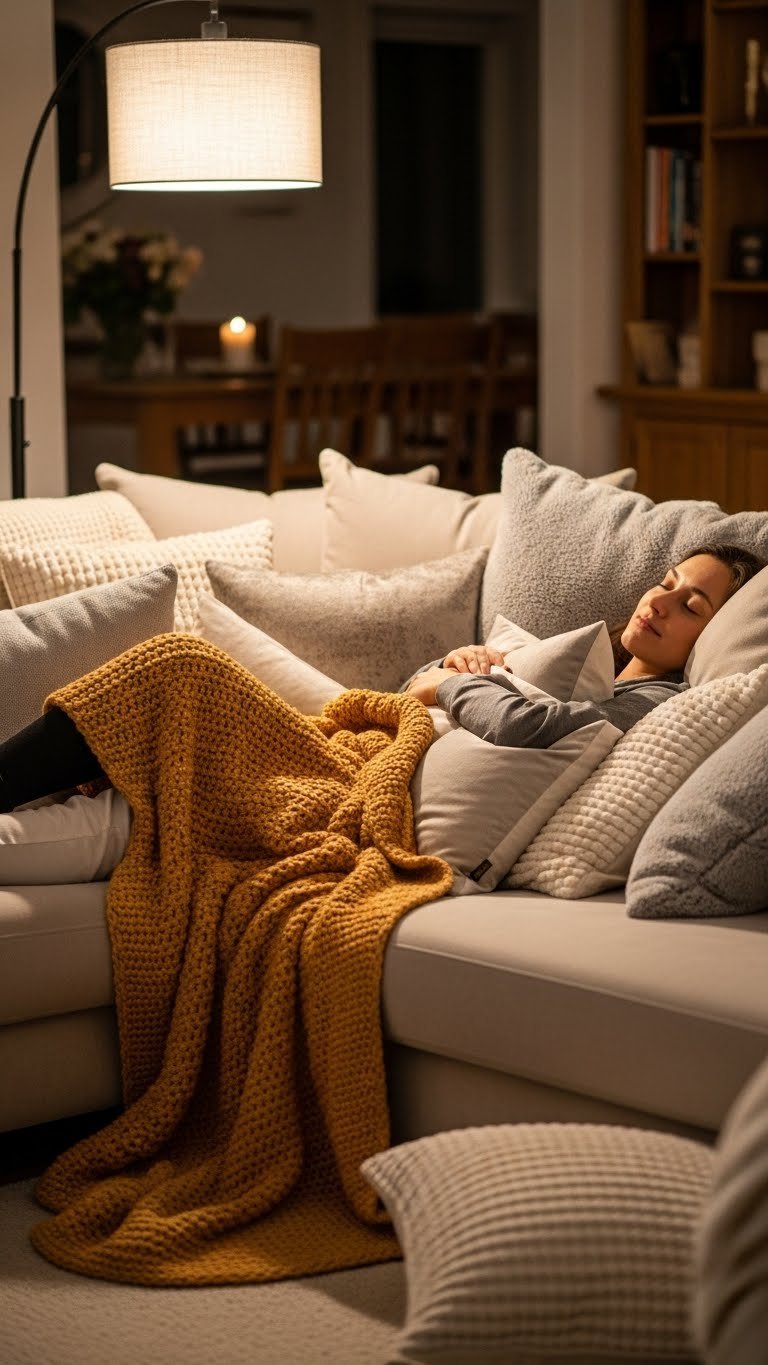
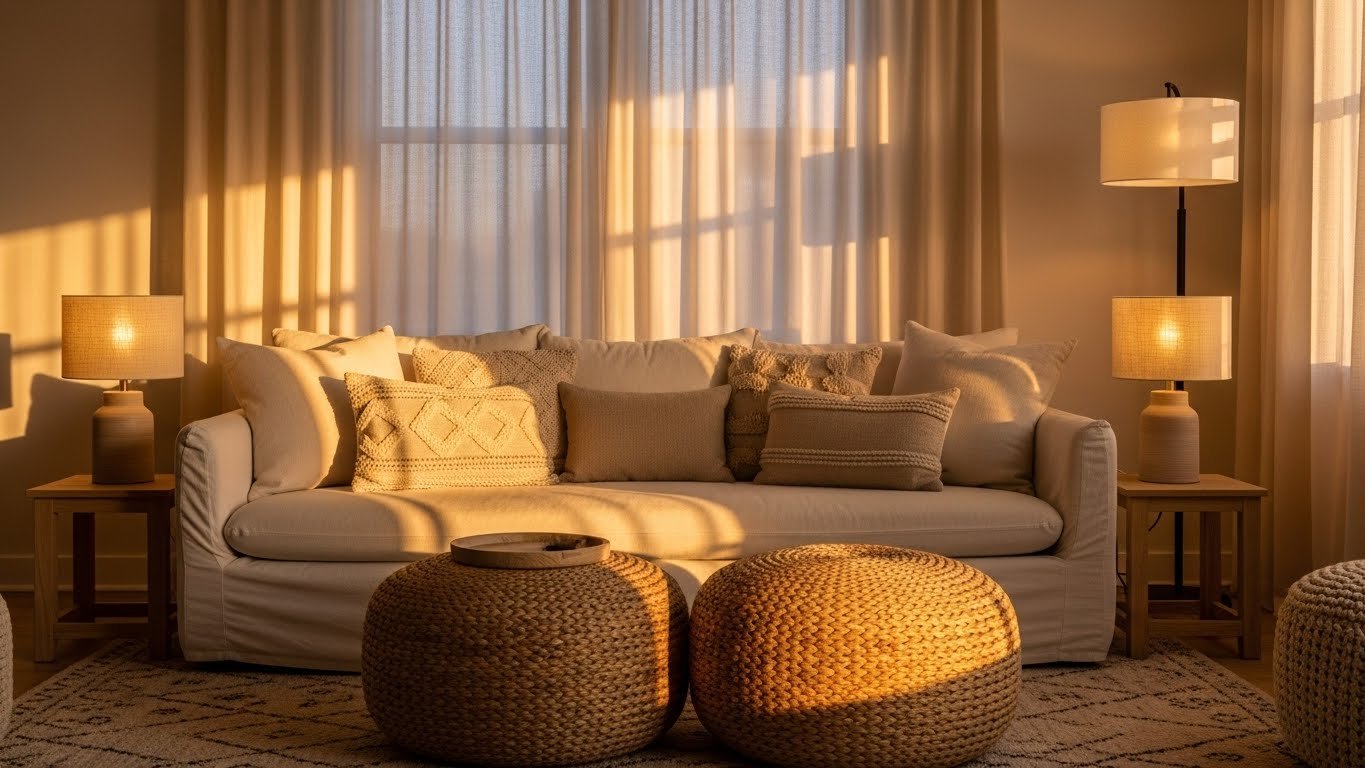
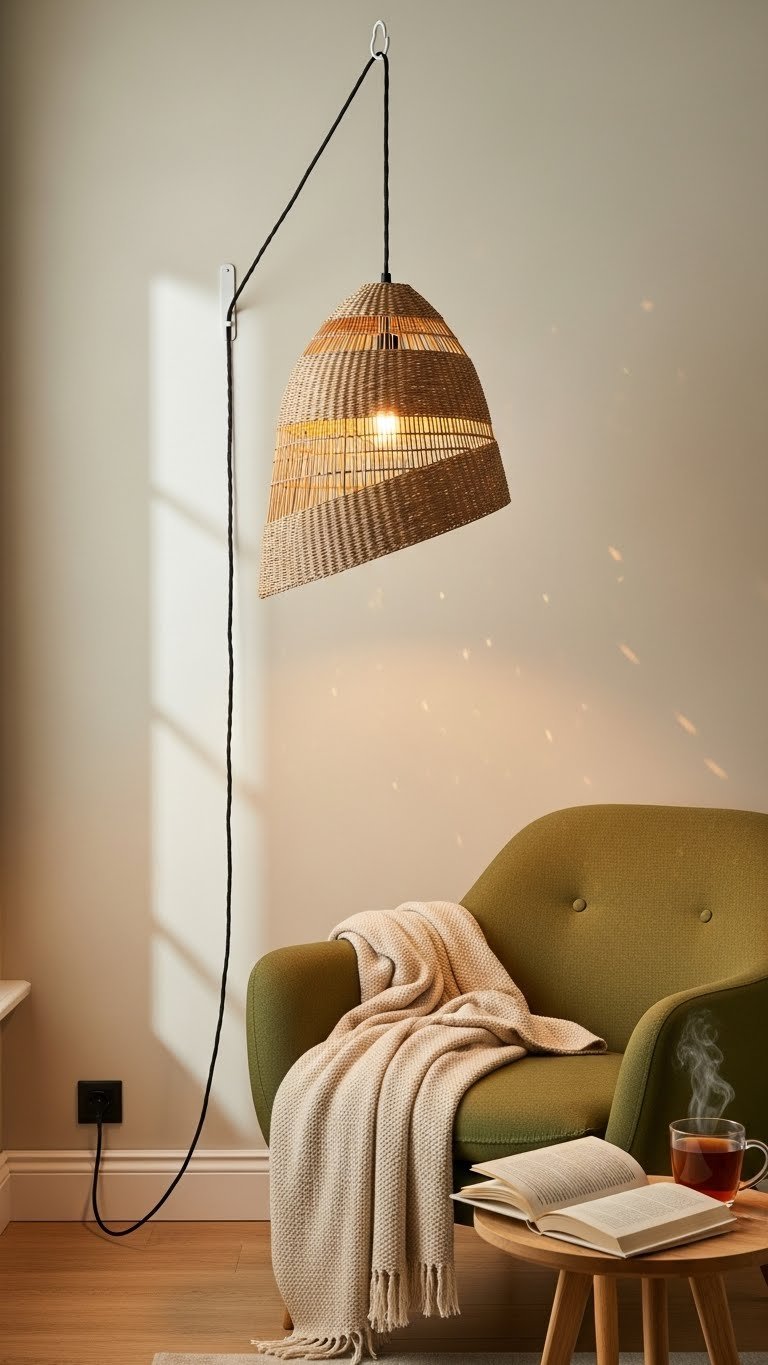
11. Add Candles for Warmth Without Electricity
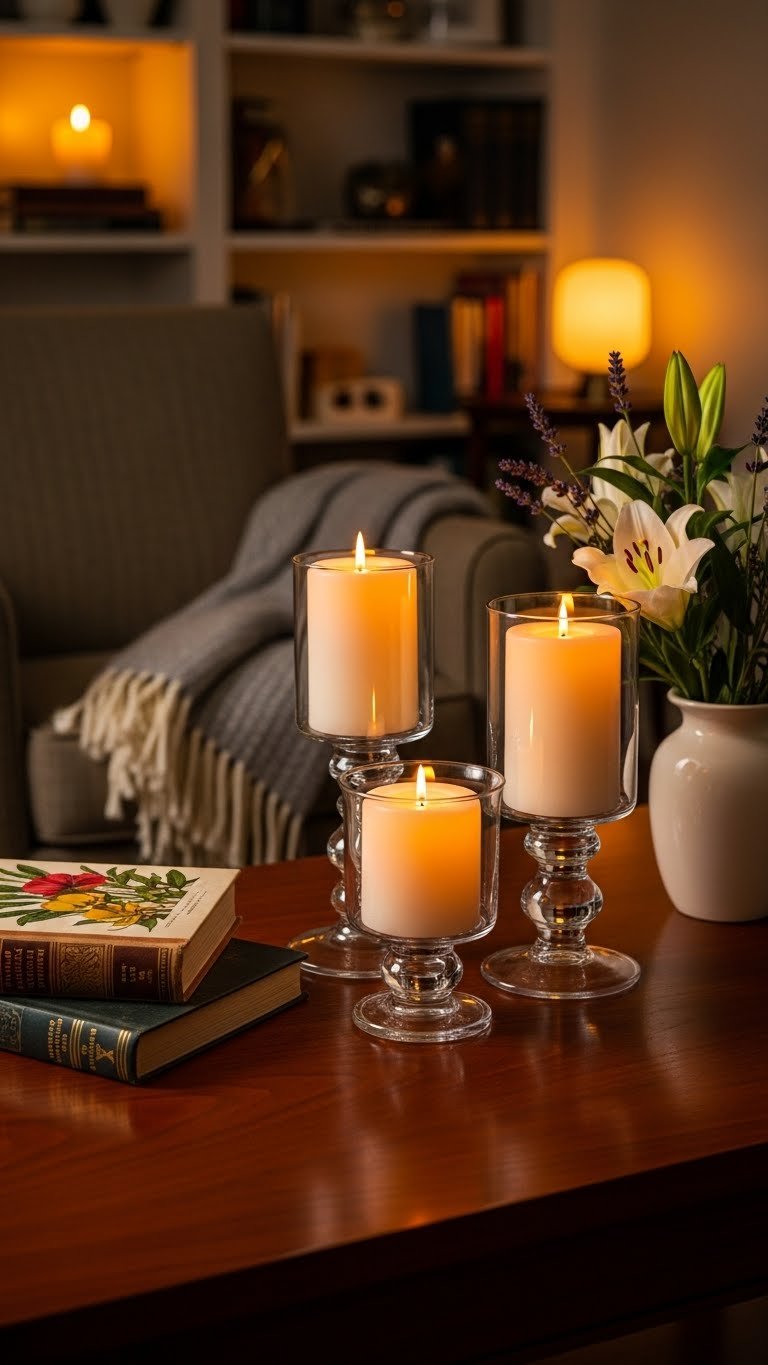
Real or faux candles instantly add coziness and cost nothing. Candles create ambient glow that feels impossible to replicate with electric light alone.
Real candles are safest in groups on fire-safe surfaces like coffee tables, mantels, or shelves. Flameless LED candles ($3–$15 each, Amazon or Target) solve the safety concern and last years. Buy 5–10 and scatter them across your room at varying heights for maximum impact.
The magic is the flickering effect and warm tone—your brain registers candlelight as peaceful and comforting. Layer candles with electric lighting, and you create a spa-like atmosphere. This is also a renterfriendly hack that requires zero installation.
12. Install a Modern Chandelier for Dramatic Ambient Light

If you have ceiling height (9+ feet), a statement chandelier anchors your room and provides serious ambient light. Modern chandeliers feel less formal than traditional crystal versions—think sculptural brass, geometric lines, or woven materials.
Costs range from $100–$300 (Target, Wayfair, CB2) to $800+ (high-end showrooms). Professional installation runs $200–$400. Using dimmable bulbs and warm color temperature ensures it feels warm, not harsh.
A chandelier becomes your room’s visual centerpiece while solving your ambient lighting needs. It photographs beautifully and elevates the entire space—especially in living rooms with good ceiling proportions.
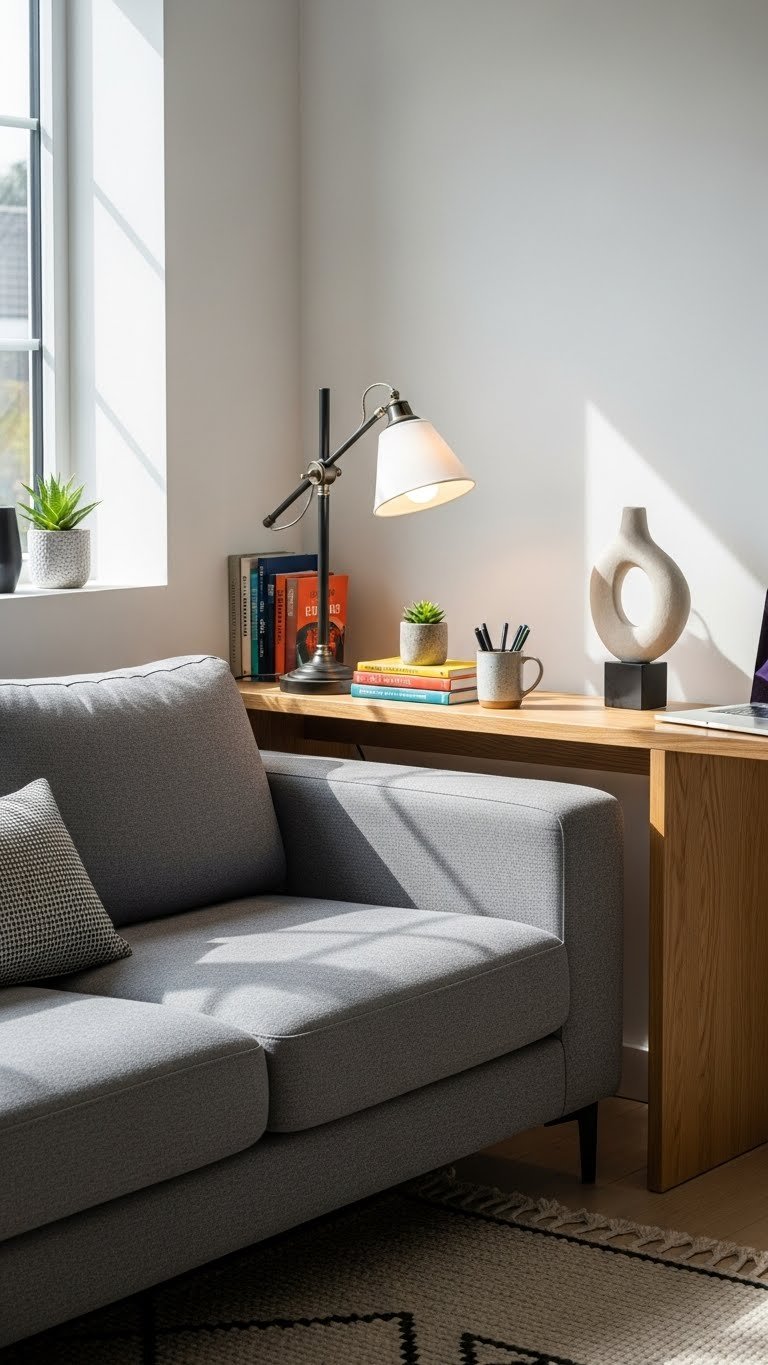
13. Position Task Lighting at Your Desk or Console
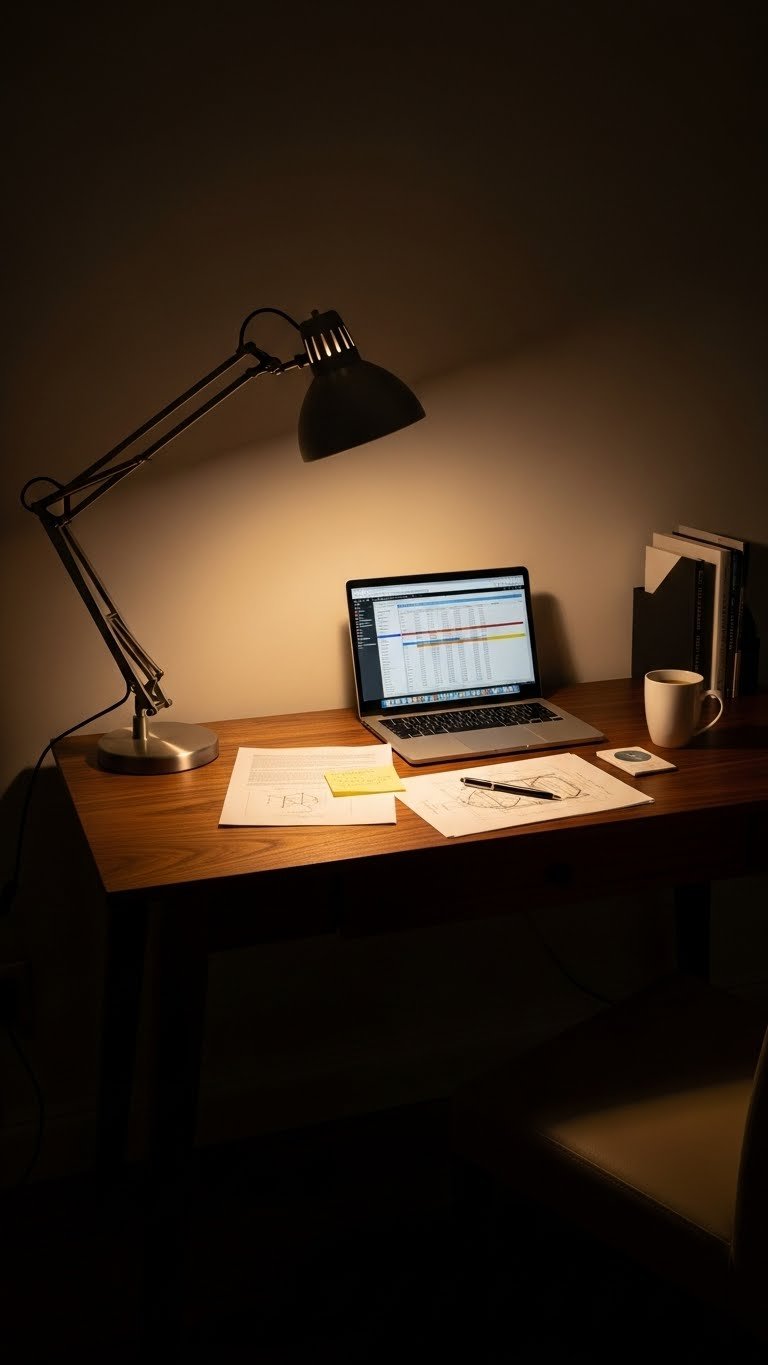
If you work or do hobbies in your living room, dedicated task lighting prevents eye strain and keeps brightness localized. This prevents glare on screens and shadows on your workspace.
A quality desk lamp with an adjustable head costs $40–$120 and sits on your desk or console. Look for features like USB ports, adjustable color temperature, and dimming. Brands like TaoTronics and BenQ offer excellent mid-range options. Positioning is key: place the light to your side or slightly behind to avoid screen glare.
You’ll notice less fatigue during work sessions and enjoy evening hobbies more comfortably. This also means you don’t need to keep overhead lights blazing while working.
14. Bounce Light Off Mirrors to Amplify Glow
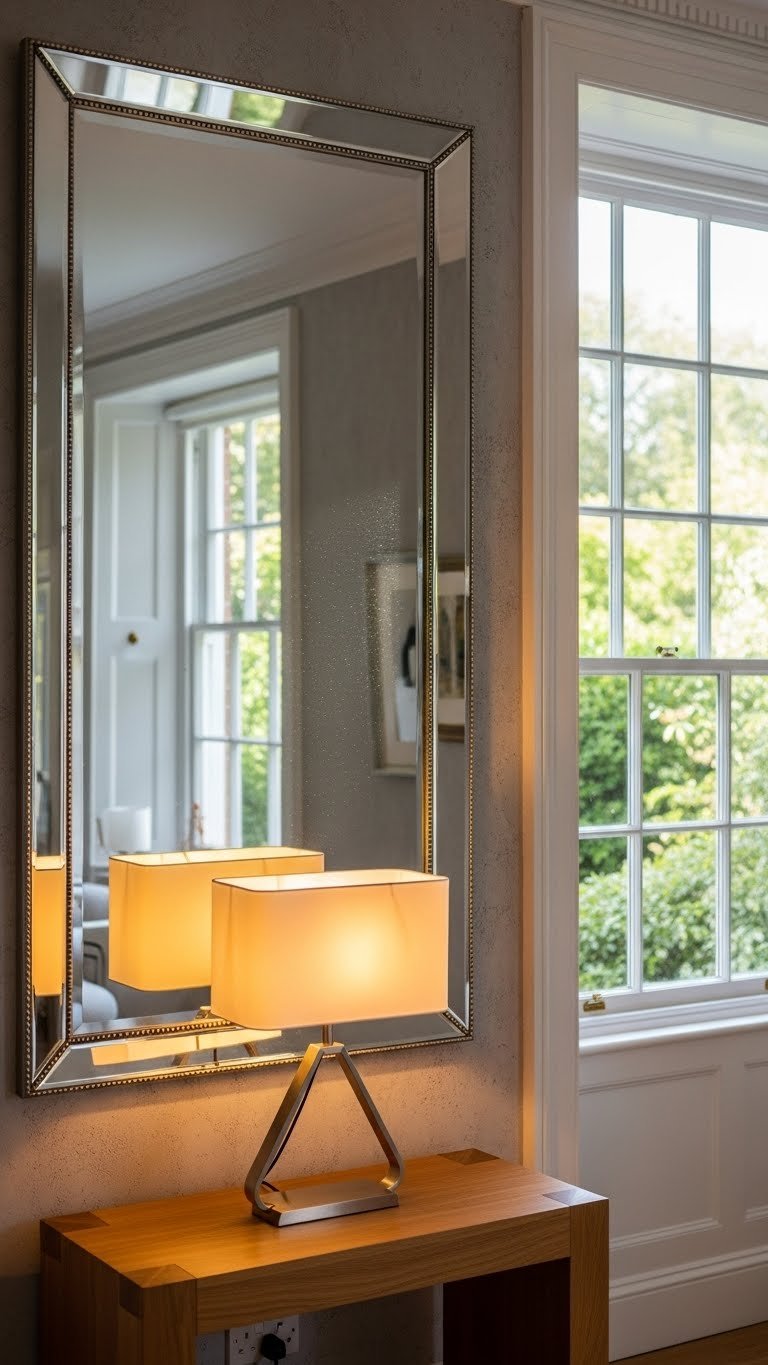
Mirrors multiply light by reflecting it deeper into your room. Position mirrors opposite windows for daytime light amplification, or behind lamps to intensify their glow at night.
A large mirror costs $50–$200 depending on frame style. Installation takes 30 minutes. Smaller accent mirrors ($20–$80) also work on shelves or consoles. The key is opposite placement: mirror facing your light source bounces brightness deeper into dark corners.
This is a free trick if you already own mirrors—just reposition them. The visual impact of doubled light makes your room feel brighter without adding electricity or mess.
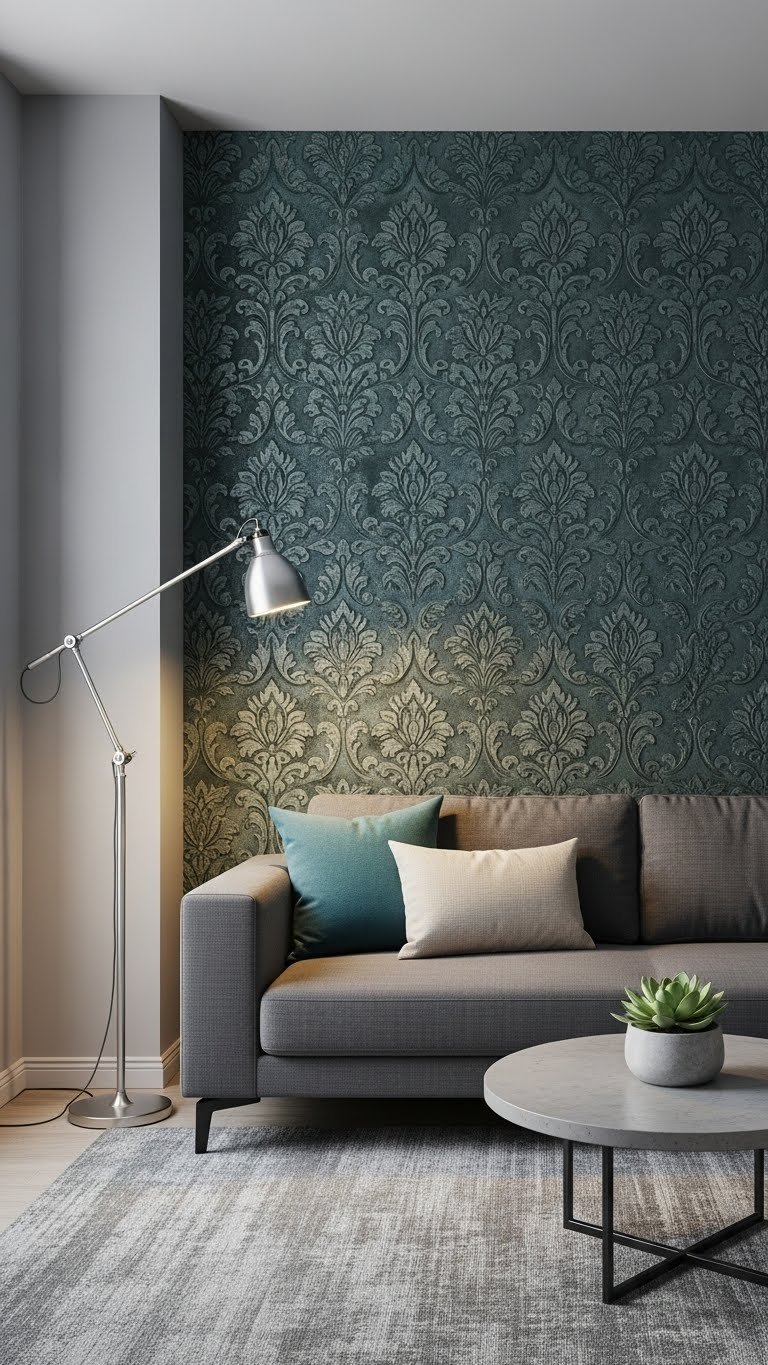
15. Use Uplighting to Highlight Ceiling and Walls
Uplighting (directing light upward) bounces illumination off ceilings and upper walls, creating indirect ambient glow. This makes rooms feel larger and prevents harsh shadows on faces.
An uplight floor lamp or an adjustable floor lamp angled toward the ceiling costs $60–$150. Position it in corners or beside furniture so the light source isn’t directly visible. This works beautifully paired with dimmers for mood control.
The effect is subtle but dramatic—your room feels more expansive and the light feels softer. This technique is beloved by hotel designers and works especially well in smaller living rooms.
16. Add a Plug-In Pendant Light for Renters
Renters rejoice: plug-in pendant lights give you pendant style without drilling. They hang from adhesive hooks and plug into nearby outlets—zero permanent damage.
Options cost $30–$100 and are available everywhere (Amazon, Target, IKEA). Swag-style pendants look especially intentional hanging off a hook. Installation takes 5 minutes and reverses instantly.
This hack lets renters create layered, professional-looking lighting. Pair it with table lamps and you match the aesthetic of a permanently lit space without violating lease terms.
17. Install Track Lighting for Flexible Accent Brightness
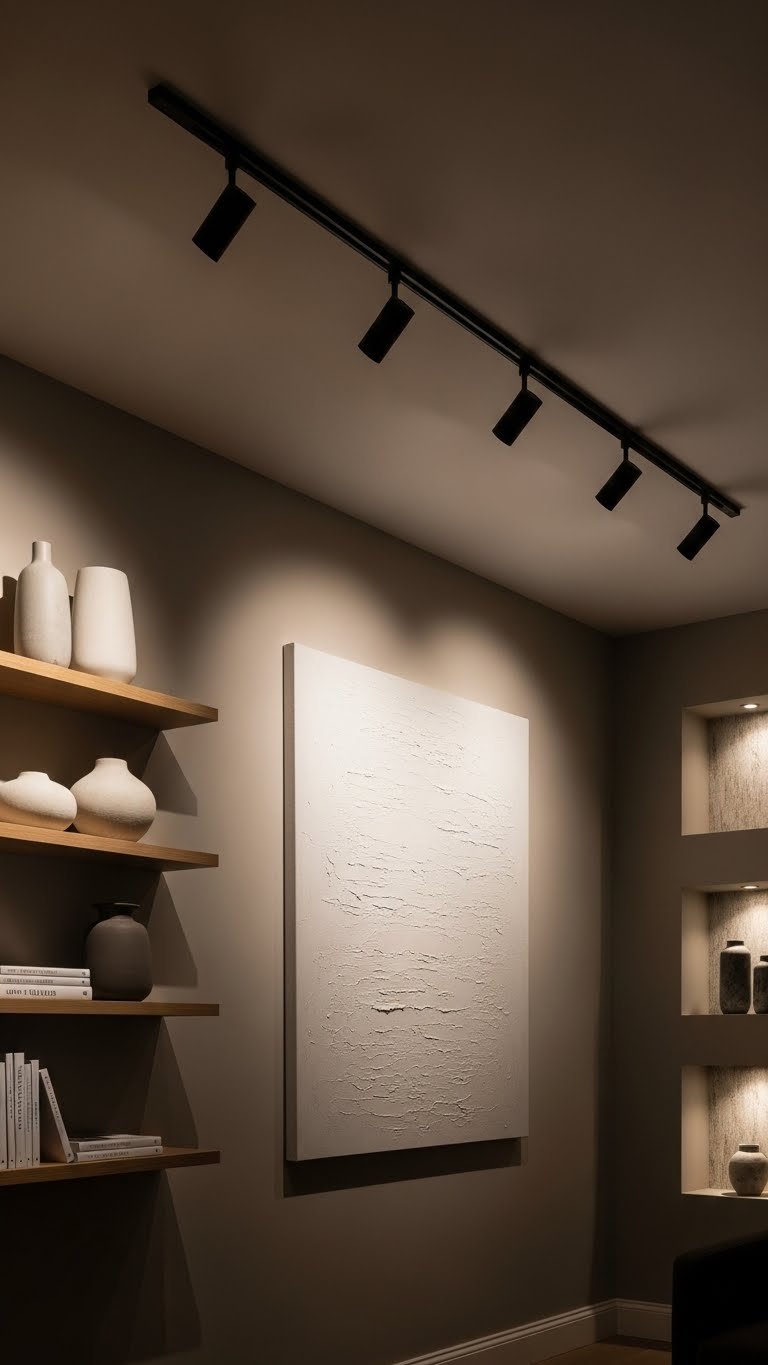
Track lighting lets you direct light exactly where you need it. Adjustable spots move along a rail to highlight different areas—perfect for art collections, architectural features, or display shelves.
Installation varies by system; some surface-mount (easier, $100–$300 for a 4-light kit) while others recess into ceilings (more complex, $300–$600 professional install). Products range from basic builder-grade to designer options. Costs: $80–$250 for fixtures, plus installation.
The flexibility is unmatched—you can adjust spotlights as your décor changes. This also works beautifully in transitional or modern cottage spaces where you want to highlight specific textures and objects.
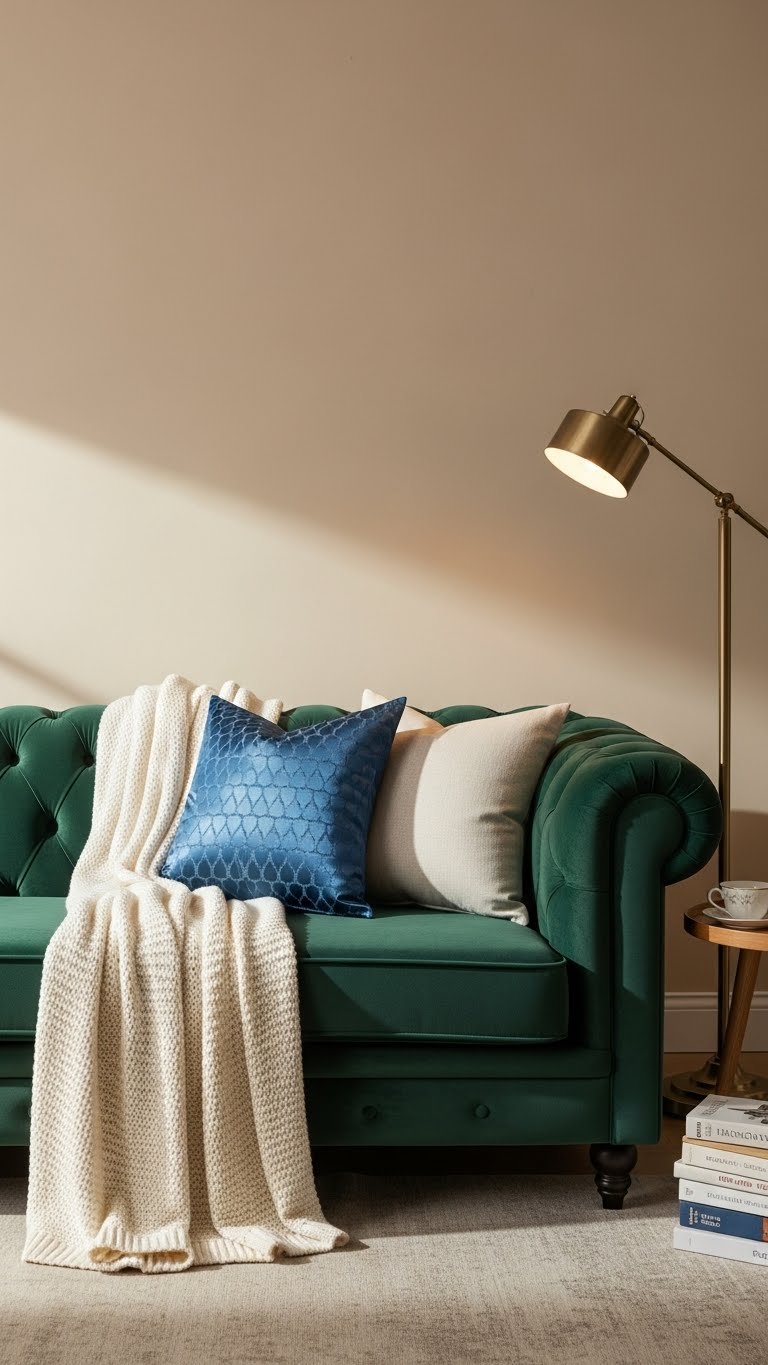
18. Place Lamps at Different Heights to Avoid Shadows
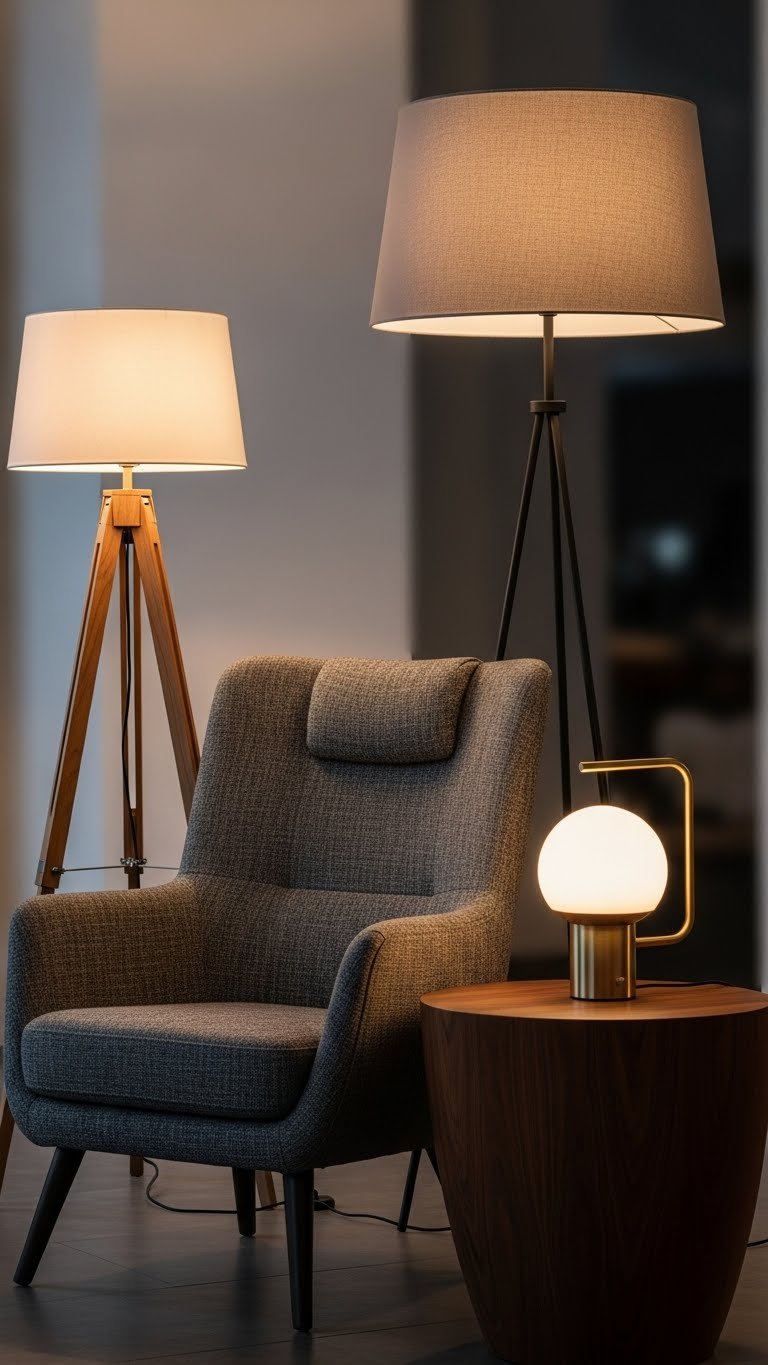
Shadows on faces and furniture flatten your room and make spaces feel uncomfortable. Varying lamp heights eliminates this by distributing light from multiple angles.
Use one tall lamp (30–36 inches), one medium (24–30 inches), and one shorter accent piece (12–18 inches) in each seating area. This sounds like a lot but creates the layered look designers charge thousands for. Total investment: $80–$200 depending on style preferences.
You’ll notice your room photographs better, feels more welcoming, and your seating areas become genuinely functional. Guests naturally want to sit in well-lit areas, so you’re basically designing circulation with light.
19. Try Backlit Wall Shelving for Modern Ambiance
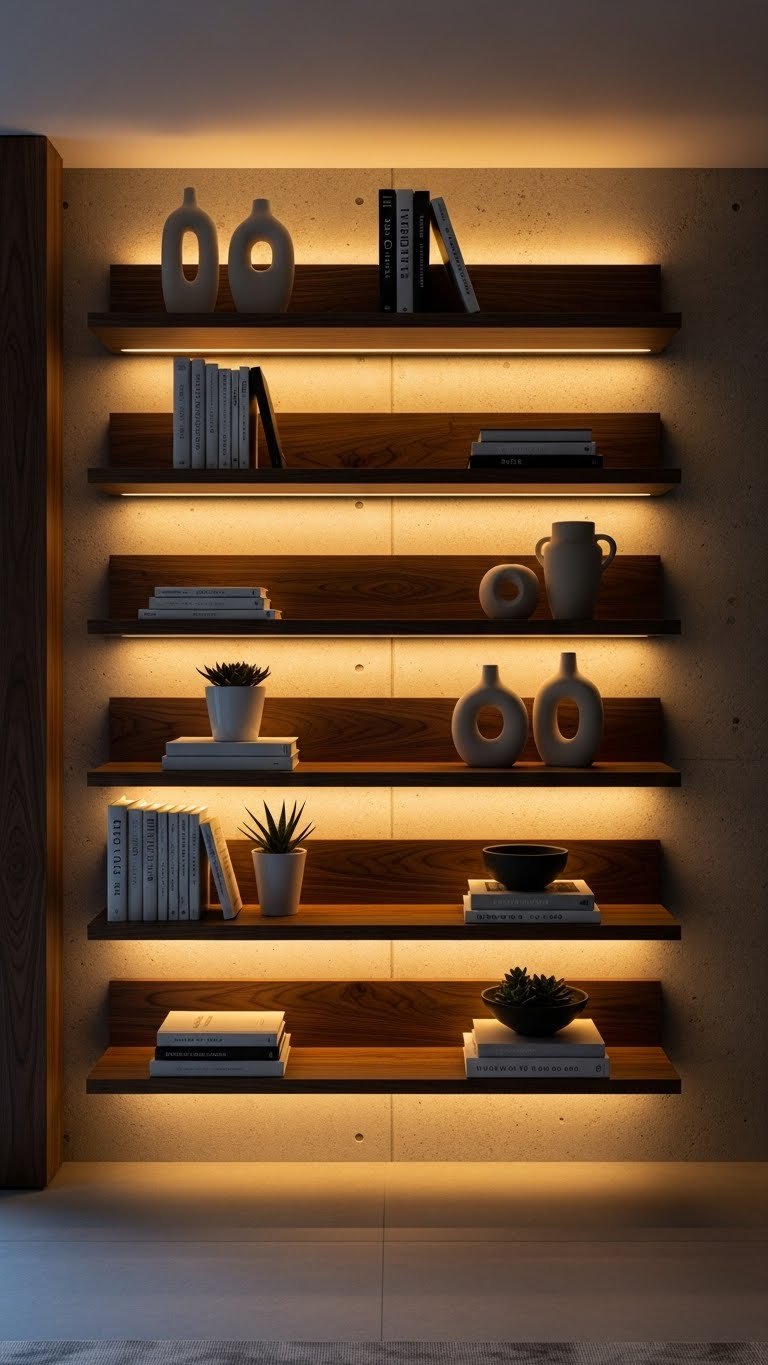
Backlit shelves create a contemporary vibe that photographs like a magazine. Light hidden behind shelving creates an architectural glow that draws the eye.
This requires either LED strip lights (battery or plug-in, $20–$50) attached to shelf undersides, or professional installation of recessed lights behind shelves ($300–$600). DIY strip lights are renter-friendly and reversible; professional work requires commitment.
The effect is striking and modern—your shelf display becomes a focal point. This pairs beautifully with mid-century modern or minimalist living rooms where you want clean lines and subtle luxury feel.
20. Combine Floor and Table Lamps in a Reading Nook
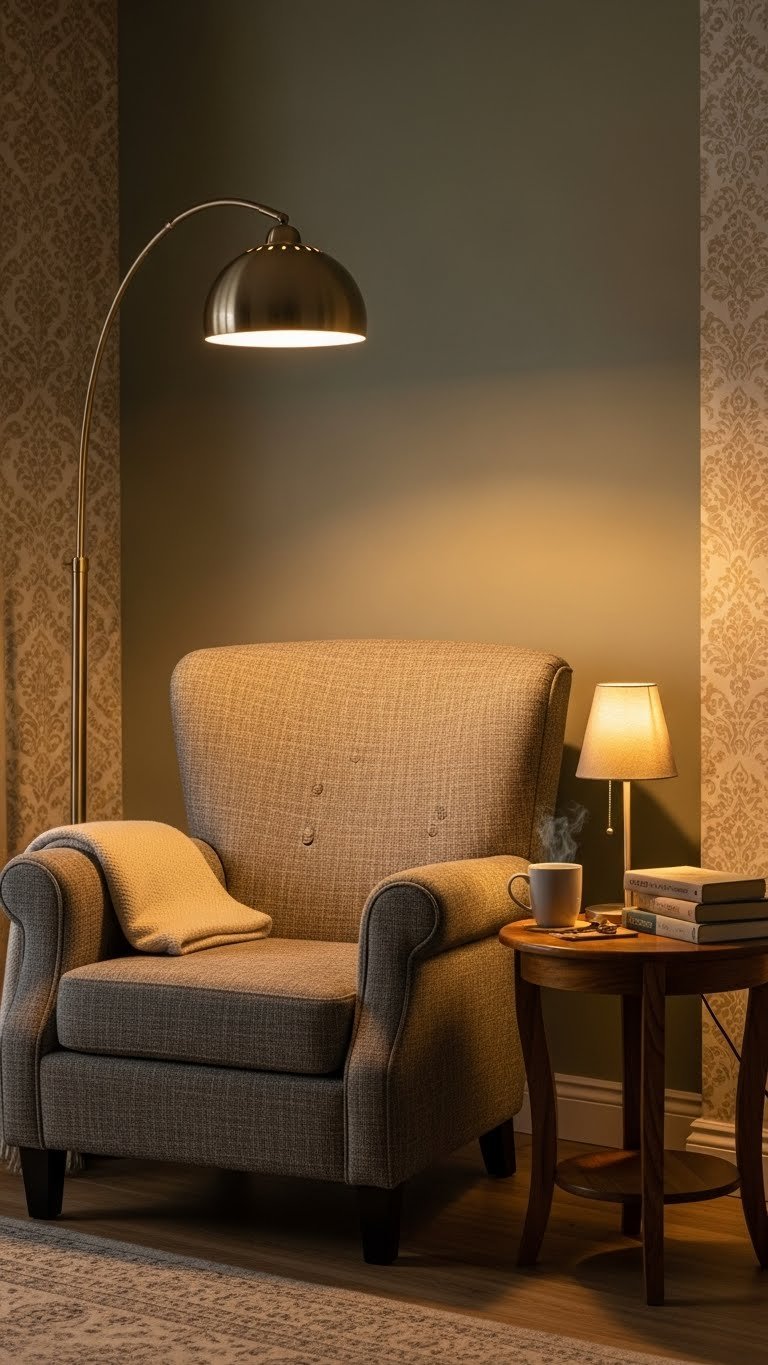
Dedicated reading nooks need dual task lighting to prevent eye strain. Combining a floor lamp and table lamp creates flexibility and eliminates shadows.
The arc lamp provides general task lighting; the side table lamp offers secondary brightness. Together, they cost $80–$180 depending on style. Positioning is key: one light over each shoulder ensures even illumination across your book without harsh shadows.
You’ll actually use your reading nook instead of abandoning it for the bedroom. This is essential if reading is part of your evening routine.
21. Use Warm-Toned Rope Lighting for Subtle Ambiance

Rope lighting (continuous flexible tubing with built-in LEDs) offers gentle, unobtrusive ambient glow. It disappears into décor while adding warmth.
LED rope costs $20–$50 for 32 feet and easily wraps around shelves, baseboards, or architectural features. Installation is adhesive-backed, reversible, and renter-friendly. Choose dimmable, warm white (2700K) options.
The effect is subtle but transformative—your room gains ambient warmth without visible fixtures. This works beautifully in modern cottage or minimalist spaces where you want cozy vibes without statement lighting.
22. Add a Fireplace—Real or Faux—for Focal Point Warmth
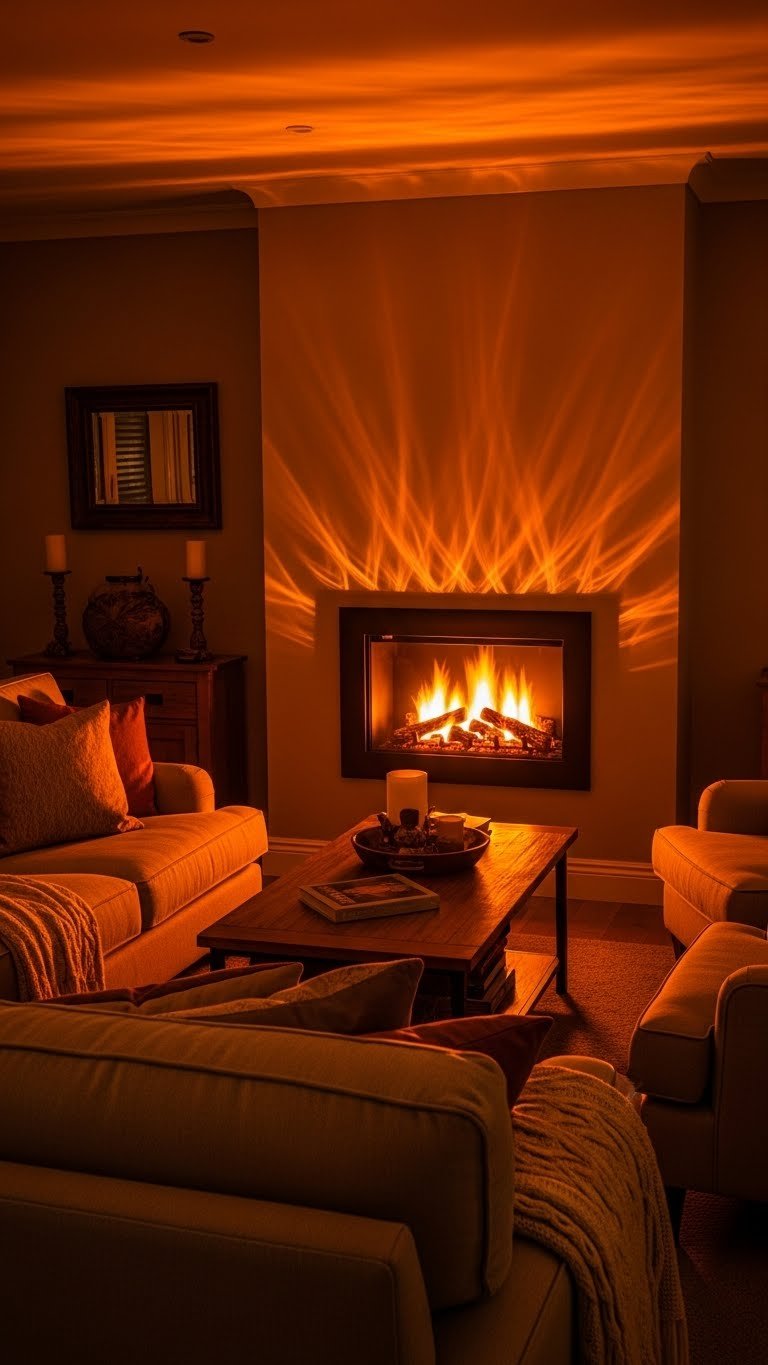
Fireplaces create psychological warmth and visual interest that’s impossible to replicate. Real fireplaces offer actual heat; faux electric inserts provide ambiance for renters.
Real fireplace installation costs $2,000–$5,000+ and requires professional work. Electric fireplace inserts run $300–$1,500 depending on realism and heat function. Tabletop bioethanol fireplaces ($200–$400) work in any room without installation. Wall-mounted electric fireplaces ($400–$800) offer modern aesthetics.
The payoff is massive: a fireplace instantly becomes your room’s focal point, and the glow creates cozy ambiance that electric lighting alone can’t achieve. Layer this with other lighting for complete flexibility.
23. Install Wall Washers to Highlight Texture
Wall washers are lights positioned to graze wall surfaces, highlighting texture and creating dramatic dimension. They work beautifully on accent walls, shiplap, or architectural features.
Recessed wall washers cost $150–$400 for professional installation plus fixtures ($50–$100 each). LED strip options ($20–$50) work for renters if adhered carefully. Position lights at a low angle so they skim across texture rather than hitting it straight-on.
Your accent wall becomes a design hero instead of a flat backdrop. This technique separates professional-looking spaces from amateur ones—especially in modern cottage or transitional rooms.
24. Layer Dimmers with Smart Bulbs for App Control

Smart bulbs let you adjust brightness and color temperature from your phone—perfect if your light switches are far from your seating or you’re too comfortable to get up.
Smart bulbs (Philips Hue, LIFX, Wyze) cost $15–$25 per bulb. A 4-bulb starter kit runs $40–$80. Apps offer scheduling, color adjustments, and integration with voice assistants. Dimmers work alongside smart bulbs for maximum flexibility.
You can set scenes (movie mode = 20% brightness, warm; morning mode = 80% brightness, cool) and adjust from your couch. This feels indulgent but genuinely improves your daily life—especially for people with mobility concerns or minimal switches.
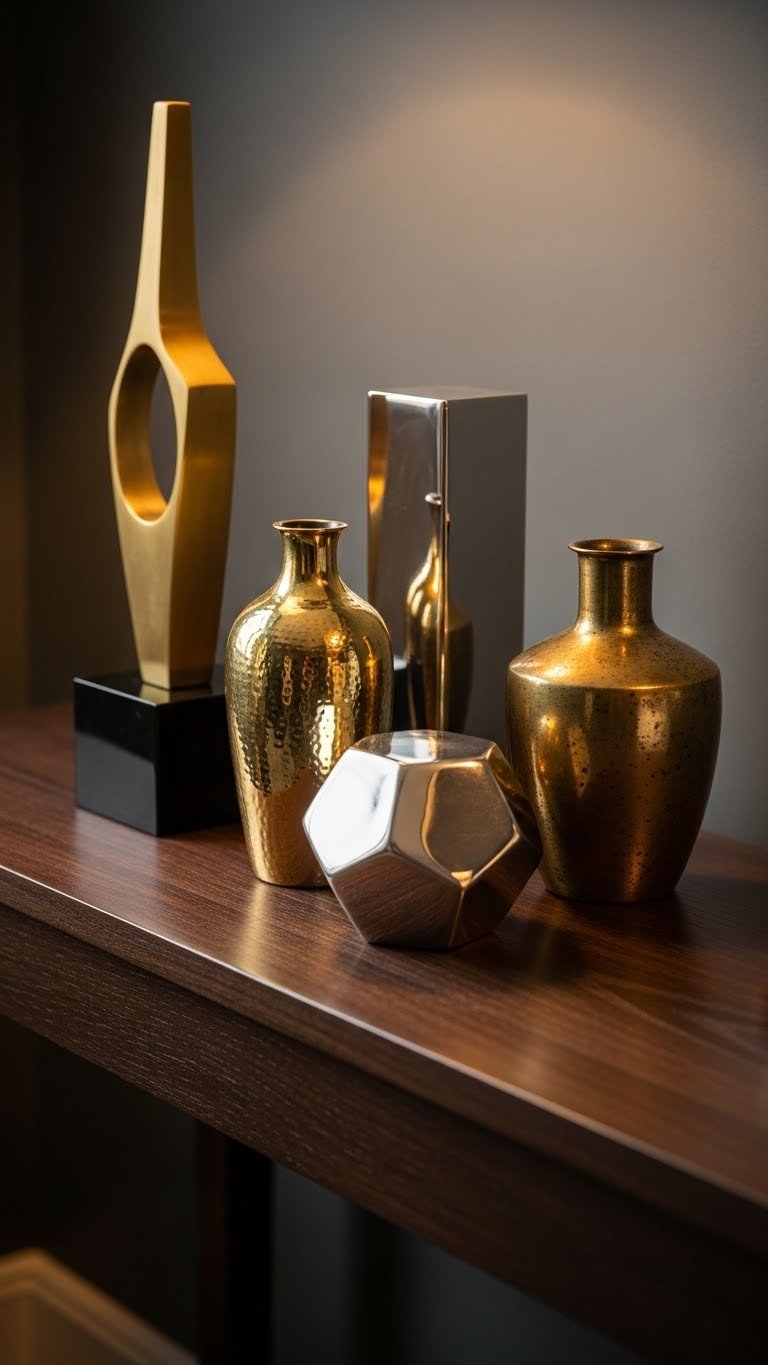
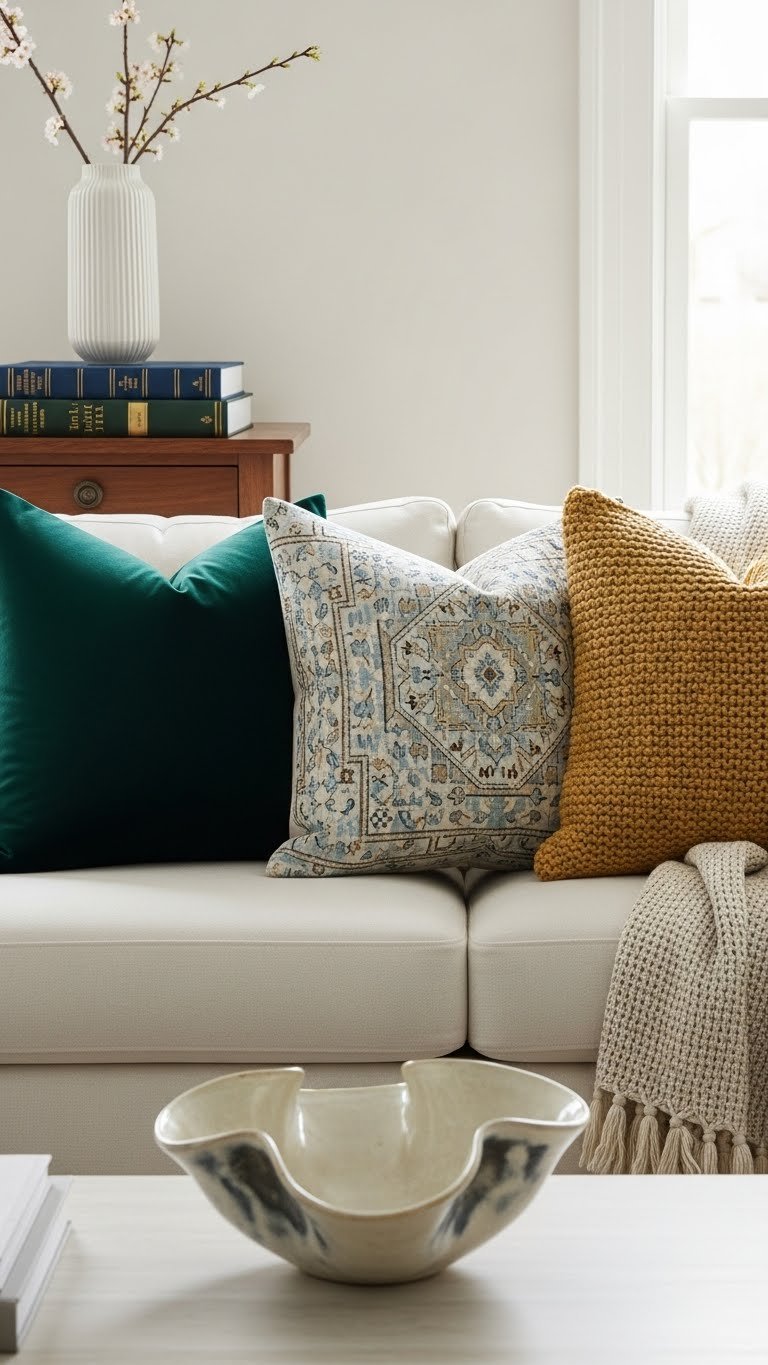
25. Mix Metallic Finishes for Visual Interest
Mixing metals (brass, black, silver, copper) feels intentional and modern versus matchy-matchy spaces. Varied finishes add sophistication and personality.
When buying lamps, sconces, and fixtures, choose finishes based on your décor rather than matching everything. A brass floor lamp with a black pendant and silver table lamp feels collected and curated. Mix freely—it looks intentional.
This approach prevents your space from feeling sterile or overdone. Designers use this trick constantly; now you can too.
26. Position Accent Lights to Frame Entryways
Framing doorways with lighting (via sconces or picture lights) creates visual hierarchy and guides circulation. This works beautifully for both functional entryways and decorative archways.
Install sconces at eye level (60 inches high) on either side of the opening. Costs run $40–$150 per sconce plus installation ($100–$200). The payoff is significant: your entryway looks intentional and gallery-like, and guests immediately understand the room’s focal points.
This technique works in every style—from modern minimalist to cottagecore—and instantly elevates your space aesthetically.
27. Create a Lighting Plan Before Buying Anything
Before adding another lamp, sketch your room and map where you need ambient, task, and accent lighting. This prevents impulse buys and ensures cohesion.
Walk through your room at different times of day. Note shadows, dark corners, and areas where you actually read or work. Measure ceiling height, seating positions, and wall features. Sketch placement ideas—no art skills needed, just notes and rough positioning.
With a plan, every fixture you buy solves a real problem instead of adding clutter. You’ll also spend less overall because you’re intentional rather than reactive.
Save this guide and tackle one lighting layer this weekend. Start with the easiest wins—warm bulbs, dimmers, or repositioning mirrors—then layer in more ambitious fixes. You’ll be amazed how much a thoughtful lighting plan transforms your living room from flat and uninviting into genuinely functional and beautiful.