Birthdays pull everyone to the kitchen island. It's where we eat cake, open gifts, spill drinks. Chaos, but the heart of it all.
I used to string up cheap streamers that tangled and shed glitter everywhere. What a mess to clean at midnight.
Then I shifted to simple, cute setups. They last through the party, pack away easy. Made the space feel festive without the regret.
Now my island hosts birthdays that look pulled together. You can too—nothing fancy required.
7 Cute Kitchen Island Birthday Decor Ideas
Here are 7 cute kitchen island birthday decor ideas I've pulled off in my real kitchen. They're quick, use stuff I already had or grabbed cheap, and clean up in minutes. Let's get into them.
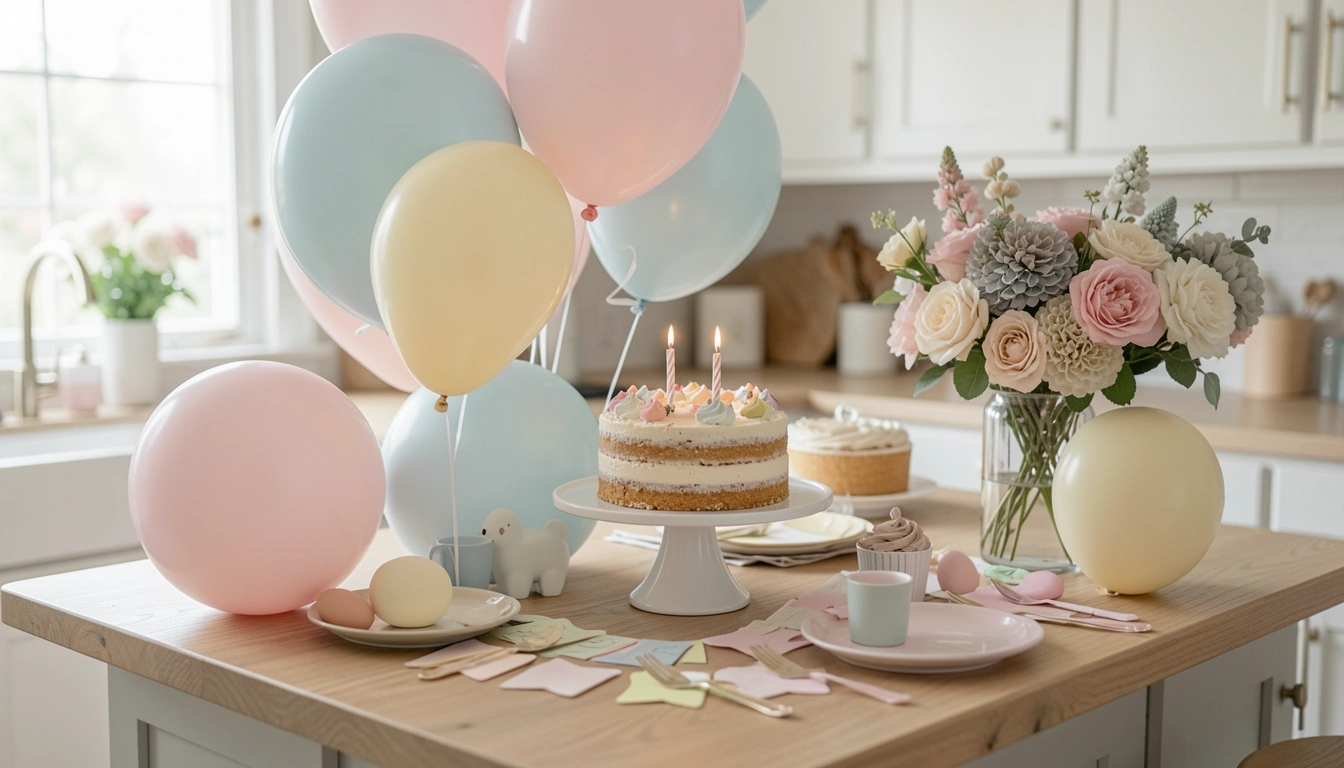
1. Pastel Balloons Tied Low Around the Legs
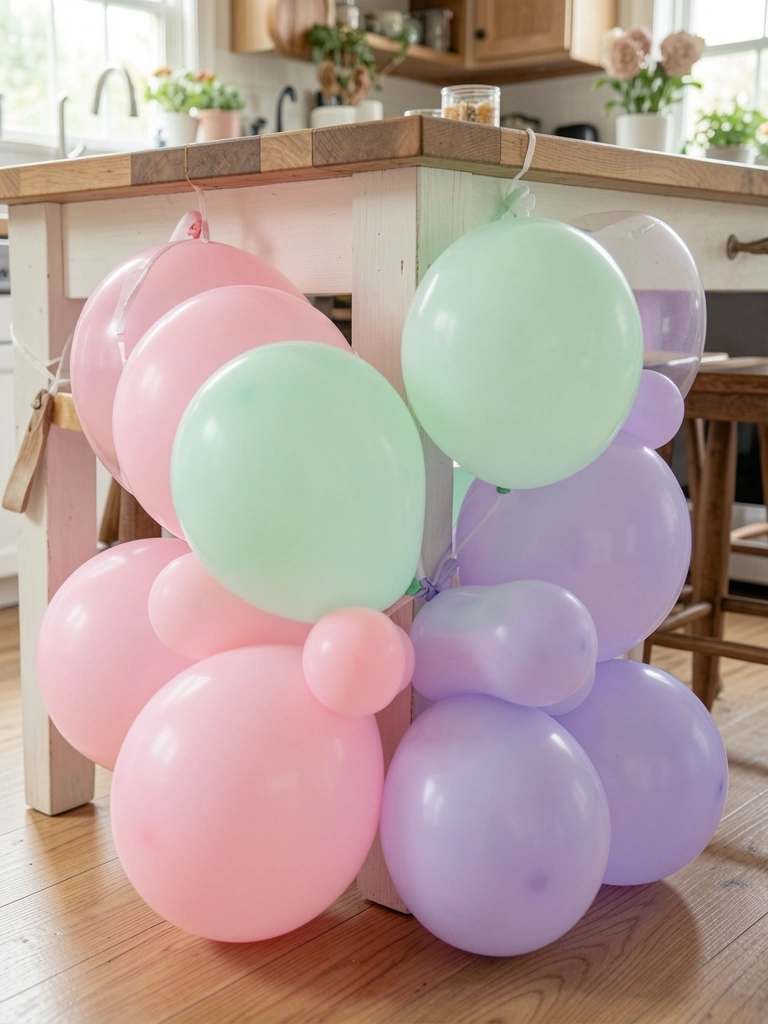
I tied clusters of pastel balloons right to the island legs last summer for my kid's party. Kept them low so no one bumped heads, and they bounced gently as people leaned in for cake.
The colors softened the whole kitchen—pink, mint, lavender mixing with our wood tones. It felt playful, not overdone. Kids loved popping a few after.
Mistake I made first time: helium ones floated away. Stick to air-filled, weighted with string. They stayed put through dinner.
Pay attention to even spacing. Three per leg, tails trailing. Lasts hours, deflates flat for trash.
What You’ll Need for This Look
- Pastel latex balloons pack, 12-inch, 50 count
- Gold curling ribbon, 3mm x 500 yards
- Balloon weight set, clear sand-filled
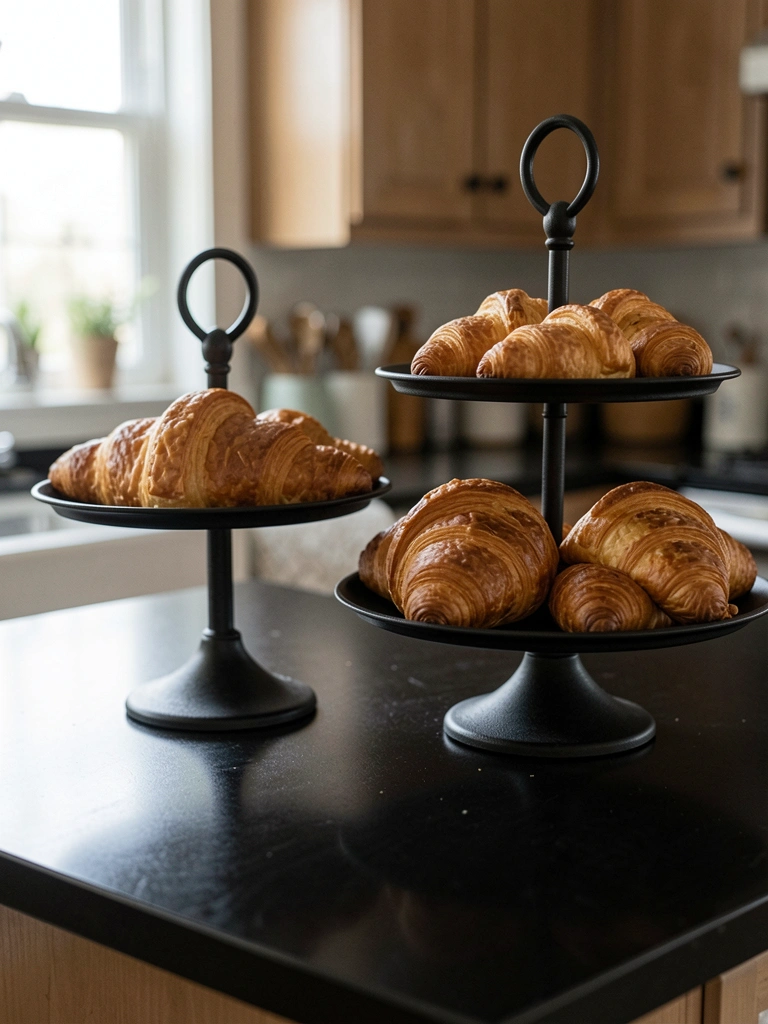
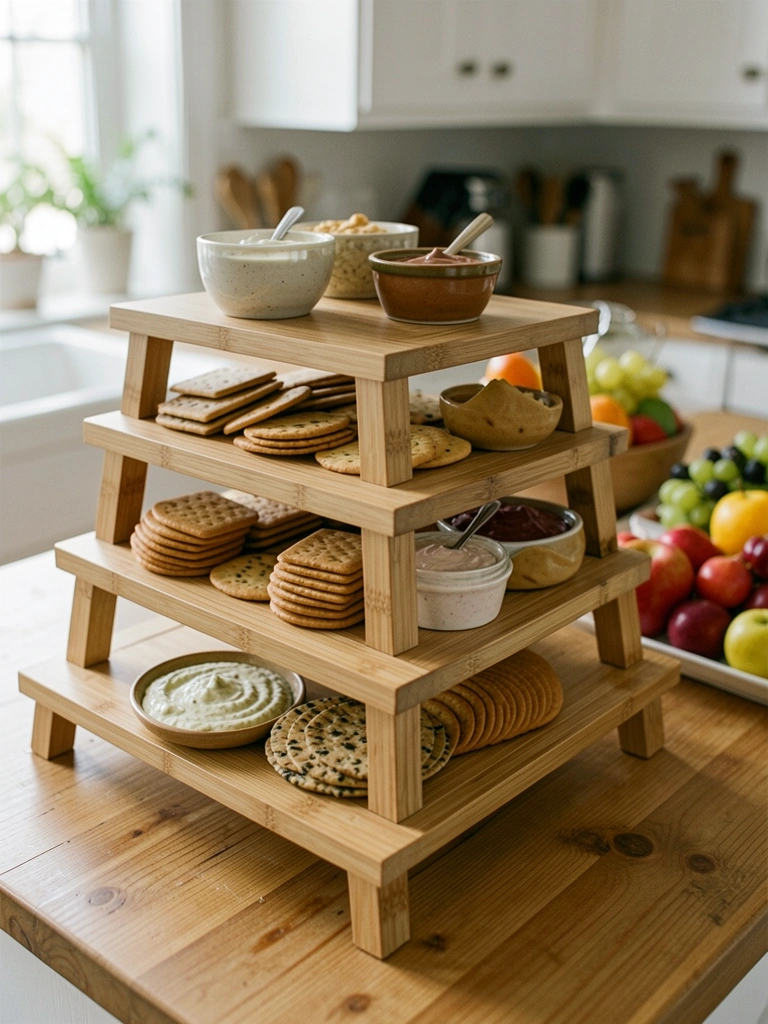
2. Tiered Cake Stand Loaded with Cookies
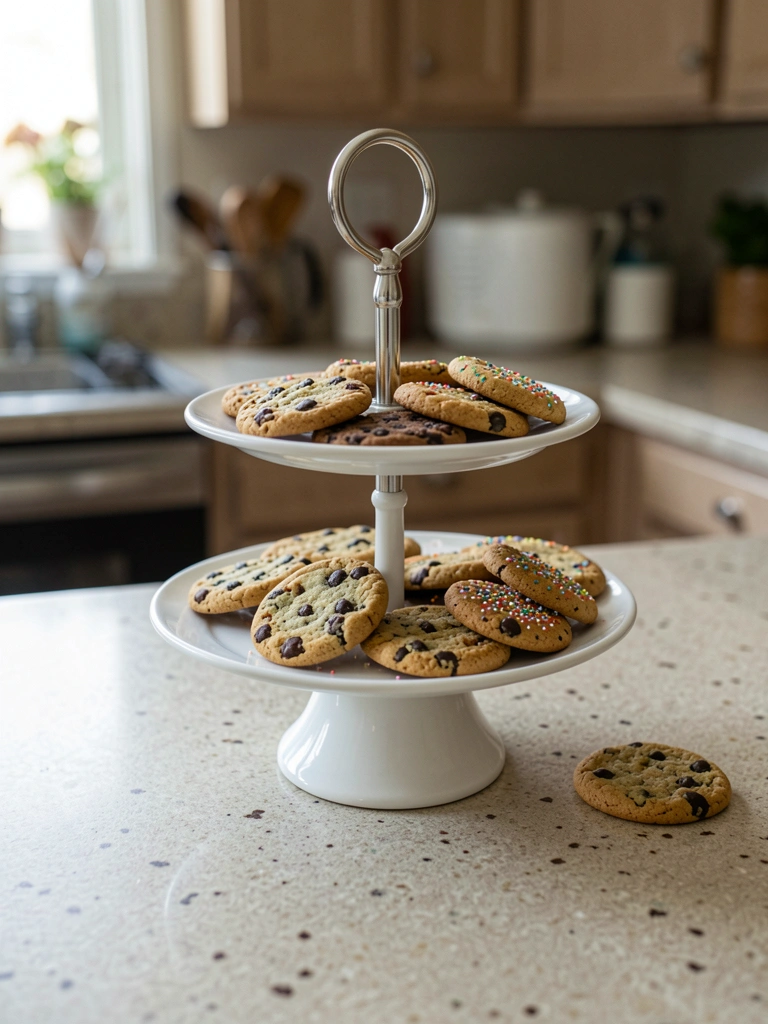
A white tiered stand became my go-to for my husband's birthday. Piled it with store-bought cookies—chocolate chip, sugar, iced ones. Sprinkled edible confetti on top for that birthday pop.
It drew eyes right to the center of the island. Made the spread look abundant without extra work. Guests grazed straight from it.
I learned to pick a stand wide enough for platters. Narrow ones tip. This one held steady even when elbows nudged.
Visual shift: empty island to instant dessert station. Feels generous, cozy.
What You’ll Need for This Look
- White 3-tiered metal cake stand, 12-inch top
- Edible confetti sprinkles, rainbow mix
- Clear glass dome cover, 10-inch
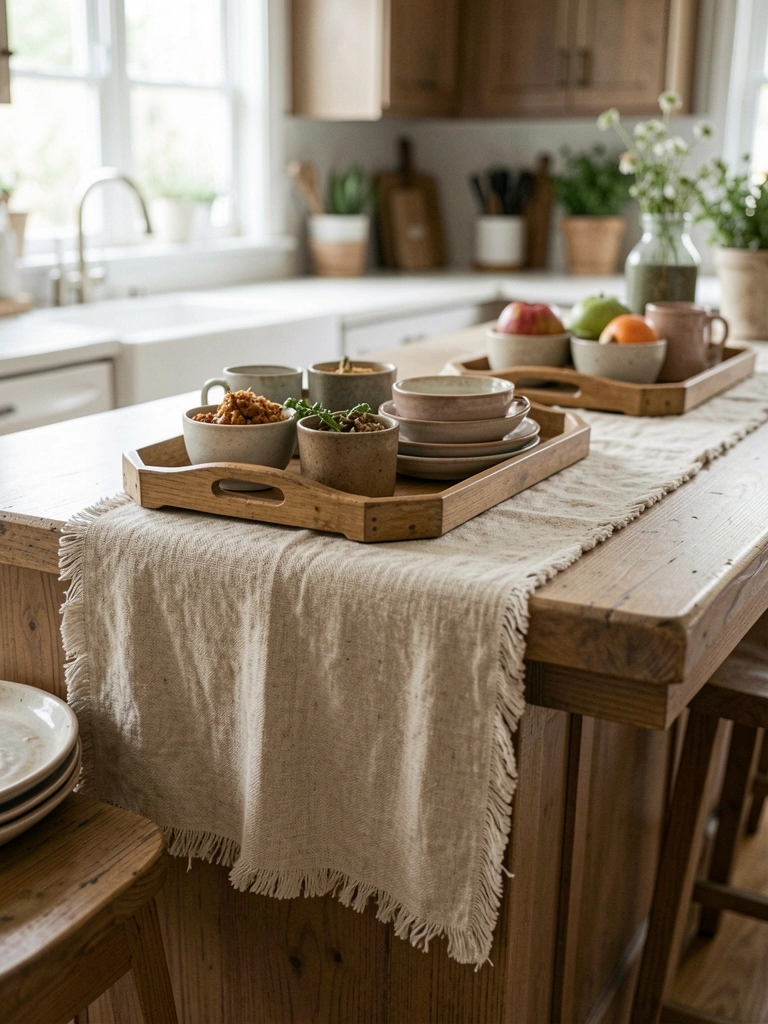
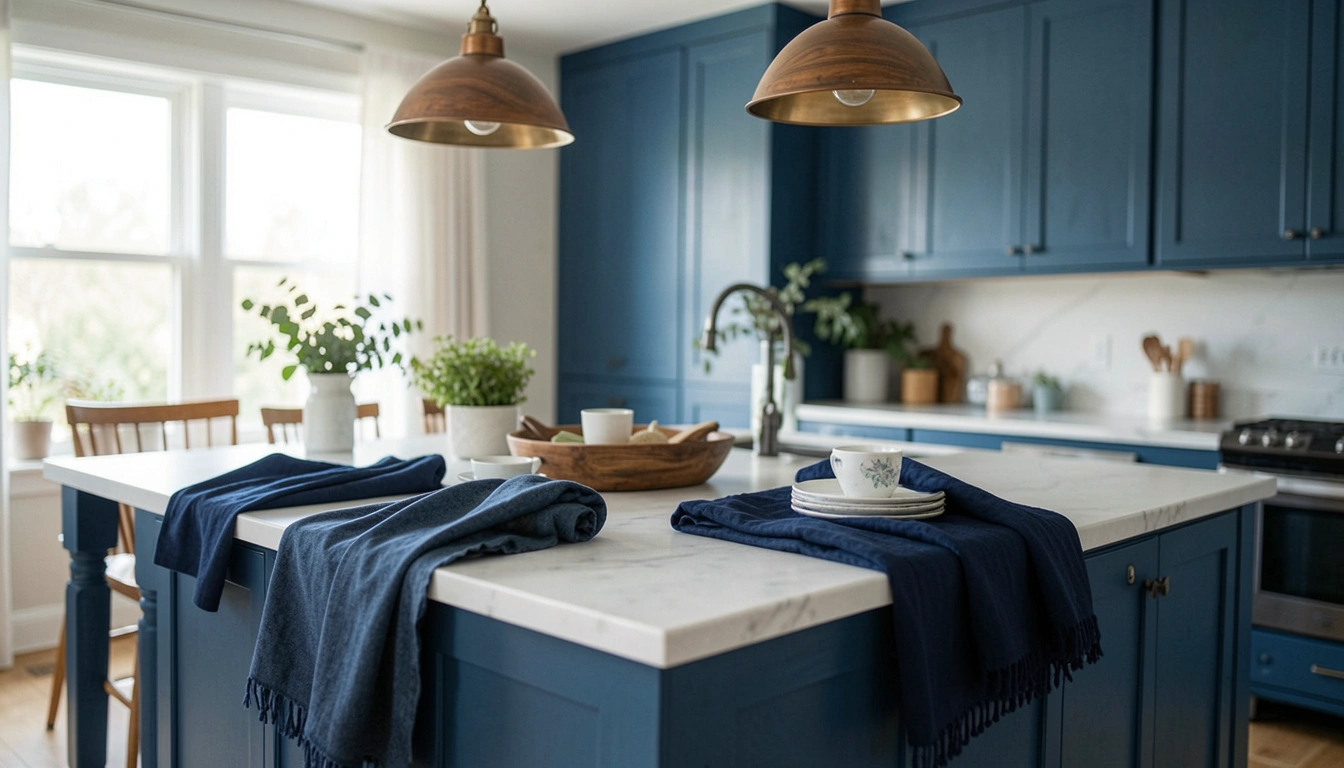
3. Pom-Pom Table Runner in Soft Pinks
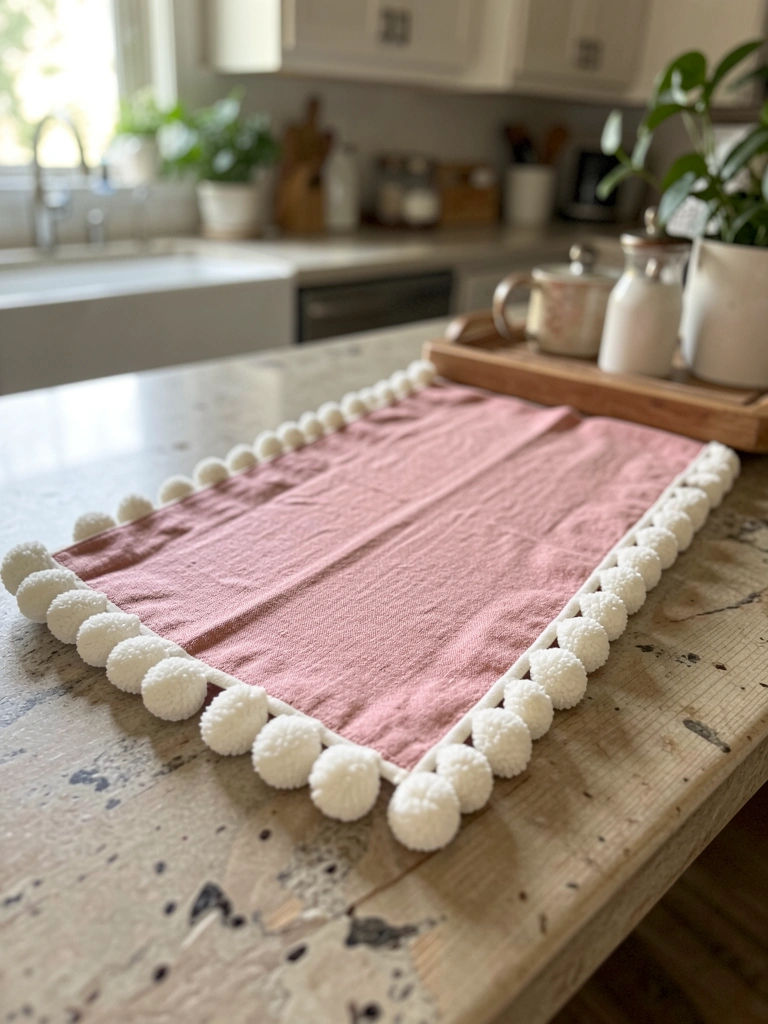
I draped a pom-pom edged runner down the island for a girl's night birthday. Soft pink fabric, white pom-poms bumping along the sides. Added texture without clutter.
It grounded the space—made wood gleam under it. Plates sat steady, drinks didn't slide. Felt intentional, like I planned it.
First try, I went too long—it bunched. Cut to fit exact length now. Hugs the edges perfect.
Pulls the eye lengthwise, opens up conversations across.
What You’ll Need for This Look
- Pink pom-pom table runner, 13×72 inches
- Non-slip shelf liner, clear 12-inch wide
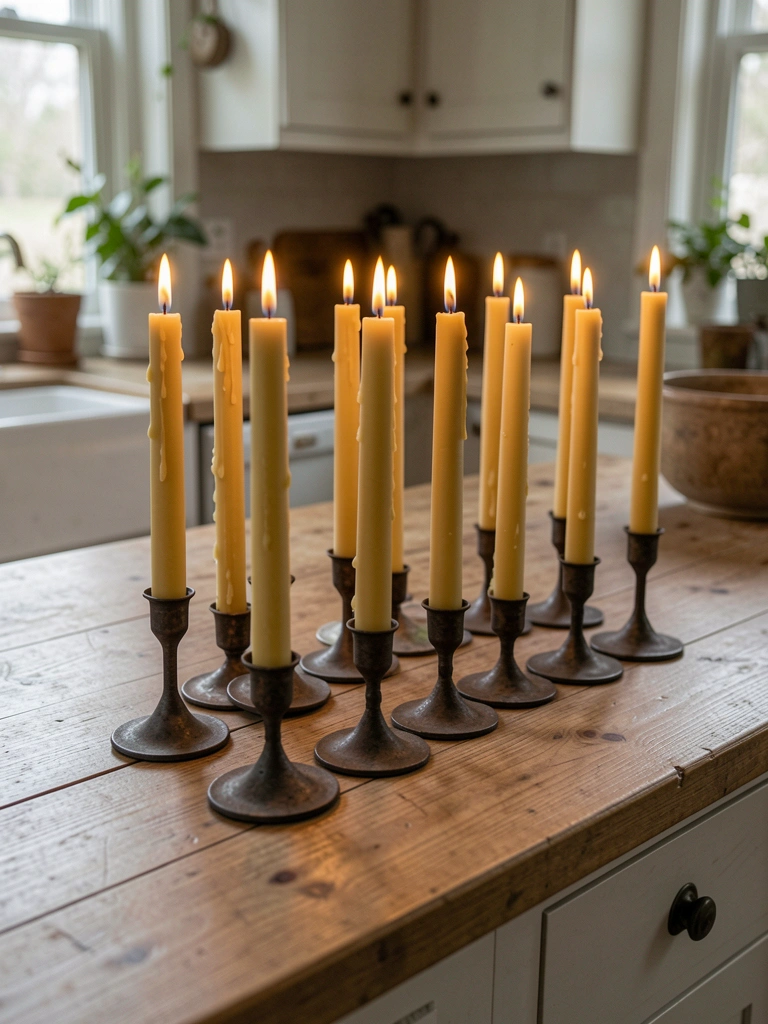
- Wooden candle holders, set of 3 heights
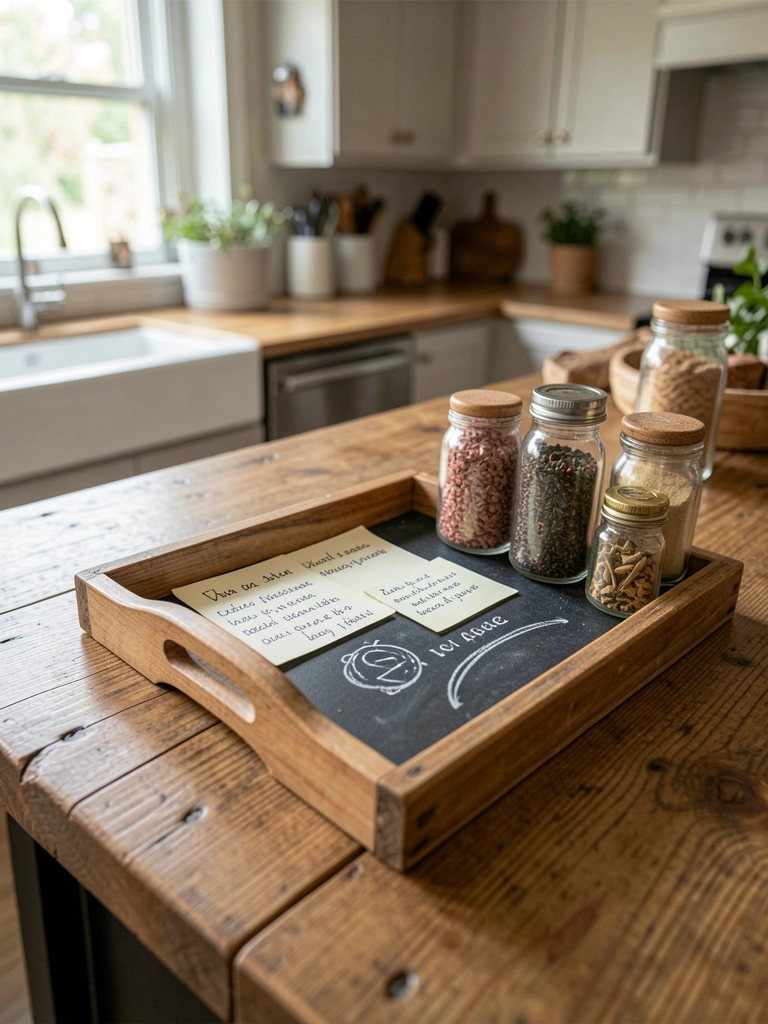
4. Mini Chalkboard Signs with Menu Jots
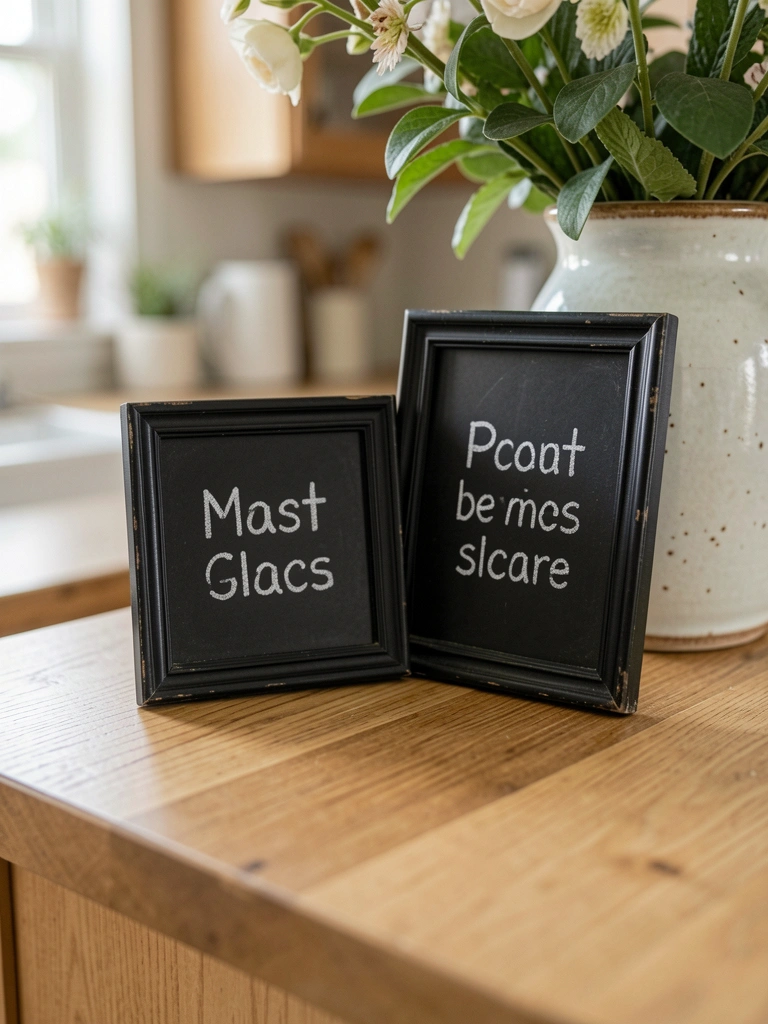
Handwrote the menu on small chalkboards for my mom's birthday brunch. "Cake," "Mimosas," "Fruit." Propped them along the back edge.
Gave the island purpose—folks knew where to grab what. Added a handmade touch that felt personal.
Insight: dust them first or chalk smears. Clean slate every time now. Stays crisp.
Shifted chaos to calm direction. Warm, not fussy.
What You’ll Need for This Look
- Mini chalkboard signs, 4×6 inches, set of 6
- Liquid chalk markers, fine tip white
- Easel stands, small black metal
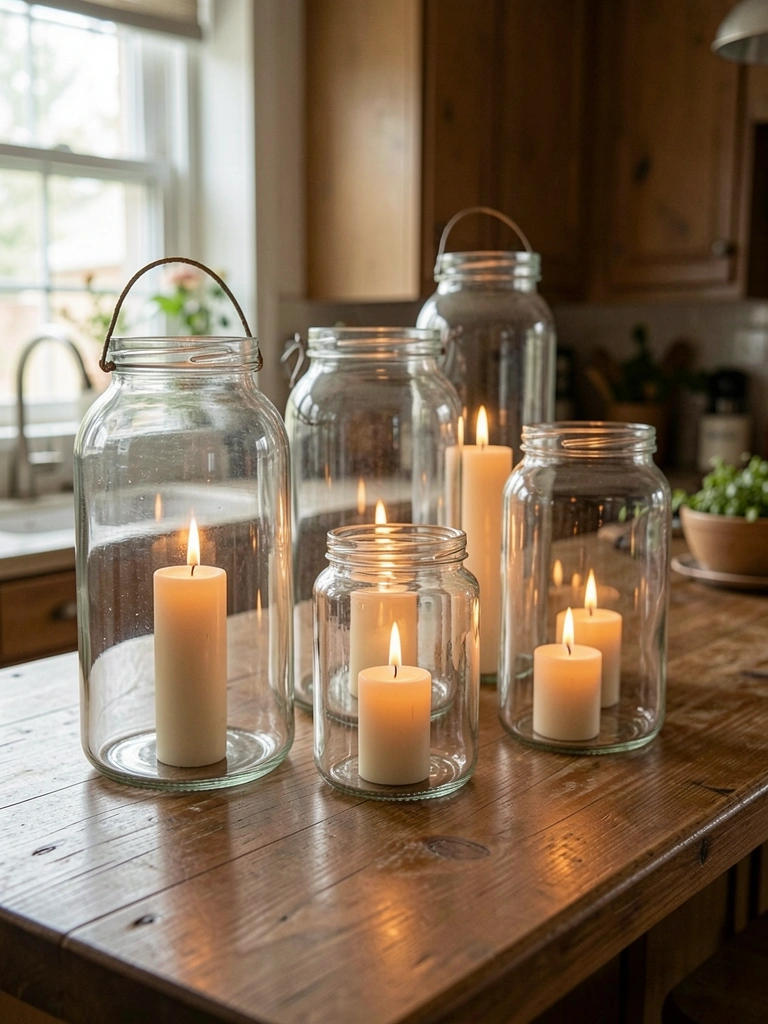
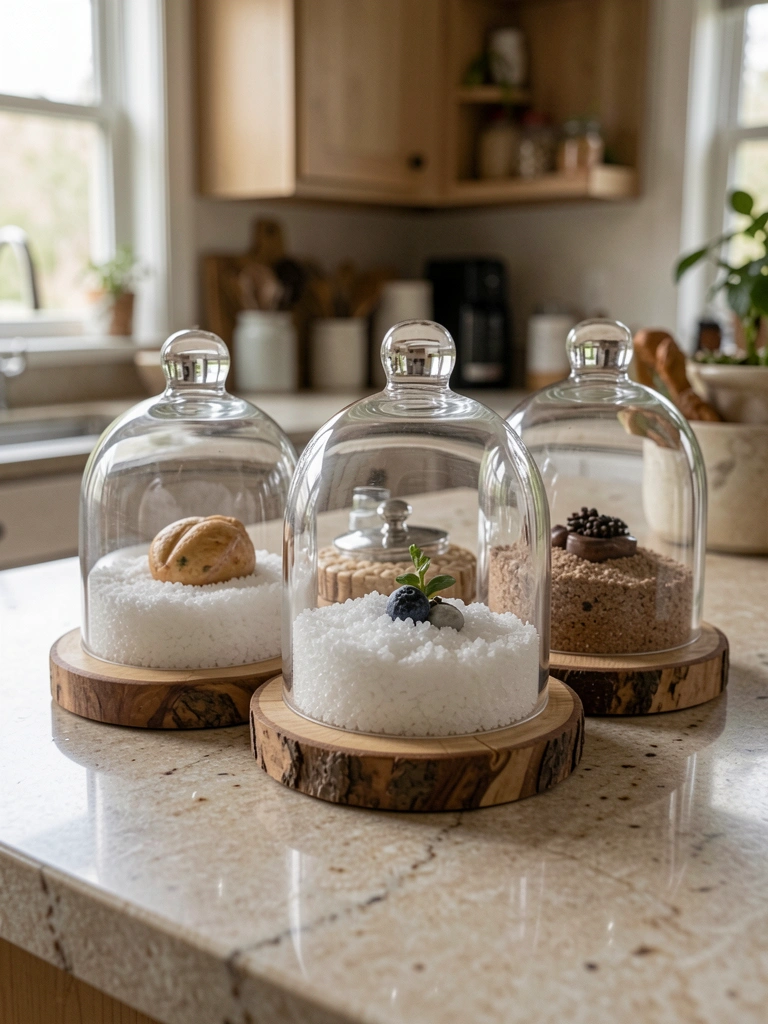
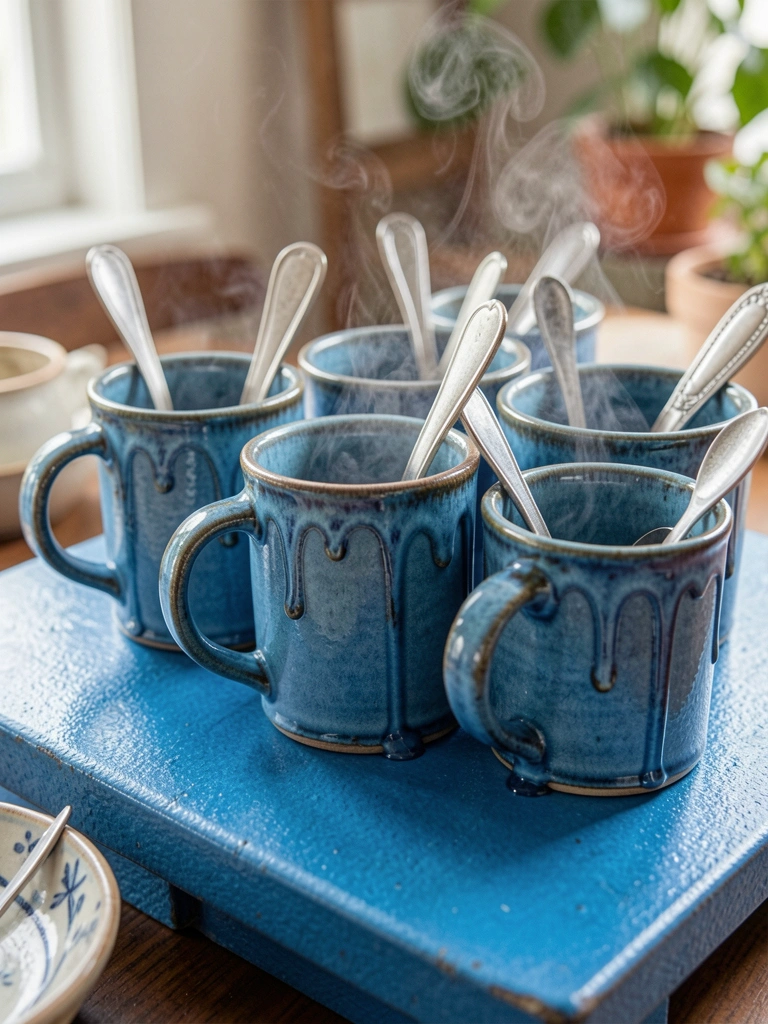
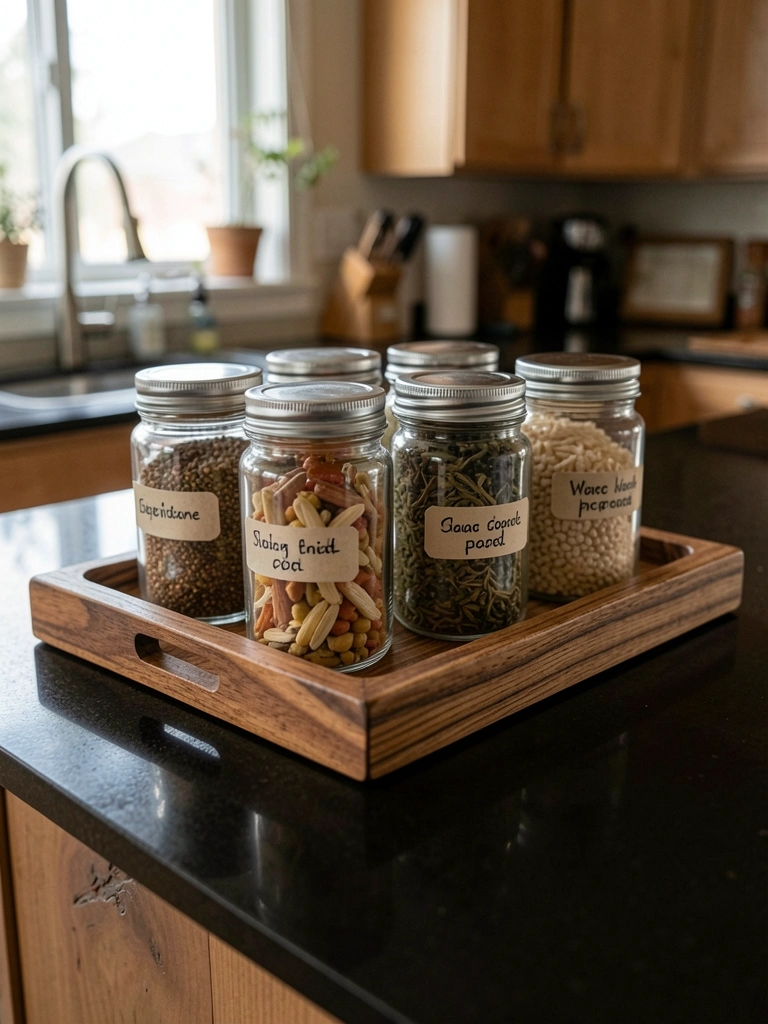
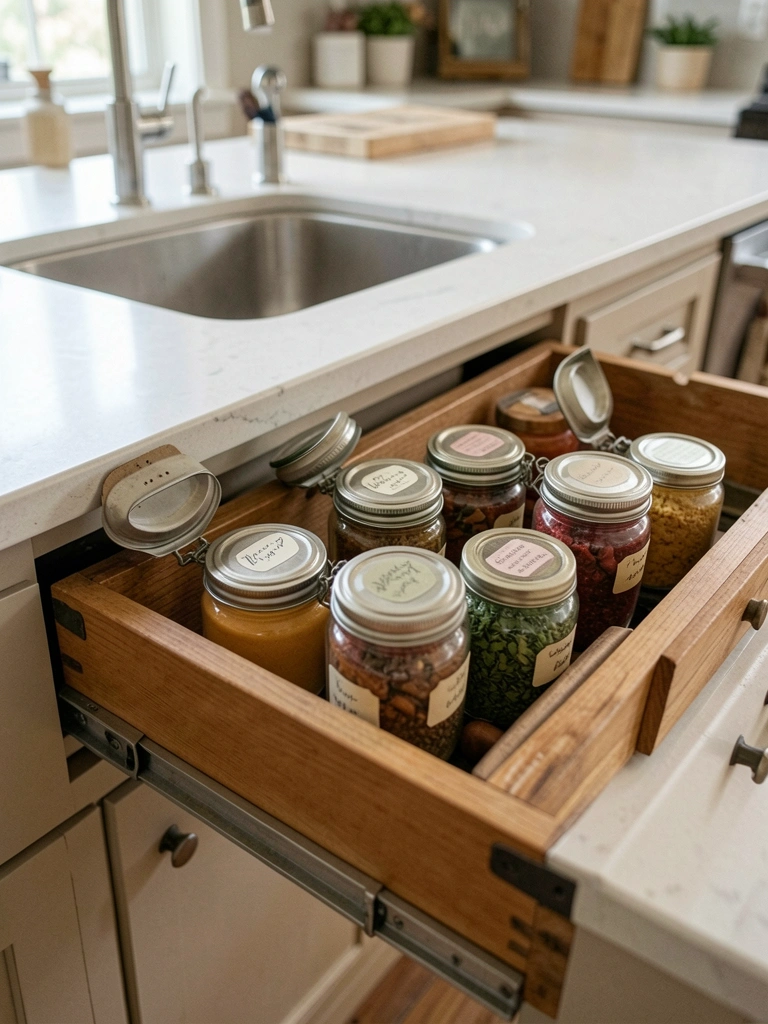
5. Glass Jars Filled with Layered Candy

Filled mason jars with layered candies—gummies, chocolates, lemon drops—for a family party. Spoons stuck in for easy grabbing.
Bright pops against clear glass lit up the island. Kids' eyes went wide; adults snuck handfuls.
Mistake: overfill and they spill. Half full max. Stays tidy.
Feels abundant, fun. Pulls people in close.
What You’ll Need for This Look
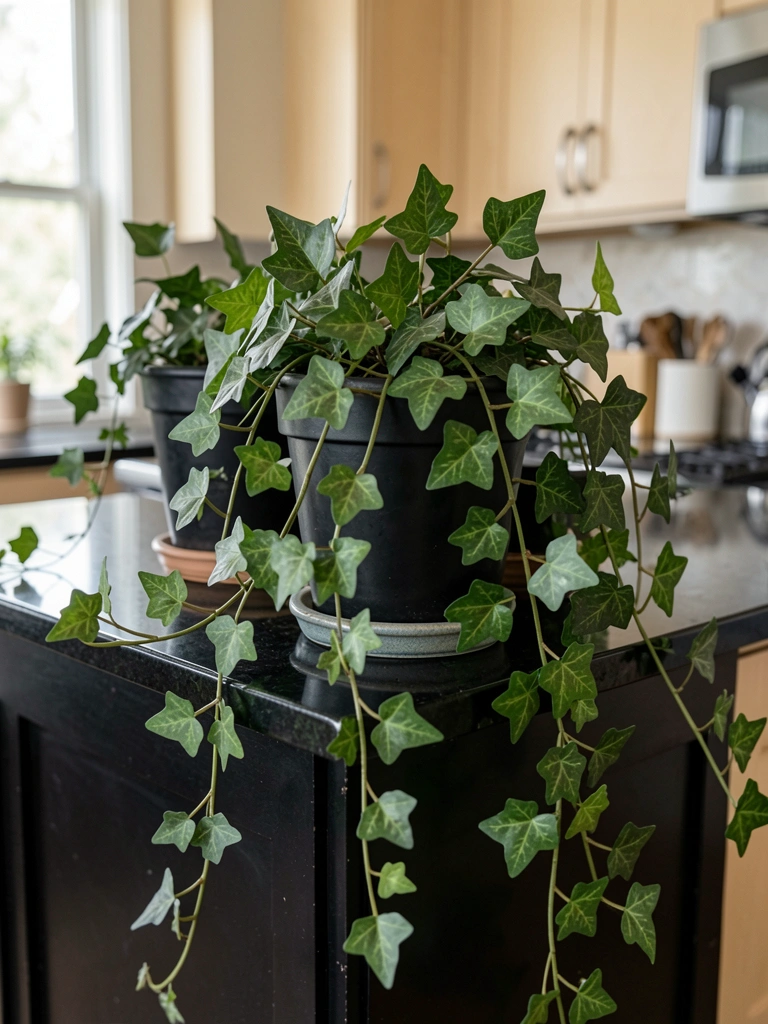
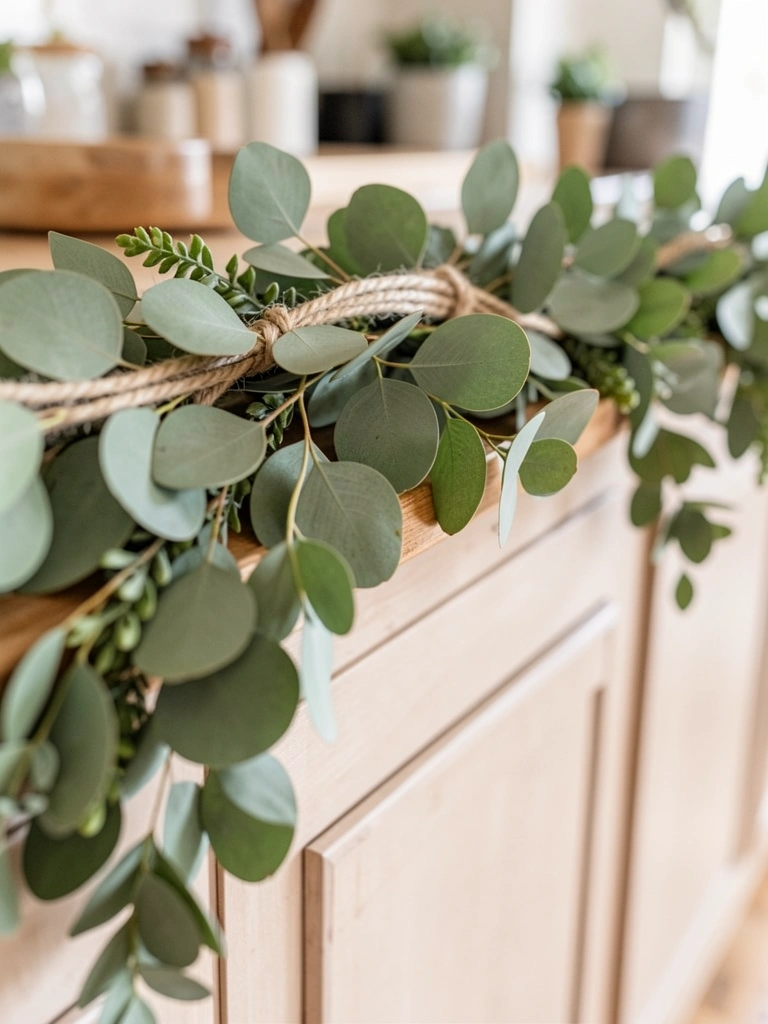
6. Fairy Lights Draped with Greenery
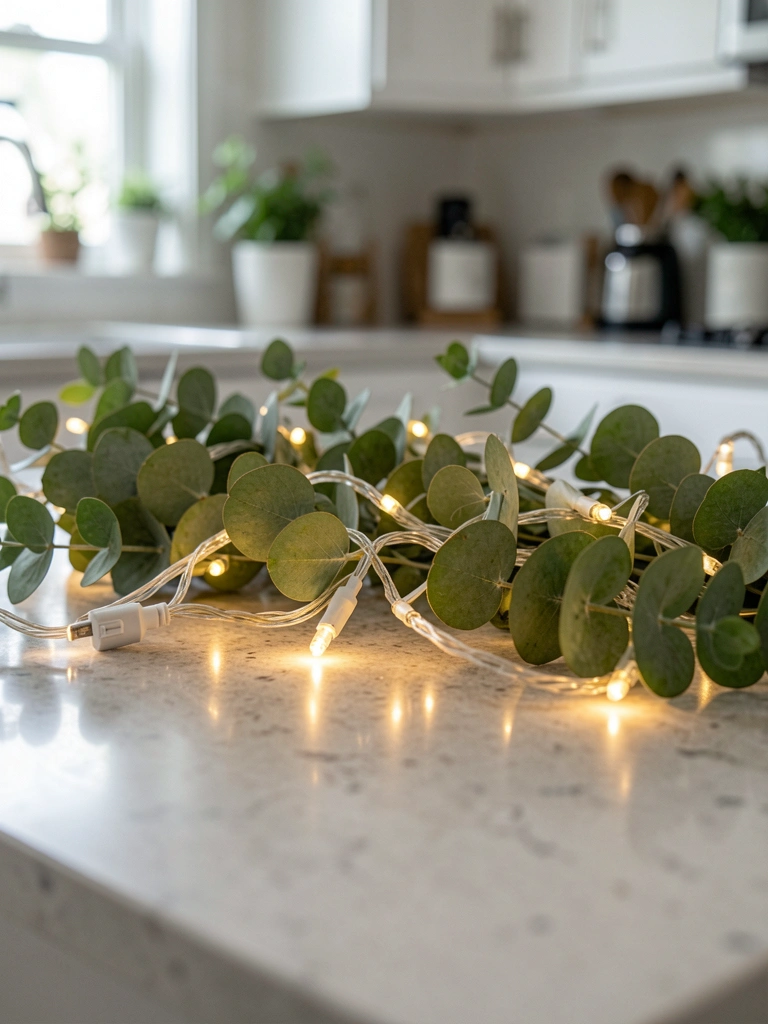
Wound fairy lights through fake eucalyptus along the island top for an evening birthday. Plugged into the outlet behind—glowed soft.
Added warmth as sun dropped. Greenery softened the lights' sparkle. Cozy shift.
Hide the cord under a runner. No trips.
Made late-night chats linger. Subtle magic.
What You’ll Need for This Look
- Fairy lights string, 33 feet warm white
- Faux eucalyptus garland, 6 feet
- Cord clip covers, clear adhesive
7. Paper Fan Backdrop Leaning Behind
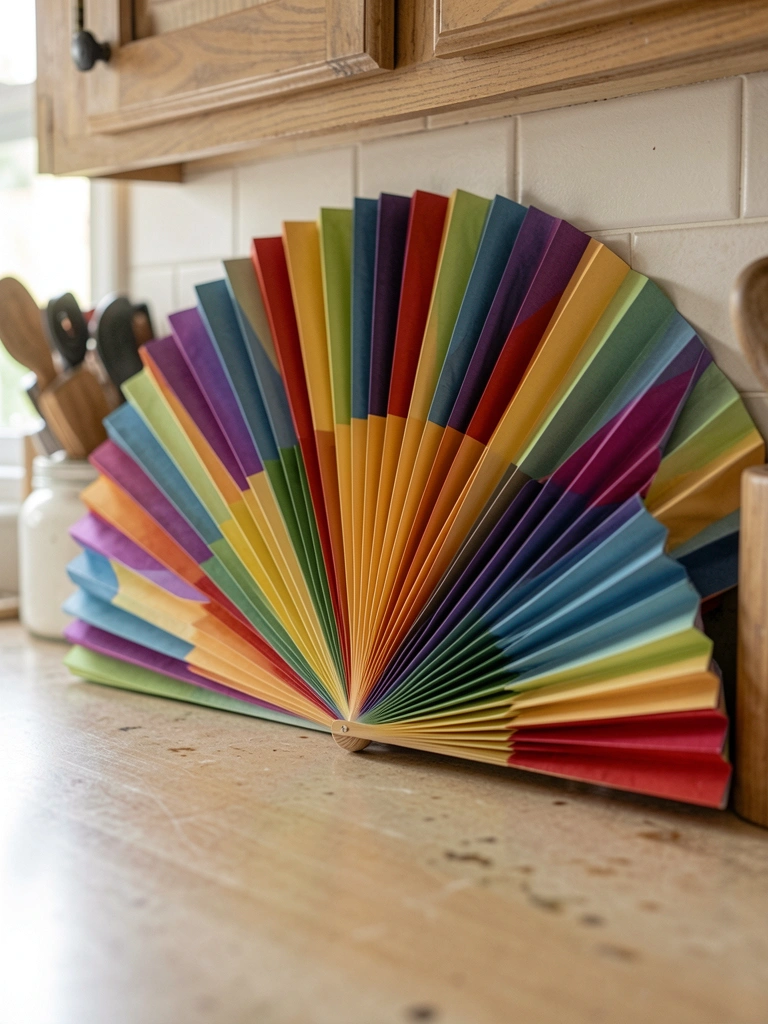
Leaned big paper fans against the backsplash for a quick kid's birthday. Assorted colors, fanned open wide.
Framed the island like a stage. Cake photos popped. Easy fold-flat storage.
Don't tape—lean only. Walls stay clean.
Turned basic counter into photo spot. Joyful.
What You’ll Need for This Look
- Paper fans, 12-inch multicolored set of 10
- Decorative washi tape, pastel rolls
- Mini clothespins, wooden set
Final Thoughts
Pick one or two ideas that fit your kitchen's vibe. No need for all seven.
They pack away small, work year after year. Your island will feel special without the stress.
You've got this—birthdays taste better there.