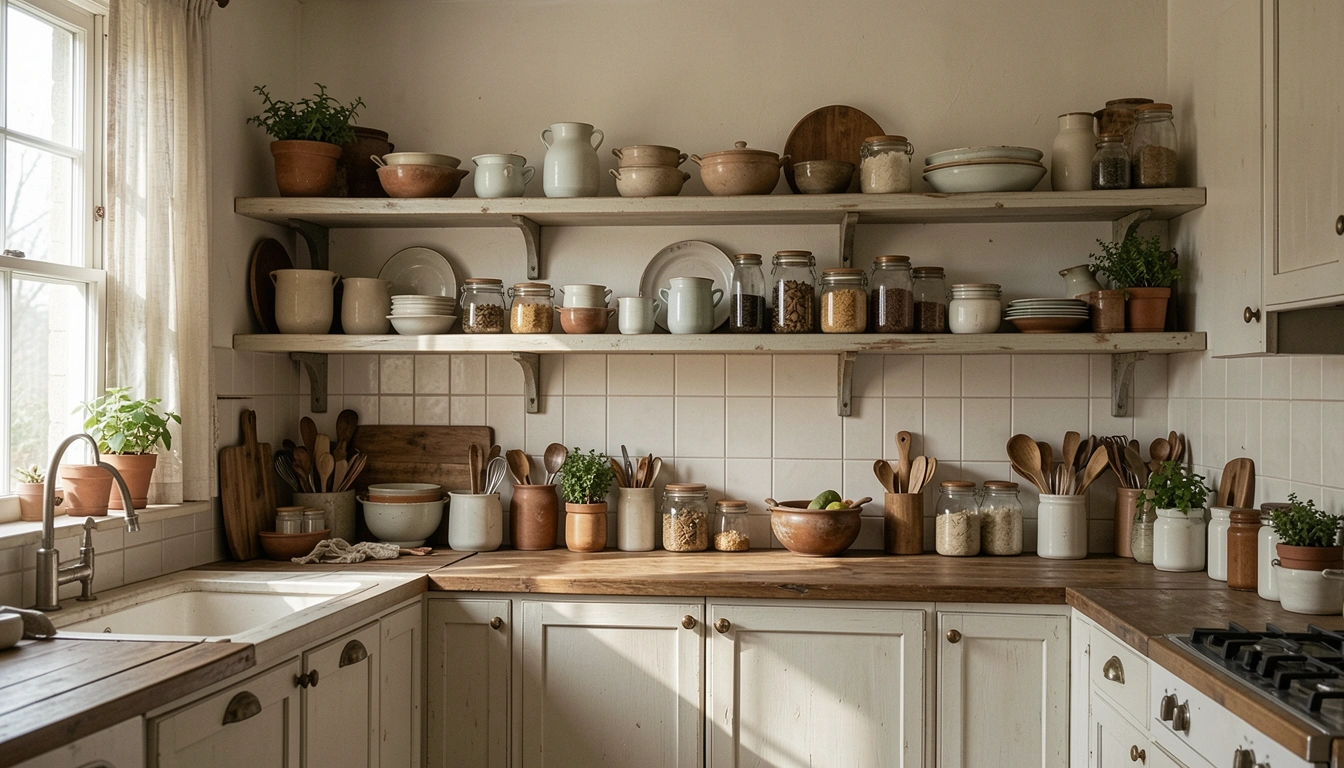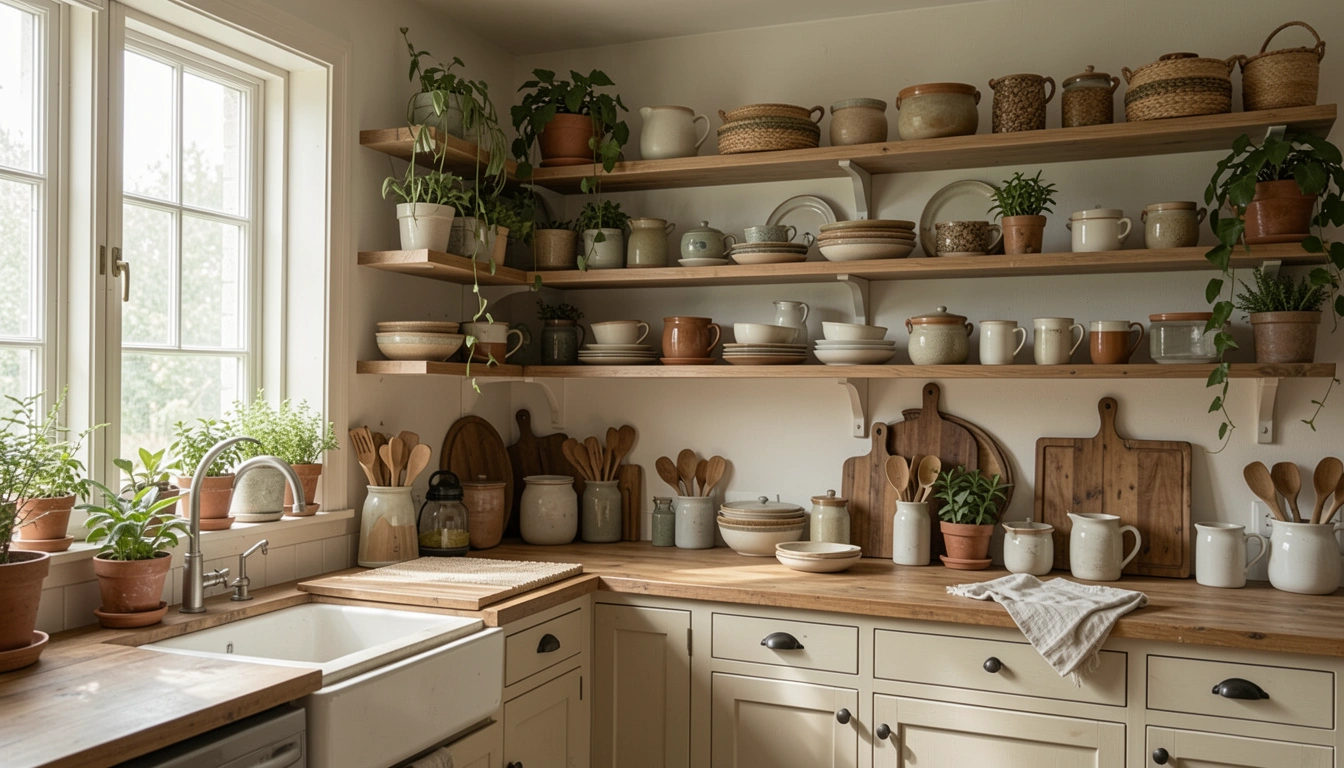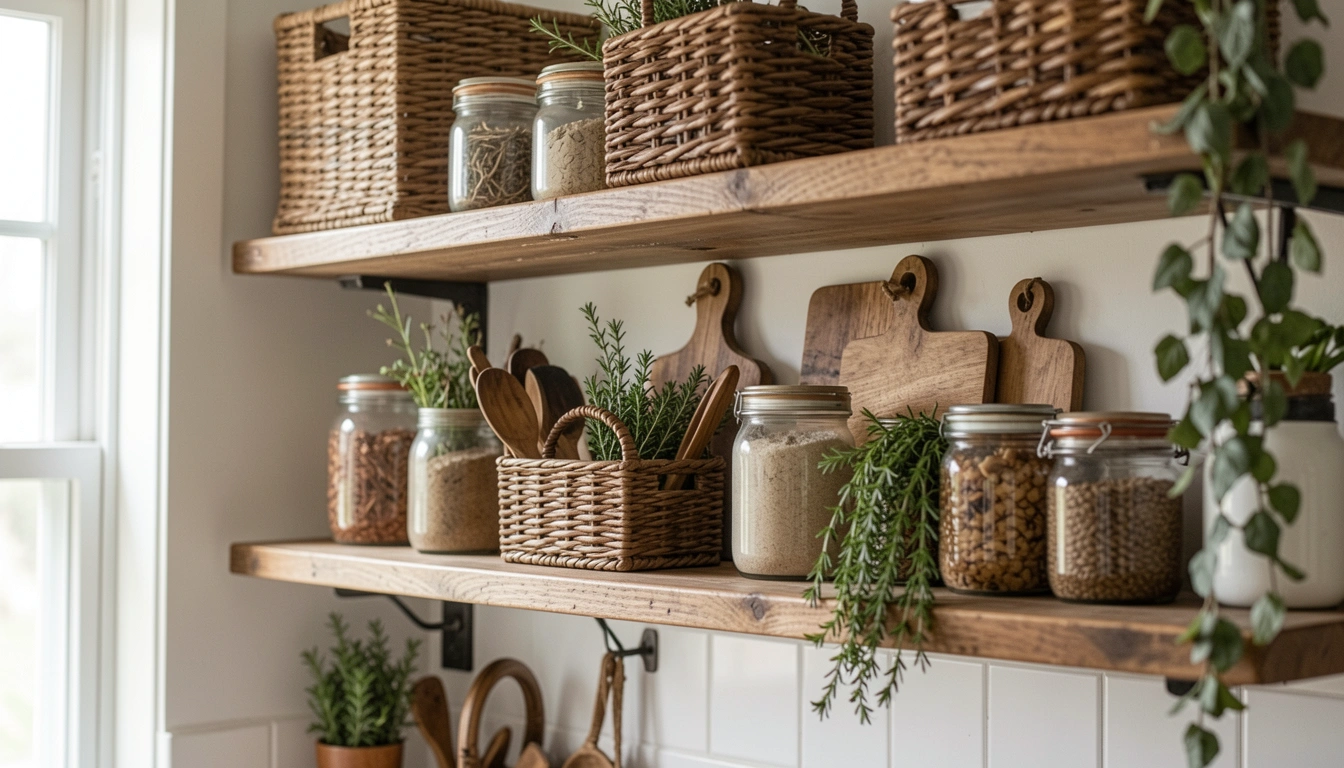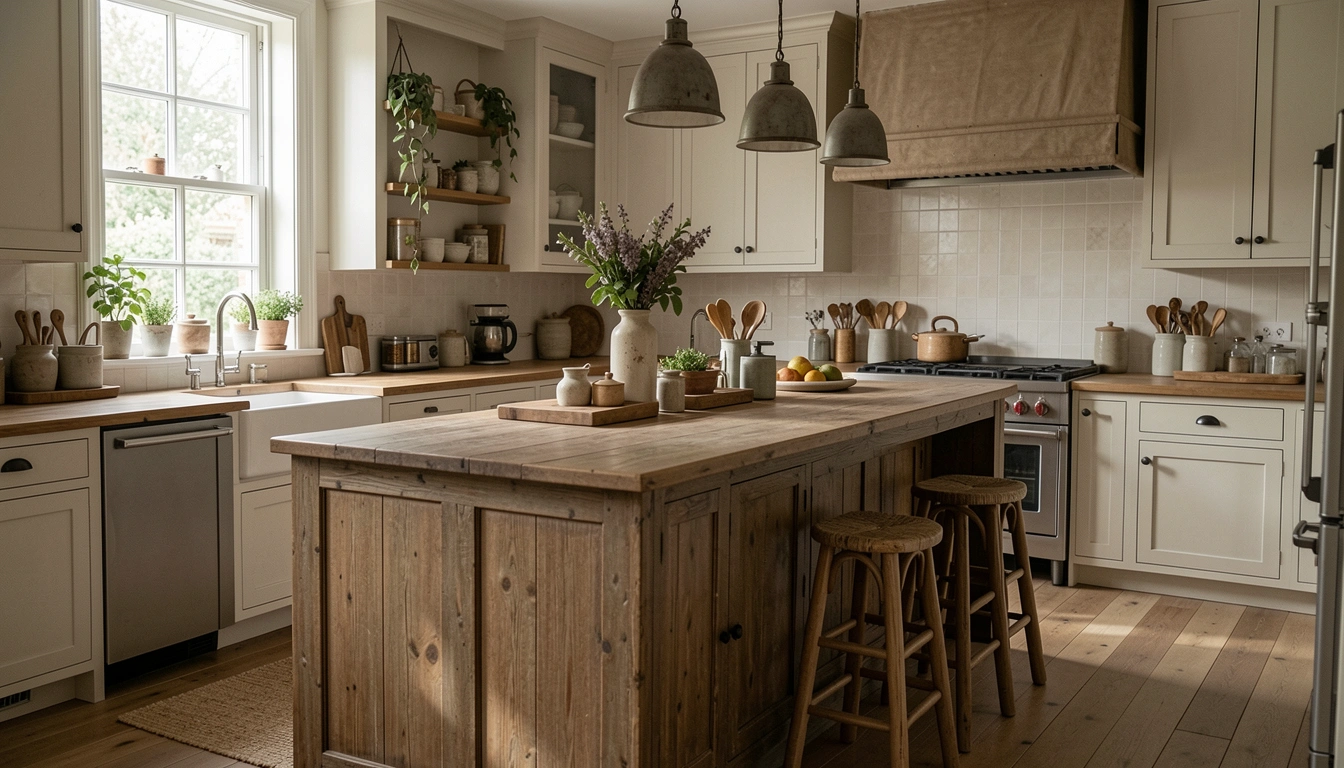
My kitchen used to feel cramped, counters piled with pots and random jars. No room to chop onions.
I started small – nailed up a cheap shelf. Watched the space breathe.
Now it's calm, everything in reach. You don't need fancy installs. These ideas come from my fixes in real homes.
17 Budget Kitchen Shelving Ideas That Save Money
These 17 budget kitchen shelving ideas clear counters without breaking the bank. I've tested them in everyday kitchens. Simple setups, real results.
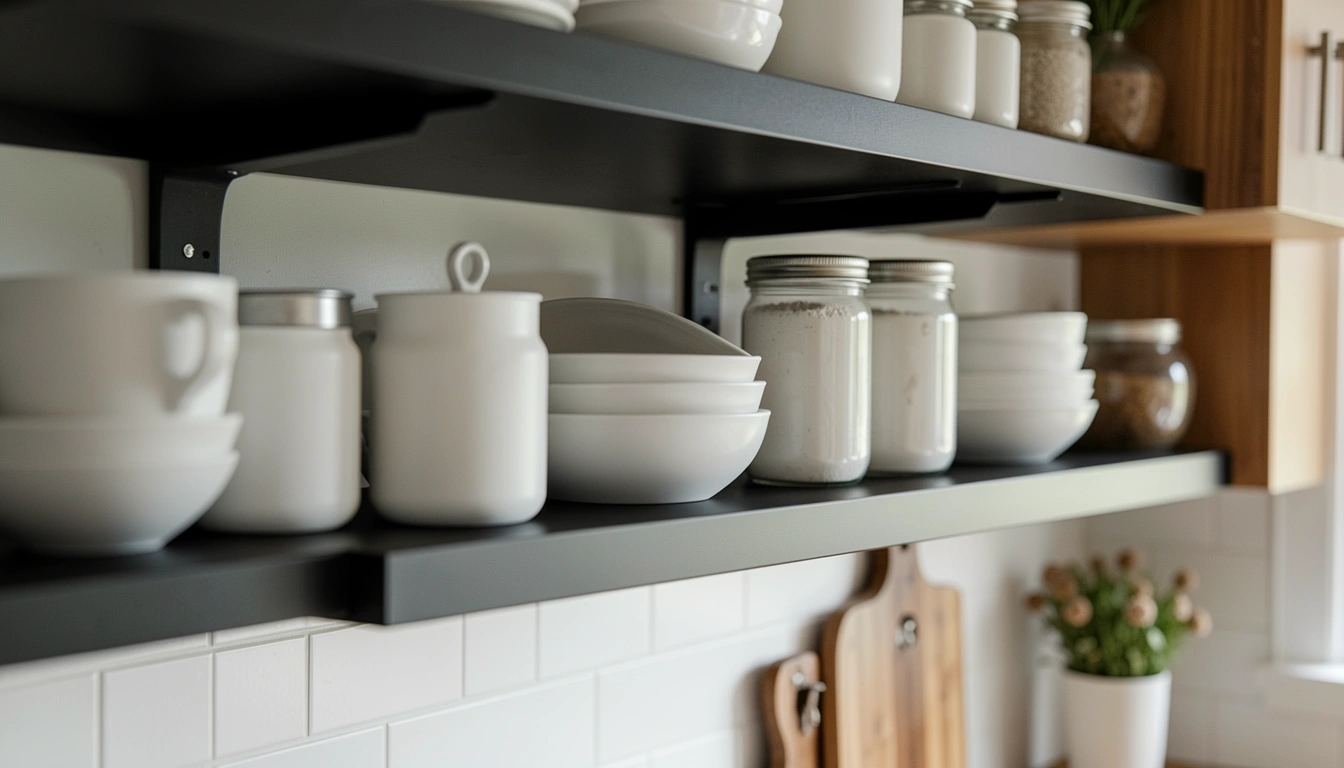
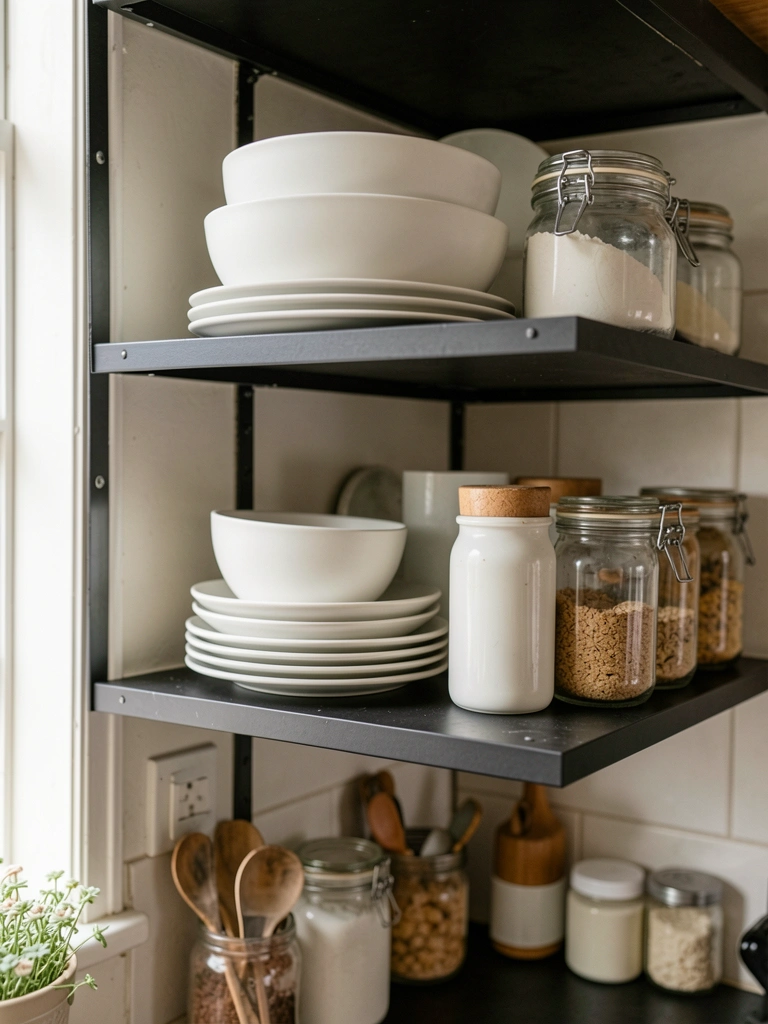
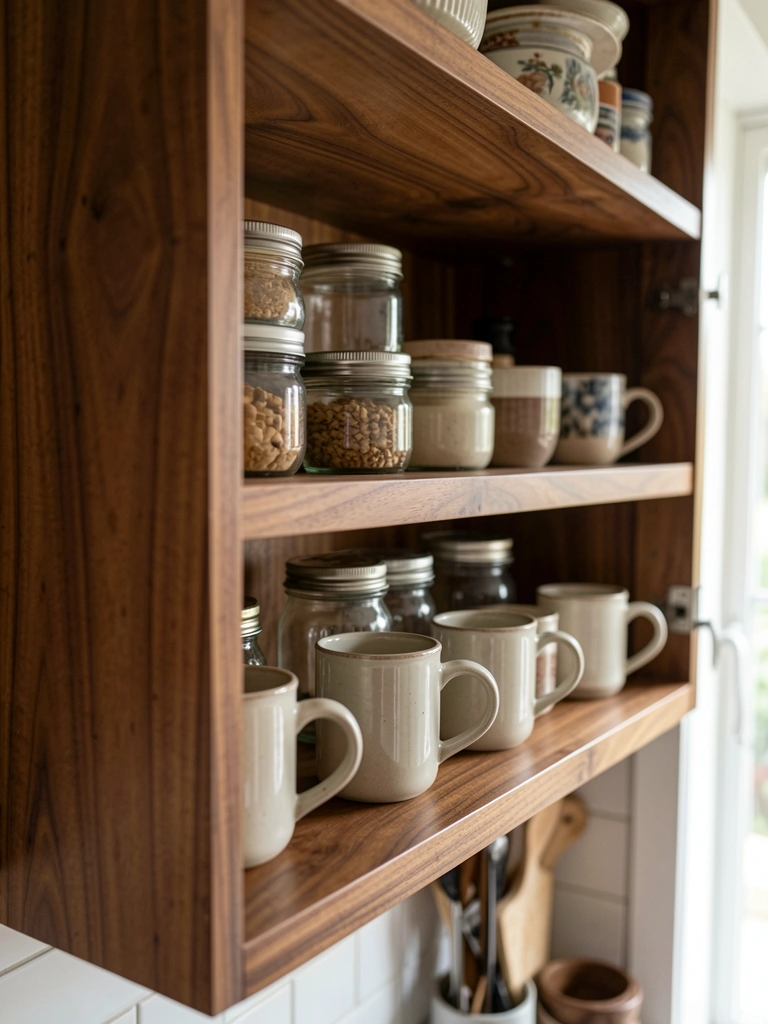
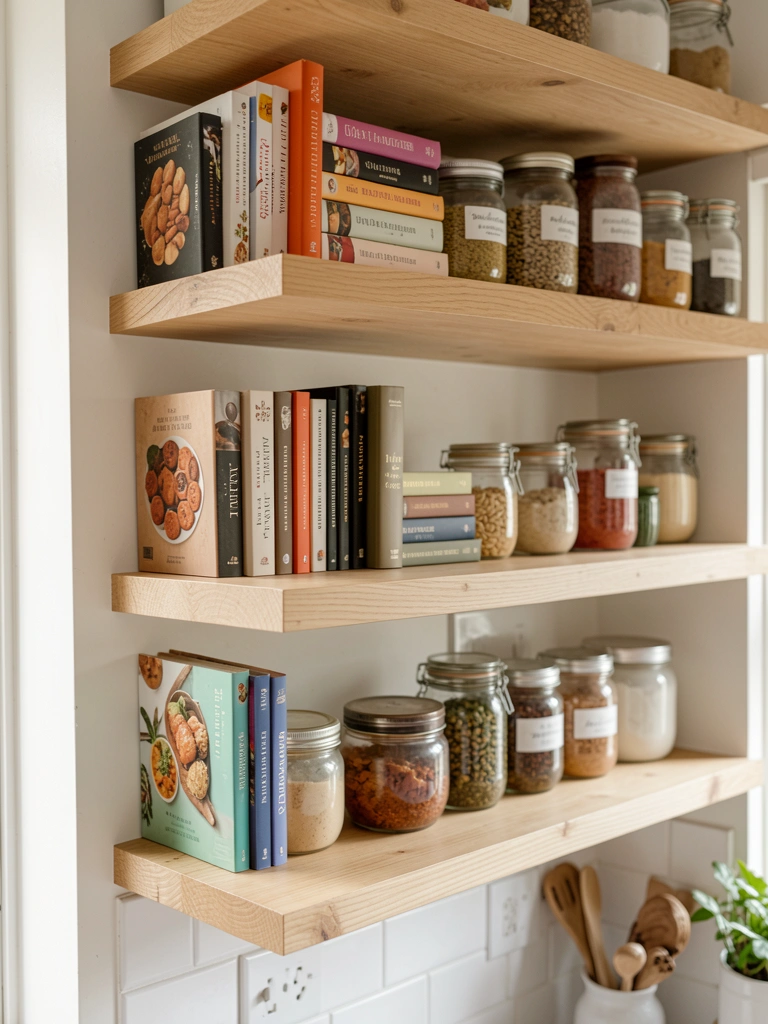
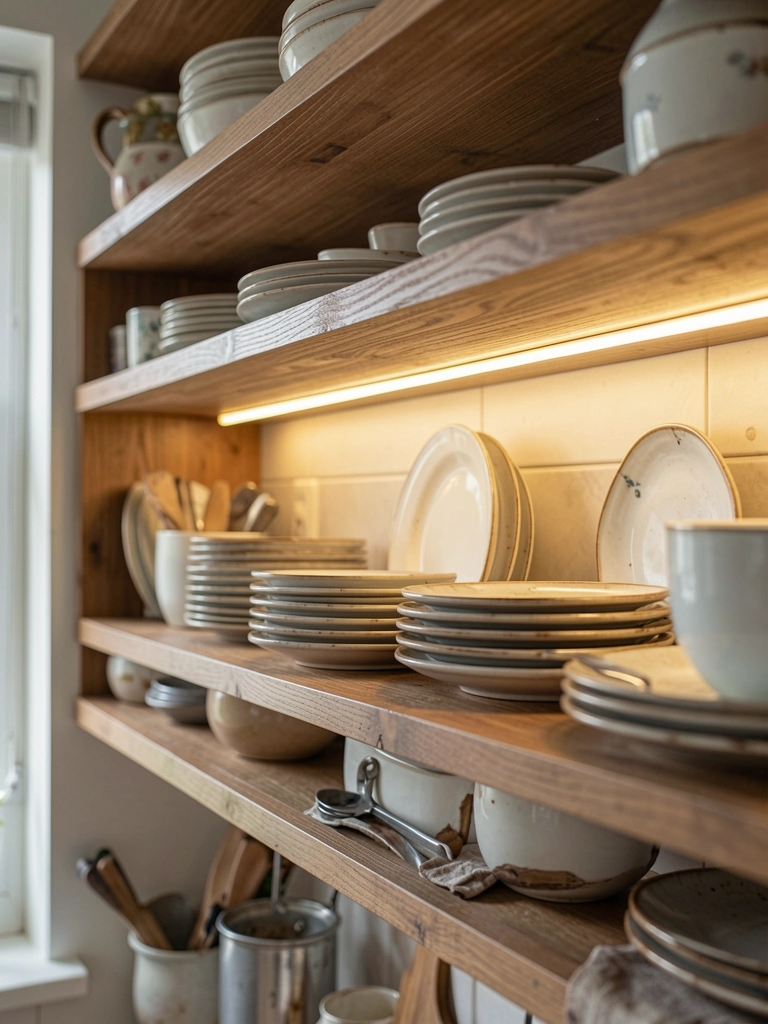
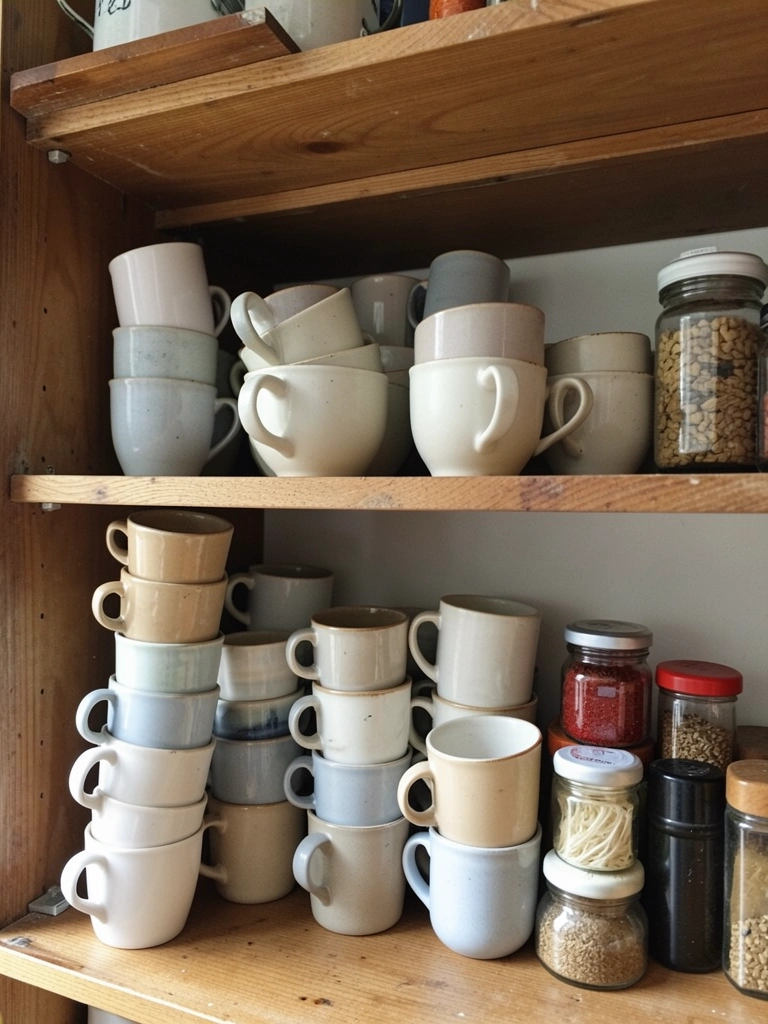
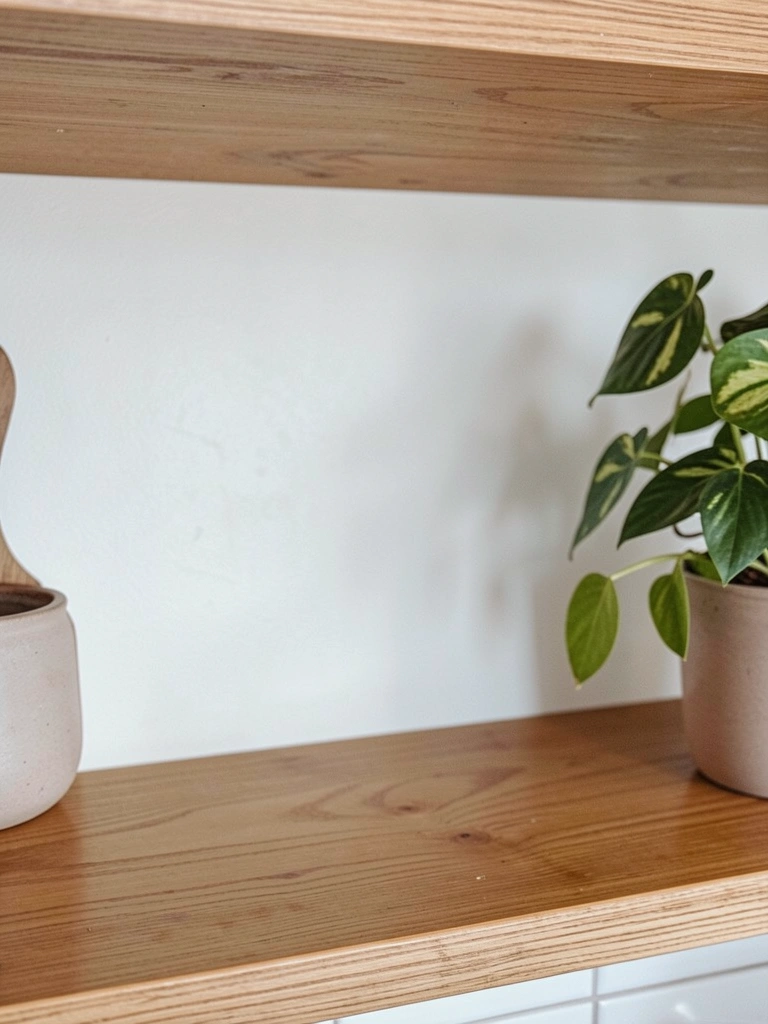
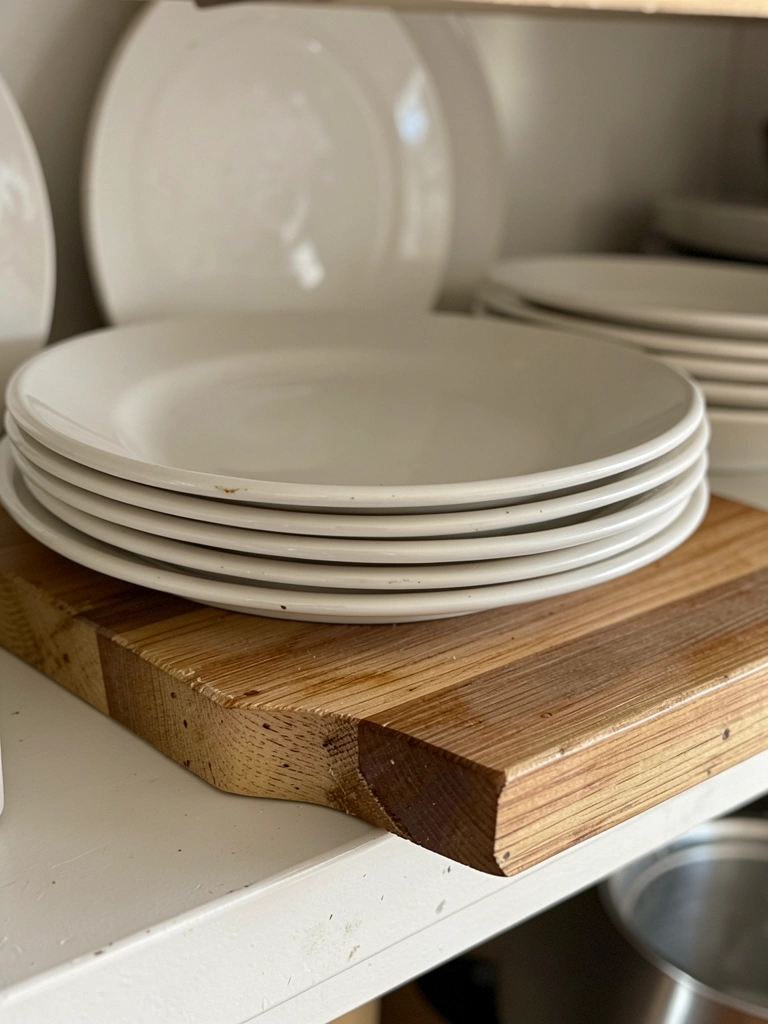
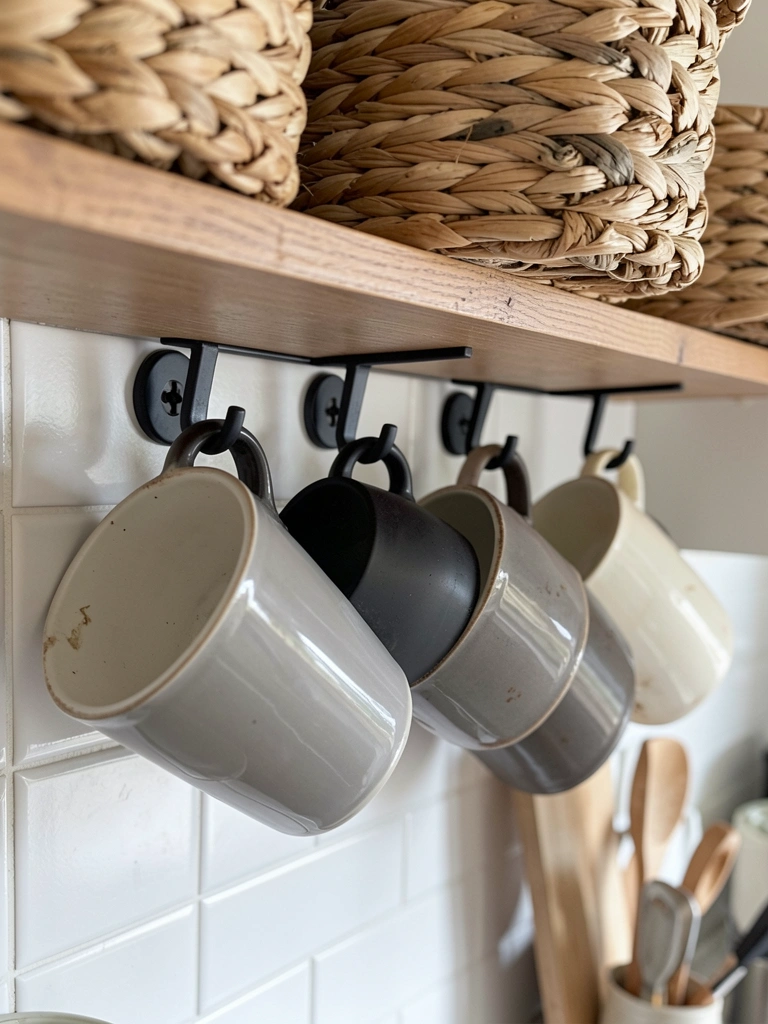
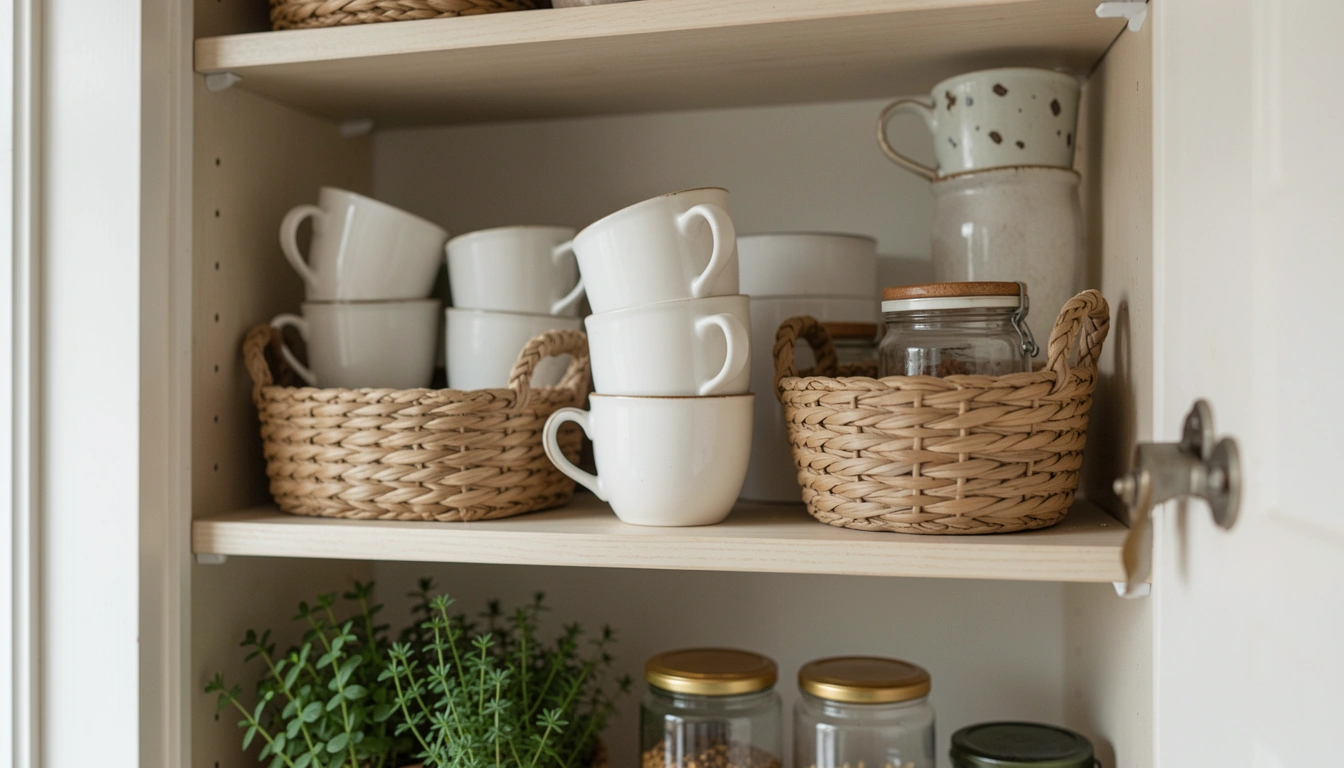
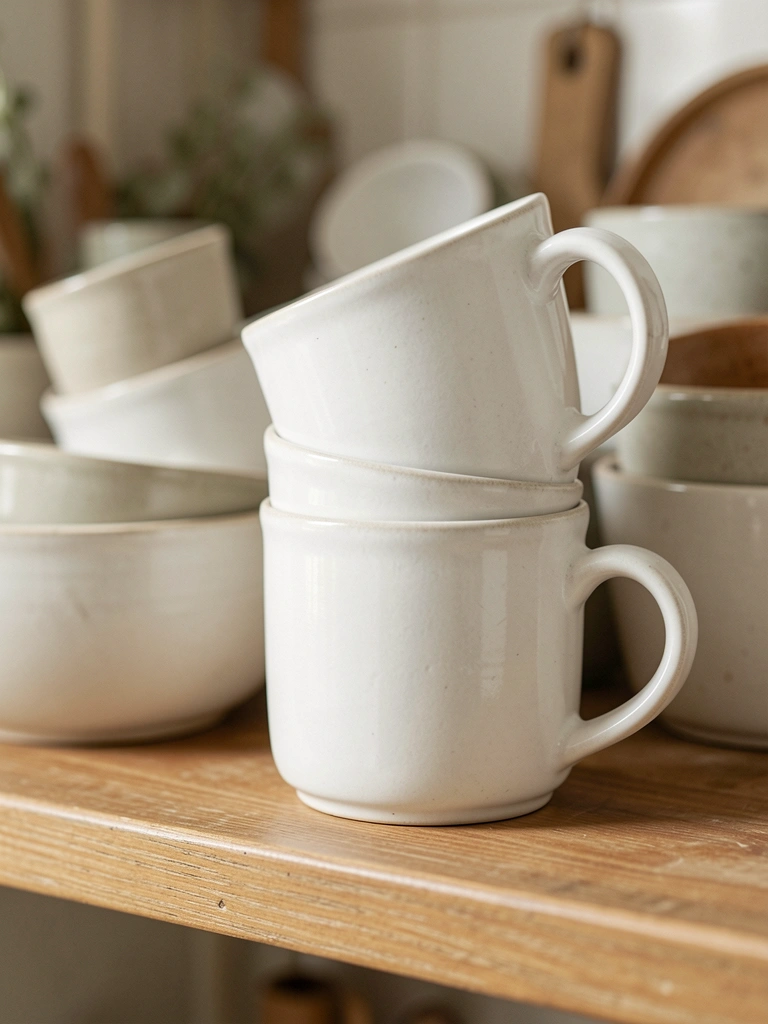
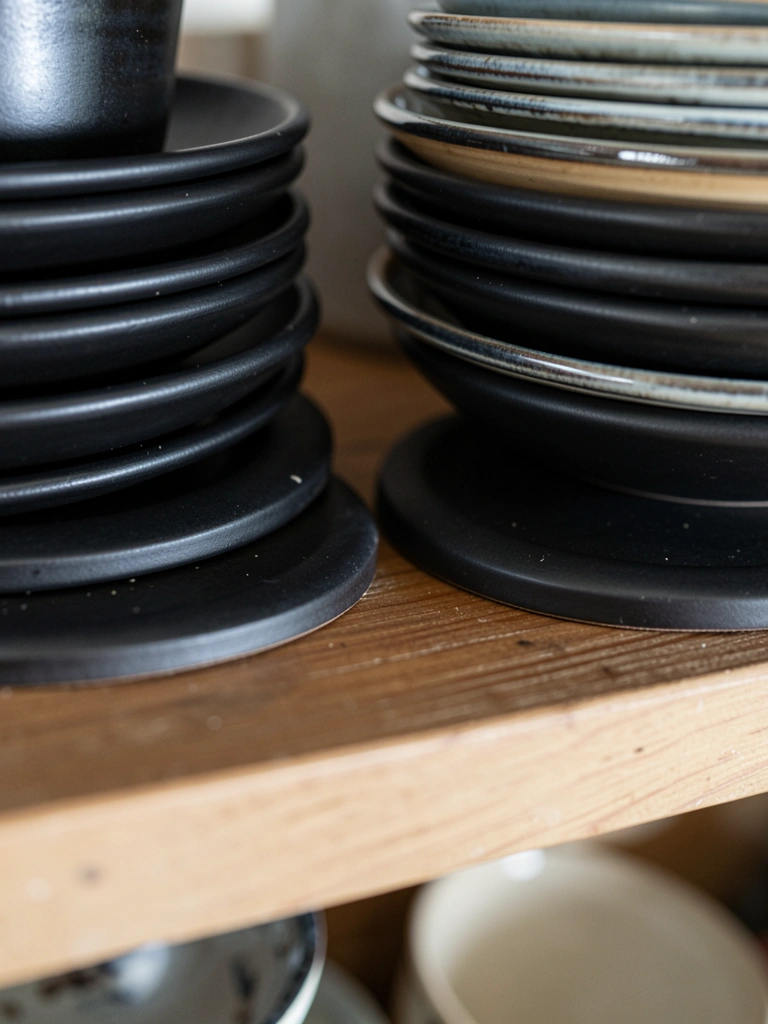
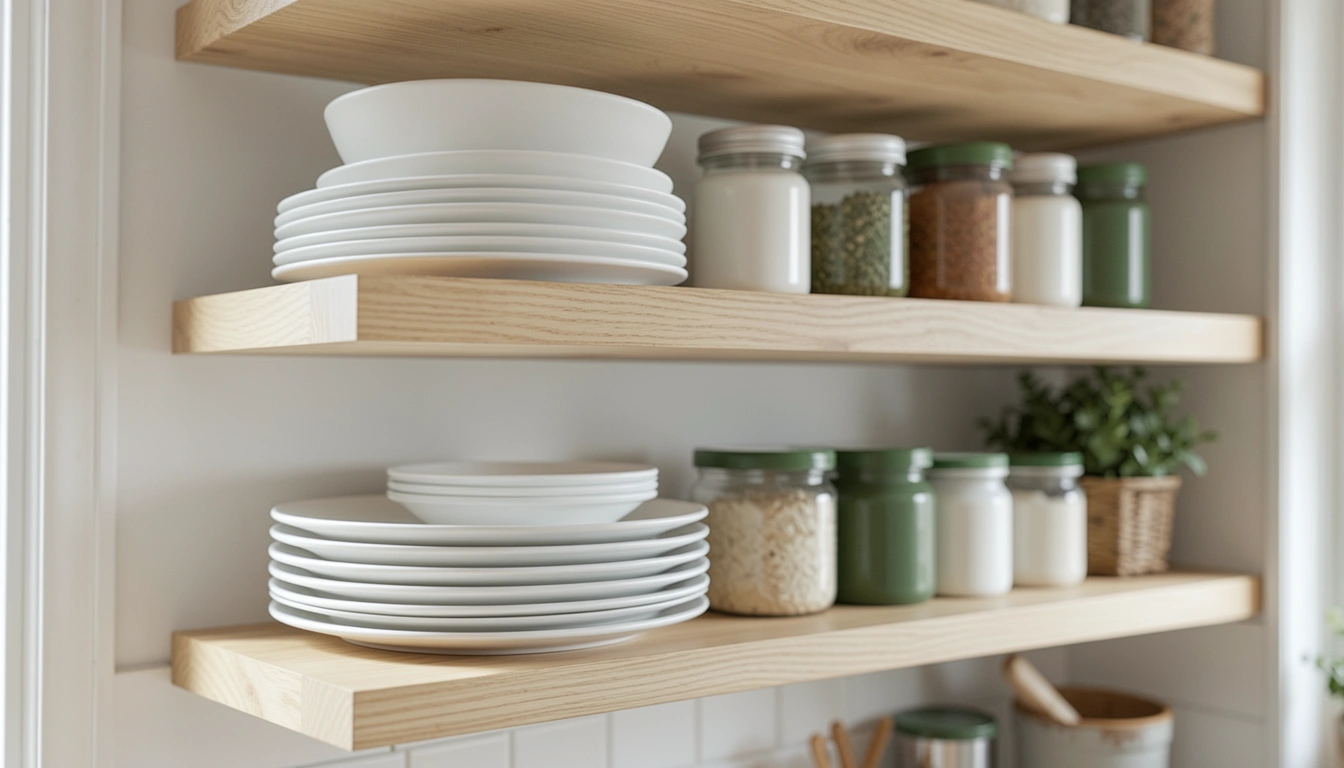
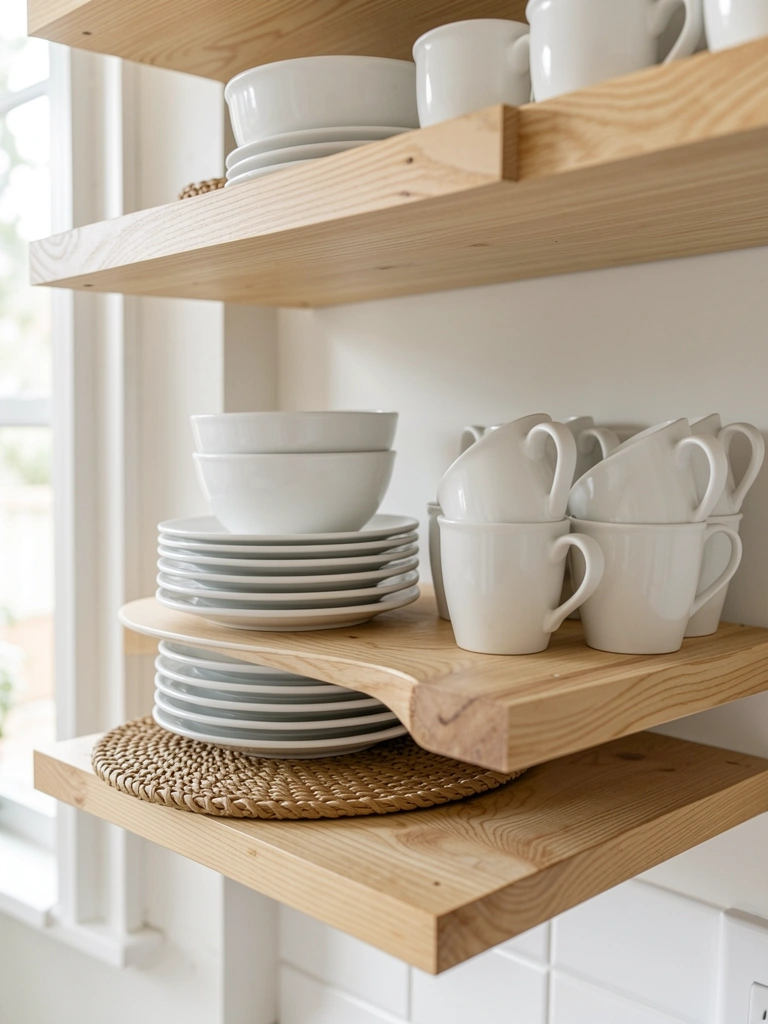
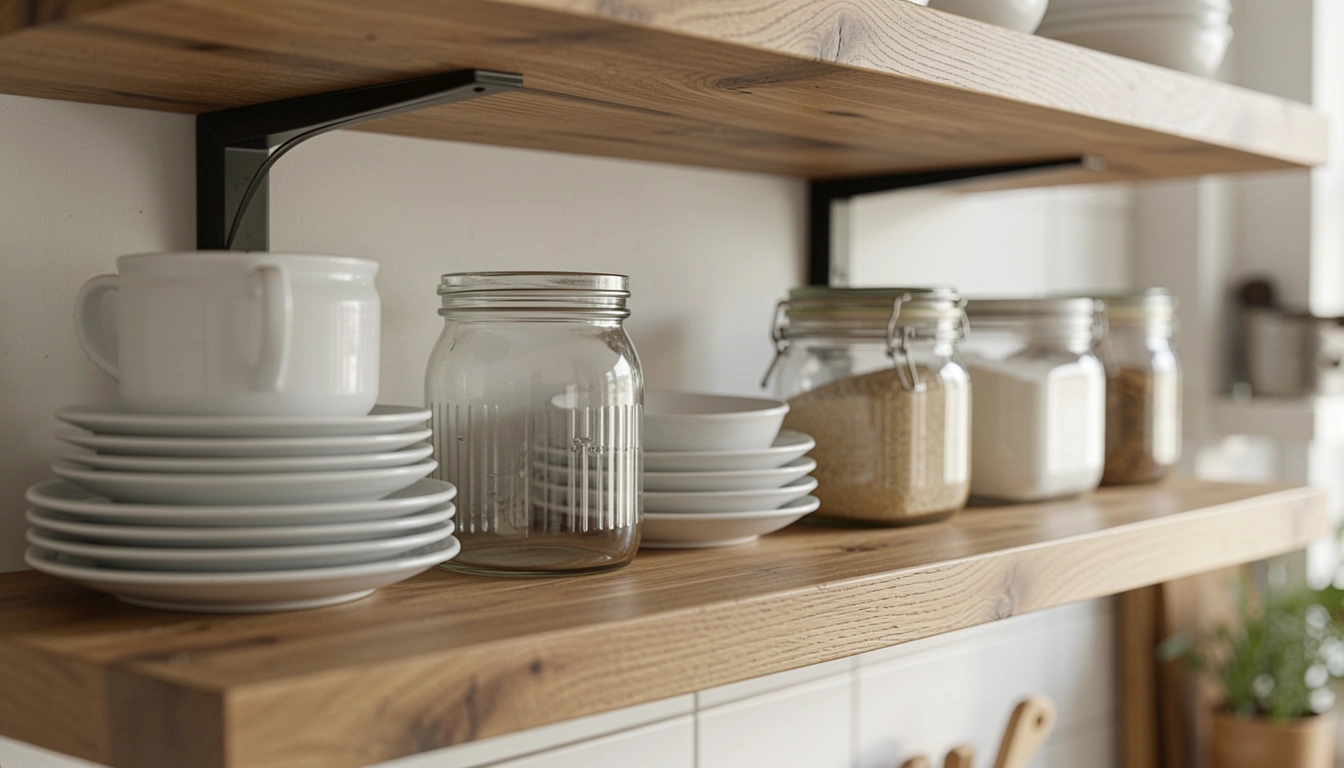
1. DIY Floating Shelves from 1×2 Pine Boards
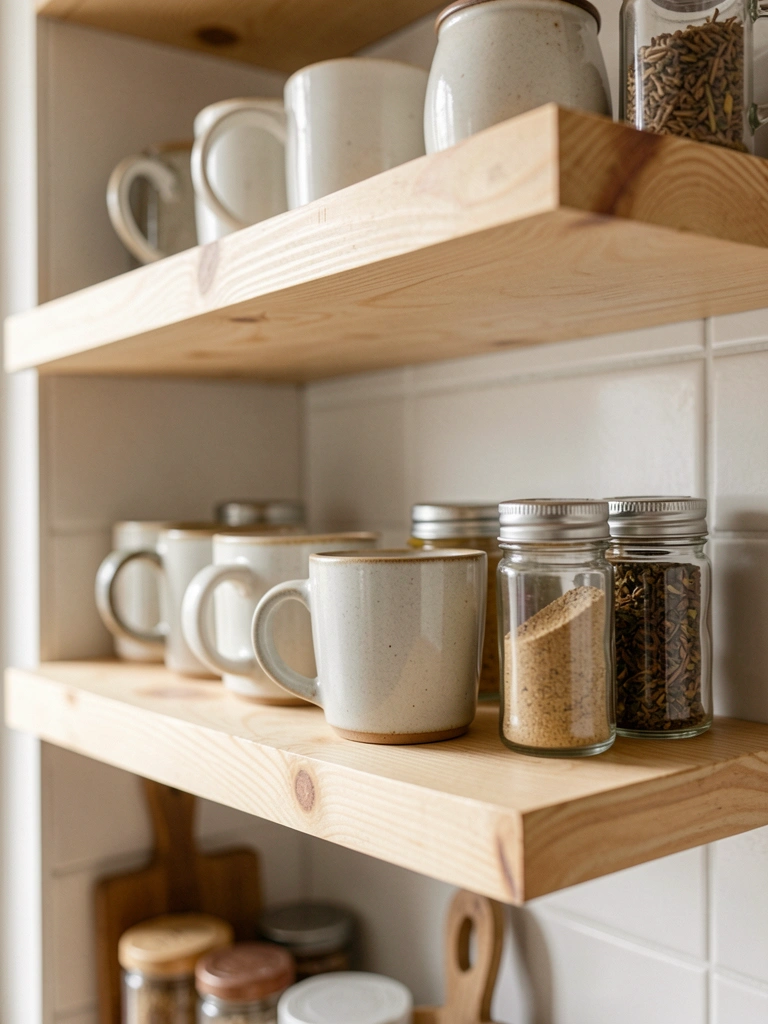
I grabbed 1×2 pine boards from the hardware store – under $5 each. Cut to fit above my sink, sanded lightly for a soft edge. Screwed into studs.
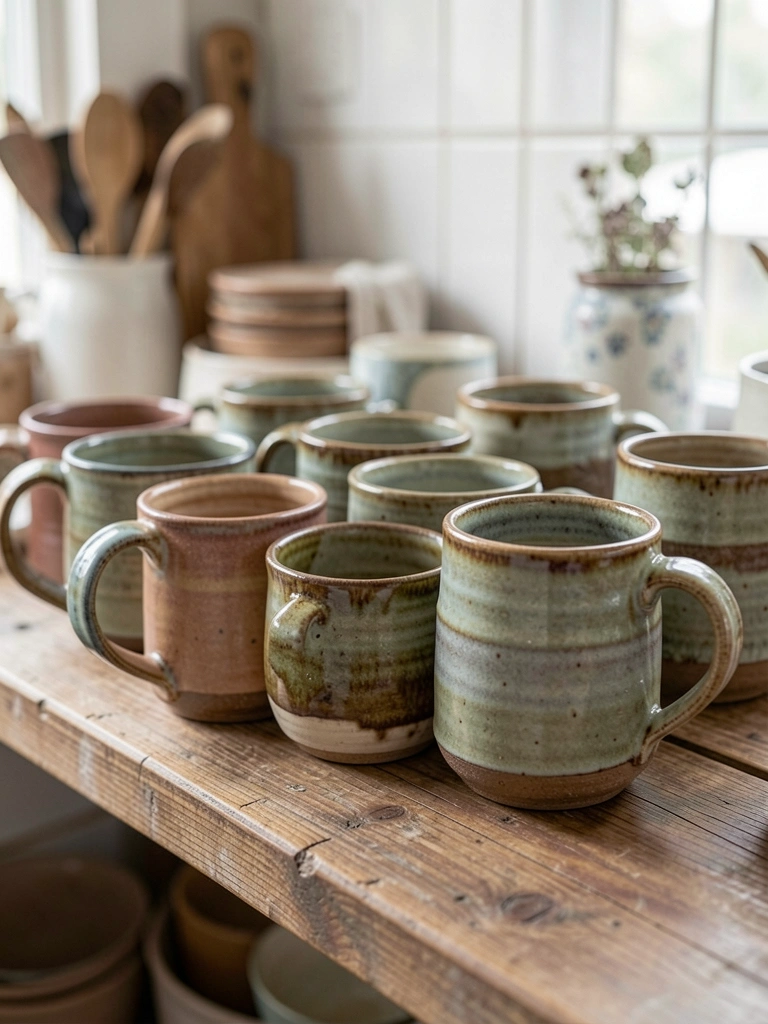
Mugs and dry goods went up. Counter space doubled. Light streams in now, makes mornings easier.
Watch the weight – heavy pots bow them. I learned after one sagged. Use brackets if needed.
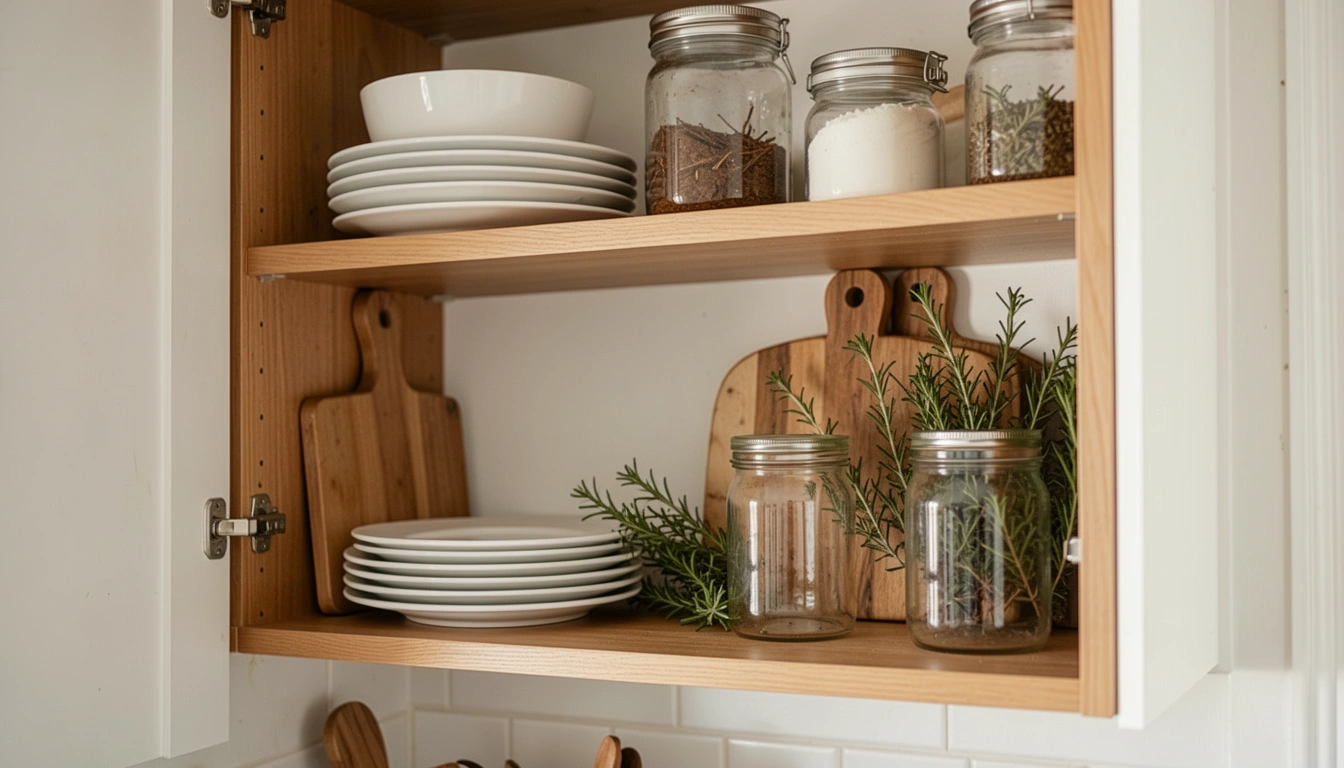
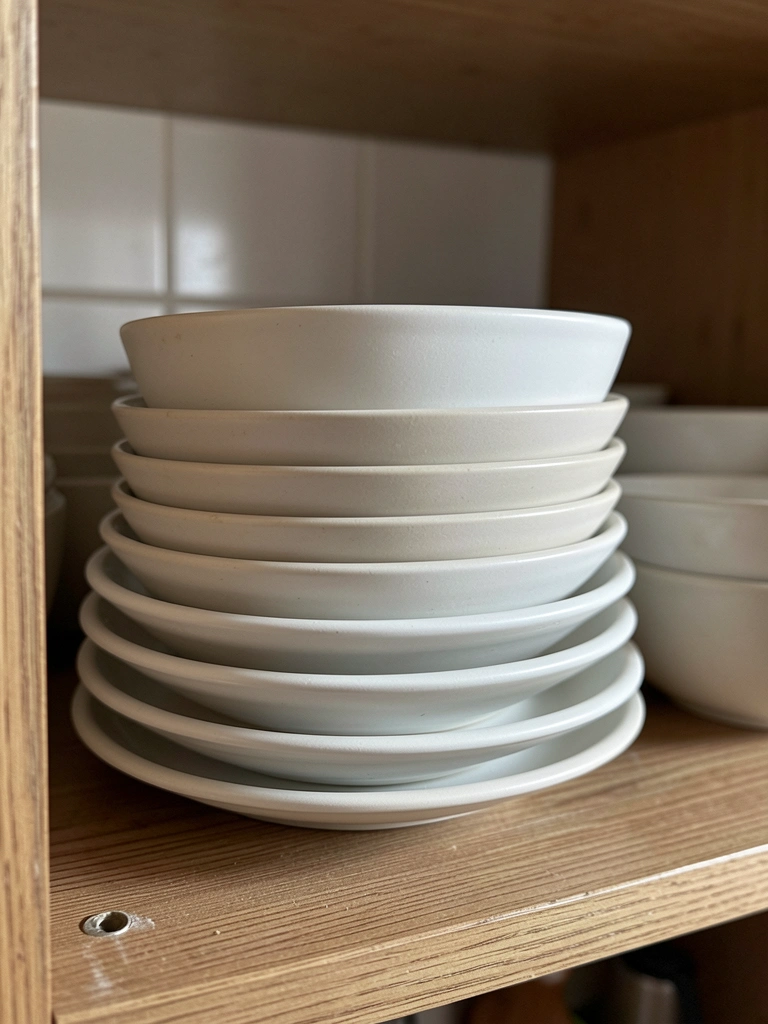
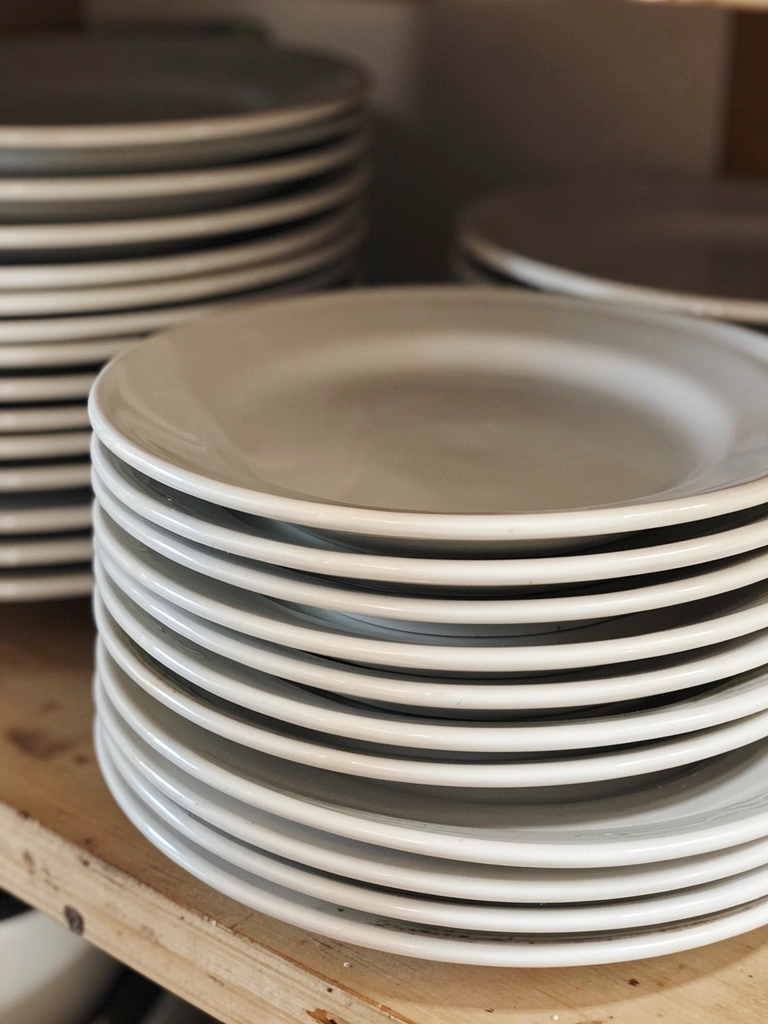
Space feels open, not cluttered. Stack plates vertically for easy grab.
What You’ll Need for This Look
- 1×2 pine boards (8 ft)
- Shelf brackets, matte black (6 inch)
- Wood screws (2 inch)
- Sandpaper sheets, medium grit
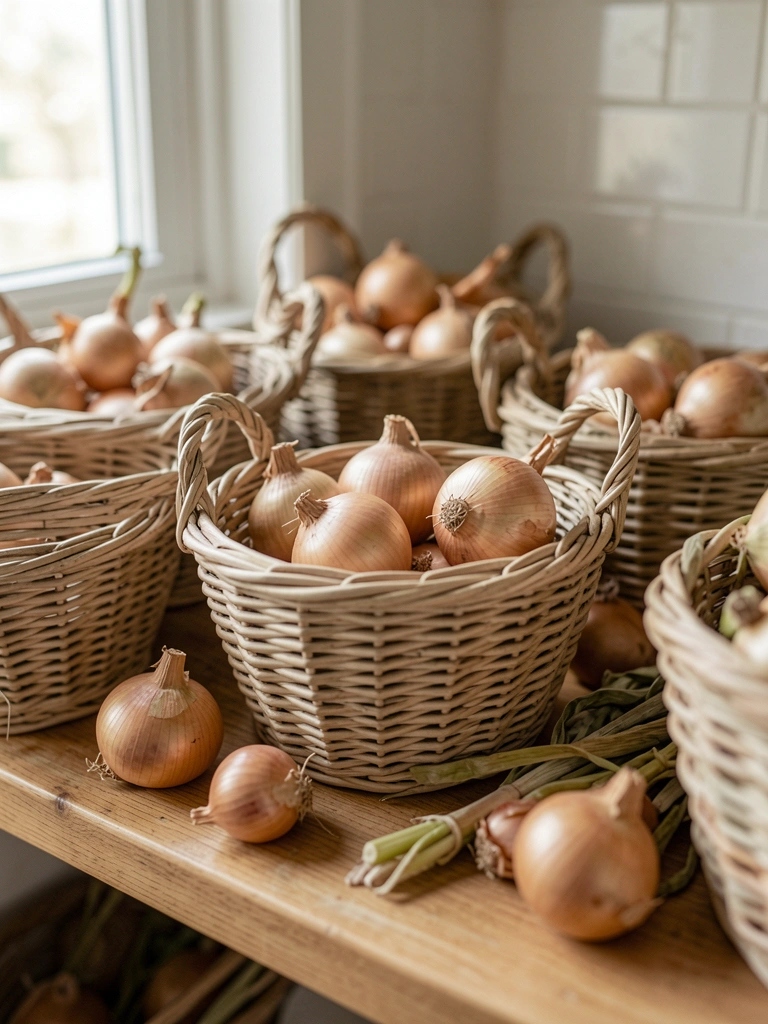
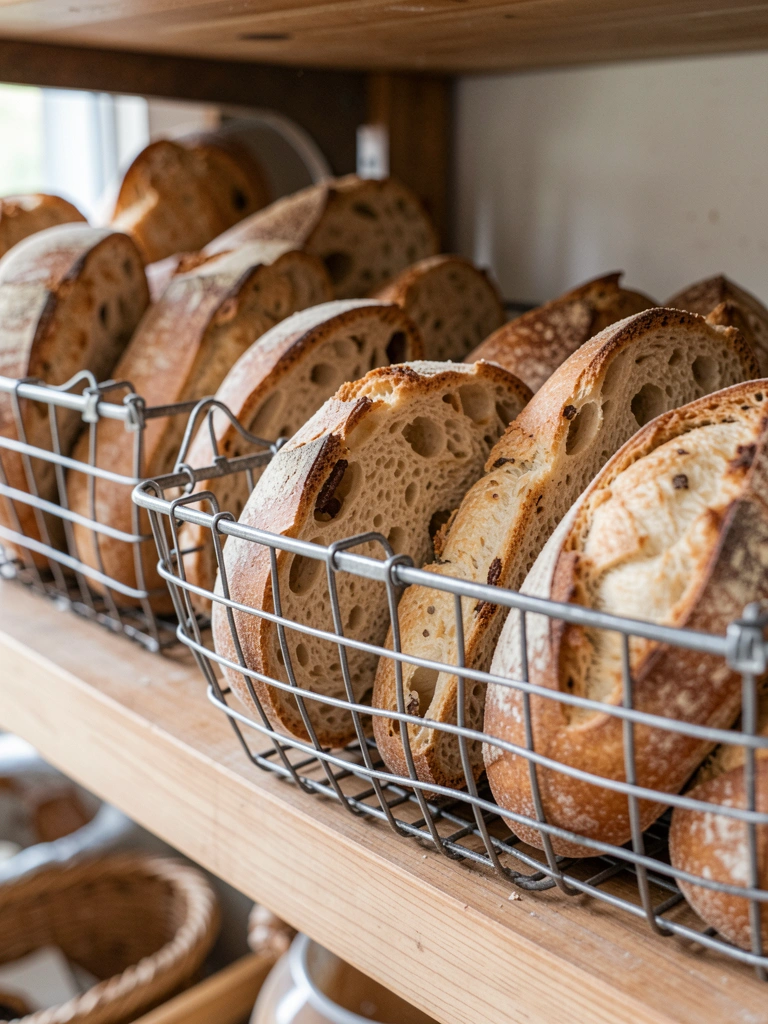
2. Wire Basket Wall Mounts for Veggies
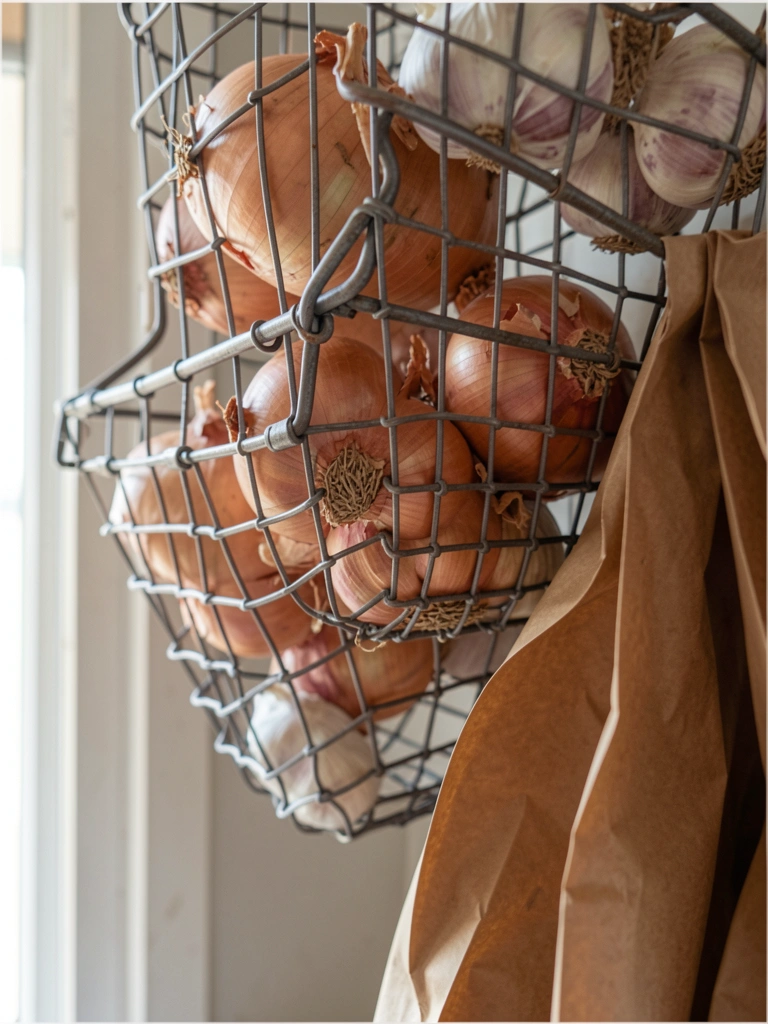
Wire baskets hooked right into the wall above my stove. Picked ones with handles for $10 a pair. Kept potatoes and onions off counters.
Air circulates, nothing spoils fast. Kitchen smells fresher.
Hang at eye level – too high strains your back. I moved mine down after reaching too much.
Visual break from solid shelves. Herbs peek through the mesh.
What You’ll Need for This Look
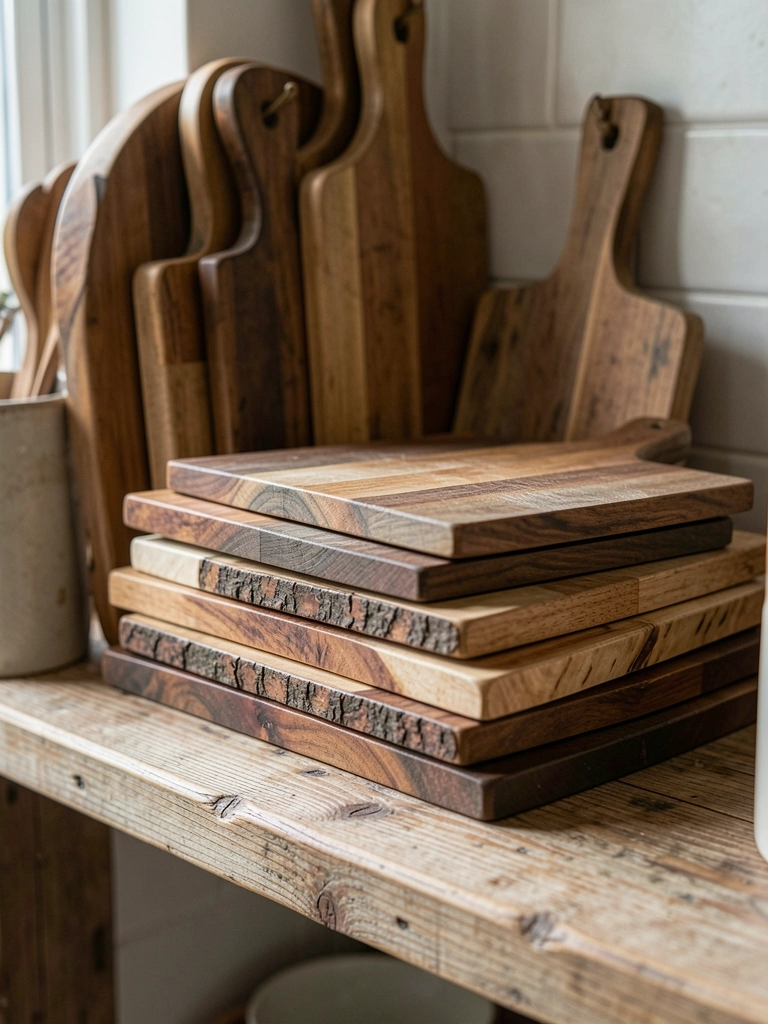
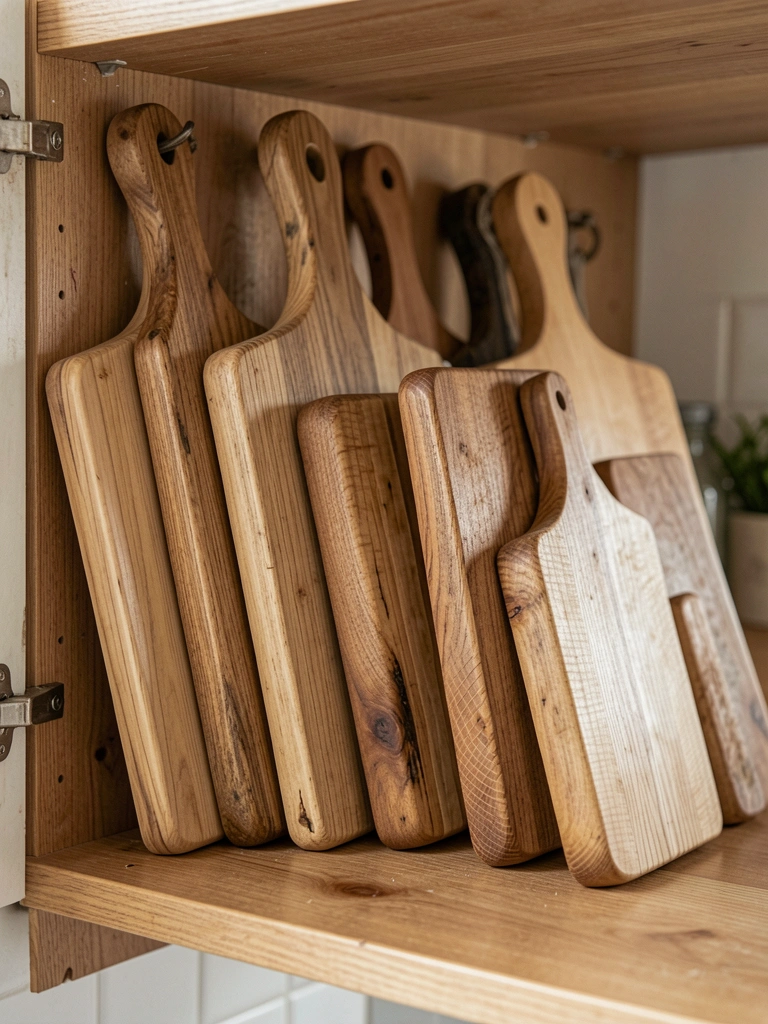
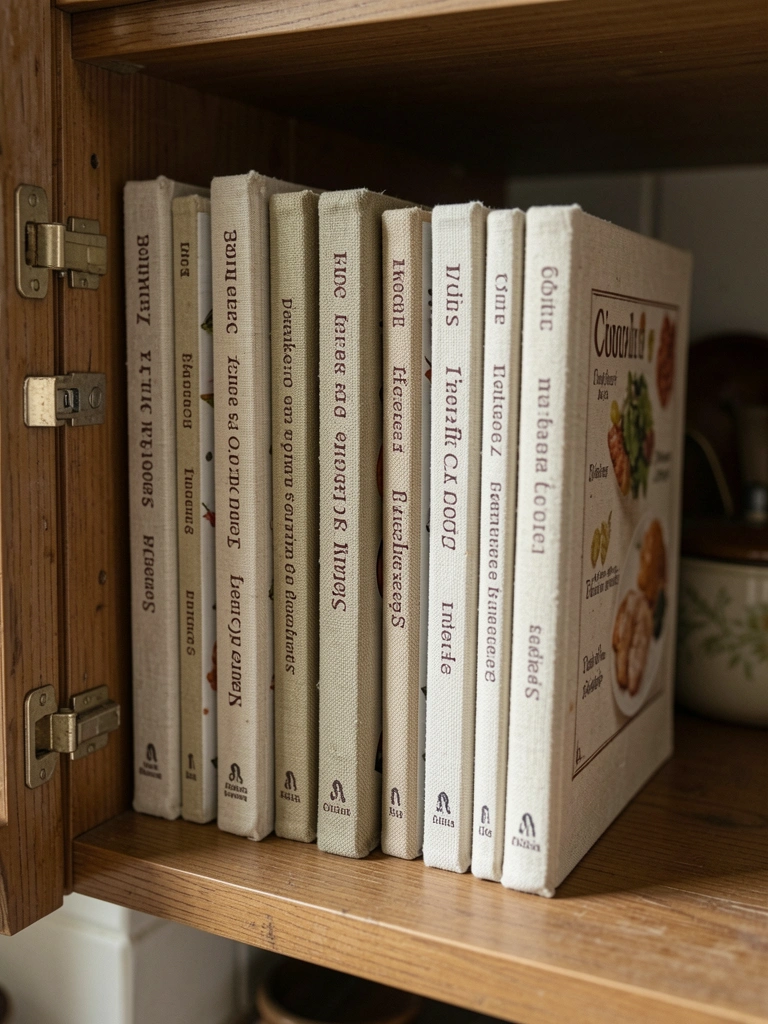
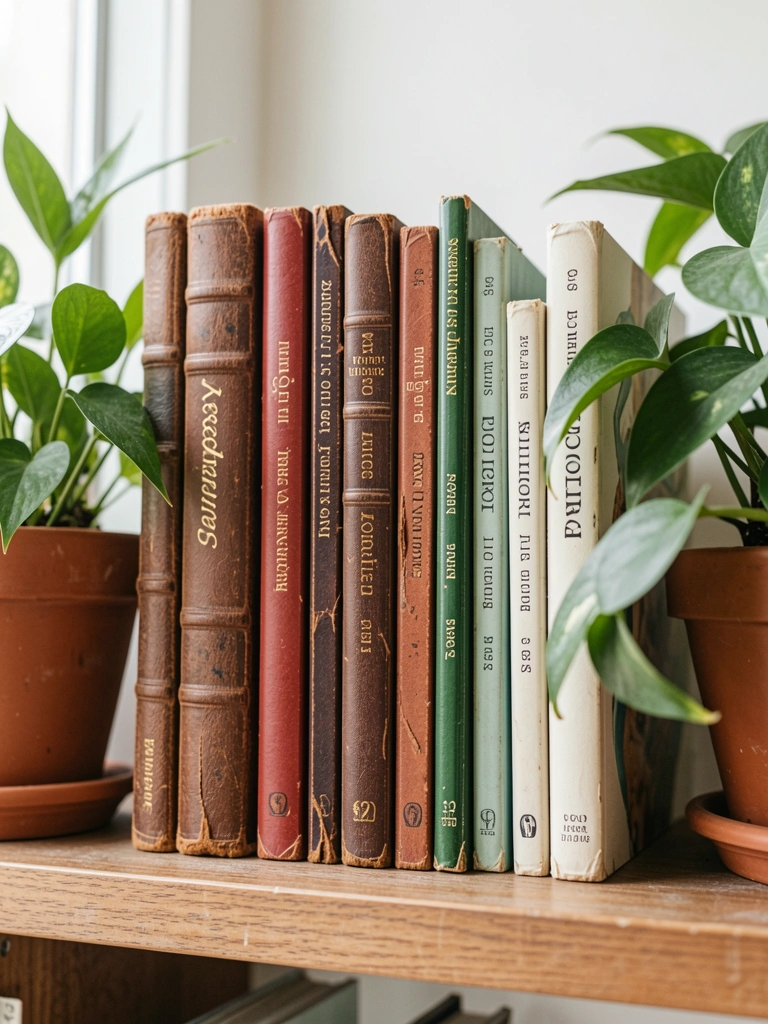
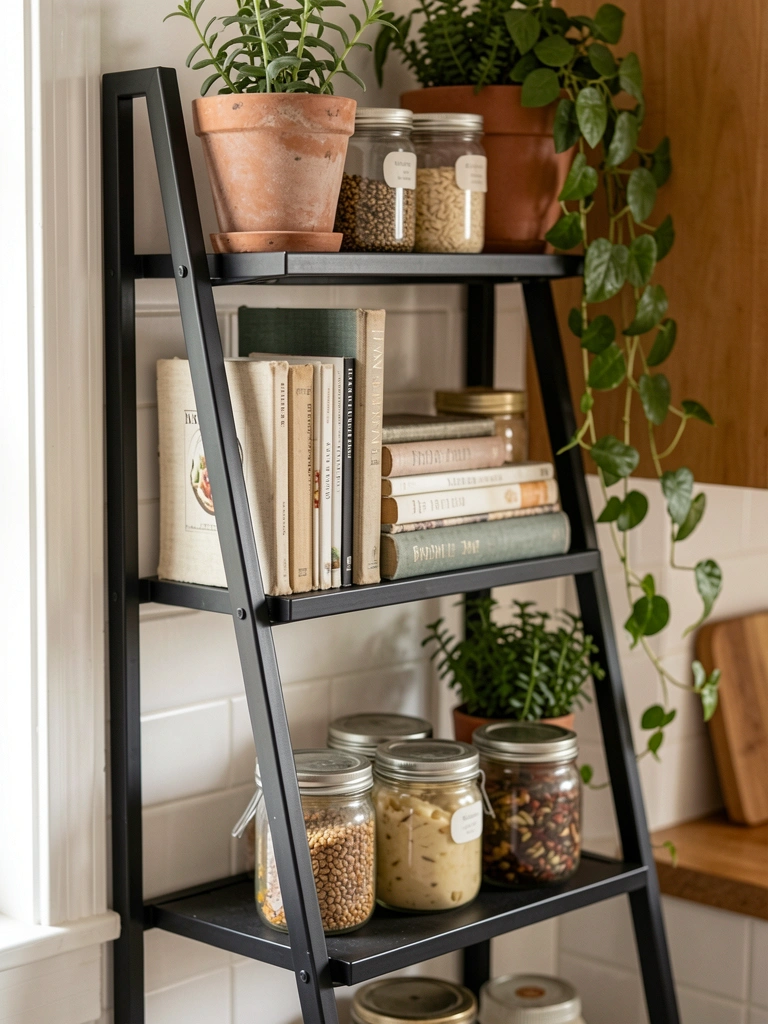
3. Repurposed Ladder as Leaning Shelf
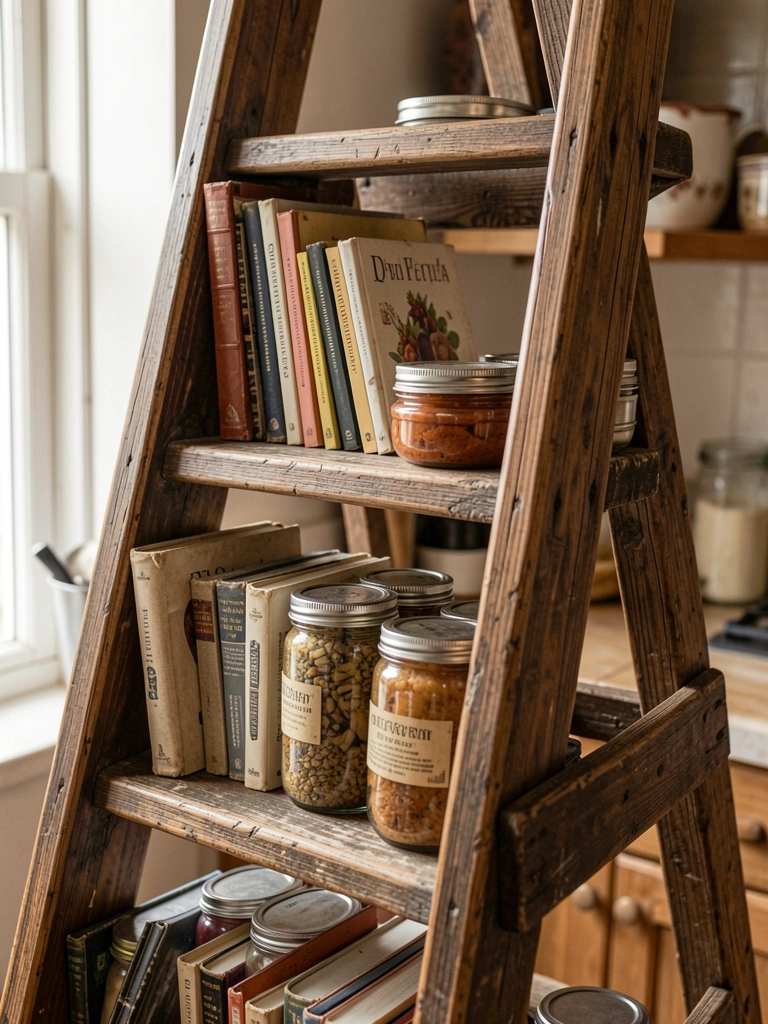
Found an old ladder at a yard sale for $20. Propped it in the corner, secured top to wall.
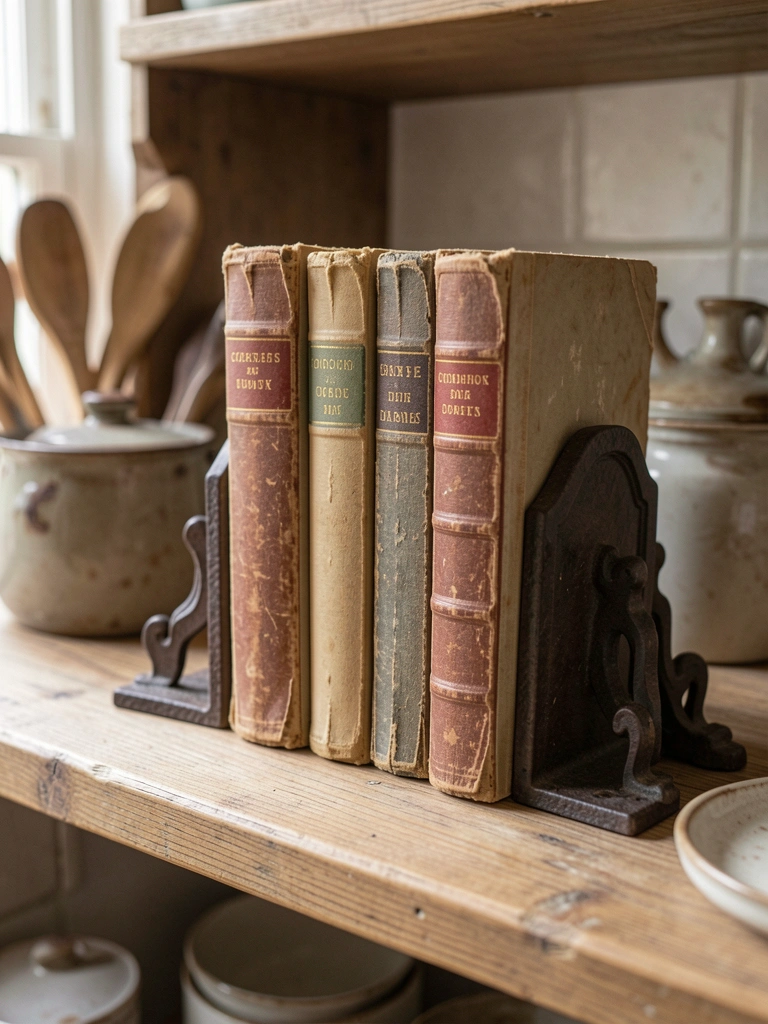
Books, cutting boards layered on rungs. Corner dead space gone. Feels rustic, steady.
Don't overload bottom – it tips if heavy. Added rubber feet for grip.
Warm wood tones warm up white cabinets.
What You’ll Need for This Look
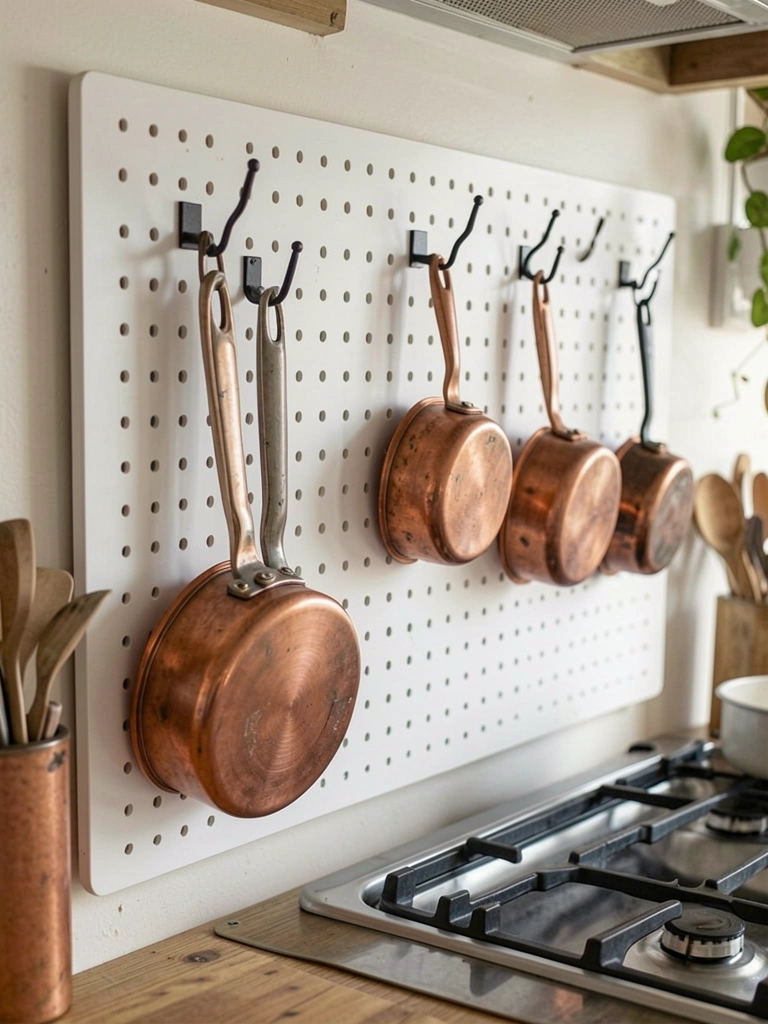
4. Pegboard Panels for Pots and Pans
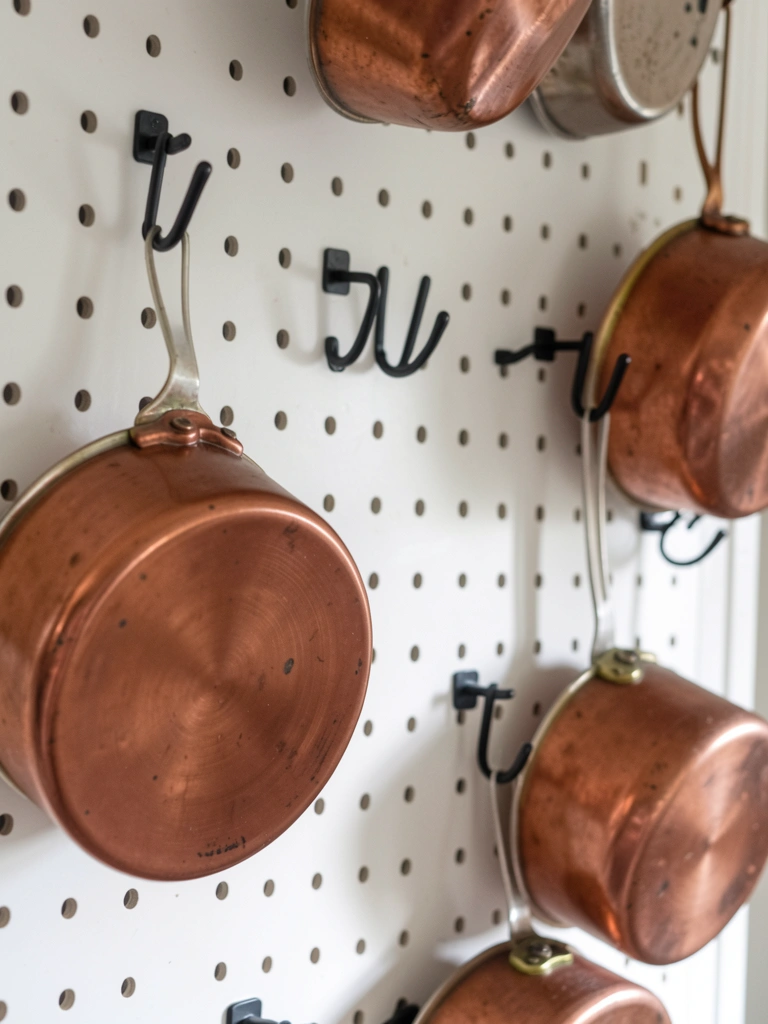
Screwed up a pegboard sheet behind the door. $15 total. Hooks hold pans, utensils.
Pots dangle easy access. No digging in drawers. Space feels organized, not junky.
Test hook spots first – mine slipped once. Use locking hooks now.
Flexible for changes. Modern edge without cost.
What You’ll Need for This Look
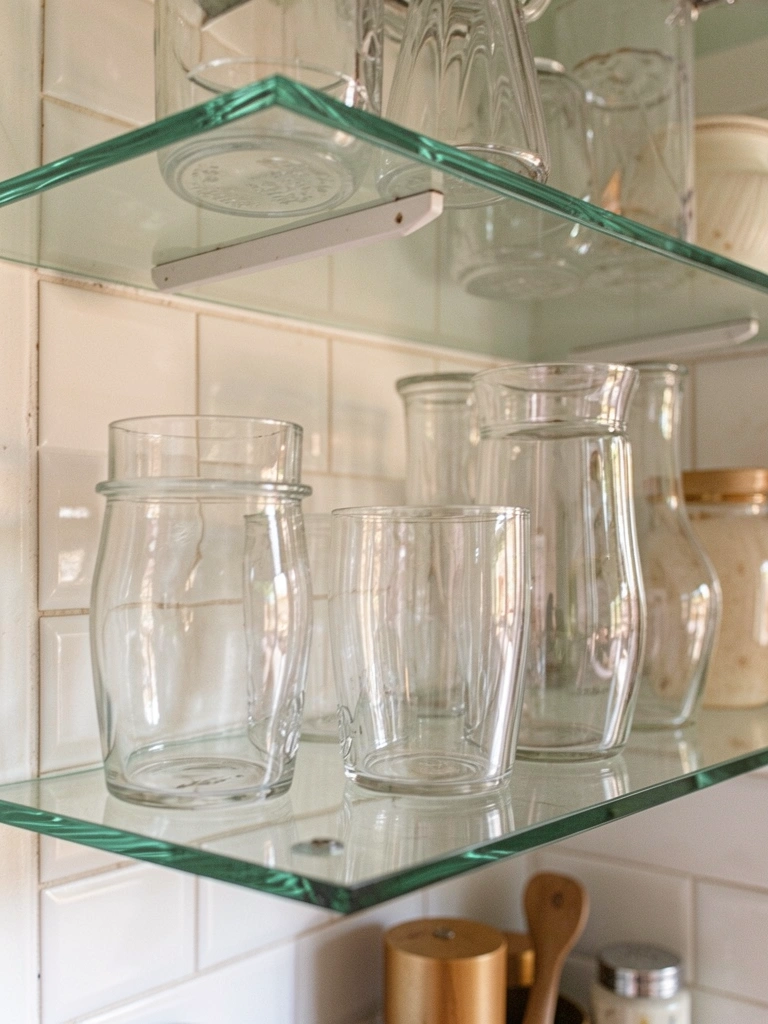
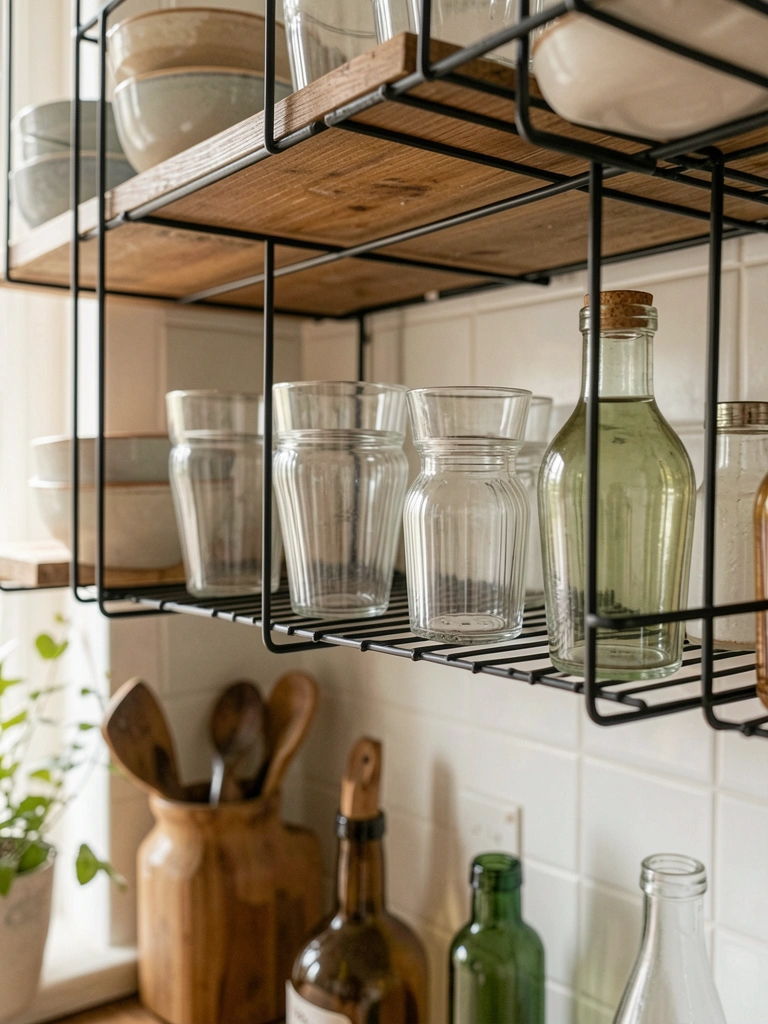
5. Black Pipe Shelves Over the Sink

Plumbing pipes and wood planks made industrial shelves. $30 for parts. Mounted over sink.
Sponges, recipe books stay dry. Splashes wipe off easy.
Pipe fittings can loosen – tighten yearly. Tightened mine after a wobble.
Edgy look, holds up to steam.
What You’ll Need for This Look
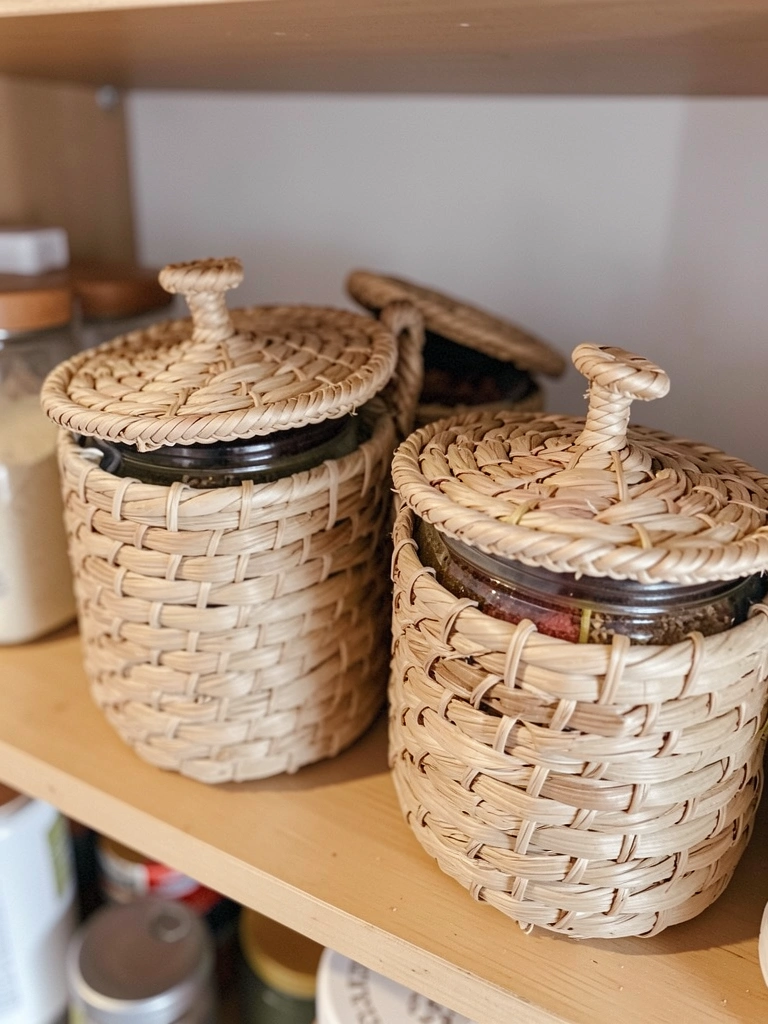
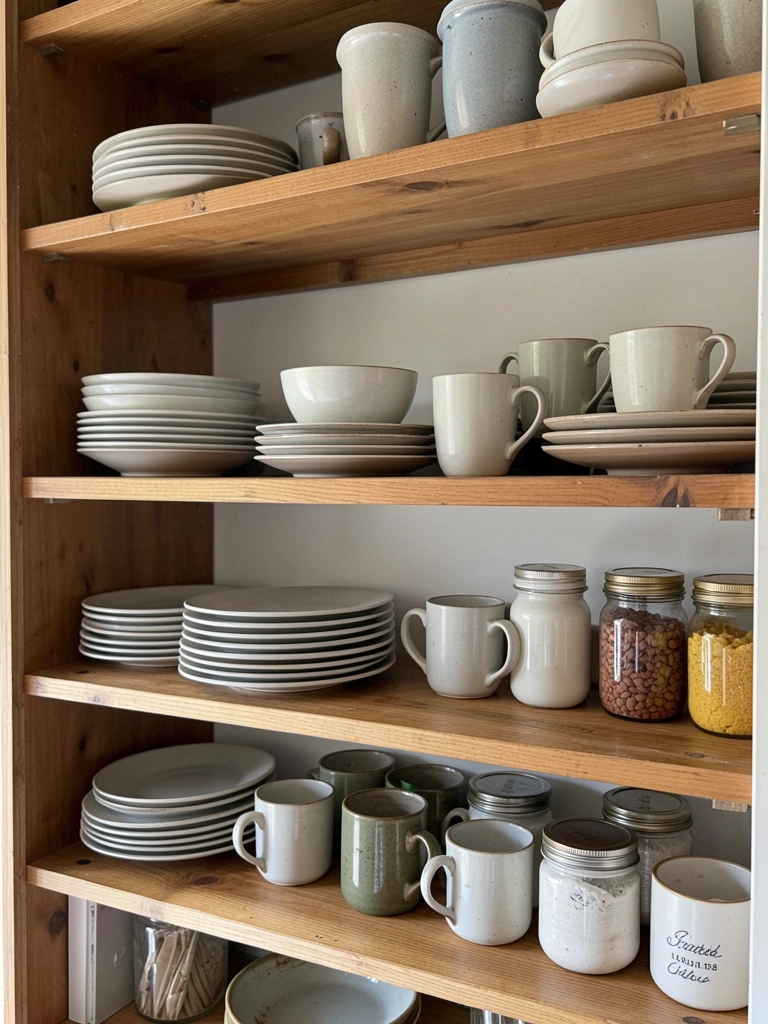
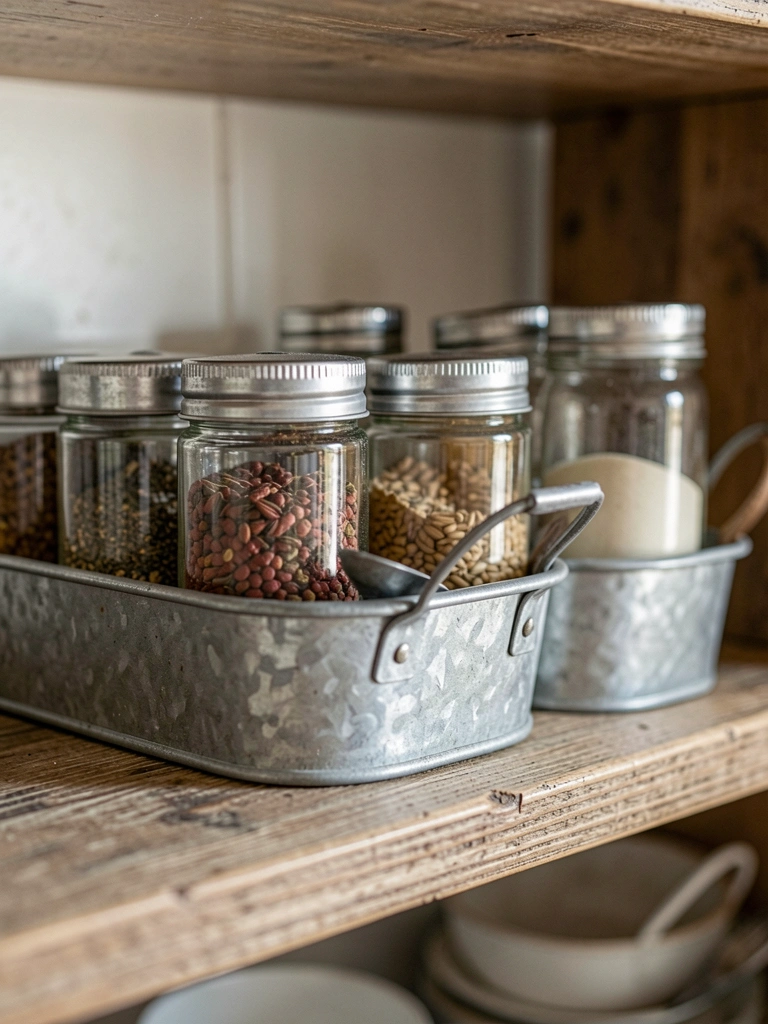
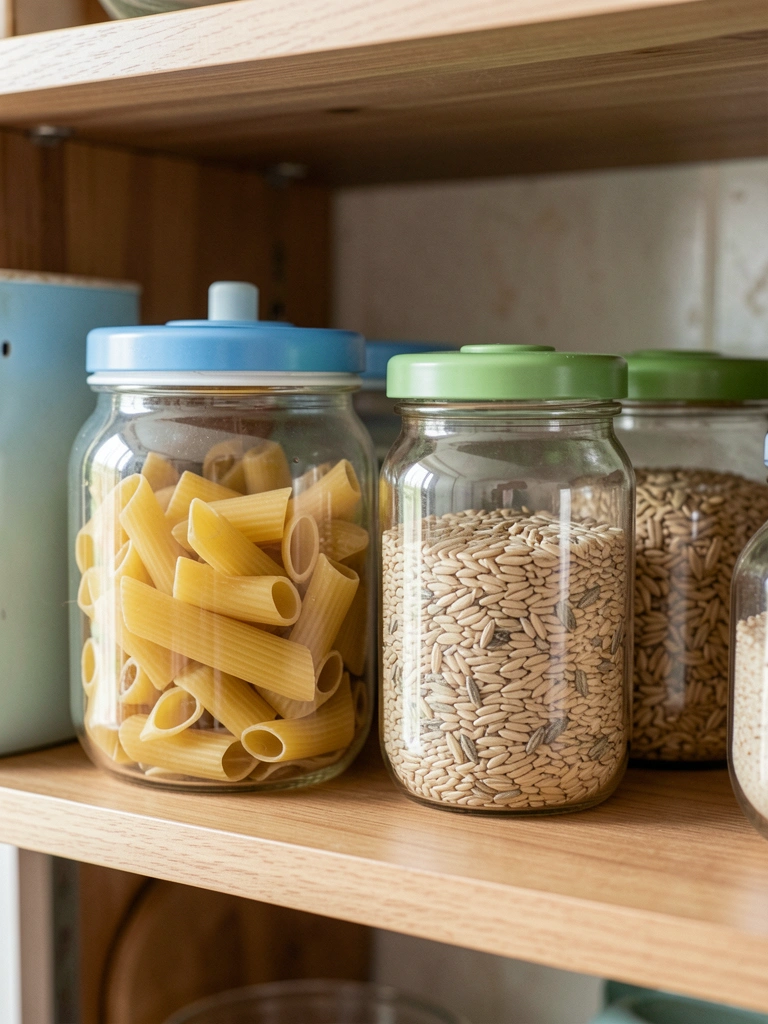
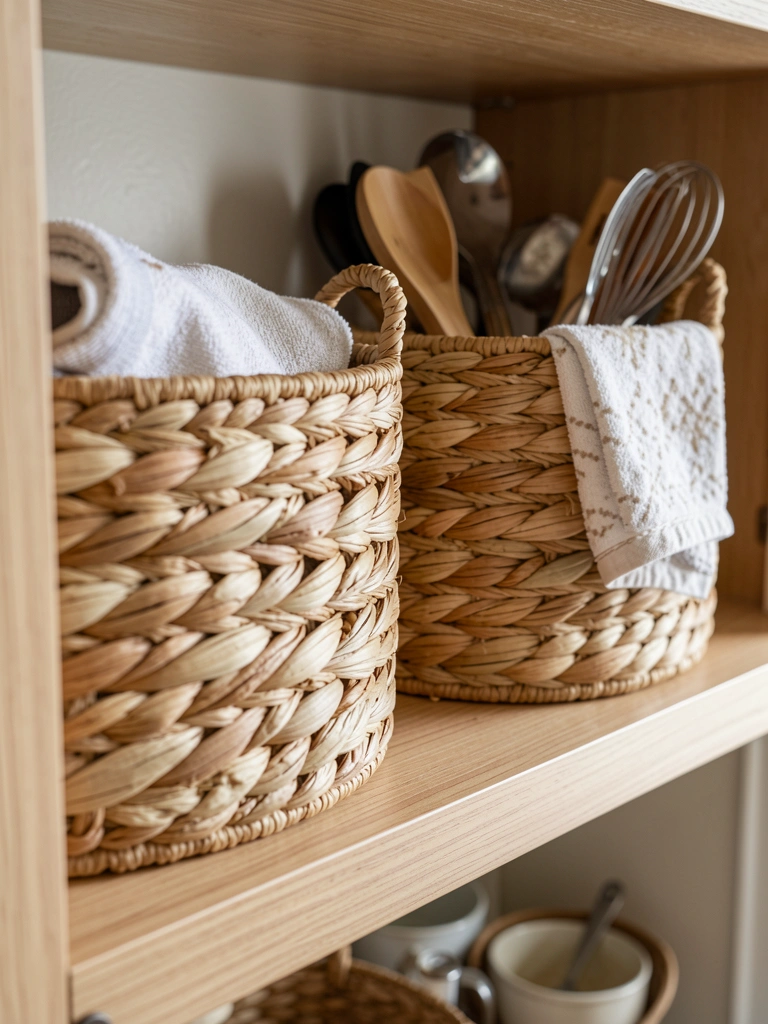
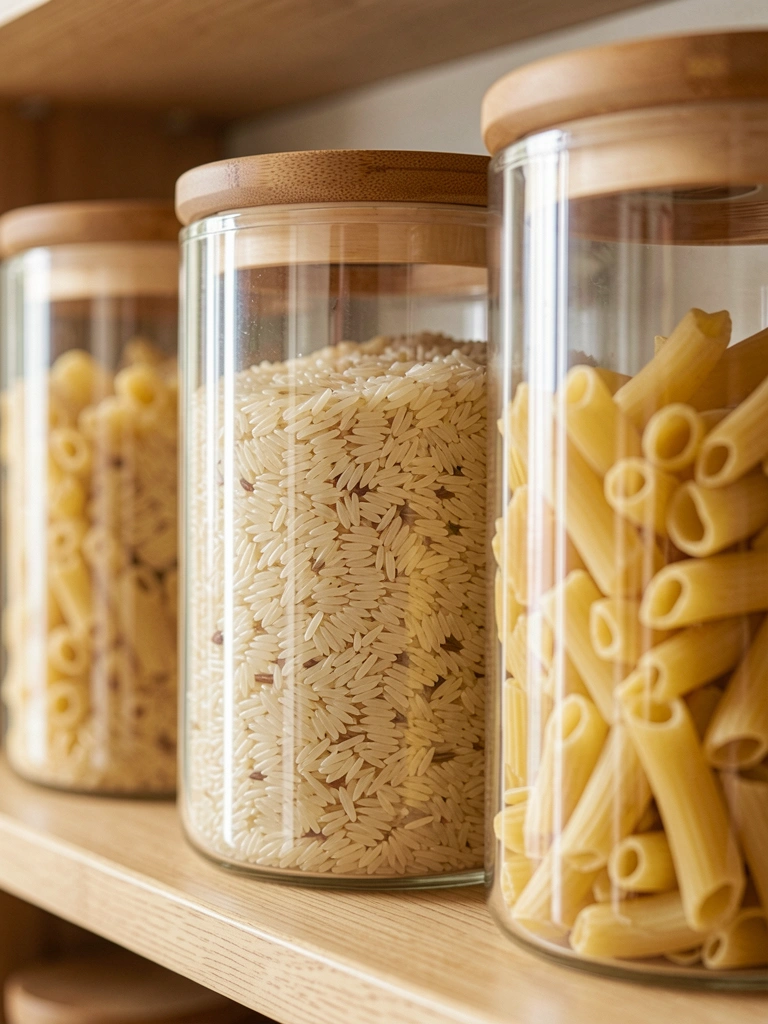
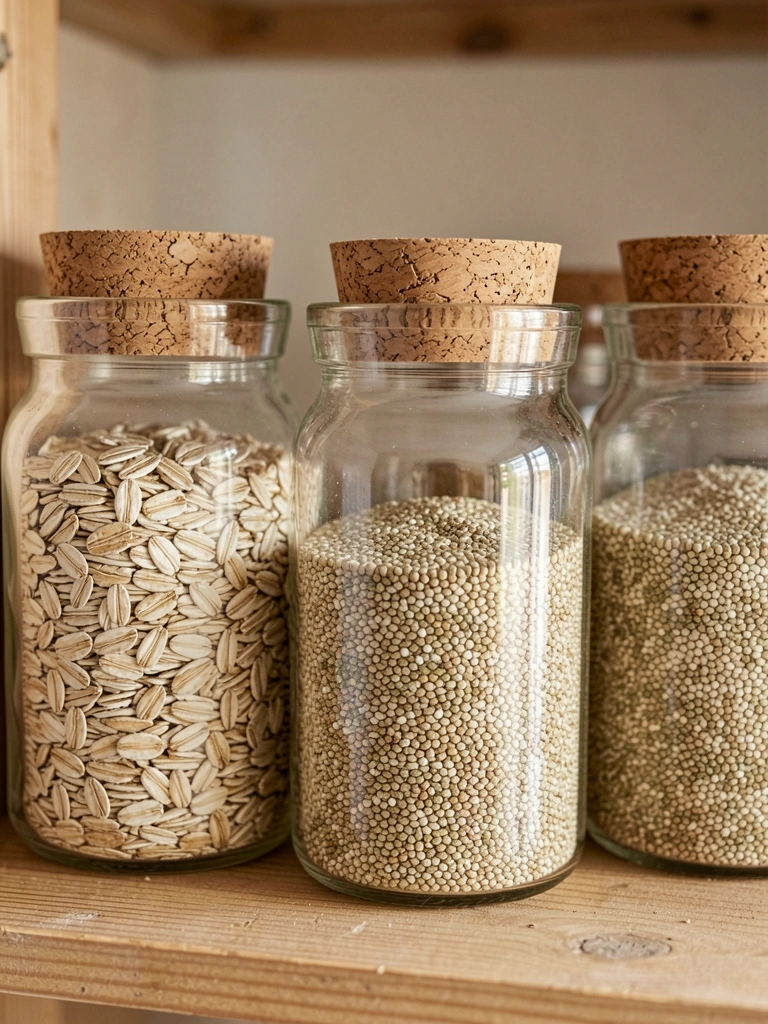
6. Stacked Wooden Crates for Dry Goods
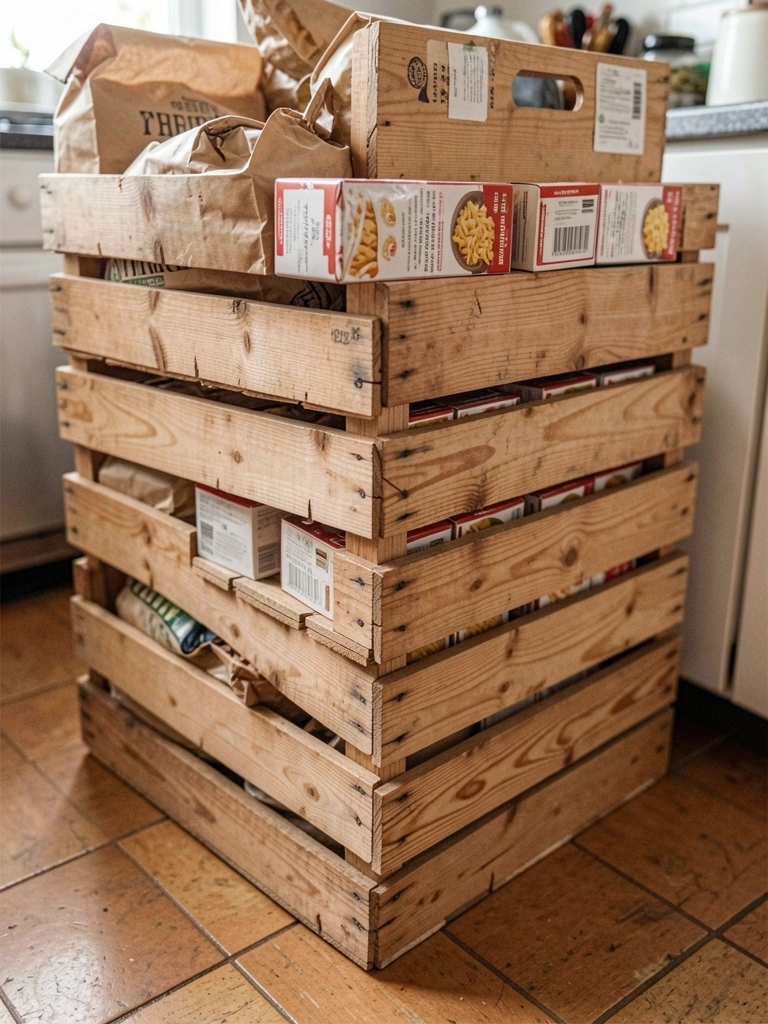
Bought crates for $8 each, stacked against wall. Pasta, rice inside.
Floor to waist height, no climb needed. Cozy pantry vibe.
Line with paper if spills worry you. Flour dusted mine once.
Cheap, movable storage.
What You’ll Need for This Look
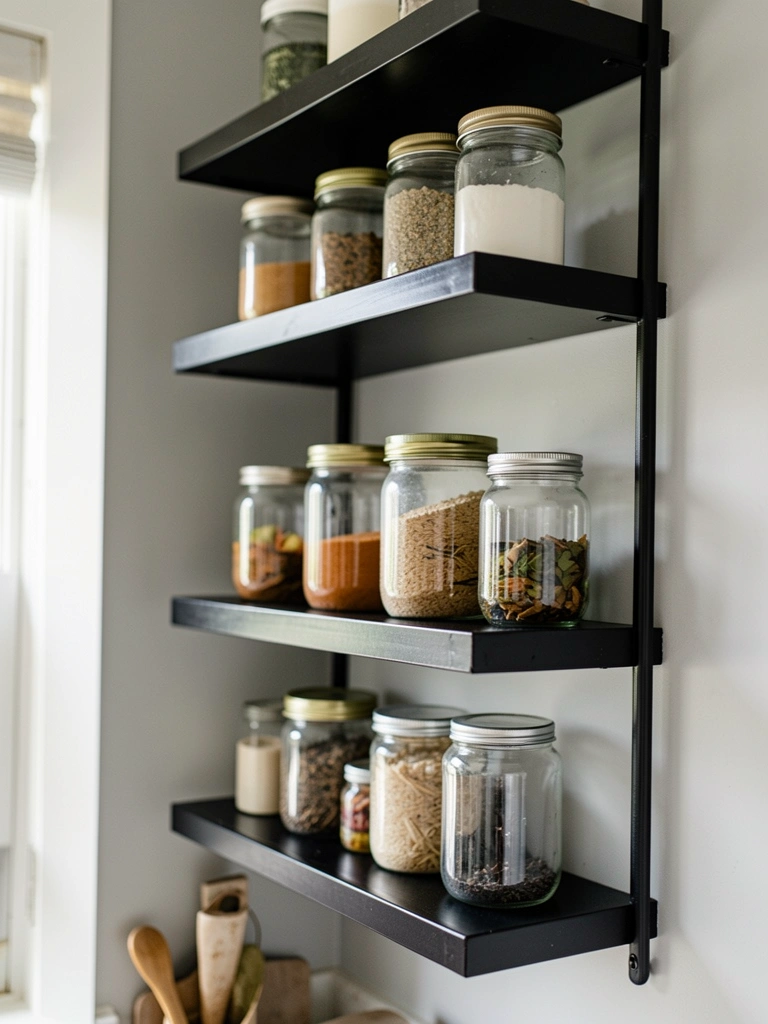
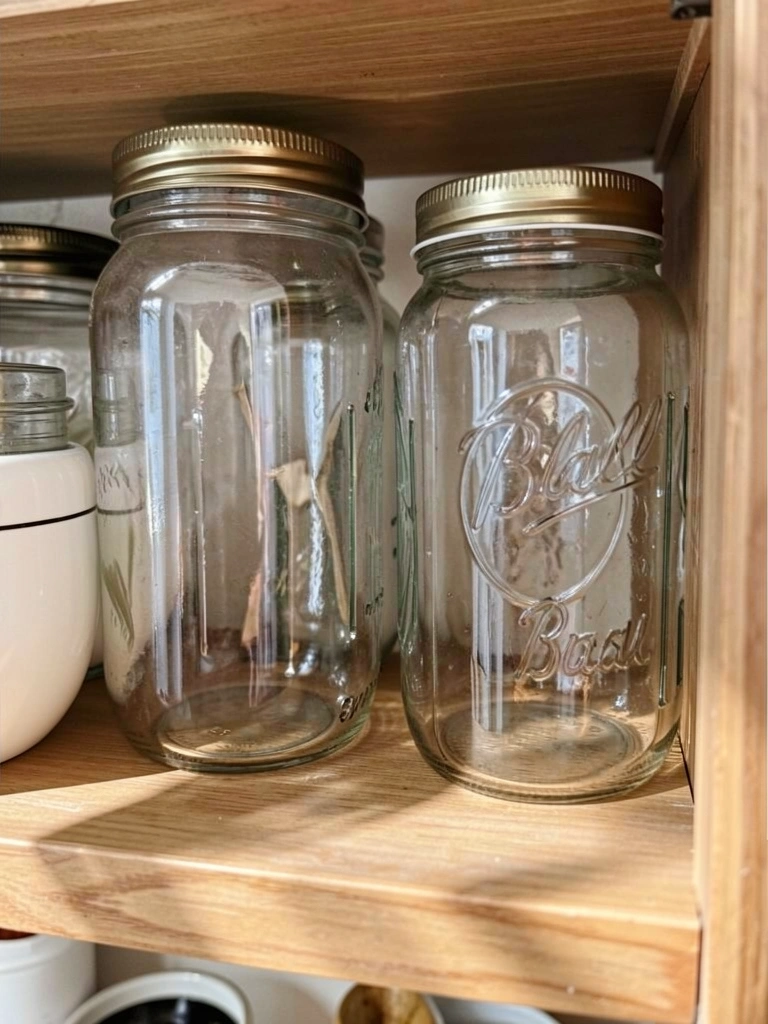
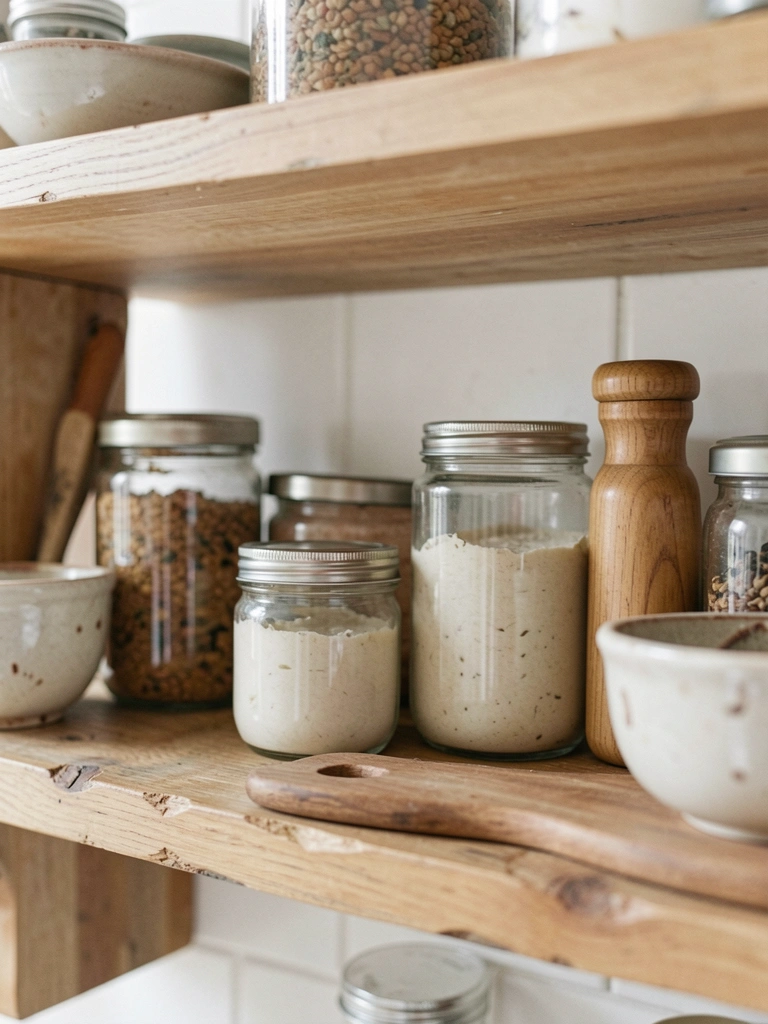
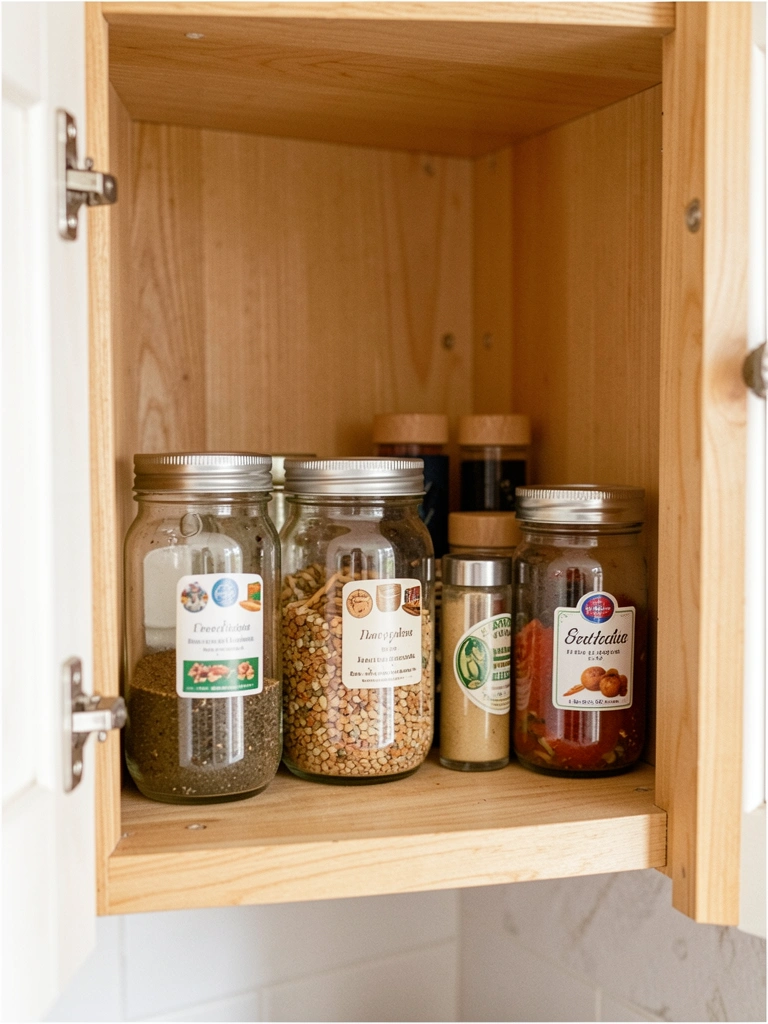
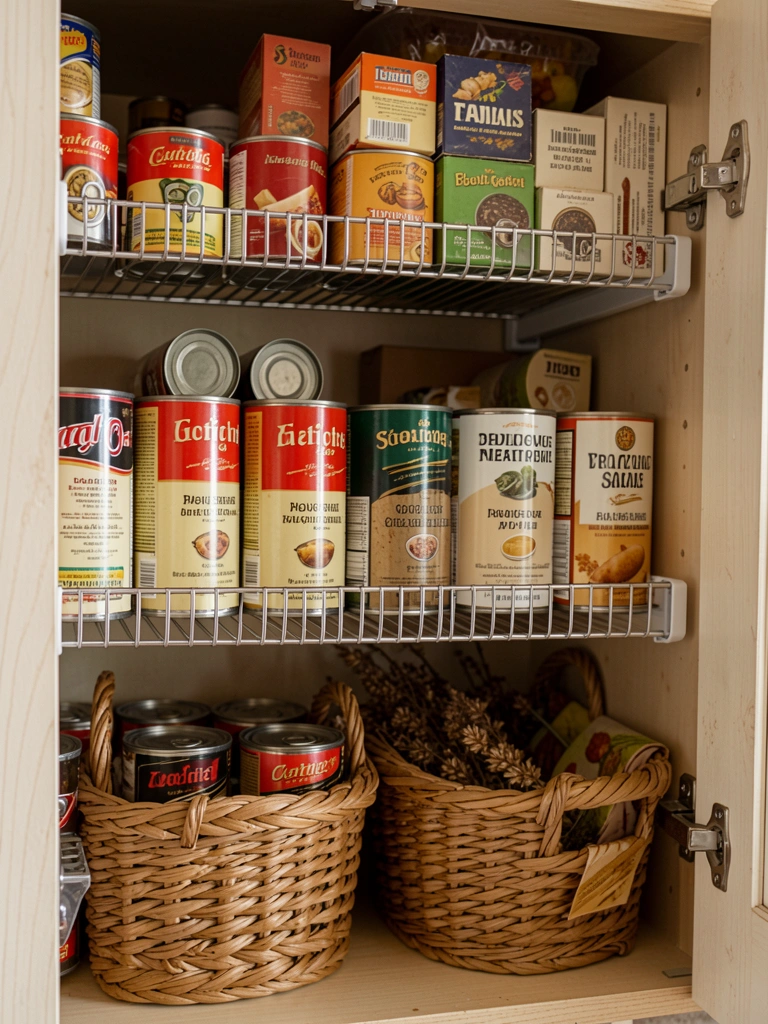
7. Tension Rods Inside Cabinets for Jars

Tension rods across cabinet depths. $5 pack. Jars slide on, tiered.
Double shelf space inside doors. Spices alphabetized now.
Size rods right – too short slips. Swapped mine for thicker.
Hidden, maxes cabinets.
What You’ll Need for This Look
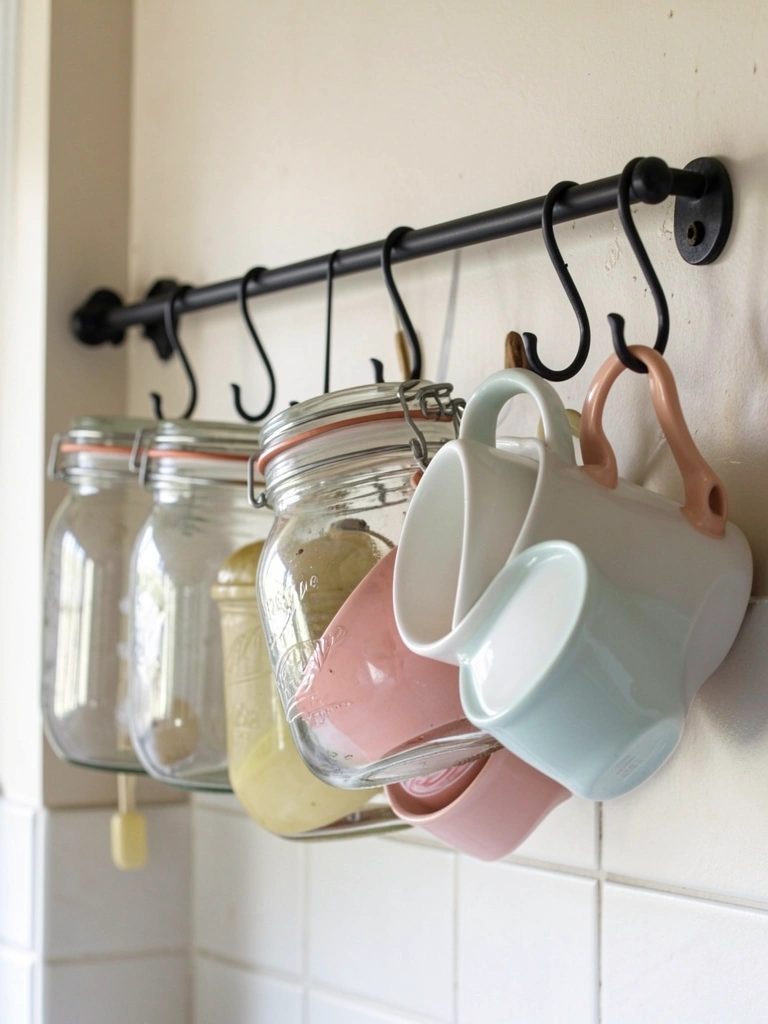
8. Magnetic Strips for Knives and Utensils

Stuck magnetic strips under cabinets. $12 for two. Knives, metal jars attach.
Drawer clutter gone. Grab tools fast.
Clean often – grease builds. Wiped mine weekly now.
Sleek, safe from kids.
What You’ll Need for This Look
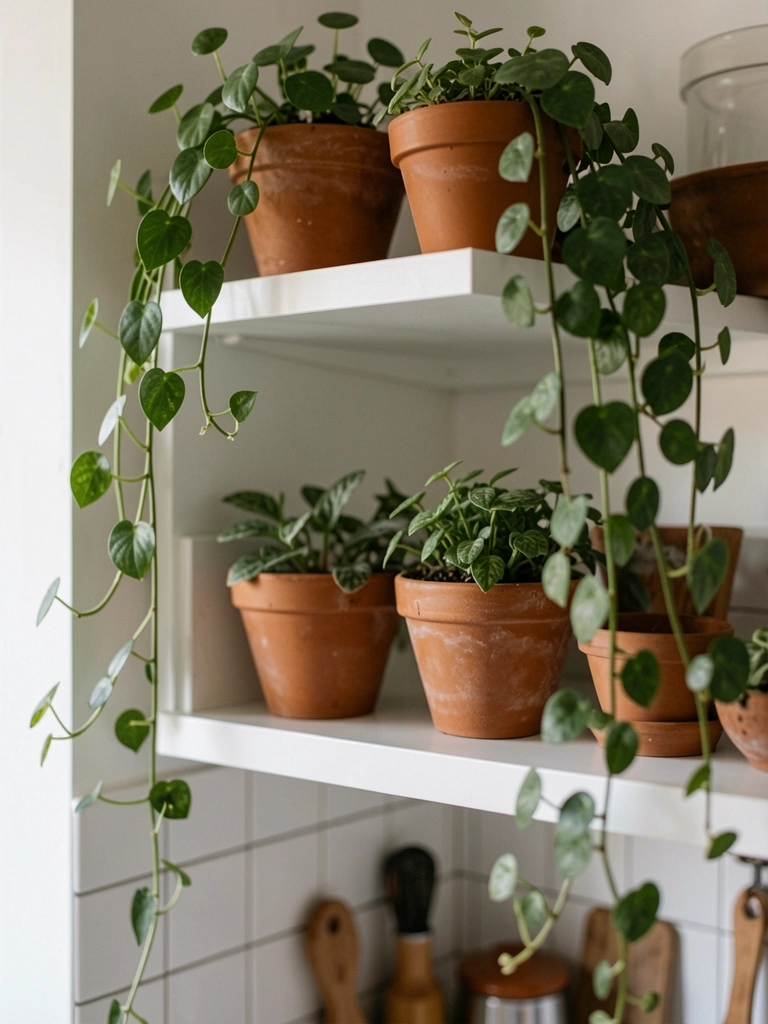
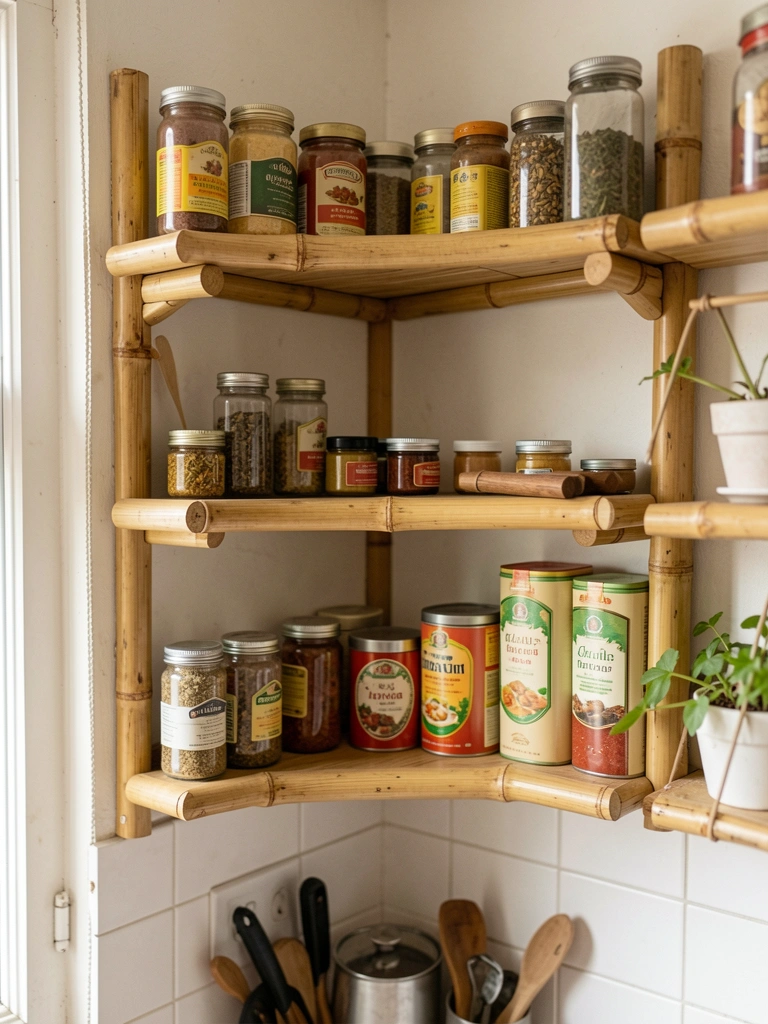
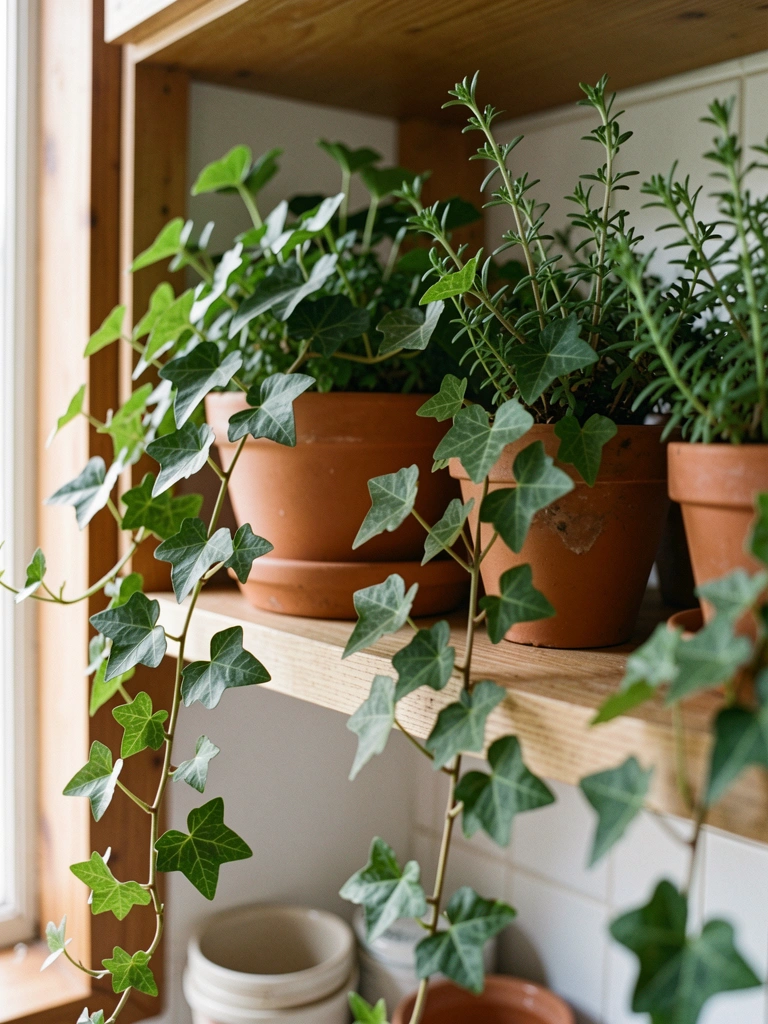
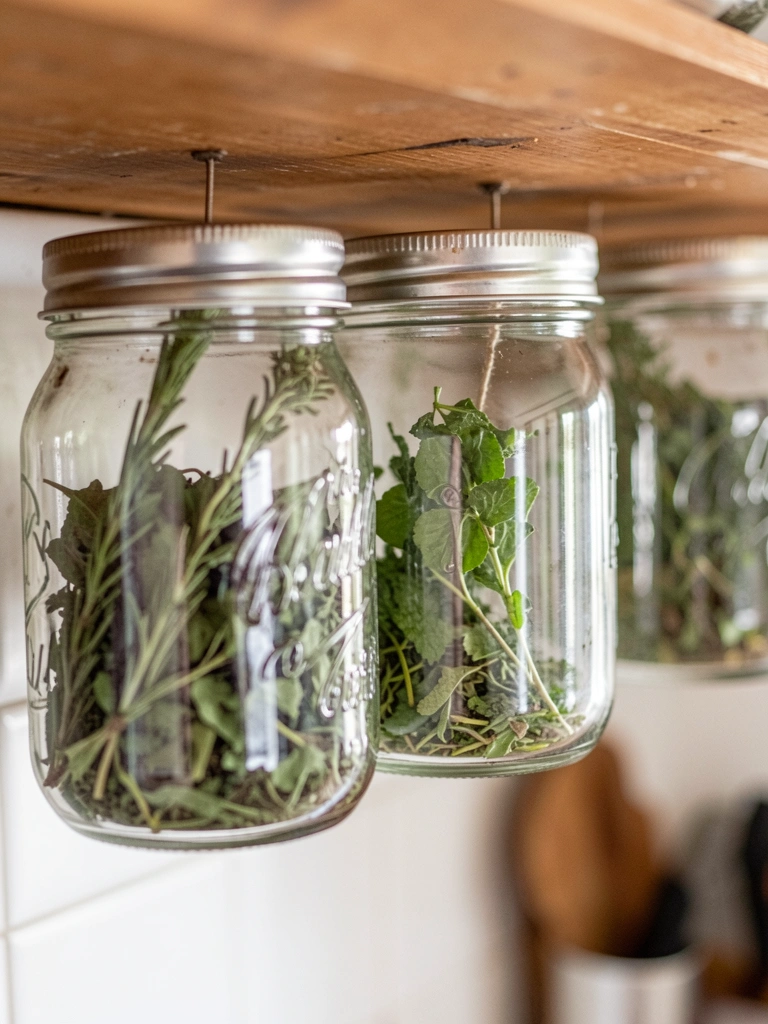
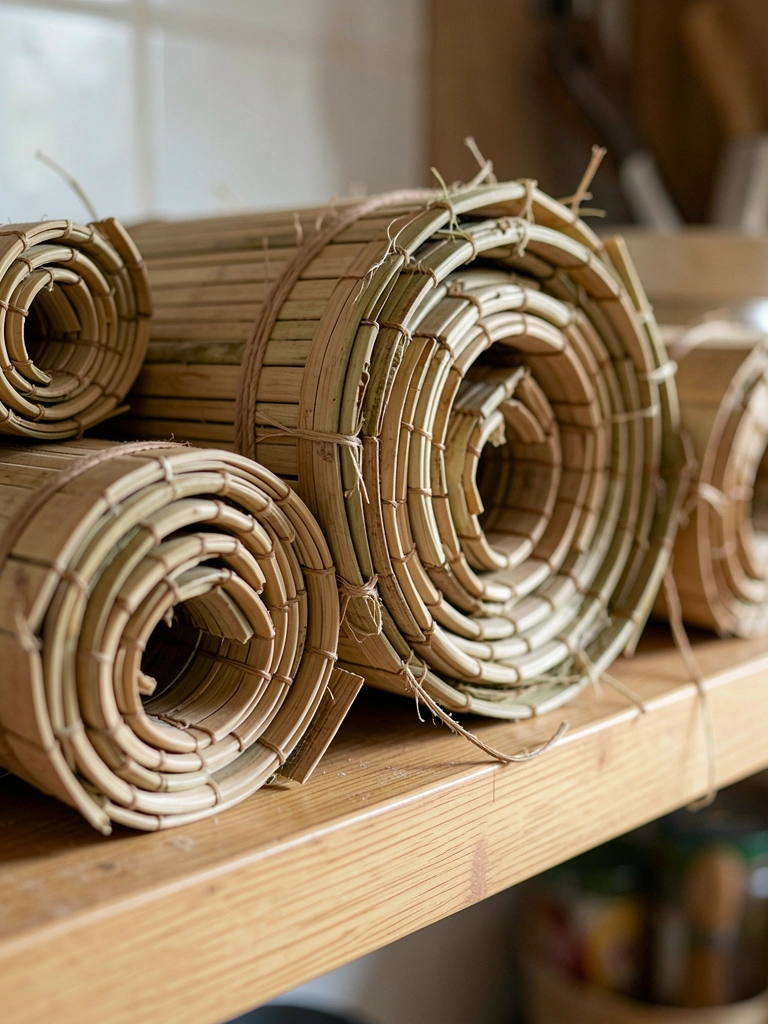
9. Bamboo Rack Over the Window
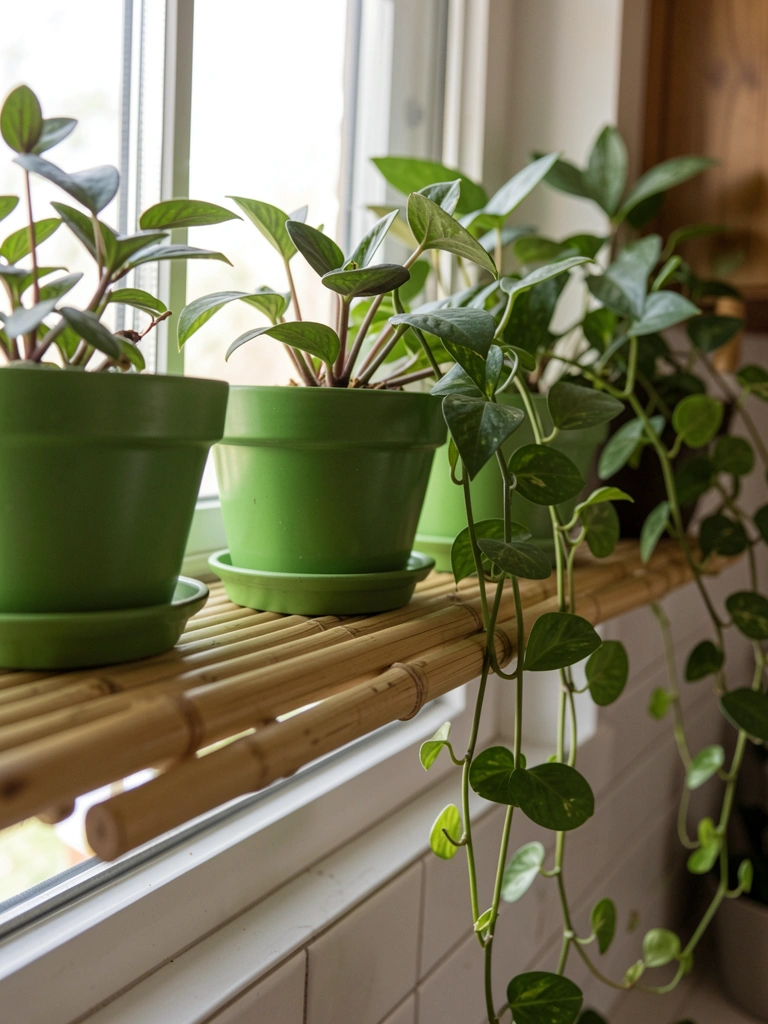
Bamboo rack bridged window frame. $15. Herbs and teas up top.
Light filters through leaves. Cooks brighter.
Secure brackets – wind rattled mine loose once. Added washers.
Natural, light weight.
What You’ll Need for This Look
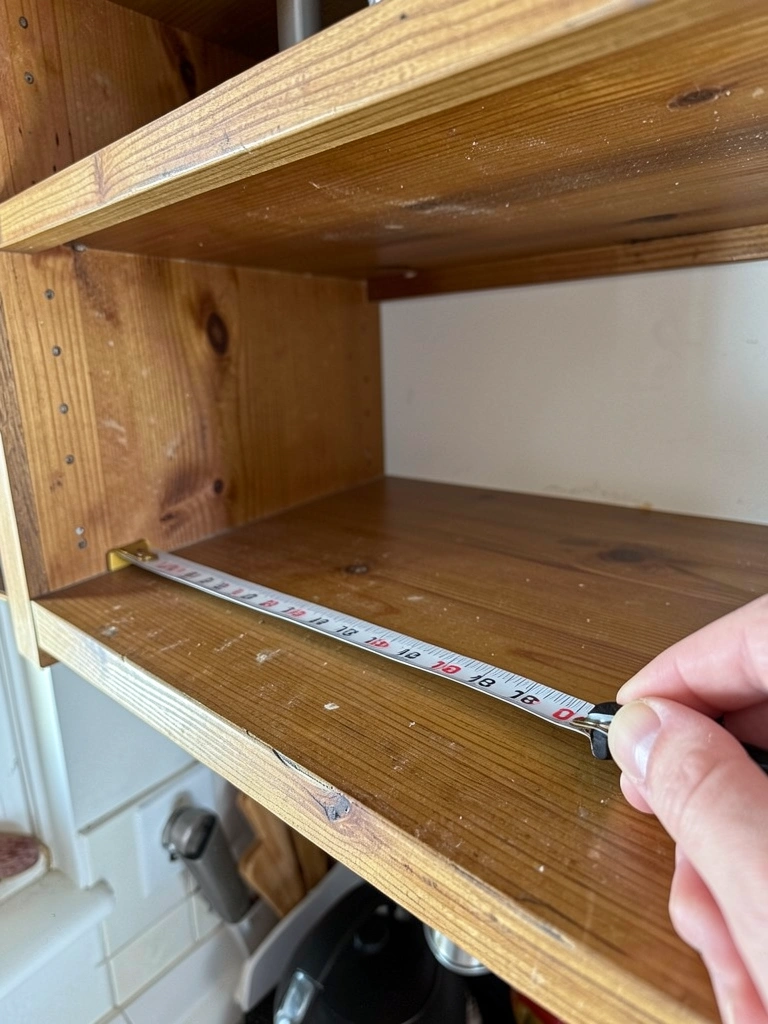
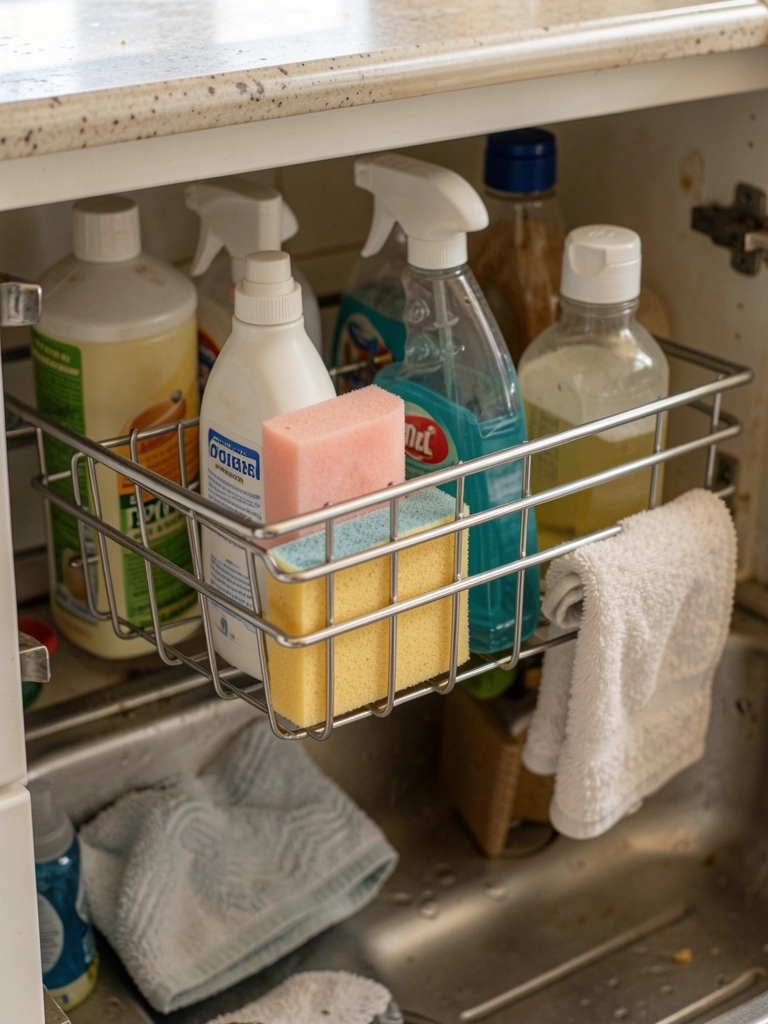
10. Pull-Out Under Sink Organizer

Sliding wire basket under sink. $20. Cleaners stack neat.
Pipes fit around. No more lost sponges.
Measure depth first – too wide jams. Trimmed mine slightly.
Practical, damp-proof.
What You’ll Need for This Look
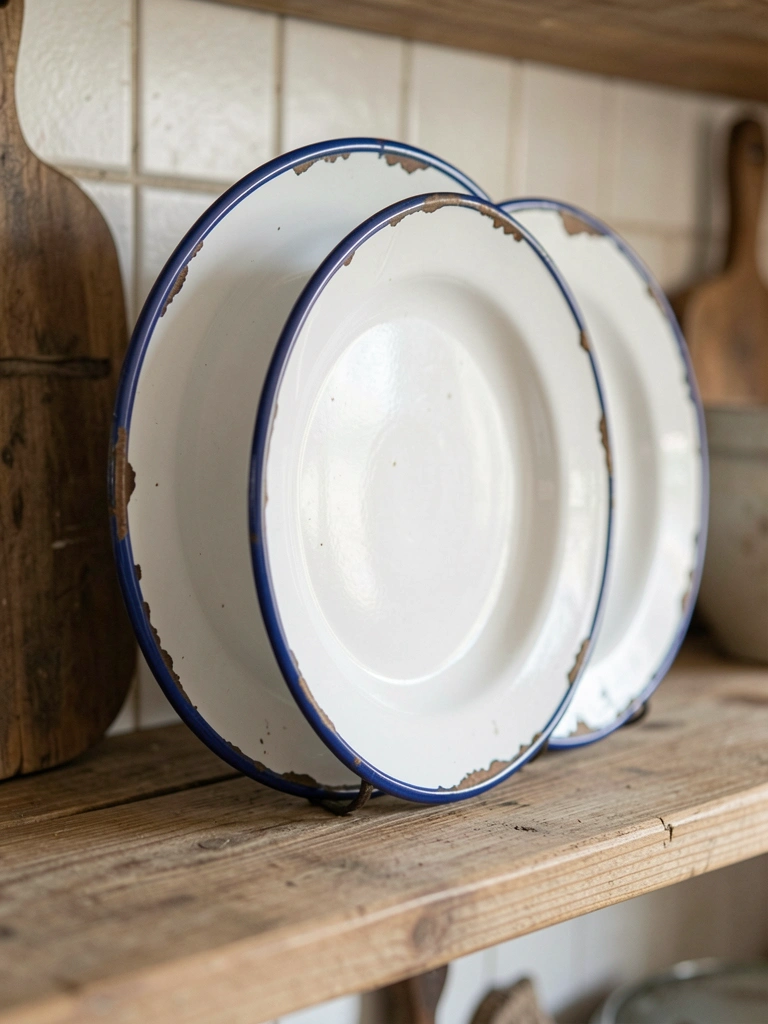
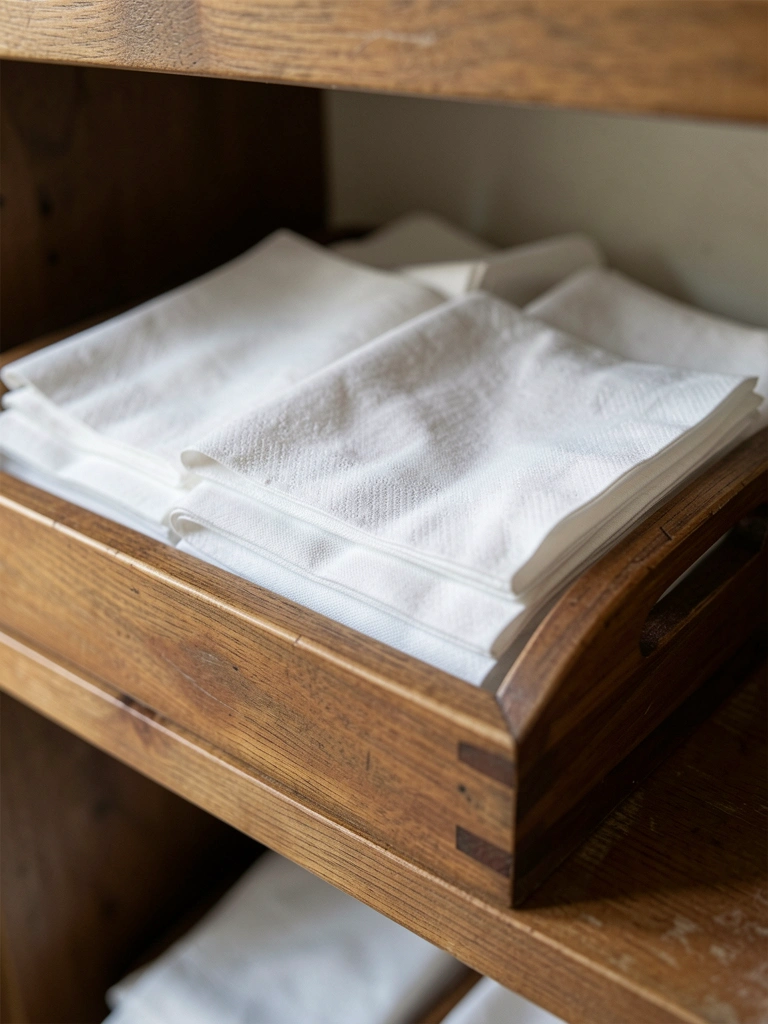
11. Vintage-Style Ledge for Plates

Narrow ledges from scrap wood. Leaning plates display. $10 materials.
Artful, saves stacking. Dust easy.
Angle right – plates slip if flat. Added rubber stops.
Personal touch.
What You’ll Need for This Look
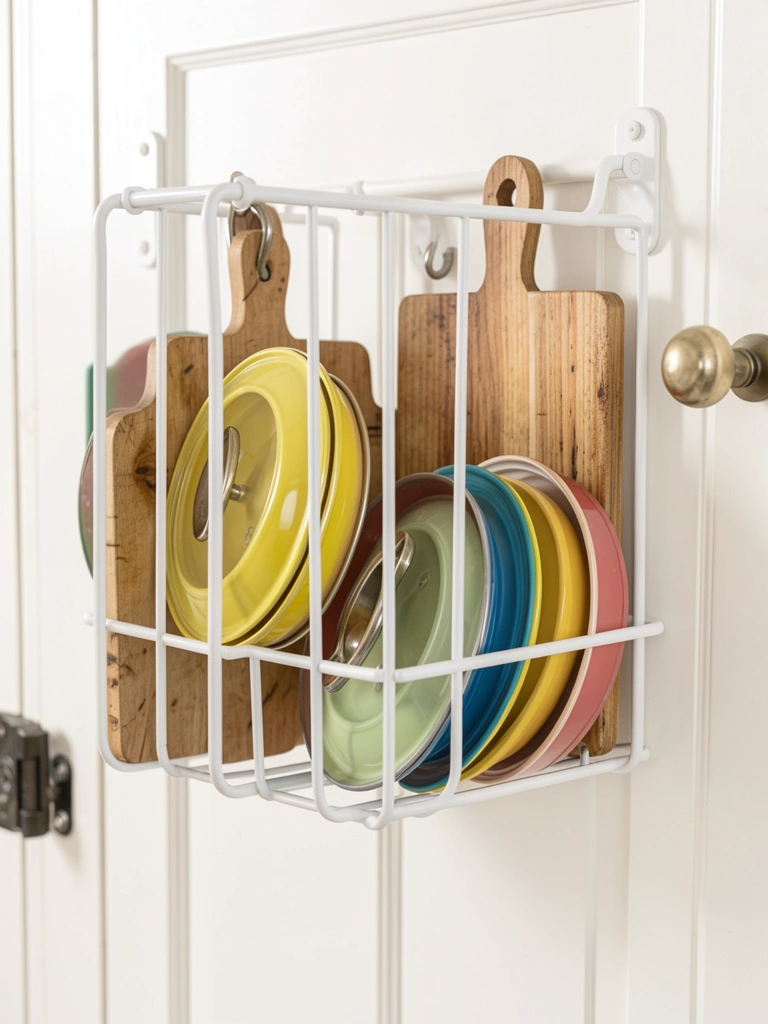
12. Mesh Metal Panels for Baking Sheets
Mesh panels screwed inside cabinet door. Sheets slot in. $18.
Baking gear flat, no bends.
Ventilated – no musty smells. Perfect for humidity.
Industrial simple.
What You’ll Need for This Look
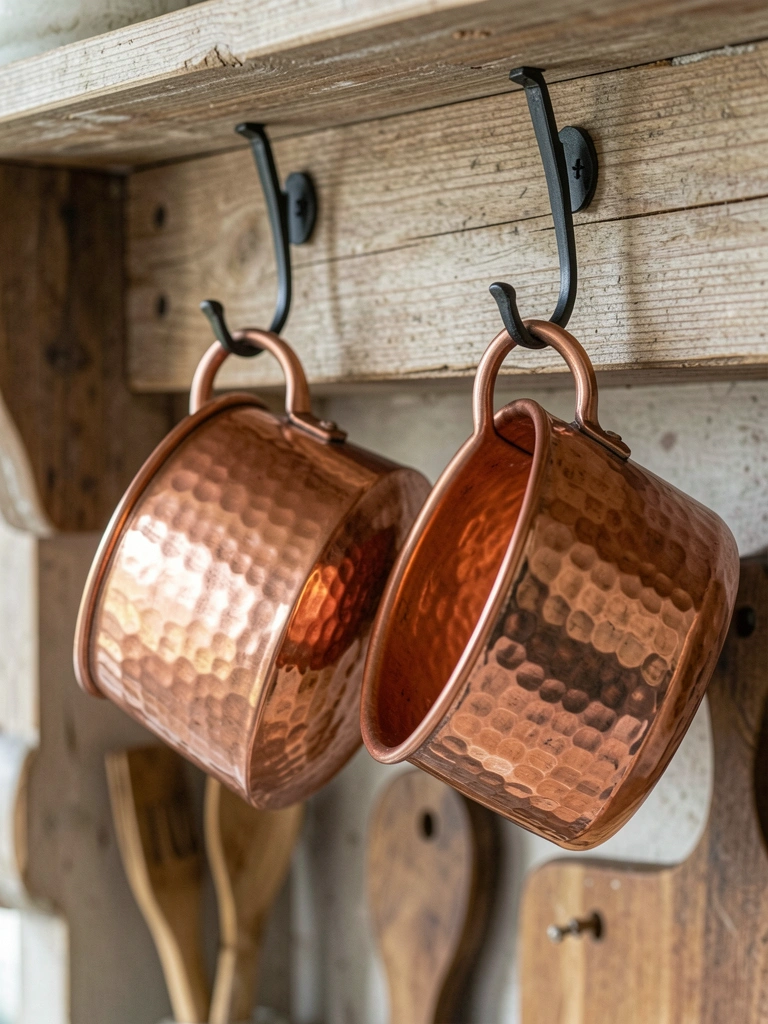
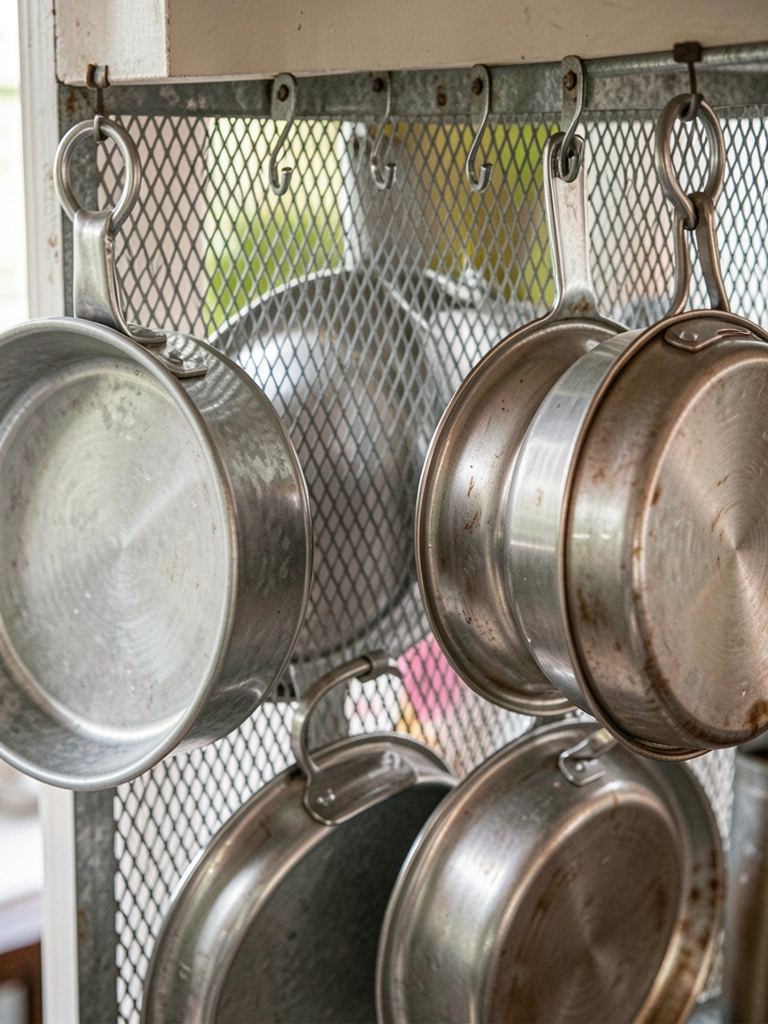
13. Ceiling-Hung Pot Rack with Hooks
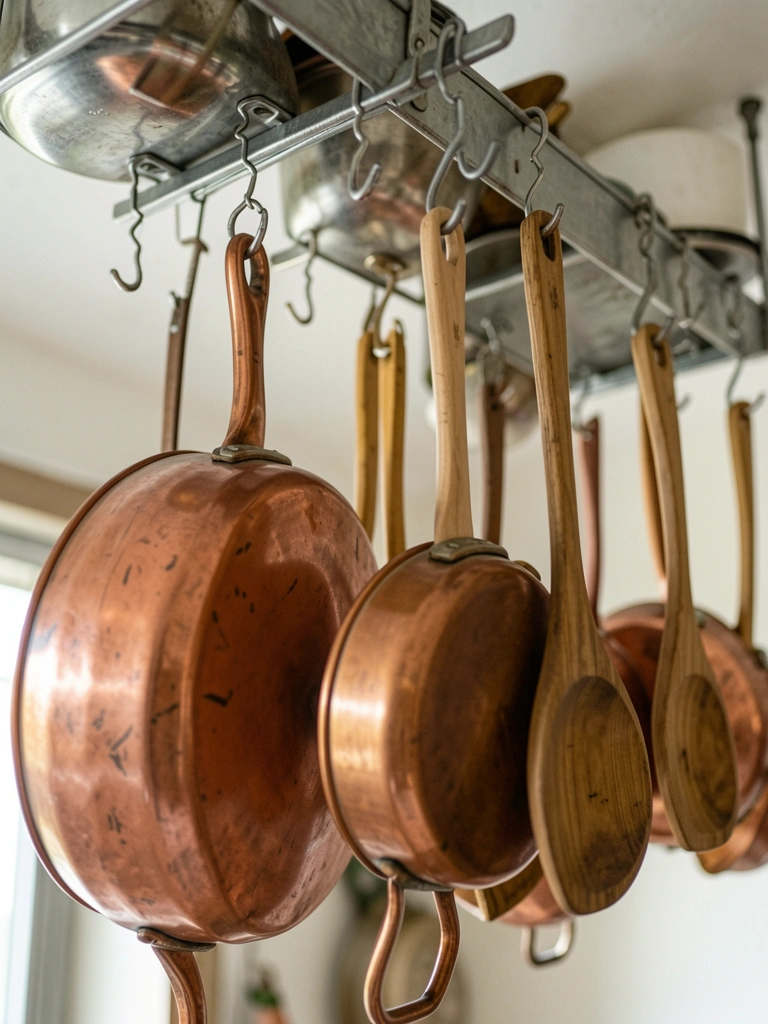
Chains and hooks from ceiling joist. $25 setup. Pots dangle.
Over island, easy reach. Visual interest up high.
Balance weight even – one side swung once. Redistributed.
Frees cabinets fully.
What You’ll Need for This Look
14. Corner Carousel Shelf Insert
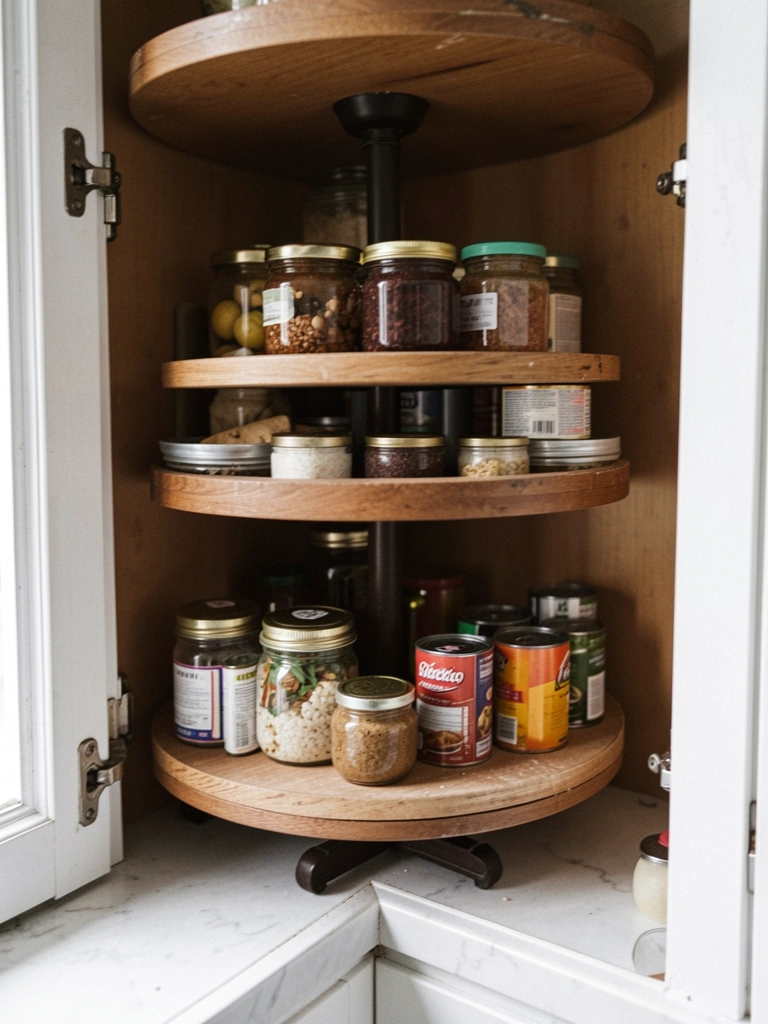
Turntable shelves in corner cabinet. $22. Spins sauces forward.
Blind spot conquered. No expired cans.
Lubricate bearings – stuck after spills.
Efficient corner use.
What You’ll Need for This Look
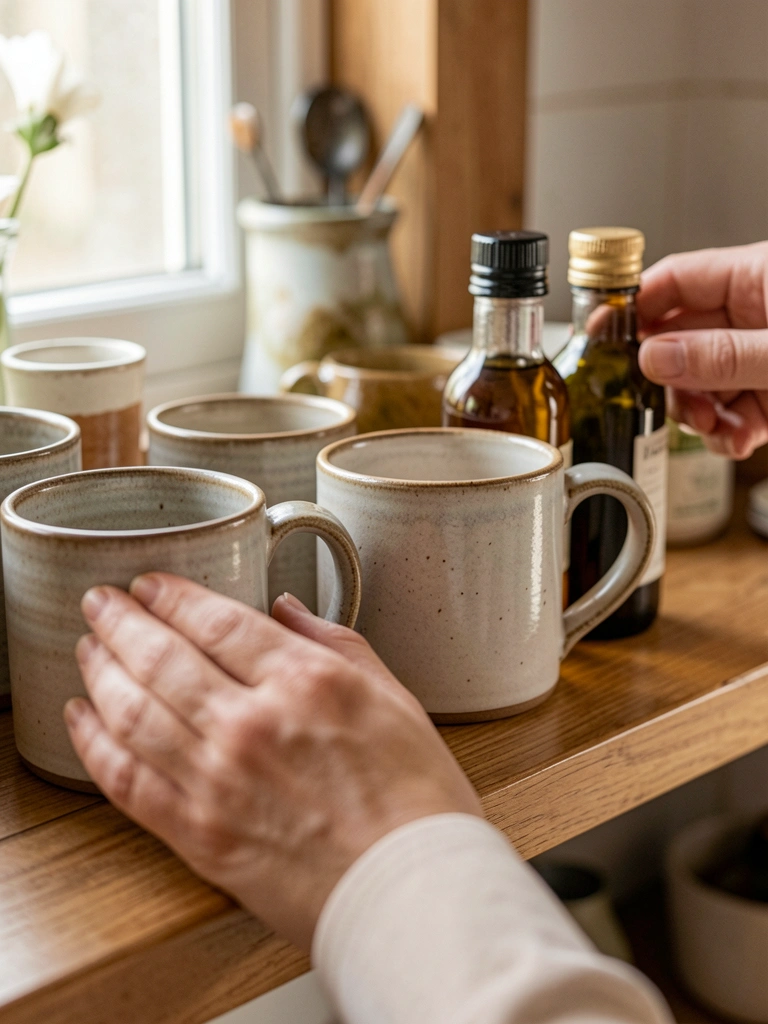
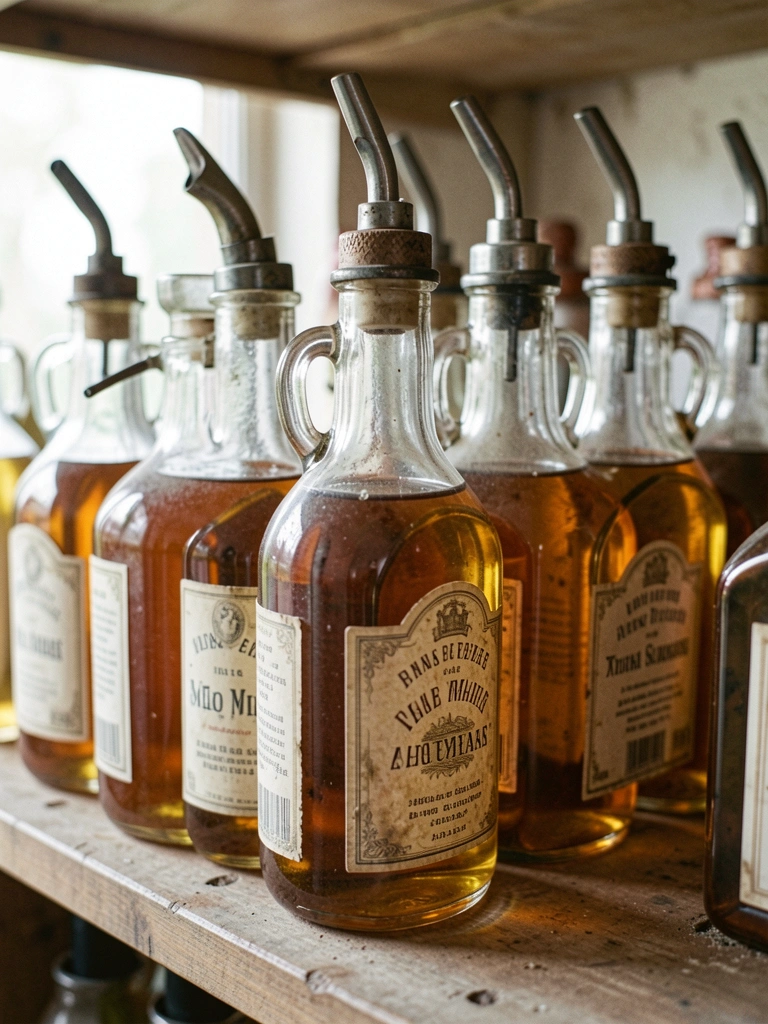
15. Adhesive Mini Floating Shelves
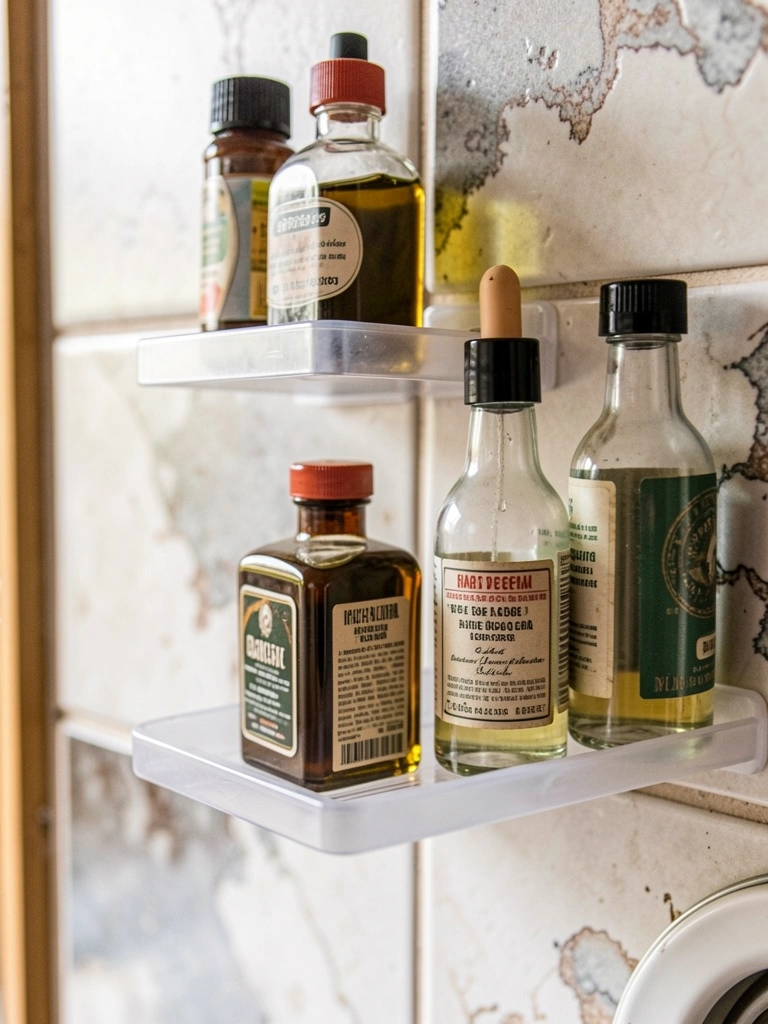
No-drill adhesive shelves on tile. $15 for four. Oils perch.
Renter friendly. Peel off clean.
Light loads only – oils okay, cans not.
Quick backsplash boost.
What You’ll Need for This Look
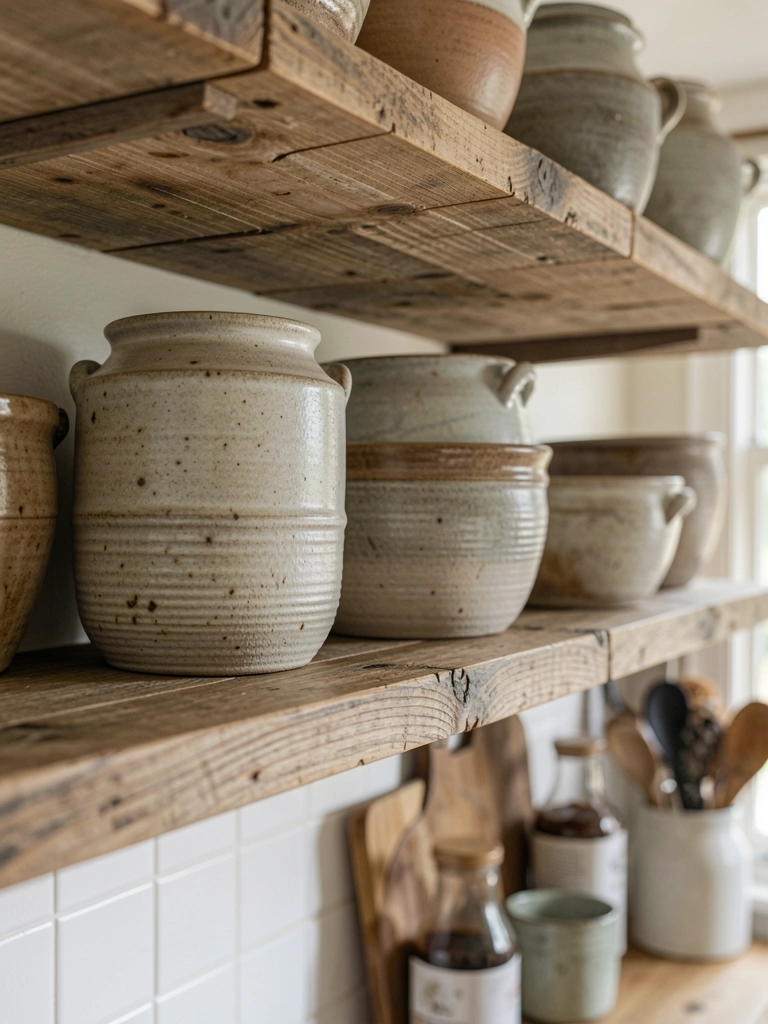
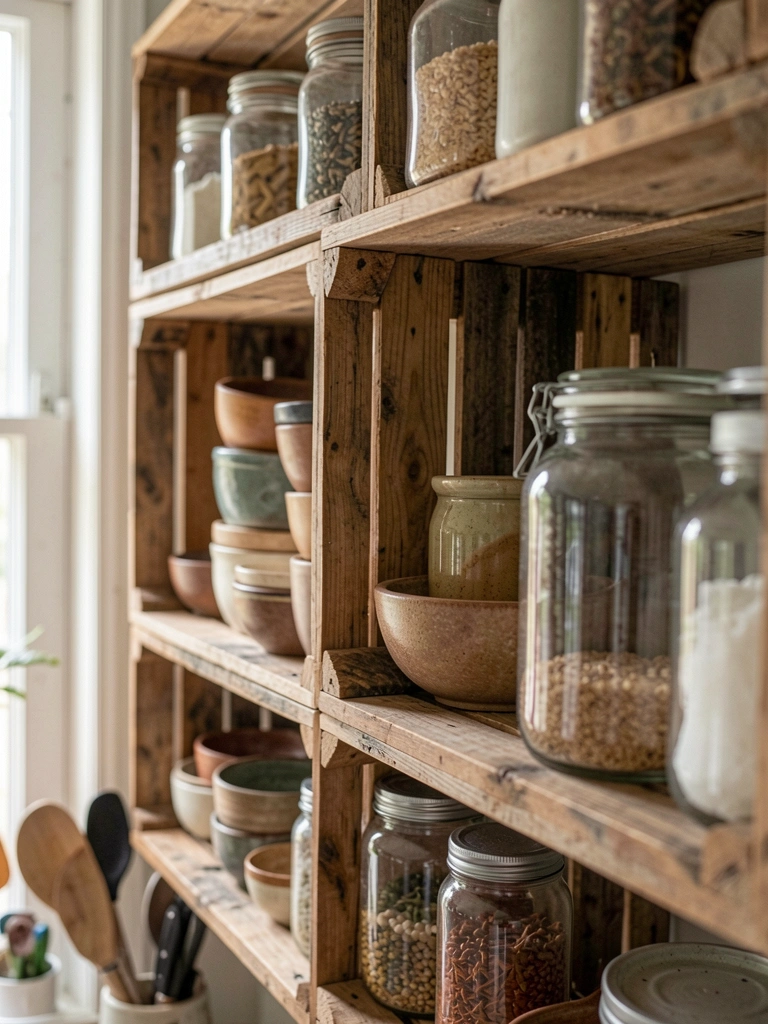
16. Pallet Wood Vertical Units
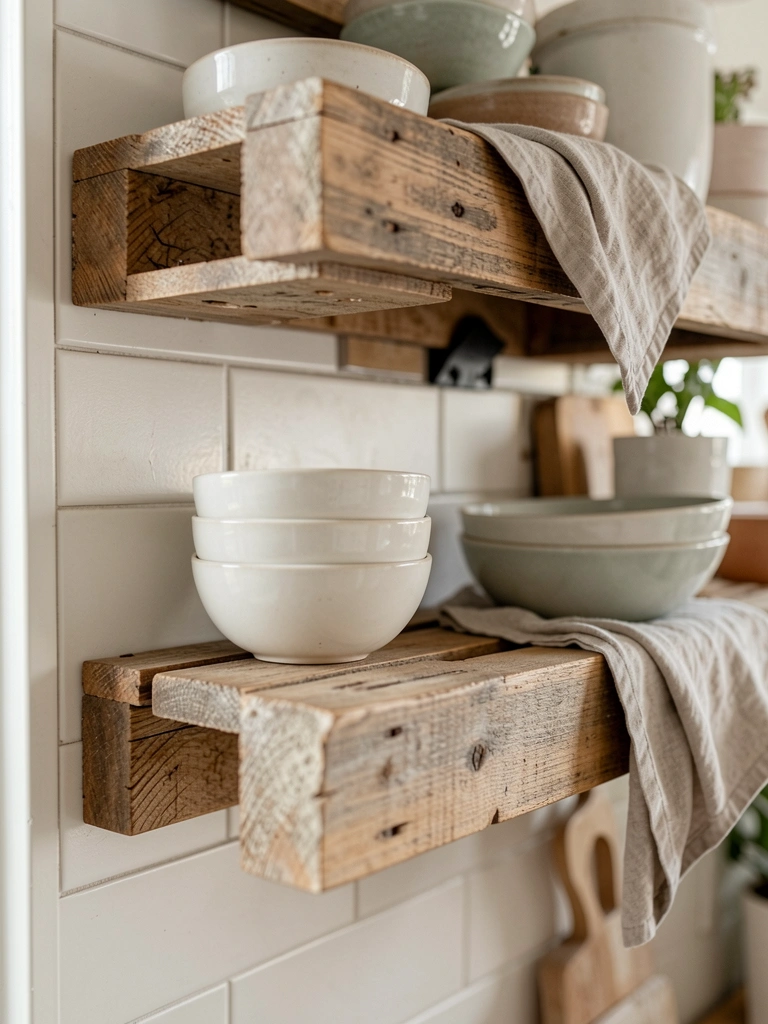
Disassembled pallets, nailed vertical. $0 if scavenged. Bowls stack.
Rustic texture warms laminate counters.
Sand splinters – cut my hand once. Gloves now.
Free vibe, sturdy.
What You’ll Need for This Look
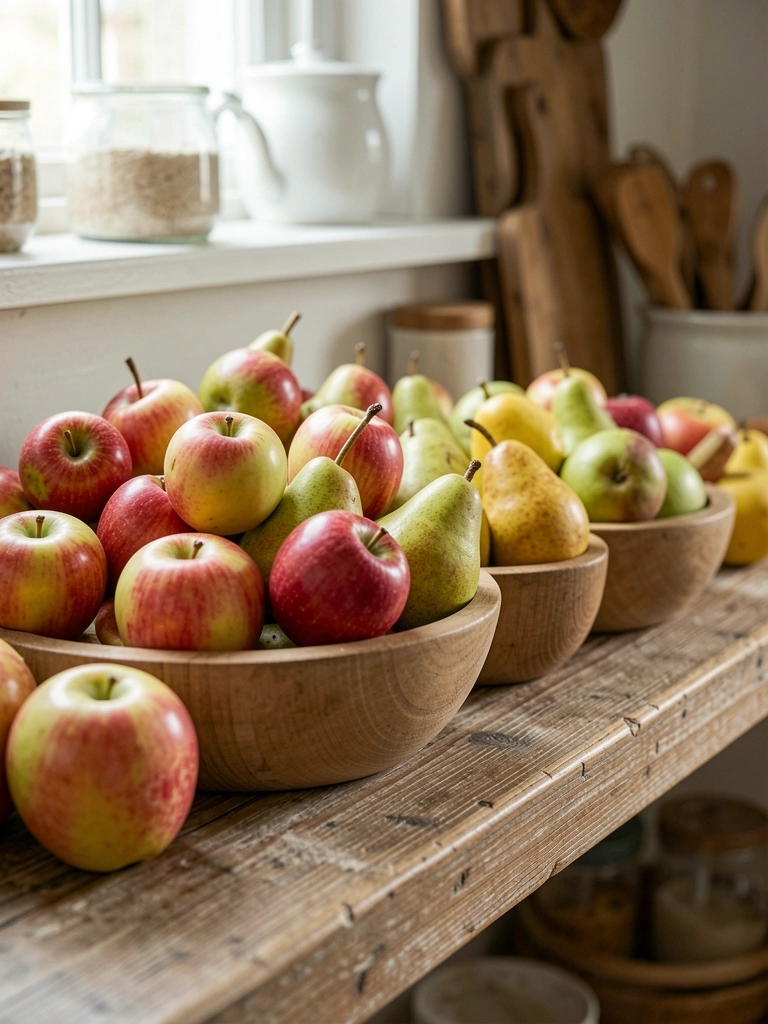
17. Tiered Wire Racks on Counters
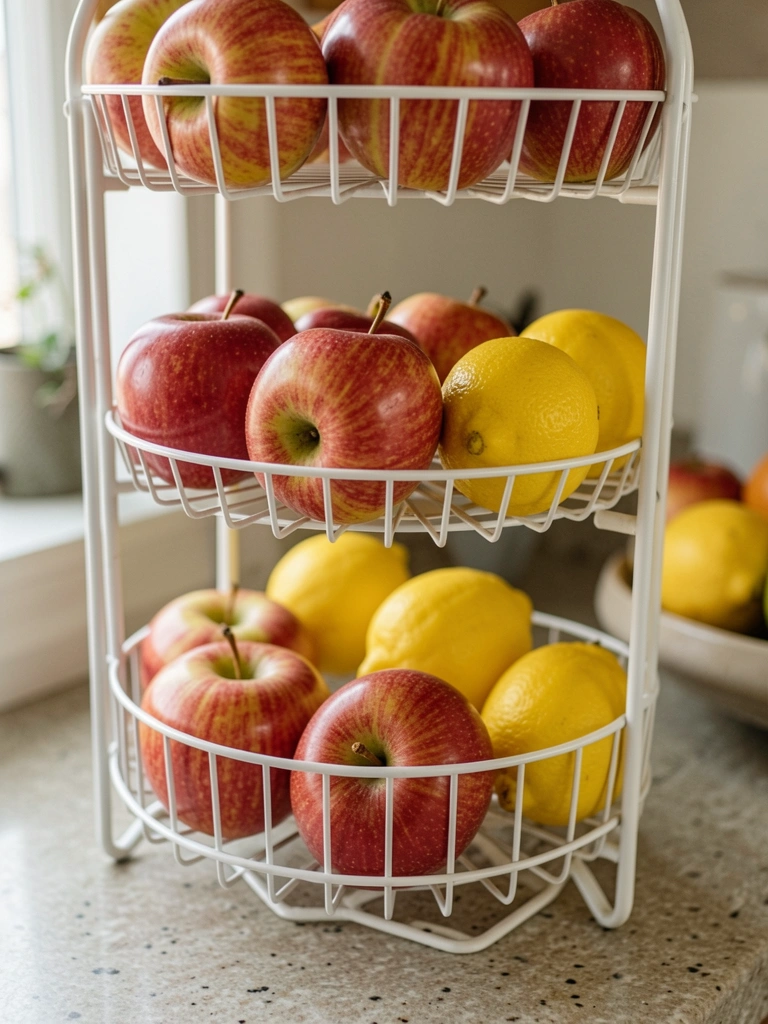
Wire tiers on counter edge. $16. Fruits elevate.
Counter real estate saved. Fresh produce front.
Wipe daily – sticky spots attract ants.
Compact, airy finish.
What You’ll Need for This Look
Final Thoughts
Pick one or two ideas that fit your kitchen's quirks. Start small – my first shelf changed everything.
No need for all 17. They'll work in your space.
You've got this. Clear counters ahead.