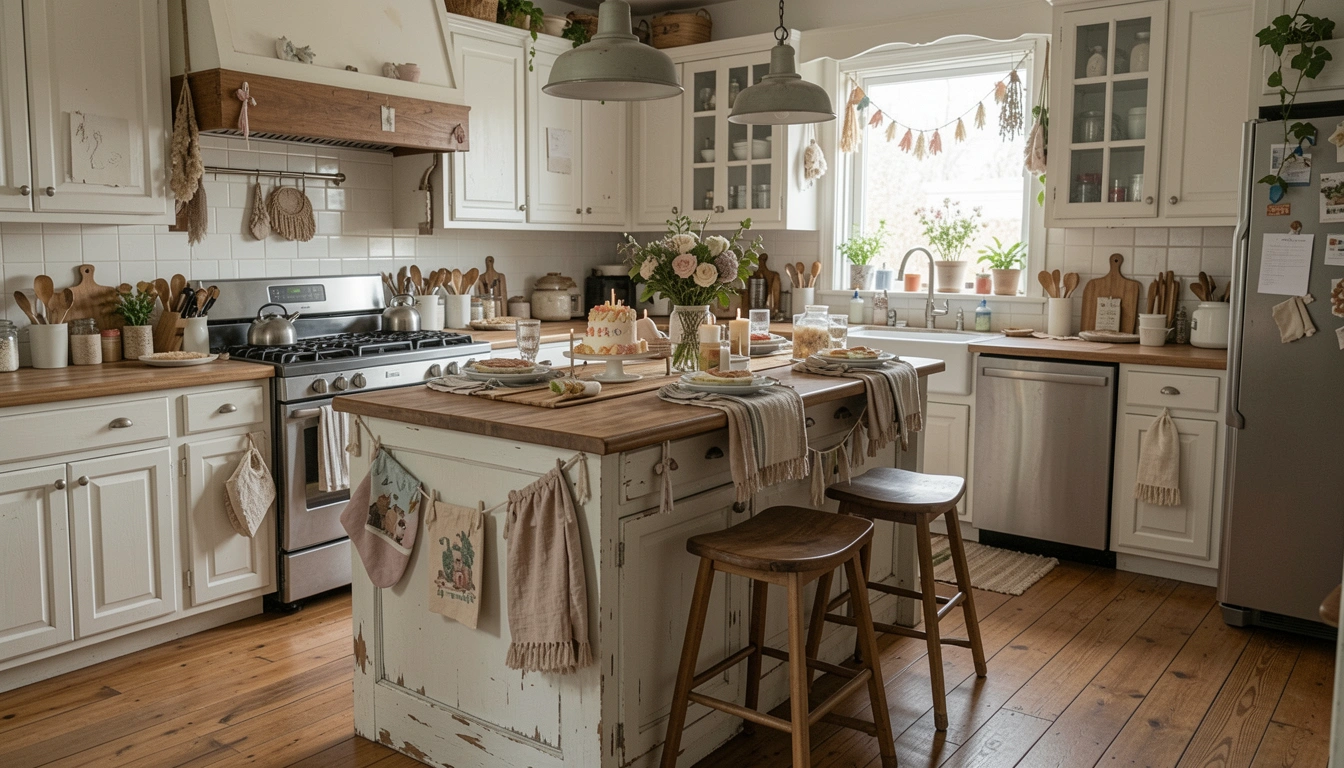
My kitchen island sat bare during my niece's birthday prep. Balloons floated alone, but the surface felt flat. Guests would arrive soon, and it just didn't pull the room together.
I'd tried piling plates before. It looked crowded. This time, I wanted balance—girly without chaos.
One focused setup later, the island anchored the party. Warm, inviting, right at home.
How to Decor Kitchen Island for Girl Birthday
This guide shows my go-to way to dress a kitchen island for a girl's birthday. You'll end up with a balanced spot that draws eyes and feels festive. It's simple, uses what you have, and settles into the kitchen naturally.
What You’ll Need
- Pink linen table runner, 72 inches long
- Gold cake stand, 12-inch tiered
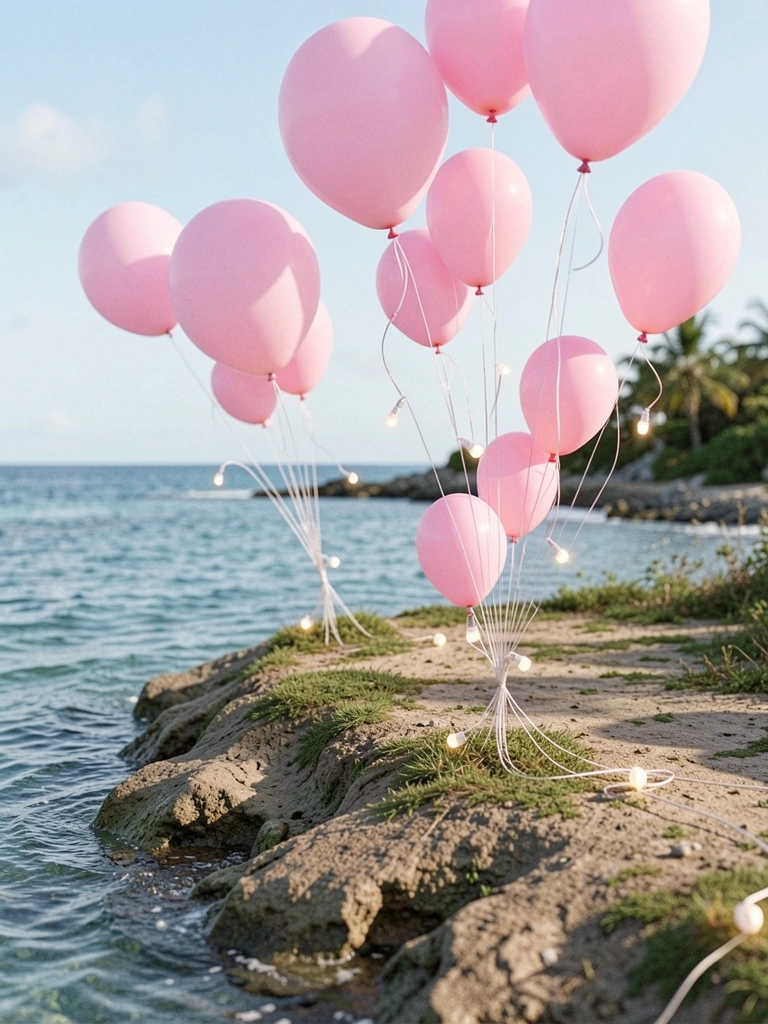
- Pastel pink balloons, pack of 20
- Faux peonies in blush pink, bunch of 10 stems
- Mini battery fairy lights, 10-foot strand
- Pink paper fans, set of 6 medium size
- Clear glass vases, set of 3 small
- Pink confetti scatter, 4-ounce bag
Step 1: Clear and Layer the Base
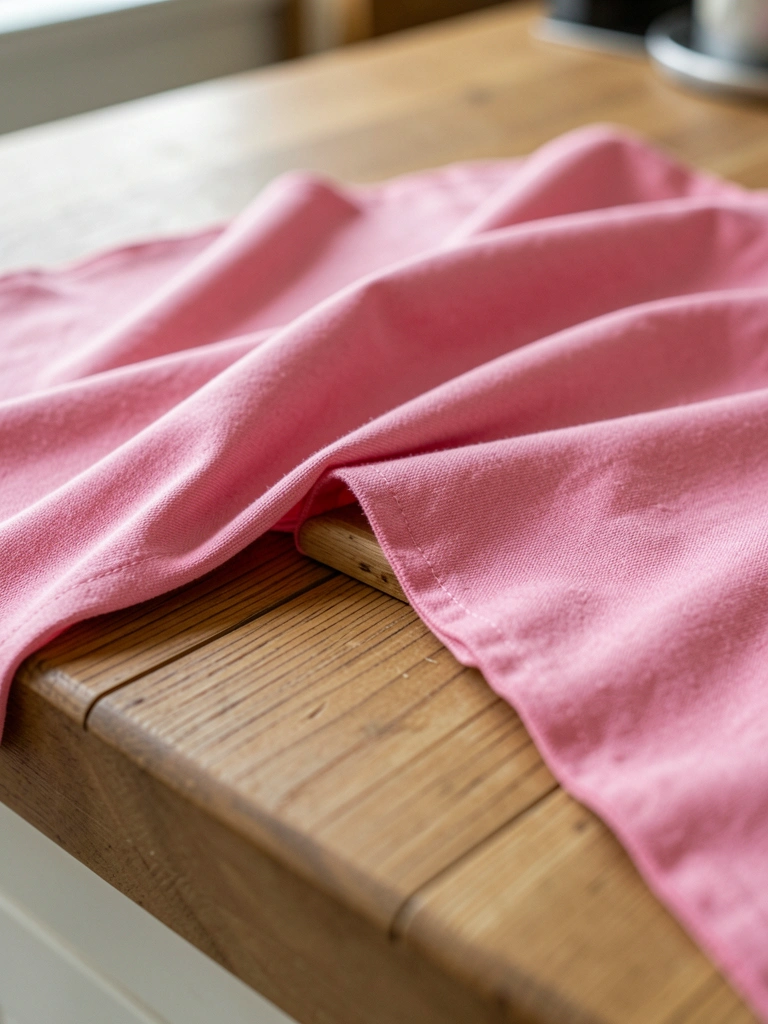
I start by wiping the island clean. Then I drape the pink runner off-center. It grounds everything, adds softness against the hard counter.
Visually, the island wakes up—color peeks without overwhelming. People miss how this layer sets the scale; too centered feels stiff.
Skip stacking here. One runner lets breath in. I learned that after my first try looked top-heavy.
The feel shifts to calm invitation. Guests linger now.
Step 2: Build Gentle Height in the Center
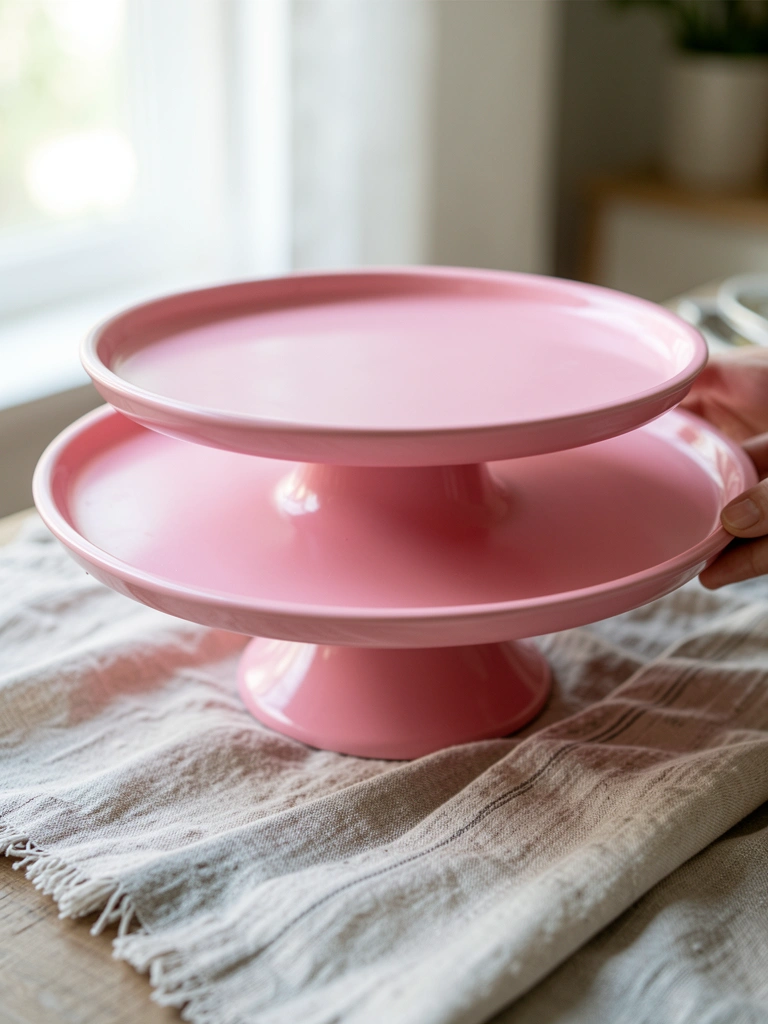
Next, I set the gold cake stand in the runner's middle. It rises without crowding edges. This draws eyes up, creates flow.
The island gains depth—height balances the flat top. Most overlook riser placement; too far forward blocks walk space.
Don't overload tiers yet. Empty pulls focus to the cake later.
It feels balanced, like the party heart settled in.
Step 3: Tuck in Soft Blooms
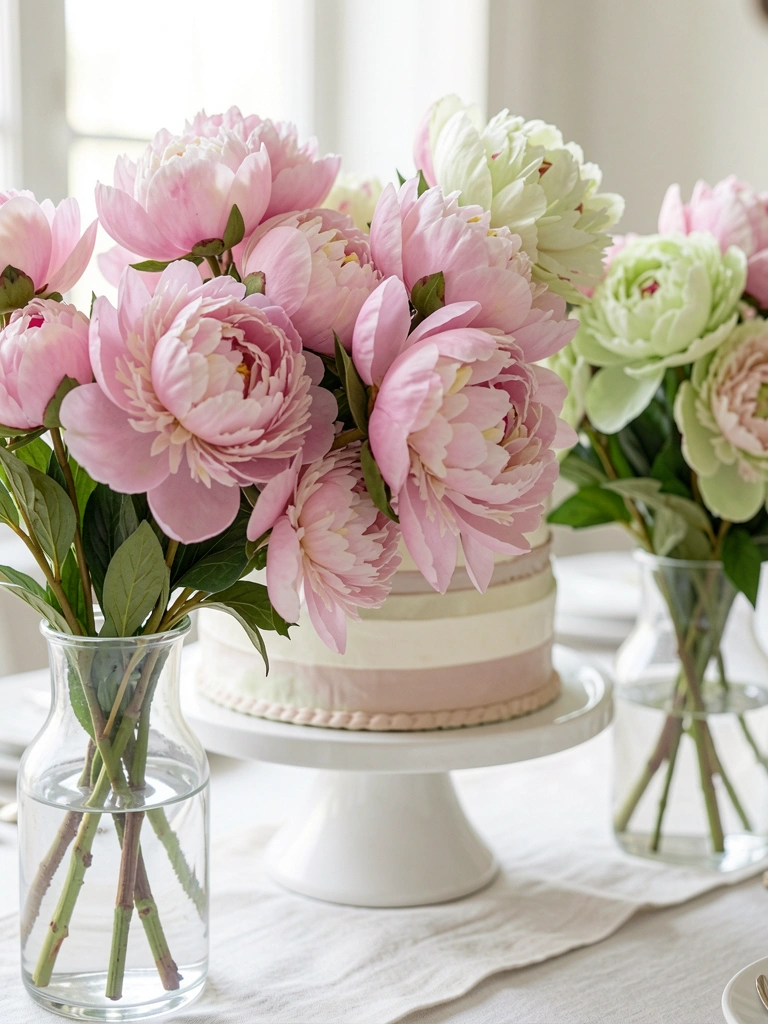
I fill two glass vases with peonies, nestling them beside the stand. Stems lean out, not ramrod straight. Blush tones warm the pinks.
Now layers emerge—flowers soften metal and fabric. Folks forget vases ground height; loose without them.
Avoid matching heights exactly. Variety adds life.
The spot breathes girly ease, comfortable for little hands.
Step 4: Scatter Playful Accents
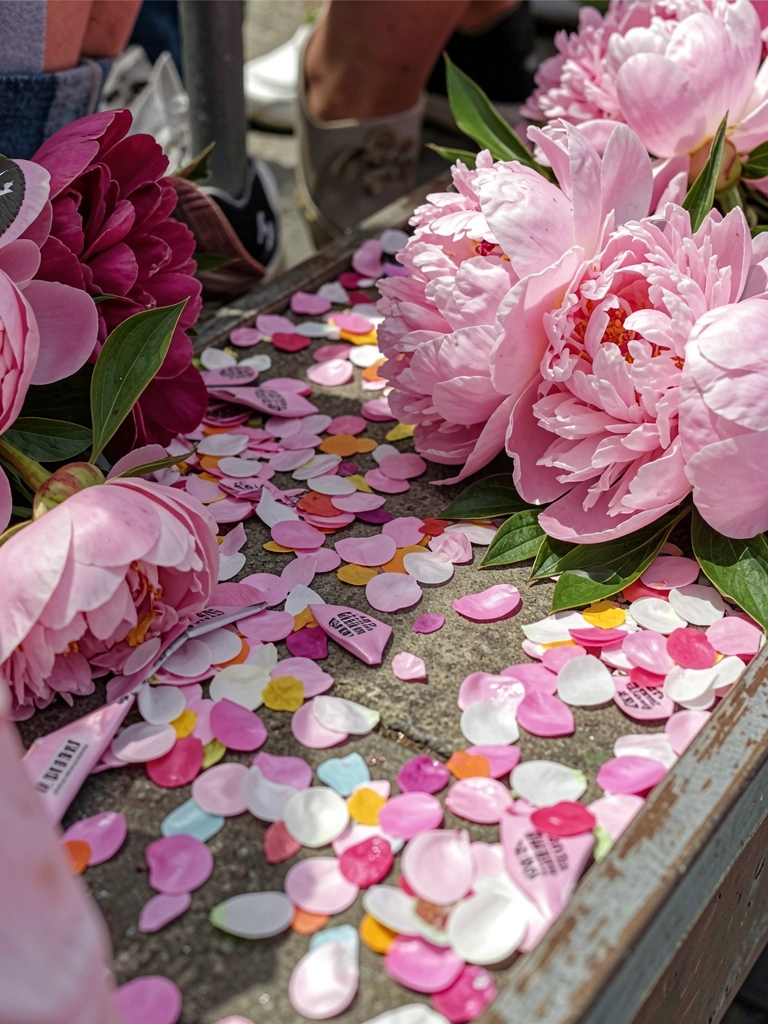
I sprinkle confetti lightly around edges, fold fans half-open nearby. Balloons tie loosely to one side. Play keeps it light.
Visual pop happens—accents echo without clutter. Insight: sparse scatter invites touch; piles repel.
Don't center everything. Asymmetry feels lived-in.
It pulls the kitchen into party mode gently.
Step 5: Add Warm Glow
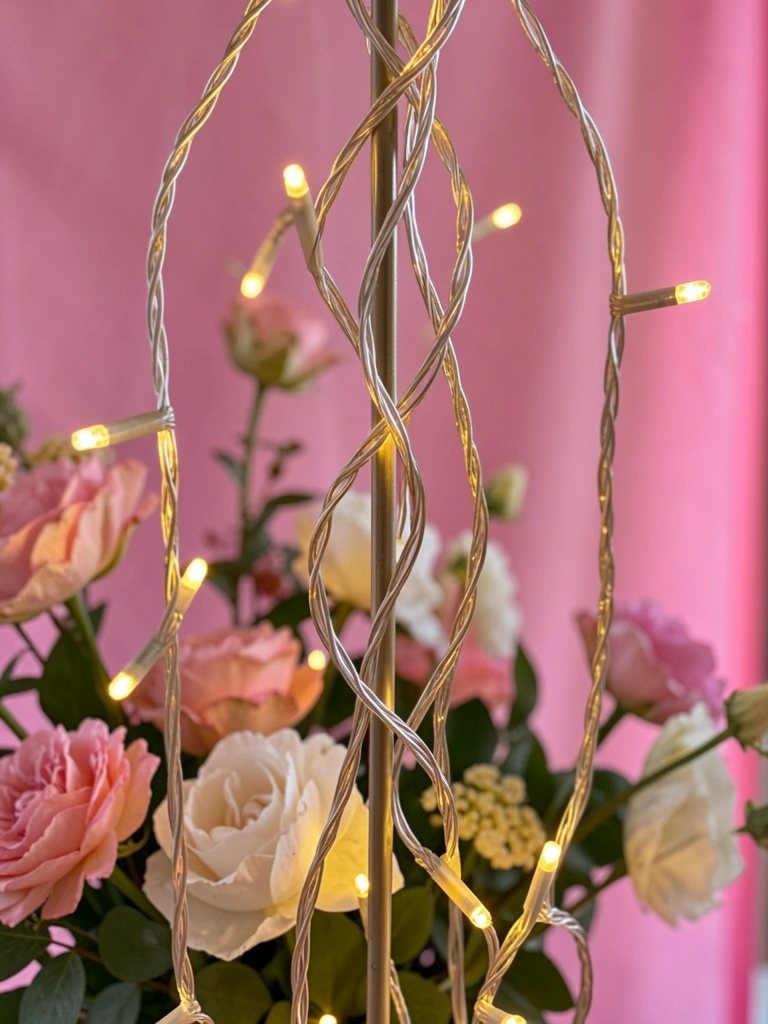
Last, I weave fairy lights through stems and stand base. Battery pack hides under runner. Glow unites at dusk.
The island feels complete—light balances bold pinks. People miss low placement; overhead harshens.
Steer clear of plugs trailing. Wireless keeps clean.
Now it's cozy, ready for cake and laughter.
Step 6: Step Back and Nudge
I walk back five steps, eye the whole island. Nudge a stem, fluff a balloon. Flow matters over perfection.
Everything settles—balance shows in empty space. Overlooked: distance view catches edge overload.
No adding more. Restraint makes it shine.
The kitchen hums, party-ready without strain.
Age-Appropriate Tweaks
Younger girls love softer pinks. I swap bold confetti for glitter dots.
For tweens, add metallic touches. Gold edges nod grown-up.
- Under 5: More plush, fewer small bits.
- 6-8: Unicorn nods via horn balloons.
- 9+: Subtle patterns in runners.
It fits her world, stays kitchen-friendly.
Switching Back to Everyday
Post-party, I roll the runner, store lights. Island clears in minutes.
Wipe confetti into trash. Vases rinse easy.
- Fold fans flat.
- Deflate balloons slow.
- Cake stand stacks away.
Kitchen returns normal, no regret.
Pairing with Your Kitchen Style
In my white kitchen, pinks pop clean. Wood tones? Add greenery stems.
Dark cabinets balance with lighter runner.
- Farmhouse: Woven baskets under.
- Modern: Slimmer stand.
- Eclectic: Mix patterns sparingly.
It blends, doesn't fight the space.
Final Thoughts
Start with just the runner and stand. Build from there—see how it feels.
You'll notice the island anchors gatherings better. No more flat spots.
It's your kitchen, made festive on your terms. Try it next time.
Leave a Reply