
My kitchen wall stared back empty. No place for mugs or that one good bowl. It felt cold, like the room ended too soon. I wanted shelves that fit my mornings, not some perfect picture.
I'd tried stacking crates before. They wobbled. Pushed everything to the counter. Then I figured a simple way to build shelves that hold real life.
Now my coffee lives there. The space breathes.
How to Build Kitchen Shelves
This shows you how I build kitchen shelves that feel part of the room. They hold dishes, jars, everyday things. No fancy skills. Just balanced spots that make the kitchen warmer and easier to use.
What You’ll Need
- 24-inch wooden floating shelves
- Black metal shelf brackets (set of 4)
- White ceramic dinner plates (set of 6)
- Glass storage jars with lids (4-pack, 1-quart)
- Woven seagrass baskets (medium, set of 3)
- Potted herbs in ceramic pots (basil and thyme)
- Matte black hooks (heavy-duty, pack of 6)
Step 1: Pick Your Wall Spot
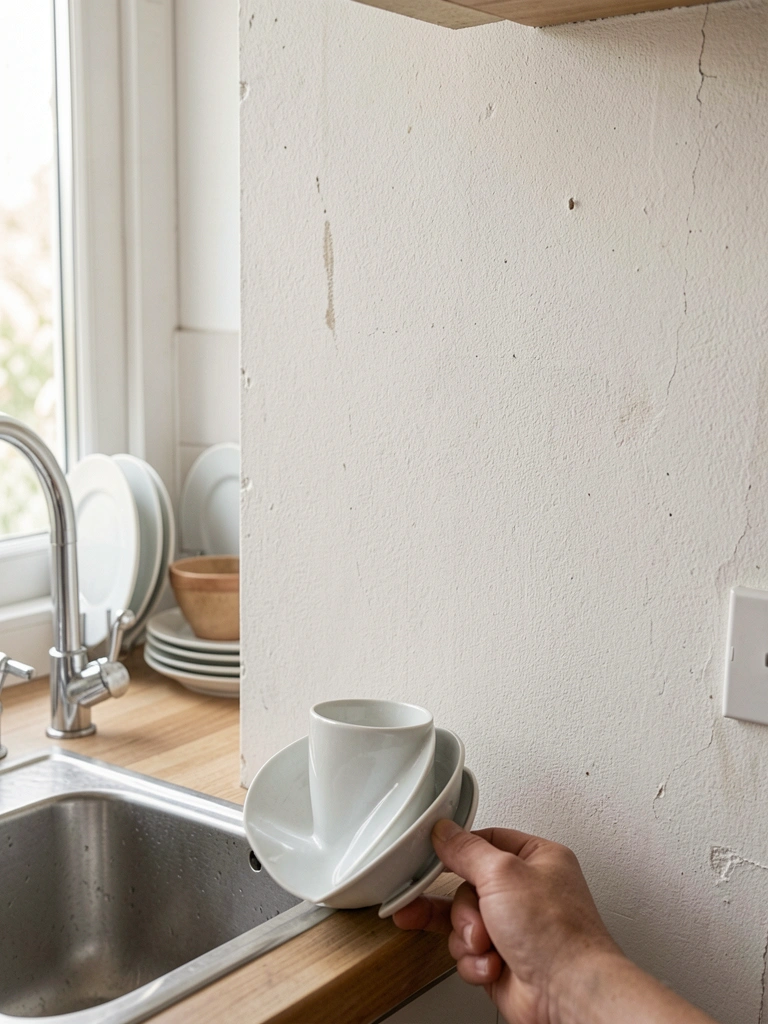
I stand in my kitchen and look where my eyes go first. Near the sink, above the counter. That's where hands reach for mugs. This spot pulls the room together. It stops the wall from feeling blank.
Visually, it frames the workspace. Light hits it right. One insight: most miss how it connects to daily paths. Don't pick a dead corner—your feet won't thank you.
Mistake to avoid: hanging too high. Keep it at arm level. I did that once; everything stayed dusty.
Step 2: Set the Shelf Heights
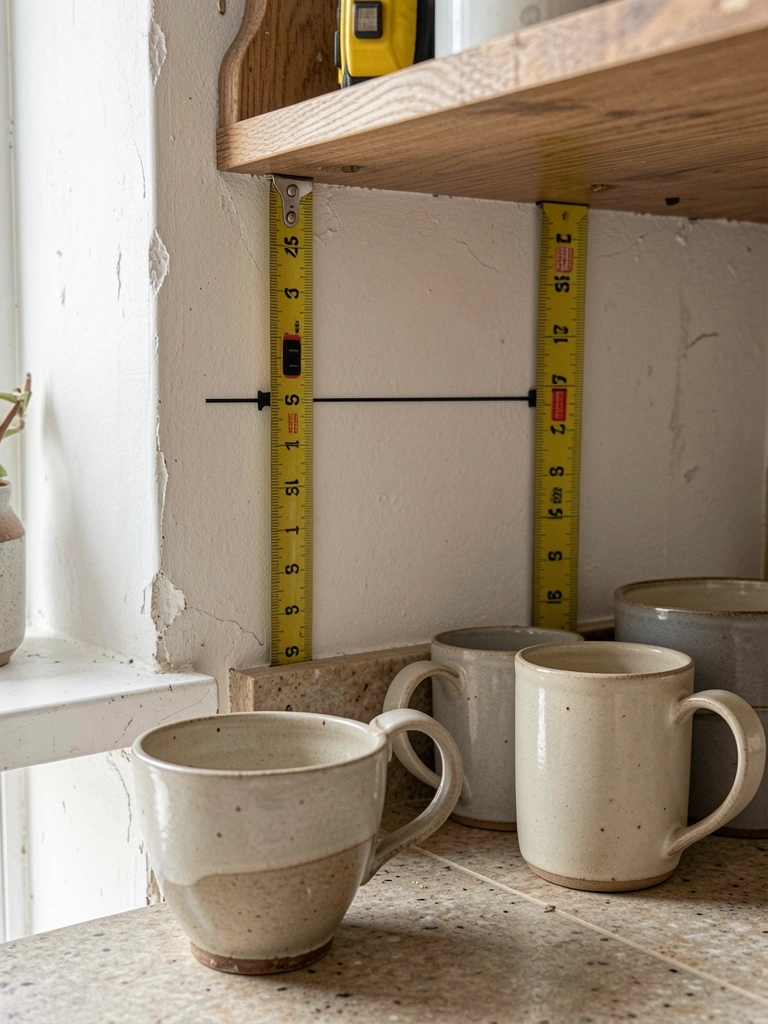
I eye the space and mark where the bottom shelf sits. Eye level for plates, lower for jars. This creates rhythm. The wall gains depth without crowding.
It changes the feel—air moves between shelves. People overlook spacing for reach. Make it 12 inches apart. My first try crammed them; felt heavy.
Avoid centering perfectly. Offset a bit for lived-in balance. Now it flows when I cook.
Step 3: Mount the Shelves Evenly
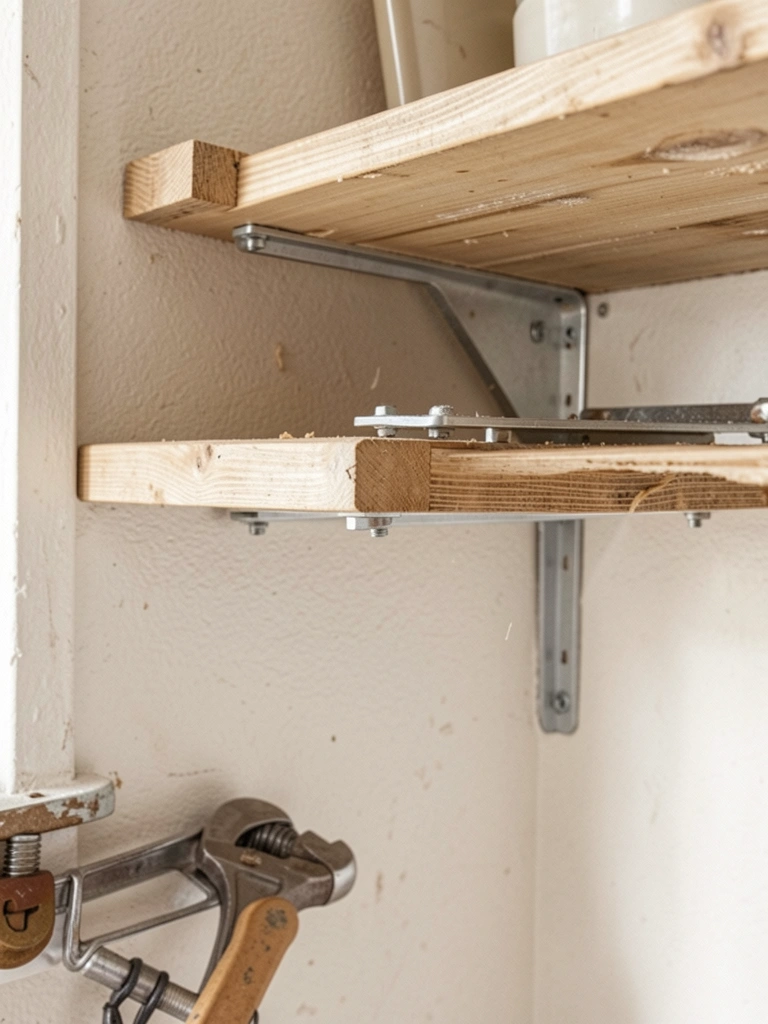
I level the first shelf, then mirror it above. Brackets hidden underneath. They hug the wall tight. Why? Stability for heavy plates.
The kitchen warms up. Layers appear. Insight missed: even weight distribution. Cluster too much on one side, it tips visually.
Don't overtighten—wood can split. I learned slow. Now they sit solid, holding my routine.
Step 4: Layer Items Thoughtfully
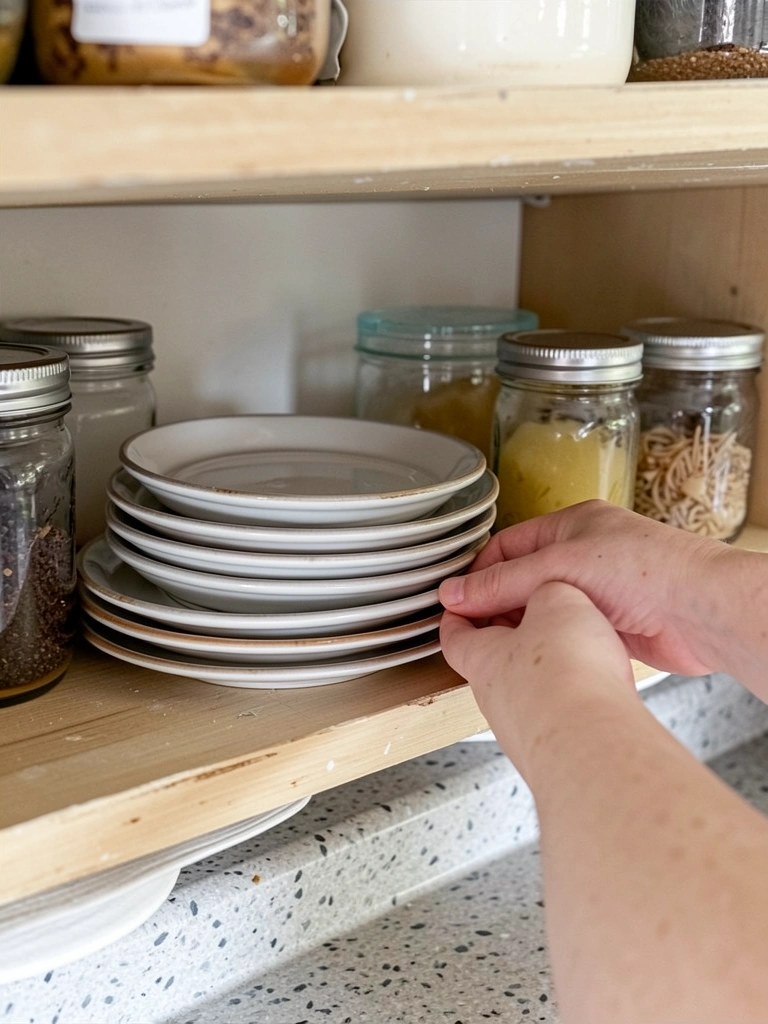
I start low with plates, stack jars next. Baskets tuck in back. This builds weight downward. Feels grounded.
Colors soften—white plates against wood. Most forget negative space. Leave gaps for light. My shelves breathe now.
Skip symmetry. Lean one jar forward. Avoids stiff look I hated before.
Step 5: Add the Finishing Touches
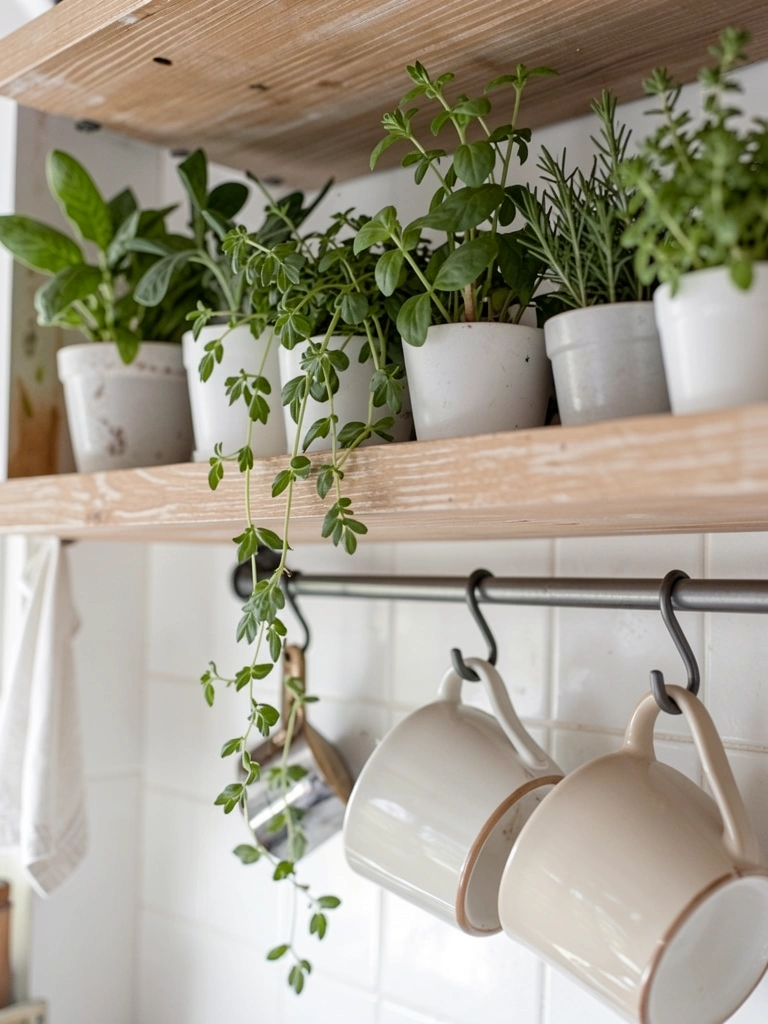
Pots go high, hooks for mugs below. Herbs add green. Pulls it all home. Why? Daily use keeps it real.
Wall feels complete, balanced. Insight: rotate items weekly. Stops dust buildup unnoticed.
Don't overload top. I did—blocked light. Now it's open, easy.
Styling Tips for Everyday Use
I style my shelves for mornings, not guests. Plates face out, mugs hang ready.
Keep it simple:
- Group by color: whites with jars.
- Turn handles away from light.
- One plant per shelf max.
This makes grabbing tea quick. Feels comfortable, not fussy.
Balancing Act in Small Kitchens
In my tiny kitchen, shelves hug one wall. No overwhelm.
Watch the scale:
- Shorter shelves if under 10 feet wide.
- Mix heights for depth.
Test by stepping back. Does it shrink the room? Adjust down. Balance comes first.
Keeping Shelves Fresh
I wipe weekly, swap jars monthly. Wood stays warm.
Quick habits:
- Dust from top down.
- Rearrange after grocery shop.
- Check brackets yearly.
It stays intentional without work. Mine look better with age.
Final Thoughts
Start with one shelf. See how it sits. Builds confidence fast.
Your kitchen will hold more than stuff—it'll hold your days better.
Mine did. Simple change, real ease.
Leave a Reply