Small kitchens don’t have to feel cramped. With the right cabinet strategies, smart storage solutions, and clever design choices, you can make your limited space feel open, functional, and beautiful. Whether you’re renting, renovating, or just tired of kitchen clutter, these 23 ideas will help you maximize every inch. From budget-friendly hacks to game-changing upgrades, you’ll discover exactly how to refresh your cabinets and transform your cooking space into something that feels bigger, brighter, and more organized than ever before.
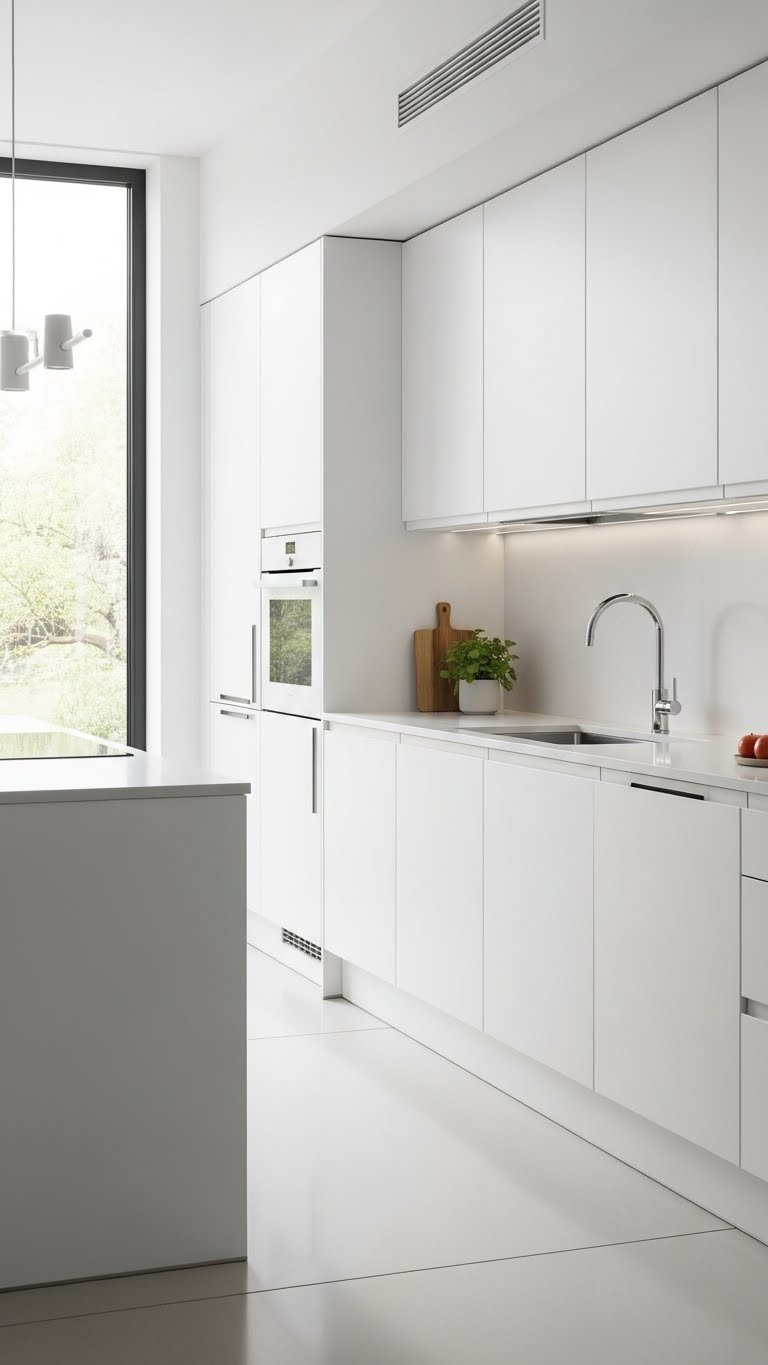
1. Go Frameless for a Seamless Look

Frameless cabinets eliminate the visual clutter that framed doors create, making your kitchen appear wider and more open. They’re also easier to clean and offer more interior storage space since there’s no frame taking up room.
Choose frameless styles with simple, flat-front doors and minimal hardware. Brands like IKEA, Home Depot, and Wayfair offer frameless options starting around $200-$400 per cabinet or go high-end with custom frameless builds at $800-$1,500+. Installation takes one weekend with a handy friend or a professional. If you’re renting, look for stick-on door fronts that swap onto existing cabinets (around $100-$300).
The result is a kitchen that looks intentionally minimal and surprisingly spacious, even if your actual square footage hasn’t changed.
2. Paint Cabinets Light Colors to Expand Space
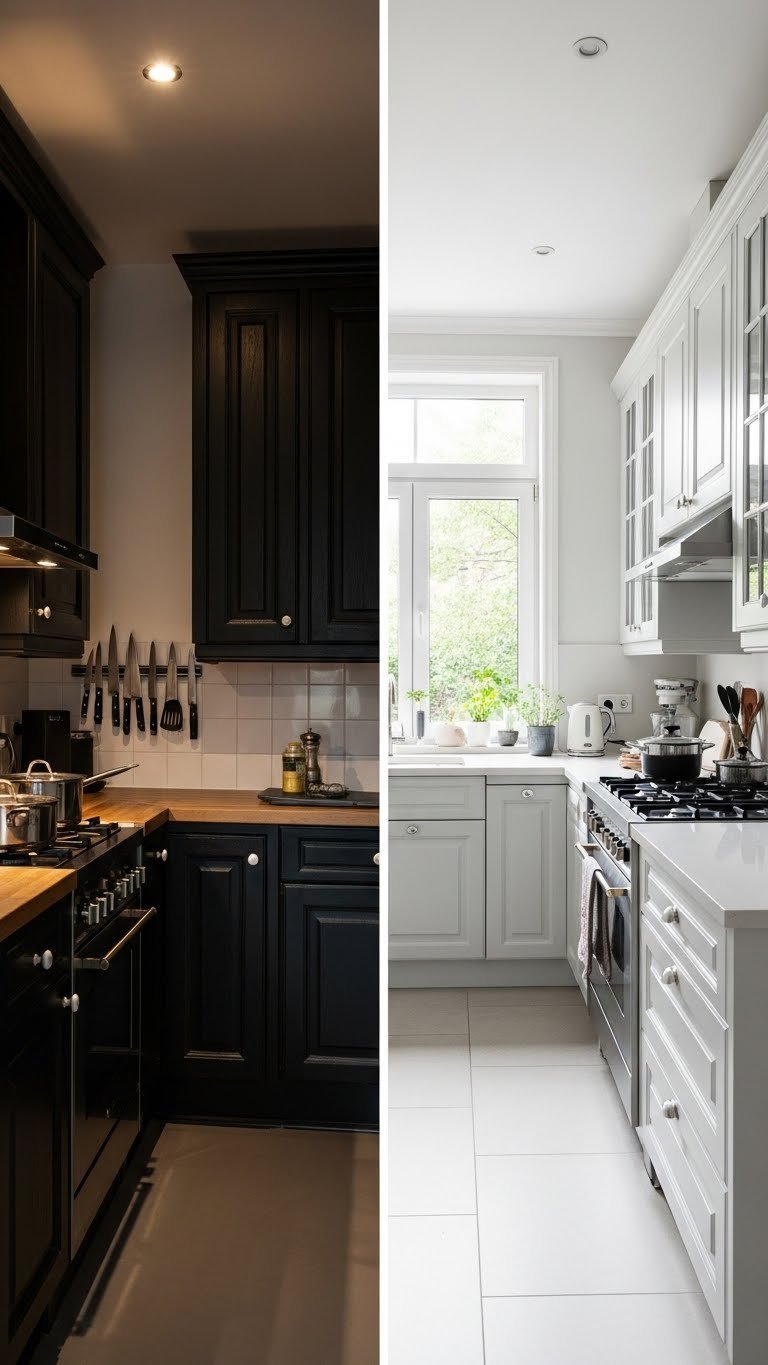
Light cabinet colors bounce light around your kitchen, creating an illusion of openness that dark or bold colors simply can’t match. This works especially well in kitchens with limited windows.
Use semi-gloss or satin-finish cabinet paint in whites, soft grays, or pale creams. Quality cabinet paint costs $50-$150 per gallon and covers multiple cabinets. You’ll need primer, paint, and 2-3 days for prep, painting, and drying time. Pro tip: Paint just the visible cabinet doors first to test the color before committing to everything. Renter? Use removable contact paper in light colors as a temporary alternative (under $20).
You’ll immediately notice how much brighter and more spacious your kitchen feels, even without adding a single square foot.
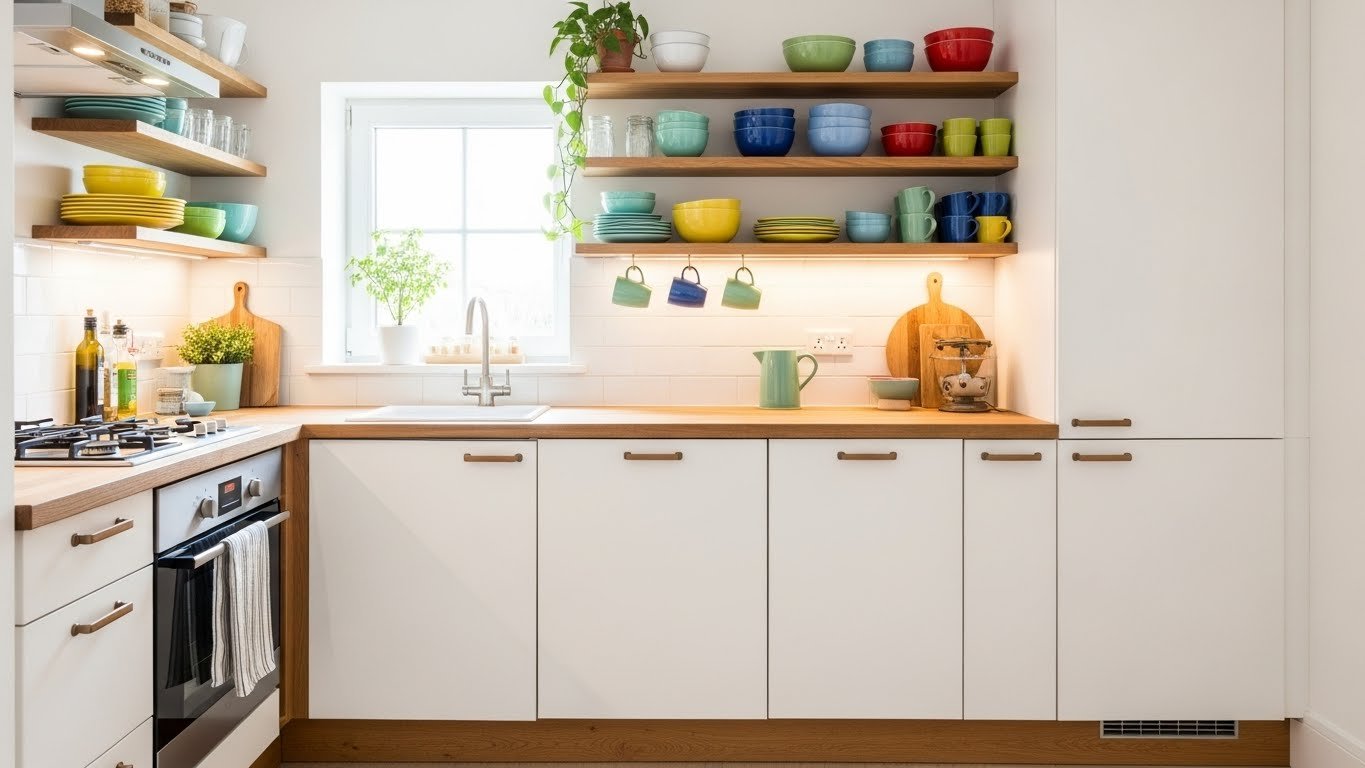
3. Install Open Shelving to Break Up Density
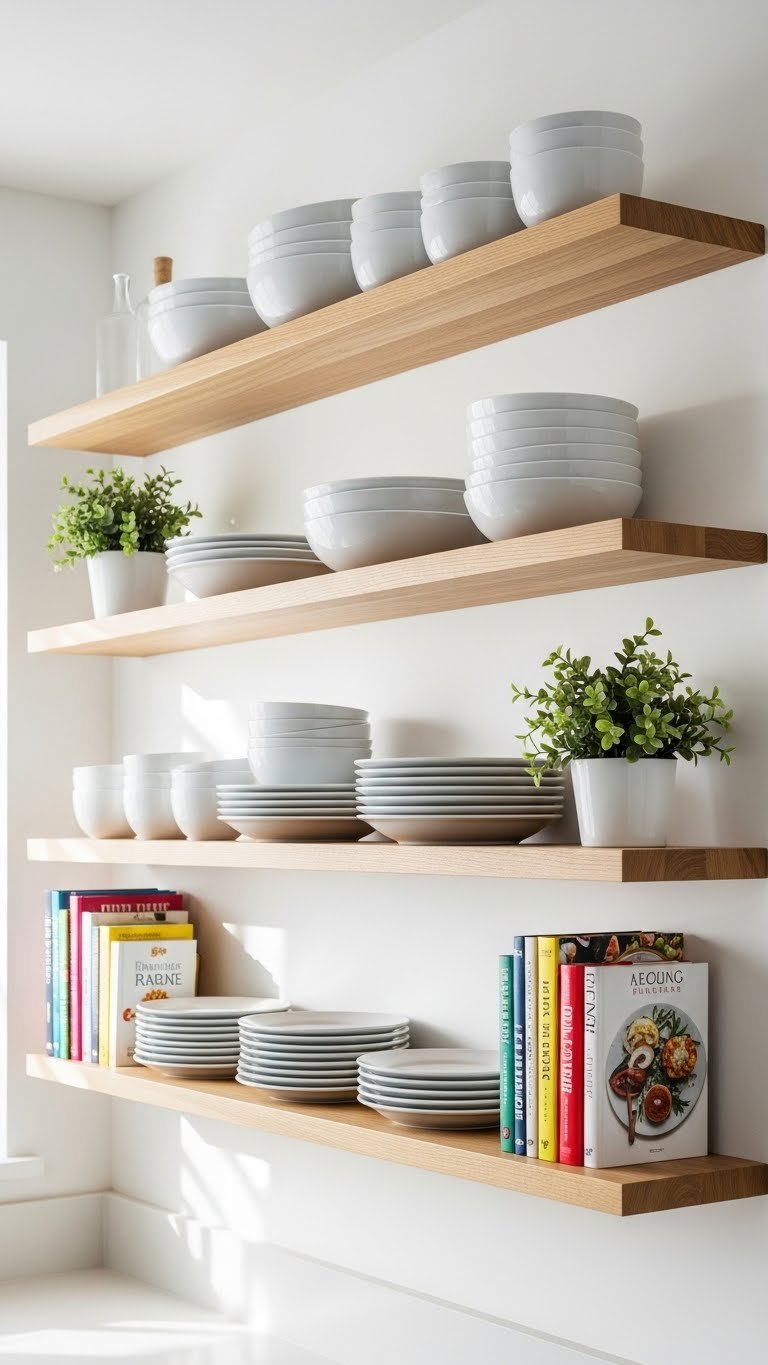
Solid cabinet banks visually weigh down small spaces. Open shelving breaks up that heaviness and makes the room feel less cluttered, even if you’re storing the same amount.
Floating shelves in wood or metal cost $40-$150 per shelf from IKEA, Home Depot, or Wayfair. Installation takes 1-2 hours with a drill and level. Mix open and closed storage—use shelves for beautiful pieces (dishes, plants, cookbooks) and keep cabinets for less attractive items (pots, pantry overflow). Pro tip: Keep shelves less than 75% full; empty space is your friend in small kitchens.
Your kitchen now has visual breathing room, making it feel less boxed-in and more curated.
4. Use Two-Tone Cabinets for Visual Interest Without Overwhelming
Two-tone cabinets (different colors on uppers and lowers) add visual depth and interest without making the space feel chaotic. This trend works beautifully in compact kitchens because it creates intentional focal points.
Paint lower cabinets a neutral tone (white, cream, or soft gray) and upper cabinets a complementary color—think pale green, dusty blue, or warm taupe. Cabinet paint runs $50-$150 per color plus primer. DIY painting takes 3-4 days with proper drying time; hire a pro for $400-$800. Start with just one color group to test before committing. Renter-friendly: Use removable peel-and-stick wallpaper or contact paper for a no-commitment trial.
The contrast keeps your eye moving and makes the kitchen feel more intentional and designed, even in tight quarters.
5. Choose Handleless Cabinets for Clean Lines
Handleless cabinets eliminate visual clutter by removing hardware entirely. Your eye travels smoothly across the cabinet fronts, making the space feel more organized and spacious.
Push-to-open cabinets use spring mechanisms or finger grooves (no handles needed). Budget options from IKEA or Amazon start around $150-$300 per cabinet; high-end handleless builds run $600-$1,200+. Installation is straightforward if replacing existing doors (1-2 hours). Pro tip: Make sure you test the push mechanism—some are sensitive, others require firm pressure. If handleless feels too risky for your style, minimalist bar handles (thin, recessed profiles) offer similar clean aesthetics.
You’ll appreciate how much sleeker your kitchen looks without visual hardware clutter competing for attention.
6. Add LED Under-Cabinet Lighting for Practical Brightness

Small kitchens often lack adequate task lighting, making them feel darker and smaller. Under-cabinet LED strips add brightness to work surfaces while creating an ambiance that makes the space feel intentional.
Adhesive LED strip kits cost $30-$80 from Home Depot, Lowes, or Amazon and install in 15-20 minutes—just peel, stick, and plug in. Choose warm white (2700K) for cozy vibes or daylight white (5000K) for maximum brightness. Hardwired options run $100-$200 and require an electrician but look more polished. Pro tip: Dimmable LEDs add flexibility for different moods.
Your kitchen instantly becomes brighter and more functional, while cooking prep becomes significantly easier on your eyes.
7. Maximize Vertical Space with Tall Cabinets

Most small kitchens waste vertical space. Tall cabinets that reach the ceiling draw the eye upward, making ceilings feel higher and spaces feel taller.
Invest in or DIY a tall pantry cabinet (24″-36″ wide, floor-to-ceiling) for $300-$800 depending on material and customization. IKEA’s PAX system ($400-$600) works beautifully for renters. Installation takes 2-4 hours and is easier than it looks. Reserve top shelves for seasonal items or décor; keep everyday items at eye level. Renter tip: Leaning tall cabinets against walls (secured to studs) offer similar benefits without permanent installation.
Suddenly your kitchen has storage you forgot existed, and your ceiling appears dramatically higher.
8. Install Adjustable Shelving for Flexible Storage
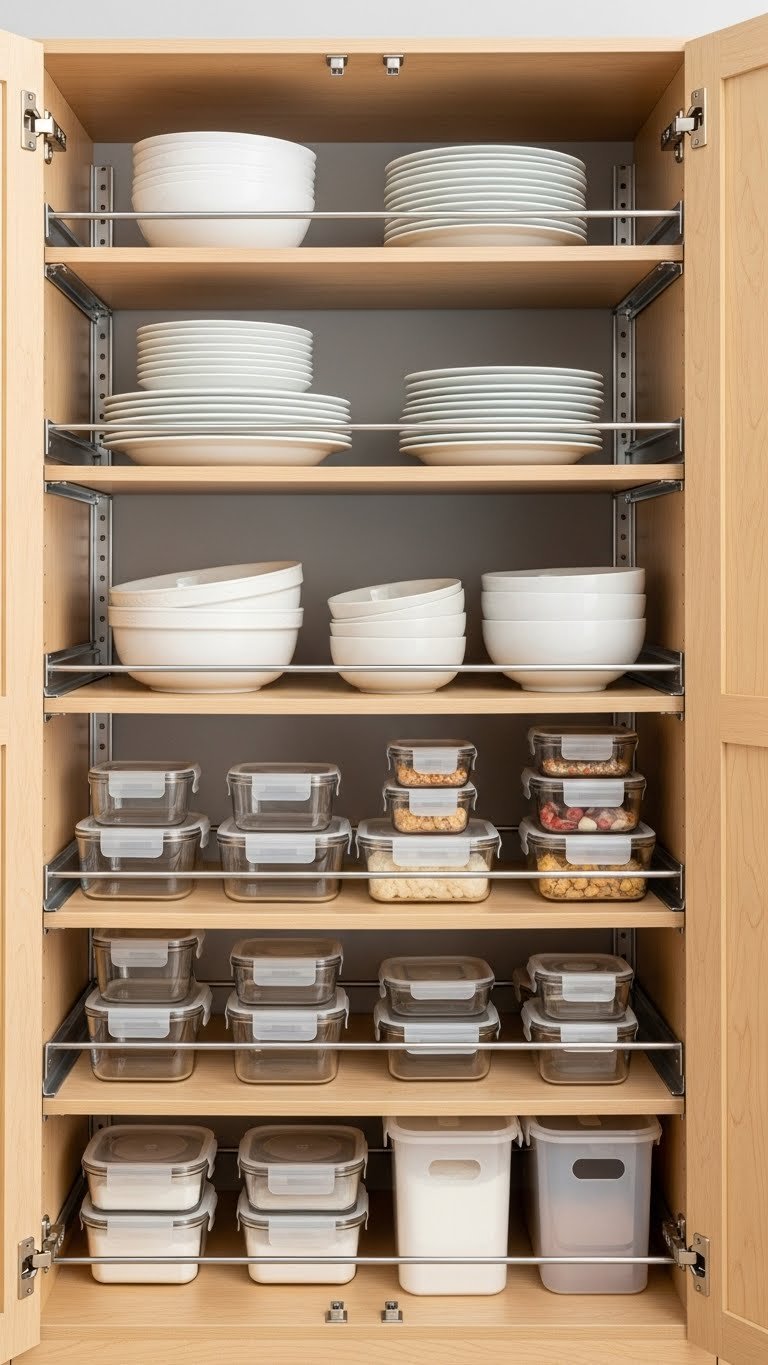
Fixed shelves waste space when your items vary in size. Adjustable shelving lets you customize spacing to fit what you actually own.
Adjustable shelf kits cost $40-$100 per cabinet from Home Depot or Lowes and install in 30-45 minutes. Measure your cabinet interior carefully before ordering. Metal adjustable shelves hold more weight than plastic and look more intentional. Start with fewer, wider shelves to make the space feel less compartmentalized. Pro tip: Leave at least one completely empty shelf to avoid visual overload.
You’ll fit significantly more in the same cabinet space, and everything stays accessible because it’s customized to your actual needs.
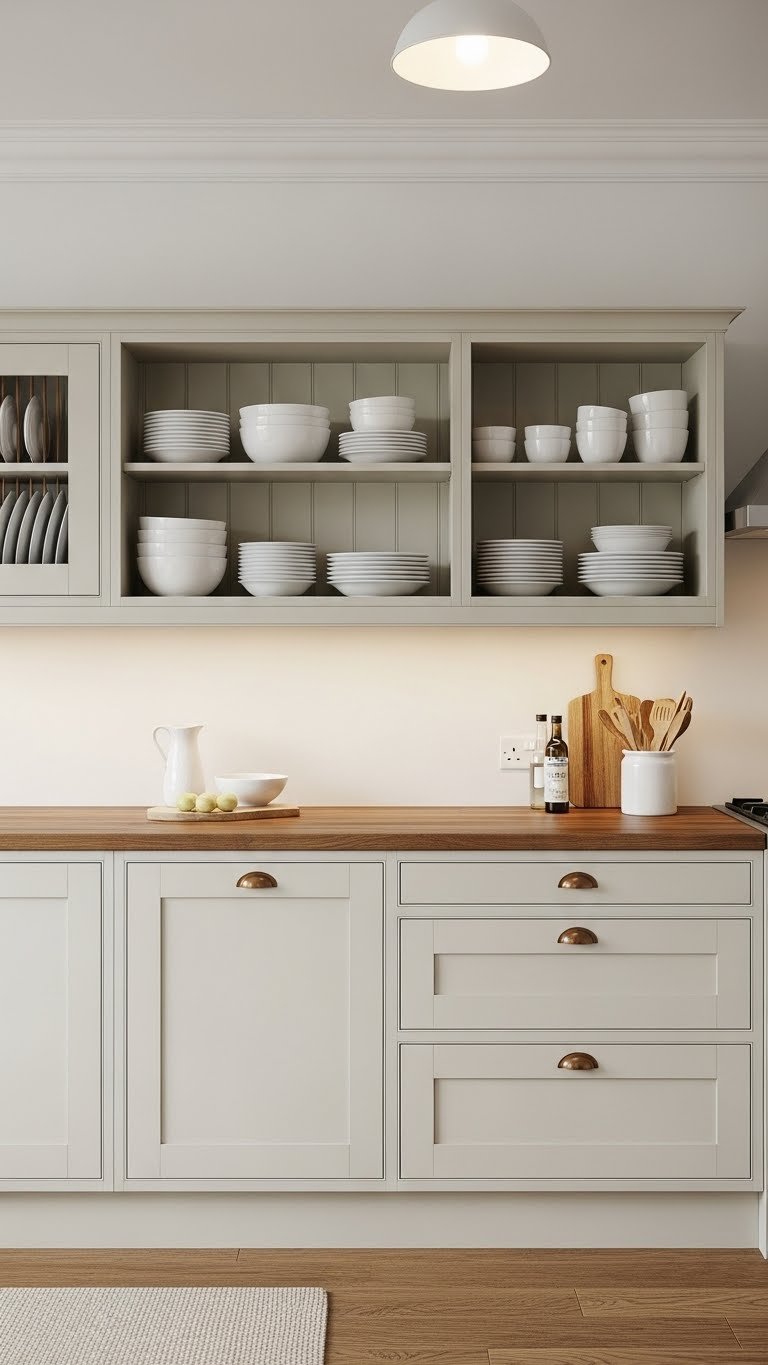
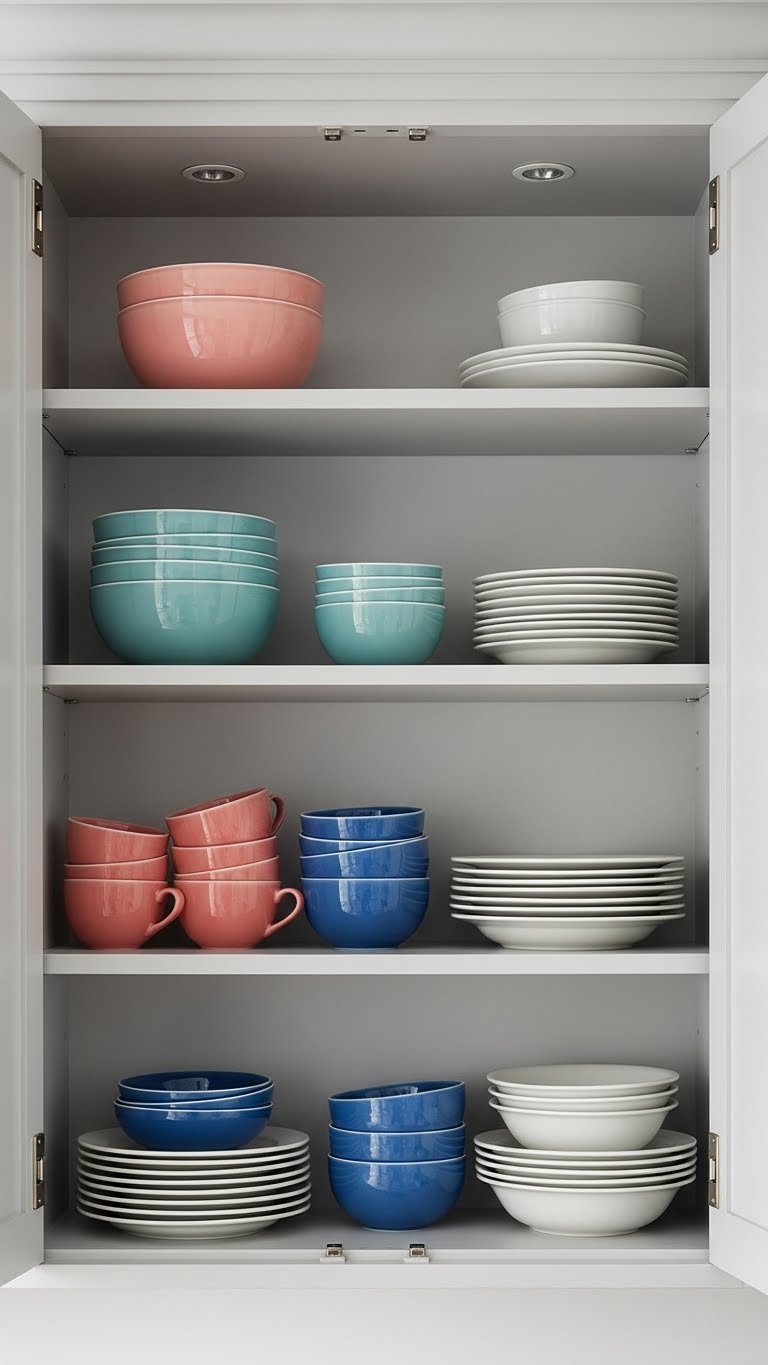
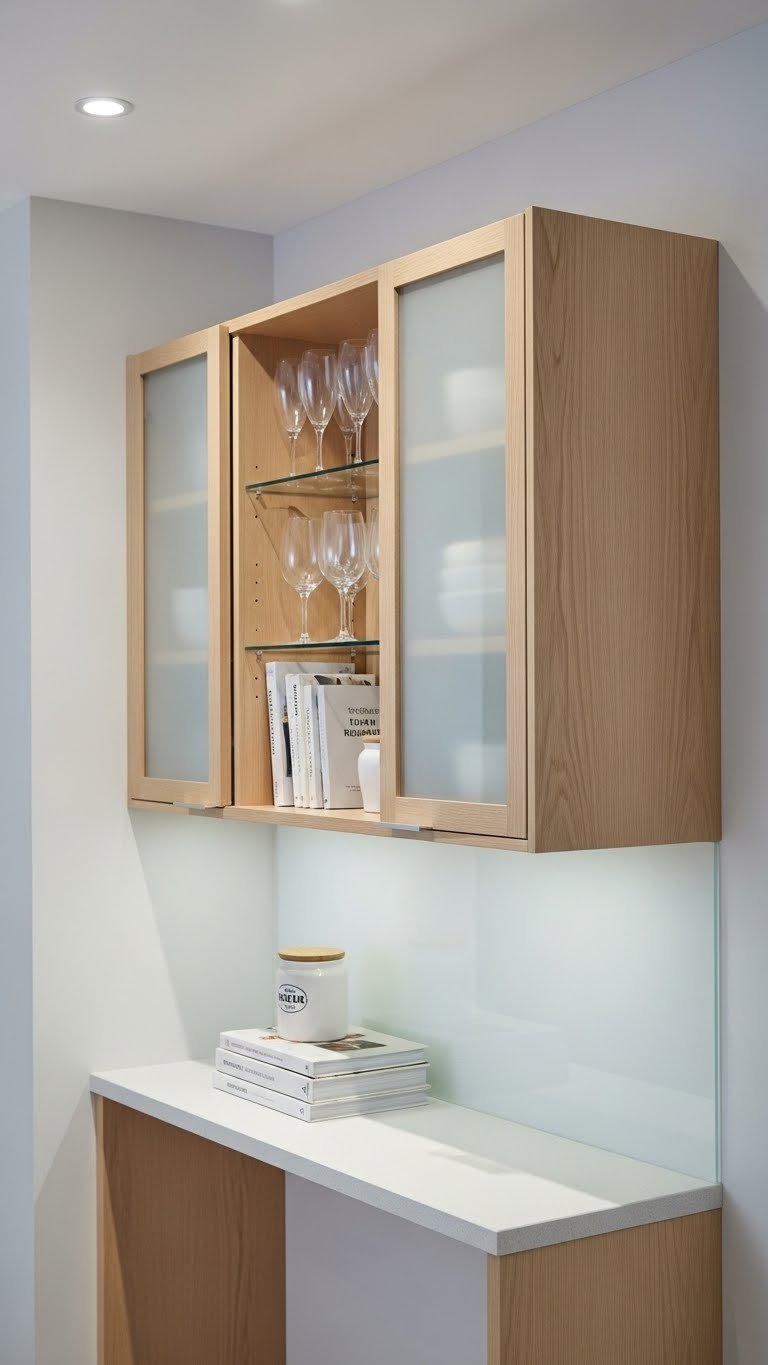
9. Use Glass-Front Doors to Display and Expand
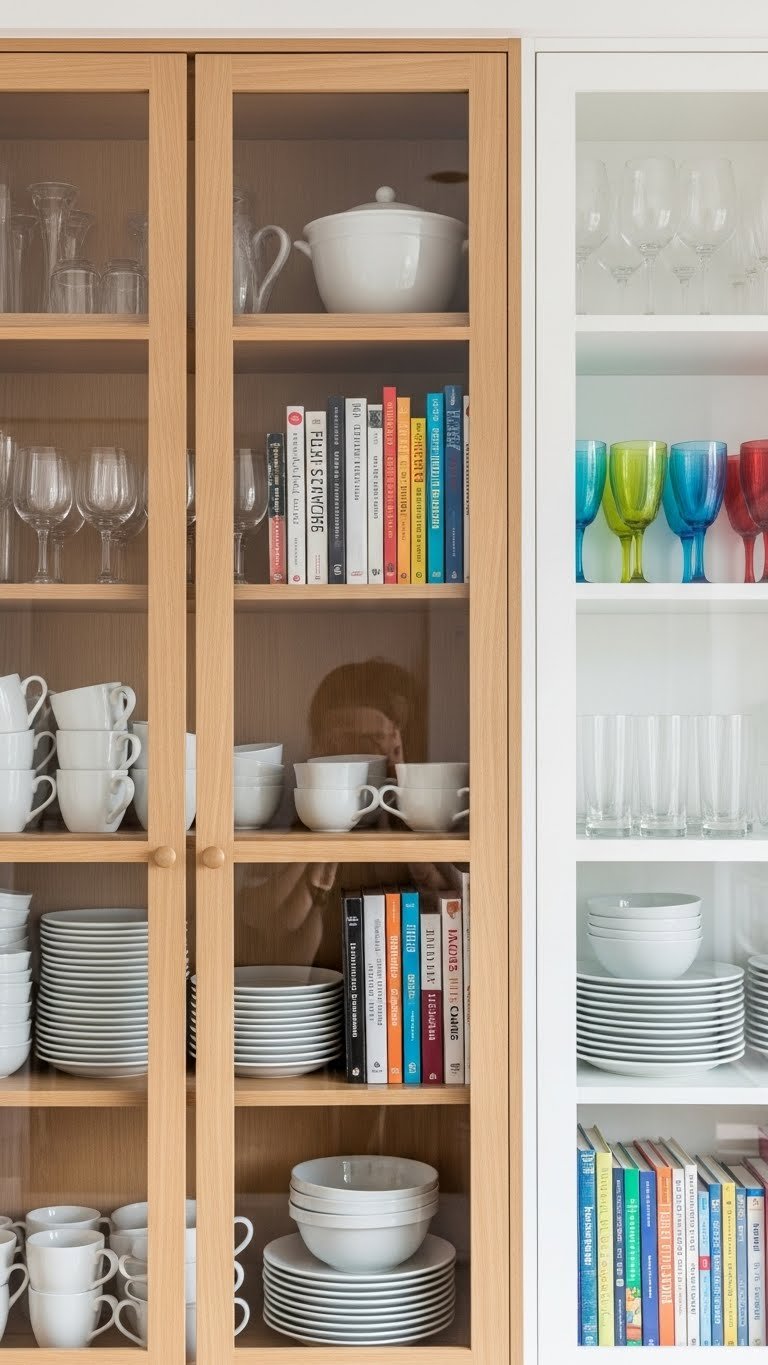
Glass-front cabinets create visual transparency, making even packed spaces feel less dense. Your eye travels through to the back wall, expanding the sense of depth.
Replace cabinet doors with glass-front versions ($150-$400 per door from Home Depot, Wayfair, or custom shops) or use stick-on frosted glass film for renters ($20-$50 per sheet). Installation takes 1-2 hours for door swaps or 30 minutes for film. Only display your prettiest items—use solid doors for clutter. Frosted or seeded glass creates visual interest while hiding less attractive contents. Pro tip: Back your glass cabinets with wallpaper or light-colored paint for added depth.
Your small kitchen suddenly feels more open because light passes through instead of stopping at solid doors.
10. Go Modular and RTA for Budget Flexibility
Ready-to-assemble (RTA) cabinets cost 30-50% less than stock or custom options, and they’re often better quality than people expect. You can upgrade gradually as budget allows.
RTA brands like IKEA, Amazon Basics, and Overstock offer complete kitchen setups starting around $1,500-$3,000 for a full kitchen. Individual cabinets run $80-$300 depending on size and finish. Assembly takes one weekend with basic tools and patience. Start with your most-used cabinets and expand over time. Pro tip: Many stores offer assembly services for $50-$150 per cabinet if DIY feels overwhelming.
You get designer-quality cabinets at a fraction of the cost, and the satisfaction of building them yourself is a bonus.
11. Paint Inside Cabinet Walls Light Colors
Most cabinet interiors are dark or unfinished. Painting them light colors bounces light into the cabinet and makes contents more visible.
Use semi-gloss cabinet paint or peel-and-stick wallpaper in white or pale colors. Budget paint runs $15-$30 per quart; stick-on wallpaper costs $20-$50 per roll. Prep takes 30 minutes per cabinet, paint dries overnight. This subtle move has an outsized impact on how spacious interiors feel. Renter? Wallpaper is your best bet since it’s completely removable.
Opening your cabinets now reveals bright, organized interiors that make the space feel more curated and intentional.
12. Remove a Few Cabinet Doors for Open Display

You don’t have to commit to all-open shelving—removing just one or two cabinet doors creates visual openness while keeping the rest of your storage hidden.
This costs nothing if you already have the cabinets. Simply unscrew hinges and set doors aside (keep them in case you change your mind). Takes 15 minutes per door. Display only items you love and use daily. Pro tip: Paint the inside back wall a contrasting or complementary color to add intentional depth.
Your kitchen instantly looks less fortress-like, and you’ve created a styling opportunity without renovating.
13. Install a Corner Carousel or Lazy Susan Cabinet
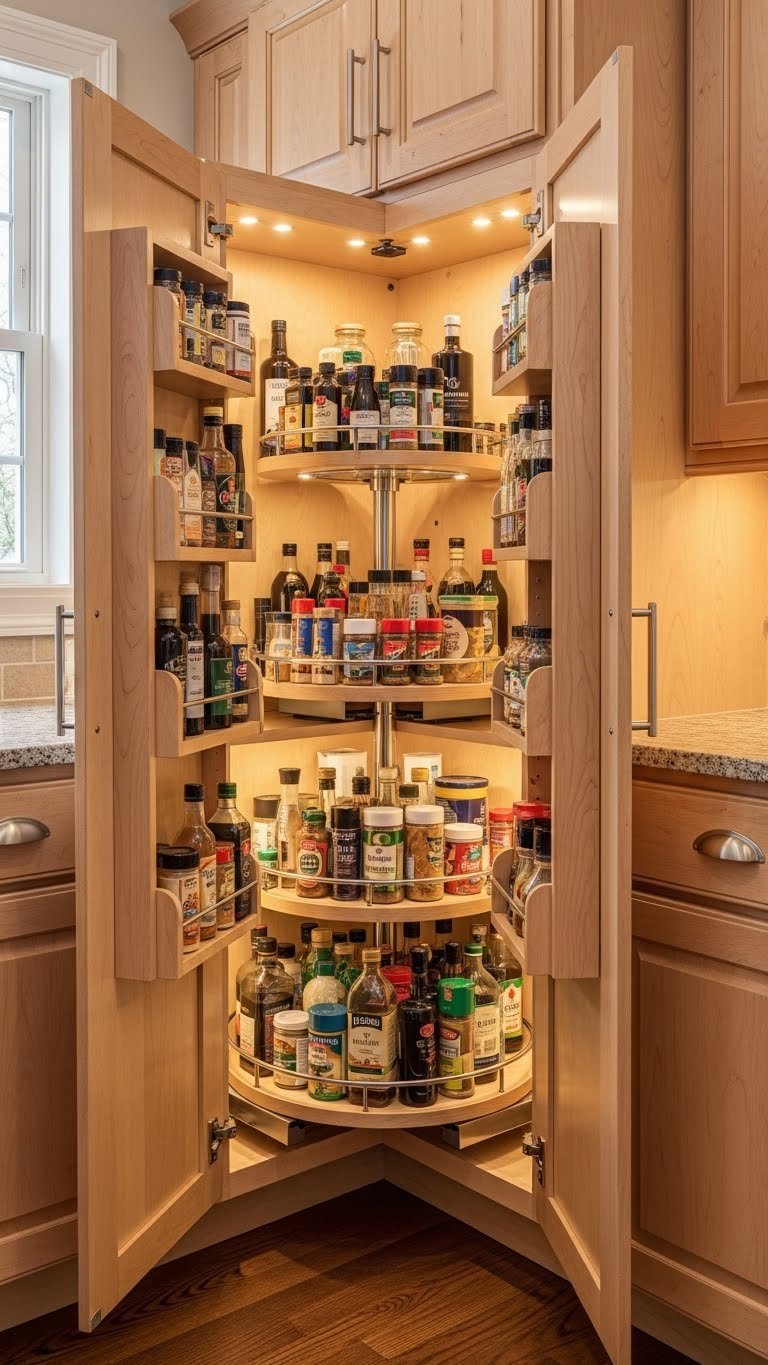
Corner cabinets are notoriously hard to access and often become black holes. A rotating carousel system makes corner storage actually usable.
Lazy Susan cabinet inserts cost $80-$200 and install in 30-45 minutes with a drill. IKEA and Home Depot carry affordable options. This is transformative for corner dead space—suddenly everything is accessible without reaching to the back. Pro tip: Use tiered carousels for maximum storage in narrow corners.
You’ll reclaim storage real estate you’ve been wasting, and your kitchen feels better organized overnight.
14. Use Shallow Wall Cabinets Above Narrow Counters
Deep wall cabinets can feel heavy and oppressive in small spaces. Shallow cabinets (8-10 inches) provide storage without visual bulk.
Shallow wall cabinets cost $150-$400 from IKEA, Home Depot, or custom builders. Mounting takes 1-2 hours. These work beautifully above narrow counters or in tight corners where standard-depth cabinets would jut into your workspace. Pair with open shelving for variety. Pro tip: Keep contents minimal—empty space is more valuable than extra storage in small kitchens.
Your walls gain storage without closing off the space, and the kitchen maintains an open, breathing aesthetic.
15. Paint Walls Around Cabinets in Contrasting Colors
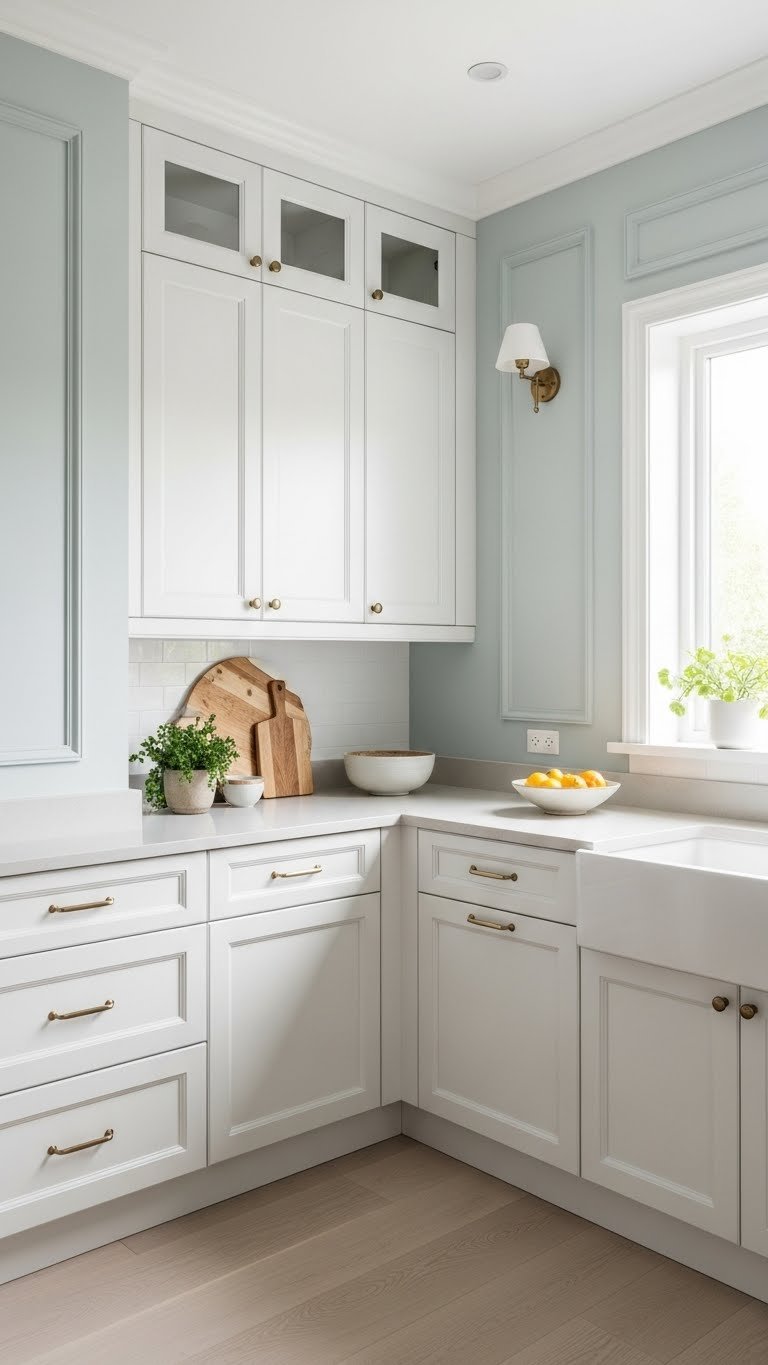
Instead of white-on-white, paint walls a subtle, complementary color. This makes your cabinets the focal point while creating depth through color layering.
Interior paint costs $30-$60 per gallon; two coats take one day with a roller. Choose soft, muted tones (sage, dusty blue, warm gray) rather than bold colors in a small space. Pair light cabinets with slightly deeper walls, or vice versa. Renter? Removable wallpaper in soft tones works beautifully ($20-$50 per roll).
Your small kitchen suddenly feels designed rather than generic, and the color contrast adds intentional depth.
16. Add Drawer Dividers for Visible Organization
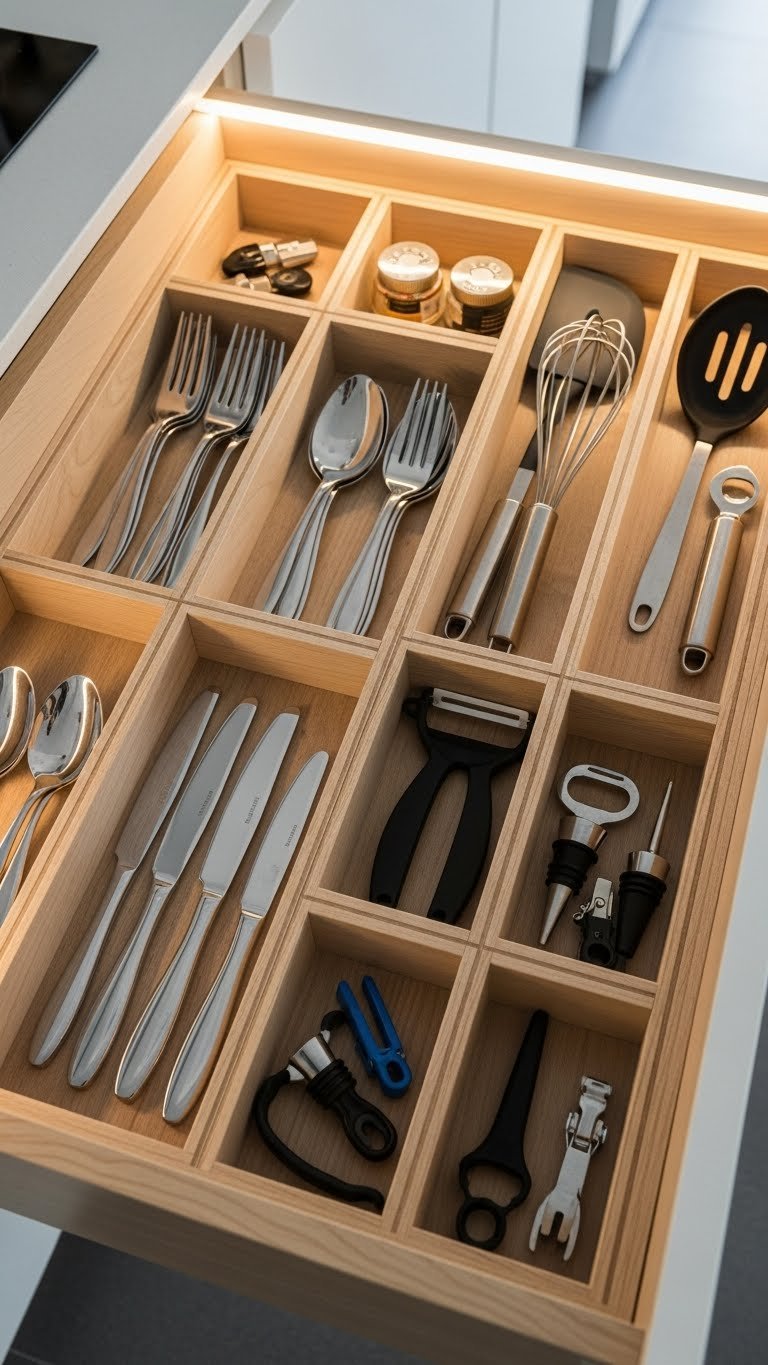
Messy drawers make cabinets feel chaotic and smaller. Dividers create order, which mentally expands your perceived space.
Drawer divider kits cost $15-$40 from Target, Container Store, or Amazon and install in 10-15 minutes—just drop them in or use adhesive pads. Customize compartment sizes to match what you store. This is the cheapest way to transform cabinet interiors. Pro tip: Use this as motivation to declutter—if something doesn’t fit your new organized system, it can probably go.
Opening your drawers reveals pleasing organization, which makes your entire kitchen feel more controlled and spacious.
17. Go Minimalist with Natural Wood Finishes
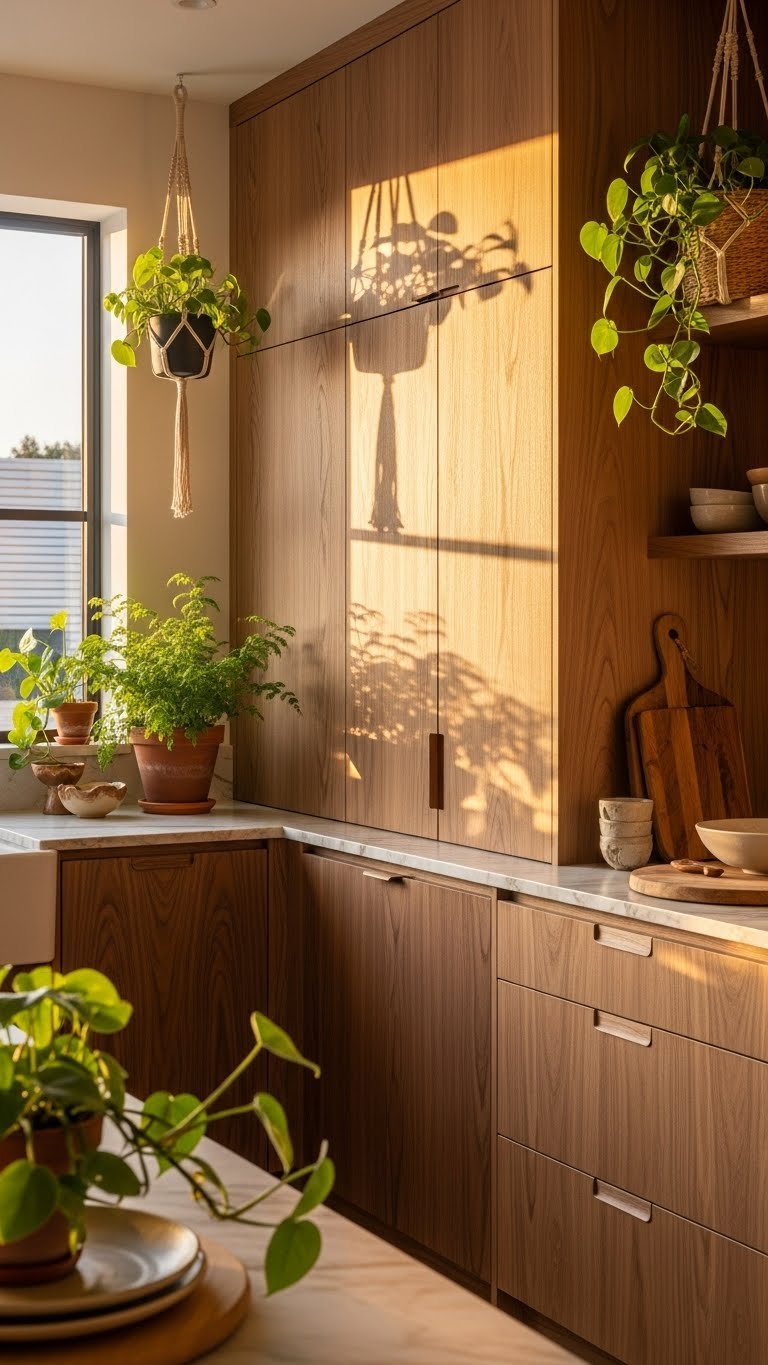
Solid natural wood creates visual warmth and feels less clinical than painted cabinets, making small spaces feel cozier rather than cramped. The grain adds visual interest without clutter.
Solid wood semi-custom cabinets from brands like Kraftmaid or Wellborn run $200-$500 per cabinet. Full custom wood kitchens range $500-$1,500+ per cabinet. RTA wood options are available around $100-$300 per cabinet. Keep hardware simple (minimal or recessed knobs) to avoid visual clutter. Pro tip: Lightly sand and restain existing wood cabinets for $200-$400 in materials.
Your kitchen feels warmer and more intentionally designed, with organic materials that age beautifully rather than looking dated.
18. Install Sliding Barn Doors Instead of Swing Doors

Swing-out cabinet doors take up floor space. Sliding doors open horizontally, saving precious clearance in tight kitchens while adding farmhouse or modern aesthetic.
Sliding door hardware kits cost $80-$200 per door set from Amazon, Etsy, or Home Depot. Converting existing doors takes 2-3 hours with basic tools. This works beautifully for one or two statement cabinets (not every cabinet). Go natural wood or matte black for timeless style. Pro tip: Hang a small sign or label on the door to add personality.
Your kitchen gains floor space and a design feature that people actually notice and comment on.
19. Use Vertical Dividers in Base Cabinets

Baking sheets and cutting boards stacked flat waste space and become hard to access. Vertical dividers let you stand items up, maximizing storage and making everything grabbable.
DIY vertical dividers from wood strips cost $20-$40 in materials and take 45 minutes to cut and install. Pre-made kits run $30-$70 from Amazon or Container Store. Measure your cabinet depth precisely before installing. This simple hack transforms useless horizontal space into highly functional vertical storage. Pro tip: Label dividers so everyone knows what goes where.
You’ll fit three times as many items in the same space, and everything stays accessible instead of buried.
20. Choose Warm, Muted Cabinet Colors Over Stark White
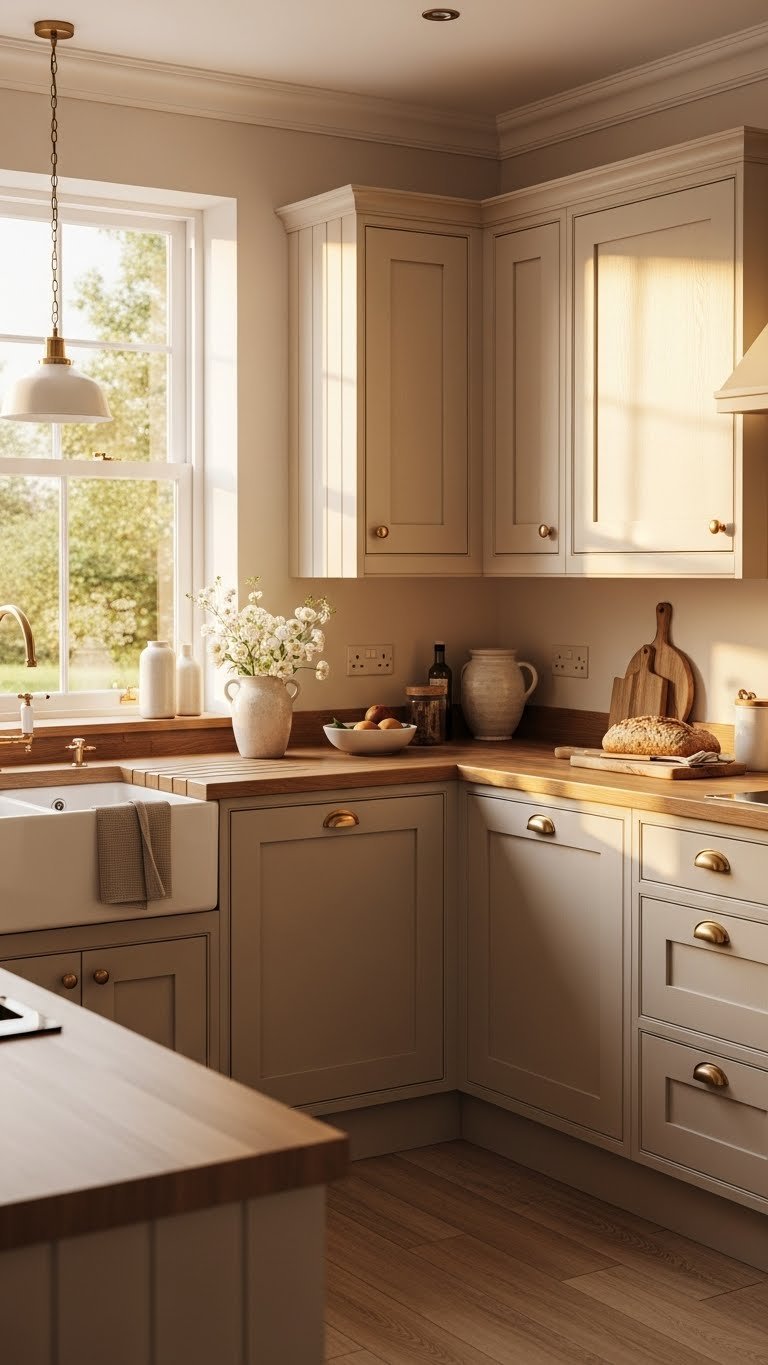
Pure white cabinets can feel cold and clinical in small spaces. Warm neutrals like cream, soft taupe, or greige create a cohesive, inviting environment that feels more spacious.
Cabinet paint in warm tones costs the same as white ($50-$150 per gallon). If you’re buying new cabinets, brands offer warm neutral finishes as standard options. DIY painting takes 3-4 days with drying time. The warmth makes the space feel intentional rather than institutional. Pro tip: Match cabinet color to your countertop undertones for maximum cohesion.
Your kitchen feels warmer and more inviting, which paradoxically makes tight spaces feel more comfortable and spacious.
21. Install Inside-Cabinet Lighting for Hidden Storage

Most cabinet interiors are dark black holes where items disappear. Interior lighting makes everything visible and accessible, plus it’s safer when reaching into dark spaces.
Stick-on battery LED pucks cost $15-$40 for a set of 3-4 from Amazon or Target; hardwired strips run $80-$150 installed by a pro. Battery pucks install in 5 minutes with just an adhesive strip. Choose warm white for ambiance. Even if you rarely use this feature, it makes the interior feel intentional and designed. Renter? Battery pucks are completely portable.
You’ll use your cabinets more efficiently because you can actually see what’s inside, and searching for items becomes effortless.
22. Mix Cabinet Finishes for Intentional Variety

Matching cabinet finish throughout can feel monotonous in small spaces. Mixing finishes (matte and gloss, two paint colors, wood and white) creates visual interest while maintaining cohesion.
Paint or order multi-finish cabinetry—budget an extra $50-$150 if mixing finishes on the same order. The mix should follow a pattern (uppers one color, lowers another; or solid cabinets with open shelving variety). Avoid more than three finishes or it feels chaotic. Pro tip: Use a color wheel or Pinterest board to ensure finishes feel intentional.
Your kitchen looks more curated and designed, like someone thought through every detail rather than grabbing whatever was available.
23. Create a Floating Pantry Cabinet for Extra Storage
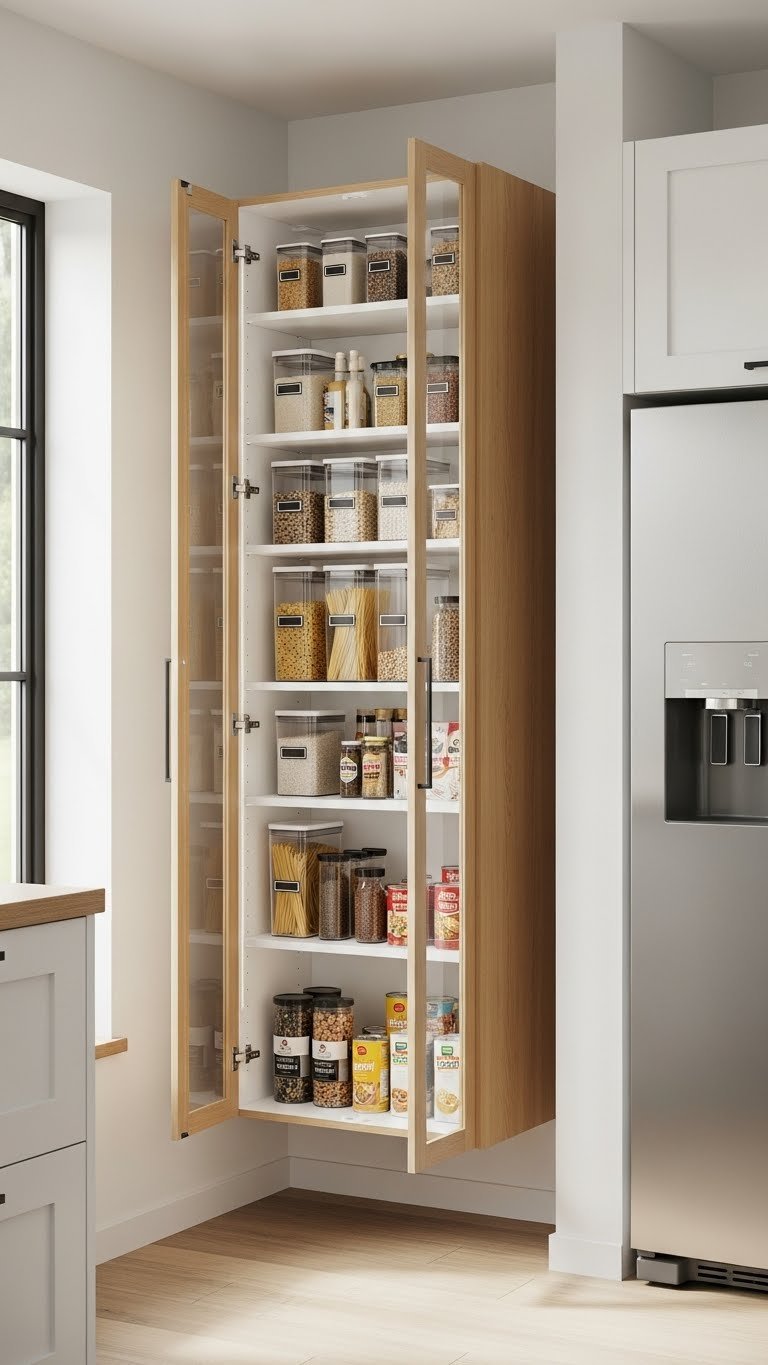
Small kitchens often lack dedicated pantry space. A single tall floating cabinet tucked in a corner or beside the fridge adds serious storage without eating floor space.
Floating pantry cabinets cost $200-$600 from IKEA, Wayfair, or custom builders. Professional installation runs $100-$300. A 24-36″ wide cabinet holds remarkable amounts of dry goods, oils, and small appliances. Mount to wall studs carefully—pantry cabinets are heavy when full. Renter? Tall freestanding cabinets ($300-$500) slide into tight spaces and don’t require wall mounting.
You’ve essentially added a pantry without renovating, gaining storage that makes your daily cooking infinitely easier.
Save this for your next kitchen refresh and try at least one idea this month. Small spaces deserve thoughtful design, and these cabinet upgrades prove that big impact doesn’t require big renovations—just smart choices. Share this with anyone tackling a compact kitchen project. Which idea are you trying first?
Leave a Reply