
When your bathroom is on the small side, every decision matters. You’re probably wondering how to make the space feel bigger, more functional, and actually enjoyable to spend time in. The good news? You don’t need a full renovation or a massive budget to transform how your bathroom works and feels. Whether you’re renting, own a tiny home, or just have a compact ensuite, these 24 ideas will show you exactly how to maximize every inch without sacrificing style. You’ll discover budget-friendly hacks, DIY projects you can do in an afternoon, and smart design choices that make a real difference. Let’s get started.
1. Paint Walls Light to Expand Space
Light wall colors are the quickest way to make a small bathroom feel bigger. Paint tricks your brain into perceiving more space because light reflects around the room instead of absorbing into dark surfaces.
Choose soft whites, pale grays, barely-there blues, or warm creams. You can paint this yourself in one afternoon with a roller and quality paint from Home Depot or Lowe’s. Budget: $20–$40 for paint and supplies. Time: 2–3 hours including prep. If you’re renting, ask your landlord or use removable wallpaper as an alternative. Pair light walls with white or light-colored trim for maximum impact.
Your space instantly looks 20% larger, and you’ll notice how much brighter the bathroom feels, especially if it has limited natural light.
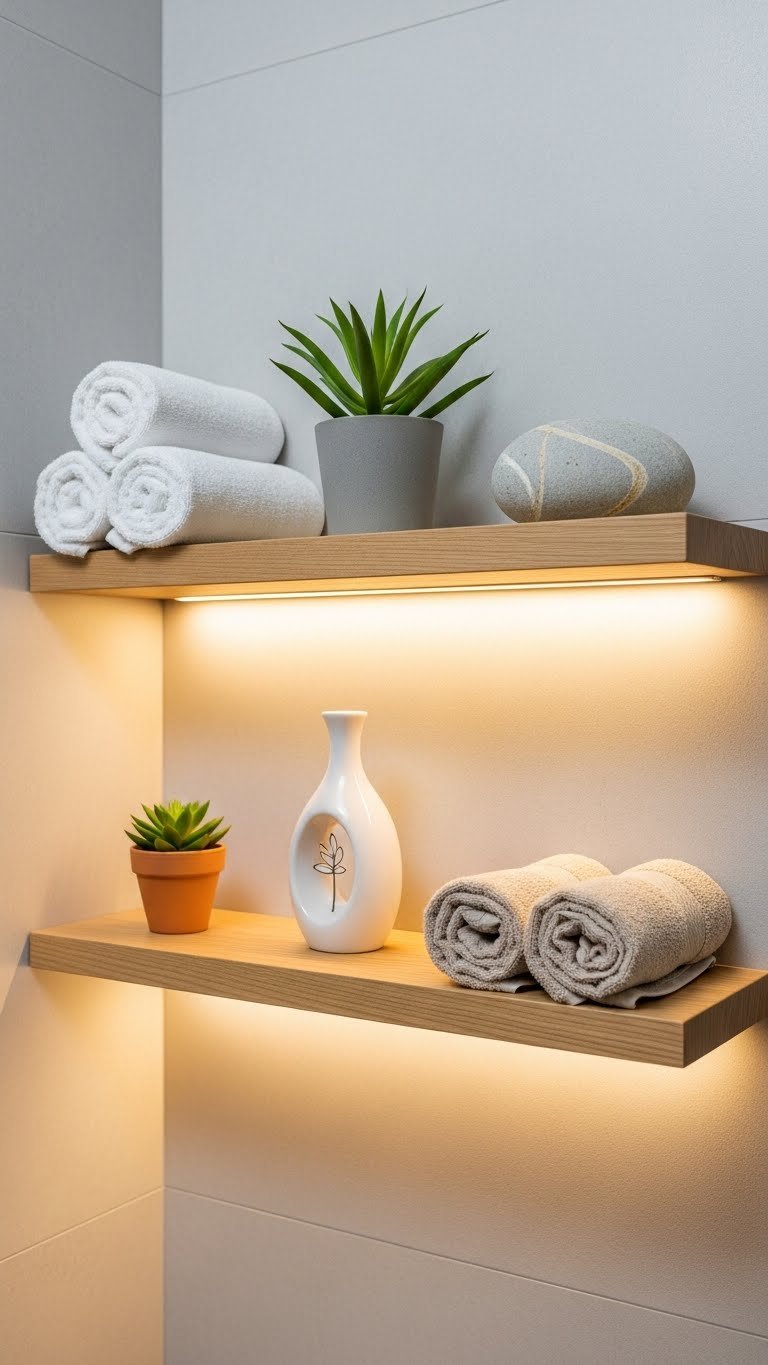
2. Install a Corner Shelf for Storage Without Floor Space
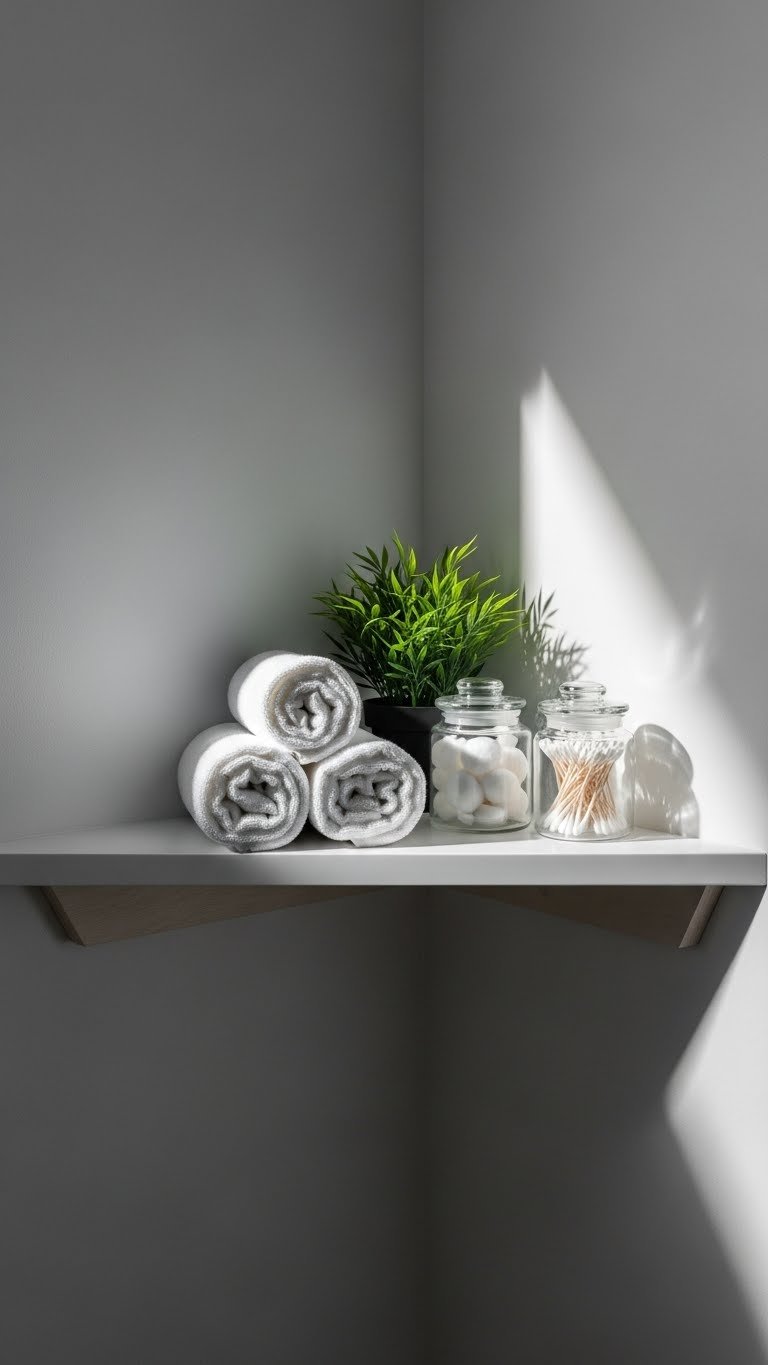
Corner shelves are invisible real estate in small bathrooms. You have walls going unused in corners—might as well use them for storage and decor.
Floating corner shelves cost $20–$60 and mount directly to two walls. IKEA, Target, and Amazon all carry affordable options. You’ll need a drill, level, and wall anchors if you’re not hitting studs. Time: 30 minutes to install. Renters can use adhesive-backed corner shelves or ask permission to install with removable anchors. Style your shelf with rolled towels, small baskets, and a single plant to keep it functional but visually calm.
You’ve just created storage without eating into precious floor or counter space, and your bathroom suddenly looks intentionally designed.
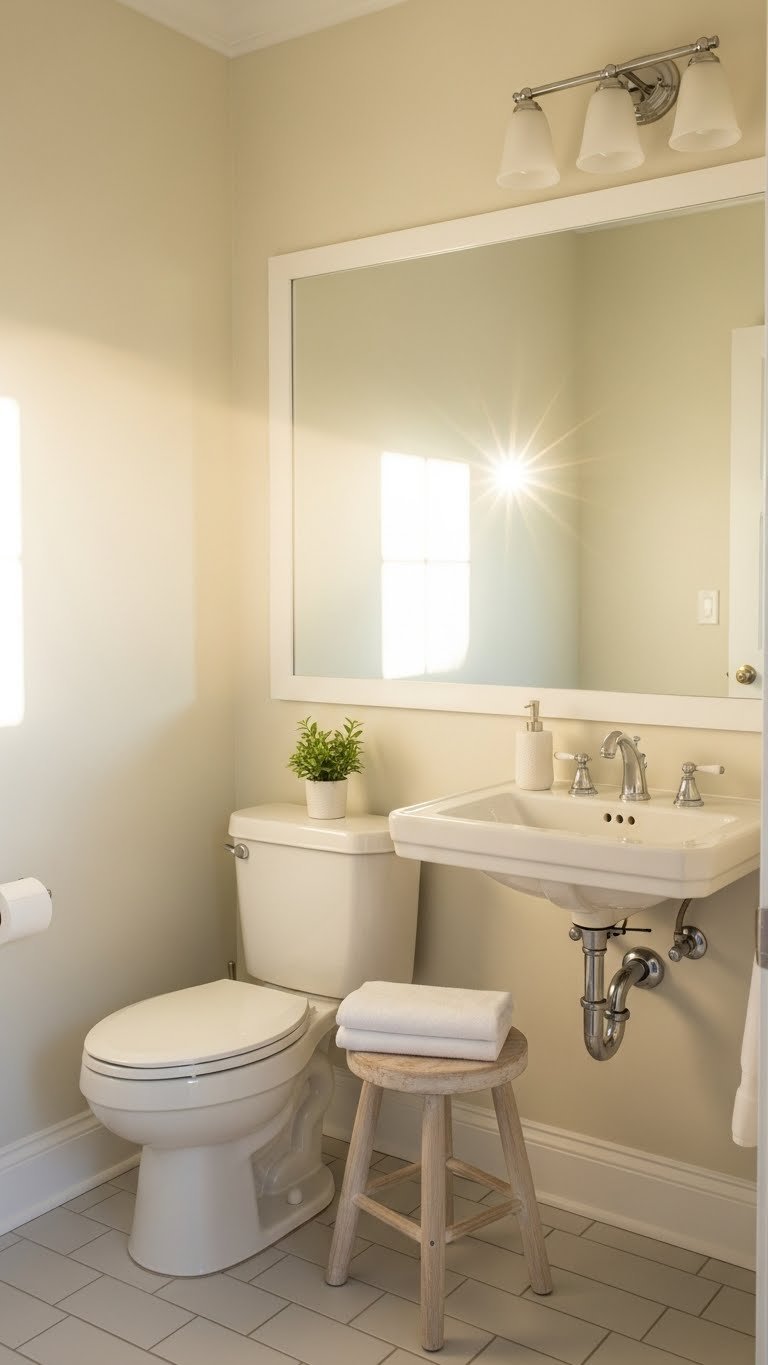
3. Swap Out Your Mirror for a Larger One

A larger mirror is one of the smartest small-space investments. It reflects light, makes the room feel bigger, and is instantly noticeable every time you use the sink.
Measure your wall space above the sink. If you have room, go with a mirror that’s at least 24–30 inches wide (standard is often just 18–20 inches in smaller bathrooms). Budget: $30–$120 depending on frame style. Home Depot, Wayfair, and IKEA have tons of options. If you’re renting, use adhesive-backed mirrors or ask about temporary installation. The upgrade takes 15 minutes and completely changes how the space functions and feels.
Your reflection now takes up more wall space, and the expanded mirror bounces light around the entire room, making everything look brighter and more spacious.
4. Use Vertical Shelving Above the Toilet
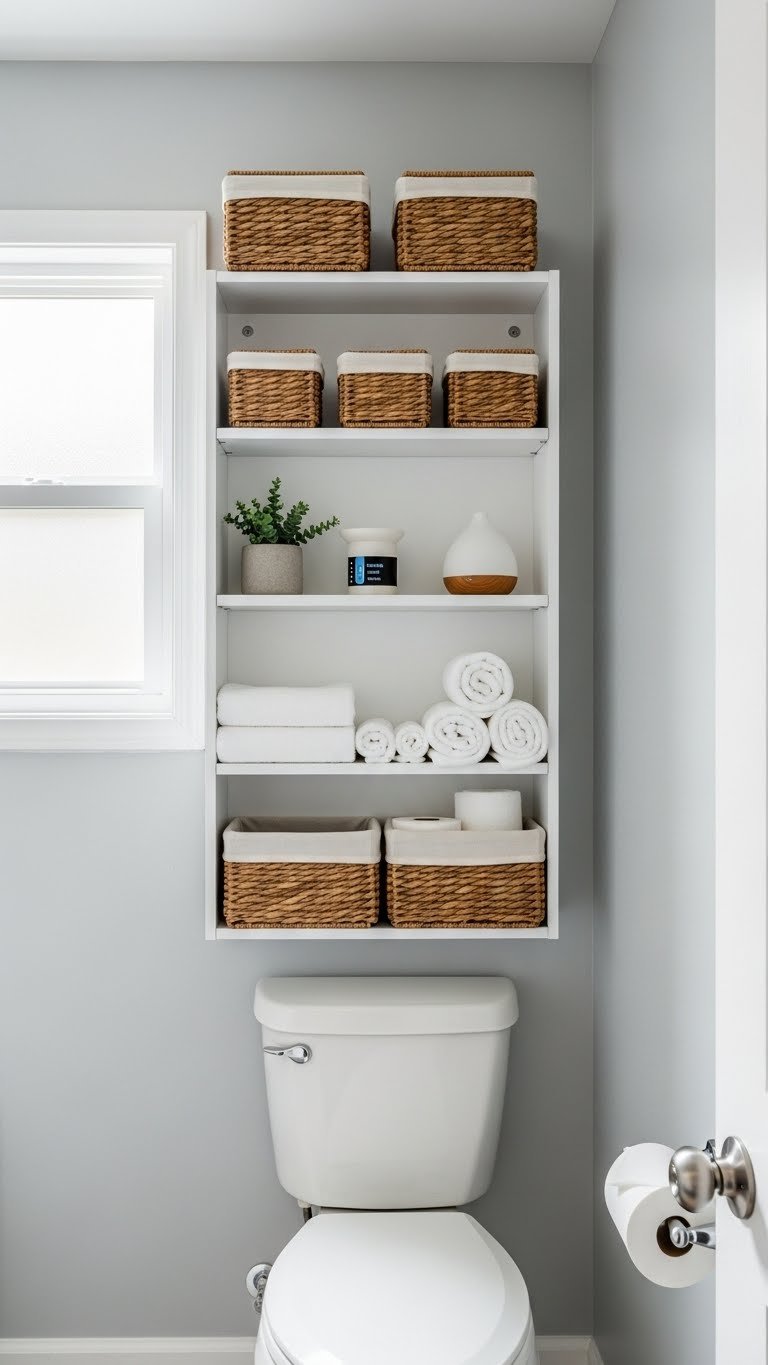
Dead space above the toilet is prime real estate in a compact bathroom. Vertical shelving takes advantage of unused wall space without cluttering your floor or counter.
Install a 2–3 shelf unit directly above your toilet using standard wall anchors or studs. Budget: $25–$80 for a simple shelving unit. Wayfair, IKEA, and Home Depot all have options that fit standard toilet widths. Time: 45 minutes to install. Stack rolled towels, store extra toiletries in small baskets, and add one decorative item per shelf to keep it balanced. Renters can use adhesive shelves as a non-permanent option.
You’ve doubled your storage without sacrificing an inch of floor space, and your bathroom suddenly feels more organized and put-together.
5. Install a Wall-Mounted Faucet to Free Up Counter Space

Wall-mounted faucets are game-changers for tiny bathrooms because they eliminate the bulky base that takes up precious counter real estate.
This is a plumbing project best left to a pro unless you’re experienced. Expect $200–$400 for the faucet plus installation labor (usually $150–$250). Call a local plumber for quotes. If you’re renting, this probably isn’t an option unless your landlord approves. However, the payoff is huge: your counter goes from cramped to usable, and the bathroom looks more minimalist and spa-like. If you can’t do this, skip to items that don’t require plumbing changes.
Suddenly you have actual counter space to set down a toothbrush holder or small candle without feeling crowded.
6. Add Adhesive Backsplash Tiles for a Refresh (Renter-Friendly)

Peel-and-stick backsplash tiles give you a design upgrade without damaging walls or requiring tools. They’re perfect if you’re renting or want to test a look before committing.
Measure the wall behind your sink. Adhesive tiles come in sheets and cost $20–$60 for a small bathroom area. Popular patterns include white subway, marble, or hexagon. Apply them directly to clean, dry walls—no grout or tools needed. Time: 1–2 hours depending on wall size and your patience with straight lines. They’re removable but semi-permanent, so choose a design you’ll love for at least a year. Amazon and Wayfair have tons of styles.
Your backsplash now looks intentional and designed, and the pattern adds visual interest without overwhelming a small space.
7. Install a Recessed Medicine Cabinet
Recessed medicine cabinets nestle into the wall cavity rather than jutting out, so they don’t eat into your already-tight floor space.
Measure your wall to find the studs, then install between them. Budget: $50–$150 for the cabinet itself, plus $100–$200 if you hire someone (this involves cutting into drywall). Time: 2–4 hours DIY, or a few hours if hiring help. If you’re renting, skip this one—it’s too invasive. Renters should opt for surface-mounted medicine cabinets with mirrors instead. Once installed, this stores all your daily medications, hair products, and medications in one organized spot that doesn’t interfere with mirror or counter space.
Everything you need is hidden behind one clean door, making your counter and walls look streamlined and uncluttered.
8. Use a Rolling Cart for Under-Sink Storage
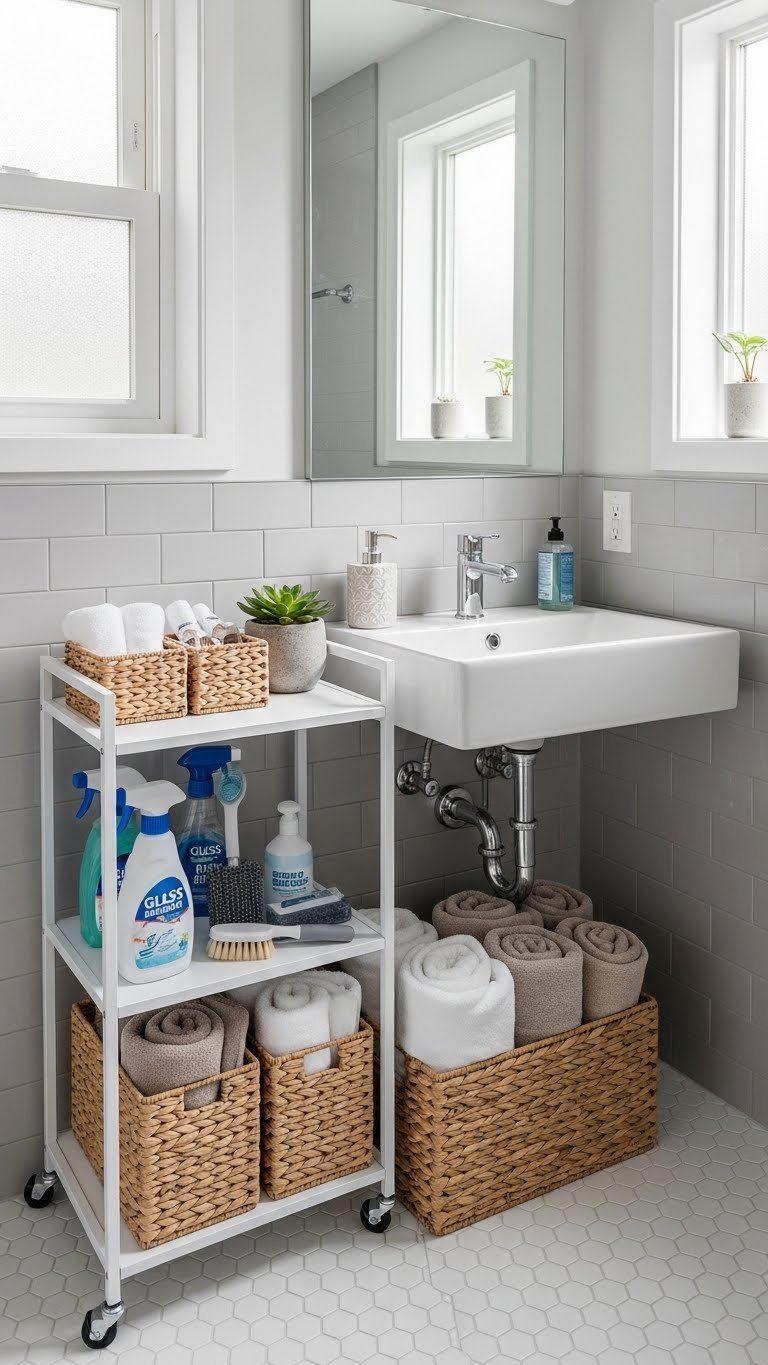
A rolling cart gives you mobile, flexible storage that works in rentals and doesn’t require installation. You can move it wherever you need it most.
Purchase a slim 2–3 tier rolling cart (10–15 inches wide) from IKEA, Target, or Amazon for $30–$80. Slide it under or beside your sink, or tuck it into any corner. Fill each tier with small baskets to corral cleaning supplies, extra toilet paper, hair tools, and toiletries. Time: 10 minutes to assemble and position. The beauty of a cart is you can rearrange or relocate it anytime without tools. Add removable labels to each basket so your family knows where things go.
Your storage is now organized, accessible, and easy to rearrange—plus you can pull it out to clean behind it (no permanent installation mess).
9. Hang Towels Vertically on a Ladder Rack

A ladder towel rack takes up minimal floor space while displaying rolled towels as decor. It’s functional and adds visual interest to an otherwise bare corner.
Look for slim ladder racks 18–24 inches wide at Home Depot, IKEA, or Wayfair. Budget: $30–$100 depending on material (wood vs metal) and quality. Lean-to styles don’t require installation, while wall-mounted versions need 30 minutes and basic tools. Roll your towels tightly and layer them across the rungs—it looks spa-like and keeps towels accessible. Time: 5 minutes to set up a lean-to style, 30 minutes for wall-mounted.
Your towels are now displayed like a boutique, saving drawer space and adding visual warmth to an otherwise utilitarian corner.
10. Paint the Inside of Shelves a Contrast Color
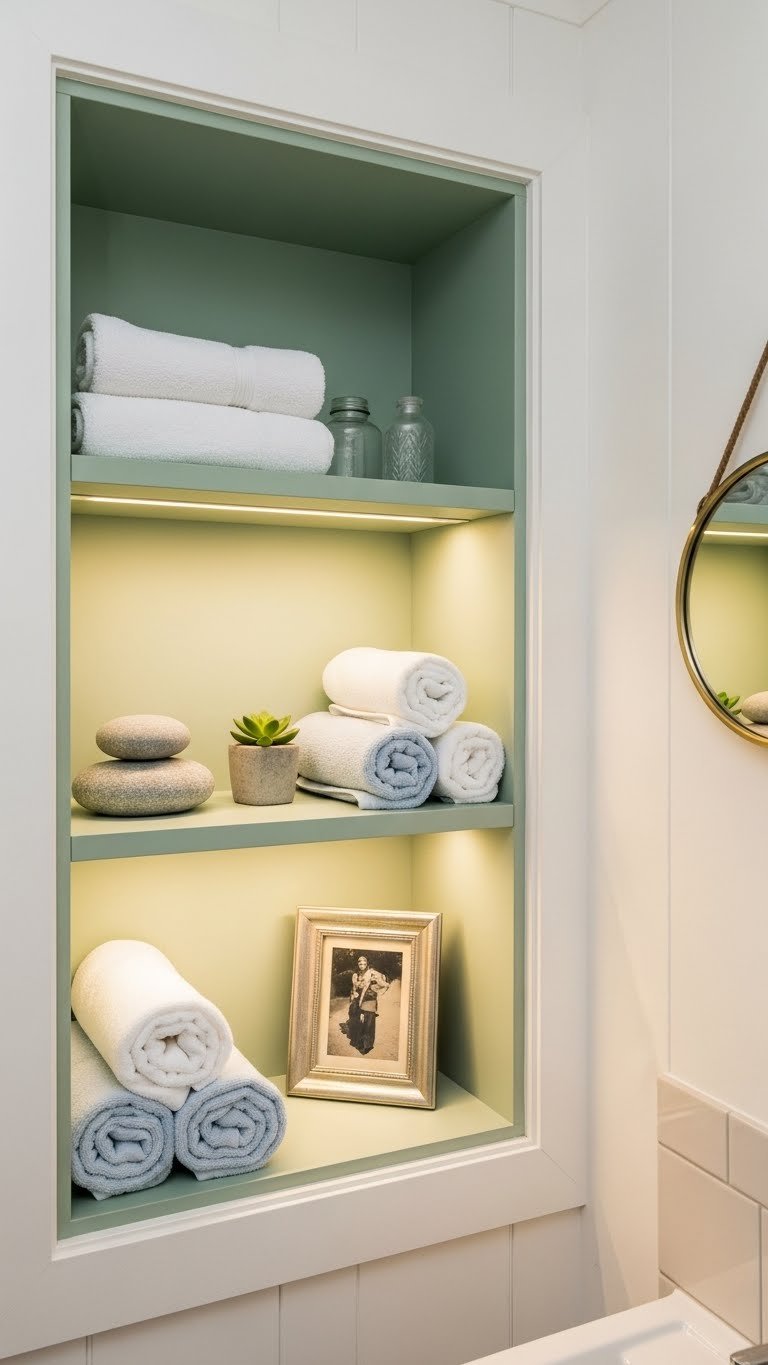
Painting shelf interiors a soft, contrasting color adds depth and interest without cluttering a small space visually.
If you have open shelving or a medicine cabinet with visible shelves, paint the interior in a soft color—sage, pale blue, or warm taupe work well. Use leftover paint from your walls or grab a small sample pot for $5–$15. A foam brush and 1–2 hours is all you need. This works on floating shelves, open cabinets, or even the inside of your shower niche if you have one. The pop of color draws the eye and makes the shelves look intentionally styled rather than just functional.
Your shelves now have depth and personality, and the subtle color addition makes your bathroom feel more carefully curated.
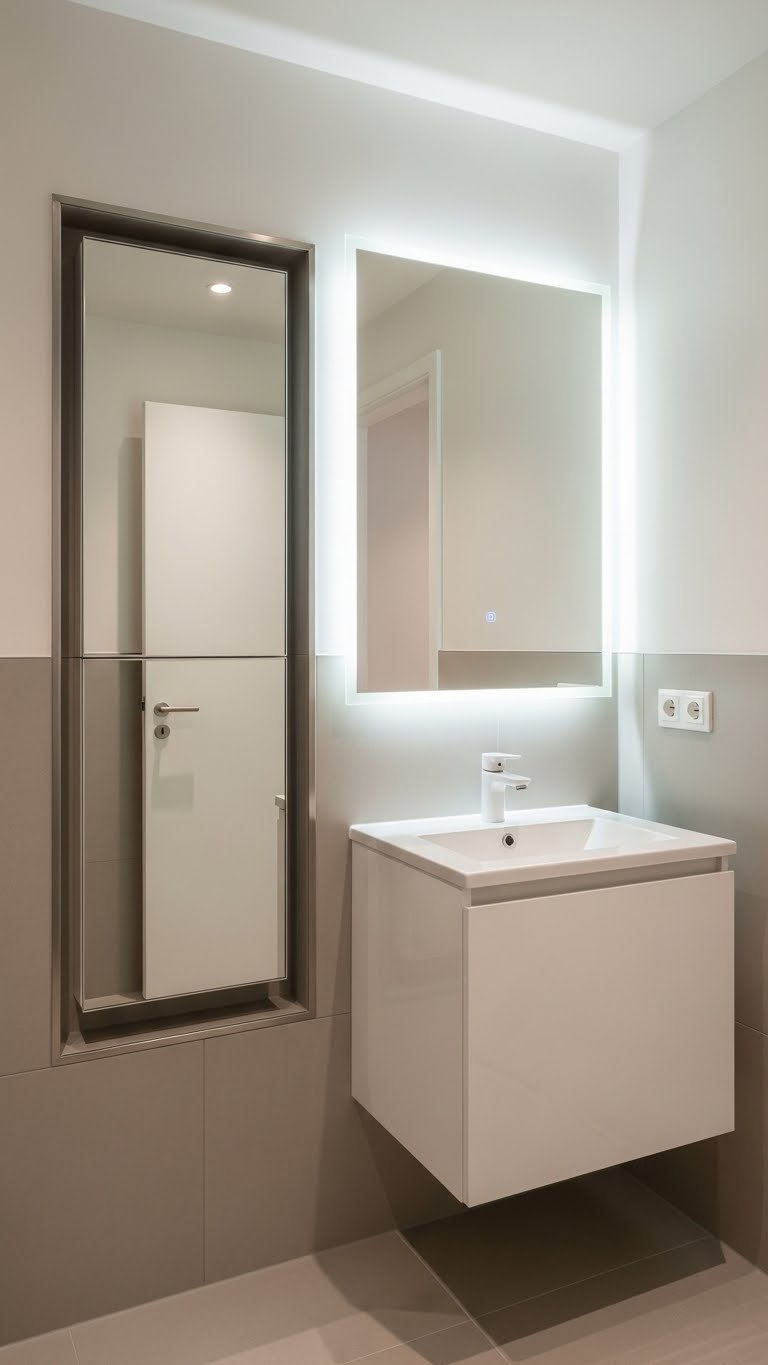
11. Install LED Strip Lighting Around the Mirror
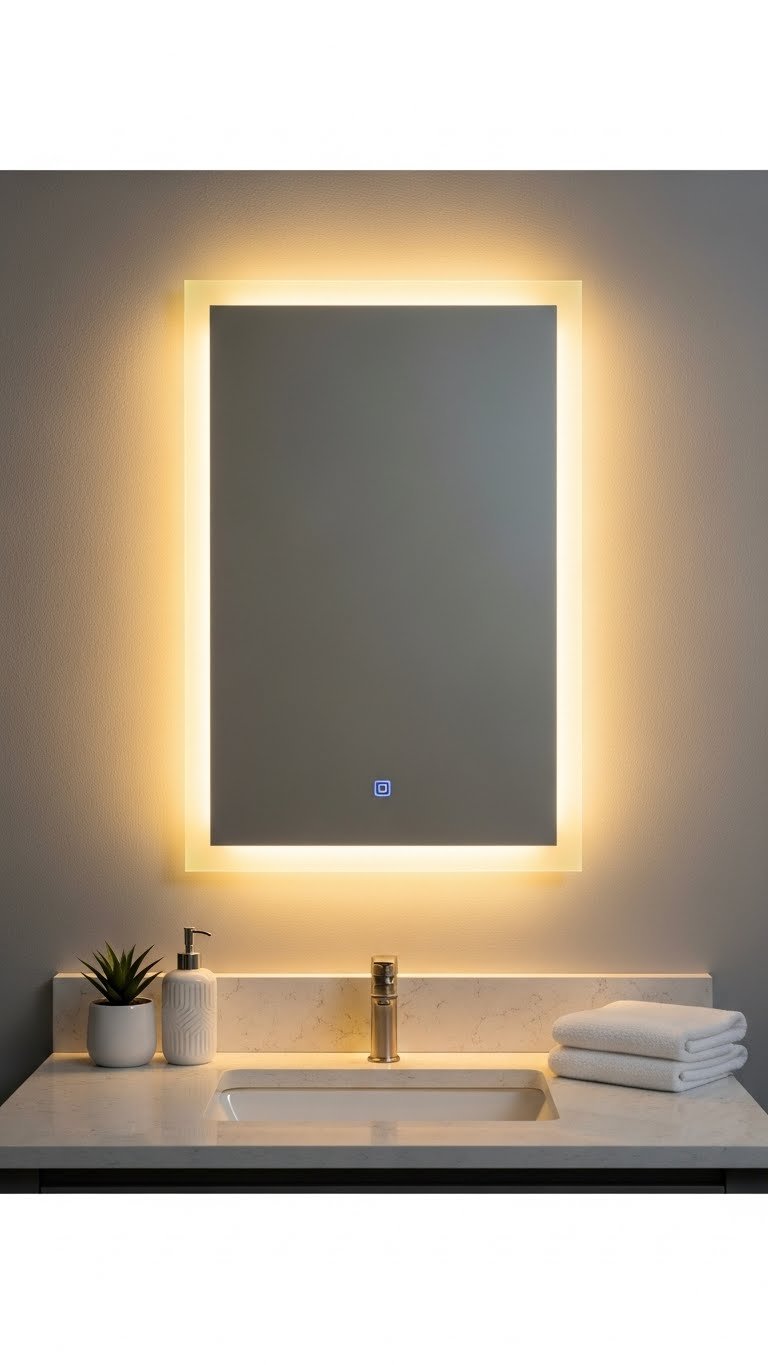
LED strip lighting around your mirror is affordable, renter-friendly, and creates a spa-like ambiance while improving task lighting for grooming.
Self-adhesive LED strip lights cost $15–$40 and stick directly to your mirror frame or the wall above and below the mirror. Choose warm white (2700K) for a relaxing feel. Plug them into a standard outlet or use battery-operated options if you’re renting. Time: 10 minutes to install and adjust. They’re dimmable and often come with remote controls, so you can adjust brightness for different times of day. Popular brands include Philips Hue, Govee, and basic Amazon options.
Your bathroom now has layered lighting that makes applying makeup easier and the overall space feel more upscale and intentional.
12. Use Tension Rods for Hanging Washcloths and Hand Towels
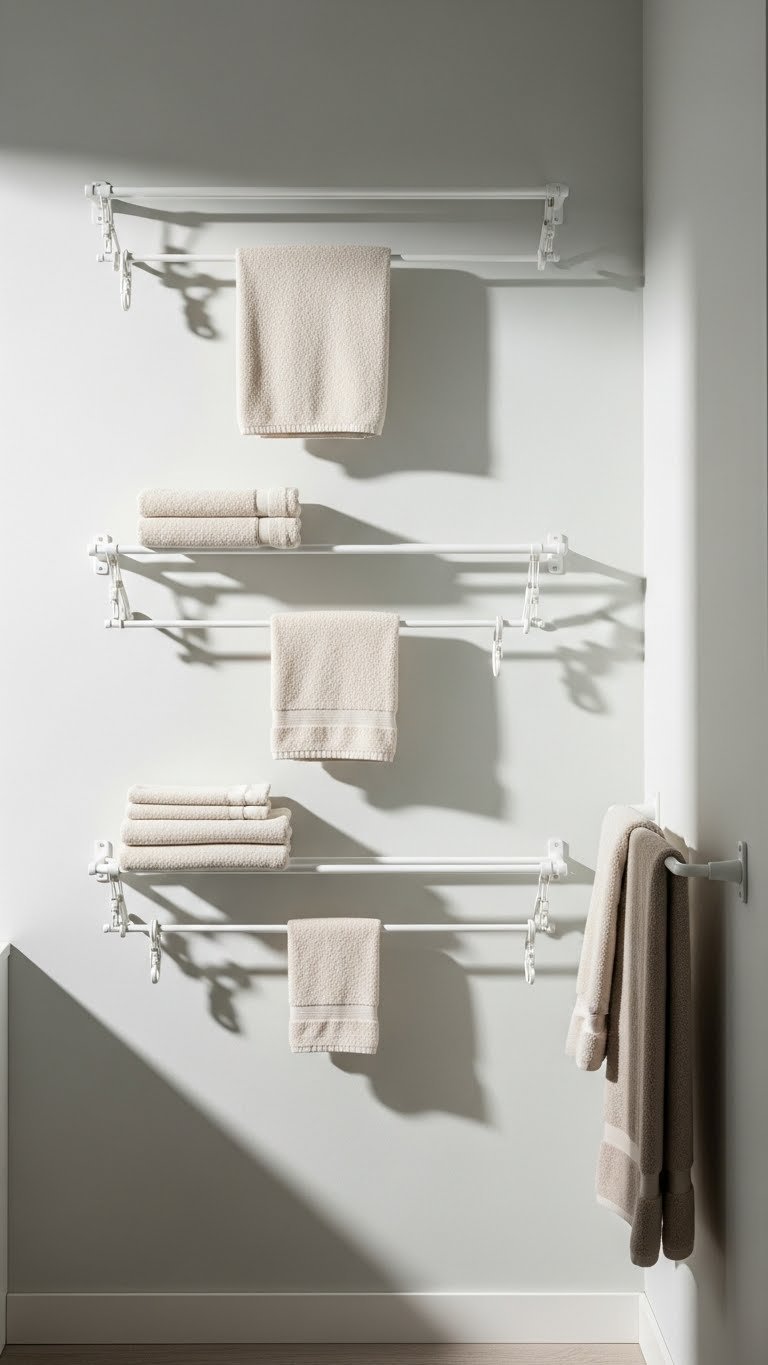
Tension rods are cheap, renter-approved, and take up almost no space while keeping towels organized and within reach.
Install two or three tension rods on an empty wall at waist height using the adjustable tension (no drilling needed). Budget: $10–$25 for a set of rods. Drape folded washcloths and hand towels over them—they stay accessible and look intentional. Time: 5 minutes per rod to install. If you’re renting, these are perfect because they don’t leave any damage. Hang them near the shower or above the toilet for convenient towel access.
Towels are now organized, visible, and within arm’s reach without taking up cabinet or drawer space.
13. Declutter and Organize Under-Sink Storage with Trays
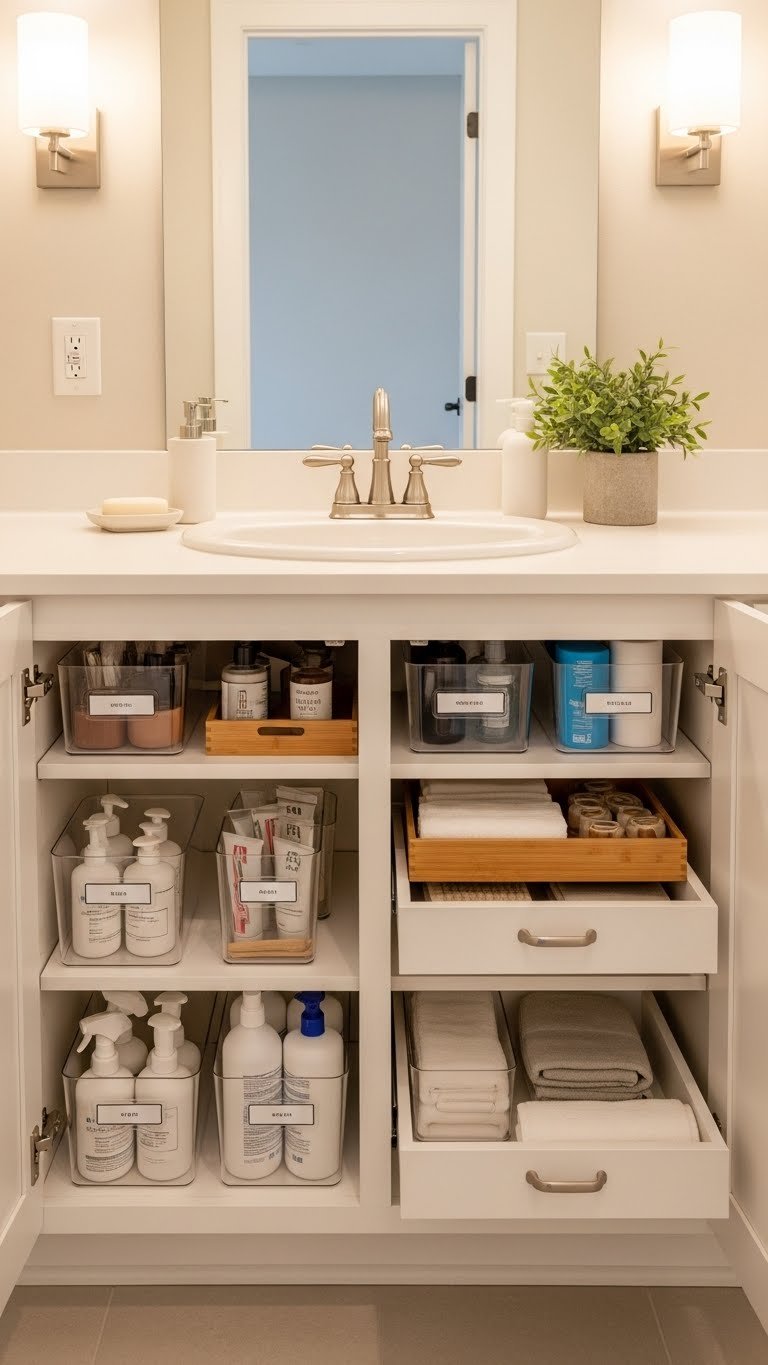
Half the problem with small bathroom storage isn’t lack of space—it’s disorganized under-sink areas. Trays and bins instantly create order and maximize what you already have.
Pull everything out from under your sink and sort it ruthlessly. Keep only what you actually use. Grab clear acrylic trays from IKEA, Target, or Dollar Tree for $5–$25 total. Group similar items (cleaning supplies, medications, hair products) and slide trays under the sink like drawers. Add labels so everyone knows where things belong. Time: 1–2 hours for the first organization, then 10 minutes weekly to maintain. This costs almost nothing but saves hours of searching and prevents duplicate purchases.
Your under-sink storage is now a model of organization, and you’ll spend less time hunting for things and more time actually enjoying your bathroom.
14. Hang a Command Hook Towel Rack on the Back of the Door

The back of your door is premium real estate that most people forget about. Command hooks are renter-approved and perfect for hanging towels or a small organizer.
Stick a 4–6 hook command rack on the back of your bathroom door using adhesive strips (no nails). Budget: $10–$20 for a quality command rack. Home Depot and Target stock various styles. Hang hand towels, washcloths, or a small mesh organizer for hair tools. Time: 5 minutes to apply and let adhesive set. These hooks are completely removable and leave no damage when you move out. Renters love this solution because it’s instant and reversible.
You’ve turned dead space into functional storage, and your towels are now at arm’s reach when you get out of the shower.
15. Install a Wall-Mounted Soap Dish or Shower Caddy to Clear Counter Space
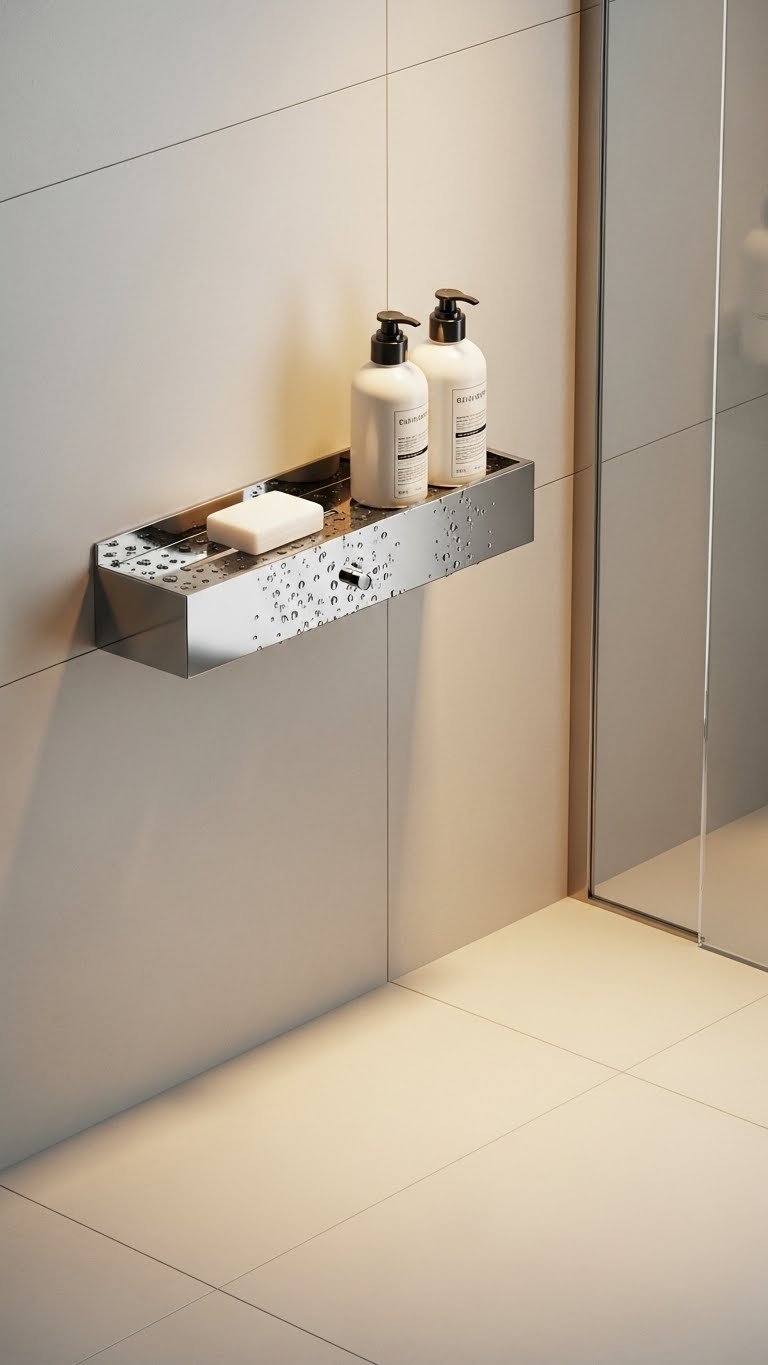
Wall-mounted caddies and soap dishes eliminate the need for bottles and bars cluttering your counter or shower floor.
Suction-cup caddies cost $10–$30 and stick directly to tile or shower walls—no drilling. For a permanent option, adhesive-mounted caddies run $15–$40. Both are renter-friendly. Time: 5 minutes to install a suction-cup version, 15 minutes for an adhesive one. Slide all your shower bottles and soap into the caddy so your shower floor stays clear and looks intentional. Popular options include stainless steel caddies from Amazon or simple plastic versions from Target.
Your shower floor is now uncluttered, and all your daily products are organized in one spot within arm’s reach.
16. Use a Corner Caddy in the Shower for Corner Optimization
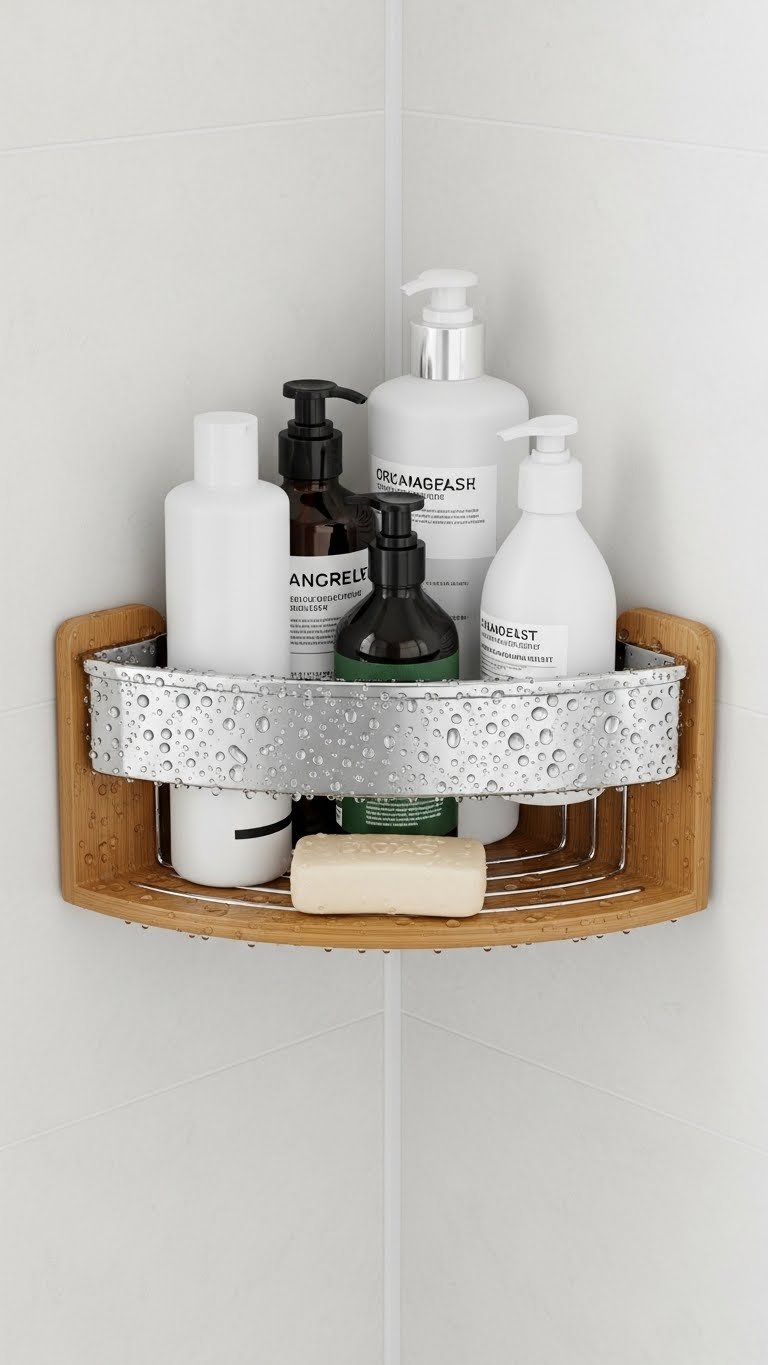
Corner caddies nestle into those awkward shower corners that would otherwise go unused. It’s a tiny change that feels surprisingly efficient.
Adhesive or suction-cup corner caddies cost $12–$35 and fit standard corner angles. Choose rust-resistant stainless steel or bamboo if you want something that feels spa-like. Time: 10 minutes to install. Both renter and homeowner options exist. Stack your bottles vertically, add a soap bar, and suddenly you’ve maximized a corner that was totally wasted. This frees up counter and floor space everywhere else in your bathroom.
You’ve claimed a corner of valuable real estate, and your shower now feels more organized and less cluttered with product bottles floating around.
17. Add a Mirrorless Medicine Cabinet Above the Toilet Tank
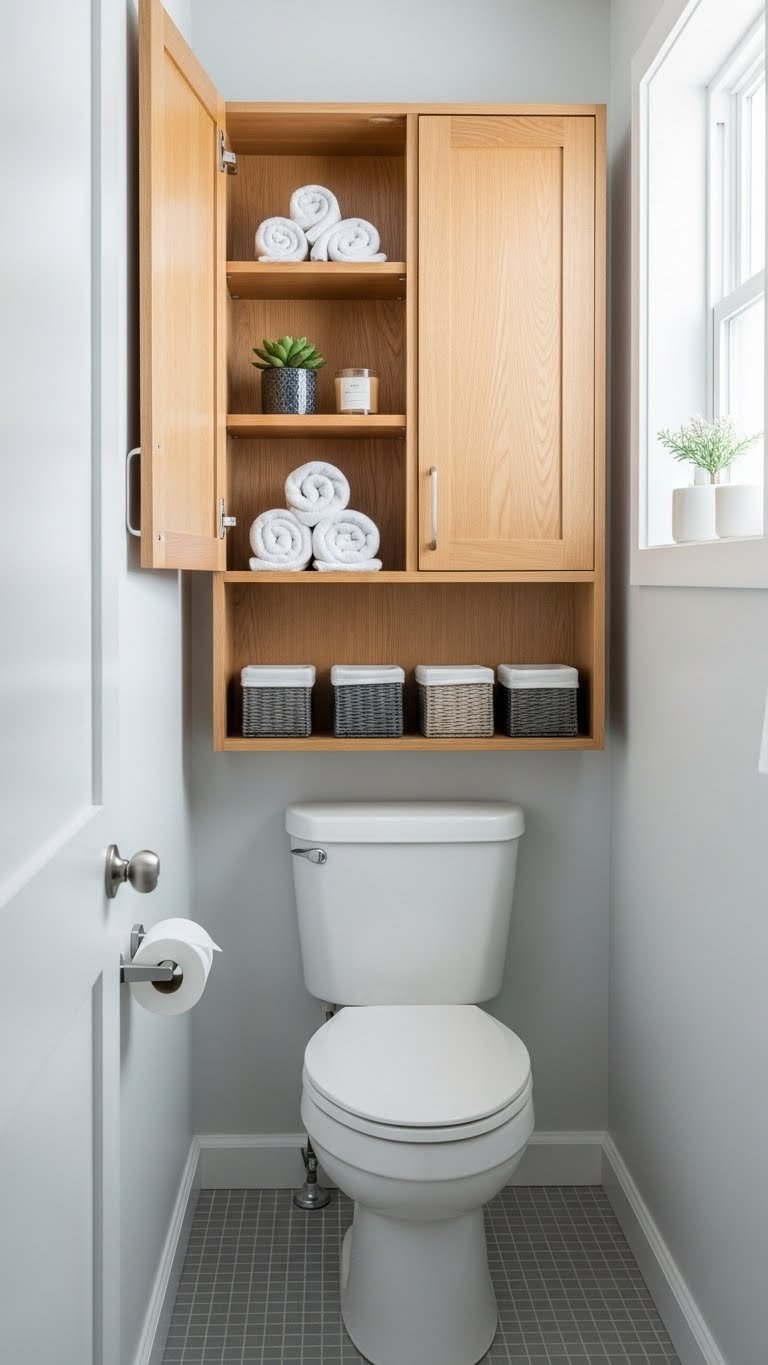
If you already have a large mirror elsewhere, a non-mirrored cabinet above the toilet adds storage without visual redundancy.
Install a simple cabinet or shelving unit (no mirror required) directly above the toilet tank. Budget: $30–$100 depending on material and style. Time: 30–45 minutes. Fill it with rolled towels, extra toilet paper, small baskets for hair products, or decorative items. IKEA has budget-friendly options; Wayfair has higher-end versions. Renters can use adhesive shelving or ask permission for temporary installation.
You’ve added purposeful storage without cramming another mirror into an already-reflective space, and your bathroom feels more organized and less redundant.
18. Use Floating Shelves to Display Rolled Towels as Decor
Rolled towels on floating shelves look like high-end hotel decor while serving as actual storage. It’s functional and beautiful at once.
Install 1–3 floating shelves (12–18 inches wide) on an empty wall at varying heights for visual interest. Budget: $40–$100 for shelves plus installation hardware. Time: 30–45 minutes per shelf. Roll your towels tightly and stack them by color. Add one small plant or decorative item per shelf to keep the vibe curated rather than cluttered. This works best on walls that don’t have doors or fixtures competing for attention.
Your towel storage now looks intentionally styled like a high-end bathroom, and visitors will actually notice your thoughtful aesthetic.
19. Install a Glass Shelf Above the Toilet for a Weightless Look
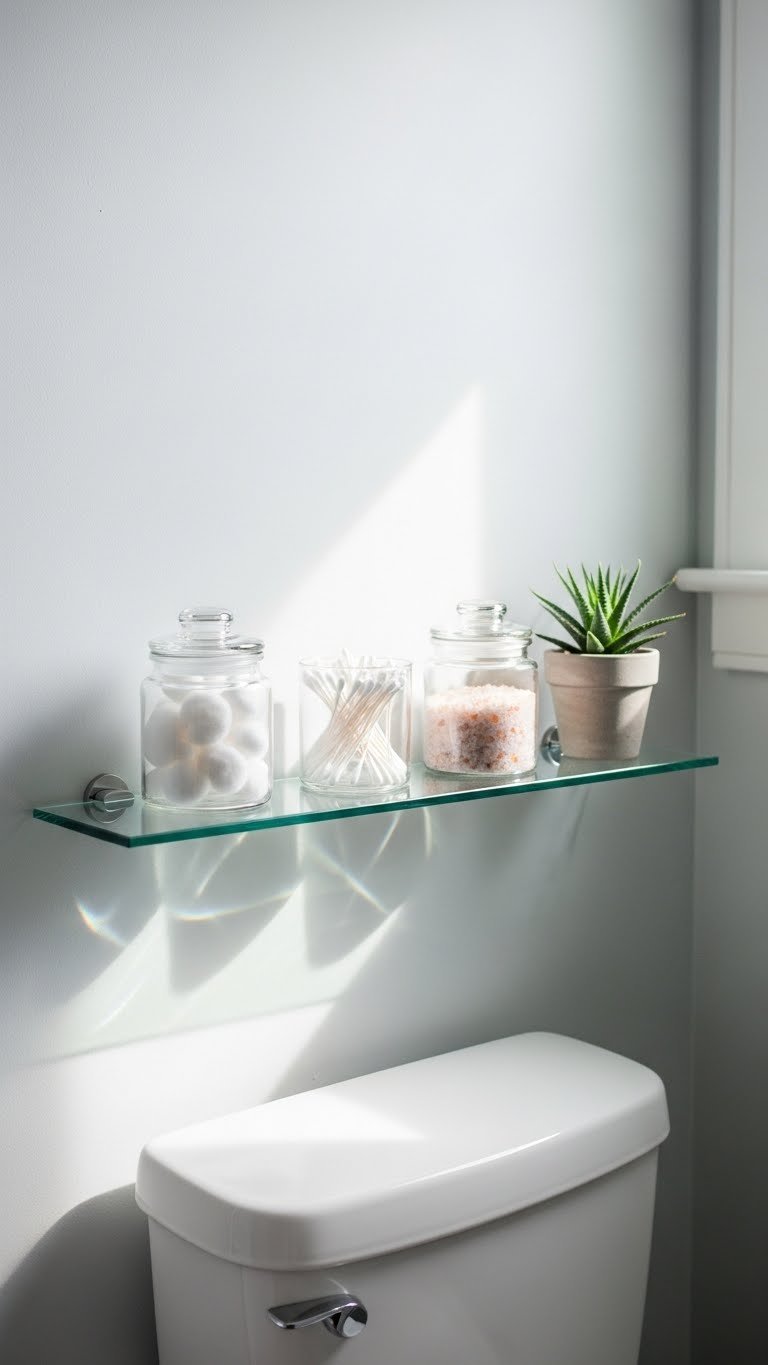
Glass shelves feel lighter and less bulky than wood or metal, so they’re ideal when you’re trying to keep a small space from feeling cramped.
Install a slim glass shelf (8–12 inches deep) above your toilet using standard wall brackets. Budget: $25–$60 depending on glass quality and bracket style. Time: 30 minutes for a confident DIY-er, or hire someone for $50–$100. Style with just a few items: a small plant, a jar of bath salts, or a folded hand towel. The transparency means it doesn’t visually “block” the wall like a wooden shelf would, which keeps the space feeling open.
Your shelf looks elegant and weightless rather than heavy, and the transparency maintains the airy feeling you’ve worked to create.
20. Use Peel-and-Stick Wallpaper on One Accent Wall

Peel-and-stick wallpaper adds personality and visual interest without the commitment or mess of traditional wallpaper or paint.
Choose one wall (usually the one behind your toilet or sink) for impact. Budget: $25–$60 for a small bathroom area. Select from thousands of patterns at Amazon, Wayfair, or specialty sites like Spoonflower. Time: 2–3 hours for careful application. The beauty is it’s removable, so renters can totally do this—just pull it off when you move out. Start with a smaller accent wall if you’re nervous about the application process. Use a squeegee or credit card to smooth out bubbles as you go.
One patterned wall now gives your bathroom personality and focal point, while keeping the other walls light so the space still feels open.
21. Install Recessed Shelving in a Shower Niche
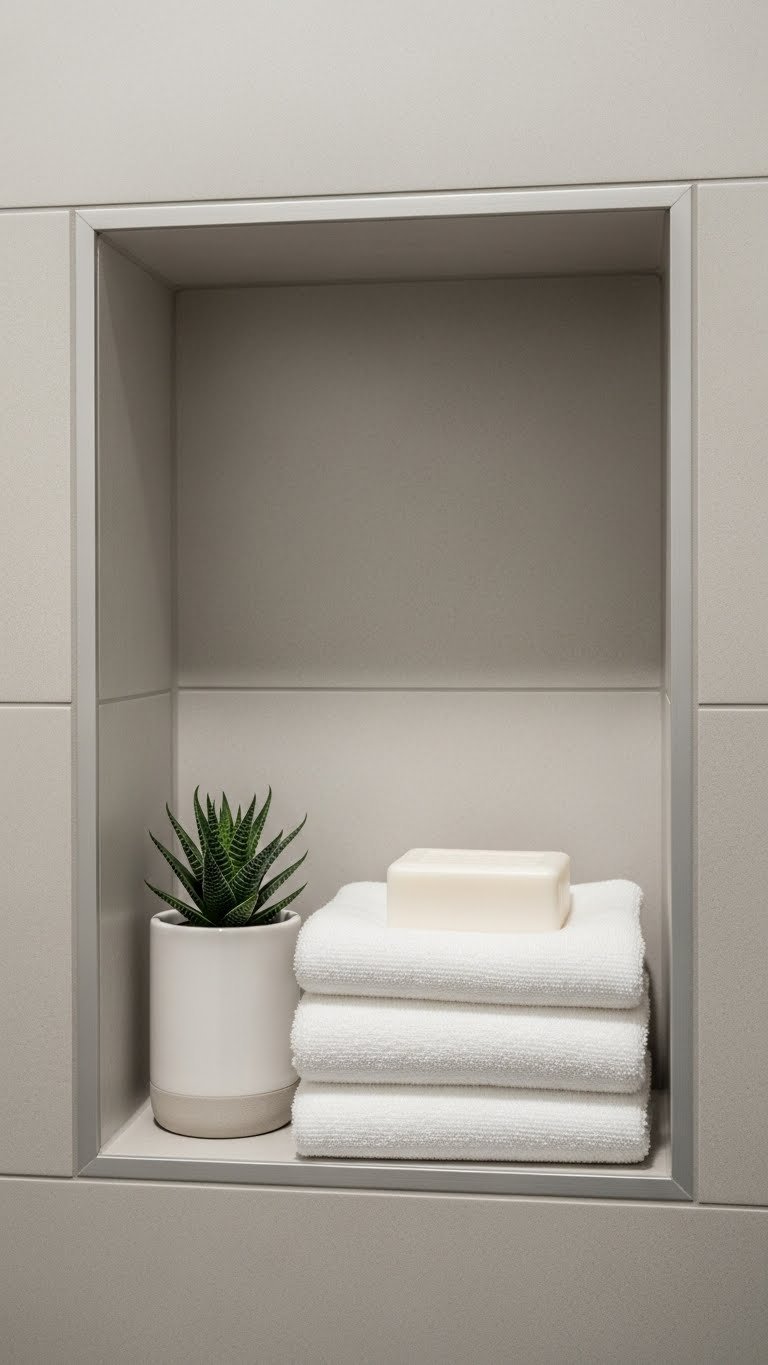
If you have a shower niche, maximize it with proper shelving or organization. A recessed niche doesn’t eat into floor space like a caddy might.
If you’re renting or can’t modify walls, skip this one. If you own, this is a permanent upgrade: install a shallow shelf inside your existing niche or cut a new niche if plumbing allows. Budget: $50–$200+ depending on whether you DIY or hire someone. Time: 1–3 hours depending on complexity. Stock the niche with rolled washcloths, a soap bar, and a single decorative item. The result is storage that feels intentional and part of your shower’s architecture rather than an add-on.
Your shower niche is now a functional design feature that stores products without adding bulk to the shower floor.
22. Add a Mirror and Shelf Combo Unit Above the Sink
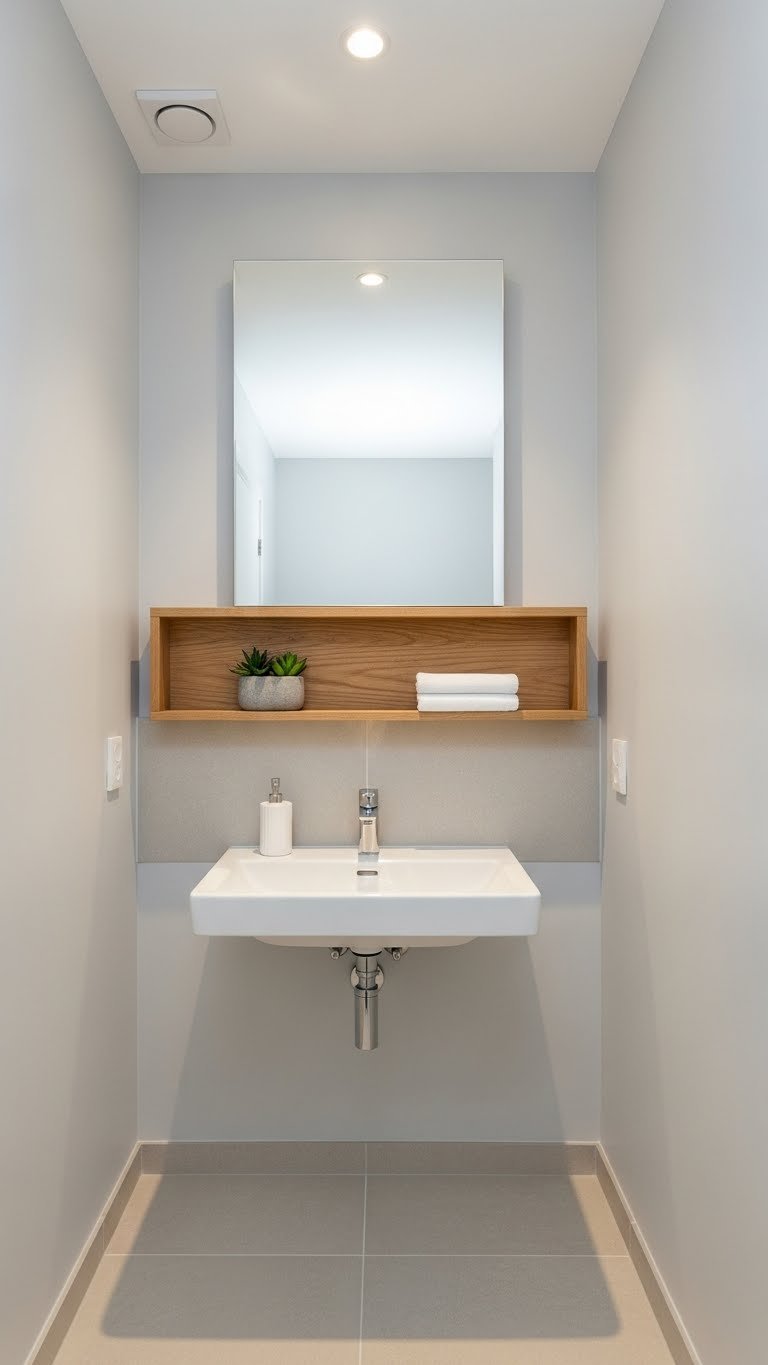
Combination mirror and shelf units maximize vertical space by doing double duty: reflection plus storage in one footprint.
Look for mirror units with integrated shelves or small cabinets built in. Budget: $40–$120 depending on style and material. Time: 30–45 minutes to install. These are available at IKEA, Wayfair, Home Depot, and Amazon. If you’re renting, verify you can install it or ask for landlord approval. The integrated design means you’re not wasting wall space on separate pieces—one unit handles both tasks efficiently.
You now have mirror plus shelf storage in one compact footprint, freeing up wall space for other purposes.
23. Use Vertical Baskets on Shelves to Maximize Depth
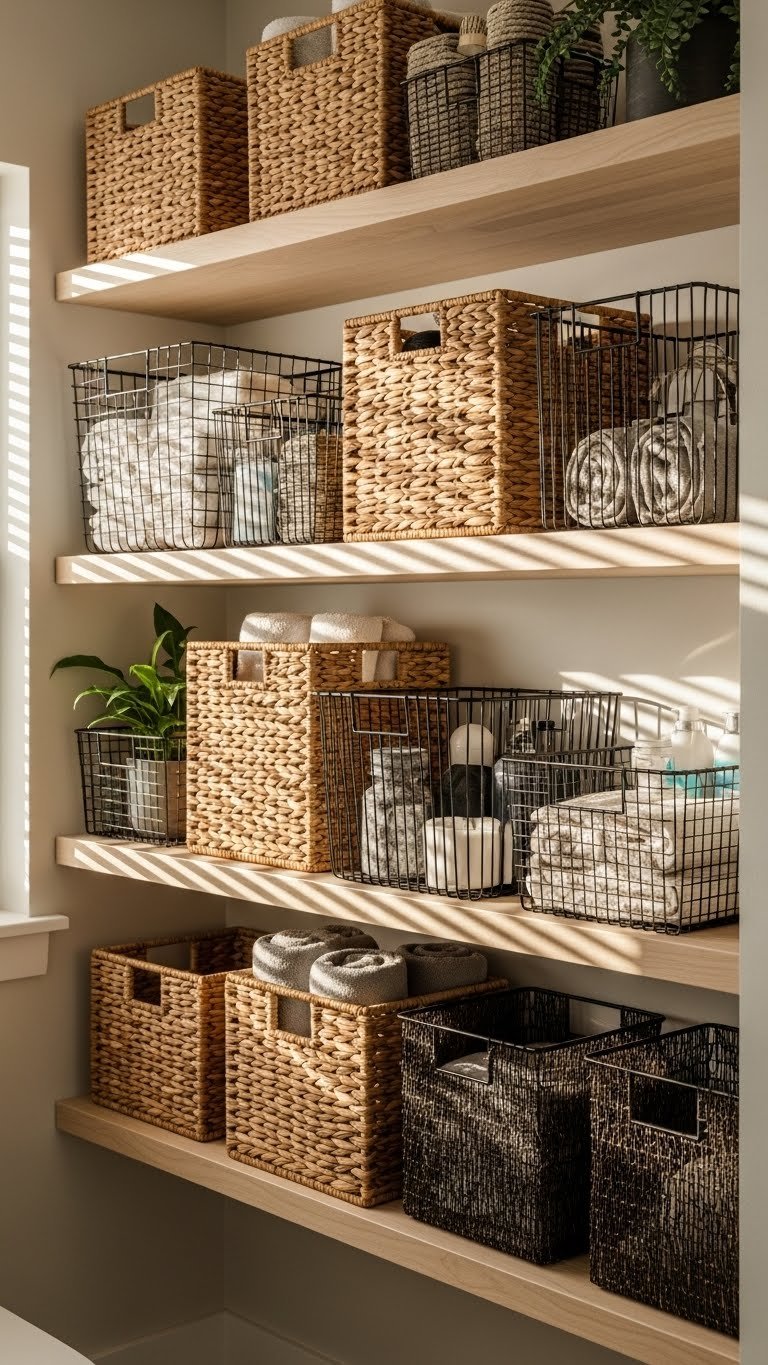
Tall, narrow baskets on shelves help you use the full depth of your shelving without items getting lost in the back.
Purchase 2–3 slim vertical baskets (8–10 inches wide, 8–12 inches tall) from IKEA, Target, or Amazon for $5–$20 each. Slide them onto your shelves and use each one to corral a category: hair products, cleaning supplies, extra toilet paper, medications. Time: 10 minutes to organize and place. The vertical orientation means things don’t get shoved to the back and forgotten. Clear or semi-transparent baskets let you see what’s inside without opening them.
Items are now organized by category and fully accessible instead of buried behind other stuff on crowded shelves.
24. Paint Your Vanity or Reface Cabinet Doors for a Fresh Look
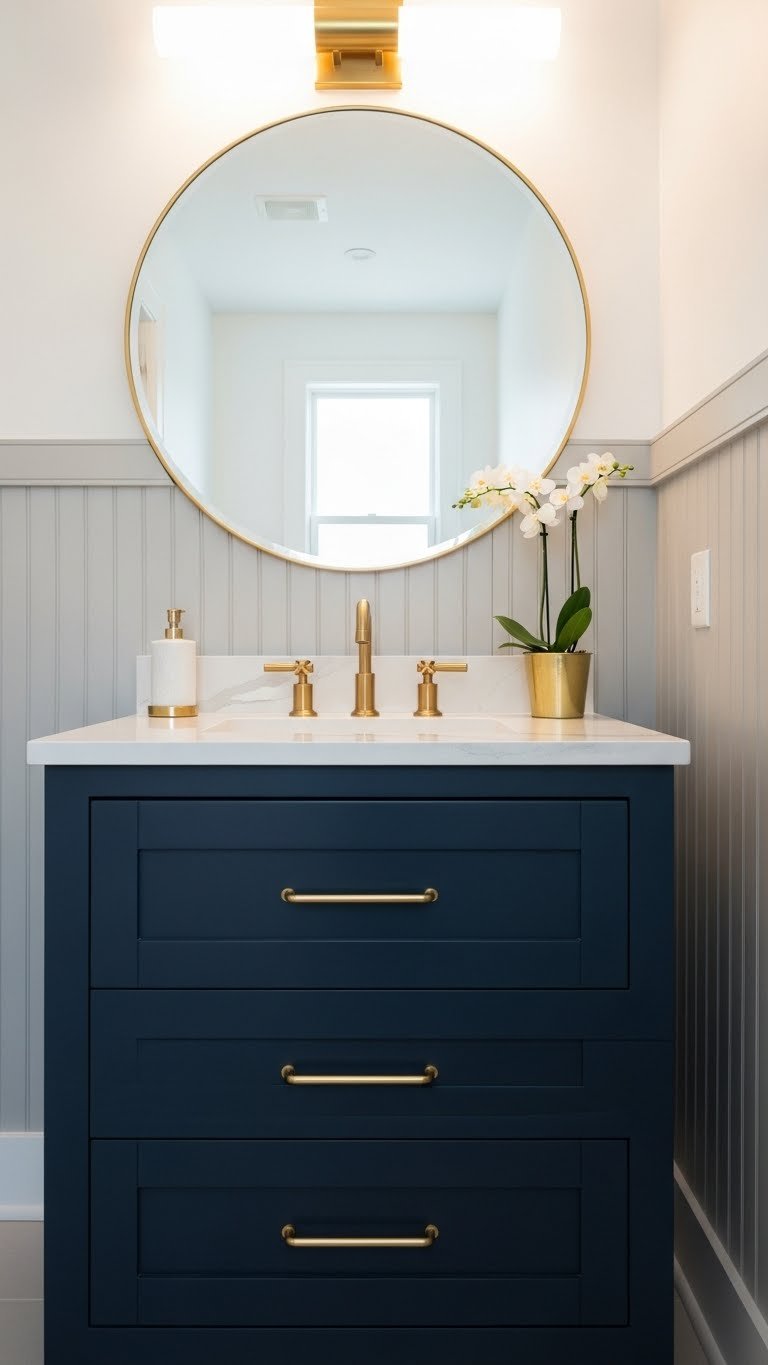
Painting or refacing your existing vanity costs a fraction of replacement and gives your bathroom a complete visual reset.
If your vanity is wood (not laminate), it’s paintable. Choose a soft, timeless color like sage, soft blue, greige, or warm white. Budget: $30–$80 for paint and hardware, plus $100–$300 if you hire a pro for finish and hardware installation. Time: 2–3 days for paint-grade work (accounting for drying between coats). Sand lightly, prime, then apply two coats of bathroom-grade paint. Swap out old hardware for brushed brass or matte black handles to complete the refresh. If your vanity is laminate, refinishing is tricky—consider it an investment piece only if you own the home.
Your bathroom now has a completely refreshed focal point, and the updated color instantly modernizes the entire space.
Save this post and tackle one idea this weekend—you’ll be amazed at how quickly a small bathroom can feel bigger, brighter, and more like a retreat. Which tip are you trying first?
Leave a Reply