Winter heating bills climbing? You’re not alone. Most people don’t realize that windows are one of the biggest sources of heat loss in homes—but the right curtains can actually make a measurable difference in both comfort and energy costs. The best part? You don’t need to sacrifice style to stay warm. These 23 thermal curtain ideas blend 2025’s trendiest designs with serious energy-saving functionality, whether you’re renting an apartment or own your home. From DIY budget hacks to investment pieces that look like designer finds, you’ll discover practical solutions that keep heat in, cold out, and your spaces looking intentional. Ready to save money without compromising on aesthetics? Let’s dive in.
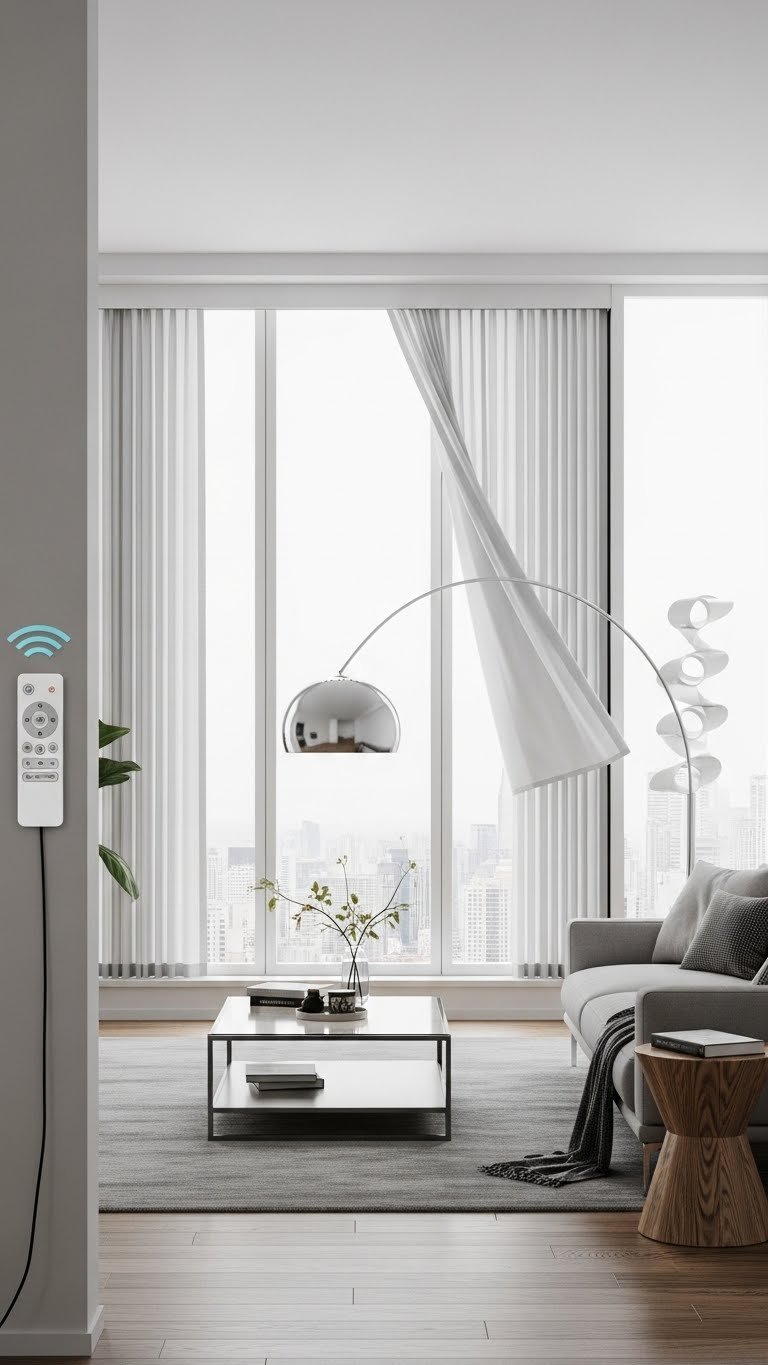
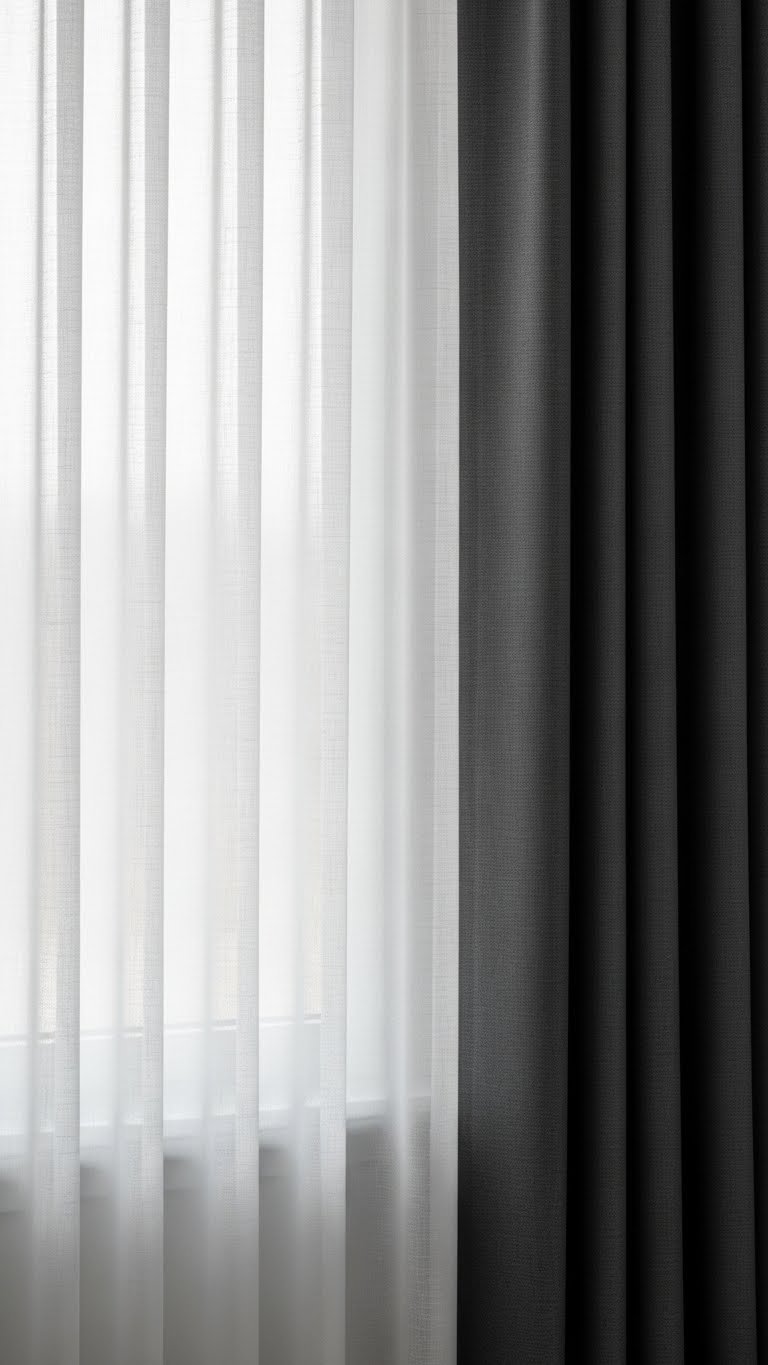
1. Layer Sheer and Thermal Blackout Pairs
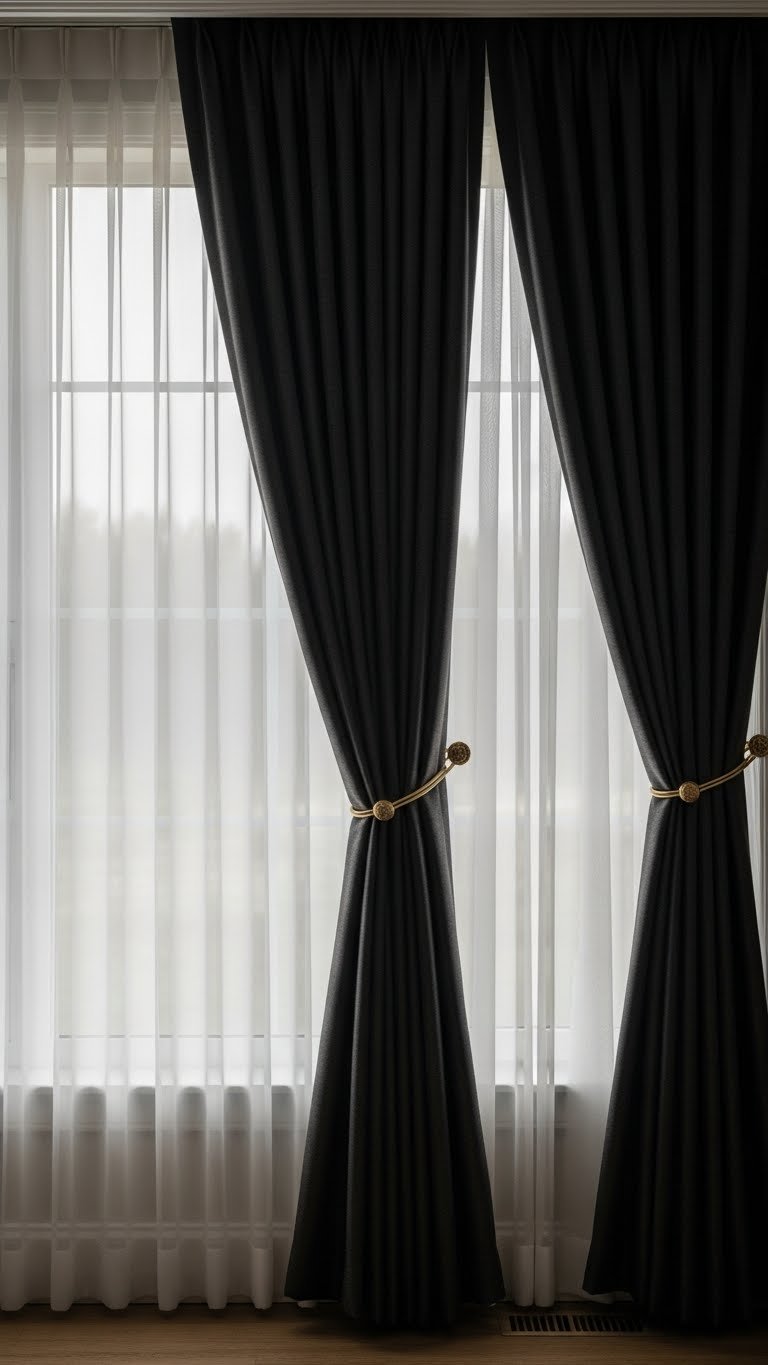
Layering isn’t just a design trend—it’s one of the most effective ways to control both light and temperature. Pair lightweight linen sheers over thermal blackout curtains for maximum flexibility: let natural light in during the day, then close the heavier panels at night to trap heat and block drafts.
Search for blackout curtain liners (IKEA, Target, or Amazon) and pair them with any curtains you already own—around $15-$30 per liner. If you’re starting fresh, a quality thermal blackout pair runs $80-$150. The combination takes about 30 minutes to hang if you have basic hardware installed. Pro tip: thermal fabrics work best when they touch the window frame and extend to the floor, sealing off gaps where warm air escapes.
You’ll notice the temperature difference in your room within a few days—your heating system won’t have to work as hard, which shows up on your next utility bill.
2. Install Cellular Honeycomb Shades Behind Curtains

Honeycomb shades trap air in their cellular structure, creating an insulating barrier that curtains alone can’t match. Install them inside the window frame (behind your curtains) for a clean, minimalist look that still provides serious thermal benefits.
Honeycomb shades cost $40-$100 depending on window size, and you can find them at Home Depot, Wayfair, or Lowe’s. Most install in about 20-30 minutes with just a screwdriver. Pair them with lightweight thermal curtains in front for a layered approach that looks intentional, not overdone. For renters, spring-loaded cellular shades require no drilling and cost around $30-$50 per window.
The double-barrier system means warm air literally has nowhere to go, making these shades one of the highest-ROI upgrades for energy savings.
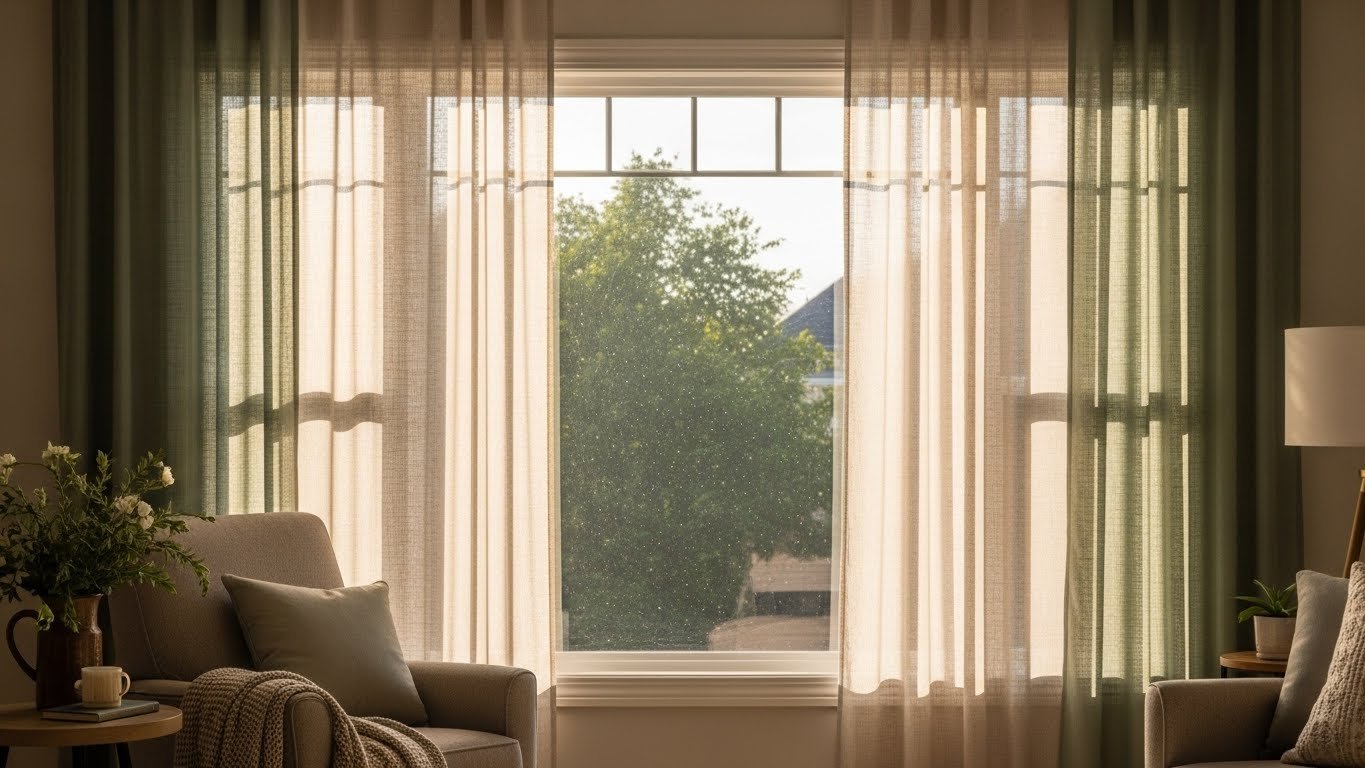
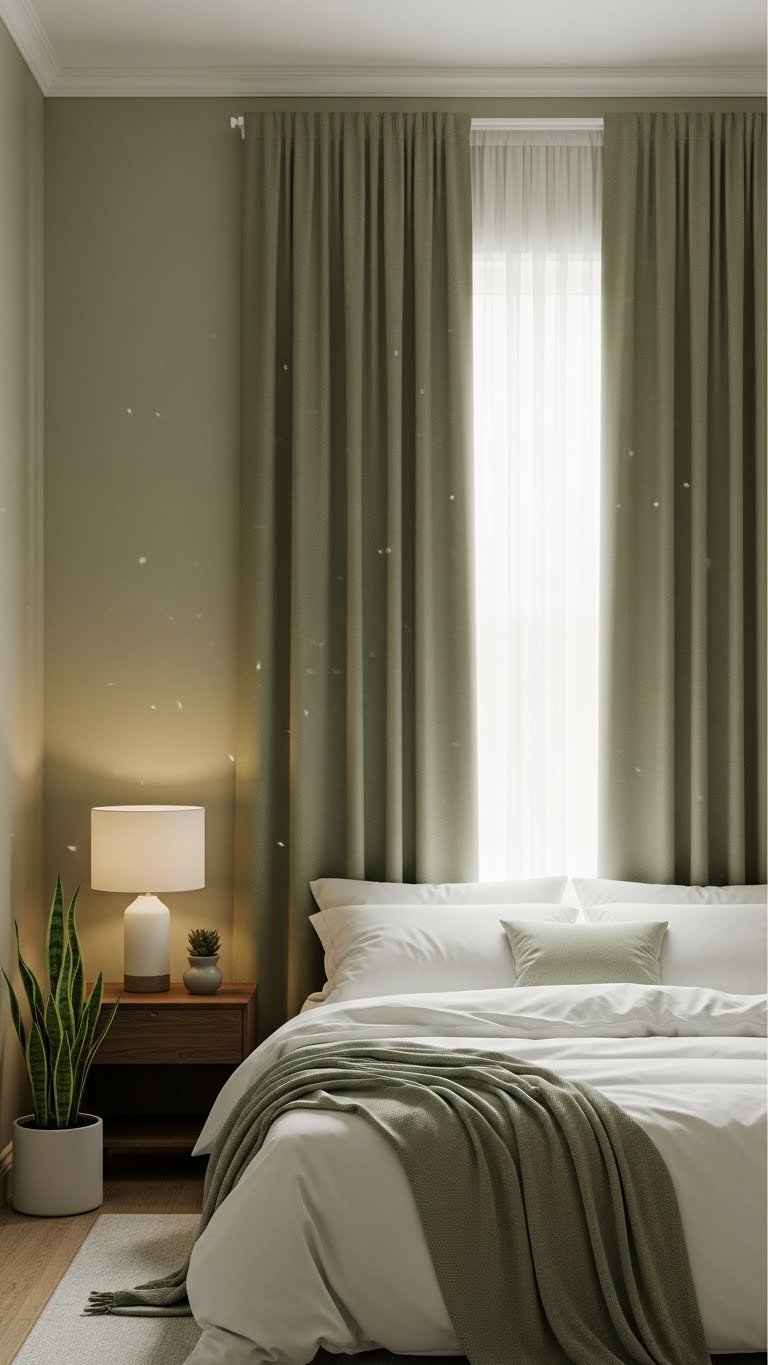
3. Choose Linen Thermal Curtains in Earthy Tones
Natural linen is having a major moment because it looks luxe but performs like a champion insulator. Thermal linen curtains have a thicker weave than regular linen, providing insulation without the heavy velvet weight—perfect if you want breathability and style.
Quality thermal linen curtains range from $60-$180 per panel (check Wayfair, West Elm, or Amazon). Look for fabrics labeled “thermal linen” or “heavyweight linen blend.” At 40-50% thicker than standard linen, they’ll block drafts while still allowing soft, diffused light. Hang them floor-to-ceiling to maximize the insulating effect—every inch of coverage counts. These curtains machine wash on gentle cycles, so they’re practical for everyday living.
The natural texture photographs beautifully for social media, and the subtle earthy vibe makes your space feel grounded and sophisticated all at once.
4. Add Thermal Curtain Liners to Existing Curtains

If you love your current curtains but want added insulation, thermal liners are your secret weapon. They attach to the back of any curtain with simple sewing or iron-on bonding, giving you energy savings without replacing what you already own.
Thermal liners cost $15-$35 per panel and are available at IKEA, Joann Fabric, and Amazon. For a two-panel window, plan 45 minutes to 2 hours if you’re hand-sewing or using an iron-on method—no special skills required. Alternatively, many dry cleaners offer curtain alteration and can attach liners for around $20-$40 per panel, which is worth the investment if sewing isn’t your thing. The liners sit flush against the back of your curtains, so they’re completely hidden from the front.
This budget hack lets you keep the aesthetic you love while dropping your winter heating bills noticeably—a rare win-win.
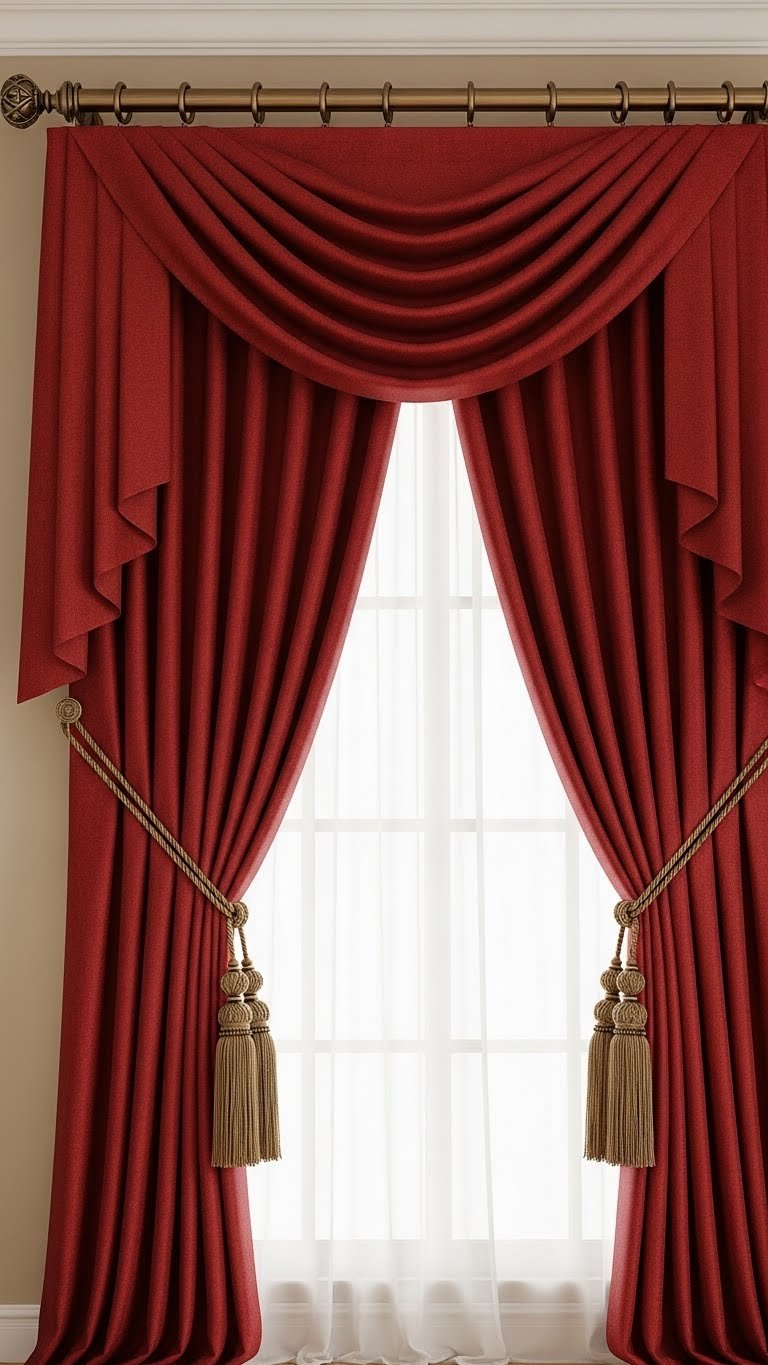
5. Opt for Velvet Thermal Curtains in Jewel Tones
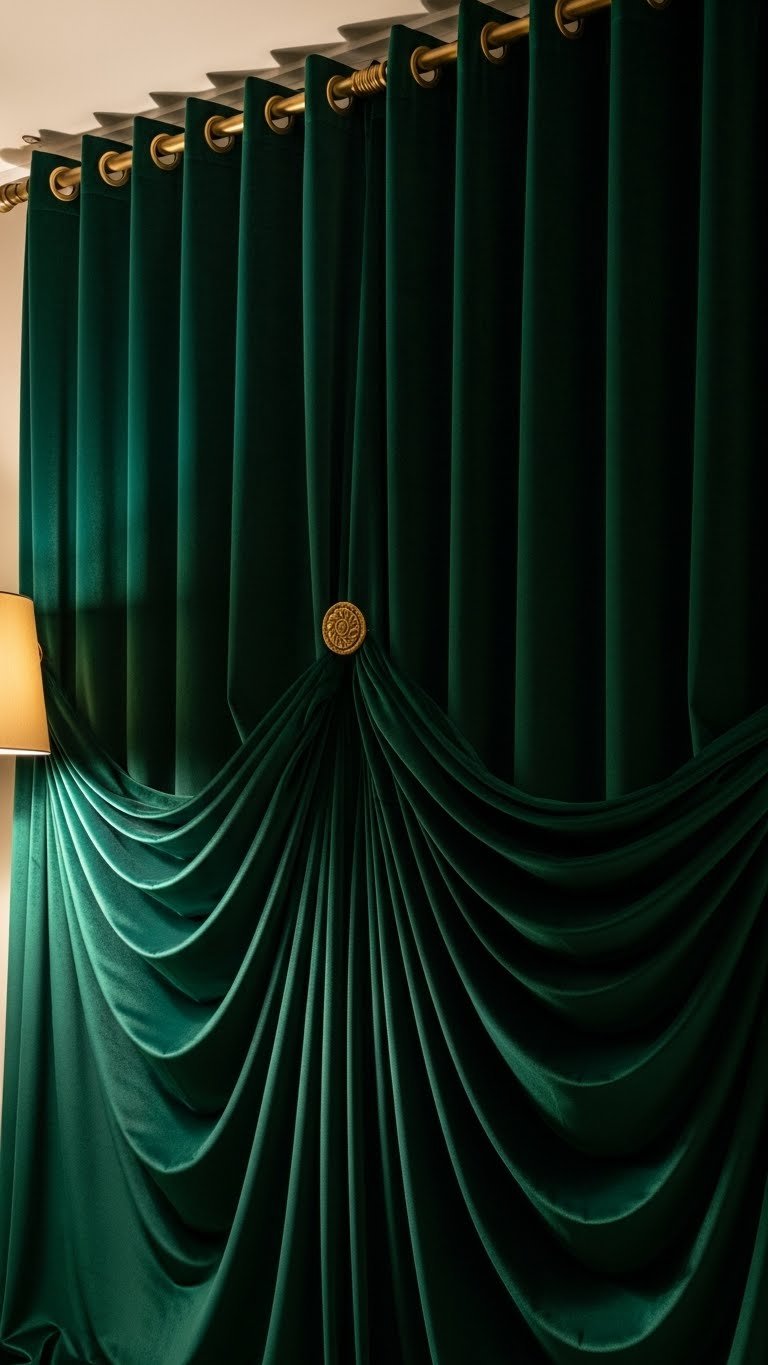
Velvet is back, and thermal velvet is where luxury meets function. Heavier velvet fabrics naturally insulate and look like a splurge even when they’re mid-range. The fabric’s density blocks both light and cold air effectively.
Thermal velvet curtains range from $100-$250 per panel, depending on quality. Jewel tones like emerald, sapphire, and deep plum are trending hard in 2025. Shop Wayfair, Williams Sonoma, or high-end retailers. Velvet requires gentle care—dry cleaning recommended—but it’s a worthwhile investment if you’re looking for something that feels special every time you look at it. The rich texture photographs beautifully and becomes a statement piece rather than “just” window dressing.
Hanging velvet panels instantly elevates your space while keeping you toasty through cold months—plus the fabric becomes softer and more beautiful the more you use it.
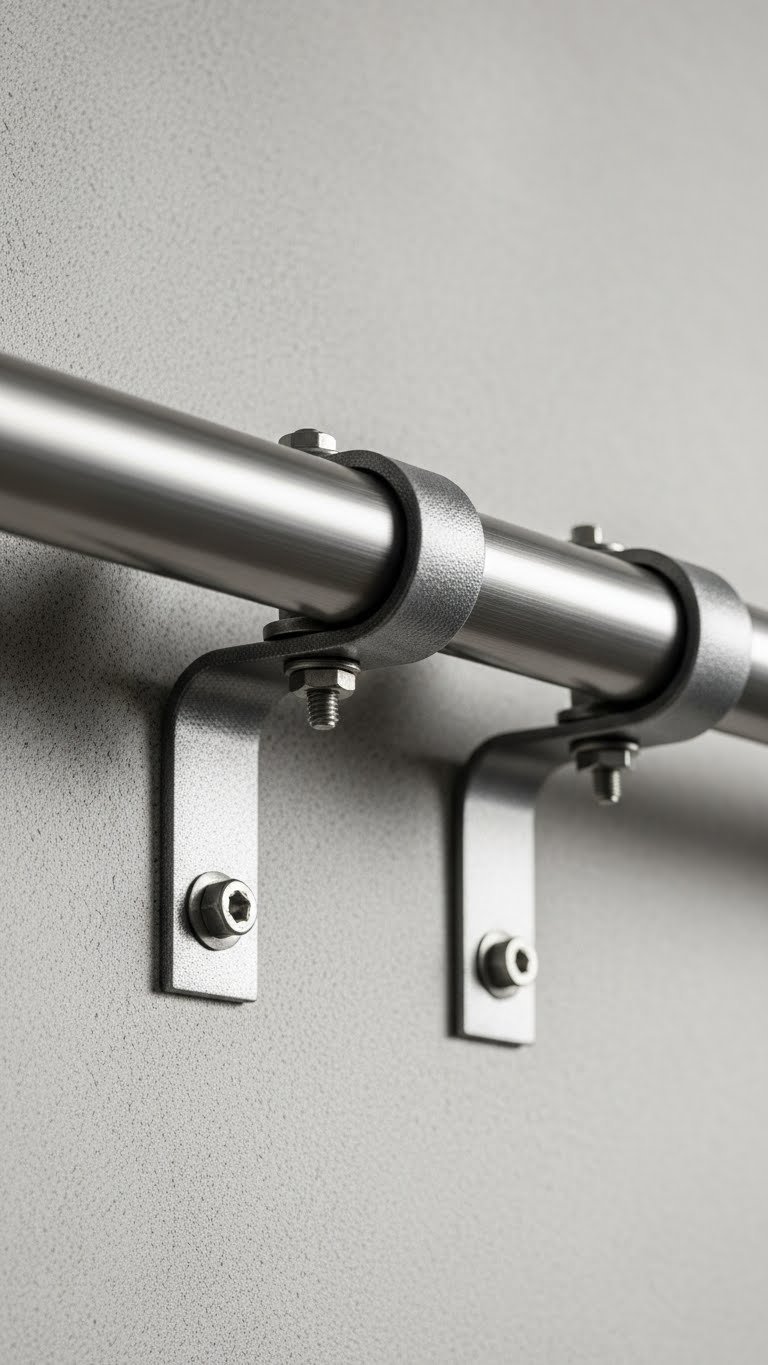
6. Create a Double-Rod Setup for Air Pockets
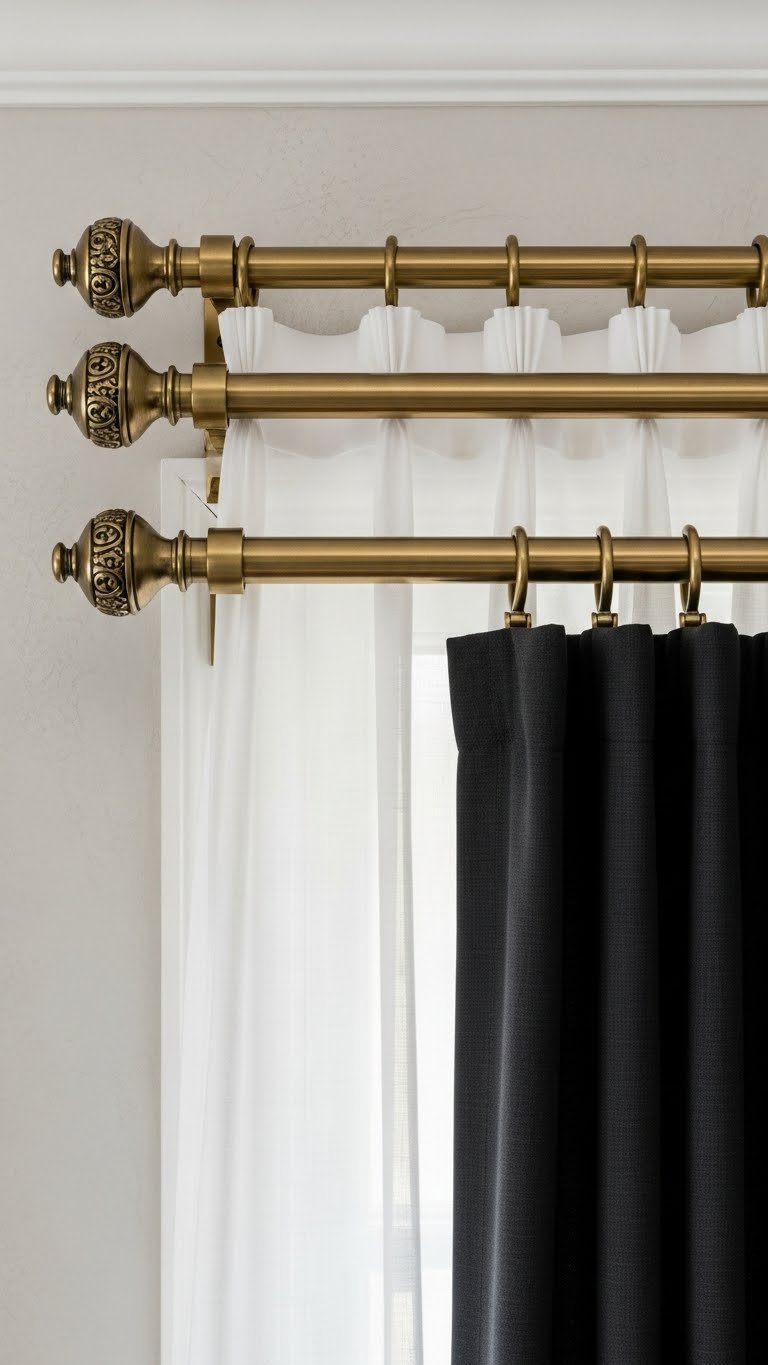
Professional interior designers use double rods to create air pockets between curtain layers—that trapped air is an incredibly effective insulator. Mount one rod closer to the window and another about 6-8 inches in front, then hang different curtain weights on each.
Two quality rods and hardware cost $40-$80 total (find them at Home Depot or IKEA). Installation takes about 1-2 hours if you’re comfortable with a drill; otherwise, hire a handyperson for $100-$150. This setup works beautifully with sheer liners inside and thermal blackout panels outside. The visual layering also looks intentional and designer-approved, not like you’re just trying to stay warm.
The air gap between layers acts as insulation, meaning your heating system gets real help from your window treatment—and your rooms feel noticeably warmer.
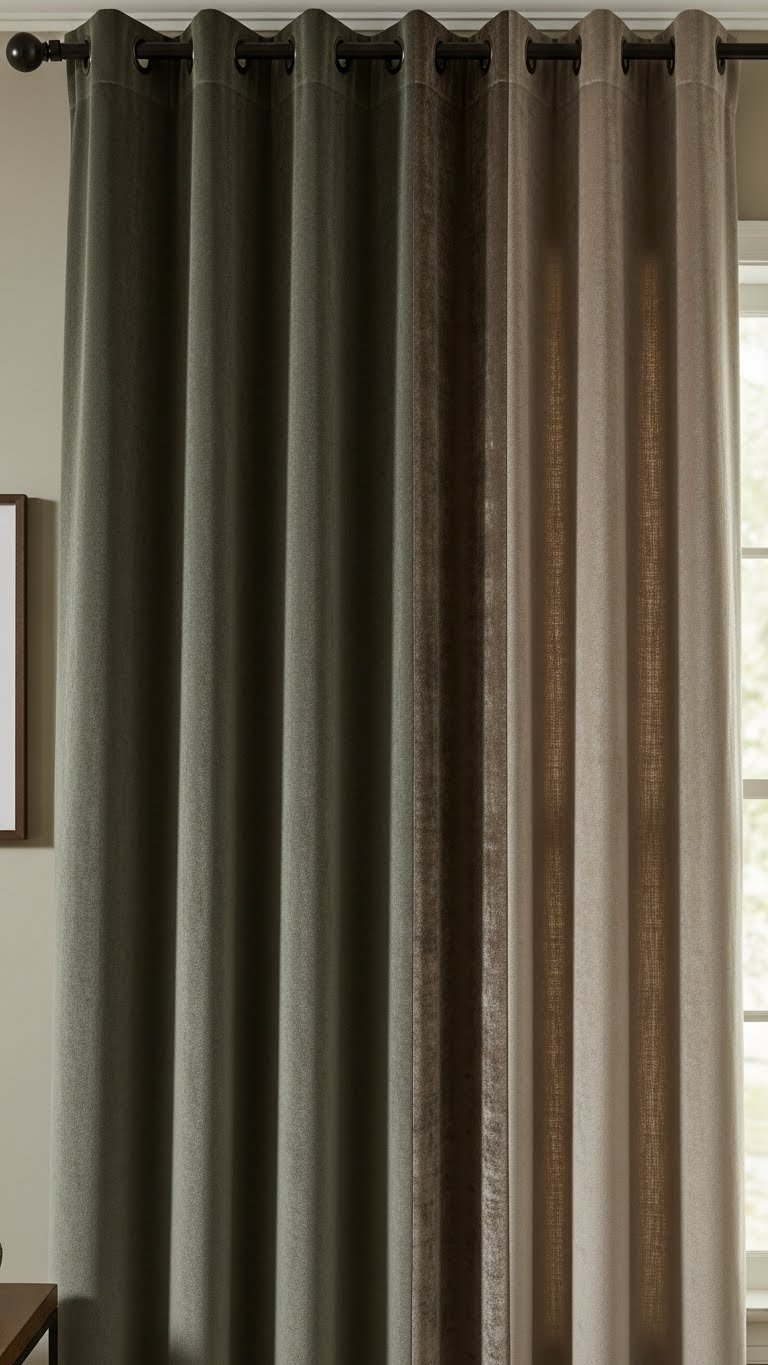
7. Use Deep Pleats for Maximum Fullness
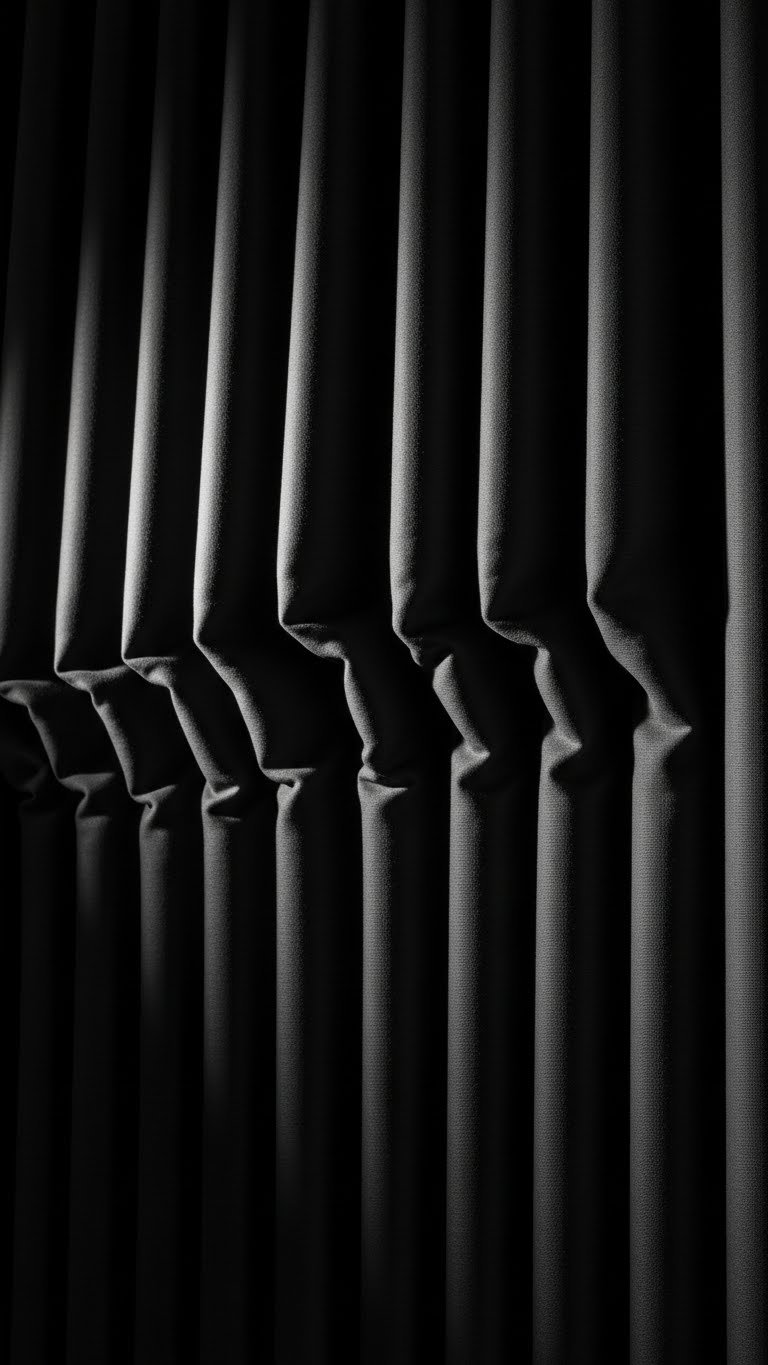
Pleats aren’t just decorative—they create depth and density that improves insulation. More fabric = more air pockets = better temperature control. Deep pleats (2-4 inches) give you both functionality and a polished, high-end look.
When ordering custom or semi-custom curtains, request pinch pleats or French pleats with 2-inch depth. Expect to spend $100-$250 per panel for quality thermal fabrics with this level of detailing. If you’re handy, you can add pleats to existing curtains using pleat tape (around $10-$15 per panel) and an iron—roughly 30-45 minutes per panel. The deeper the pleat, the more insulation and the more dramatic your window becomes.
The result is a polished, architectural window treatment that looks museum-quality while working overtime to keep your heating costs down.
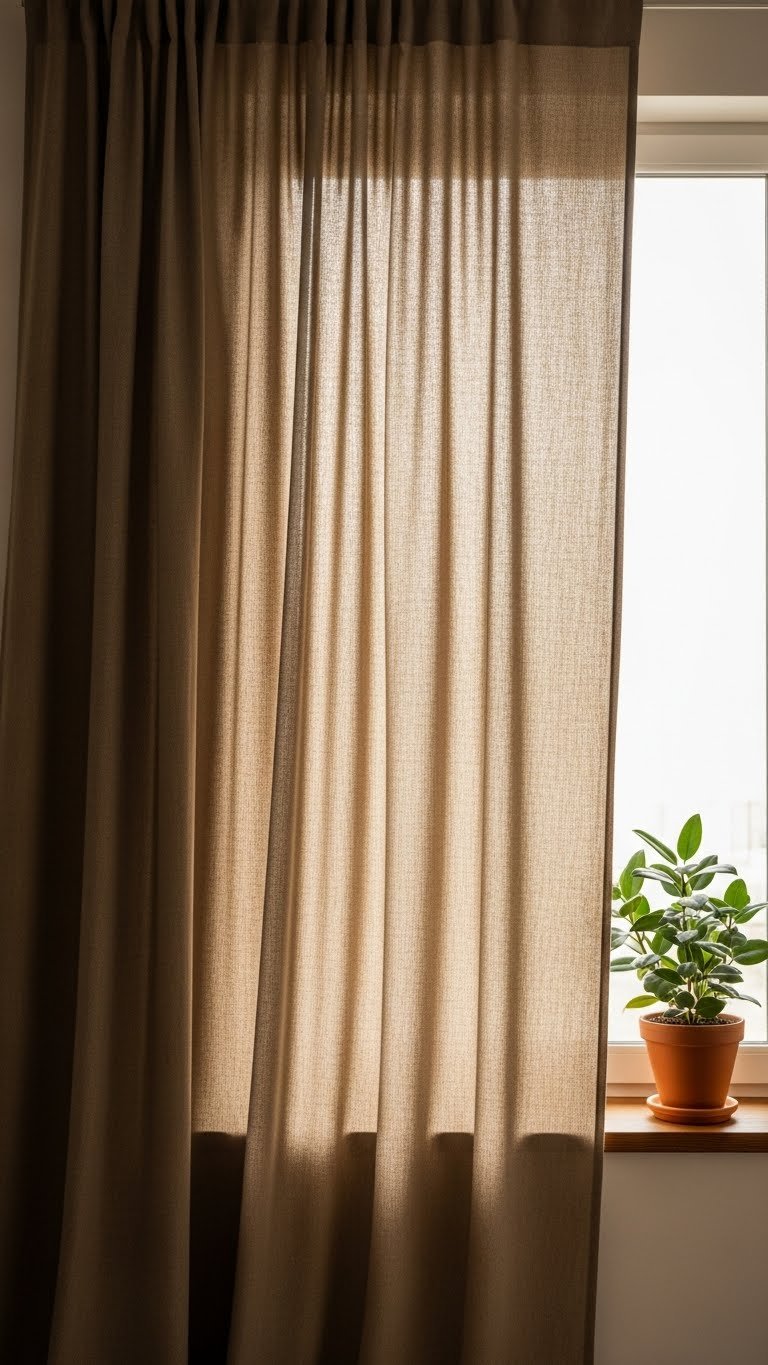
8. Go Full-Length to the Floor for Better Sealing
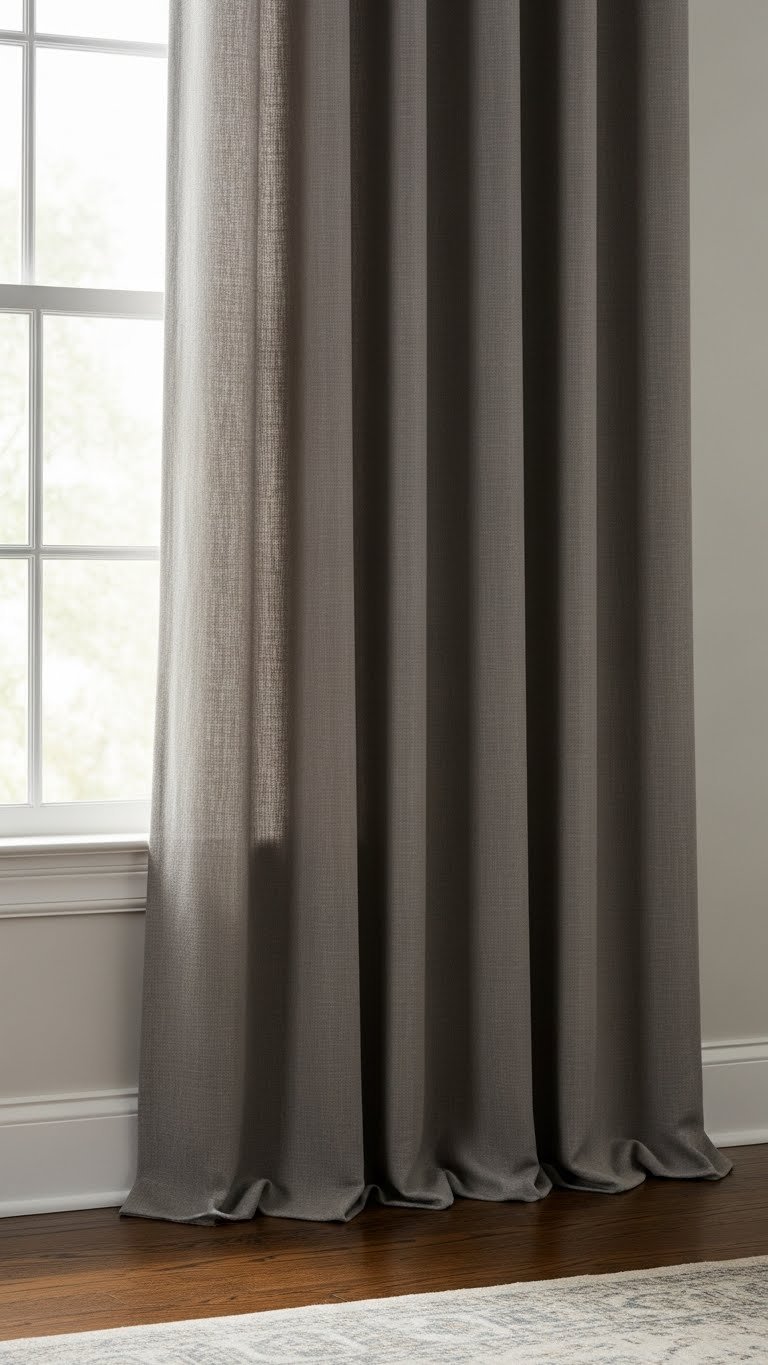
This is simple but crucial: floor-length curtains seal the bottom gap where warm air escapes. Many people hang curtains just above the windowsill or baseboard, leaving a critical heat-loss zone open. Going full-length is one of the most effective energy moves you can make.
Measure from your rod to the floor and add 0.5-1 inch for a subtle pool effect (which also looks intentional, not like a mistake). When ordering curtains, specify “floor-length” or give exact measurements—this prevents costly returns. The extra fabric typically costs only $5-$15 more per panel compared to standard lengths. Hang your curtains as close to the window frame as possible to minimize gaps on the sides.
Those few extra inches of fabric create a significant temperature difference—your room will feel warmer, and you’ll notice reduced drafts from day one.
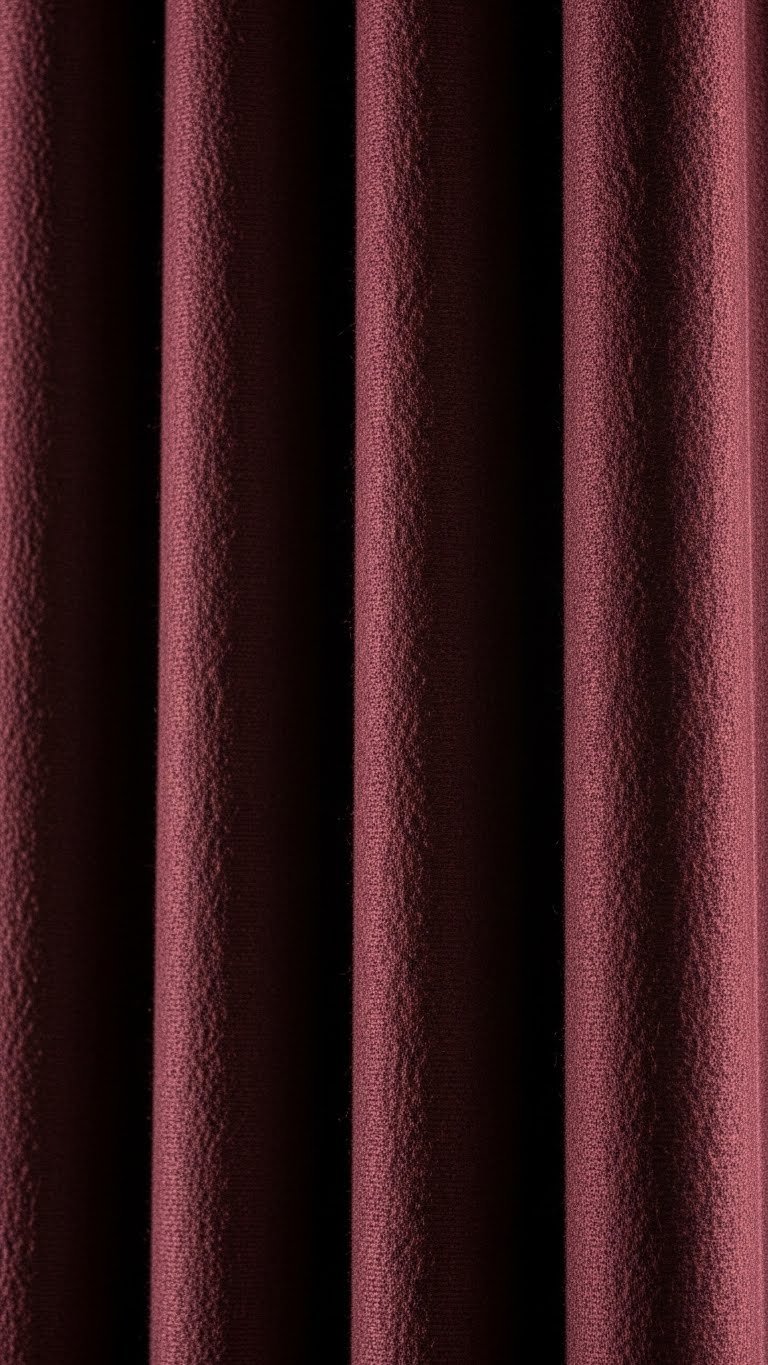
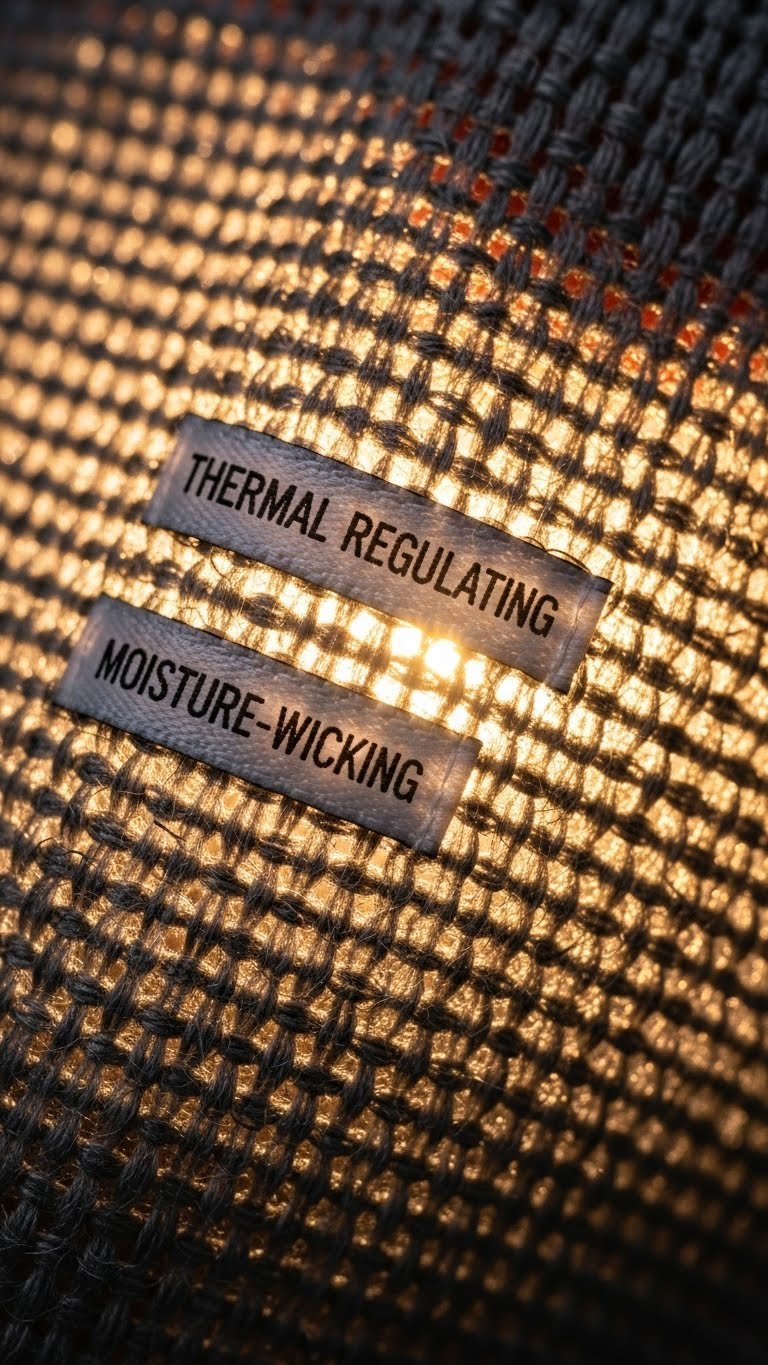
9. Select Blackout Thermal Blends for Complete Coverage
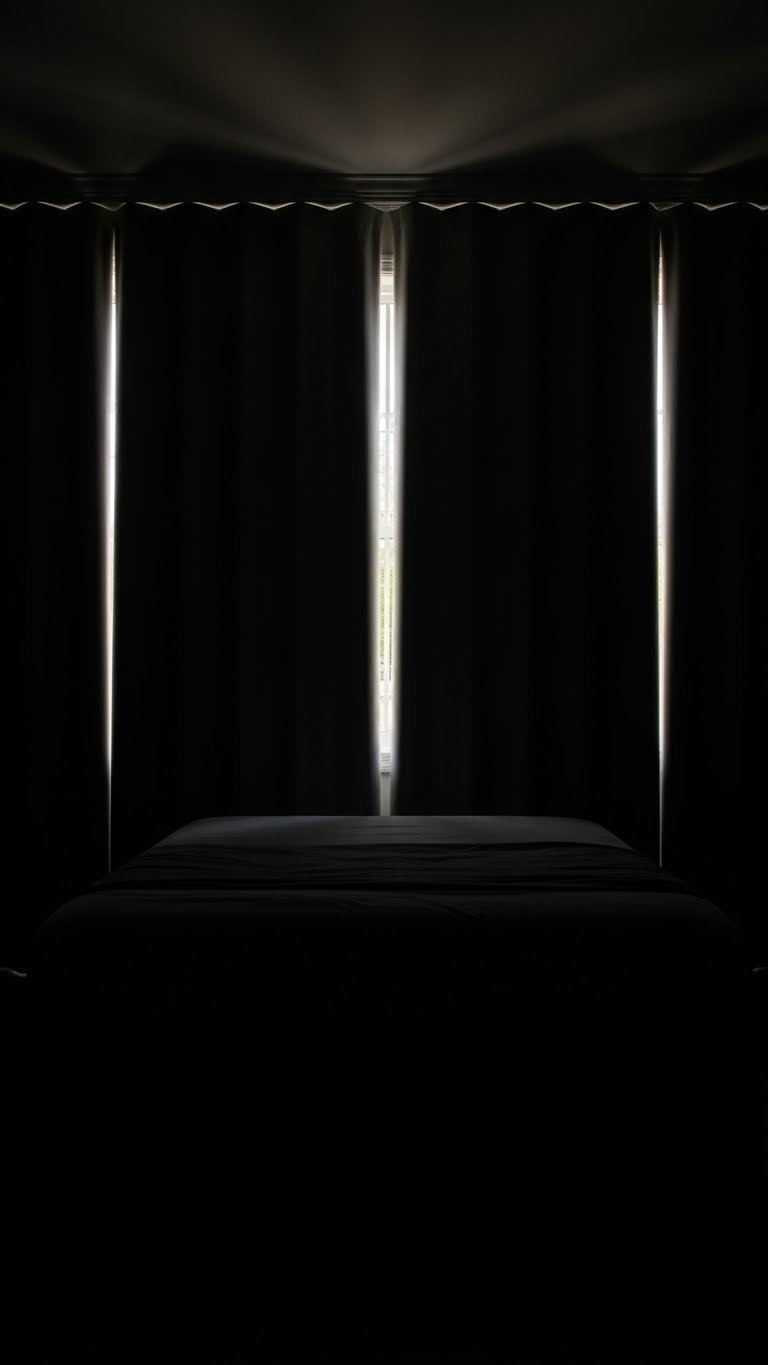
Blackout thermal blends combine multiple technologies: a light-blocking layer sandwiched between two fabric layers with thermal insulation built in. These are the heavy hitters of the curtain world.
Quality blackout thermal blends cost $70-$200 per panel, depending on brand (Wayfair, Amazon, and Target carry excellent options). They block 99-100% of light while providing thermal resistance ratings—look for an R-value rating if available (higher numbers mean better insulation). These curtains are heavier and require sturdy hardware rated for weight (standard rods may sag). The trade-off: they’re not very breathable and can feel heavy if your space is already dark. For bedrooms, home theaters, or shift workers, they’re perfect. For living rooms, consider pairing with sheer daytime curtains instead.
When closed, these panels create a nearly sealed environment—no light leaks, no cold drafts, and seriously effective climate control.
10. Try Motorized Thermal Curtains for Hands-Free Control
Smart motorized curtains seem luxury, but affordable options have arrived. Motorized thermal curtains open and close on timers or remote commands, and the consistent movement helps circulate air (keeping warm air from pooling), while closed panels trap heat overnight.
Motorized curtain kits cost $200-$400 per window for reliable brands like Lutron or IKEA’s FYRTUR line. Installation takes 2-4 hours and may require an electrician ($100-$200 additional). The IKEA option is most budget-friendly at $150-$200 for basic motorization. The real value? Set them to close automatically at sunset and open at sunrise—no more remembering, and your heating system gets consistent help throughout the day.
Programmable curtains feel futuristic while actually being functional, and they photograph beautifully for anyone documenting their home.
11. Layer Gauzy Sheers Over Thermal Panels
Gauzy sheers let light through during the day while maintaining visual privacy and softening harsh sunshine. Layer them over thermal panels to get daytime brightness without sacrificing nighttime insulation.
Gauze sheers cost $20-$60 per pair, while thermal panels behind them run $80-$150 per pair. Hang the sheers on a lower rod (or use clips at a lower height) with thermal curtains on a standard rod above. This setup takes about 1-2 hours to install. The sheer layer adds almost no insulating value on its own but protects your thermal panels from dust and extends their lifespan. The combination looks layered and intentional—very 2025.
Your space gets soft, diffused light during daylight hours, then thermal protection clicks in when you close the heavier panels at night.
12. Choose Bamboo Thermal Curtains for Eco-Friendly Warmth
Bamboo fabric is sustainable, thermal-efficient, and getting easier to find. Bamboo viscose or bamboo linen blends offer insulation comparable to pure linen while being gentler on the environment.
Thermal bamboo curtains range from $80-$160 per panel—comparable to quality linen. Search brands like Parachute, Schoolhouse Electric, or sustainable retailers on Etsy and Amazon. Bamboo fabric is naturally antimicrobial and temperature-regulating, so it adapts to seasonal changes without getting stuffy. The texture is slightly silkier than linen, giving a more refined appearance. These work beautifully in eco-conscious spaces without compromising on warmth or style.
You get the insulation benefits of natural fiber while knowing your purchase supports sustainable farming practices—that’s a feel-good win that’s also functional.
13. Add Valances to Seal Heat Loss at the Top
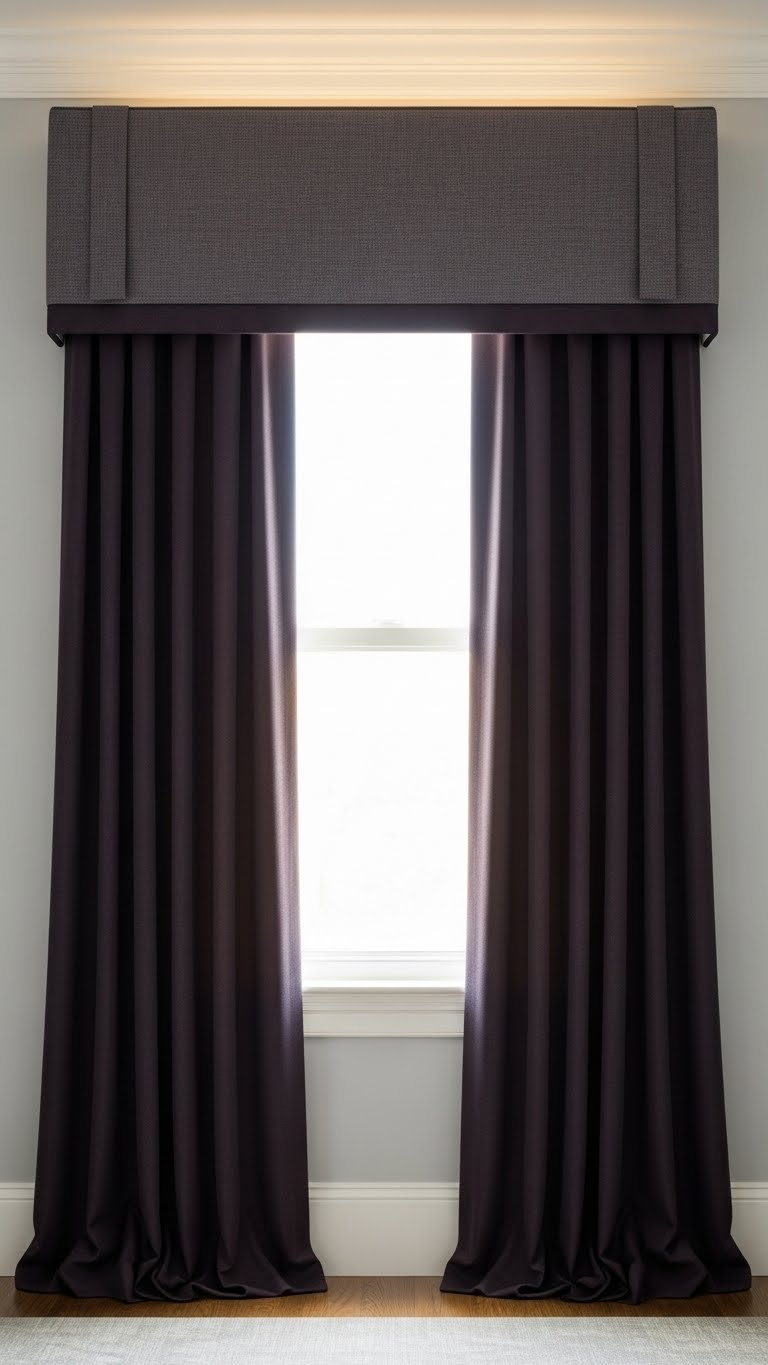
The area above curtains is often overlooked as a major heat-loss zone. A thermal valance or cornice board seals warm air from escaping above your curtain rod, significantly improving insulation.
Fabric valances cost $30-$80 (IKEA, Wayfair, or DIY with basic sewing); cornice boards run $50-$150. Installation time is 30-60 minutes for a valance. The valance mounts directly above your curtain rod and extends to the wall, blocking the gap completely. Pair with floor-length thermal panels for maximum sealing. For renters, removable adhesive-backed valances exist (around $20-$40) and don’t require installation.
That simple addition at the top of your window transforms your setup from “somewhat insulated” to “seriously sealed”—you’ll feel the difference immediately.
14. Mix Patterns with Thermal Liners for Statement Style

Want thermal protection without looking boring? Patterned thermal curtains let you make a design statement while getting serious energy performance. Plaids, botanicals, and retro prints are trending hard in 2025.
Patterned thermal curtains run $90-$180 per panel (check Wayfair, John Lewis, or designer retailers). The pattern sits on top of the thermal layer, so you get full insulation with visual interest. These panels work best as a focal point—don’t be shy about letting them show. Pair with simple walls or neutral furniture so the curtains become “the thing.” The bold pattern photographs beautifully and instantly makes your space feel curated.
Your windows become functional art that keeps you warm—no compromise between style and substance required.
15. Use Swag and Tassel Details for Layered Insulation
Classic swags and tassels aren’t just decorative—they actually create additional fabric layers and air pockets at the top of your window where heat escapes. When done right, they look romantic and intentional, not dated.
Custom swags and tassel holdbacks typically cost $80-$200 installed, or $30-$60 for DIY versions using fabric remnants. This is a weekend project if you’re comfortable with basic sewing or glue-gun work. Pair swags with thermal panels below for maximum effect. The beauty of this approach: swags become a focal point, so you’re not fighting “it looks old-fashioned”—instead, it looks curated and deliberate.
The result is a window that looks like it belongs in a design magazine while actually performing serious thermal work.
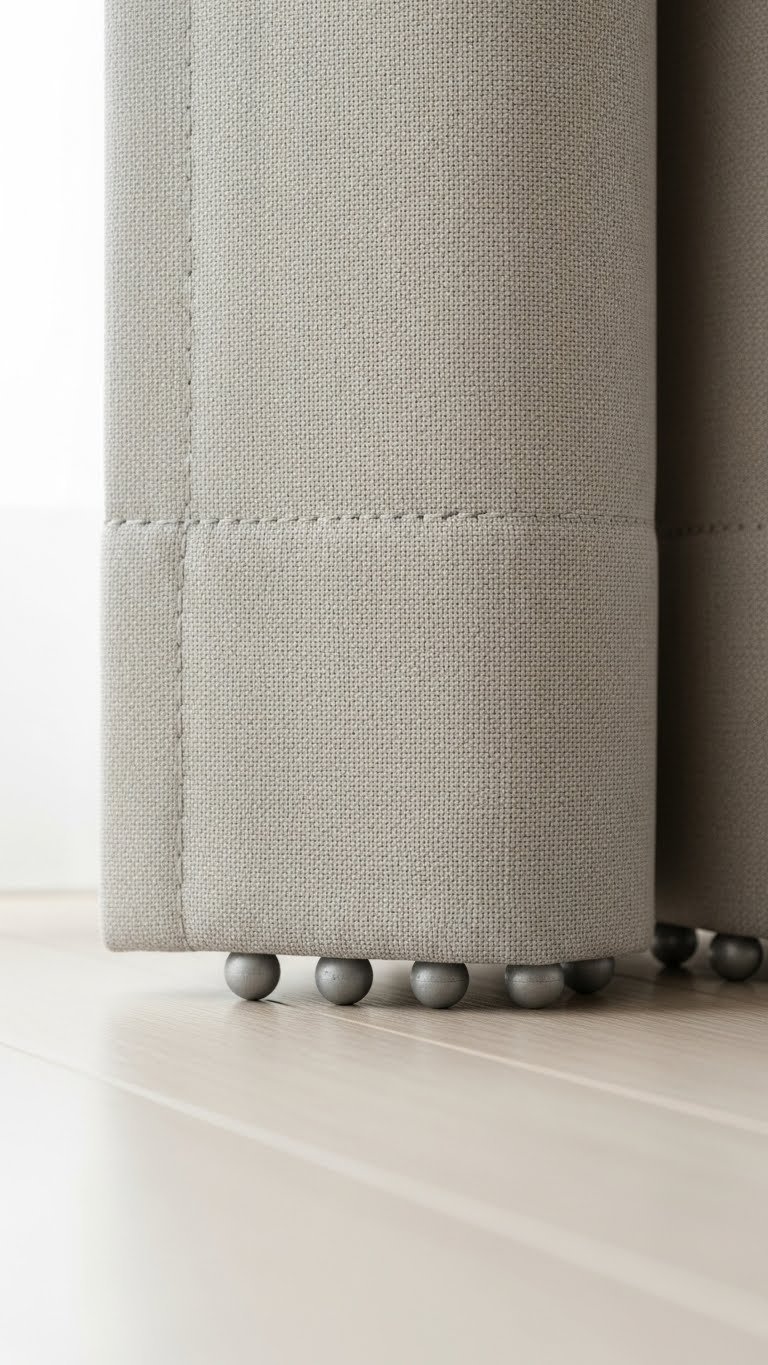
16. Install Thermal Insulation Rods for Extra Performance
Heavy-duty thermal rods aren’t just for hanging weight—they’re designed with insulation features built in. Some brands create rods with thermal barriers that prevent heat transfer through the rod itself.
Thermal-engineered rods cost $40-$100 compared to standard rods at $15-$30. Brands like Ivilon and specialty hardware retailers carry them. They’re typically heavier and require solid wall anchors—installation might need a handyperson if your walls are delicate. The difference is subtle but real: you’re closing yet another pathway where heat can escape. Pair with quality thermal curtains and liners for compounding benefits.
It’s a detail-oriented upgrade that most people never think about—but your heating system will notice the difference.
17. Layer in a Thermal Roman Shade for Day and Night

Roman shades provide customizable coverage and, when made from thermal fabric, offer independent temperature control separate from your curtains. Raise them during the day for light, lower them at night for insulation.
Thermal Roman shades cost $60-$150 per shade (Wayfair, blinds specialty retailers). Custom ordering takes 2-3 weeks but ensures perfect fit. DIY kits are available around $40-$80 if you’re handy. Installation takes 1-2 hours with a drill. The shade works alongside (not instead of) thermal curtains, giving you precise control. This setup looks clean and modern while offering maximum flexibility.
You get day-long privacy and light control, plus nighttime insulation—essentially two window treatments working in harmony.
18. Choose Wool Thermal Panels for Winter Heavyweight Appeal
Wool is naturally insulating, regulates temperature, and feels supremely luxe. Wool thermal panels are perfect if you live in a cold climate and want something that looks as substantial as it performs.
Wool thermal curtains run $120-$250 per panel (explore Restoration Hardware, Anthropologie, or specialty fabric retailers). Wool is durable and gets softer with age, so it’s a genuine long-term investment. Dry cleaning is recommended ($3-$8 per panel annually), which is the trade-off. Wool naturally resists dust and wrinkles, so panels look polished even without pressing. These curtains make a bold statement and perform like champions in cold weather.
If you’re in a climate with serious winters, wool thermal panels are the ultimate splurge—they look expensive because they kind of are, but they’ll outlast lesser fabrics and keep you warm for years.
19. Create a Color-Drenched Thermal Room for Immersion
Color drenching—matching your walls, curtains, and soft furnishings in the same hue—is huge in 2025, and it works beautifully with thermal curtains. When everything matches, the room feels intentional, sophisticated, and the thermal panels blend rather than compete.
Paint walls and hang thermal curtains in the same earthy tone (olive, taupe, terracotta, warm gray). Paint runs $30-$60 per gallon; thermal curtains in matching colors are $80-$180 per panel. This approach takes 1-2 weekends (paint + curtain installation). The beauty: your thermal panels disappear into the room visually, so you’re not constantly aware of their functional purpose. The monochromatic effect actually makes spaces feel larger and calmer.
Your window treatment becomes part of the room’s architecture rather than a separate element—a sophisticated approach that also delivers serious warmth.
20. Invest in Temperature-Regulating Hybrid Fabrics
New hybrid fabrics combine wool, linen, and synthetic fibers engineered specifically for thermal performance. These blend the best properties of multiple materials into one super-fabric.
Hybrid thermal blends cost $100-$200 per panel, available from premium retailers and specialty fabric suppliers (check Etsy or Wayfair for brands like Restoration Hardware). These fabrics often have R-value ratings, so you know exactly how much insulation you’re getting. They typically regulate temperature better than single-fiber fabrics, staying comfortable year-round. Installation is standard but panels may be heavy—ensure your rods are rated.
You’re paying more upfront but getting a fabric engineered specifically for energy efficiency—not a traditional curtain repurposed as thermal treatment.
21. Use Sheer Thermal Blends for Lightweight Insulation

For rooms where you want both light and insulation (kitchens, living rooms), sheer thermal blends offer a middle ground. These are less dense than blackout thermmals but more insulating than standard sheers.
Sheer thermal blends run $50-$120 per panel (search “thermal voile” or “semi-sheer thermal”). They block 20-40% of light while providing modest insulation and maintaining visual openness. Layer two panels for more coverage, or pair one sheer thermal with a heavier blackout panel you close at night. Installation is simple—they’re lightweight and work with standard rods. This option works beautifully in minimal or Scandinavian-inspired spaces where heavy curtains would feel out of place.
You get soft light during the day with enough thermal benefit to make a real difference—a smart compromise for open-concept spaces.
22. Add Thermal Bottom Weights for Gap Sealing
Sometimes the problem isn’t the curtain fabric—it’s gaps at the bottom where cold air sneaks in. Thermal weights sewn into the bottom hem keep panels pressed flat and sealed to the floor.
Thermal weights cost $10-$25 per pair (IKEA, Joann Fabric, Amazon). If your curtains already exist, a seamstress can add them for $15-$30 per panel (takes about 30 minutes). DIY option: sew weights by hand (takes 1-2 hours per panel if you’re a beginner). The weights pull the fabric down and keep it from billowing, which both looks intentional and serves the purpose of sealing gaps. This is an overlooked upgrade that costs almost nothing but makes a measurable difference.
Your thermal curtains now sit completely flat on the floor with zero drafts sneaking underneath—a small detail that genuinely impacts warmth.
23. Mix Textures with Linen-Velvet Blends for Luxury Function
Linen-velvet blends offer the breathability of linen with the insulation and softness of velvet. These hybrid fabrics look expensive and perform like champions, and they’re showing up everywhere in 2025 design.
Linen-velvet blends cost $90-$180 per panel (check Wayfair, West Elm, or specialty retailers). The texture is refined without being heavy, making these work in both traditional and modern spaces. The blend regulates temperature well and the varied texture photographs beautifully with natural light. Installation is straightforward—just ensure your rods can handle the weight.
You get the best of both worlds: the casualness of linen with the luxury feel of velvet, all while keeping your space warm and your utility bills lower.
Pick one of these ideas and give it a try this weekend—you’ll be shocked at how much warmer your space feels and how much better your next heating bill looks. Share this guide with friends who rent or are tight on heating budgets; everyone deserves a warm, beautiful home.
Leave a Reply