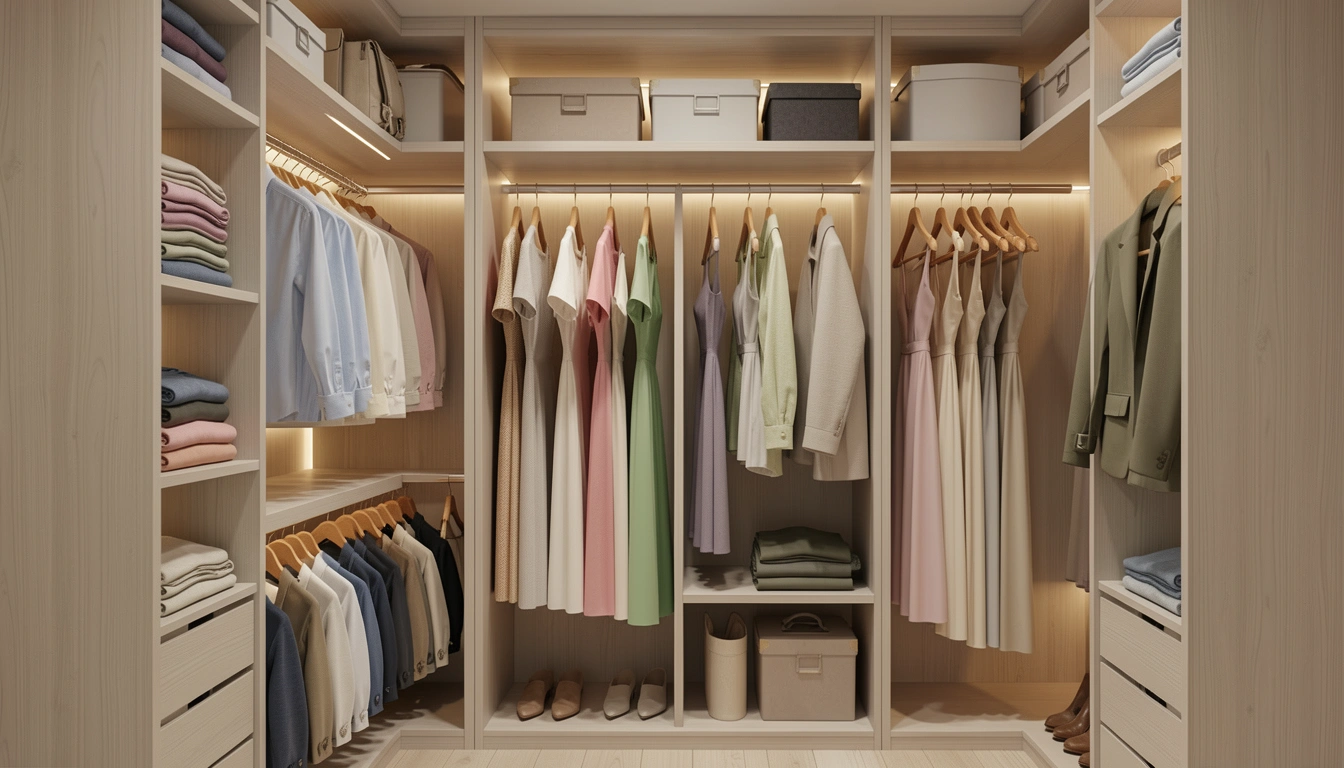
The difference between a chaotic closet and a serene one often comes down to one thing: how your hangers work for you. When your hangers are strategically arranged, getting dressed becomes effortless instead of frustrating. You’ll spend less time searching and more time enjoying your clothes. The 23 solutions in this guide range from zero-cost hacks to smart investments that completely change how you interact with your wardrobe. Whether you’re working with a tiny bedroom closet or a sprawling walk-in, these strategies will help you create a layout that’s both beautiful and functional. Let’s explore the hanger techniques that transform your daily routine.
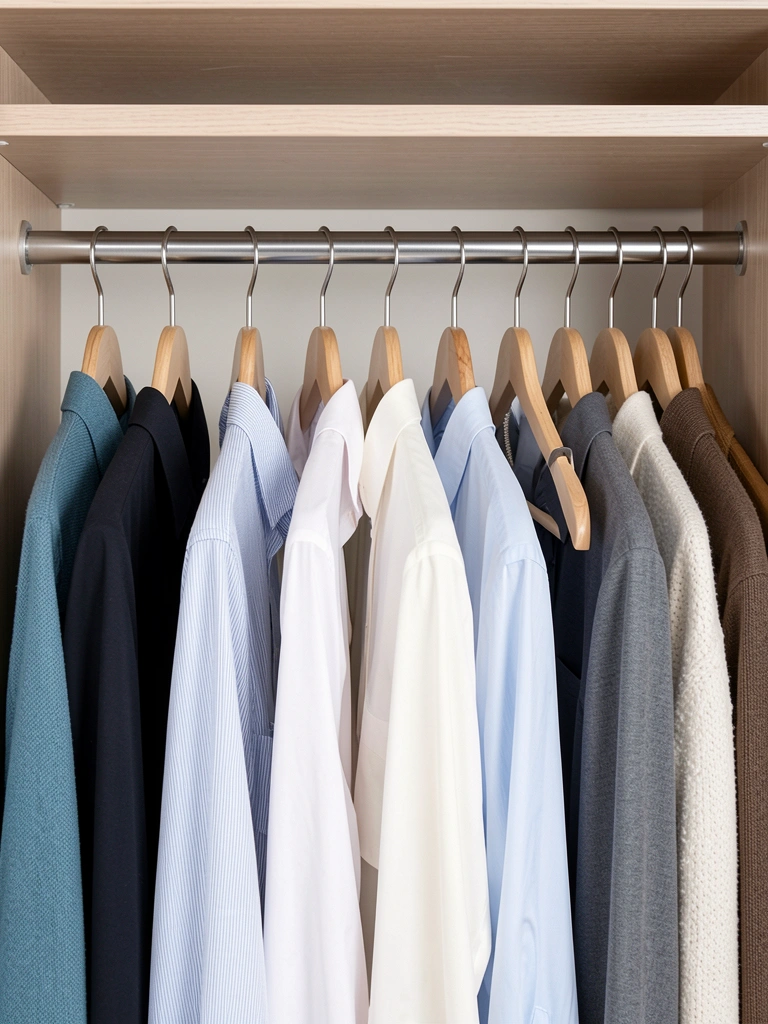
1. Group by Color After Decluttering
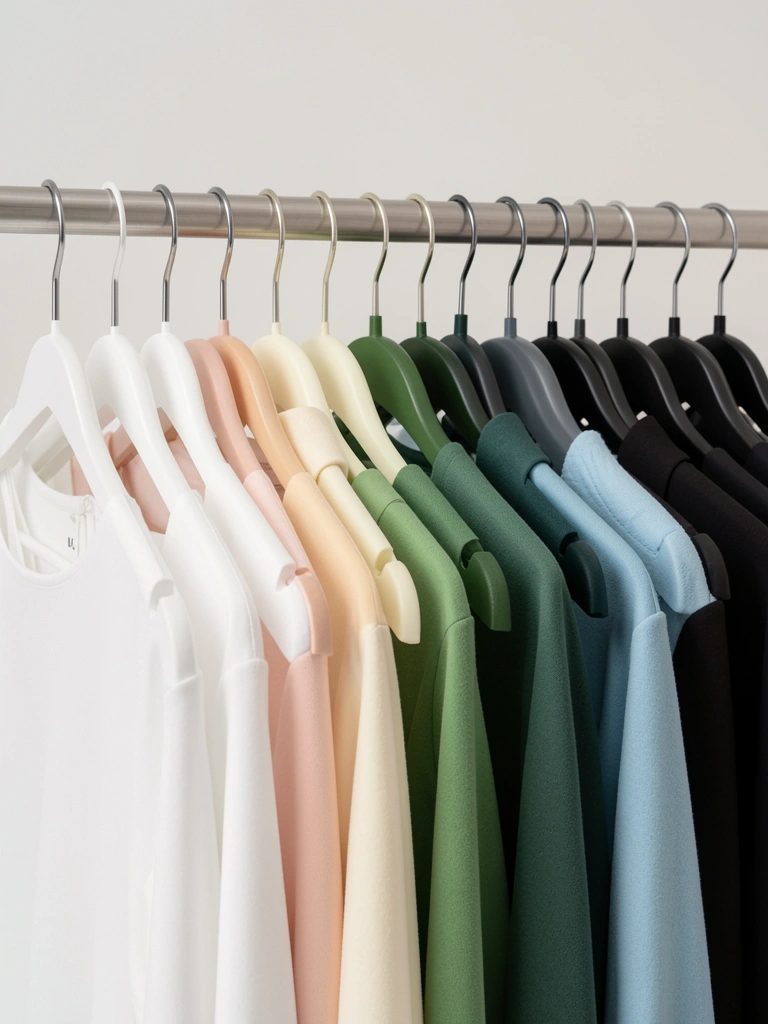
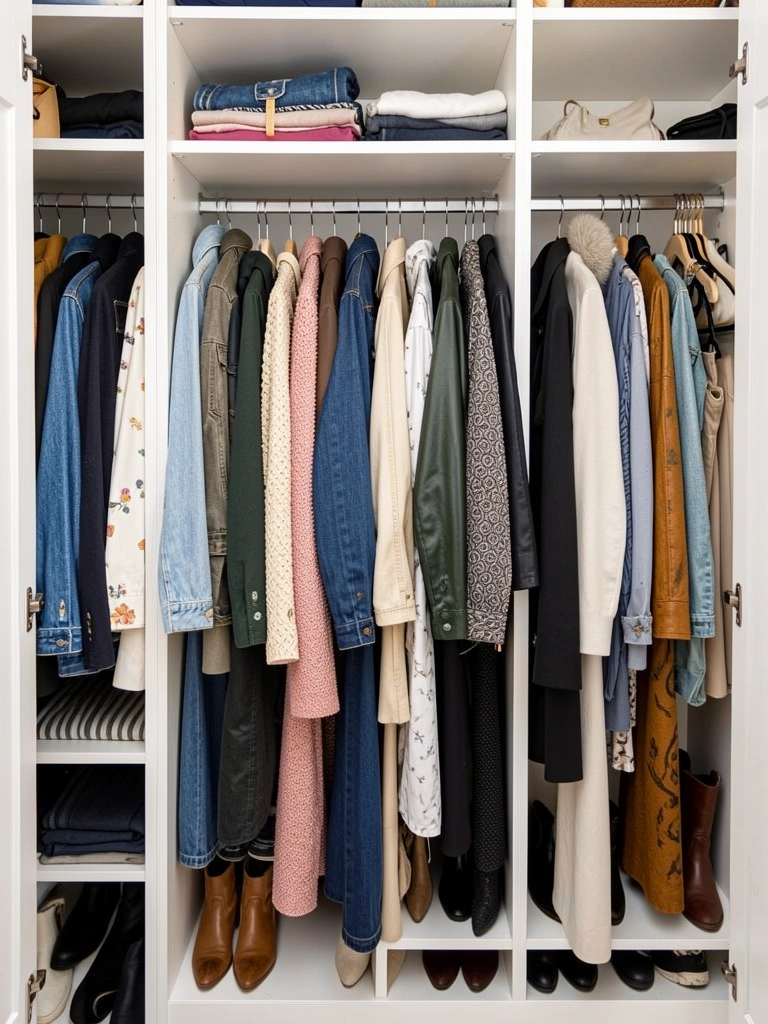
Color blocking is the simplest way to make your closet look intentional. When similar colors hang together, your brain processes your options faster, cutting down the time you spend choosing outfits.
Start by removing everything and deciding what stays. Donate or sell items you haven’t worn in a year. Then arrange hangers from light to dark: whites, pastels, neutrals, jewel tones, blacks. This takes about an hour depending on your closet size.
The beauty of this system? It works for every closet type and requires zero purchases. Even renters benefit instantly since you’re just organizing what’s already there.
You’ll notice your mornings move faster because your eyes naturally scan and match pieces without thinking about it.
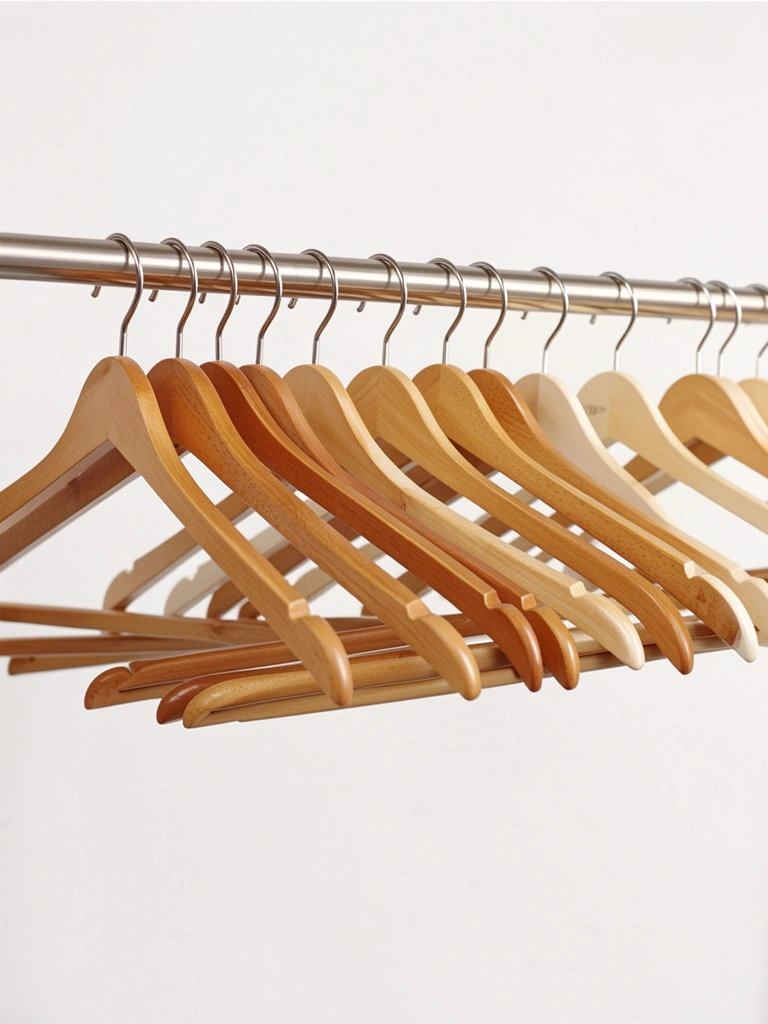
2. Invest in Uniform Velvet or Wooden Hangers
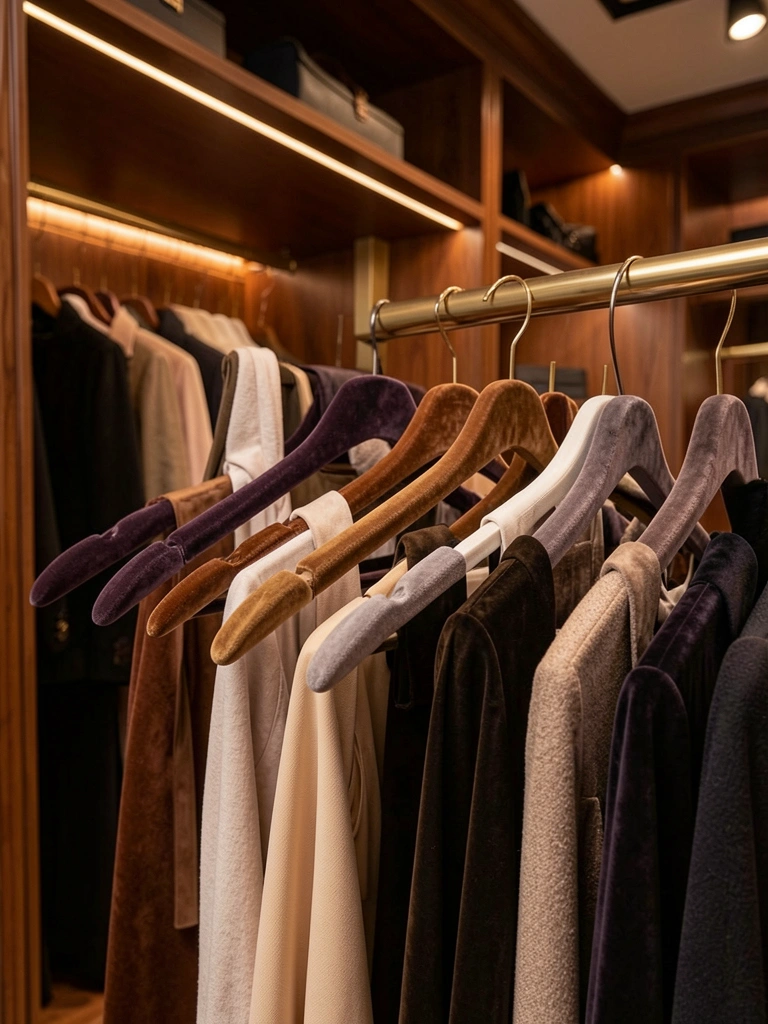
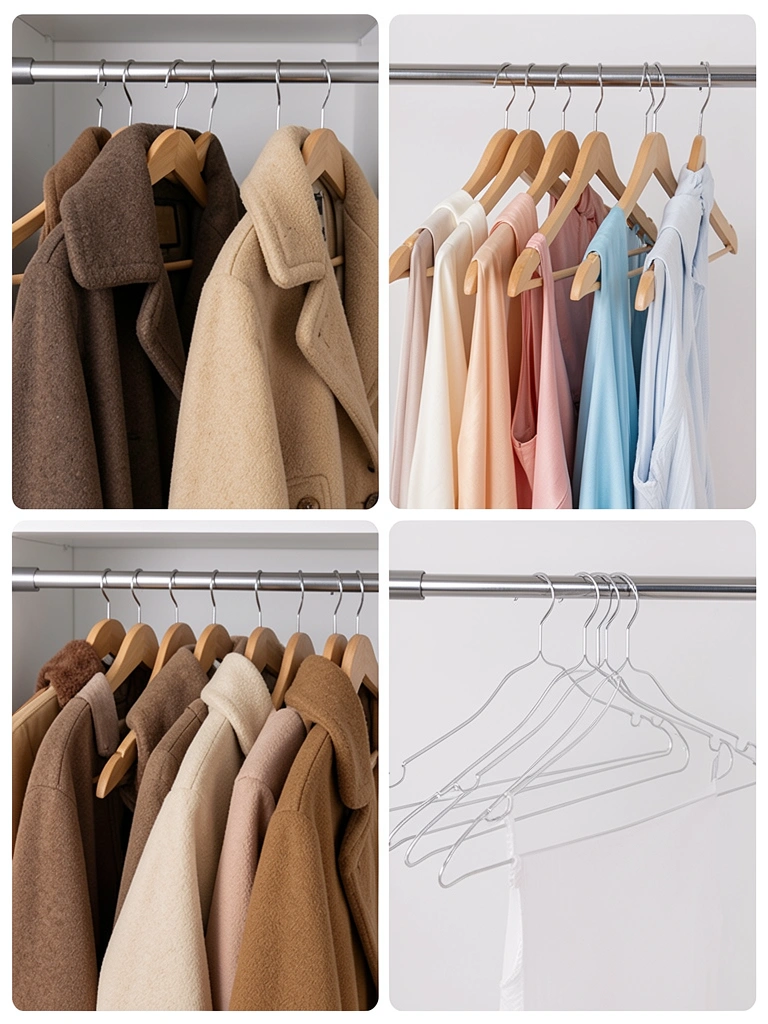
Mismatched hangers are visual clutter that makes any closet feel chaotic. Switching to uniform hangers—whether velvet, wood, or slim plastic—instantly elevates your space’s appearance and prevents clothes from slipping.
Buy a set of 50-100 matching hangers for $30-$80 from IKEA, Target, or Amazon. Velvet grips clothes without damage and looks high-end. Wooden hangers feel premium but take more space. Slim plastic hangers maximize rod capacity while staying organized. You can do this gradually, replacing old hangers one at a time.
This small investment pays off in both function and aesthetics. Your closet immediately looks curated and intentional, even if you haven’t changed anything else.
3. Use Cascading Hangers for Outfits
Cascading hangers let you hang multiple items vertically while saving horizontal rod space. They’re game-changers for small closets and outfit planners.
Attach cascading hangers to a single rod hanger and build outfits: shirt on top, matching bottoms below, scarf or belt on the lowest hook. Buy a pack of 5-10 cascading hangers for $10-$20 on Amazon. This takes 5 minutes to set up but saves hours over time since outfits are pre-planned.
You can reuse the same cascading hangers for different outfit combinations throughout the season, making them incredibly versatile.
Mornings become automatic—grab your pre-planned outfit and go. No second-guessing or trying on five different combinations.
4. Create a Front-Row “Favorites” Section
Your most-worn clothes deserve prime real estate. Creating a small “favorites” section at eye level (about 5-6 hangers) means you see the pieces you actually love every time you open your closet.
Place this section at the center of your closet at eye level. Rotate items into this zone weekly. This costs nothing but takes intentional curation. Spend 10 minutes each Sunday moving pieces in and out based on the upcoming week.
This system prevents decision fatigue because you’re working from a curated subset rather than scanning everything. You naturally reach for pieces that make you happy instead of defaulting to the same three items.
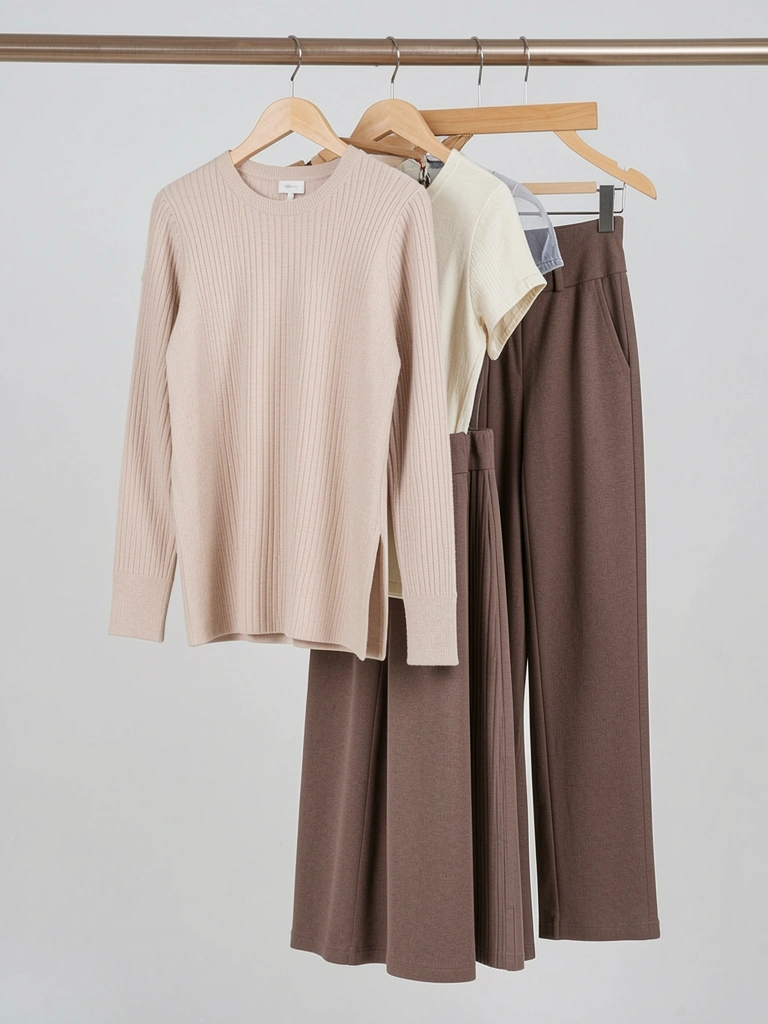
5. Separate Hangers by Material Type
Different fabrics need different hanger types. Heavyweight coats slip off slim hangers, while heavy wood hangers damage delicate fabrics. Matching the hanger to the garment protects your clothes and looks more organized.
Use sturdy wooden or plastic hangers for coats and sweaters ($15-$30 per 10-pack). Thin plastic or velvet hangers work for shirts and lightweight items. Specialty padded hangers fit delicate silks and knits ($20-$40 per set). Group by type so your eye naturally goes to the right section.
This prevents stretching, slipping, and unnecessary wear on your favorite pieces. Clothes last longer when they’re supported properly, which saves money on replacing worn items.
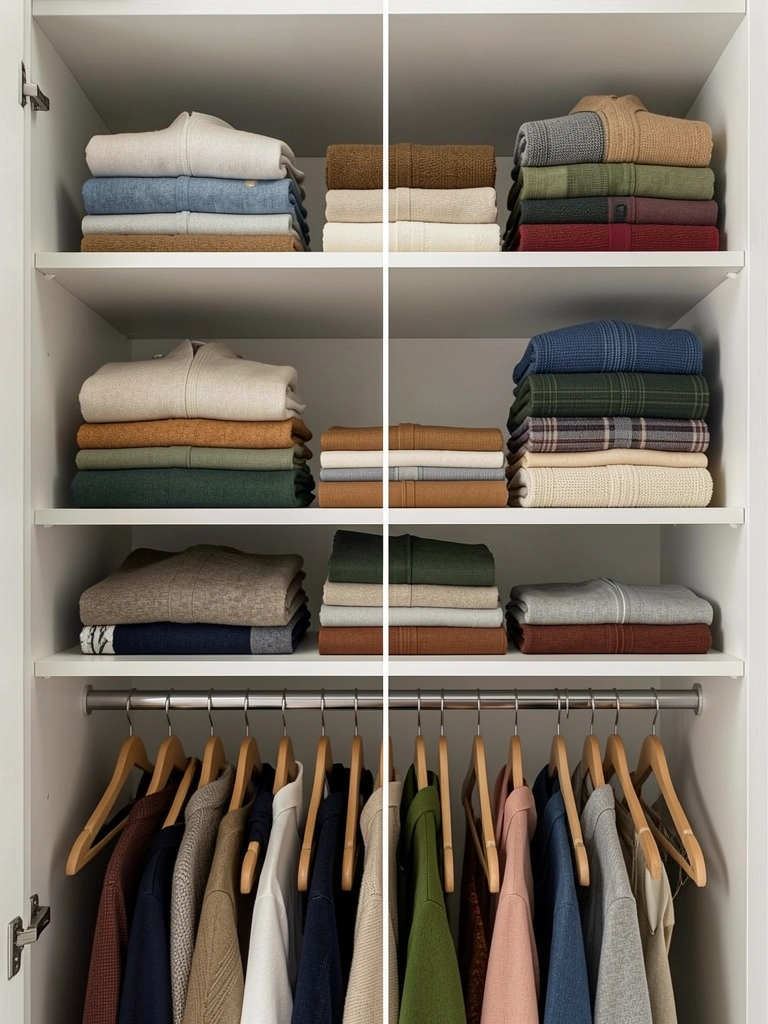
6. Install a Second Rod for Double Hanging
If your closet has high ceilings, you’re wasting precious hanging space. A second rod positioned below existing clothes doubles your capacity without taking up floor space.
Add a secondary rod kit for $30-$60 from Home Depot or Lowe’s. Most are adjustable and require basic installation. Position the lower rod about 40-42 inches from the floor, leaving room to hang shirts and pants comfortably underneath longer dresses or coats. Installation takes 30 minutes with a drill.
This is renter-friendly if you use tension rods or removable mounting brackets. You get significantly more hanging capacity without permanent damage.
Suddenly you have room for everything without overstuffing a single rod, which means hangers spread out nicely and clothes stay wrinkle-free.
7. Angle Hangers Slightly Inward for Visual Cohesion
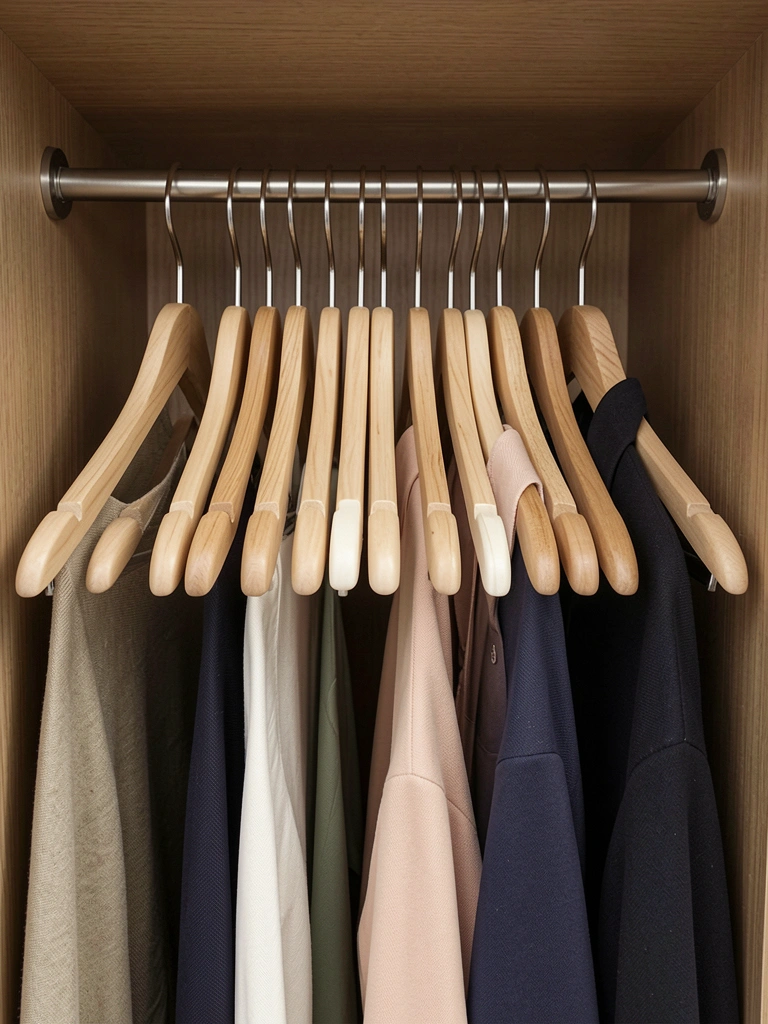
A small detail makes a big difference: angling all hangers slightly inward creates a polished, curated look. It’s a trick used in luxury boutiques and high-end closets.
This costs nothing and takes 10 minutes total. As you rehang items after laundry, position each hanger hook slightly tilted inward at about a 5-10 degree angle. The entire row will appear unified and intentional.
It’s a subtle shift but psychologically satisfying—your closet immediately looks more carefully arranged, like you have it all figured out.
8. Use Wooden Dowels to Divide Hanger Sections
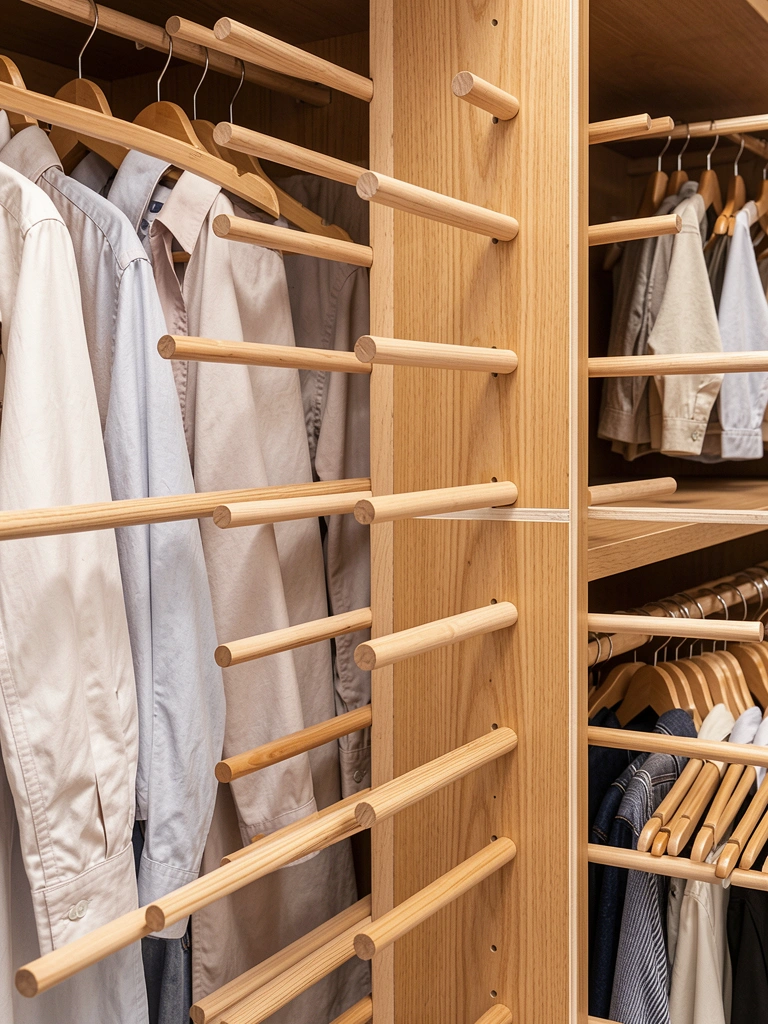
Visual dividers help your brain process different clothing sections instantly. Thin wooden dowels inserted horizontally through hangers create low-cost separators without permanent changes.
Buy wooden dowels (½-inch diameter) from craft stores for $3-$5, then cut to your rod width. Insert them through hanger loops to create barriers between sections (work clothes, casual, dresses, etc.). This takes 5 minutes to set up and works for renters.
Alternatively, use decorative hanger dividers ($10-$15 per set on Amazon) designed specifically for this purpose. Either way, you’re creating visual stopping points that make the closet feel organized.
Your eye naturally flows through distinct sections, making outfit selection feel less overwhelming.
9. Install LED Strip Lighting Above Hangers
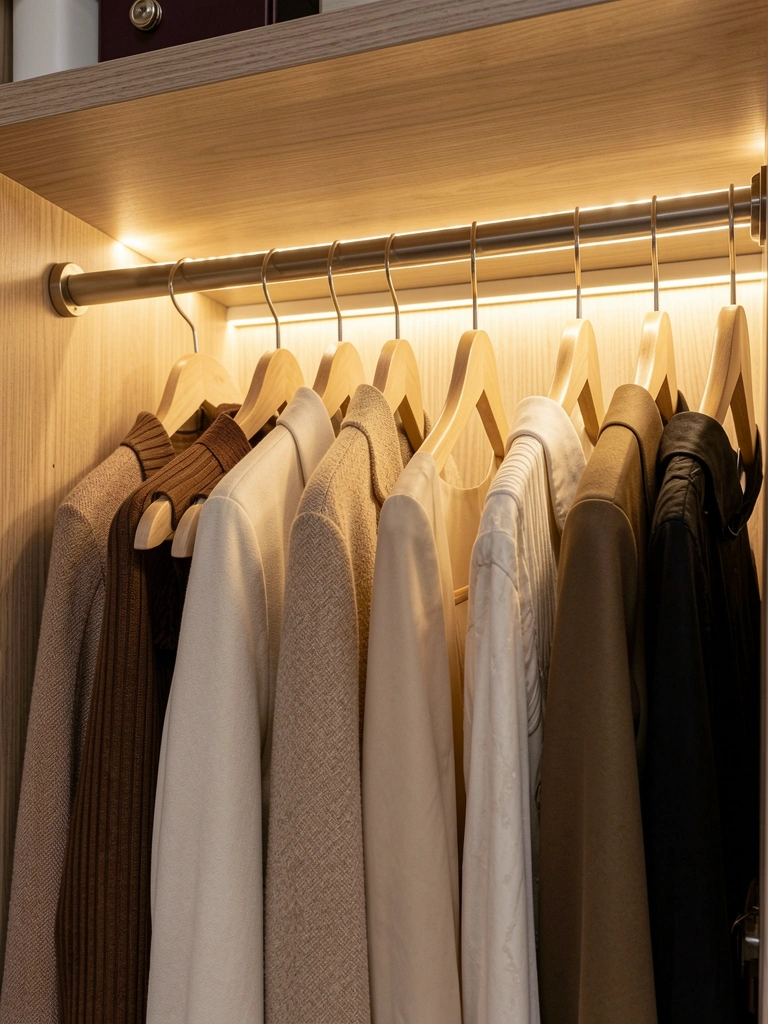
Poor lighting makes it impossible to see true colors and details. LED strip lights mounted above your rod transform how you see your clothes and make the closet feel like a personal boutique.
Install warm-white LED strips ($20-$40 on Amazon) with adhesive backing—no tools required. Mount them on the inside top edge of the closet above where hangers hang. Plug into a USB outlet or battery pack. Takes 5 minutes to install and makes outfit selection easier and more enjoyable.
Renter-friendly option: use removable LED strip lights ($15-$30) that peel off without damage. Warm white (around 2700K) is more flattering than cool white.
Suddenly you can see every piece clearly, colors match perfectly, and your closet feels elevated and functional.
10. Reverse Hangers to Track Actual Wear
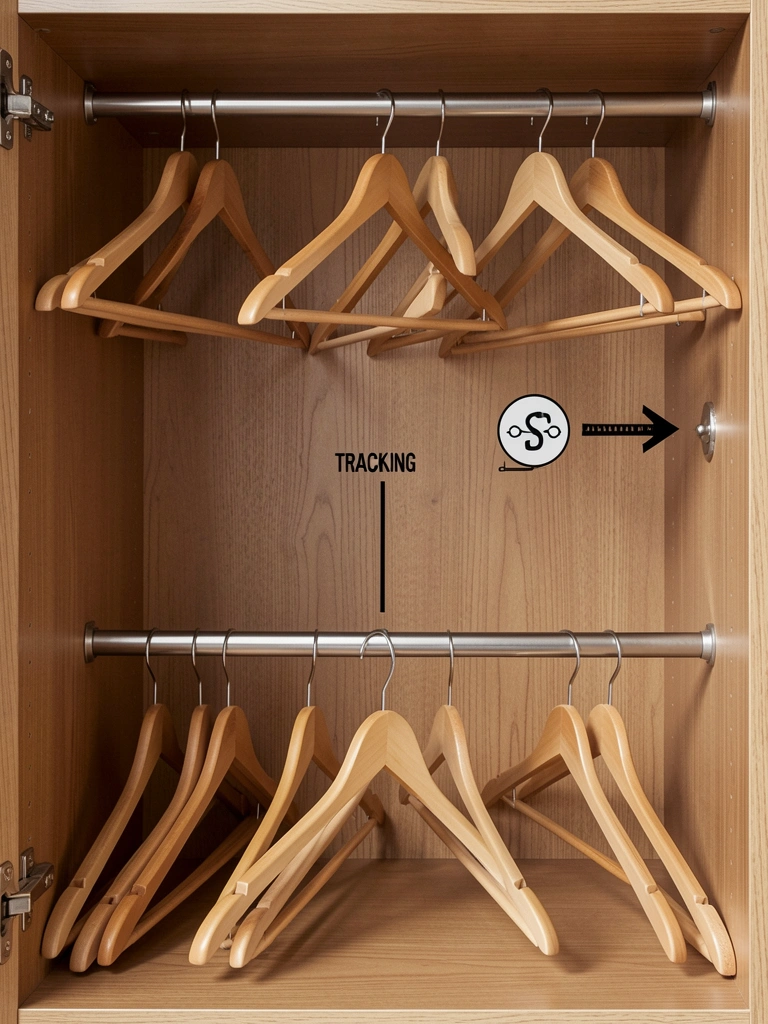
The reverse hanger trick reveals which clothes you actually wear versus which ones just take up space. This data helps you make smarter purchasing and organizing decisions moving forward.
Turn all hangers around backward at the start of a season. When you wear something, hang it back normally facing forward. After 4-6 weeks, backward-facing hangers are pieces you genuinely don’t wear. This costs nothing and reveals honest patterns about your wardrobe.
It’s eye-opening how quickly you see which items aren’t working, which frees up mental and physical space for pieces you love.
11. Group by Occasion or Activity
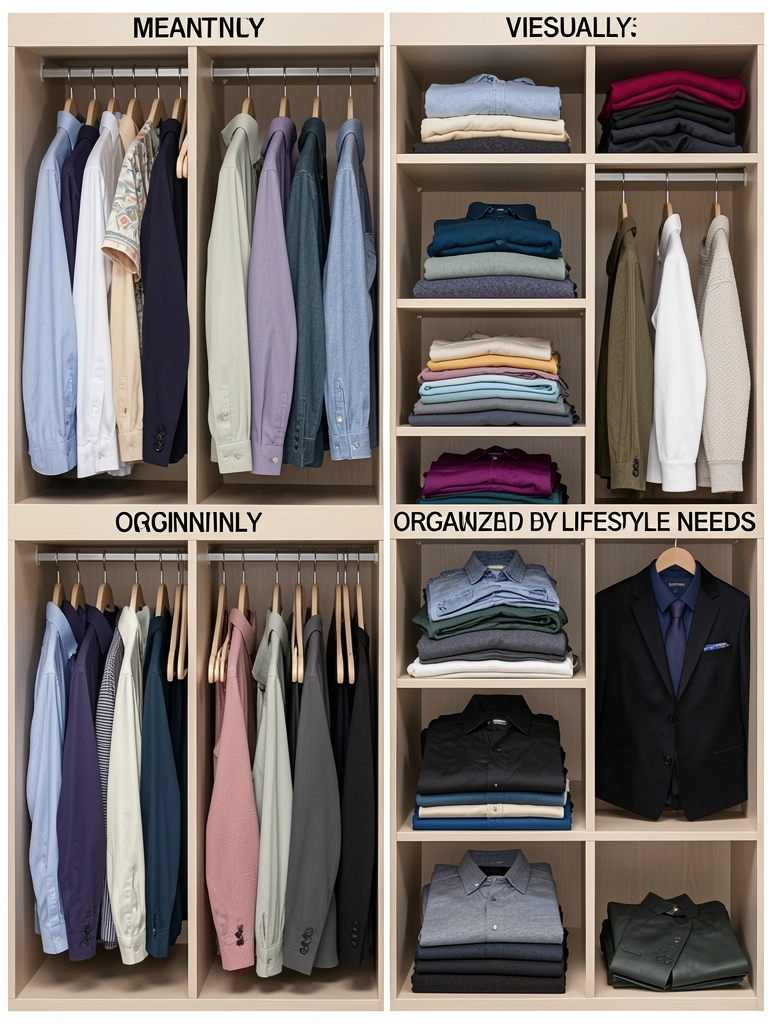
Organizing by occasion (work, casual, workout, formal) aligns your closet with your actual life. You grab what you need without scanning everything.
Create 3-4 main zones. Left side: work clothes. Center: everyday casual wear. Right side: weekend/leisure items. High rod or shelf: seasonal or occasional pieces. This takes one weekend and costs nothing.
You can use dividers (from tip #8) to make sections even clearer, or just remember mentally where each category lives. The key is consistency—always put similar items back in the same zone.
Your daily routine becomes smoother because you know exactly where to look for what you need, eliminating decision fatigue.
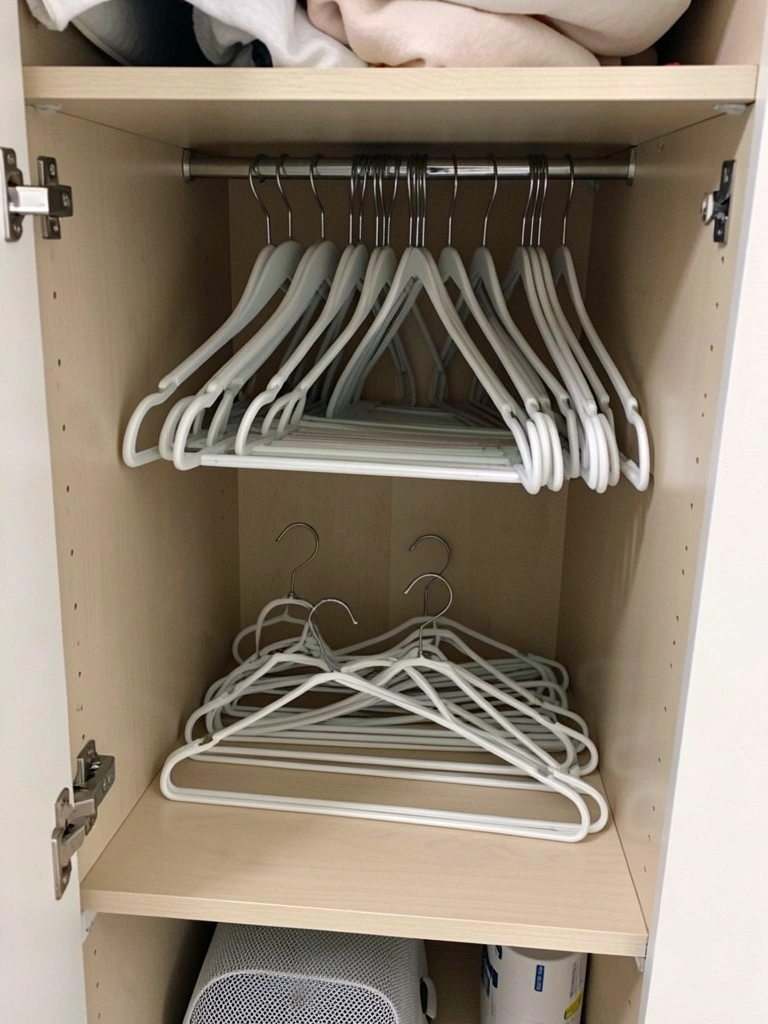
12. Use Slim Space-Saving Hangers Exclusively

If you’re working with a small closet, slim hangers are non-negotiable. They hold the same garment weight but take up half the space, letting you see and access everything.
Buy a bulk pack of 50 slim plastic hangers for $15-$30 from IKEA or Amazon. The trade-off? They’re less durable than wooden hangers and slightly less attractive, but they’re renter-friendly and genuinely functional.
Pair them with consistent color organization and this one change unlocks significantly more capacity. Items spread out instead of bunching, reducing wrinkles and making everything more visible.
13. Hang Heavy Items Separately on Sturdy Hooks
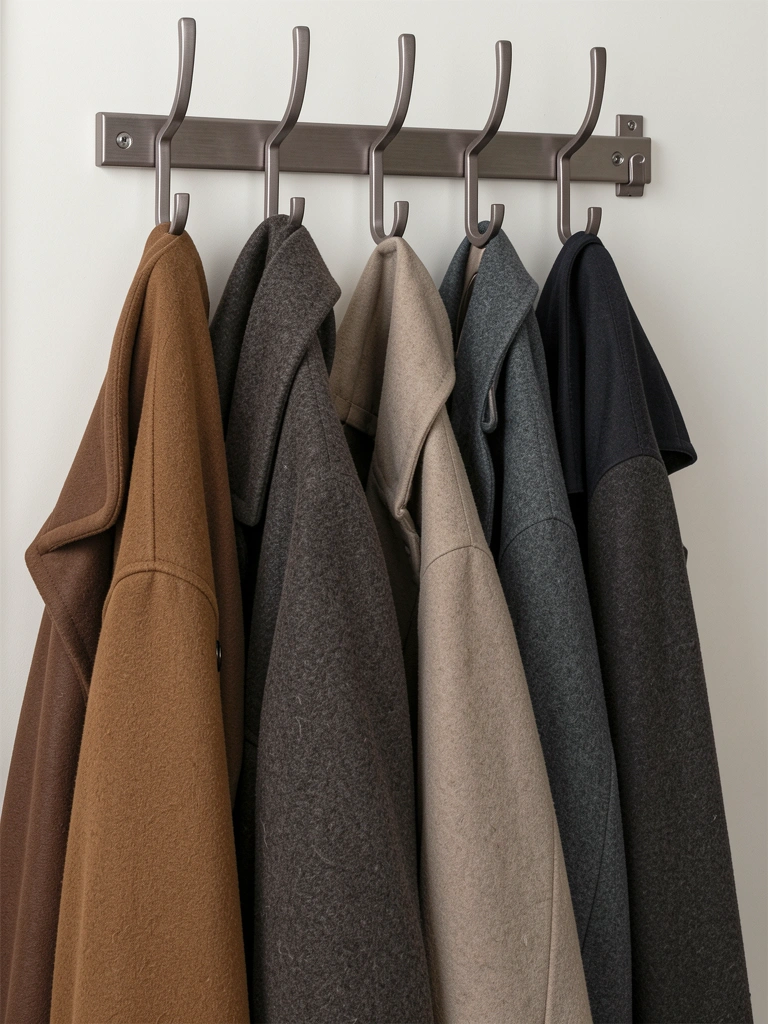
Bulky winter coats and heavy blazers shouldn’t share closet rods with delicate items—they create crowding and put stress on your entire system. Heavy pieces belong on separate sturdy hooks.
Install heavy-duty wall hooks ($15-$30 for a set of 3-4) inside or just outside your closet. Use bolts or heavy-duty anchors for safety. Position them at a comfortable grabbing height. This takes 30 minutes with a drill.
Renters can use over-the-door heavy hooks ($10-$20) instead. Removing heavy coats from the main closet rod frees up significant space and immediately makes your closet feel less packed.
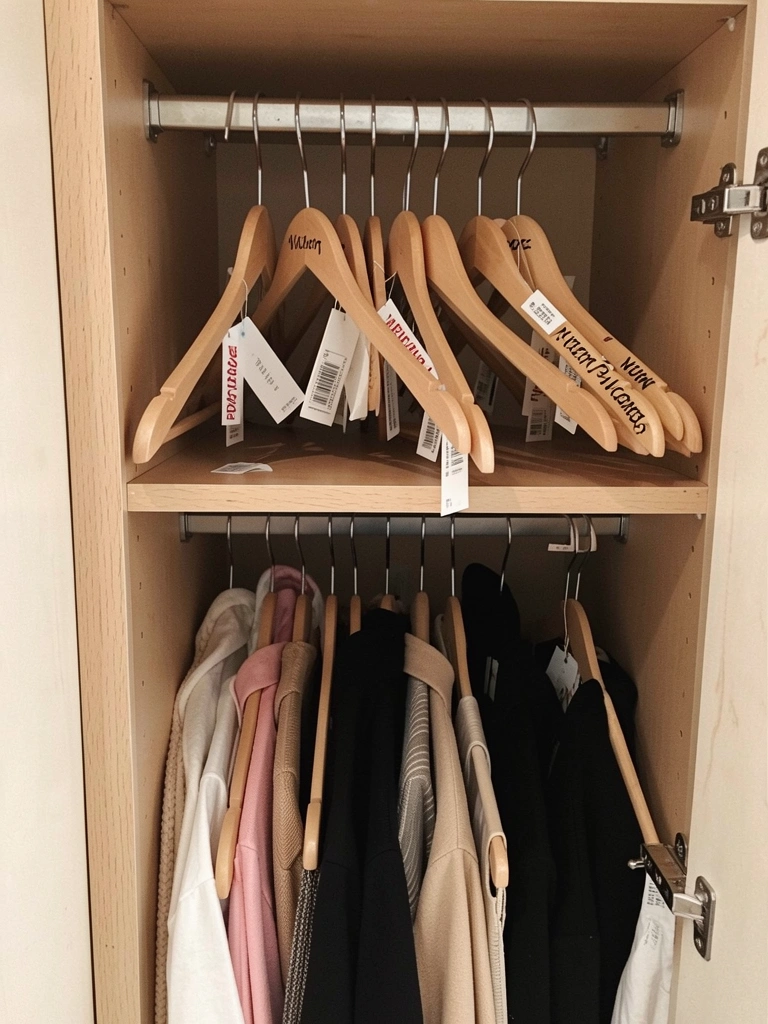
14. Create a “Laundry Day” Dedicated Hanger Spot
Most people waste time hunting for empty hangers on laundry day. Designating a small zone for clean hangers keeps the system flowing smoothly.
Reserve the first or last 10-15 hangers on your rod as “empties.” When you do laundry, grab from this zone and rehang clean items back in their proper sections. This takes zero money and 5 minutes to establish.
Alternatively, hang a slim hanger holder ($8-$15) on the inside of your closet door to keep empty hangers corralled and visible. It sounds small, but this system eliminates the “I can’t find a hanger” frustration.
Your laundry process becomes a streamlined routine instead of a hunt-and-grab situation.
15. Use Hanger Dividers to Define Categories

Purpose-made hanger dividers mark section breaks and add polish to your closet. They’re visual cues that help you stay organized long-term.
Buy a set of hanger dividers ($10-$20 on Amazon) in wood, metal, or acrylic. Place them between clothing categories: work, casual, dresses, activewear, etc. They look more intentional than random dividers and are easy to adjust as your wardrobe shifts.
Some versions are labeled (“Work,” “Weekend,” “Formal”), making the system crystal clear for household members or after you forget over time.
Your closet looks intentional and curated—the kind of space you actually enjoy opening every morning.
16. Alternate Hanger Direction for Visual Break
Alternating hanger direction (hook facing left, then right, then left) creates a visual rhythm that makes the closet feel organized without adding anything new.
This costs nothing and takes 10 minutes initially, then a few seconds per item when rehanging laundry. The alternating pattern helps you space items consistently and prevents the “crowded rod” feeling that happens when everything bunches together.
It’s subtle but satisfying—you notice the visual difference immediately, and it has a small practical benefit of preventing hangers from sliding together.
17. Store Off-Season Items on High Shelves or Rods
Your active wardrobe shouldn’t compete for space with winter coats in summer or summer dresses in winter. Moving off-season items to high storage frees up your prime hanging real estate.
Invest in a shelf divider system ($20-$40) or use clear bins ($15-$30 per set) to store off-season pieces. Label with the season and contents. This keeps your active closet lean and focused while preserving pieces you’ll wear again.
Renter-friendly: use over-the-door organizers ($10-$20) or high shelf space instead of installing new rods. Takes one weekend to pack and relocate, but you get immediate breathing room in your closet.
Your everyday hangers now represent only what you’re actually wearing, making decisions faster and the closet feel spacious.
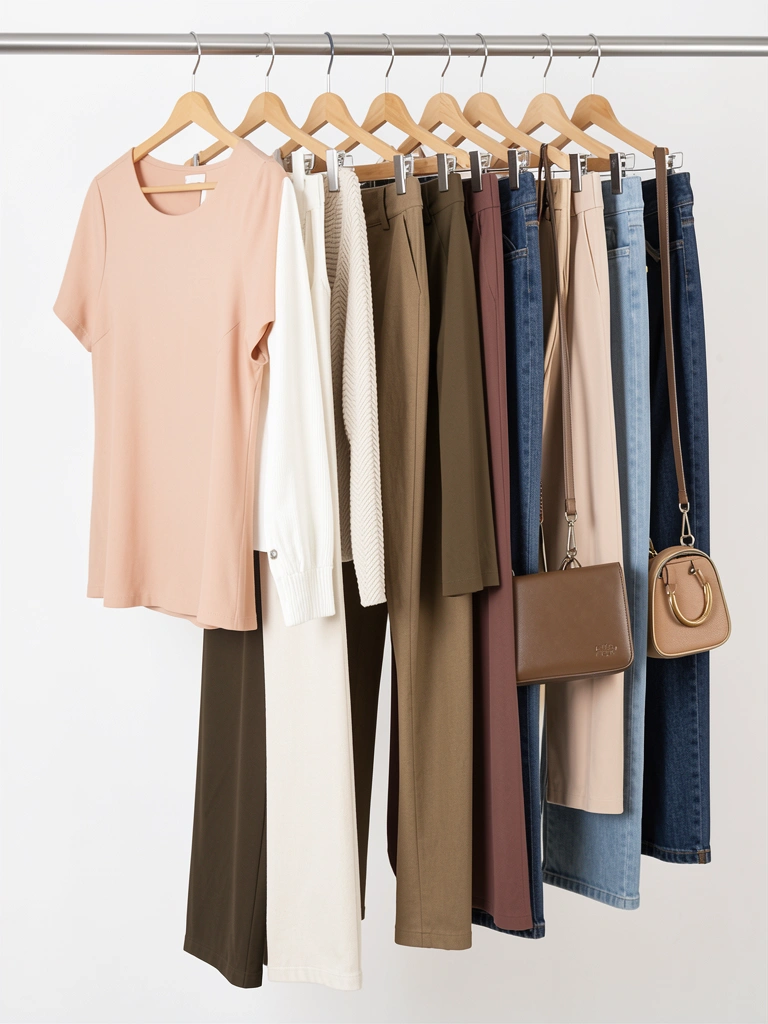
18. Hang Matching Coordinates Together on One Hanger
For pieces you always wear together (white button-up with a matching blazer, favorite jeans with a specific belt), hanging them together saves decision-making time and looks organized.
Use multi-clip hangers ($5-$10 per hanger) or cascading racks to keep coordinates united vertically. This works especially well for work outfits or go-to casual combinations. You can grab one hanger instead of hunting two pieces.
Mentally note which combinations you repeat weekly and hang them together for the next laundry day. No permanent commitment needed—just convenient grouping.
You start getting dressed and grab one hanger instead of assembling pieces, which genuinely saves time on busy mornings.
19. Use a Thin Rod Divider to Separate Hang Lengths

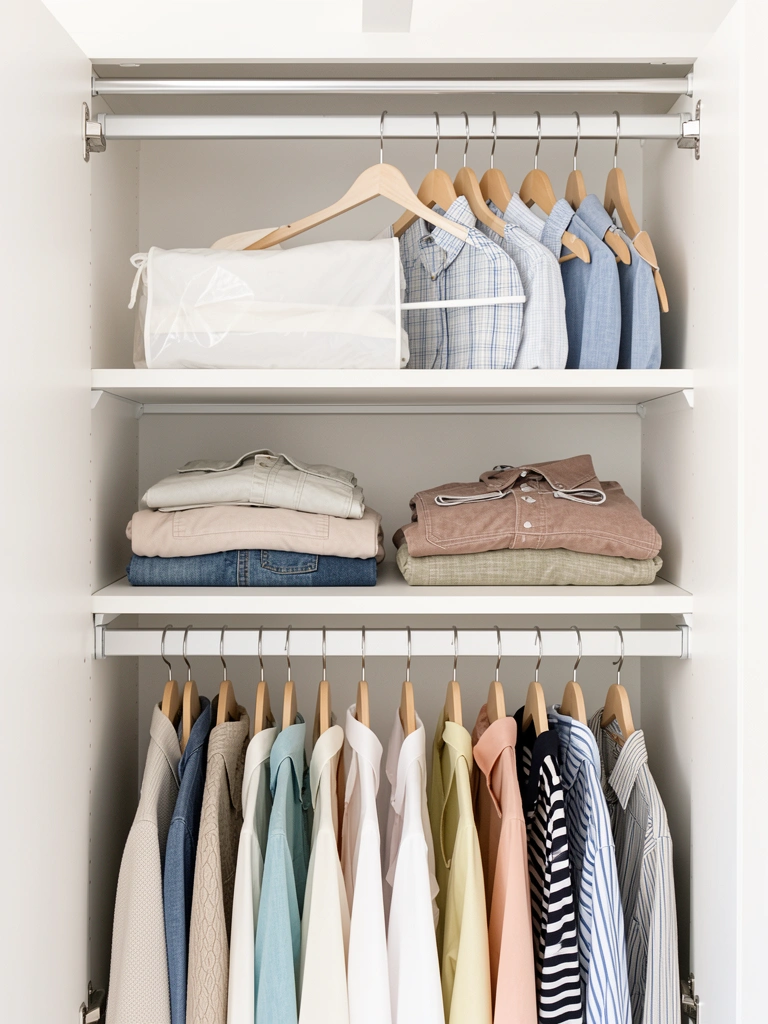
Long items and short items together create visual confusion and wasted hanging space. Separating by length maximizes your closet layout.
If you have double rods (tip #6), designate the top for longer pieces and the bottom for short items like shirts and sweaters. If you have one rod, hang long pieces on one side and short items on the other. This costs nothing and works with any closet size.
Your eye instantly finds what you’re looking for because lengths are predictable. The closet automatically looks more organized because similar items group together visually.
20. Install Hooks Below Hangers for Accessories

Small accessories (scarves, belts, statement necklaces) often disappear or create clutter. Hanging them on hooks below your main rod keeps them visible and organized.
Install small adhesive hooks ($10-$15 for a set of 5-8) on the inside of your closet wall just below your hangers. Or clip hooks directly onto your existing rod using clip-on hanger hooks ($5-$10 for a set). Takes 10 minutes and works for renters.
Hang scarves, belts, and lightweight jewelry here. You see them while picking outfits and naturally incorporate them more often.
Accessories are no longer hidden or tangled—they’re accessible and part of your styling strategy.
21. Maintain 1.5-Inch Spacing Between Hangers
Overcrowding kills everything: wrinkles appear faster, you can’t see what you own, and grabbing one item tangles five others. Maintaining consistent spacing makes your closet functional and beautiful.
Aim for about 1.5 inches between hanger hooks. This feels like plenty of breathing room without wasting space. When you rehang laundry, take 30 seconds to redistribute items so spacing stays consistent. It costs nothing and prevents the “compressed closet” look.
If your closet is packed to capacity, this might mean moving some items to storage or donating items that don’t spark joy.
Items become visible and accessible instead of lost in a sea of crowded fabric.
22. Hang Delicate Items on Padded or Silk Hangers
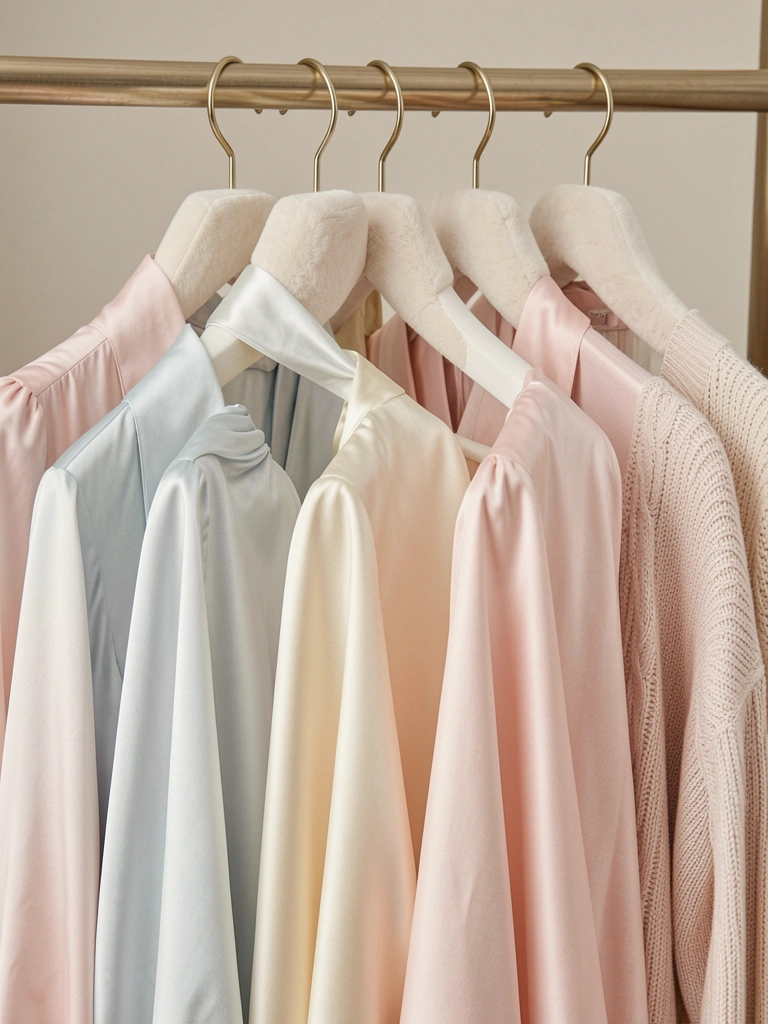
Silk blouses, delicate dresses, and cashmere deserve protection from metal and plastic hanger marks. Padded or silk hangers prevent damage that shortens your clothes’ lifespan.
Buy padded hangers ($2-$5 per hanger) for your delicate pieces, or invest in specialty silk hangers ($3-$8 each) from high-end retailers. Collect these gradually as your budget allows. The investment protects pieces you likely paid good money for.
Designate one section of your closet for these premium hangers so delicate items are clearly identified. Your favorite pieces last longer and look better over time.
23. Create a “Try Again” Zone for Recent Purchases
New pieces need time to integrate into your existing wardrobe. Creating a temporary zone for recent purchases helps you actually wear them instead of letting them hide in your closet.
Use a small divider or mental zone to corral new items. When you buy something, hang it here for a week or two. Challenge yourself to style it with existing pieces so it becomes part of your regular rotation. No cost involved—just intentional placement.
After two weeks, move successful pieces into their regular homes. If you haven’t worn them, return them if possible or donate. This keeps your closet honest and prevents impulse purchases from piling up unused.
You’re more likely to actually wear what you buy, making shopping feel valuable instead of wasteful.
Save this post and pick just one or two ideas to try this weekend. Even small changes—like switching to matching hangers or adding an LED light—shift how you feel about your closet. Which tip will you implement first?
Leave a Reply