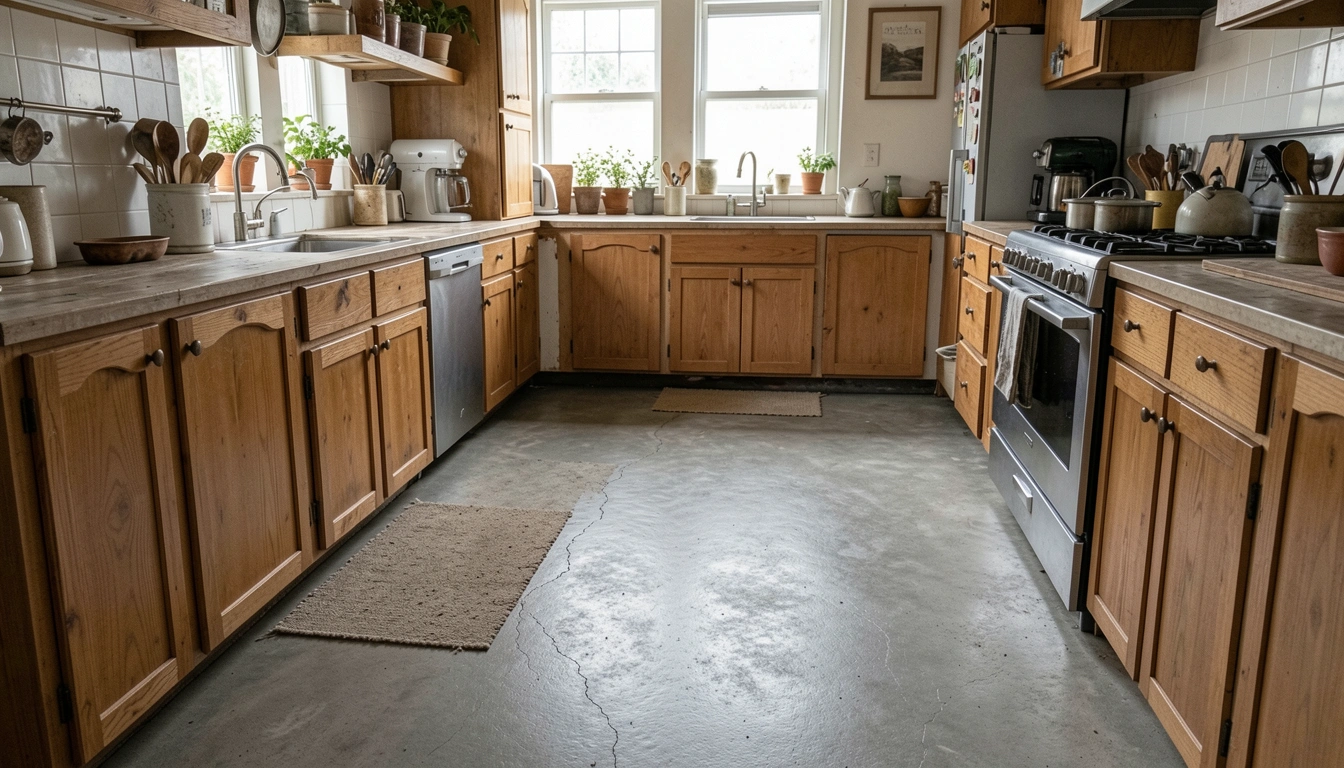
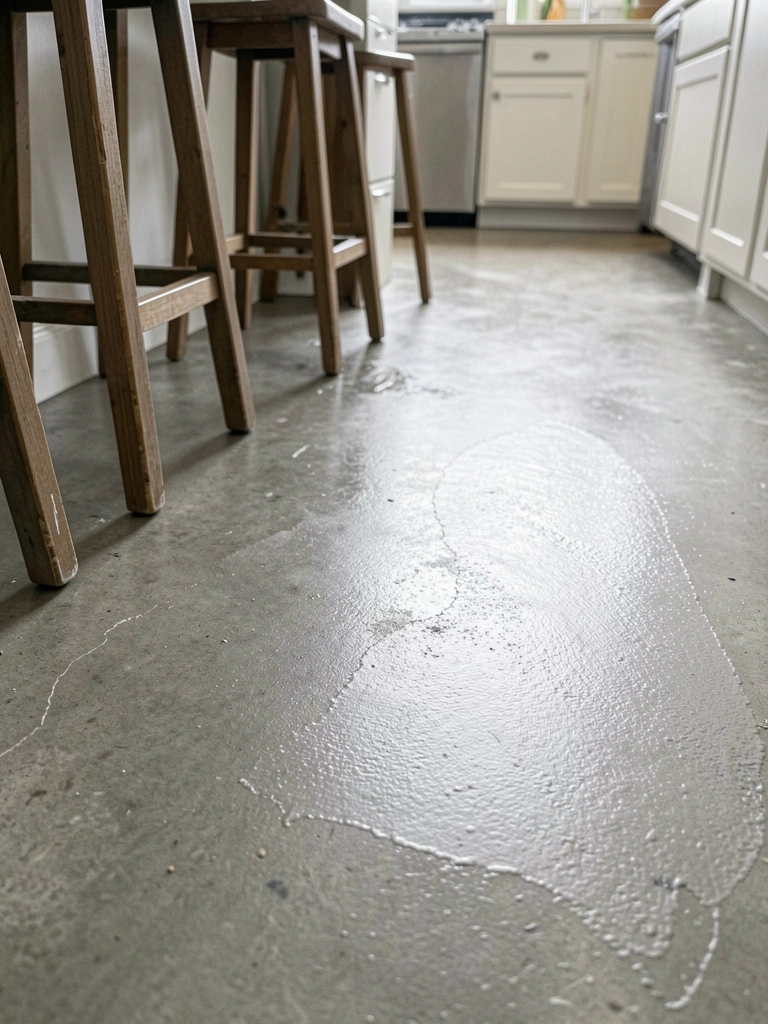
My kitchen floor was raw concrete. It felt hard and echoey, like standing in a basement. Cabinets above looked lost without a base. I needed something simple to warm it up, make the room hold together.
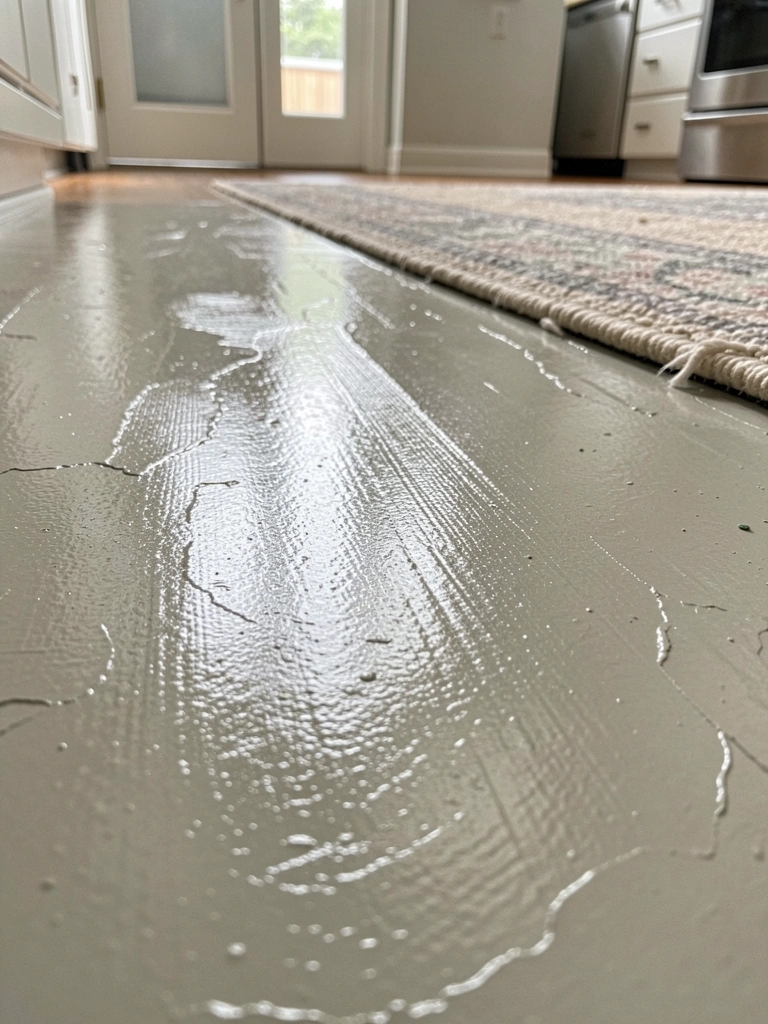
I painted it myself one weekend. Now the floor anchors everything. It's comfortable, pulls in the wood tones.
How to Paint Concrete Kitchen Floor
This guide walks you through painting your concrete kitchen floor so it feels balanced and lived-in. You'll end up with a floor that grounds the room without overpowering it. It's straightforward, even if you're not handy.
What You’ll Need
- Epoxy concrete floor paint in warm gray, 1-gallon kit
- Matte sealer for painted floors, low-gloss finish
- Painter's tape in 2-inch width, blue residue-free
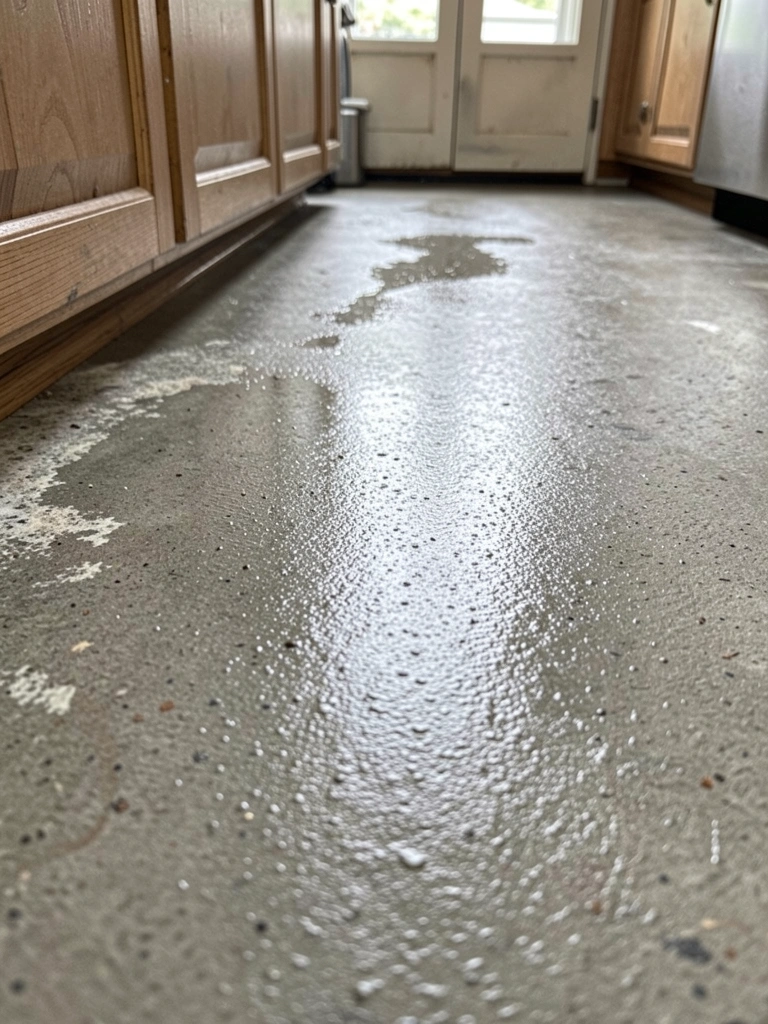
- Concrete etch cleaner, 1-gallon jug
- Mini foam roller set for smooth epoxy application
- Drop cloths in heavy-duty canvas, 9×12 feet
- Neutral toned area rug, 8×10 feet jute blend
- Wood stools with painted floor complement
Step 1: Clear the Floor and Feel the Space
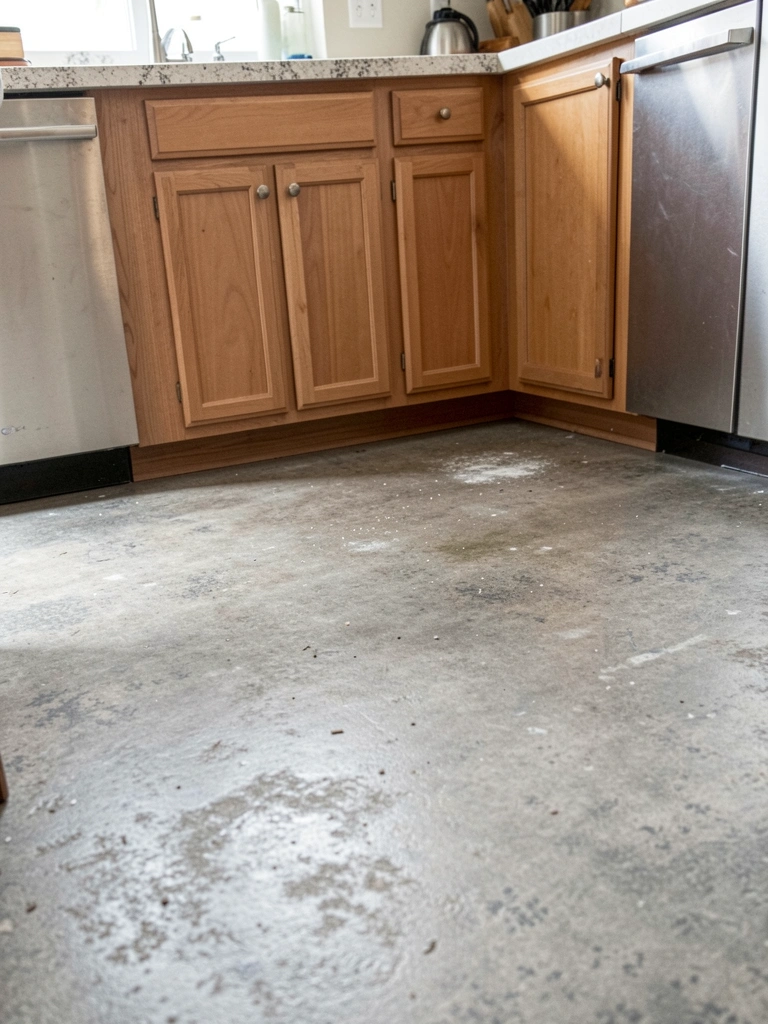
I start by moving everything out. Chairs, table, rugs—gone. Now the floor shows its full role. It sits under cabinets, catches the light from windows. Bare, it feels empty, but this lets me see how paint will balance the walls.
People miss how much floor space there is. It dominates the view when you walk in. Test by walking around. Does it echo? Cold? Paint will soften that.
Don't rush—live with it empty a day. Avoid painting over dirt; it shows later.
This step grounds me. The room quiets. Ready for color.
Step 2: Pick a Color That Warms the Light
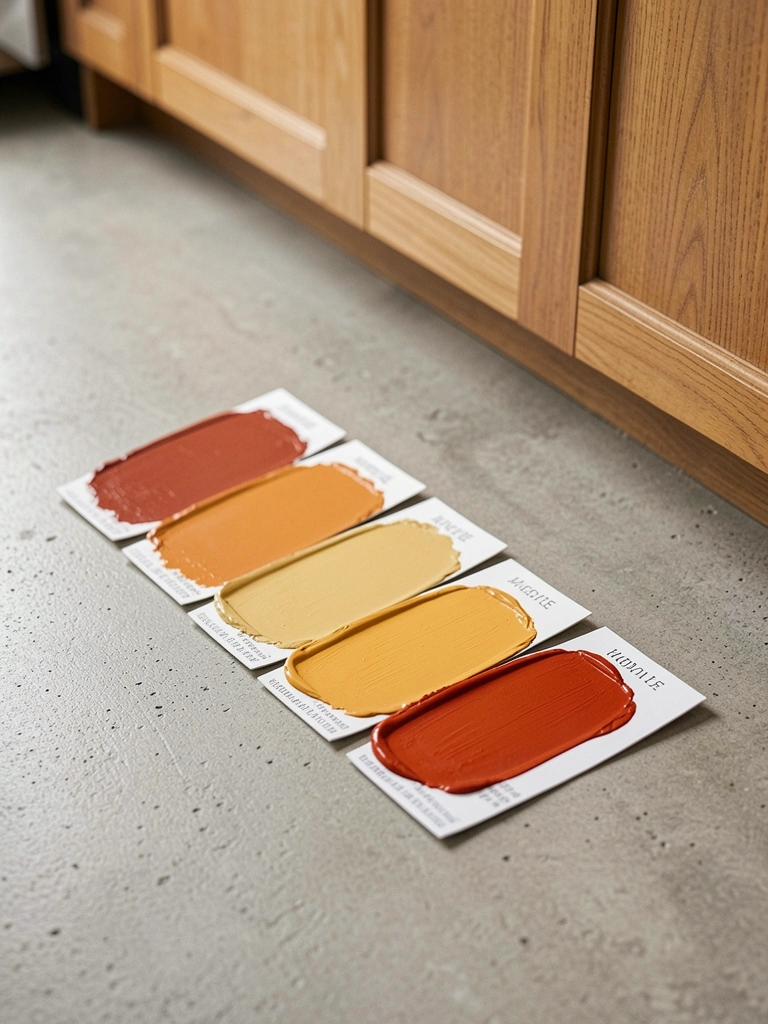
I pour small paint samples right on the floor. Gray with beige undertone, soft taupe. Walk on them wet—see how light hits at morning, evening. It needs to blend cabinets, not fight them.
Most skip testing in place. Colors shift under your lights. One flat gray looked blue at night. Warm ones stayed cozy.
Avoid stark whites—they glare. Pick what makes feet feel welcome.
Now the floor hints at its new feel. Balanced already in my mind.
Step 3: Apply the Base Coat Evenly
I roll thin, even coats. Start farthest from door. Watch it settle—pulls the room down visually, stops the floating feel. Edges crisp against baseboards.
Insight: Overlap wet edges. Streaks show if dry. It makes the whole floor one piece.
Don't glob paint. Thin layers dry faster, look smoother underfoot.
Visually, counters pop now. Floor holds steady.
Step 4: Add the Second Coat for Depth
Wait 24 hours, then second coat. It builds warmth, hides concrete pores. Room feels deeper, cabinets rooted.
People forget: Second coat evens tones in low light. First was flat; this breathes.
Skip if first looks good—but usually not. Avoid bubbles by rolling slow.
Now it feels intentional. Pulls eyes across evenly.
Step 5: Seal and Layer Back In
Roll on matte sealer. Dries to soft sheen—protects, adds comfort. Bring back table, stools. Add rug for spots.
Miss this: unsealed paint chips fast. Seal locks balance.
Don't overload with furniture yet. Let floor shine first.
Kitchen flows now. Warm, lived-in base.
Choosing Colors for Your Kitchen's Light
I match paint to window light. North-facing? Warmer tones. South? Cool grays work.
- Test three shades always.
- Walk on samples at different times.
- Blend with cabinets—sample there too.
It keeps the floor from clashing. Room stays calm.
Pairing the Floor with Kitchen Pieces
Painted floor grounds wood cabinets best. Add stools in natural tones.
Rugs soften edges:
- Jute for texture.
- Low pile, neutral.
Stools tuck under island. Balance returns.
Keeping the Finish Balanced Long-Term
Sweep daily. Mop weekly with mild soap.
Spills? Wipe fast.
Refresh sealer yearly. Stays even, comfortable.
Final Thoughts
Start with one small area if unsure. Your kitchen will settle into place.
You've got this—simple changes like this add up.
Now the floor works for you. Comfortable steps every day.
Leave a Reply