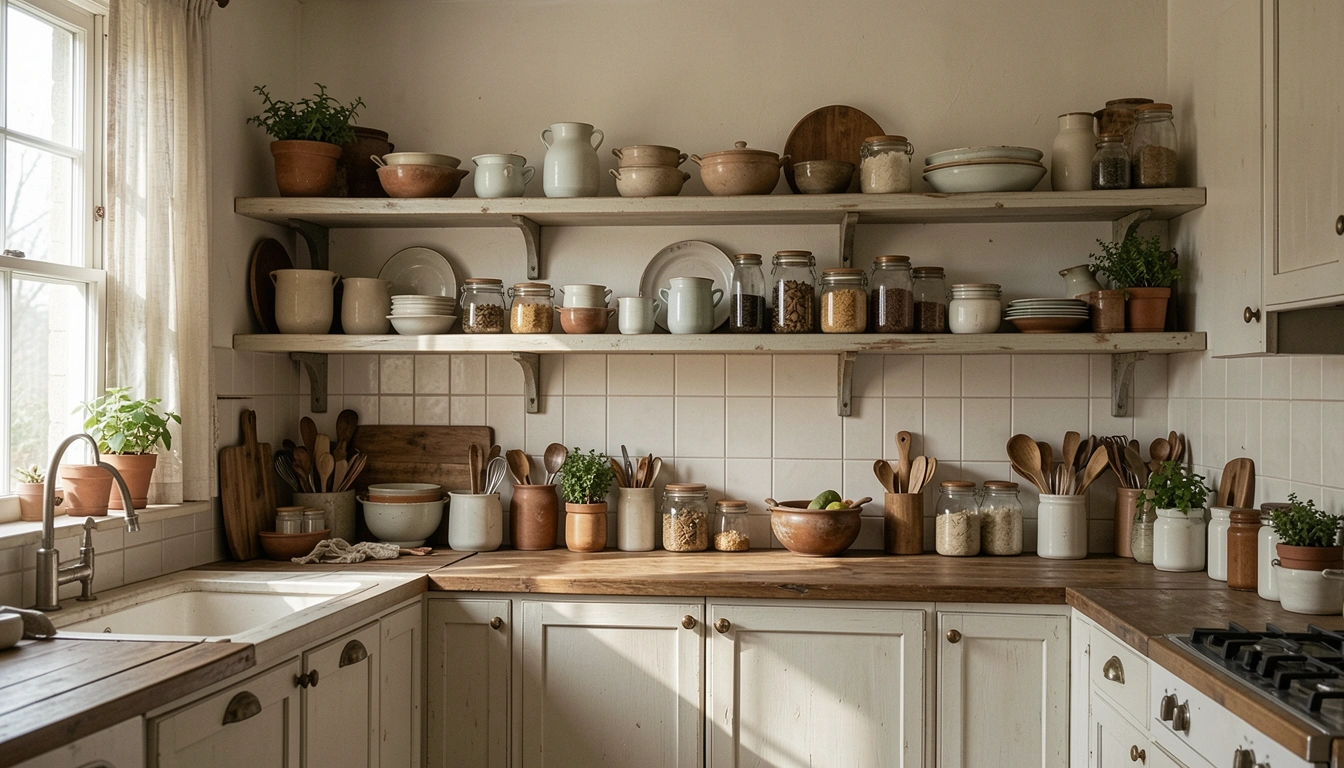
I stared at my kitchen shelves one morning. Jumbled mugs, spilling spices, random cans. Reaching for tea meant dodging plates. It felt heavy, not helpful.
Cooking got slower. The clutter drained my energy before I even started.
I wanted shelves that worked with me. Calm, easy to grab from.
How to Organize Kitchen Shelves
This approach clears the visual noise on your kitchen shelves. You'll learn to group items so they feel balanced and pull your eye gently. The result is a kitchen that supports your routine without effort.
What You’ll Need
- Clear Acrylic Shelf Risers (10-inch, set of 4)
- Woven Seagrass Storage Bins (medium, natural)
- White Ceramic Canisters (3-piece set, 4-6 inch)
- Bamboo Lazy Susan (12-inch diameter)
- Matte Black Shelf Dividers (adjustable, set of 6)
- Glass Spice Jars with Bamboo Lids (12-pack)
- Wooden Recipe Stand (foldable, 10-inch)
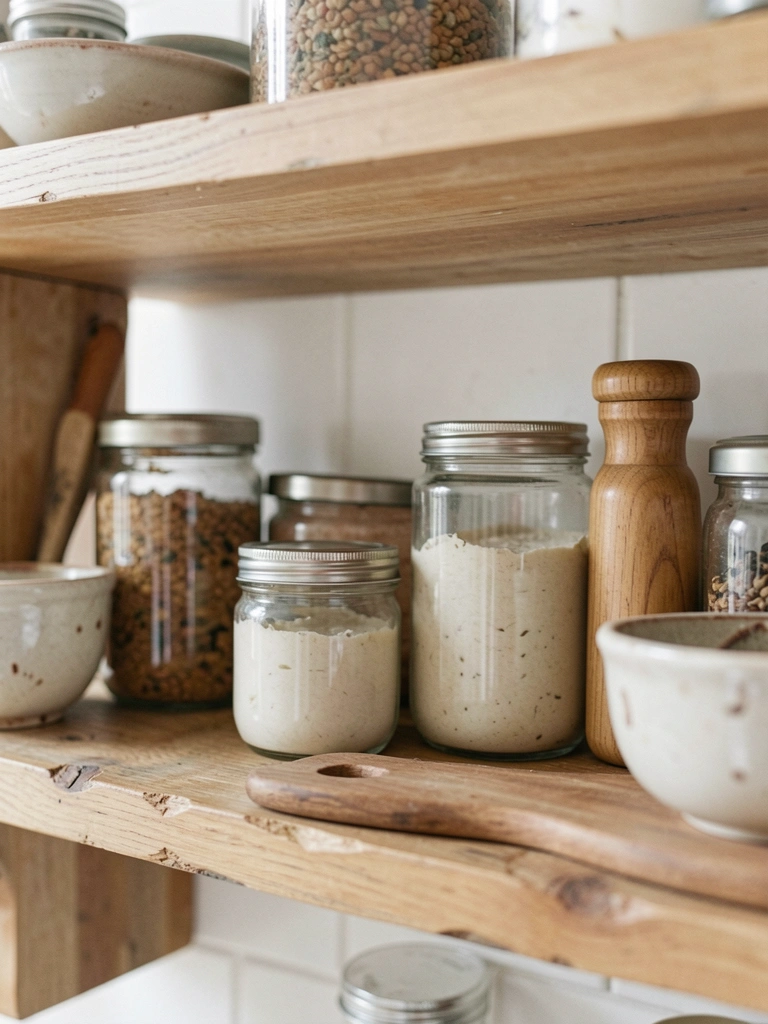
Step 1: Empty and Sort into Groups
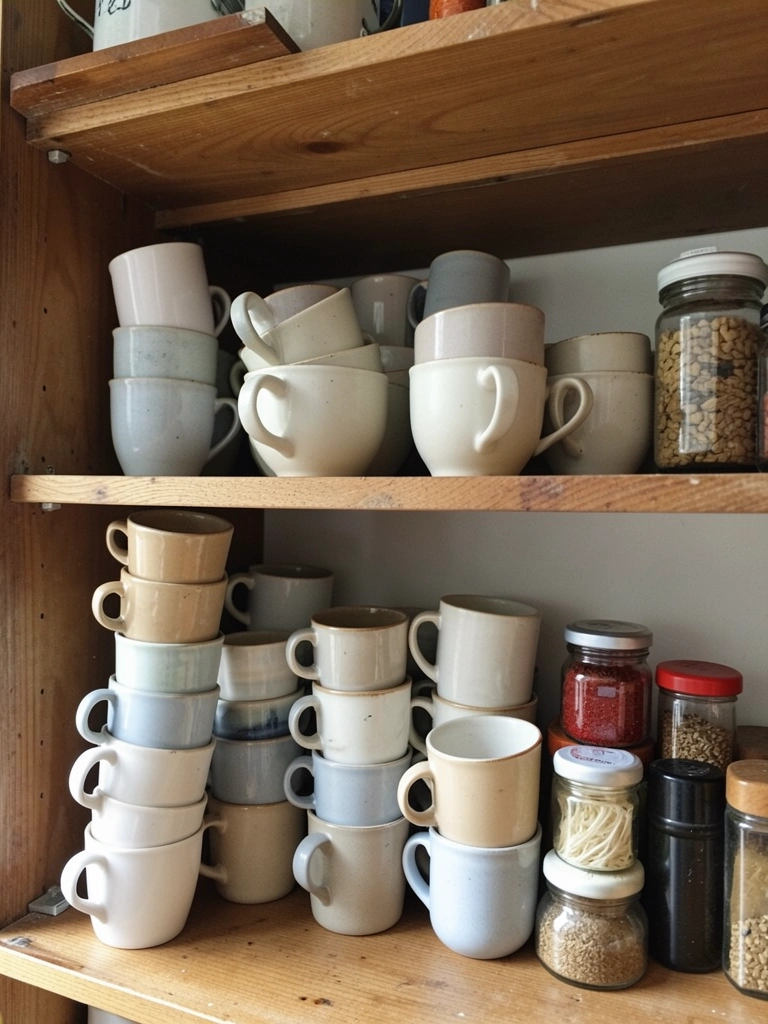
I pull everything off the shelves first. Mugs in one pile, spices in another, daily oils nearby. This shows me what I really use.
Visually, the shelves breathe right away. Bare wood or paint feels lighter already.
People miss how grouping by use—like baking next to oils—makes grabbing intuitive. Don't cram extras back; store them elsewhere. That keeps the calm.
I skip wiping every shelf mid-sort. It slows you down.
Step 2: Place Tall Items in Back for Balance
Tall cereal boxes or vases go dead center back. They anchor without blocking.
The shelf shifts—depth appears, eyes flow left to right easily.
The insight? Varying heights creates rhythm, like a gentle wave. Avoid pushing everything forward; it flattens the view.
I once lined all tall stuff upfront. Felt top-heavy, unsteady.
Step 3: Front Everyday Reach with Open Storage
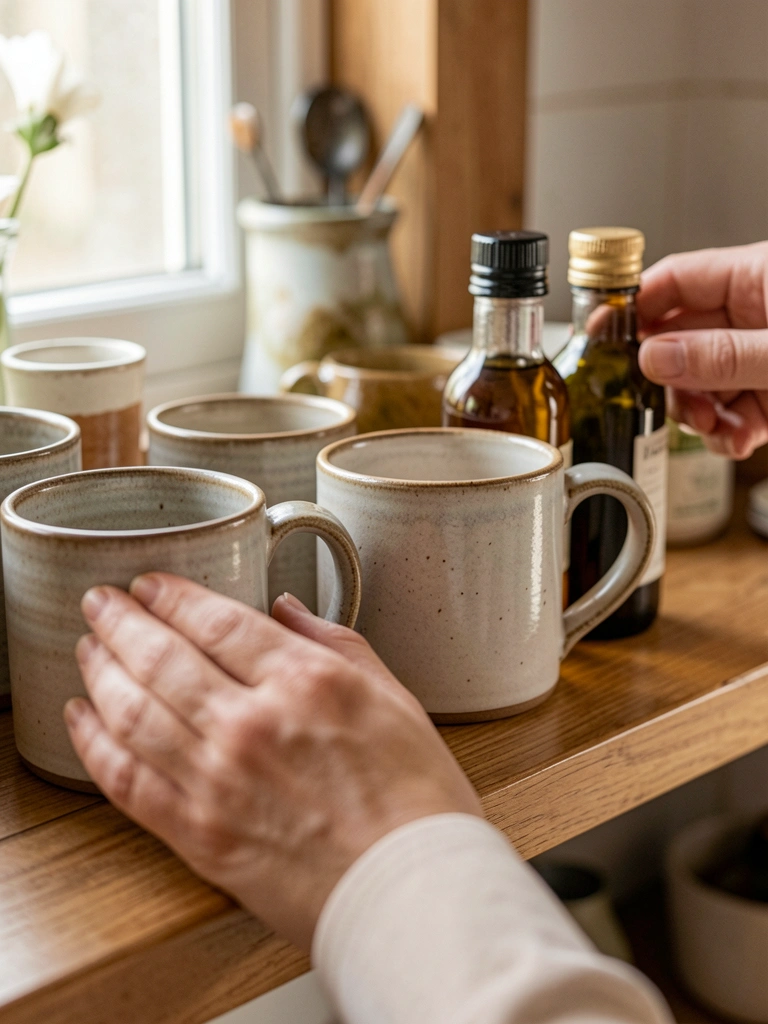
Mugs, olive oil, salt sit forward now. Clear Acrylic Shelf Risers (10-inch, set of 4) lift them to eye level.
It changes everything—counter stays clear, mornings smoother.
Folks overlook thumb space between items; it prevents crowding. Don't overlap edges; gaps let light in.
I tried stacking mugs tight. They toppled during coffee rush.
Step 4: Tuck Spices and Less-Used in Bins
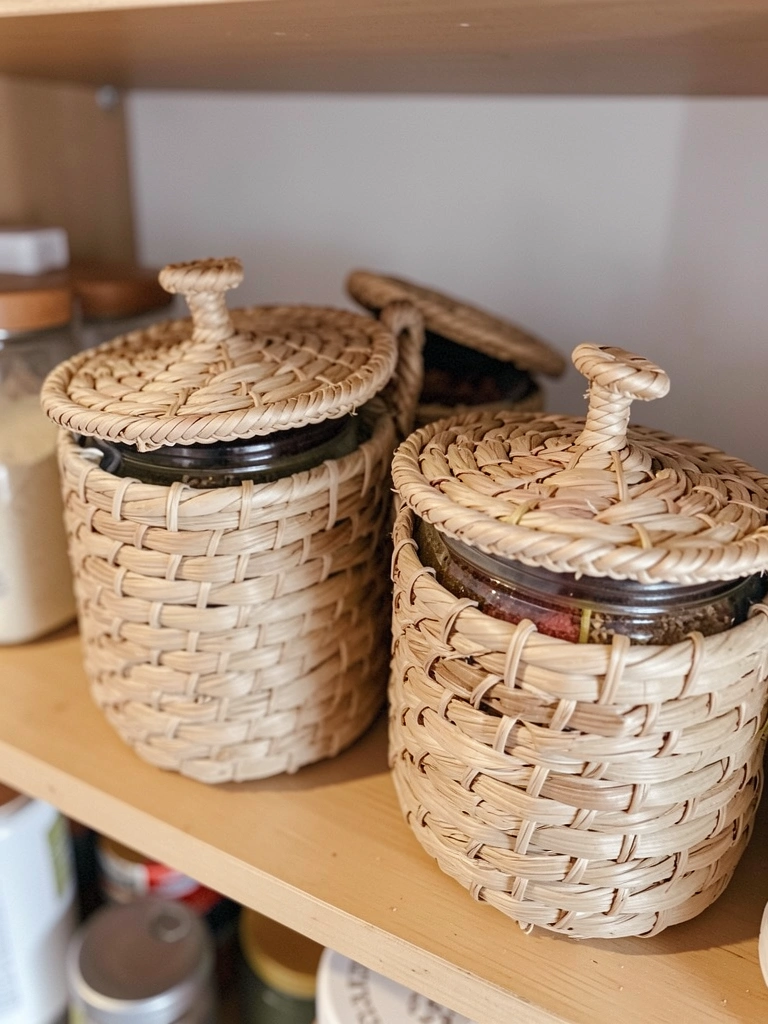
Spices go into Woven Seagrass Storage Bins (medium, natural), slid to sides. A Bamboo Lazy Susan (12-inch diameter) spins the rest.
Shelves look unified, less speckled.
Hidden insight: Bins hide chaos but let you spin to find. Avoid overfilling; half-empty swings free.
Full bins stuck once—frustrating mid-meal.
Step 5: Add One Layer of Air and Color
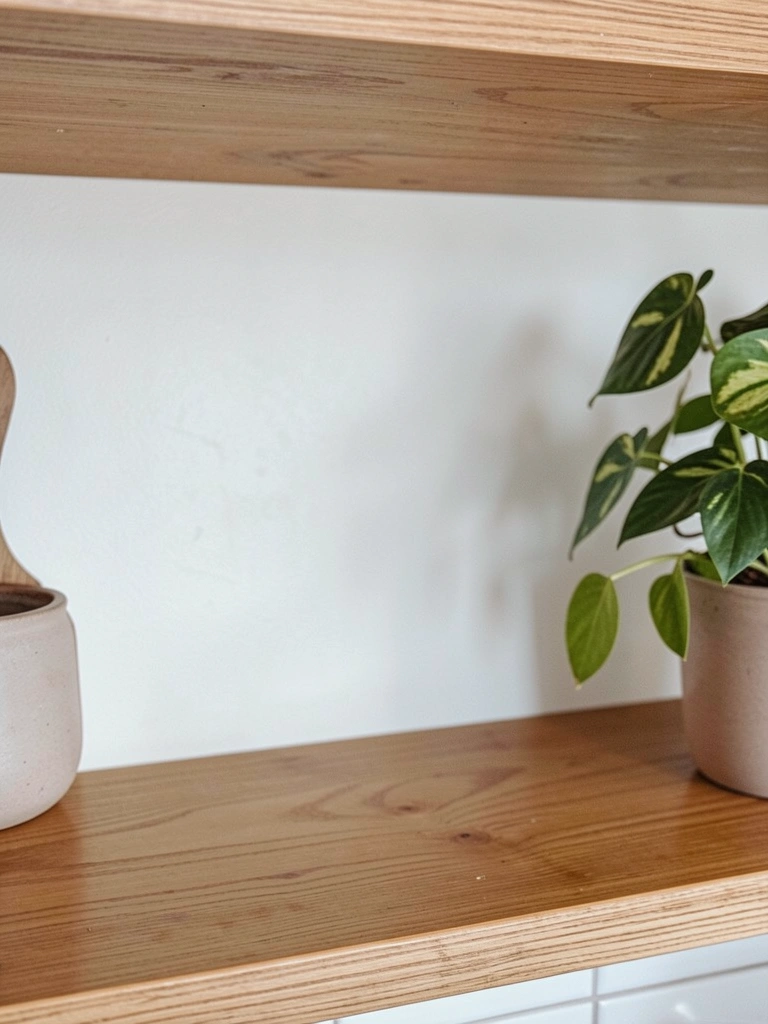
Leave 20% empty. One Wooden Recipe Stand (foldable, 10-inch) leans casual.
Now it feels open, inviting. Colors from jars balance naturally.
Missed often: Empty spots draw the eye, make full parts pop. Don't fill voids with decor; air is the balance.
I stuffed extras in gaps. Felt packed again quick.
Step 6: Step Back and Adjust for Flow
Stand across the room. Nudge jars even, Matte Black Shelf Dividers (adjustable, set of 6) for plates.
Flow settles—left heavy? Swap right.
People forget distance view; close-up tricks you. Avoid perfect symmetry; slight off feels lived-in.
Symmetrical shelves looked stiff. Now mine welcome me home.
Keeping the Balance Long-Term
I check shelves weekly. A quick scan spots drifts.
- Pull forward anything buried.
- Rotate seasonal items out.
- Dust bins lightly.
This prevents slow clutter. It stays comfortable, not rigid.
One tweak keeps it yours.
Handling Small or Deep Shelves
Deep shelves swallow things. I use risers upfront.
For tiny ones:
- Stack vertically with dividers.
- One row only, front-focused.
It maximizes without overwhelm. Feels spacious still.
What Feels Off and How to Fix It
Clutter returns if groups mix. Like teas with tools.
Signs it's off:
- Hunt time doubles.
- Visually dense.
- Grabs feel risky.
Regroup by habit. It clicks back.
Final Thoughts
Start with one shelf. See how it lightens the room.
You've got this—it's just about what you touch daily.
Now your kitchen works quietly for you.
Leave a Reply