Stuck with a cramped utility room that feels more chaotic than functional? You’re not alone. Small laundry spaces often become dumping grounds for supplies, cleaning tools, and whatever doesn’t fit elsewhere. But here’s the good news: your tight utility room has serious potential. The right mix of smart storage, layout tweaks, and design choices can transform even the tiniest room into a space that actually works for you—not against you.
We’ve gathered 27 practical ideas that work for renters and homeowners alike, whether you’re working with a closet-sized room or a slightly bigger squeeze. From budget-friendly hacks to investment pieces that last, you’ll find solutions for every budget level. Some ideas take 15 minutes, others are weekend projects. All of them make a real difference in how you move through your space.
Ready to reclaim your utility room? Let’s dive in.
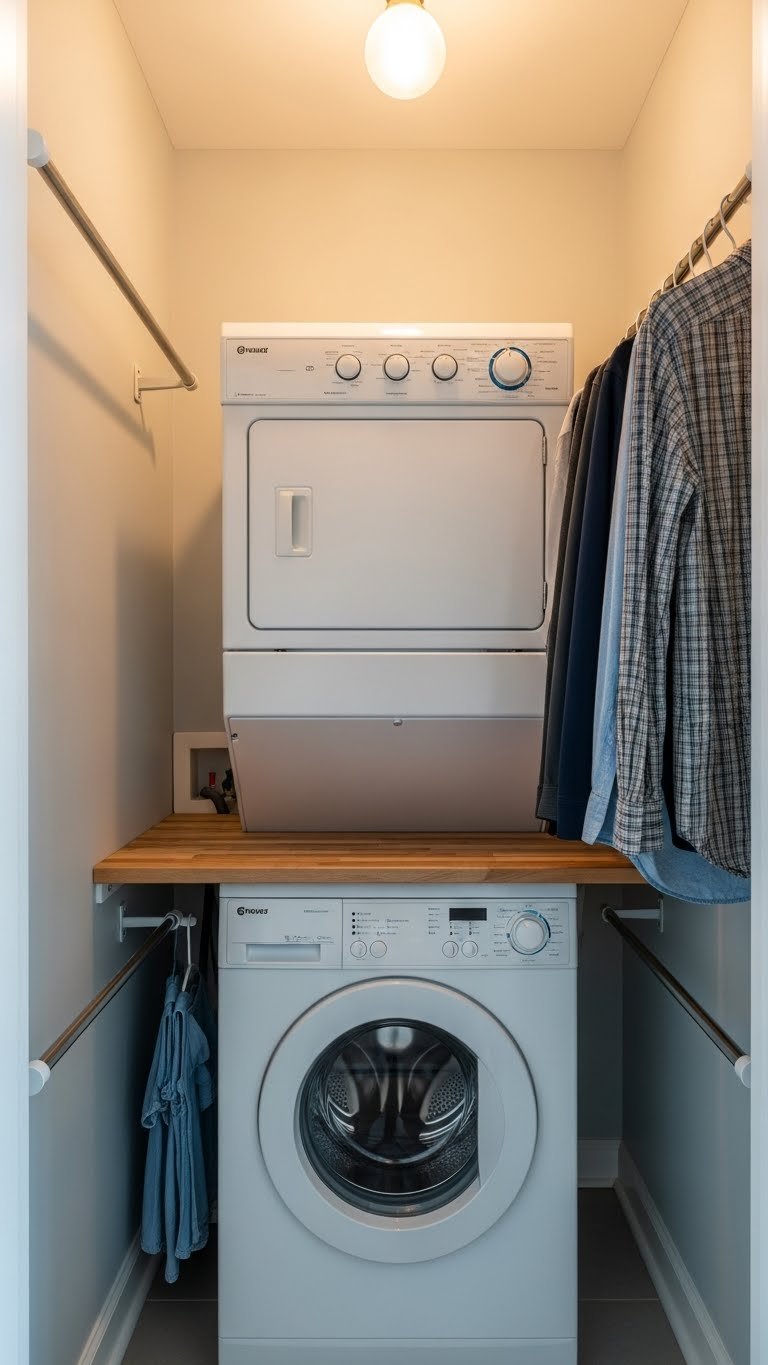
1. Stack Your Washer and Dryer for Maximum Floor Space
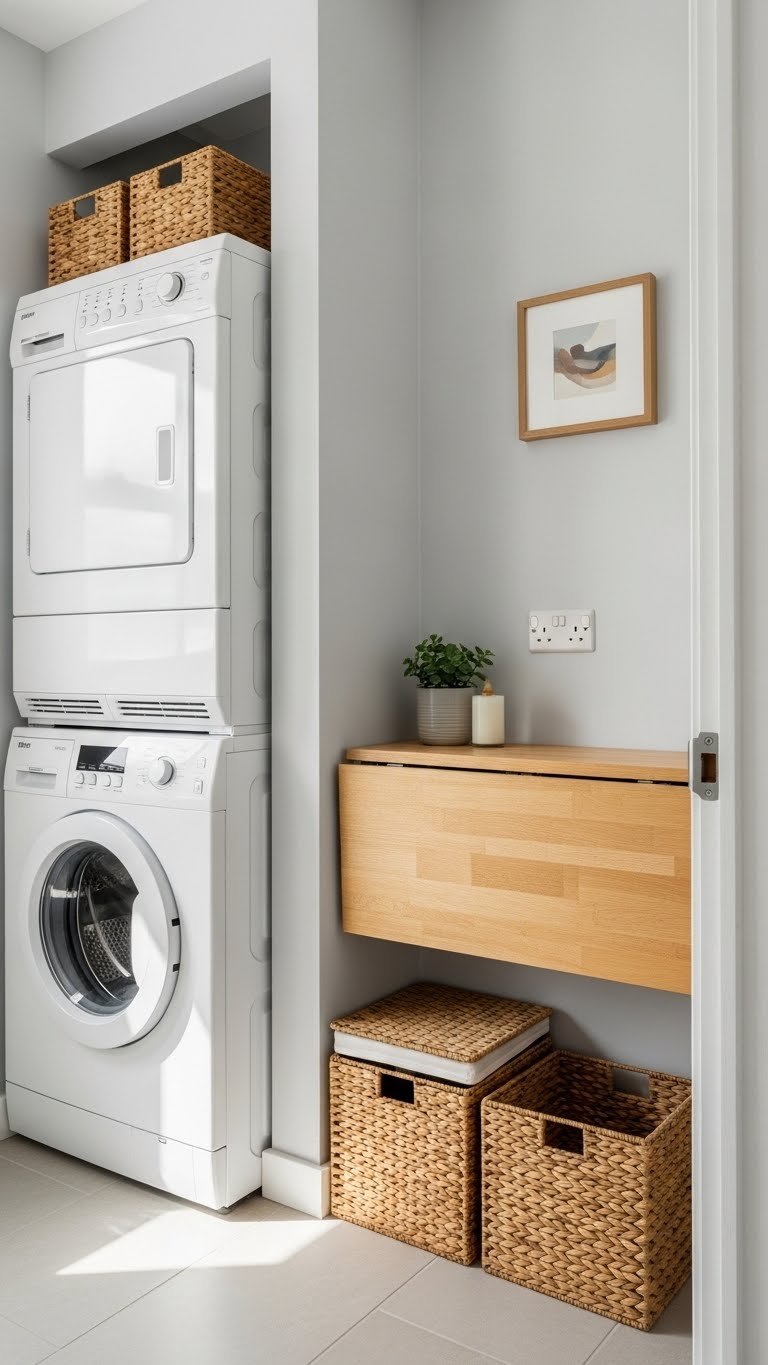
Stacking saves you nearly half the floor space of traditional side-by-side units. This is a game-changer if your room is narrow or you need space for other functions like a folding station or storage.
Most stacked units cost $700–$1,500 depending on the brand and features. Look at compact models from brands like LG, Samsung, or GE—many retailers like Best Buy, Home Depot, and Amazon offer installation services (usually $100–$300). Installation takes one afternoon if you’re replacing existing units. Pro tip: measure your doorway and hallways before buying; getting a stacked unit into a tight space sometimes requires professional movers.
You’ll free up floor space for a small table, shelving, or even a pet washing station. Your utility room suddenly feels less cramped and more purposeful.
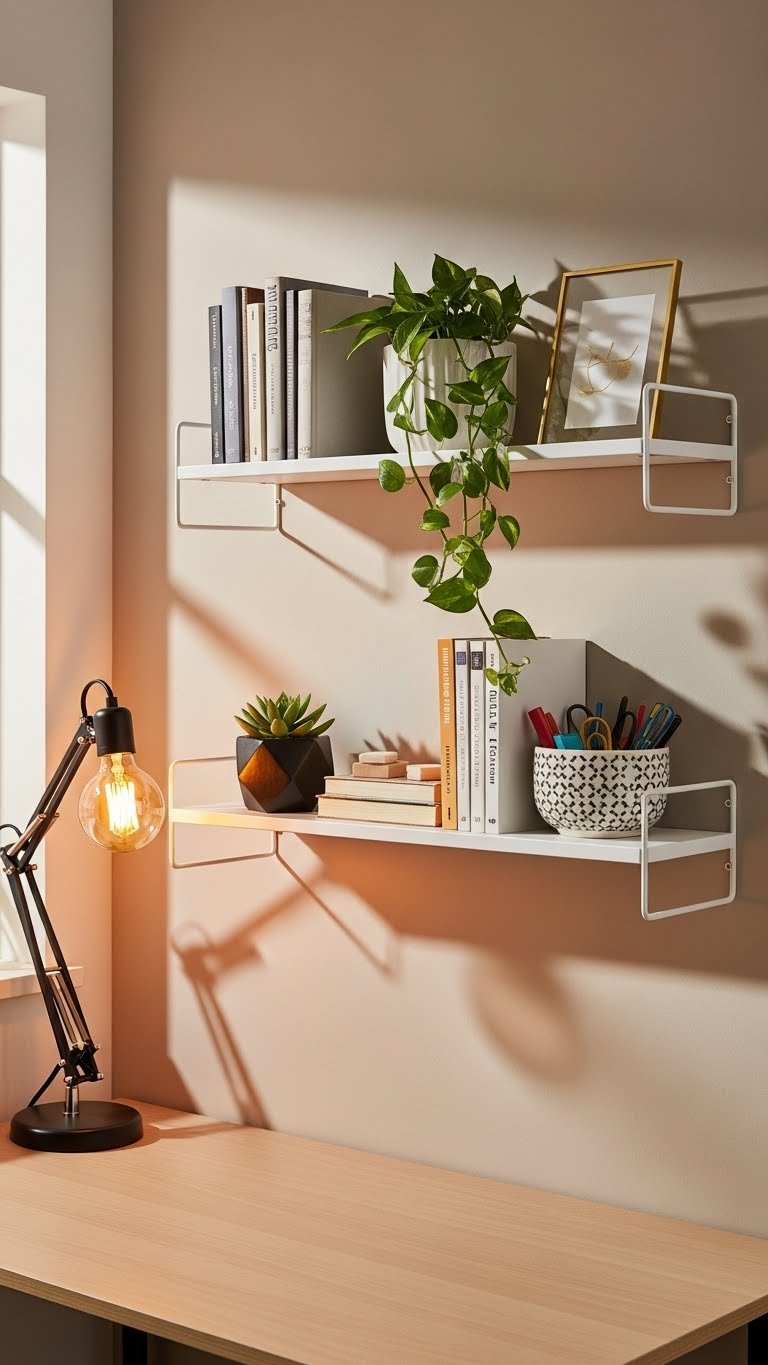
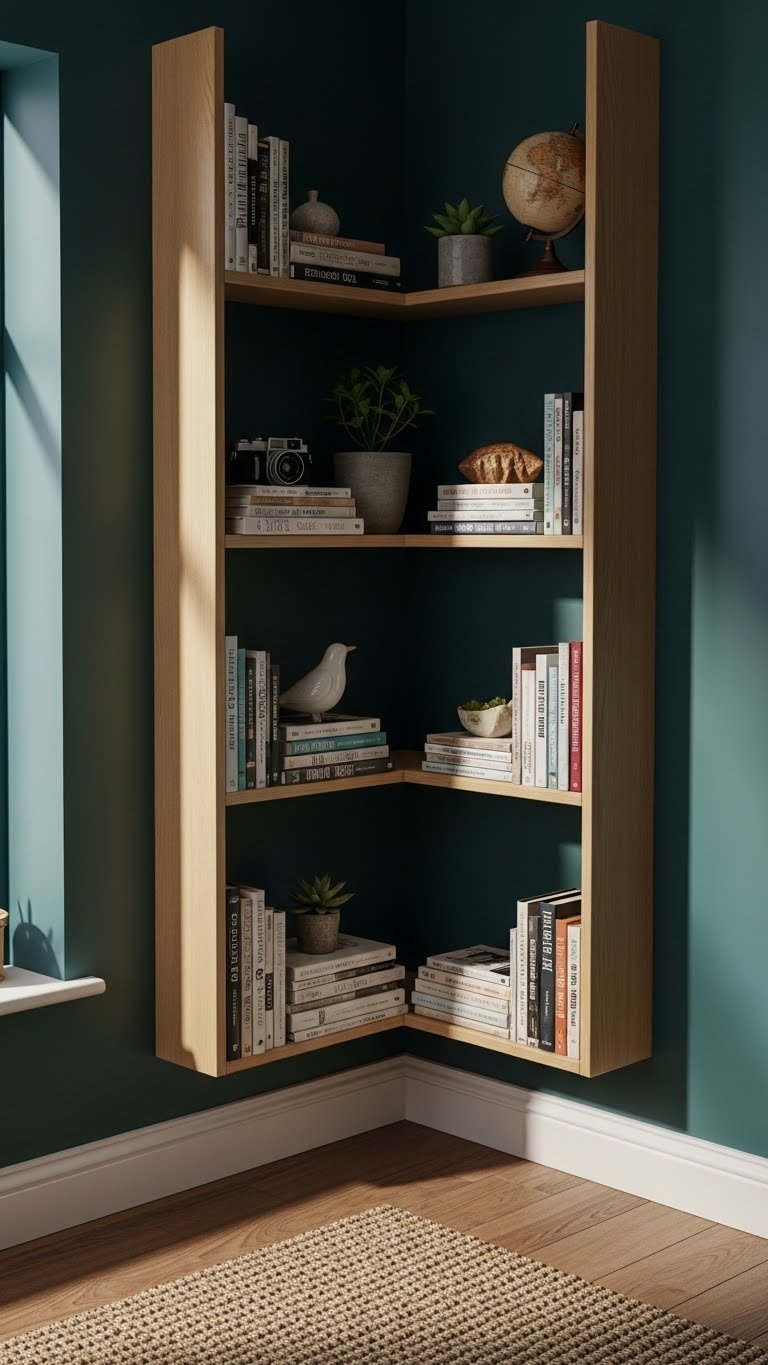
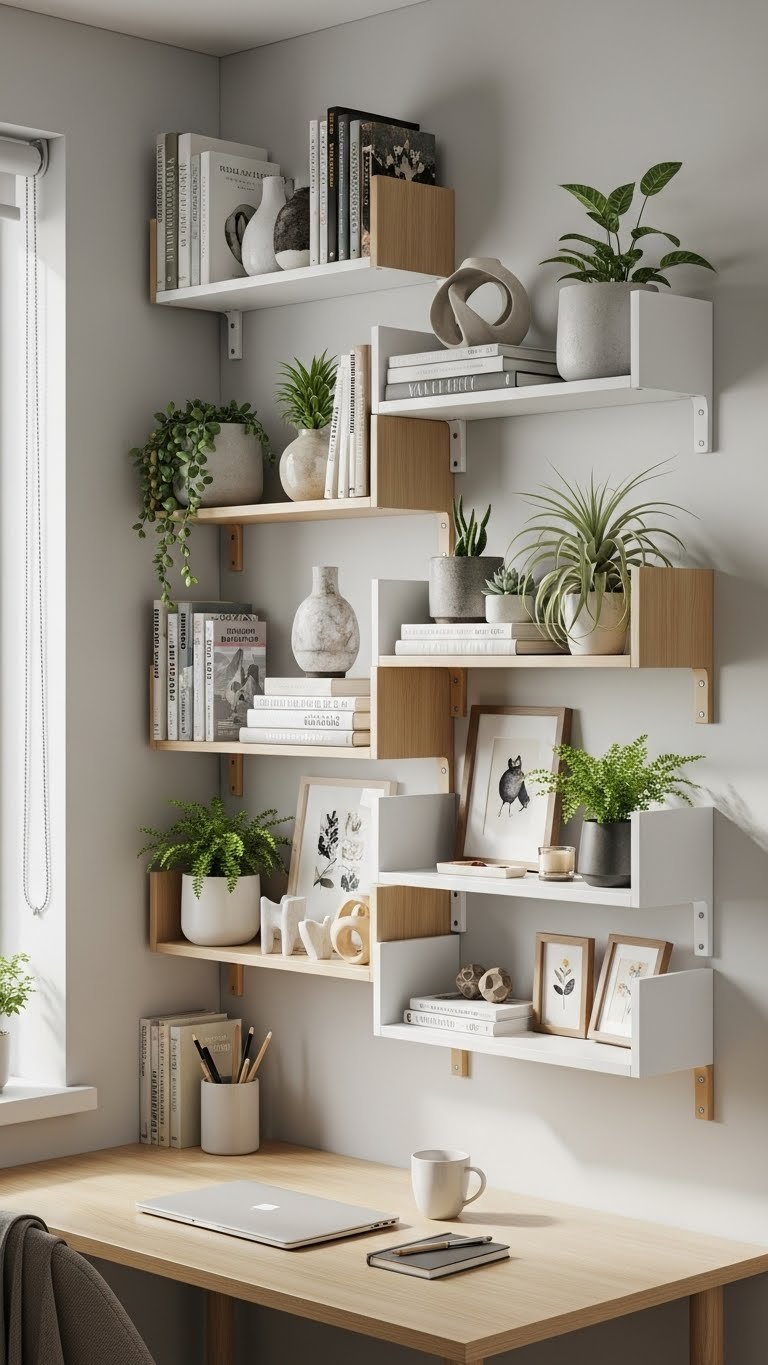
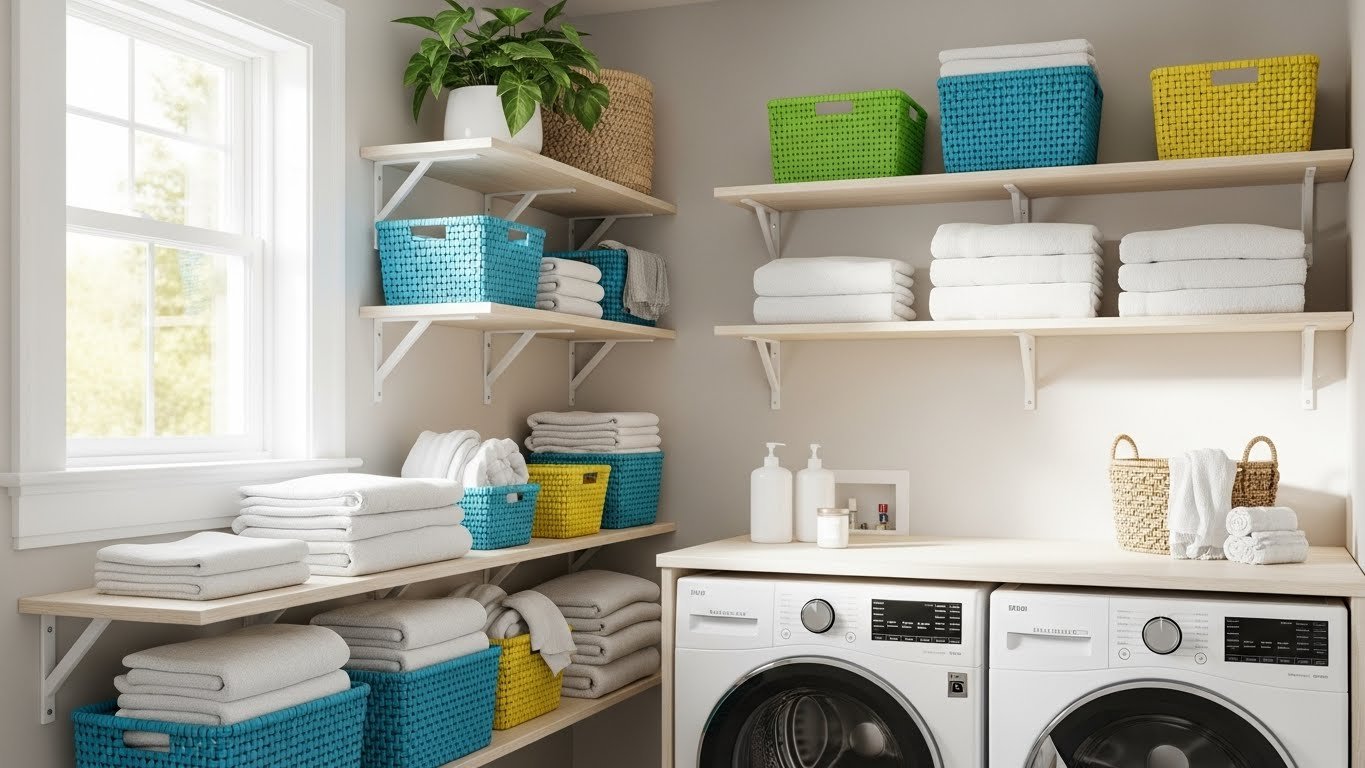
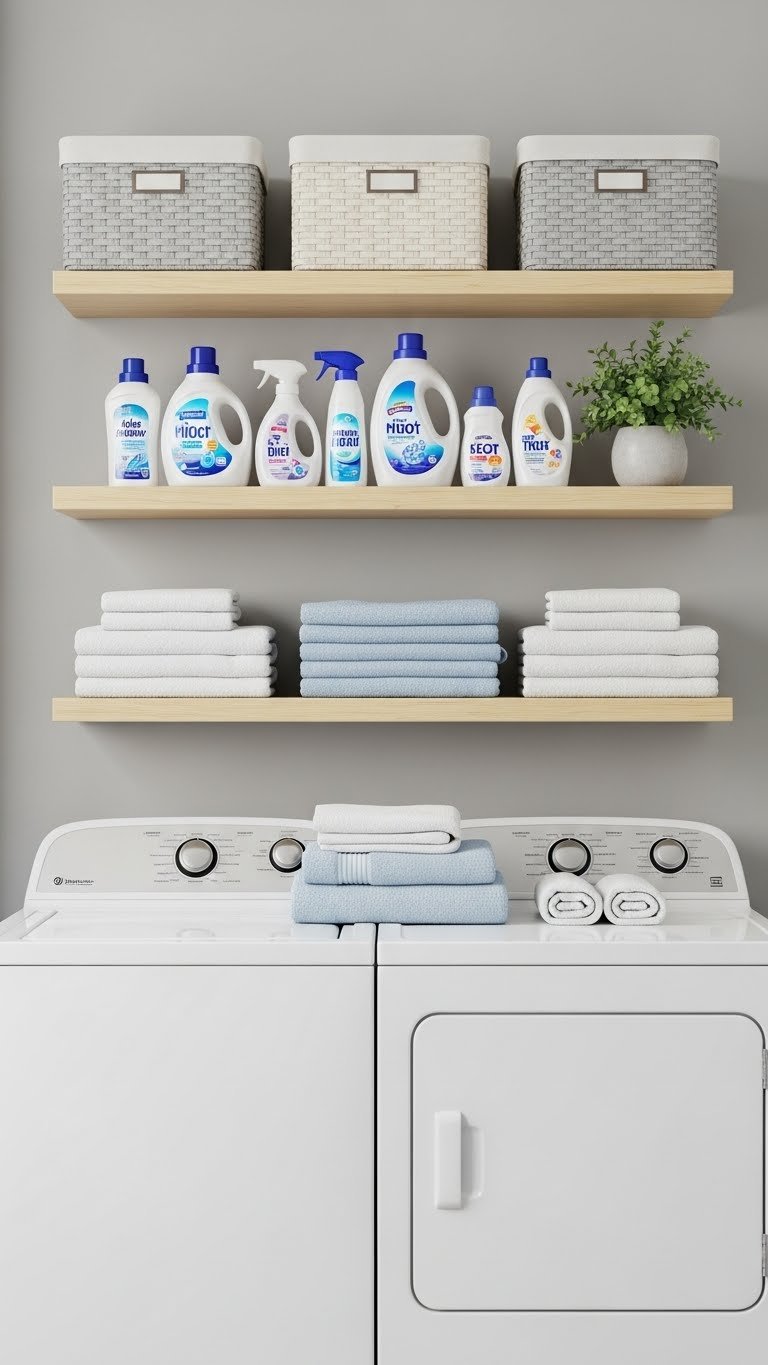
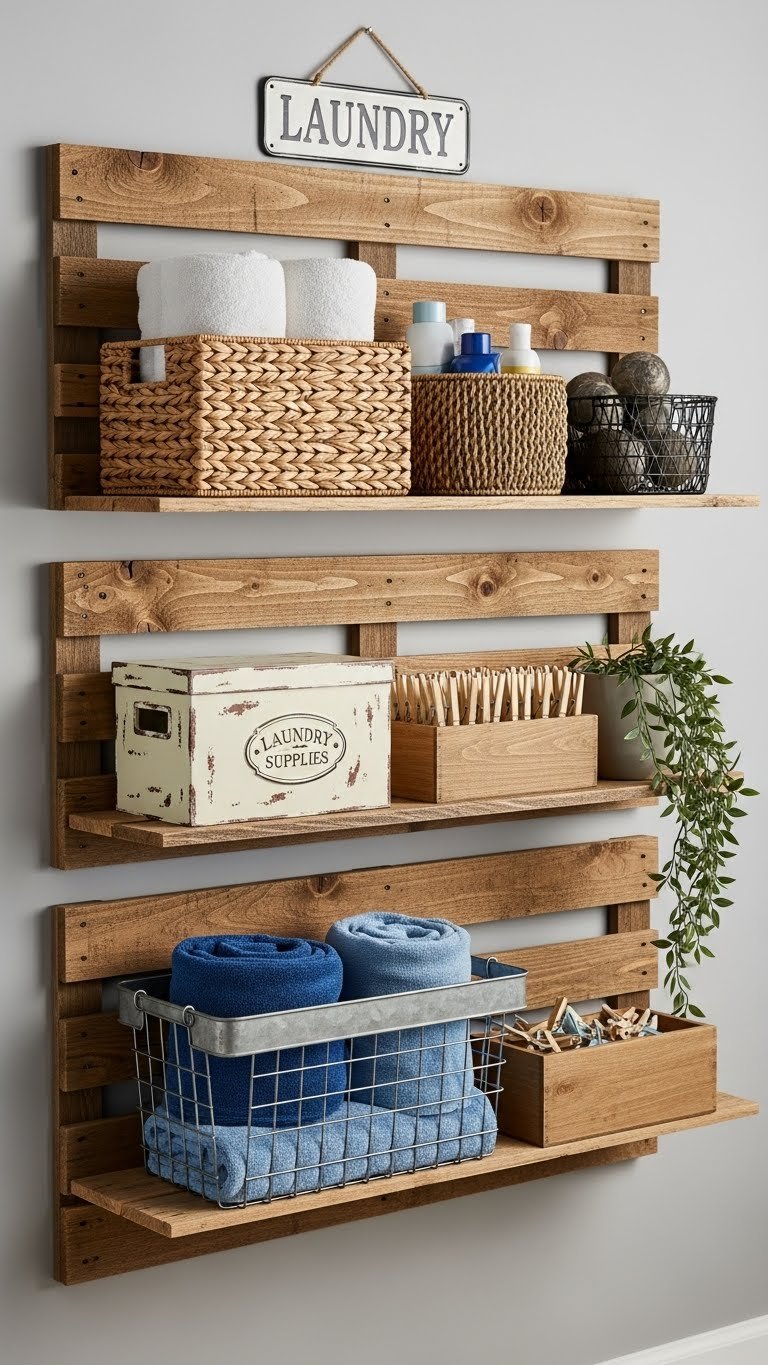
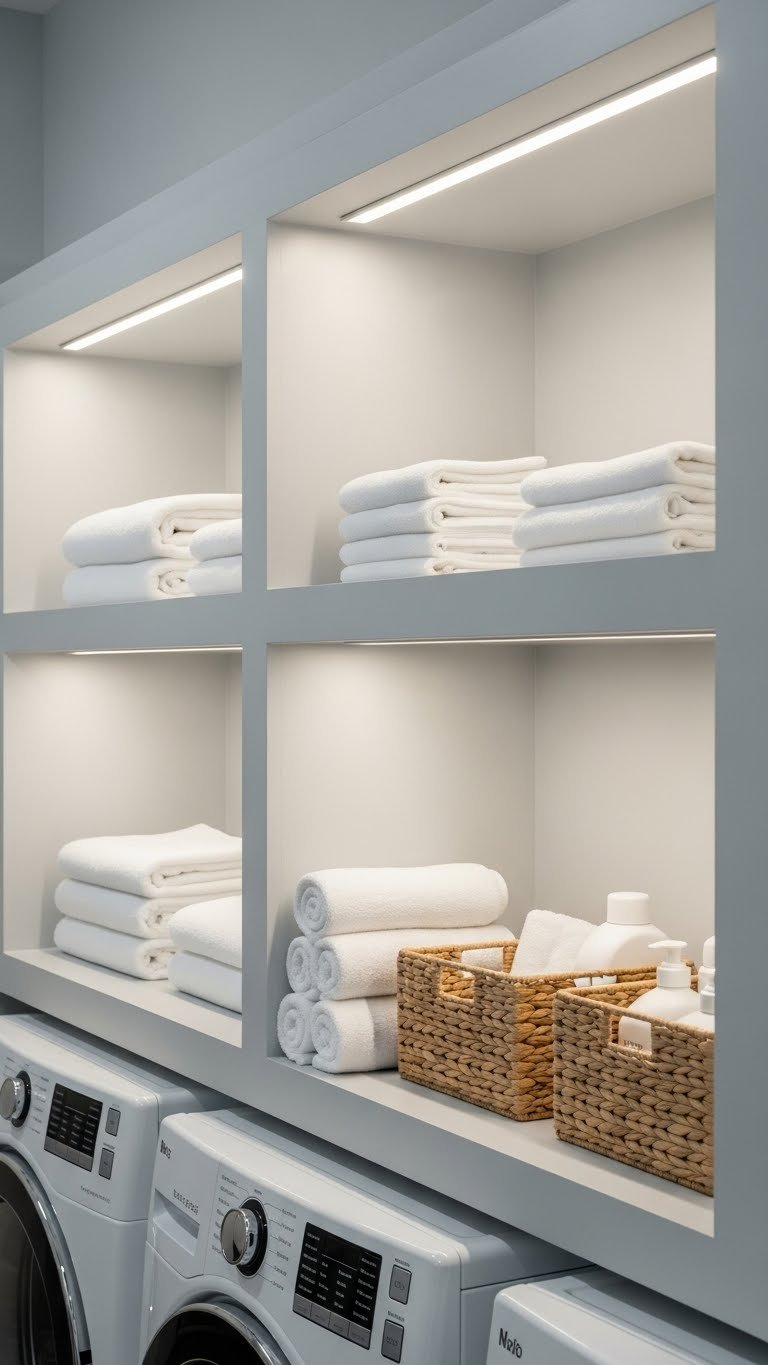
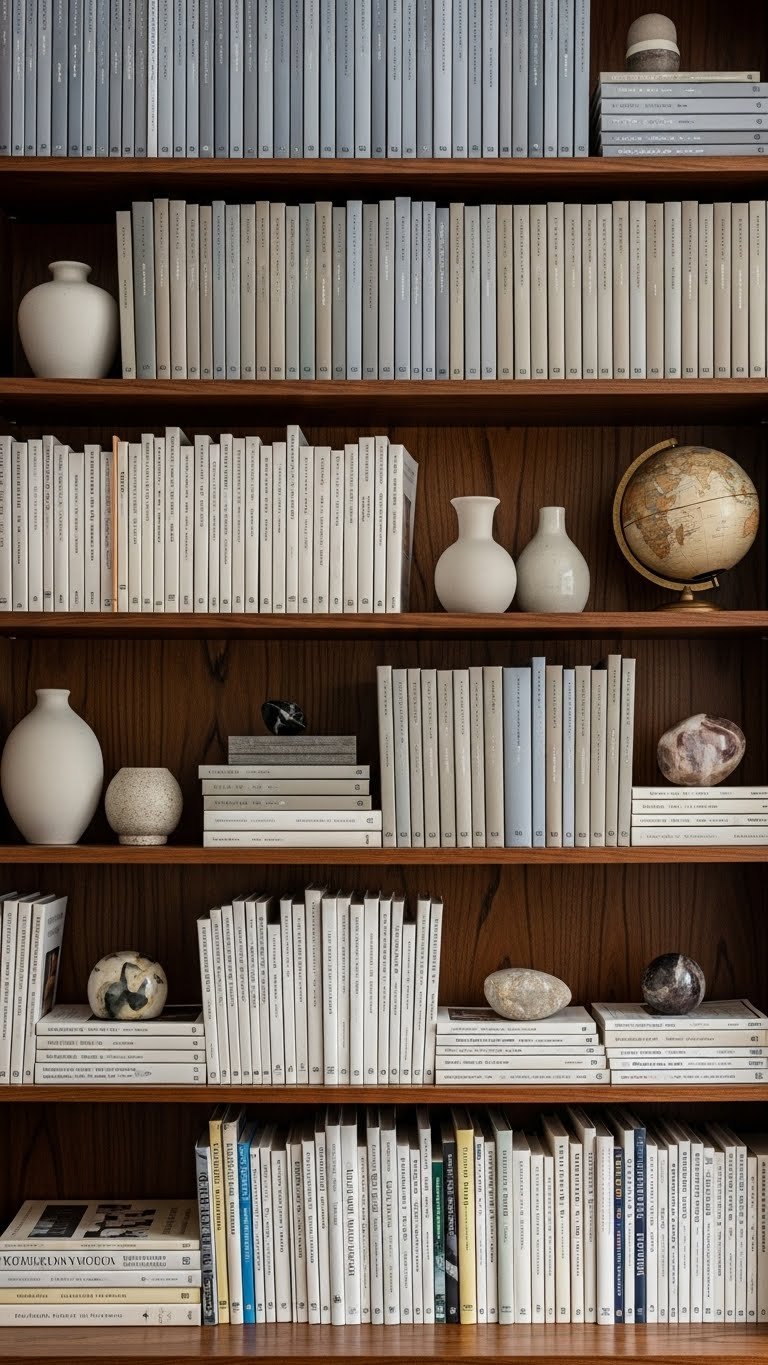
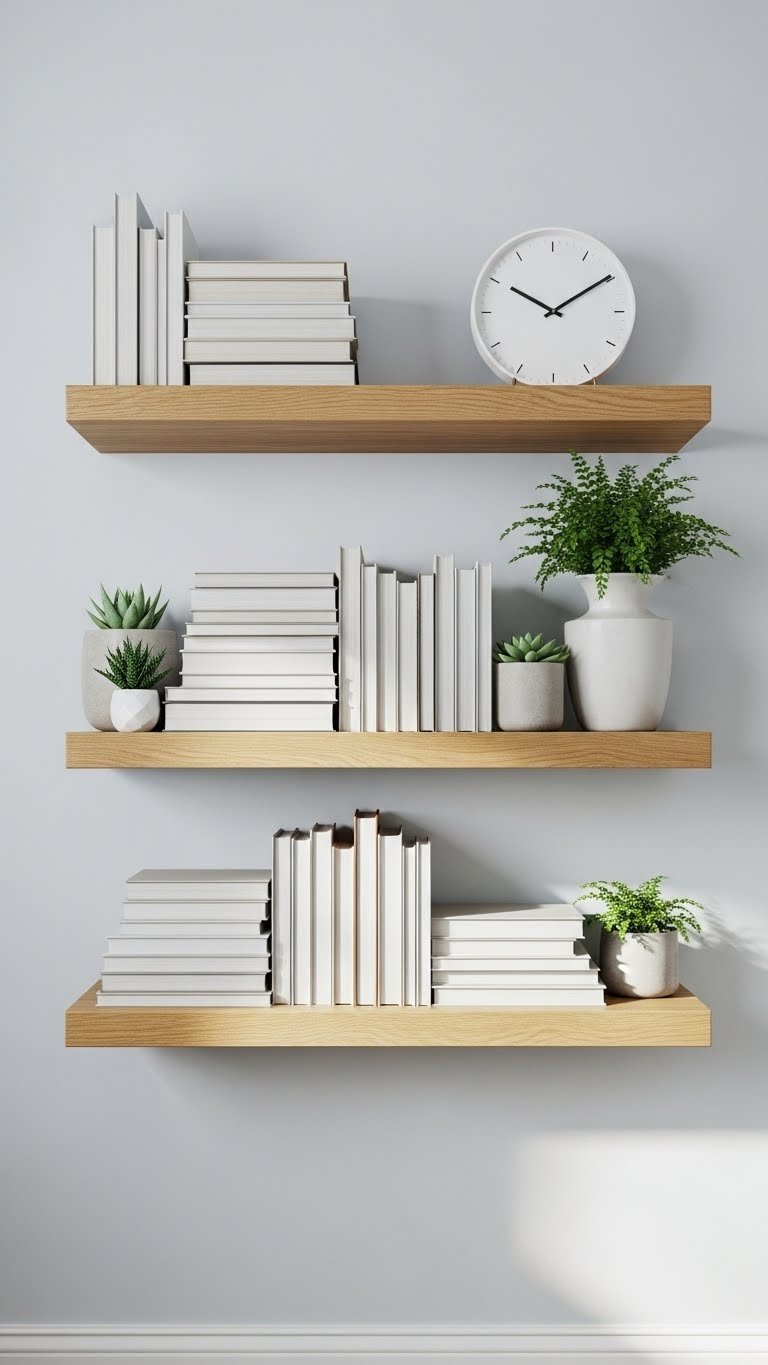
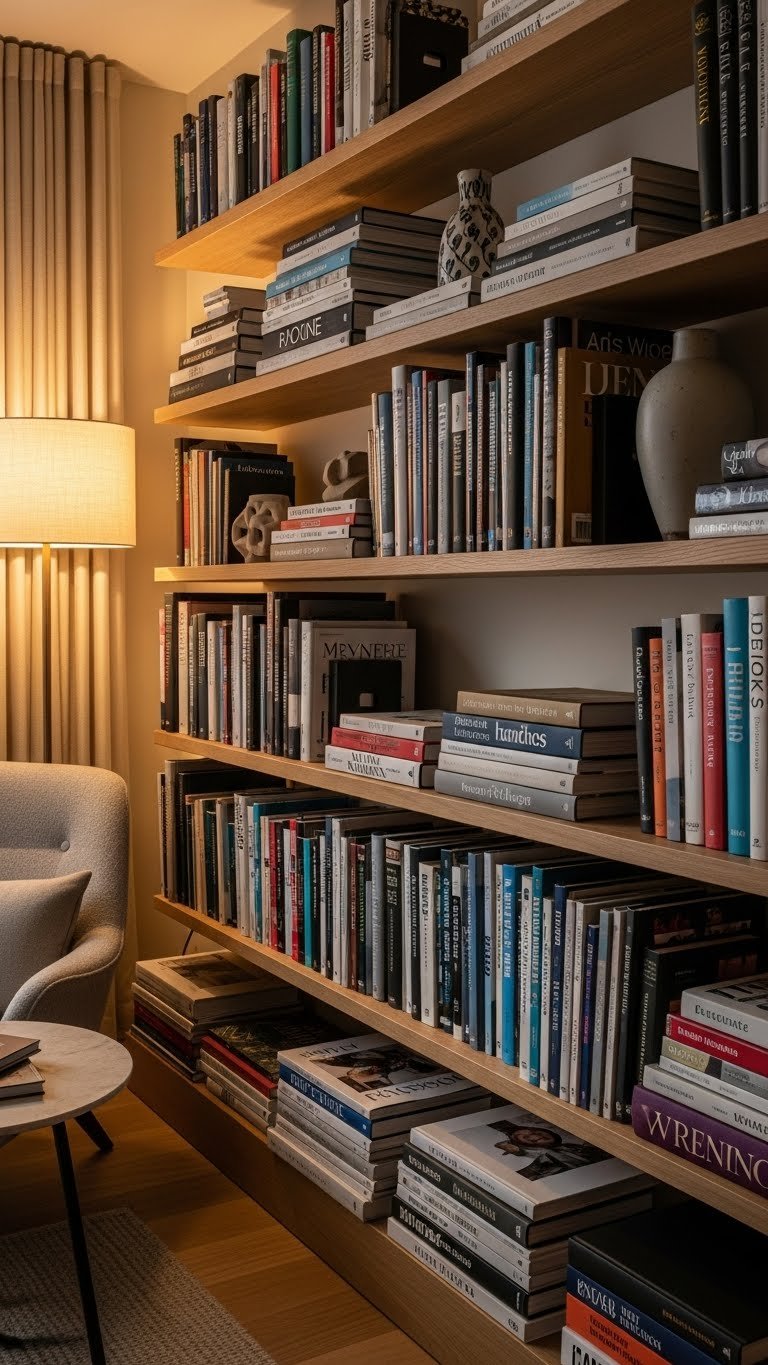
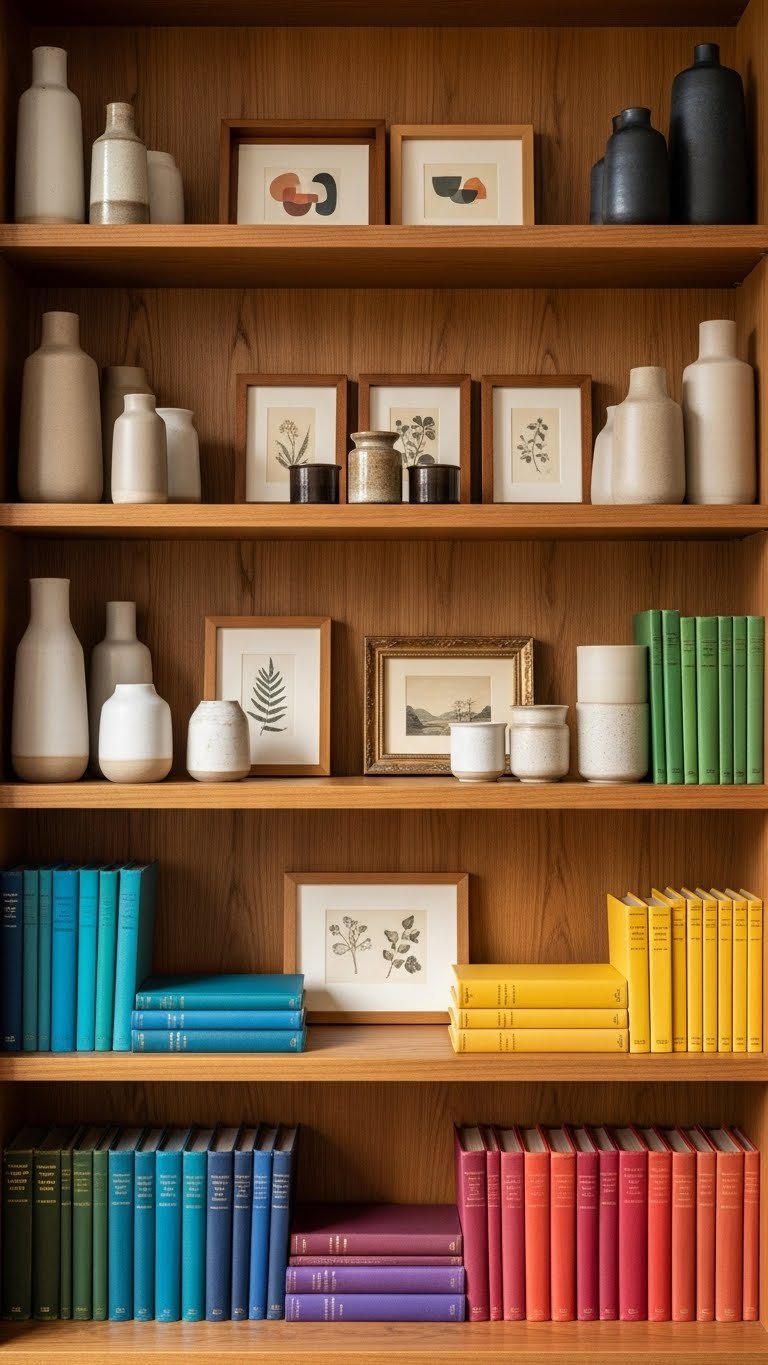
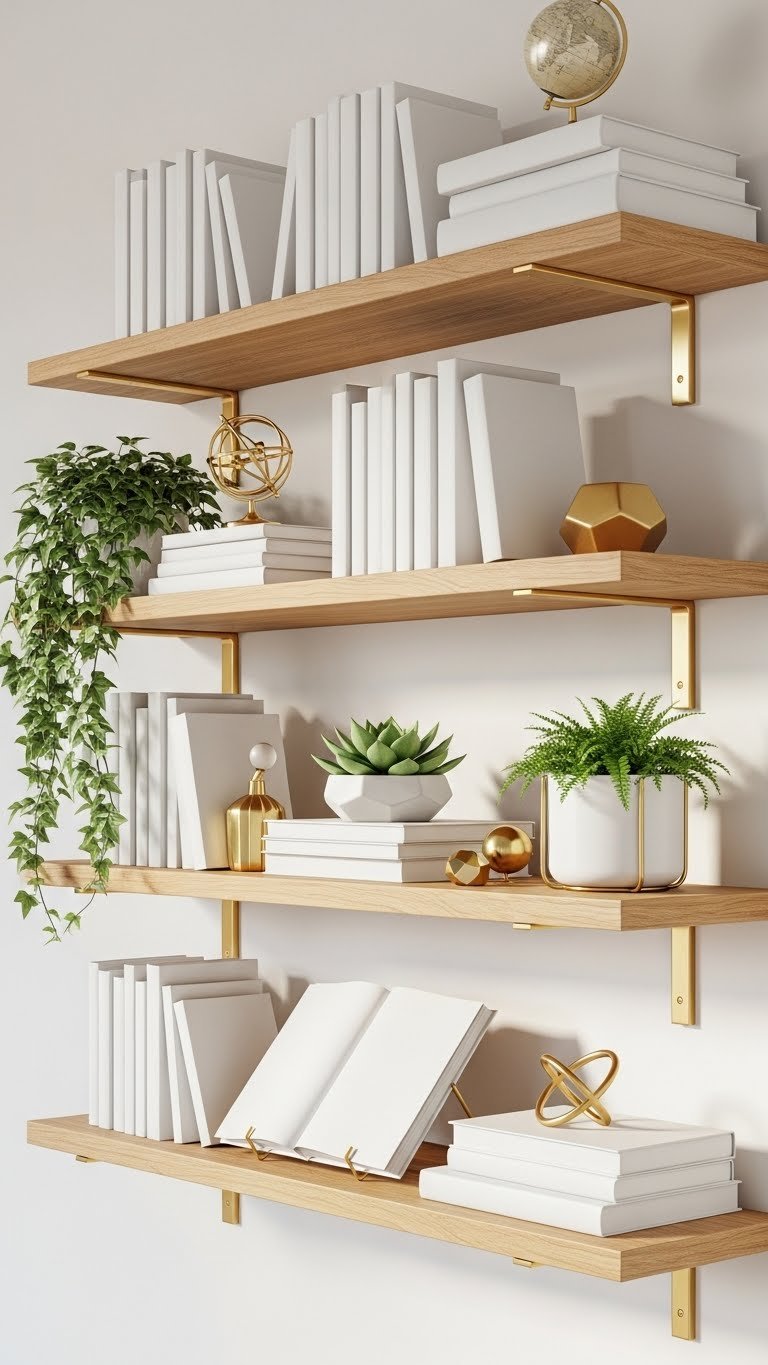
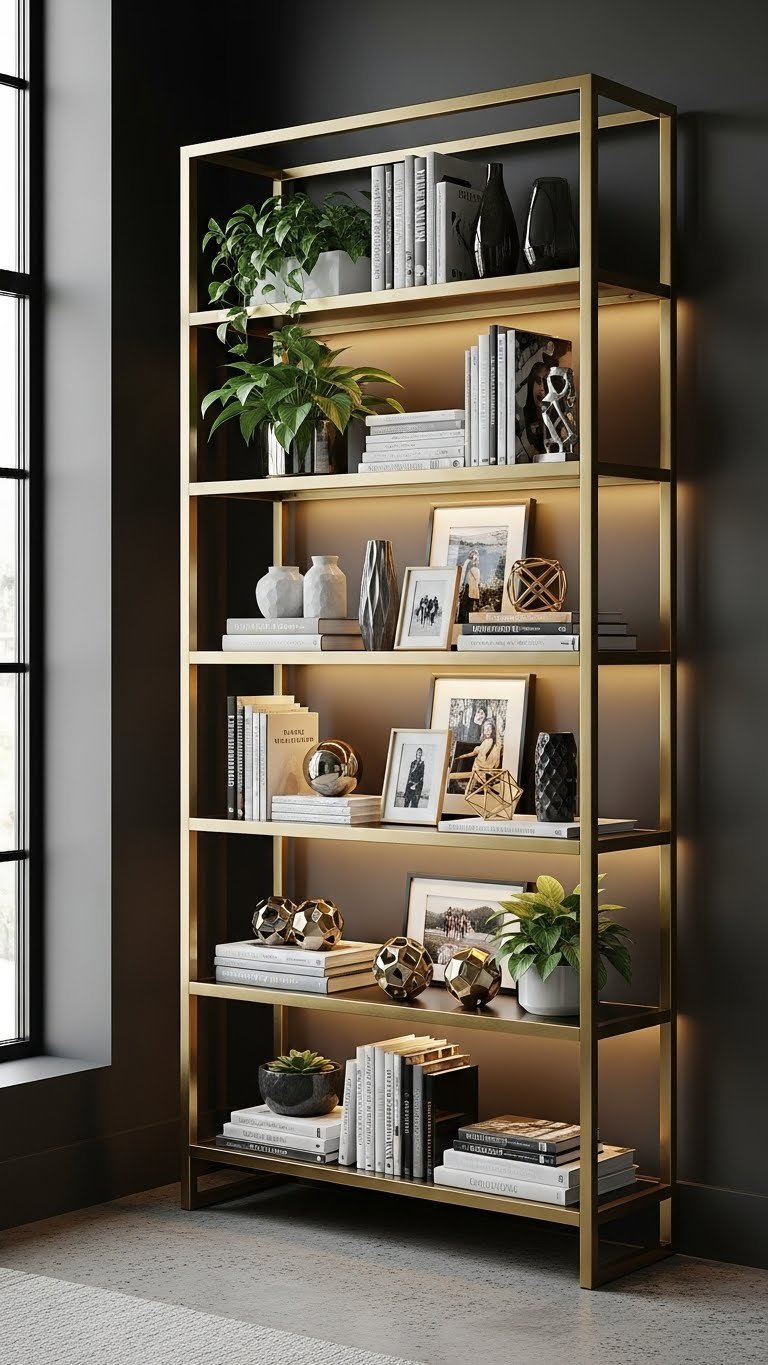
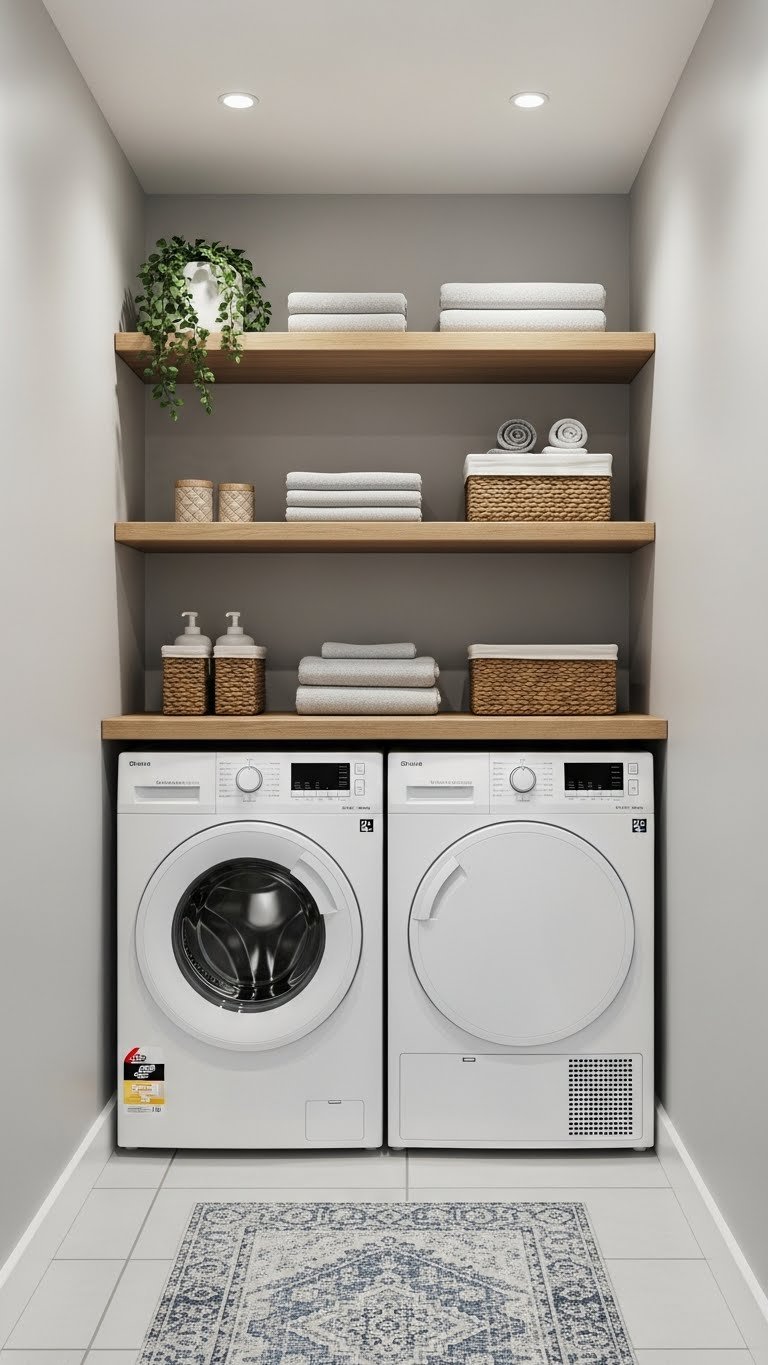
2. Install Floating Shelves Up to the Ceiling
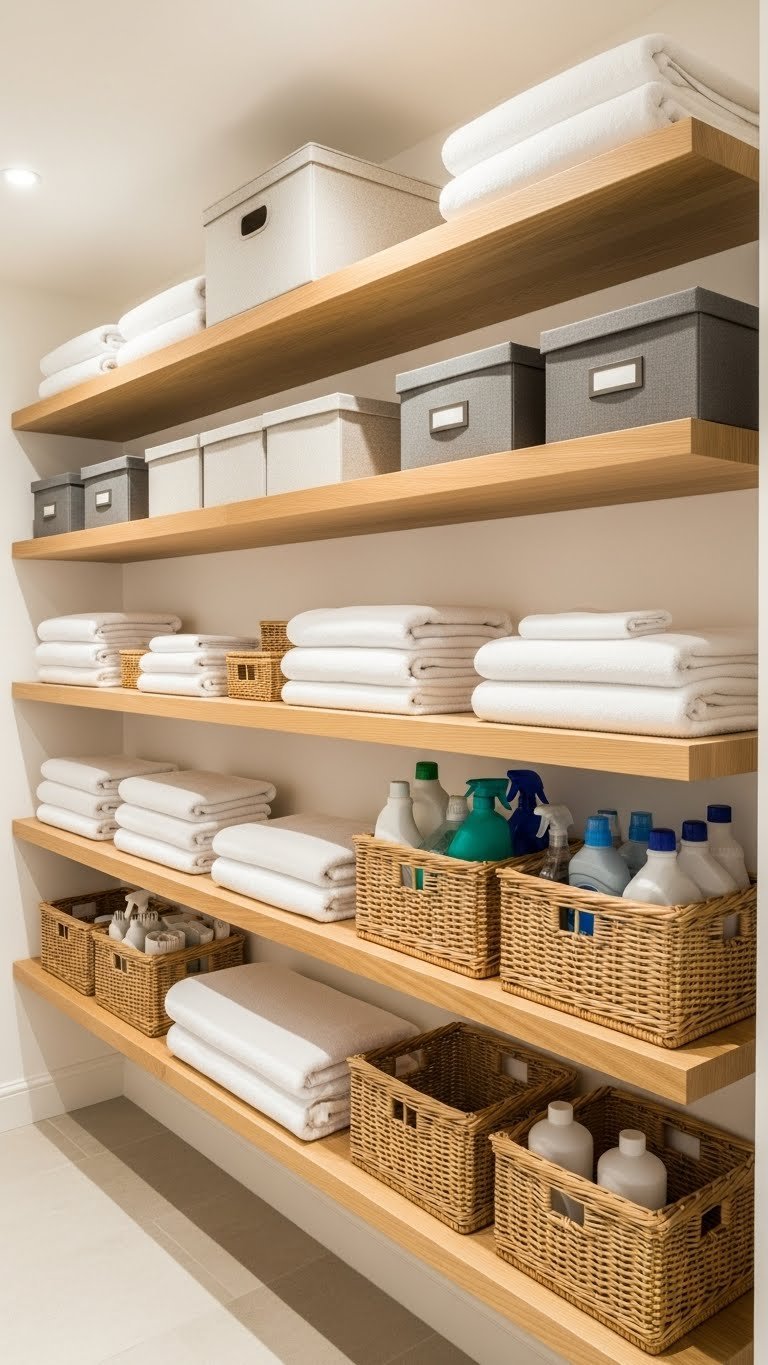
Floating shelves pull your storage upward instead of outward, making tiny rooms feel bigger. You’ll use every inch of vertical space without the bulk of traditional cabinets.
Install shelves $8–$25 each from IKEA, Target, or Wayfair. A basic wall kit with brackets costs $50–$120 for three shelves. If you’re renting, use command strips or magnetic shelves that don’t require drilling. For renters or beginners, expect 2–3 hours of work; if you’re comfortable with a drill, it’s faster. Anchor shelves securely into wall studs for maximum weight capacity.
Your room looks taller and more intentional. Plus, that blank wall space you’ve been ignoring becomes functional storage you can actually see and reach.
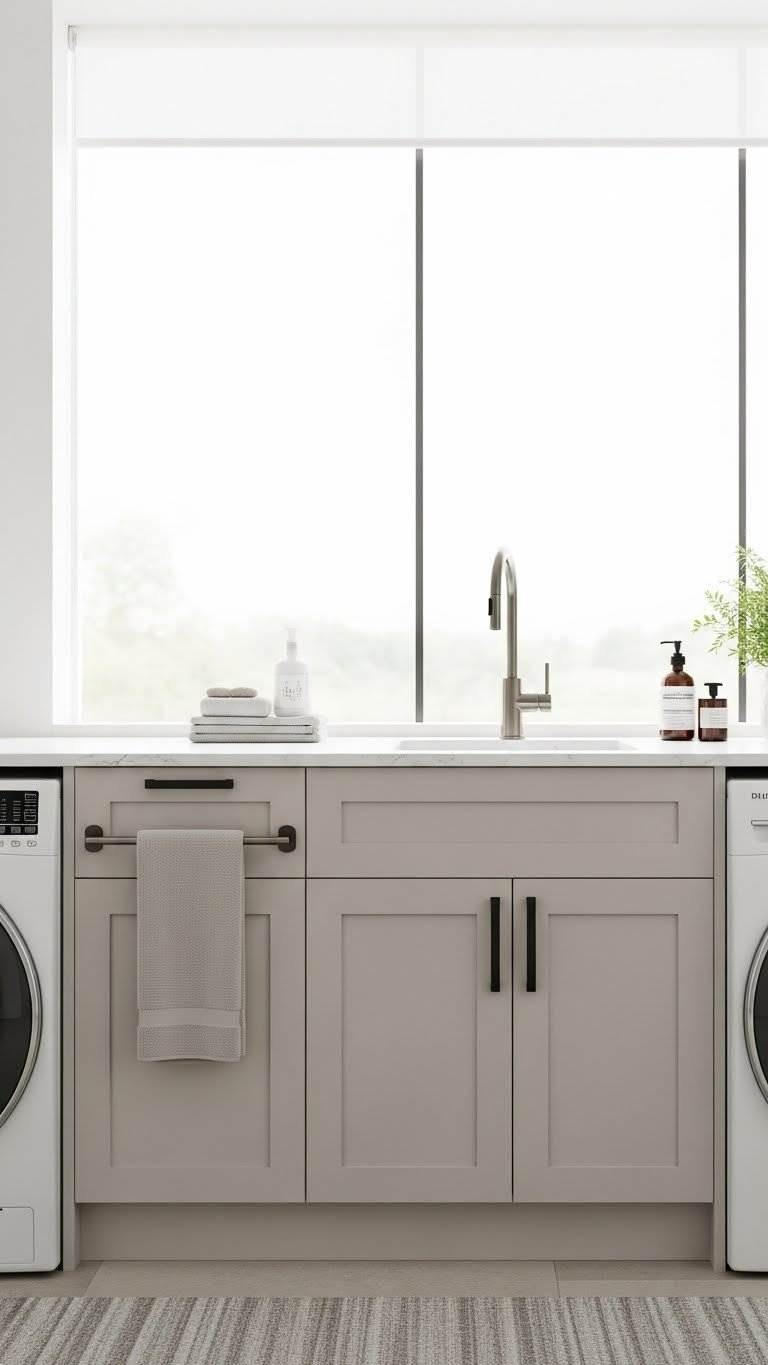
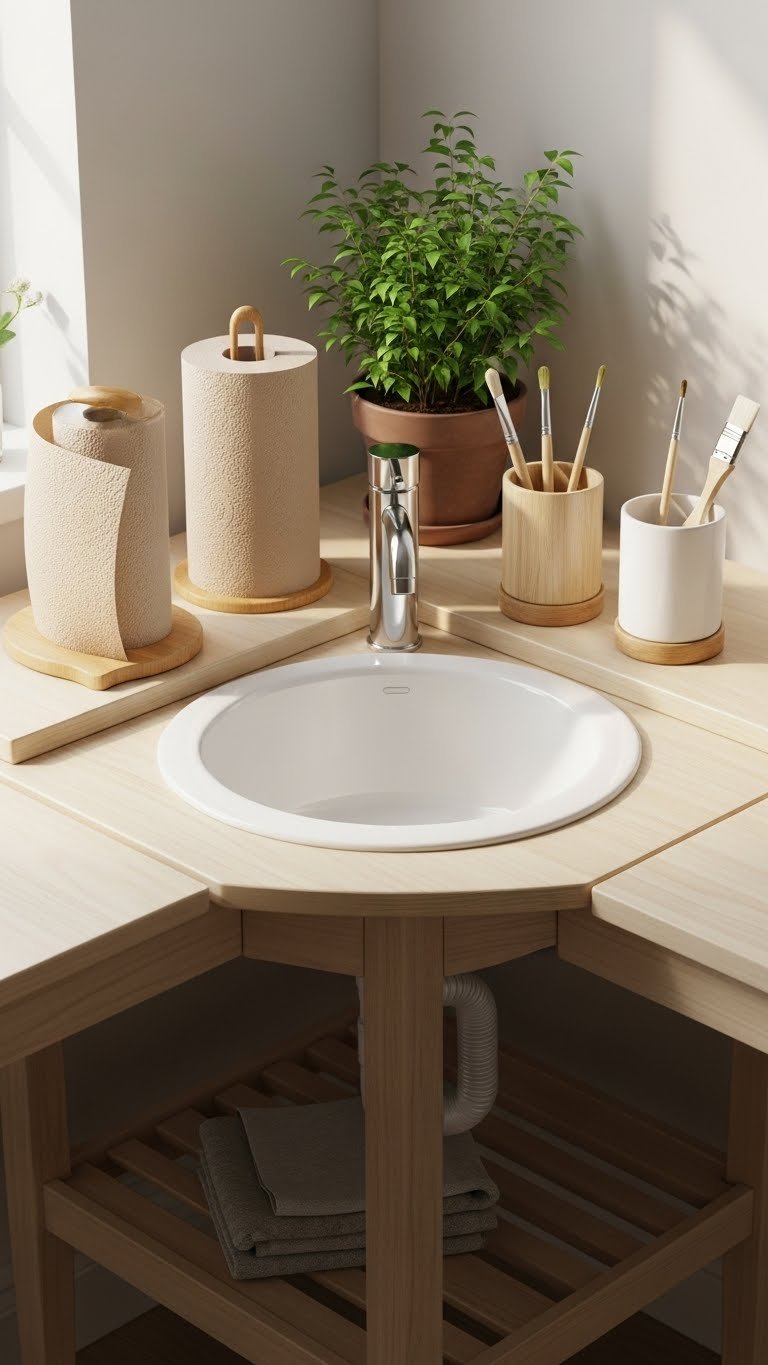
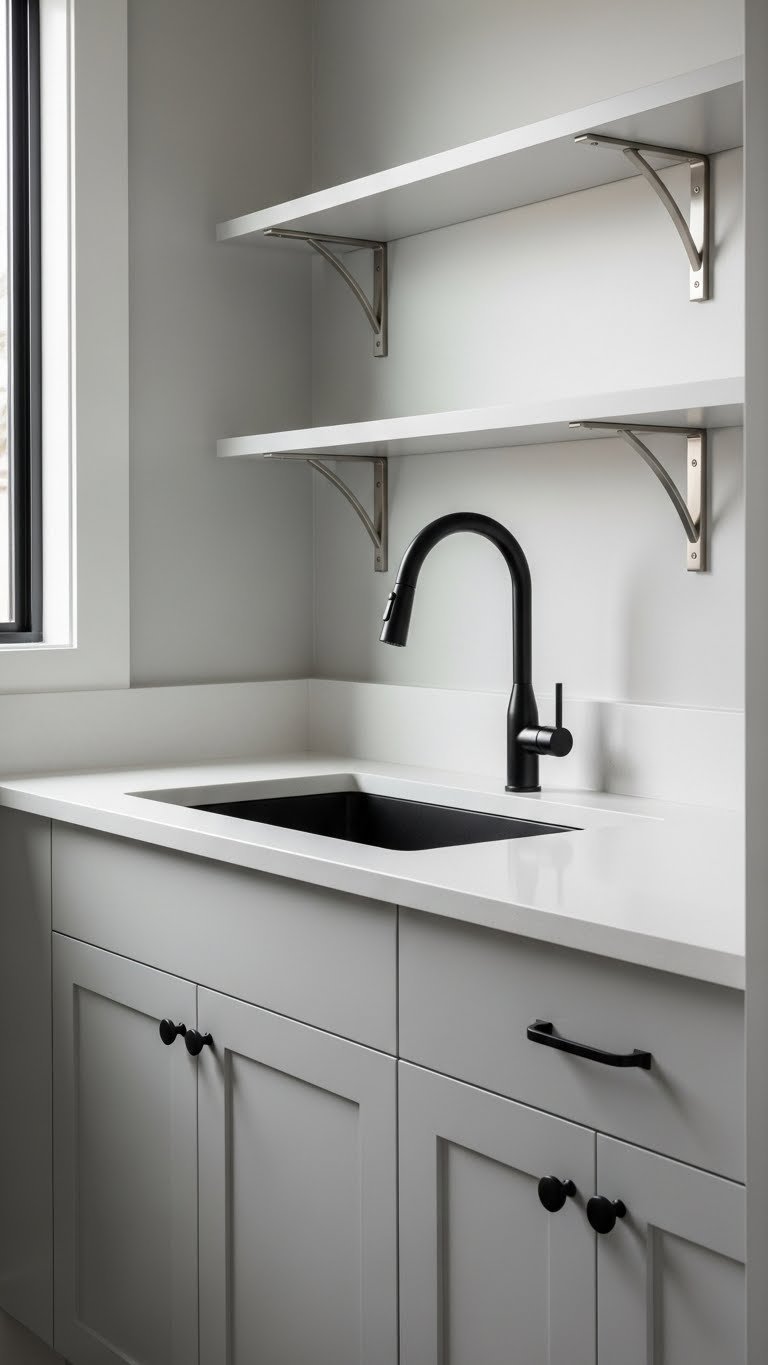
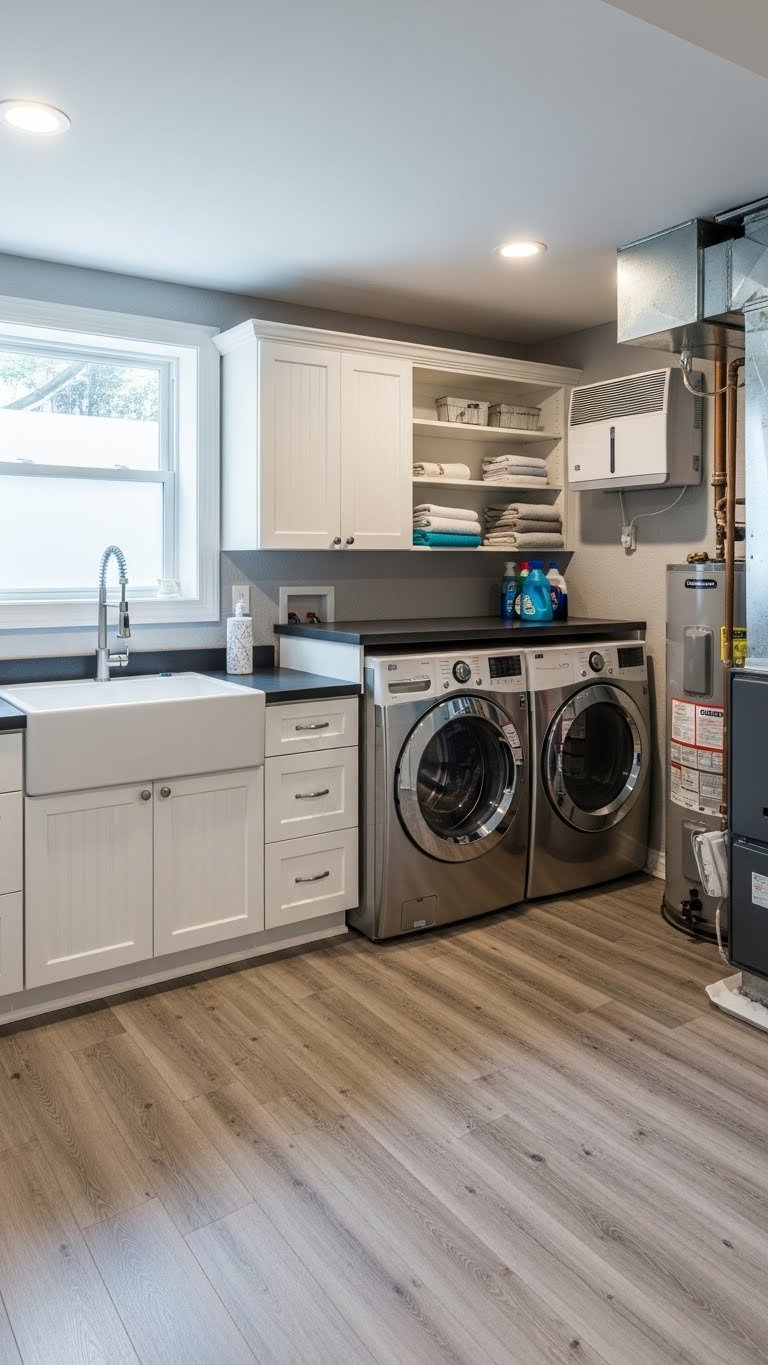
3. Add a Utility Sink for Pre-Treating Stains
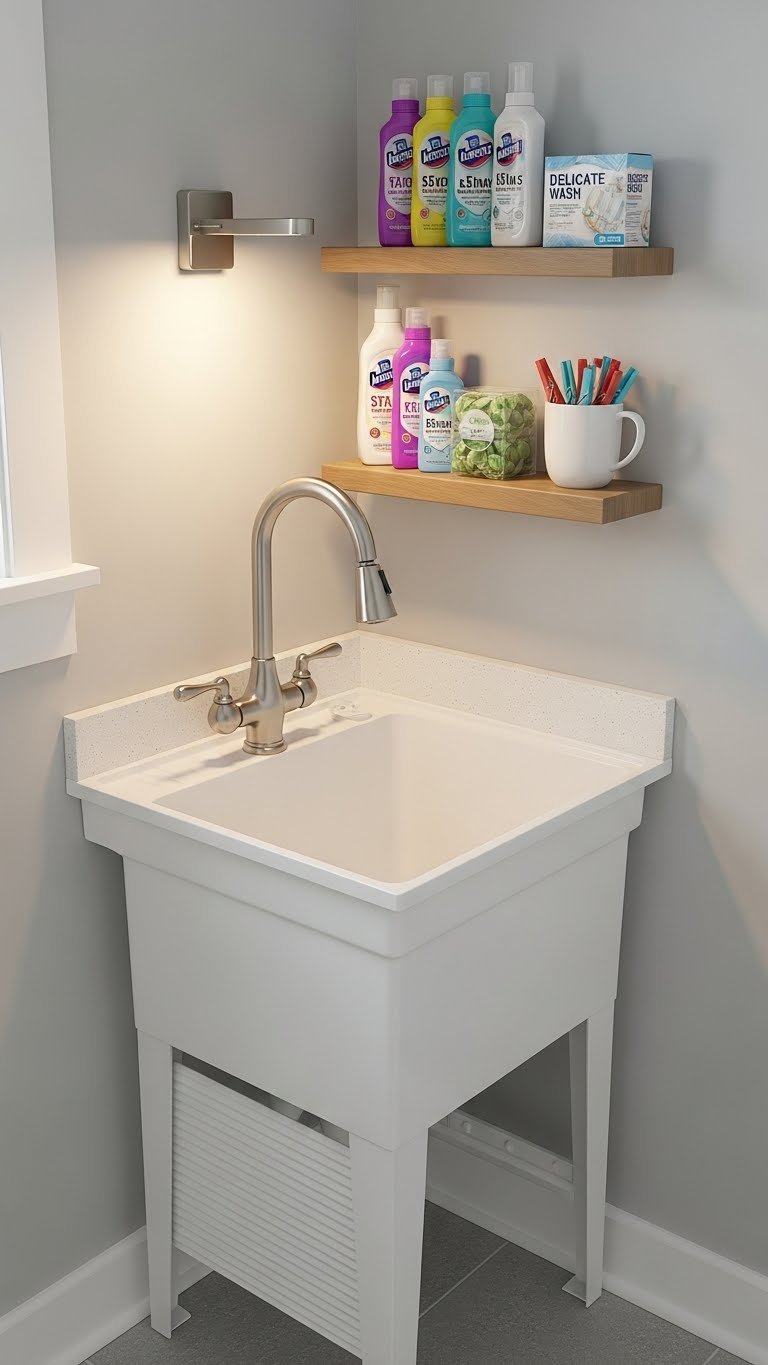
A utility sink is one of the best upgrades for serious laundry care. You can pre-soak delicates, treat stubborn stains, and hand-wash items right where you need them.
Budget options start at $150–$300 for a basic sink unit; higher-end models run $400–$600. Installation costs vary—DIY is possible if you’re comfortable with plumbing, but hiring a pro costs $150–$400. Alternatively, get a portable wash station for $80–$150 that doesn’t require permanent installation. If you rent, check your lease; some landlords allow temporary sink additions.
You’ll treat stains immediately instead of letting them set. Delicate items get the attention they deserve. Your laundry routine becomes more efficient and less stressful.
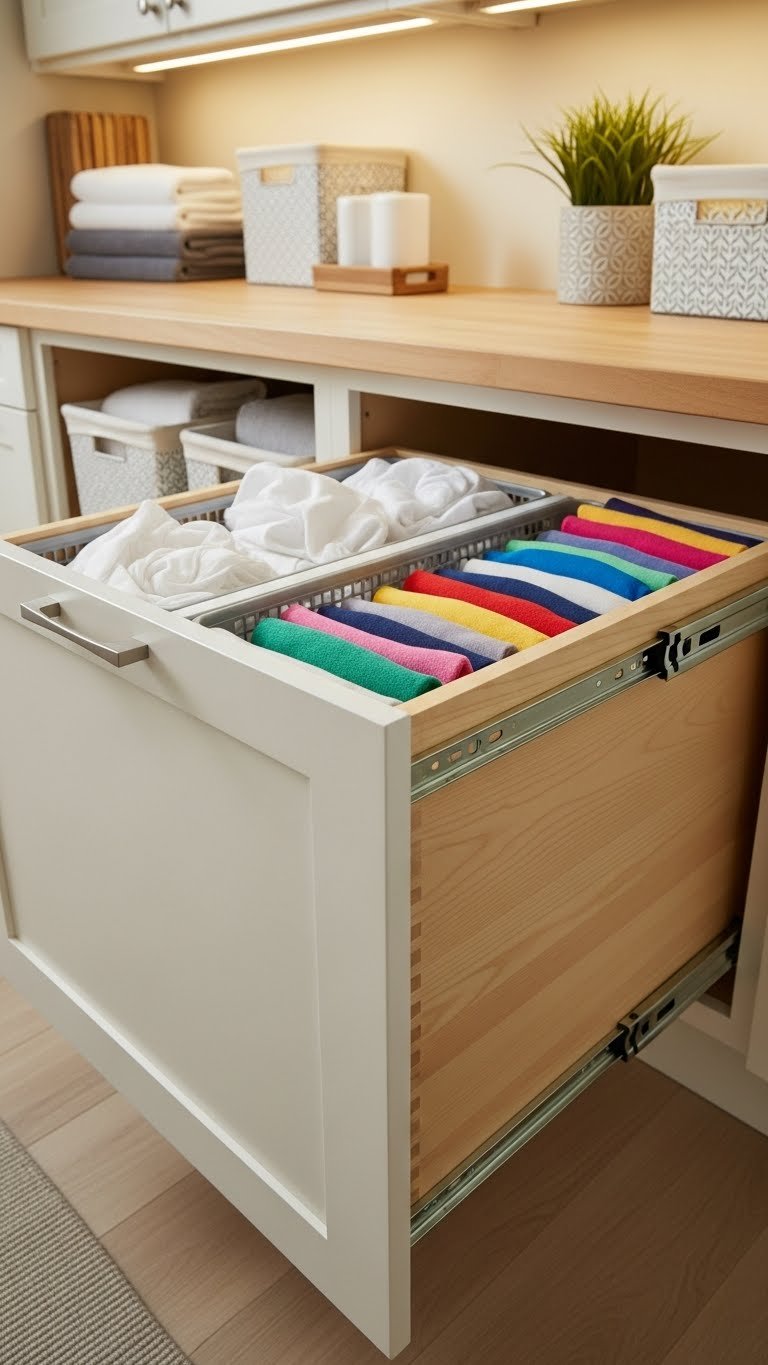
4. Use Vertical Pull-Out Hampers for Hidden Organization

Pull-out hampers hide dirty laundry behind closed doors while keeping items sorted by color or fabric type. They’re perfect for small spaces because they don’t take up floor room.
Pull-out hamper kits cost $60–$180 from Wayfair, Amazon, or The Container Store. Installation is usually a DIY project that takes 30 minutes to an hour. No special tools needed if you’re mounting to existing cabinetry. Renters can use freestanding versions with collapsible frames ($40–$90) that tuck into corners.
Your floor stays clearer. Laundry stays sorted and contained. You’re not hunting for clean baskets when you need them.
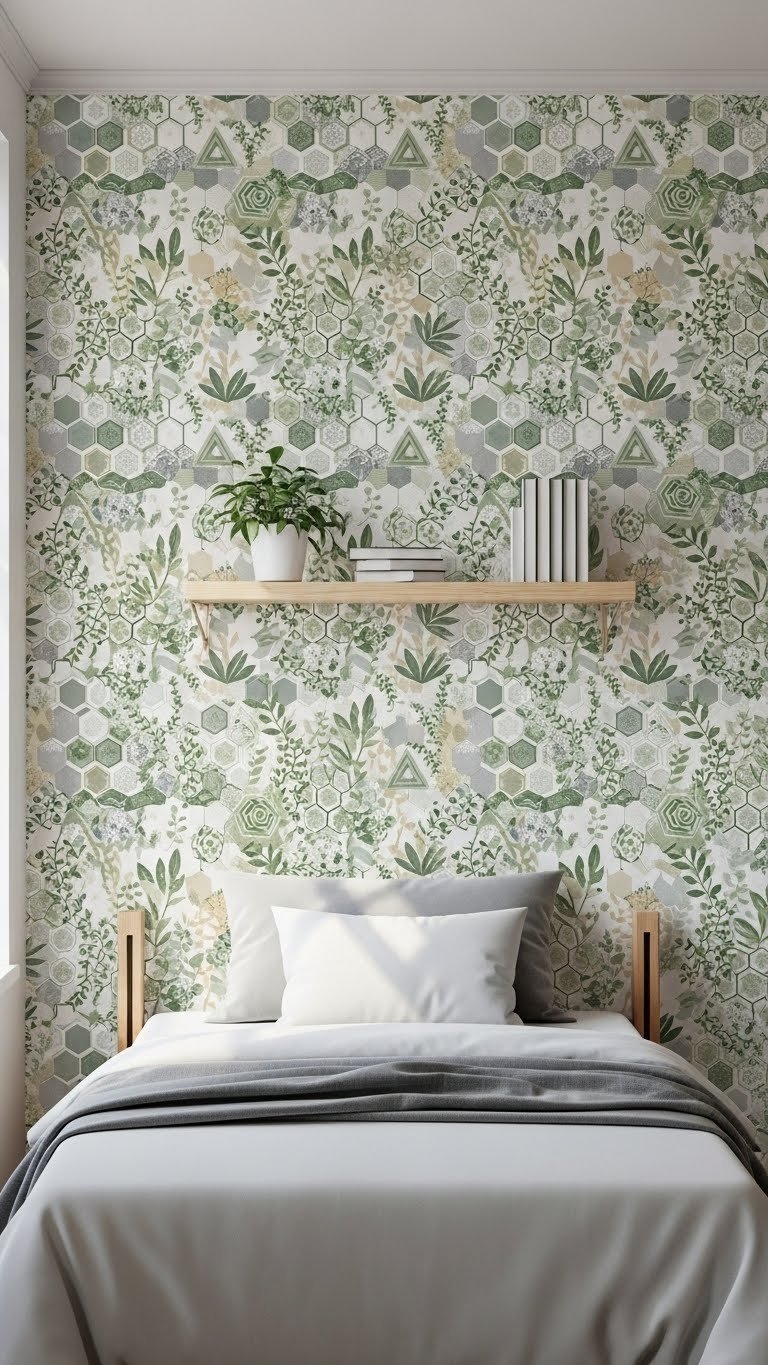
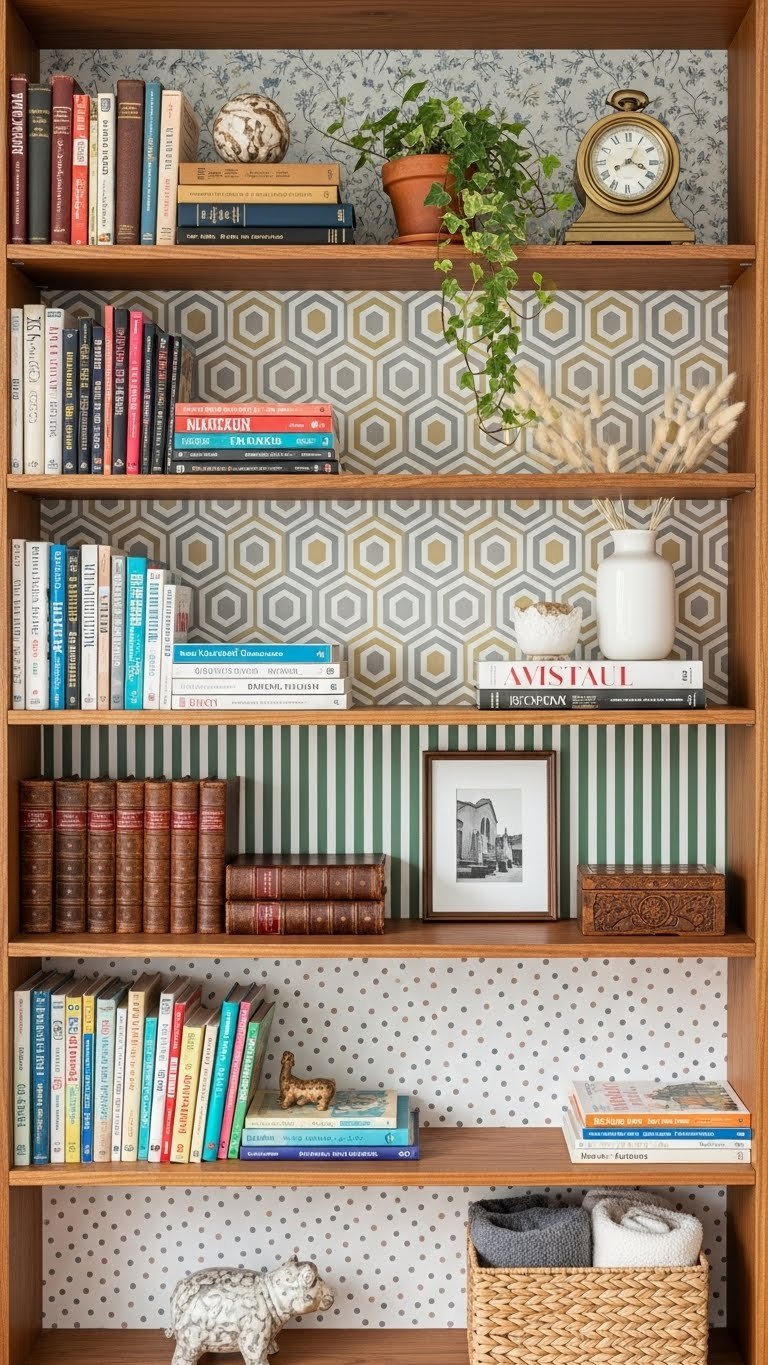
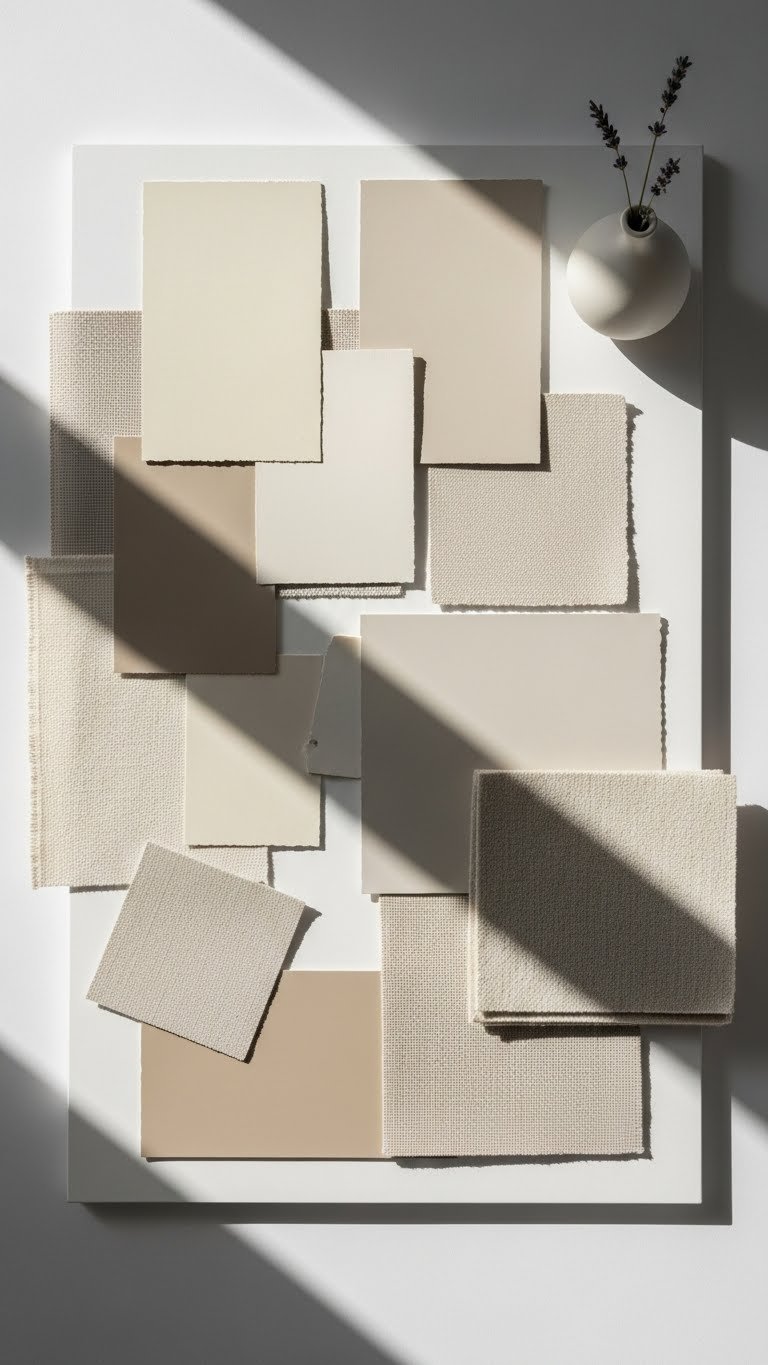
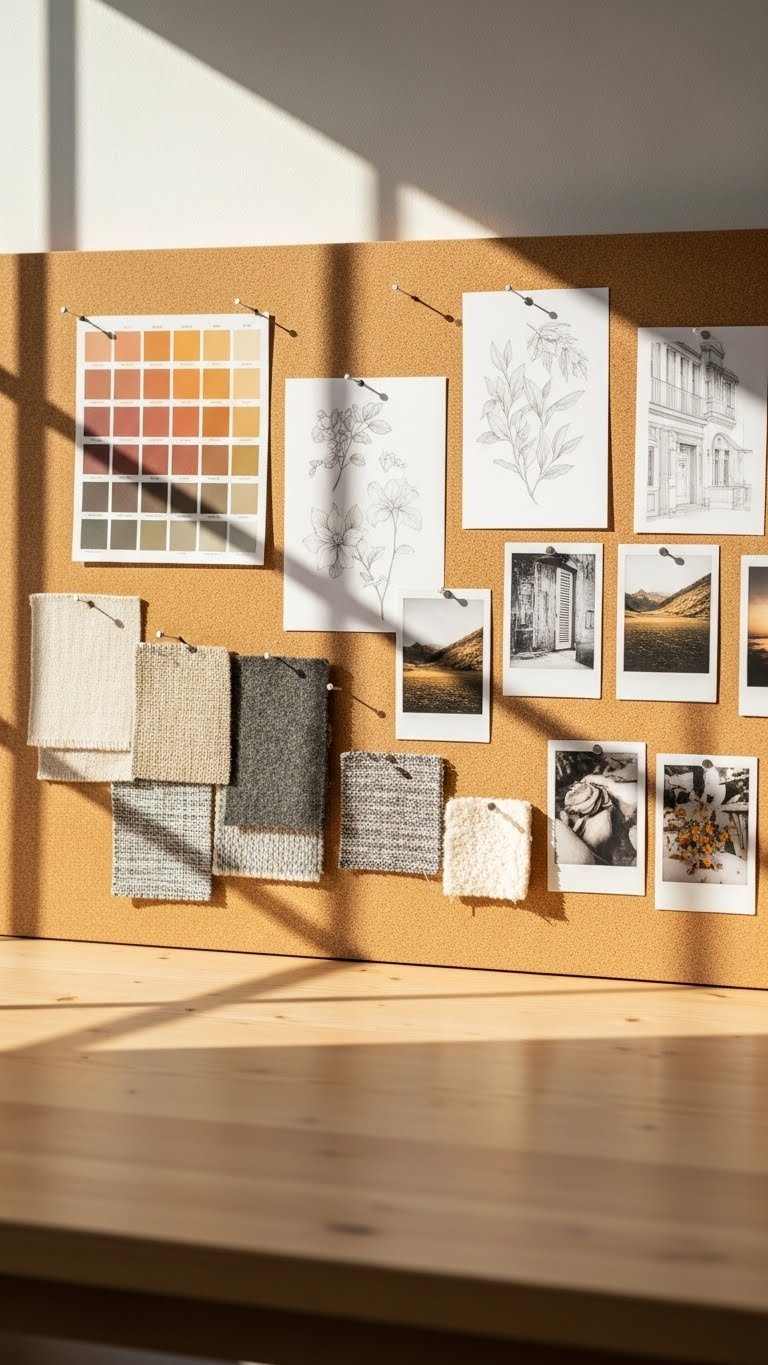
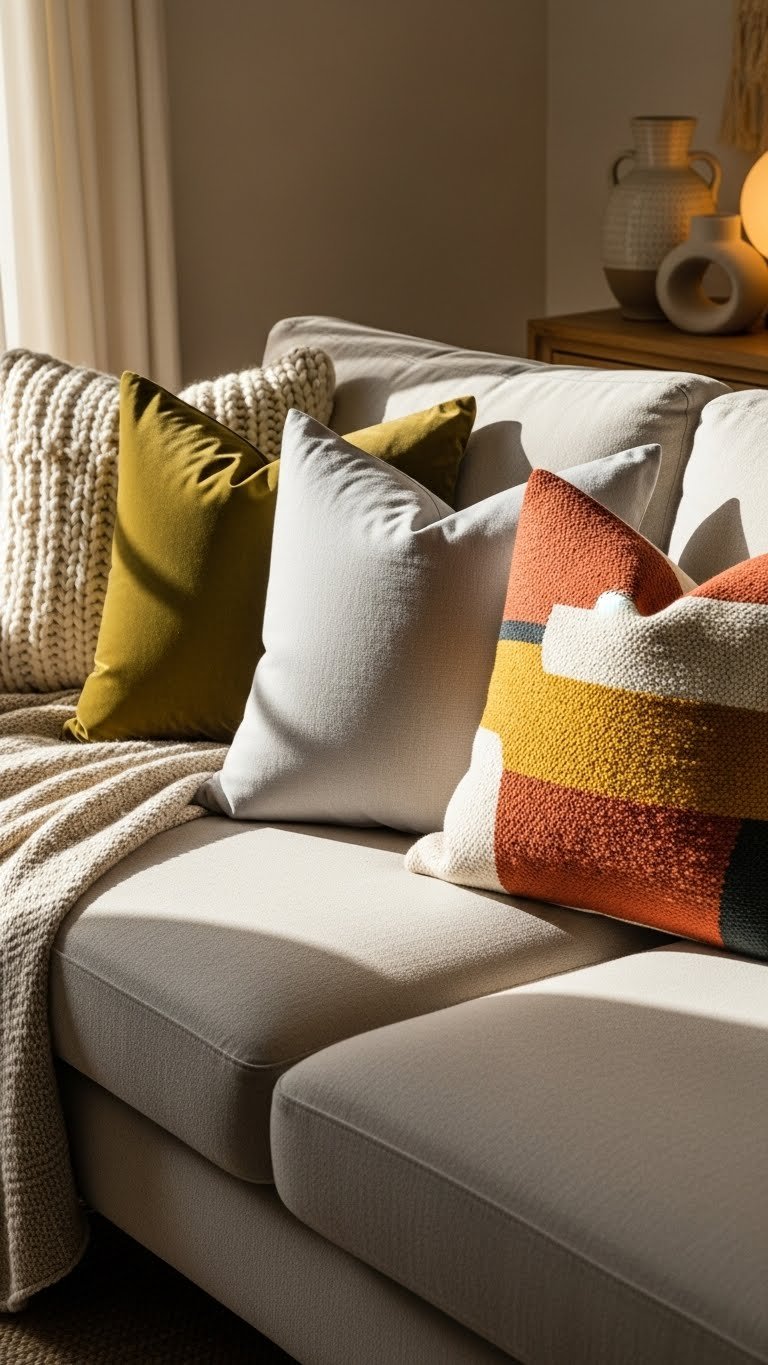
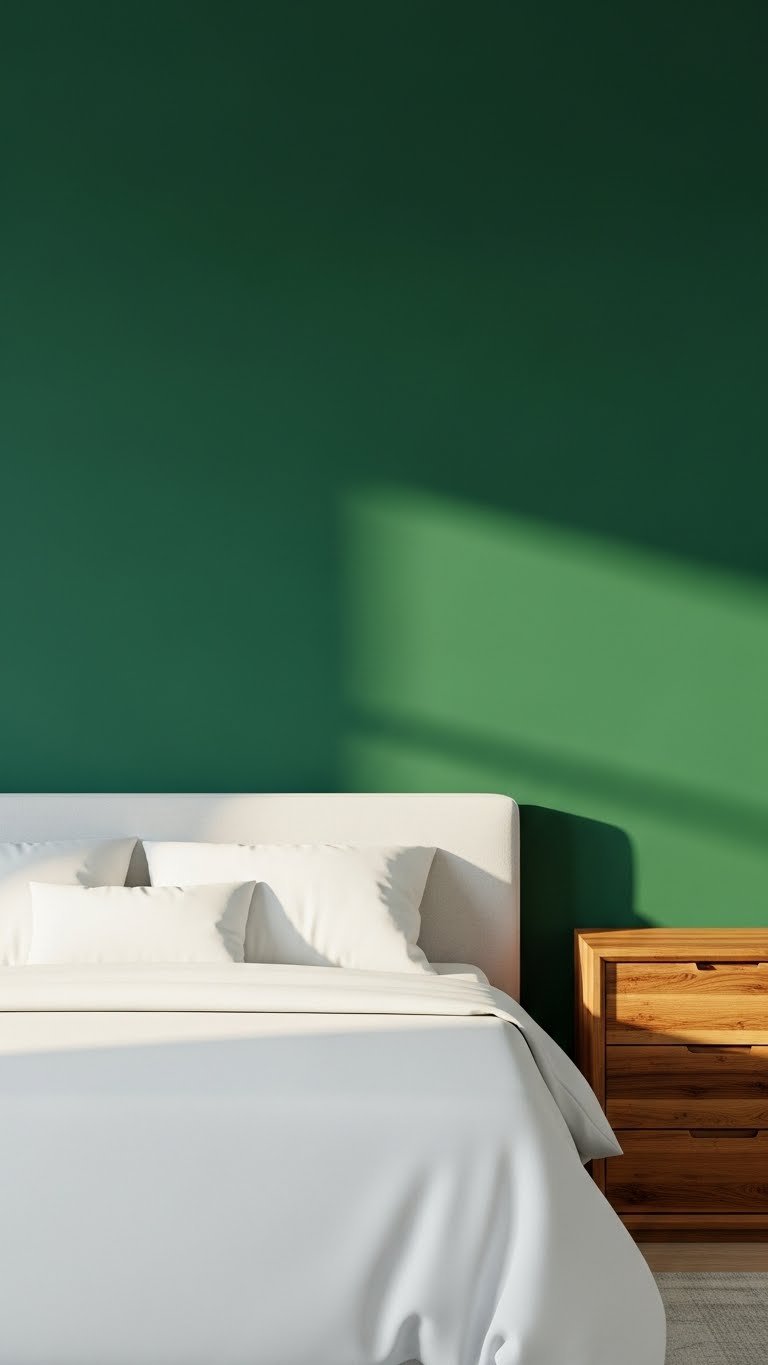
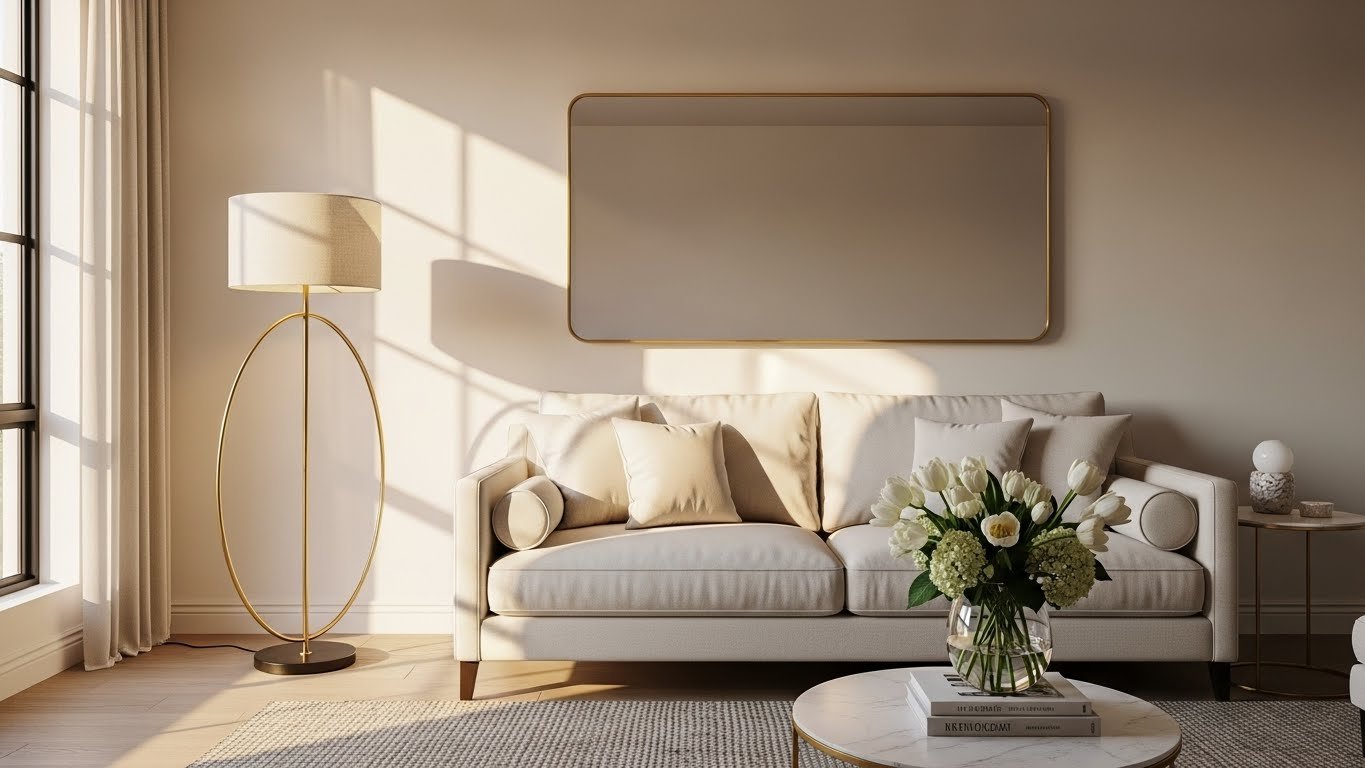
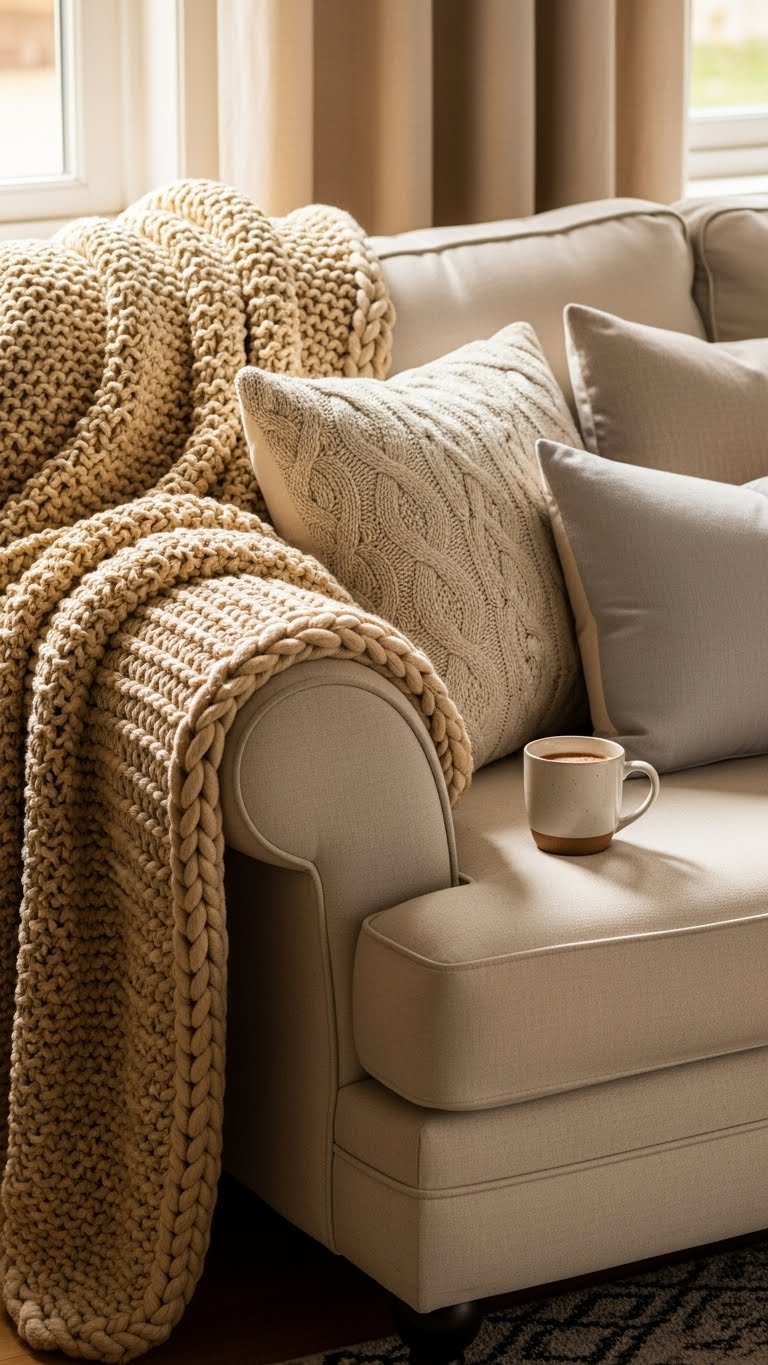
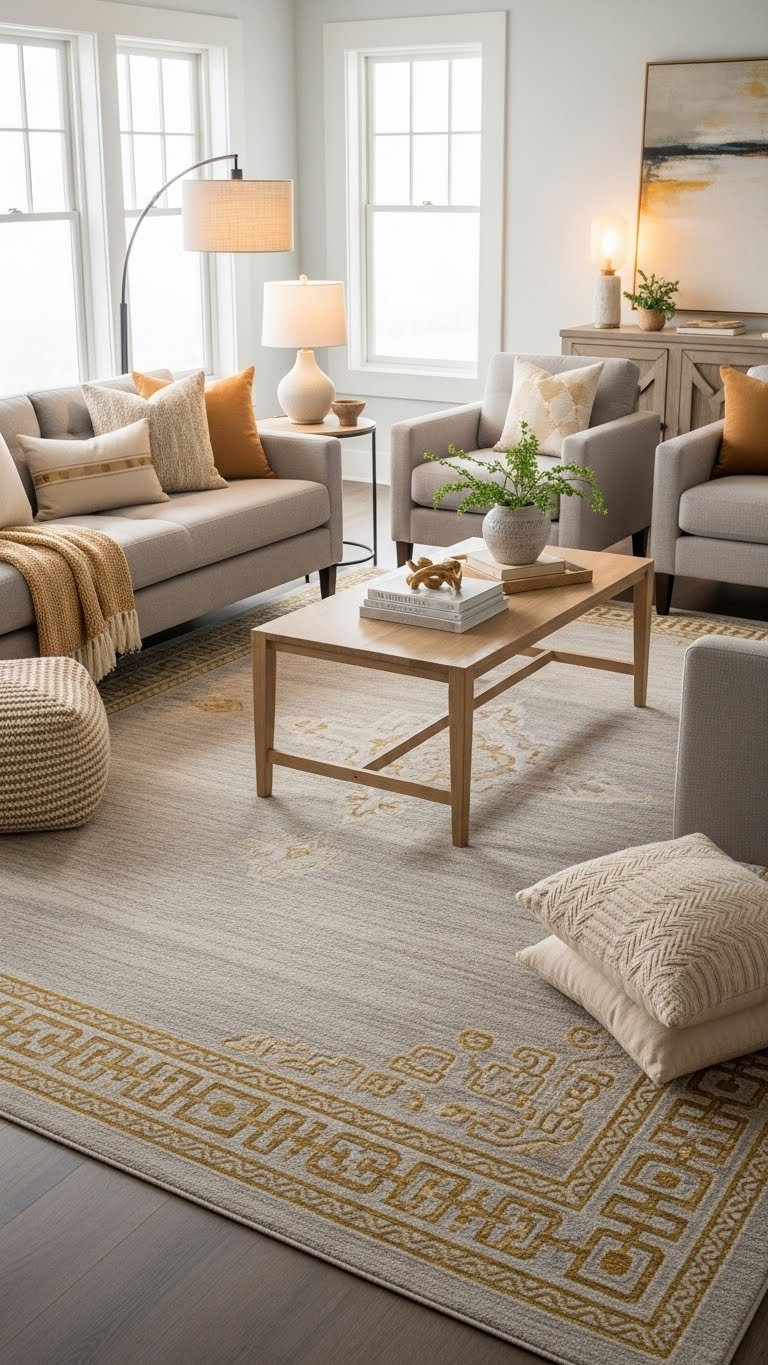
5. Paint Walls in Soft, Energizing Colors
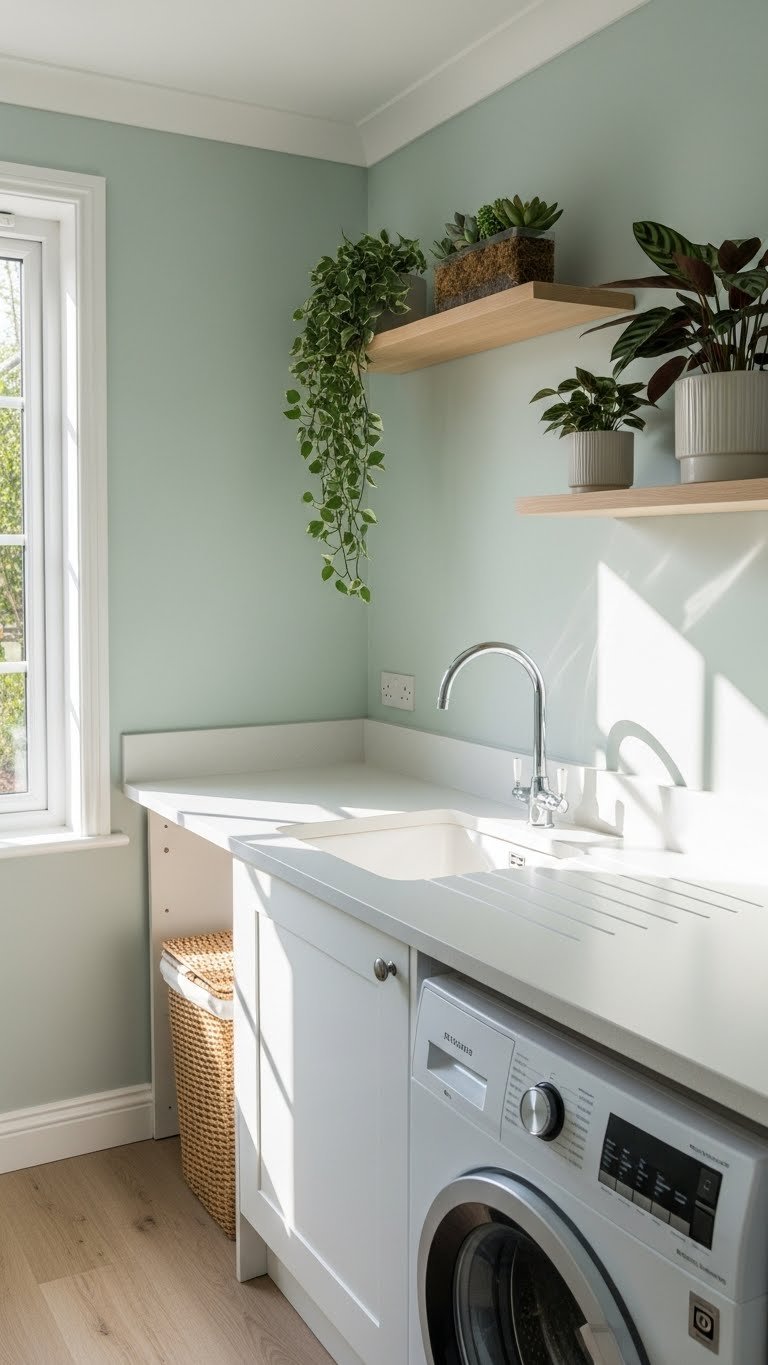
Ditching stark white for earthy tones instantly changes the room’s energy. Soft greens, warm grays, and muted blues make chores feel less tedious.
Quality paint costs $30–$50 per gallon; you’ll need 1–2 gallons for a small room. Total project cost: $50–$100. Painters charge $400–$800 if you hire out; DIY takes a weekend. Renter-friendly option: use removable wallpaper ($25–$60) that peels off without damage.
Your space stops feeling utilitarian and starts feeling intentional. You actually want to spend time there. A small color shift impacts your mood every time you do laundry.
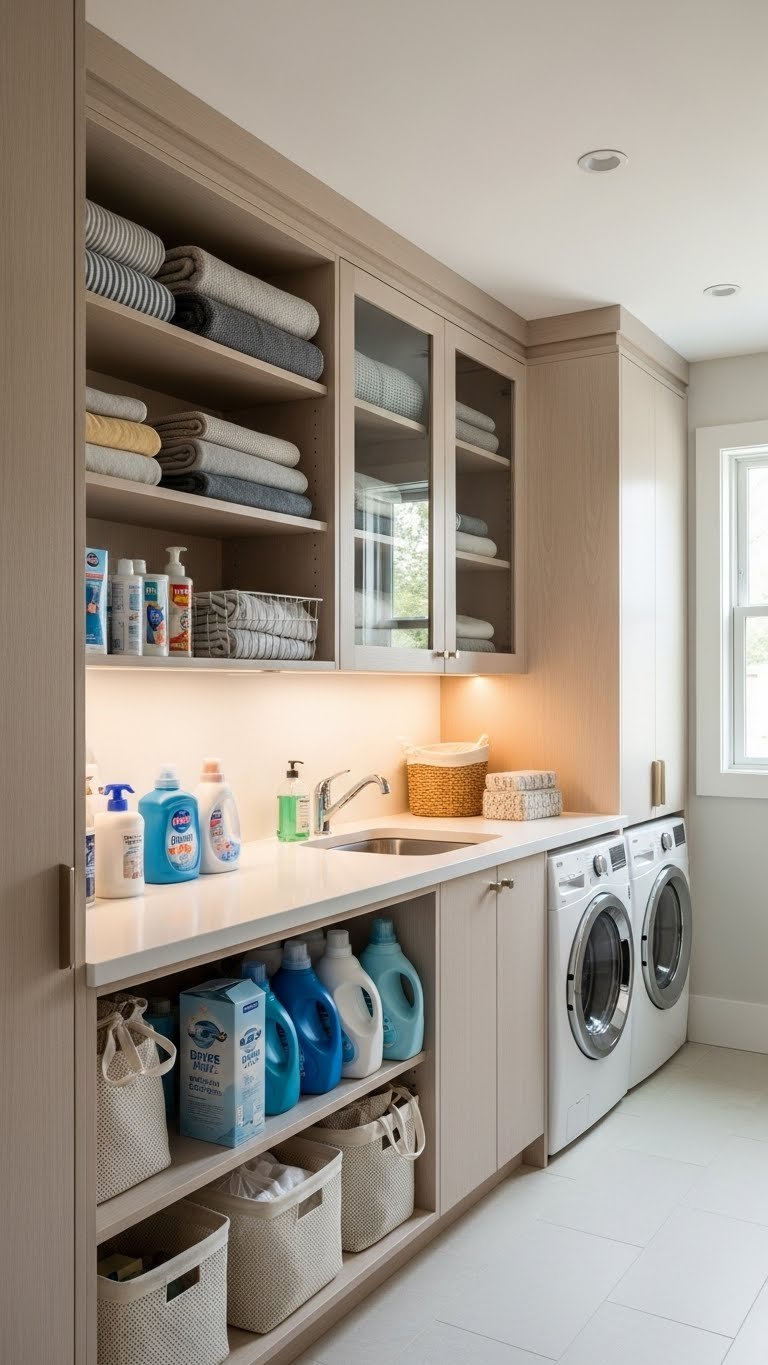
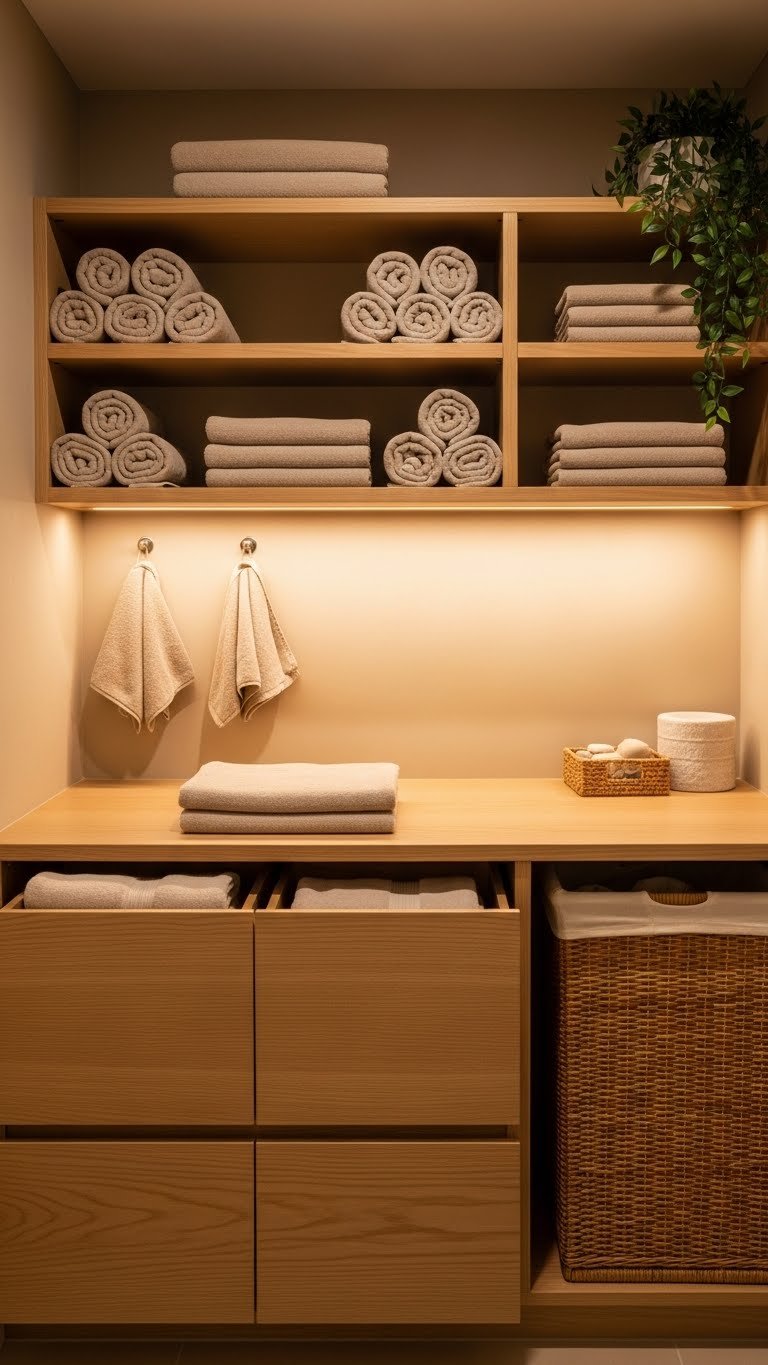
6. Install Ceiling-Height Cabinetry for Total Storage Capacity

Ceiling-height cabinets capture wasted space above eye level while providing deep storage for seasonal items, bulk supplies, and rarely-used equipment.
Semi-custom cabinetry runs $800–$2,000 depending on size and finish; custom options cost $2,500–$5,000+. Budget-friendly alternative: mix ready-made units (IKEA, Home Depot) to reach ceiling height ($300–$800 total). Installation takes 1–2 days for DIY; professionals charge $400–$1,000. Renters can use tall shelving units instead.
You reclaim dead space. Your room feels cohesive and purpose-built. Everything has a dedicated spot.
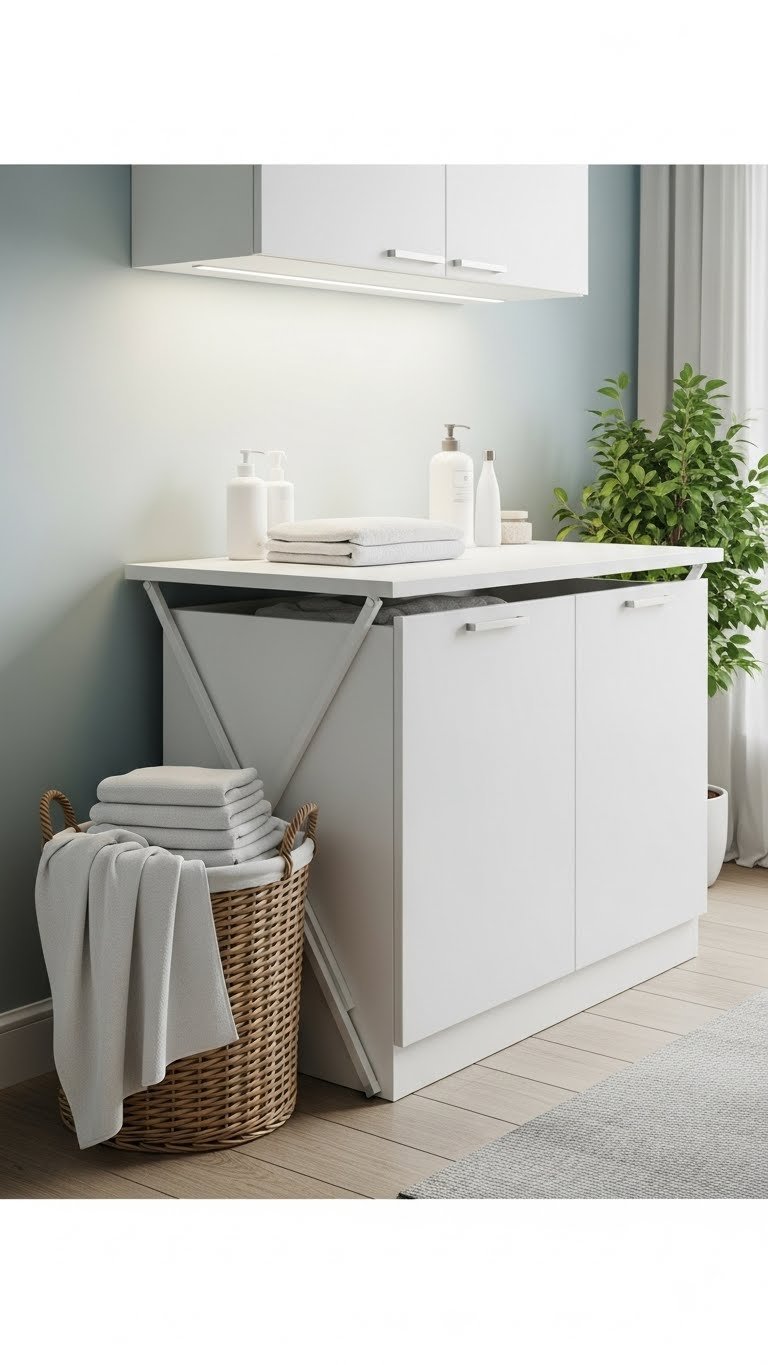
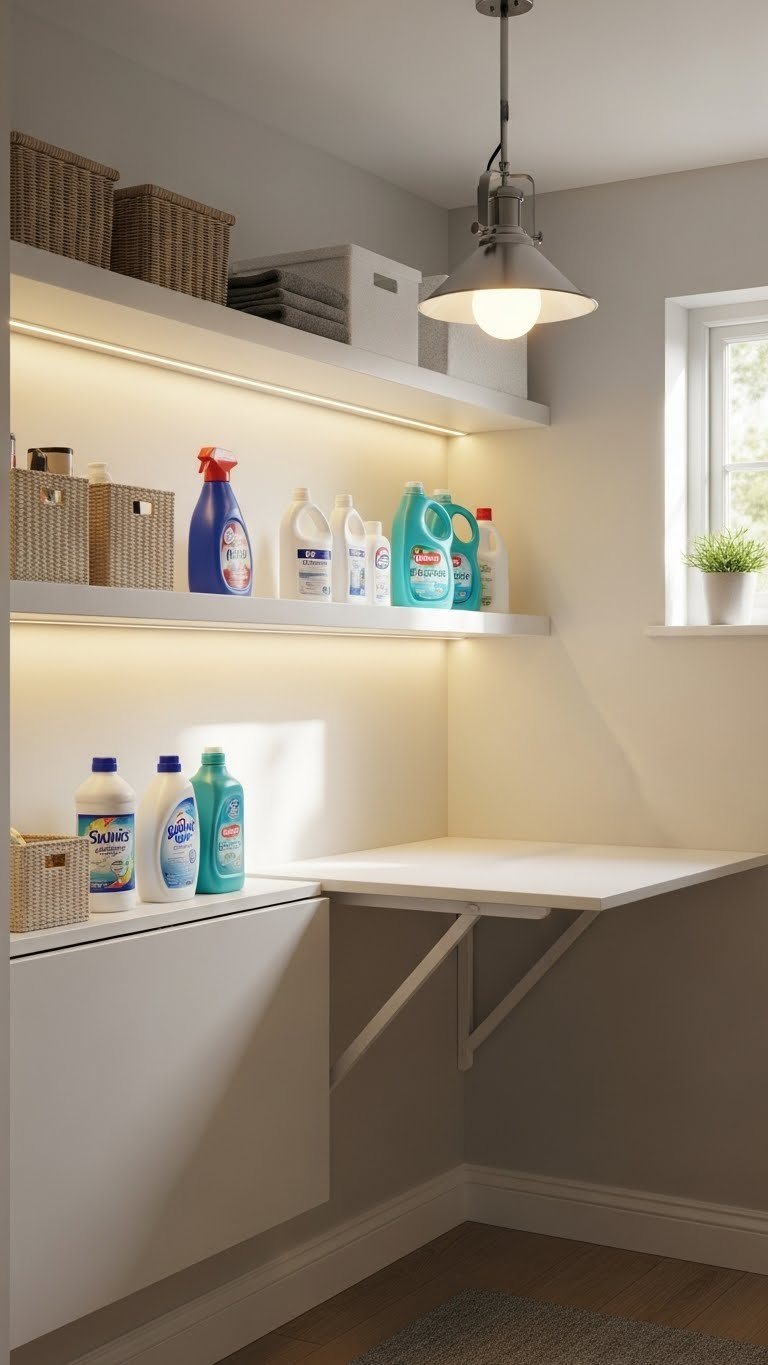
7. Add a Fold-Down Counter for Minimal Footprint
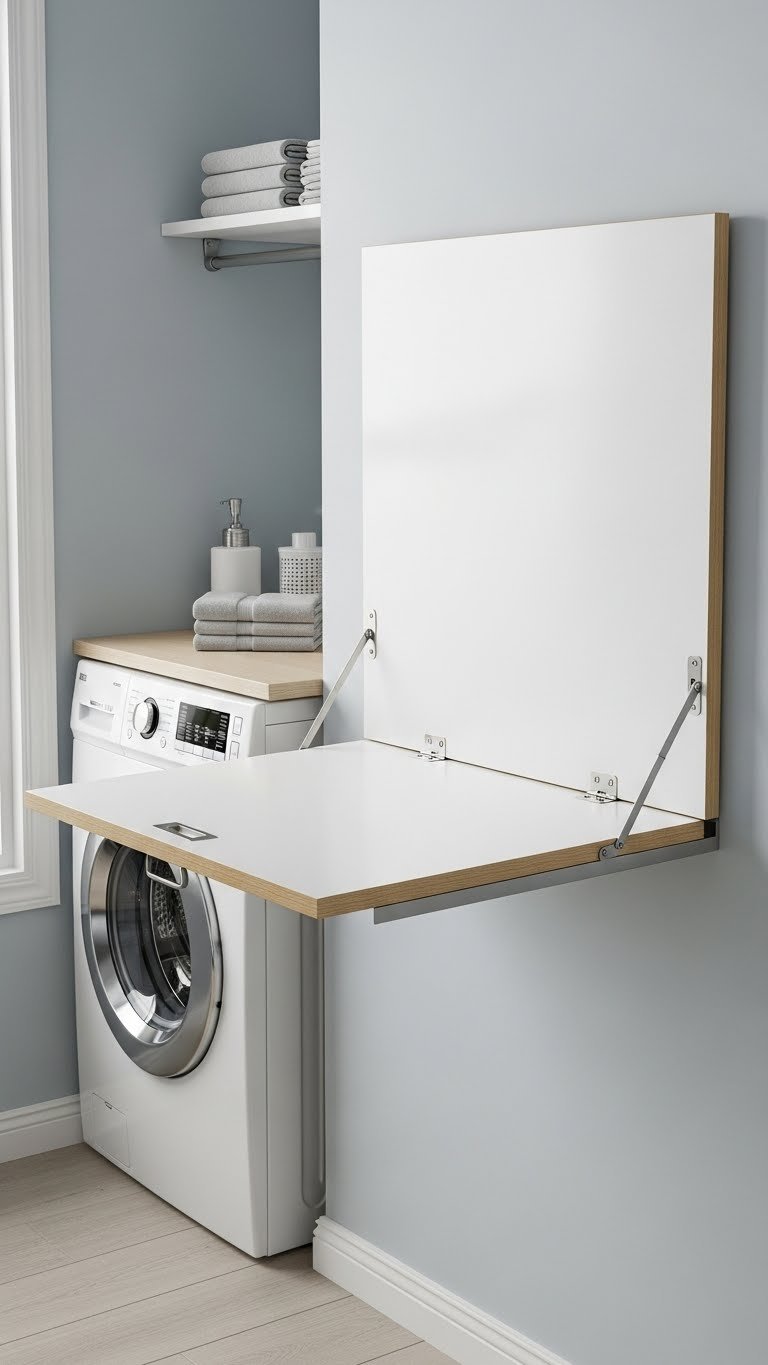
A fold-down counter gives you a folding surface that disappears when not in use. Perfect for rooms where floor space is at a premium.
Wall-mounted fold-down counters cost $40–$150 from Amazon, IKEA, or Wayfair. Installation is simple—about 30 minutes with basic tools. Most renters can install these without landlord permission since they’re easily removable. Standard dimensions are 24–30 inches wide.
When you’re folding, you have the counter space you need. When you’re done, it tucks away. Your room stays spacious and uncluttered.
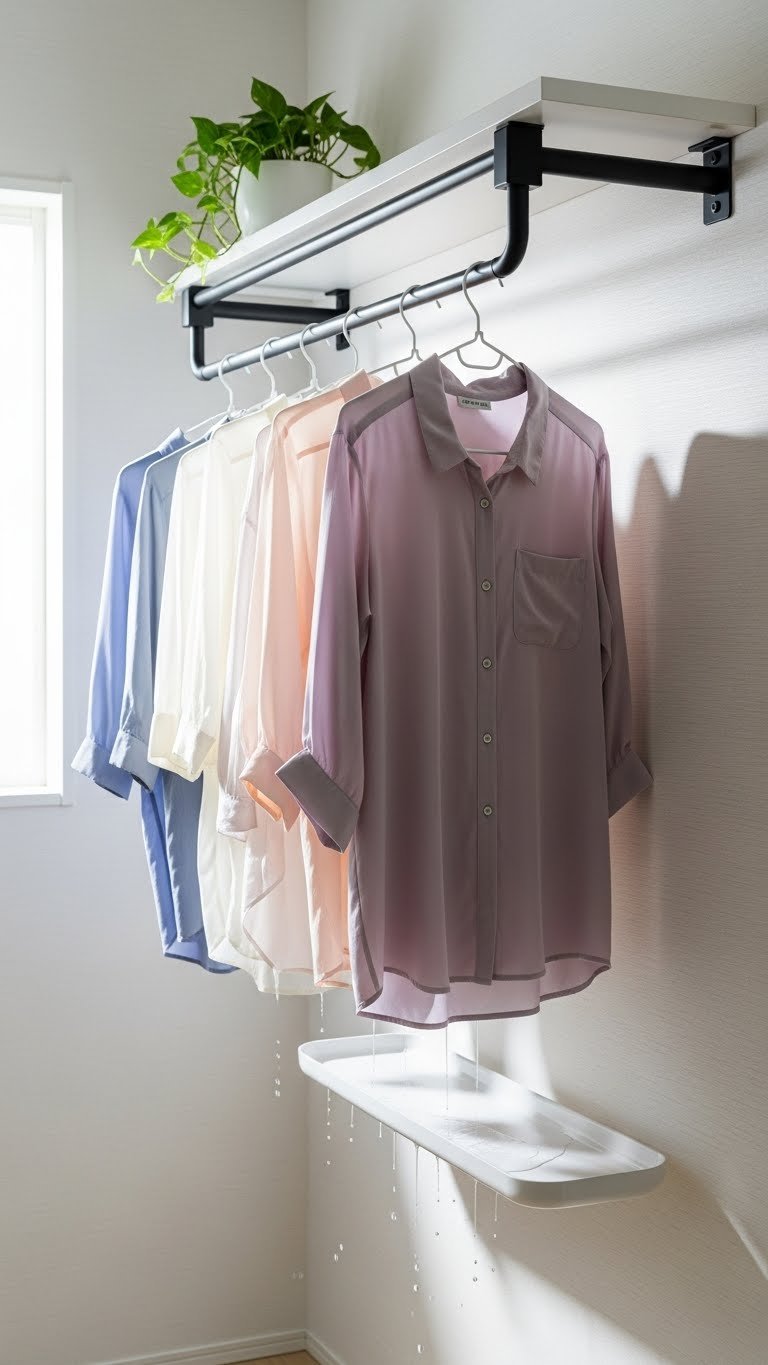
8. Install Drying Rods and Wall-Mounted Racks
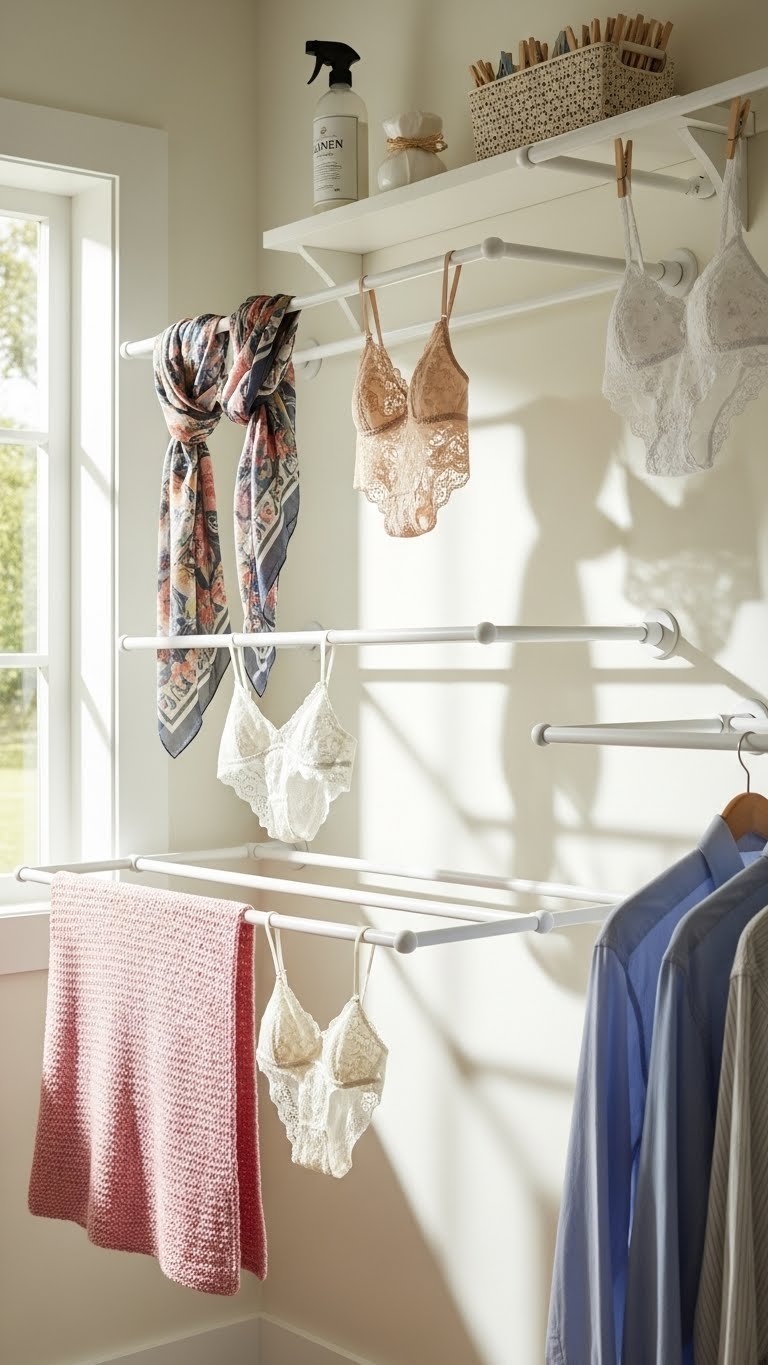
Wall-mounted drying solutions save energy and protect delicates. You can air-dry everything from sweaters to lingerie without a separate drying rack taking up floor space.
Rods and racks range from $15–$80 depending on style and load capacity. A basic wooden rod system from IKEA or Target runs $20–$40. Installation takes 20–30 minutes with wall anchors. Renters can use tension rods ($10–$20) that require no installation.
Your clothes dry gently without heat damage. You save on electricity. Your utility room becomes a quiet, functional drying zone.
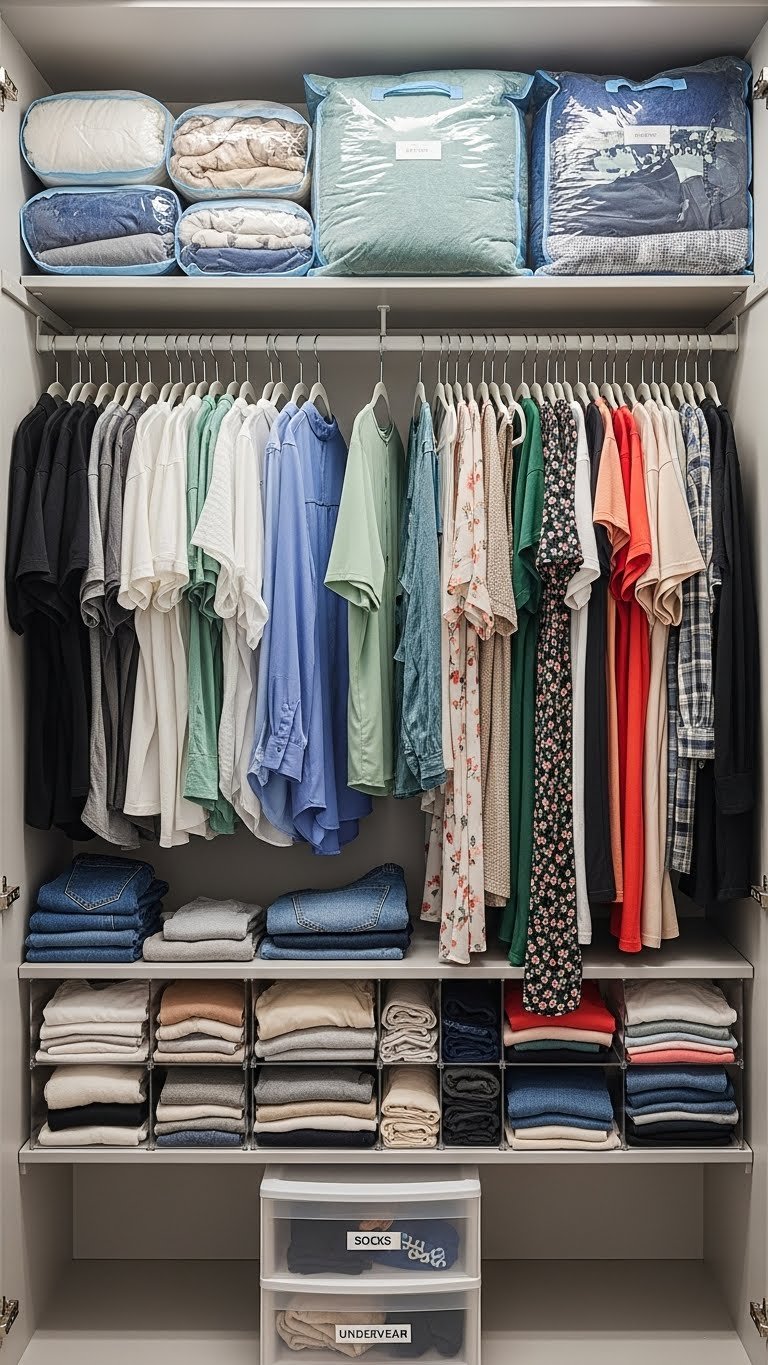
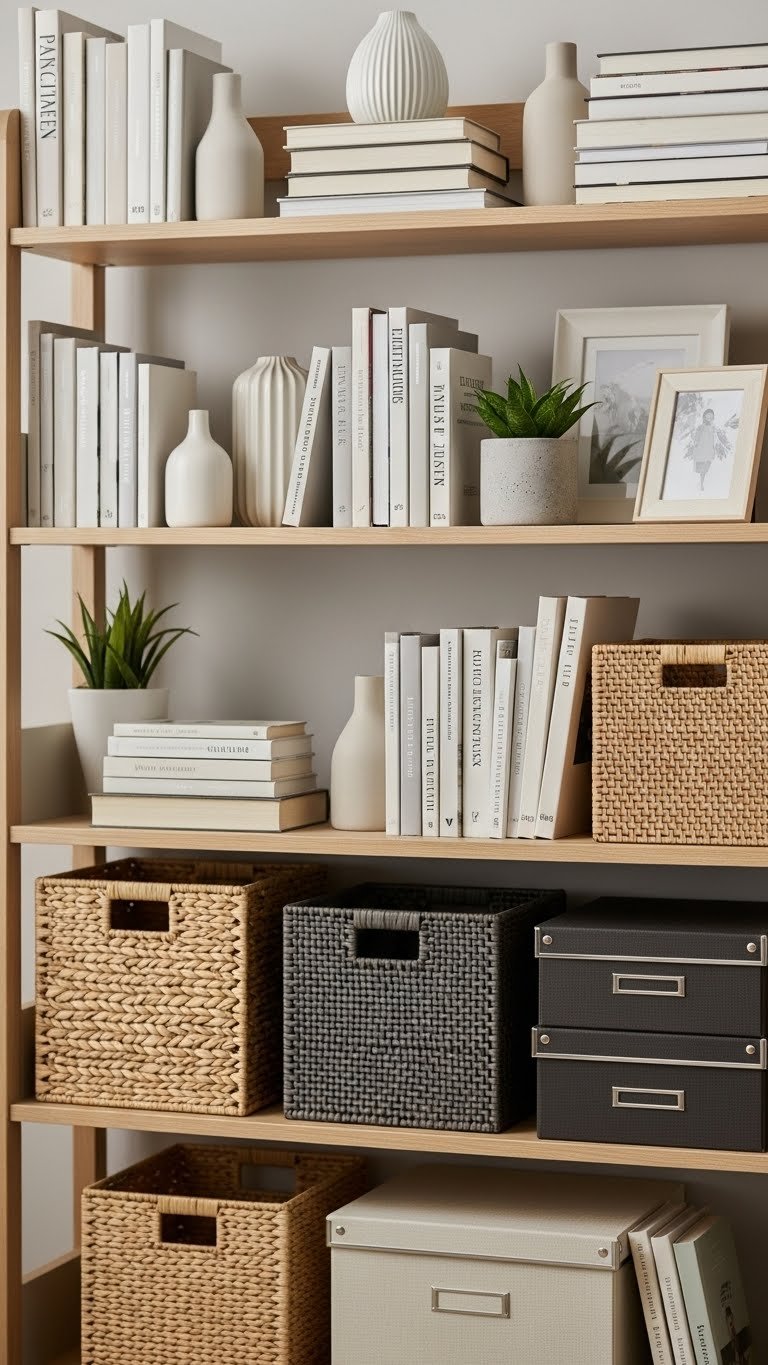
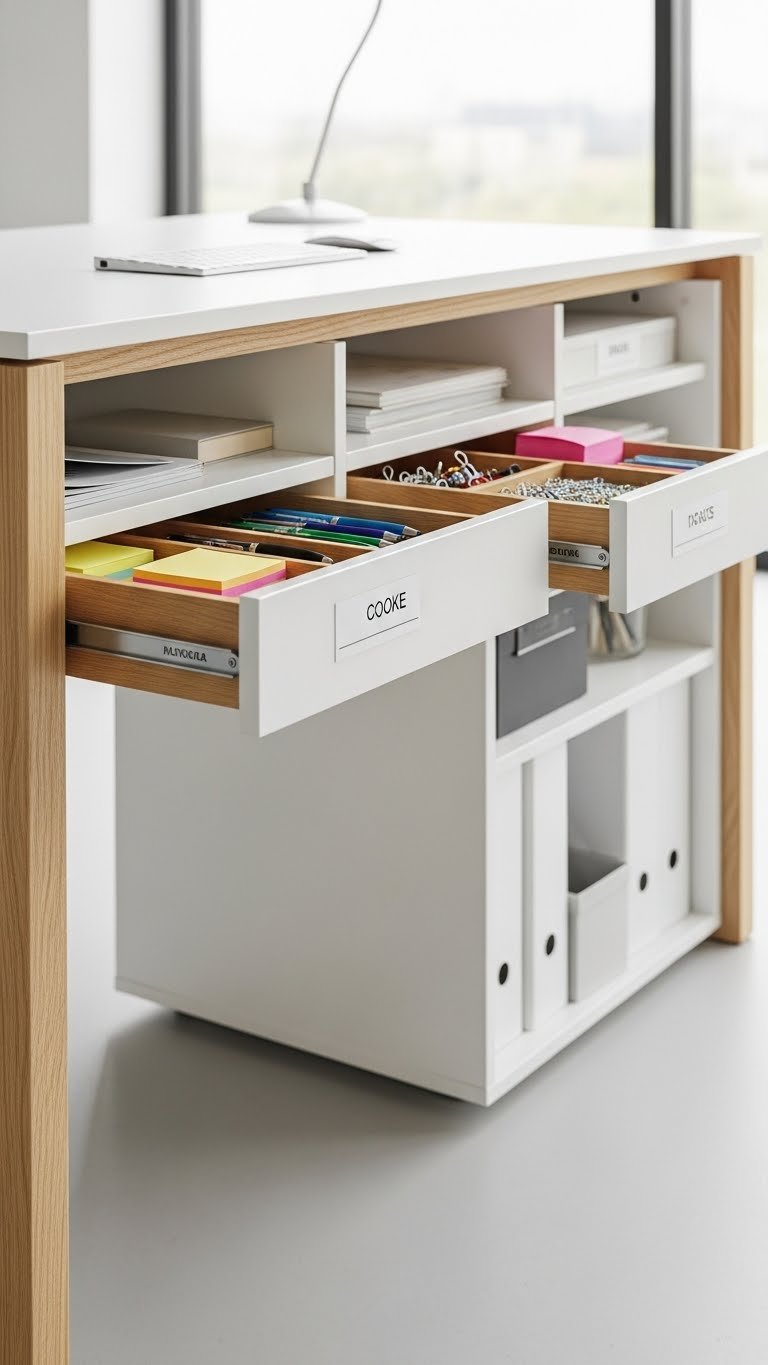
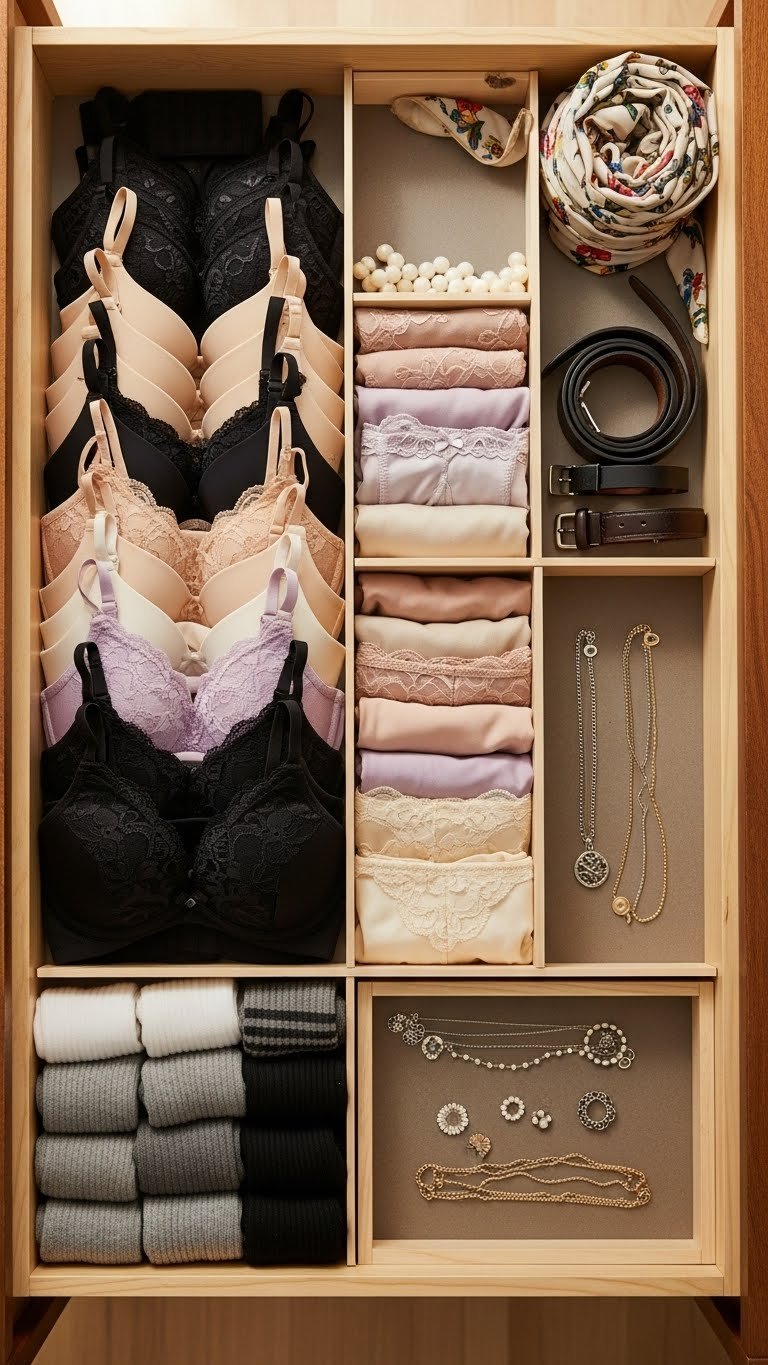
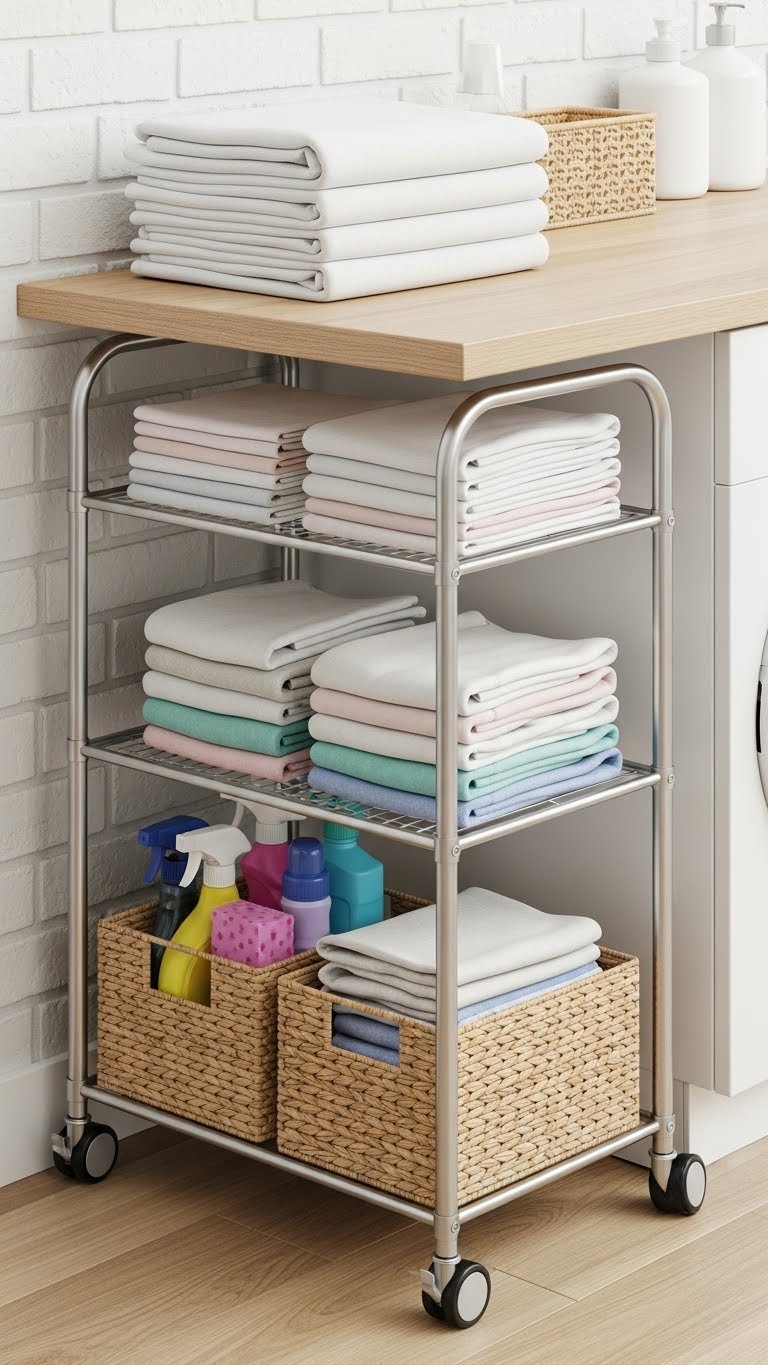
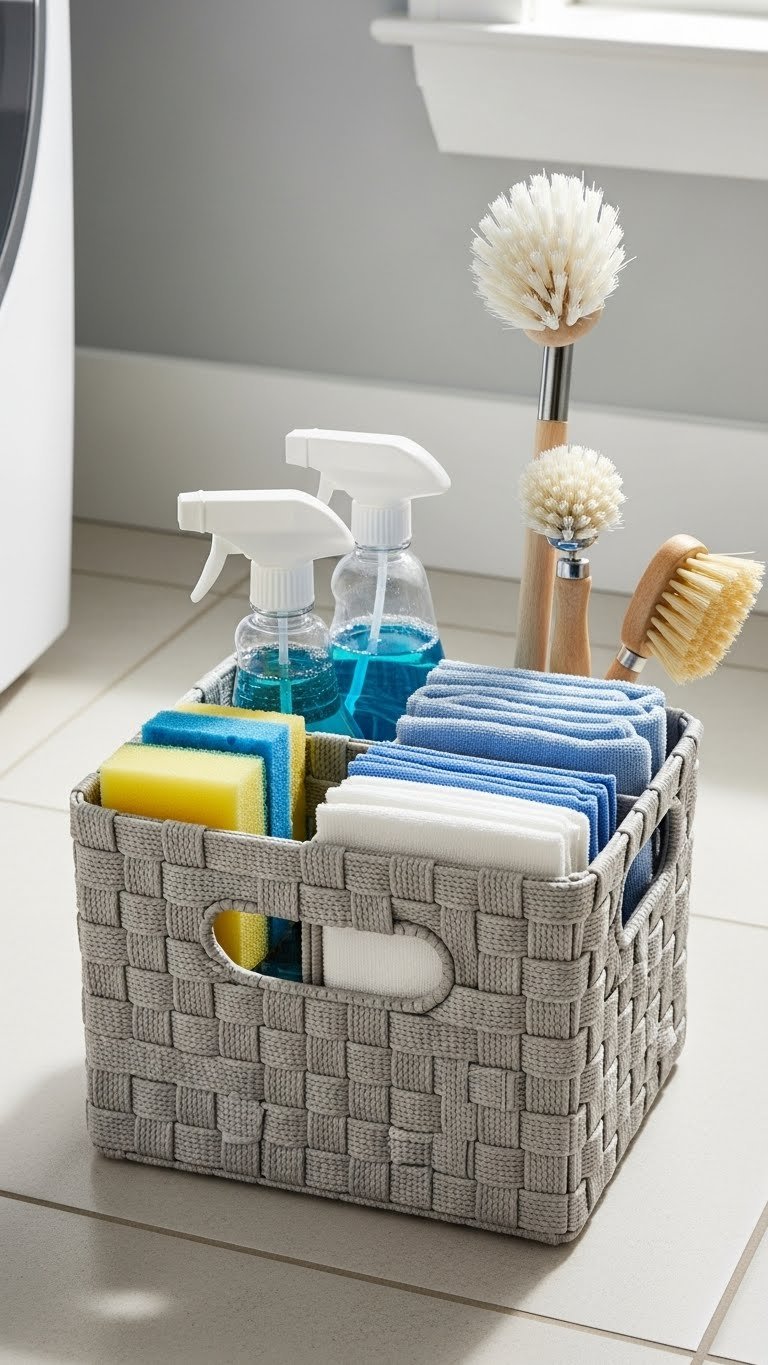
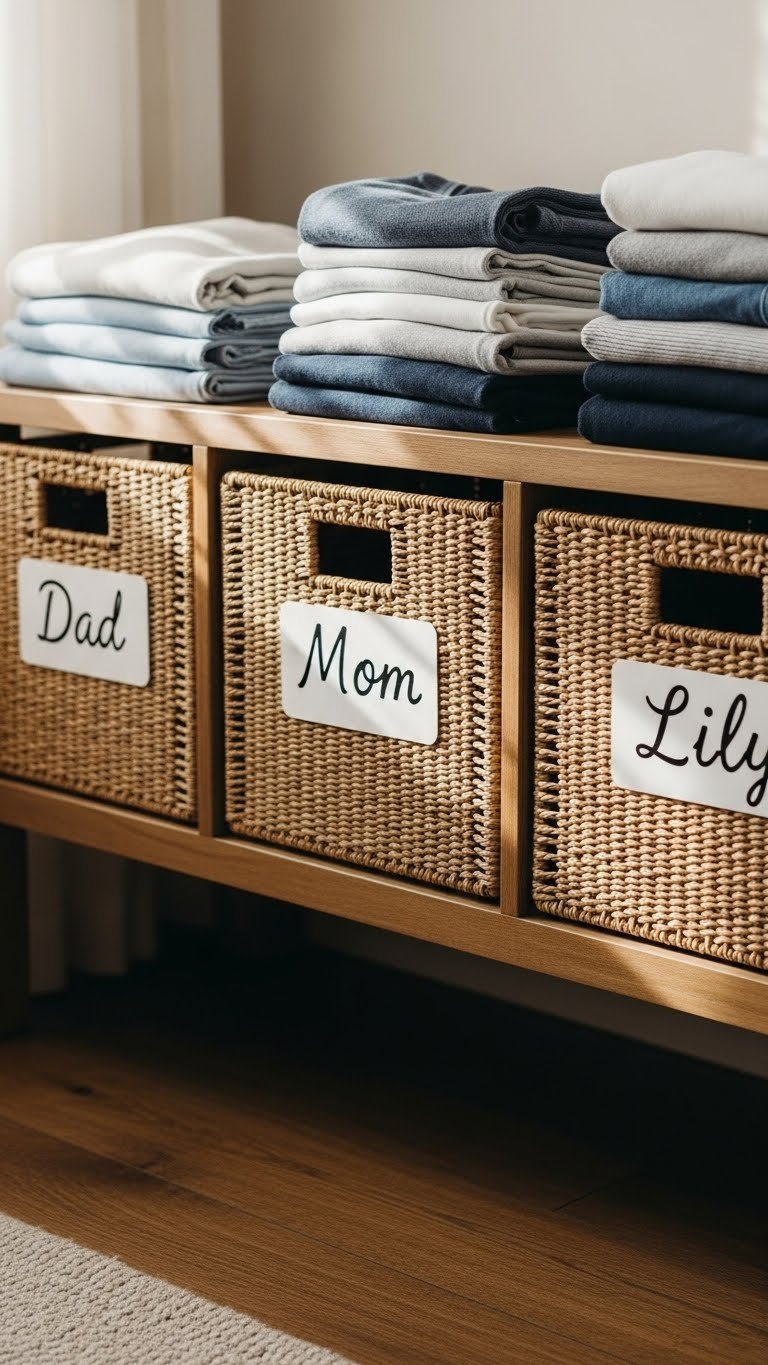
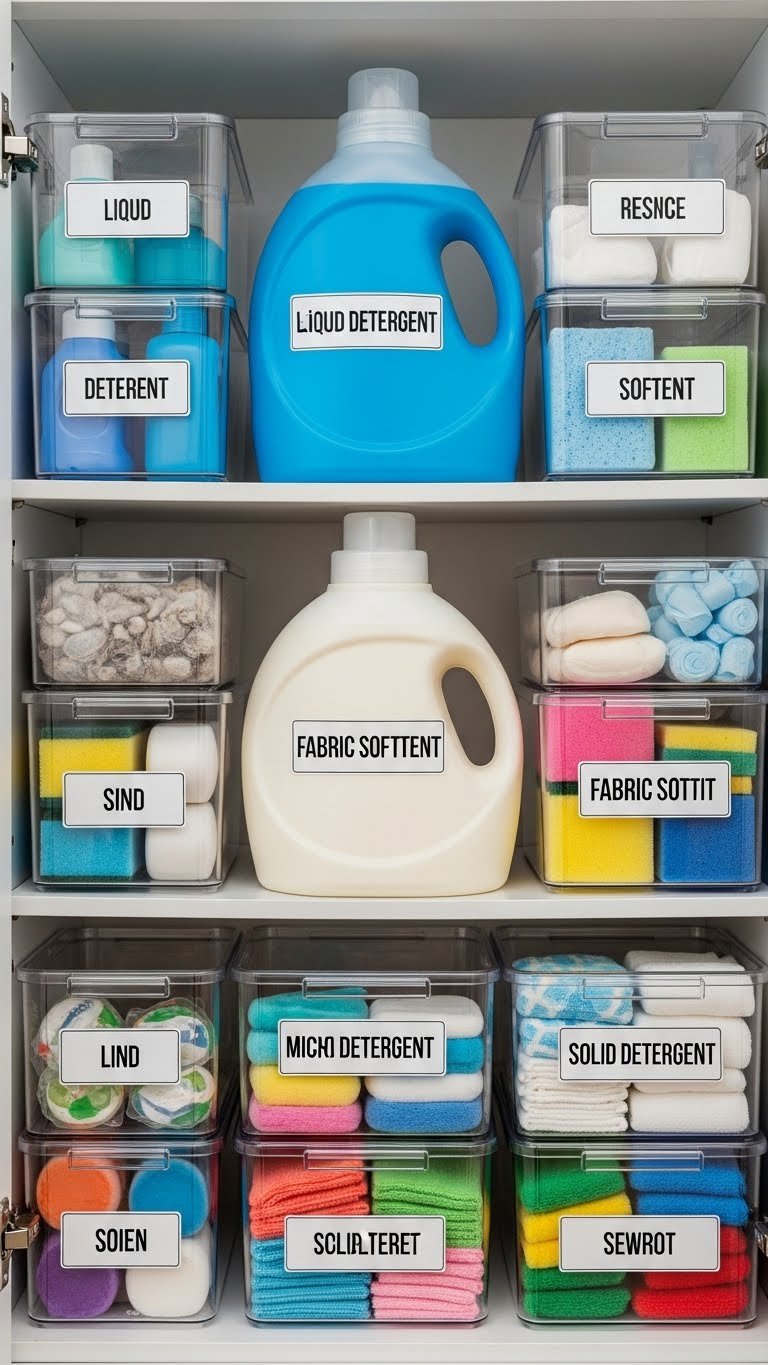
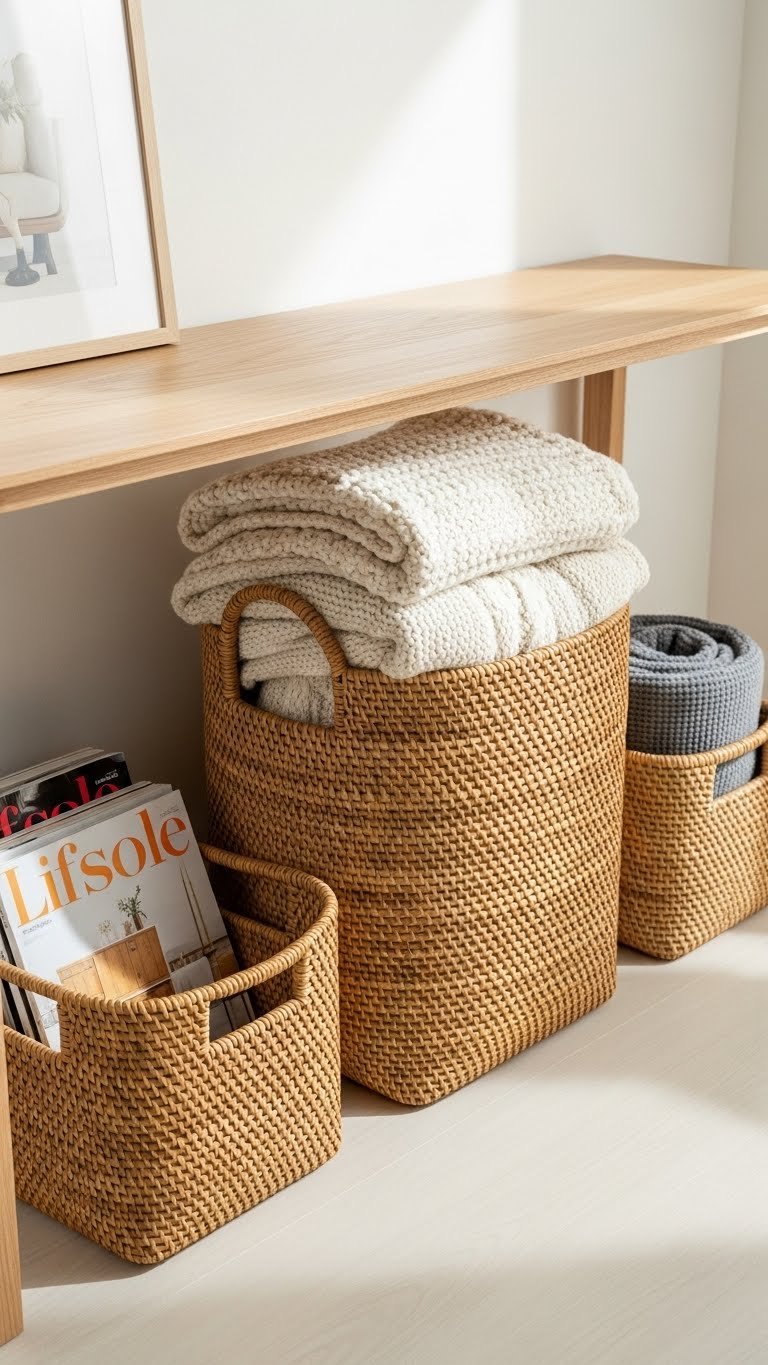
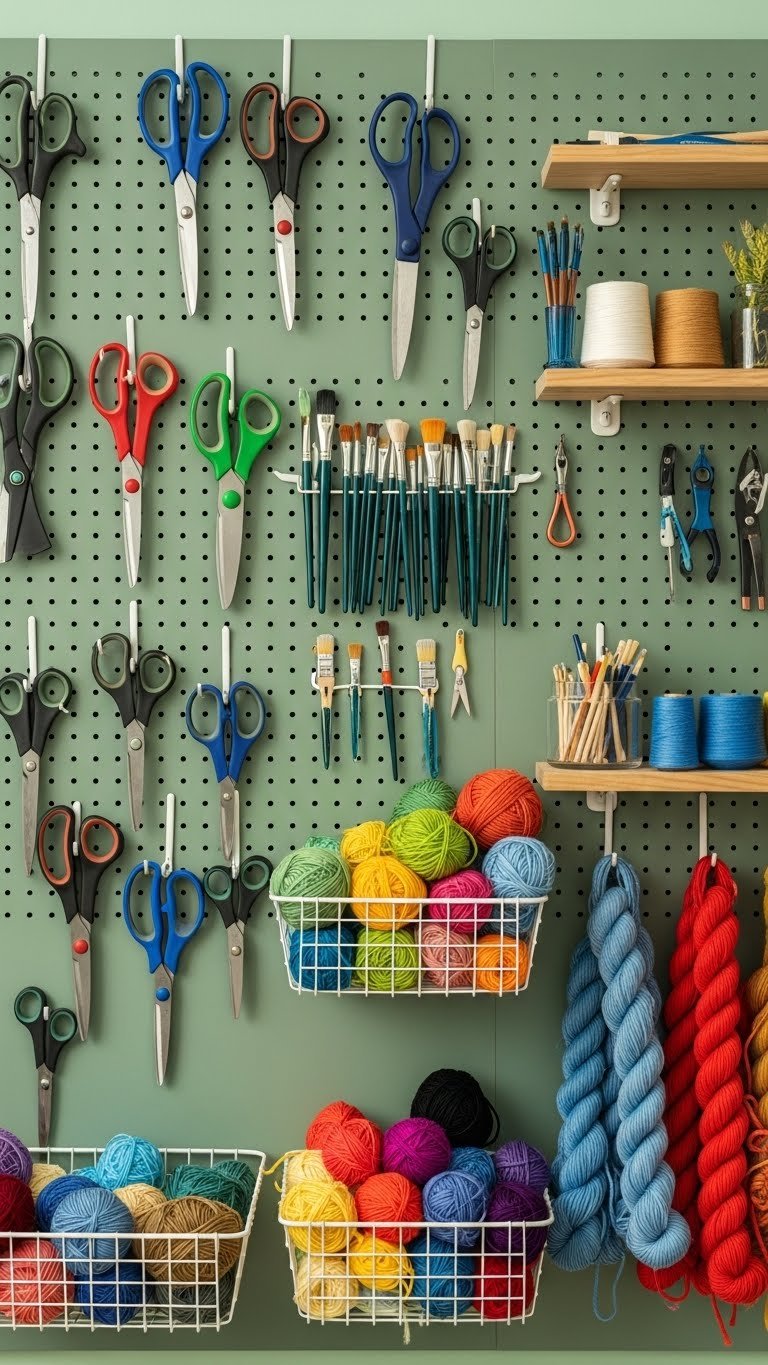
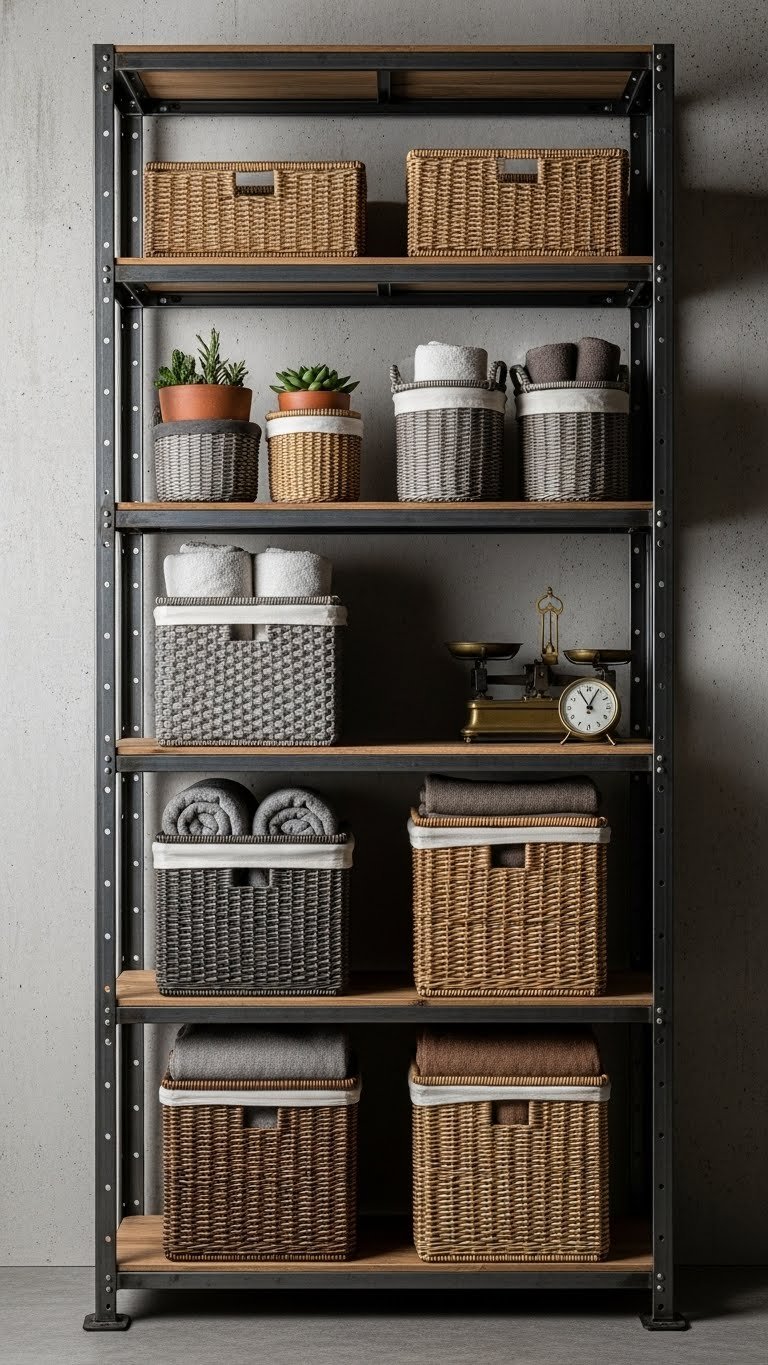
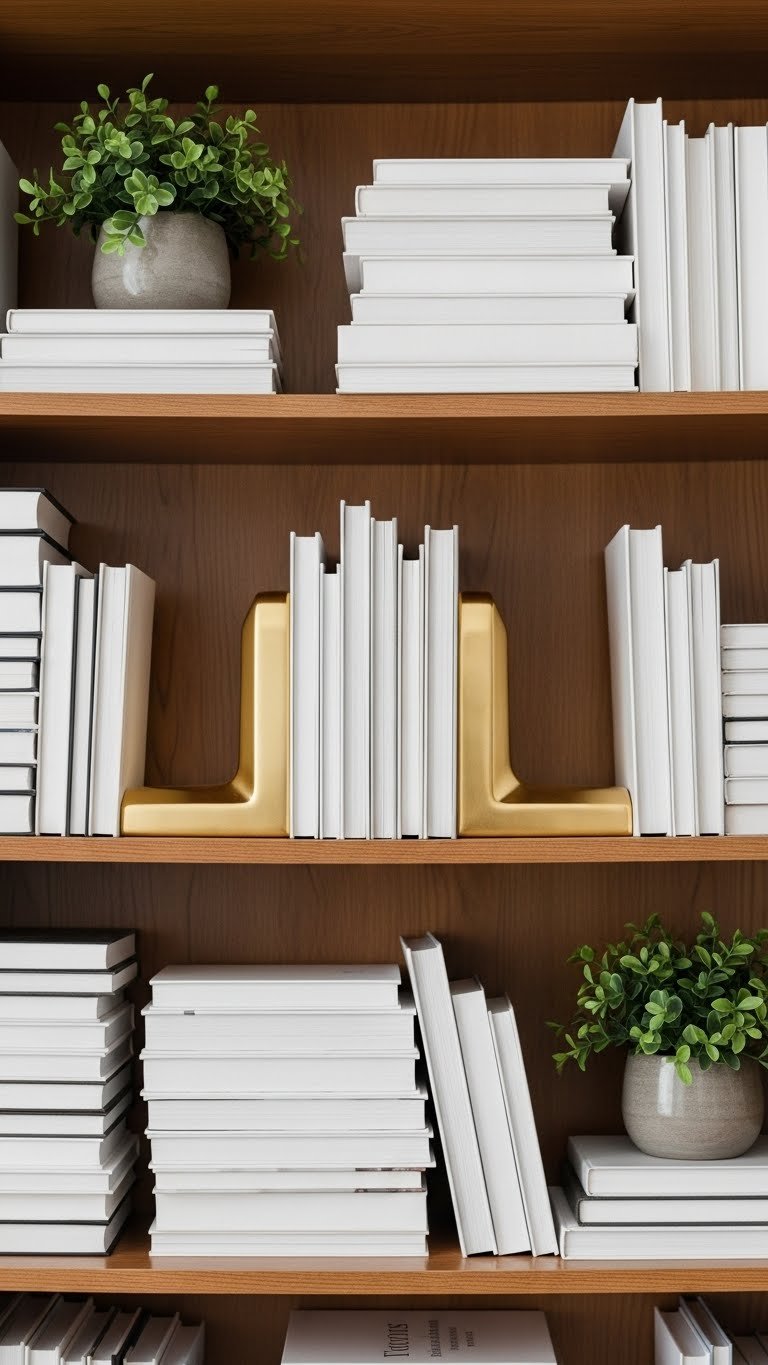
9. Organize with Coordinated Storage Baskets and Labels

Matching baskets create visual calm while keeping categories separate. Labels ensure everyone finds what they need without creating chaos.
Coordinated basket sets cost $40–$120 for a collection of 3–5 from Target, Container Store, or Wayfair. Label makers are $15–$30. Total investment: $60–$150. This is a quick weekend project—about 1 hour to fill and label everything.
Your space looks intentional instead of cluttered. Family members know where supplies belong. Everything stays tidy longer.
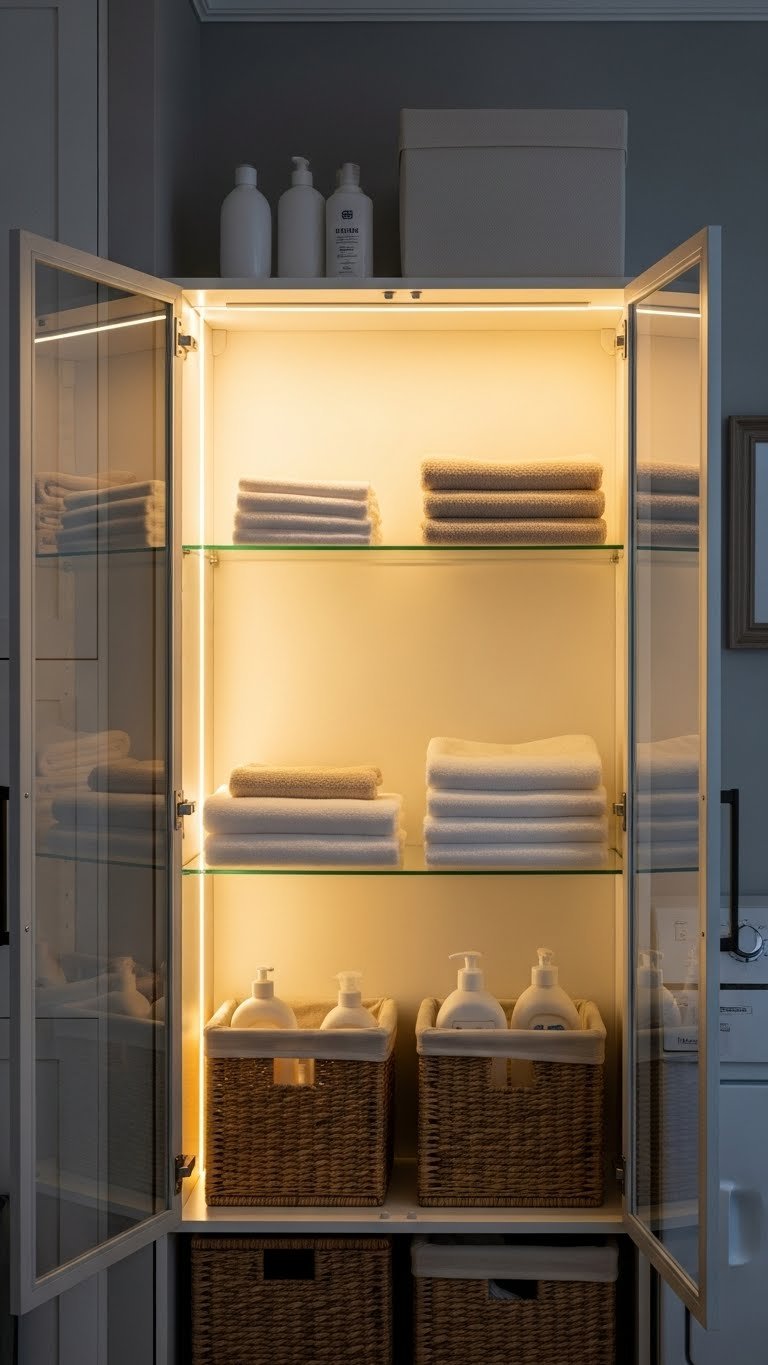
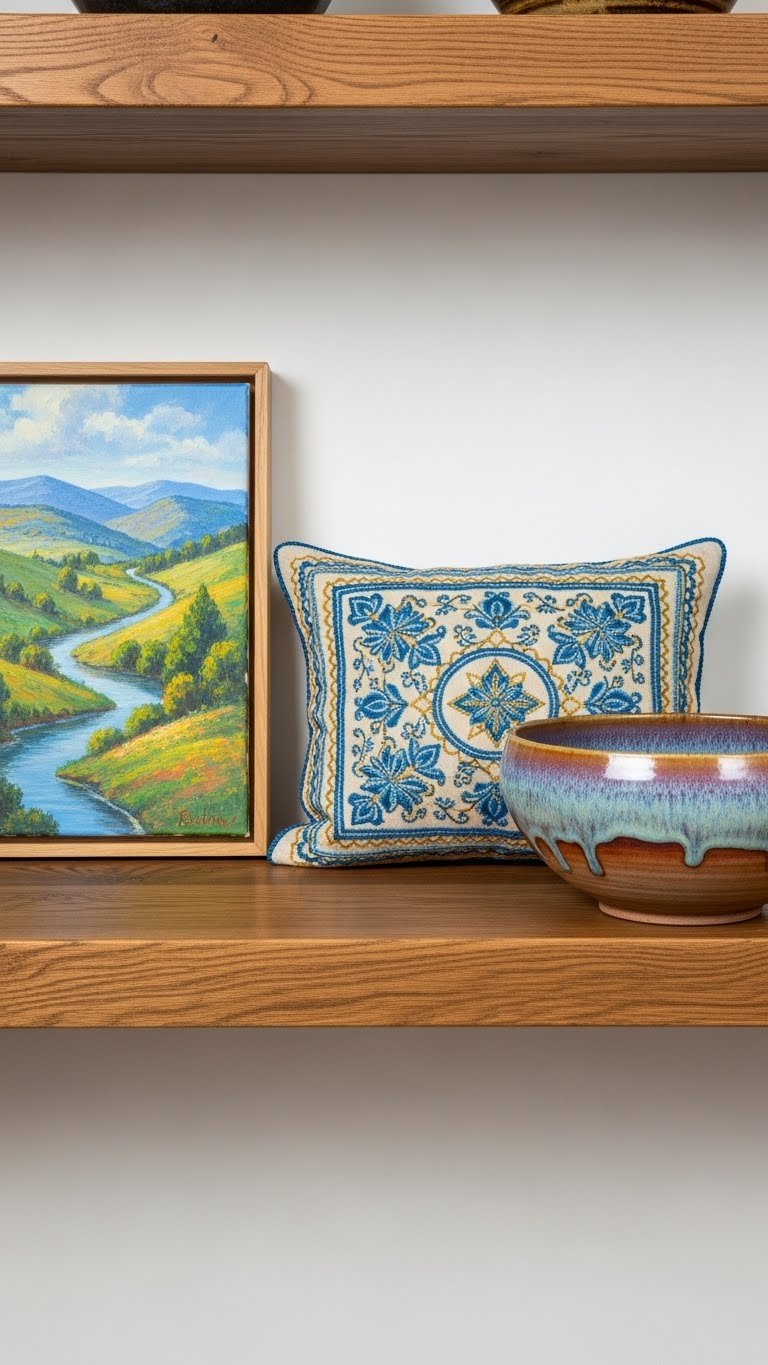
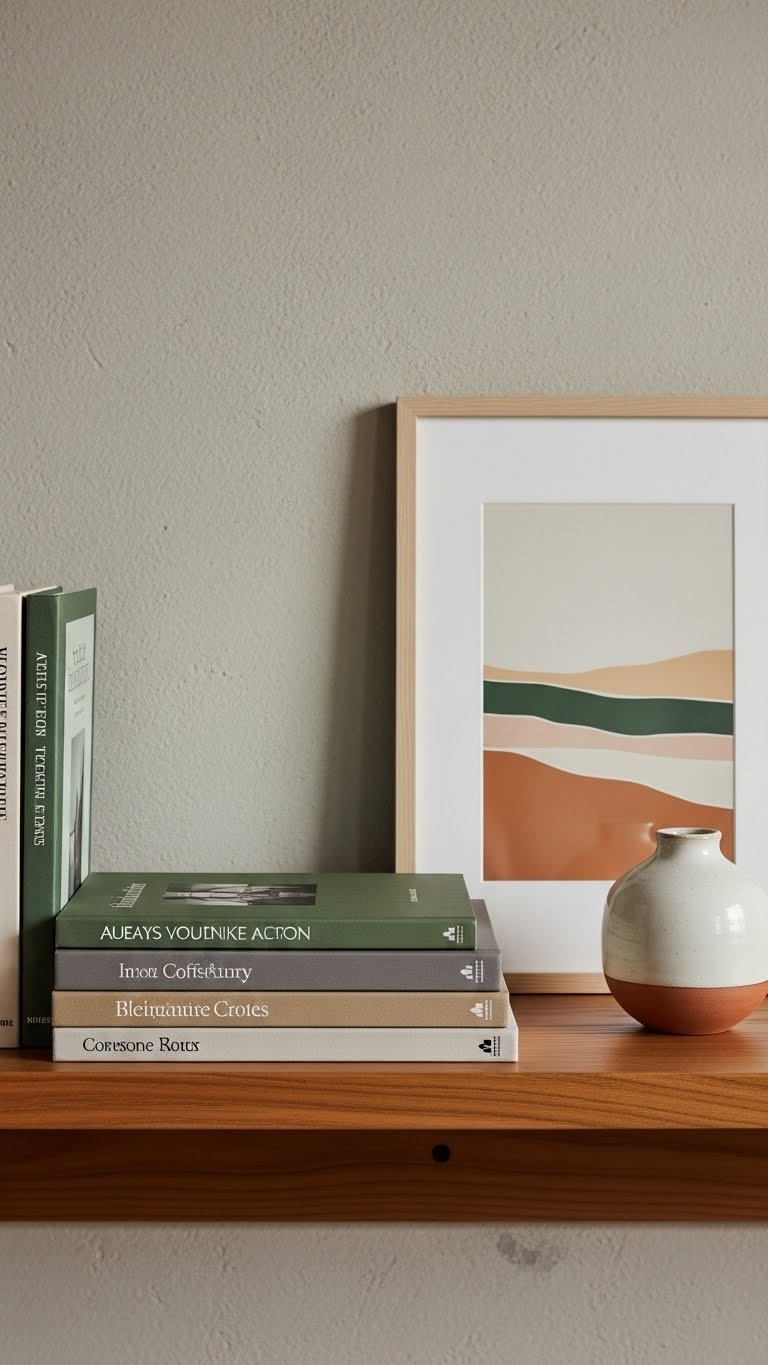
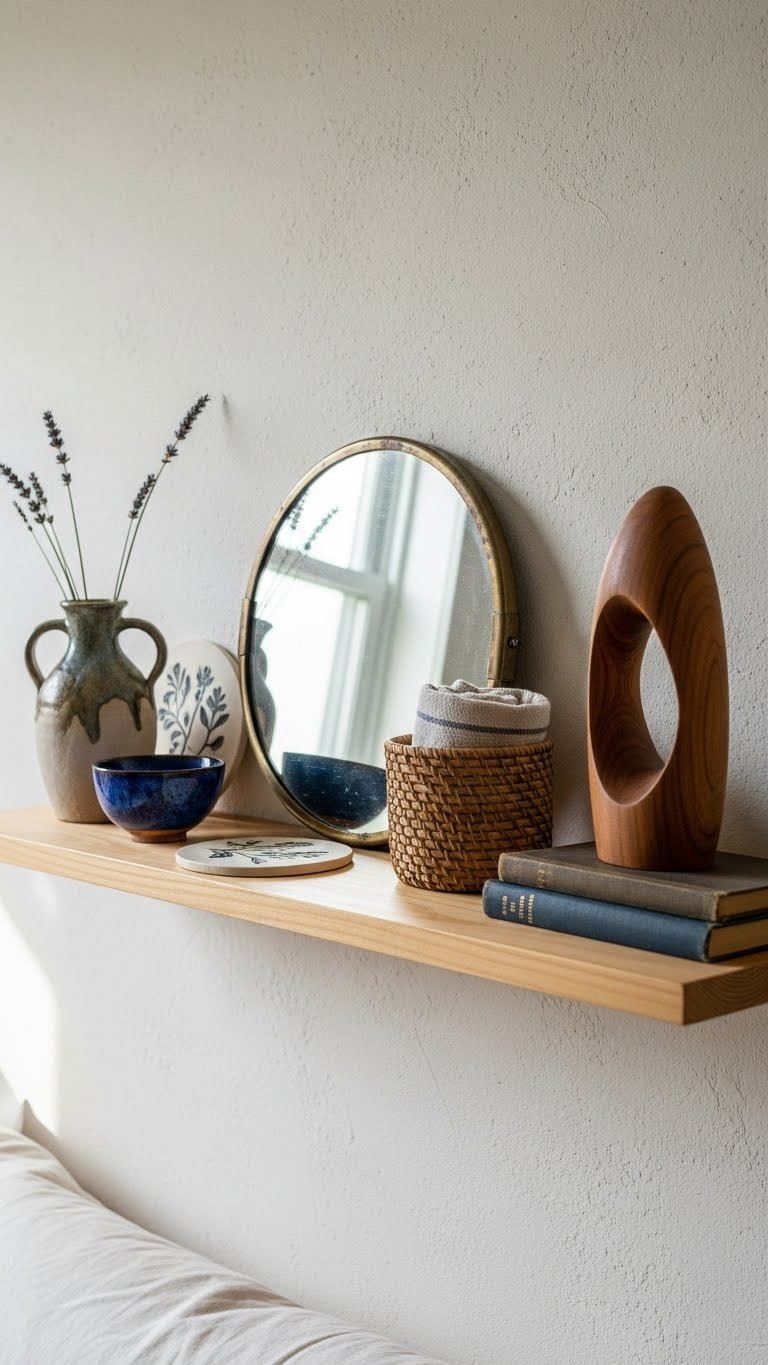
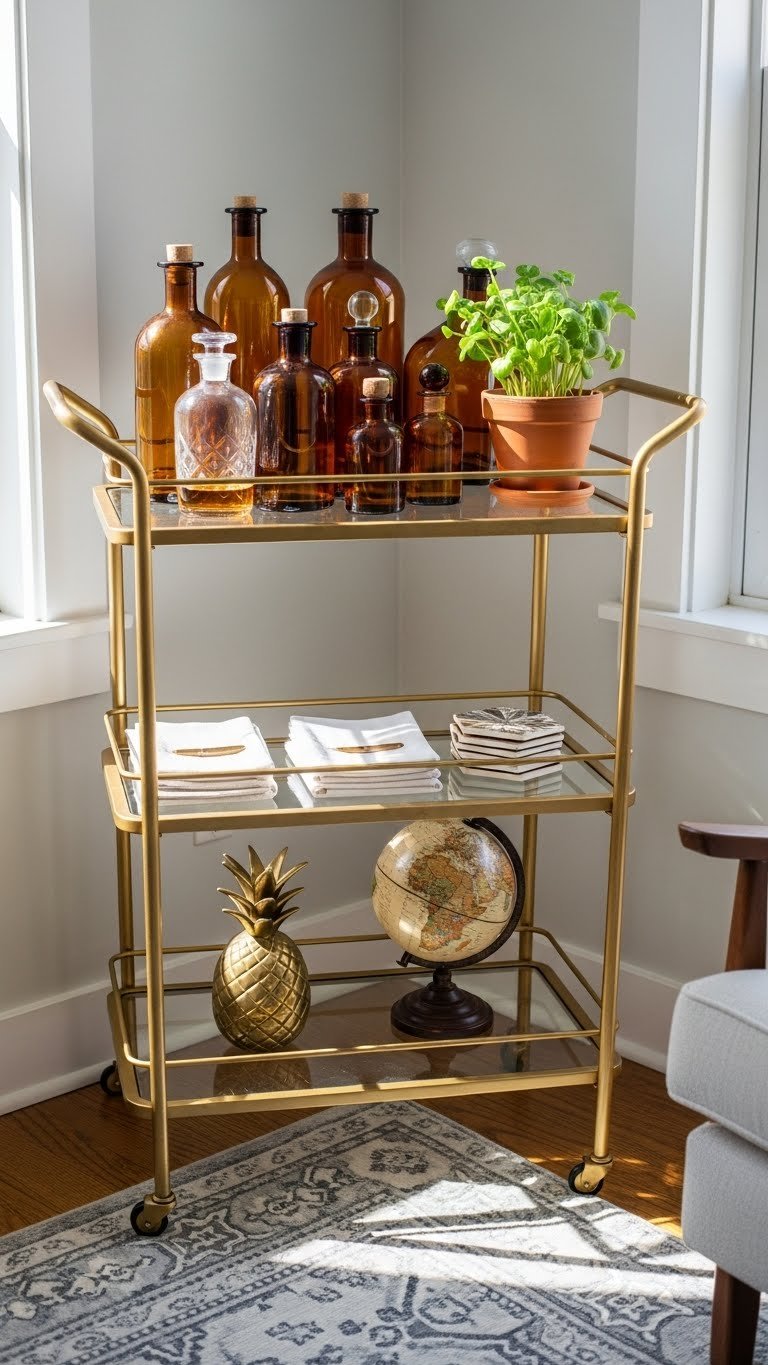
10. Create an Open-Closed Storage Combo

Mixing open and closed storage lets you display pretty items while hiding the clutter. It’s the sweet spot between function and aesthetics.
This approach uses existing cabinets plus floating shelves (total: $200–$500). Rearranging existing pieces costs nothing. If you’re building from scratch, budget $600–$1,200 for a combination setup. No additional time beyond installation.
Your room looks curated, not chaotic. Pretty items catch the eye. Ugly supplies stay hidden. Guests won’t judge your cleaning stockpile.
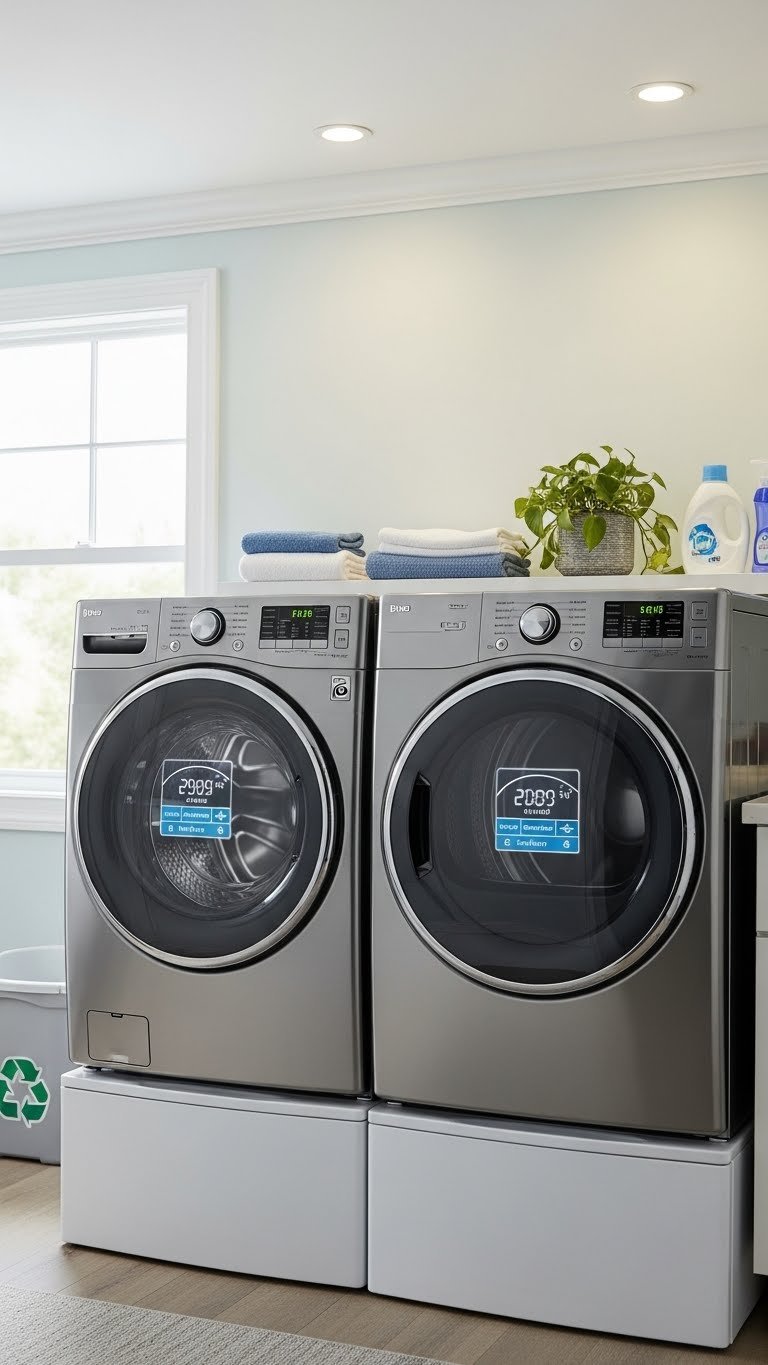
11. Switch to Smart, App-Controlled Appliances
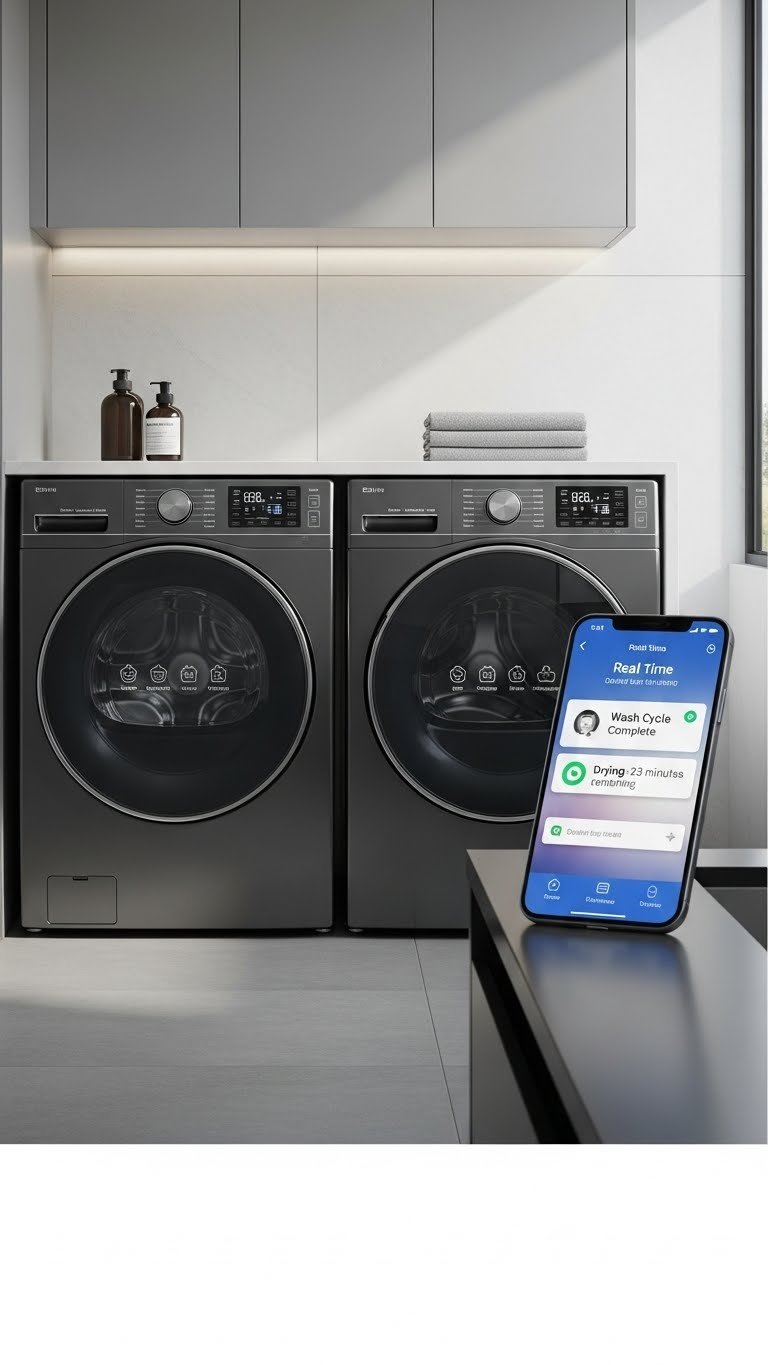
Smart washers and dryers let you start, stop, and monitor loads from your phone. No more guessing if you left the washer running.
Smart appliances cost $900–$1,800 per unit depending on capacity and features. Brands like LG, Samsung, and GE all offer app-connected options. The app is usually free; sometimes there’s a subscription for advanced features ($3–$8/month). These machines last 10–15 years, so the per-year cost is reasonable.
You get alerts when loads are done. You control everything remotely. Laundry day becomes way less manual and stressful.
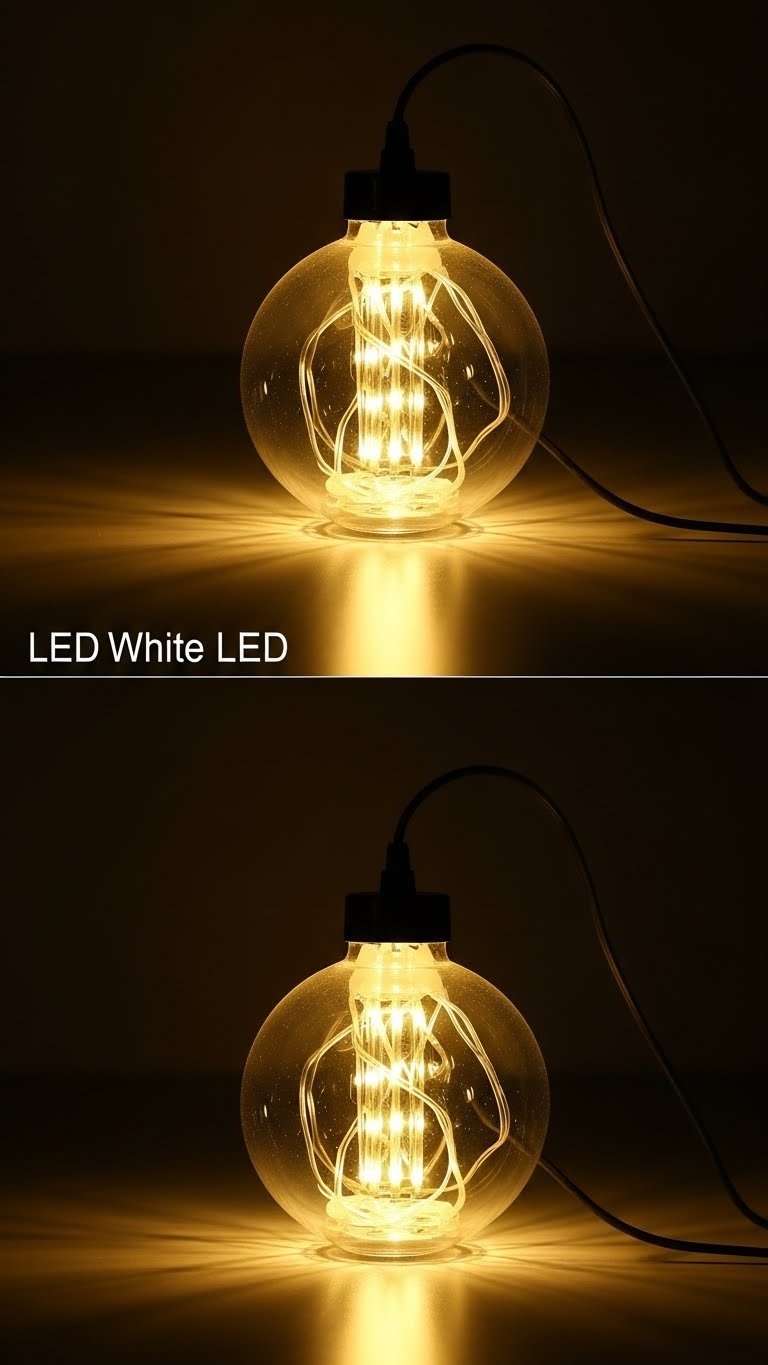
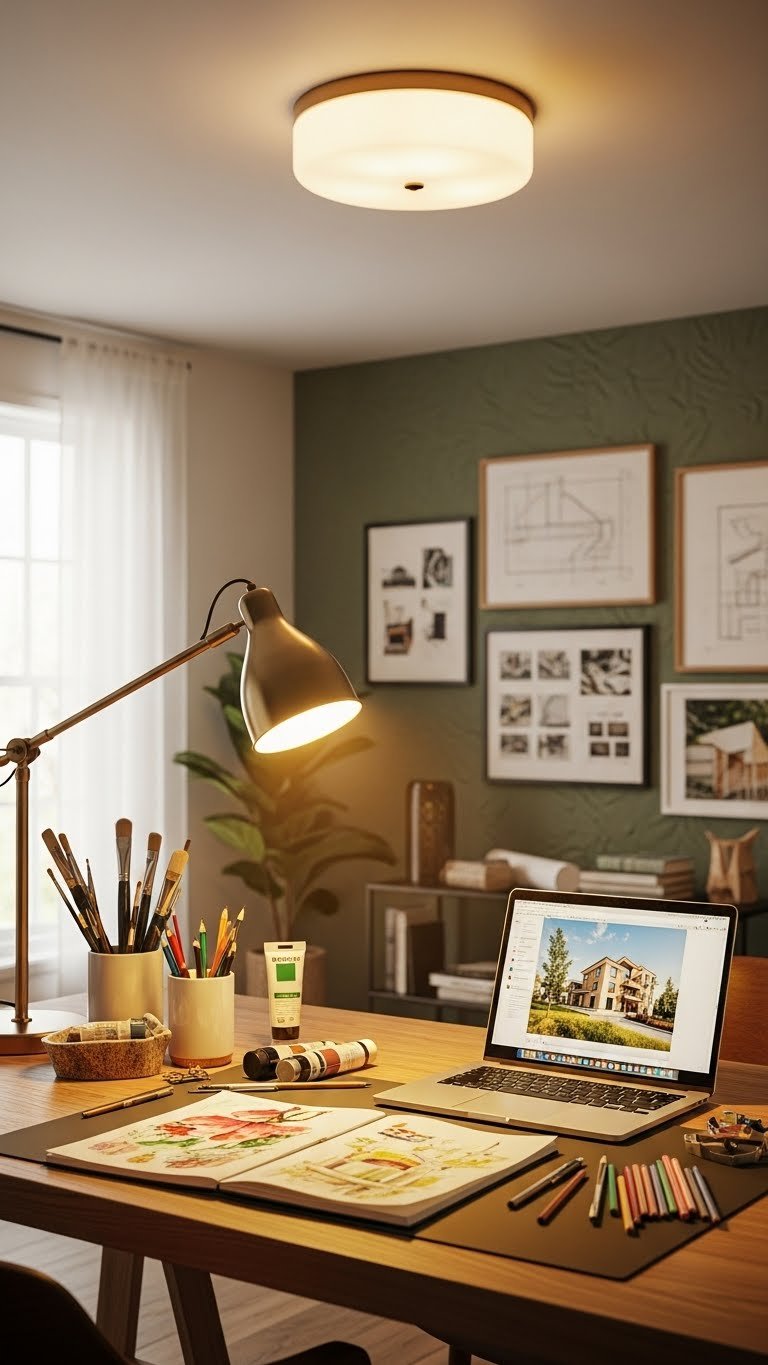
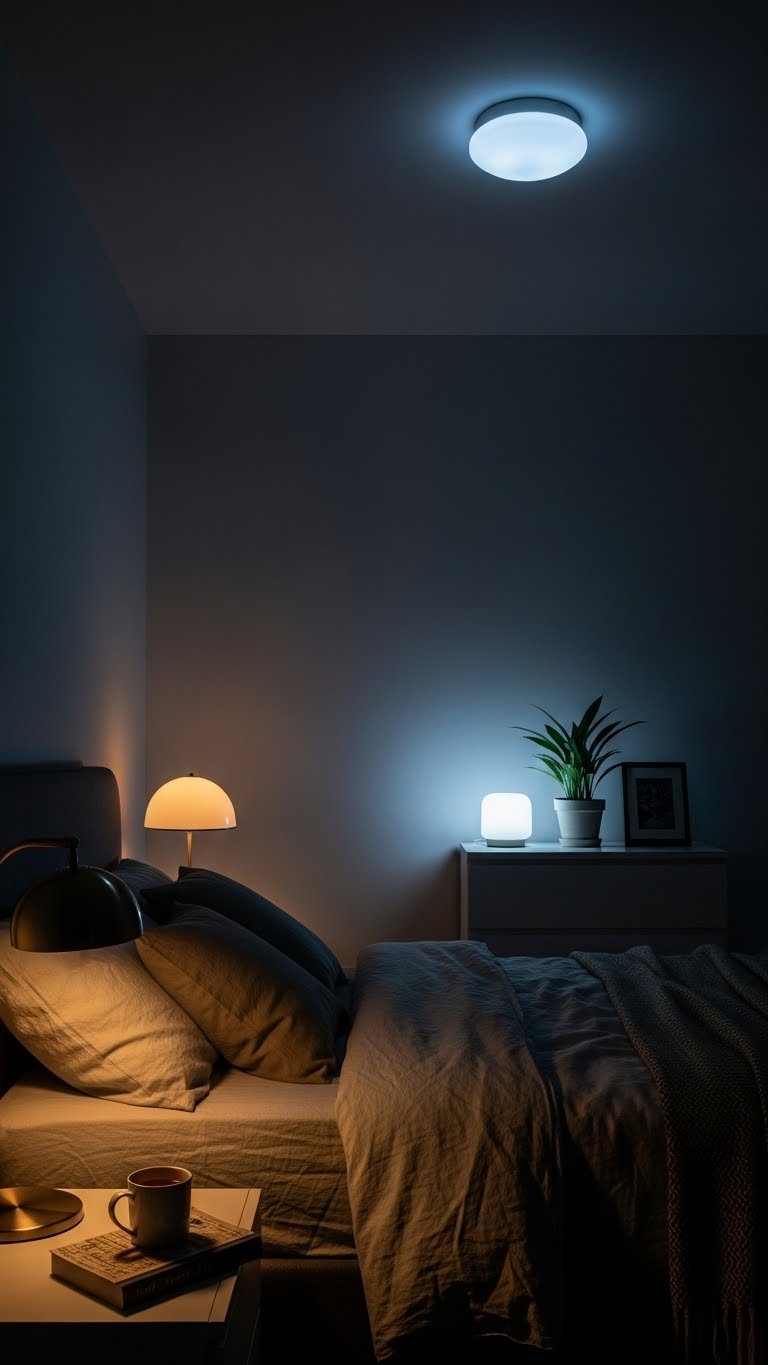
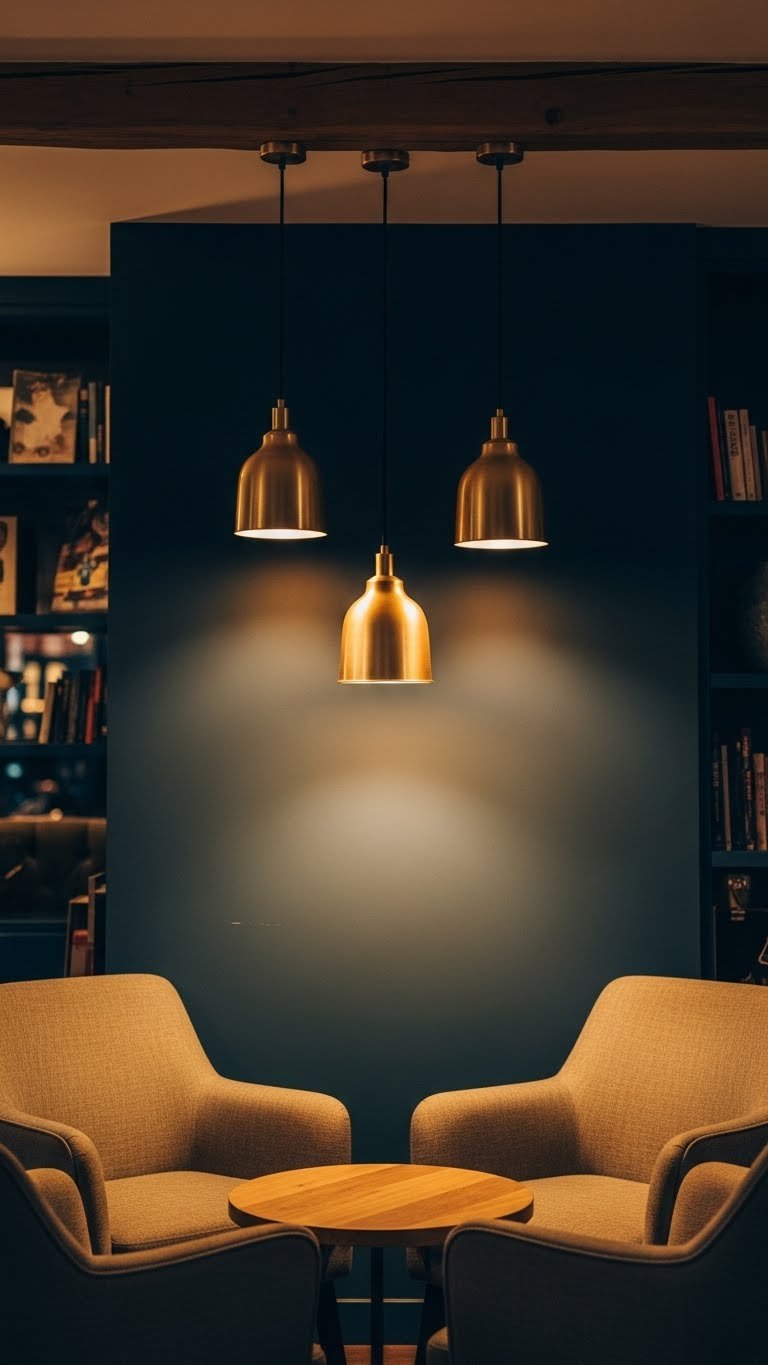
12. Install Efficient Task Lighting and LED Strips
Good lighting makes you want to work in the space and helps you spot stains and dirt. LED strips and overhead fixtures eliminate dark corners.
Basic LED strips cost $15–$50; pendant fixtures run $30–$150 depending on style. Total lighting upgrade: $80–$250. Installation is usually 1–2 hours if you’re comfortable with basic wiring. Electricians charge $200–$400. Renters can use battery-operated LED strips ($20–$40) and clip-on lights.
Your space feels brighter and more inviting. You actually see what you’re doing. Task lighting makes folding and stain-treating easier.
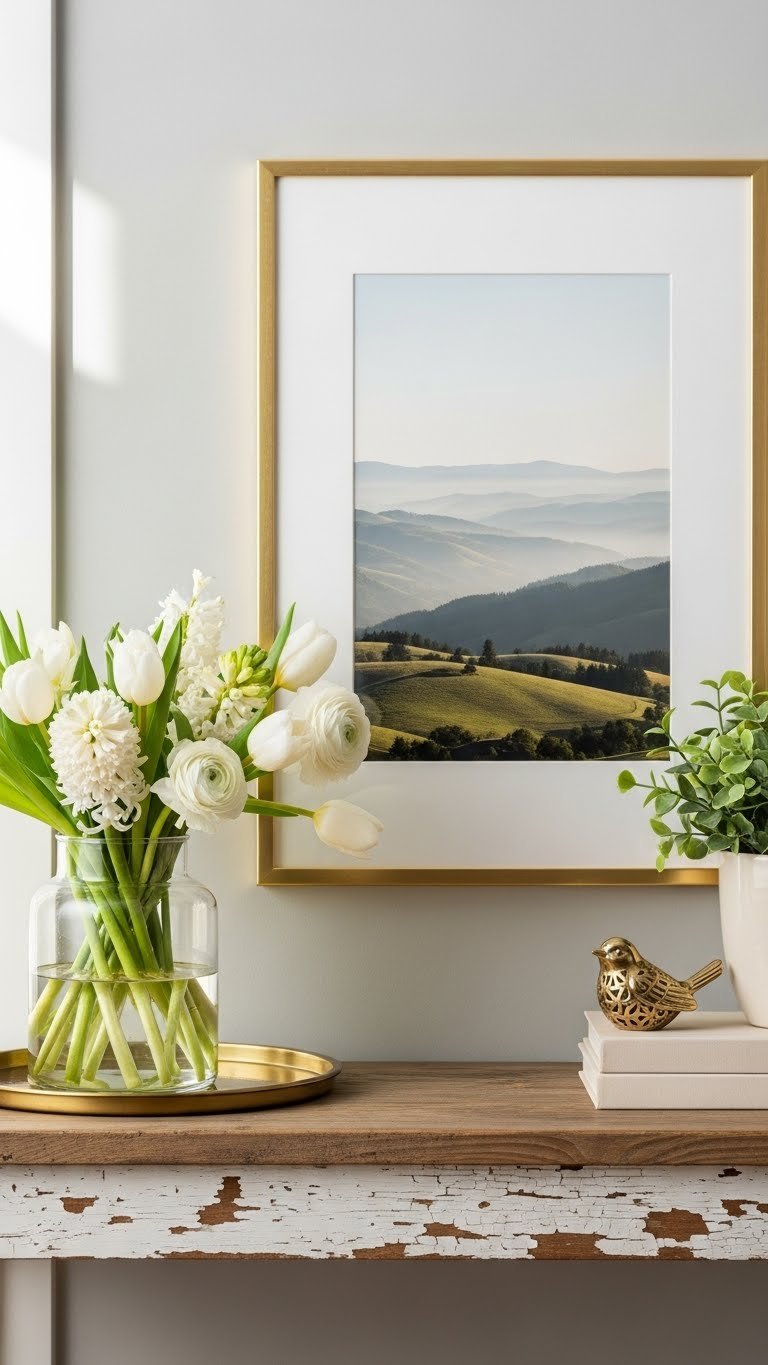
13. Add Matte Black or Brushed Nickel Fixtures for Modern Appeal
Updating hardware is a quick way to refresh your space. Modern finishes feel more high-end than basic chrome.
Faucets and fixtures range from $40–$150 depending on quality. A hardware refresh project (replacing knobs and pulls) costs $30–$80. Installation is a DIY weekend project—about 2–3 hours. Renters should check their lease before making permanent changes.
Your space instantly looks more put-together. Those small metal details add polish without a full renovation. The room feels newer and more intentional.
14. Use Compact Appliances for Tight Spaces
Compact and slimline appliances fit in hallways, closets, and corners. If you live in a city or have a tiny utility room, these are your answer.
Slimline washers cost $500–$900; compact dryers run $400–$700. These are often more energy-efficient, saving you money over time. Installation is the same as standard units. Many apartment dwellers rely on compact models because they fit where nothing else does.
You get a complete laundry setup in half the footprint. No sacrificing function for space. Your tiny room becomes fully functional.
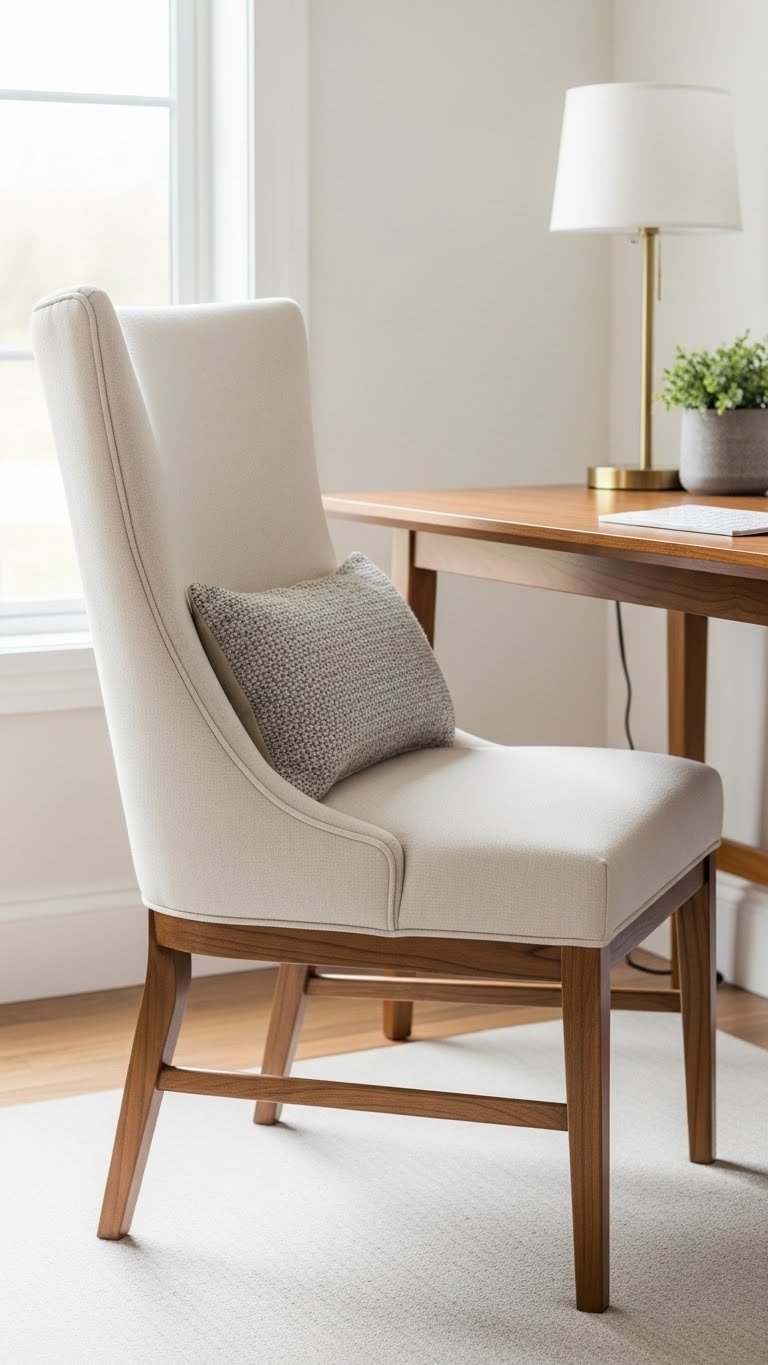
15. Create an Ergonomic Folding Counter and Height-Appropriate Storage
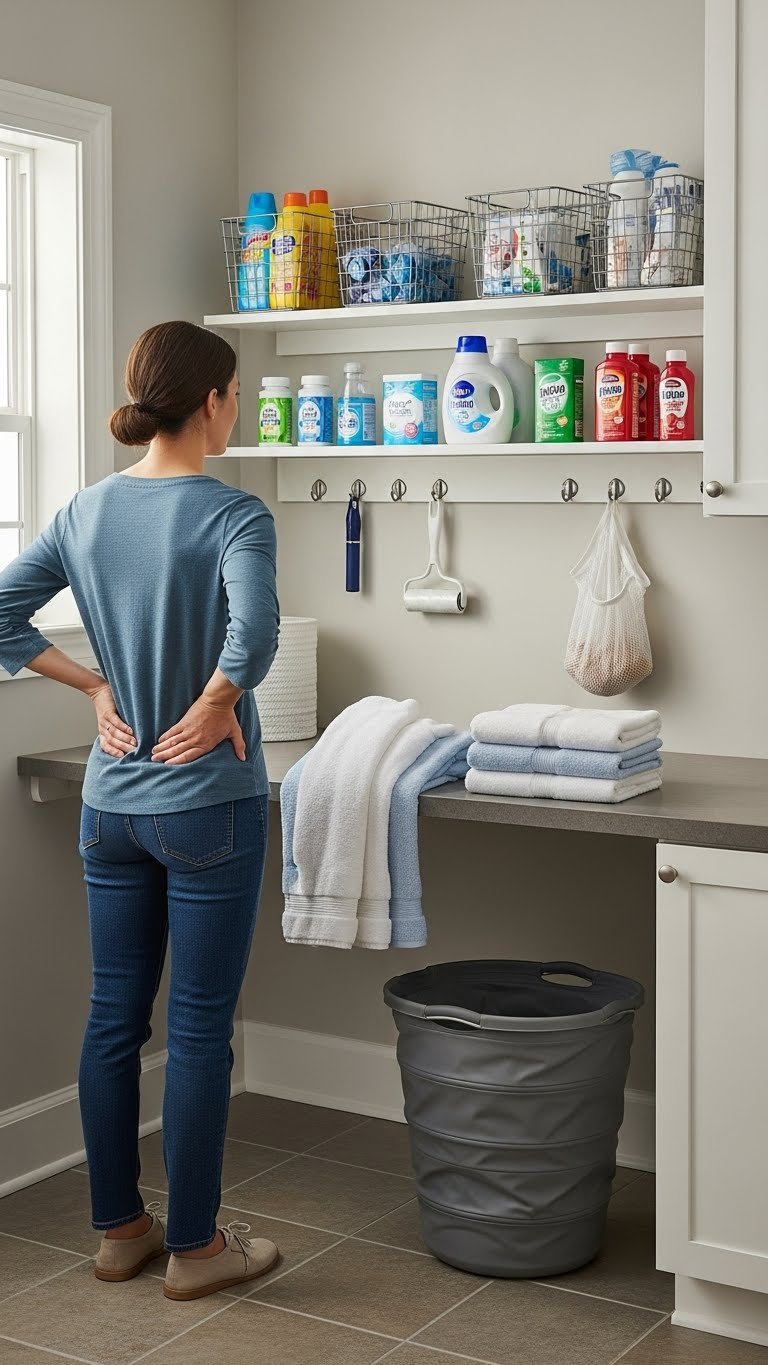
Folding at counter height instead of on a bed or table saves your back. Storing supplies at arm’s reach means less reaching and bending.
An ergonomic counter setup costs $100–$300 depending on whether you DIY or buy prefab. Positioning supplies is free. This reorganization takes about 2–3 hours. The payoff is long-term comfort—your back will thank you during laundry day.
You finish laundry without neck and back pain. Reaching supplies doesn’t feel like a stretch. Your body stays comfortable while working.
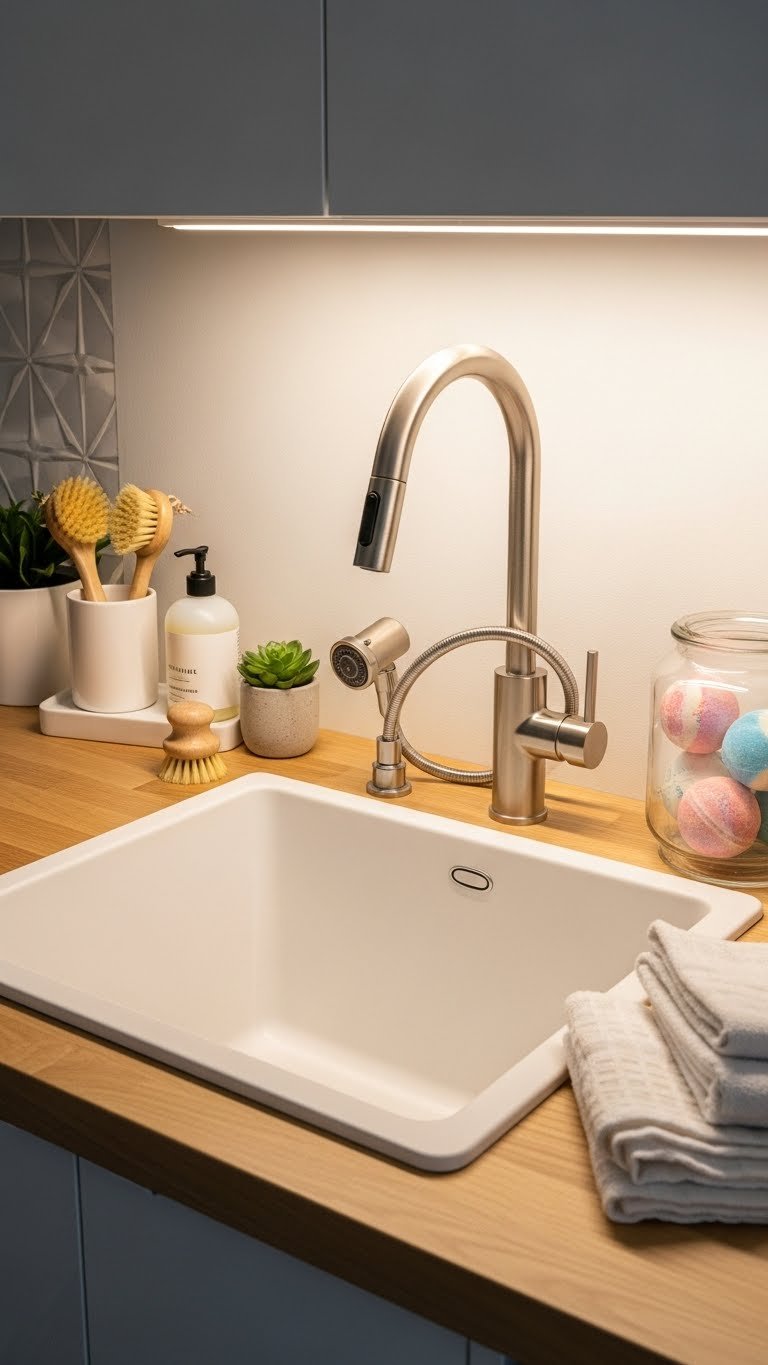
16. Install Touchless Faucets for Hygiene and Convenience
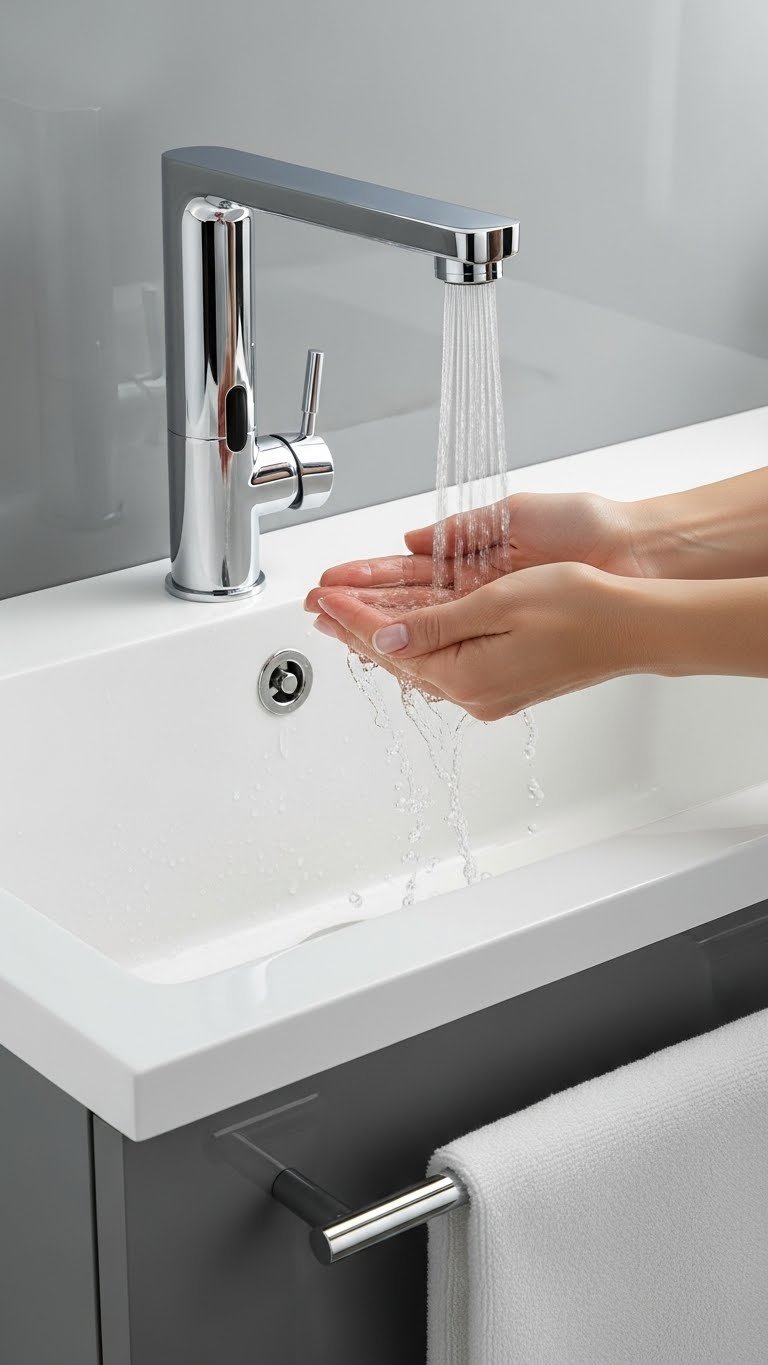
Touchless faucets reduce bacteria transfer and work great for rinsing delicates or cleaning supplies without touching handles.
Touchless faucets cost $80–$200 depending on quality and installation. They run on batteries or plug into outlets (battery options are renter-friendly). Installation is typically DIY or requires a plumber ($150–$300 if you hire out). Battery-operated models last 1–2 years per set.
You wash your hands without touching anything. Rinsing delicates is cleaner and easier. The space feels more hygienic and modern.
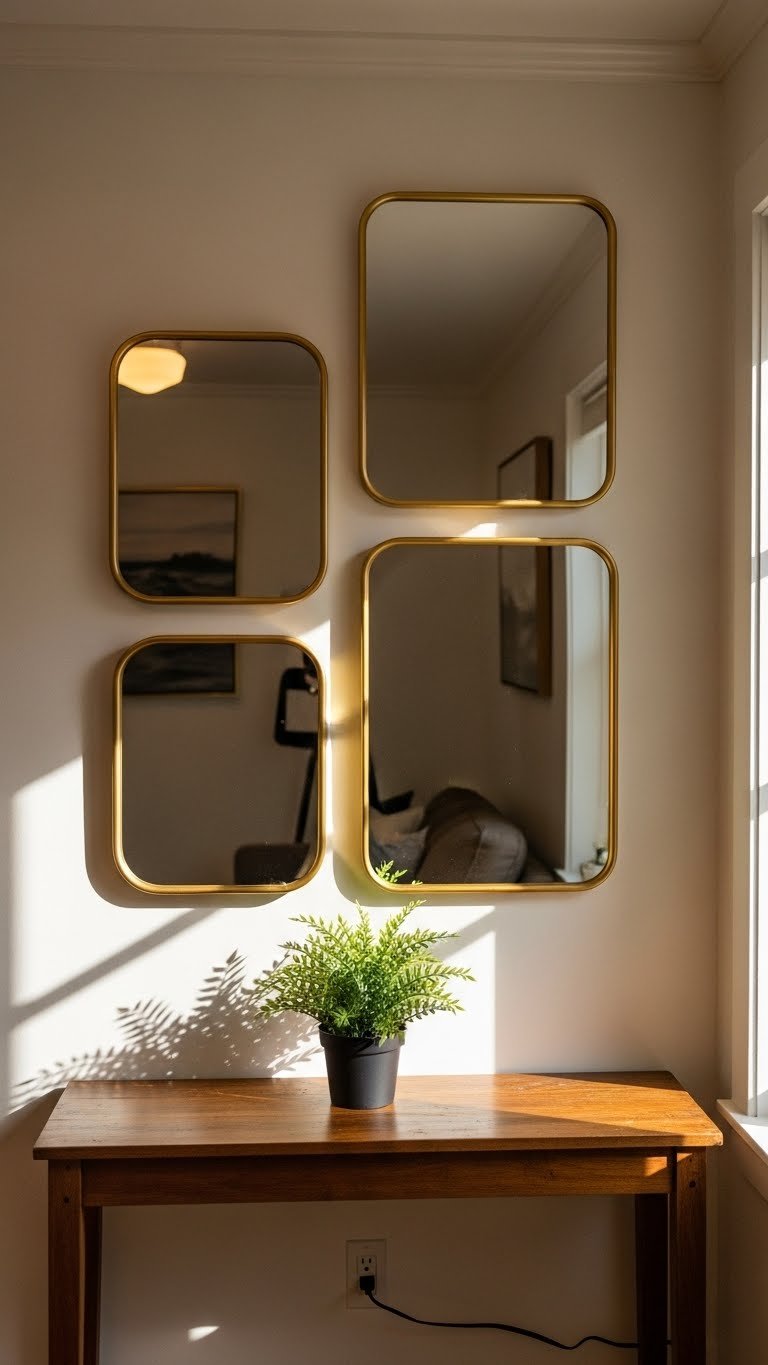
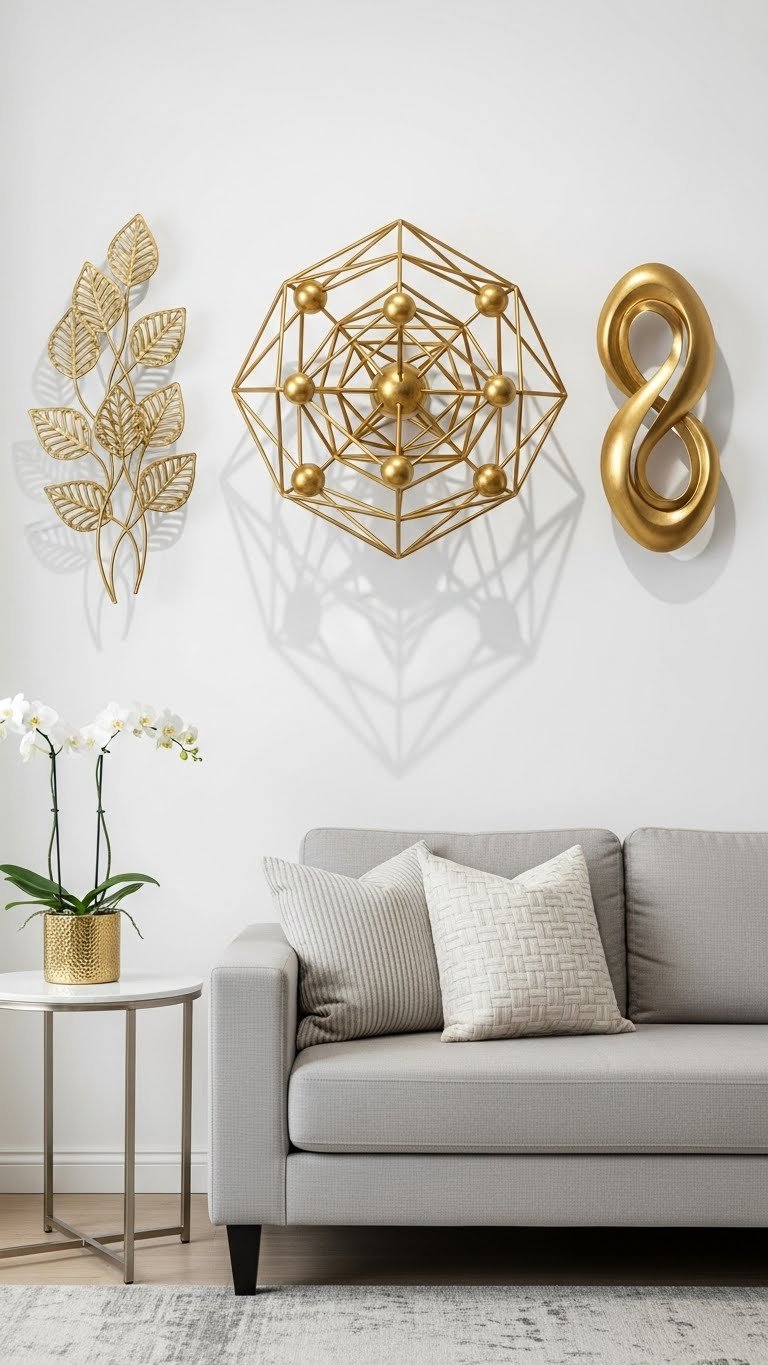
17. Mix Metal Finishes for Modern, Curated Style

Mixing metals is a modern design trend that works in small spaces. It adds visual interest without being matchy-matchy.
Updating hardware to mix finishes costs $50–$150 total. You’re simply swapping out existing pieces with new ones in different finishes. This is a 2–3 hour weekend project. The metals to combine: brushed gold, brushed nickel, matte black, and stainless steel all work together.
Your space feels intentionally designed, not randomly assembled. The mixed metals add sophistication. Your utility room looks curated.
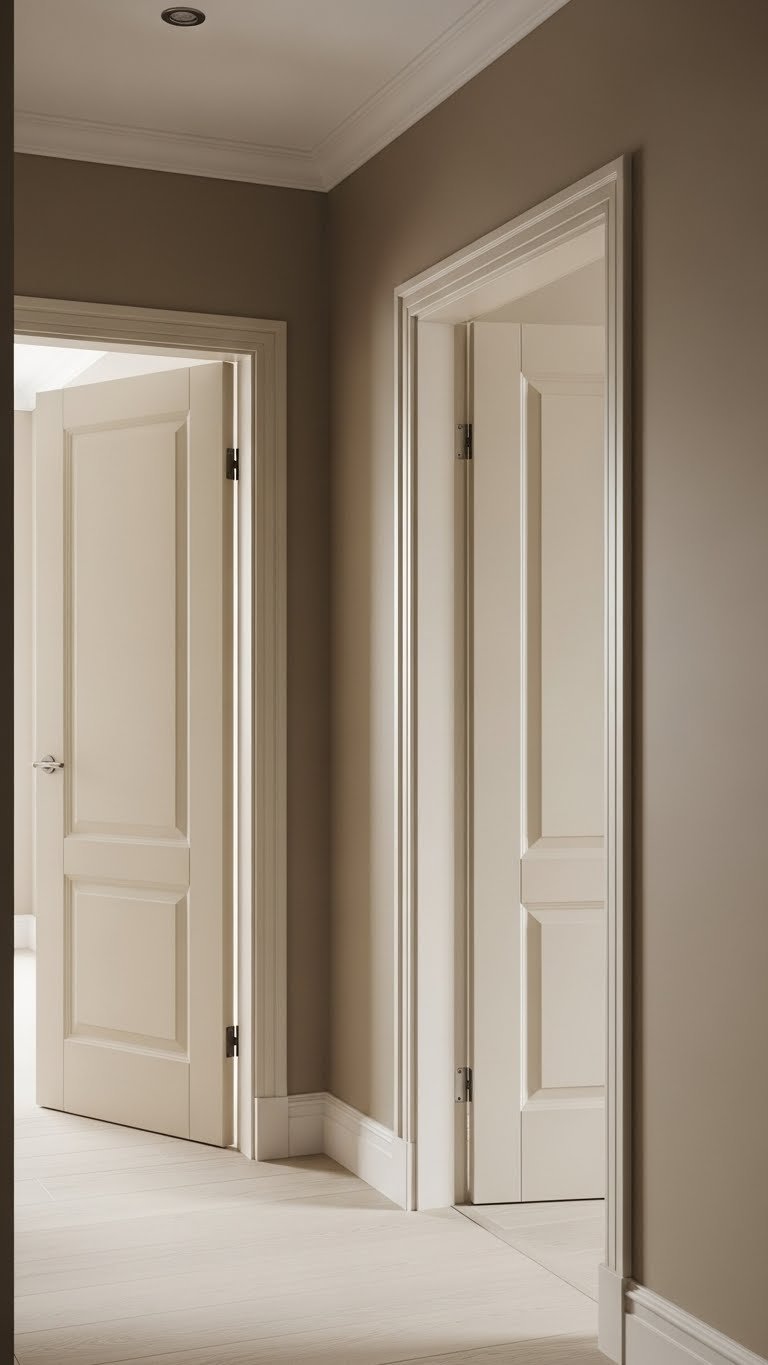
18. Add Moisture-Resistant Materials if Your Room Is in a Basement
Basements have moisture issues. Using resistant materials prevents mold, mildew, and material breakdown.
Vinyl flooring costs $100–$300 for a small room; moisture-resistant paint is $40–$60 per gallon. Total investment: $200–$400. Installation takes 1–2 days for DIY or a weekend for professionals ($400–$800). This is important if you live in a humid climate or below ground.
Your space stays dry and fresh. Mold and mildew don’t get a foothold. Materials last longer because they’re protected from moisture damage.
19. Set Up a Pet Washing Station for Fur Parents
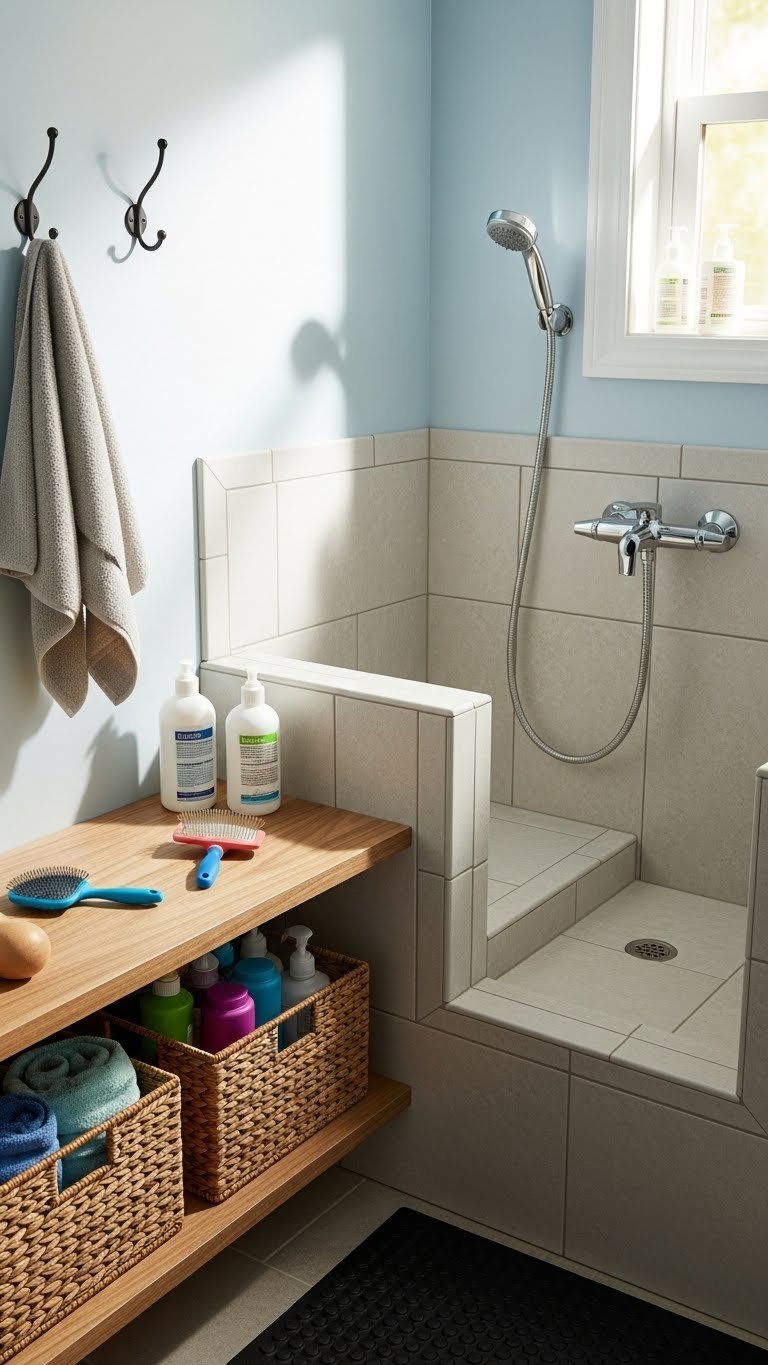
If you have dogs or cats, a dedicated pet wash station keeps your bathroom clean and makes grooming easier.
A basic pet wash basin costs $60–$150; elevating it on a platform adds $30–$80. A handheld sprayer attachment runs $25–$50. Total setup: $120–$280. Installation takes 1–2 hours if you’re adding it to existing plumbing. Some people use a large utility sink or even a kiddie pool on a platform.
Bath day becomes way less messy. Your pets get a dedicated grooming space. Your bathroom stays clean.
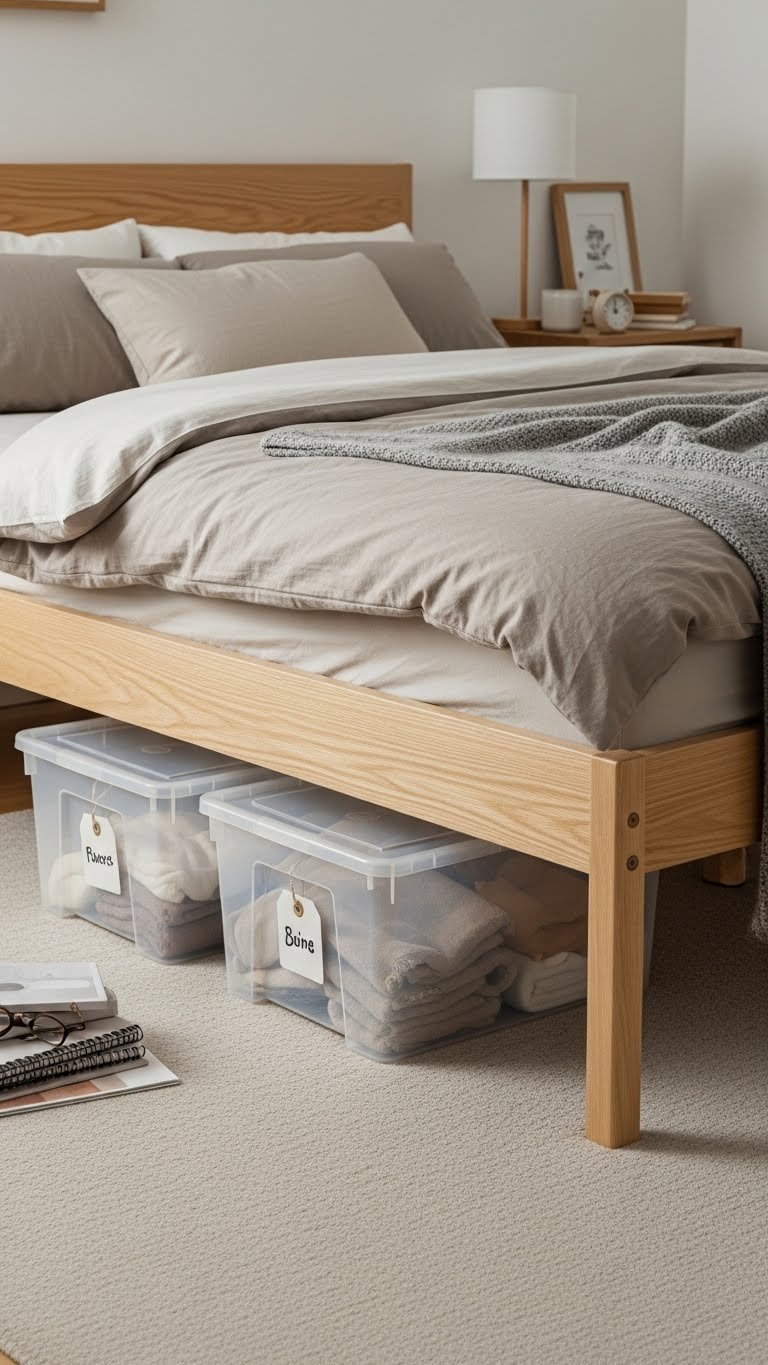
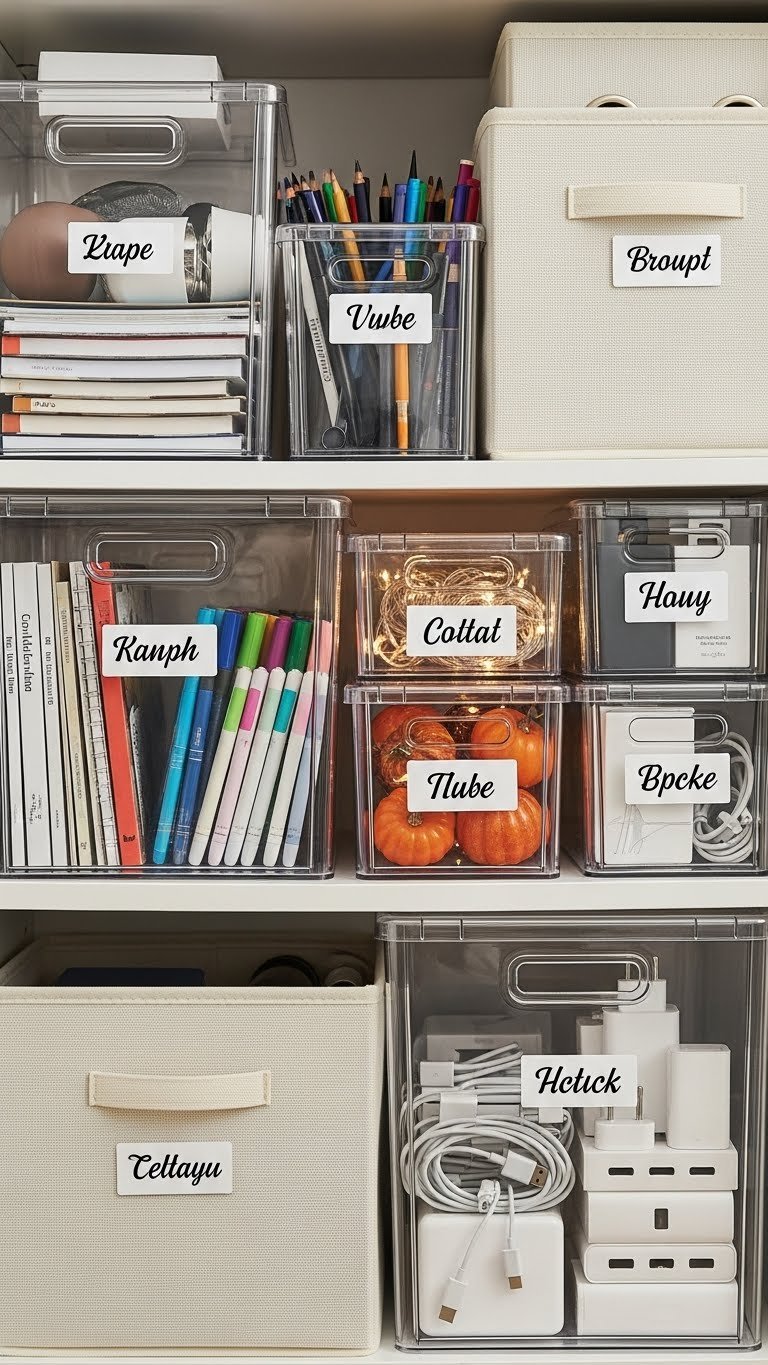
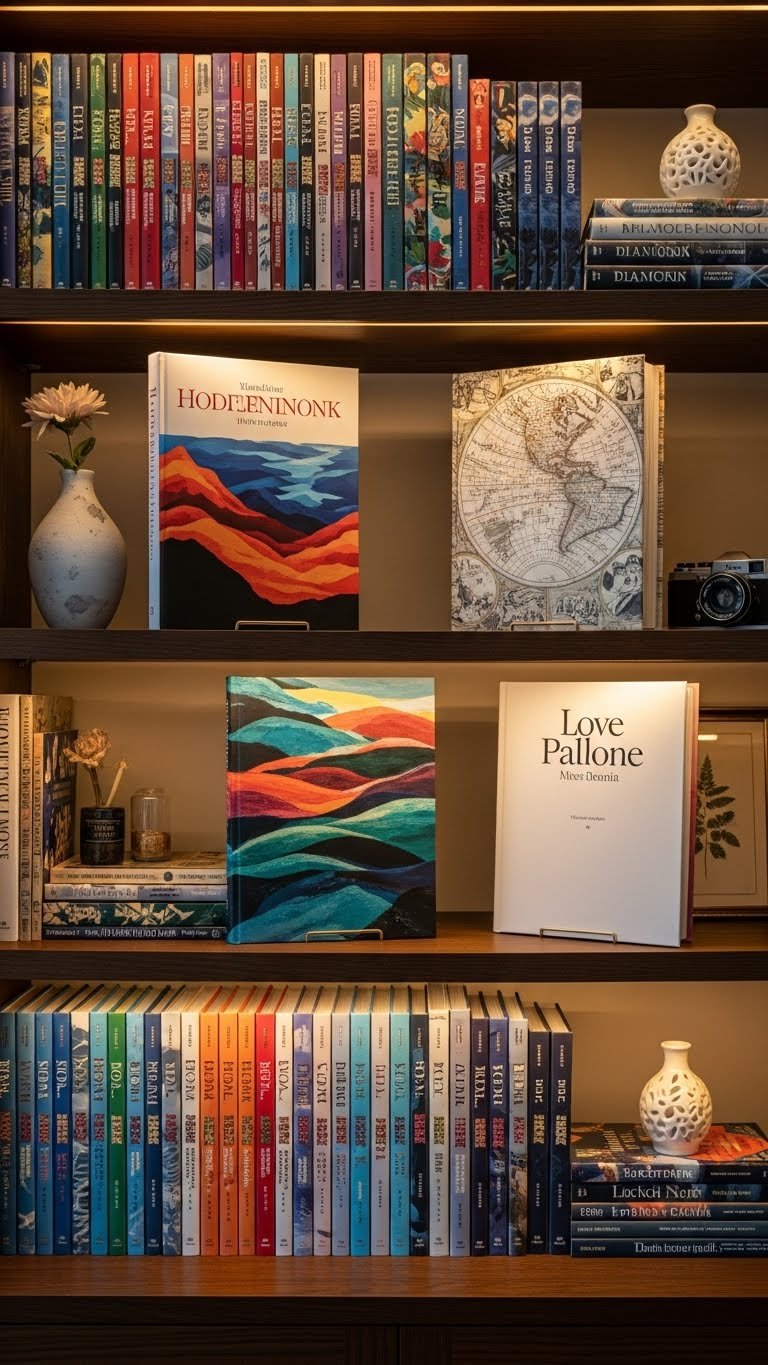
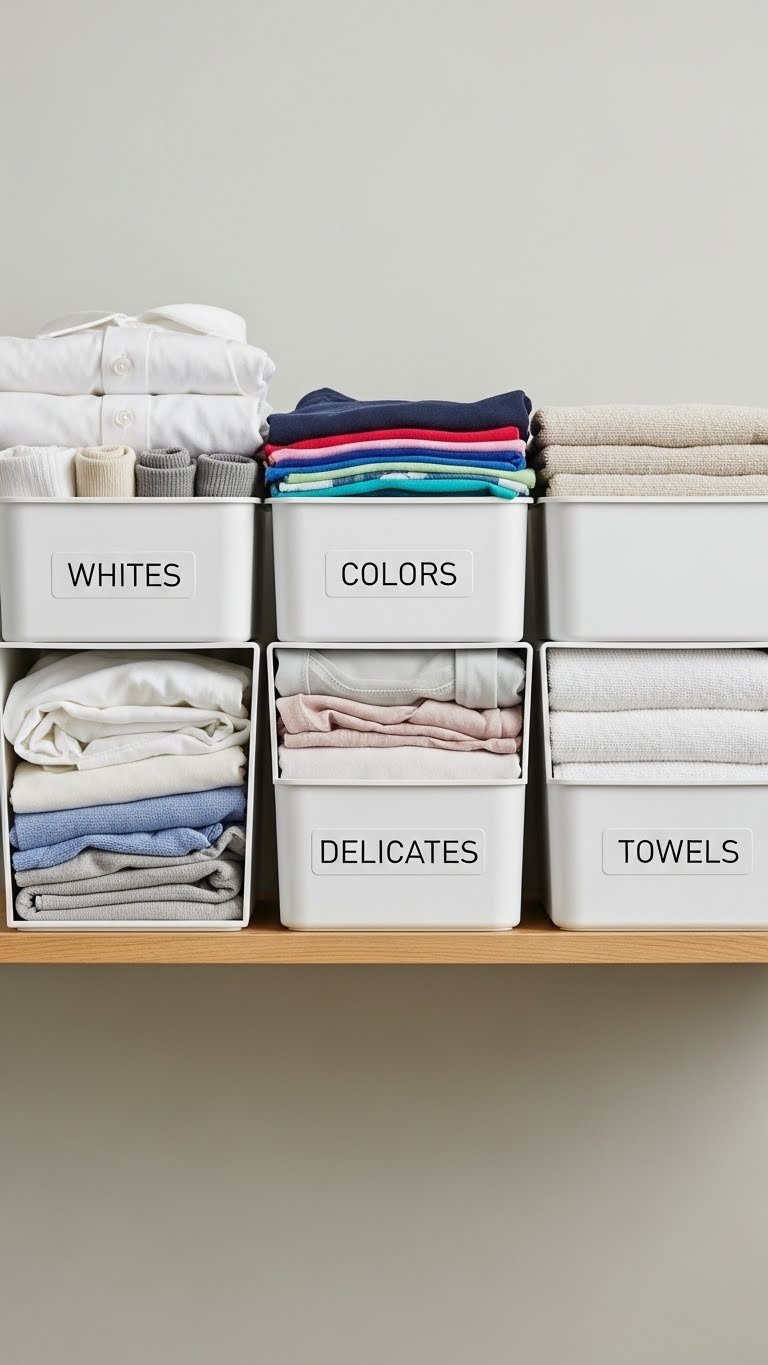
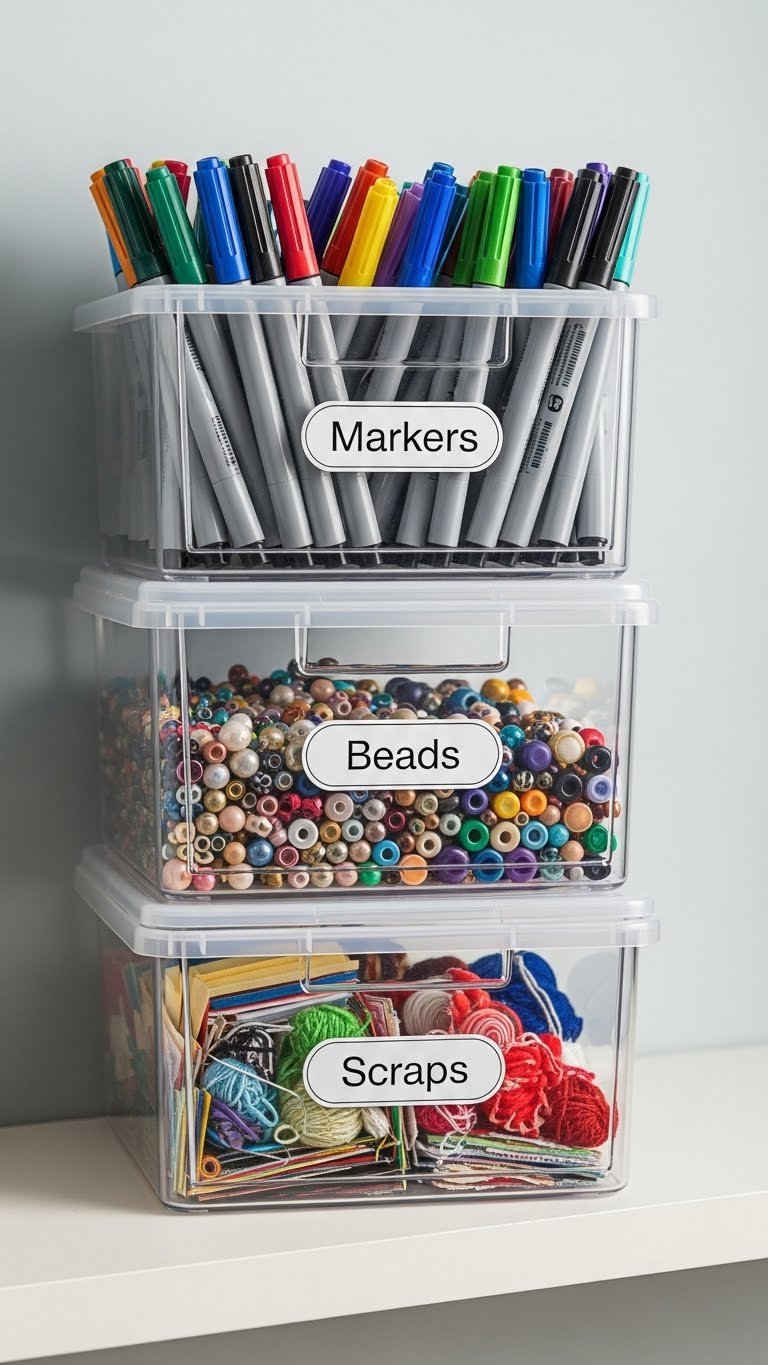
20. Use Clear or Labeled Containers for Visibility

Clear containers let you see what you need at a glance without hunting. Labels prevent confusion and waste.
Clear containers range from $20–$60 for a set depending on size and material. Chalkboard or label maker labels cost $10–$30. Total investment: $40–$90. Organization takes 1–2 hours depending on how much you’re storing.
You know exactly what you have. You reorder supplies before running out. Your space looks neat and intentional.
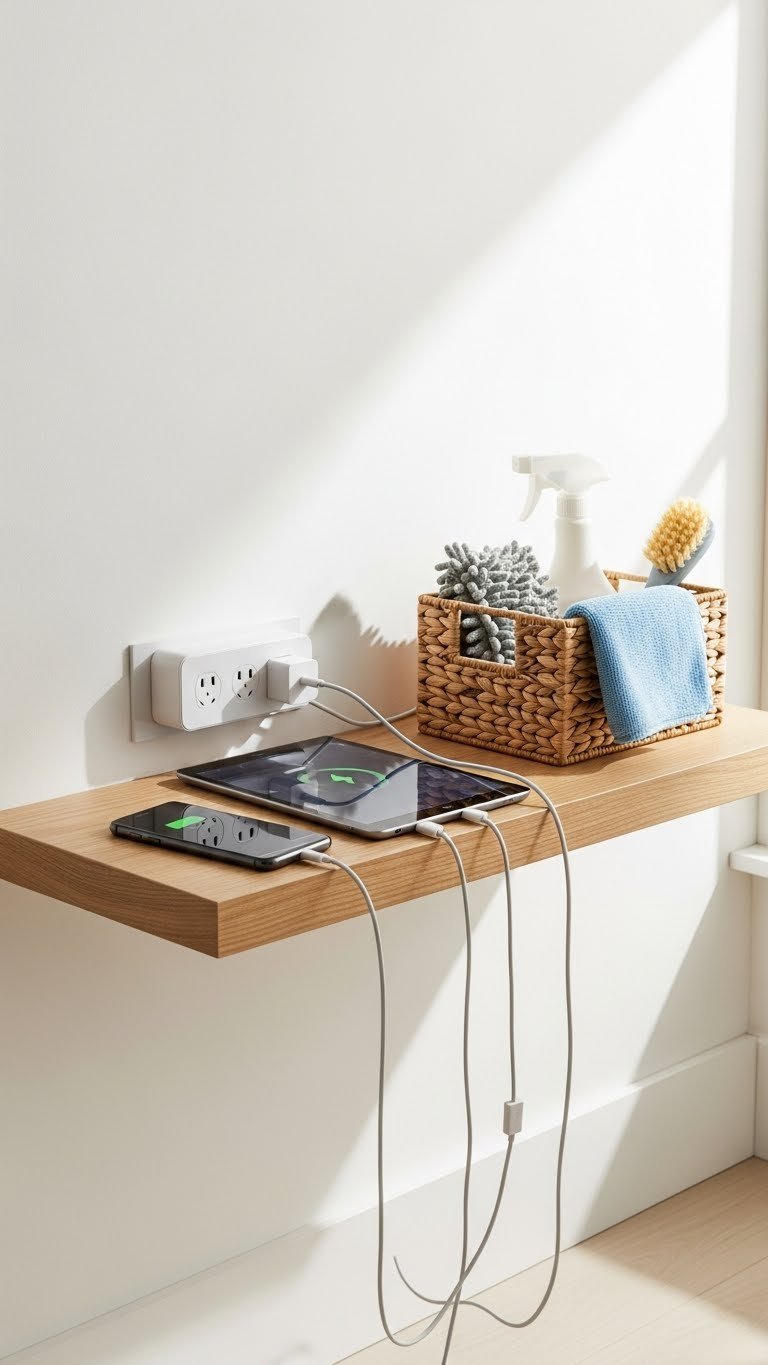
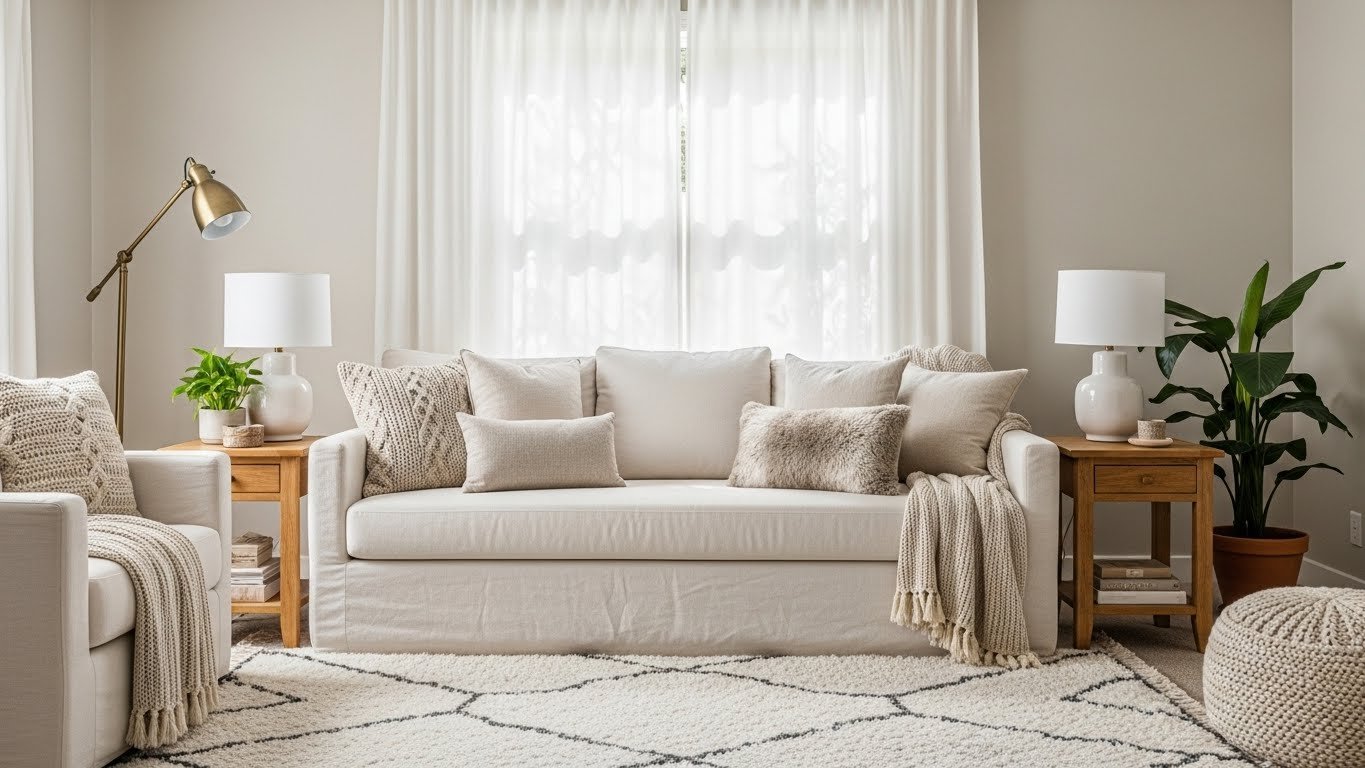
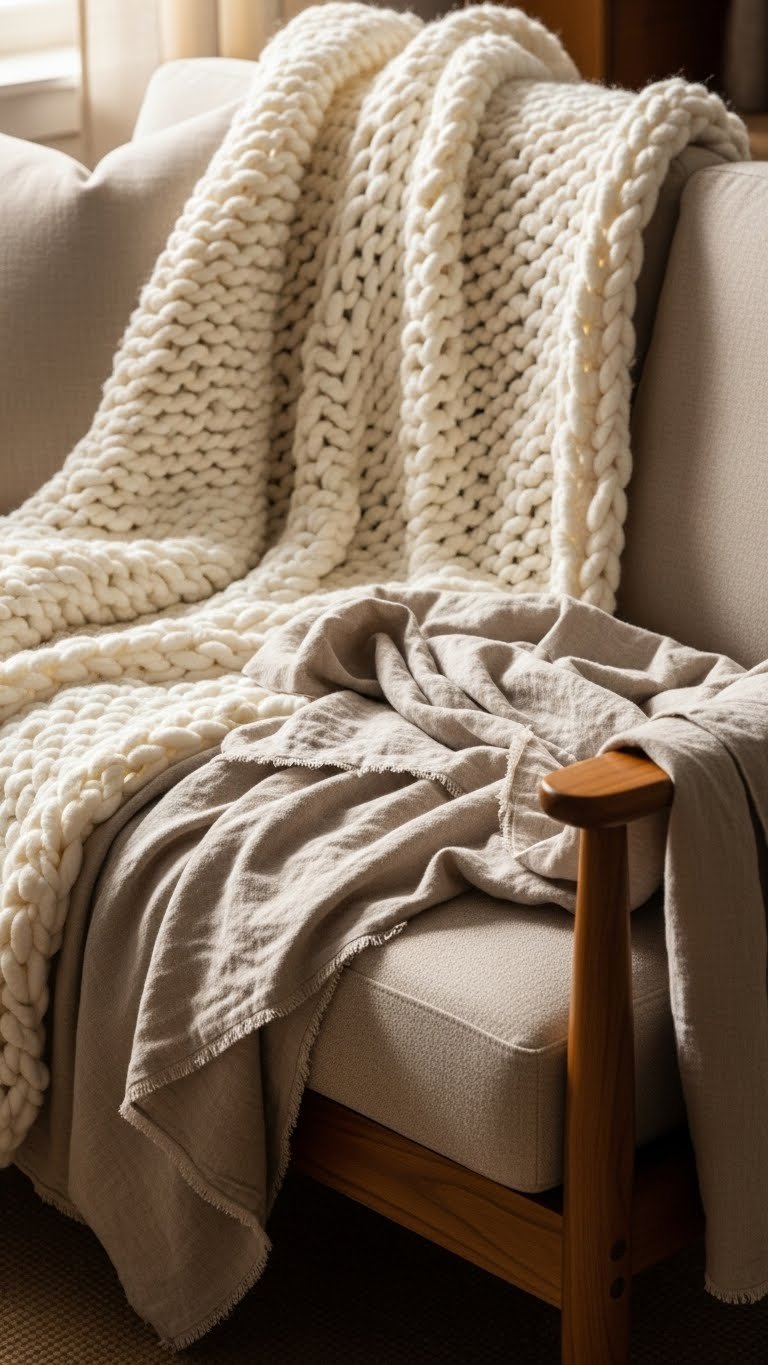
21. Install a Small WiFi-Enabled Lounge Corner (for Shared Spaces)
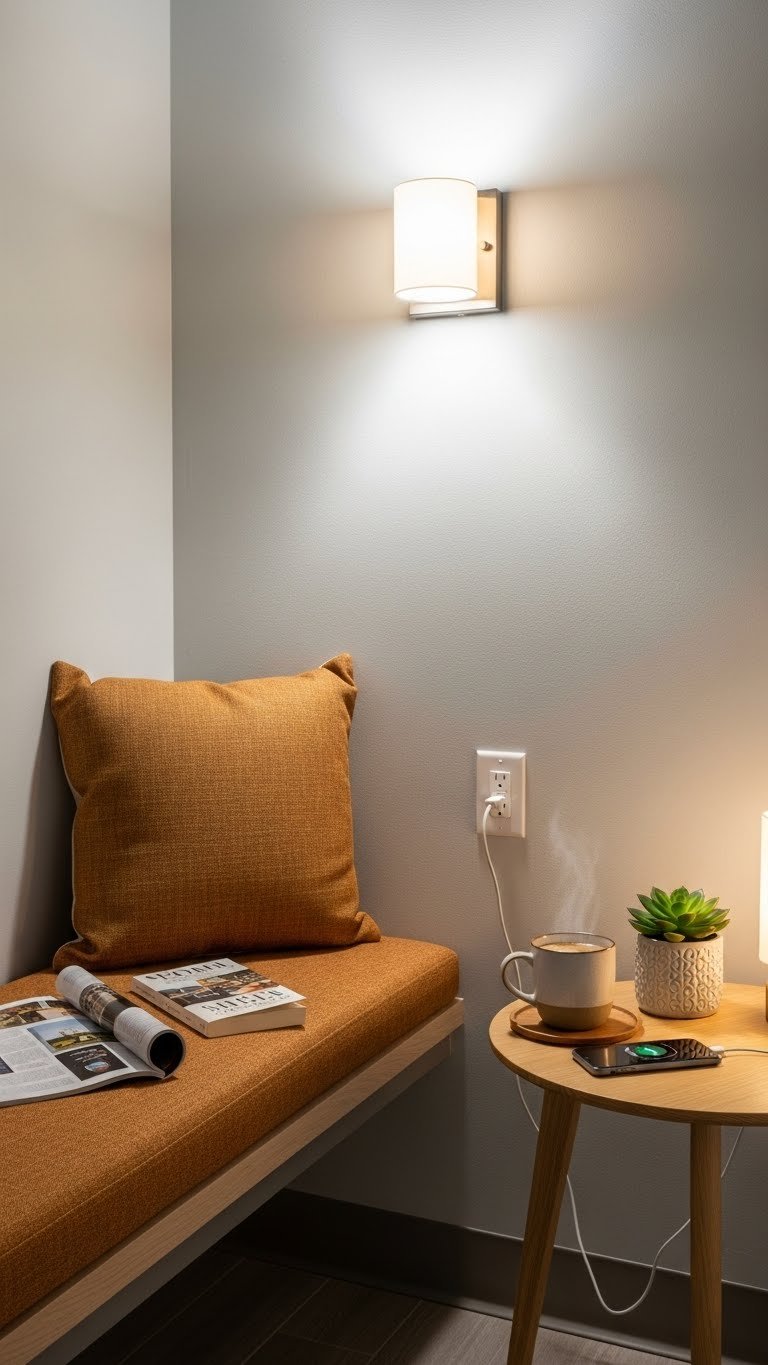
If you live in an apartment with shared laundry, a small seating area makes wait time tolerable instead of annoying.
A cushioned bench costs $80–$180; a side table is $30–$80; WiFi extender is $40–$80. Total: $150–$340. Check with management before installing anything permanent. This project takes an afternoon if you’re adding seating.
You’re not stuck standing in a utility room waiting for loads. You have a real place to sit and relax. Your laundry day becomes less tedious.
22. Create Hidden Appliances Behind Cabinetry
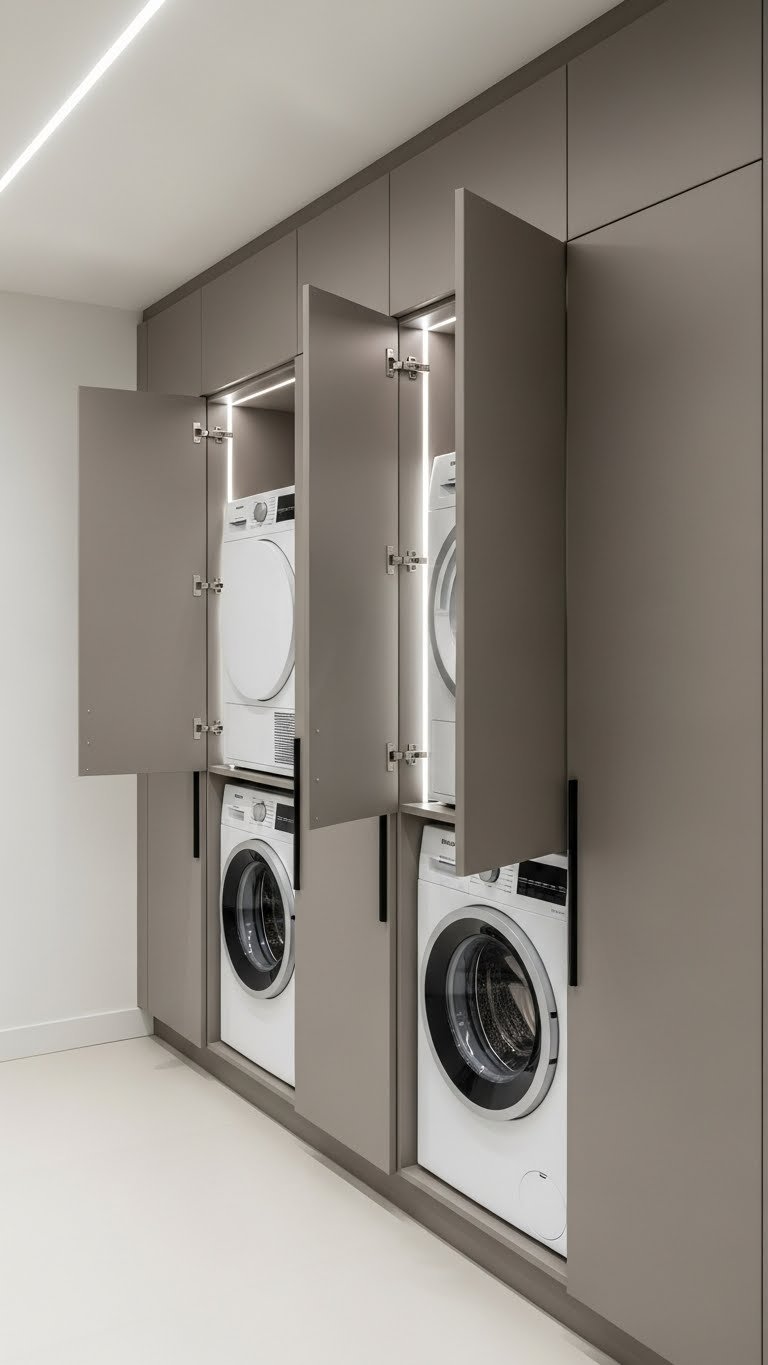
In small spaces, hiding appliances behind matching cabinetry makes the room feel larger and less appliance-heavy.
Custom cabinetry fronts run $800–$1,500. Prefab options cost $300–$600. Installation is 1–2 days. This is an investment piece, but it completely changes how the room feels. Not recommended for renters.
Your space looks more like a finished room than a utility closet. Appliances disappear visually. Your room feels bigger and more intentional.
23. Add Reclaimed Wood or Natural Stone Counters
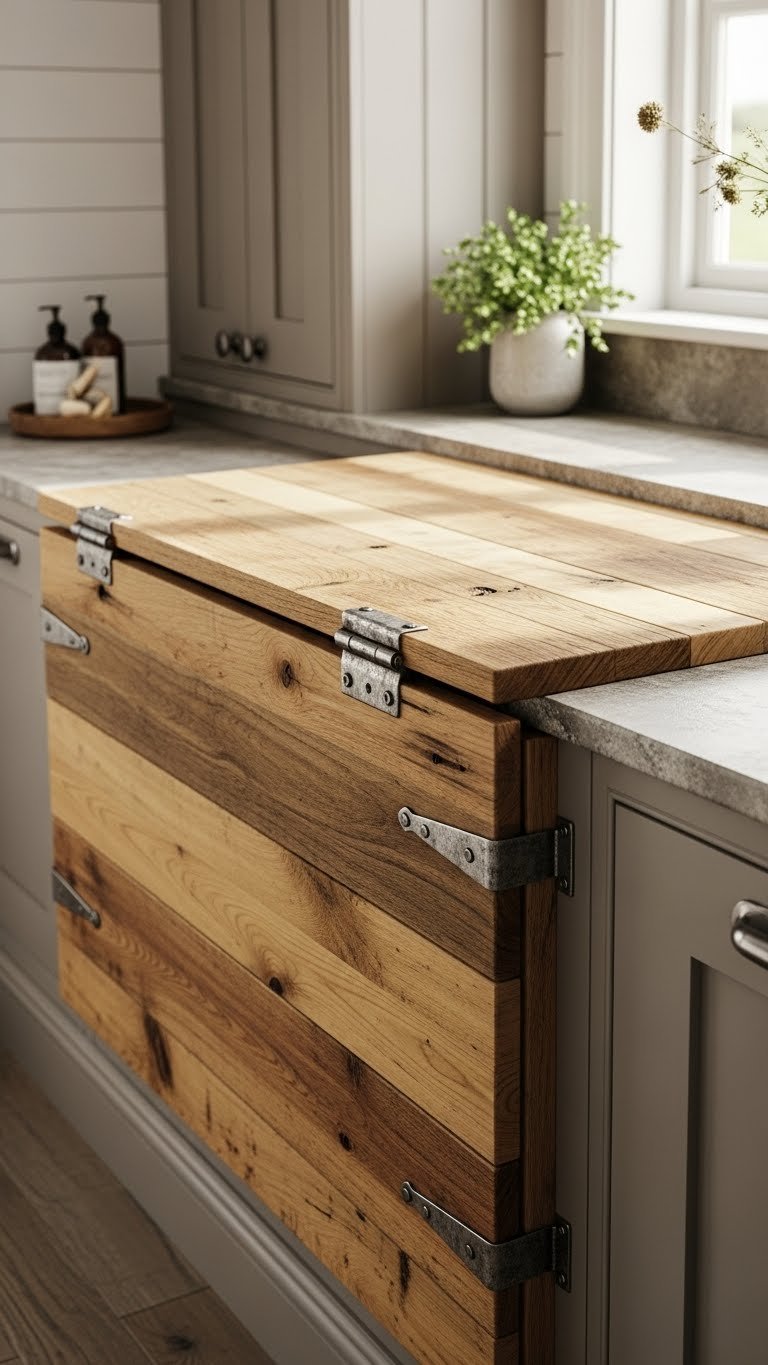
Natural materials add character and warmth. Reclaimed wood or stone counters are conversation starters that make the space feel less utilitarian.
Reclaimed wood countertops cost $300–$600 installed. Stone-look counters run $200–$500. Laminate alternatives (still attractive) cost $100–$250. Installation takes 1–2 days. This is an upgrade that lasts for years.
Your workspace feels crafted and intentional. The natural materials add warmth. Your utility room becomes a space you actually enjoy being in.
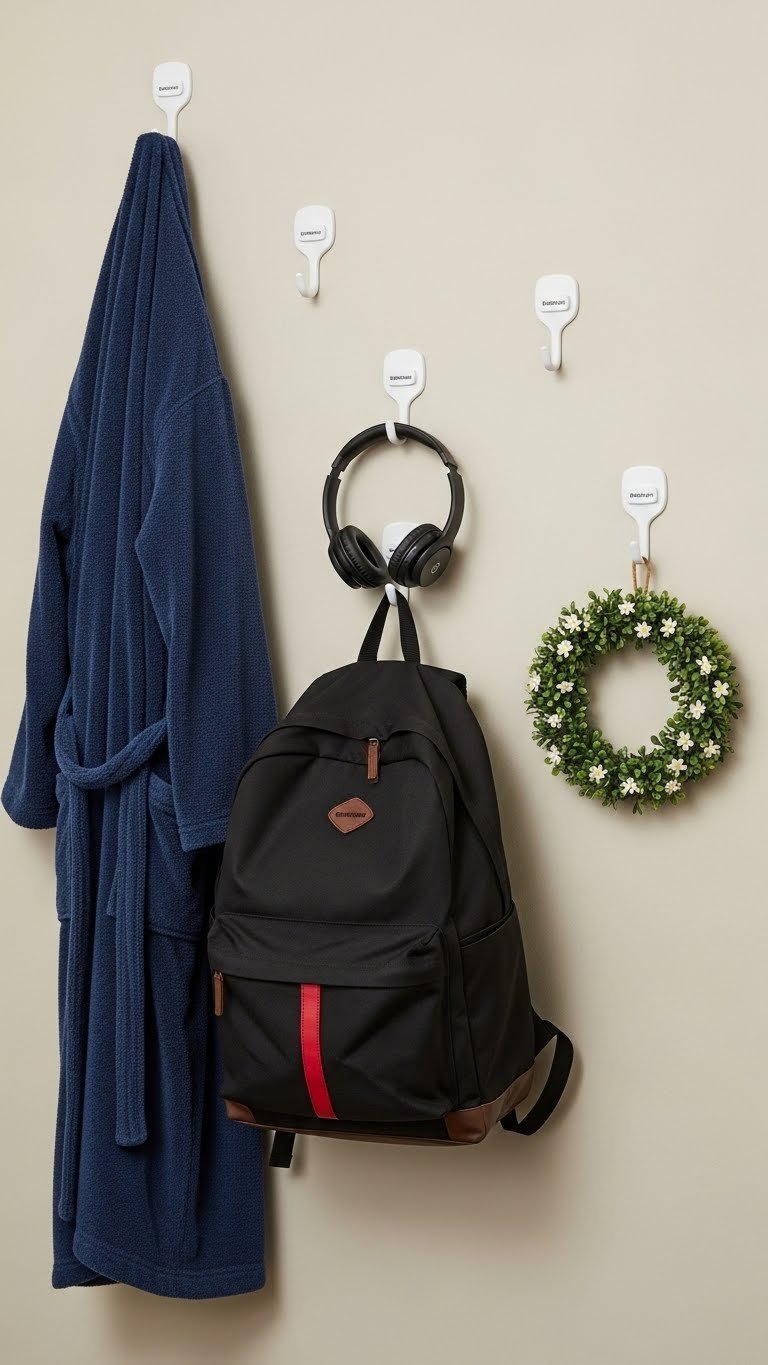
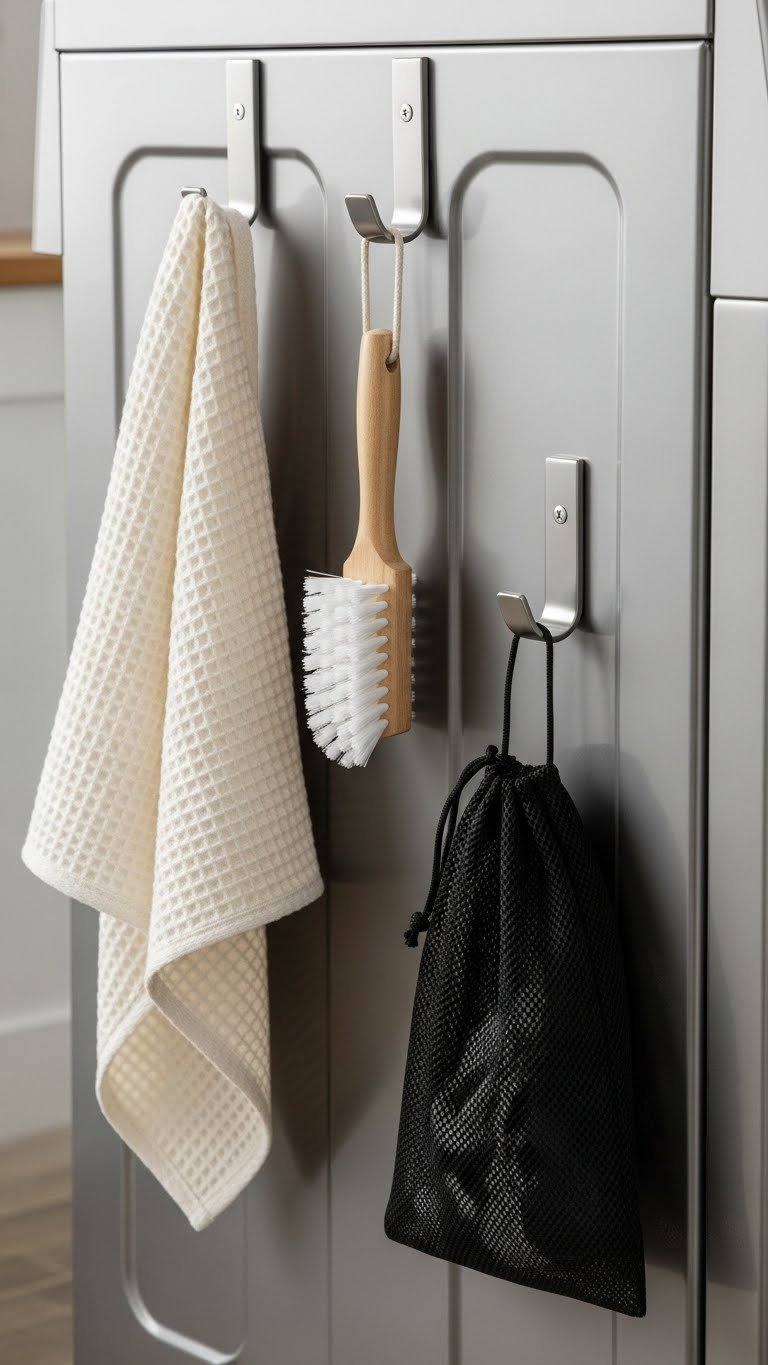
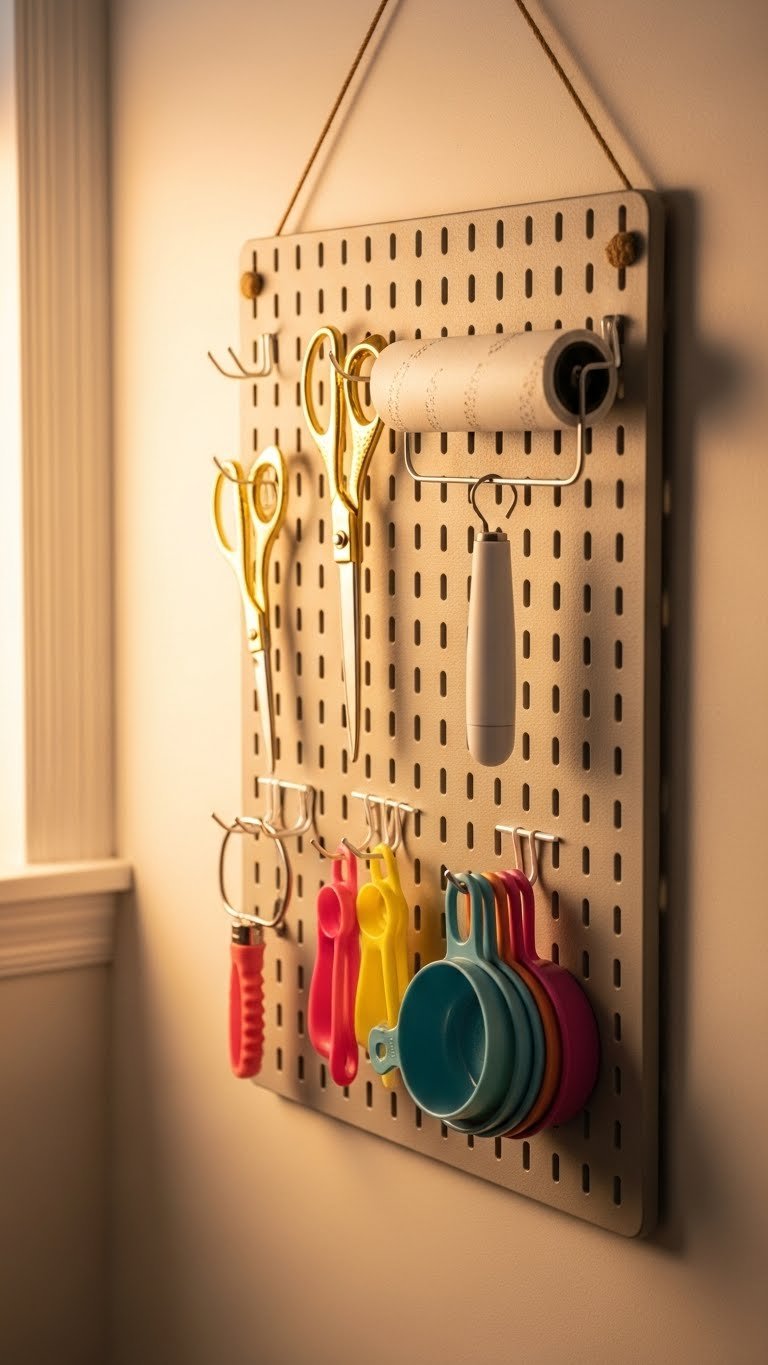
24. Maximize Vertical Door Space with Over-Door Organizers

Your door is wasted space. Over-door organizers hold supplies you access frequently without taking up shelf or counter room.
Over-door organizers cost $15–$50 depending on size and material. They’re super easy to install—just hang on the door without tools. This is a free or cheap fix if you already have the organizer. Takes 10 minutes to install and fill.
Frequently used supplies are right at hand when you need them. Your shelves and cabinets stay less packed. Your door becomes functional storage.
25. Switch to Energy-Efficient Appliances and Save Long-Term
Energy-efficient appliances cost more upfront but pay for themselves through lower utility bills over their 10–15 year lifespan.
Energy Star washers cost $700–$1,200; dryers run $600–$1,000. They use 25–40% less energy than standard models, saving $50–$100+ annually on utilities. The payback period is typically 5–8 years. Many utility companies offer rebates ($100–$300) for upgrading to efficient models.
Your monthly utility bills drop noticeably. You’re supporting the environment. Over time, you’re saving real money while reducing your carbon footprint.
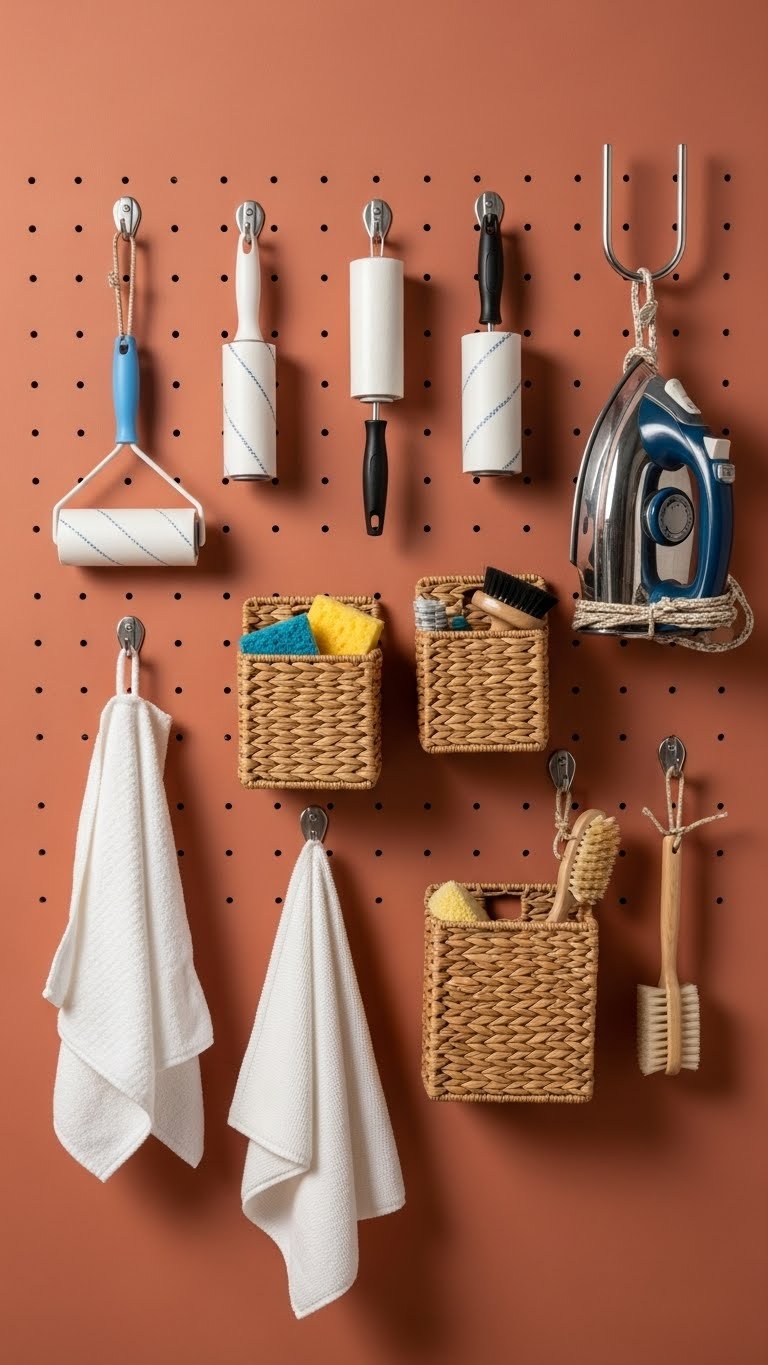
26. Use Wall-Mounted Ironing Boards and Rod Systems

A wall-mounted ironing board folds down when needed and disappears when done. Pair it with a rod for organized storage of pressed items.
Wall-mounted ironing boards cost $40–$100; wall rods are $15–$40. Total: $60–$140. Installation takes 30 minutes and doesn’t require special skills. Renters can use tension rods for hanging and portable ironing boards.
Ironing becomes more convenient because everything’s in one spot. Pressed items stay wrinkle-free on the rod. Your workflow feels purposeful and efficient.
27. Install Integrated Appliance and Cabinet Systems for Seamless Style

Fully integrated systems (appliances + cabinetry designed together) create a built-in, finished look instead of a collection of separate pieces.
Integrated systems cost $2,500–$6,000+ depending on size and customization. This is an investment, but it’s the most polished approach to a utility room. Installation takes 2–3 days with professionals. Not ideal for renters due to permanent nature.
Your room looks like a designed space, not a laundry closet. Everything matches and works together seamlessly. The overall effect is high-end and intentional.
Save this post for your next utility room refresh. Pick one or two ideas that address your biggest pain point—whether it’s clutter, tiny space, or an outdated feel—and start there. Small upgrades add up fast, and your utility room deserves to work as hard as you do.