
Your dorm walls probably feel like a blank canvas right now—and not in an inspiring way. Whether you’re renting, worried about losing your security deposit, or just not sure where to start, adding personality to your walls doesn’t require paint or permanent changes. The good news? You can create a space that actually feels like yours without breaking the rules or your budget. Here are 23 rental-friendly ideas that go way beyond a basic poster, from zero-cost hacks to clever investments that work in any dorm.
1. Layer Peel-and-Stick Wallpaper Over a Small Accent Wall
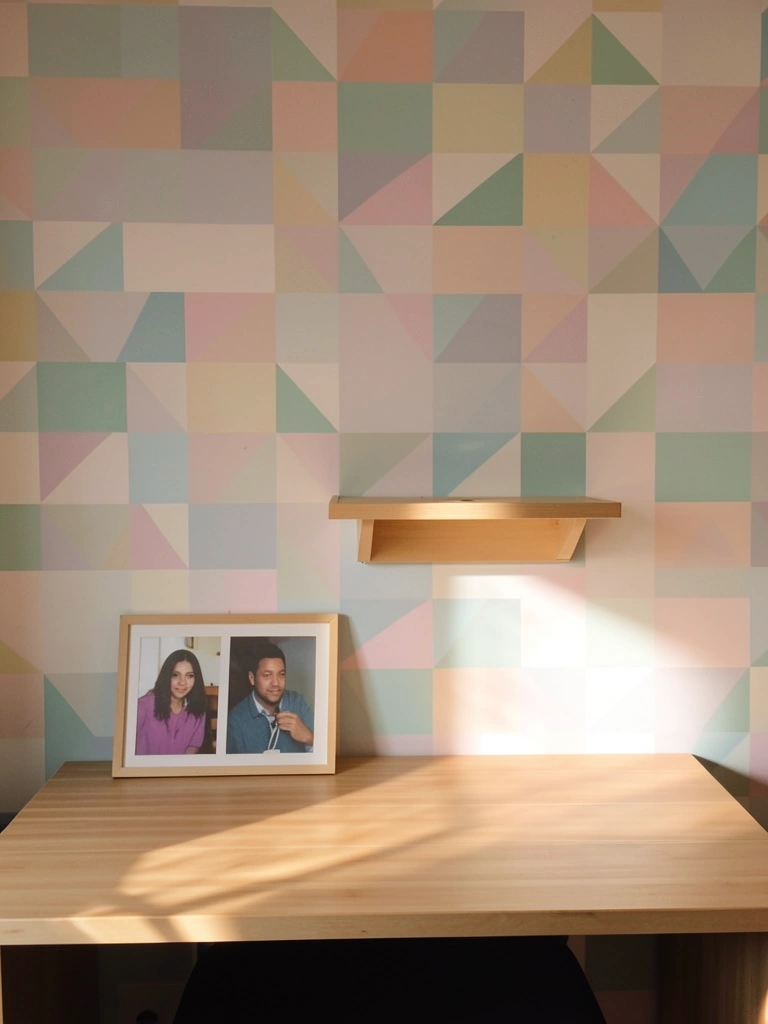
Peel-and-stick wallpaper lets you add pattern and texture without commitment. Unlike paint, you can remove it cleanly when you move—no damage, no arguments with your landlord.
Choose a small wall or section (behind your bed or above your desk works great) to avoid overwhelming the space. Brands like Spoonflower, Etsy sellers, and Amazon offer designs ranging from geometric to botanical to Y2K nostalgia. Expect to spend $20–$50 for a dorm-sized section. The application takes about 30–45 minutes and requires just a squeegee (which usually comes in the kit). Smooth out air bubbles as you go, and you’re done.
The result is a designer-quality accent that completely changes your room’s vibe without any permanent marks.
2. Create a Gallery Wall with Command Strips and Frames
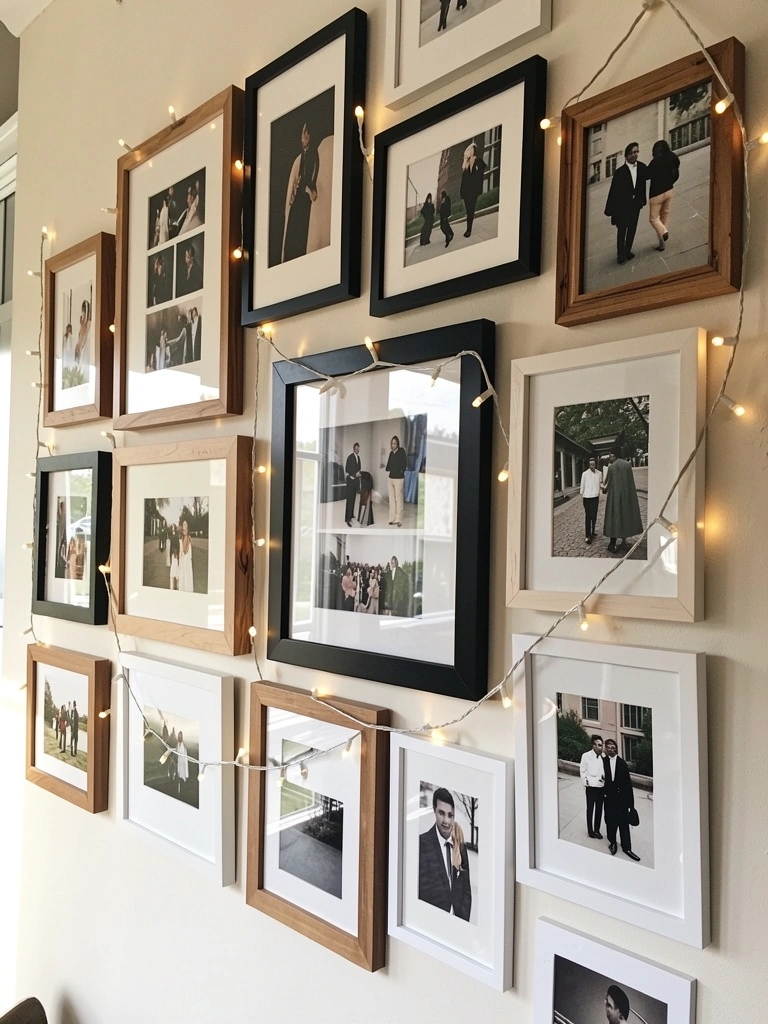
Gallery walls are the ultimate personalization hack—and Command strips make them totally renter-safe. You get a curated, Instagram-worthy look without drilling a single hole.
Gather frames in different sizes (hit up IKEA, Target, or thrift stores) and arrange them on the floor first to plan your layout. Use Command Picture Hanging Strips (about $15–$25 for a pack) to mount them. Fill frames with photos, prints from Etsy, magazine cutouts, or even fabric scraps. The whole project takes 1–2 hours to plan and hang. Pro tip: Use painter’s tape on the wall first to mark where each frame goes—it prevents mistakes and keeps things symmetrical.
Your wall becomes a gallery of you—and you can rearrange it whenever you want.
3. Hang Fabric as a Textured Wall Tapestry
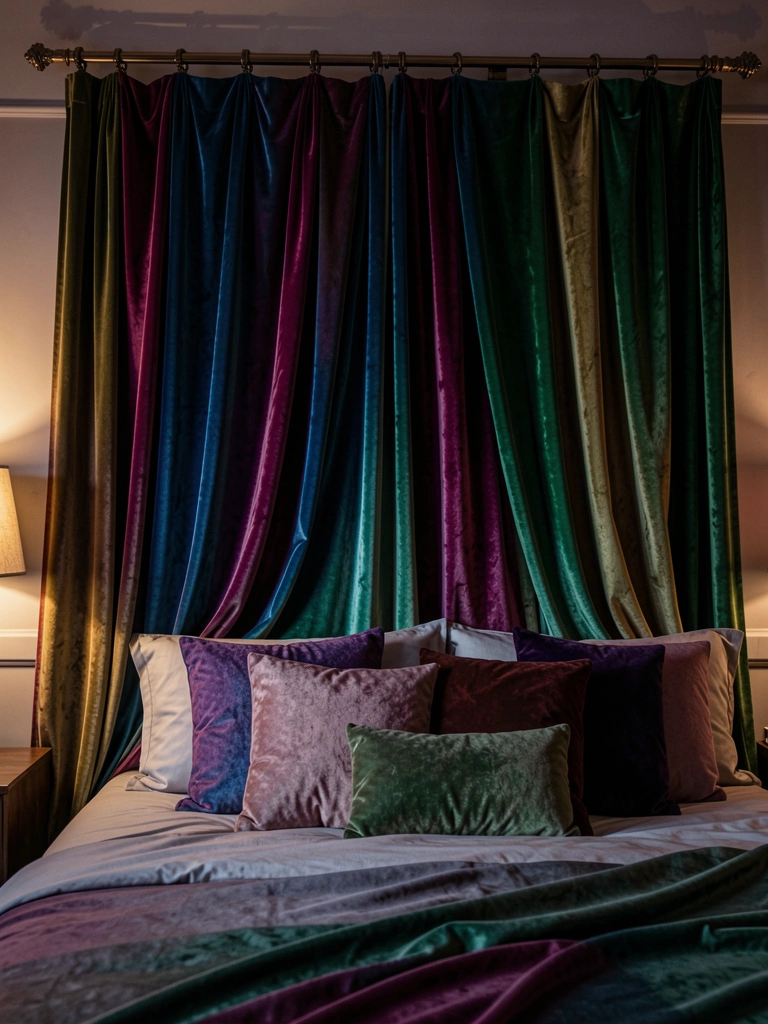
Fabric adds instant warmth and texture—and it’s one of the easiest ways to cover a large wall area. Velvet, linen, or patterned cotton all work beautifully.
Buy a piece of fabric from a fabric store or use a patterned sheet (usually $15–$40). Hang it using Command adhesive hooks or tension rods, depending on your wall situation. You can drape it casually for a relaxed vibe or pull it taut for a clean, headboard-like appearance. Installation takes about 15 minutes. Mix fabric colors and textures—layer a smaller tapestry over a larger one for depth.
The space instantly looks more sophisticated and cozy, plus the fabric absorbs sound and softens the room acoustically.
4. Display Neon LED Signs for Mood and Personality

LED neon signs are TikTok-famous for a reason—they add personality and set the mood instantly. Plus, they’re energy-efficient and come in endless designs.
Search Amazon or Etsy for custom or pre-made signs like motivational phrases, your name, or symbols. Prices range from $30–$80 depending on size and complexity. They plug into a standard outlet and mount with Command strips or small hooks. Choose warm white, pink, or your room’s color palette for cohesion. The neon glow photographs beautifully and becomes an instant focal point.
You’ll notice how much character one sign adds to your space—it’s the kind of detail that makes your room feel intentional.
5. Make a Removable Vinyl Wall Decal Collage
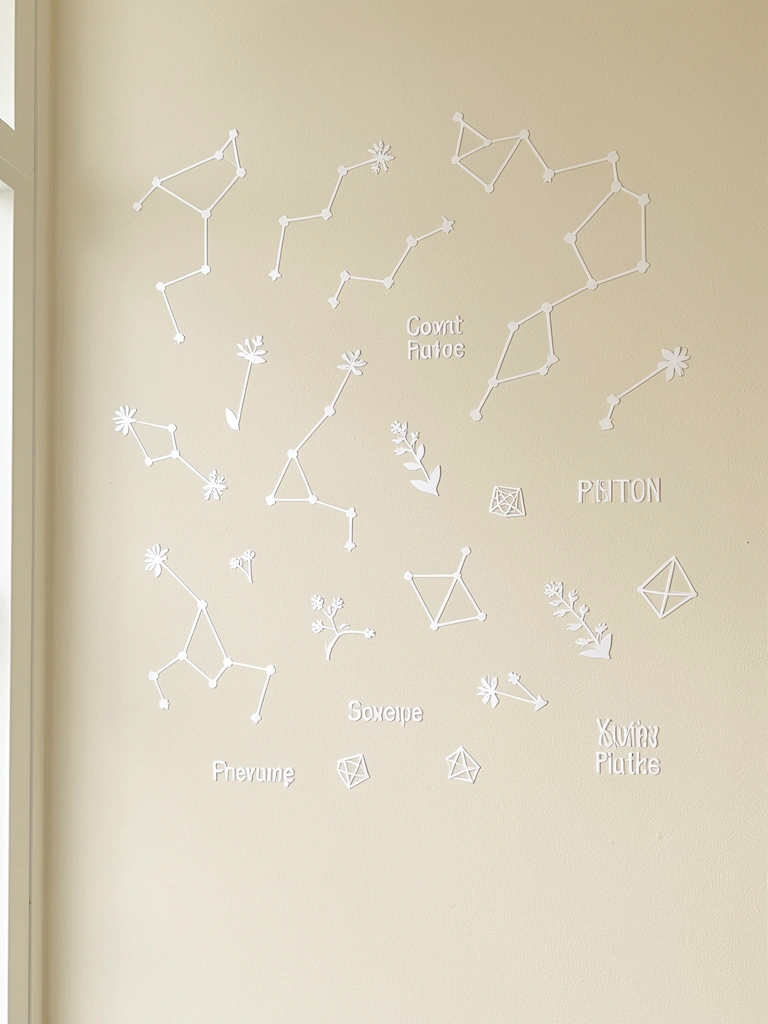
Vinyl decals are affordable, painless to apply, and come in thousands of designs. They work especially well if you like a minimalist or playful aesthetic.
Purchase decal sheets from Amazon, Etsy, or craft stores ($5–$20 per design). Peel and stick them directly onto your wall, layering different designs for depth. You can spell out words, create geometric patterns, or scatter botanical shapes. Application takes 15–30 minutes. When you move, they peel away cleanly without residue.
Your walls shift from blank to beautifully styled with minimal effort and zero commitment.
6. String Fairy Lights Across the Wall in a Pattern
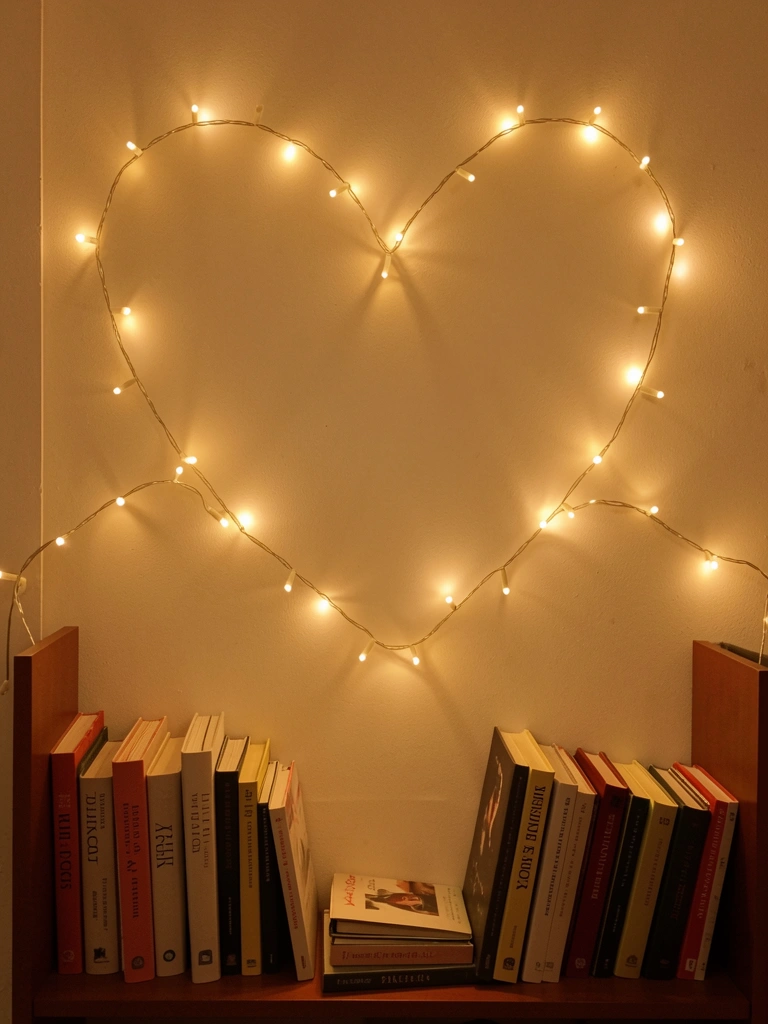
String lights add ambiance and soft mood lighting—plus they’re versatile enough to fit any aesthetic from cottagecore to minimalist.
Buy warm white LED fairy lights from Amazon or Target ($10–$25). Map out your pattern using painter’s tape, then use small Command hooks or adhesive clips to secure the wire. You can create a heart, wavy lines, a border around your mirror, or just scatter them freely. Takes about 20 minutes to install. Plug into a nearby outlet or use battery-operated lights if outlets are far away.
The glow completely changes your room’s feel—study sessions feel less sterile, and relaxing at night becomes actually relaxing.
7. Use Removable Chalkboard or Whiteboard Paint on One Wall
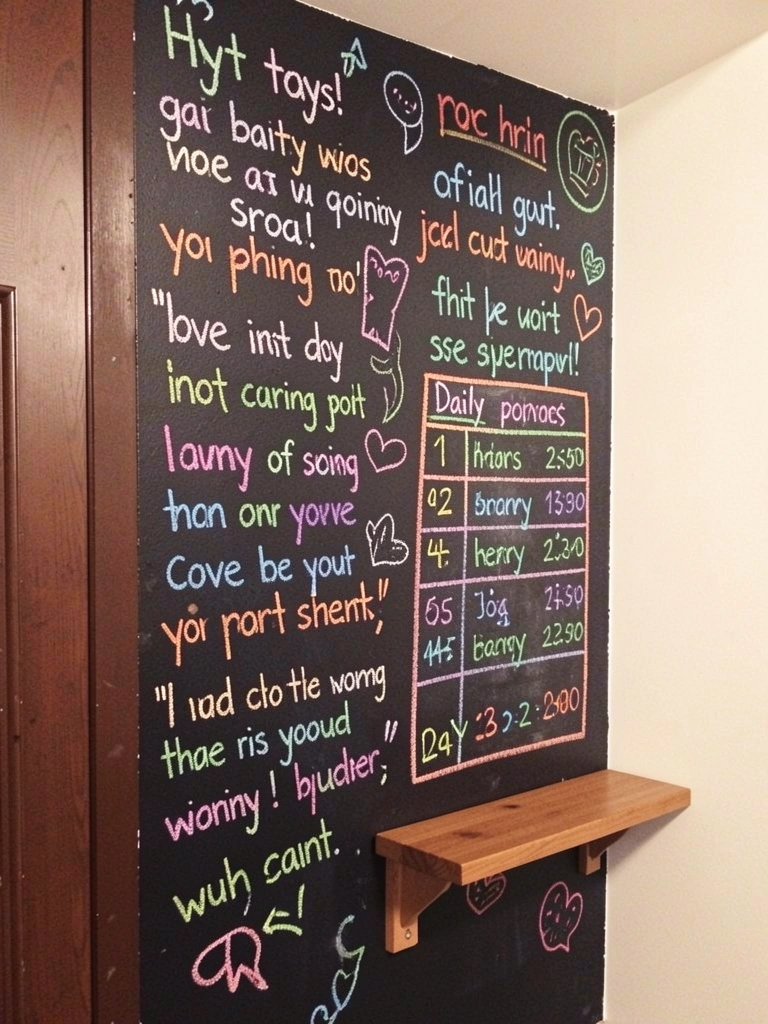
Chalkboard paint is technically removable and lets you change your wall art as often as you want. It’s practical and fun.
Buy removable chalkboard or whiteboard paint from Home Depot or Amazon ($15–$30 per can). Apply it to one wall section with a roller (takes about 30 minutes including drying). No primer needed if you use the right formula. Use it for daily schedules, motivational quotes, doodles, or seasonal designs. Change the content weekly or monthly to keep things fresh.
You get an interactive wall that grows with your mood and semester needs—plus it’s completely removable.
8. Hang a Mix of Wall Baskets for Storage and Style
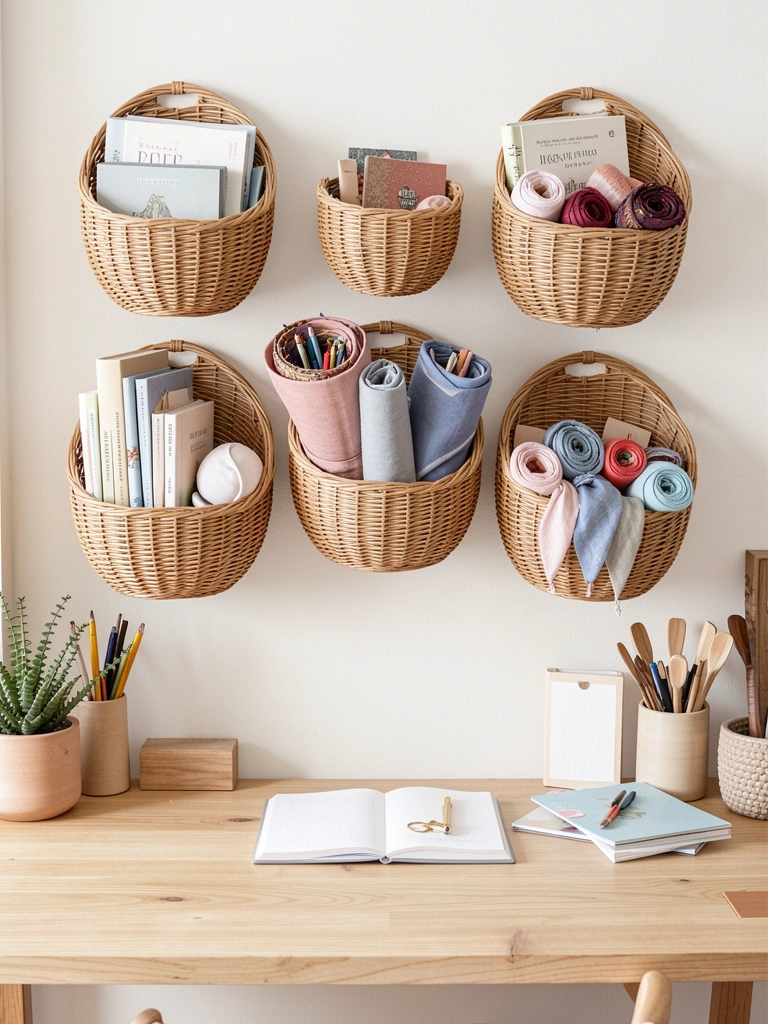
Wall baskets do double duty: they store stuff and look intentionally styled. Perfect for a small dorm where floor space is precious.
Choose woven baskets from Target, IKEA, or Amazon ($10–$30 each). Mount them at different heights using Command strips or adhesive hooks—no drilling required. Fill them with supplies, books, rolled-up scarves, or decorative items. Installation takes about 20 minutes for multiple baskets.
Your wall becomes both functional and beautifully organized, giving you storage that’s actually visible and adds to your room’s aesthetic.
9. Create a DIY Macramé Wall Hanging

Macramé adds boho texture and feels handmade without requiring serious skills. There are tons of beginner tutorials online.
Buy cord (cotton or jute) from a craft store for $5–$10. Follow a YouTube tutorial (search “beginner macramé wall hanging”) and spend 1–3 hours creating your piece—or buy pre-made macramé on Etsy for $15–$40. Hang it with a Command hook. Layer it with other wall decor for maximum texture and depth.
The result feels way more personal than anything store-bought, and it becomes a conversation starter.
10. Mount a Large Mirror to Expand Your Space Visually
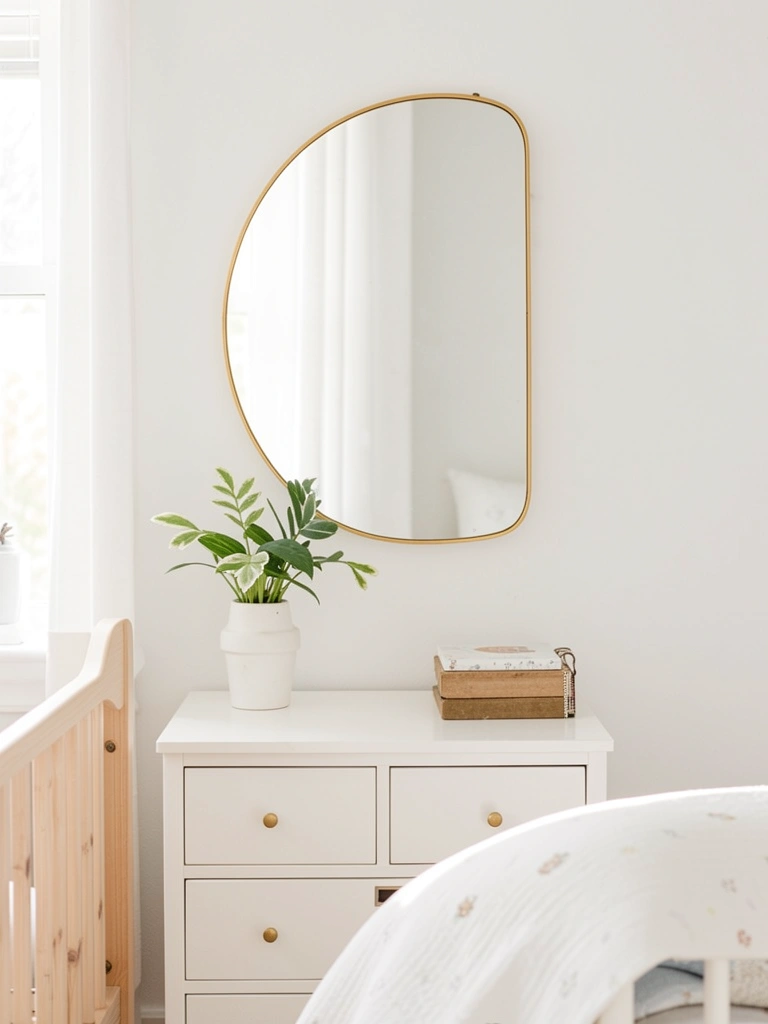
Mirrors aren’t just practical—they bounce light around, making small spaces feel bigger. Plus they add elegance.
Choose a mirror from IKEA ($20–$50), Target, or Amazon in a frame that matches your aesthetic. Use Command picture strips rated for the mirror’s weight to avoid damage. Mount it opposite a window or light source to maximize the reflection effect. Installation takes 10 minutes.
You immediately notice how much brighter and more spacious your room feels—mirrors genuinely expand a small space.
11. Arrange Floating Shelves for Display and Storage
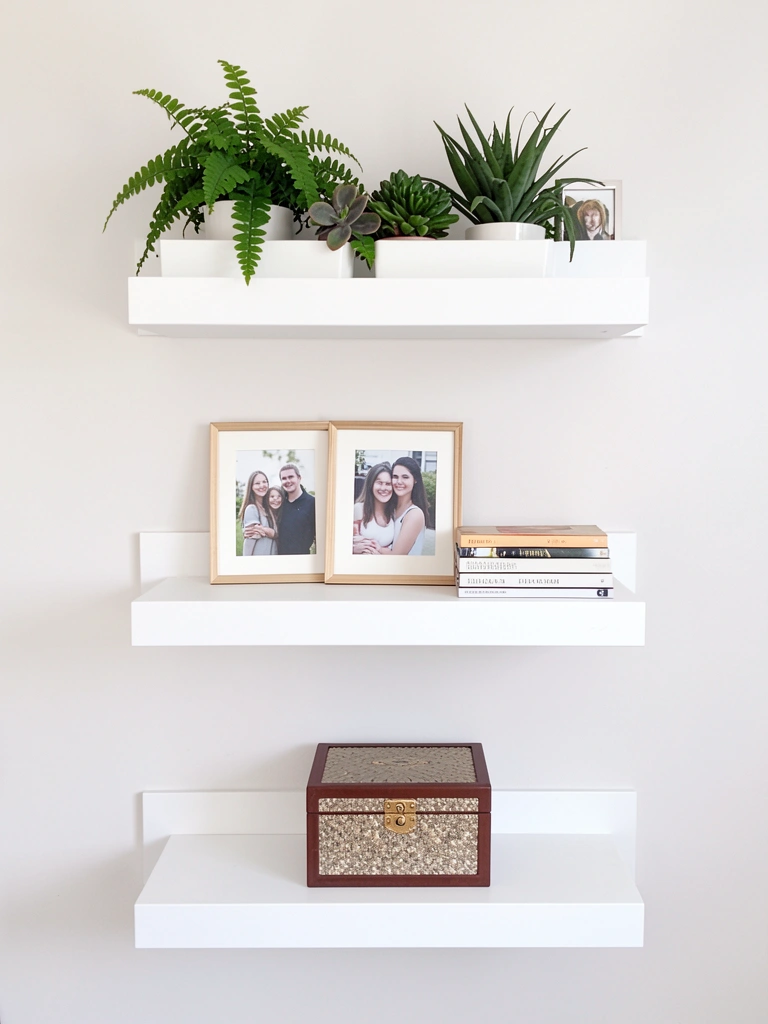
Floating shelves give you display space without taking up floor real estate. They’re perfect for showing off plants, photos, or small collections.
Buy floating shelves from Home Depot, IKEA, or Amazon ($15–$40 per shelf). Check if they’re Command-compatible or require wall anchors (which still won’t damage your wall permanently). Install using the provided hardware or adhesive strips, taking about 20–30 minutes total. Arrange them at varying heights for visual interest.
Suddenly you have a personalized display area that showcases what matters to you while keeping your floor clear.
12. Hang Washi Tape Designs and Borders
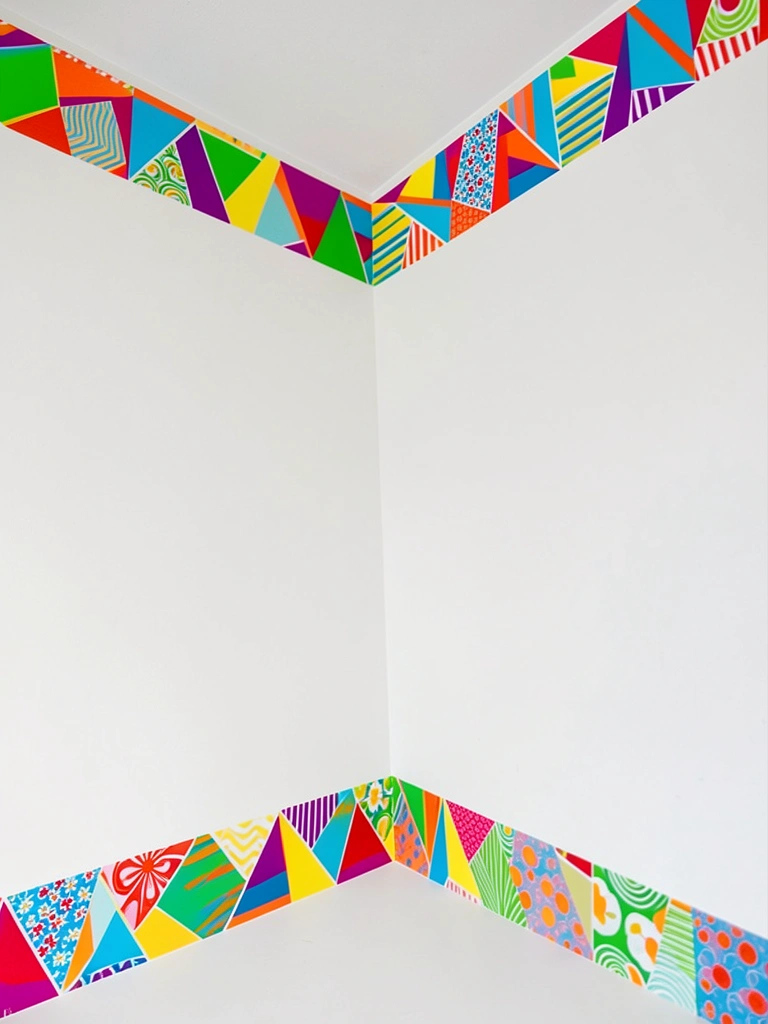
Washi tape is cheap, removes cleanly, and offers unlimited pattern combinations. It’s perfect for creating borders, geometric shapes, or artistic accents.
Buy washi tape rolls from a craft store or Amazon ($1–$3 per roll; get 5–10 rolls for a larger project). Peel and stick it directly onto your wall, creating a border at the top, a stripe down the center, or geometric shapes. Takes 30 minutes to 1 hour depending on complexity. No tools required.
Your walls gain dimension and color without any commitment—and the tape peels off without residue.
13. Pin up a Large Corkboard or Pegboard Section
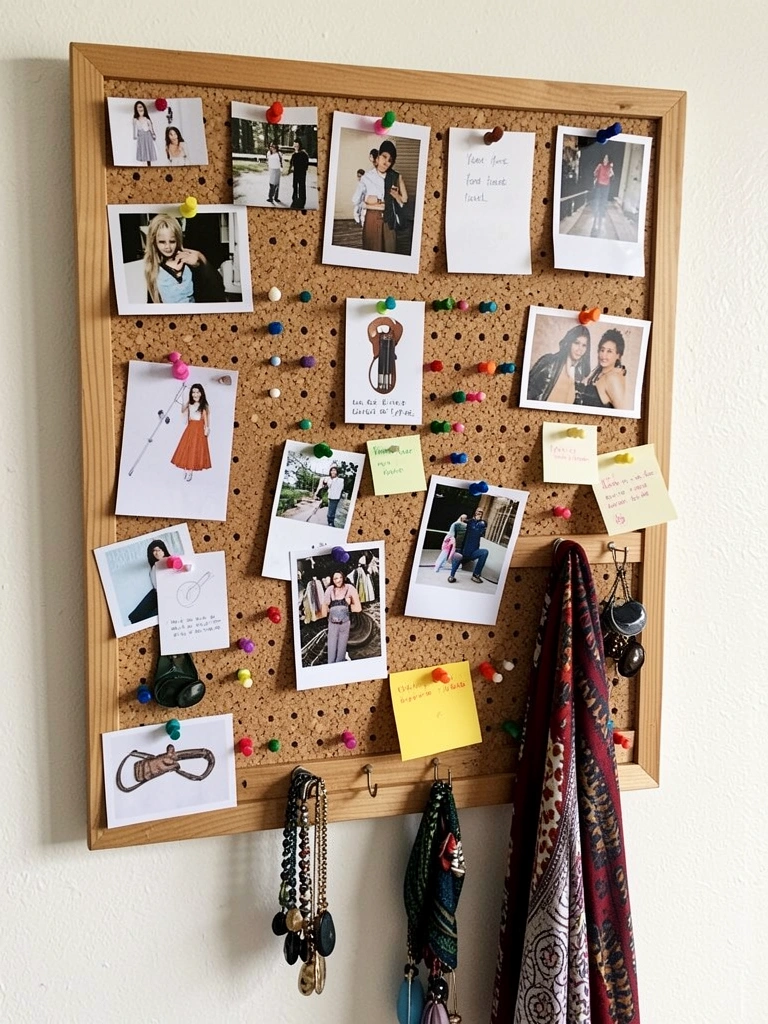
Pegboards and corkboards let you change your display constantly. They’re functional, visual, and totally customizable.
Buy a pegboard or cork panel from Home Depot ($15–$30). Mount it using Command strips or adhesive hooks designed for heavier items. Fill it with photos, postcards, reminders, or use the hooks to hang jewelry and accessories. Rearrange whenever you want—the holes allow infinite configuration options.
You get an interactive wall that reflects what’s currently important to you, and it grows and changes with you.
14. Arrange Photos in a Heart or Custom Shape Using Clips
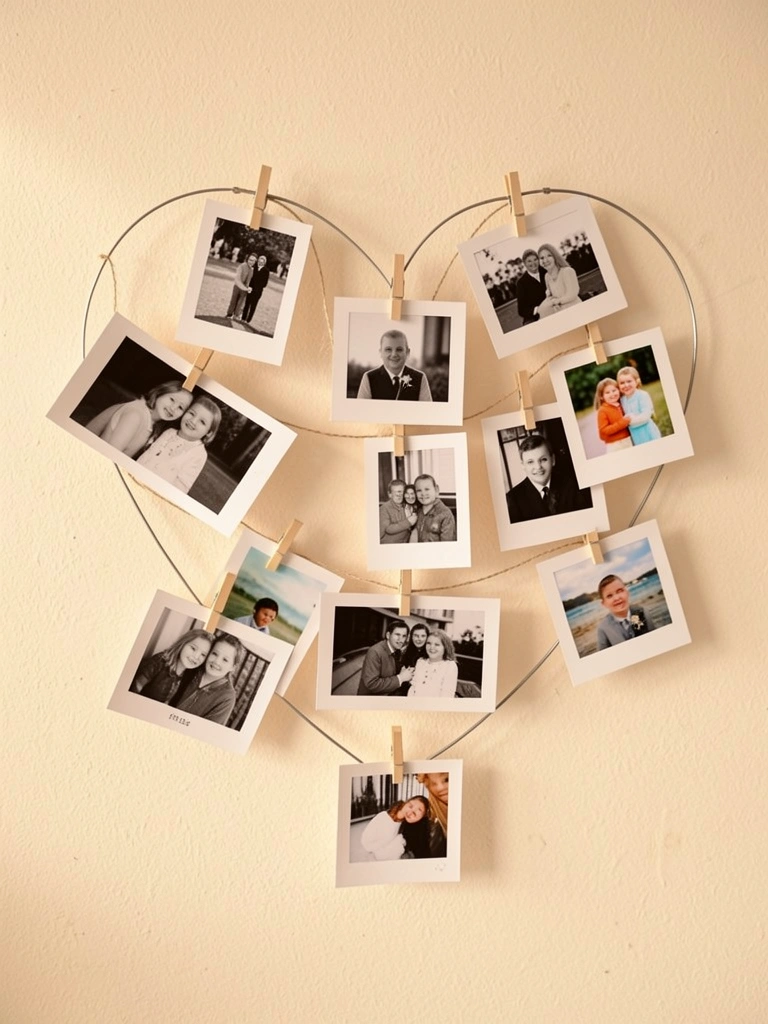
Photo clips on string or wire let you create a shaped display without framing every single photo. It’s flexible and affordable.
Buy a roll of thin wire or string ($5) and photo clips from a craft store ($8–$15 for a pack). Arrange photos in a heart, arrow, or zigzag pattern on your wall. Use Command hooks to anchor the wire at top and bottom. Takes about 30 minutes to set up. Swap photos in and out whenever you want.
Your wall becomes a gallery of memories that’s easy to update—perfect for adding new photos throughout the year.
15. Create a Boho Accent Wall with Tapestry Art
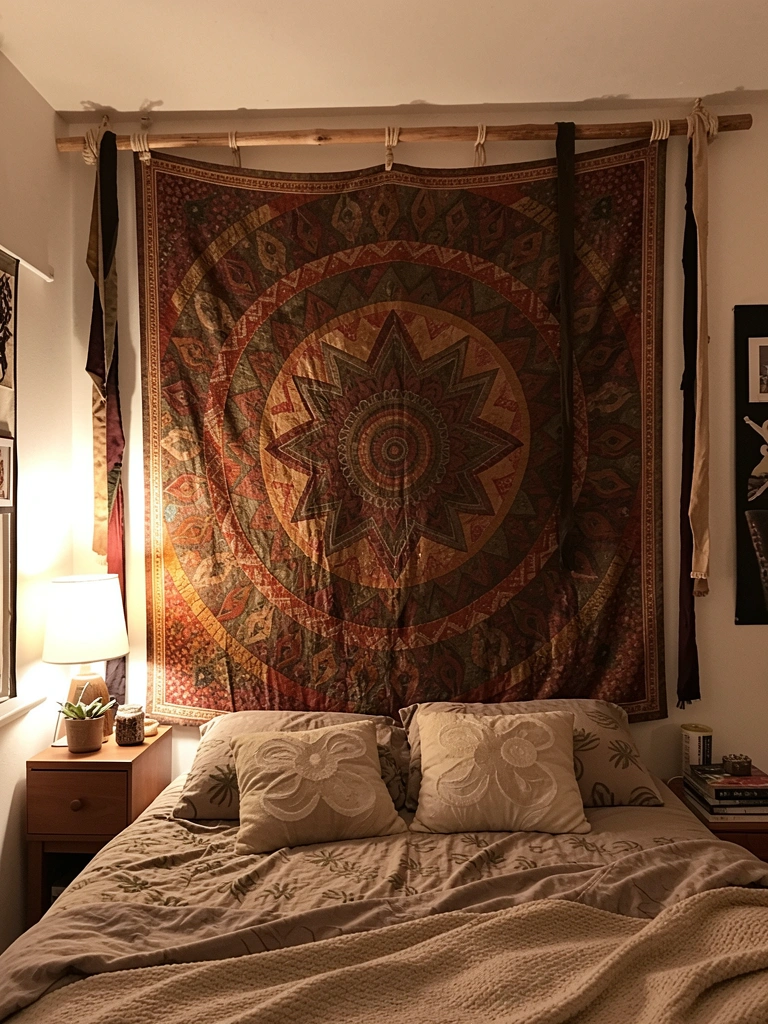
Tapestry art is basically an affordable way to get large-scale wall coverage. It adds personality instantly.
Shop Etsy, Amazon, or Urban Outfitters for printed tapestries ($15–$45) in styles like mandala, celestial, botanical, or geometric. Hang using a tension rod or wooden dowel with rope, fastened using Command hooks. Installation takes 15 minutes. Choose colors that match your room’s existing palette.
Your wall becomes a statement piece that completely anchors your space’s aesthetic.
16. Use Paint Pens to Add Custom Designs on Canvas Panels
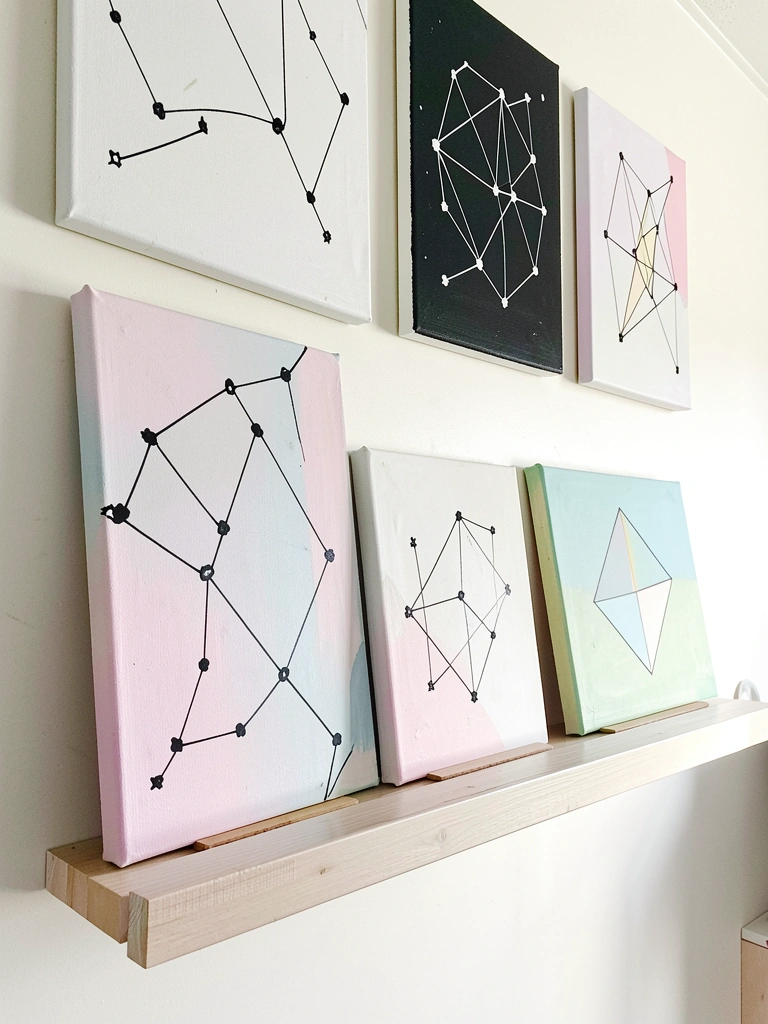
Hand-painted art feels personal and costs way less than buying it. You don’t need to be an artist—simple designs work best.
Buy blank canvas panels from a craft store ($2–$5 each) and acrylic paint pens ($10–$15 for a set). Paint simple designs: geometric shapes, constellations, line drawings, or words. Takes 30–60 minutes per canvas. Hang using Command strips. Stack them on floating shelves or arrange on your wall.
You end up with custom artwork that matches your aesthetic perfectly and tells people about your taste.
17. String a Tension Rod Across Your Wall for Hanging Fabric or Photos
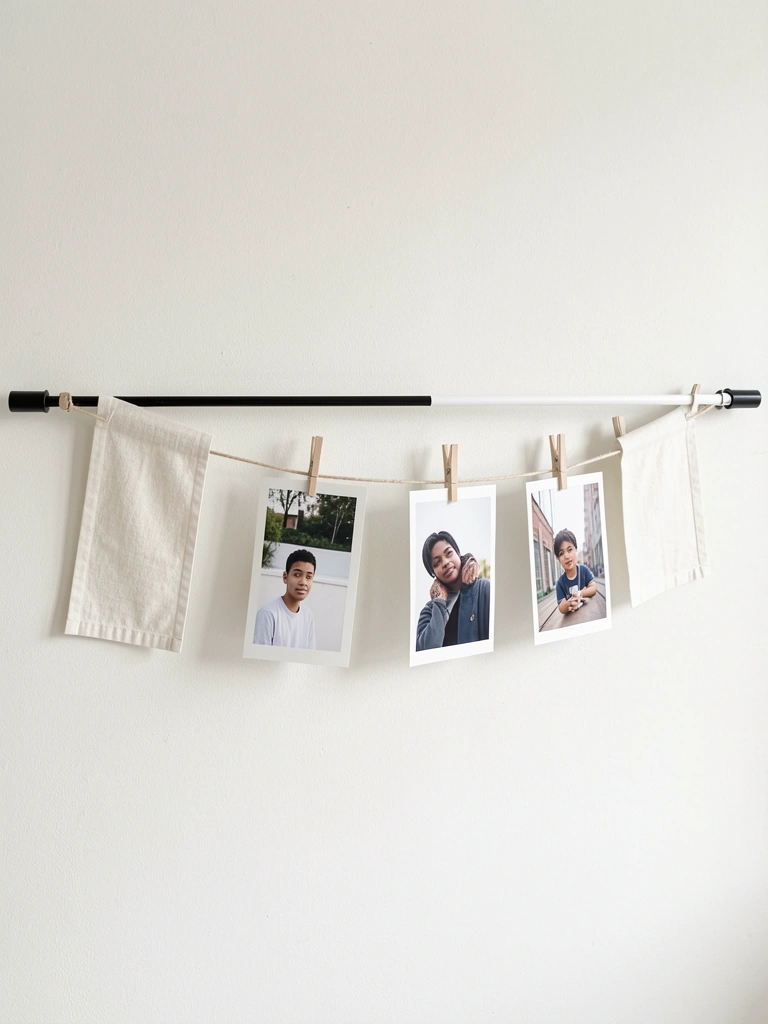
Tension rods aren’t just for curtains—they’re perfect for hanging fabric, photos, or art in a clean, adjustable way.
Buy a tension rod ($10–$20) and clip hangers or binder clips ($5–$10). Stretch the rod between two wall studs (check with a stud finder if concerned) or use Command picture strips if you don’t want to use studs. Hang fabric, photos, or prints from clips. Adjust the rod height and content anytime. Takes 15 minutes to set up.
You get a flexible display system that works for every season or aesthetic change.
18. Layer Printable Art Prints Over Each Other for Depth
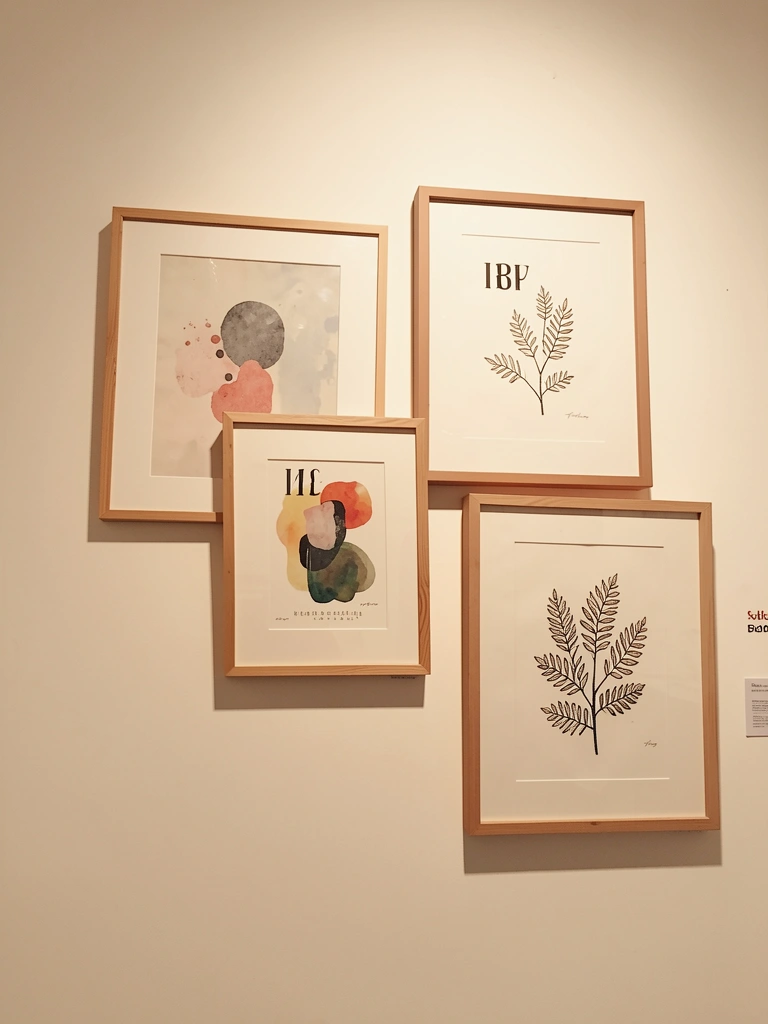
Layering prints creates visual depth and looks more curated than single pieces. Mix sizes, frames, and styles for maximum impact.
Print designs from Etsy ($2–$8 per download) on cardstock or poster paper. Frame them in mismatched frames from thrift stores or IKEA ($5–$15 each). Hang using Command strips, positioning some pieces slightly over others. Takes 1–2 hours to frame and arrange. Choose a cohesive color palette (pastels, jewel tones, black and white) to tie everything together.
Your wall looks professionally curated and gallery-like—way better than a single poster.
19. Make a String Light Photo Display Above Your Desk
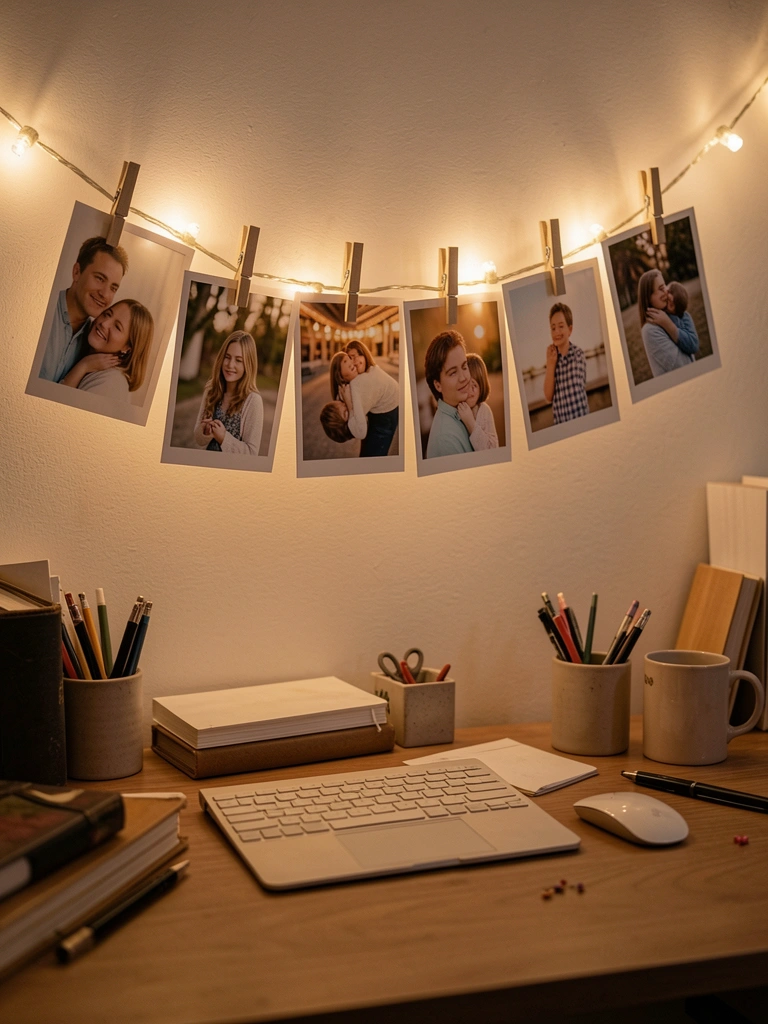
This combines mood lighting with photo display—dual purpose for a small space.
String up LED fairy lights ($10–$20) above your desk or along a wall section using Command hooks. Attach small clothespins or photo clips to the string ($3–$5 for a pack). Clip up your favorite photos and swap them out regularly. Setup takes about 20 minutes.
You get soft lighting for studying and a motivational gallery of memories right where you work.
20. Create a Minimalist Line Art Gallery Using Stencils
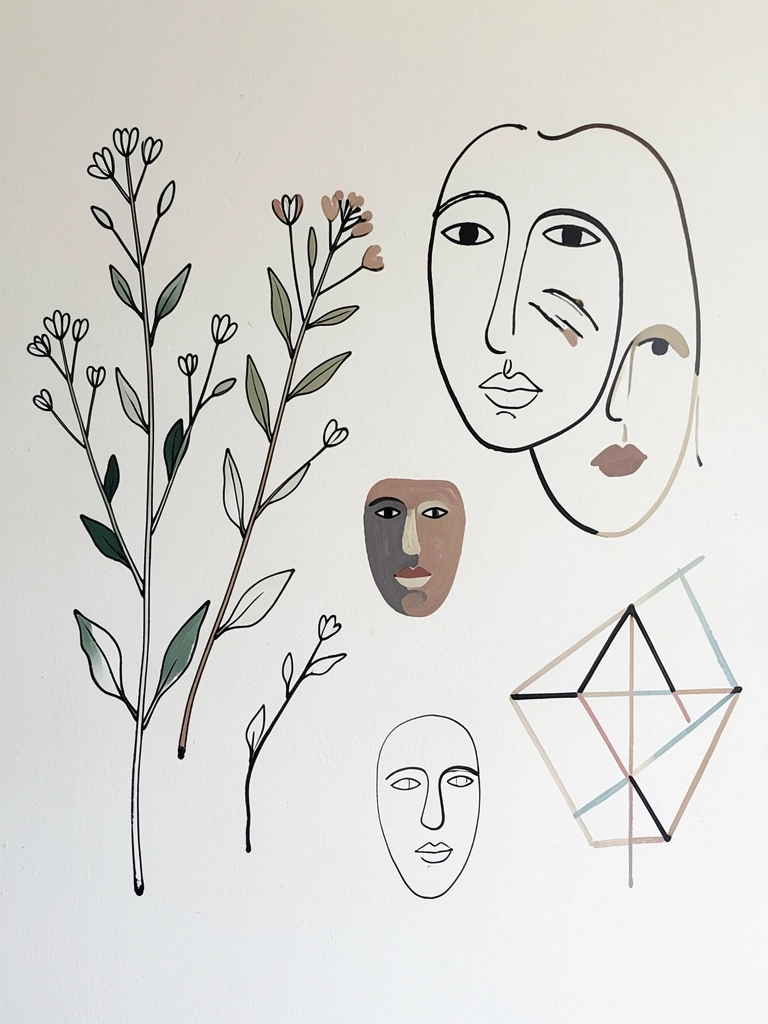
Line art is having a moment—it’s chic, minimalist, and you can DIY it without major artistic skills.
Buy paint pens ($10–$15 for a set) and print out line art designs or find stencils online ($3–$10). Trace designs directly onto your wall or use a projector to outline them first (borrow from your school if needed). Fill in with paint pens, taking 1–2 hours depending on complexity. Erase any pencil marks after. The result looks sophisticated and intentional.
Your wall gains artistic merit without looking cluttered—just clean, thoughtful design.
21. Hang Vintage or Thrifted Frames Without Photos Inside

Empty or paper-filled frames create visual interest and cost almost nothing. Thrift stores are loaded with cheap options.
Hit up Goodwill or thrift stores and grab frames ($0.50–$3 each). Mount them using Command strips in a clustered or spread-out arrangement. Leave some empty, fill others with kraft paper, watercolor, or solid colors. Rearrange them whenever you want. Takes about 30 minutes to hang a cluster.
Your wall becomes a gallery-like display that feels artistic and intentional without requiring perfect styling.
22. Use Dry Erase Markers to Draw Directly on Walls (Then Paint Over Later)
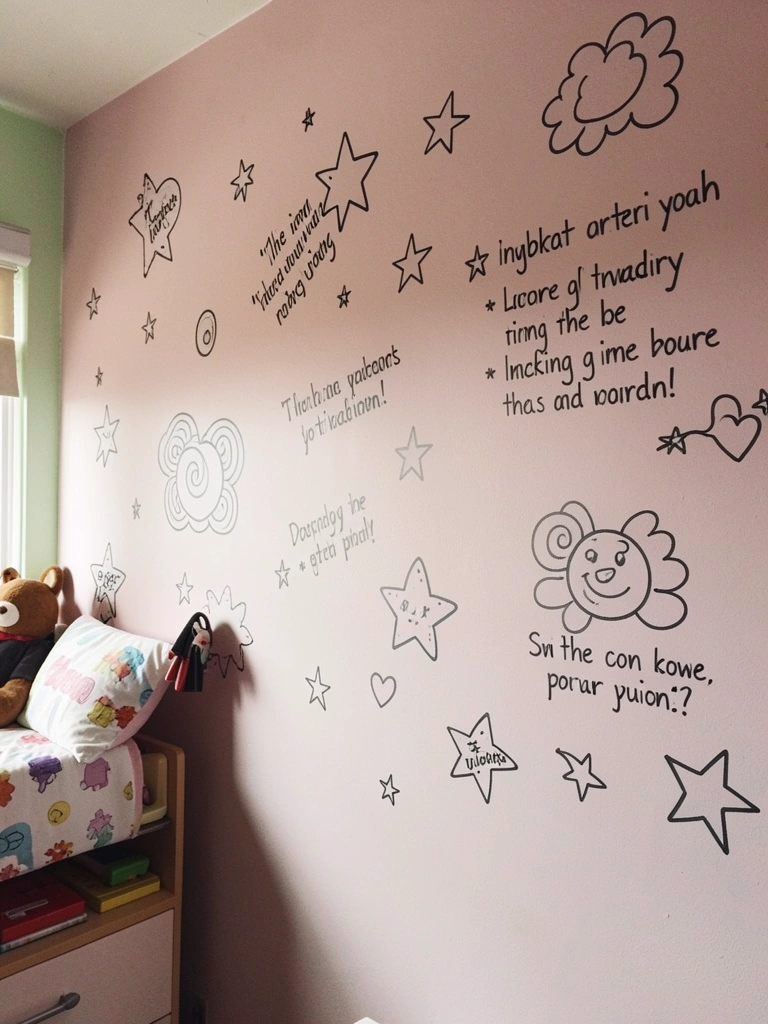
If your walls are white or light-colored, dry erase markers work great for temporary art that you can erase and redraw.
Buy dry erase markers ($5–$10 for a pack). Draw directly on your wall—designs, motivational quotes, daily schedules, or doodles. Erase with a damp cloth and redraw whenever you want. No damage, completely temporary. Changes take seconds.
You get an interactive wall that’s perfect for seasonal updates or just expressing whatever you’re feeling that week.
23. Mount a Decorative Ladder for Hanging Blankets and Plants
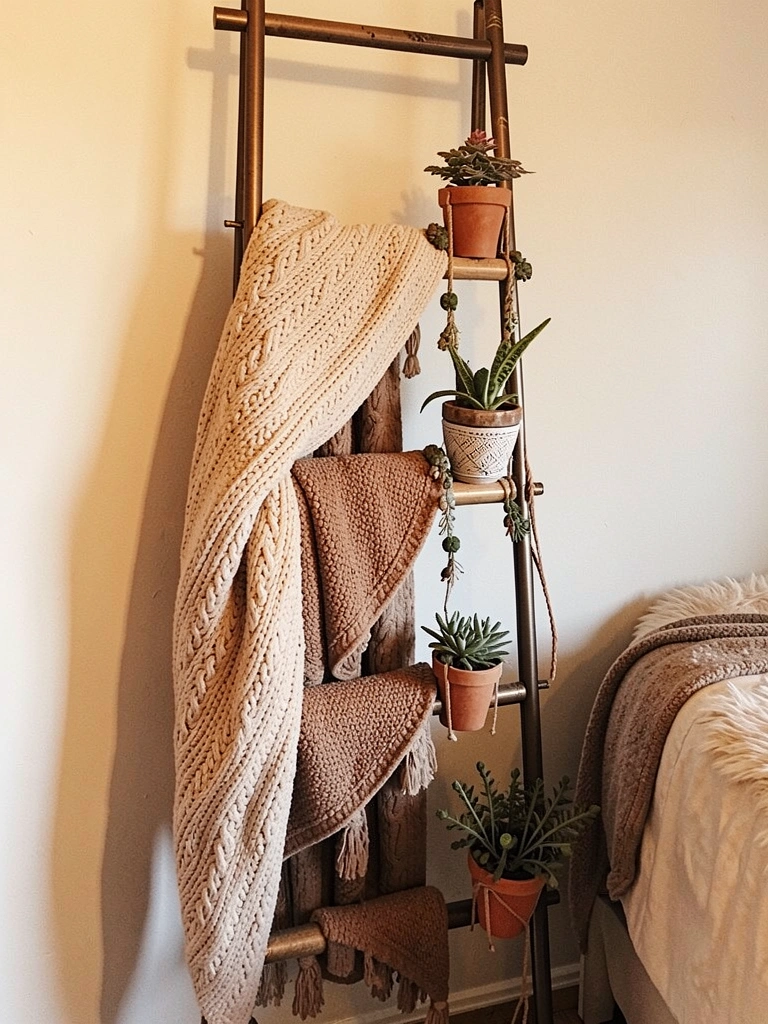
A decorative ladder adds rustic charm and gives you a place to display blankets, plants, or even string lights woven through the rungs.
Buy a wooden or metal ladder from IKEA ($25–$50), Target, or Amazon. Lean it against your wall (no mounting needed) or secure it lightly with Command strips if you want extra security. Drape blankets, hang potted plants, or wrap string lights through the rungs. Arrange it near your bed or in a corner to maximize its visual impact.
Suddenly you have functional décor that adds texture, storage, and a lived-in feel without taking up much floor space.
Save this post for your next dorm refresh. Pick one or two ideas this weekend and see how much personality you can add without breaking your lease—or your budget. Which one are you trying first?
Leave a Reply