Dead corner space in your kitchen? You’re not alone—those hard-to-reach cabinet corners are a common frustration, especially in older homes or galley kitchens. The good news? You don’t need a renovation to fix it. We’ve rounded up 23 practical, budget-friendly, and even stylish solutions that’ll turn wasted space into your most functional storage. From lazy Susans to pull-out drawers to creative shelving hacks, these ideas work for renters and homeowners alike. Whether you’re dealing with a single corner or an entire kitchen redesign, you’ll find something here that clicks for your space and your budget. Let’s dig in.
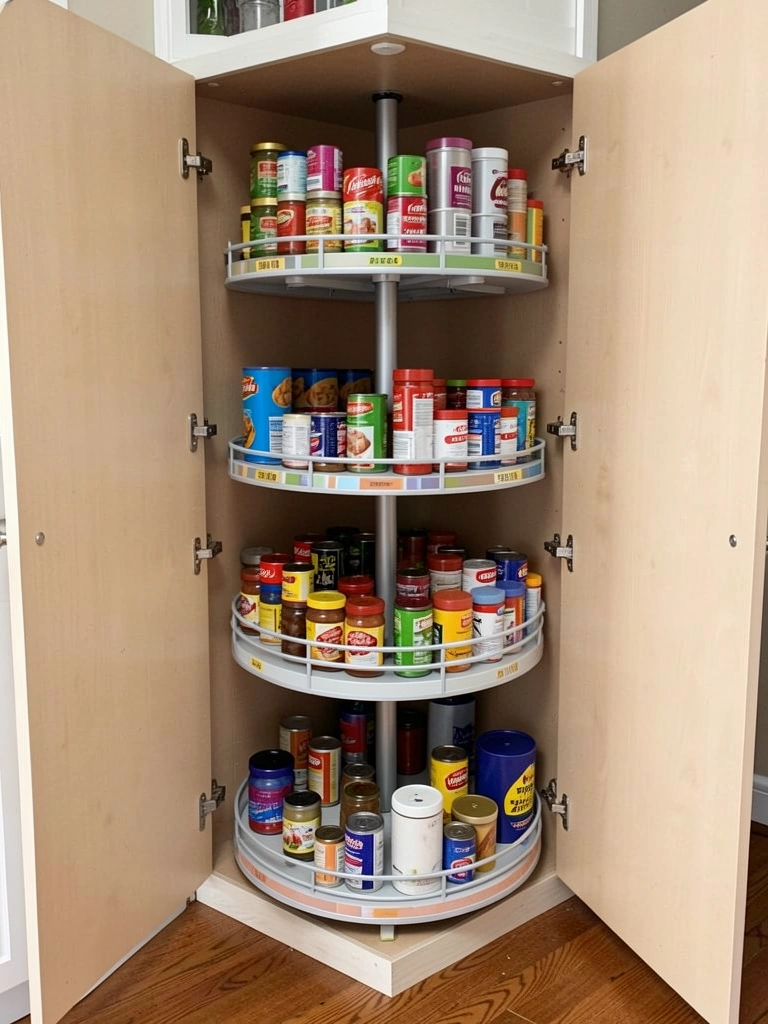
1. Install a Rotating Carousel for Easy Access

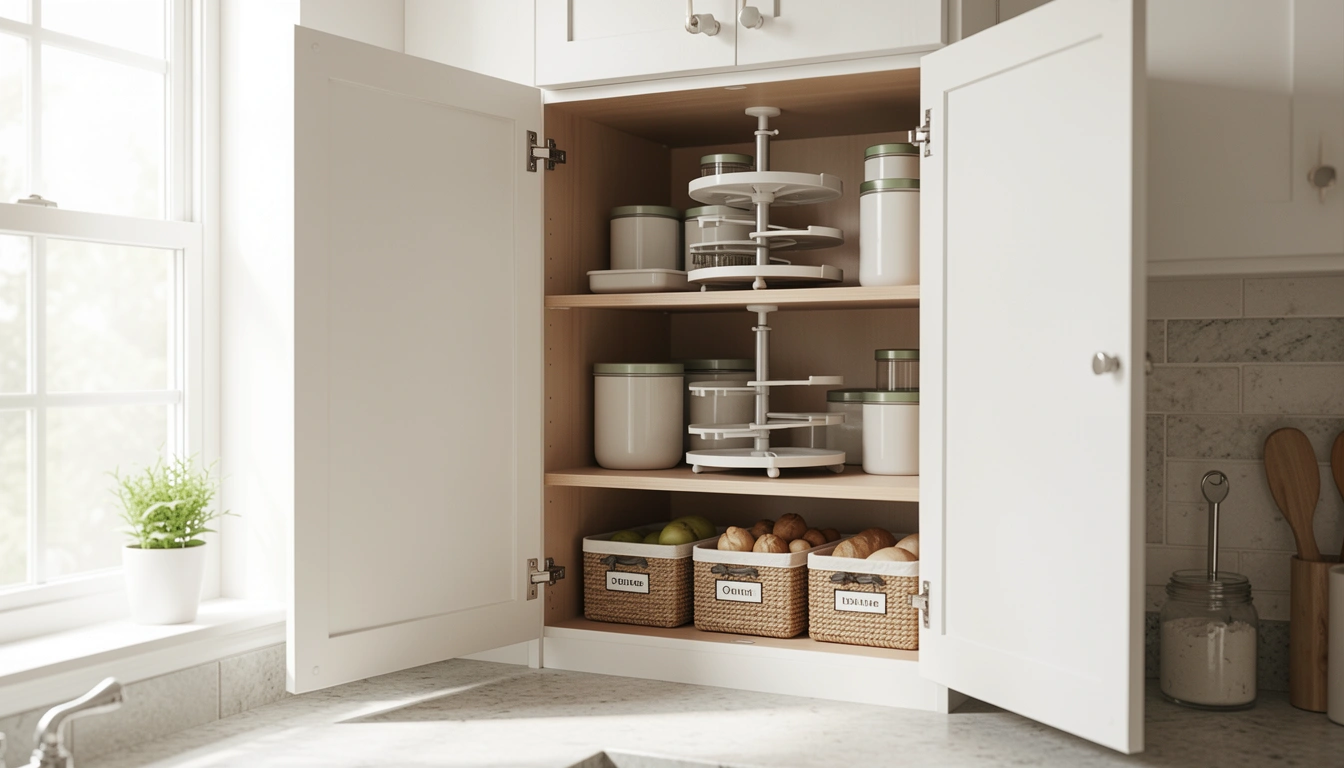
A rotating carousel (also called a lazy Susan or corner carousel) is one of the most popular fixes for corner cabinets because it lets you access items without reaching or crawling. Instead of digging to the back, you spin the carousel and grab what you need.
These come in wire, wood, or plastic options. A basic two-tier carousel runs $25–$60 from IKEA, Amazon, or Home Depot. Installation takes about 10 minutes—just measure your corner space, place the carousel on the floor, and load it. For deeper cabinets, opt for a full-height carousel at $80–$120 that uses the vertical space better. Many come with non-slip pads to keep things steady as they spin.
Pro tip: Use the carousel for items you grab regularly—spices, canned goods, oils, or small appliances. Leave slower-moving items for the static shelves around it.
You’ll notice you stop avoiding that corner and actually use the space. Plus, everything stays visible and within reach—no more mystery containers lurking in the back.
2. Add a Pull-Out Sliding Drawer Organizer
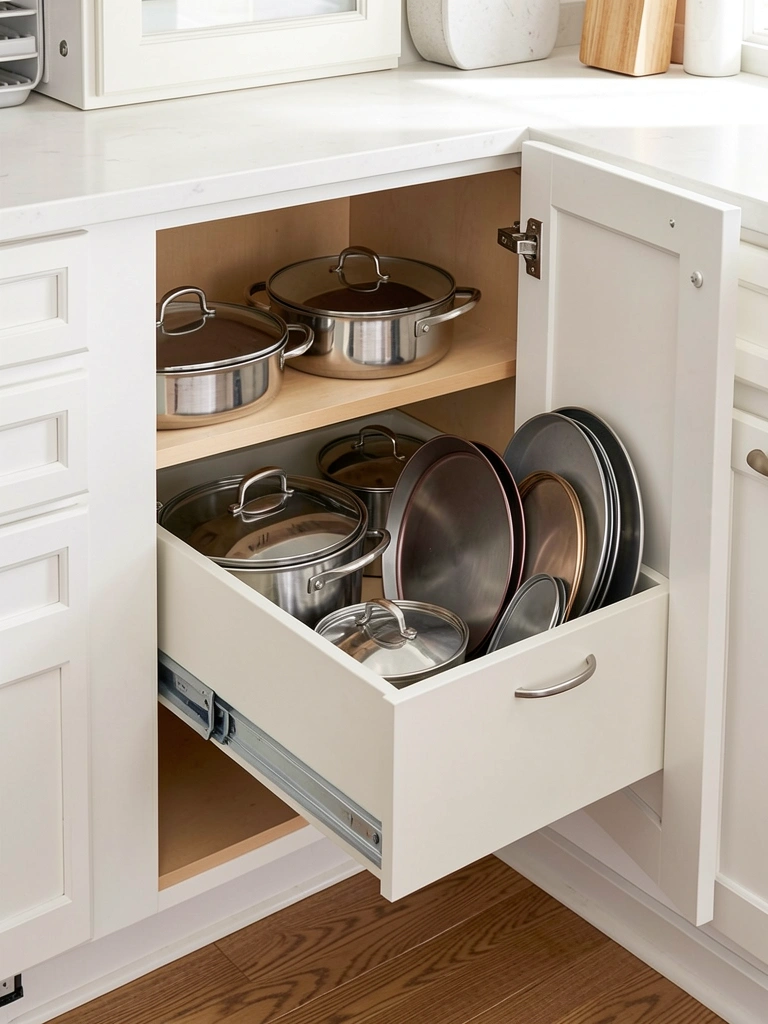
Pull-out sliding drawers do the work for you by bringing the cabinet contents toward you instead of requiring you to reach into darkness. You literally pull, and the whole basket glides forward.
Pull-out sliding organizers cost $40–$100 and fit most cabinet widths. Brands like Rev-A-Shelf and Hafele are solid; you can also find budget versions on Amazon. Installation requires a drill and about 30 minutes if you’re handy, or hire a handyman ($50–$100). The rails screw into the cabinet sides, and the basket slides in and out smoothly.
This works especially well for cookware, baking sheets, small appliances, or pantry items that you don’t want to dig for.
The difference is immediate: you’ll reach for those pot lids and mixing bowls without hesitation, and meal prep becomes faster.
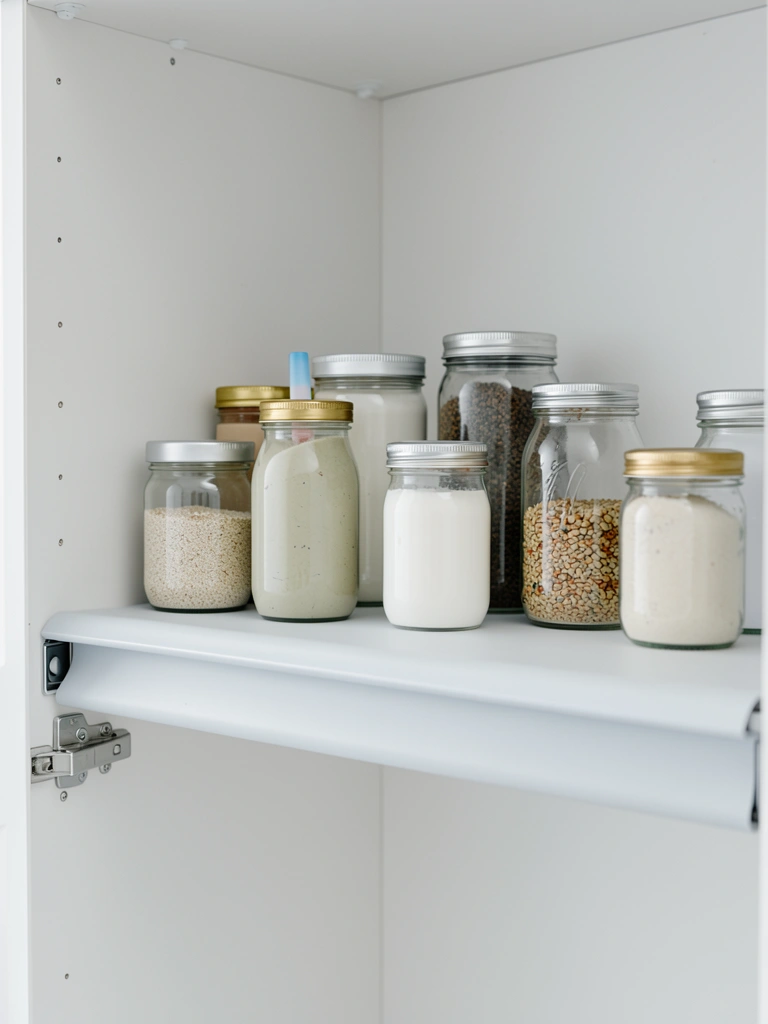
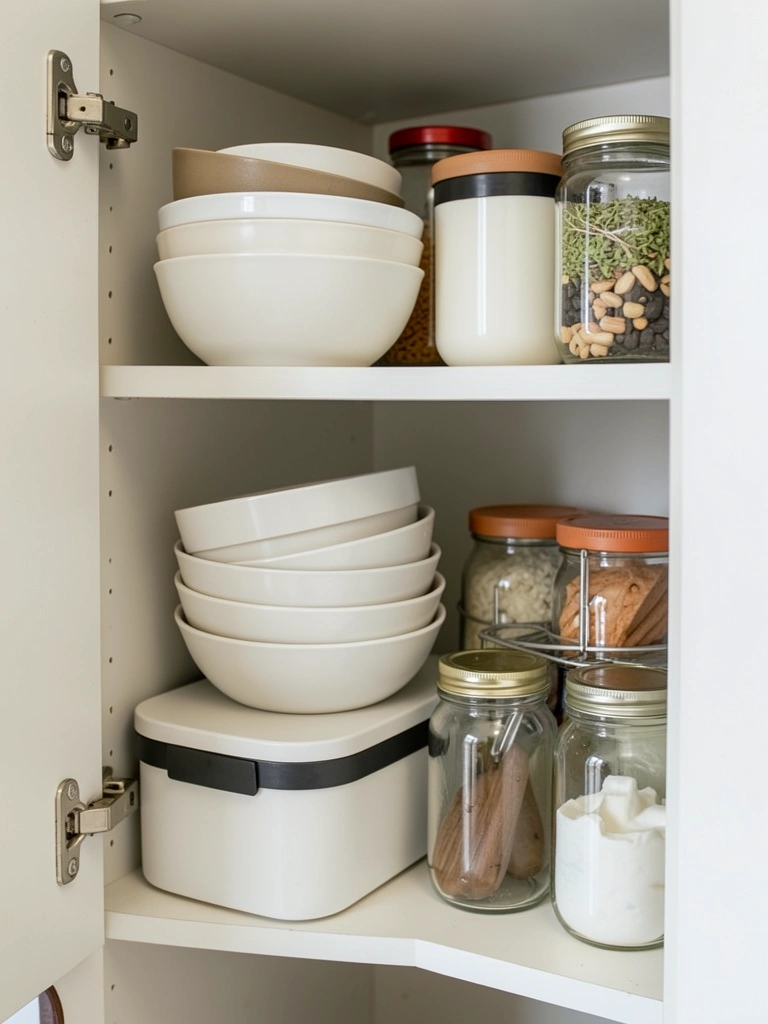
3. Use Stackable Clear Containers for Visibility

Clear containers solve one of the biggest corner-cabinet problems: not knowing what’s actually in there. When you can see through the sides, you stop forgetting about duplicates and wasted food.
Stackable clear containers run $15–$40 for a set of 4–8 from Target, IKEA, or The Container Store. Choose ones with tight-fitting lids to keep dry goods fresh and pests out. Labels (a roll of masking tape and a marker works; or buy label maker tape for $5–$10) take about 15 minutes to apply. The real payoff? No more opened boxes of pasta sliding around, and you can see at a glance when you’re low on staples.
Stack vertically to maximize the dead space above and around the carousel or pull-out drawer.
Your corner stops looking like a mystery box and becomes a place you actually enjoy opening. You’ll also waste less food because you remember what’s stashed back there.
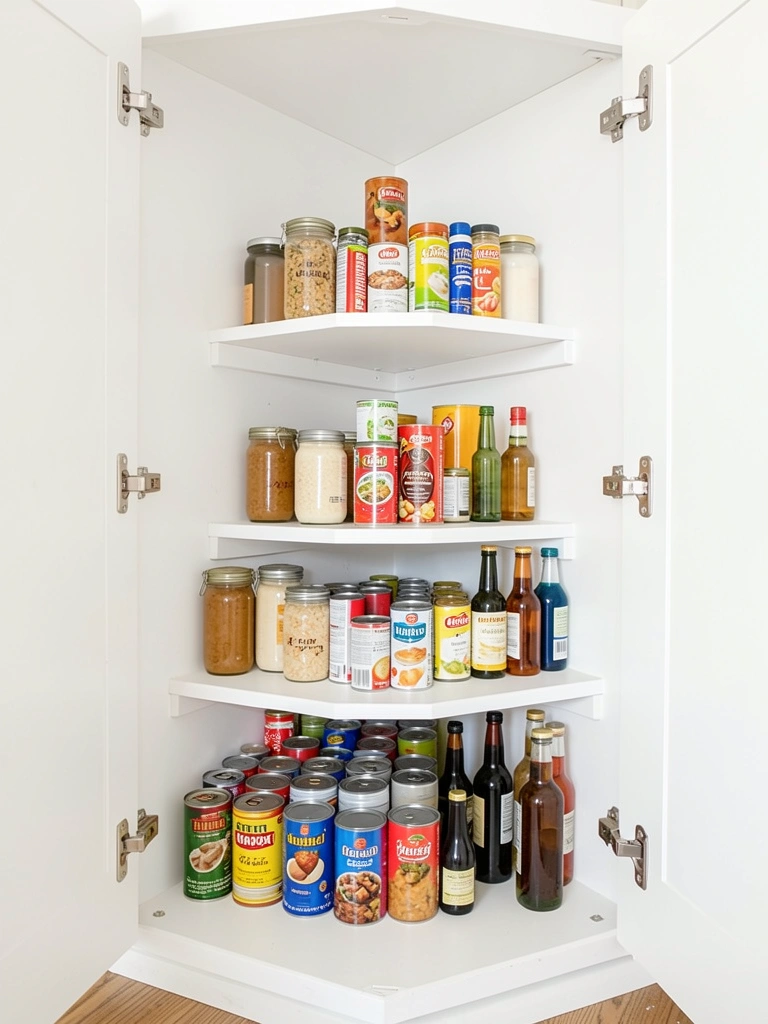
4. Create a Blind Corner Shelf System

Blind corner shelves are angled to follow the corner’s natural slope, so items don’t disappear into the back shadows. They tilt or turn, giving you sight lines to everything.
Angled blind-corner shelf systems cost $60–$150 depending on depth and material. Look for pull-out versions from Hafele or Rev-A-Shelf, which combine shelving with the pull-out feature. Installation takes 45 minutes to an hour with a drill and level. If you’re not drilling-comfortable, a handyman can install it for $75–$150.
This option shines if you want a permanent, built-in solution that looks intentional rather than like a bandage fix.
Items on angled shelves stay visible and accessible, and you’ll use that corner space confidently without fear of forgetting about things tucked in back.
5. Install a Corner-Mounted Magnetic Spice Rack
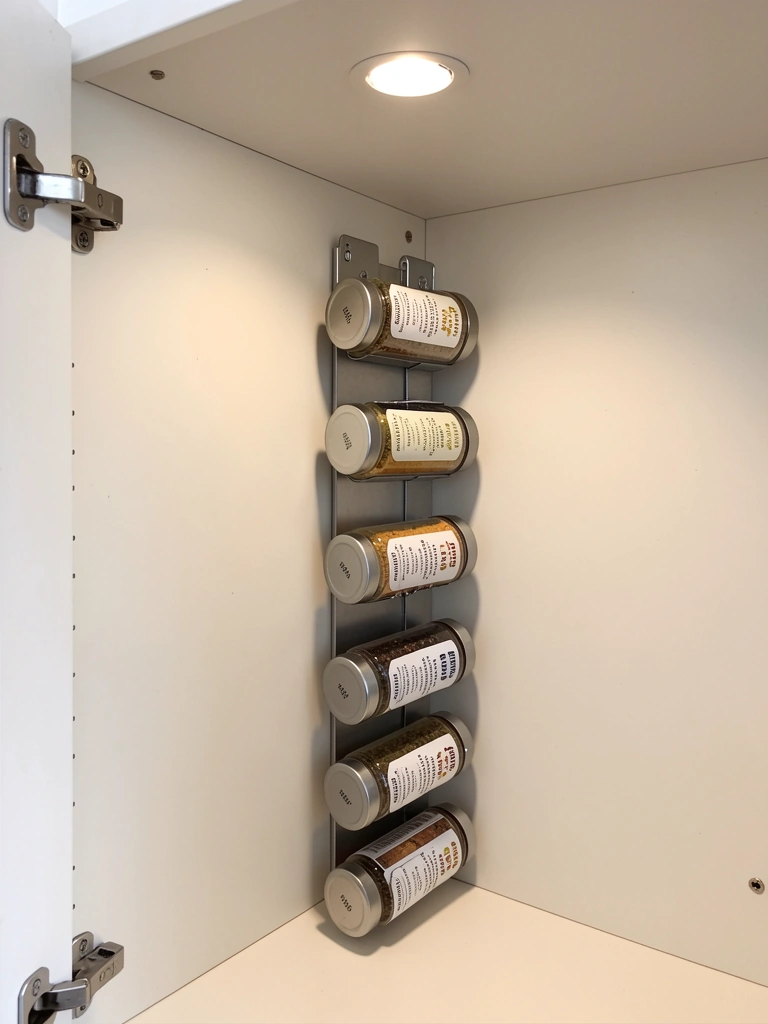
If spices are your corner-cabinet culprit, a magnetic strip is a game-changer. Mount it on the interior corner wall, and your jars hang in a compact vertical line, freeing up shelf space.
Magnetic strips cost $10–$25, and magnetic spice jars run $30–$60 for a set of 8–12. Combined cost: $40–$85. A drill and two anchors take 10 minutes to install. This works best if your cabinet doors are wide enough to accommodate the jars without them hitting the opposite side when you close the door—measure first.
Pro tip: If your cabinet is too tight, mount the strip on the cabinet door itself instead (same process).
Your spice collection becomes organized, visible, and actually findable. Cooking gets faster when you’re not hunting through jars.
6. Build a DIY Two-Tier Corner Shelf from Wood
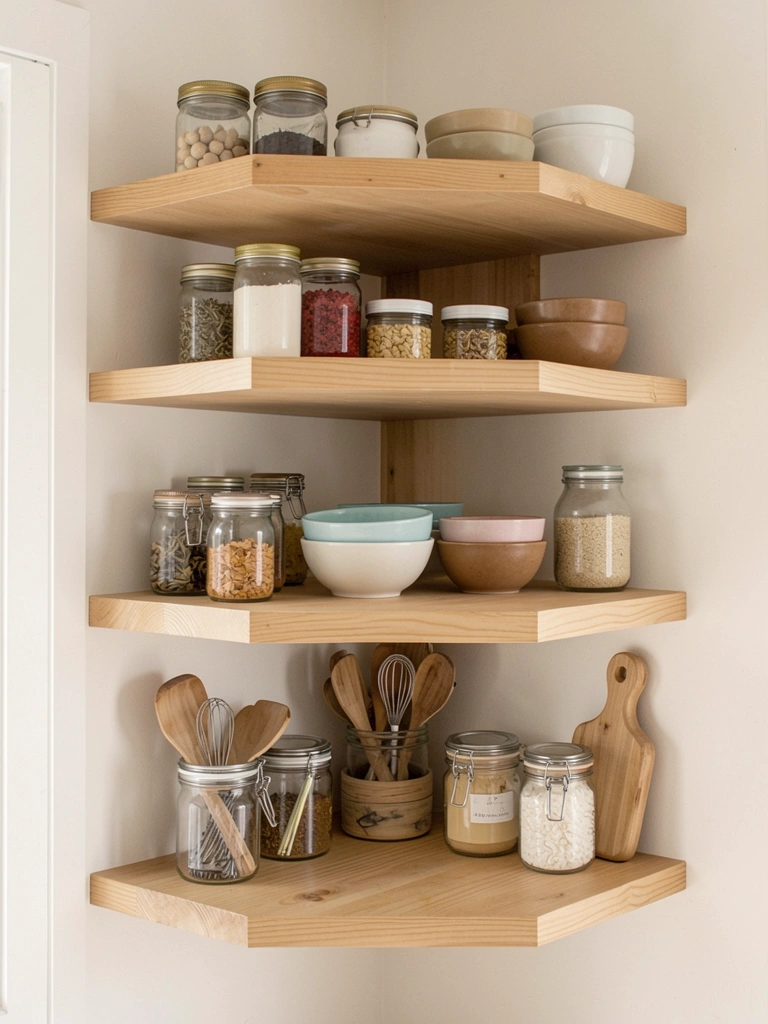
For a custom, permanent solution that costs less than buying pre-made systems, build a simple two-tier shelf yourself. You’ll need two pieces of wood (pine or plywood), brackets, and a saw.
Materials cost $25–$50 (wood, brackets, screws from Home Depot). Time investment: 2–3 hours if you have basic DIY skills. The trick is cutting the wood at the right angles to fit your specific corner. YouTube has dozens of tutorials, or you can ask Home Depot to make the cuts for a small fee ($5–$10 per cut).
If DIY isn’t your speed, a handyman can build and install this for $150–$300.
Once it’s in, you’ve gained two extra shelves of functional storage, and it looks way more intentional than empty corner space.
7. Add Adjustable Metal Shelving Inside the Cabinet
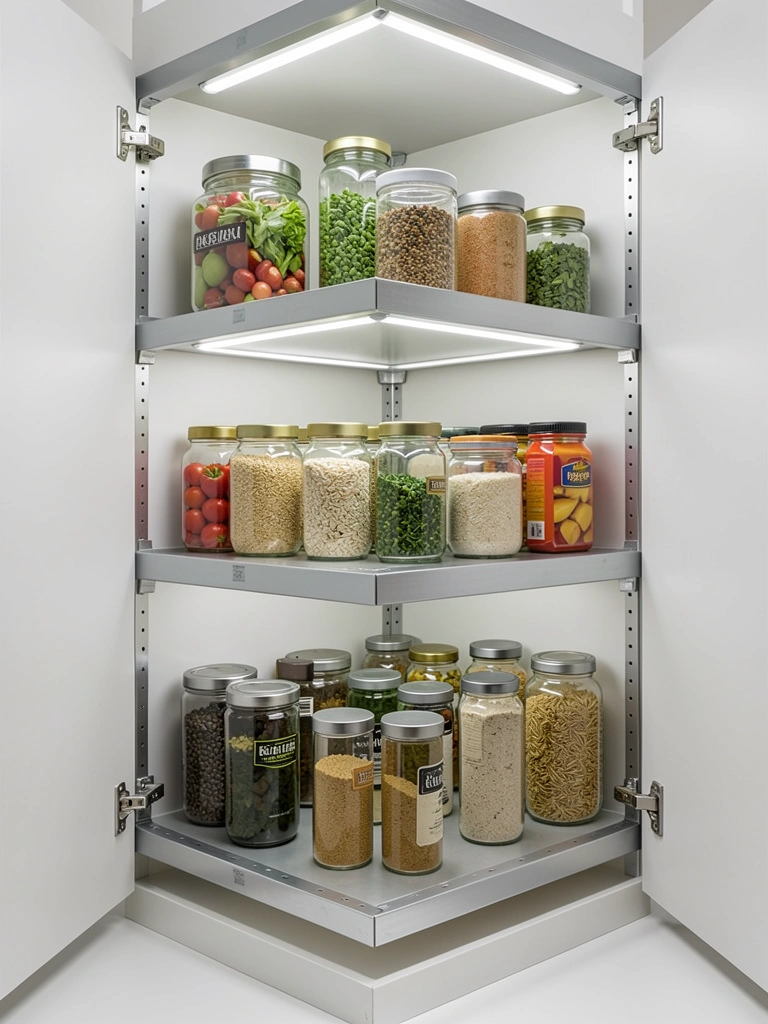
Adjustable shelving gives you control over shelf height, so you can customize spacing for your actual items instead of being stuck with fixed shelves that waste space.
Adjustable metal shelf kits run $40–$80 for a corner section. Brands like Rubbermaid and ClosetMaid sell corner kits specifically. Installation takes 30–45 minutes with a drill and level. You’re basically adding vertical pegs and resting shelves on them, which means you can move them anytime.
Pro tip: Combine this with some of the other solutions (carousels, containers, pull-outs) for maximum customization.
You instantly gain flexibility. Too much vertical wasted space before? Now you can compress it to fit your needs and open up room for other items.
8. Use a Corner Cabinet Door-Mounted Organizer
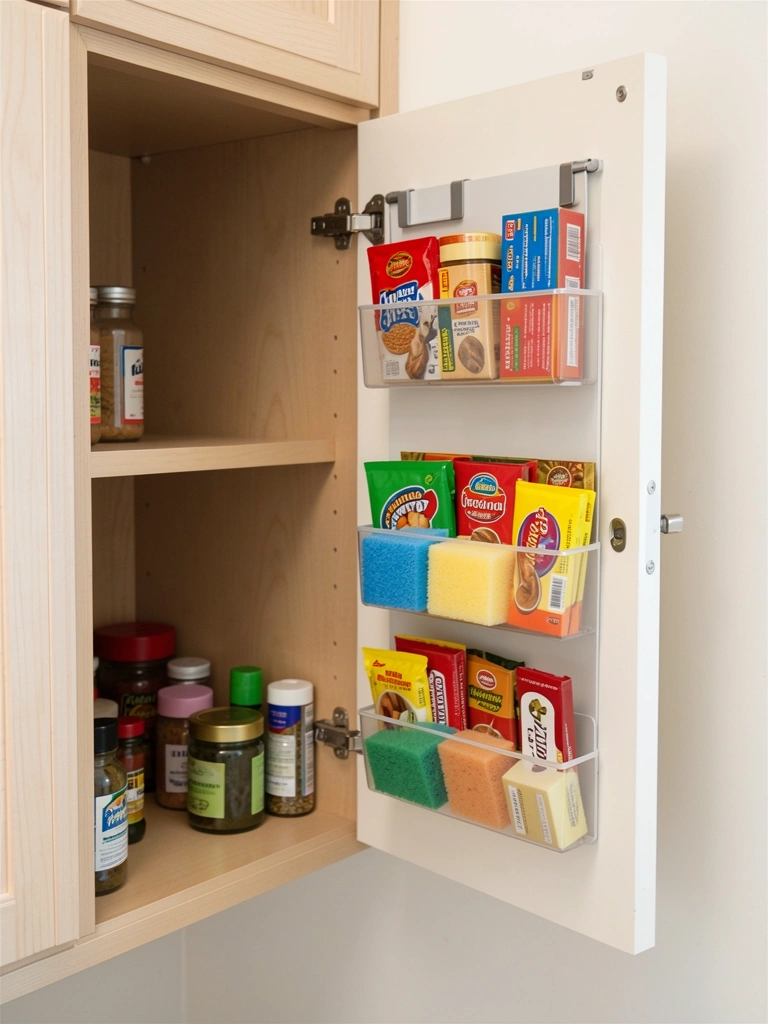
The inside of the cabinet door is prime real estate that often goes unused. A slim, door-mounted organizer captures that space without eating into your cabinet depth.
Door-mounted organizers cost $10–$30 and come in fabric, plastic, or wire. Installation is as simple as adhesive strips (renter-friendly) or two small screws. It takes 5 minutes. These work best for lightweight items: tea packets, sponges, dish towels, aluminum foil, plastic wrap, or small bottles.
Avoid putting heavy items on door organizers—they’ll eventually sag or pull the door off balance.
This is a zero-commitment upgrade that gives you several extra “shelves” without any permanent changes. Renters love this because it peels right off.
9. Install a Pull-Out Wire Basket for Deep Cabinets

Deep cabinets are notorious for becoming black holes where things disappear. A pull-out wire basket solves this by bringing the back items forward on smooth-gliding rails.
Wire pull-out baskets cost $30–$70 and come in various widths. You’ll need a drill, brackets, and rails. Installation takes 30–45 minutes. The payoff? You can finally see and grab the stuff in the back without doing contortions.
These work beautifully for kitchen towels, small appliances, cookware, or pantry overflow.
That scary blind spot in the back suddenly becomes accessible and useful space. You’ll stop buying duplicates of things you forgot you had.
10. Create a Vertical Divider System for Baking Sheets

Baking sheets and cutting boards are corner-cabinet nuisances because they’re flat and awkward. Stack them horizontally, and they create a tall pile; lay them flat, and they take forever to find the right one. Vertical dividers fix this by storing them upright like files.
DIY vertical dividers cost $15–$30 (scrap wood or metal strips and brackets). Installation: 45 minutes to an hour. Alternatively, buy pre-made divider systems for $40–$60 from container stores. Some popular options are from The Container Store or IKEA’s kallax-style dividers adjusted for corner spaces.
Everything stays visible and accessible without the frustration of restacking a whole pile.
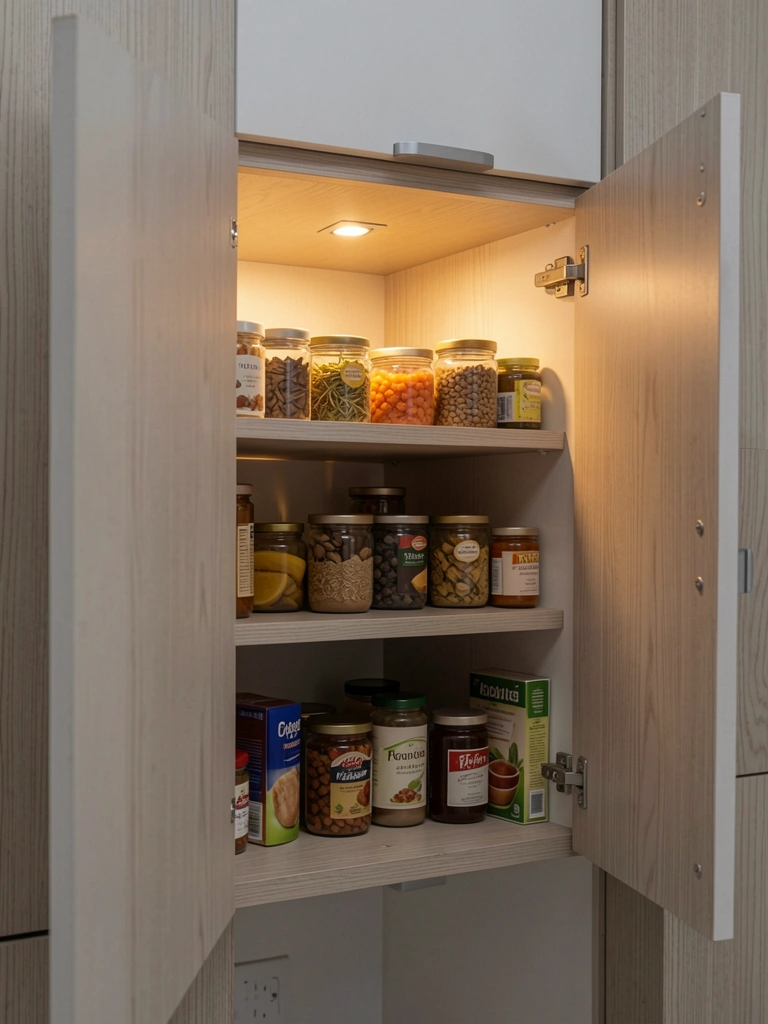
11. Install Corner Cabinet Lighting for Visibility

Here’s a simple fix that makes a huge difference: if you can’t see what’s in your corner cabinet, you won’t use it. A small LED strip light solves that instantly.
LED strip lights cost $15–$40 and come with adhesive backing—no drilling required. Installation takes 5 minutes. Choose warm white (2700K) for a cozy feel. Many run on batteries or plug into a nearby outlet. Some motion-sensor versions turn on when you open the door.
This pairs beautifully with clear containers and pull-out organizers because now you can actually see your organized items.
Suddenly, that dark corner becomes inviting and functional. You’ll open that cabinet without hesitation and find exactly what you need.
12. Add a Tiered Step Shelf for Visible Display
A tiered step shelf creates depth and visibility by staggering items at different heights. Nothing hides behind anything else—everything’s on display and accessible.
Tiered step shelves cost $25–$50 for a plastic version, or $60–$100 for wood. Place it on the cabinet floor or an existing shelf. Installation is zero—just set it in place. These work best for items you want visible: cookbooks, decorative jars, fancy spice bottles, or dinnerware.
The beauty is that you can move it anytime if you want to reconfigure your cabinet.
Items stop getting lost in back rows because everything’s displayed front and center. Plus, it looks intentional and styled, which is a bonus.
13. Use the Corner Cabinet Door for a Spice Organization Panel
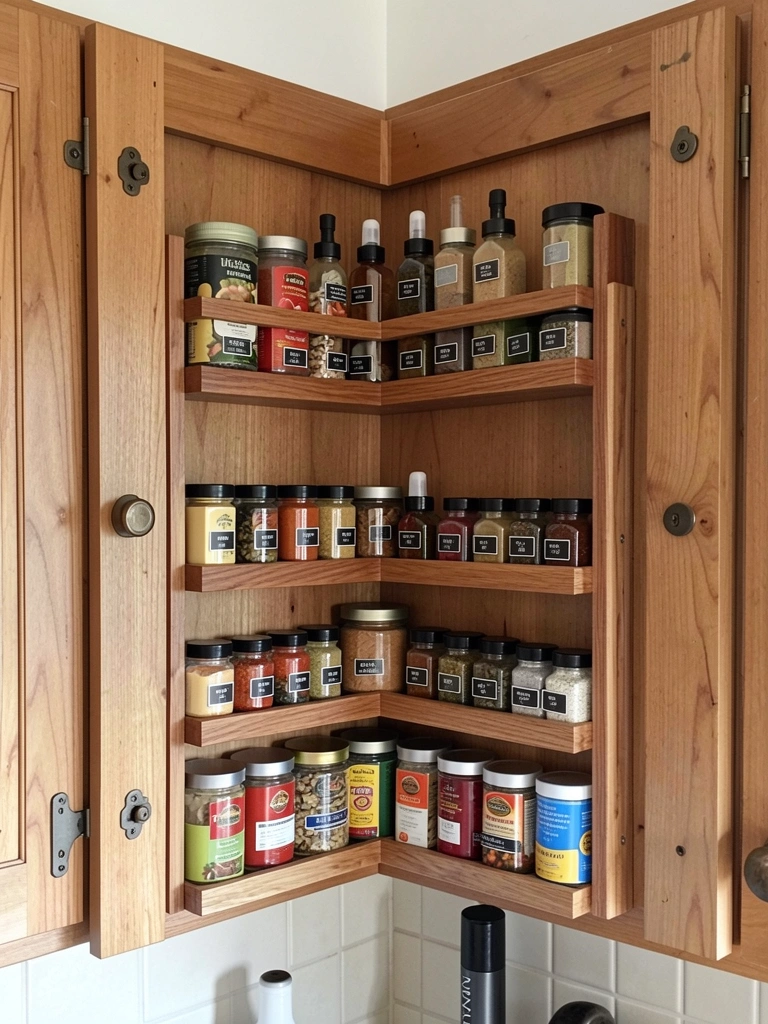
If your corner cabinet door is sturdy enough, cover the inside with a pegboard or a custom spice-rack panel. This captures dead space and keeps frequently used items within arm’s reach.
A pegboard panel costs $20–$40; a pre-made spice rack panel runs $30–$70. Installation requires 4–6 screws and takes 15 minutes. You’ll need to drill into the door, so this isn’t renter-friendly, but it’s a permanent upgrade homeowners love.
Pro tip: Make sure the spice jars aren’t so heavy that they pull the door out of alignment. Test with a few items first.
Your most-used spices are always visible and organized, and they’re right there when you’re cooking. No more hunting through containers.
14. Install Sliding Shelf Liners for Easier Cleanup
This is a small fix with big payoff: sliding shelf liners reduce friction, so containers glide easily and cleanup is effortless. If you have a wooden shelf, jars and containers often get stuck when you try to pull them out.
Sliding shelf liners cost $10–$20 for several yards and are available at Target, Amazon, or Home Depot. Cut to fit your shelf. Installation takes 10 minutes. These liners let items slide smoothly without scratching, and spills wipe right up.
This works especially well with carousel systems or pull-out organizers because it reduces resistance.
Accessing items becomes smooth and frictionless. It’s a small detail that makes daily use much more pleasant.
15. Create a Lazy Susan Caddy for Condiments
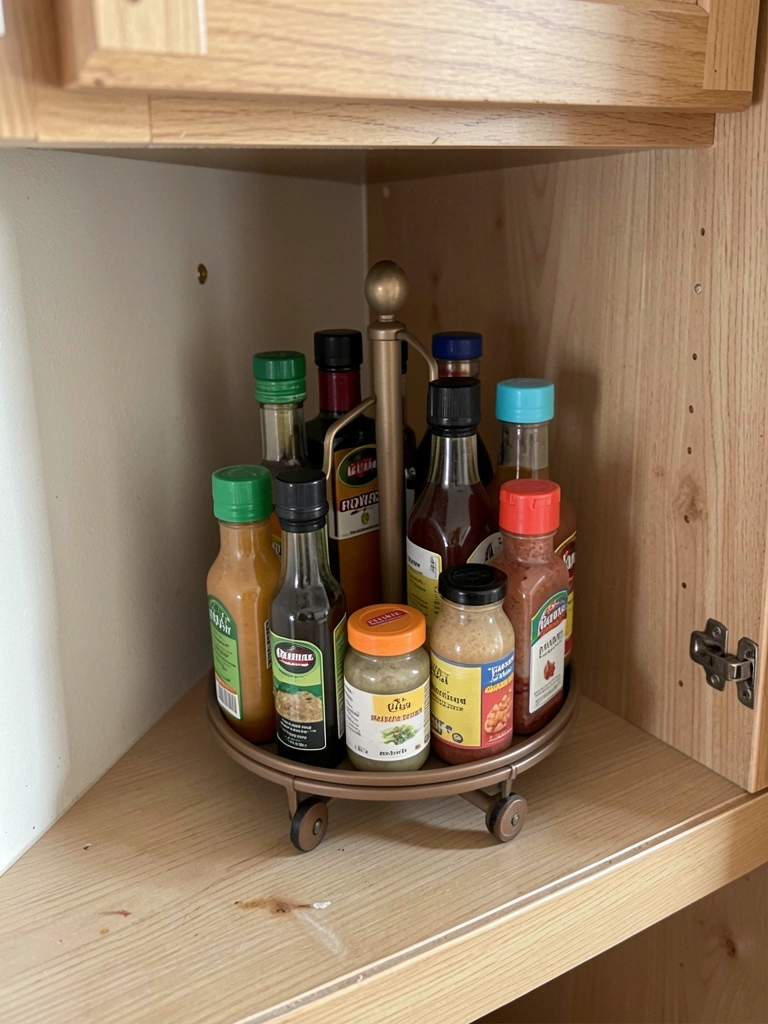
A lazy Susan specifically designed as a caddy gives you a compact rotating solution for oils, vinegars, sauces, and condiments without taking up much space.
Condiment caddies cost $15–$35 and come in stainless steel, plastic, or wood. You can find them at Target, IKEA, or Williams Sonoma. Placement takes 2 minutes—just set it on the shelf. Because it’s smaller than a full carousel, it’s perfect for a single category of items rather than your entire cabinet.
Pair multiple caddies around your corner cabinet for different item types (one for oils, one for spices, one for baking supplies).
Everything stays organized by category and spins into reach. Your cooking rhythm speeds up because condiments are always where you expect them.
16. Use Hanging Baskets Inside the Cabinet
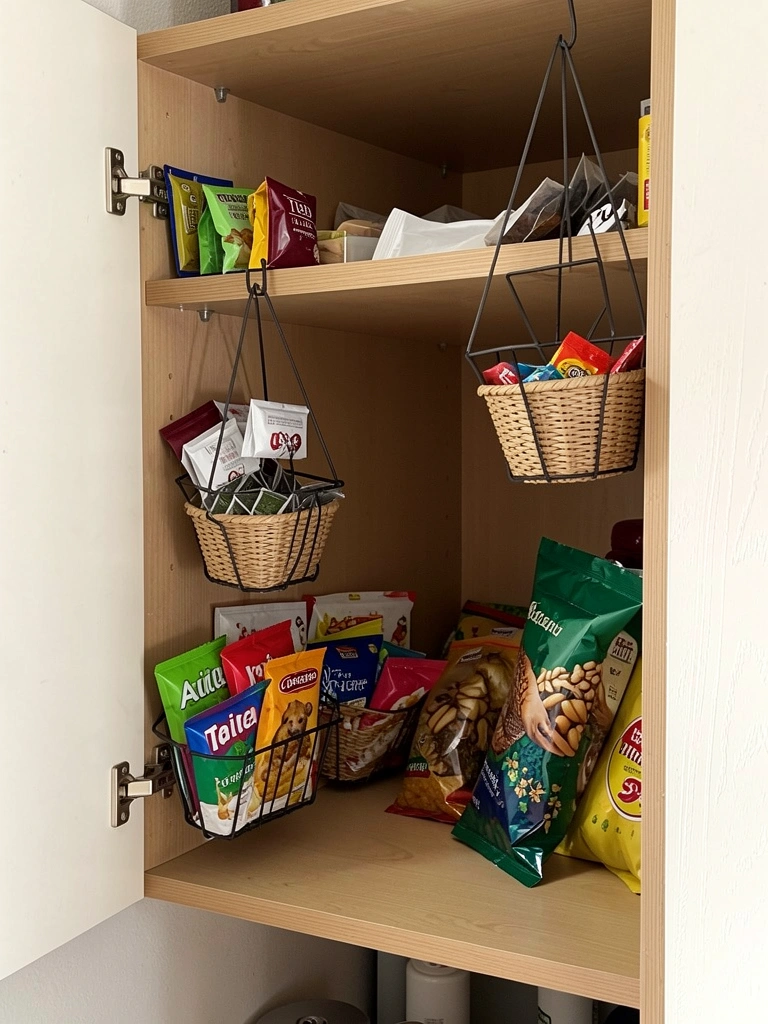
Hanging baskets from an upper shelf let you use vertical space without cluttering the shelf itself. They’re especially great for lightweight items like tea, snack packets, or dried herbs.
Hanging baskets cost $10–$25 each and come in wire, woven, or canvas. You’ll need small hooks or S-hooks ($5–$10). Installation takes 10 minutes. Renter option: use adhesive hooks instead of drilling.
Keep baskets lightweight. Heavy items pull on hooks and become unsafe.
You’ve gained another storage layer without eating into your precious shelf space. Items stay organized and visible above the clutter.
17. Install a Corner Cabinet Carousel with Adjustable Tiers
An adjustable-tier carousel combines two solutions: rotation for access and adjustable shelves for flexibility. You get both benefits in one piece.
Adjustable-tier carousels cost $80–$150 and take about 20 minutes to assemble and install. Brands like Rev-A-Shelf and Amazon Basics make solid versions. You can raise or lower each tier to match your item heights, reducing wasted space.
This is more of an investment, but if you’re serious about corner optimization, it pays off.
Every inch of your corner cabinet suddenly works for you. You’re using vertical and rotational space, so capacity jumps significantly.
18. Create a DIY Pegboard Cabinet Organizer

A pegboard inside your cabinet lets you customize hook and shelf placement to fit exactly what you store. It’s like a miniature version of a workshop pegboard—totally customizable.
Pegboard costs $15–$30, plus hooks and small shelves ($20–$40 for a variety pack). Installation requires drilling 4–6 holes and takes 30 minutes. You can paint the pegboard first for a finished look (adds 1 hour plus drying time).
This is ideal if you’re storing multiple small tools, utensils, or a mix of items that don’t fit standard organizers.
Your corner becomes a personalized storage hub where everything hangs exactly where it should be. Accessibility becomes effortless because you designed it.
19. Use Nesting Containers to Maximize Vertical Space
Nesting containers are lifesavers for corner cabinets because they stack compactly but expand when you need them. You’re not wasting space on separate stacks of different sizes.
Nesting container sets cost $20–$50 and come in plastic, glass, or ceramic. IKEA, Target, and Container Store all have good options. They take seconds to set up—just nest them and place on your shelf. This works for dry goods, leftovers, or even small kitchen tools.
Pro tip: Use nesting bowls and measuring cups too; they serve double duty for cooking and storage.
You’ve doubled your storage capacity because items actually collapse down instead of taking permanent space. It’s like magic.
20. Install a Corner Cabinet Organizer with Pull-Out Baskets
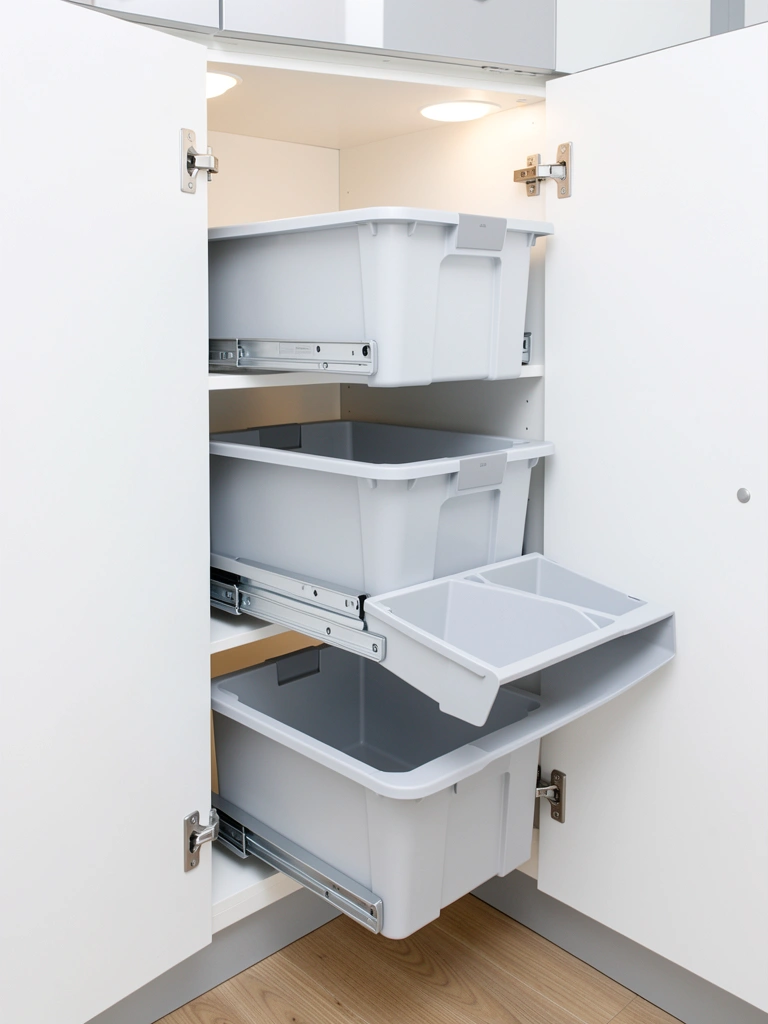
Some corner-cabinet organizers come as complete units with multiple pull-out baskets built into a single frame. It’s a one-purchase solution that handles the entire corner.
Integrated pull-out basket systems cost $100–$200 and come in various widths and depths. Look for corner-specific versions from Rev-A-Shelf or Hafele. Installation takes 45 minutes to an hour with a drill. It’s a bigger investment, but you’re solving the corner problem completely in one shot.
If installation feels intimidating, hire a handyman for $100–$150.
Your entire corner cabinet suddenly functions like a dream. Every item is accessible, nothing hides in the back, and you’ll use the space consistently.
21. Add Corner Cabinet Lighting with a Motion Sensor
A motion-sensor LED light is like a mini version of opening the refrigerator—the light comes on automatically when you open the door and turns off when you close it. Total convenience.
Motion-sensor LED lights cost $20–$40 and run on batteries or USB. Installation involves peeling off adhesive backing and sticking it under the top shelf (or inside the door frame). It takes 2 minutes. No wiring, no drilling—renter-friendly.
Some models have adjustable brightness and warm or cool color options.
You never fumble in the dark again. The moment you open that cabinet, everything’s illuminated and ready. It’s a small luxury that changes how you interact with the space.
22. Use a Stainless Steel Corner Shelf Unit
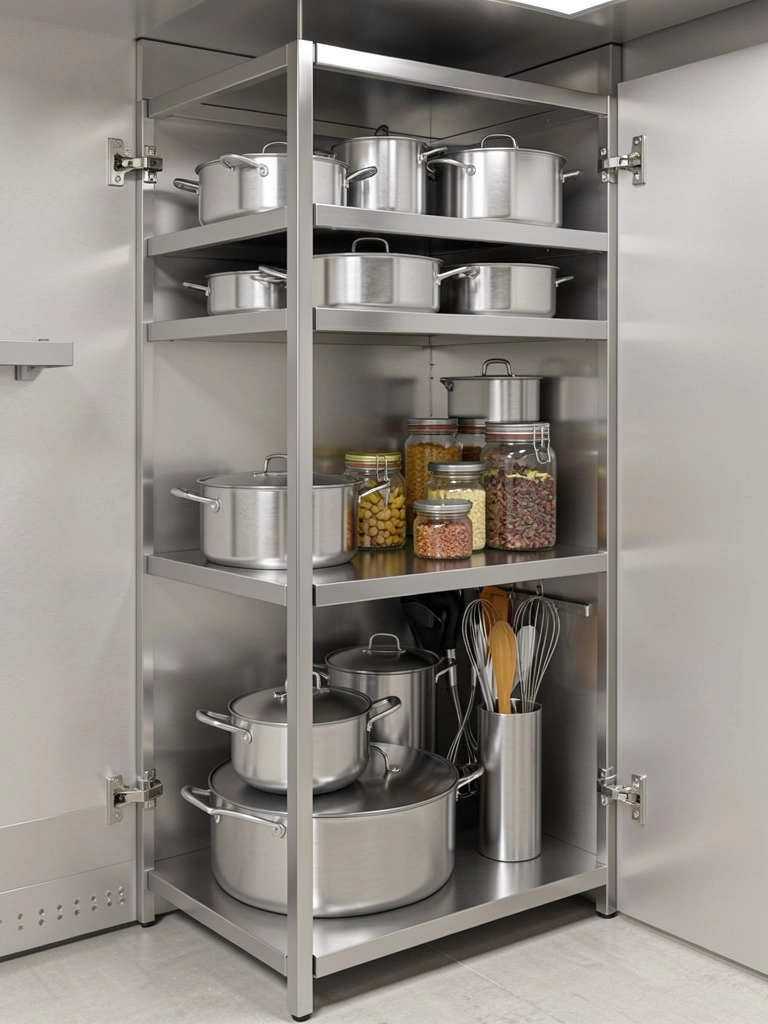
For a durable, commercial-grade solution, consider a stainless steel corner shelf unit. These are used in professional kitchens for a reason—they’re sturdy, easy to clean, and last forever.
Stainless steel corner shelf units cost $80–$150 depending on height and tier count. Installation takes 45 minutes with a drill and level. These are especially great if you’re storing heavier items like cookware or small appliances.
The trade-off? They’re more industrial-looking, which works beautifully in modern or minimalist kitchens but might not suit traditional styles.
You gain a storage solution that’ll outlast your kitchen cabinets. Plus, it wipes clean in seconds, which is a huge win for busy cooks.
23. Create a Corner Pantry with Labeled Bins
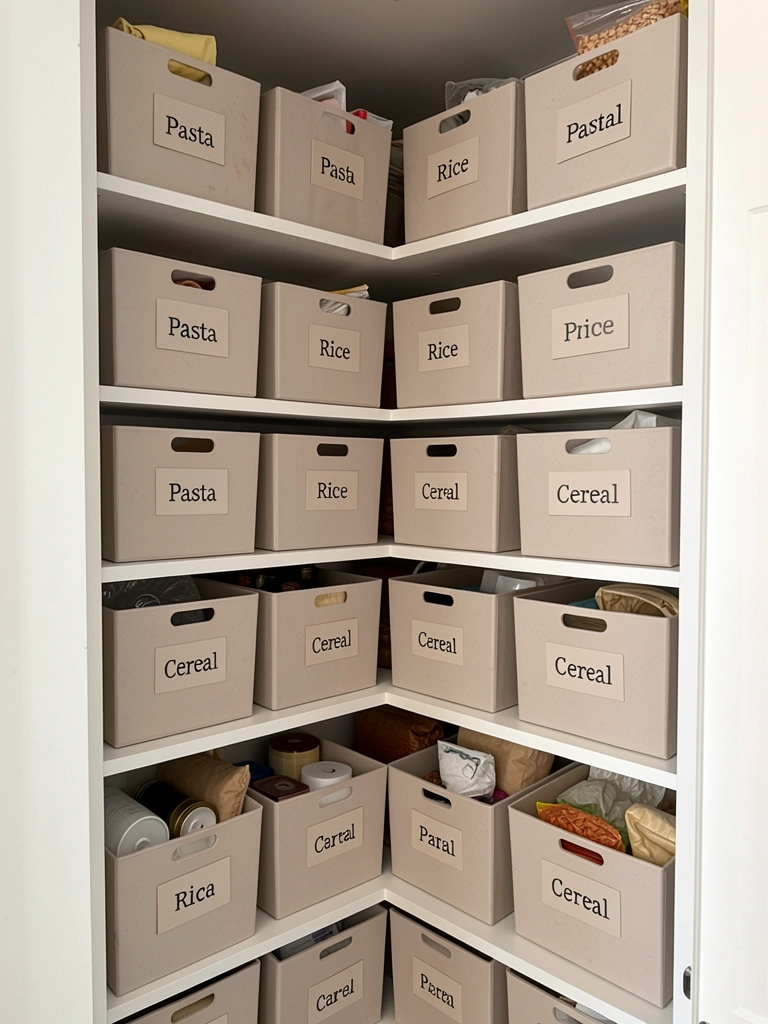
If your corner cabinet is spacious and dedicated to pantry overflow, fill it strategically with matching labeled bins. Everything’s visible at a glance, categories are clear, and it looks intentional.
A set of 6–10 matching storage bins costs $30–$60 from Target, The Container Store, or IKEA. Label maker tape ($5–$10) or a regular label gun makes identification foolproof. Setup takes 20 minutes—just organize by category, label, and stack.
Bonus: Rotate bins that have been sitting unused to the front so you actually use what you have.
Your corner stops being a mystery and becomes a mini pantry. You’ll shop smarter, waste less food, and find things instantly.
Save this post and pick one idea to implement this weekend. Even a single carousel or set of clear containers makes a shocking difference in how much you actually use that corner. Which hack will you try first?
Leave a Reply