Your desk is where productivity meets personality—yet so many of us work at spaces that feel uninspiring or cluttered. A thoughtfully styled desk doesn’t just look good; it actually helps you focus, stay motivated, and tackle your work with intention. Whether you’re working from home, managing a side hustle, or studying for exams, your desk environment matters more than you’d think. In this guide, we’re sharing 27 desk aesthetic ideas that combine style with function—from budget-friendly hacks to investment pieces that’ll make you genuinely excited to sit down and work. You’ll discover how to declutter, add personality, improve lighting, and create a space that’s as productive as it is beautiful. Let’s turn your desk into a place you actually want to spend time at.
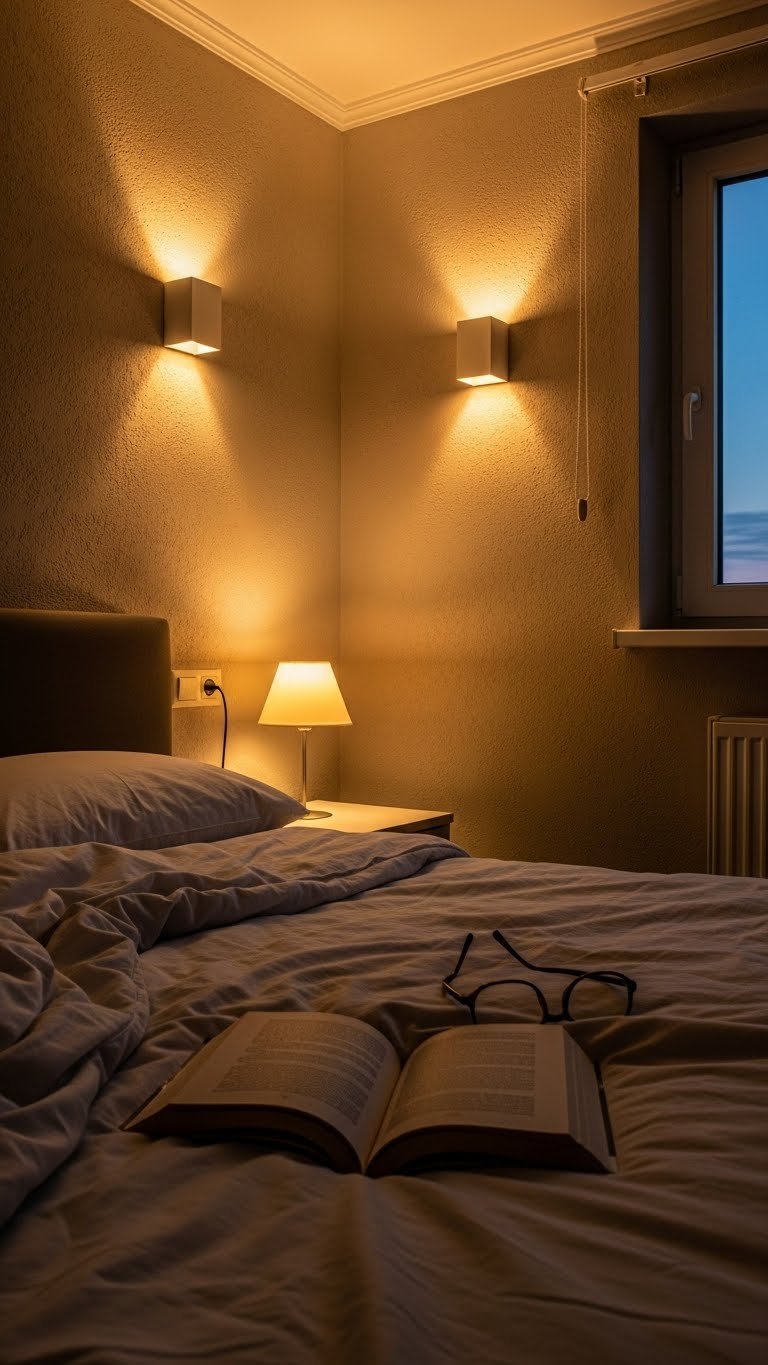
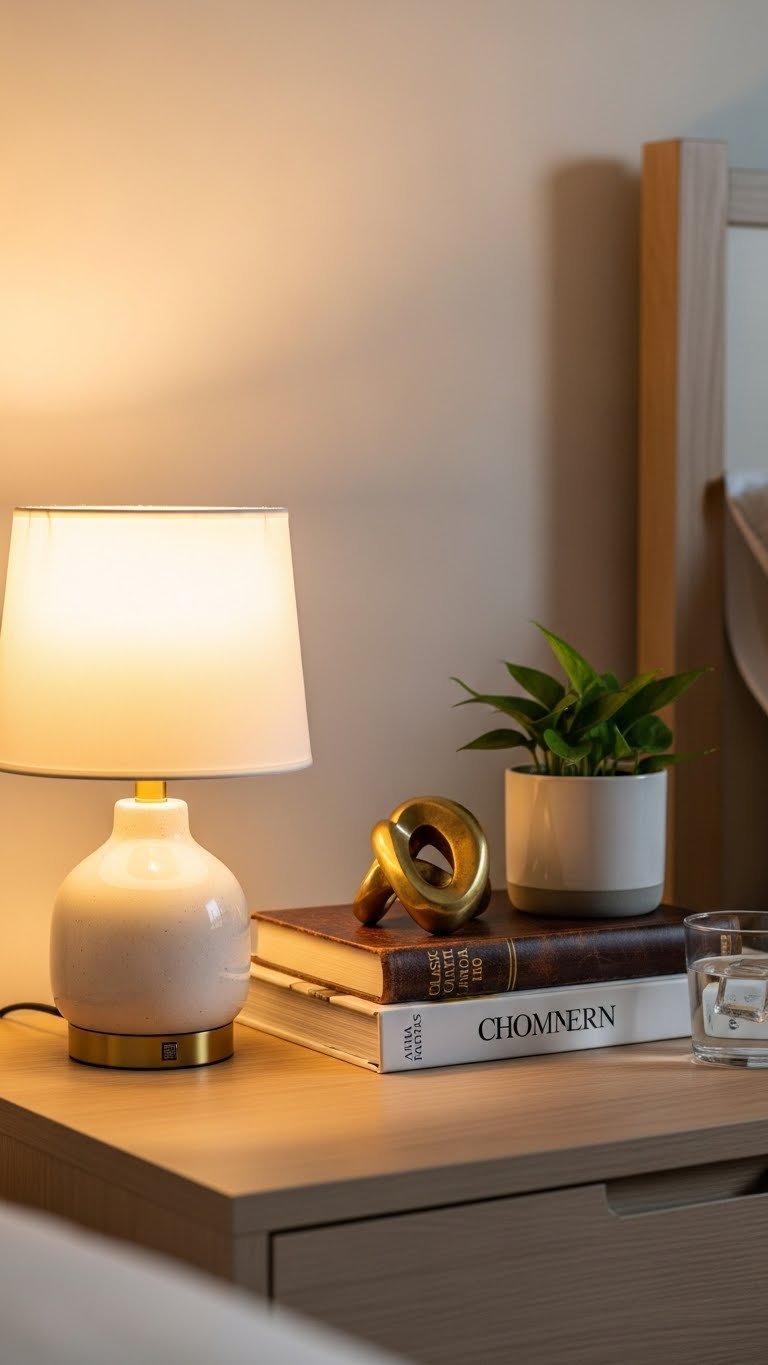
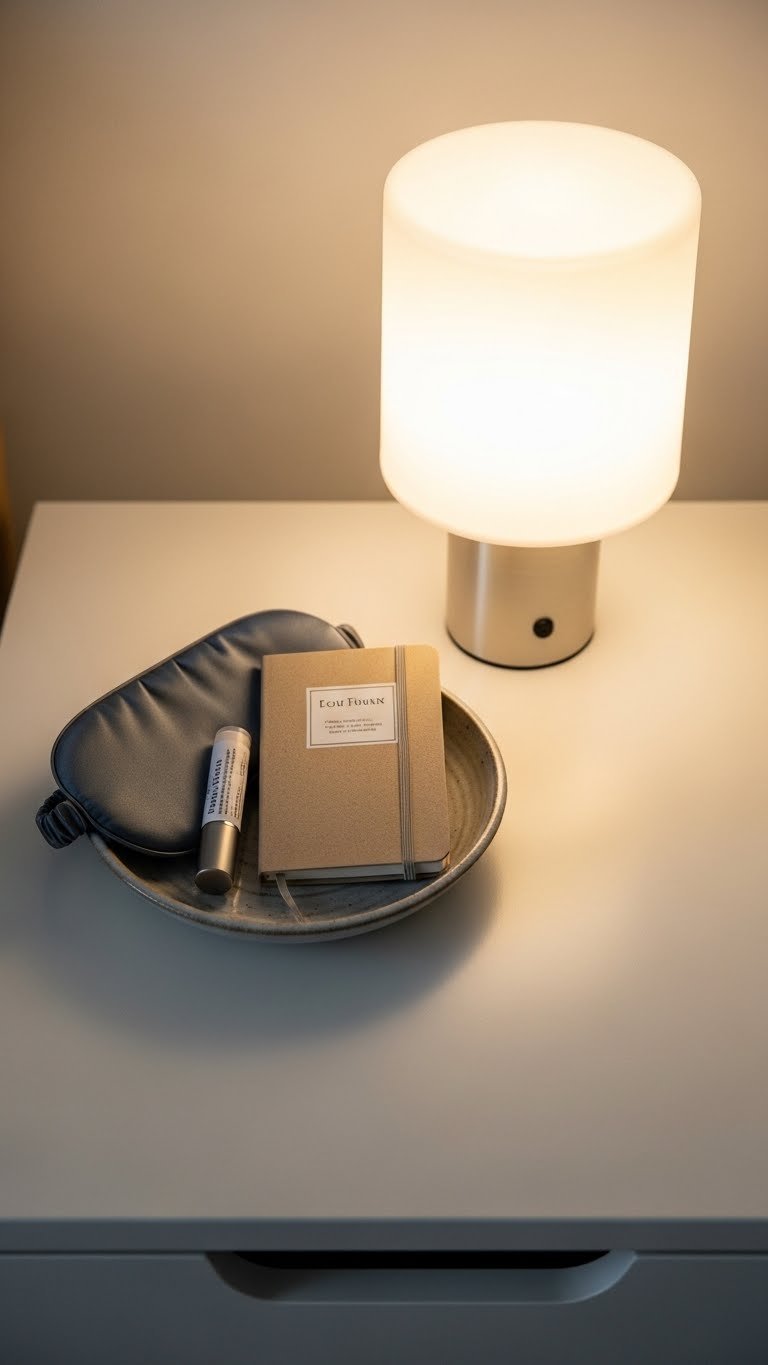
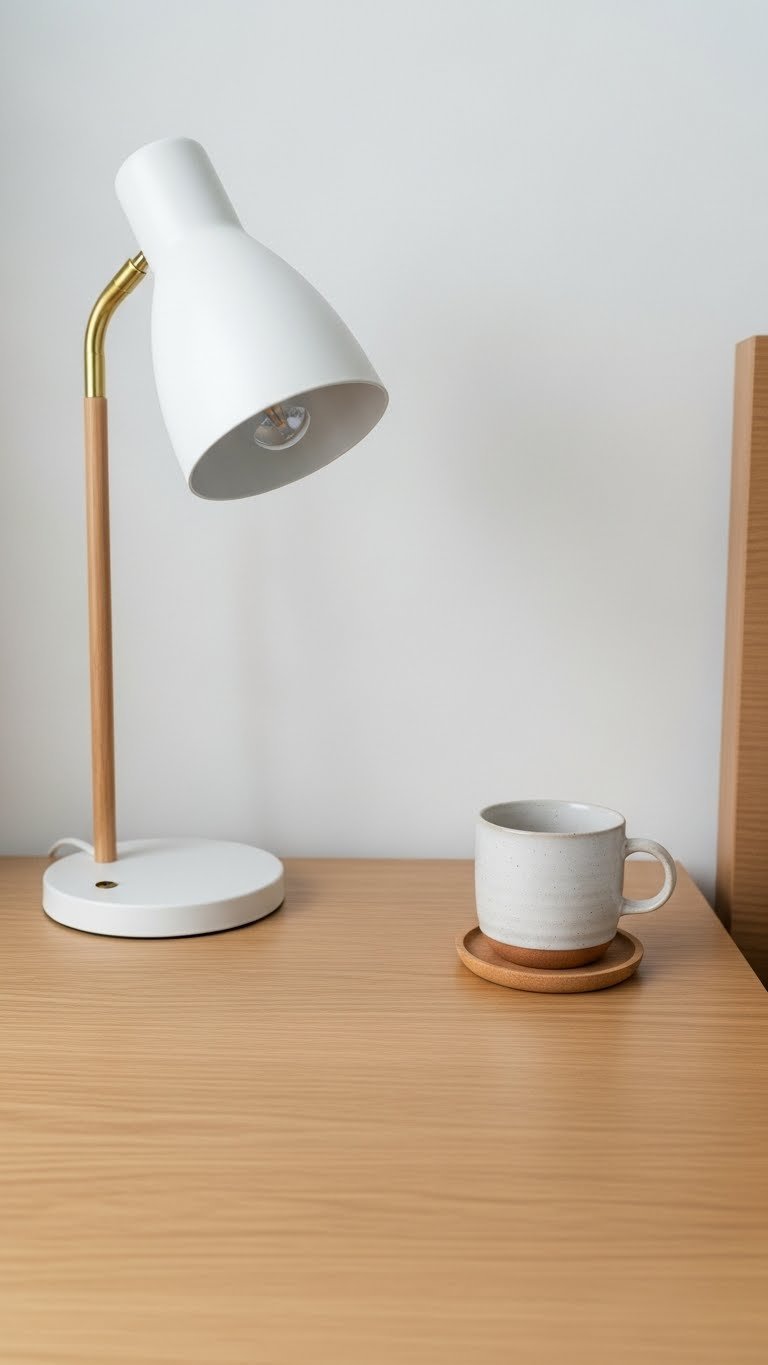
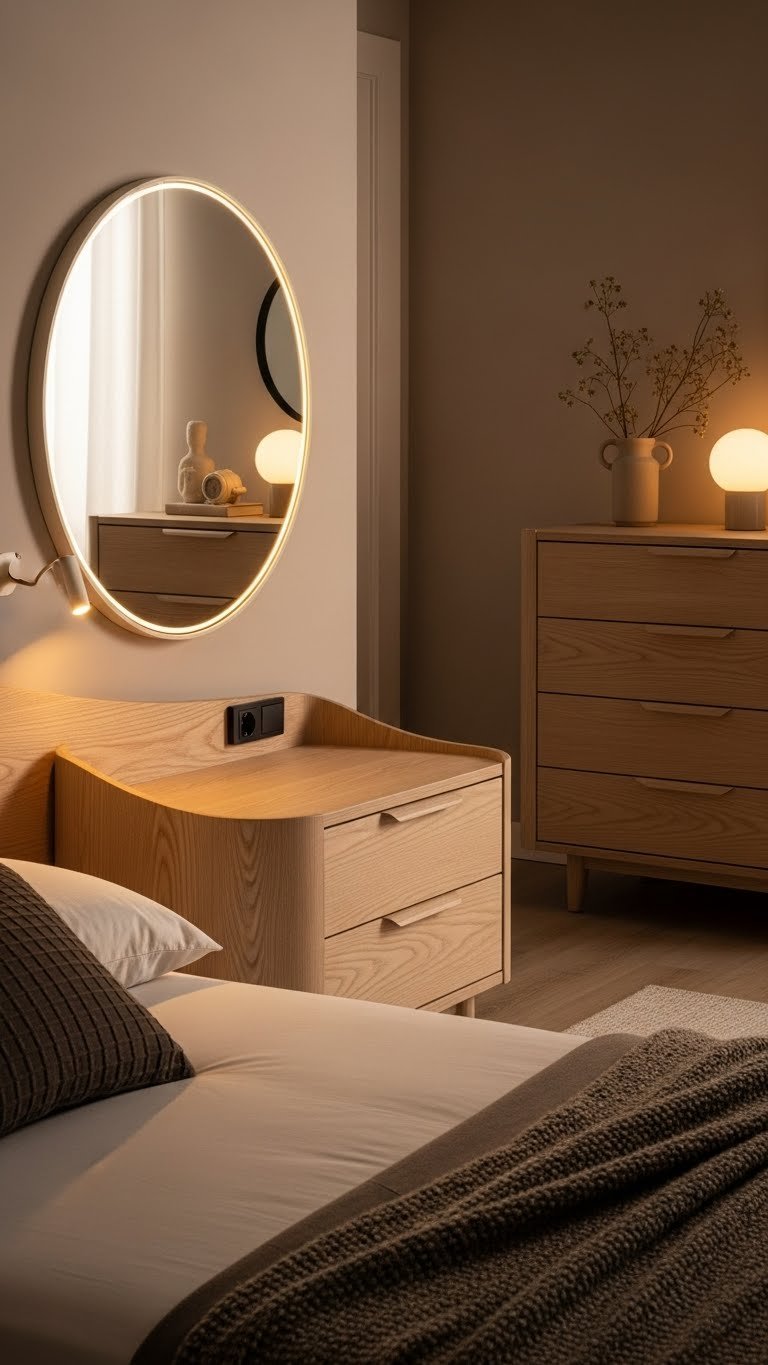
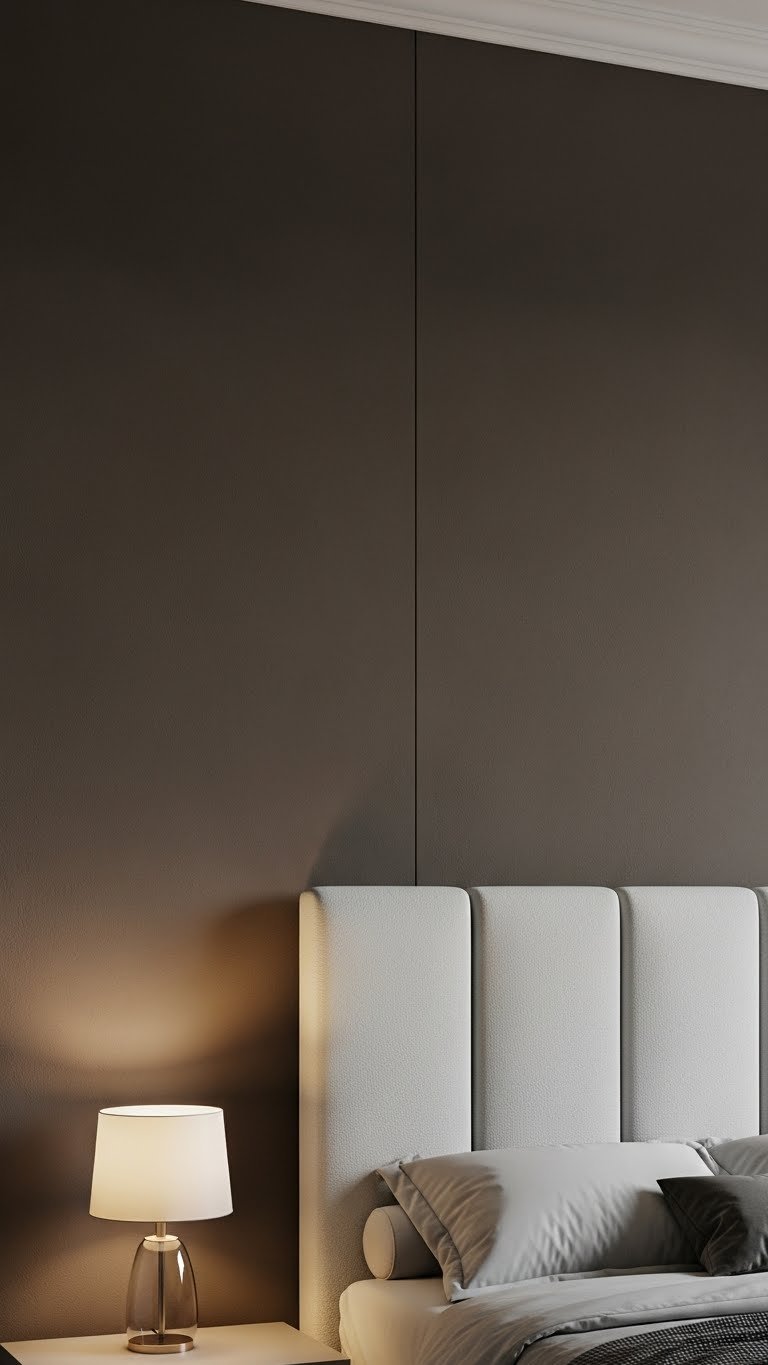
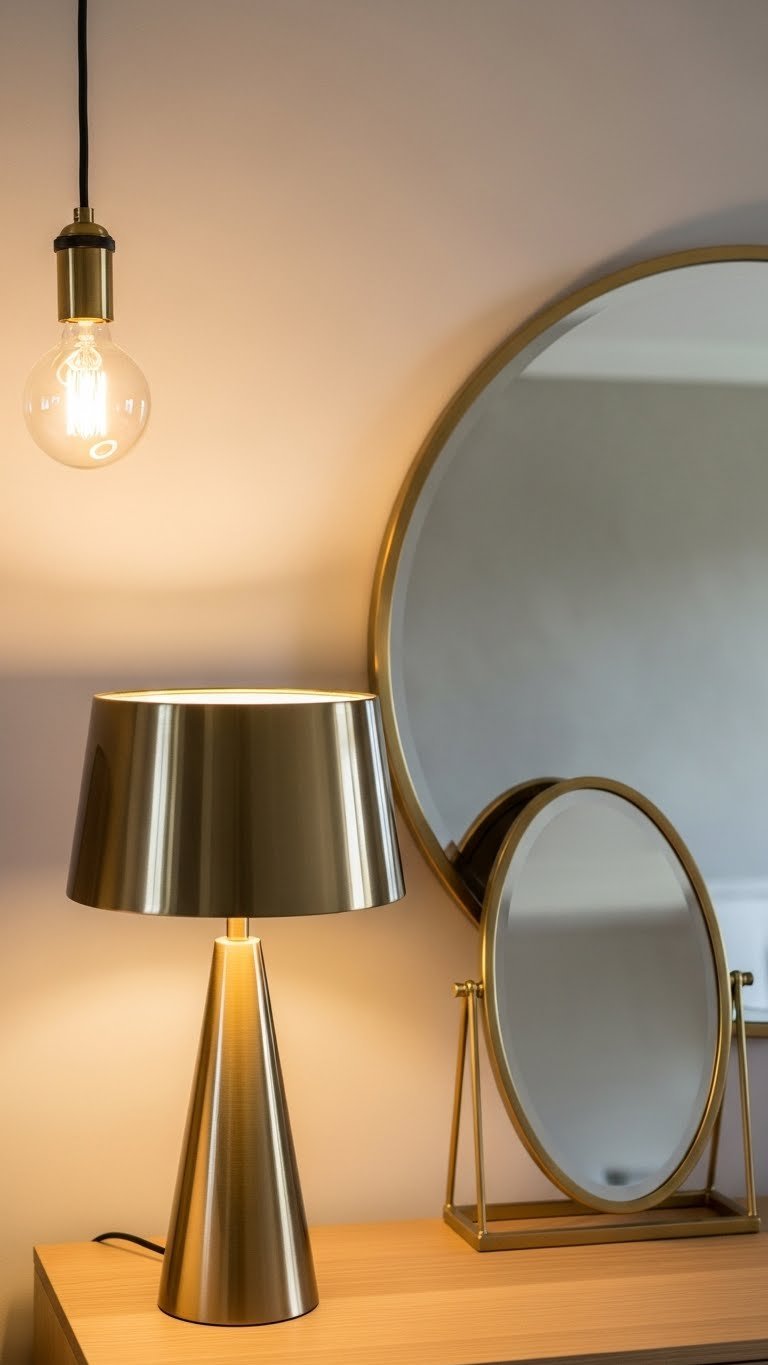
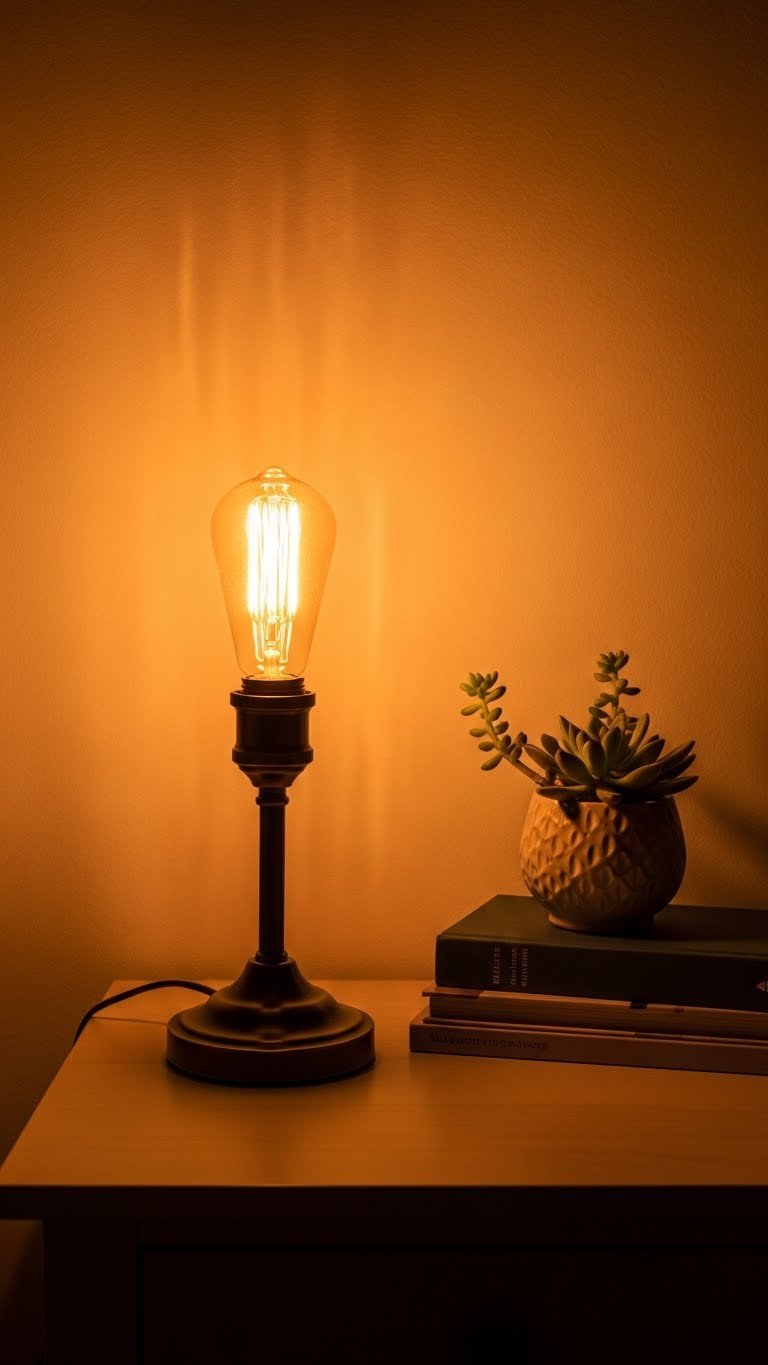
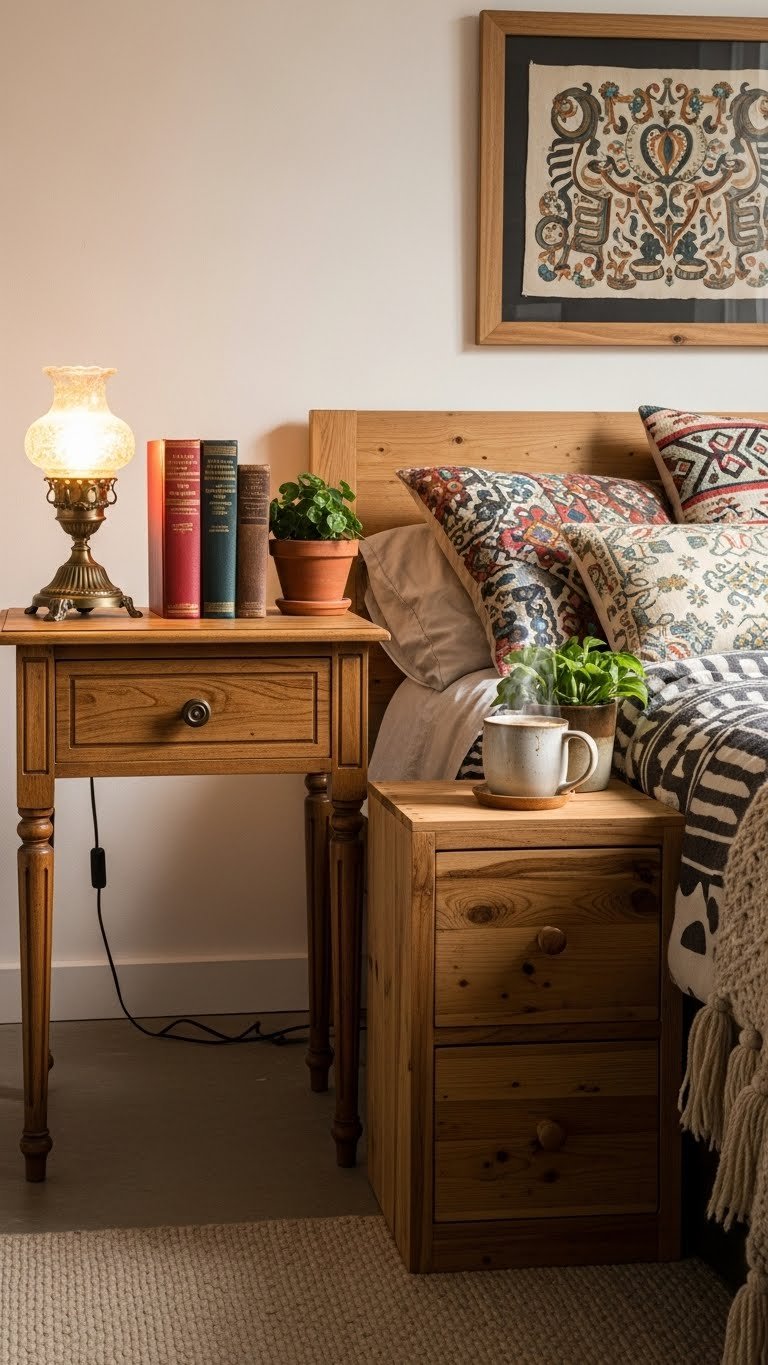
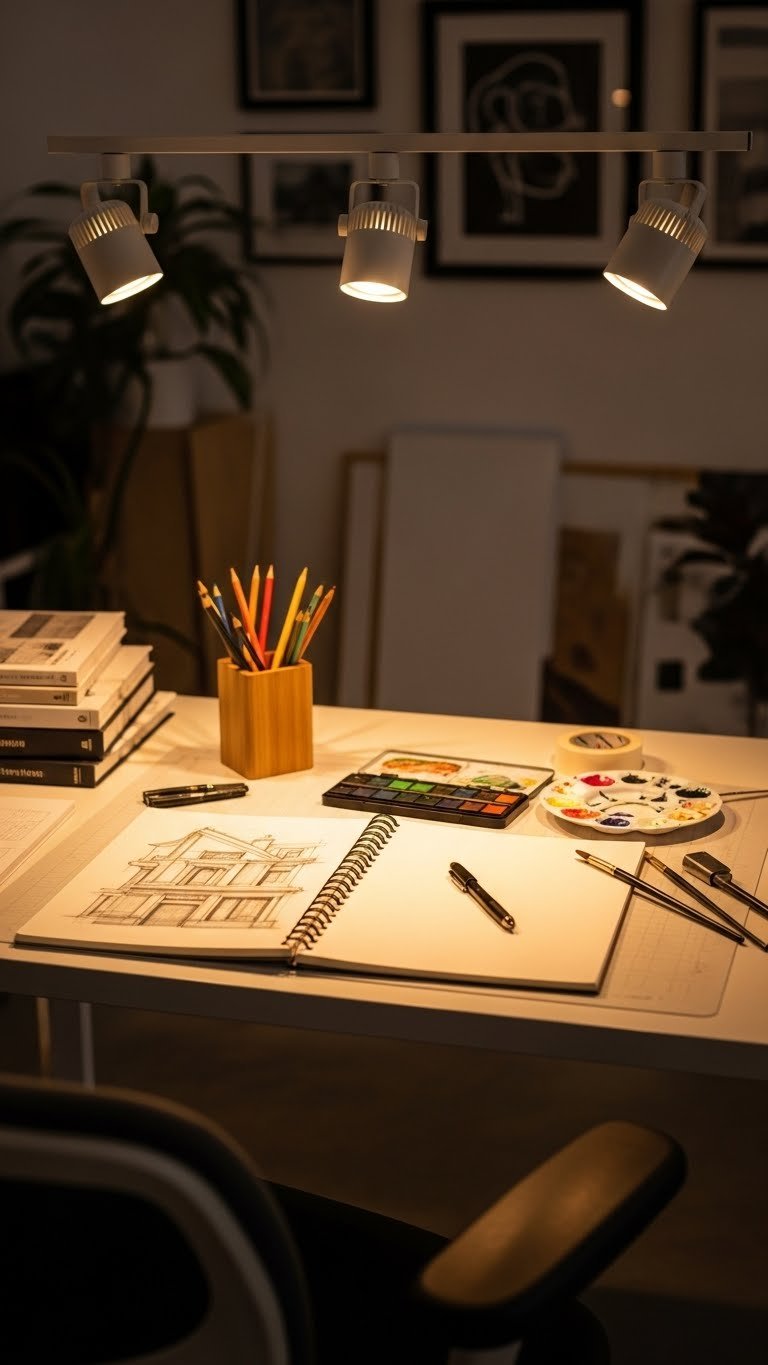
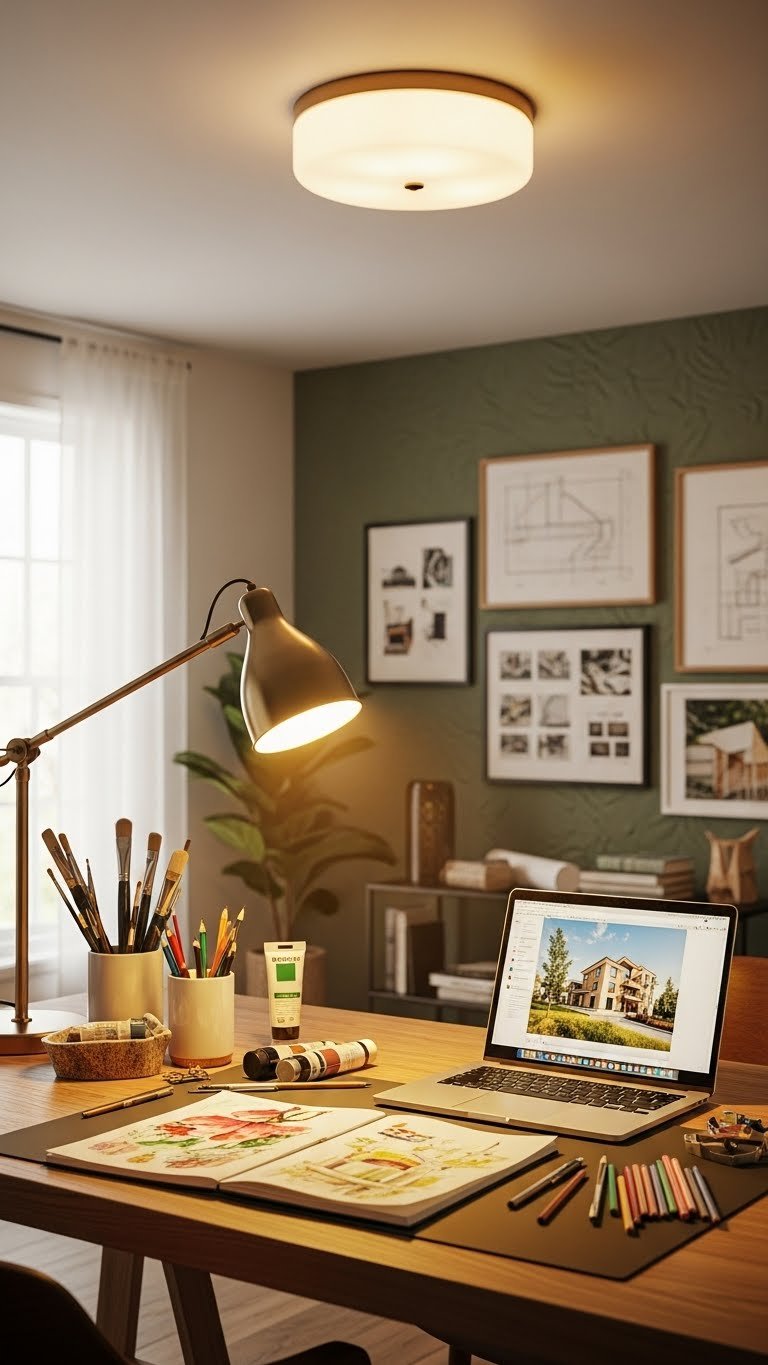
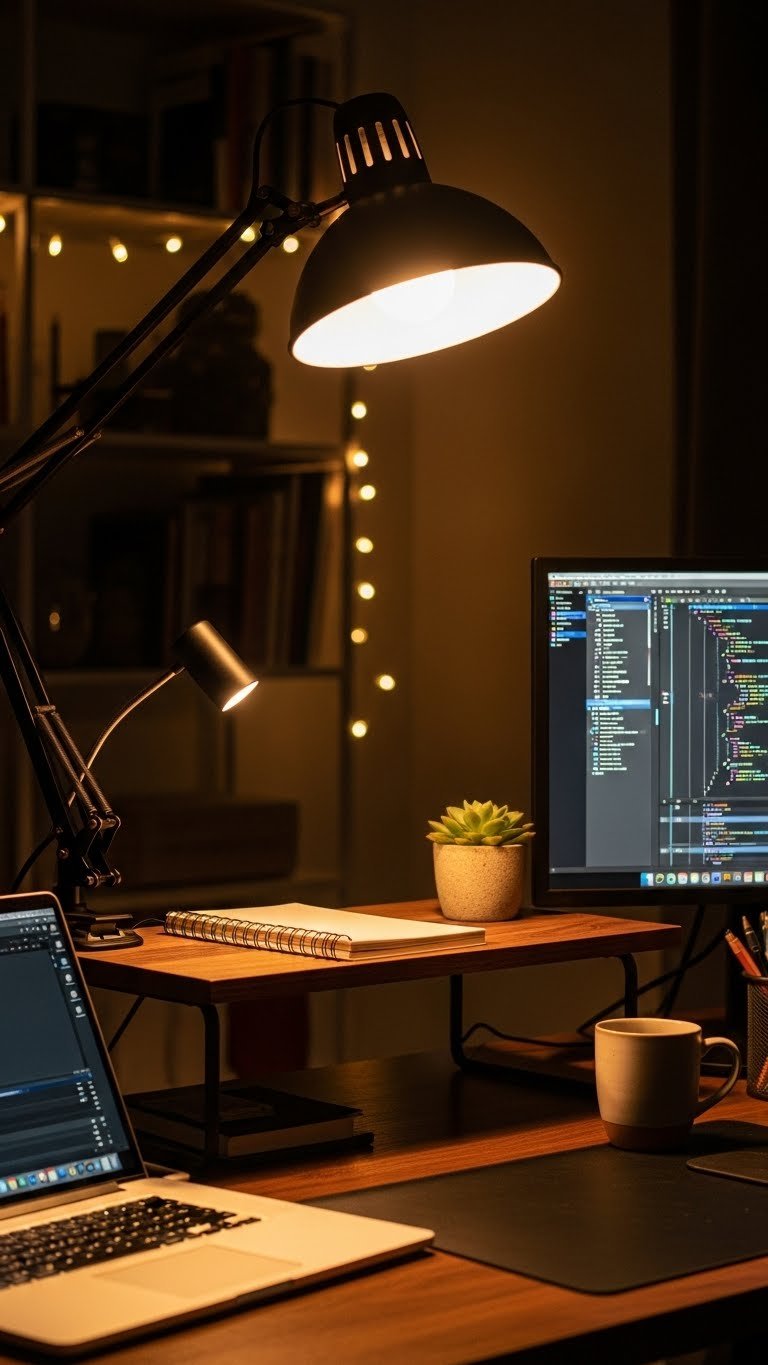
1. Add a Desk Lamp With Warm Lighting
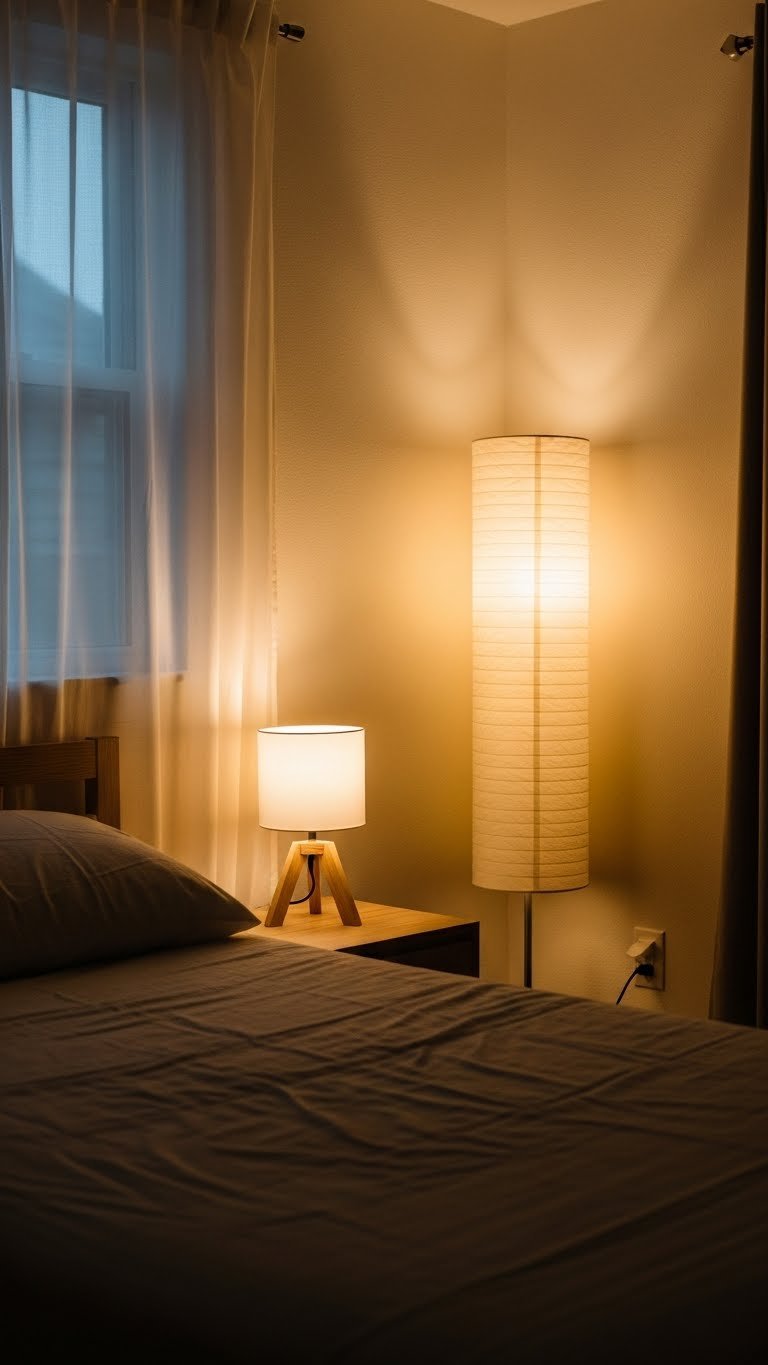
Poor lighting kills focus and strains your eyes—but a good desk lamp fixes this instantly. Look for LED desk lamps ($25–$80 from IKEA, Target, or Amazon) with adjustable brightness and color temperature options. Warm light (around 3000K) boosts creativity, while cooler light (5000K) sharpens focus during detail work.
Position your lamp to the side of your monitor to avoid glare. Brands like TaoTronics, BenQ, or even IKEA’s TERTIAL offer excellent value. Installation takes zero time—just plug and place. Look for models with USB ports built in for charging phones or earbuds.
The difference is noticeable within minutes: your eyes feel less tired, you can see your desk clearly, and the whole space looks warmer and more inviting.
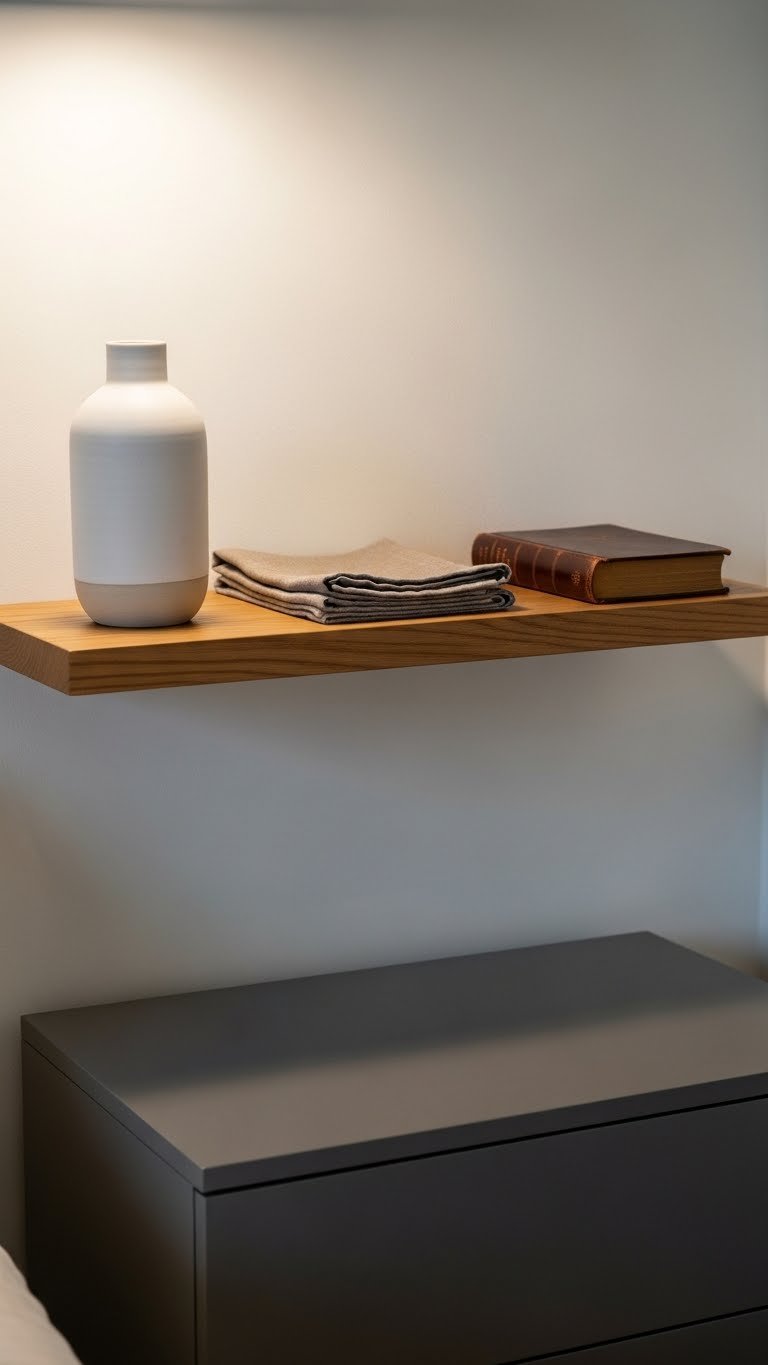
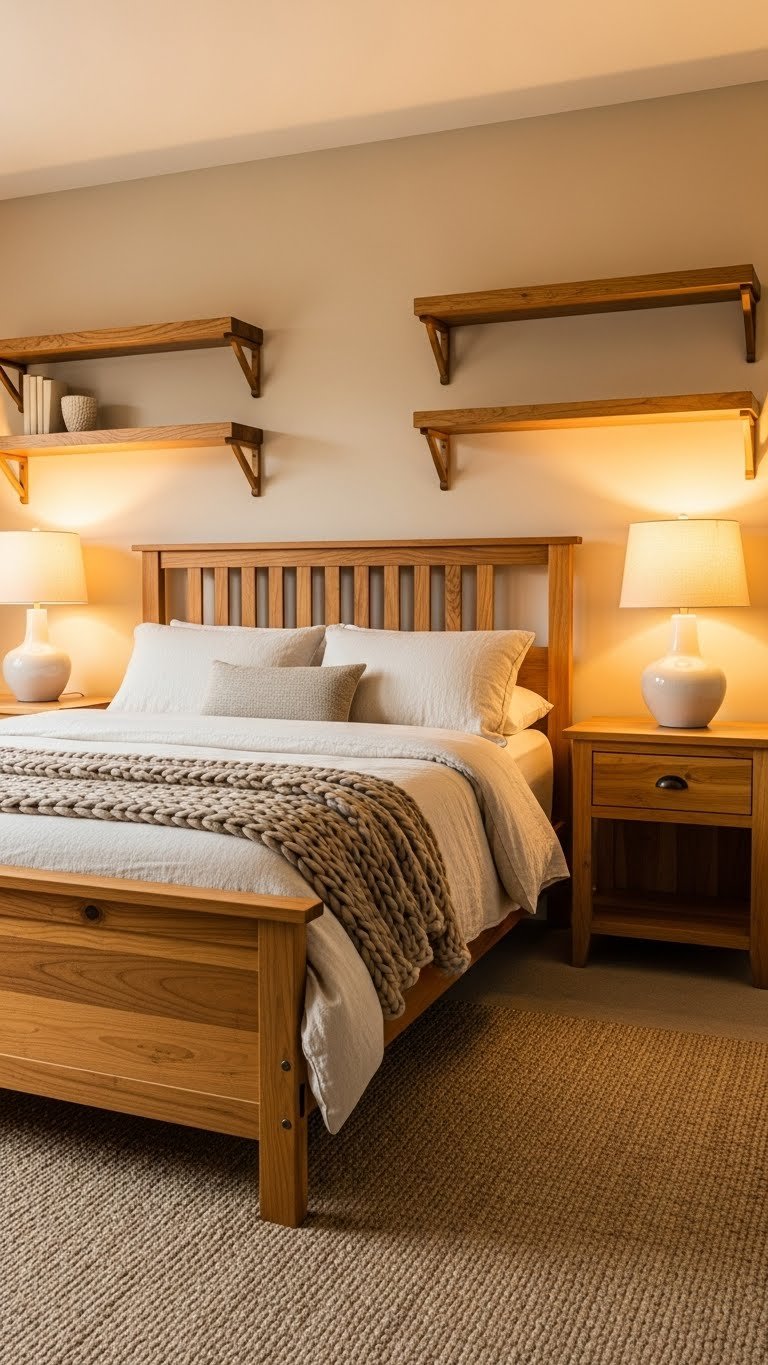
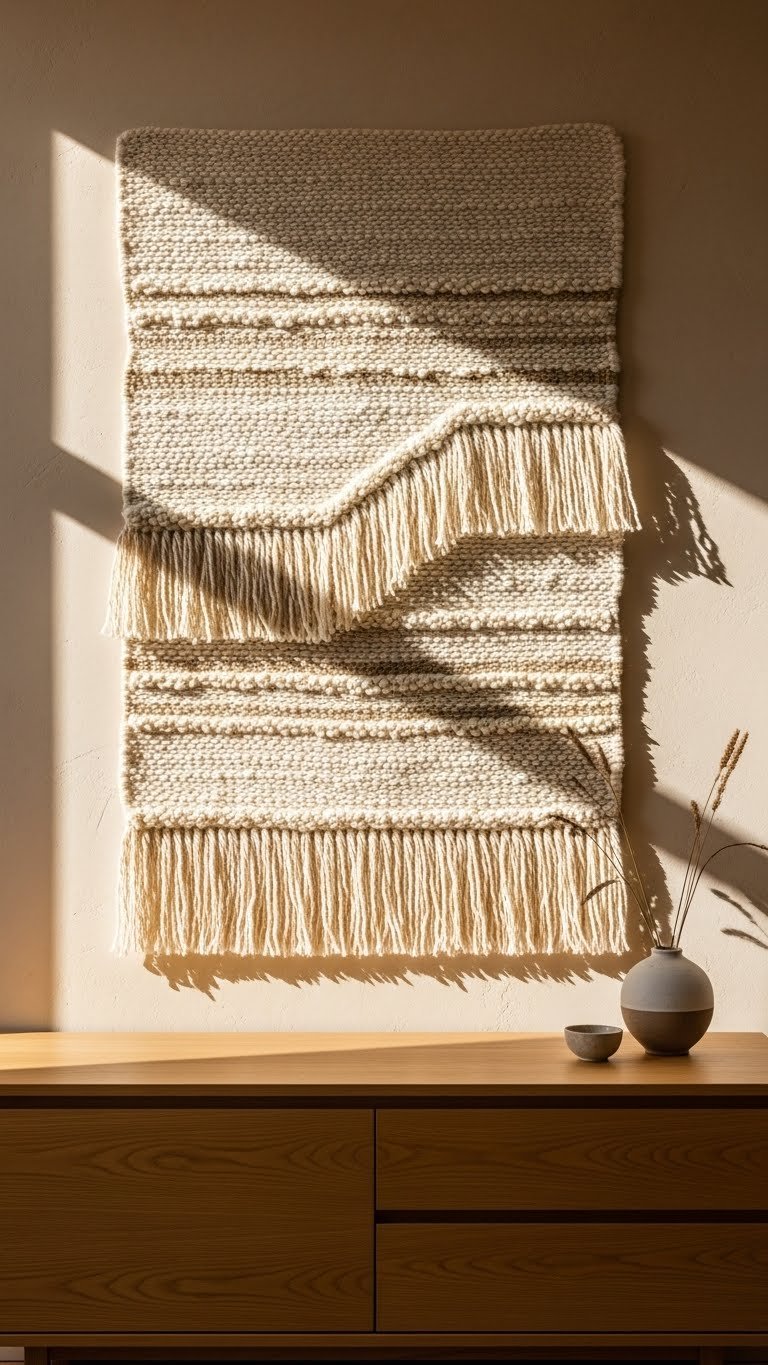
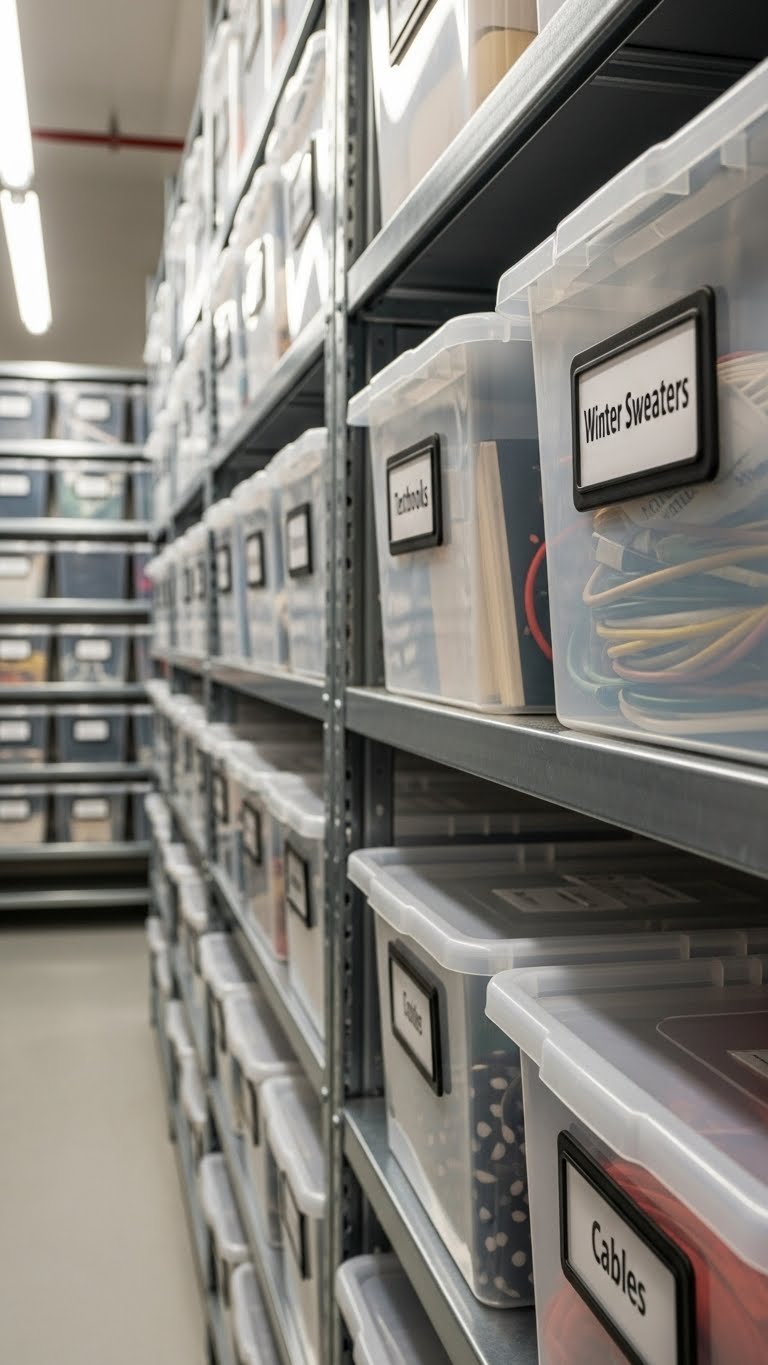
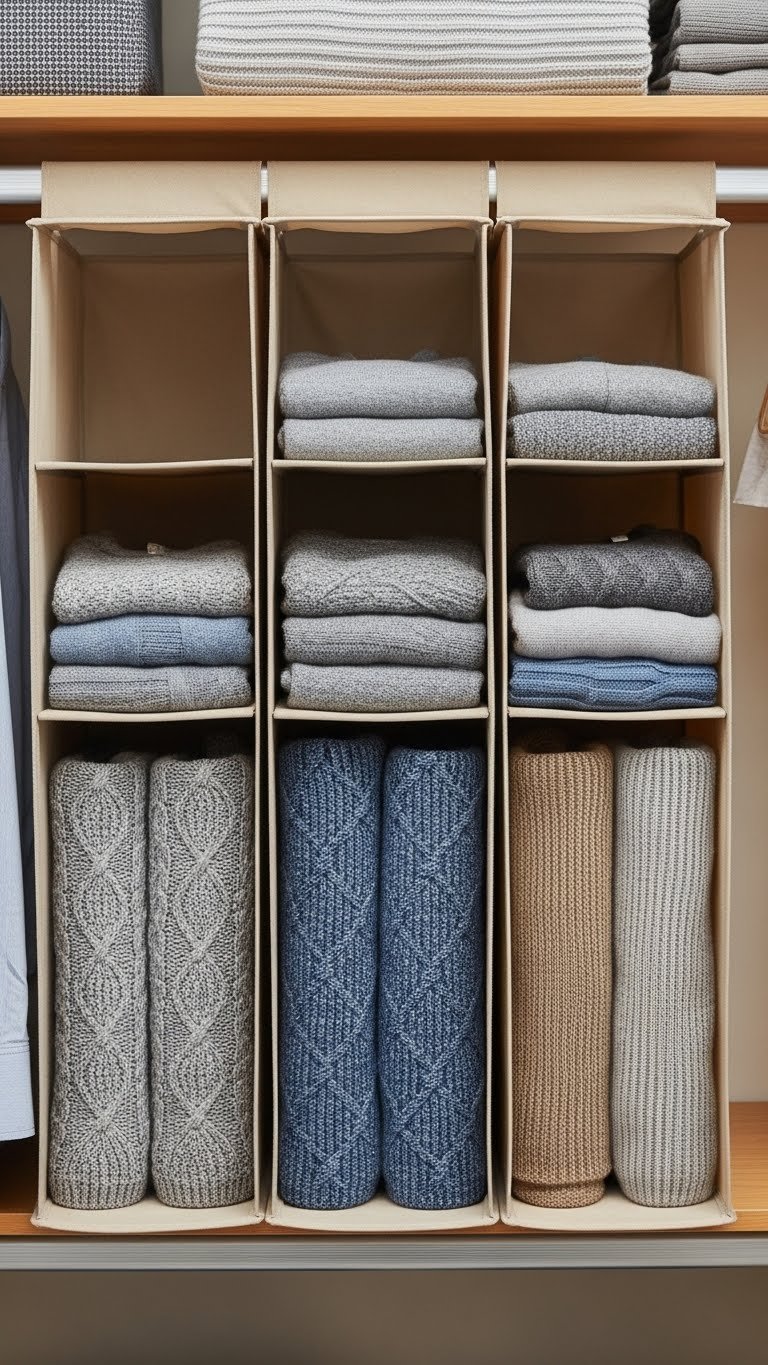
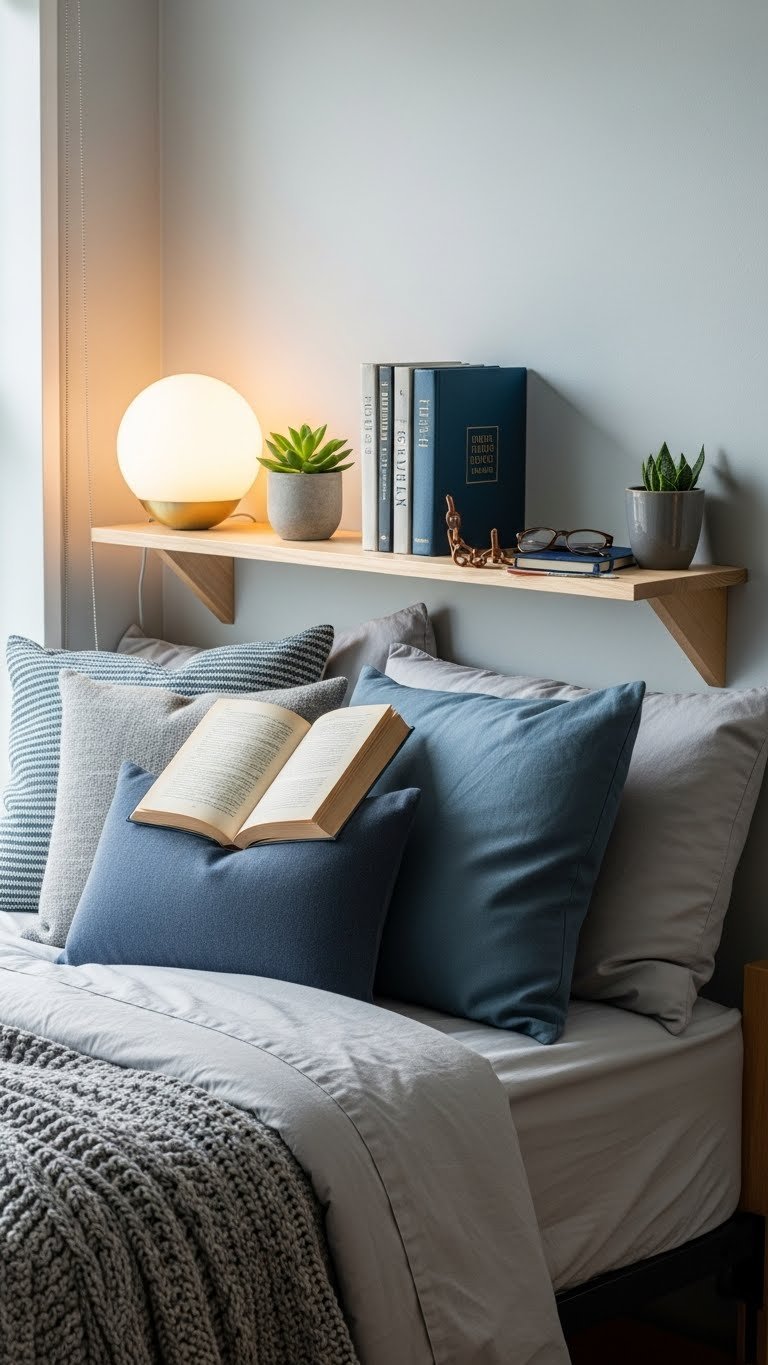
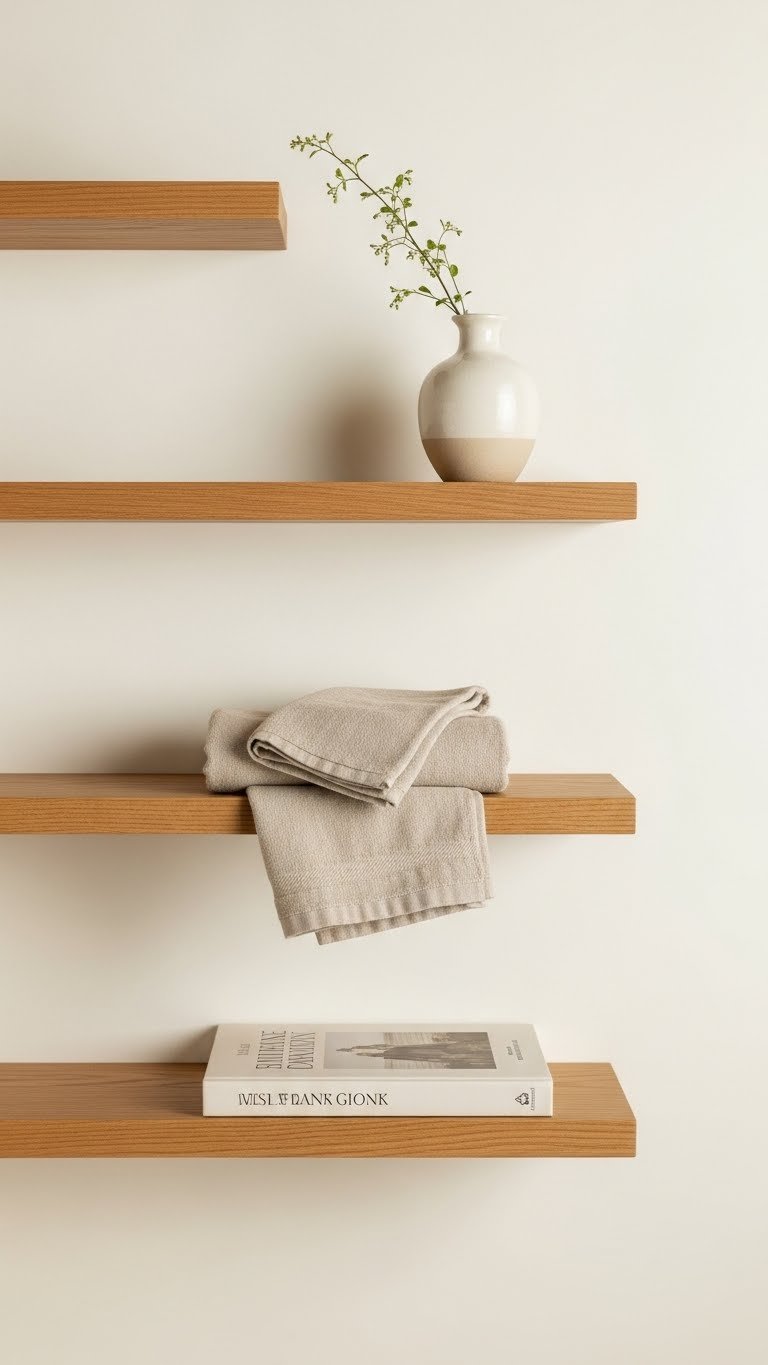
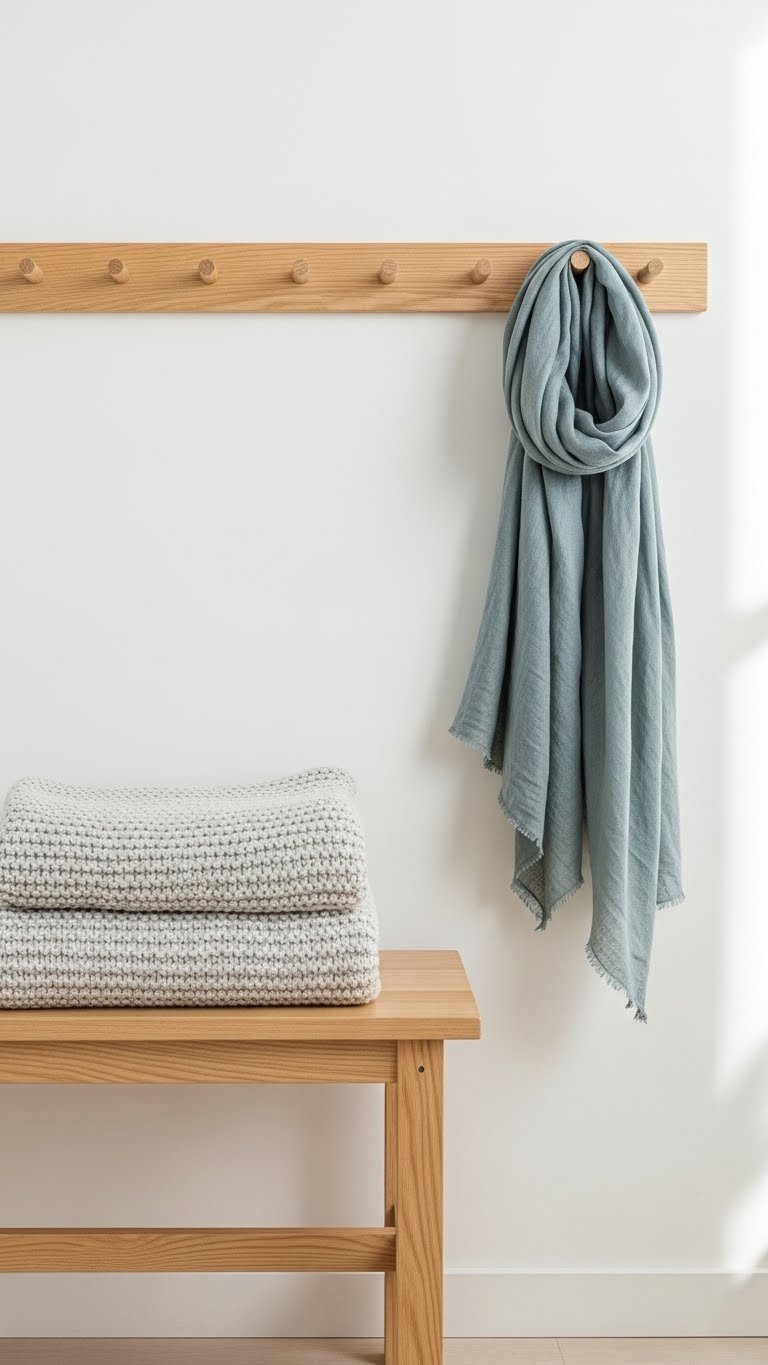
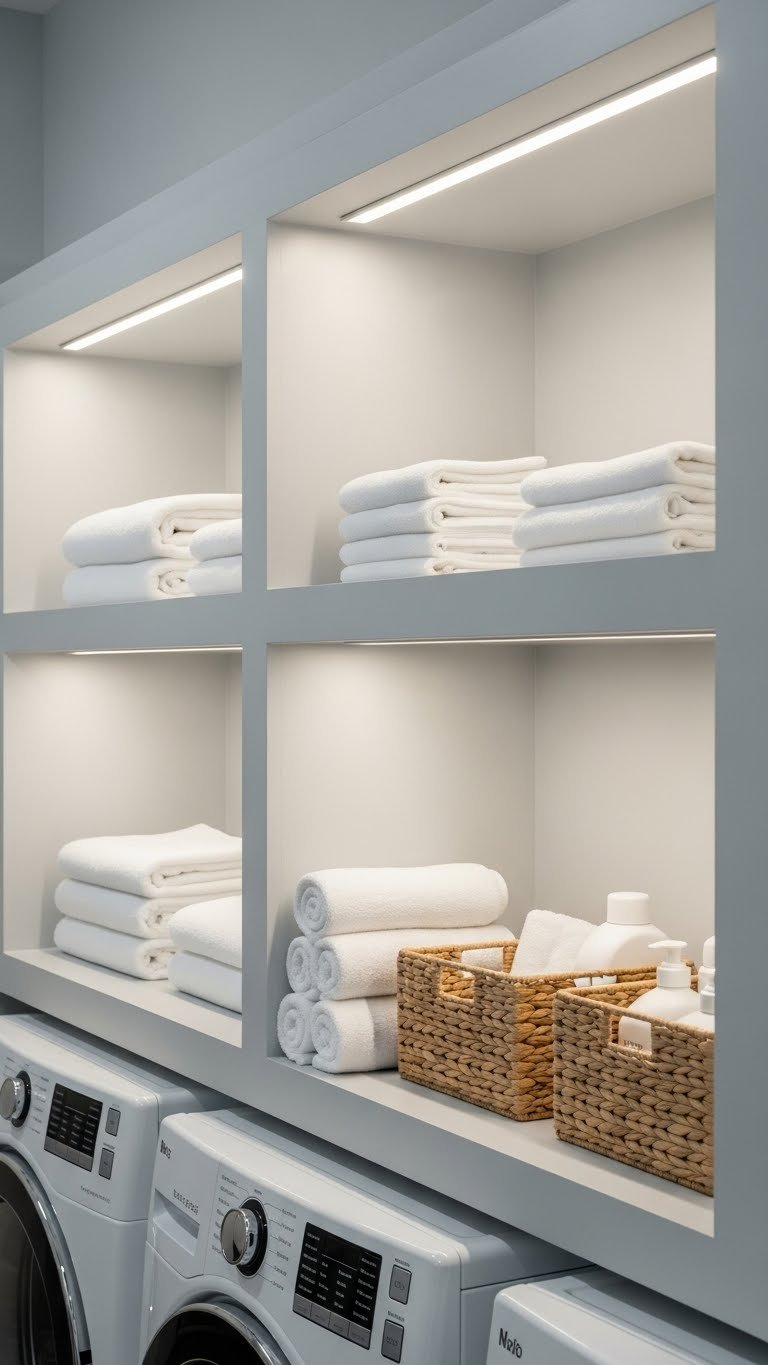
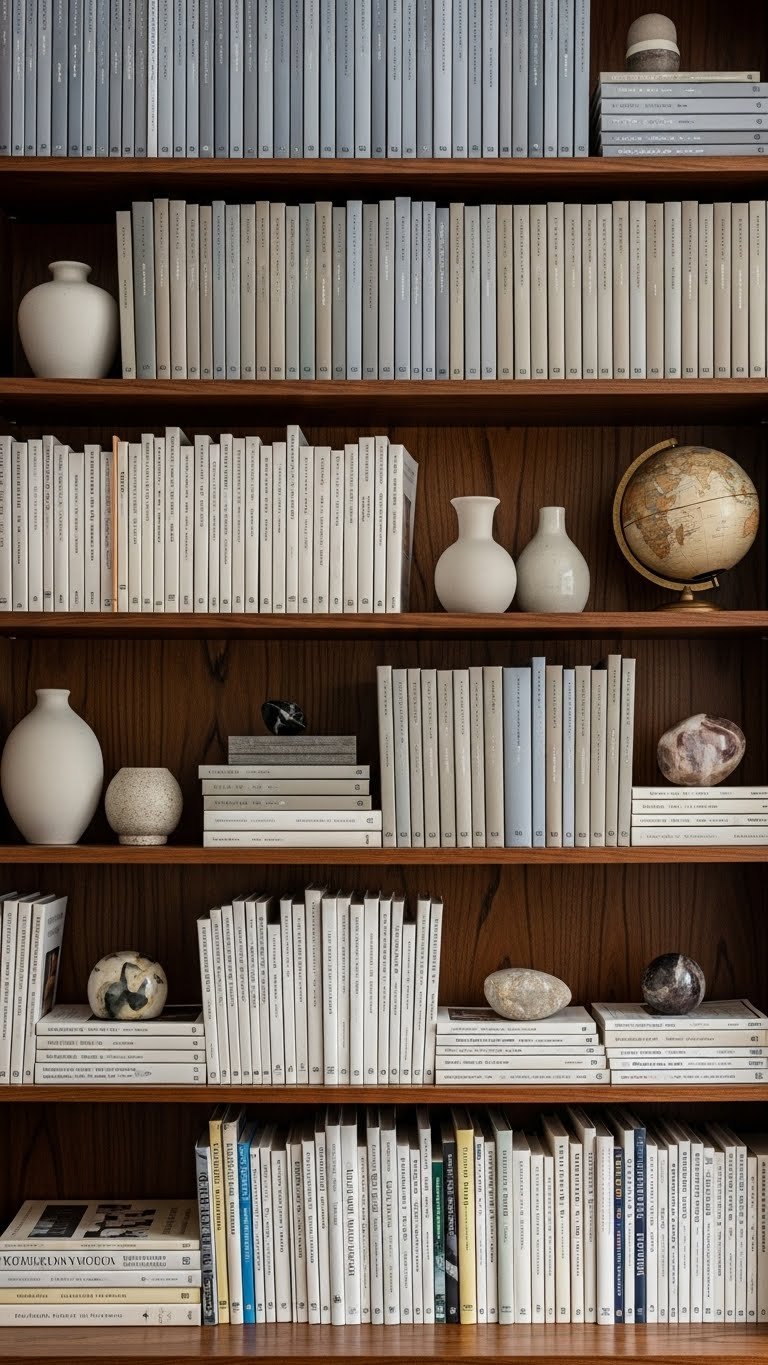
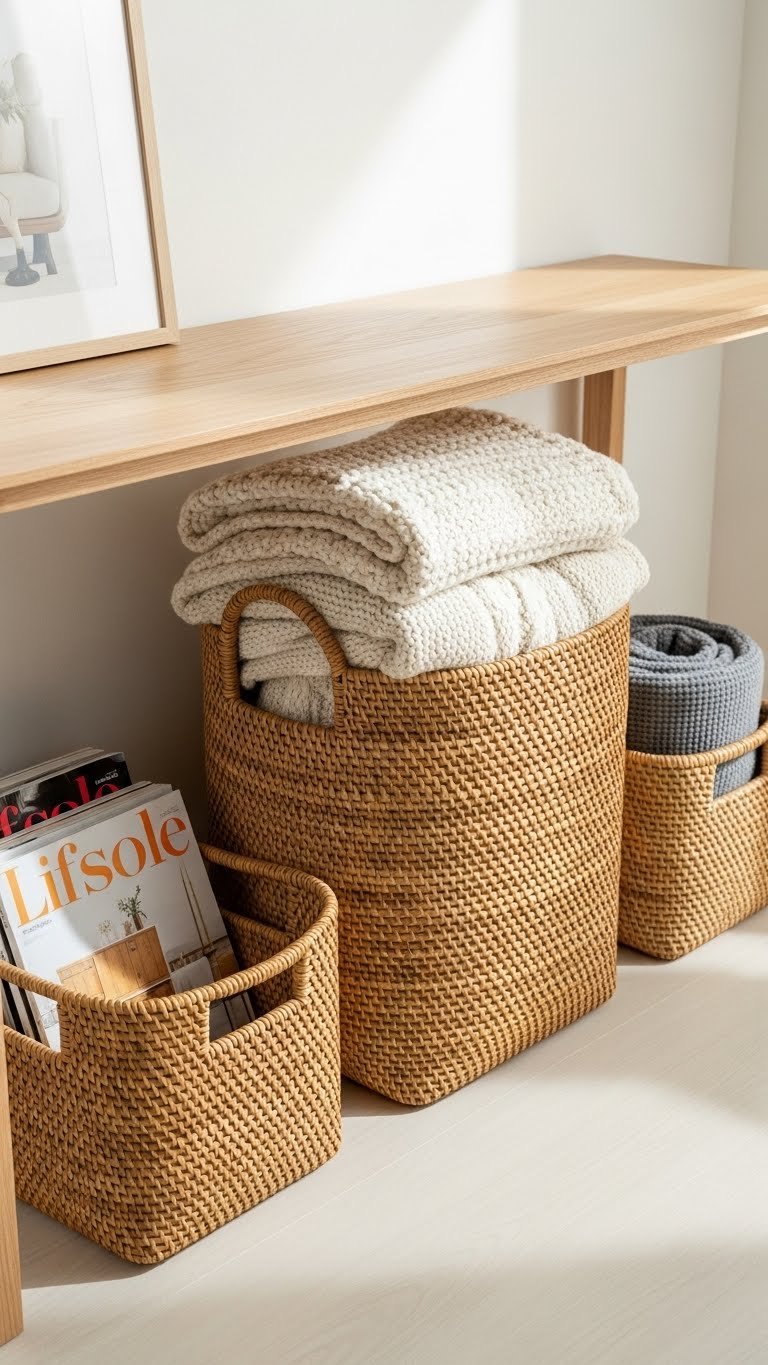
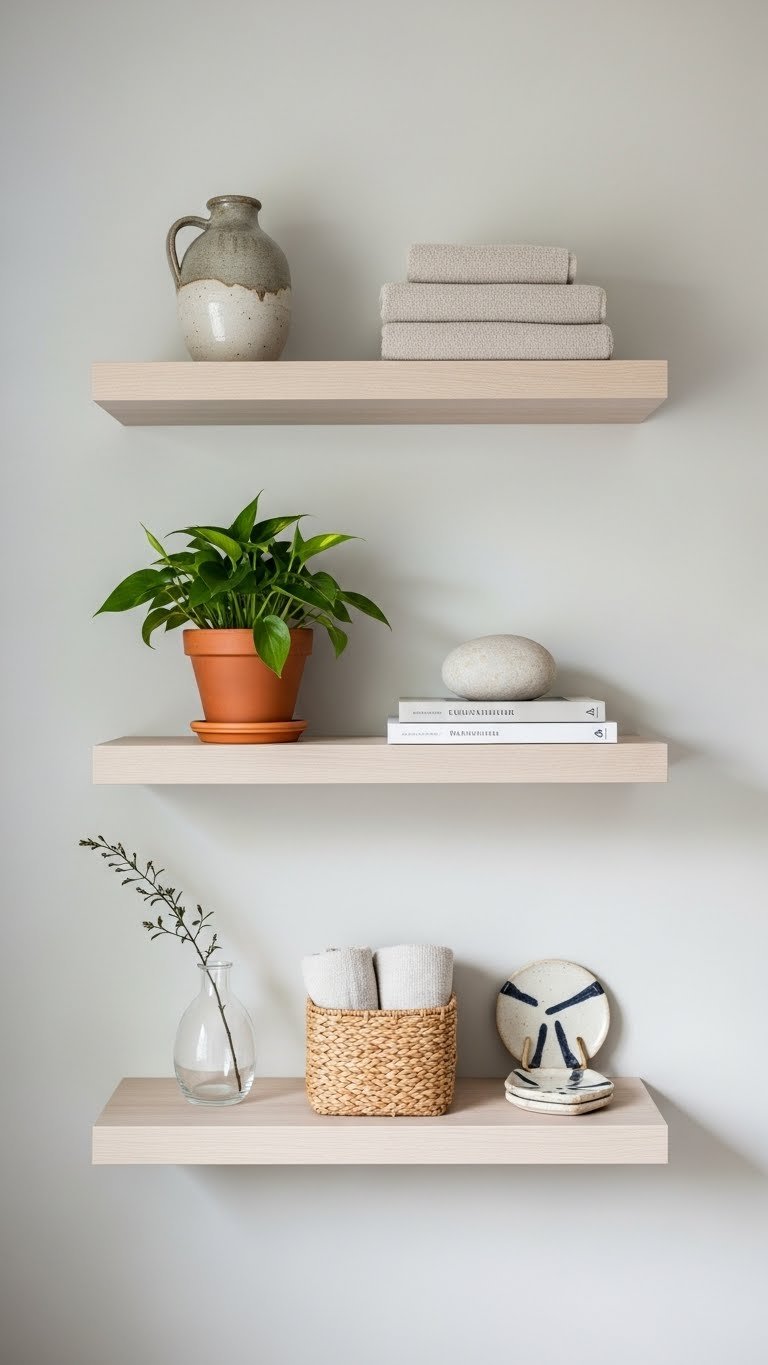
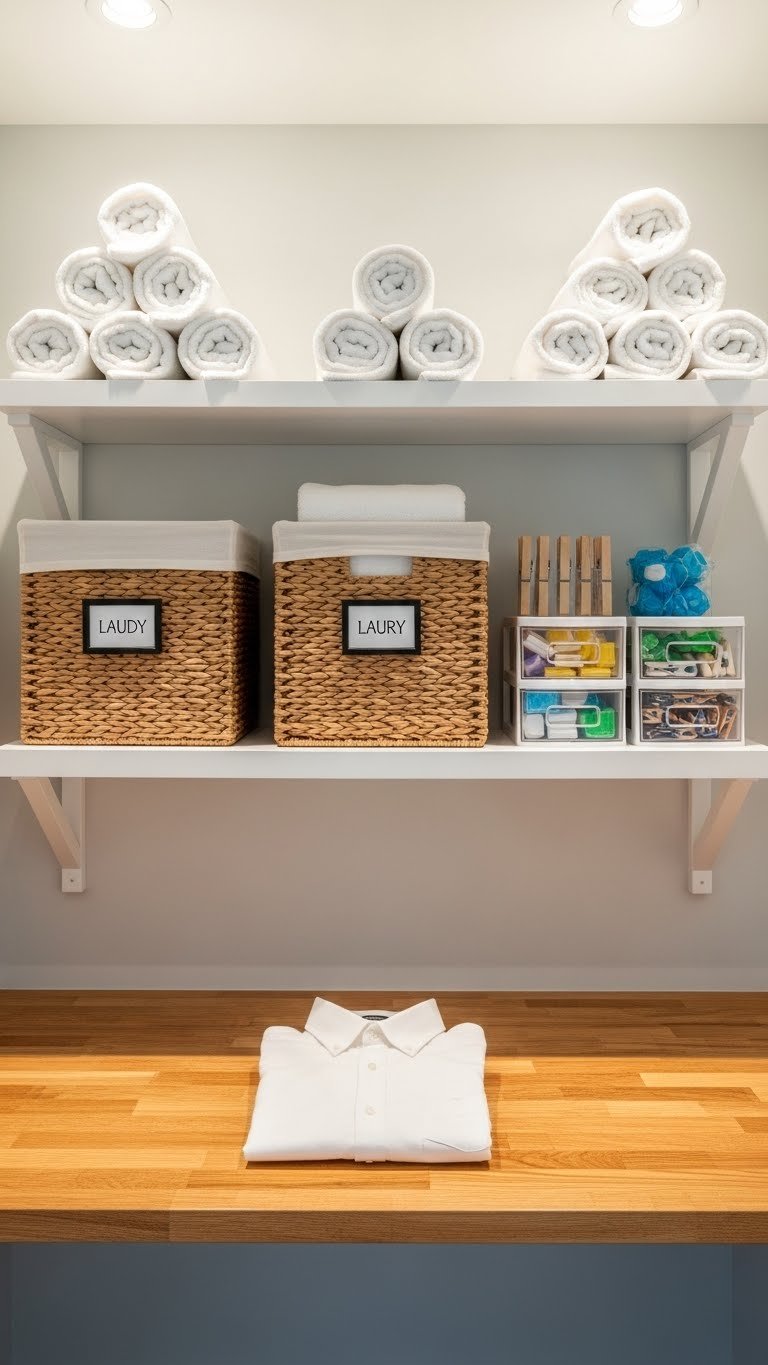
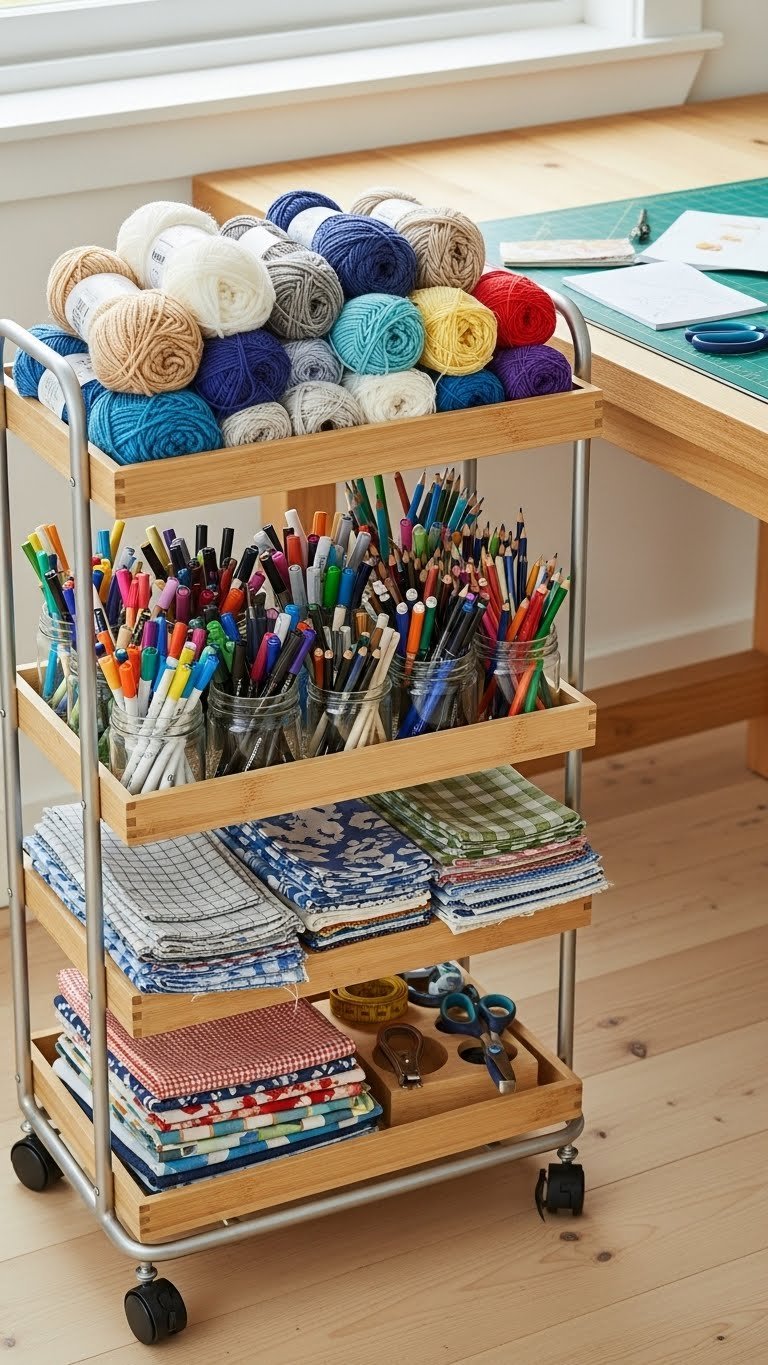
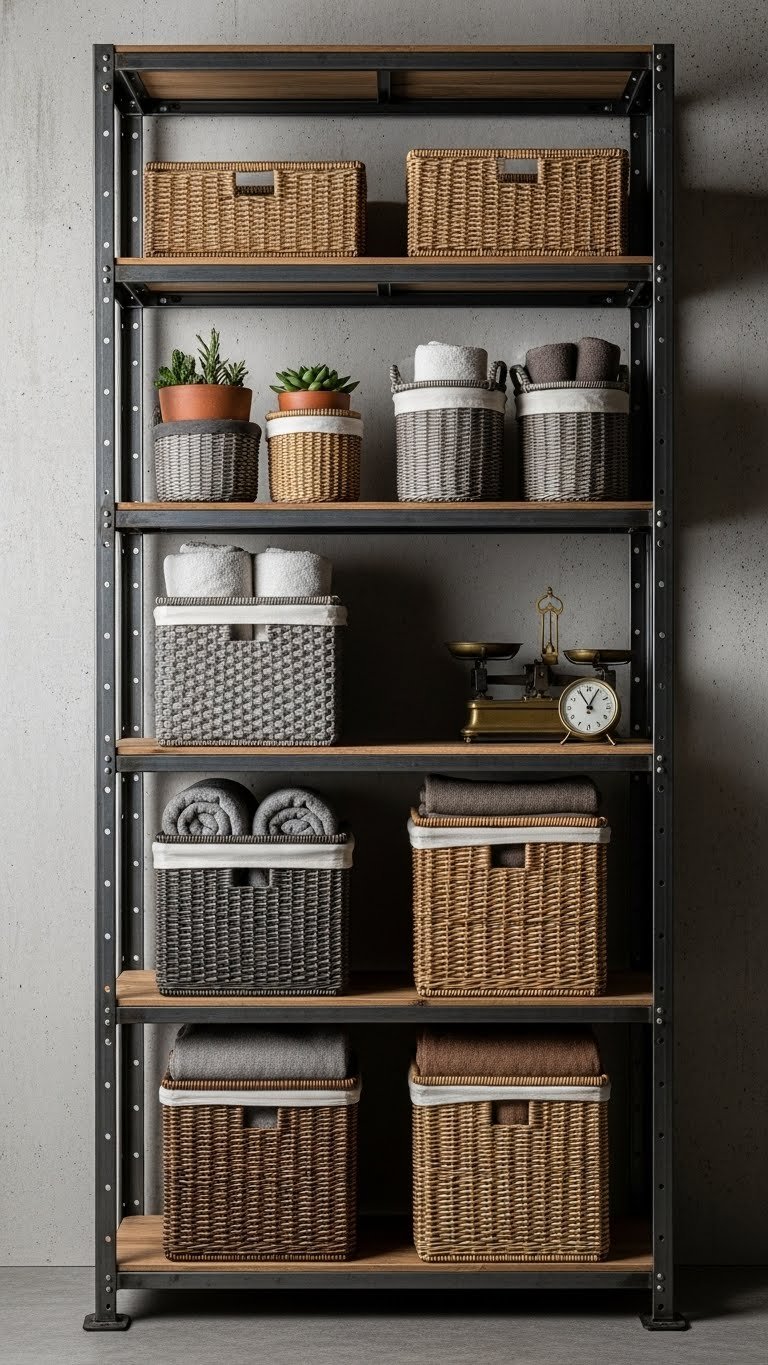
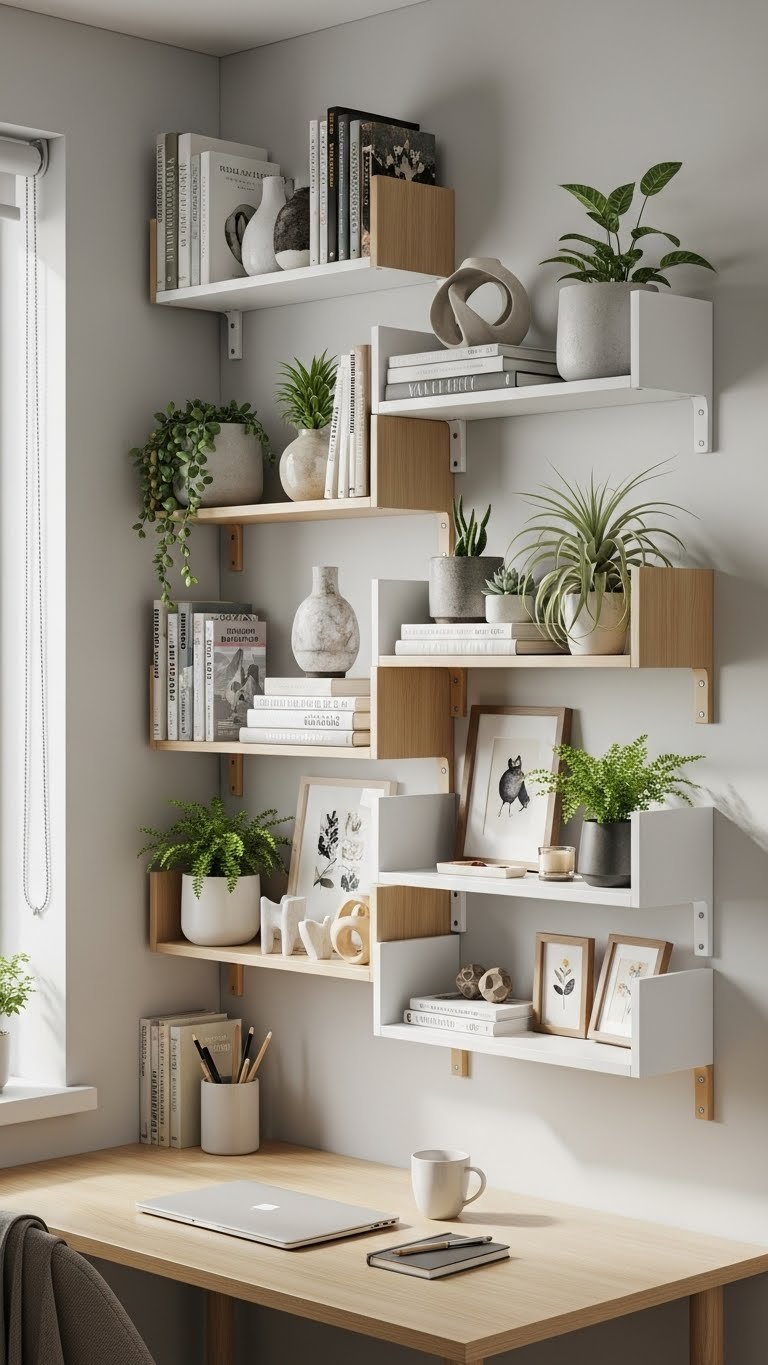
2. Use Vertical Storage to Keep Surfaces Clear

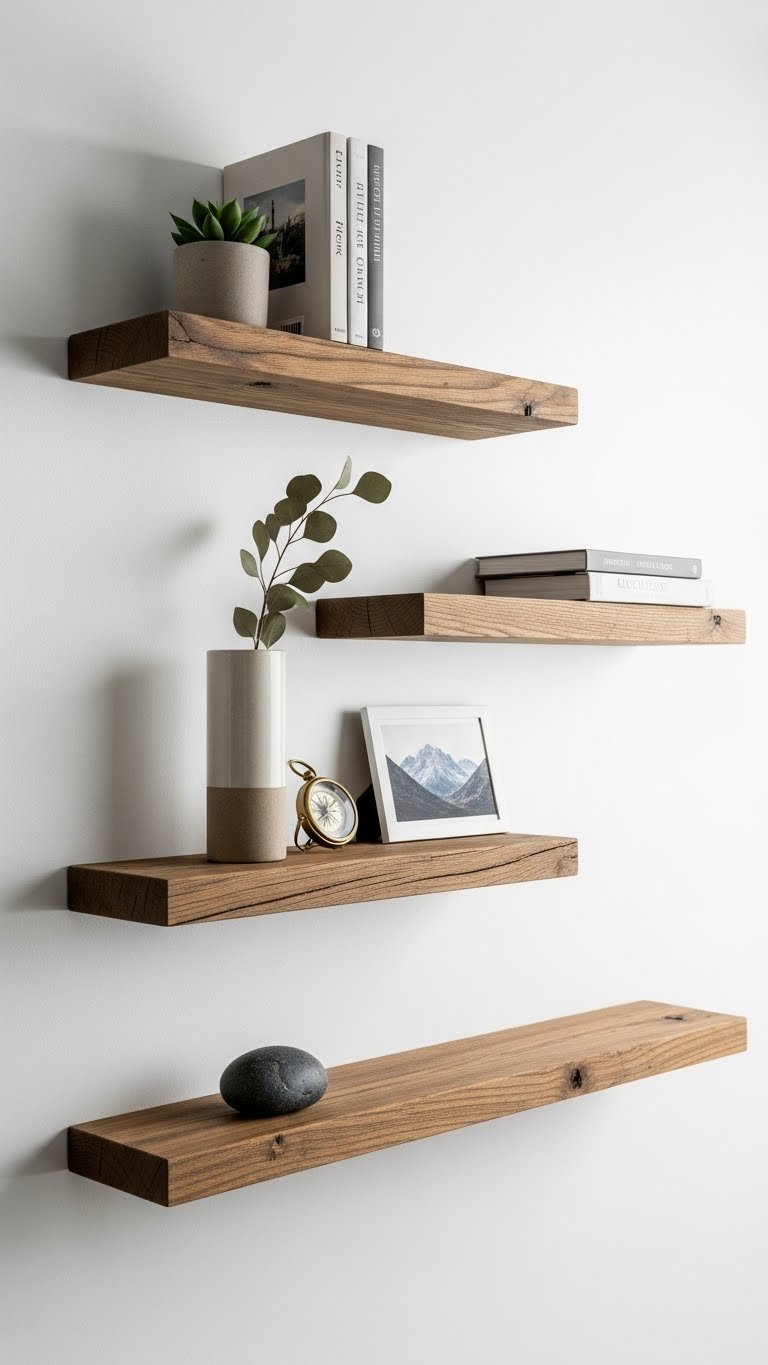
Horizontal clutter kills focus, but vertical storage keeps your actual desk surface free for actual work. Install floating shelves ($20–$60 each from Home Depot or Wayfair) above your desk to hold books, plants, and supplies. If you’re renting, use adhesive shelves or lean-to options instead.
Arrange items by category: reference books on one shelf, plants and decor on another, supplies in labeled boxes on a third. Use the wall space within arm’s reach for daily-access items; save higher shelves for decoration or archive storage. This setup takes 1–2 hours to install but requires zero permanent damage.
You’ll gain back precious desk real estate while creating a backdrop that photographs beautifully and keeps everything within reach.
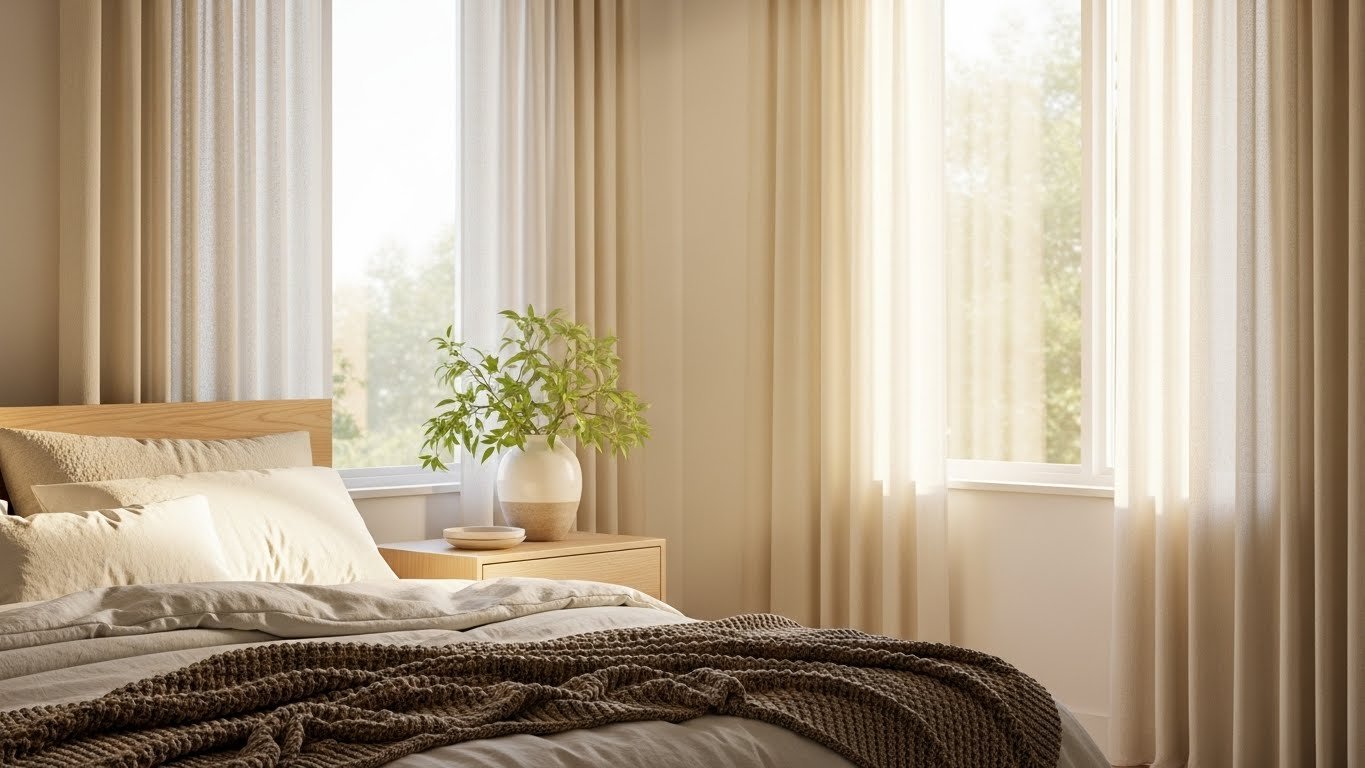
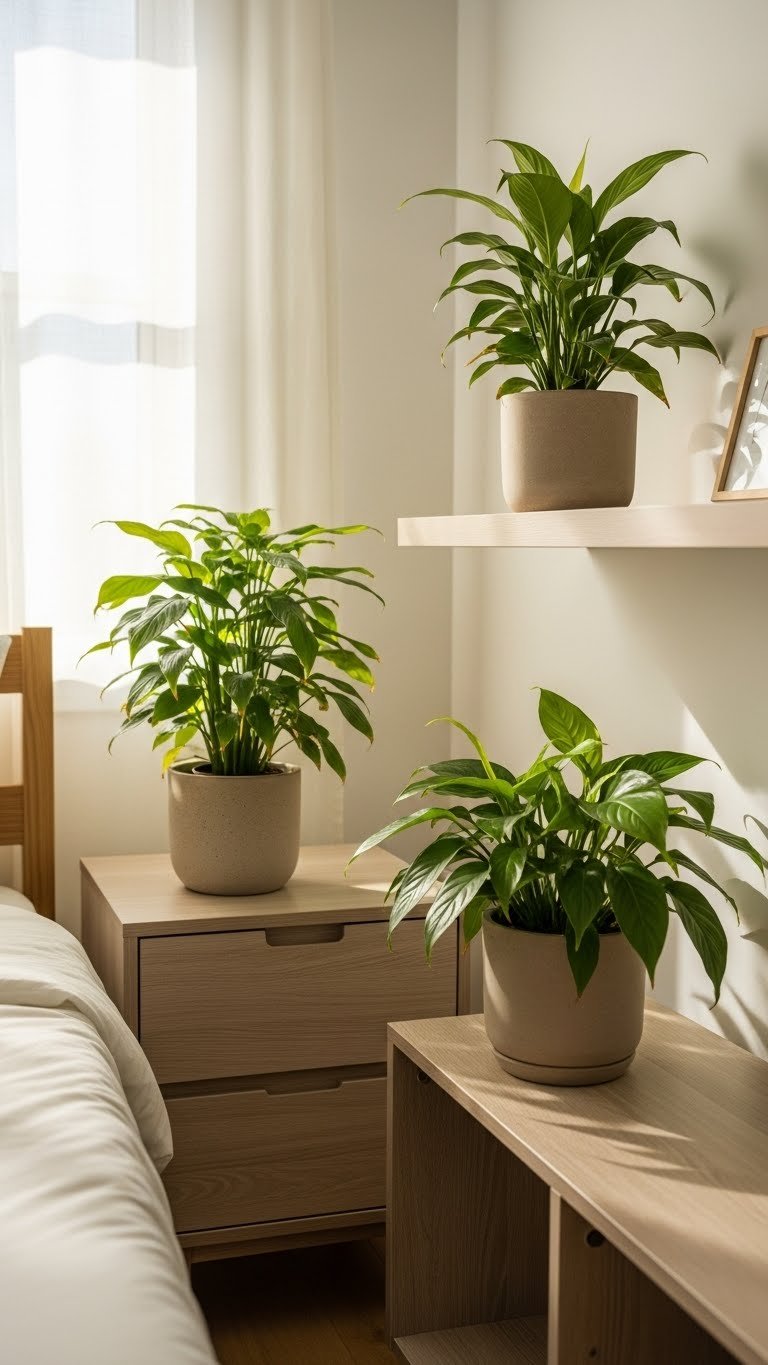
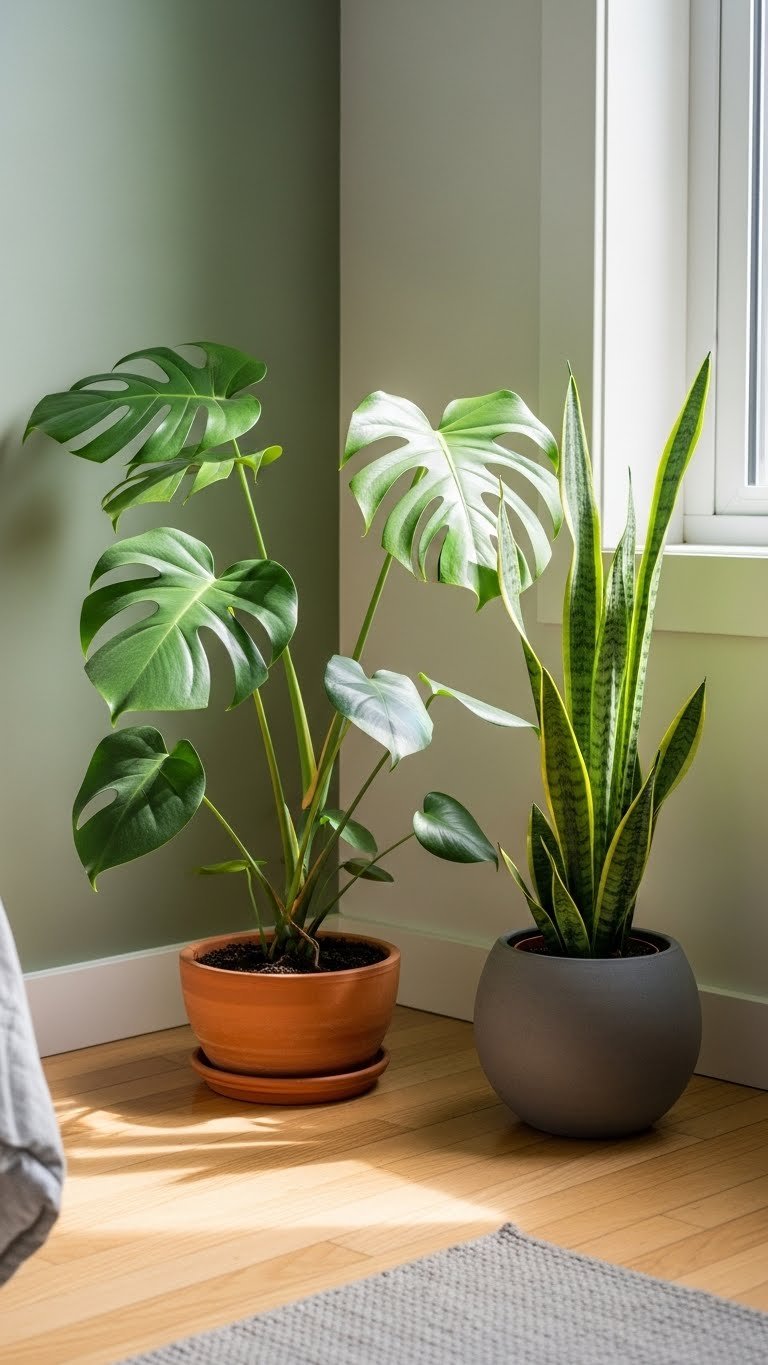
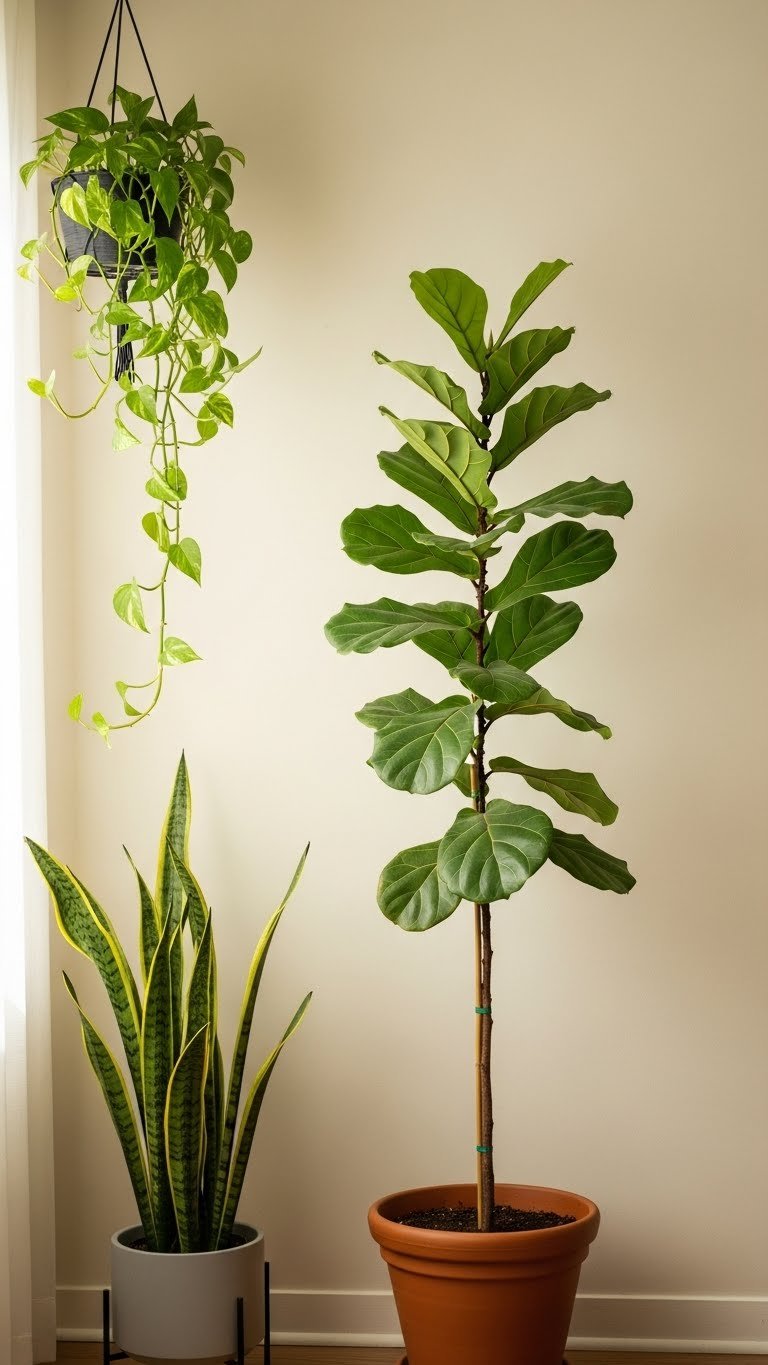
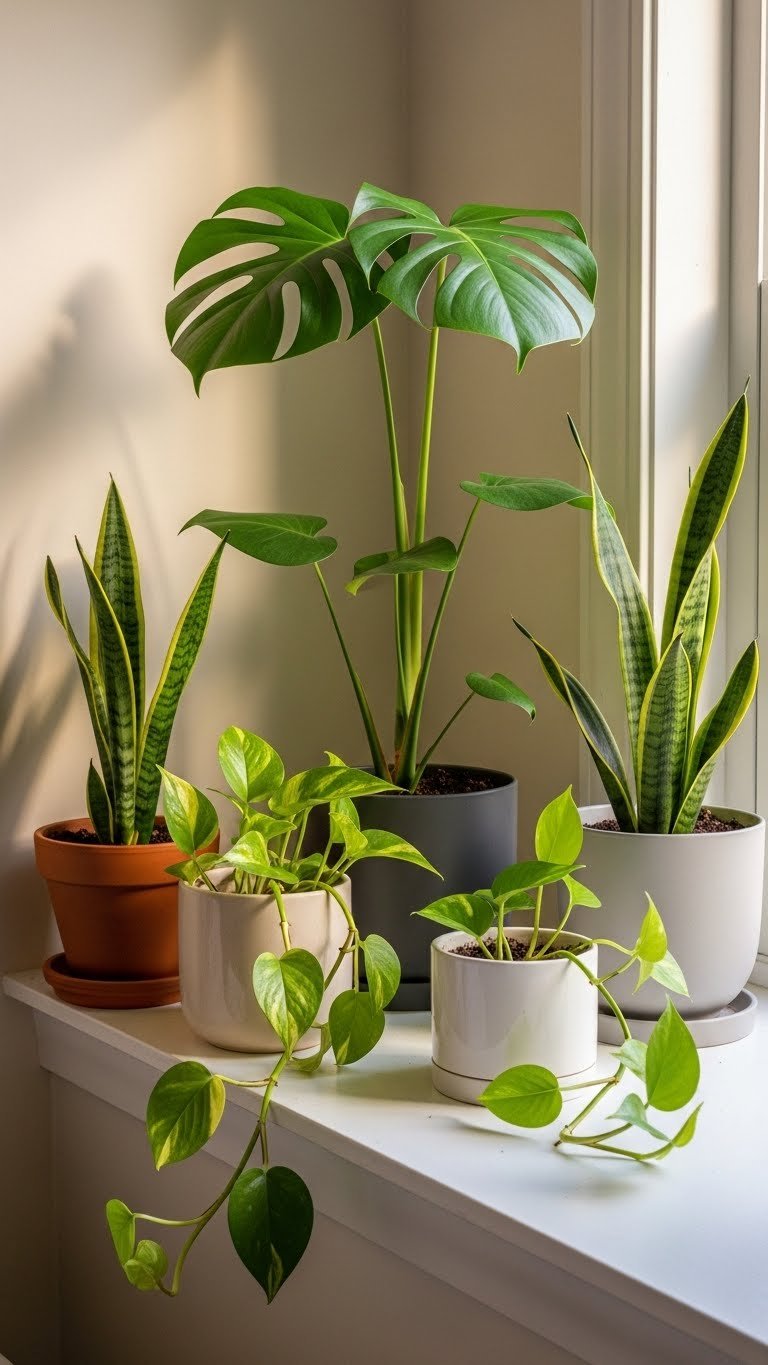
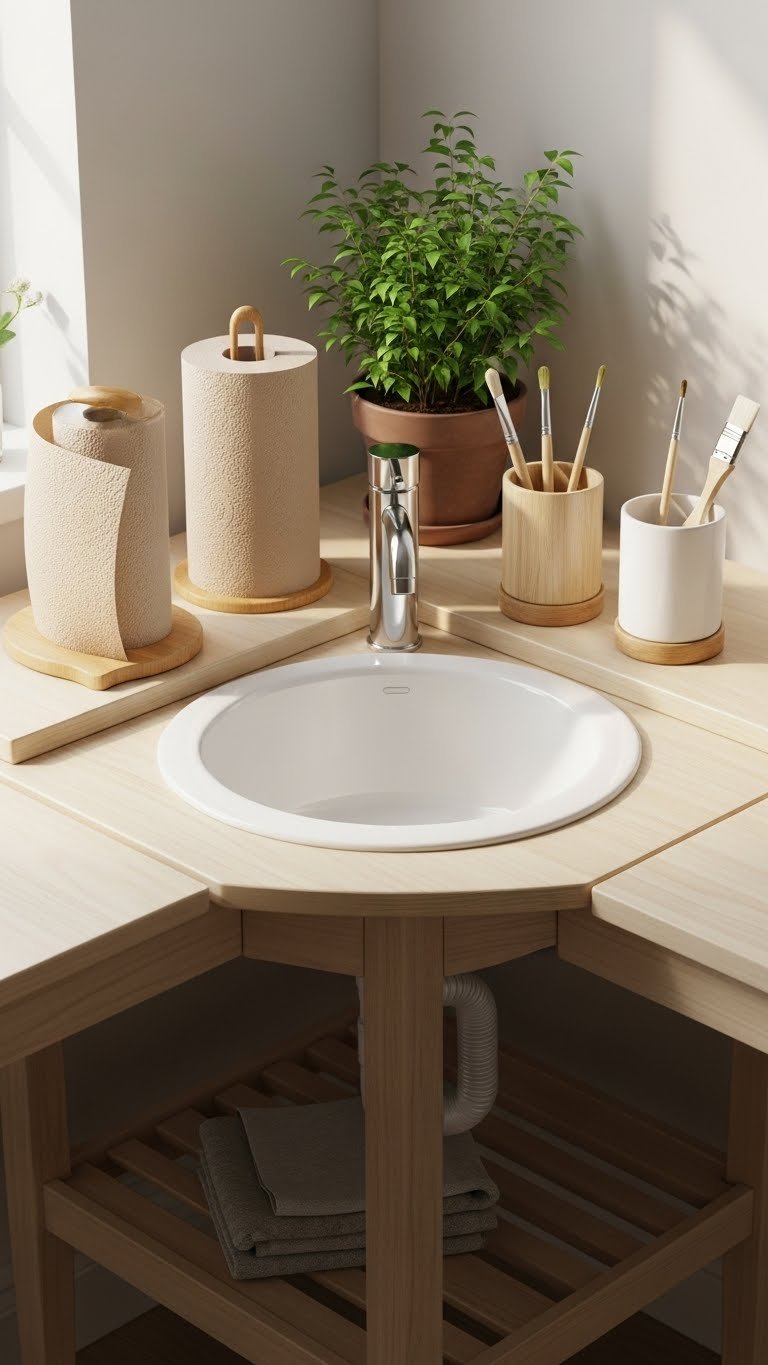
3. Bring in a Potted Plant or Two
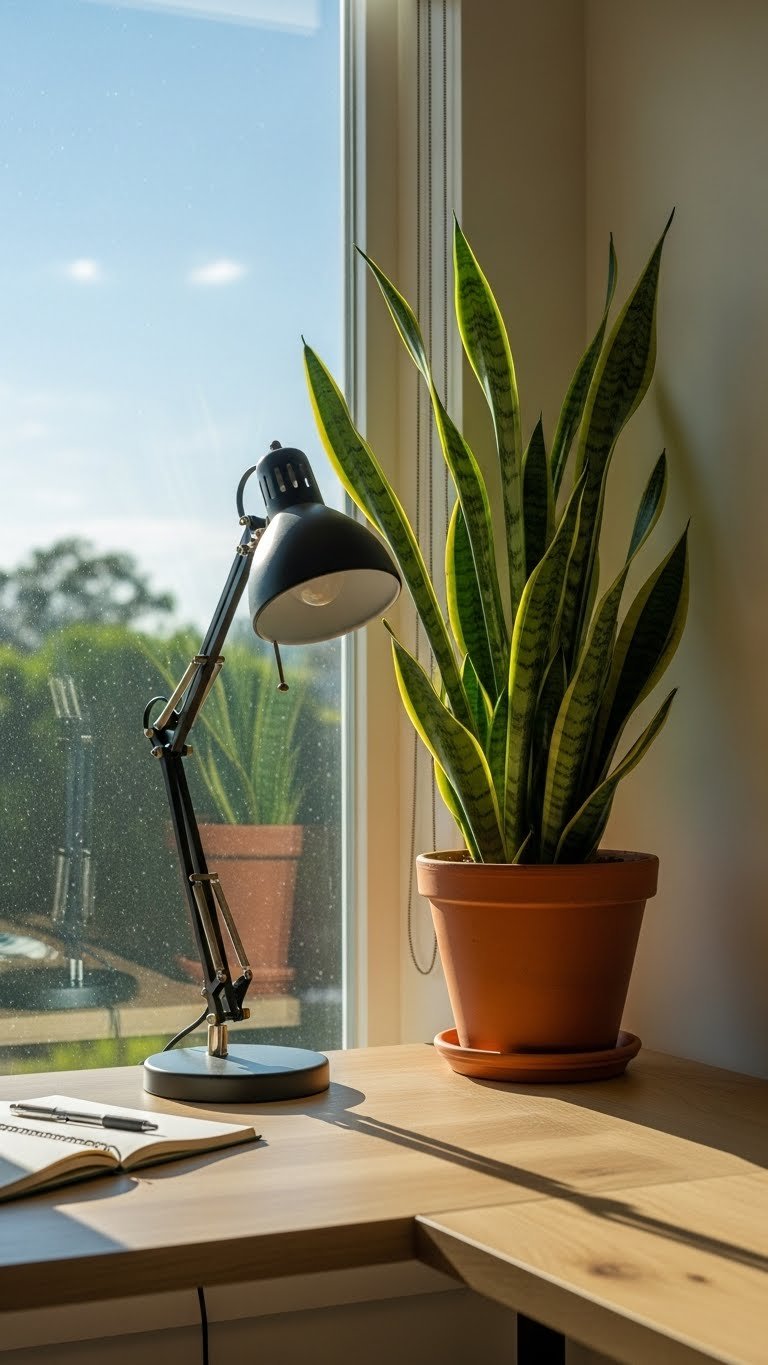
A single plant boosts mood, cleans air, and softens an otherwise sterile workspace. Choose low-maintenance plants like pothos, snake plants, or ZZ plants ($10–$25 from local nurseries or garden centers). These thrive on neglect and don’t need constant watering.
Place the plant where it gets indirect sunlight—on a shelf nearby or on your desk corner if you have one. Water every 1–2 weeks depending on the plant. A ceramic pot ($5–$15) makes it look intentional rather than functional.
Adding greenery changes the entire vibe: your desk feels more alive, less sterile, and studies show plants actually improve focus and reduce stress.
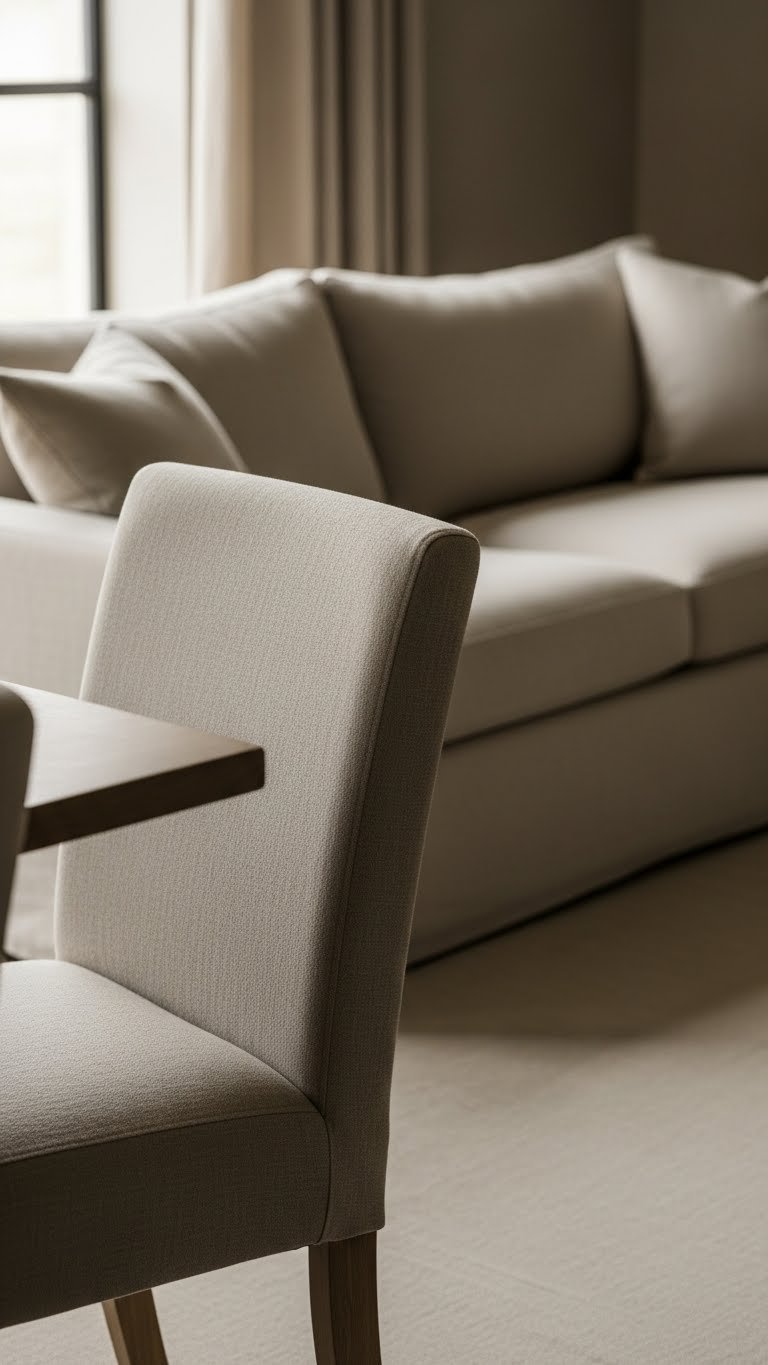
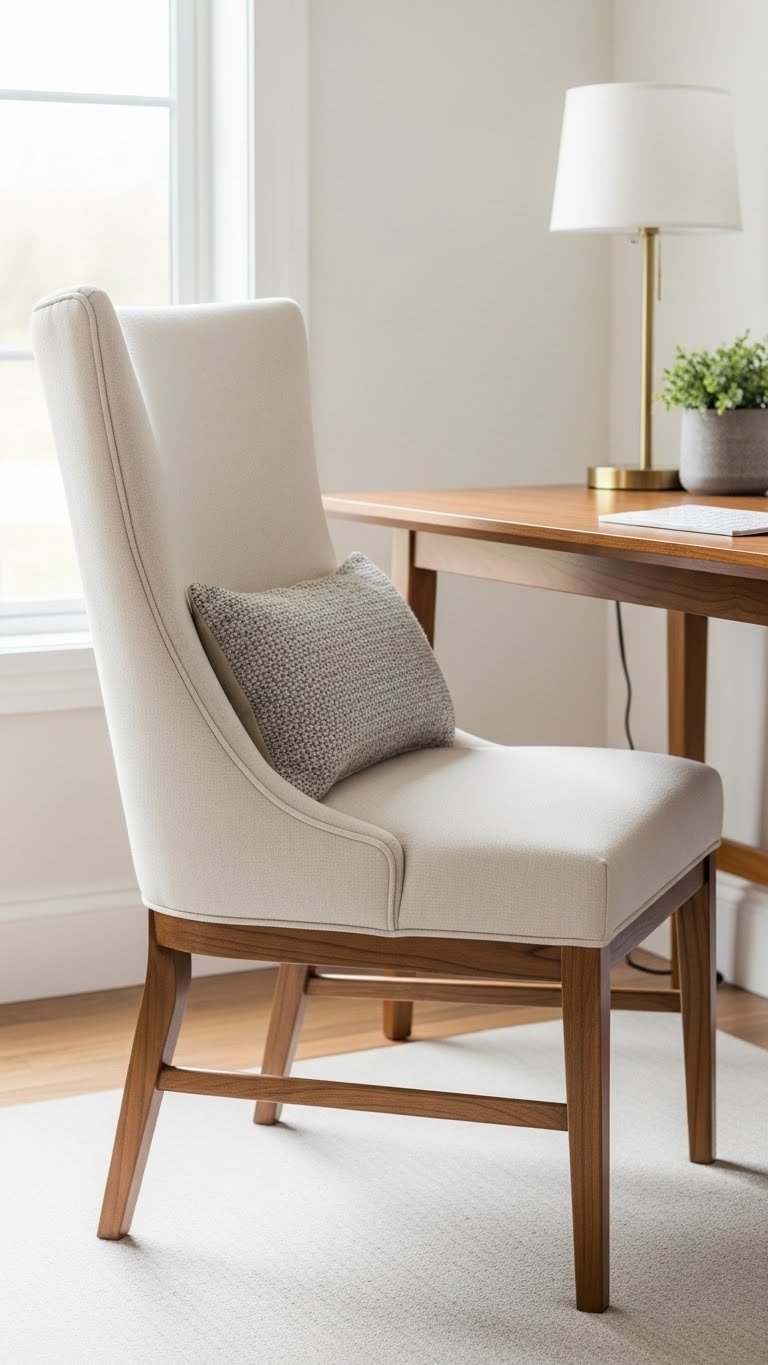
4. Swap Out Your Chair for Ergonomic Support
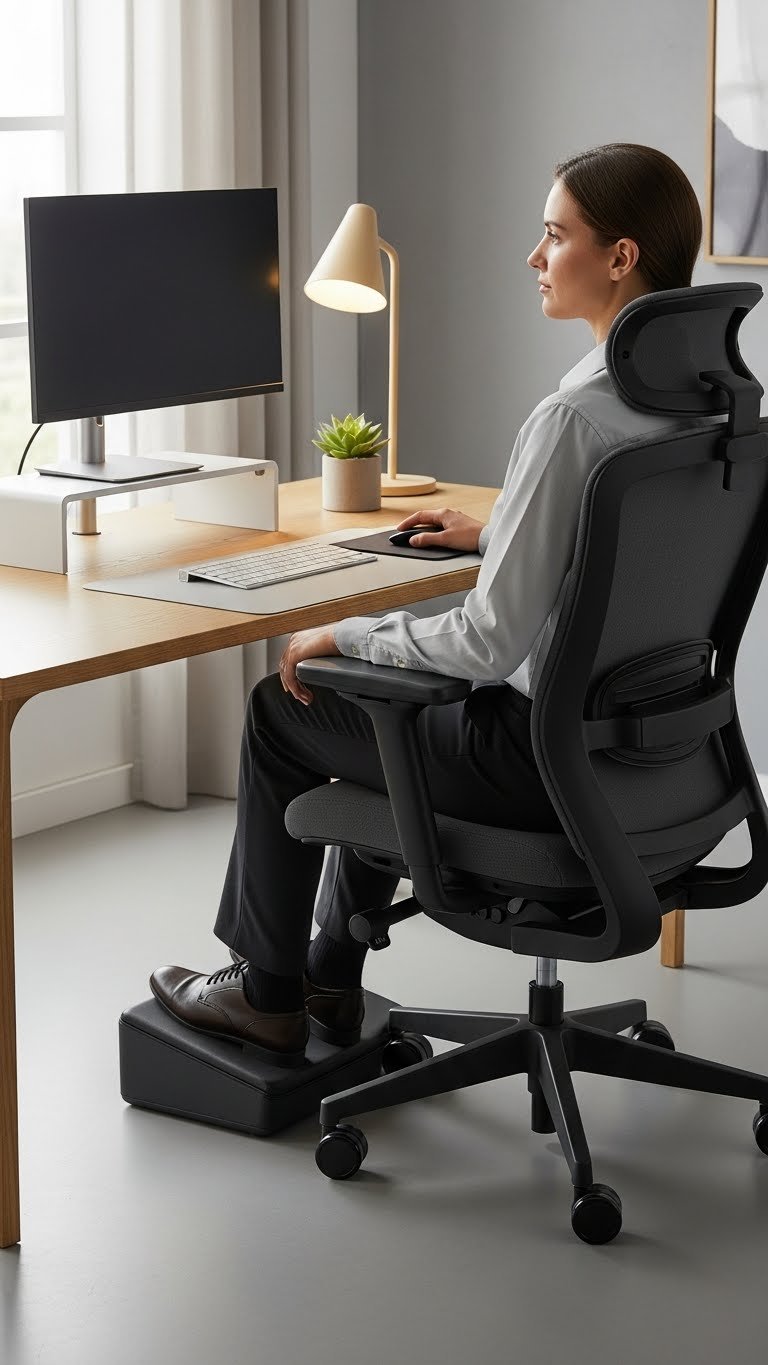
Sitting in a bad chair ruins your back and kills your focus. Invest in an ergonomic desk chair ($120–$400) with adjustable height, lumbar support, and armrests. IKEA’s Järvfjället or Herman Miller’s work chairs offer different price points.
Set your chair so your feet rest flat on the floor and your elbows are at 90 degrees when your hands rest on your desk. Spend the first 15 minutes getting the height right—it’s worth the adjustment time. Test in-store if possible, or buy from retailers with easy returns.
Your back will thank you within days, and you’ll notice your focus improves because you’re not fidgeting or in pain.
5. Create Zones for Different Tasks
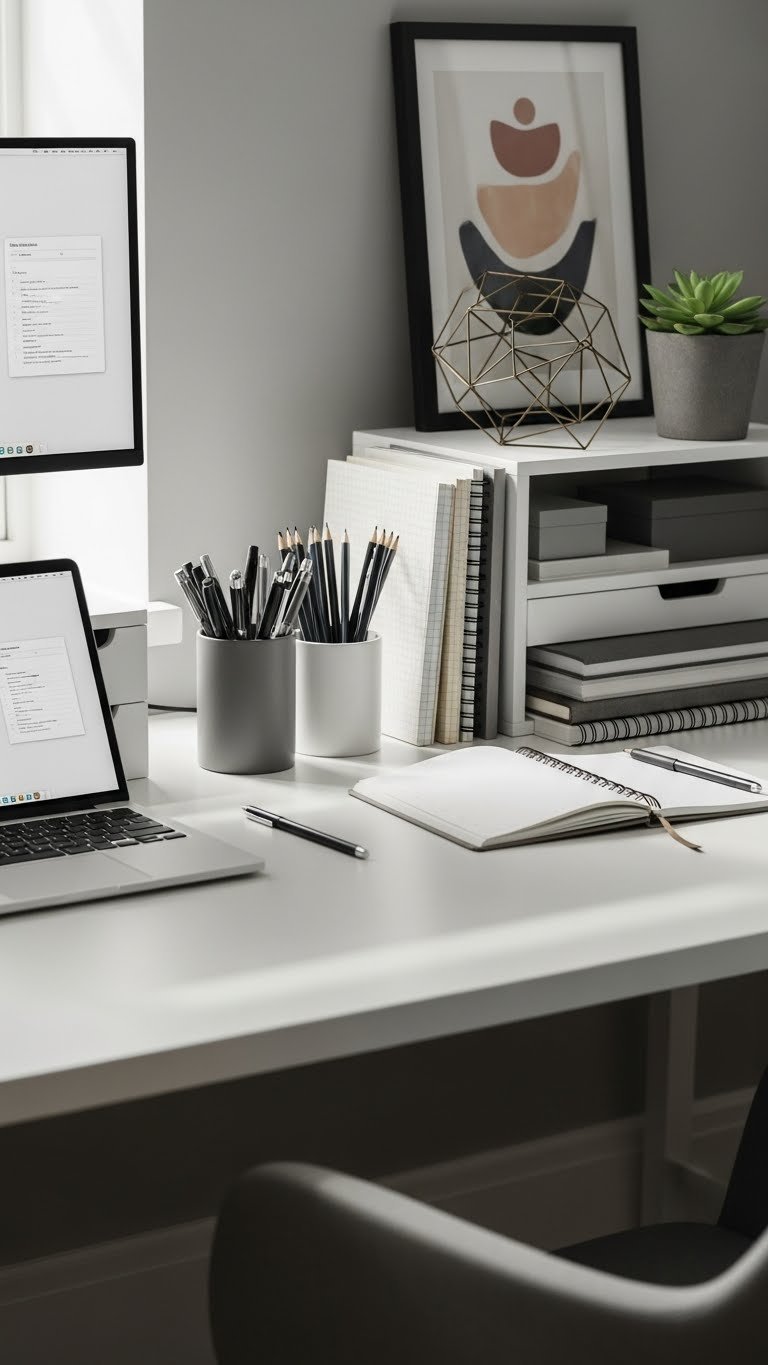
A “everything everywhere” desk creates decision fatigue. Divide your workspace into zones: computer zone (monitor, laptop, keyboard), writing zone (notebook, pens, paper), and inspiration zone (photos, mood board, inspiring objects). Use desk dividers or zone items by positioning them intentionally.
Rearrange so frequently-used items are in the center, occasional-use items to the sides, and rarely-used items on shelves above. This costs nothing if you’re just reorganizing; add low-cost dividers ($10–$30) if needed for visual clarity.
When everything has a place, your brain stops hunting for things and can focus on actual work. You’ll feel the difference immediately.
6. Use a Desk Pad or Mat for Protection and Style

A desk pad protects your surface, defines your workspace visually, and adds instant sophistication. Choose a felt or leather pad ($30–$80 from Etsy, Amazon, or West Elm) in a neutral tone or subtle pattern. Opt for larger sizes (at least 24″ x 36″) so everything sits on the pad.
Pads reduce noise (keyboards and papers are quieter), protect against spills and scratches, and create a visual “work zone.” Install in 30 seconds—just lay it flat. Felt versions are budget-friendly ($20–$40); leather options ($60–$100) last longer and age beautifully.
Your desk instantly looks more intentional, and you get the practical bonus of protection.
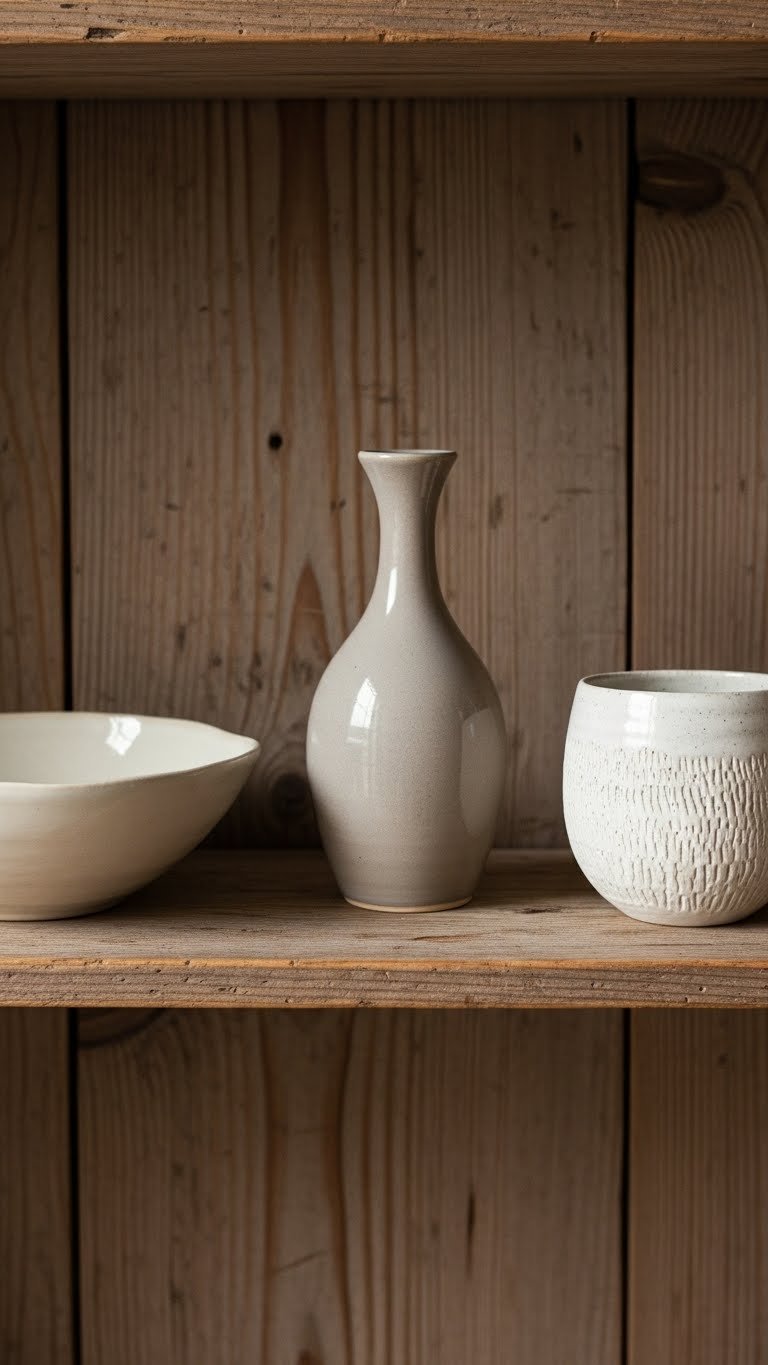
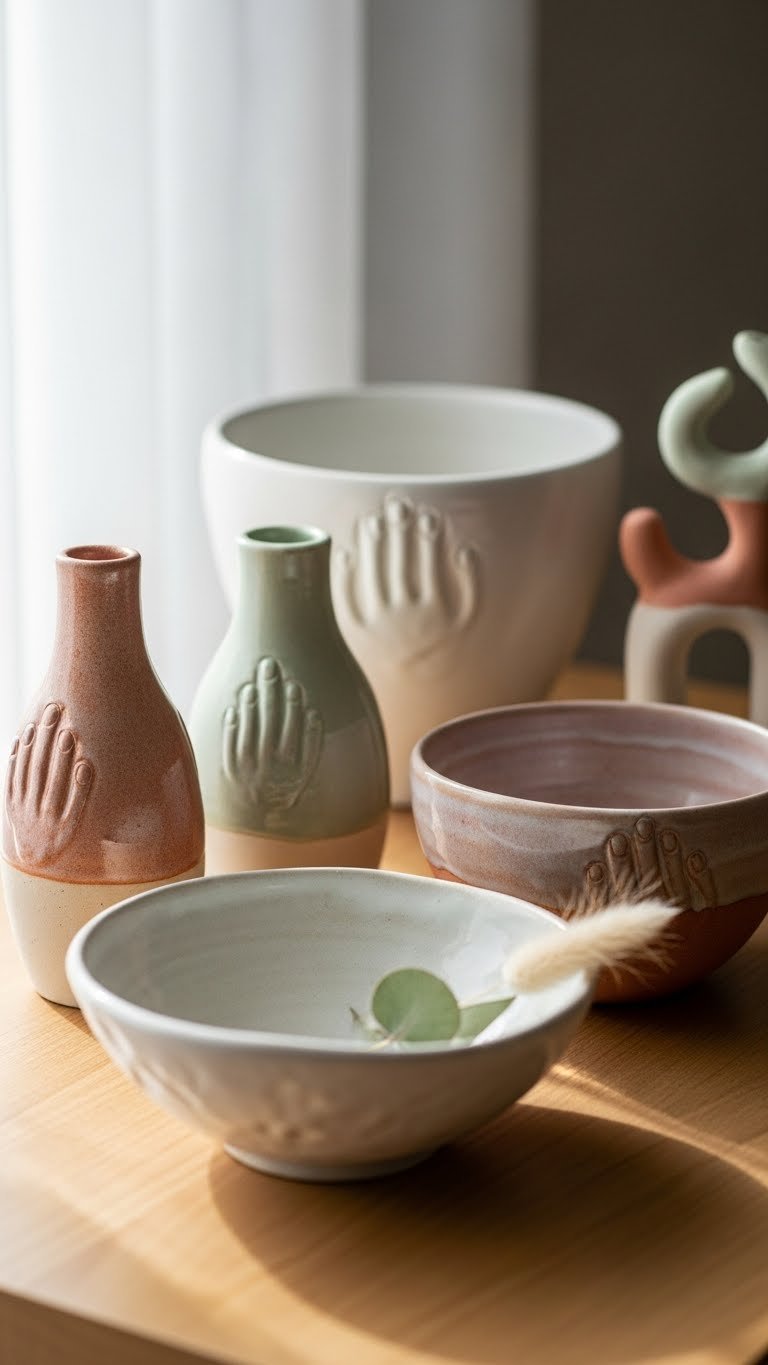
7. Switch to Matching Desk Accessories

Mismatched supplies feel chaotic; coordinated accessories feel intentional. Buy a desk accessory set or individual pieces in one material ($30–$100 total from Target, IKEA, or Wayfair)—white ceramic, marble, brass, or wood all work beautifully.
Gather your pens, clips, and supplies into matching holders. Group by function: one holder for current-use pens, another for desk supplies, a tray for active papers. This usually takes 30 minutes to reorganize.
When everything matches, your desk automatically looks curated and expensive, even if the pieces are budget-friendly.
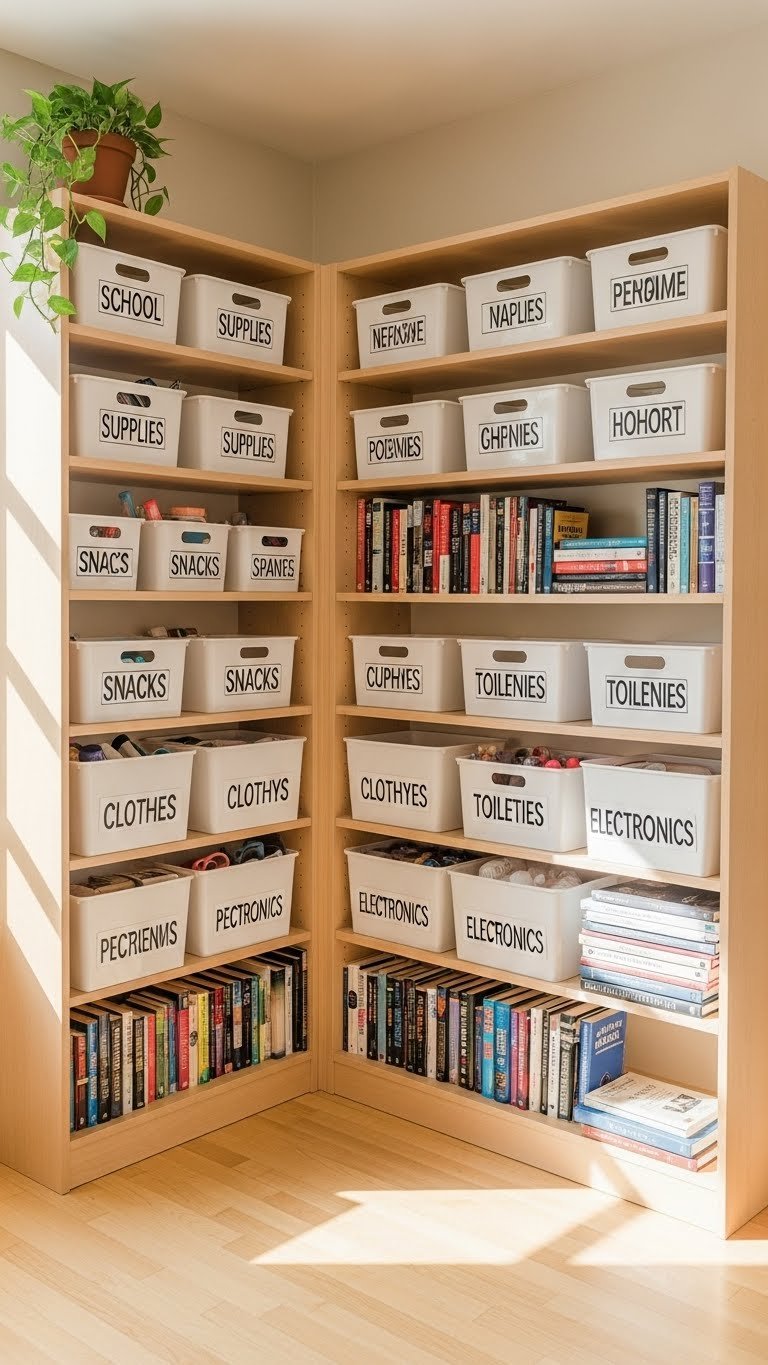
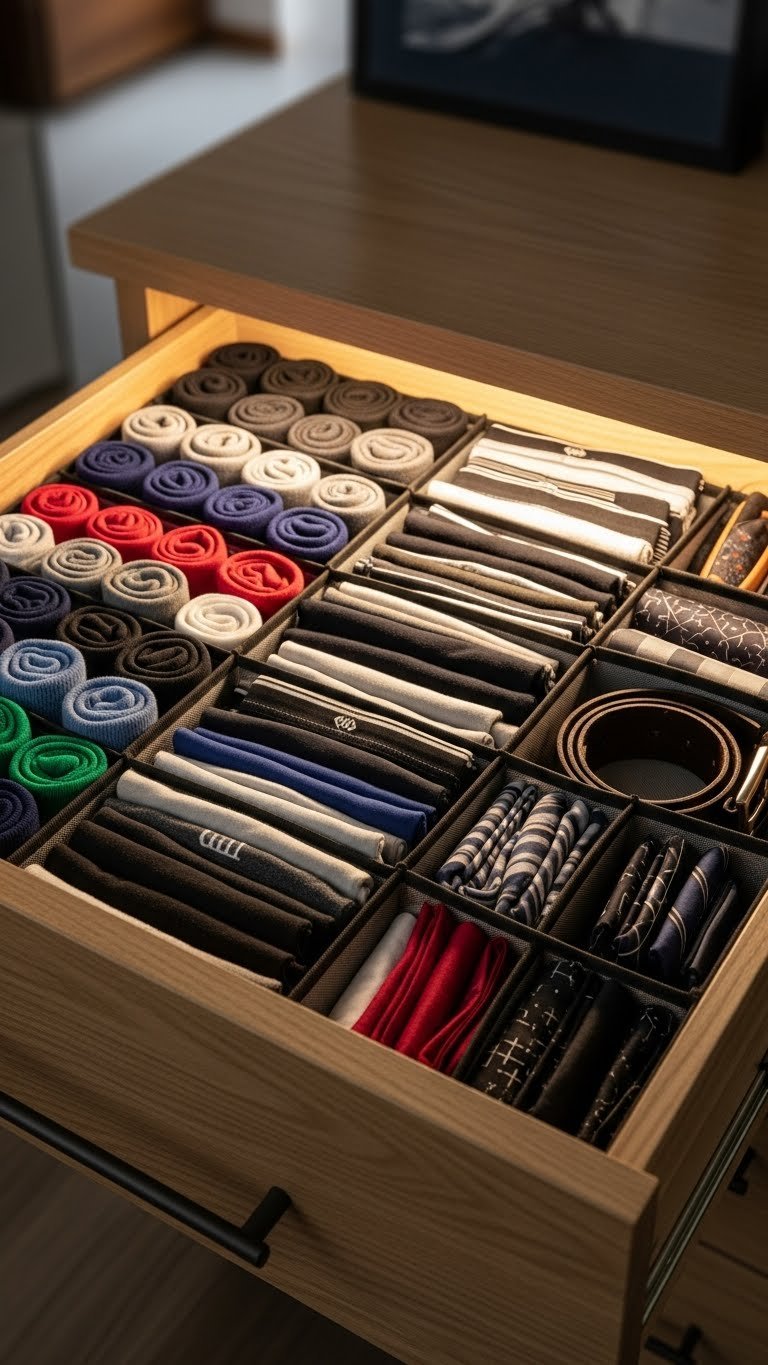
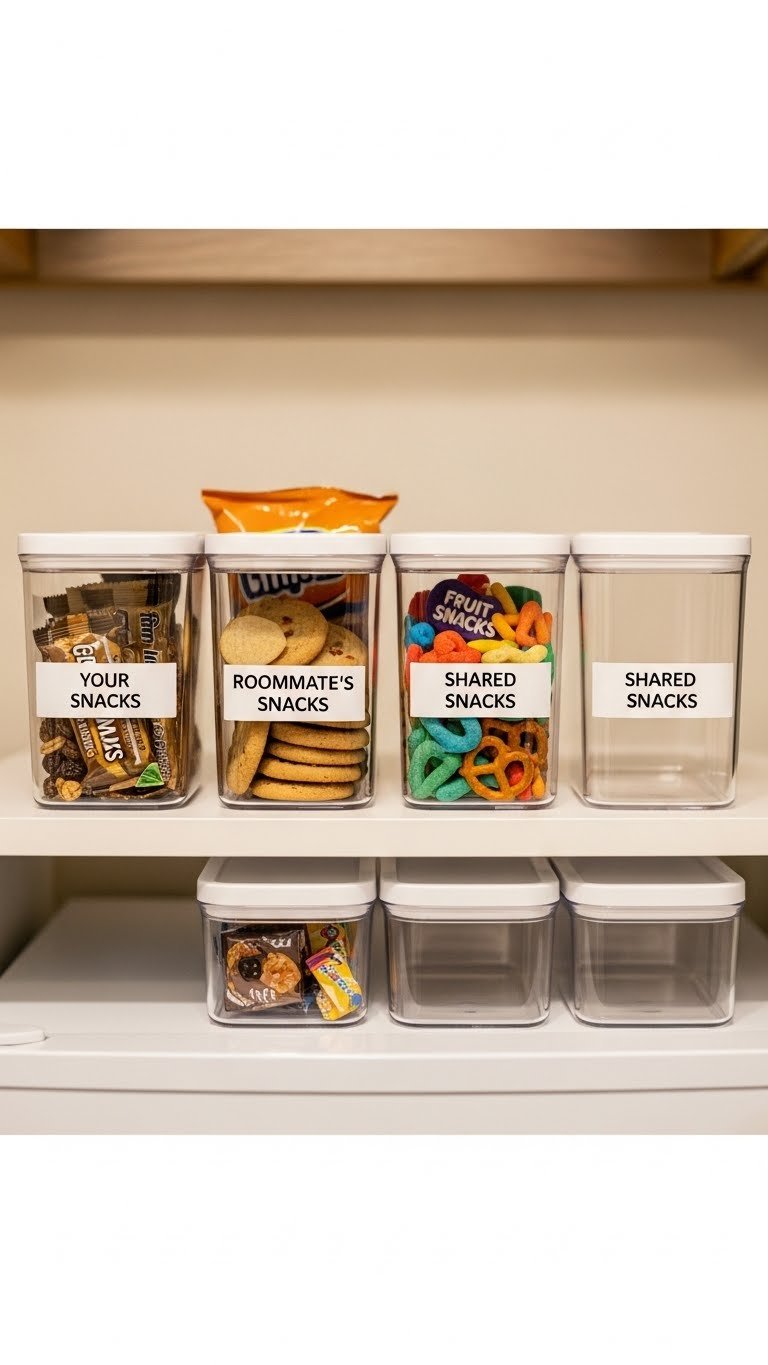
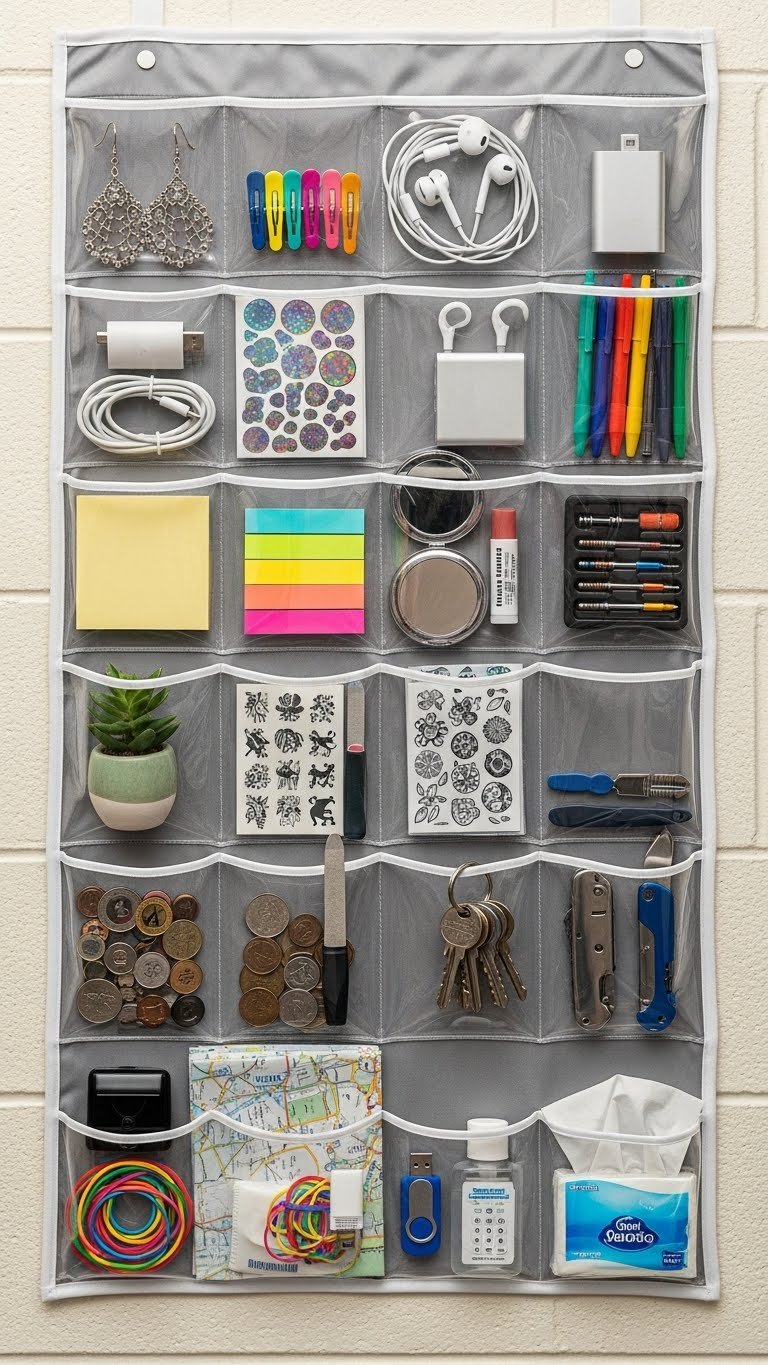
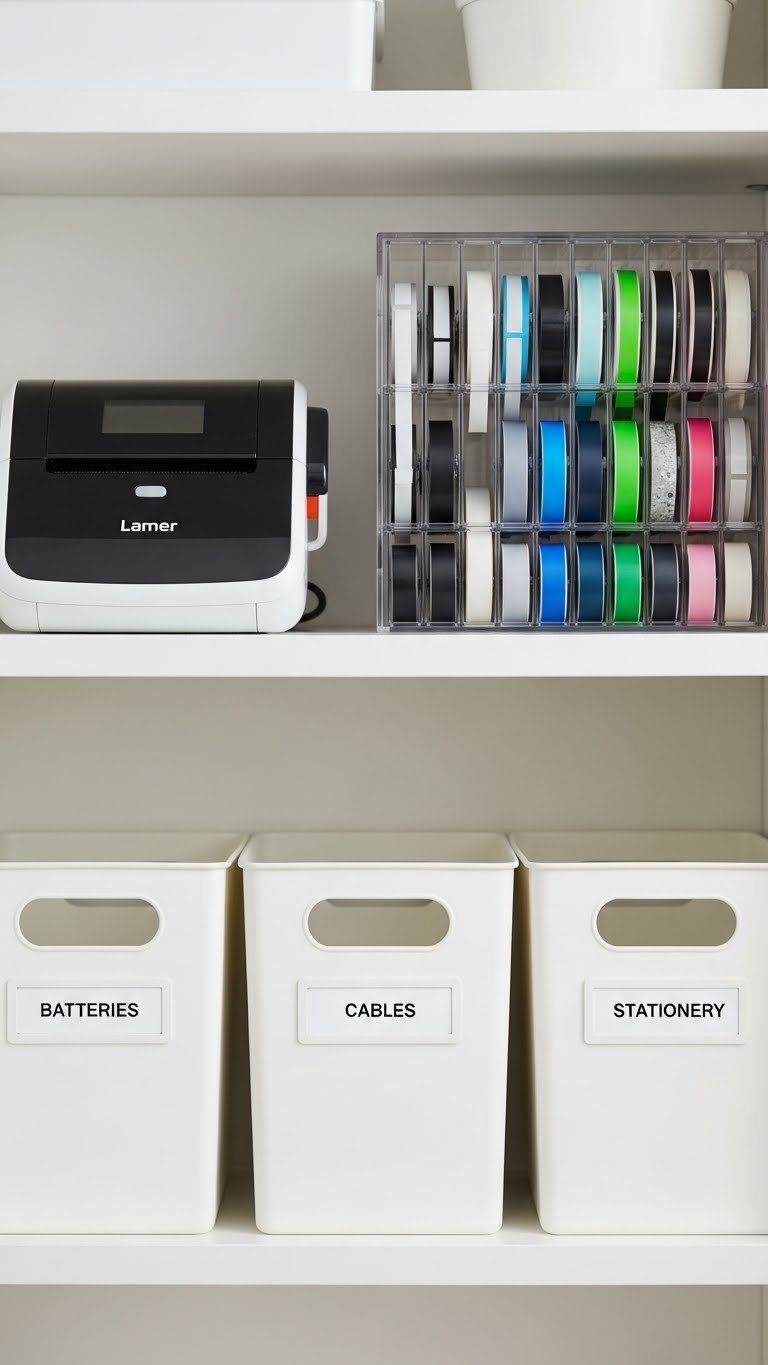
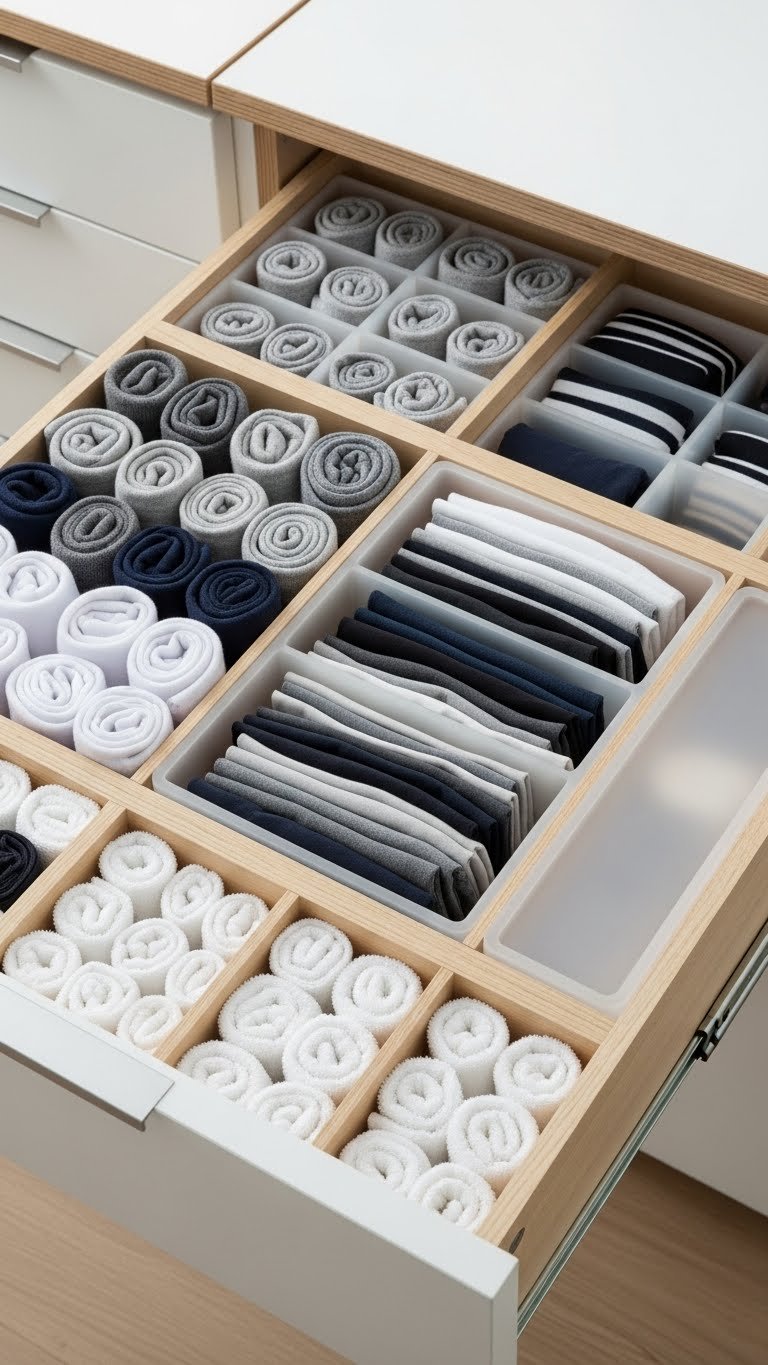
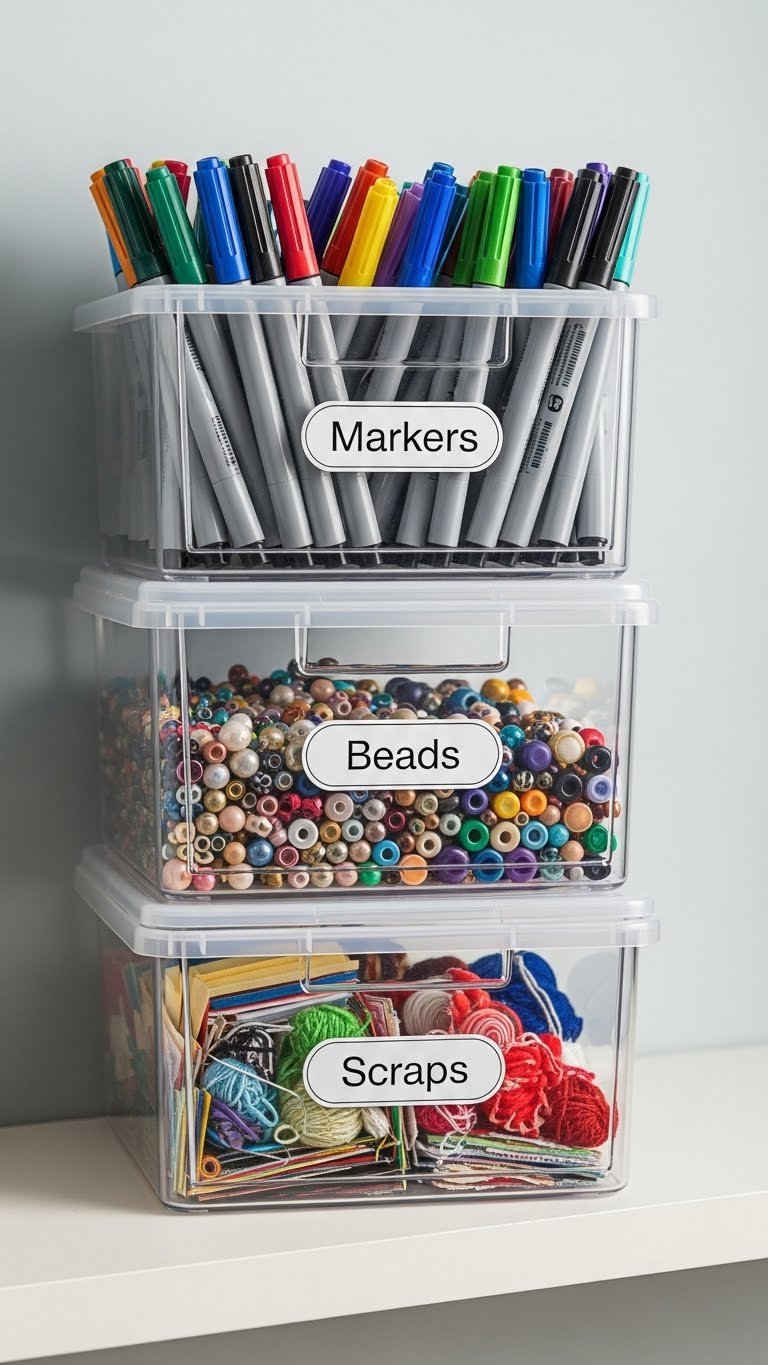
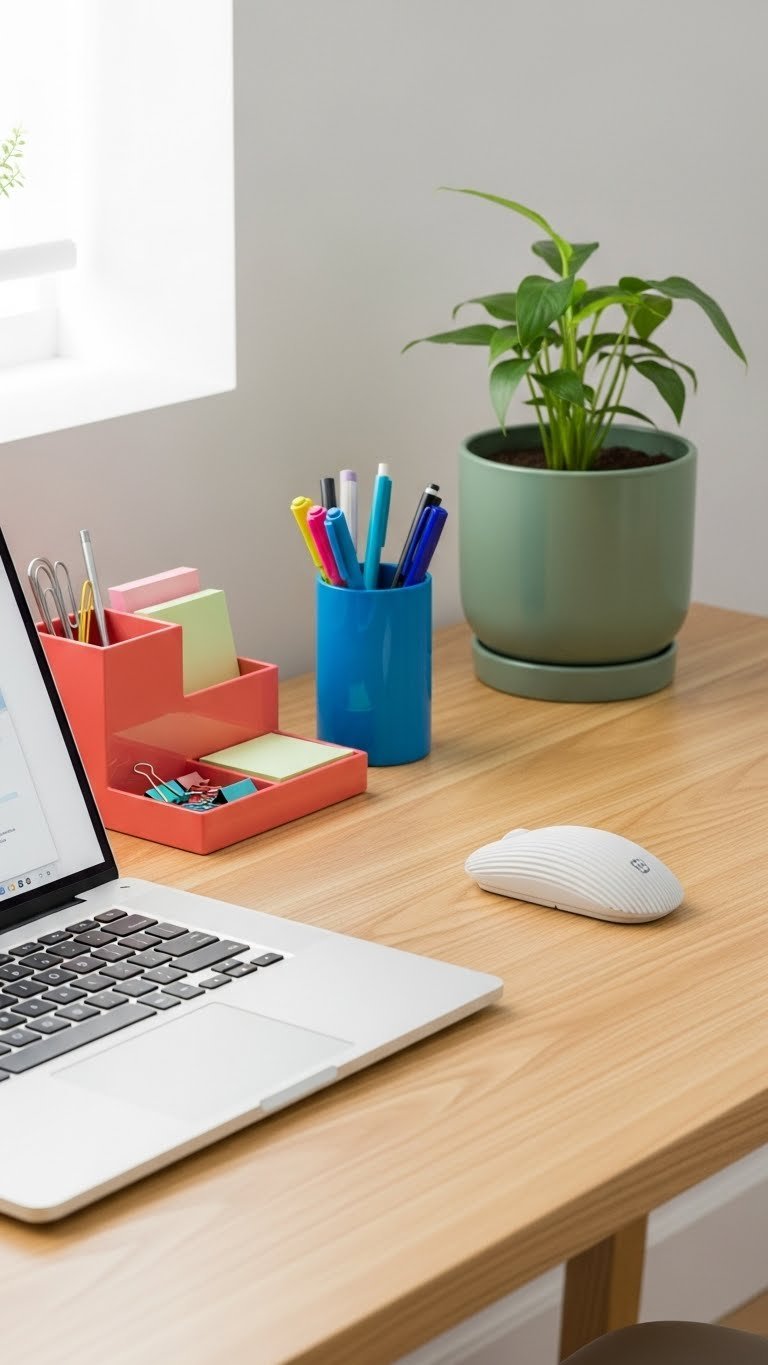
8. Add a Desk Organizer with Compartments
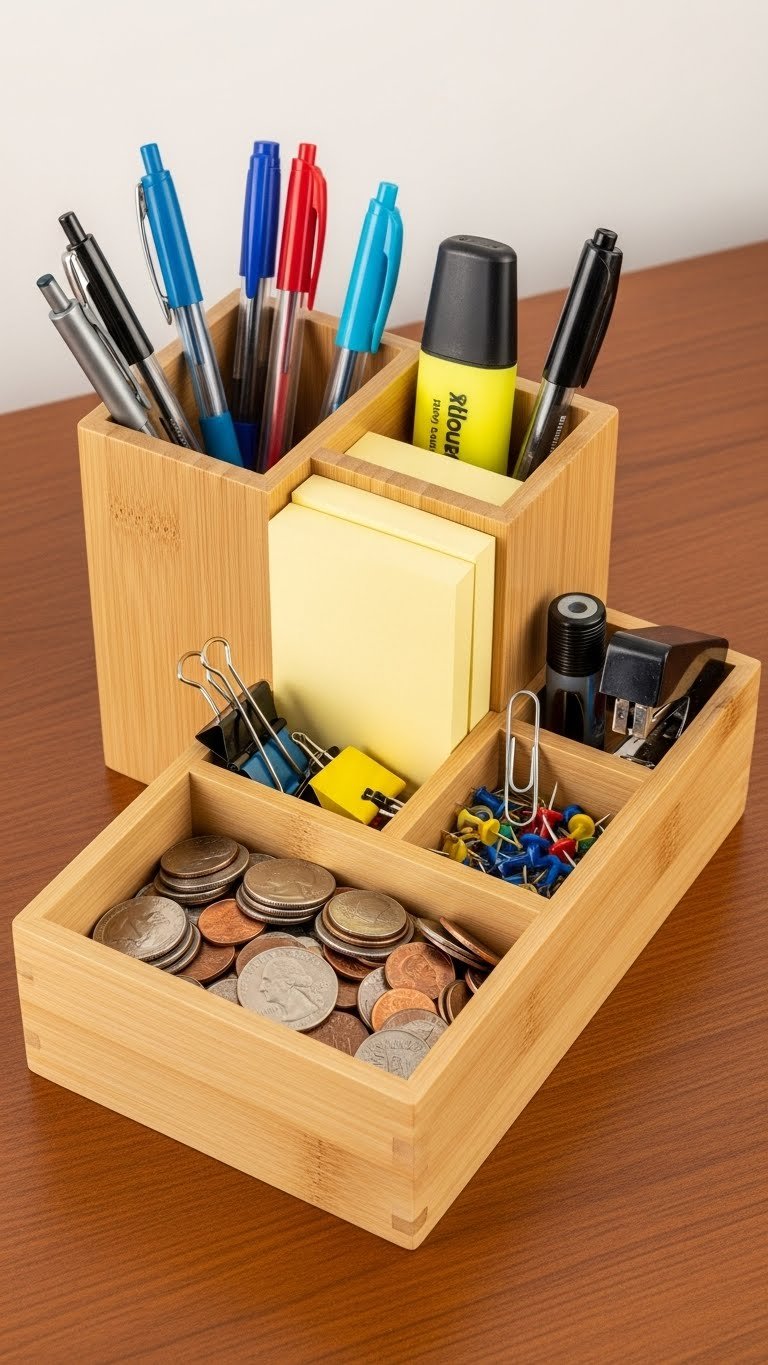
Small supplies scatter and create mental clutter. A desk organizer ($15–$40 from Container Store, IKEA, or Amazon) with multiple compartments keeps pens, clips, sticky notes, and small items corralled and visible.
Choose wood for warmth or white plastic for minimalism. Position it within arm’s reach so you can grab supplies without digging. Bamboo options ($20–$35) look premium and are durable; plastic organizers ($10–$20) are budget-friendly and lightweight.
Setup takes 10 minutes: sort supplies into compartments and place the organizer on your desk. Suddenly everything feels accessible and organized instead of scattered.
9. Invest in a Monitor Arm to Free Up Space
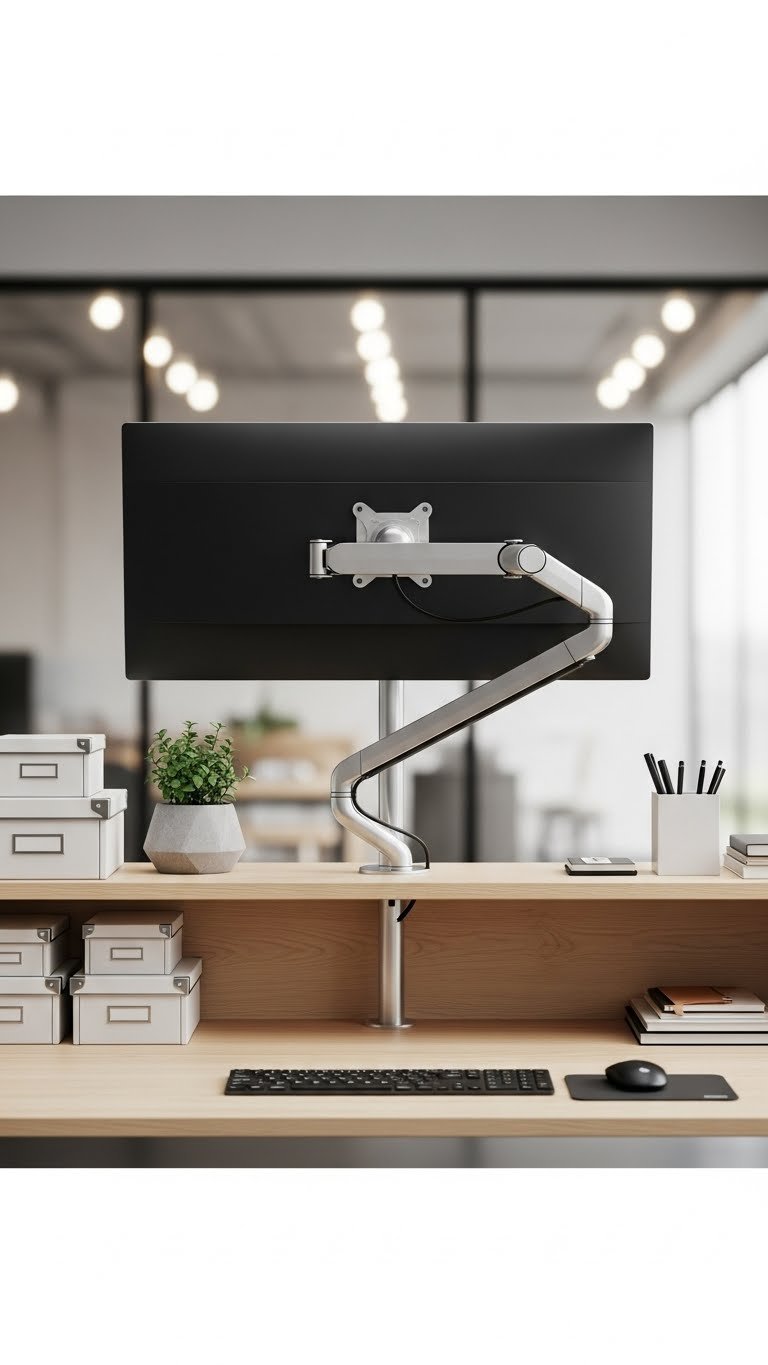
A monitor arm elevates your screen, improves posture, and opens up desk real estate underneath. Choose an adjustable monitor arm ($40–$120 from Amazon, Best Buy, or Ergotron) with smooth height and tilt adjustment.
This project takes 30–45 minutes for DIY installation; hire an IT person if needed ($50–$100 service fee). Position your screen so the top third is at eye level when sitting upright. The space underneath is now available for a shelf, keyboard tray, or just breathing room.
You’ll reclaim desk surface, improve your posture automatically, and your workspace will feel less cluttered—bonus: cable management gets easier.
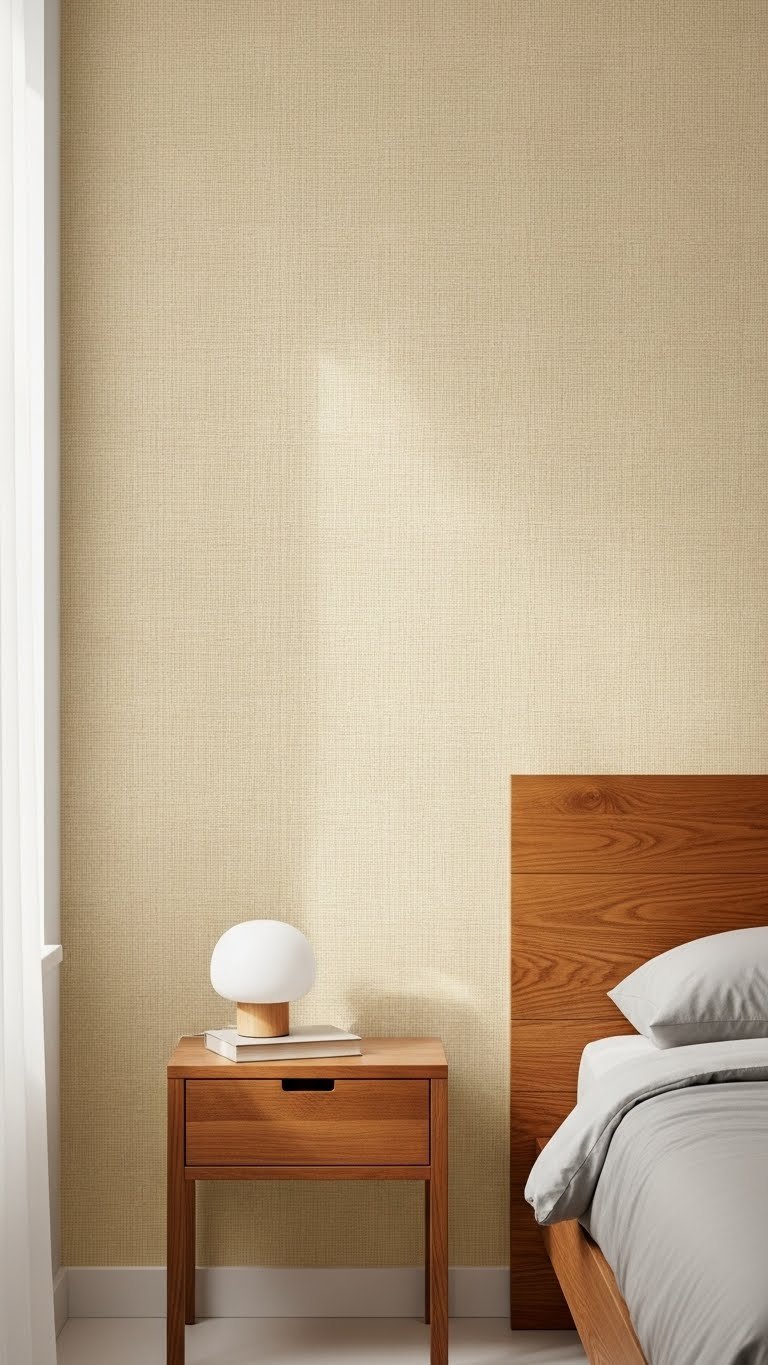
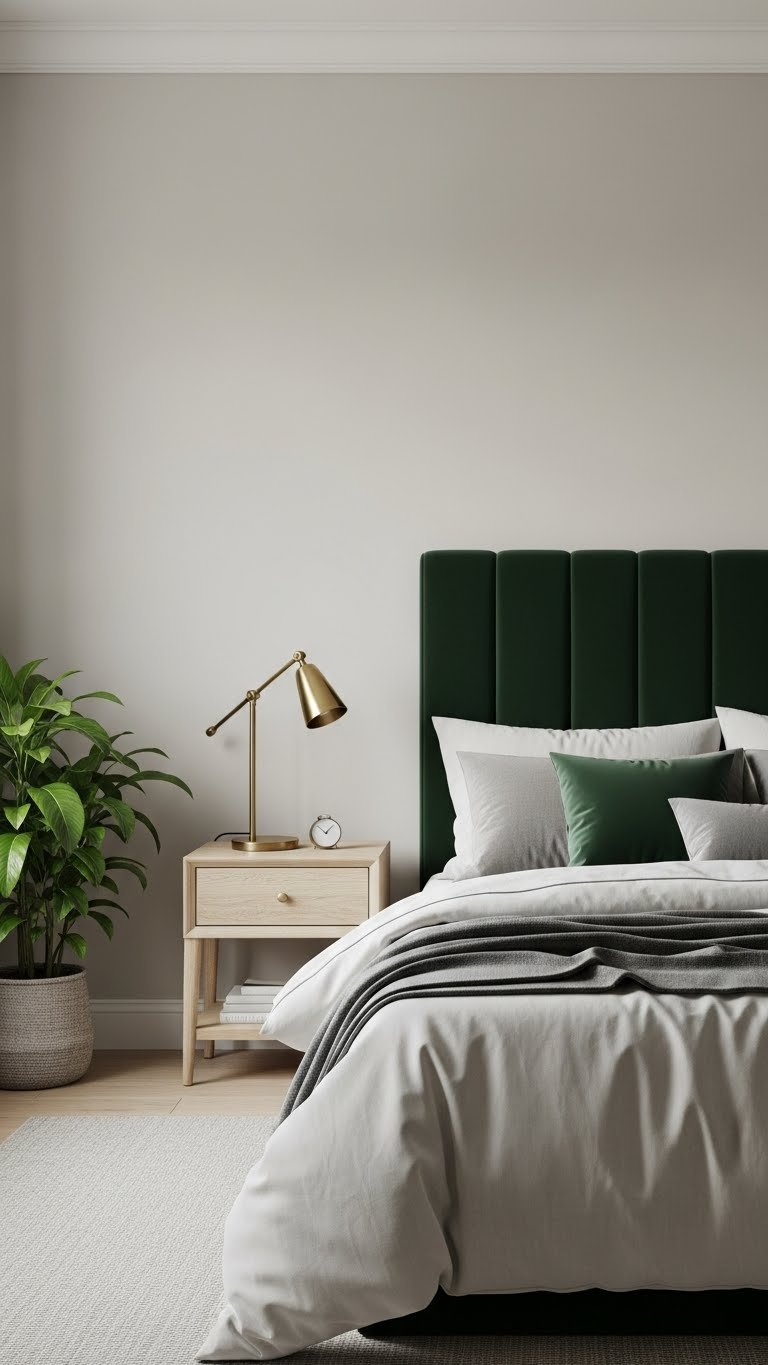
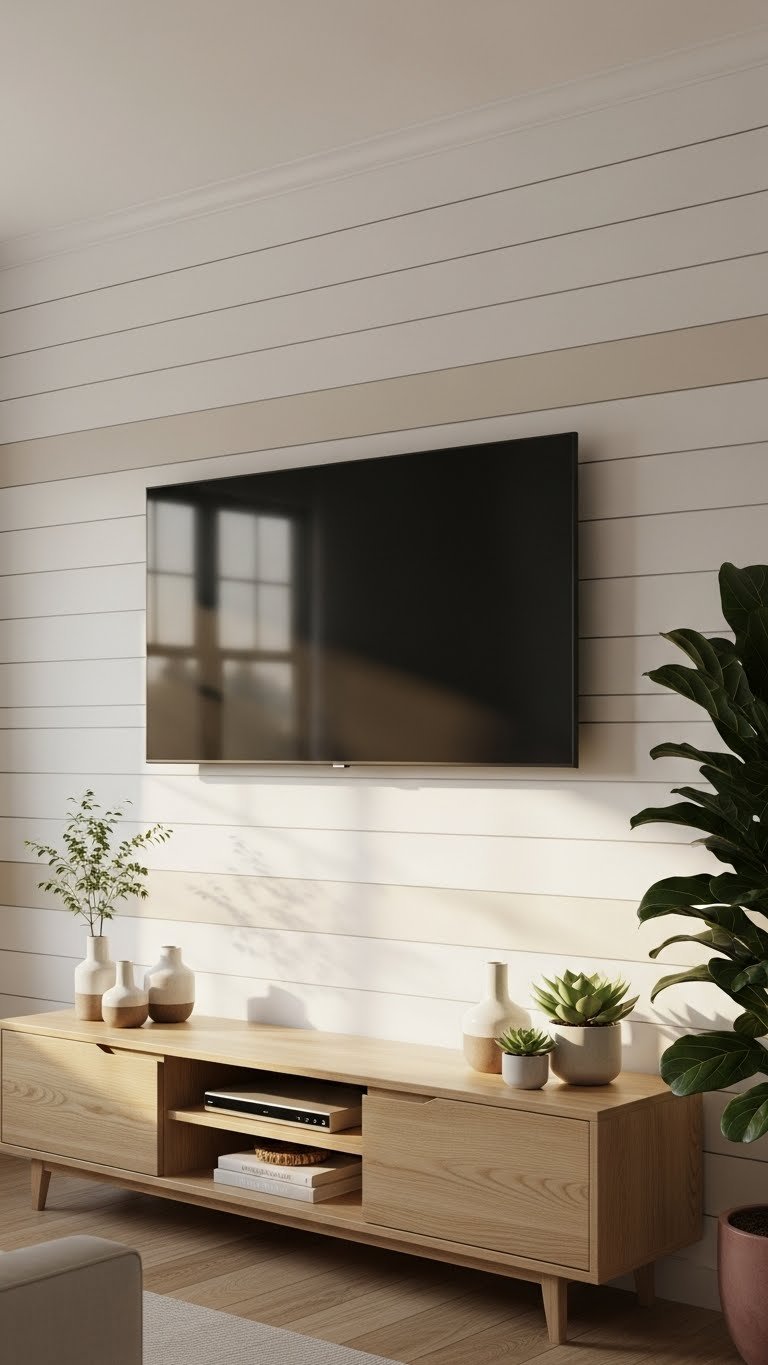
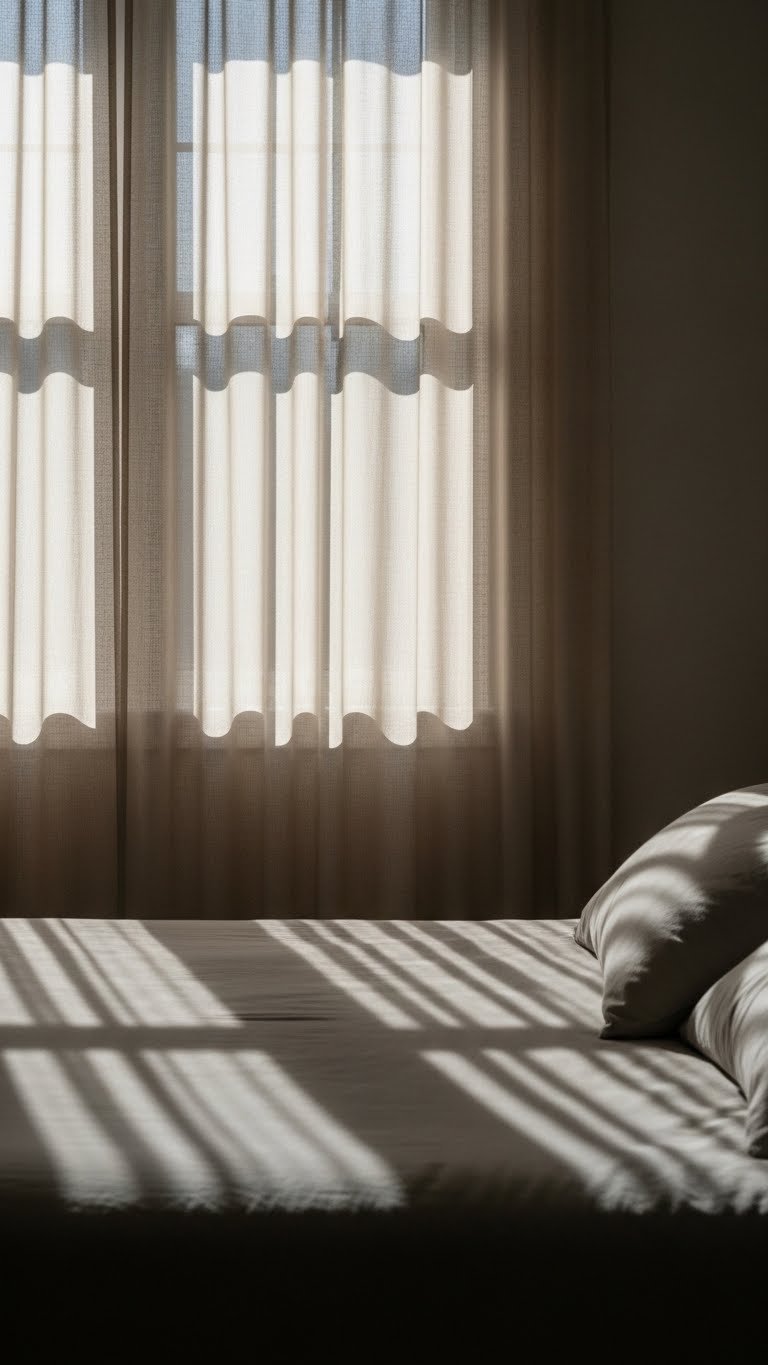
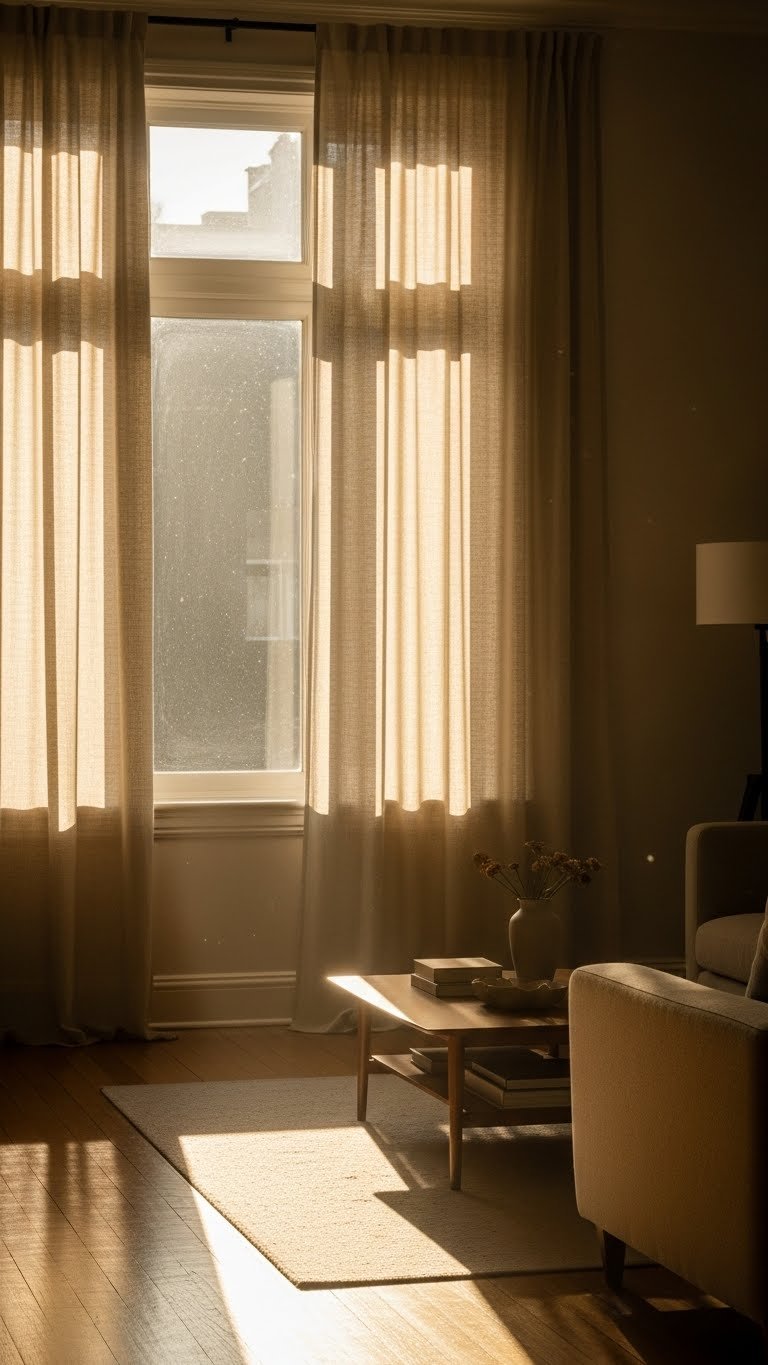
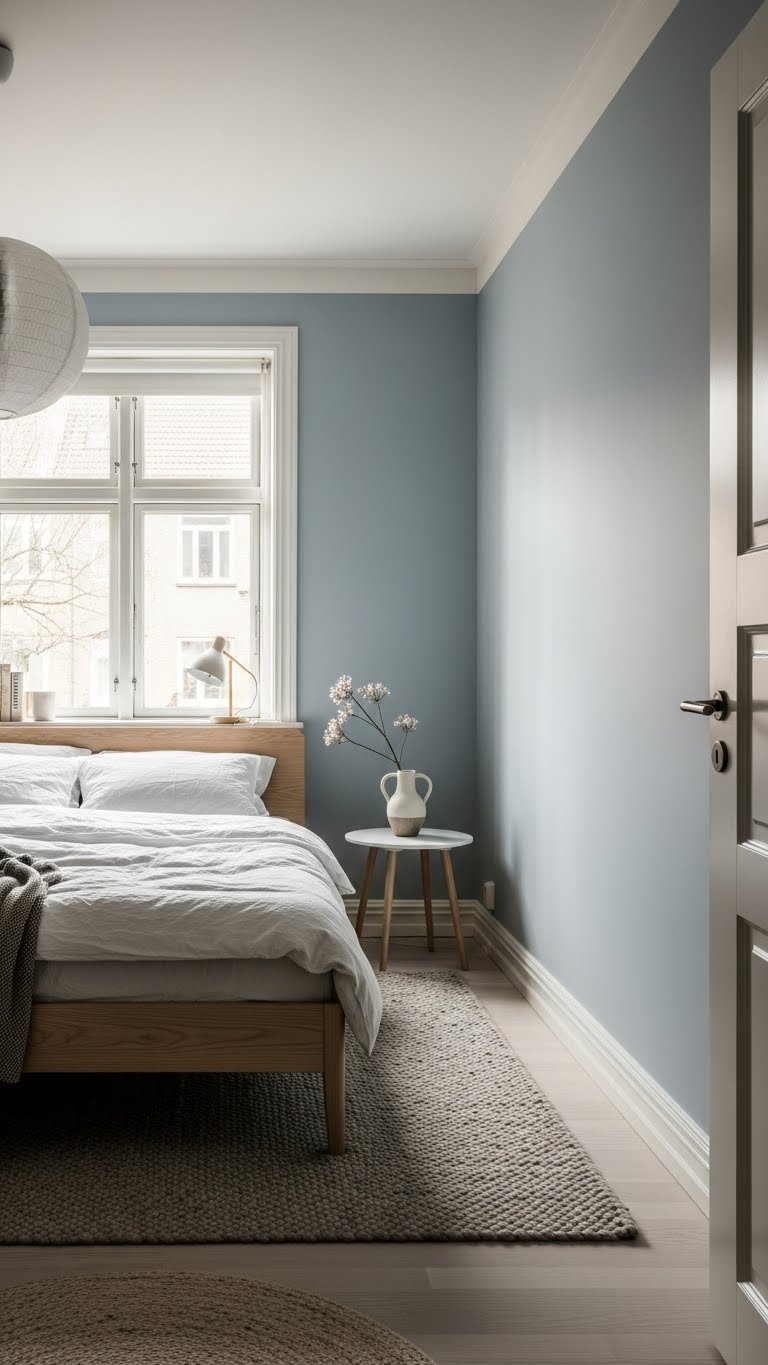
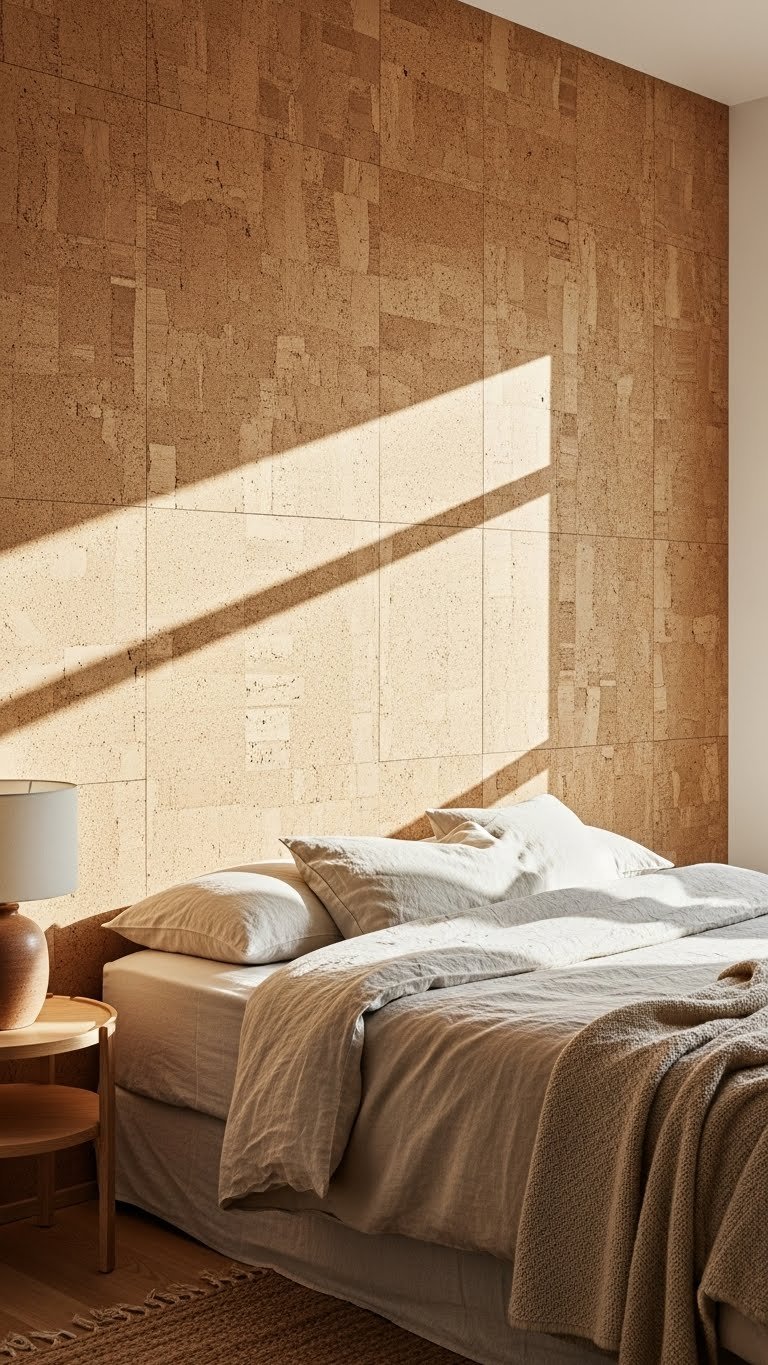
10. Choose a Neutral Wall Color or Add Removable Wallpaper
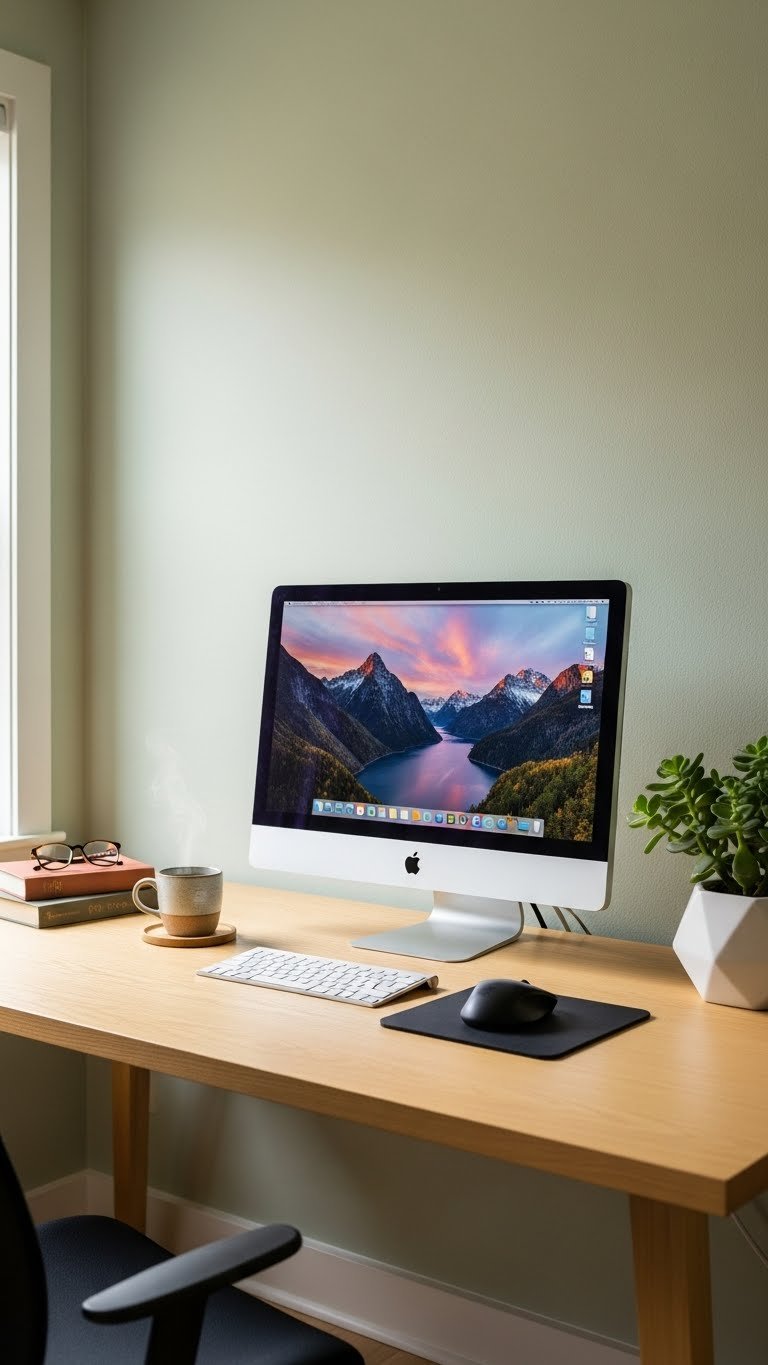
Your desk’s backdrop affects your focus and mood. Paint your desk wall in a neutral, calming color (cream, soft gray, sage green; $30–$60 for paint plus brushes) or use peel-and-stick wallpaper ($25–$50 from Spoonflower or Amazon) in a subtle pattern.
Avoid bold colors directly behind your desk—they’re visually stimulating when you should be focusing. Soft, muted tones promote calm. If you’re renting, removable wallpaper is your best friend and takes 1–2 hours to apply.
A cohesive wall backdrop instantly makes your desk setup feel like a real workspace, not a random corner. It’s also the best background for video calls.
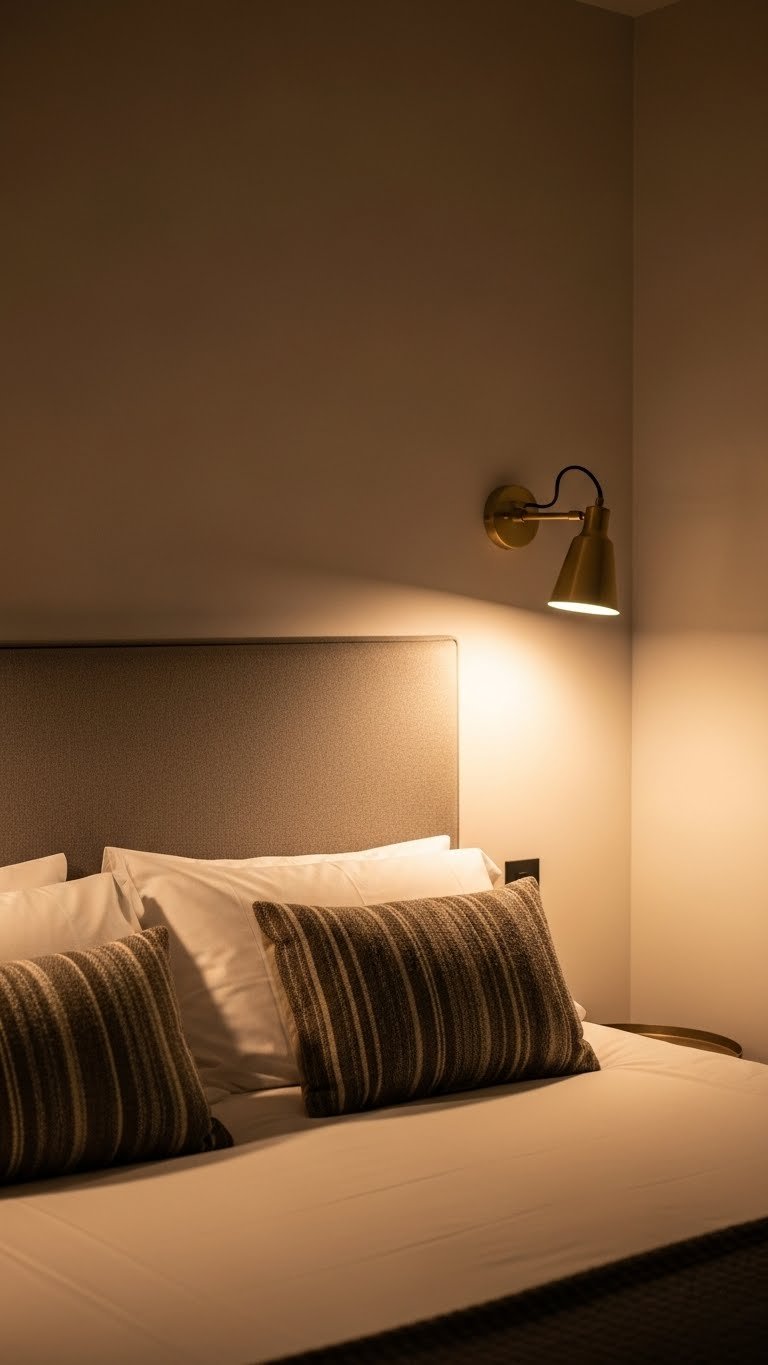
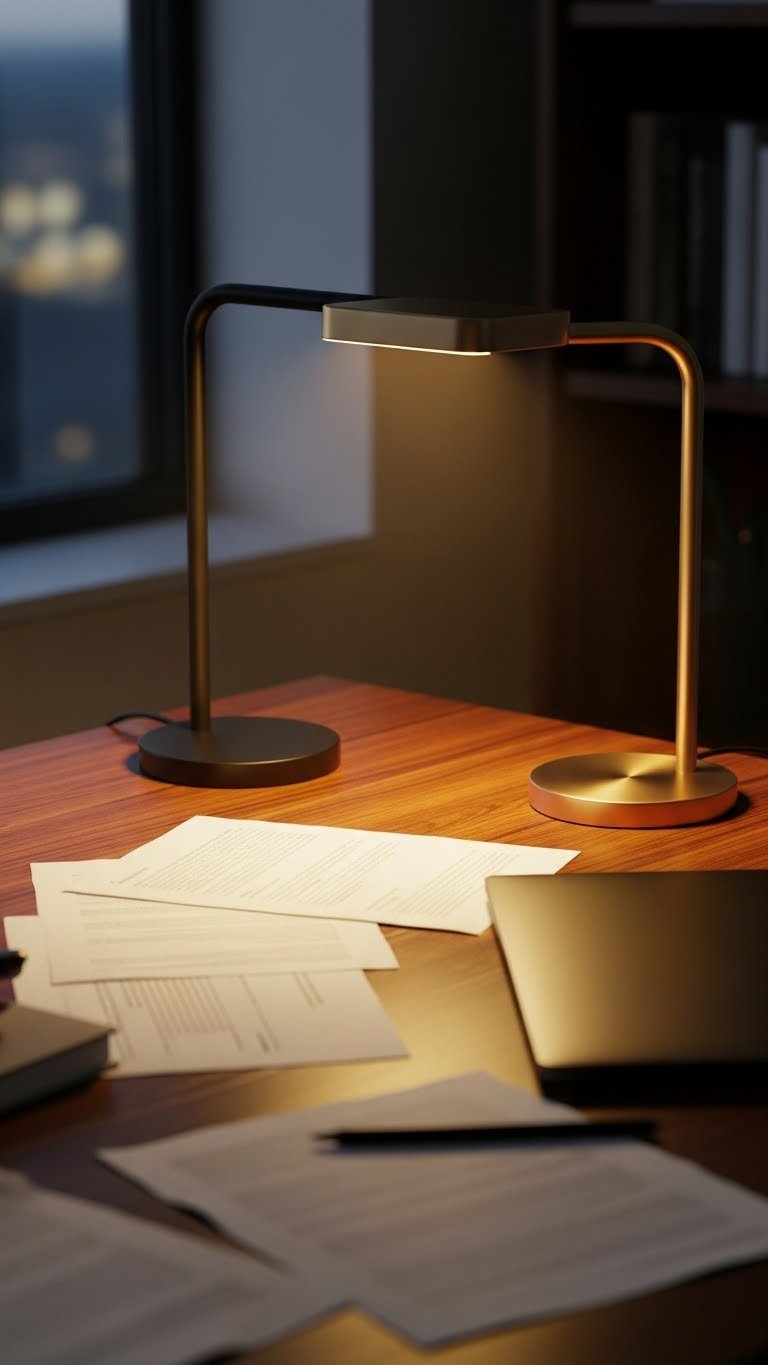
11. Set Up Task Lighting in Multiple Spots
One light source creates shadows and uneven brightness. Add task lighting in layers ($20–$60 for a second fixture from IKEA or Amazon). Use a main desk lamp, then add a smaller clip lamp or strip light for side illumination.
Position lights at 45-degree angles to avoid glare on your screen. Aim for a total brightness of 500 lux for detail work, 300 lux for general office tasks. Multiple light sources take 15 minutes to position and adjust.
With better lighting, your eyes won’t strain, you’ll notice details you’ve been missing, and the space feels more professional.
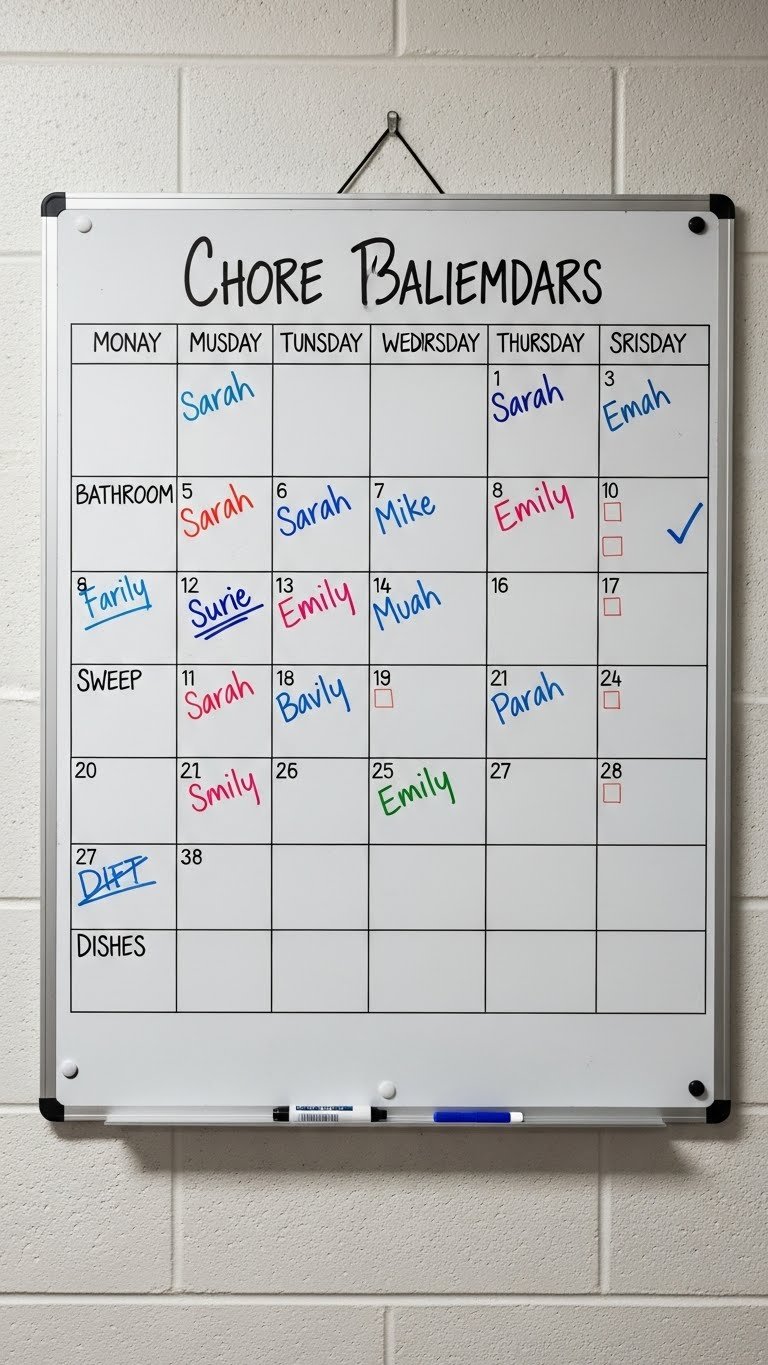
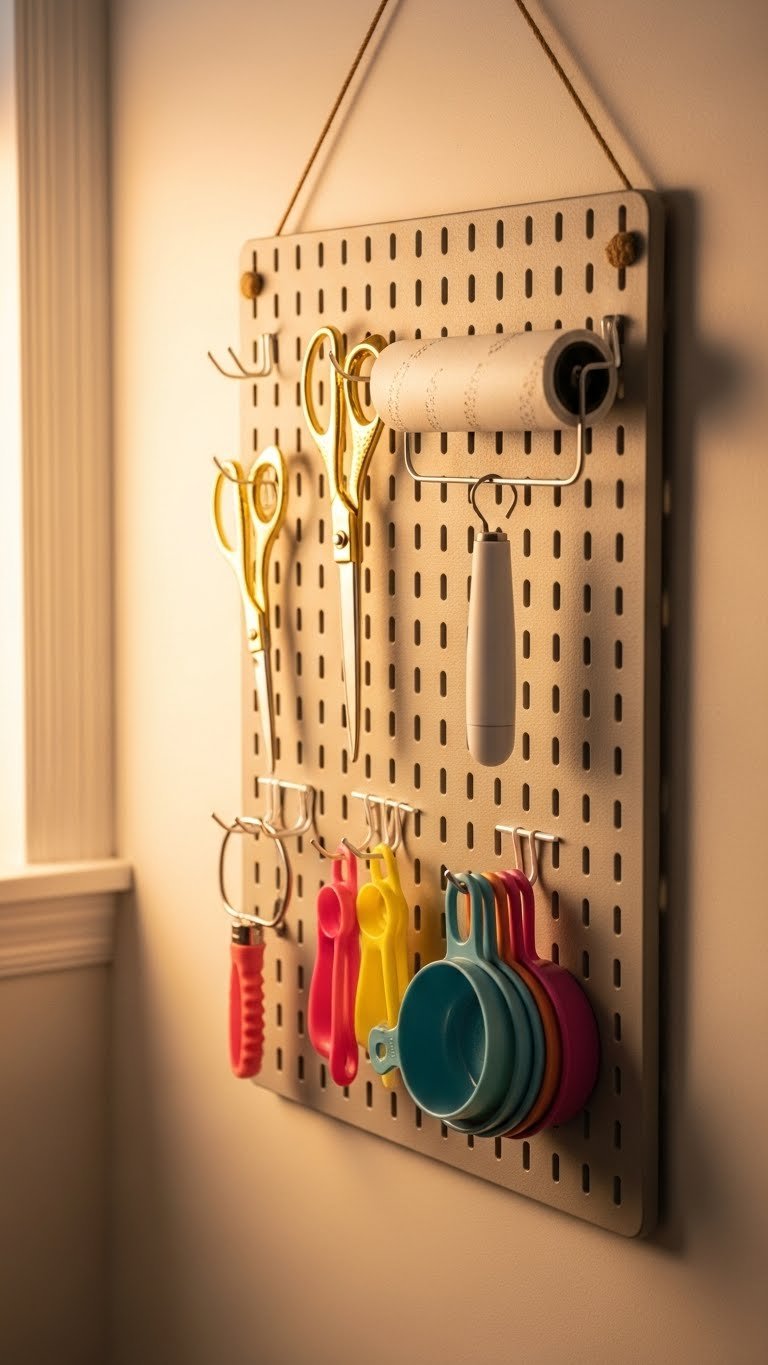
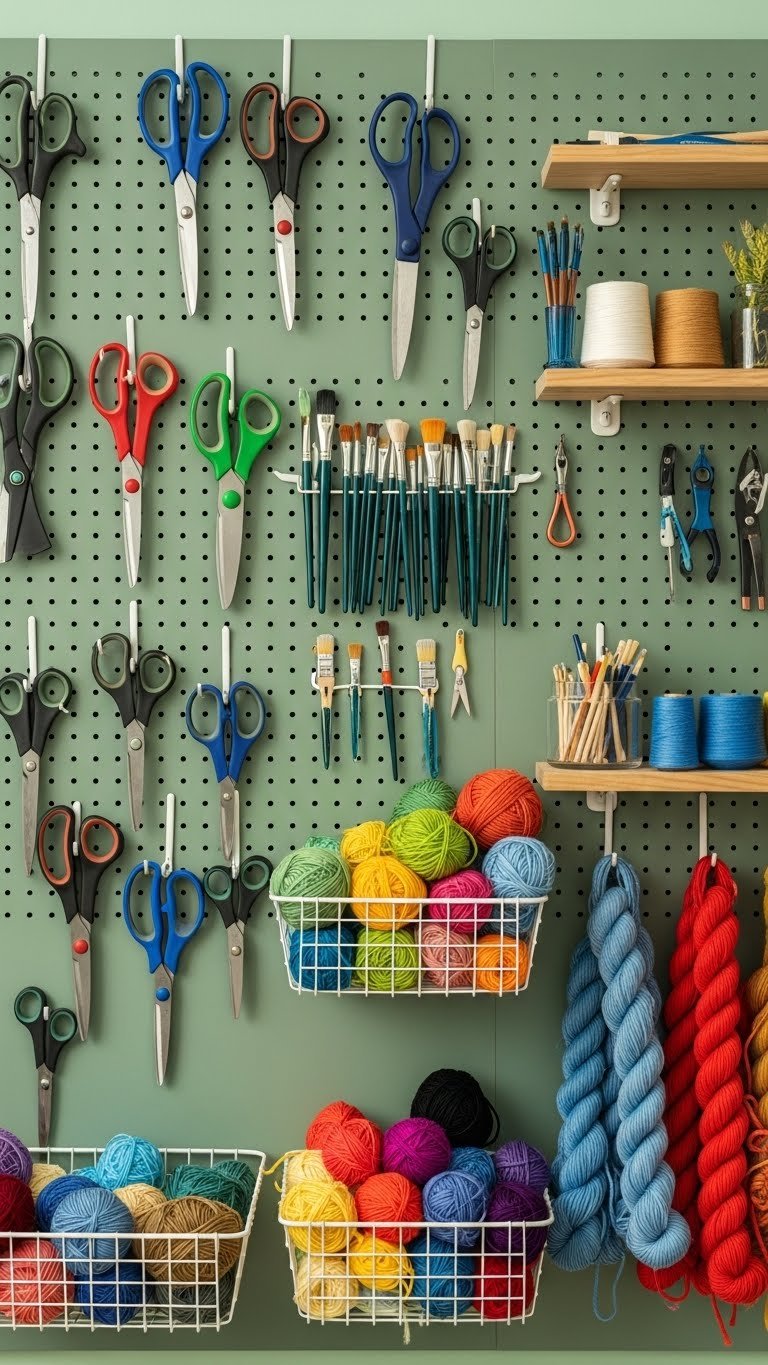
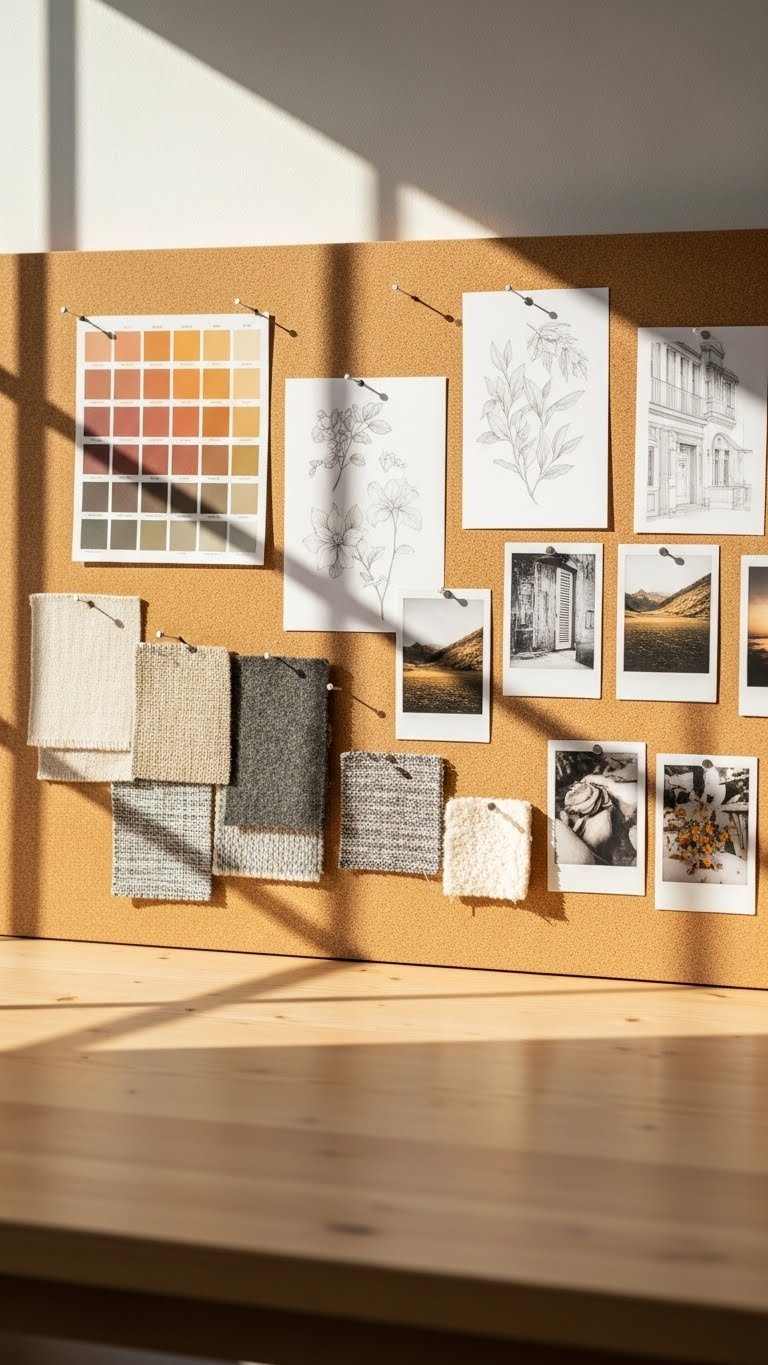
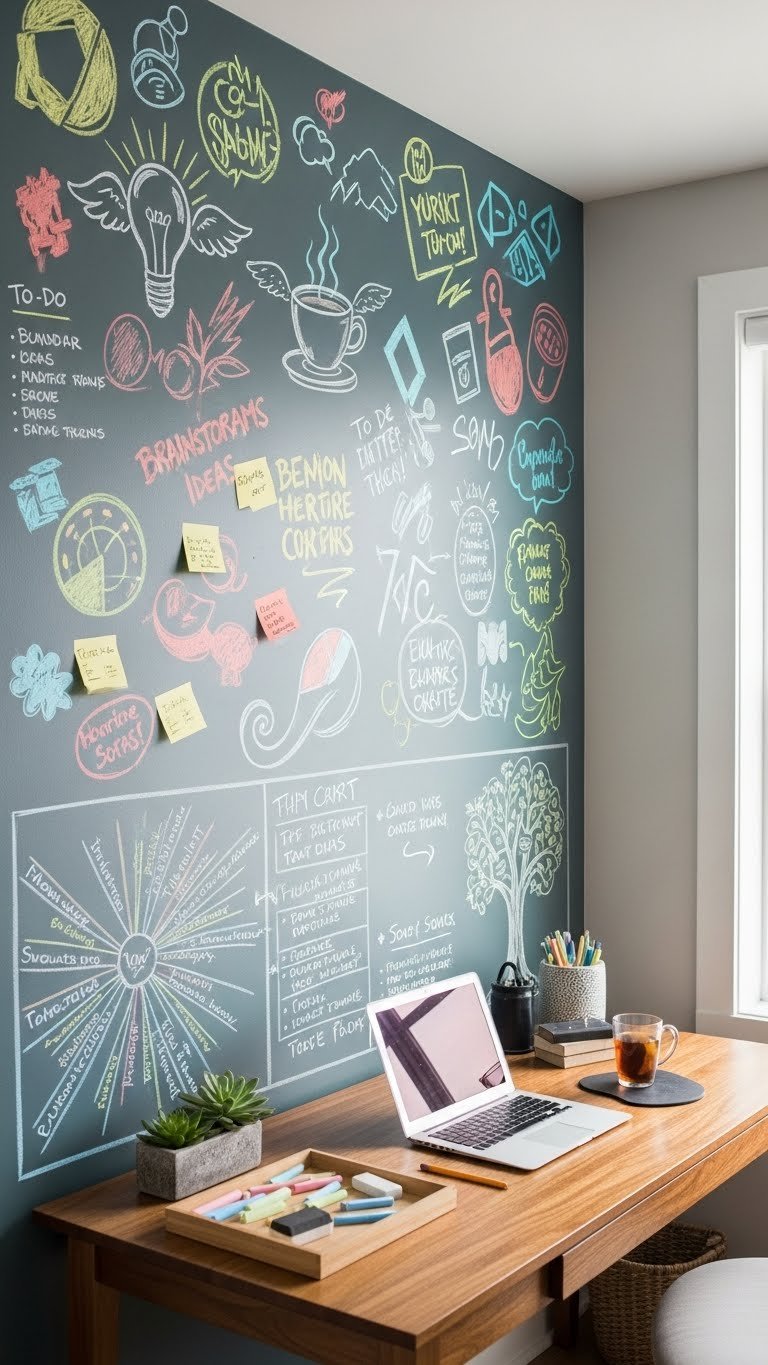
12. Add a Bulletin Board for Inspiration and Tasks
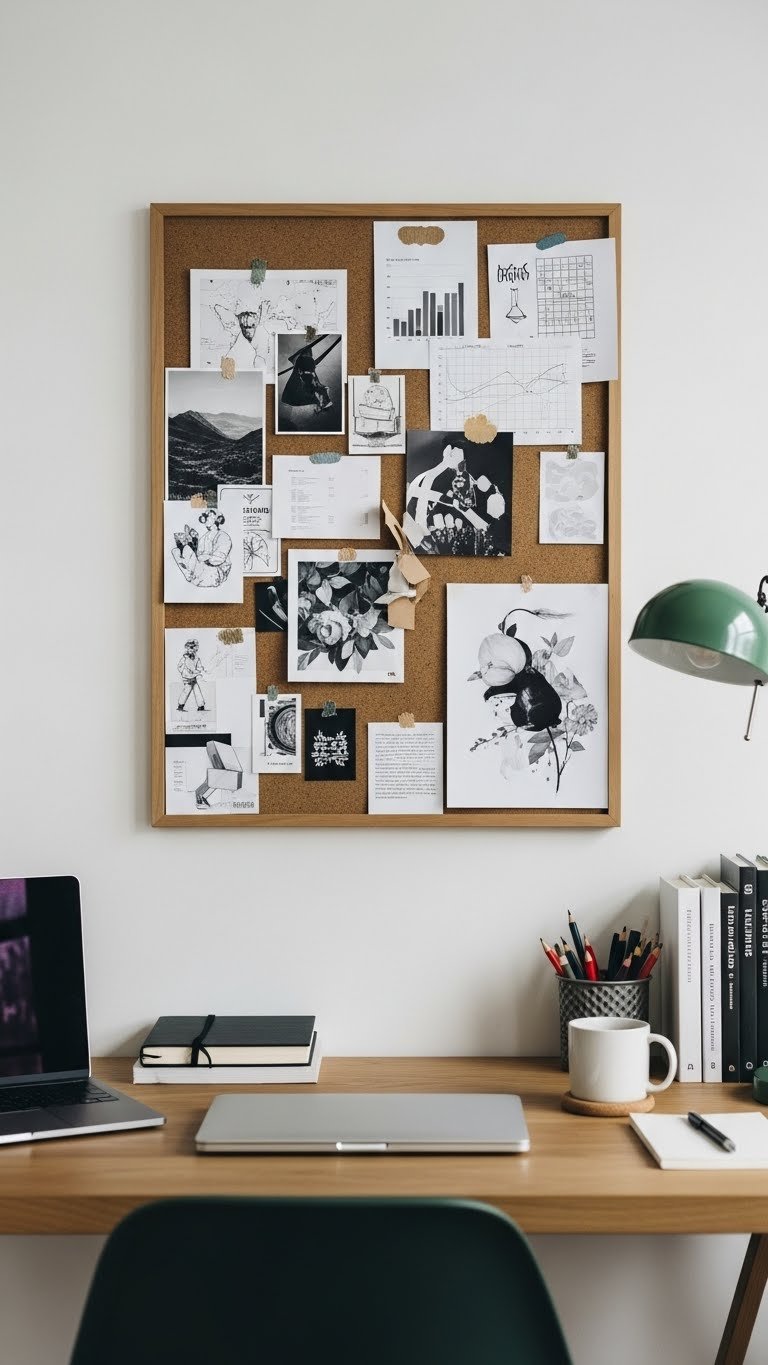
A visual inspiration board keeps goals and motivation in sight without cluttering your desk surface. Hang a cork or fabric bulletin board ($15–$40 from Target, IKEA, or Wayfair) at eye level where you can glance up.
Pin your top priorities, inspiring quotes, photos, deadline reminders, and a simple task list. This takes 30 minutes to set up initially; refresh it weekly. Use colorful pins or sticky tabs to color-code by priority or project.
You’ll glance up naturally throughout the day and stay mentally anchored to what matters most. It’s an easy motivation boost that costs very little.
13. Declutter and Donate Items You Don’t Use

Before adding anything new, remove what doesn’t serve you. Spend 30 minutes doing a full desk purge: toss broken pens, outdated notes, random cables you don’t use, and items that don’t spark joy. Be ruthless.
Keep only: your computer/laptop, one notebook, one pen set, one lamp, and 1–2 personal items (photo, plant, small decoration). Everything else goes to storage, donation, or trash. This takes 30–45 minutes but feels life-changing.
A truly clear desk is mentally freeing and makes the remaining items feel precious and intentional rather than part of a pile.
14. Upgrade Your Keyboard and Mouse
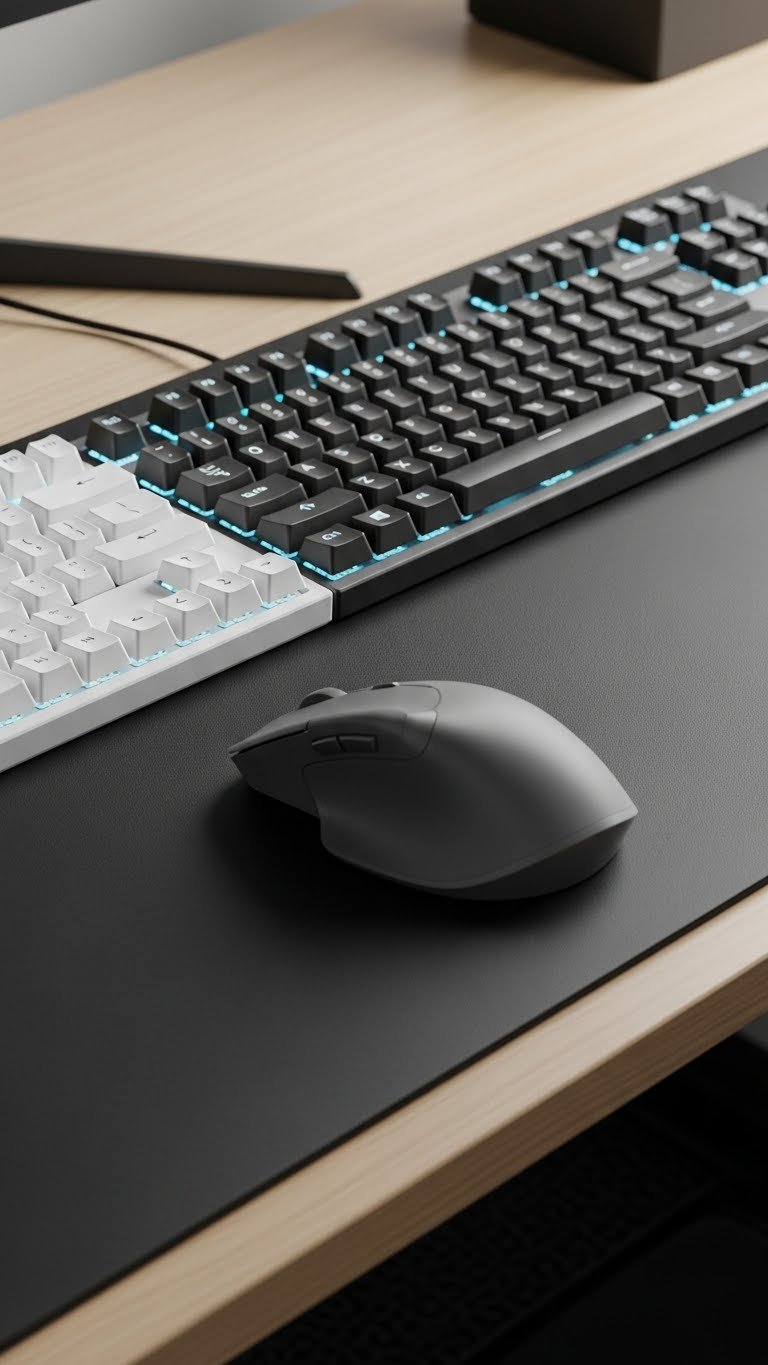
A cheap keyboard and mouse add friction to your work and feel clunky. Invest in an ergonomic keyboard ($40–$120) and mouse ($25–$70) that feel great to use. Mechanical keyboards offer satisfying feedback; wireless options reduce cable clutter.
Setup takes 5 minutes: connect via USB or Bluetooth and adjust to your desk height. Try them in-store if possible to ensure comfort. Brands like Logitech, Keychron, and Das Keyboard offer excellent quality.
Quality peripherals make your work feel smoother, reduce hand strain, and honestly, typing and clicking feel more satisfying—which sounds small but affects your daily motivation.
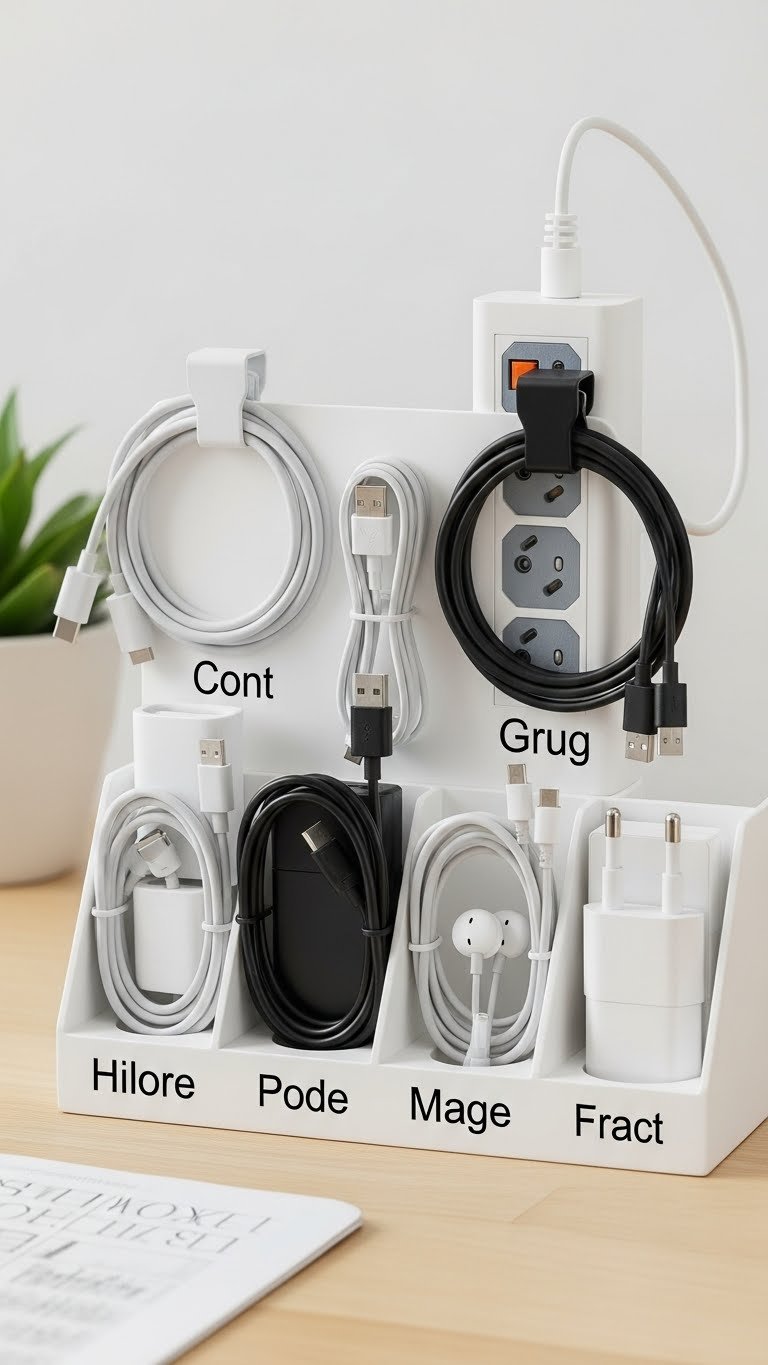
15. Use Cable Management Solutions to Hide Mess
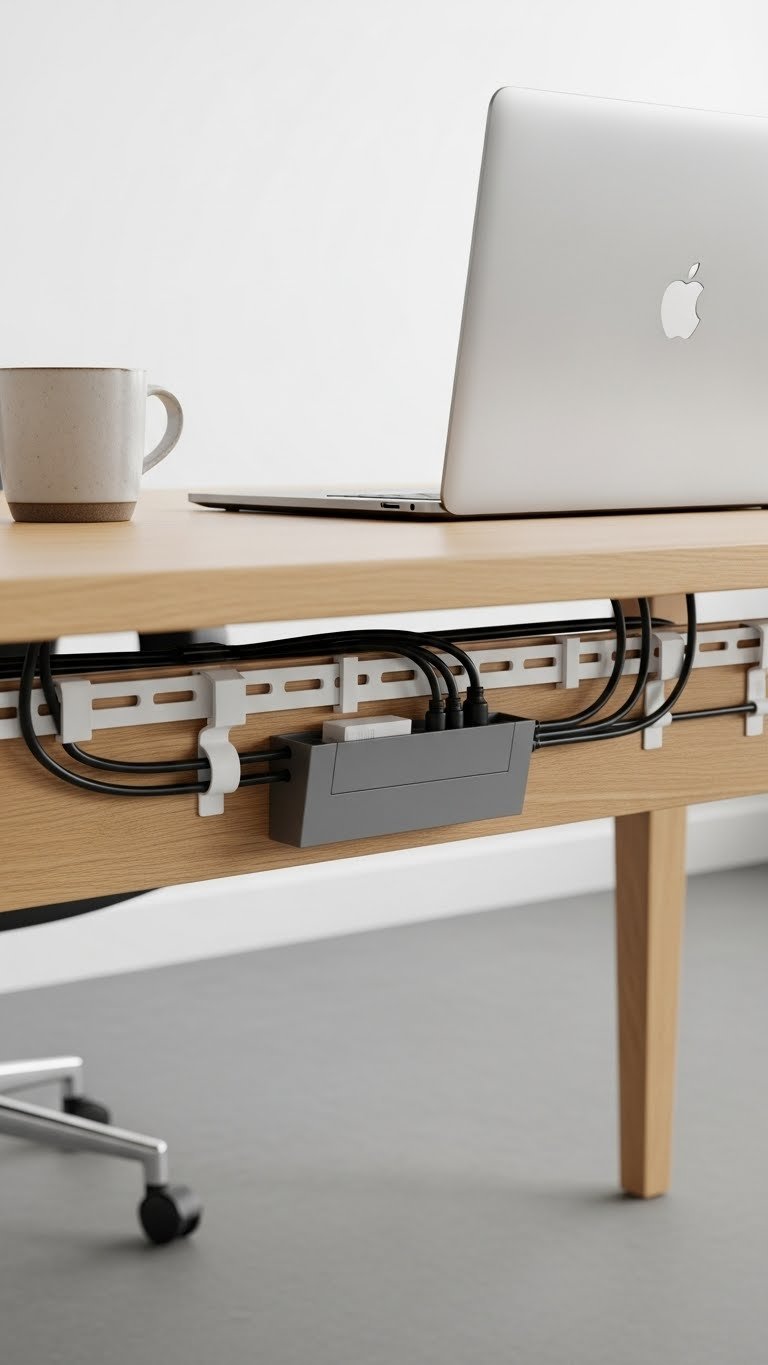
Visible cables look messy and distract from your actual work. Use cable management clips ($10–$20), cable boxes ($15–$30), or cable channels ($20–$40) to corral cords. Run cables behind your monitor, along the desk edge, or through a centralized box.
Label each cable with tape so you know what’s what. Spend 20–30 minutes organizing; future you will be grateful when you need to unplug something. Velcro cable ties ($5–$10) make it easy to adjust as needed.
When cables are hidden, your desk looks clean and professional even if it’s busy with work. It’s a small change with outsized visual impact.
16. Incorporate a Desk Clock or Calendar
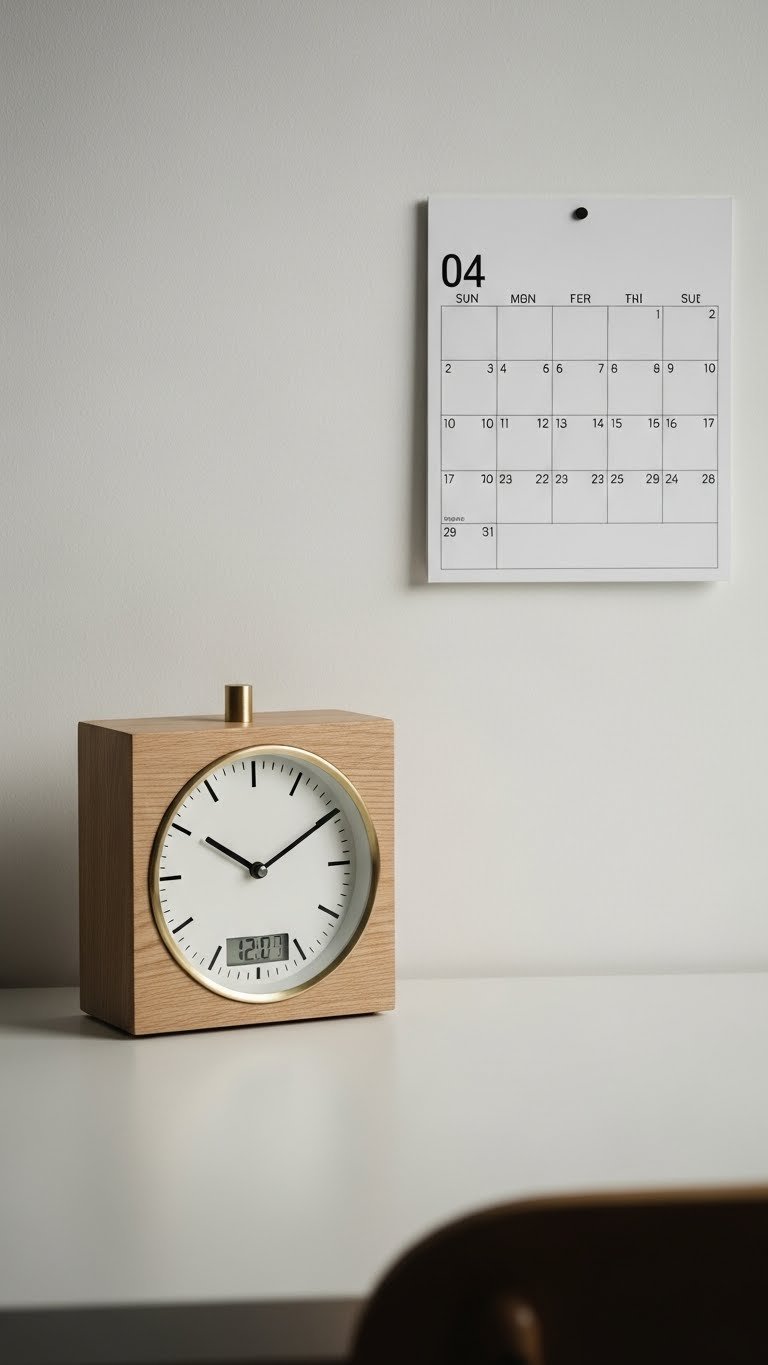
Checking your phone for the time is a distraction rabbit hole. Keep a desk clock ($15–$40 from Urban Outfitters, West Elm, or IKEA) visible so you know the time without reaching for your phone.
Pair it with a wall or desk calendar ($10–$25) to track deadlines at a glance. Position both within your natural sightline but not directly in focus so they’re reference points, not distractions. This setup takes 5 minutes and costs minimal money.
You’ll find yourself reaching for your phone less often, which means fewer notification distractions and better focus on actual work.
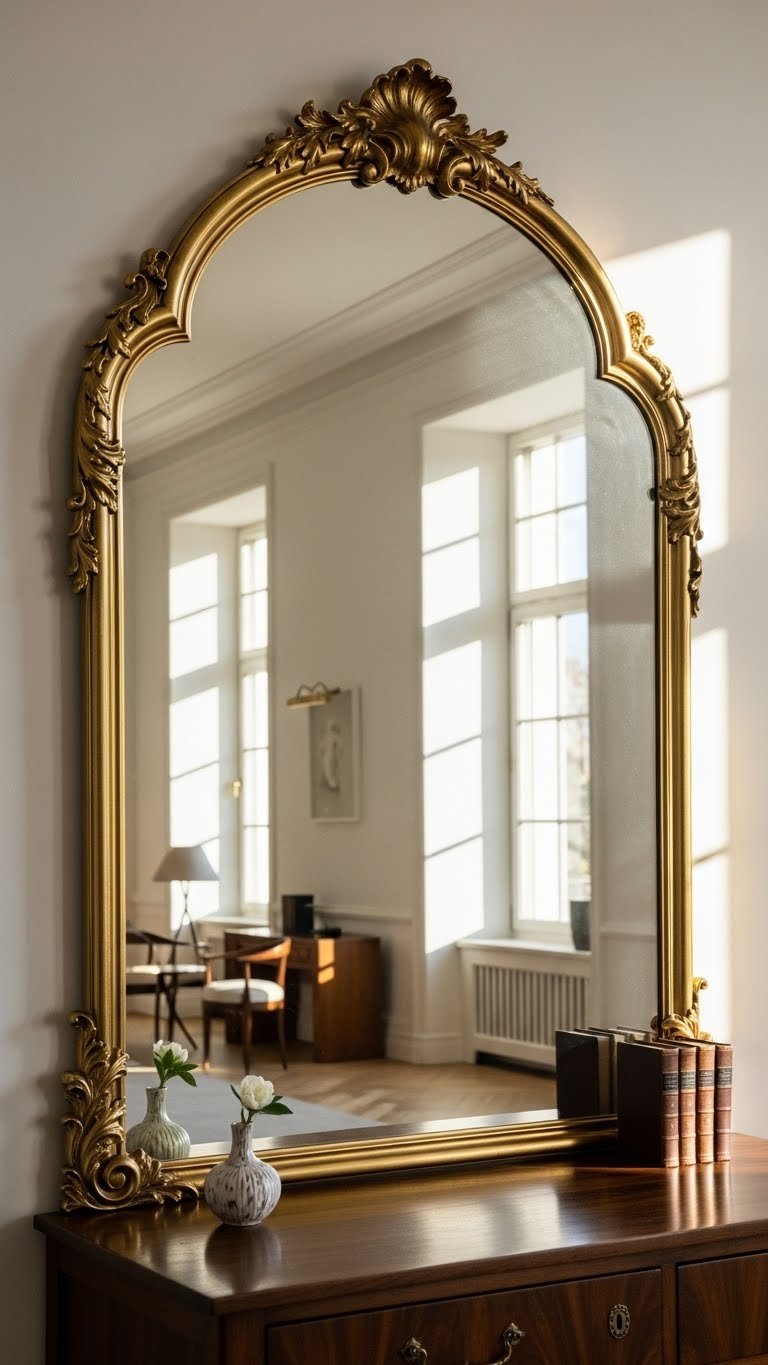
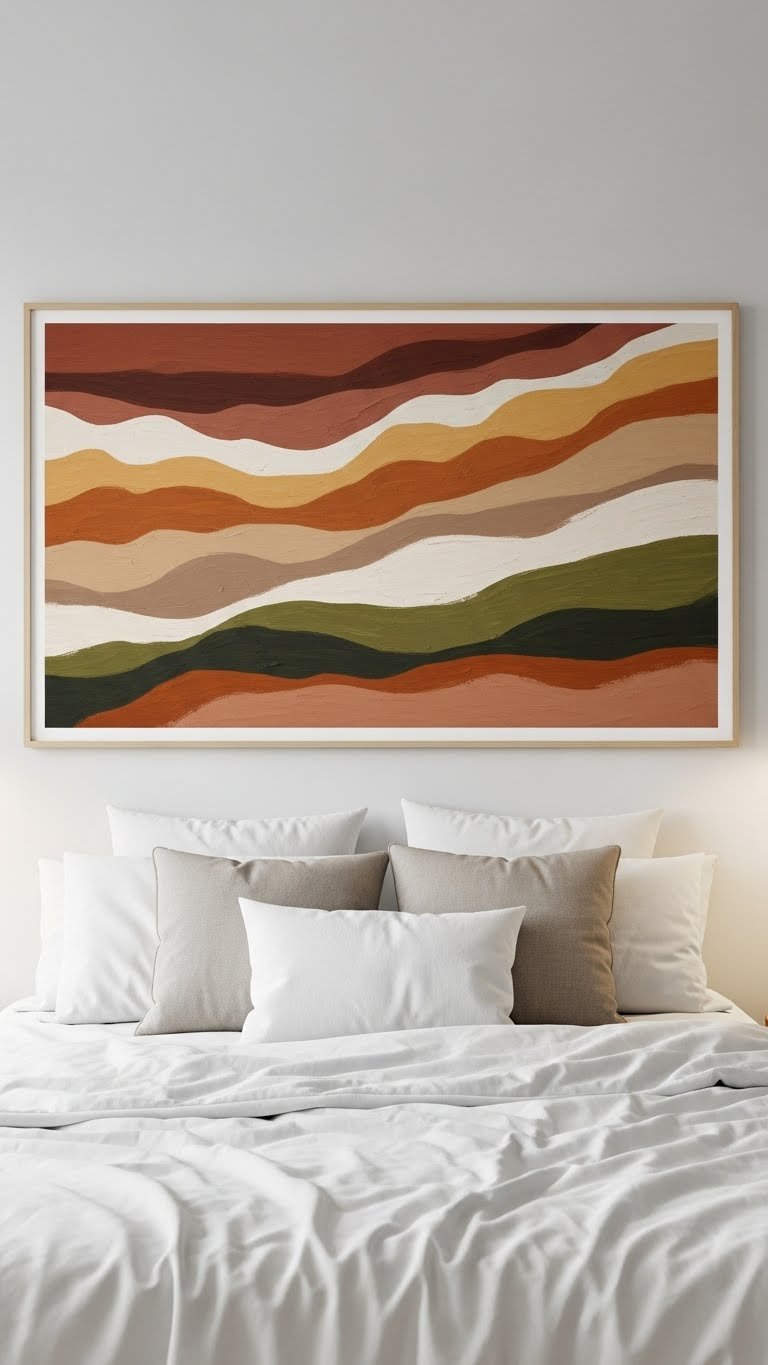
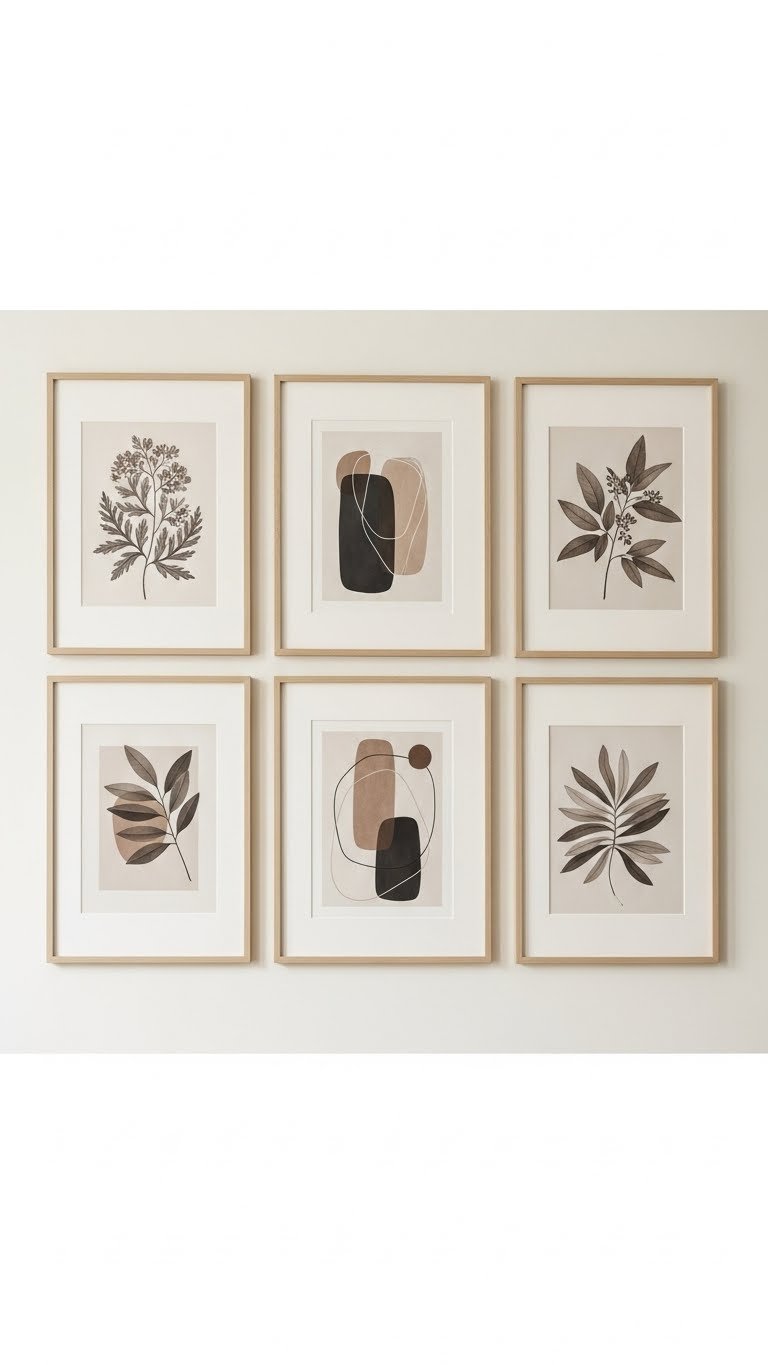
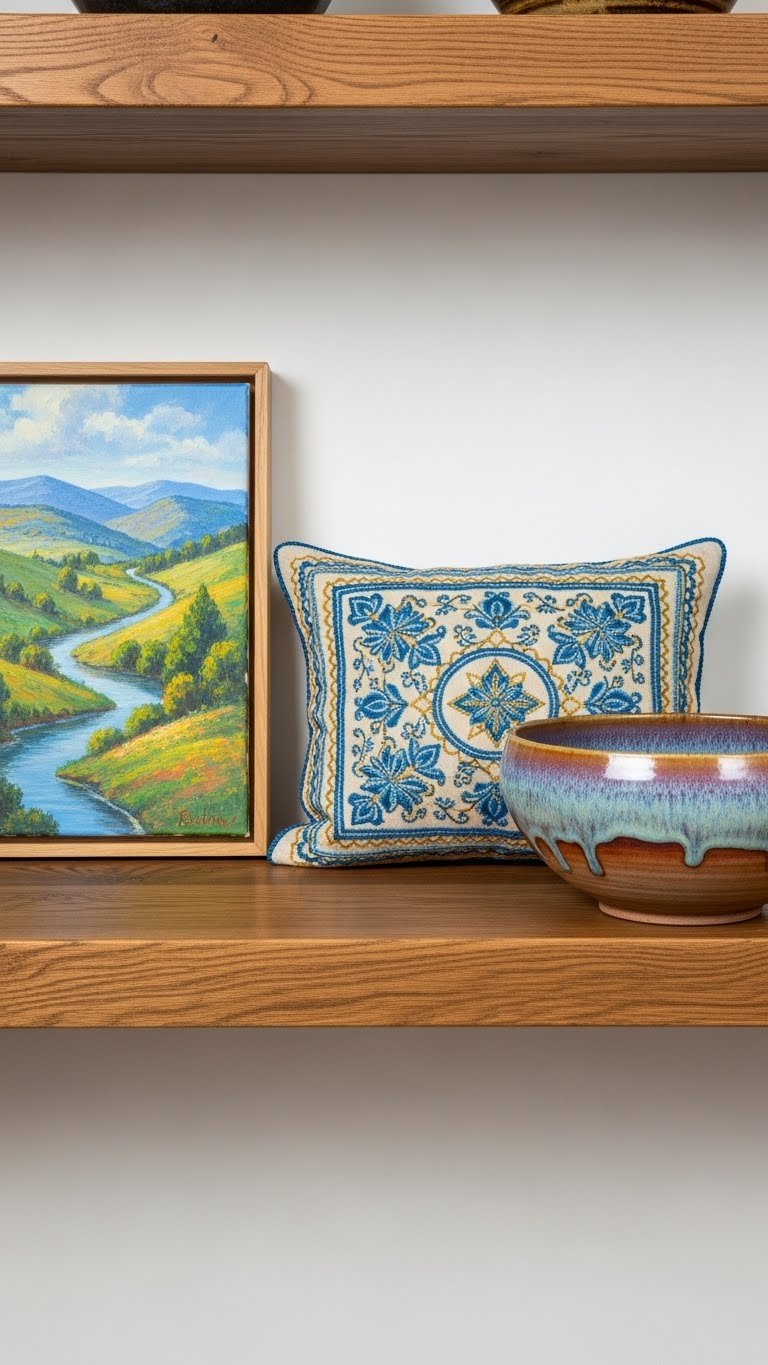
17. Frame Meaningful Quotes or Artwork

Personalization makes your workspace feel like yours, not a generic office. Hang 1–3 framed prints ($20–$80 total from Etsy, Framebridge, or even Target) with quotes that motivate you, minimal art you love, or personal photographs.
Choose frames that match your desk style (white, wood, or black usually work). Hang them at or just above eye level. This project takes 30 minutes total, including hanging.
These pieces remind you why you’re working and add visual interest without cluttering your actual work surface. They’re especially nice to look at during mental breaks.
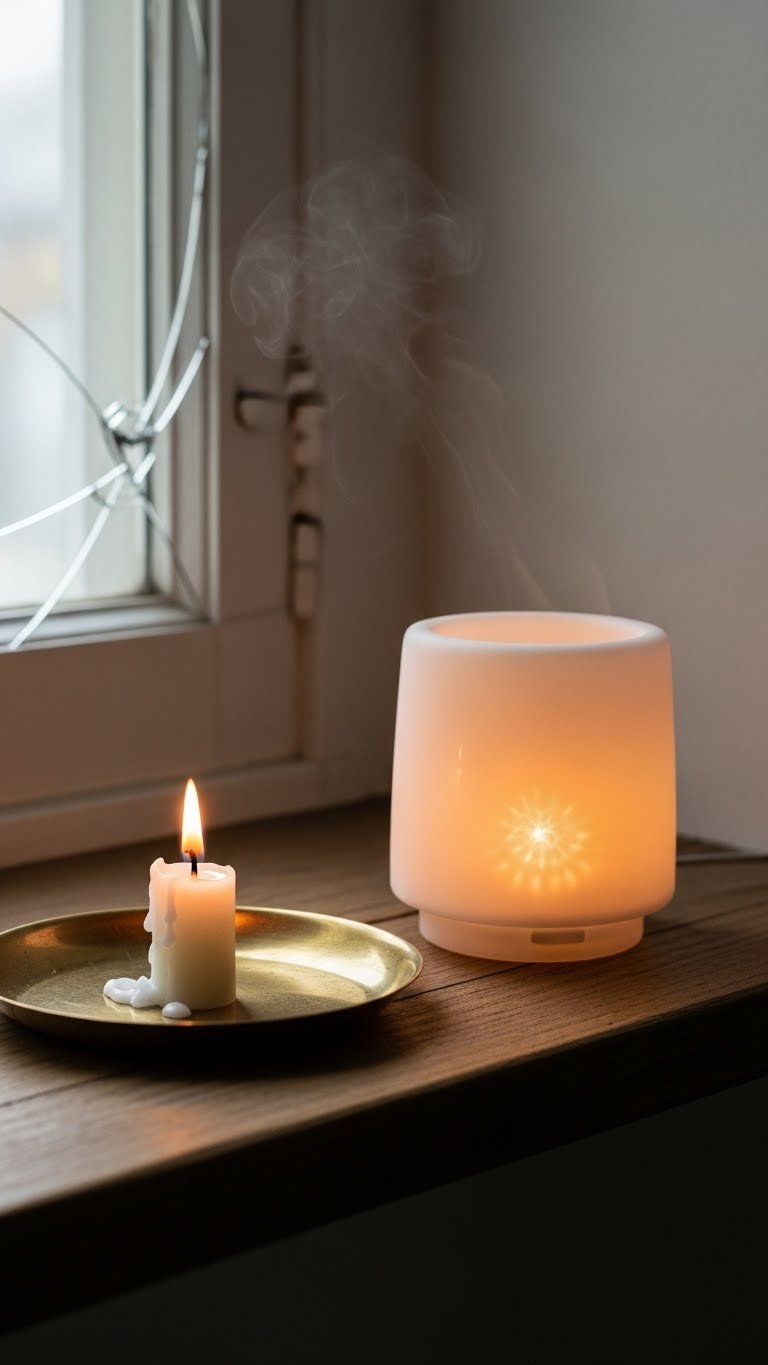
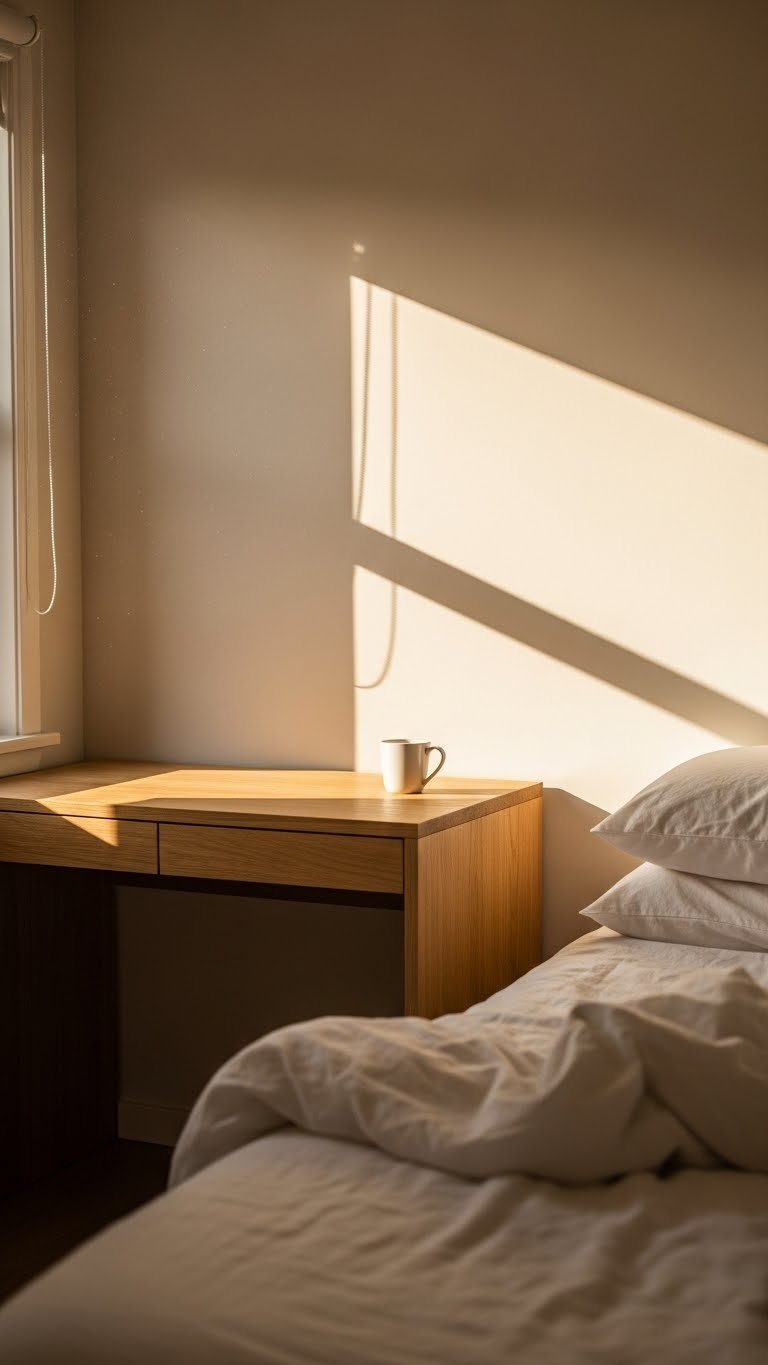
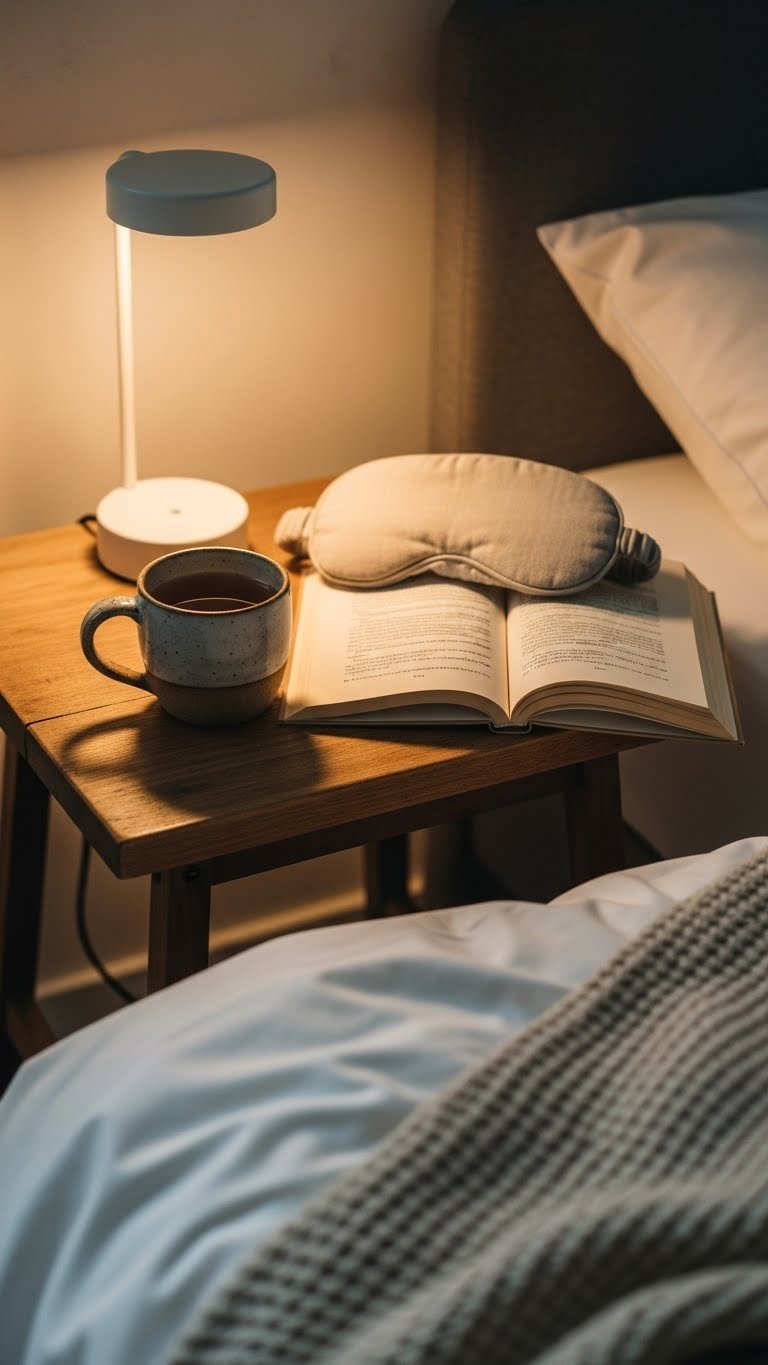
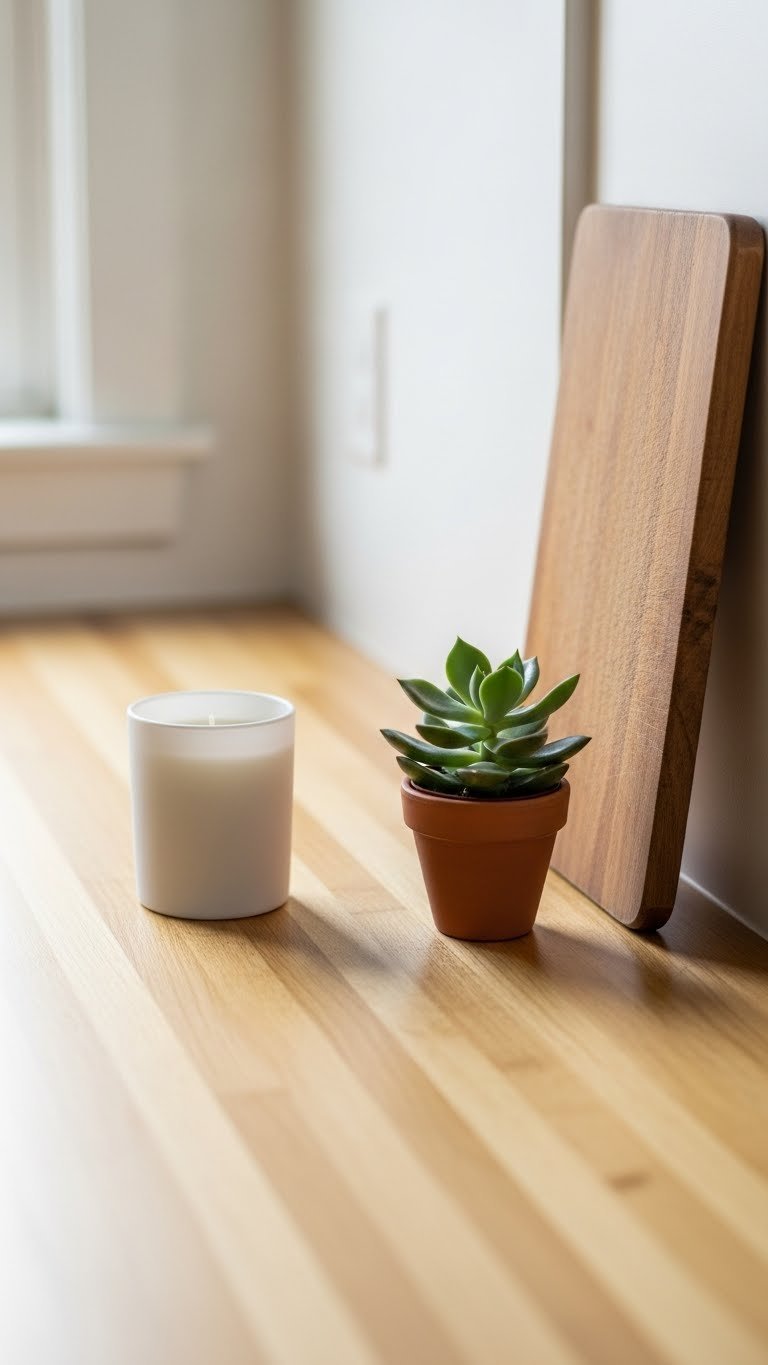
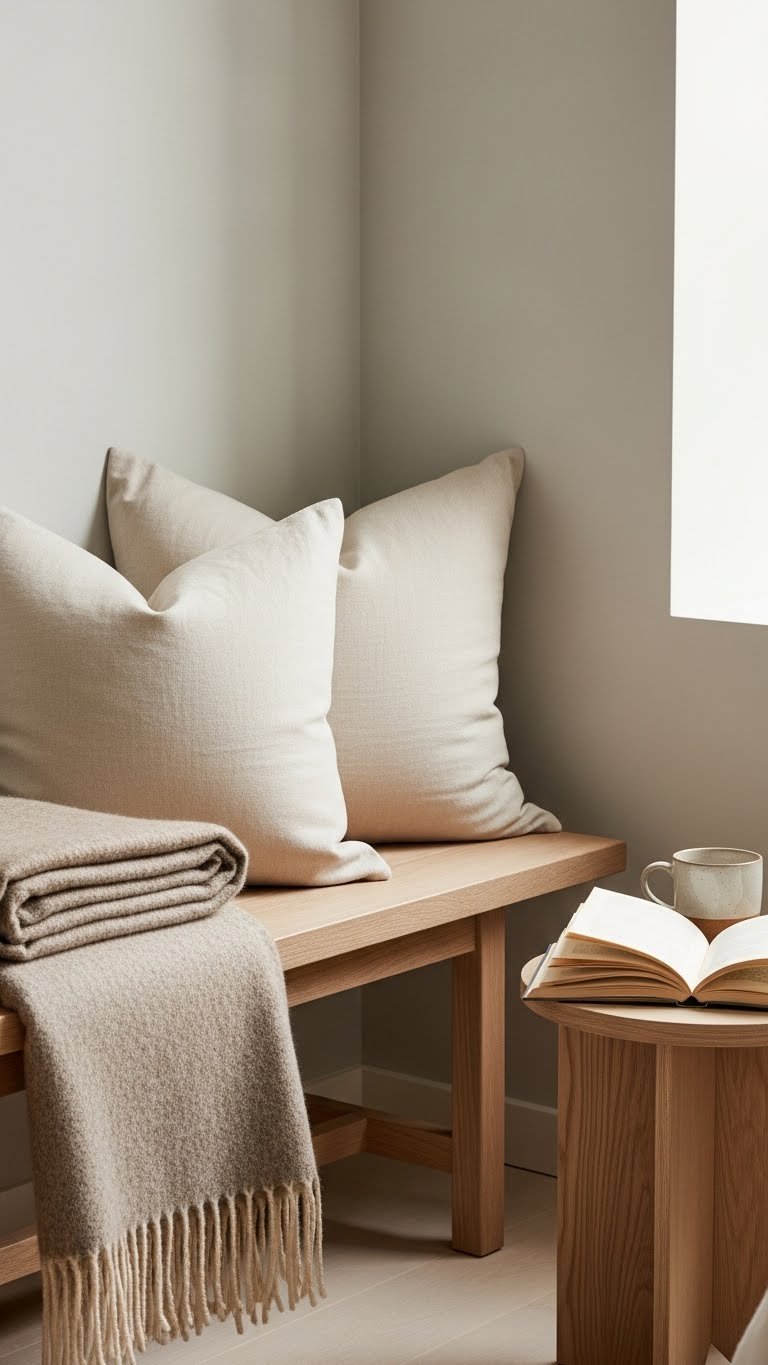
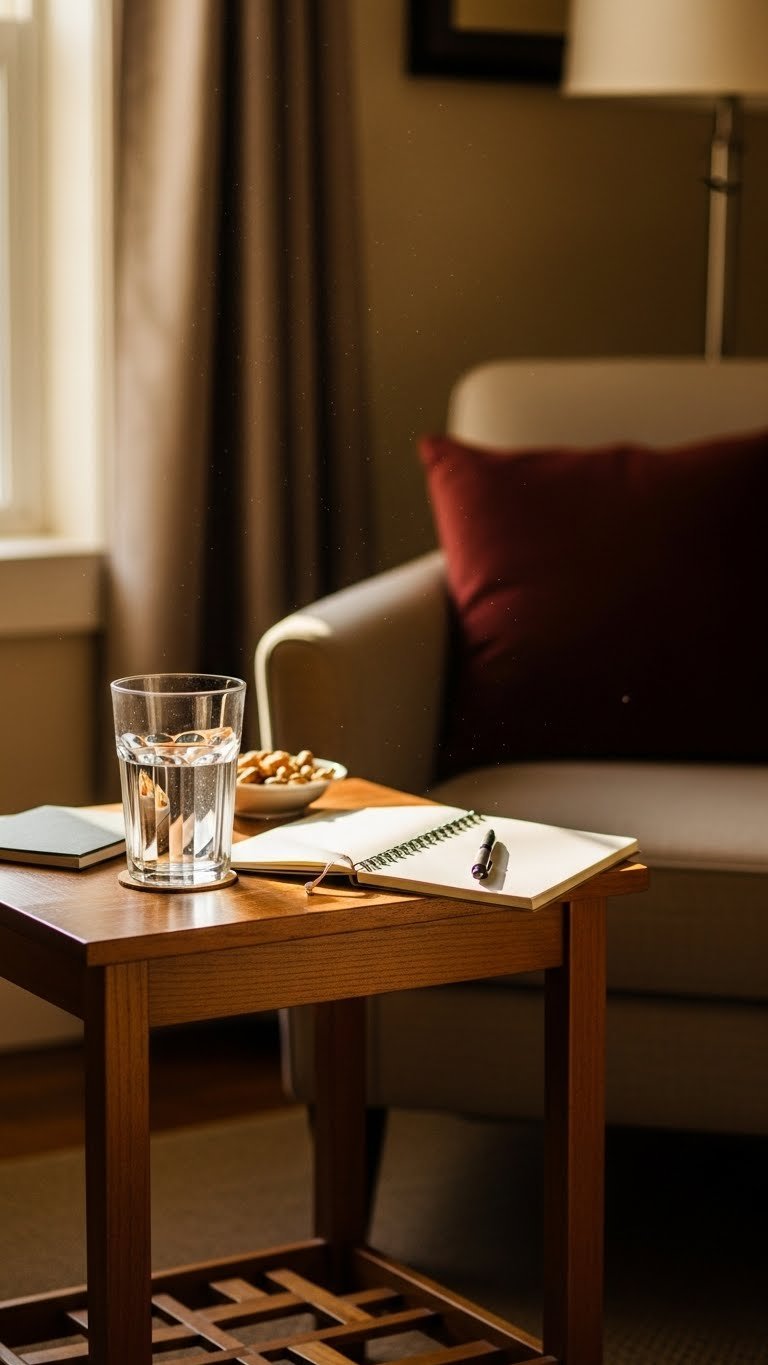
18. Create a Before-Work Ritual Spot

A pre-work ritual primes your brain for focus. Designate a small spot on or near your desk for your morning routine: coffee, tea, journaling, or meditation. Keep a special mug ($10–$20), notebook ($5–$15), and maybe a small candle ($8–$15) in this area.
Spend 5 minutes here before opening your computer each day. This creates a mental transition and signals to your brain that work mode is starting. This costs $20–$50 and takes zero setup time.
You’ll notice better focus when you start work intentionally rather than just opening your laptop in a daze.
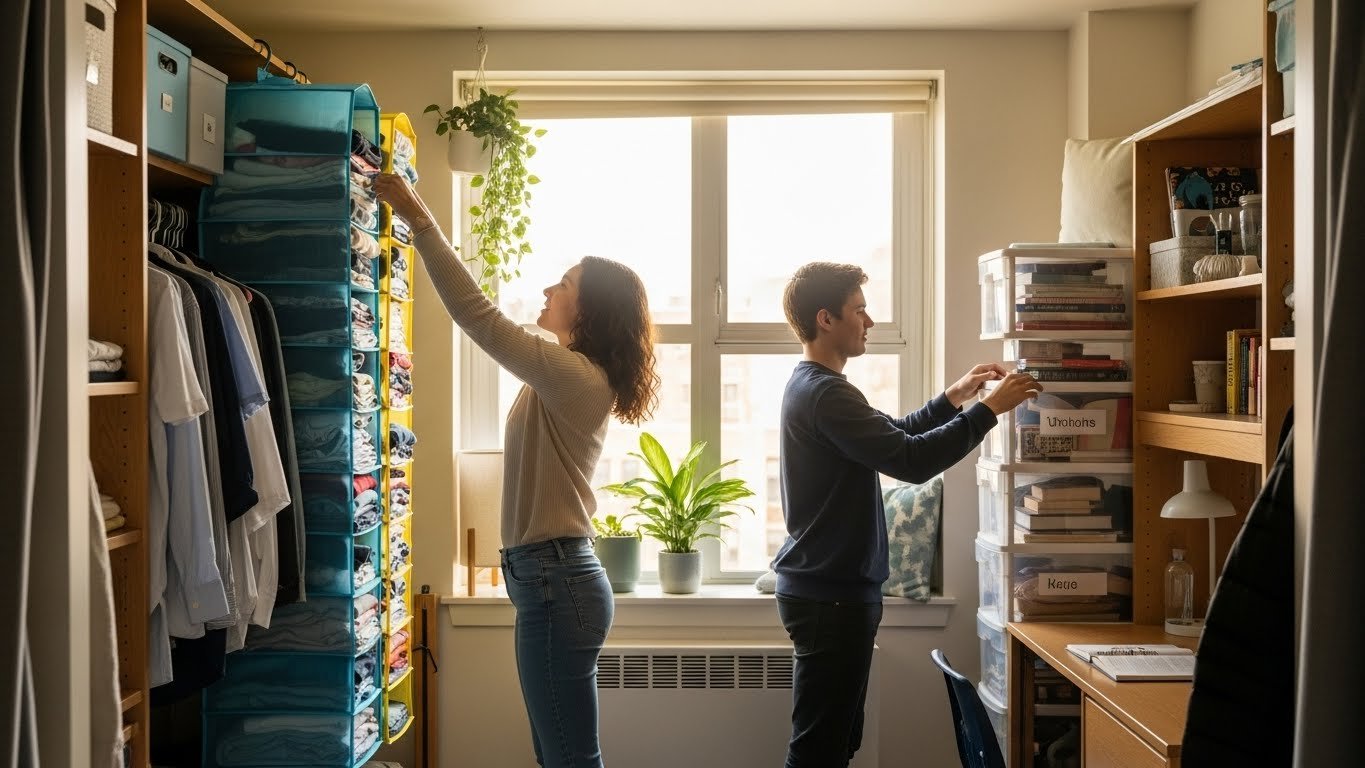
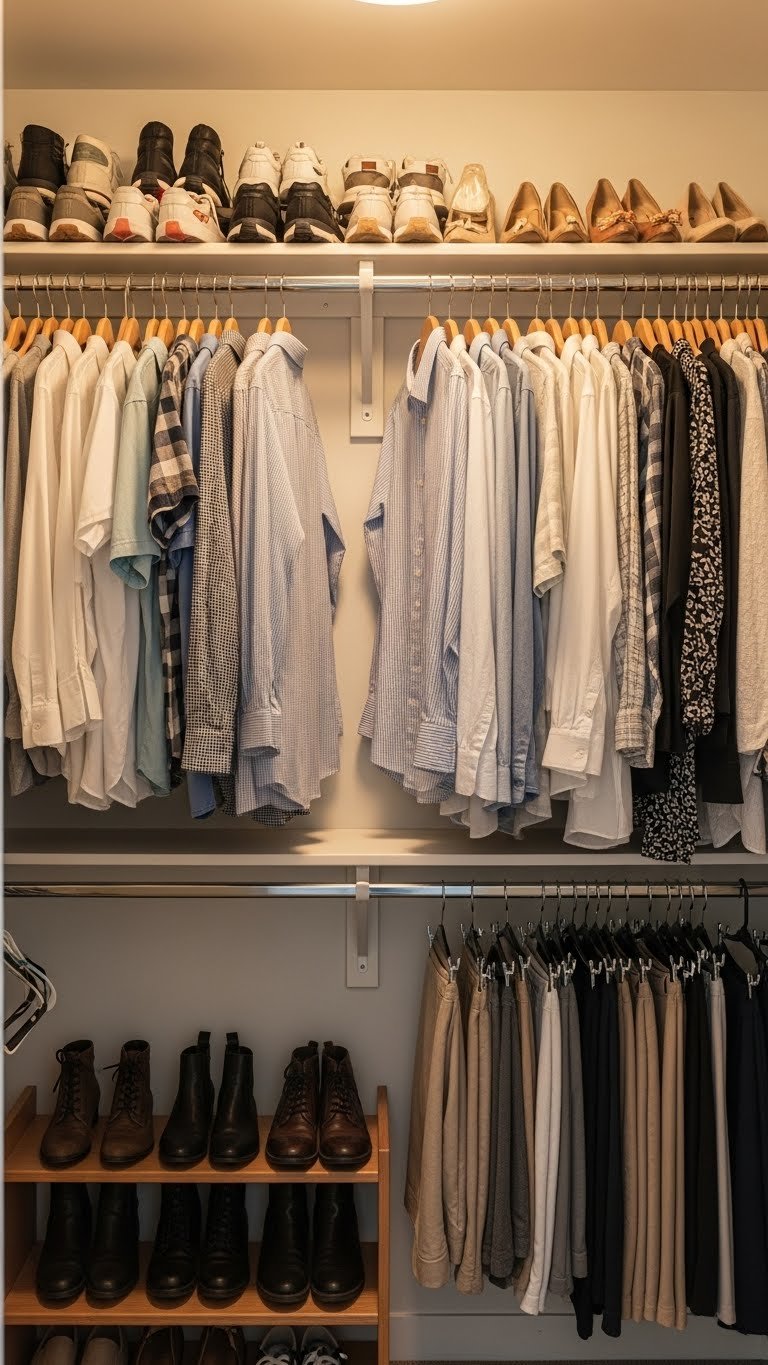
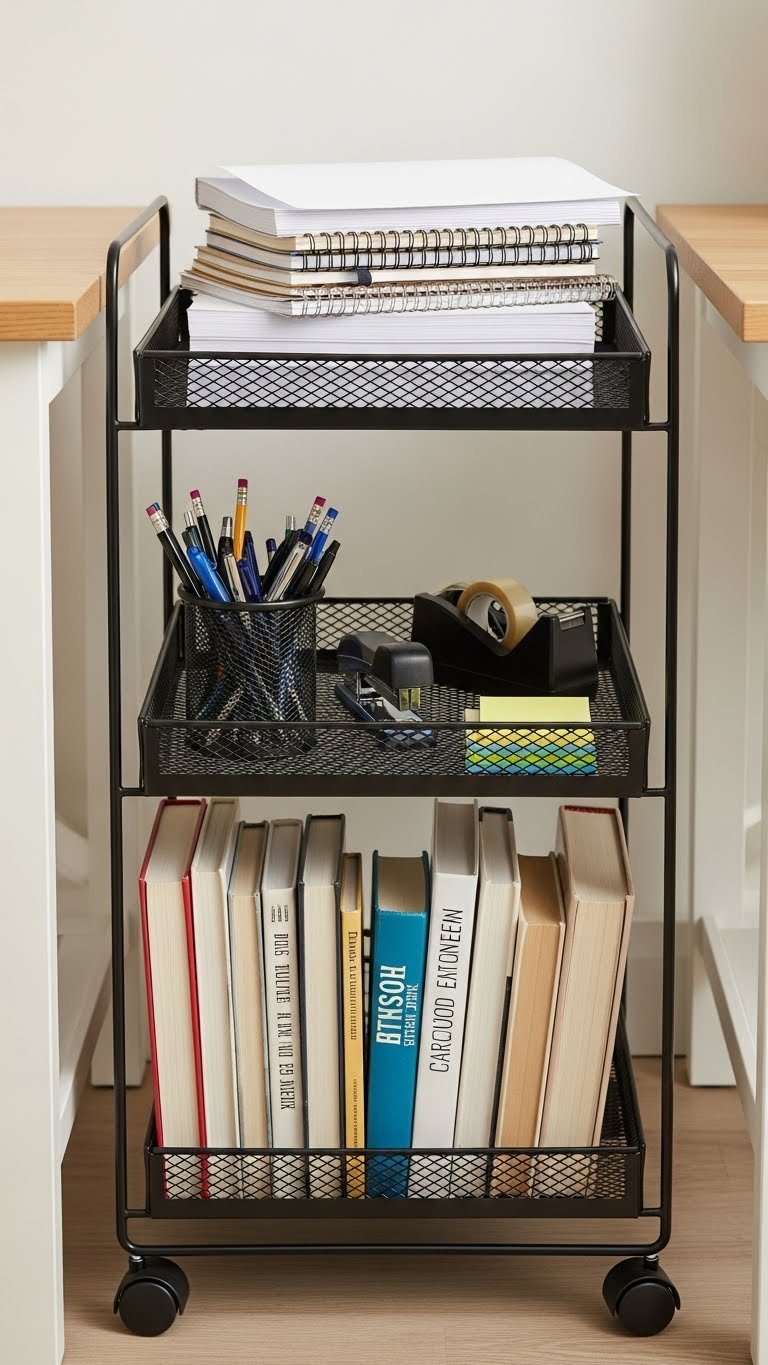
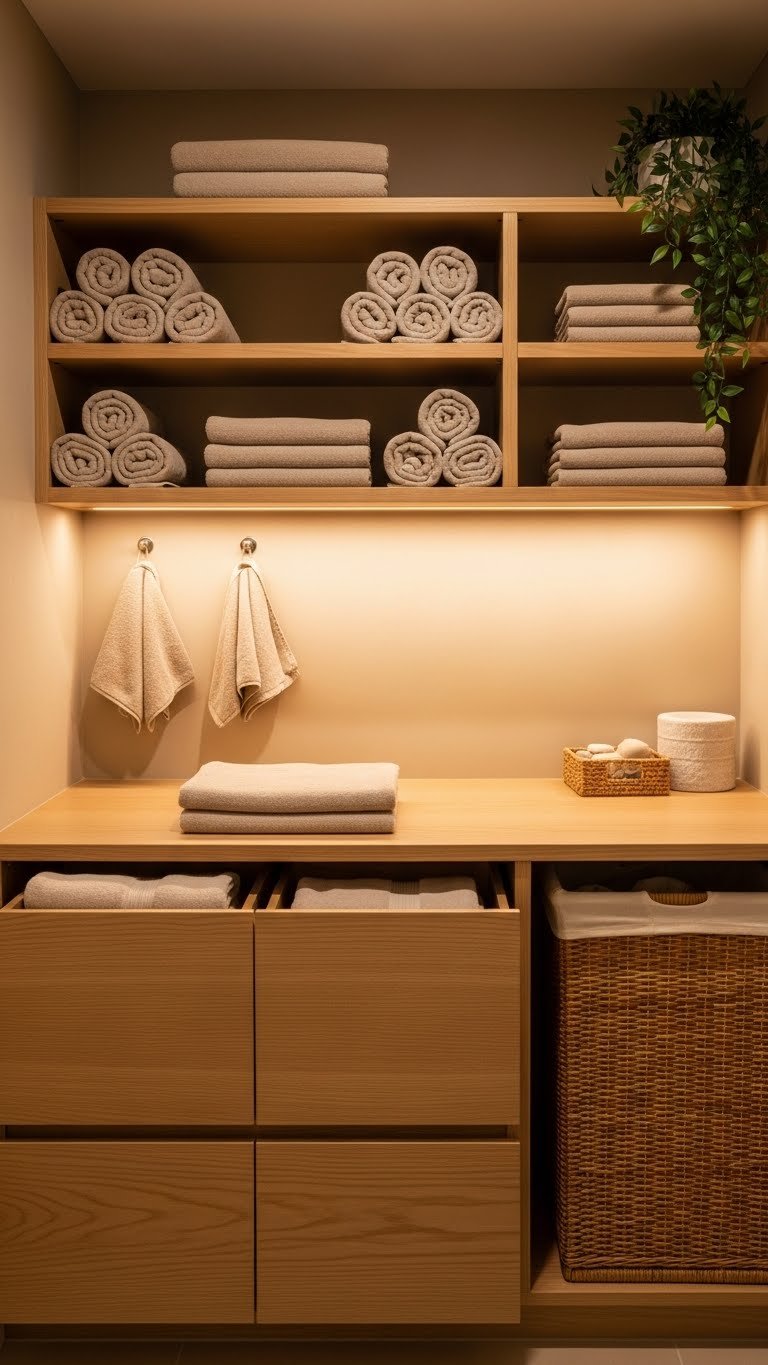
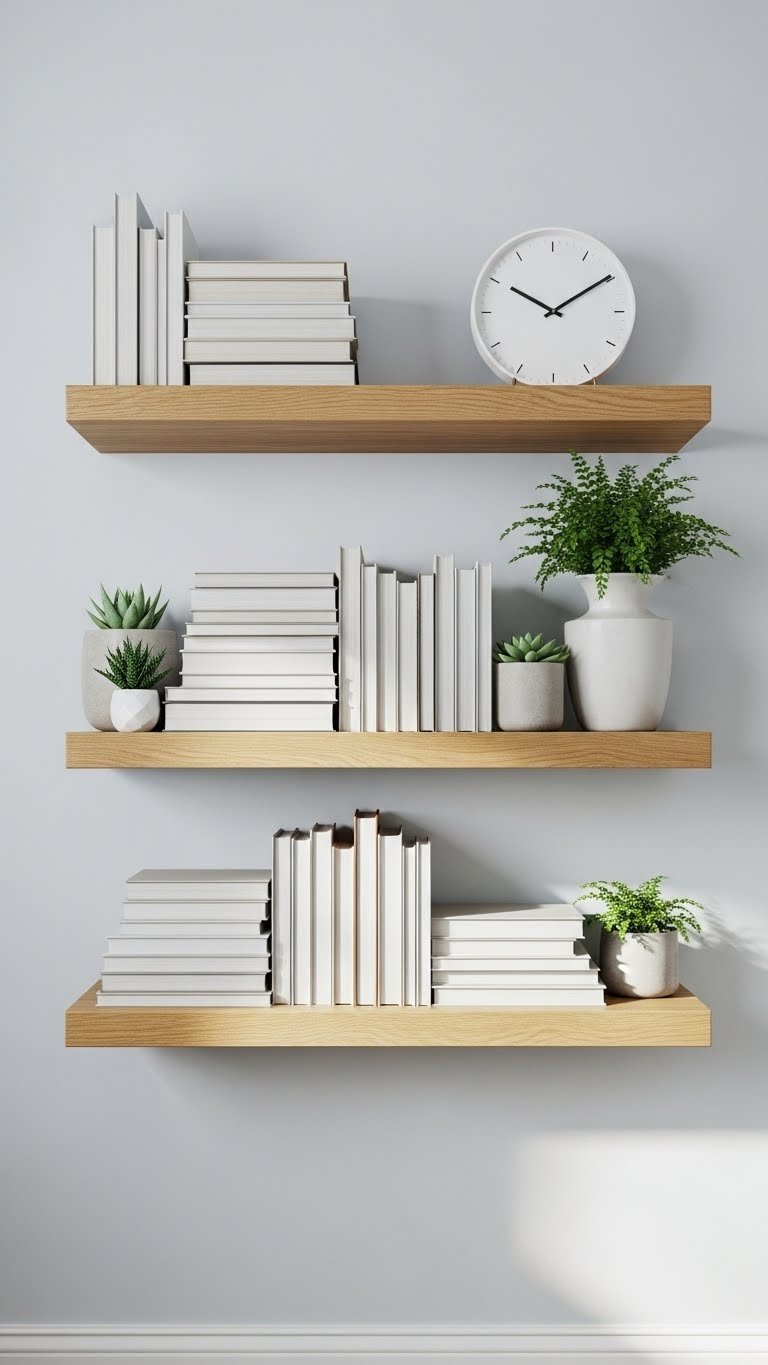
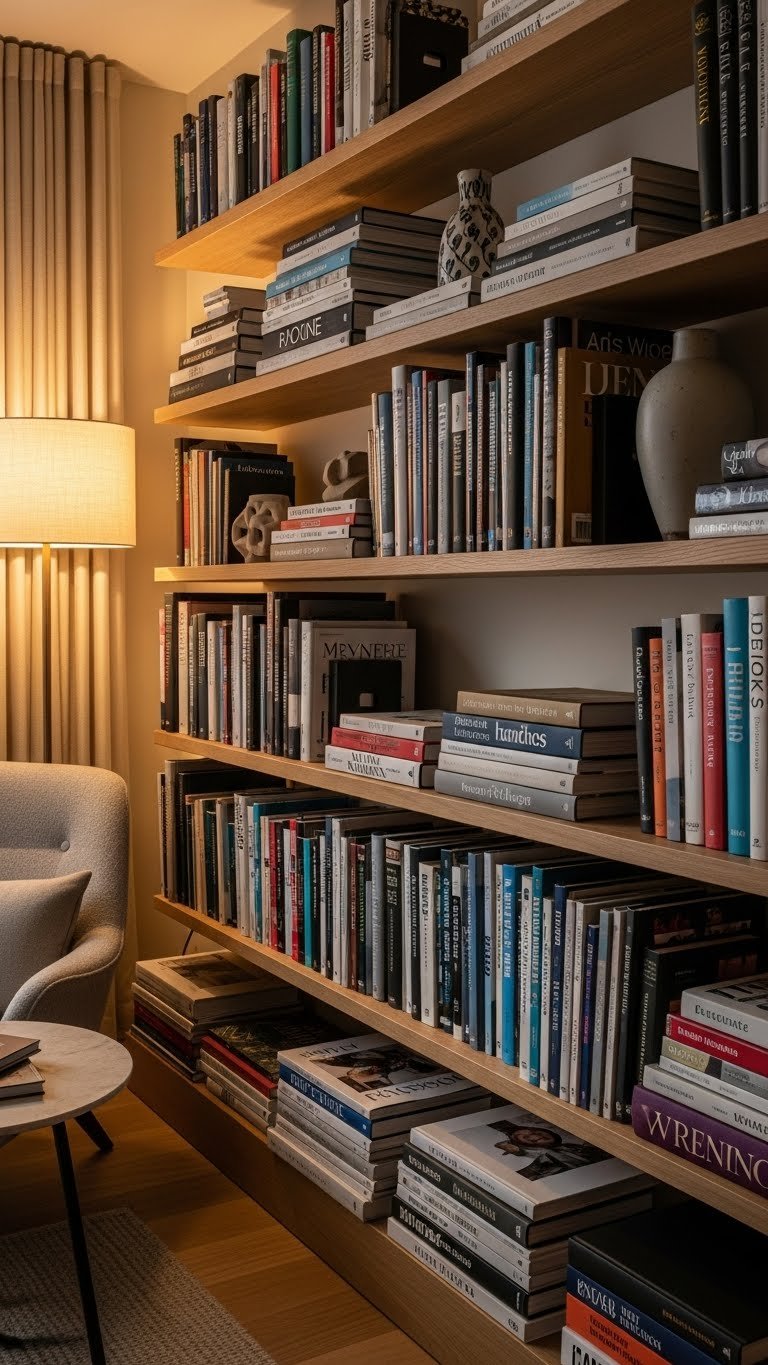
19. Add Adjustable Shelving Around Your Desk
If your desk is smaller, stack vertically. Install adjustable shelving ($50–$150 for a unit; hardware takes 1–2 hours to install from IKEA, Home Depot, or Wayfair) around your desk to store books, supplies, and decor without taking floor space.
Adjust shelves to fit your actual items rather than forcing things into standard spacing. Use the top shelf for occasional-use items, middle shelves for daily-access supplies, and lower shelves for heavier reference books.
You’ve essentially multiplied your storage without expanding your desk footprint. Everything you need is visible and accessible, which beats digging through drawers.
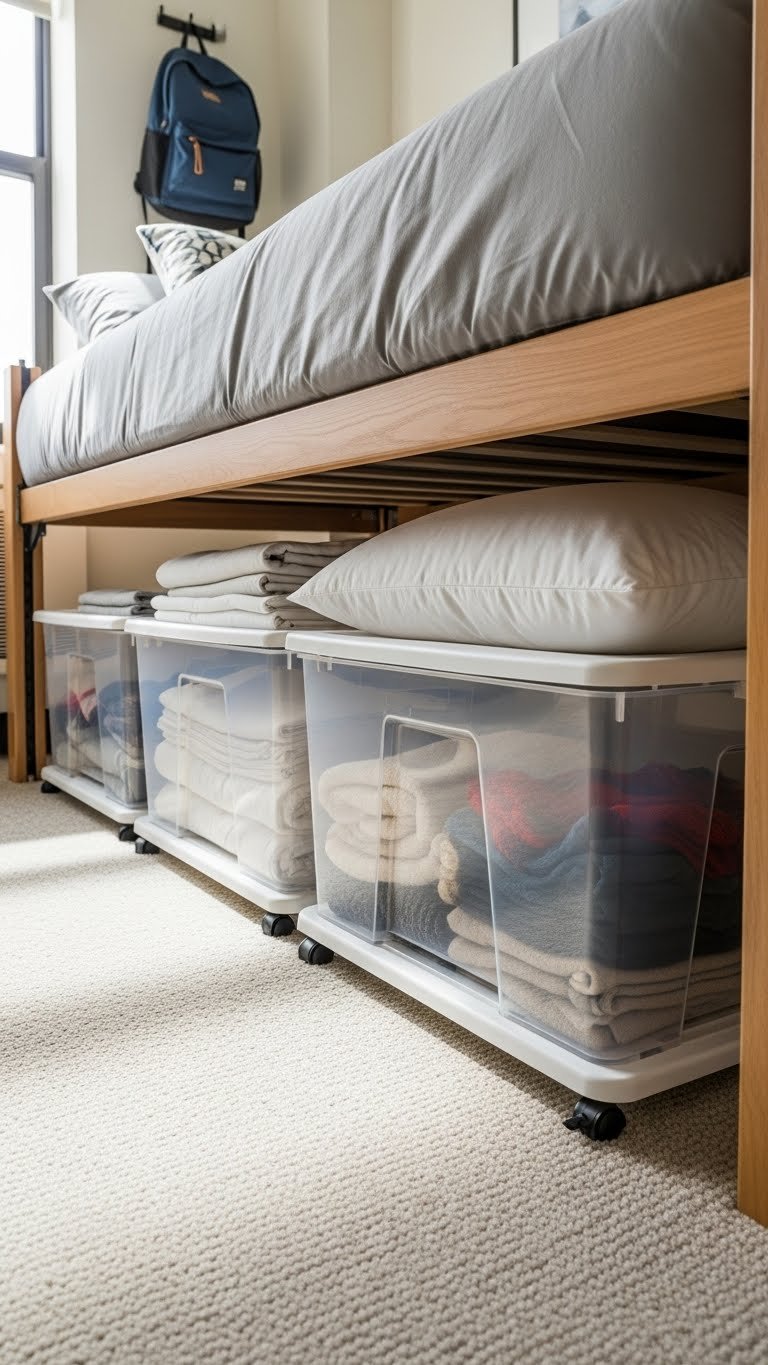
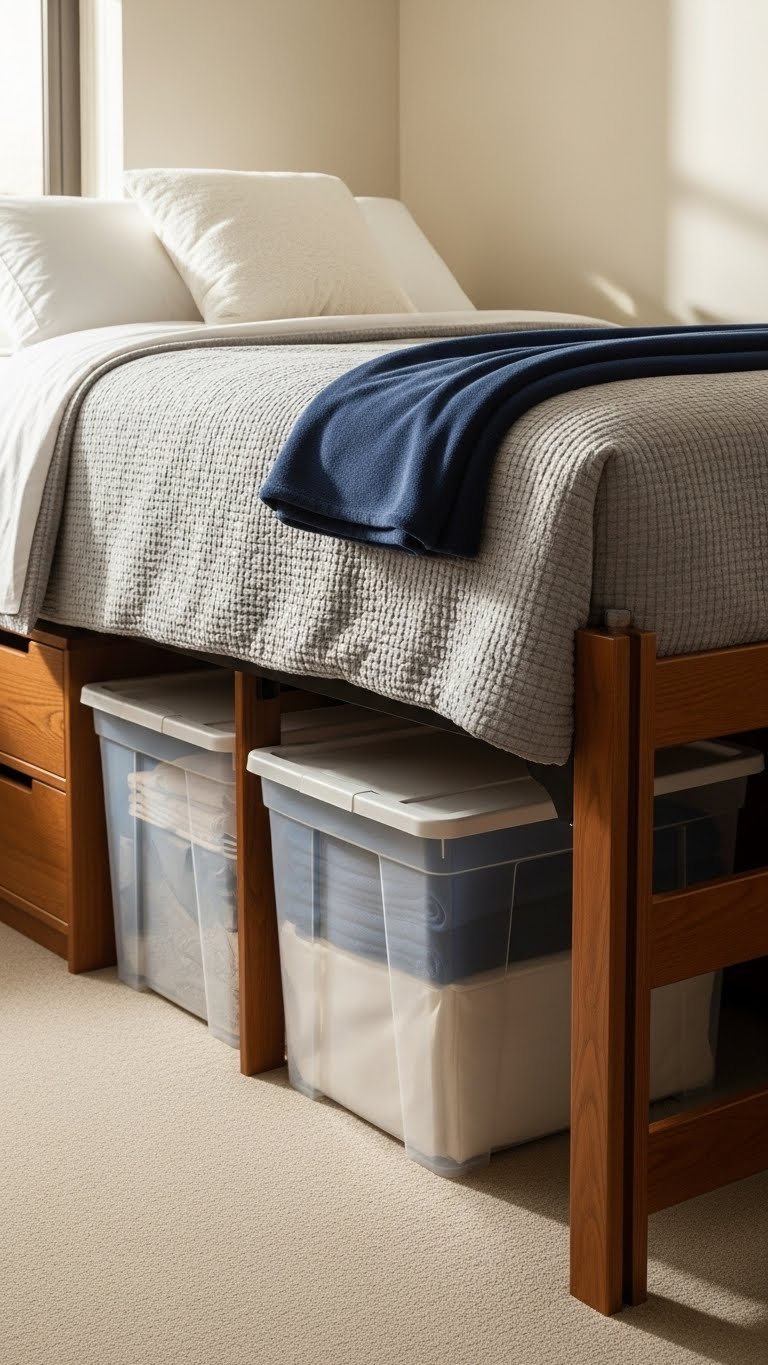
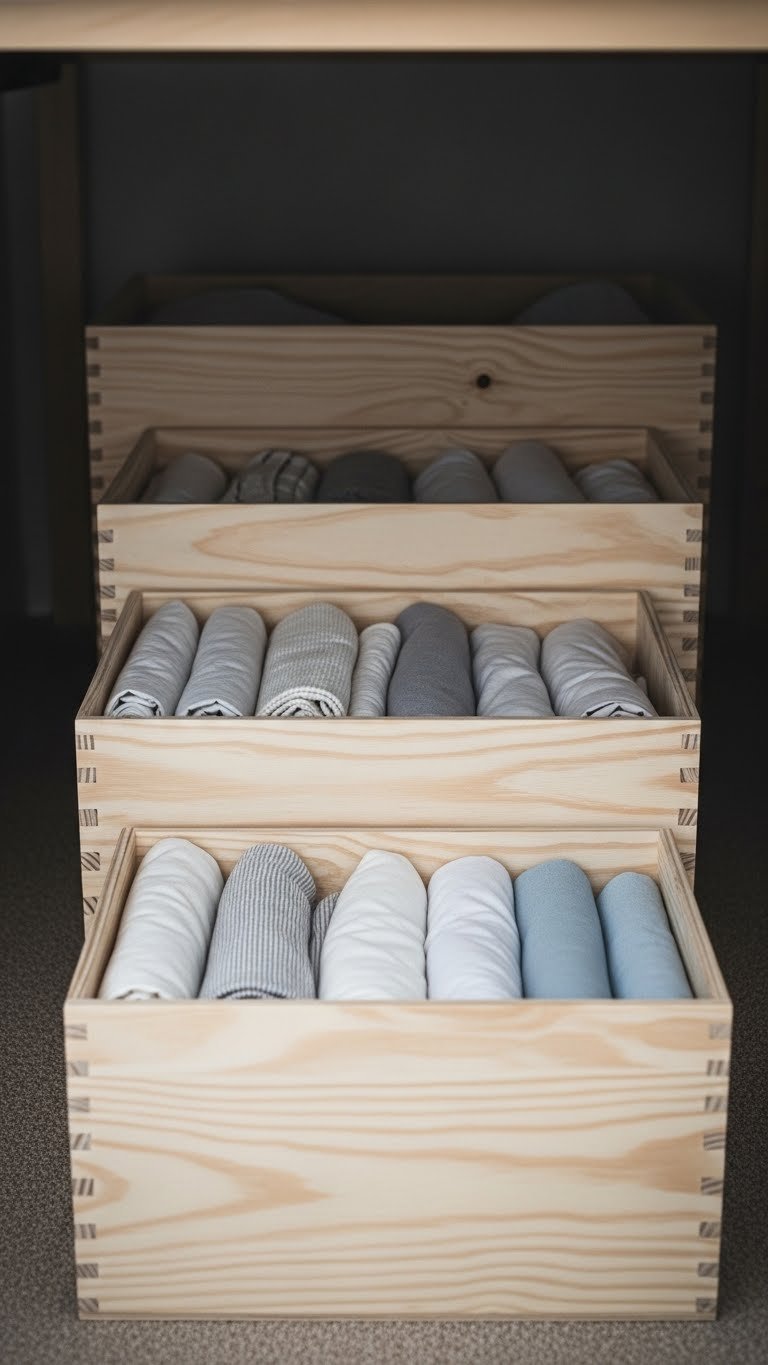
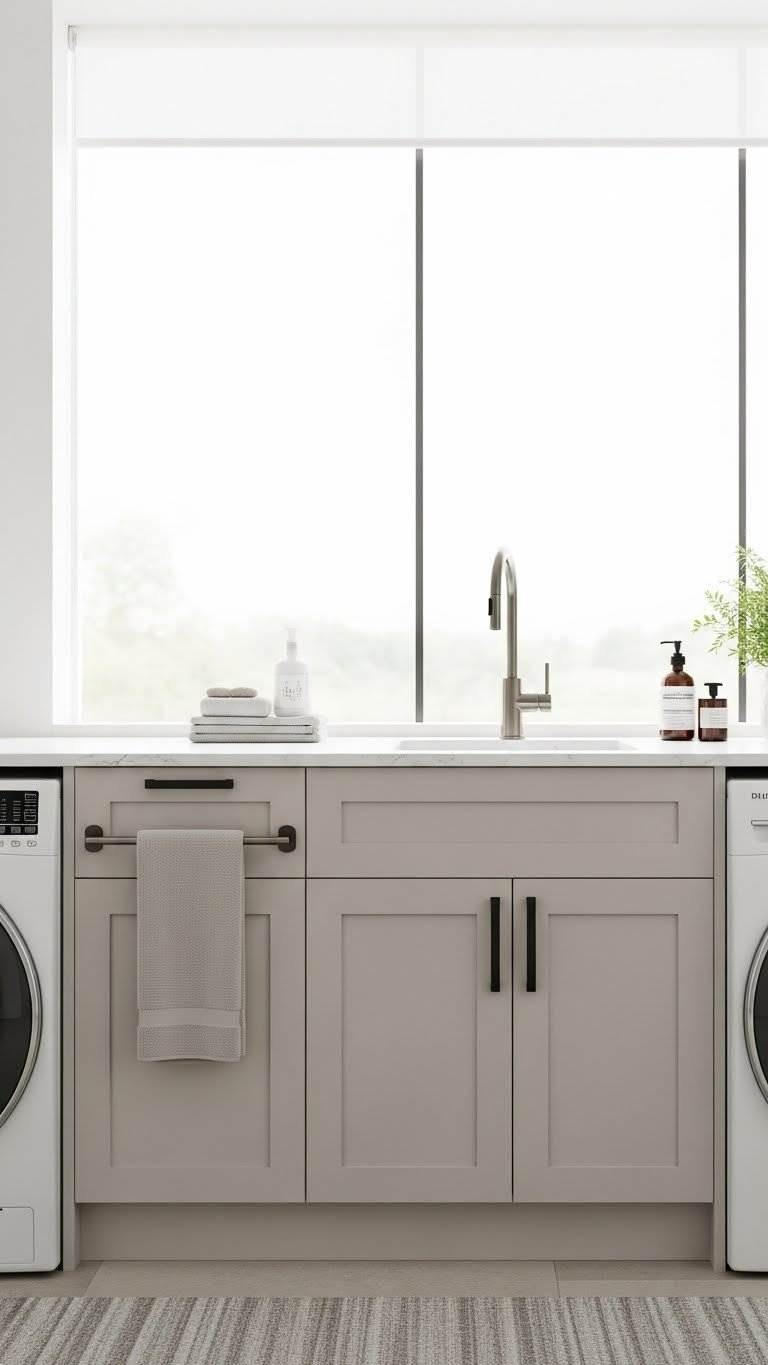
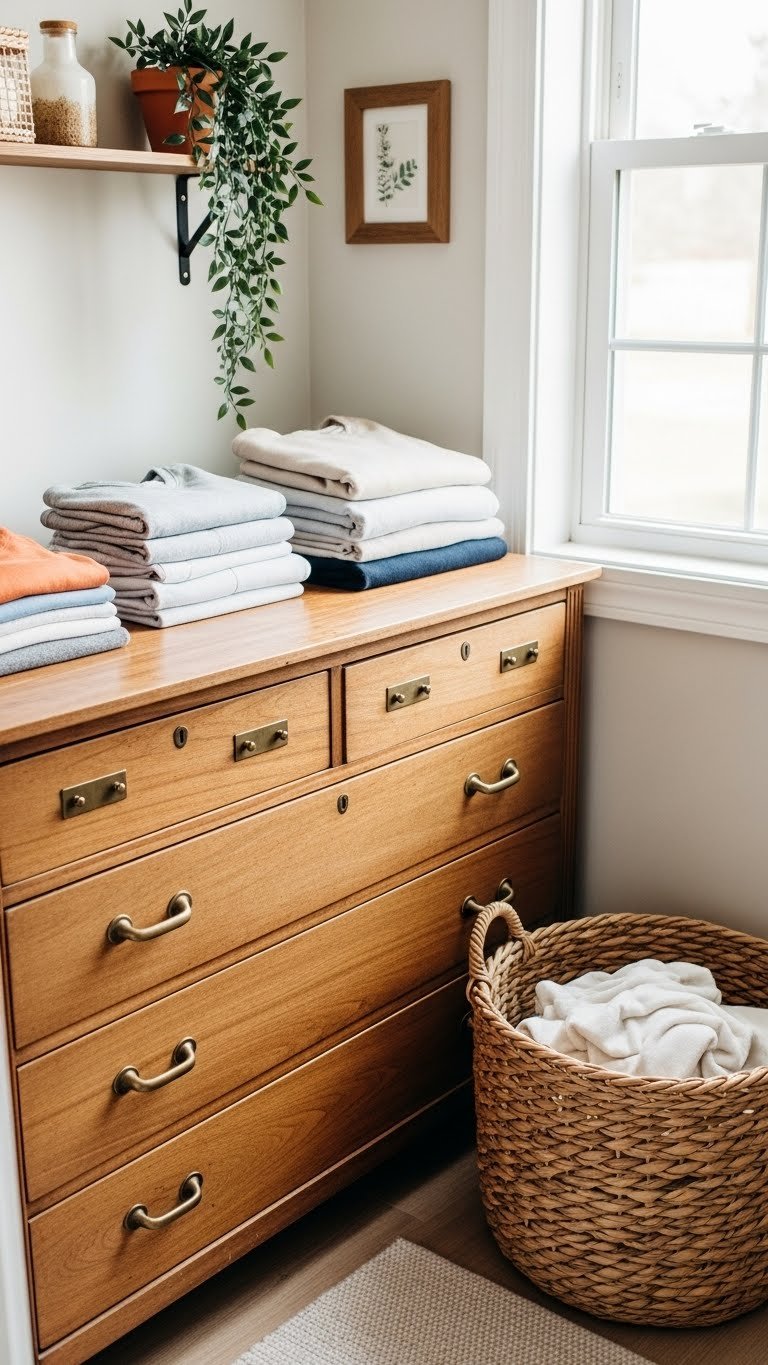
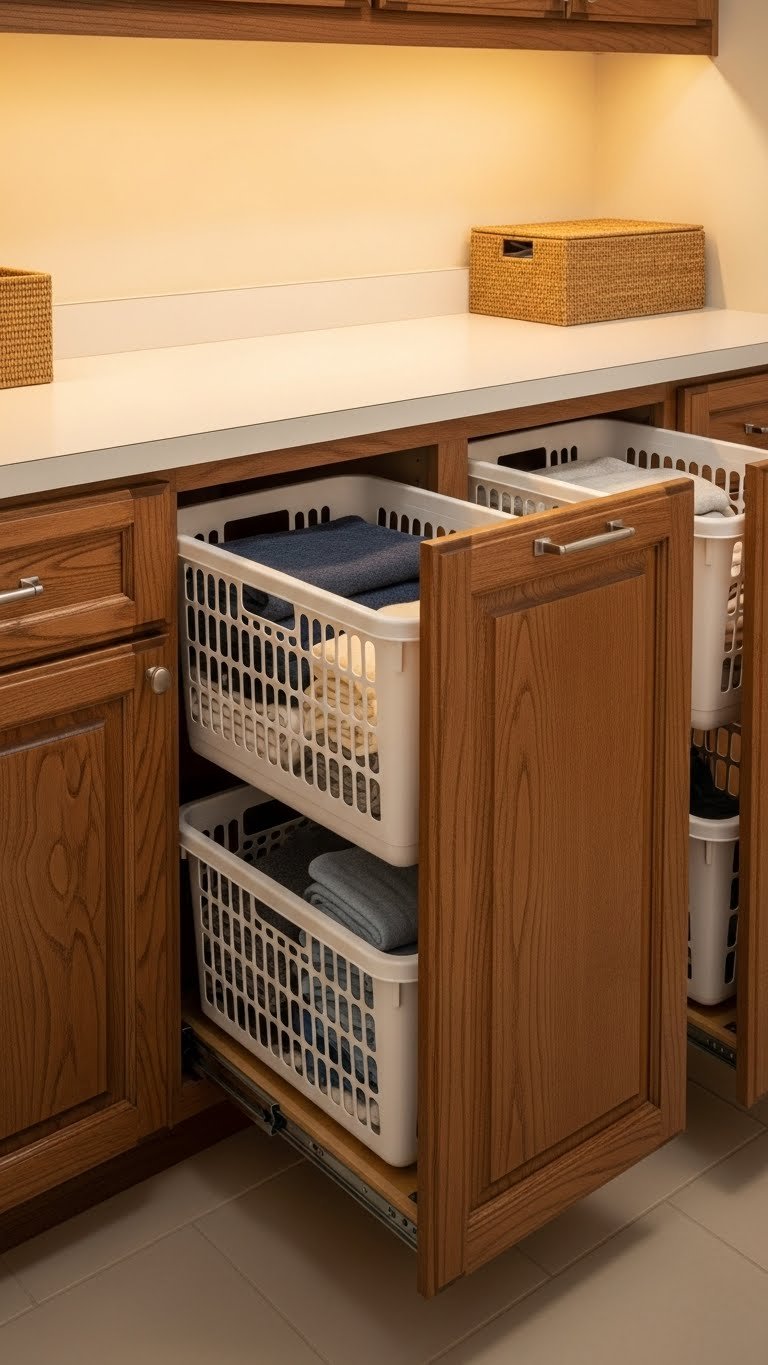
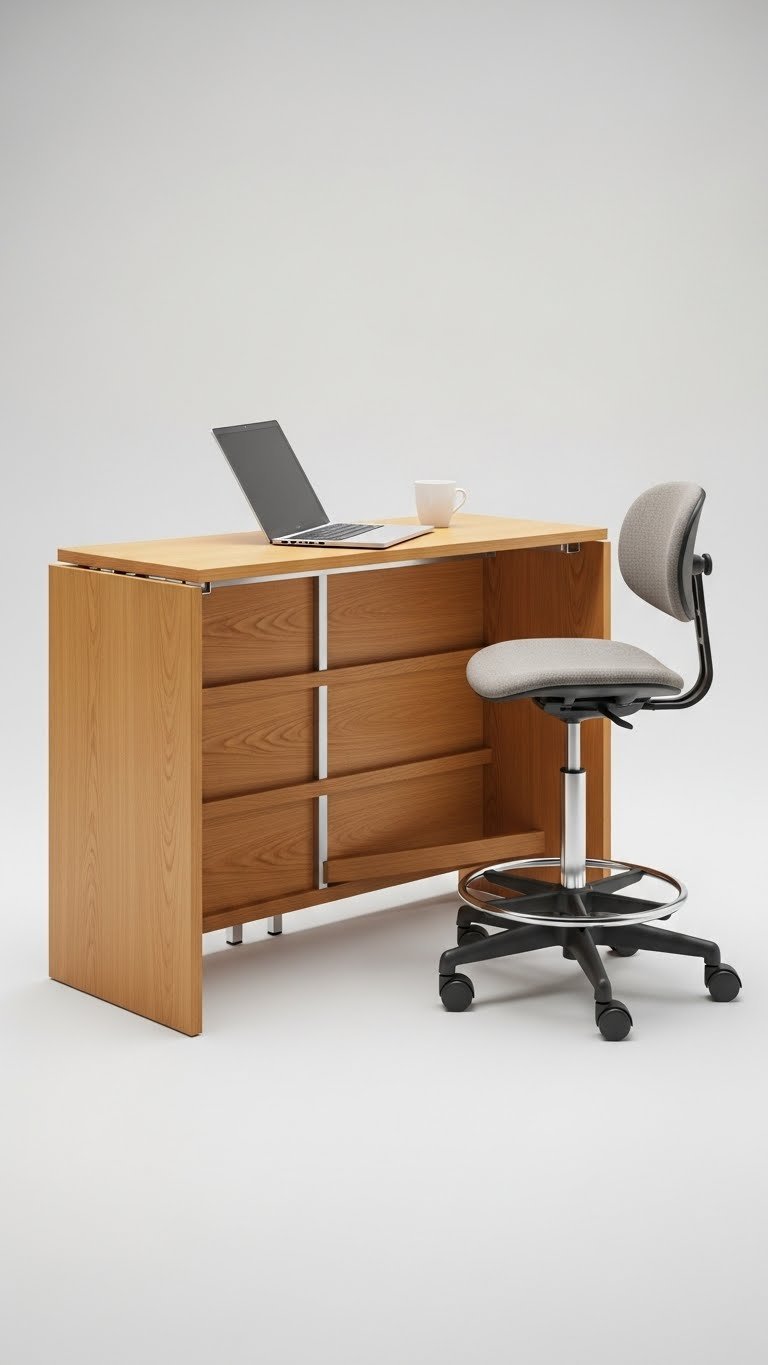
20. Choose a Desk With Built-In Storage
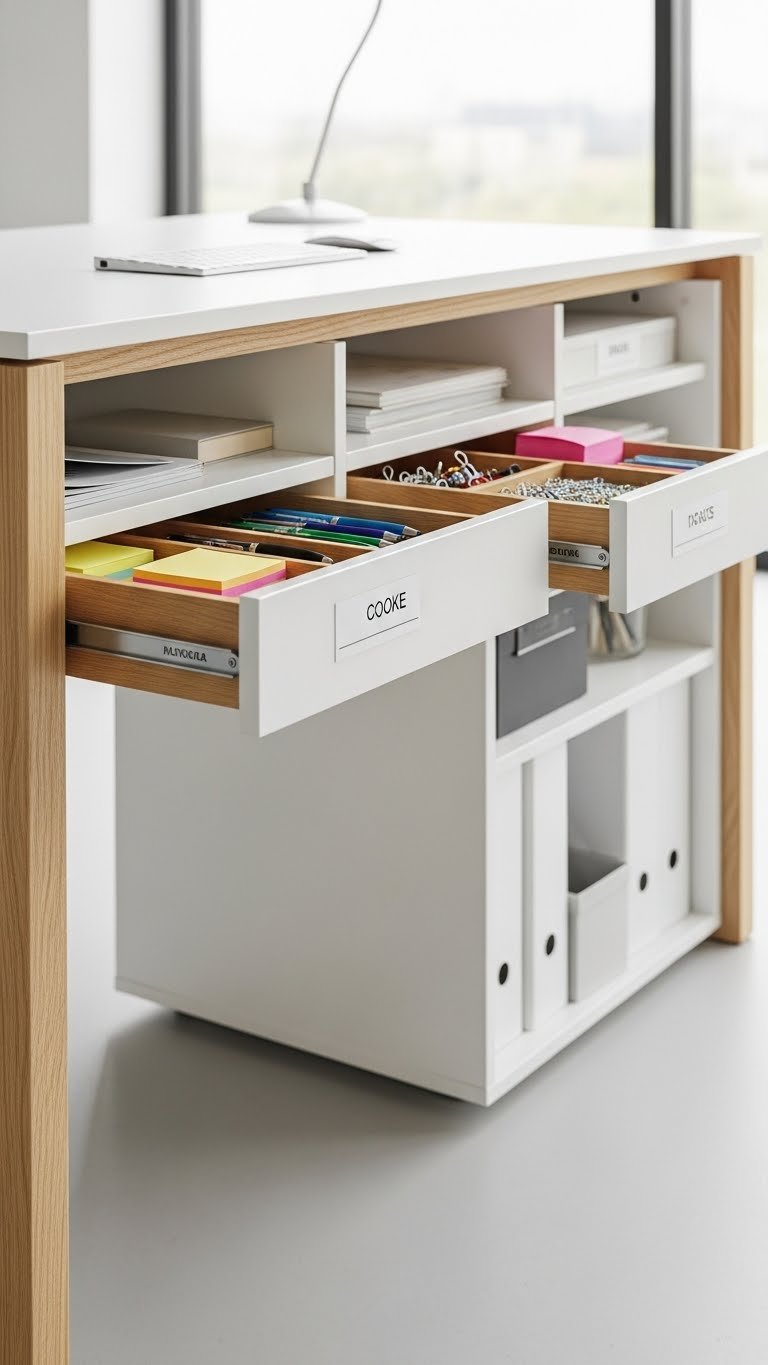
A desk that’s just a flat surface forces everything onto your actual work area. Look for a desk with drawers or shelving ($200–$600 from IKEA, Wayfair, or Facebook Marketplace) where you can hide supplies and active projects.
Key features: at least 2–3 drawers, adjustable shelves if possible, and a size that fits your space. Compare prices across retailers; sometimes Amazon or Facebook Marketplace has deals. Installation varies; some assembly required ($1–2 hours).
Built-in storage keeps your desk surface free while ensuring supplies are still easily accessible. It’s a one-time investment that transforms how organized your space feels.
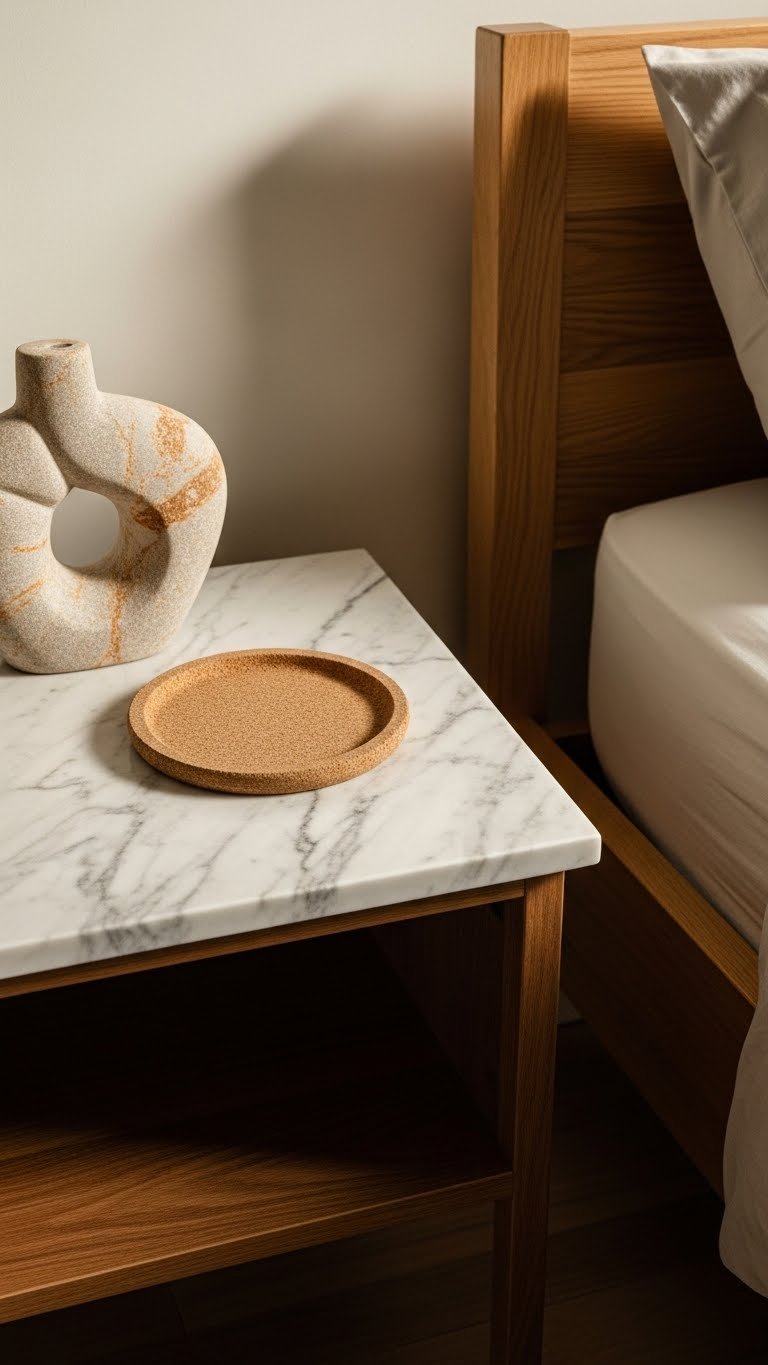
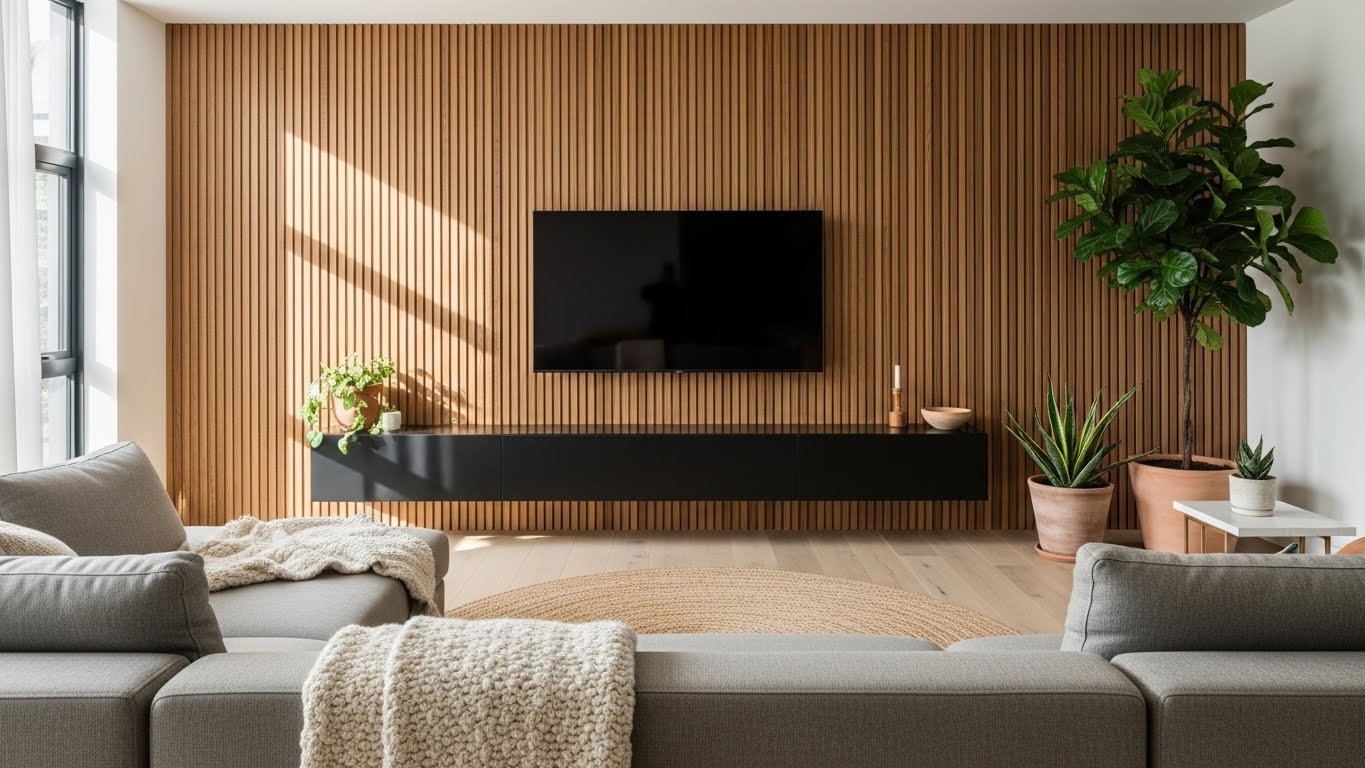
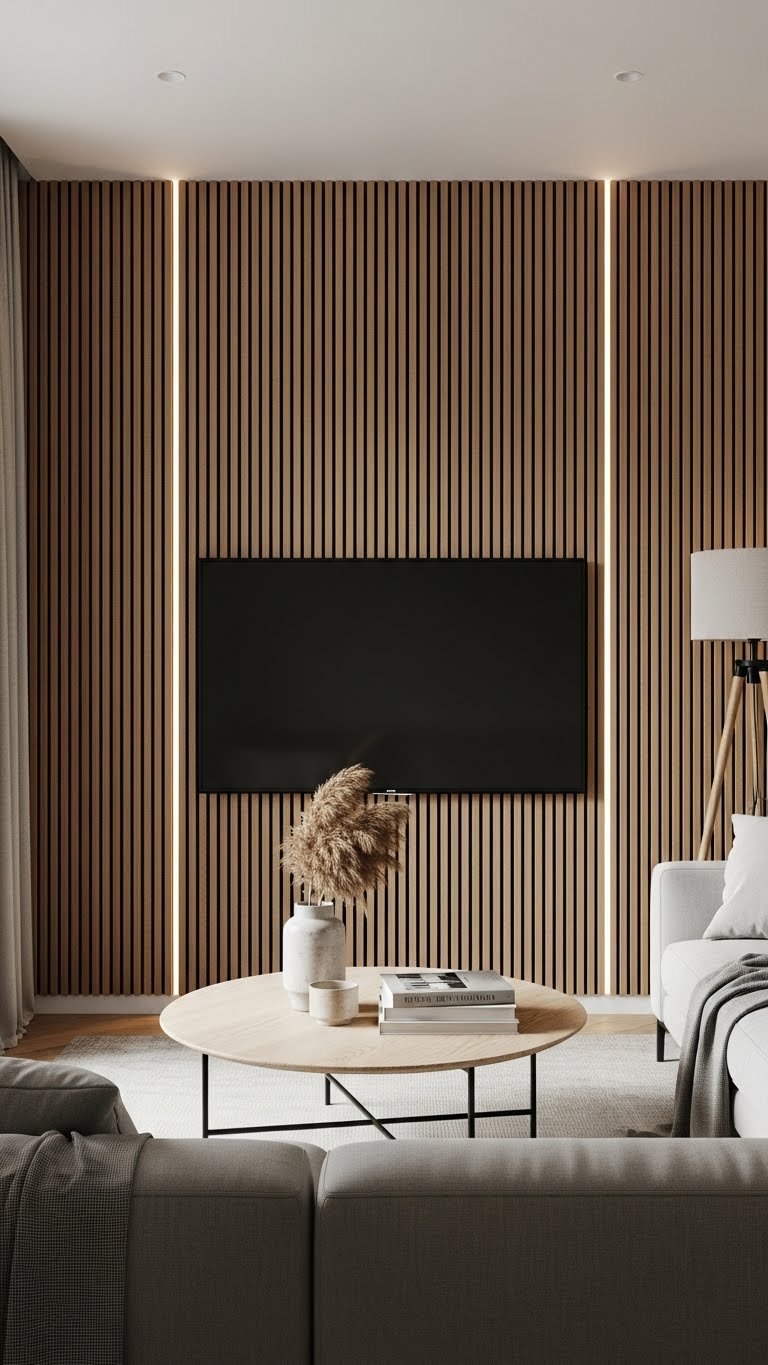
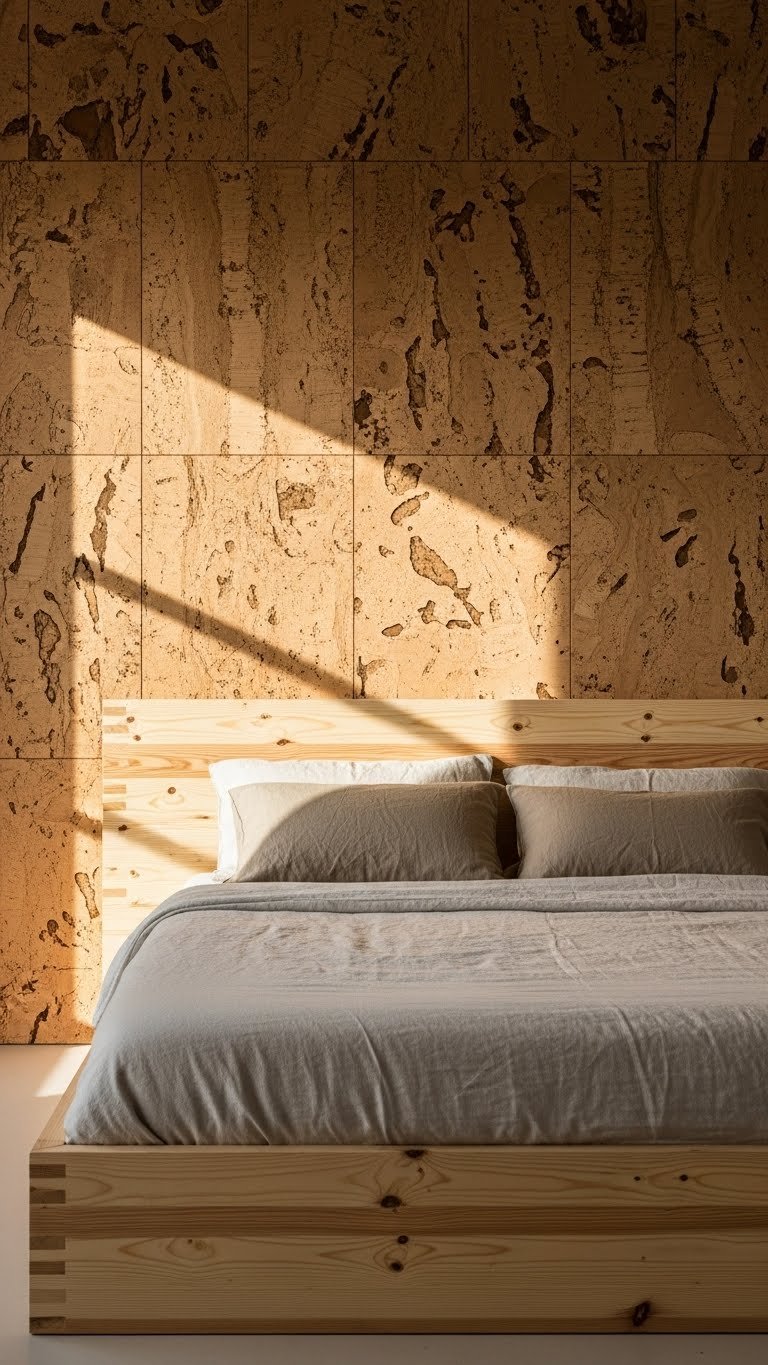
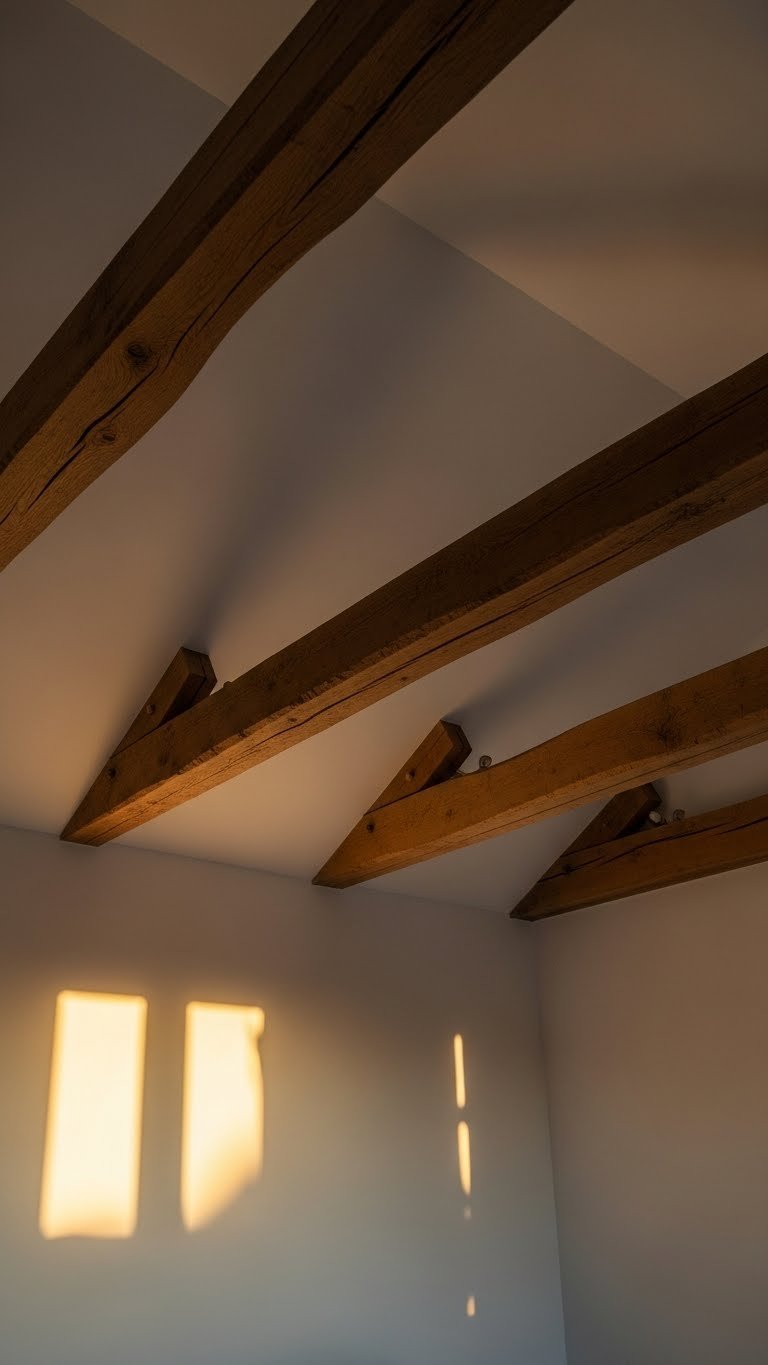
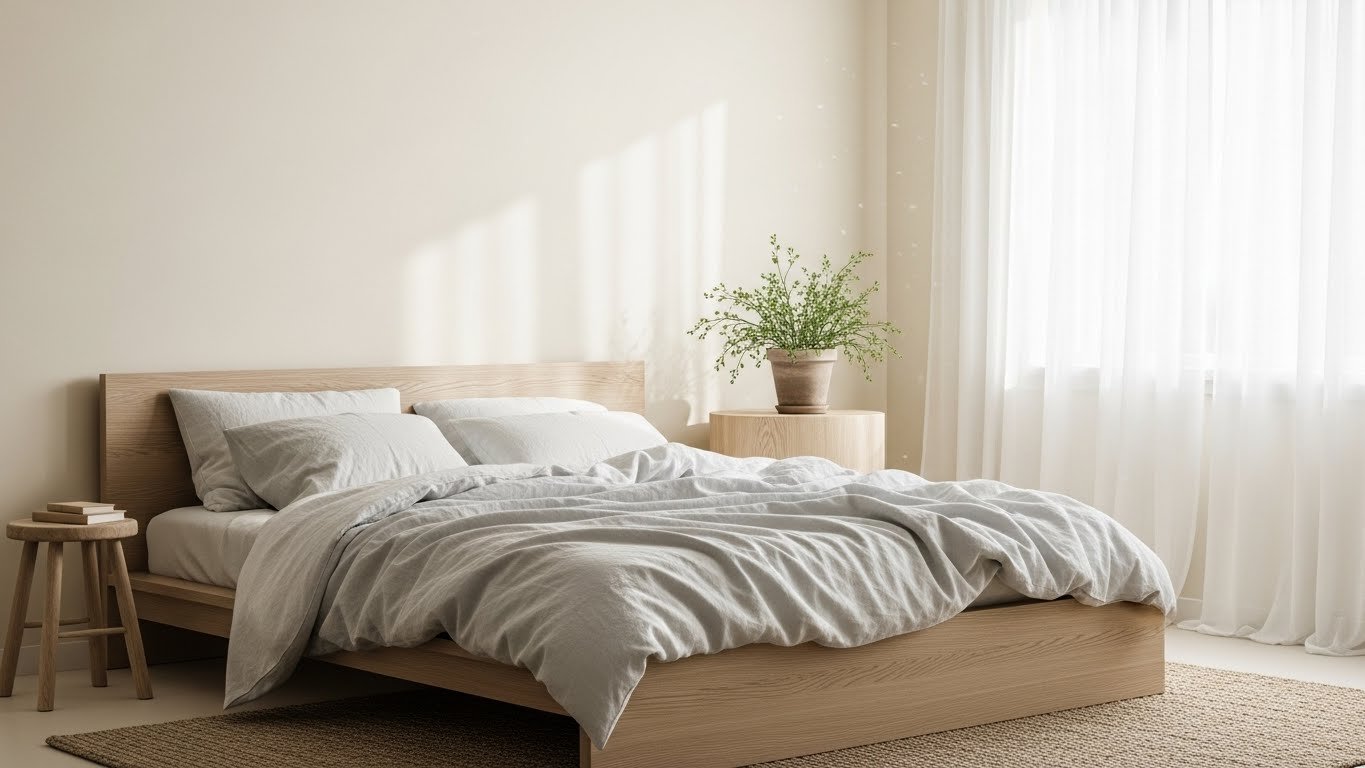
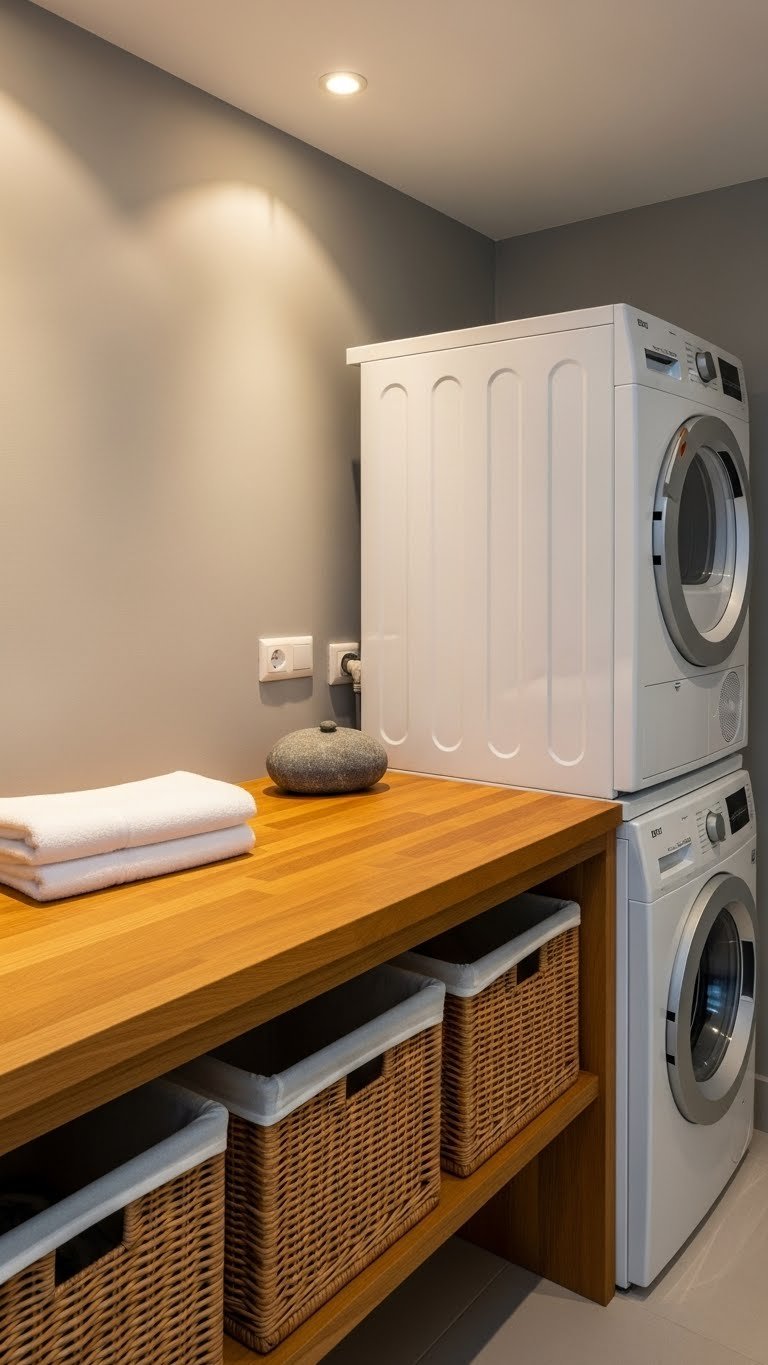
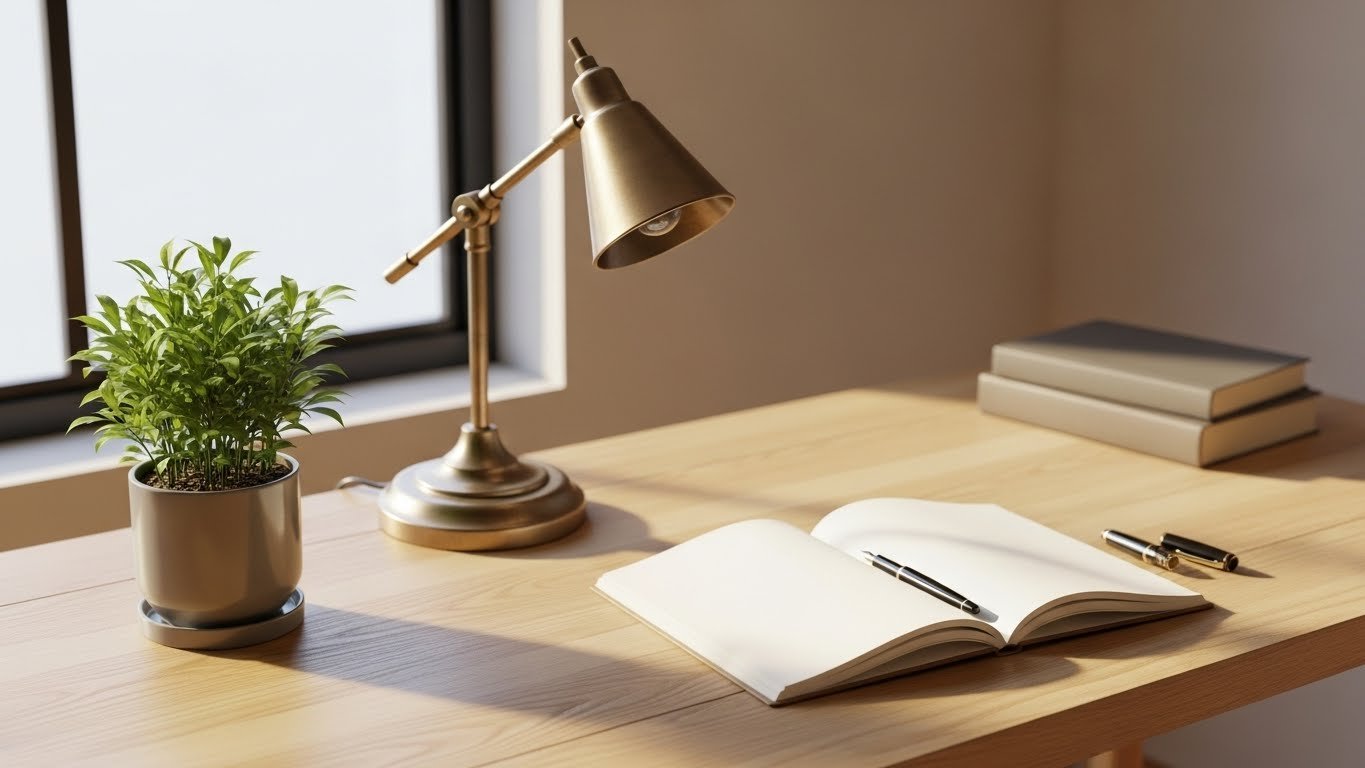
21. Use Natural Wood Tones for Warmth
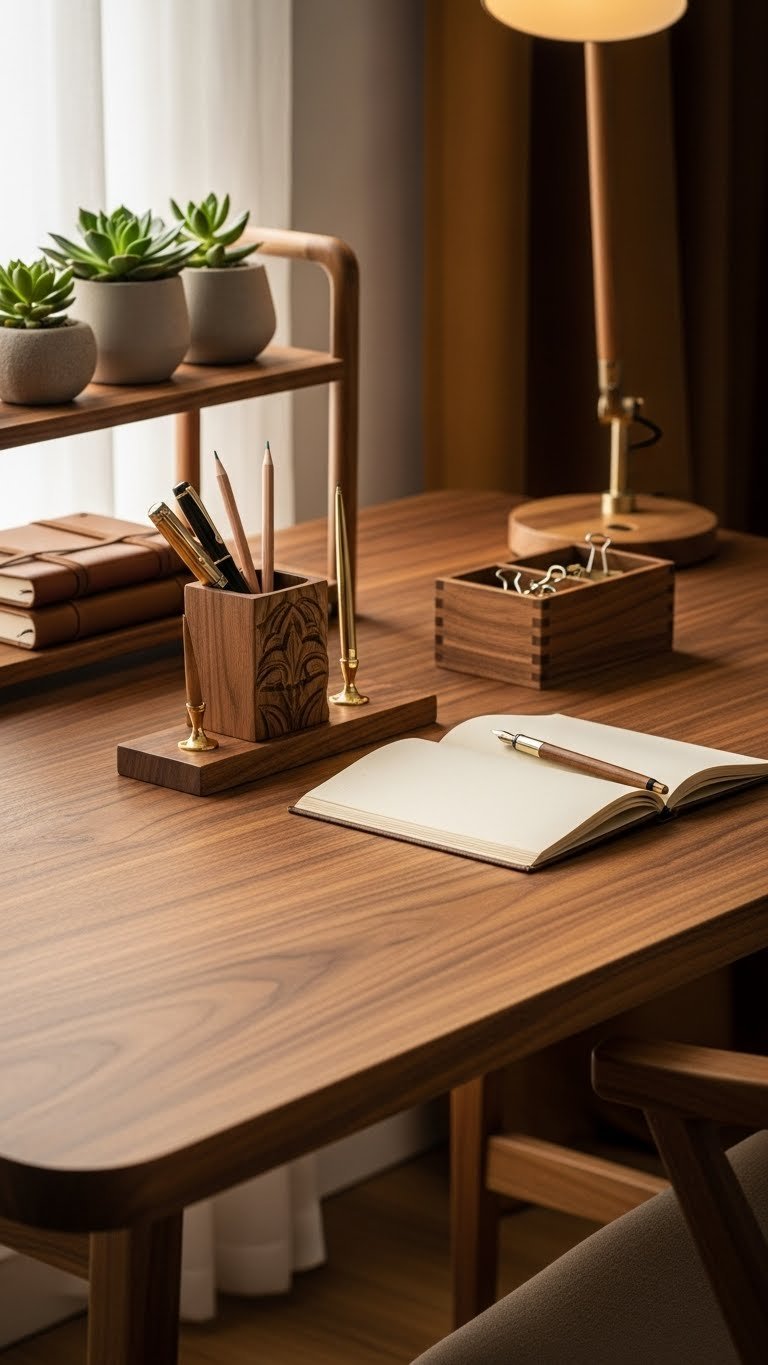
Cold, sterile desks kill motivation. If you’re choosing or upgrading your desk, opt for warm wood finishes ($150–$400 for a basic desk from IKEA, Article, or Wayfair). Walnut, oak, or bamboo all feel inviting.
Pair wood with warm brass or copper accents (lamp, holder, clips) for extra cohesion. Keep metal accents minimal so wood remains the star. This choice costs no extra money when comparing furniture options.
A wood desk creates a warmer, more creative environment than metal or plastic alternatives. You’ll actually want to sit there, which beats fighting yourself to focus.
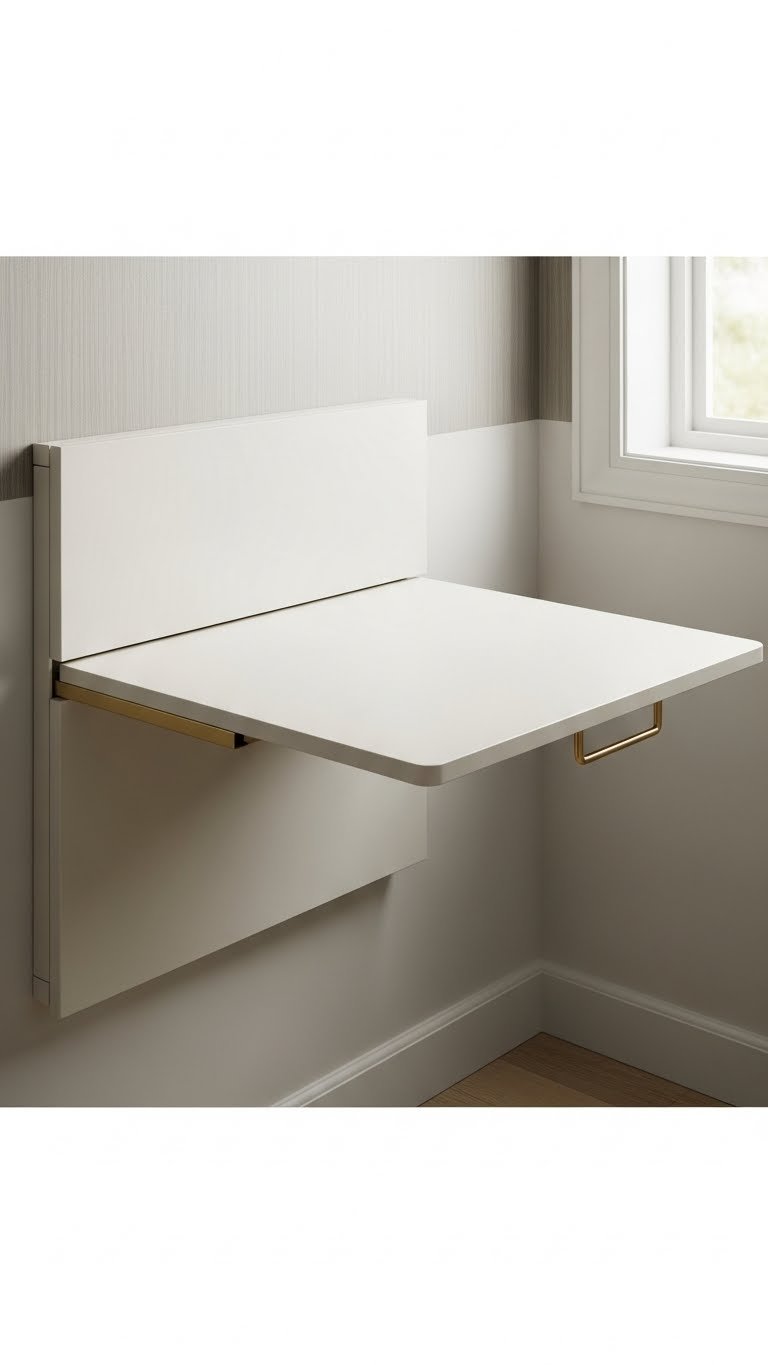
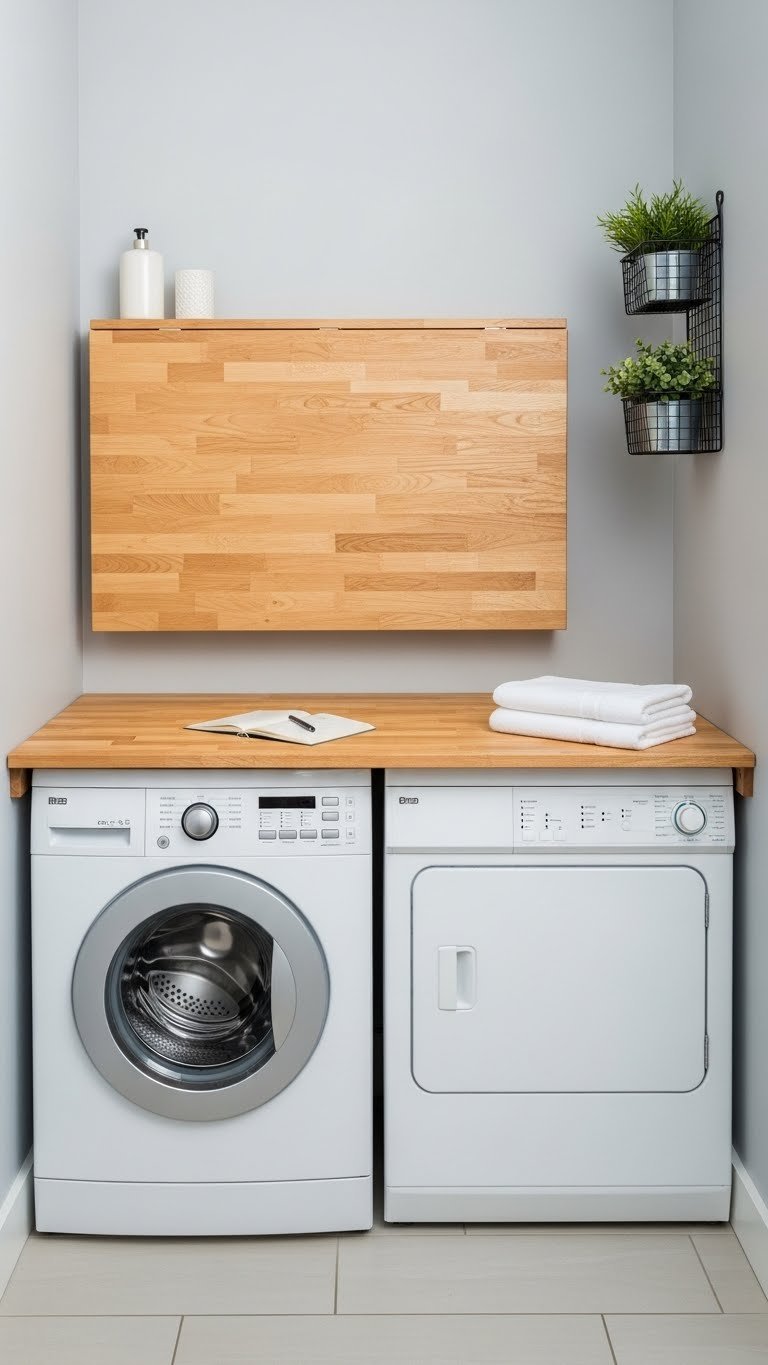
22. Install Floating Desk for Small Spaces
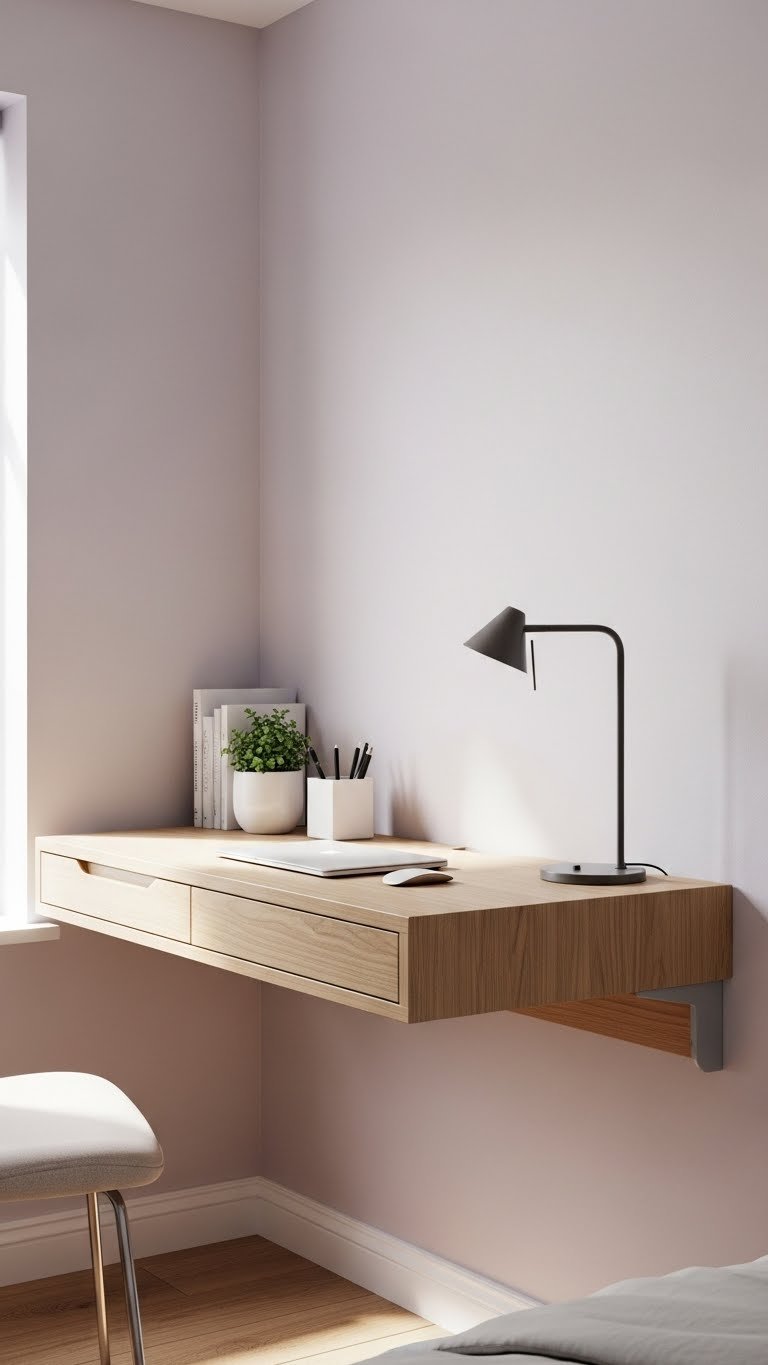
If space is tight, a floating desk ($100–$300 from IKEA, Wayfair, or West Elm) mounted directly to the wall saves room and looks sleek. Choose a narrow depth (24–30 inches) to avoid eating floor space.
Installation takes 1–2 hours and requires basic tools or professional help ($50–$100). Wall studs are essential for weight-bearing; use a stud finder ($15) to locate them. The desk can hold your laptop, monitor, and essential supplies.
You gain a full workspace in a corner that would otherwise be wasted. It’s especially smart for renters who eventually move, though you’ll need to patch holes.
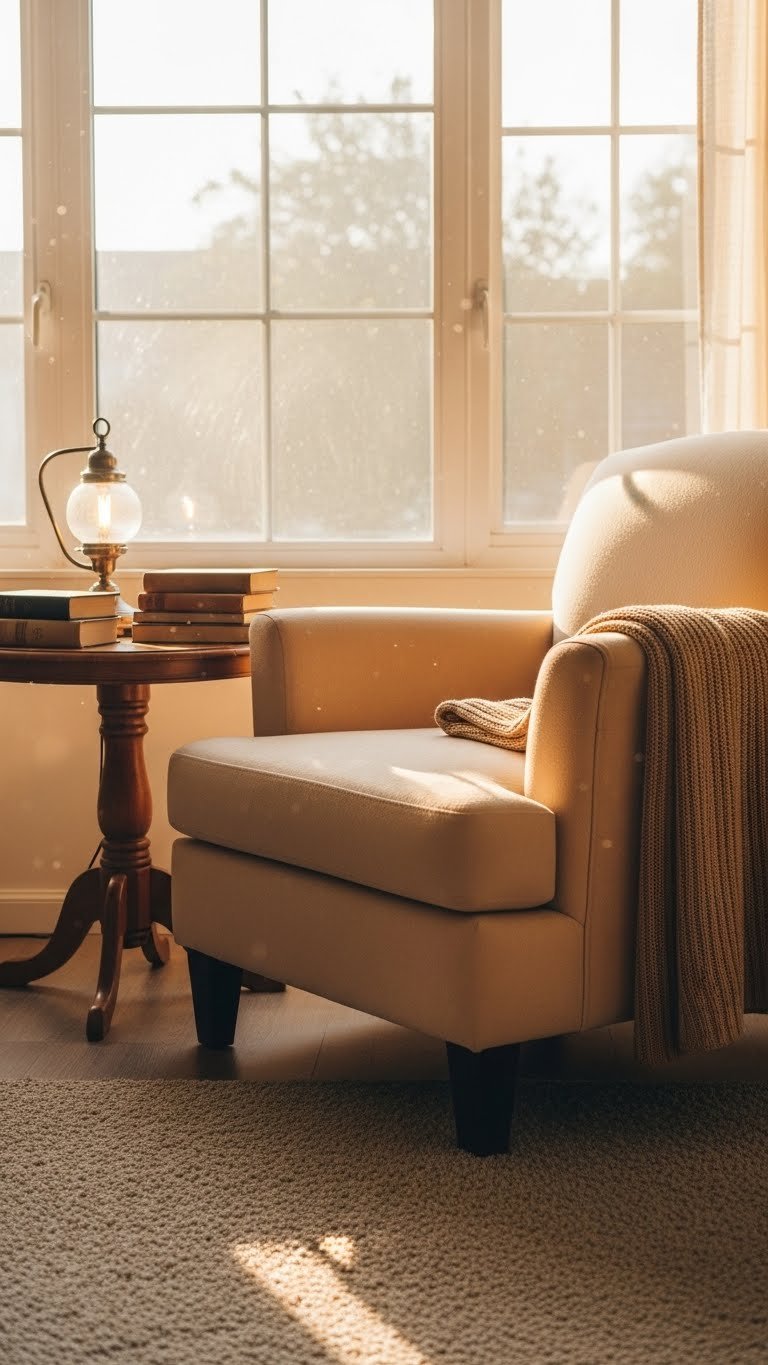
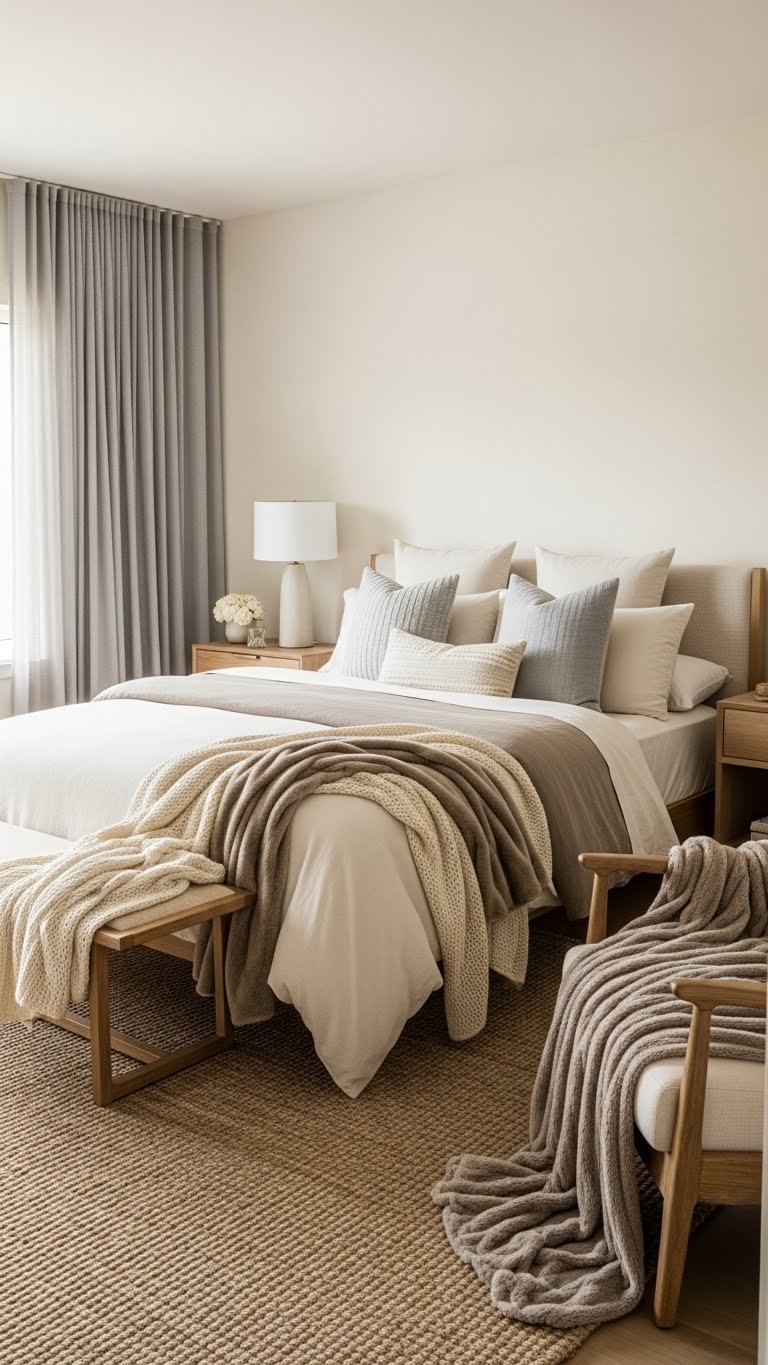
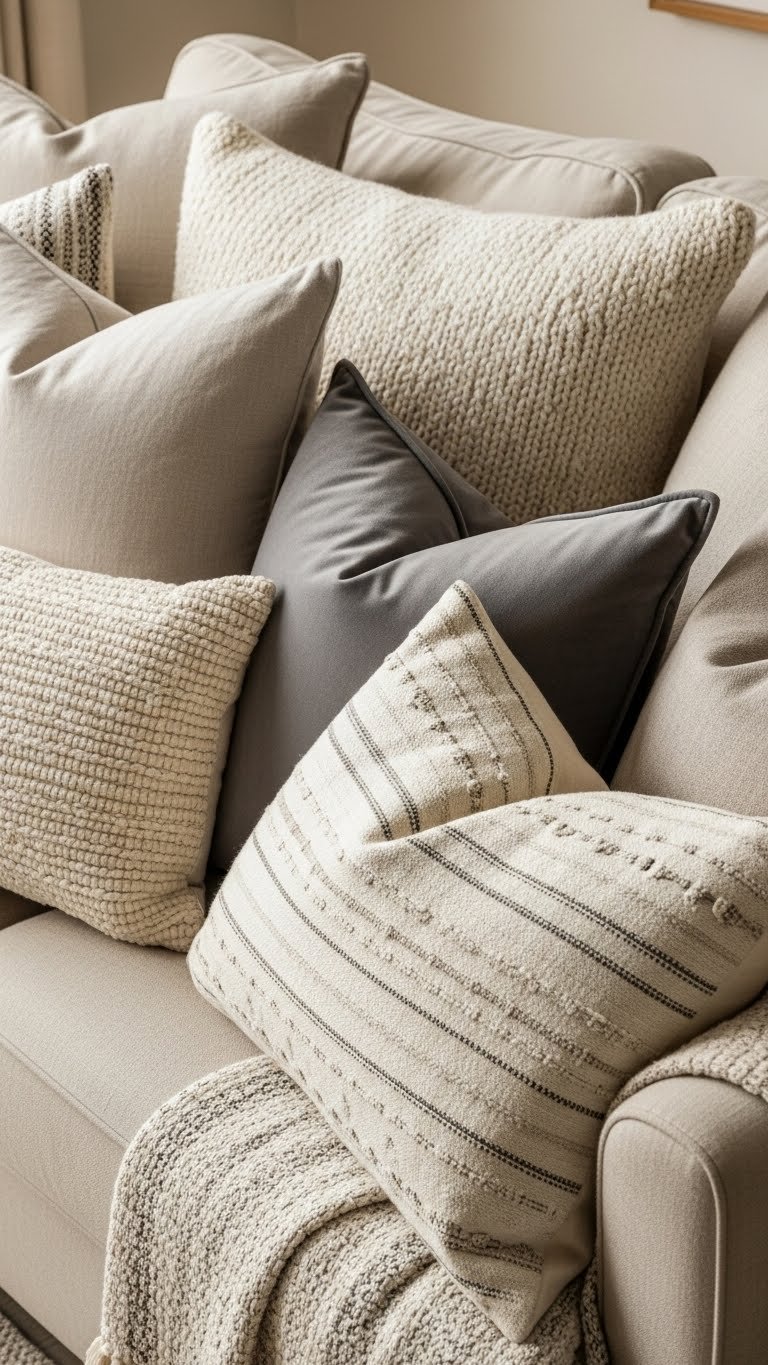
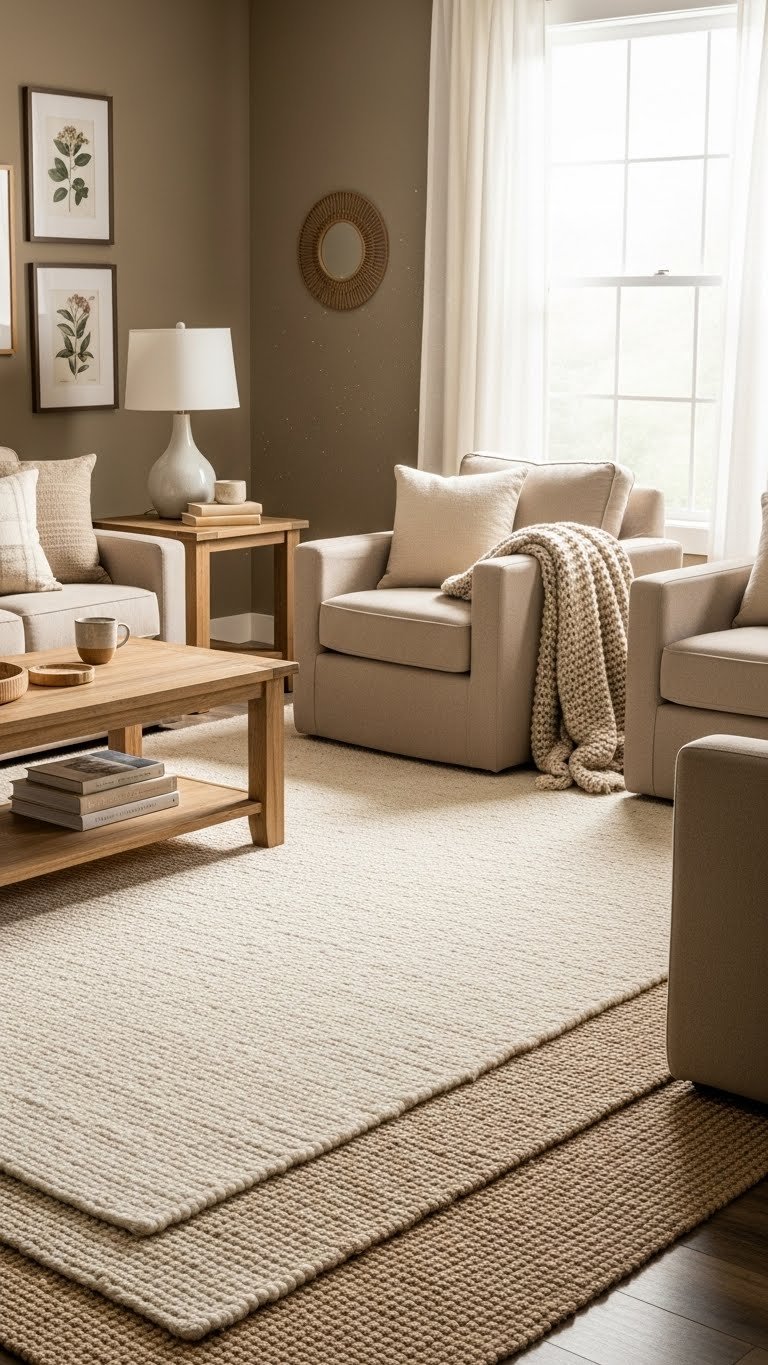
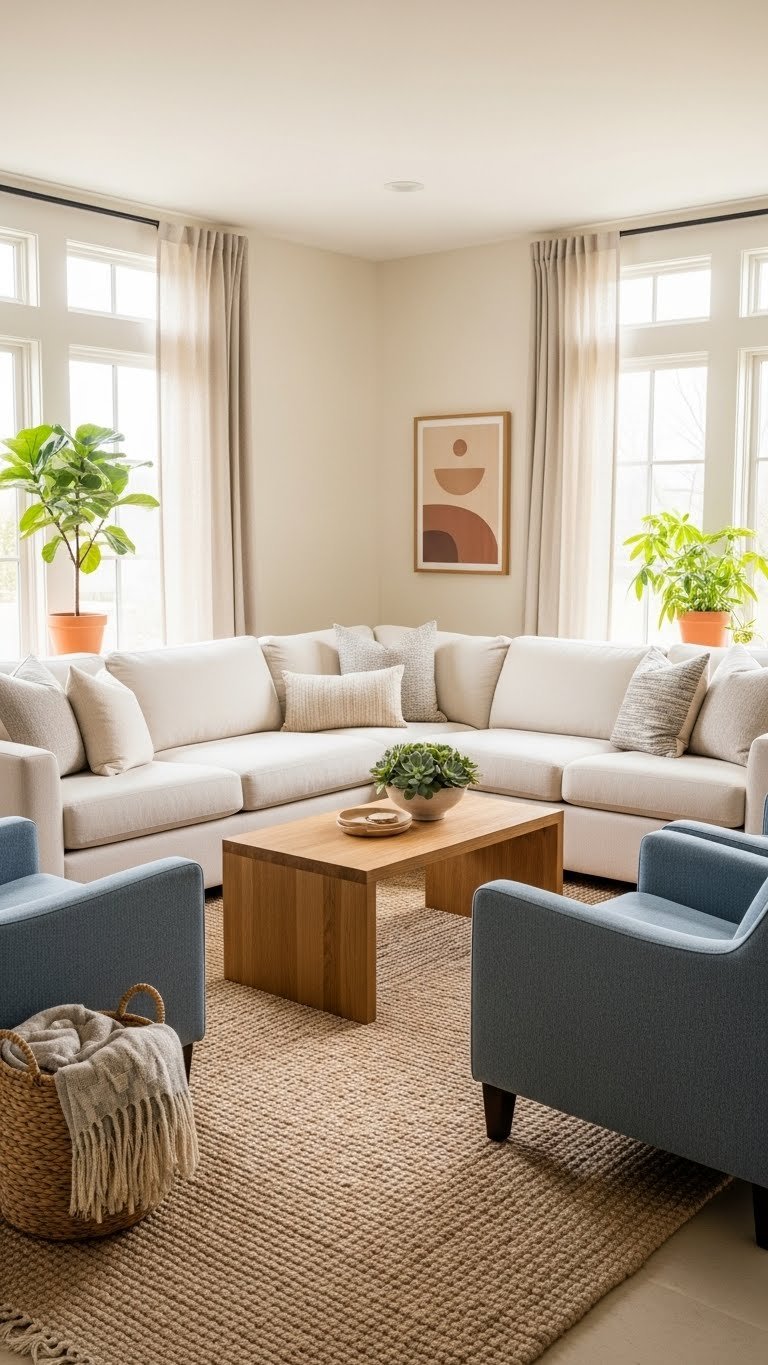
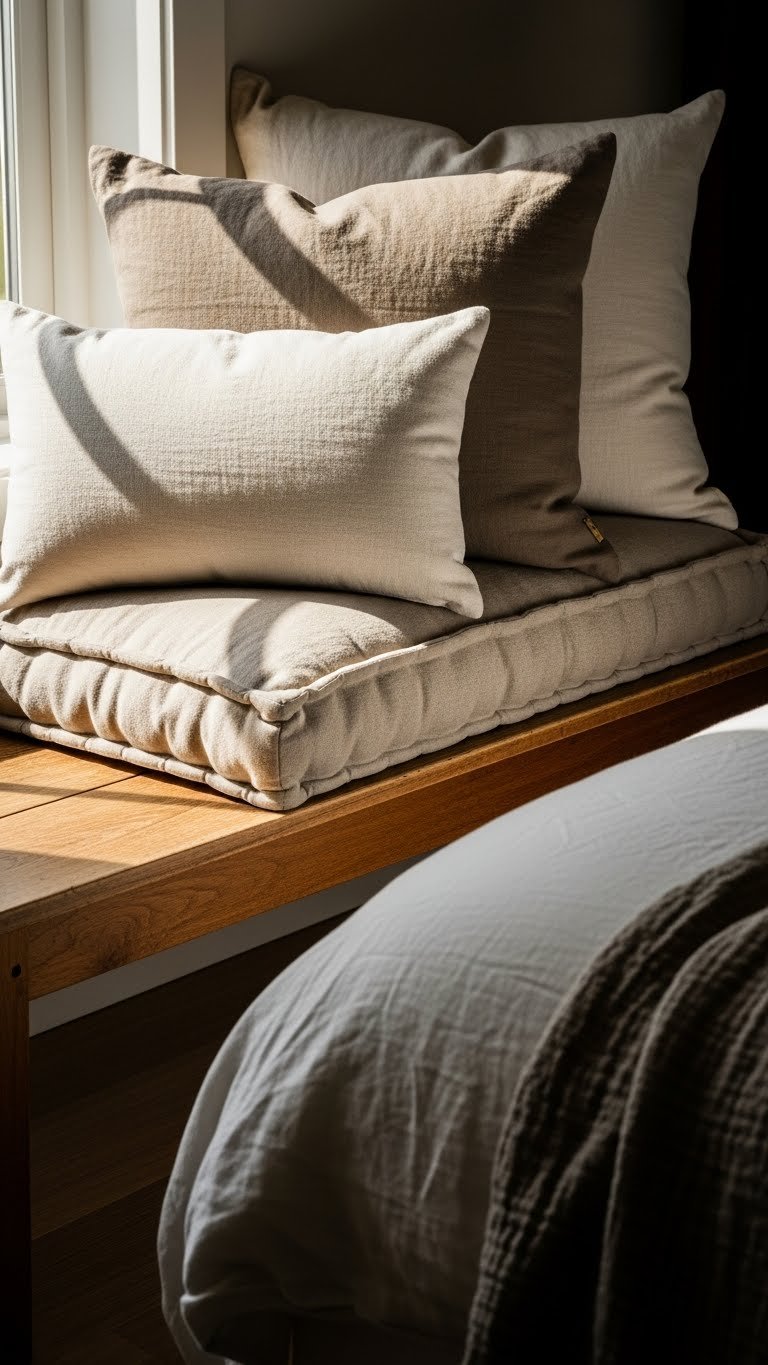
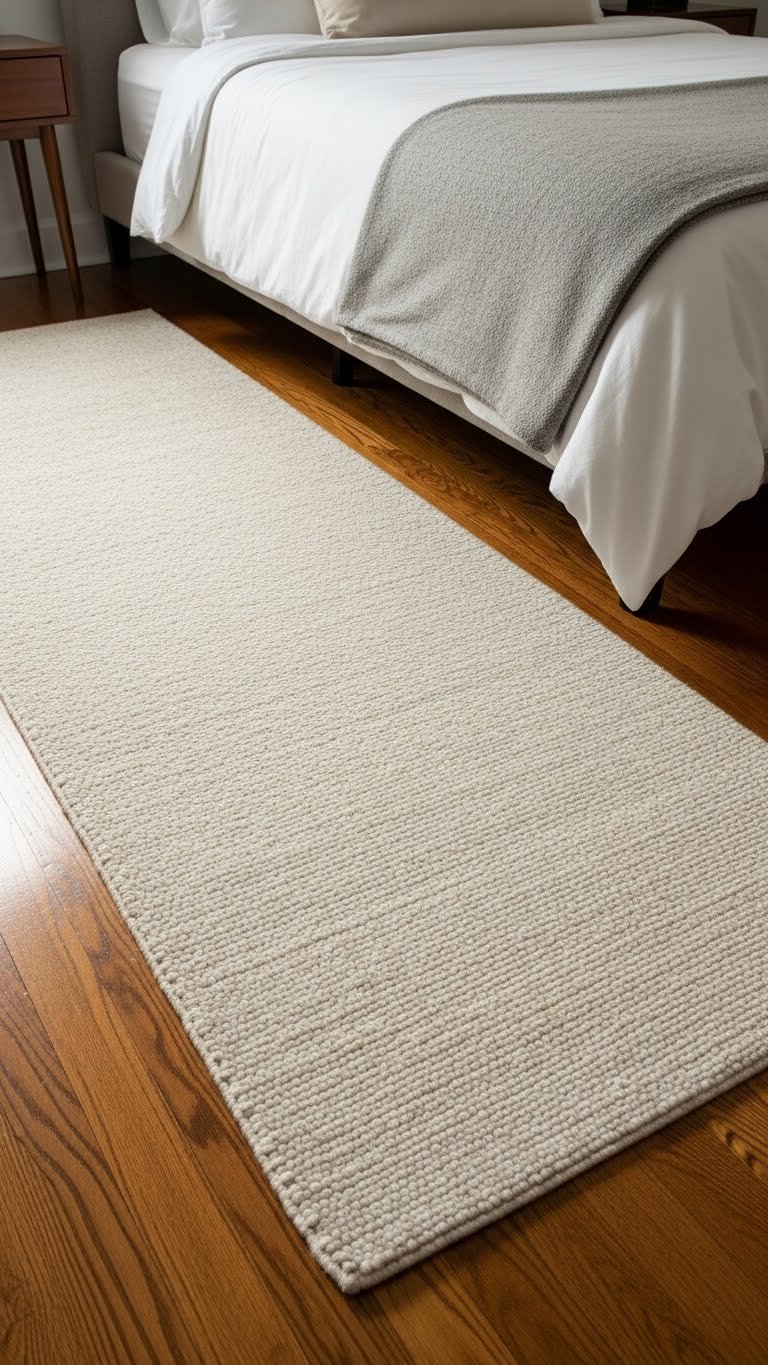
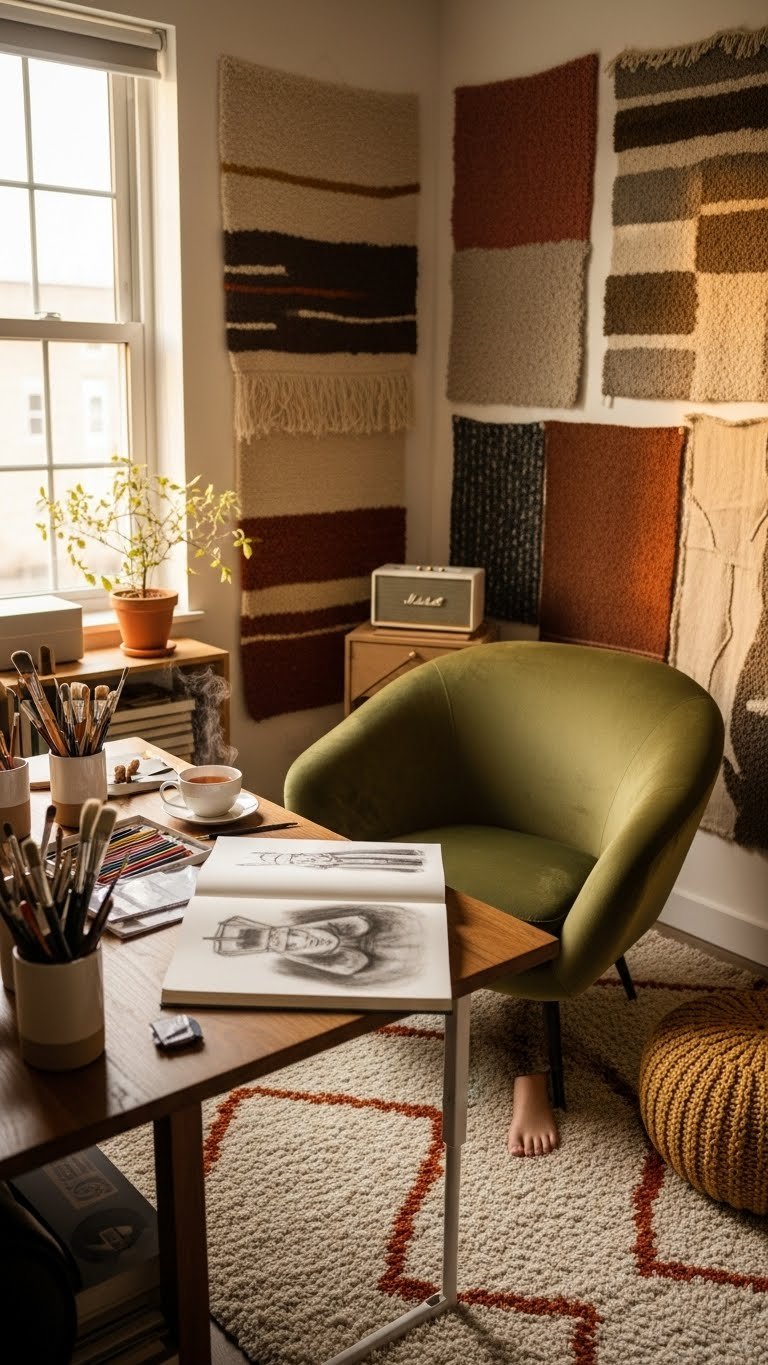
23. Layer in Soft Textures With a Desk Rug
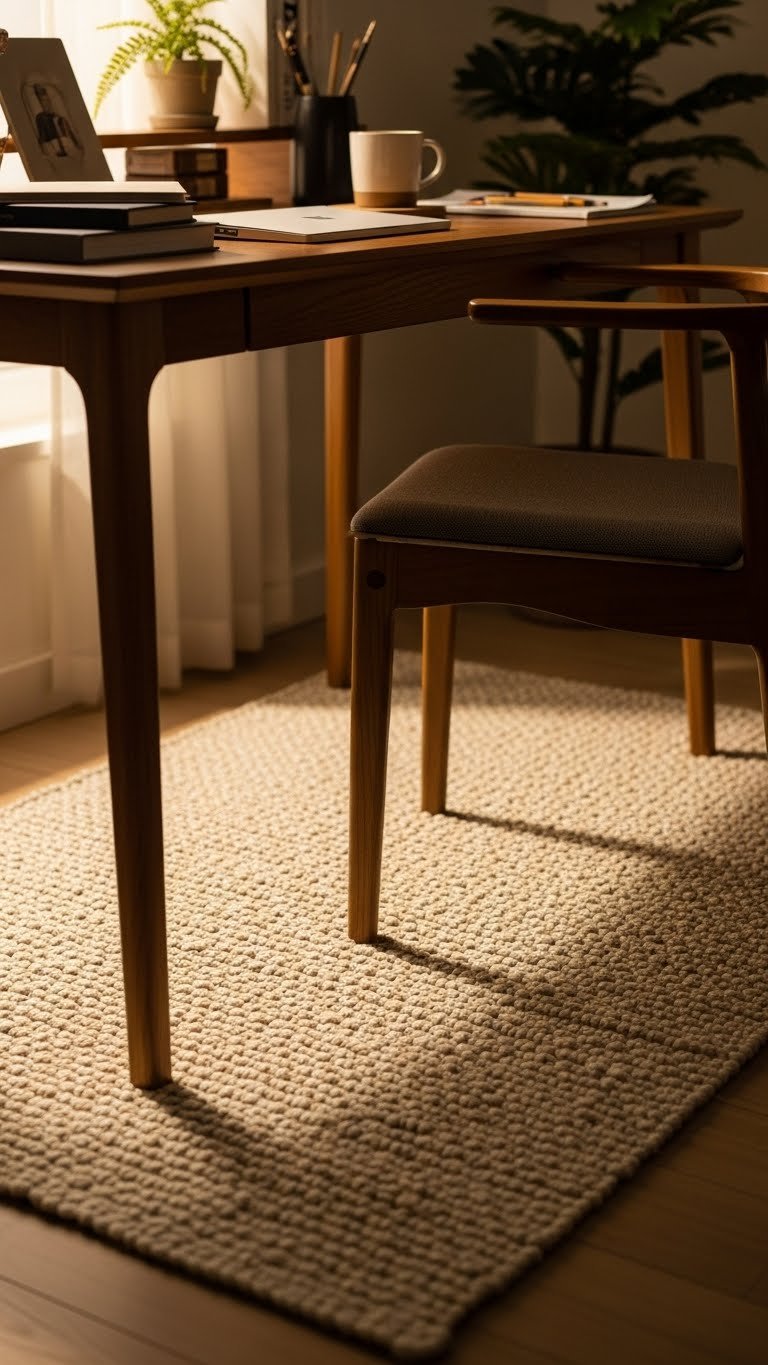
Hard desk spaces feel cold; soft textures add warmth and comfort. Place a small rug ($30–$100 from Ruggable, Wayfair, or Amazon) under your desk to soften the space and define your work zone.
Choose natural fibers (jute, sisal, wool) for durability and warmth. Size it so your chair rolls on it easily. Ruggable brand ($50–$80) is renter-friendly and washable. This takes zero time to install—just roll it out.
A rug changes the entire vibe from “cold office corner” to “cozy workspace.” You’ll notice the difference when you sit down.
24. Use Accent Color Through Desk Accessories
Neutral desks can feel boring, but painting your whole desk is extreme. Add accent color through small items ($20–$50 total): colored pen holders, a patterned desk pad, or a fun bookend in a color you love.
Choose one accent color (jewel tones like emerald, sapphire, or coral work well) and limit it to 2–3 items so it feels intentional, not chaotic. Mix textures: ceramic, wood, metal in the same color family.
Small pops of color energize your space and let your personality shine without overwhelming your focus. You can change accent pieces seasonally too.
25. Create Height Variation With Risers or Stacked Storage
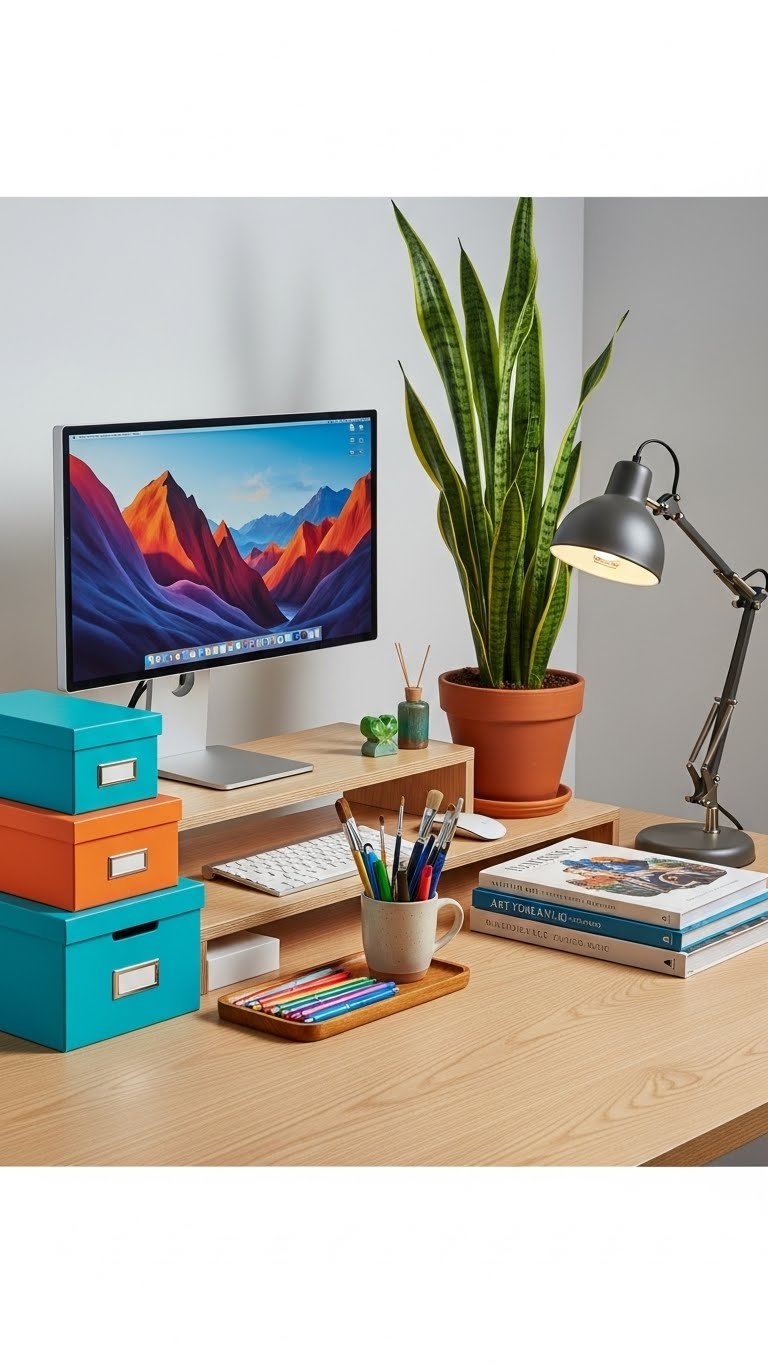
A flat desk surface looks boring; varying heights make spaces more interesting and functional. Use monitor risers ($20–$50), stacked storage boxes ($10–$30), or adjustable shelving ($15–$40 per shelf) to create elevation changes.
Arrange items so tall things are in back, medium items in the middle, and small items in front—like a visual pyramid. This takes 15 minutes to arrange and improves both aesthetics and ergonomics.
The result is a more dynamic, visually interesting workspace that doesn’t feel flat or one-dimensional.
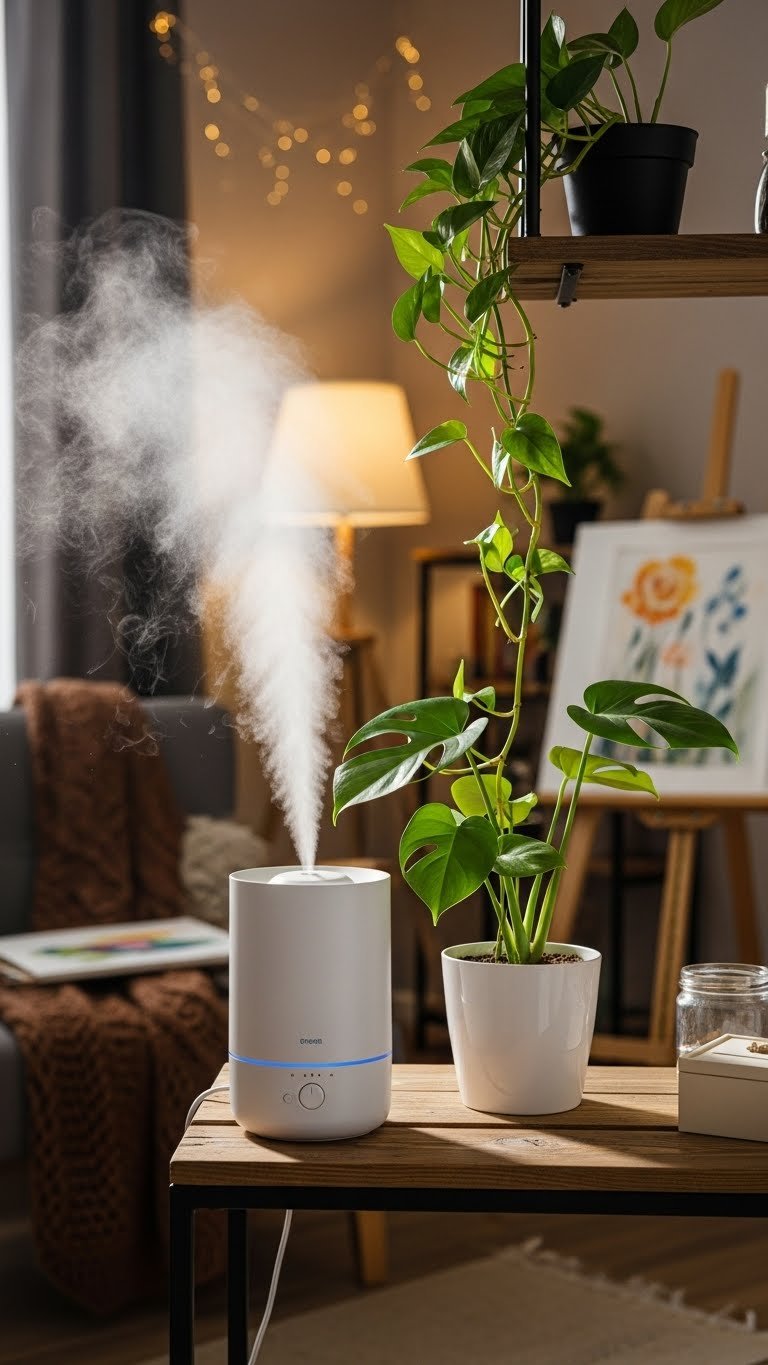
26. Add a Small Humidifier for Comfort
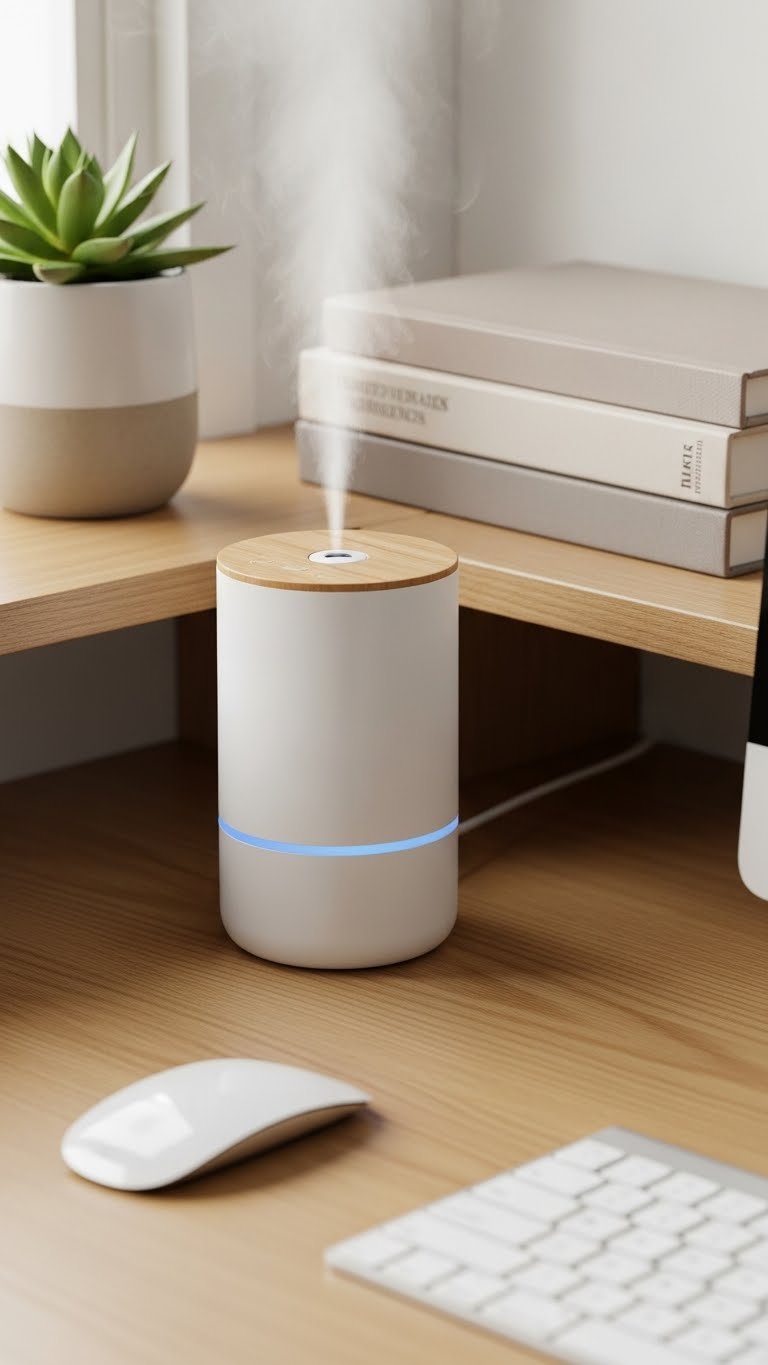
Dry air from heating or AC makes you feel tired and irritable. A small desk humidifier ($25–$60 from Amazon or Target) runs quietly during work hours and keeps your air comfortable.
Choose ultrasonic models for quiet operation; avoid warm-mist versions (they’re louder). Fill daily and clean weekly ($2 and 5 minutes). Position it where it won’t spray near your computer.
You’ll notice you feel less dry, your throat won’t get scratchy, and your overall comfort improves—which means better focus and fewer work breaks.
27. Personalize With One Special Item

Highly personal items make your space actually yours instead of generic. Choose one special thing you love—a photo of someone important, a gift from a friend, a handmade object, a souvenir from a meaningful trip—and position it where you’ll see it regularly.
This costs nothing if it’s something you already own; positioning takes one minute. Keep everything else neutral so this item stands out and feels intentional rather than cluttered.
That one special touch reminds you of what matters and makes your desk feel like a place you belong, not just a place you work.
SOFT CTA:
Save this post and pick one idea to implement this week—start with lighting or decluttering if you’re not sure where to begin. Small changes add up fast, and your desk deserves to feel as good as it looks.