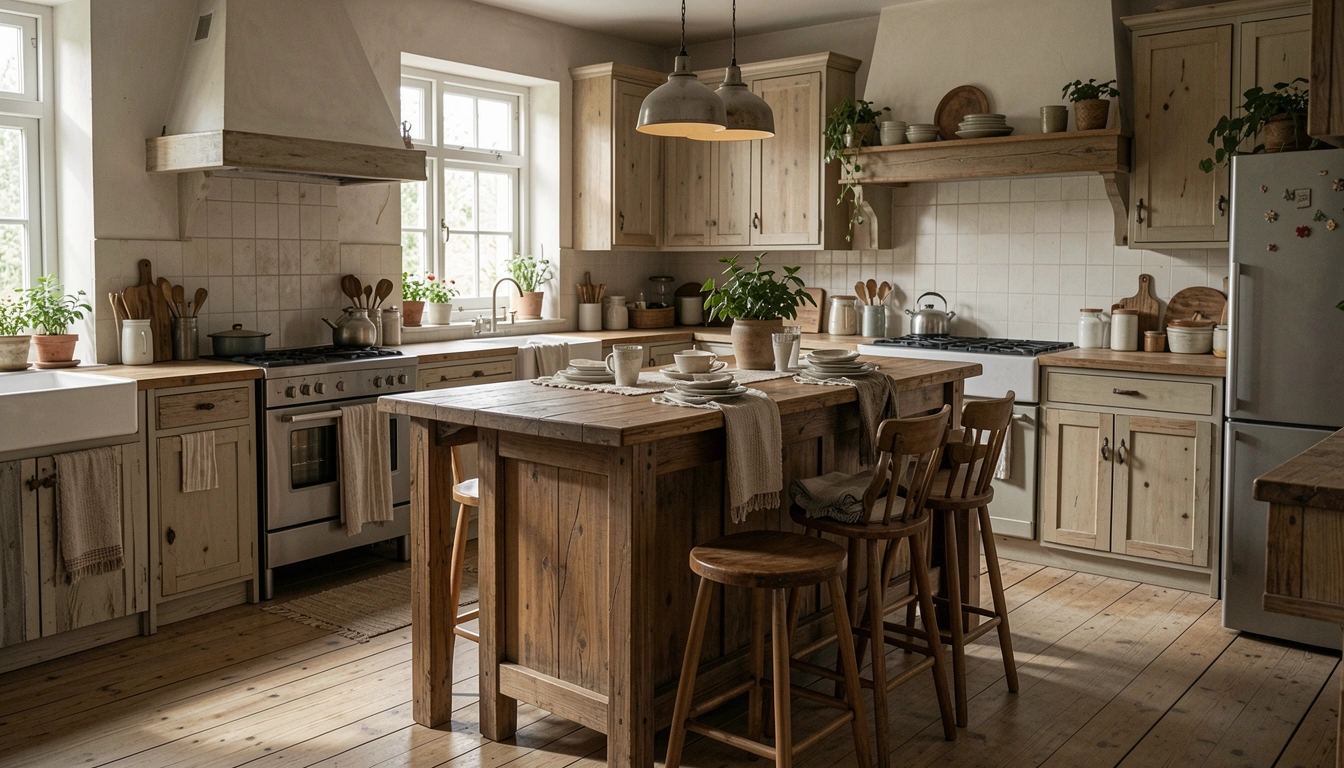
I had this wooden bar table in my kitchen. It sat there, solid but plain. Meals felt rushed around it. The wood looked dull against white cabinets. I wanted it to pull the room together, not stick out.
One afternoon, I moved a few things. The table warmed up. It invited coffee breaks now.
You know that spot where everything else flows, but one piece drags it down? This fixes that.
How to Make Wooden Bar Table Beautiful for Kitchen
This shows you how I settle a wooden bar table into kitchen life. It ends up balanced, comfortable, part of the daily rhythm. No big changes. Just right placement and a few layers. You can do this in an hour.
What You’ll Need
- Neutral linen table runner, 12×72 inches
- Rustic wooden serving tray, 18-inch round
- Matte black metal pendant light, 12-inch diameter
- Tall ceramic vase, 12 inches high, white
- Faux olive branch in pot, 24 inches tall
- Woven seagrass baskets, set of 2, medium
- Wooden bar stools, counter height, natural finish
- Beeswax taper candles, pack of 6, ivory
Step 1: Position for Kitchen Flow
I slide the table against the island or wall where traffic moves easy. Why? It stops bumping elbows during breakfast. Now, the kitchen breathes. Counters feel longer.
People miss how one foot changes sightlines. From the doorway, it frames the room better. Avoid shoving it in a corner—it cuts off light.
My table sits steady. Mornings feel open.
Step 2: Layer a Runner for Warmth
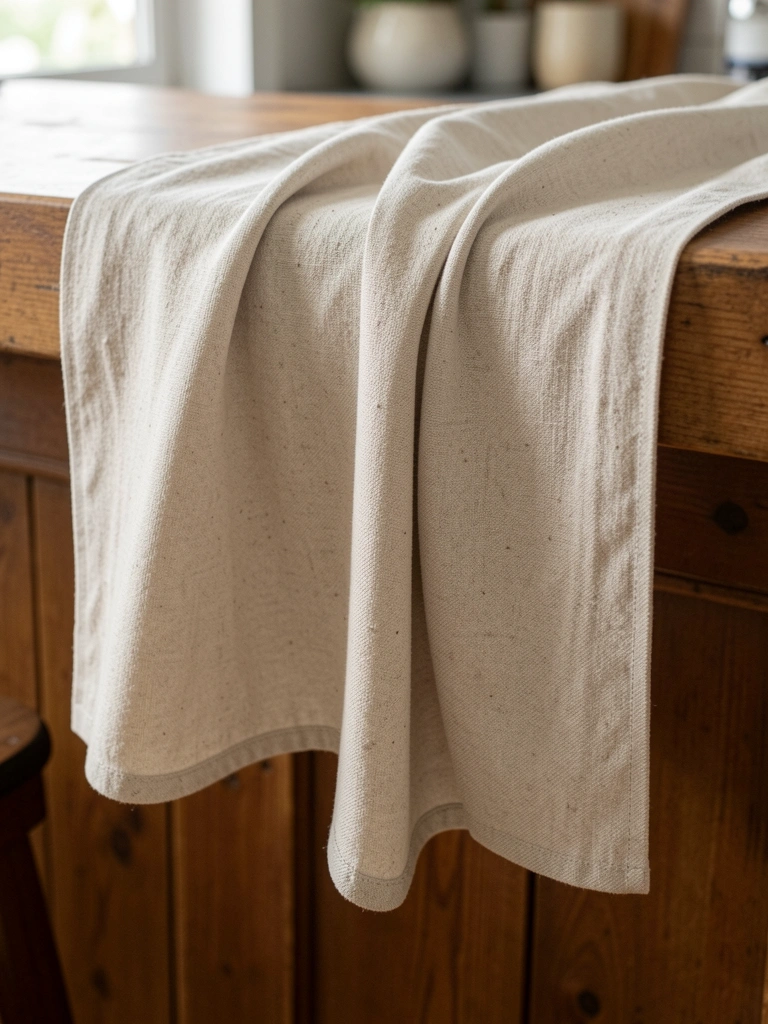
I lay the neutral linen runner down the center. It softens raw wood edges. Pulls in cabinet colors without clashing. The table goes from flat to inviting.
Insight: Off-center placement adds life—miss that, it looks stiff. Don't stretch it tight; let folds happen.
Coffee here lasts longer now. Balanced.
Step 3: Hang Light Above for Focus
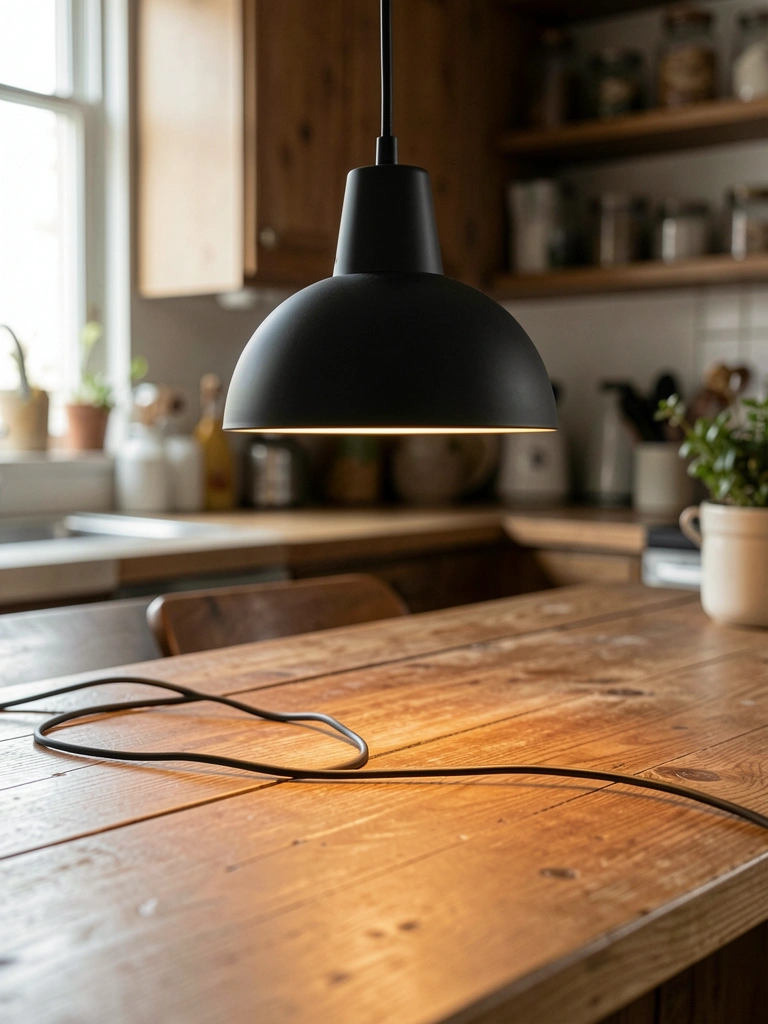
I center the pendant light 30 inches above. It pools light on the surface at night. Draws eyes without overwhelming. Wood grains pop.
Most forget bulb warmth—cool light washes out tones. Avoid hanging too high; shadows hide details.
Evenings, it anchors the spot. Comfortable glow.
Step 4: Group Heights on Top
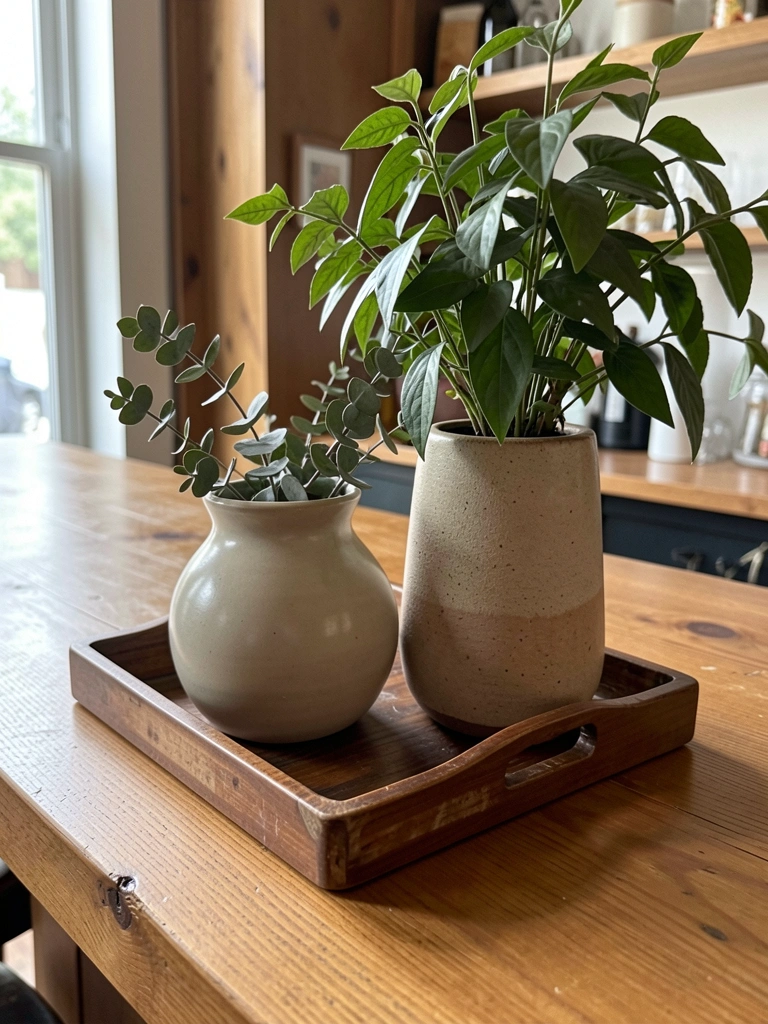
I place the tray first, then tall vase with olive branch. Add candles. Heights build interest. Why? Eye travels up, table feels full but not crowded.
Missed insight: Odd numbers work—three items balance better. Don't line them rigid; slight overlap breathes.
It holds keys now, too. Lived-in ease.
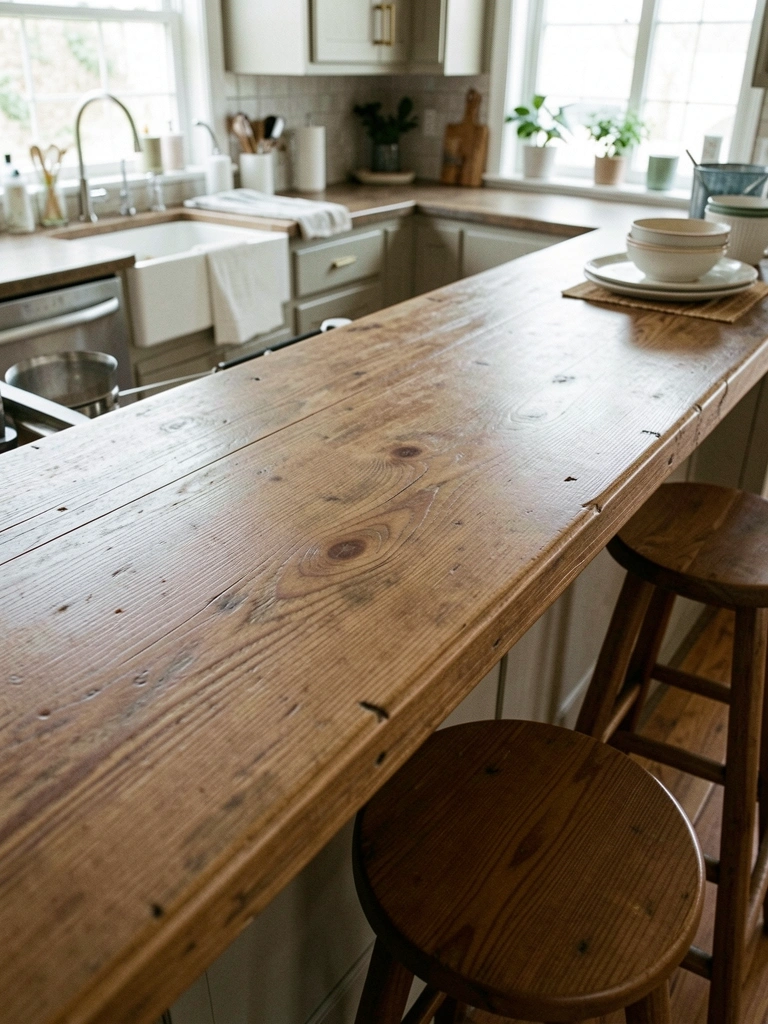
Step 5: Tuck Stools and Baskets Below
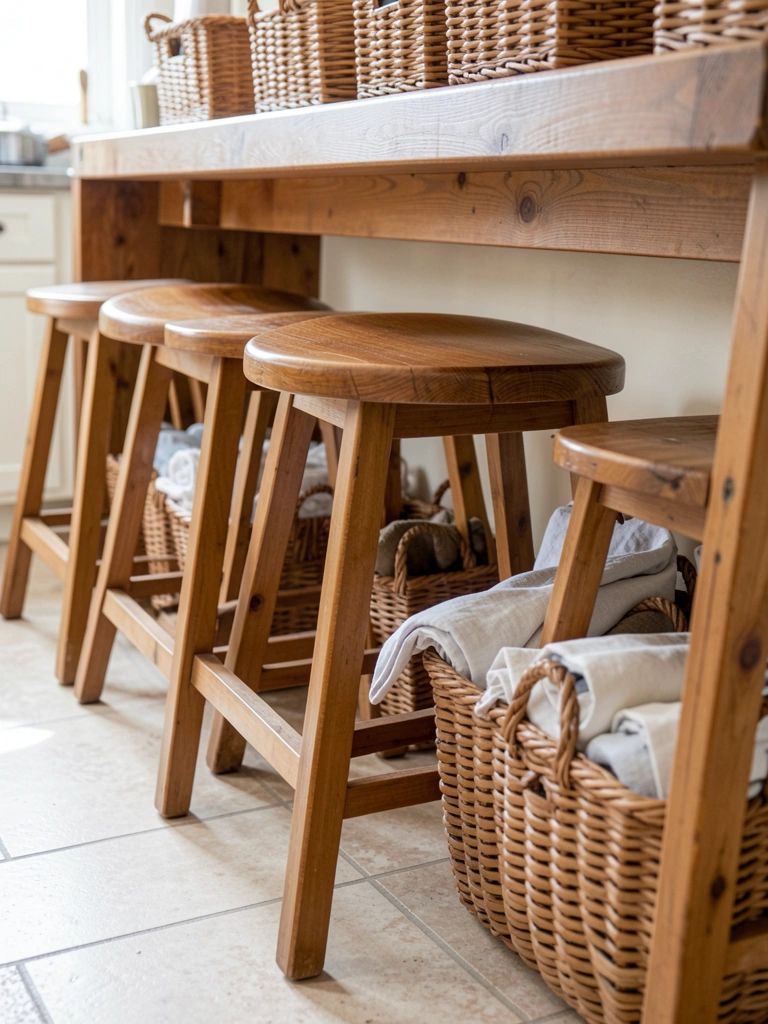
I tuck stools under, add baskets for towels. Clears floor. Makes space feel bigger. Pull out for two, room for four.
People overlook legroom—cramped stools kill flow. Avoid matching perfectly; slight wood variations blend.
Daily use fits seamless. Practical warmth.
Pairing with Your Kitchen Style
Wood tables mix easy. In white kitchens, they ground cool tones. Dark cabinets? Light layers lift.
- Test runner color against walls first.
- Match stool seats to floors for flow.
I swap branches by season. Keeps it fresh, mine.
Handling Everyday Wear
Wood handles spills if wiped quick. Runner protects daily.
- Dust weekly, soft cloth only.
- Refresh oils yearly for depth.
Mine sees family meals. Stays warm, real.
Adjusting for Small Spaces
Tight kitchens? Use wall-mount stools.
- Hang baskets on ends.
- Skip pendant; clamp lamp instead.
My old rental worked this way. Flow without squeeze.
Final Thoughts
Start with position. Add one layer at a time. Your table settles in.
It works because it's yours. No rush.
Now, that kitchen spot welcomes you. Simple as that.
Leave a Reply