If you’re tired of cluttered kitchen counters but can’t live without good coffee, you’re not alone. The minimal coffee setup trend proves you don’t need fancy machines or tons of gear to brew something amazing—just thoughtful choices and smart spacing. Whether you work from home, live in a small apartment, or simply crave a calming morning ritual, these 23 ideas show you exactly how to create a beautiful, functional coffee corner that takes up almost no room. You’ll discover budget-friendly hacks, DIY solutions, and smart product picks that keep your counter clean and your coffee routine simple. Let’s build your perfect minimal setup.
1. Choose a Pour-Over Dripper Over an Espresso Machine

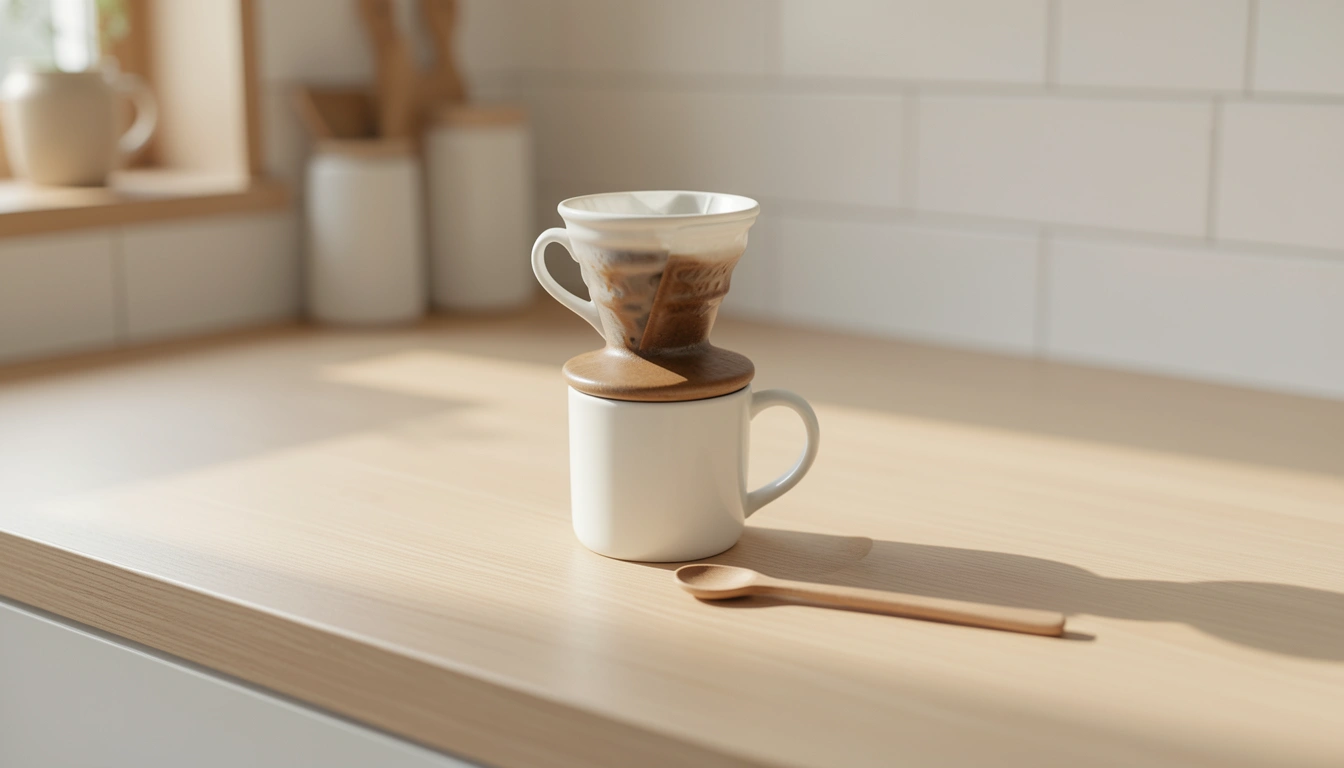
A pour-over dripper is the minimalist’s best friend—it’s compact, beautiful, and requires zero electricity. Unlike bulky espresso machines that hog counter space, pour-overs like Chemex, Melitta, or ceramic cones take up roughly the same footprint as your mug.
All you need is the dripper ($15–$40), reusable metal filters ($5–$10), and hot water. Brands like Chemex double as décor pieces, so they look intentional on display. The brewing process takes 3–4 minutes and becomes a mindful ritual. You can store everything in a small drawer or cabinet when guests come over.
Pro tip: Pair it with a gooseneck kettle ($25–$50) for better control and a more meditative pour. The ritual itself becomes part of your morning, not just the caffeine hit.
Your counter stays clear, your coffee tastes better, and you’ve got one fewer appliance taking up real estate.
2. Install a Floating Shelf Above Your Counter
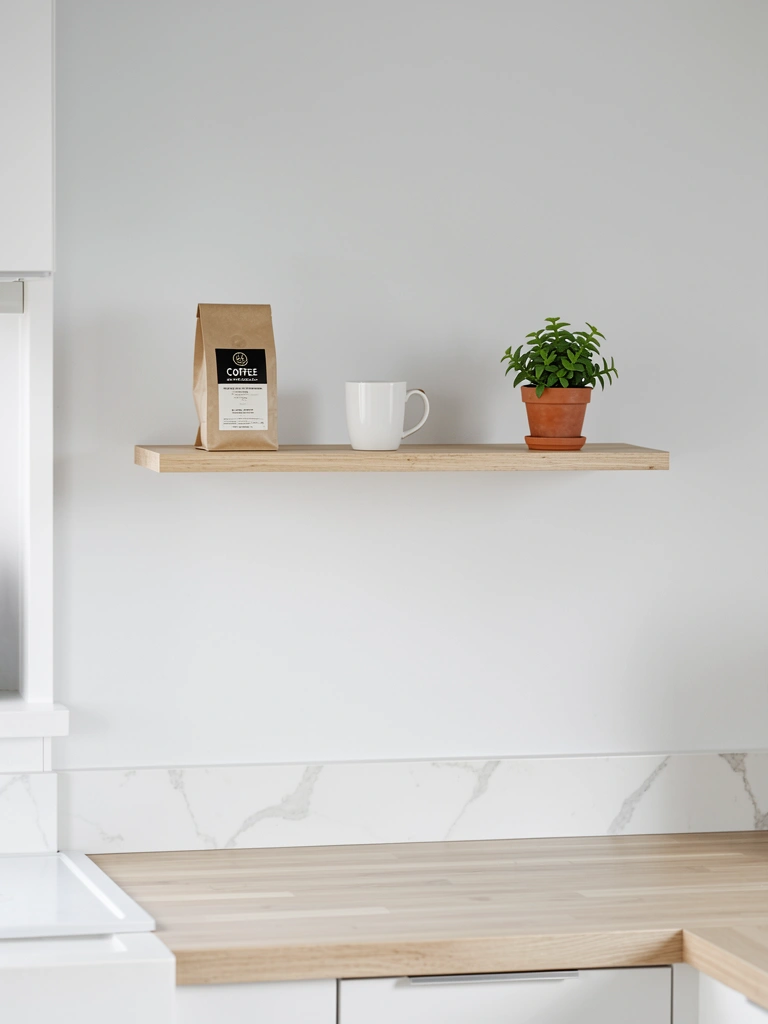
Vertical storage is a game-changer for small counters—it lets you display coffee essentials without eating up surface space. A floating shelf adds functionality while keeping your counter bare and calm.
Mount a slim wooden shelf ($20–$60) about 12–18 inches above your counter using a wall bracket kit. Store your coffee beans, a spare mug, and maybe a small plant. This takes about 30 minutes with a drill and level. Renters can use command strips and removable adhesive shelves ($15–$30) that won’t damage walls.
Pro tip: Keep the shelf to three items max—coffee beans, one mug, one small decoration. More than that and you’ve defeated the minimalist purpose.
Now you’ve got everything within arm’s reach but completely off your counter.
3. Use a Narrow Wooden Tray to Define Your Coffee Zone
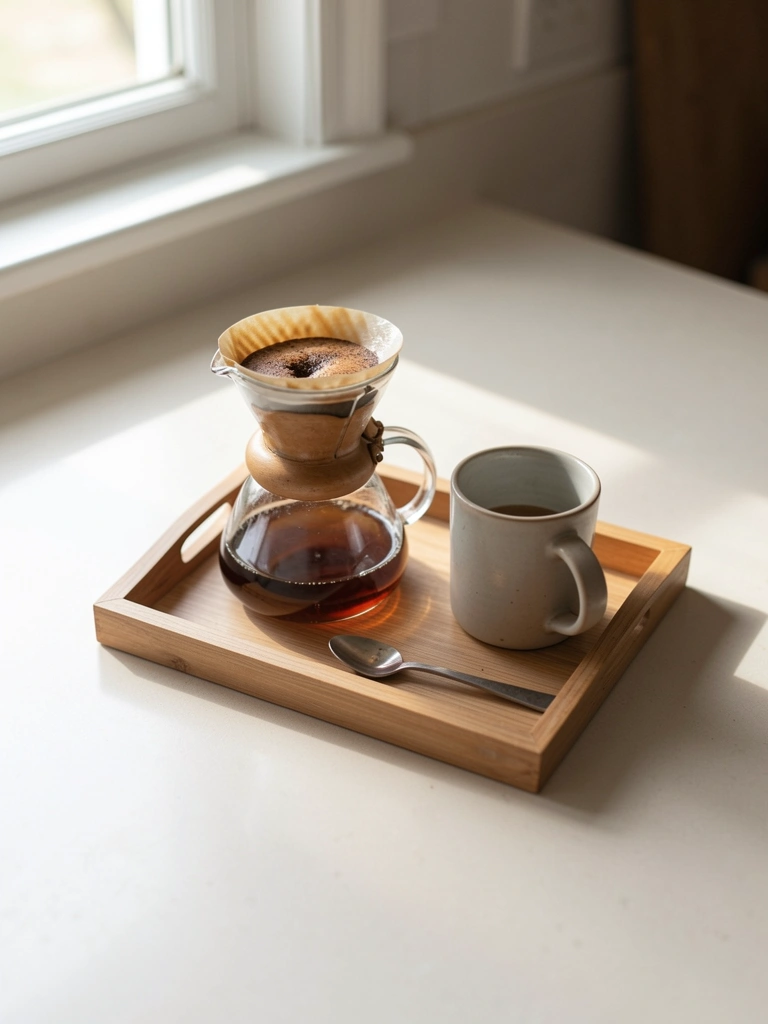
A tray corrals your coffee setup and makes it feel intentional rather than scattered. It also makes cleanup faster and creates a visual boundary that makes even a small area feel organized.
Pick a simple wooden tray ($15–$35) that fits your counter width—aim for 12–18 inches long and 6–10 inches deep. Place your dripper, mug, beans, and spoon on it. When you’re done brewing, you can slide the whole tray to the side or tuck it into a cabinet. This works especially well in kitchens where counter space blends into living areas.
Pro tip: Choose a tray with low sides so it doesn’t feel boxy. Natural wood ($20–$30) photographs better than plastic.
Your setup looks curated, not chaotic—and cleanup takes seconds.
4. Store Beans in Glass Jars with Minimalist Labels
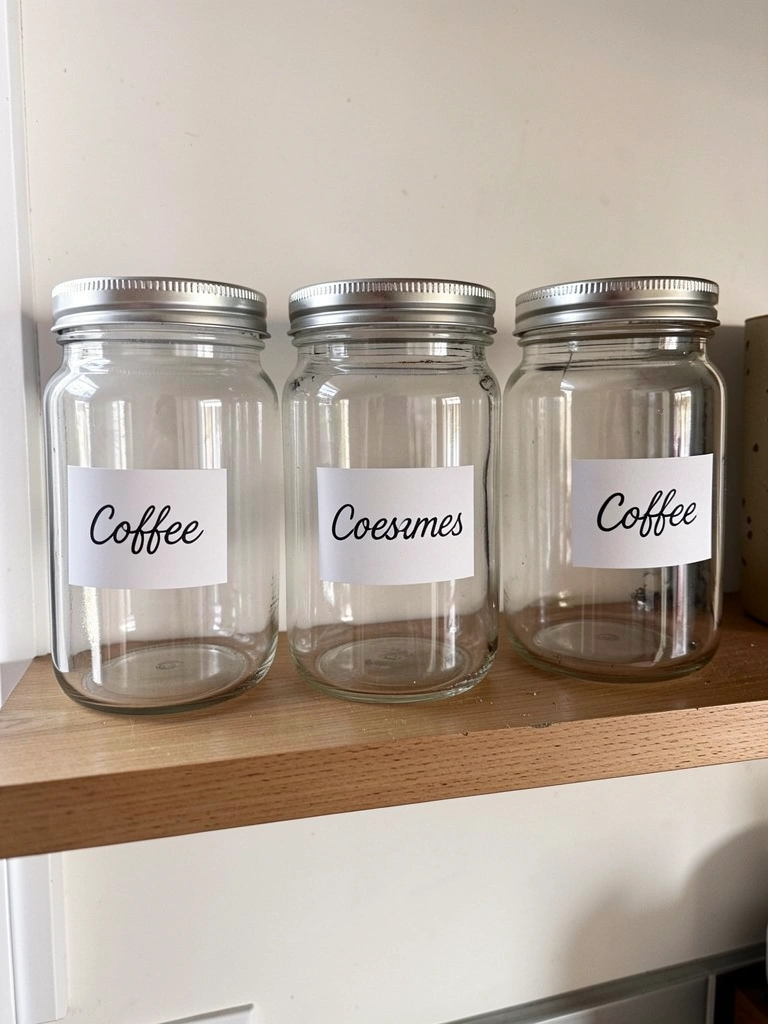
Clear glass jars keep beans fresh, visible, and beautiful—no bulky coffee bags taking up space or looking messy. Labels add a personal touch without clutter.
Buy food-grade glass jars ($2–$5 each at IKEA or Target) with tight-sealing lids. Print or hand-write simple labels on kraft stickers ($5 for a pack). Store beans in a cool, dark cabinet, then keep one open jar on your tray or shelf for active use. This setup takes 10 minutes.
Pro tip: Use airtight containers rated for coffee storage if shelf life matters to you. Label with roast date so you use beans at peak freshness.
Your coffee corner looks intentional and organized, and your beans stay fresher longer.
5. Switch to Single-Serve Pourover Packets for Travel Days
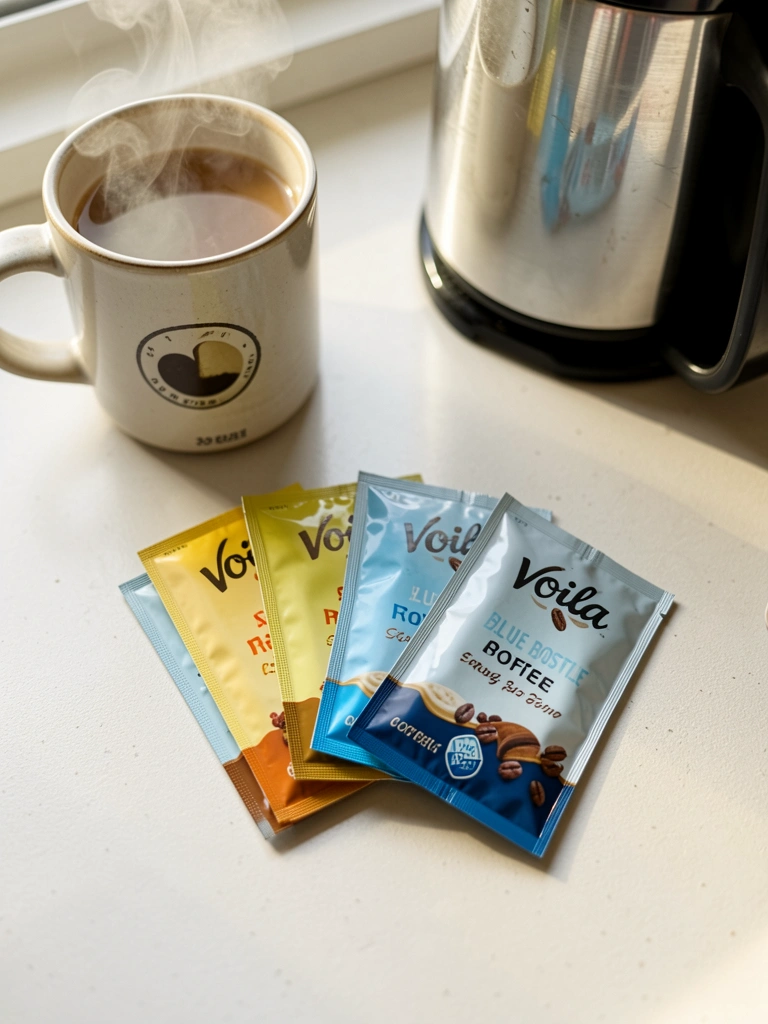
Some days you want even less commitment than a manual brew. Single-serve pouches attach directly to mugs and brew in 90 seconds with no extra gear.
Brands like Voila ($0.60–$1.50 per packet), Blue Bottle, or Dripkit ($1–$2 each) take up almost no space and travel anywhere. Keep a sleeve of 5–10 in a drawer ($5–$15 per box). Great for workdays, travel, or when you’re running late.
Pro tip: These aren’t cheap long-term, but they’re perfect for occasional use or testing new roasters before committing to bulk beans.
On chaotic mornings, you skip the ritual but keep the quality—no extra counter clutter required.
6. Invest in a Gooseneck Kettle That Doubles as Décor

A gooseneck kettle is the single most useful tool for pour-over coffee—and it looks intentional enough to leave on display. The thin spout gives you precise control and makes brewing feel like a ritual.
Pick one in matte black or stainless steel ($35–$80). Brands like Fellow, Hario, or even basic Amazon options ($25–$40) work great. The aesthetic is so clean that it becomes part of your décor, so you don’t need to hide it away. If you have limited counter space, get a small kettle (1–1.5 liter capacity) that heats faster and takes up less room.
Pro tip: Electric gooseneck kettles ($50–$100) heat water faster than stovetop versions, saving you 2–3 minutes every morning.
Your counter looks intentionally styled, not like you’re storing appliances.
7. Create a “Coffee Only” Drawer for Supplies
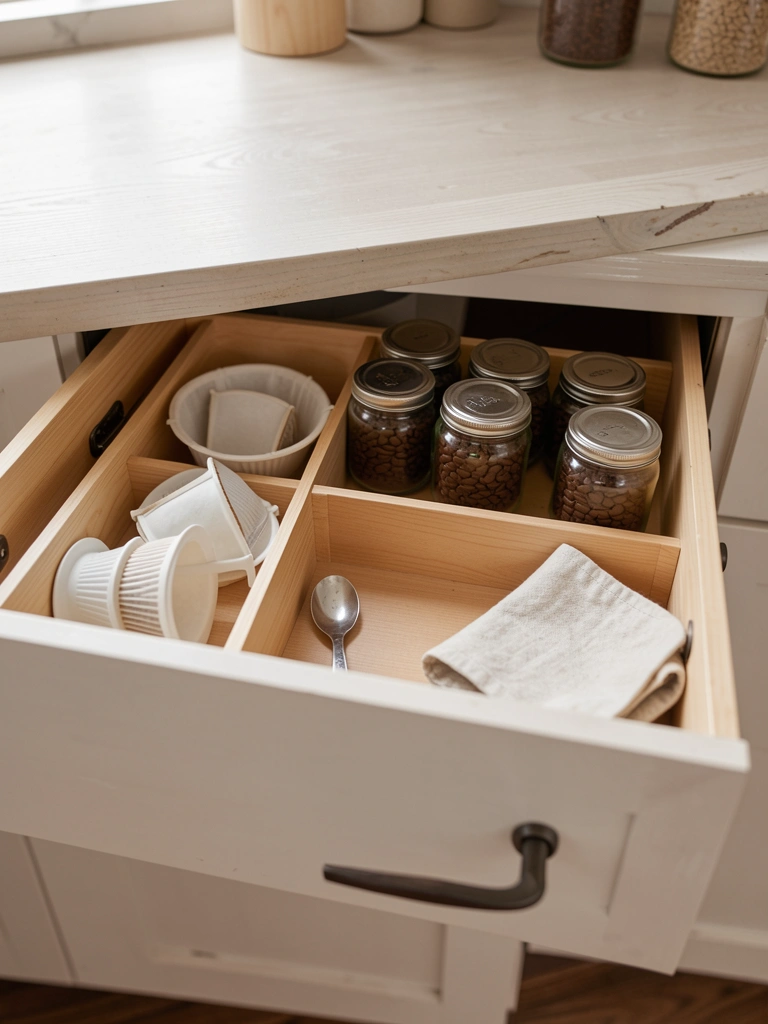
If you don’t have counter space or want to hide your setup when not in use, a dedicated drawer keeps everything organized and accessible.
Use a drawer divider kit ($10–$20) to create sections: one for filters, one for beans, one for stirring spoons, and one for backup supplies. Takes 15 minutes to set up. Everything stays dust-free and ready to grab. This works perfectly if your kitchen opens onto a living room or if you prefer a completely minimal counter aesthetic.
Pro tip: Use small glass or ceramic containers inside the drawer so you can see what you have at a glance.
Your morning setup is literally one drawer pull away, and your counter stays completely bare when you want it to.
8. Pair a Small Water Dispenser with Your Setup
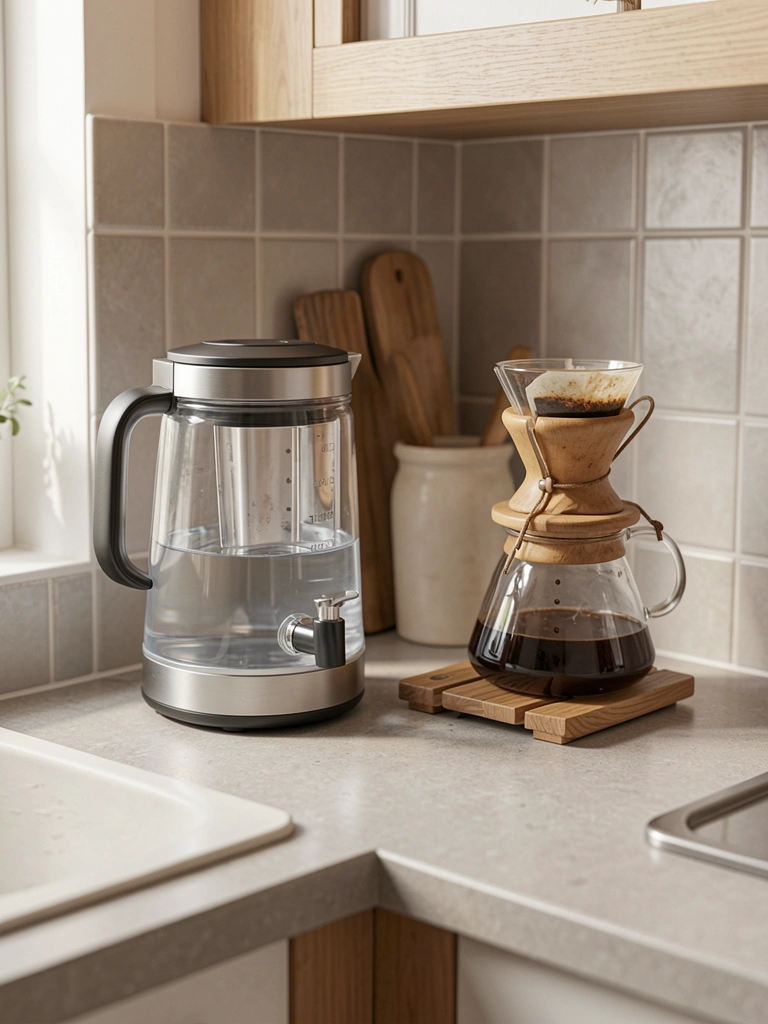
If you don’t want to wait for kettle water or heat the stove every morning, a filtered water dispenser (hot and cold) eliminates a step. Compact models fit anywhere.
Look at Instant Pot Ace ($100–$150) or smaller filtration pitchers with built-in heaters ($60–$120). Some just need to be filled once and keep water at optimal brewing temperature all day. Takes 5 minutes to set up and fill. You get instant hot water without the kettle ritual—trade-off is more counter space, but it’s minimal compared to a full espresso machine.
Pro tip: If you’re tight on space, a simple filtered water pitcher ($20–$40) still works—just keep it in the fridge and heat water traditionally.
You shave minutes off mornings while maintaining a streamlined, modern setup.
9. Use Neutral Color Palette for All Your Coffee Gear
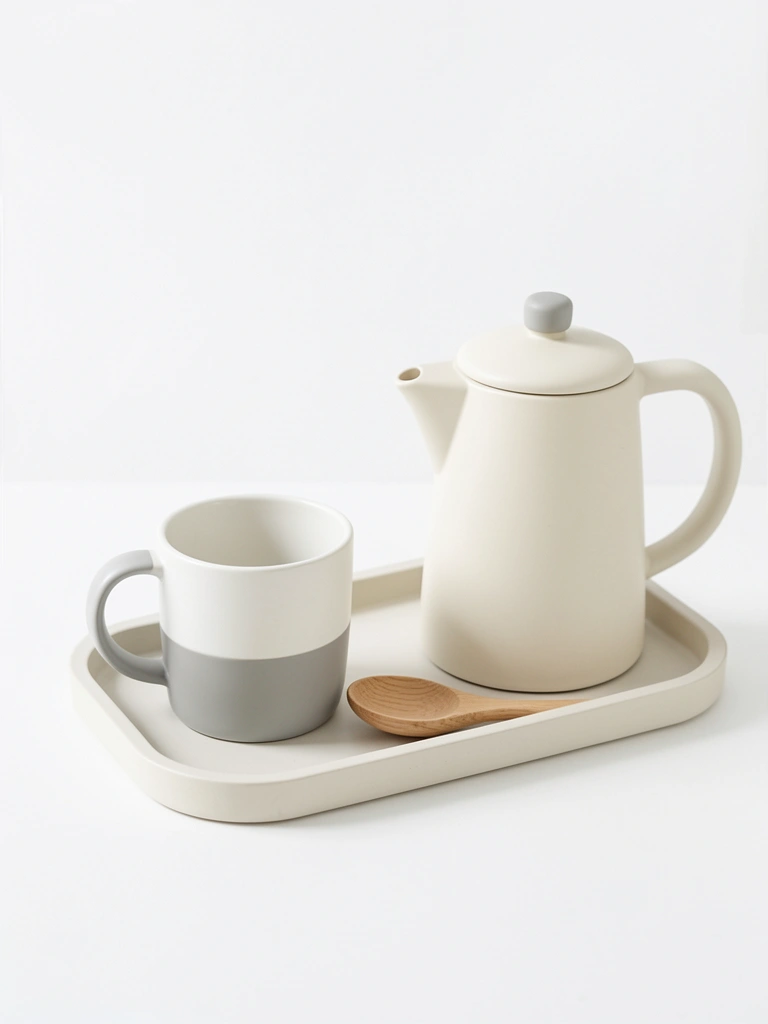
Colors that clash make a space feel chaotic—even if it’s minimal. Matching your coffee gear to a neutral palette (white, cream, gray, natural wood) makes the setup look intentionally curated rather than random.
When shopping for mugs, kettles, trays, and dripper handles, aim for these tones. You don’t need matching sets (too sterile), but similar color families create visual calm. A white ceramic dripper, a cream mug, a gray kettle, and a natural wood spoon feel harmonious. Takes zero extra effort—just choose intentionally when you buy.
Pro tip: Add one accent color (like a deep green plant) to break the monotony without adding clutter.
Your coffee corner looks serene and designed, not like random kitchen tools scattered around.
10. Mount a Slim Spice Rack for Coffee Additions

If you like to add cinnamon, honey, or cocoa to your coffee, a slim wall-mounted spice rack keeps these extras accessible without cluttering your counter.
Install a narrow wooden rack ($15–$30) with 3–4 shelves about 18 inches above your counter. Fill small glass jars ($1–$2 each) with your additions. Installation takes 20 minutes with basic tools. Renters can use command-strip wall organizers ($10–$15) that don’t require drilling.
Pro tip: Label jars with small stickers so you can find everything quickly. Keep the rack to essentials only—cinnamon, honey, a sweetener, maybe cocoa.
Now your flavor add-ons are displayed and organized, not tucked away in cabinets where you forget about them.
11. Choose a Reusable Metal Filter Instead of Paper
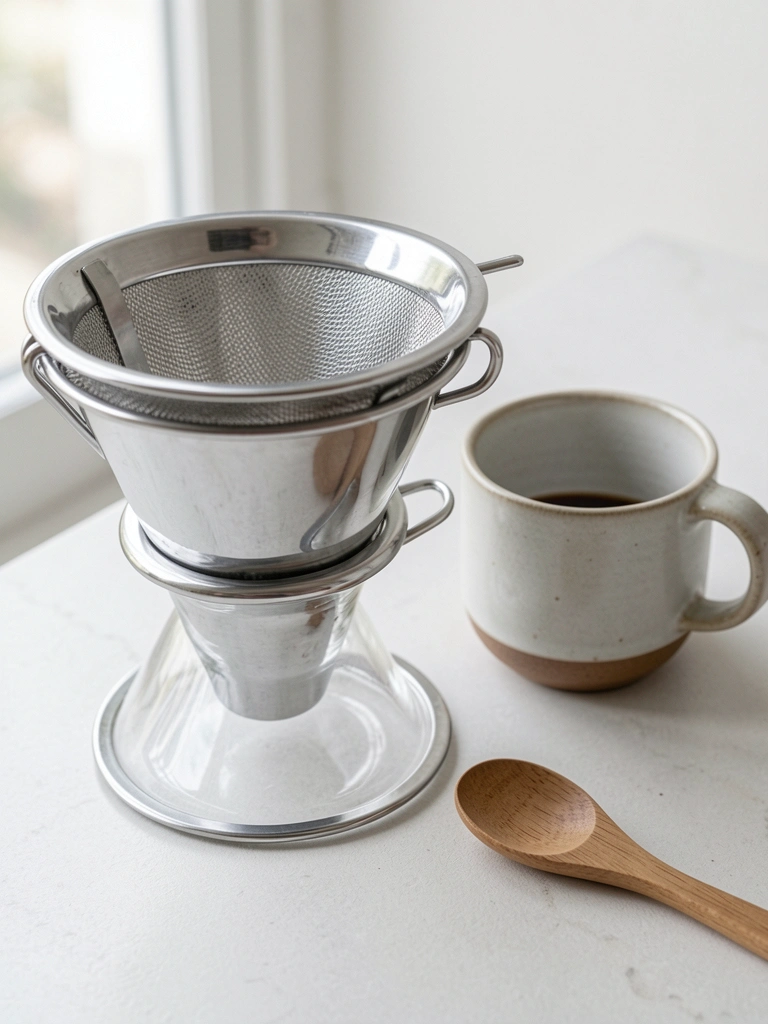
Reusable metal filters cut plastic waste, save money long-term, and look sleeker than bulky paper stacks. They’re also easier to store.
Buy a stainless steel mesh filter ($5–$15) that fits your dripper. Rinse after each use and air-dry. No more buying boxes of paper filters ($4–$8 monthly). After 50 uses, you’ve paid for itself. Storage is simple—one small filter takes up barely any space.
Pro tip: Metal filters let more oils through than paper, creating a slightly richer cup. Some people prefer this; others prefer paper’s cleaner taste. Try both.
You eliminate packaging waste while simplifying your supplies to literally one reusable item.
12. Add a Single Small Plant to Your Setup
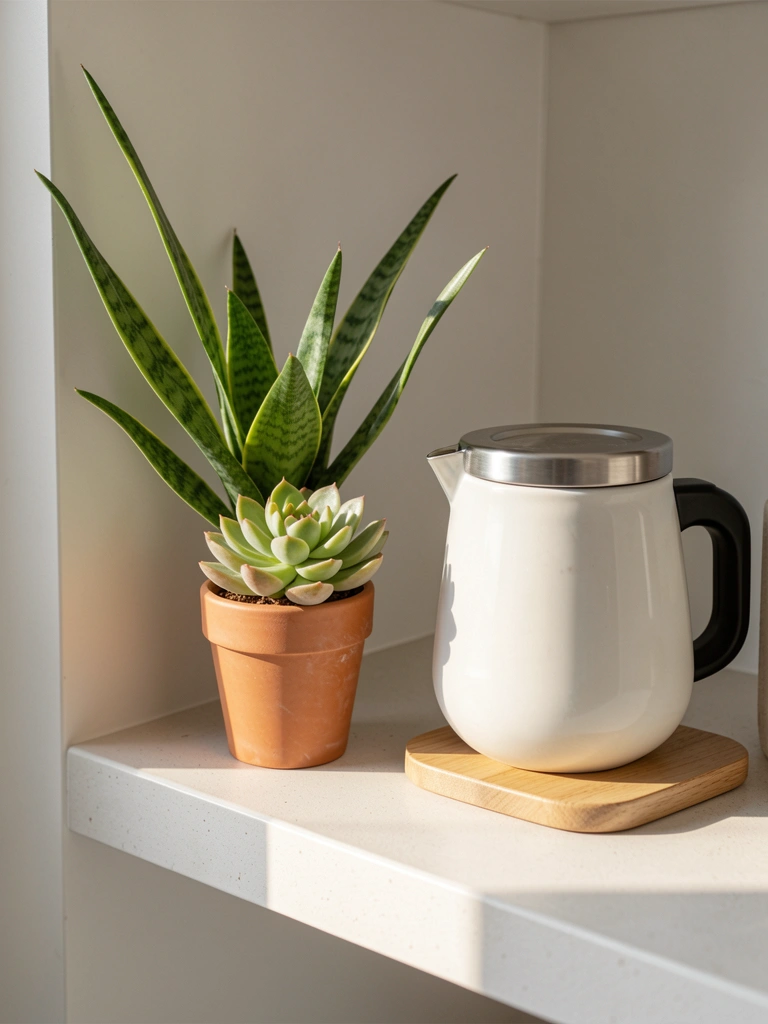
One small plant near your coffee area adds life and freshness without overcomplicating your space. Biophilic design (adding nature) reduces stress—perfect for a morning ritual.
Pick a low-maintenance plant like a pothos, snake plant, or succulent ($8–$20 from a nursery or grocery store). Put it in a small ceramic pot ($5–$10) that matches your color palette. Water weekly or biweekly—barely any maintenance. One 4-inch plant takes up minimal counter or shelf real estate.
Pro tip: Choose a plant that thrives in whatever light your kitchen gets. Succulents need bright light; pothos handle lower light.
Your coffee corner goes from functional to calming—a plant makes even a tiny setup feel more intentional and peaceful.
13. Build a Mobile Coffee Cart on a Slim Bar Cart
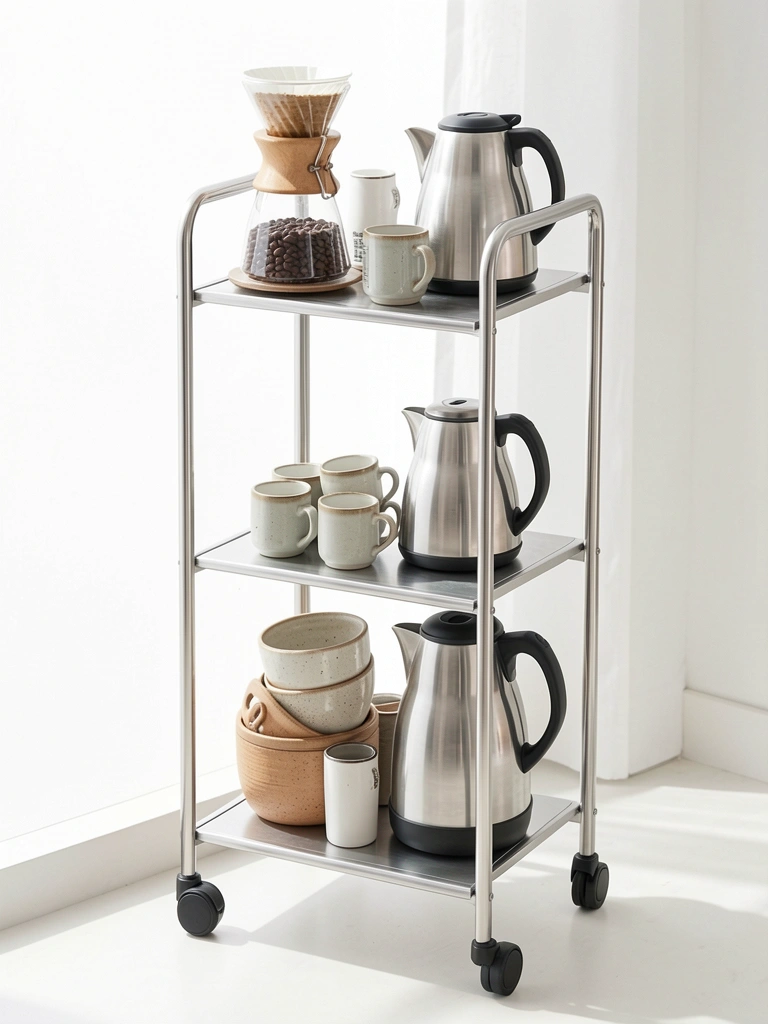
If you want flexibility (morning kitchen vs. home office), a slim bar cart keeps your entire setup mobile. Everything stays together and off your main counter.
Choose a narrow bar cart ($40–$100) with two or three tiers. Arrange your kettle, dripper, mugs, and beans vertically. Roll it wherever you need coffee. Takes 5 minutes to set up once. This works great if you have multiple rooms where you work or if you’re renting and want to take it with you.
Pro tip: Pick a cart in black metal or wood to match your style. Make sure wheels lock so nothing tips over while brewing.
Your setup is portable, organized, and completely clears your main kitchen counter when you’re not brewing.
14. Use Minimalist Coffee Scoops and Spoons
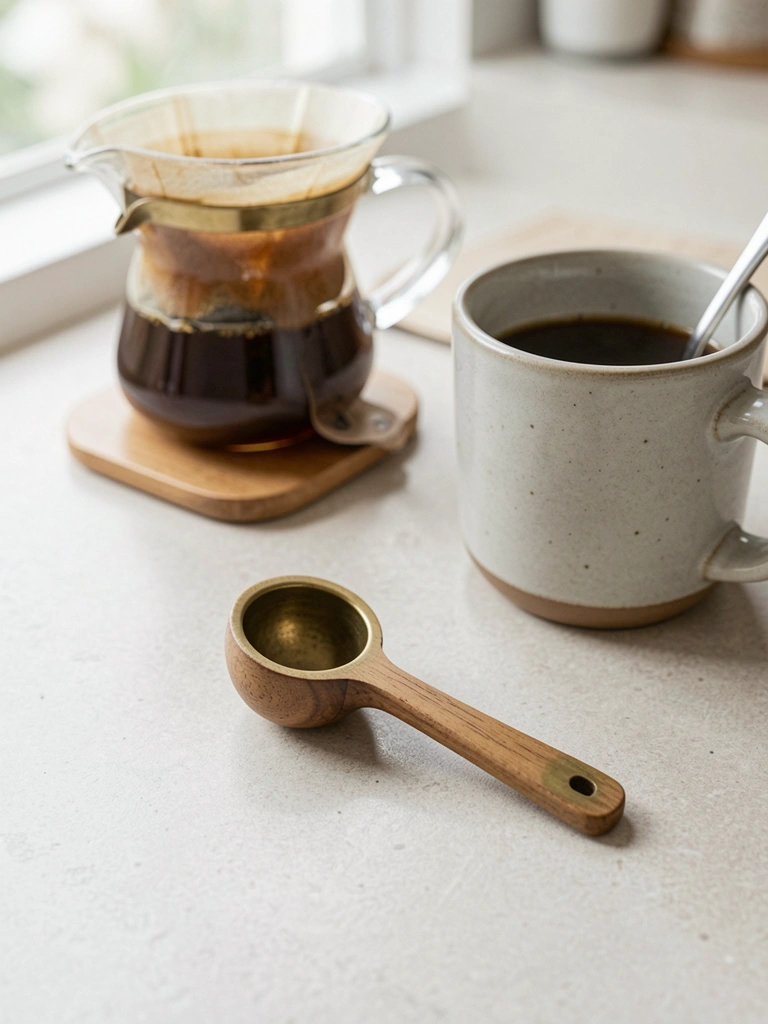
A proper scoop and spoon aren’t just functional—beautiful ones become part of your displayed setup rather than junk drawer items.
Buy a single wooden coffee scoop ($5–$15) and one small brass or wood spoon ($3–$10). These double as décor and keep your setup complete. You need only one of each—no drawer full of duplicates. Quality versions last years and age beautifully.
Pro tip: Wooden items develop character with use, while brass or copper can patina over time—both look more intentional than plastic.
You’ve streamlined your tool count to essentials that are beautiful enough to display permanently.
15. Install Under-Cabinet Lighting for Your Coffee Zone
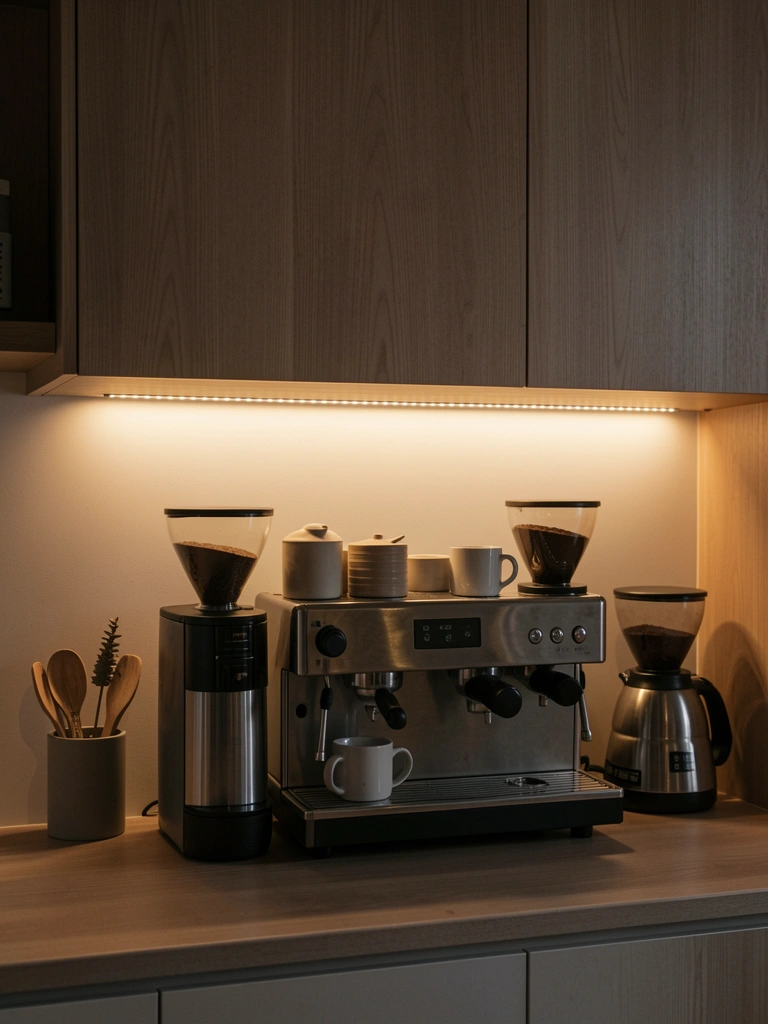
Under-cabinet LED strips add ambiance and make your setup feel like a café—all while using minimal power and taking zero counter space.
Install self-adhesive LED strips ($15–$30) under your upper cabinet. Plug into a nearby outlet or use battery-powered strips ($20–$40). Takes 10 minutes. Warm white light (2700K) creates a café vibe; cool white (4000K) feels modern and energizing. This especially works if your coffee setup is in a kitchen-living room blend.
Pro tip: Choose dimmable strips ($25–$50) so you can adjust mood based on time of day or your energy level.
Your minimal coffee corner suddenly feels like a boutique café, and the soft light makes mornings more peaceful.
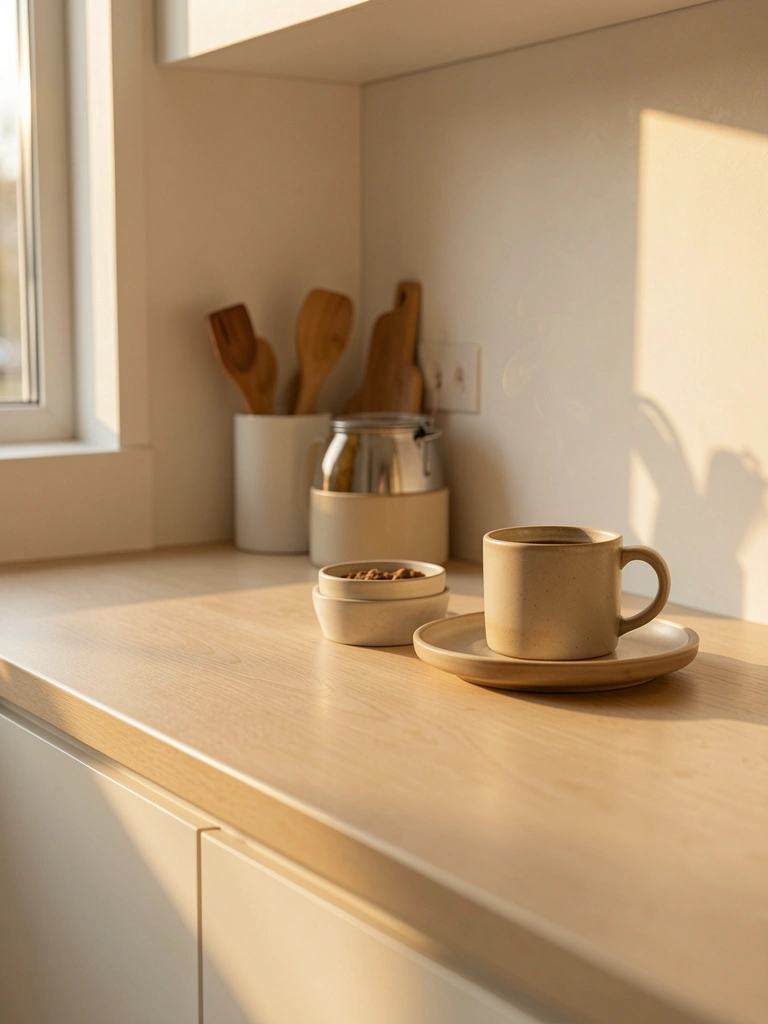
16. Stock One High-Quality Mug You Actually Love

Instead of a cabinet of mugs, own one beautiful mug you genuinely love. You’ll use it daily and it becomes part of your identity.
Invest in a single quality mug ($25–$60) from brands like Kinto, Heath Ceramics, or local potters ($20–$80). Choose a size that fits your morning ritual—typically 10–12 oz for pour-overs. This becomes your signature mug, and you don’t need backups for looks. If guests come over, they’ll use something else; that’s fine.
Pro tip: Pick a mug with a slight handle that fits your hand well. Test in-person if possible—grip matters more than looks.
Your morning coffee ritual feels special, and you’ve eliminated the need for a whole drawer of mediocre mugs.
17. Create a Coffee Menu Card on Your Counter
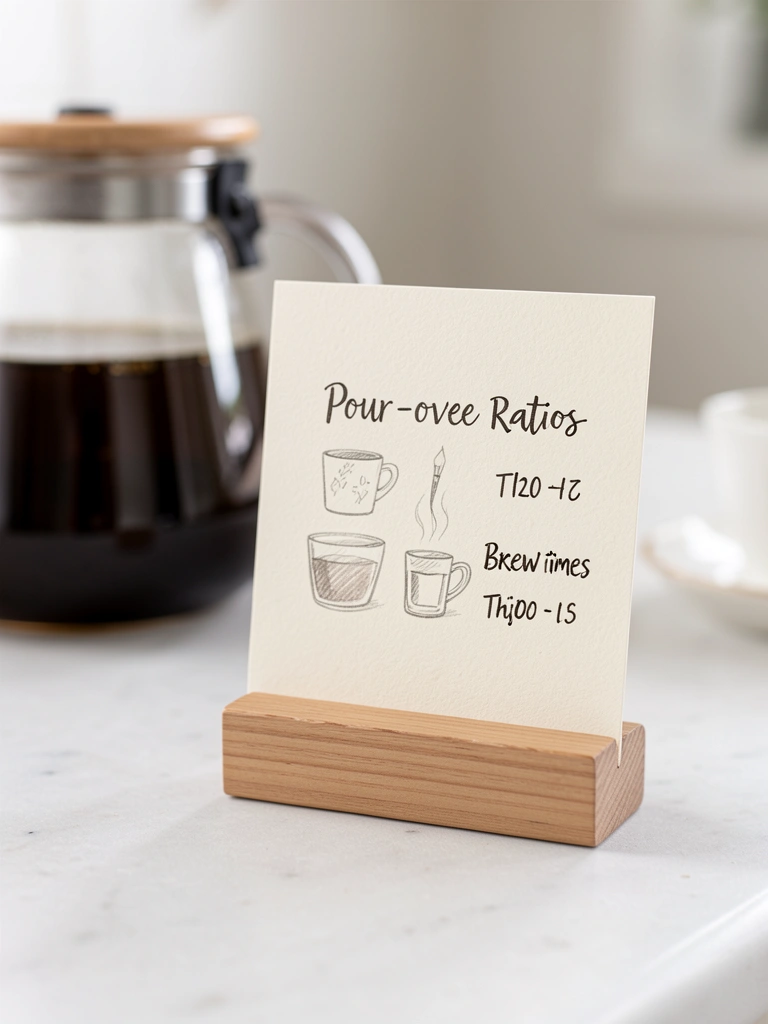
A small recipe card or menu keeps brewing ratios and times visible—eliminating the need to google or remember mid-brew. It also looks intentional and adds personality.
Write or print a card ($1–$5) with your standard brew ratio (e.g., 1:16 coffee to water), brew temperature, and time. Stick it in a small wooden stand ($3–$8) or frame it. This doubles as decor and functional reference. Takes 10 minutes to create.
Pro tip: Use chalk markers or a dry-erase card if you like experimenting with ratios. Make it beautiful enough that it’s part of your display.
You never fumble through brewing again—and your card becomes a small piece of art that shows visitors you take coffee seriously.
18. Use a Cloth Napkin or Small Towel as a Workspace Mat
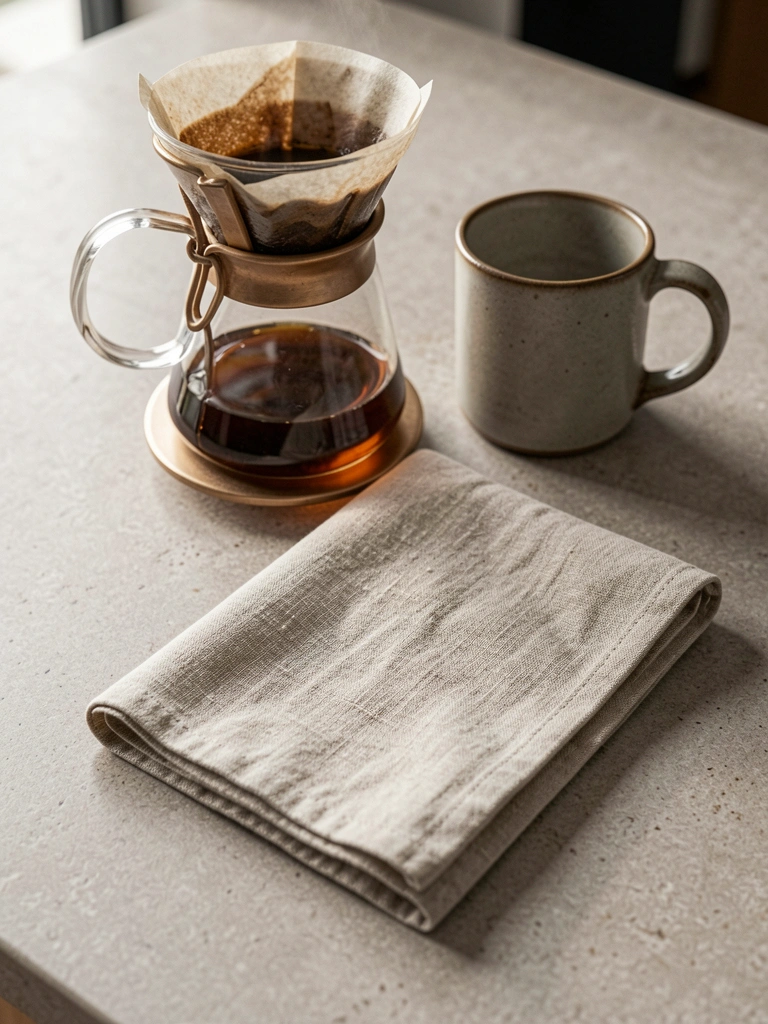
A cloth napkin or small linen towel defines your coffee zone without taking permanent space. It also catches spills and adds texture to your setup.
Place a simple linen napkin ($3–$8) or kitchen cloth under your brewing area. Choose natural fibers in cream, gray, or white to match your palette. This gives you a defined “coffee zone” within your counter and adds warmth. Easy to wash and reuse indefinitely.
Pro tip: Look for vintage or handwoven cloths at thrift stores ($1–$3) for more character. Linen ages beautifully.
Your setup gains a grounded, intentional feel—and you’ve got a protective layer that catches drips.
19. Set a Daily Brew Time and Stick to It
Consistency turns your minimal coffee setup into a ritual that anchors your whole day. Pick a brew time and protect it.
Commit to brewing at the same time daily—8 AM, for example. Block 10 minutes on your calendar. This isn’t about rules; it’s about creating a moment of calm before chaos. Your minimal setup makes this ritual fast and enjoyable. Over time, this becomes your favorite part of the day.
Pro tip: Prep the night before (grind beans, fill your kettle) so morning setup takes literally 60 seconds.
Your coffee ritual becomes the most grounding part of your day, and your minimal counter supports this instead of complicating it.
20. Combine Coffee Supplies with Morning Journaling
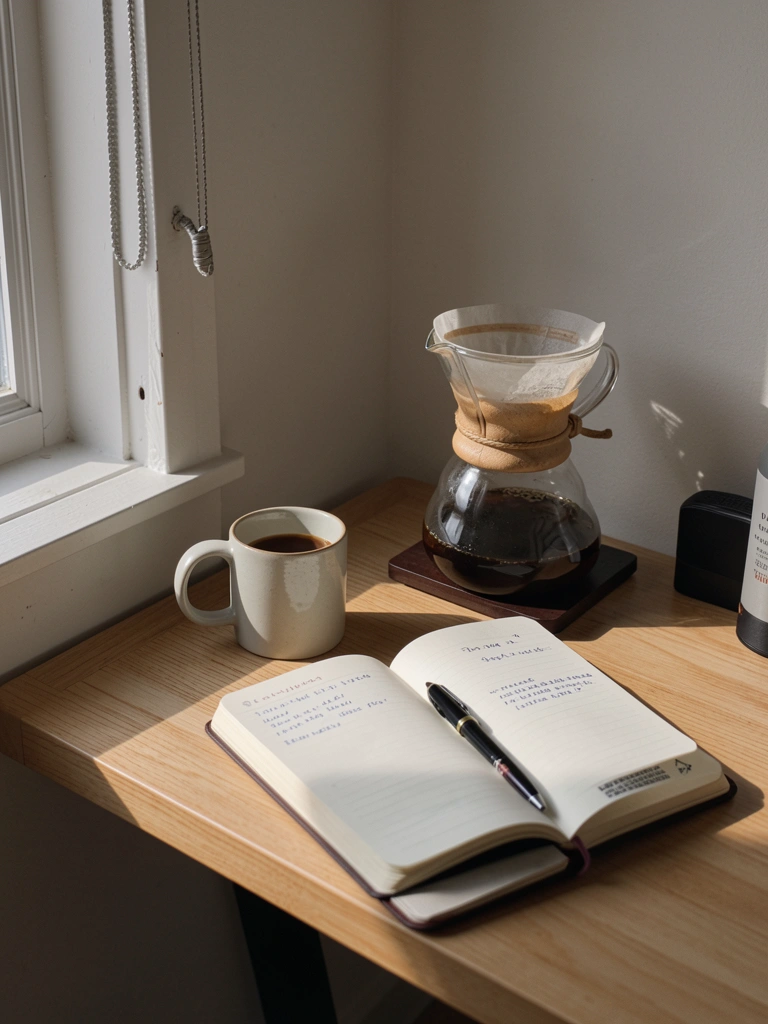
If you journal, meditate, or read, pair your coffee ritual with these practices. One compact corner handles multiple morning essentials.
Place your coffee setup next to a small journal and pen on your counter or a small table ($0 if you already have these). Brew coffee, sit for 5–10 minutes, and journal or read. This transforms coffee from fuel into a full mindfulness practice. No extra gear needed—just intentional spacing.
Pro tip: Keep a small tray or placemat to define this zone so your morning ritual feels separated from everyday bustle.
Your mornings shift from rushed to peaceful, and your minimal setup supports a daily practice that changes everything.
21. Choose Biodegradable Filters (If You Use Paper)
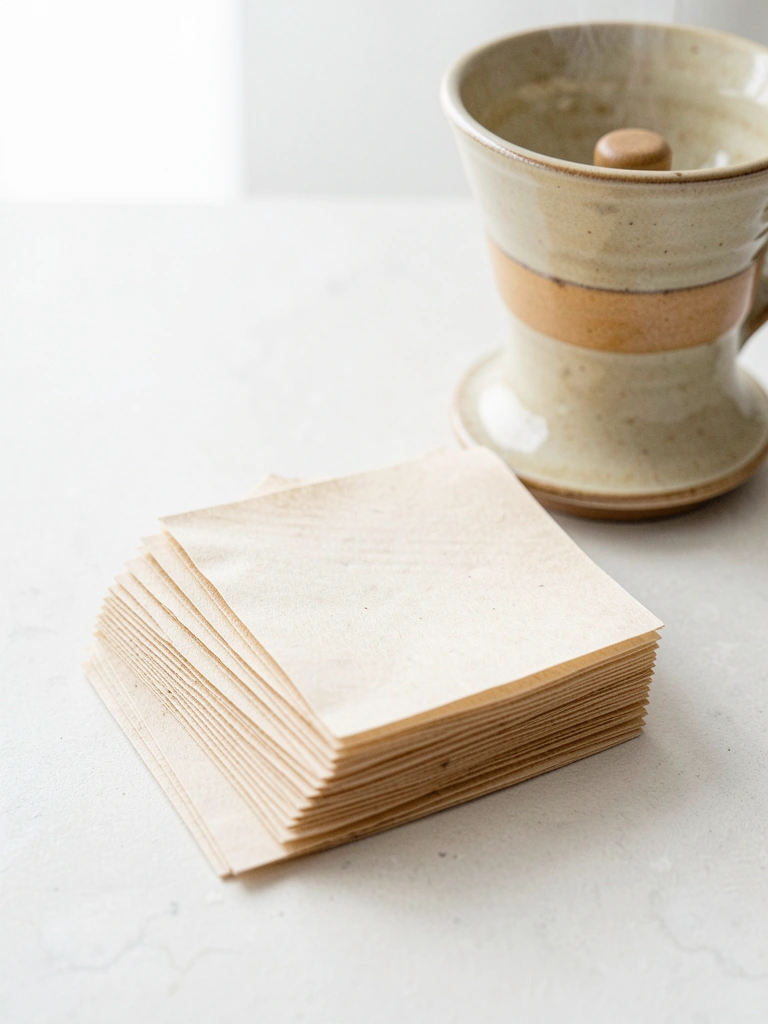
If you prefer paper filters, switching to unbleached or bamboo filters aligns with minimalist values—less waste, simpler supply chain, guilt-free disposal.
Buy unbleached filters ($3–$6 per 100-pack) from brands like Melitta or full-circle. These break down naturally and feel less wasteful than bleached paper. Storage is the same as regular filters—barely any counter or cabinet space.
Pro tip: Some people find unbleached filters slightly papery in taste. Try both and see which you prefer. If cost matters, paper (bleached or not) is cheaper than metal filters initially.
You keep your ritual simple while knowing your coffee’s environmental footprint is minimal.
22. Mount a Small Clock Above Your Coffee Zone
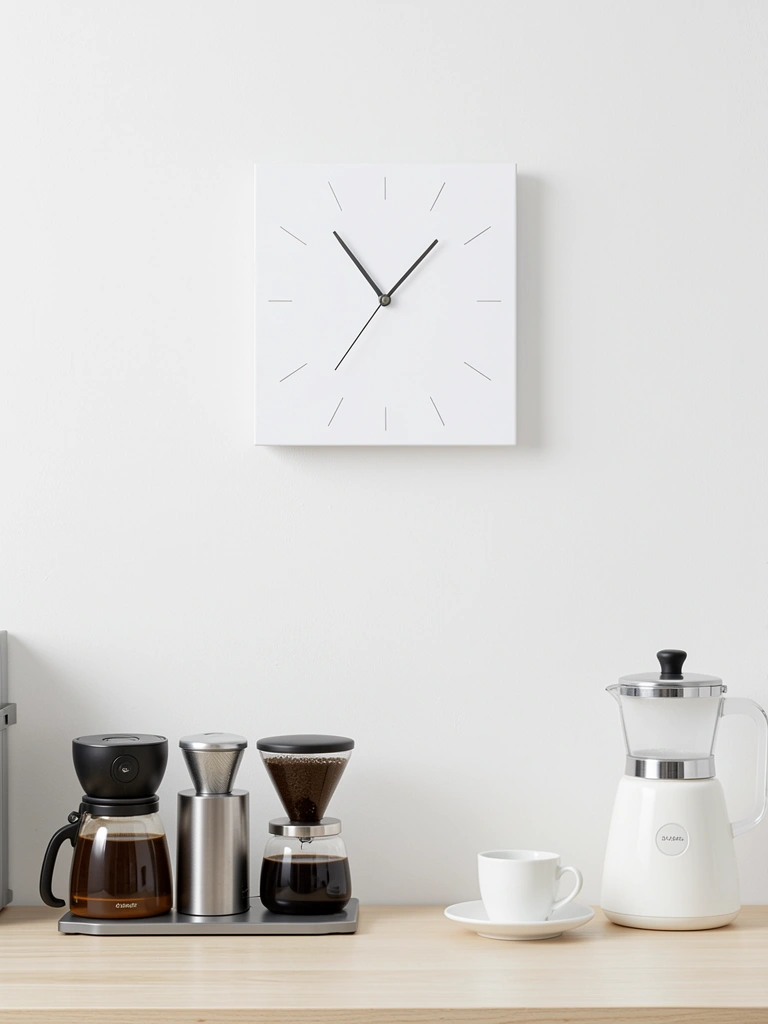
A small clock keeps brewing time visible and adds to the “coffee zone” feel without taking counter space. It’s both functional and décor.
Install a slim minimalist clock ($15–$40) on the wall above your coffee area. Choose a design with minimal details—simple hands, no numerals, or just dots at 12, 3, 6, 9. Keeps you on track for brew time while adding intentional style. Installation takes 5 minutes.
Pro tip: Pick one in black, white, or brass to match your coffee setup’s color palette. A kitchen timer works too if you already have one on your phone.
Now your brewing area feels complete and almost-café-like without adding any clutter to your counter.
23. Keep a Backup Brewing Setup in a Compact Tote
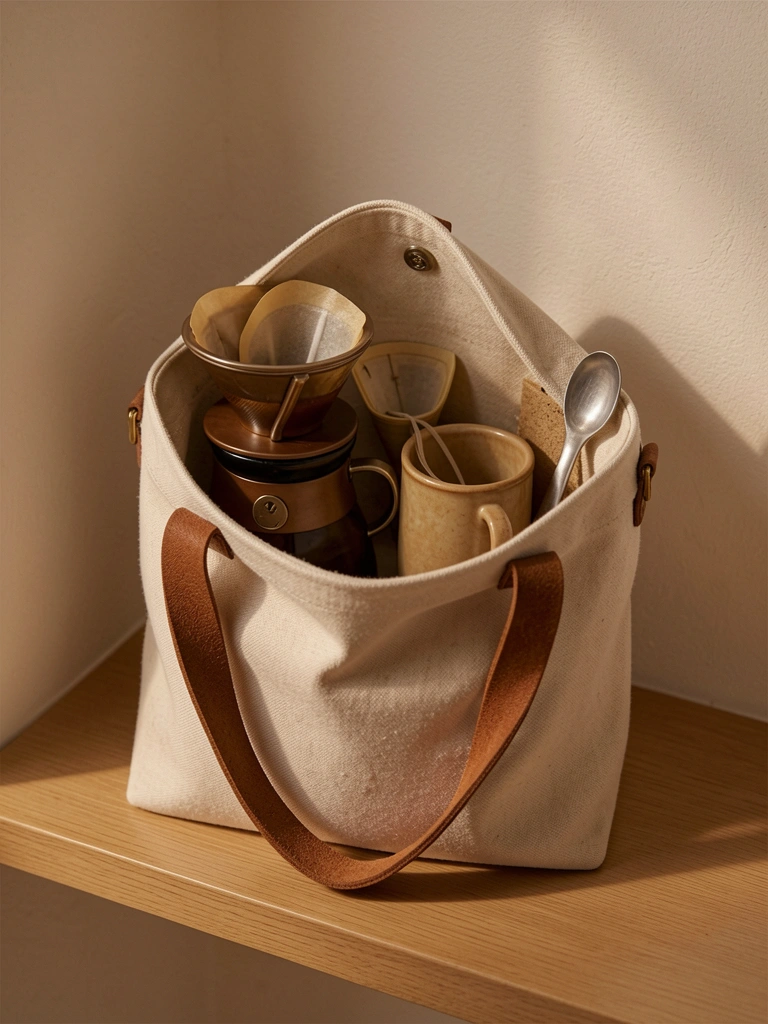
Travel, vacations, or impromptu coffee needs happen. A compact tote holds a complete backup setup that’s grab-and-go.
Pack a small collapsible dripper ($20–$40), reusable cup ($8–$15), portable filters, and spoon into a canvas tote ($10–$25). Store on a shelf or in your car. When you travel or need coffee on the go, everything’s ready. Takes 10 minutes to pack.
Pro tip: Include a small bag of your favorite beans ($5–$10 for single-origin traveler bags) so you’re never without good coffee.
You’re prepared for coffee anywhere—and your home counter stays completely minimal because everything’s in one portable kit.
Save this post for your next minimal setup refresh. Pick one idea this weekend—maybe it’s the mug, the tray, or the floating shelf—and watch how a single change makes your mornings calmer and your counter cleaner.
Leave a Reply