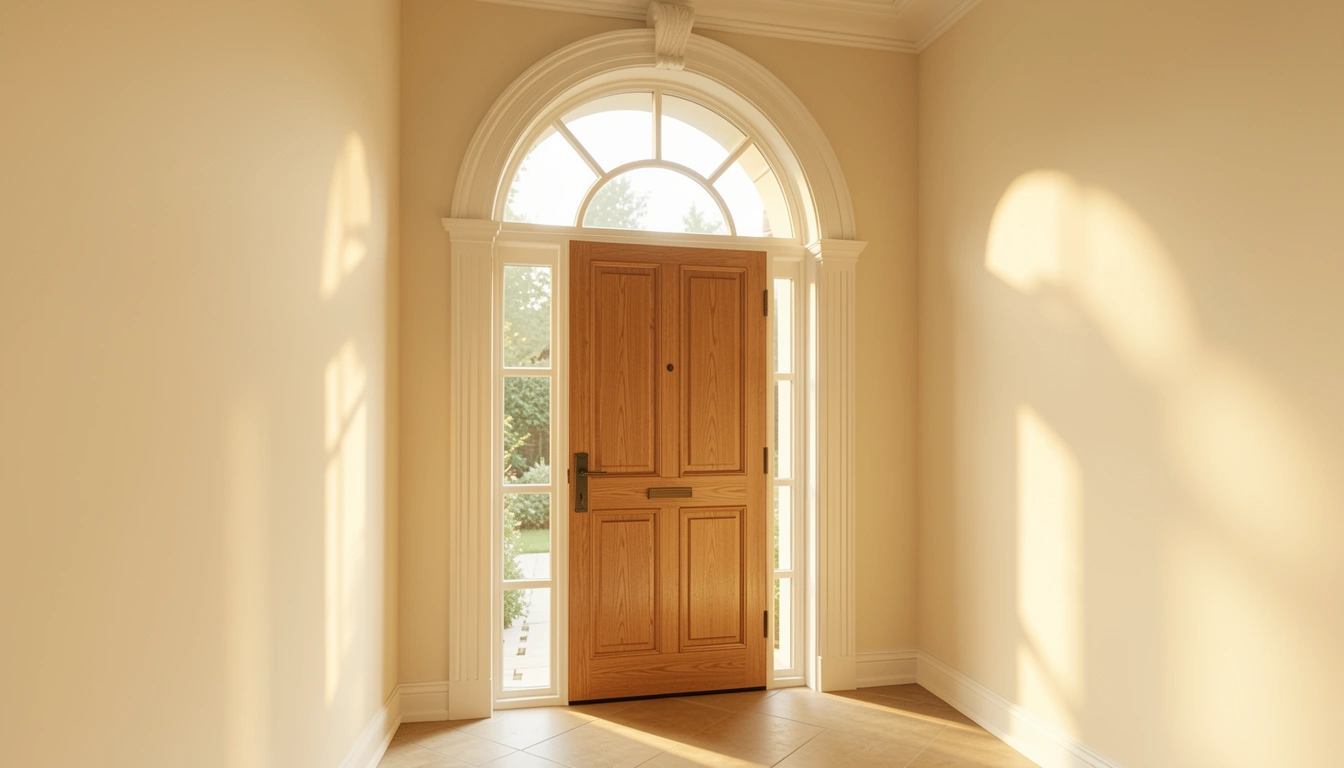
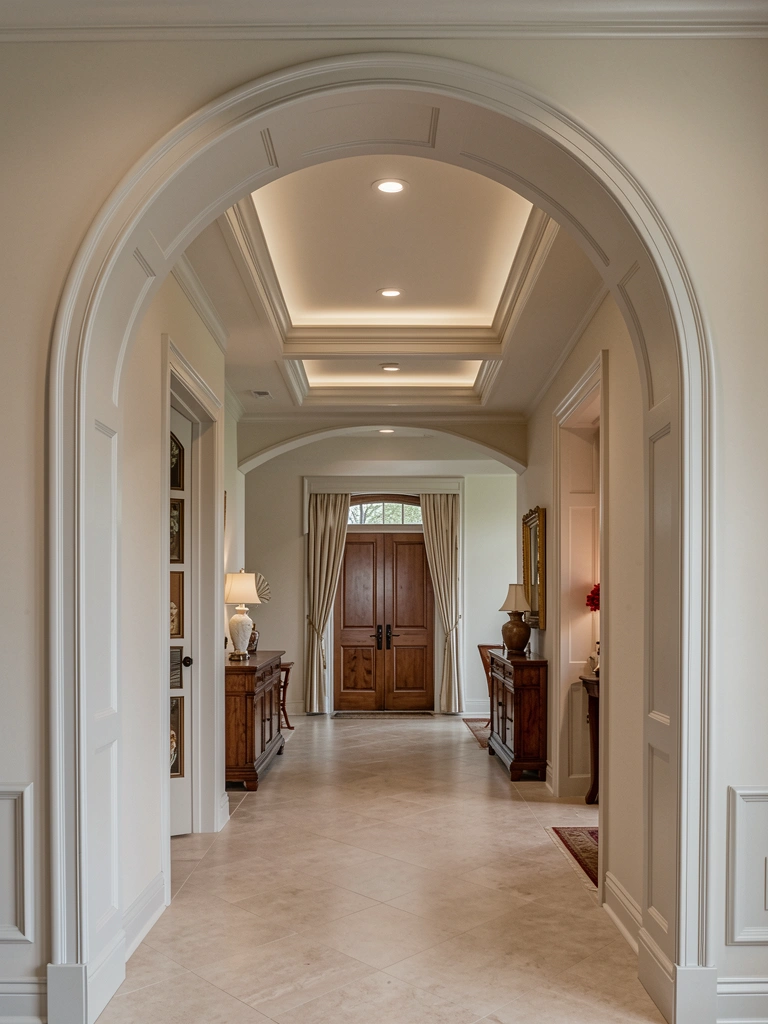
Arched door frames do something special—they add instant architectural character that transforms an ordinary entryway into a focal point worthy of admiration. Whether you’re updating a tired entry, refreshing an interior doorway, or planning a new build, arched frames offer timeless elegance that works with nearly any design style. The good news? You don’t need a complete renovation to add this classic touch. We’ve gathered 25 achievable concepts ranging from simple trim upgrades to statement-making architectural features. Each idea includes realistic pricing, DIY options, and styling tips so you can choose what works for your space and budget. Let’s explore how to bring architectural charm into your home, one arched frame at a time.
1. Paint Arches a Contrasting Accent Color

A fresh coat of paint on your arch creates drama without structural work. This budget-friendly hack costs just $15–$40 for quality paint and a small brush, taking only an afternoon to complete. Choose a color that contrasts with your walls—deep forest green, charcoal, or matte black all photograph beautifully and draw the eye upward.
Apply painter’s tape carefully along the arch curve, then use a small angled brush for precision. A second coat ensures rich color. The result? Your arch becomes an architectural statement piece that costs less than dinner out. This works beautifully for renters too—just ask about semi-permanent paint or plan a touch-up when you move.
2. Add Decorative Crown Molding Along the Arch
Crown molding traces your arch’s curve and adds instant sophistication. Pre-made curved molding runs $50–$150, while installation takes a weekend if you’re comfortable with basic carpentry—or hire a pro for $200–$400. The payoff? Your arch looks professionally designed and dramatically more polished.
Measure your arch carefully and order flexible or pre-curved molding that matches your style. Paint or stain it to coordinate with your trim. The curves catch light beautifully, adding depth and visual interest. If DIY feels risky, hiring a handyperson is worth the investment for flawless results. Your entry gains a custom, high-end appearance that guests notice immediately.
3. Install Arched Shiplap Inside the Frame

Shiplap-lined arches create cozy, farmhouse-inspired charm with excellent texture and visual interest. Material costs run $40–$100 for a standard doorway, plus a weekend for installation. This project is moderately challenging but totally achievable for confident DIYers with basic tools.
Cut shiplap pieces to follow your arch’s curve (a jigsaw helps here), then secure with finishing nails and wood glue. Paint everything white or a soft neutral for cohesion. The horizontal lines draw focus upward, making your entry feel intentional and styled. Light reflects off the texture beautifully in photos and real life. This works particularly well for cottage or rustic aesthetics.
4. Create a Faux Arch with Trim and Paint
No actual arch? Build one with clever trim work and paint. For $30–$80 in materials and a few hours of work, you can sketch an arch design, install curved trim pieces, and paint to create dimensional illusion. This hack works surprisingly well and requires only basic DIY skills.
Use flexible trim or segment straight pieces to trace your desired arch curve. Secure with finish nails and wood filler to cover gaps. Paint the interior arch and trim a unified color to enhance the 3D effect. Highlight with subtle shadow or shading for extra depth. Guests will think it’s architectural—you’ll know it’s clever design on a budget.
5. Frame Your Arch with Matching Sidelights
Arched doors paired with flanking sidelights create luxury entry presence. Sidelight installations run $400–$1,200 depending on glass quality and size, plus $200–$500 for professional installation. This investment significantly boosts curb appeal and natural light. Hire a professional for accurate measurements and weatherproof sealing.
Choose frosted or clear glass depending on privacy needs. The visual balance of an arch with symmetrical sidelights feels formal and welcoming. Your entry gains the high-end look typically seen in $500K+ homes. If budget is tight, consider this a long-term investment—potential home buyers notice quality entry features.
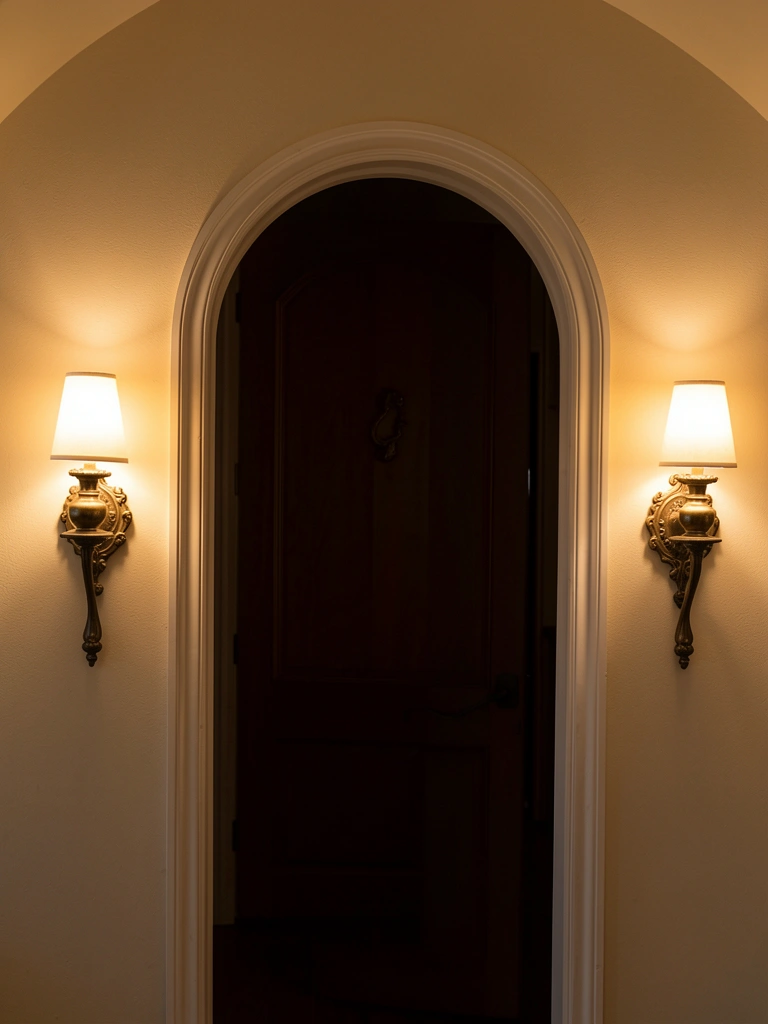
6. Install Recessed Lighting Inside the Arch
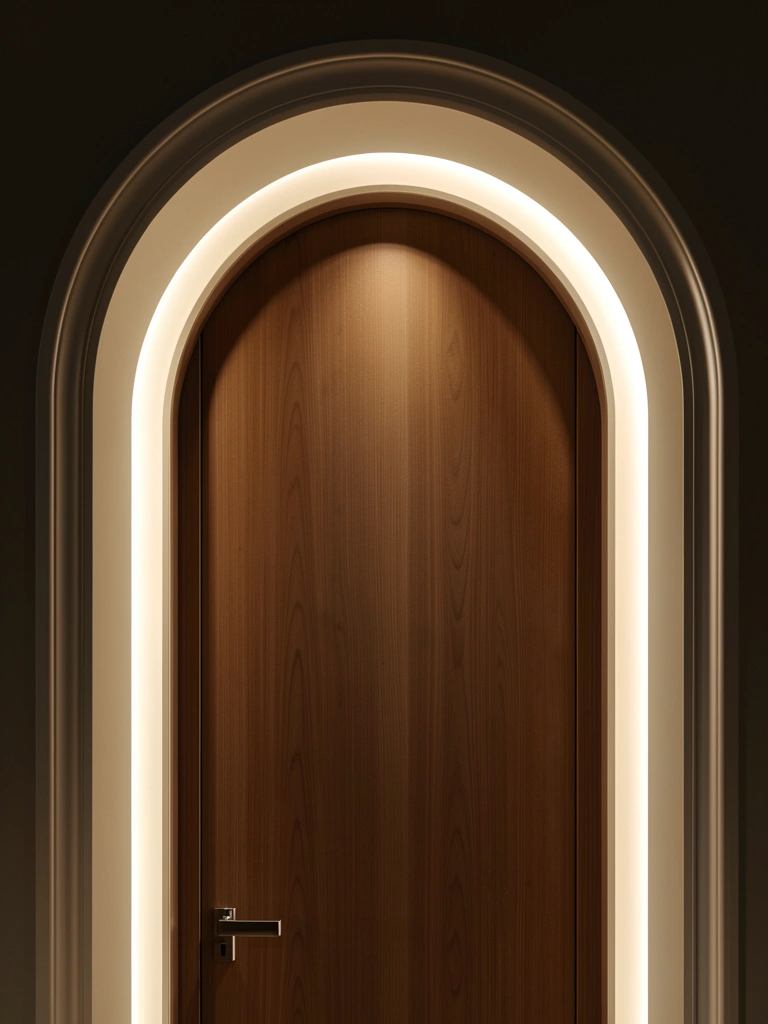
Uplighting your arch creates drama and makes the feature pop after dark. Recessed lights cost $30–$80 per fixture; plan for 2–4 depending on arch size. Professional installation runs $150–$300. The theatrical effect is absolutely worth the investment for both aesthetics and wayfinding.
Hire an electrician to run wiring safely inside the wall cavity and position lights to graze the arch curve. LED bulbs (warm white, 2700K) provide ambiance without heat or high electric bills. Your arch glows beautifully in evening photos, and visitors feel welcomed by the intentional lighting. This elevates your entry to boutique-hotel quality.
7. Apply Gold Leaf Detailing Along the Arch Edge
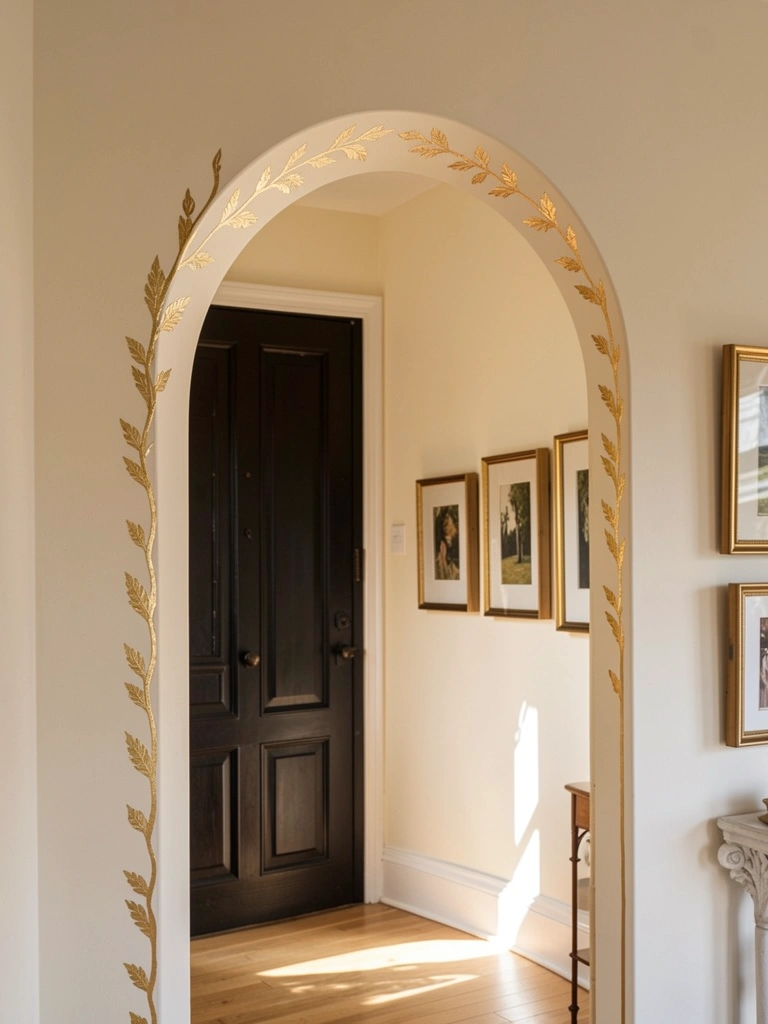
Gold leaf adds luxury and glamour without renovation expense. Kits cost $20–$40, and the project takes 2–3 hours. Results look expensive and photograph beautifully—perfect for statement entries or formal living areas. This DIY project requires patience but no special skills beyond following instructions carefully.
Prep your arch surface, apply adhesive sizing, then carefully apply thin gold sheets following the curve. Seal with matte varnish to prevent tarnishing. The subtle shimmer catches light and adds refinement. Your arch becomes a conversation piece that guests admire. This pairs gorgeously with matte black or navy paint.
8. Hang Decorative Wrought Iron Over the Arch
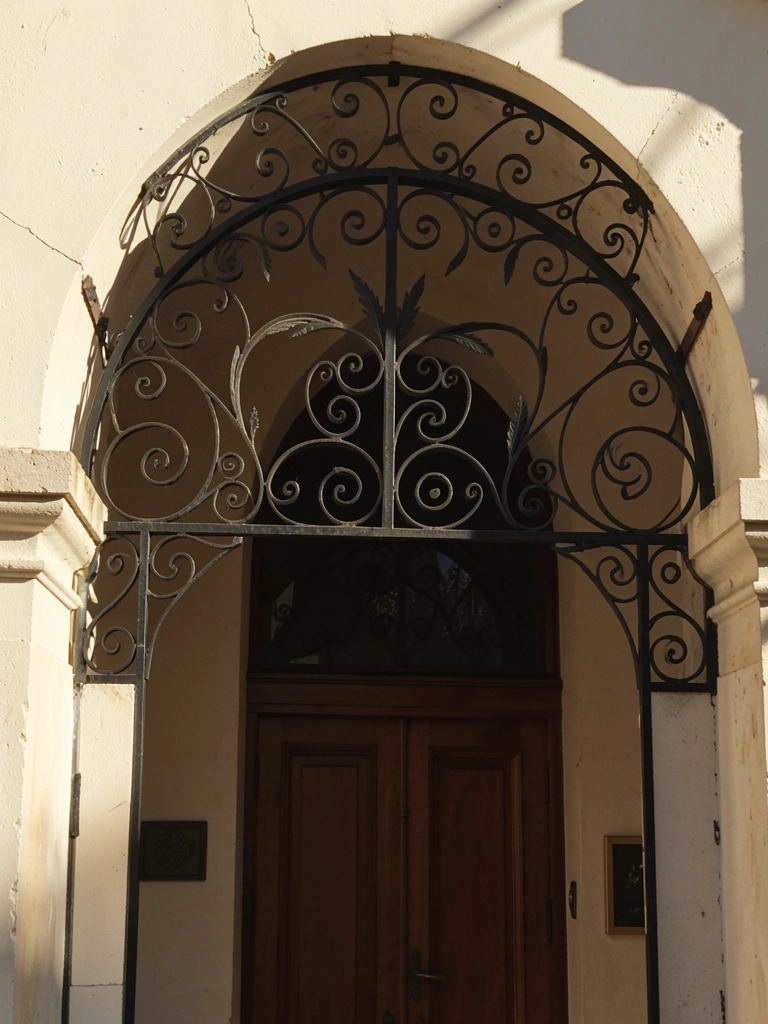
Wrought iron adds romantic, Old World character while staying open and airy. Decorative iron pieces run $80–$250 installed above your arch. This styling choice suits Mediterranean, Spanish Colonial, or traditional homes beautifully. Installation takes just an hour once you’ve chosen your piece.
Search “wrought iron arch toppers” at Etsy, Home Depot, or specialty iron shops. Choose designs with scrollwork that complements your door style. The iron becomes architectural jewelry that frames your entry elegantly. Guests perceive your home as thoughtfully designed and architecturally significant.
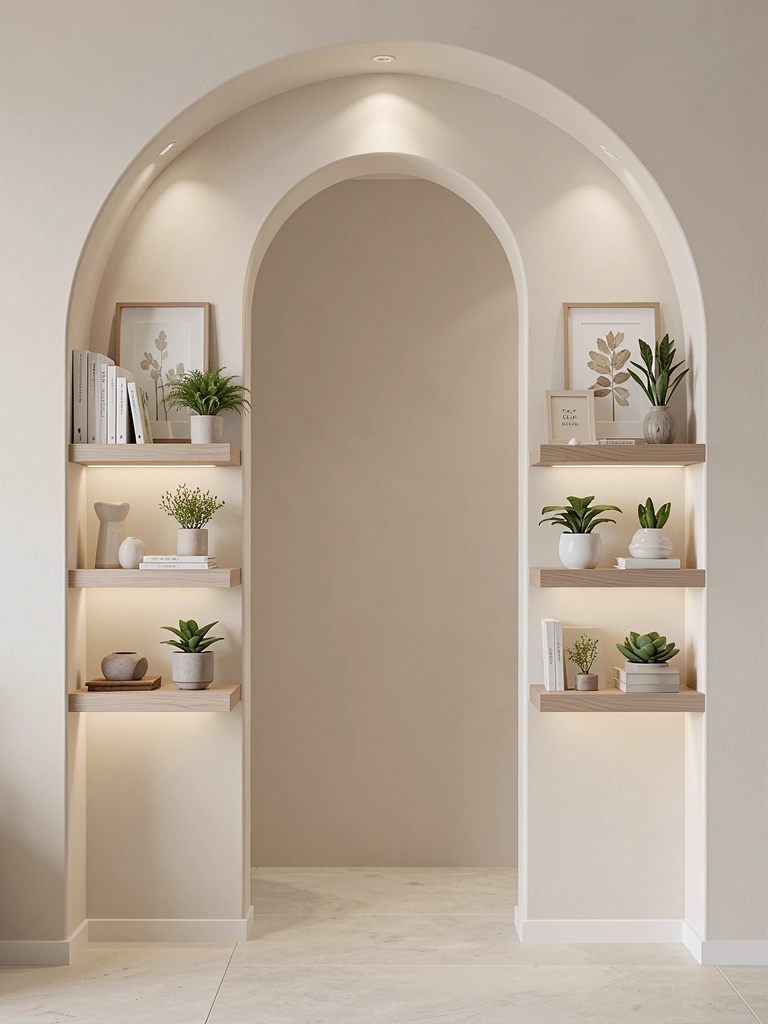
9. Build a Bookshelf Alcove Inside Your Arch
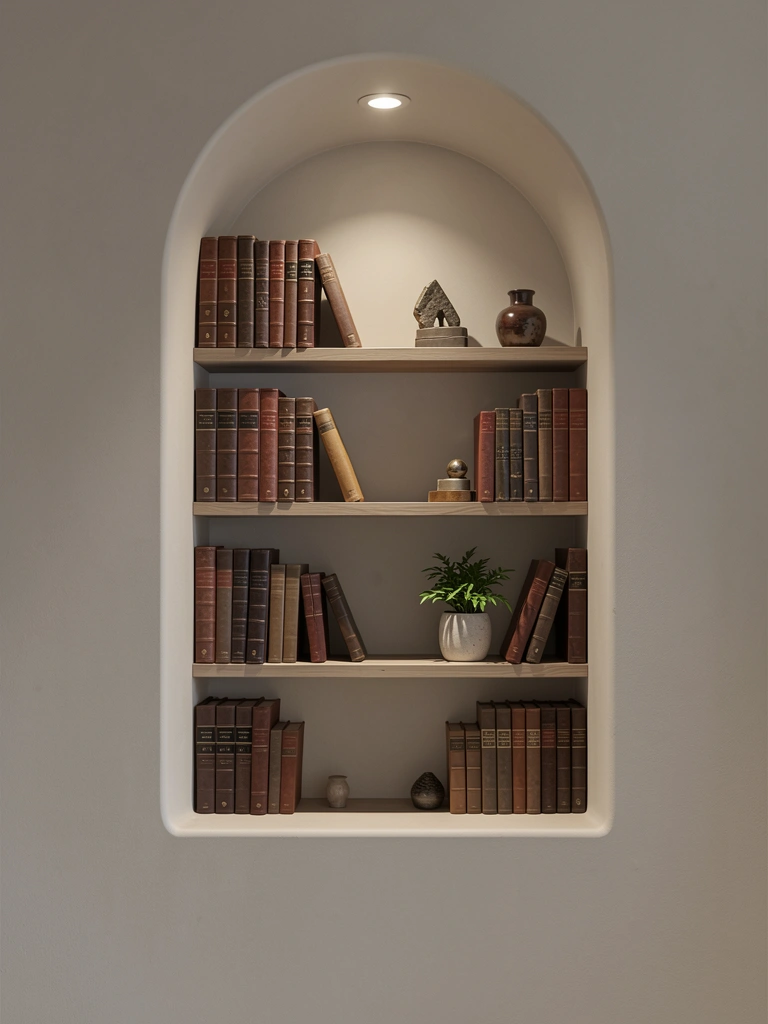
Transform your arch into functional, beautiful display space. Custom alcove shelving runs $150–$400 depending on depth and materials. This moderate DIY project takes a weekend and requires basic carpentry skills. The payoff? A charming built-in that adds architectural depth and character.
Build shallow shelves (6–8 inches deep) within or just below your arch, then style with books, plants, and meaningful objects. Paint shelves to match trim or contrast subtly. Your arch becomes a functional focal point rather than purely decorative. This works beautifully in hallways, bedrooms, or living rooms seeking more character.
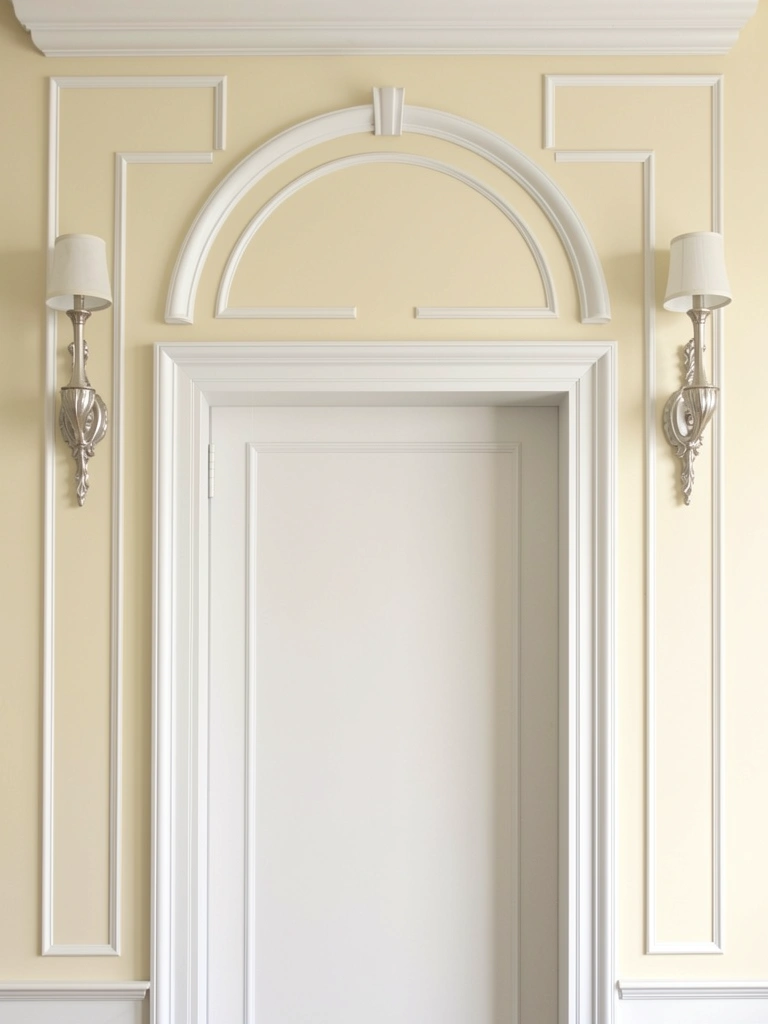
10. Add Ornamental Corbels Beneath the Arch
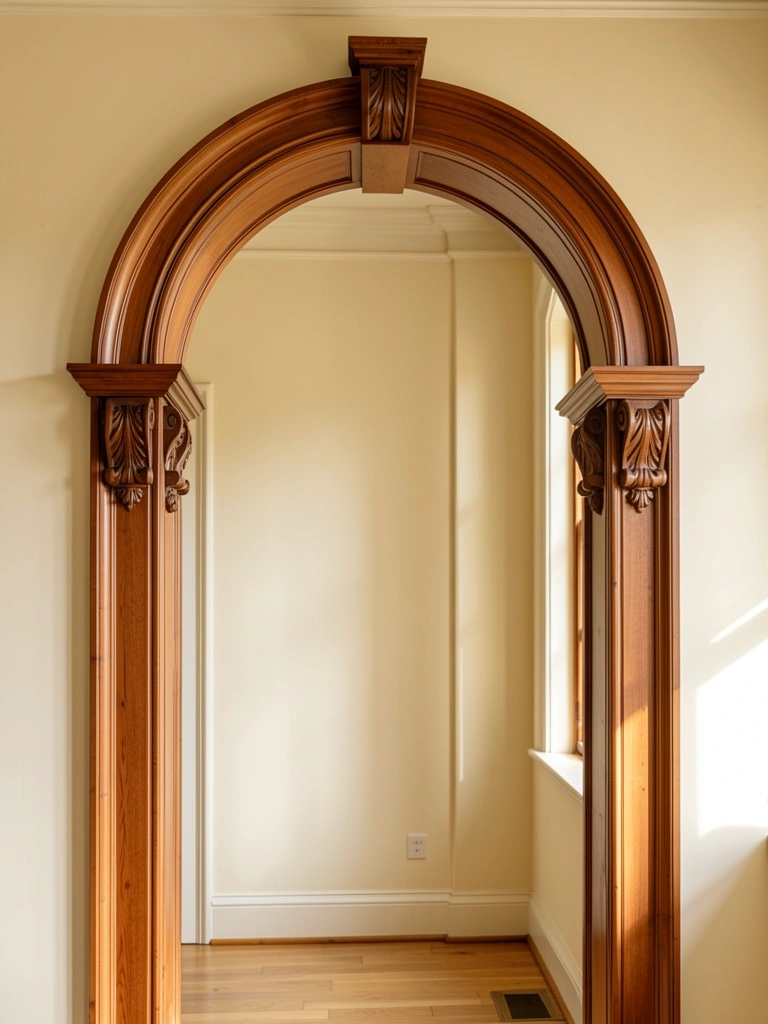
Corbels add classical support and visual weight to your arch. Pairs cost $40–$120, plus $50–$150 for installation. They work whether your arch is structural or decorative, and they’re available in countless styles from ornate to minimal. Installation takes an hour or two for a confident DIYer.
Choose corbels that echo your arch’s aesthetic—carved wood for traditional, simple geometric forms for modern, scrolled iron for romantic. Paint or stain to coordinate with existing trim. Corbels create the illusion of structural support and add Old World charm. Your entry suddenly looks like it belongs in a design magazine.
11. Paint a Trompe-l’Oeil Shadow Beneath the Arch
Trompe-l’oeil (fool the eye) shadow painting adds sophisticated depth using only paint. Supplies cost $15–$30, and the project takes 3–4 hours. This advanced DIY project looks professional when executed carefully and utterly transforms your arch’s presence.
Use charcoal or soft gray paint mixed at varying opacity levels. Apply along the arch’s underside and sides to create shadow depth. Blend carefully with a dry brush for naturalistic effect. Photograph your finished arch in different lighting—the dimension is stunning. This technique works beautifully with minimalist or contemporary interiors seeking subtle refinement.
12. Install a Curved Glass Panel Insert

Glass inserts modernize classic arches while maintaining elegance and allowing light flow. Custom curved glass costs $200–$500, plus installation. This works beautifully for interior doors needing privacy-with-openness balance. Professional installation ensures proper sealing and safety.
Choose clear glass for maximum light, frosted for privacy, or textured for visual interest. The glass arch catches light beautifully throughout the day. Your space feels simultaneously open and intentionally defined. This update works for contemporary, transitional, or minimalist aesthetics seeking functional beauty.
13. Add Floating Shelves Flanking Your Arched Entry
Flanking shelves create symmetry and functional styling space without crowding your arch. Two 24-inch shelves cost $60–$150, plus $50–$100 for installation. This easy addition takes an afternoon and instantly adds sophistication and visual interest to your entry.
Mount shelves at matching heights on both sides of your arch, approximately 12–18 inches out from the frame. Style with personal objects, plants, and artwork that complement your aesthetic. The symmetry draws eyes to your beautiful arch while adding functionality. This works particularly well in hallways or living rooms with blank flanking walls.
14. Frame Your Arch with Architectural Wallpaper
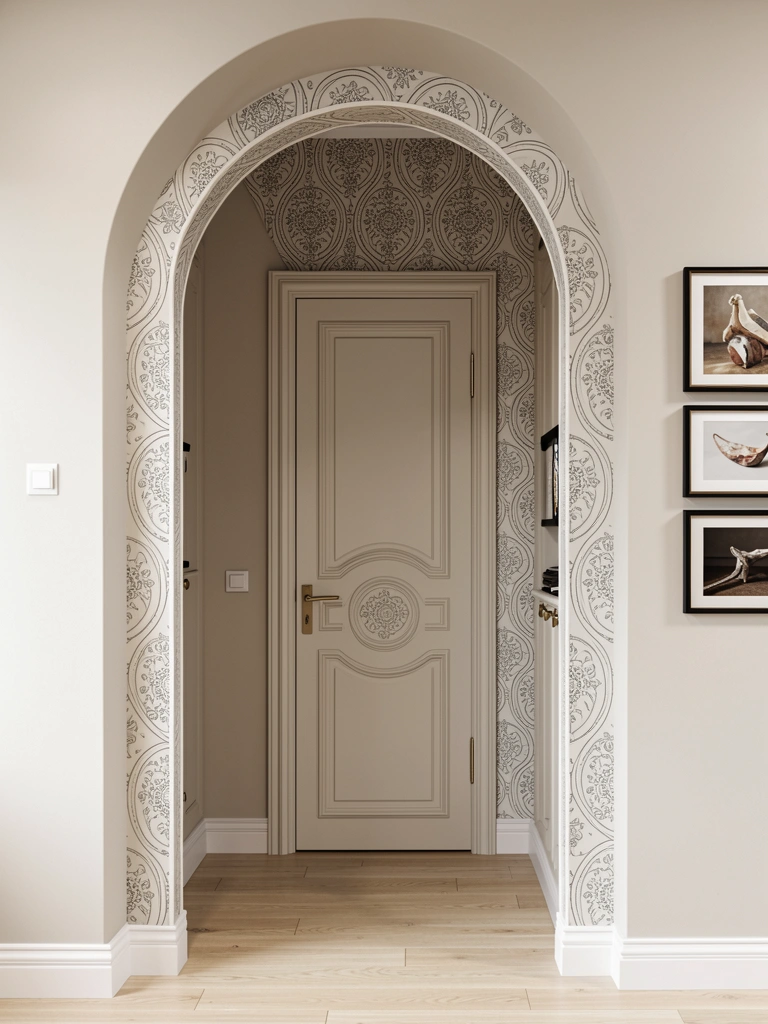
Wallpaper within your arch adds pattern and personality with zero structural work. Quality wallpaper runs $20–$60 per roll, plus 2–3 hours for application. This renter-friendly update creates major visual impact and photographs beautifully. Choose patterns that complement your overall aesthetic—geometric, damask, botanical, or abstract all work.
Prep your arch surface carefully, then apply wallpaper following the curve. Trim edges precisely. The patterned arch becomes a focal point that grounds your entire entry aesthetic. When you move, removal is straightforward (choose removable options for peace of mind). Your arch gains personality and design intentionality instantly.
15. Install Vintage Sconces Flanking the Arch Base
Sconces add functional light and dramatic symmetry. Pairs cost $60–$200, plus $100–$200 for electrical installation if adding new circuits. This investment adds both aesthetic and practical value. Professional installation ensures safe wiring and secure mounting.
Choose sconces that echo your arch’s design language—traditional brass for classic arches, sleek metal for contemporary styles, ornate iron for romantic aesthetics. The symmetrical lighting frames your arch beautifully and creates welcoming ambiance. Evening photos and real-life experience both improve significantly. This feels like a luxury hotel entrance.
16. Create a Curved Ceiling Detail Above Your Arch
Mirroring your arch curve in the ceiling above creates architectural unity and sophistication. Custom curved drywall or soffit runs $500–$1,500 depending on complexity. This professional installation takes 3–5 days but creates stunning spatial flow and cohesion. Hire an experienced drywall contractor for best results.
Work with a contractor to design ceiling curves that echo your arch’s proportions. Finishing and painting take additional time but complete the integration beautifully. Your entire entry feels professionally designed and architecturally considered. The ceiling curve creates visual movement and elegance that elevates your entire home’s perception.
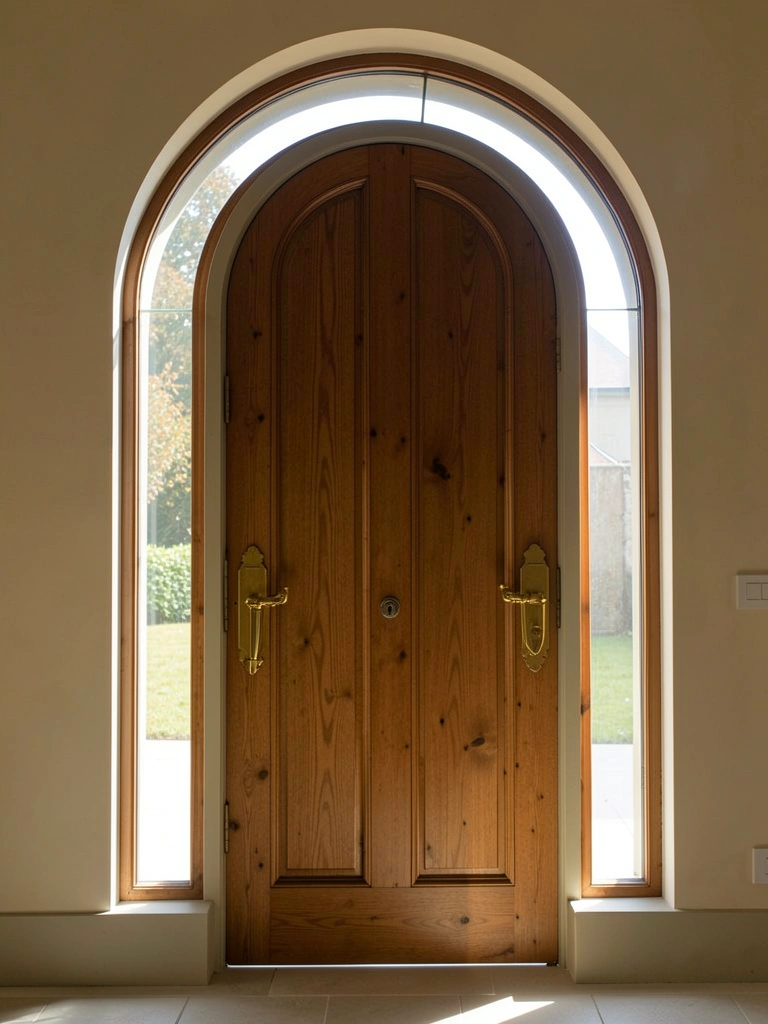
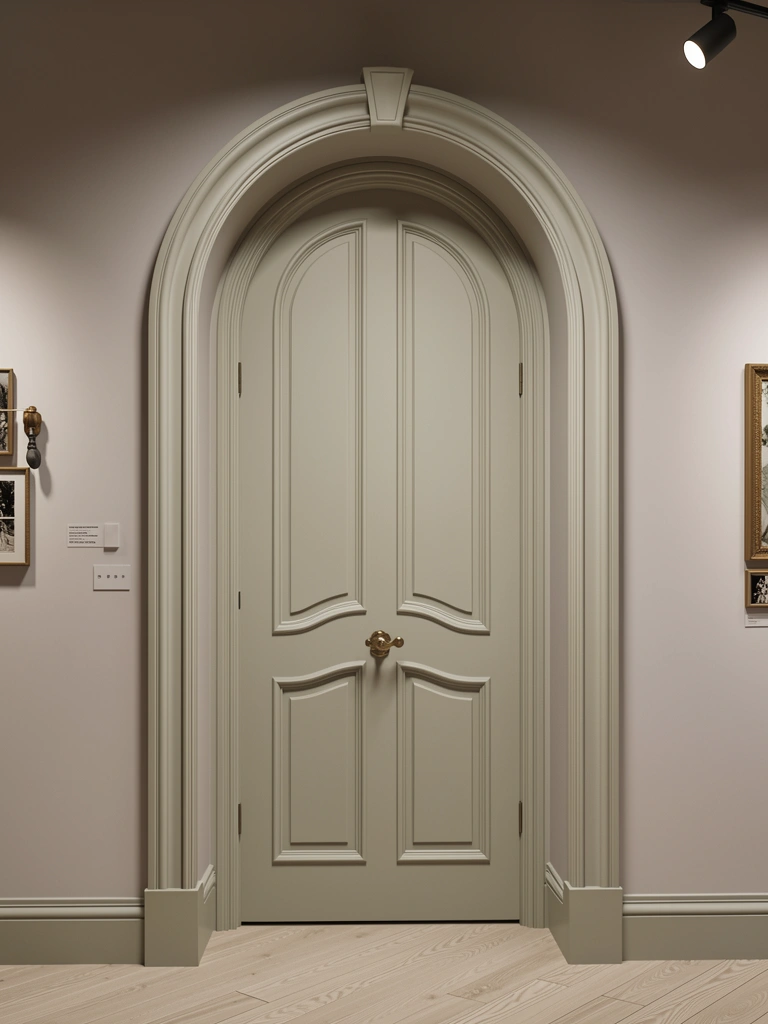
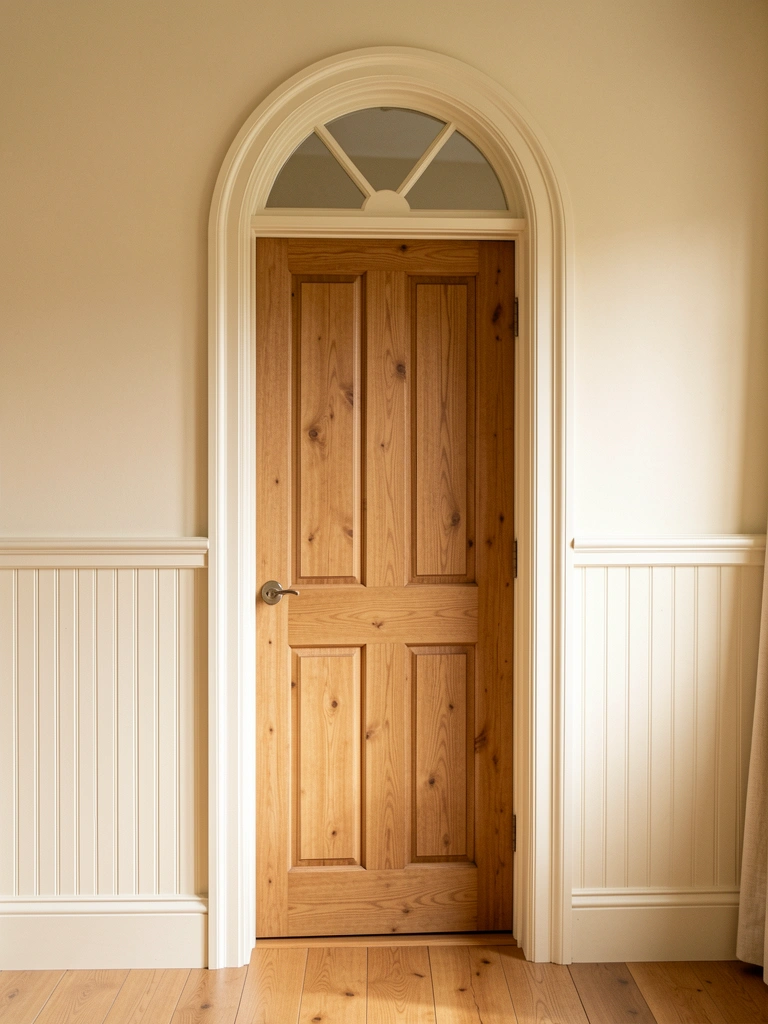
17. Stain Your Arch a Rich Contrasting Wood Tone
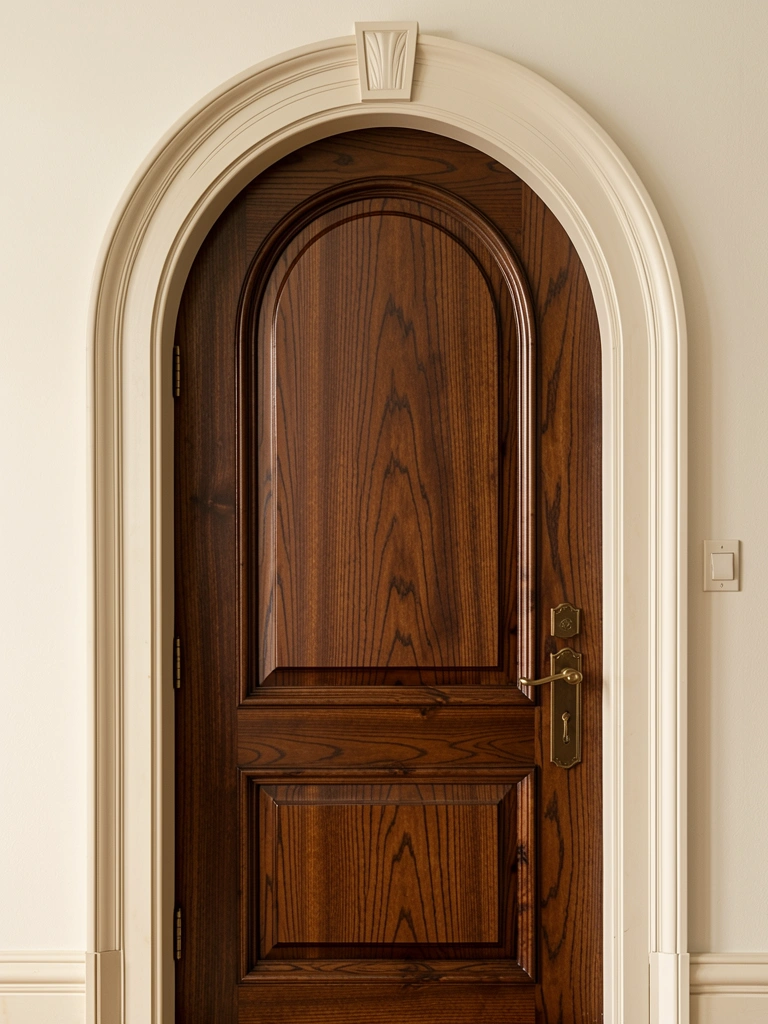
If your arch is wood, restaining creates drama without replacement expense. Stain costs $15–$30, and the project takes one afternoon. This easy update works beautifully for transitioning from light to dark color schemes or refreshing tired existing wood. Basic DIY skills suffice—just follow stain instructions carefully.
Sand the arch lightly to remove existing finish, apply stain in thin coats following wood grain direction, then seal with matte or satin varnish. The contrasting wood tone creates visual interest and sophistication. Your arch becomes a design anchor for the entire entry. This simple update often looks like a major renovation to guests.
18. Mount a Statement Mirror Inside Your Arch
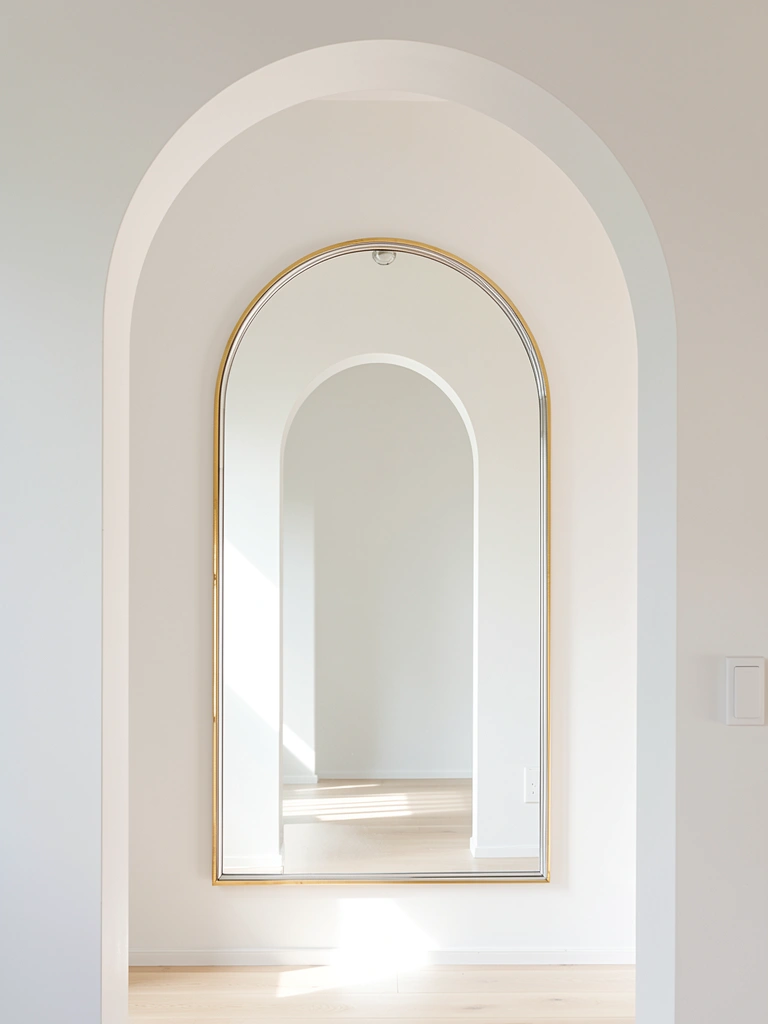
An arched mirror hung within or opposite your arch creates visual drama and amplifies light. Decorative arched mirrors cost $80–$300. This renter-friendly styling choice works beautifully in entryways, hallways, or living room entry walls. No installation needed—just hang and enjoy.
Choose a mirror that echoes your arch’s proportions for maximum visual impact. Position to reflect natural light and make spaces feel larger. The mirrored arch creates depth and elegance while serving practical purpose. Guests often comment on how bright and spacious your entry feels. This single styling choice elevates your entire space’s perception.
19. Add Beadboard Wainscoting Around Your Arch
Beadboard adds cottage charm and textural interest. Panels cost $40–$100, plus $75–$200 for installation. This project takes a weekend and creates authentic architectural character that works beautifully in traditional, farmhouse, or cottage-inspired homes. Basic carpentry skills help, but many DIYers accomplish this successfully.
Measure your space carefully and cut beadboard to fit around your arch base. Secure with finish nails and wood filler, then paint. The vertical detailing makes ceilings appear taller while adding warmth and personality. Your arch becomes part of a cohesive, intentionally designed entry rather than an isolated feature.
20. Install Decorative Tile Inside the Arch
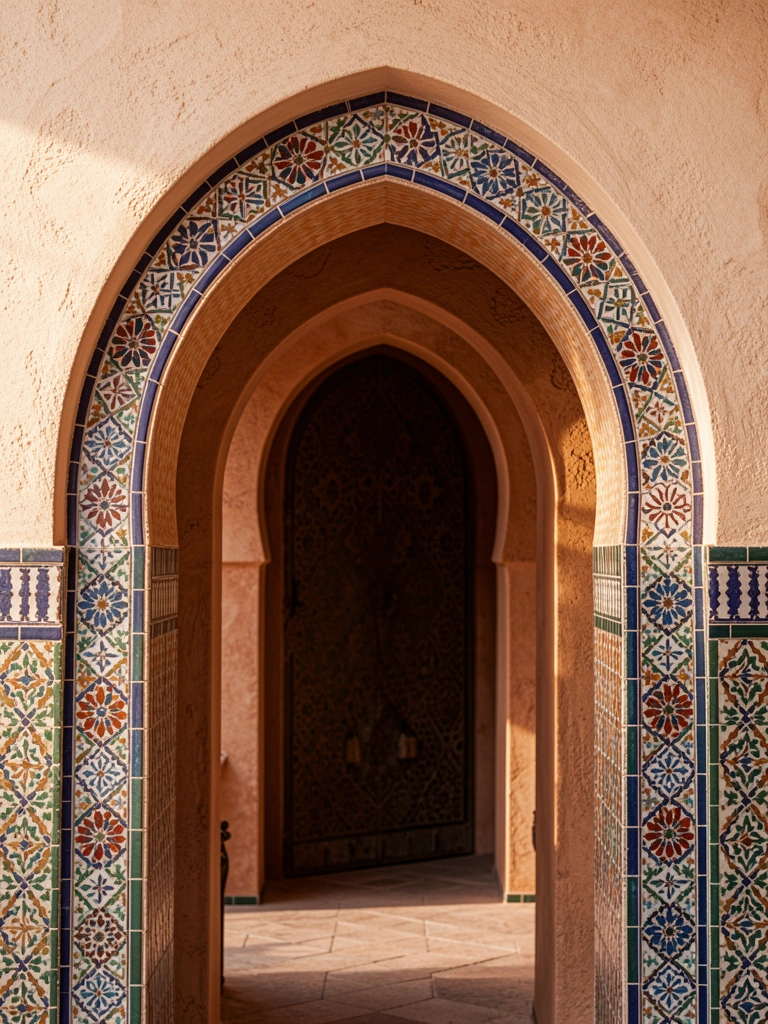
Decorative tilework adds Mediterranean or Spanish Colonial charm. Quality tile costs $50–$150 per linear foot, plus $100–$300 for professional installation. This moderate investment creates stunning visual impact and works beautifully for homes with ethnic or global design influences. Professional installation ensures proper setting and longevity.
Work with a tile specialist to design your pattern and create a template matching your arch’s curve. Installation requires precision but looks absolutely professional. The patterned tile becomes a natural focal point that guests admire. Your arch gains personality and cultural design richness.
21. Create a Neon Glow Along the Arch Interior
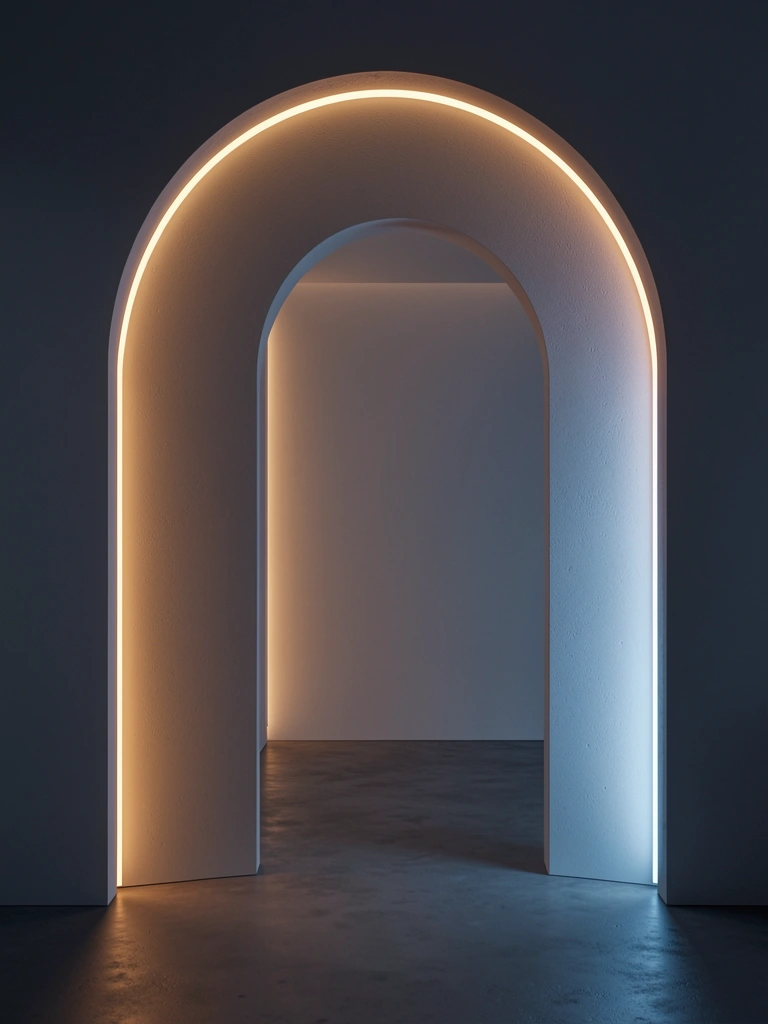
Neon adds trendy, contemporary edge to classic arches. Custom neon installations cost $200–$600. This statement-making choice works beautifully in modern, eclectic, or maximalist interiors. Professional neon shops handle custom fabrication and safe installation.
Choose warm white or subtle color (pale pink, soft blue) that complements your space without overwhelming. Neon glows beautifully in evening photos and creates unique visual interest. Your arch becomes a design conversation piece that reflects contemporary aesthetic sensibility. This works particularly well for creative homes, studios, or forward-thinking interiors.
22. Paint a Subtle Ombré Effect Across Your Arch
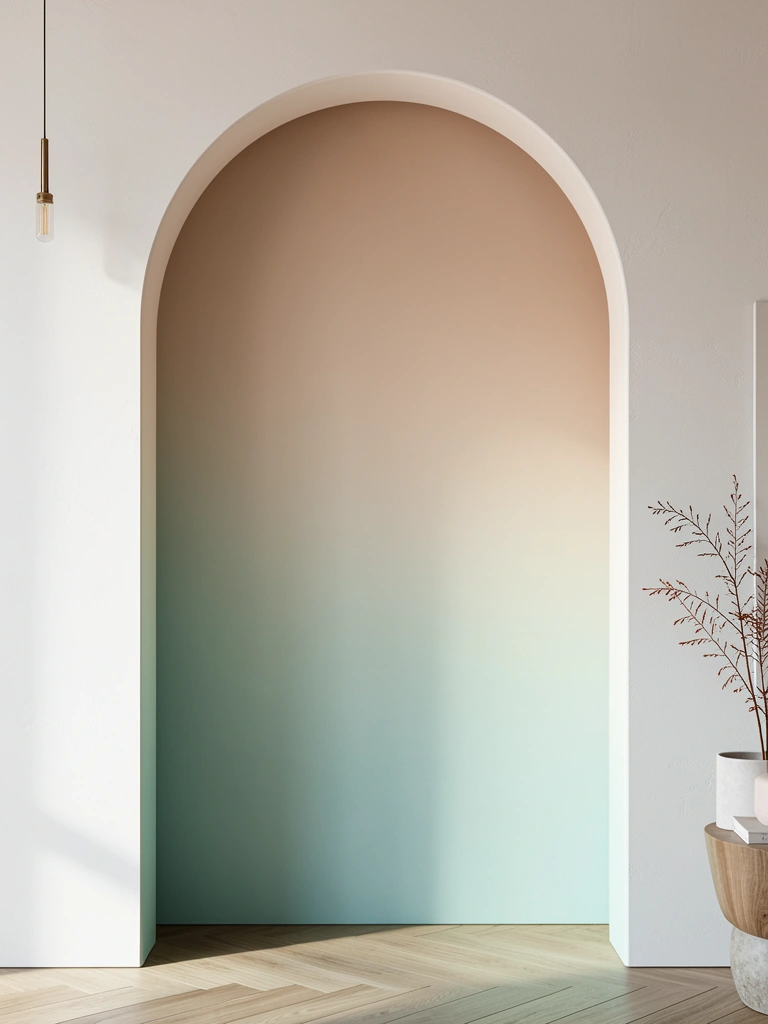
Ombré painting creates artistic, sophisticated depth without dramatic contrast. Paint costs $20–$40; project time is 4–5 hours. This moderate DIY project looks complex but follows straightforward technique and creates gallery-worthy results. Patience and careful blending create the magic.
Choose two or three coordinating colors and blend with dry-brush technique moving gradually across your arch. Work slowly, allowing colors to merge naturally. Photograph the finished arch in different lighting—the depth is gorgeous. This artistic touch works beautifully in modern, eclectic, or creative homes seeking distinctive character.
23. Install a Sliding Barn Door Within Your Arch
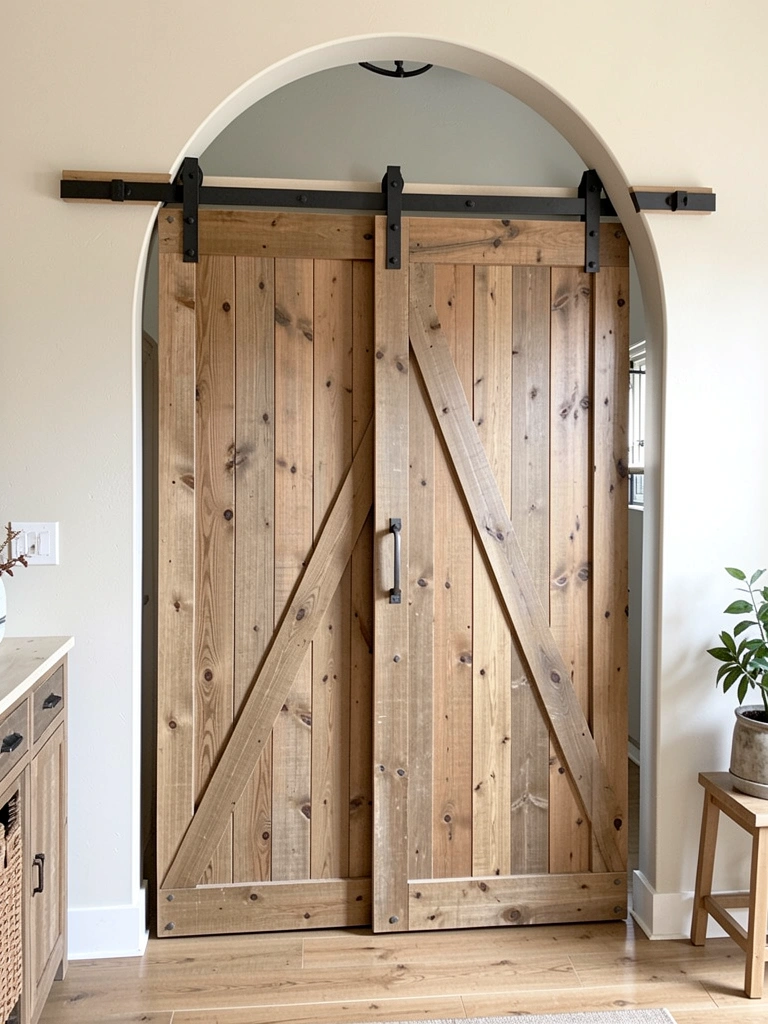
Barn doors add rustic functionality while maintaining your arch’s visual impact. Sliding door hardware and door panel cost $150–$400, plus 3–4 hours for installation. This moderate DIY project creates stunning farmhouse-contemporary character and functional space division without major construction.
Mount your barn door track securely above the arch opening, then hang the door panel. Choose wood grain or metal styles coordinating with your aesthetic. The door glides smoothly while your arch remains visible and beautiful. This hybrid approach combines architectural elegance with practical functionality and trendy farmhouse style.
24. Embed Rope or Cord Lighting Along the Arch Curve
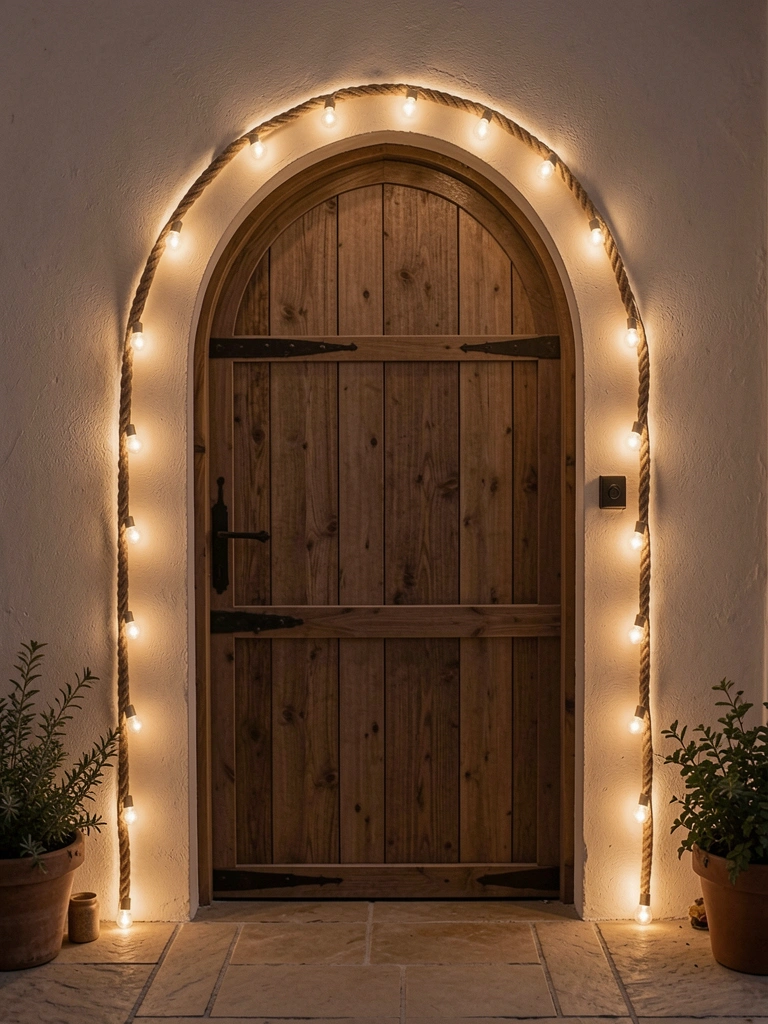
Rope lighting adds warmth and ambiance without permanent installation. LED rope light kits cost $25–$60. This renter-friendly, plug-in option takes 30 minutes to install and creates immediate atmospheric transformation. Perfect for those hesitant about permanent upgrades.
Clean your arch surface, apply adhesive rope light strips following the curve, then plug into nearby outlet. Warm-white bulbs (2700K) create cozy ambiance; cooler tones feel more contemporary. Your arch glows beautifully in evening hours and photographs wonderfully. This affordable update feels like intentional atmospheric design.
25. Commission Custom Carved Wood Details for Your Arch
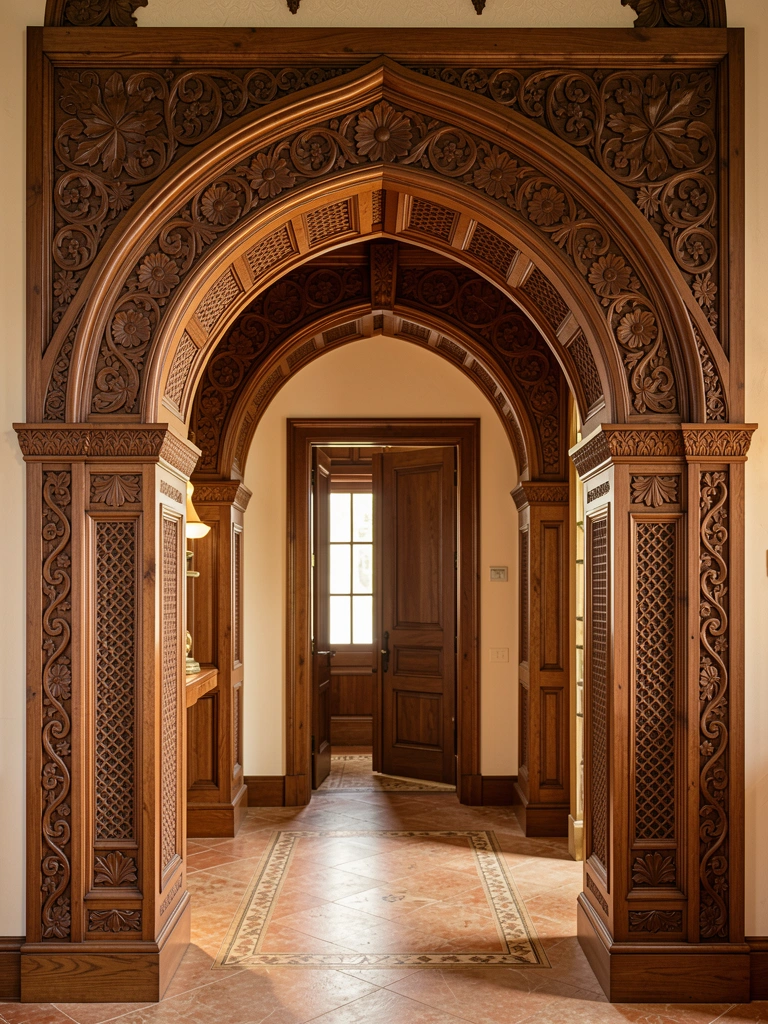
Custom carvings add bespoke artistic character and luxury. Professional wooden carvers charge $400–$1,500+ depending on complexity. This investment creates truly one-of-a-kind architectural detail that increases perceived home value significantly. Commission work typically takes 4–8 weeks.
Work with a skilled woodcarver to design custom details reflecting your aesthetic and home’s architectural period. Floral motifs suit traditional homes; geometric patterns complement contemporary spaces. Carved details catch light beautifully and become conversation pieces guests admire closely. Your arch becomes personalized architectural art.
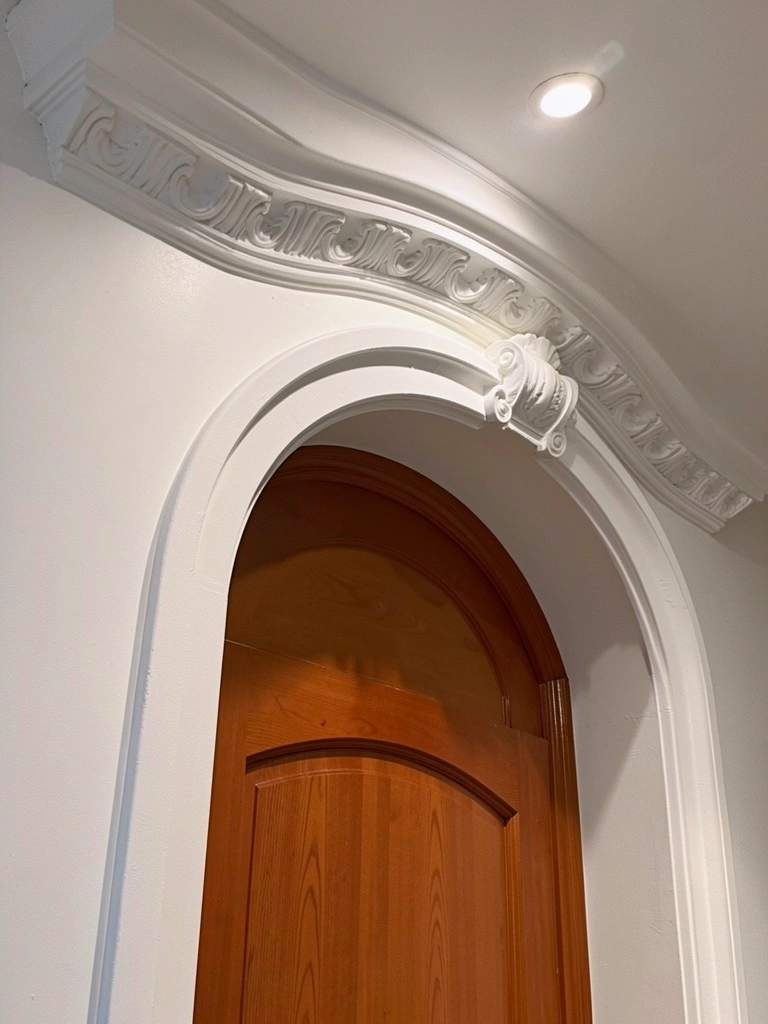
26. Add Architectural Plaster Molding with Historic Details
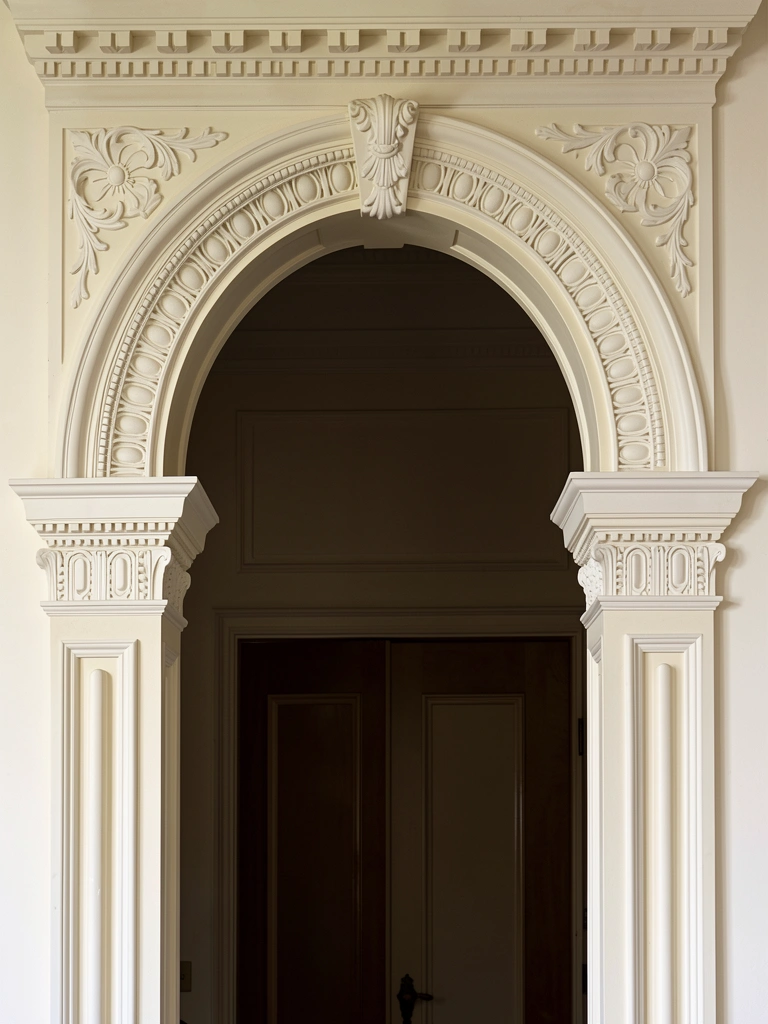
Plaster molding recreates historic architectural grandeur beautifully. Ornamental plaster pieces cost $100–$300, plus $150–$400 for professional installation. This investment creates authentic period character for historical homes or anyone seeking sophisticated classical detail. Installation requires skilled craftspeople for best results.
Choose molding patterns that echo your home’s architectural period—Victorian, Georgian, Greek Revival, or Neoclassical designs all work beautifully. Professional installation ensures proper placement, adhesion, and finishing. Your arch becomes a refined architectural statement that guests perceive as original to the home. Paint to match trim for seamless integration or leave natural plaster for texture and patina.
SAVE THIS POST for your next entryway refresh. Pick just one idea from this list and tackle it this weekend—you’ll be amazed how an arched frame transforms your entire entry’s character and curb appeal. Which concept speaks to you?
Leave a Reply