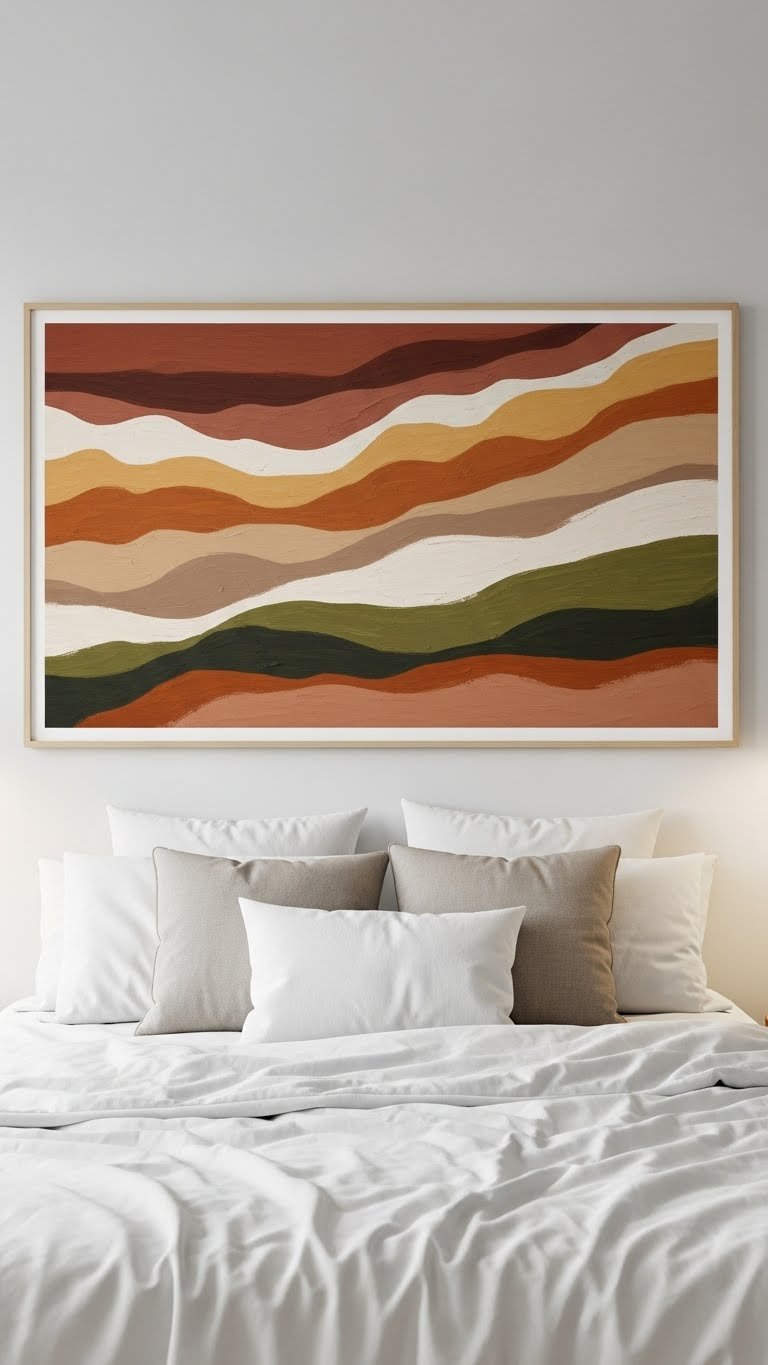
Category: Bedroom Decor

  • 25 Smart Storage Bed Designs That Clear Clutter Fast

    25 Smart Storage Bed Designs That Clear Clutter Fast

    Introduction

    Clutter has a way of sneaking into bedrooms—it lives under the bed, crowds your nightstands, and makes even a spacious room feel cramped. The good news? Smart storage beds solve this problem without sacrificing style or comfort. Whether you’re working with a tiny apartment or just want to maximize every inch, the right bed design can hide everything from seasonal clothes to extra pillows while keeping your space feeling open and calm. We’ve rounded up 25 storage bed solutions that range from simple styling hacks to investment pieces, all designed to work for renters, homeowners, and anyone tired of tripping over clutter. Let’s find the perfect storage bed setup for your space.


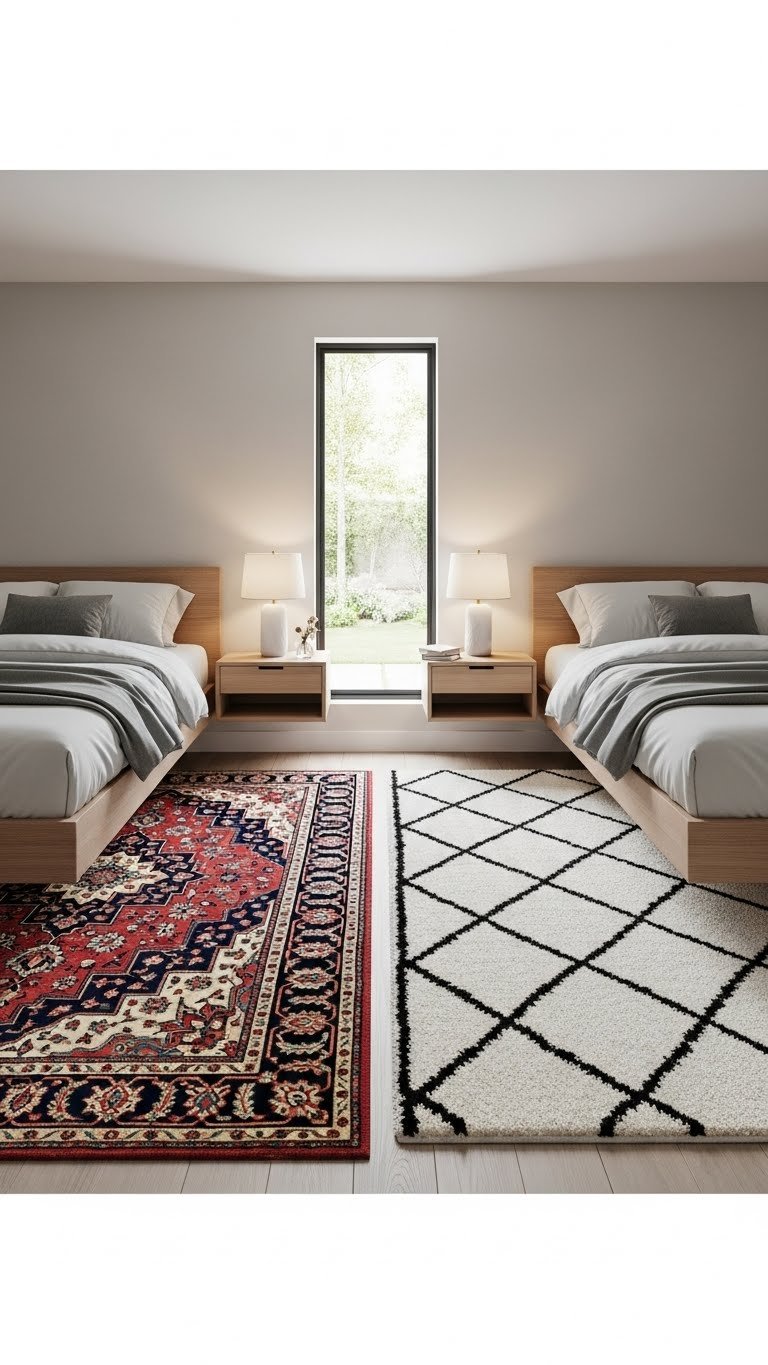
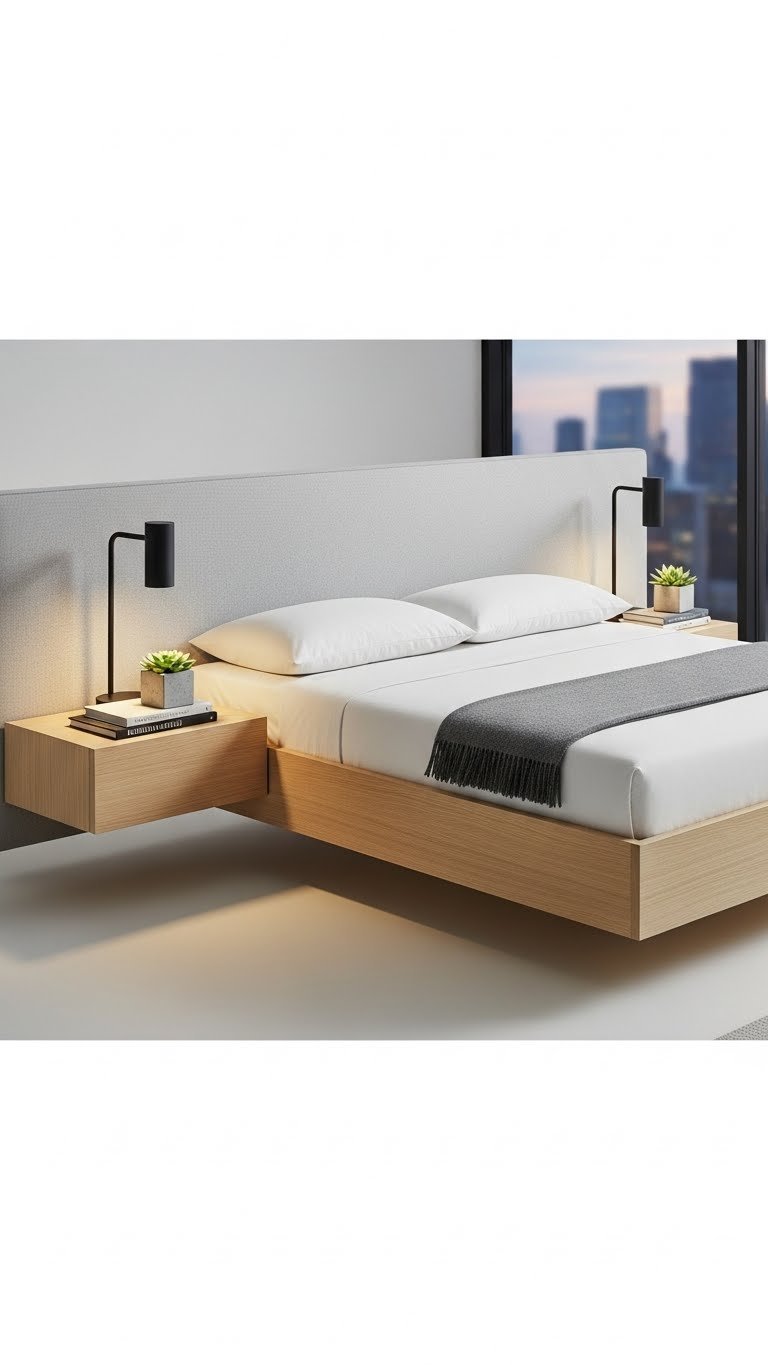
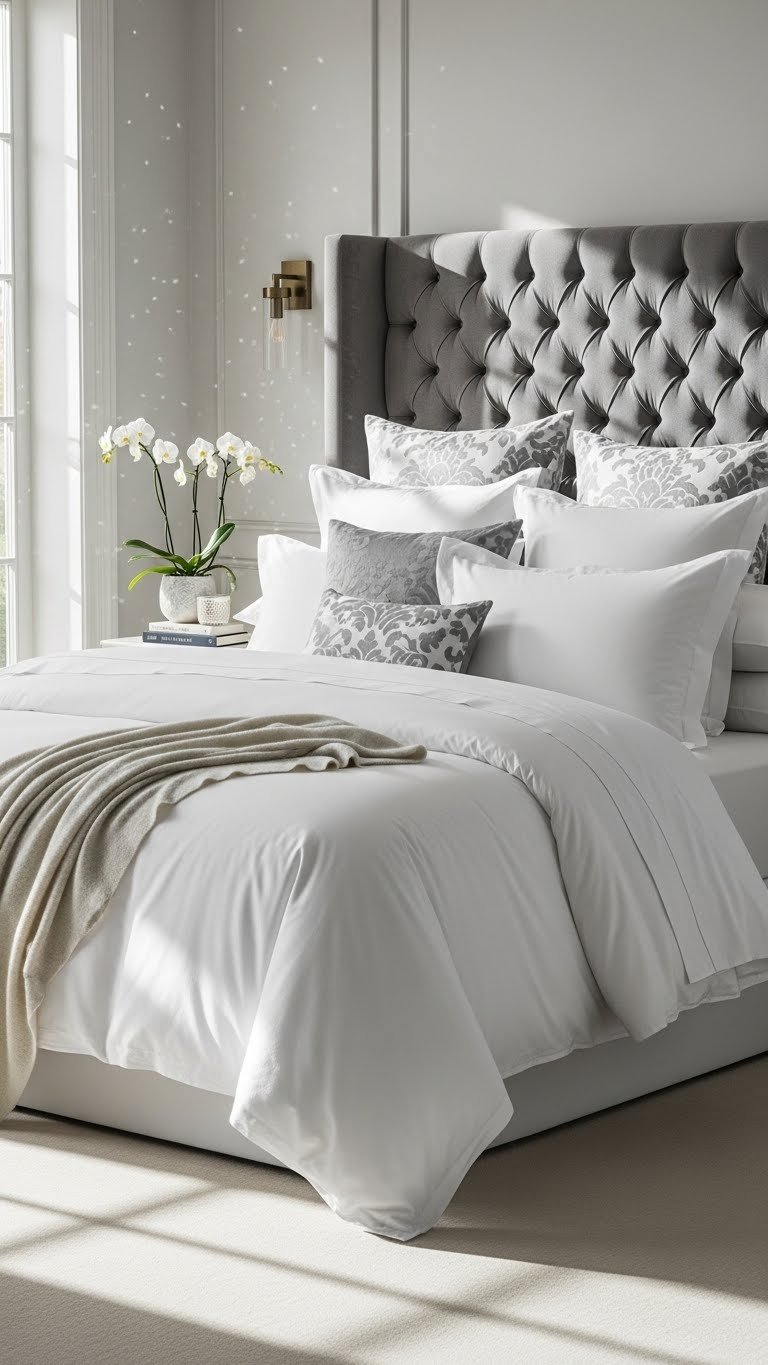
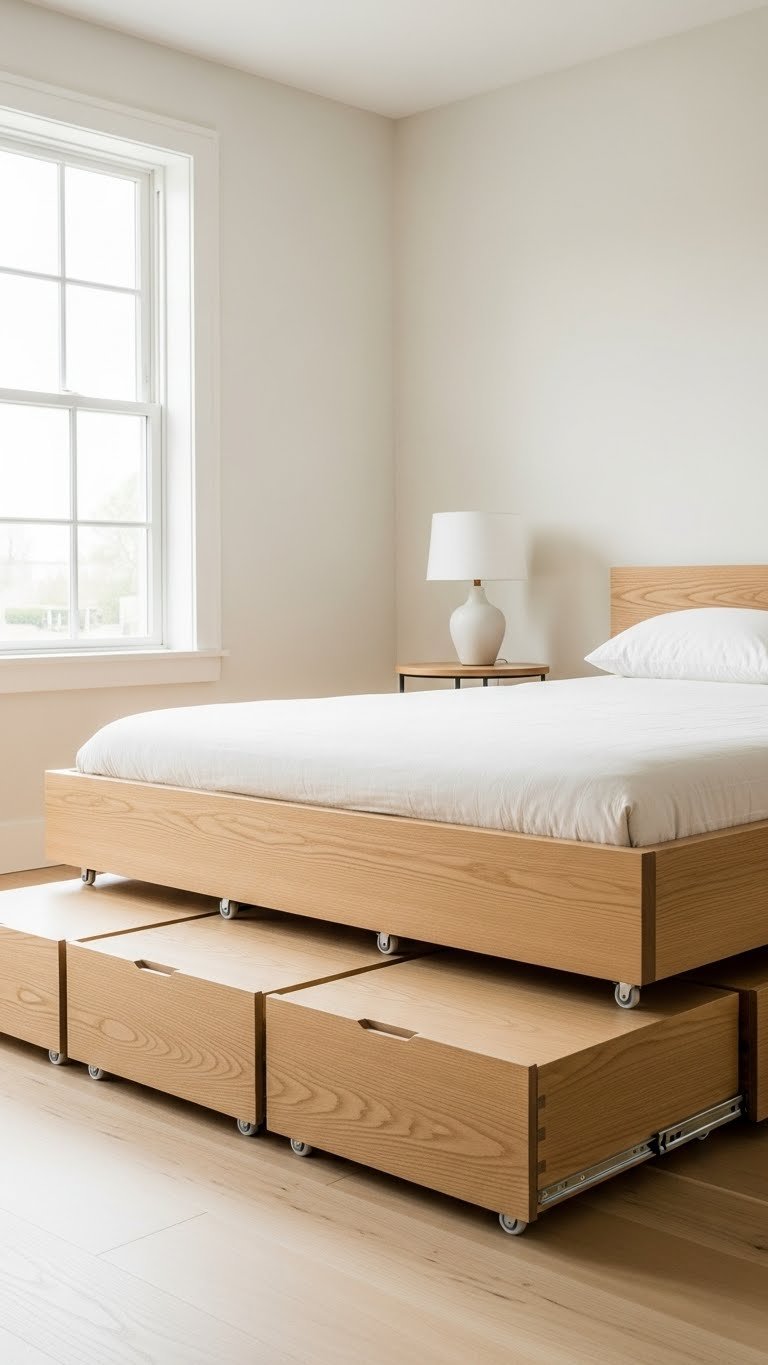
    1. Choose a Platform Bed with Drawers

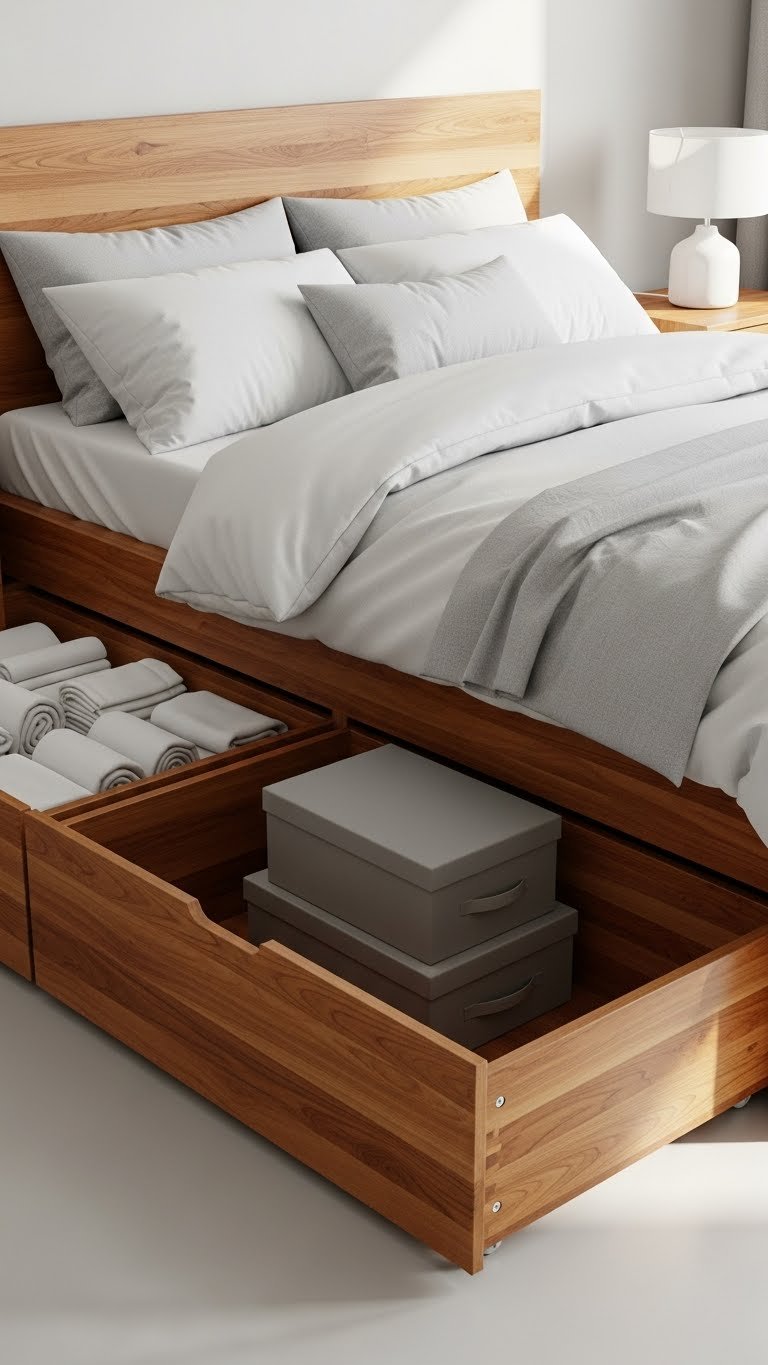
    Platform beds with built-in drawers offer the easiest clutter solution without any DIY required. These beds combine sleeping space with functional storage, letting you stash everything from extra sheets to off-season clothing out of sight.

    Look for styles with two to four drawers depending on your space and needs. Prices range from $400–$1,200 depending on materials and size, with options at IKEA, Wayfair, and West Elm. Installation typically takes one to two hours and is manageable if you follow instructions carefully. Some beds even feature soft-close drawers to prevent loud slamming.

    Pro tip: Use drawer dividers or fabric bins inside to keep contents organized so you’re not digging through a jumbled mess every time you need something.

    The beauty of this setup is that your storage stays hidden beneath the bed frame, keeping your room visually calm while giving you tons of practical space.

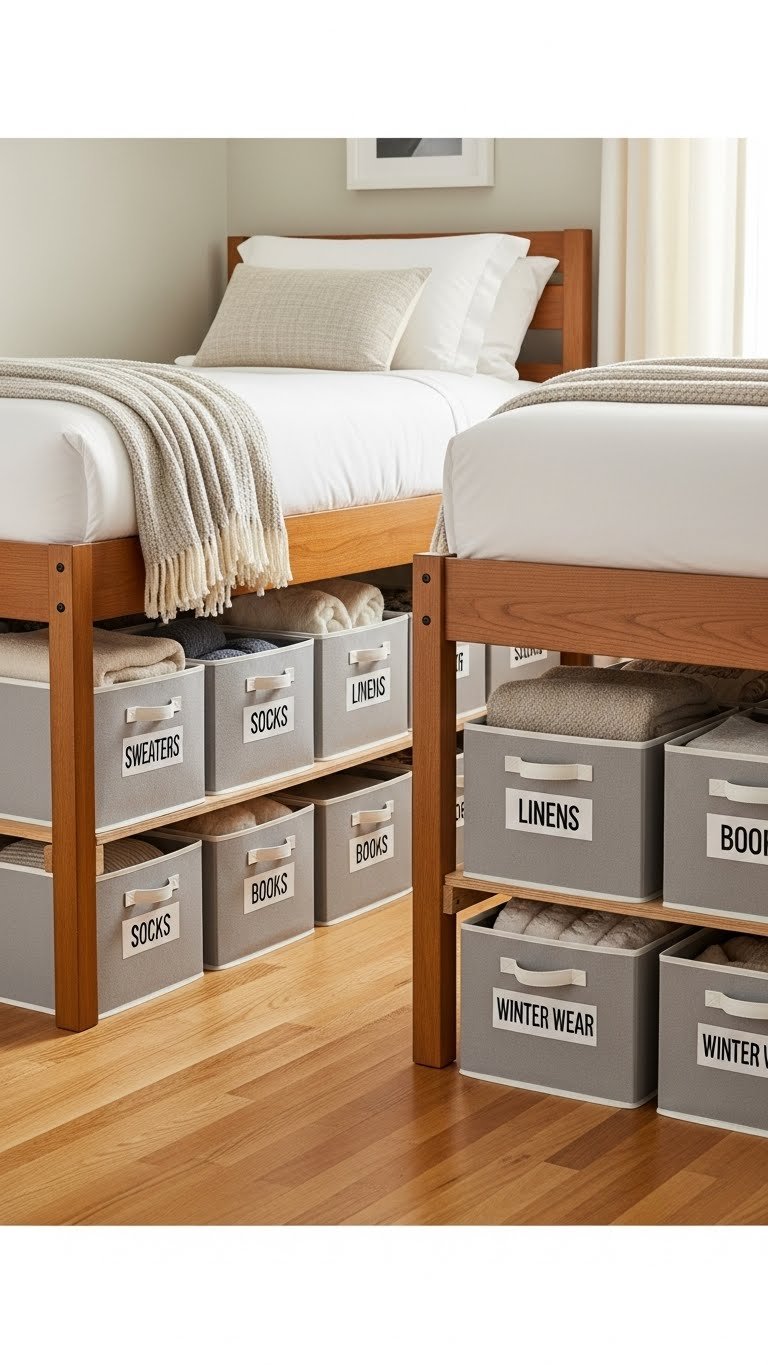
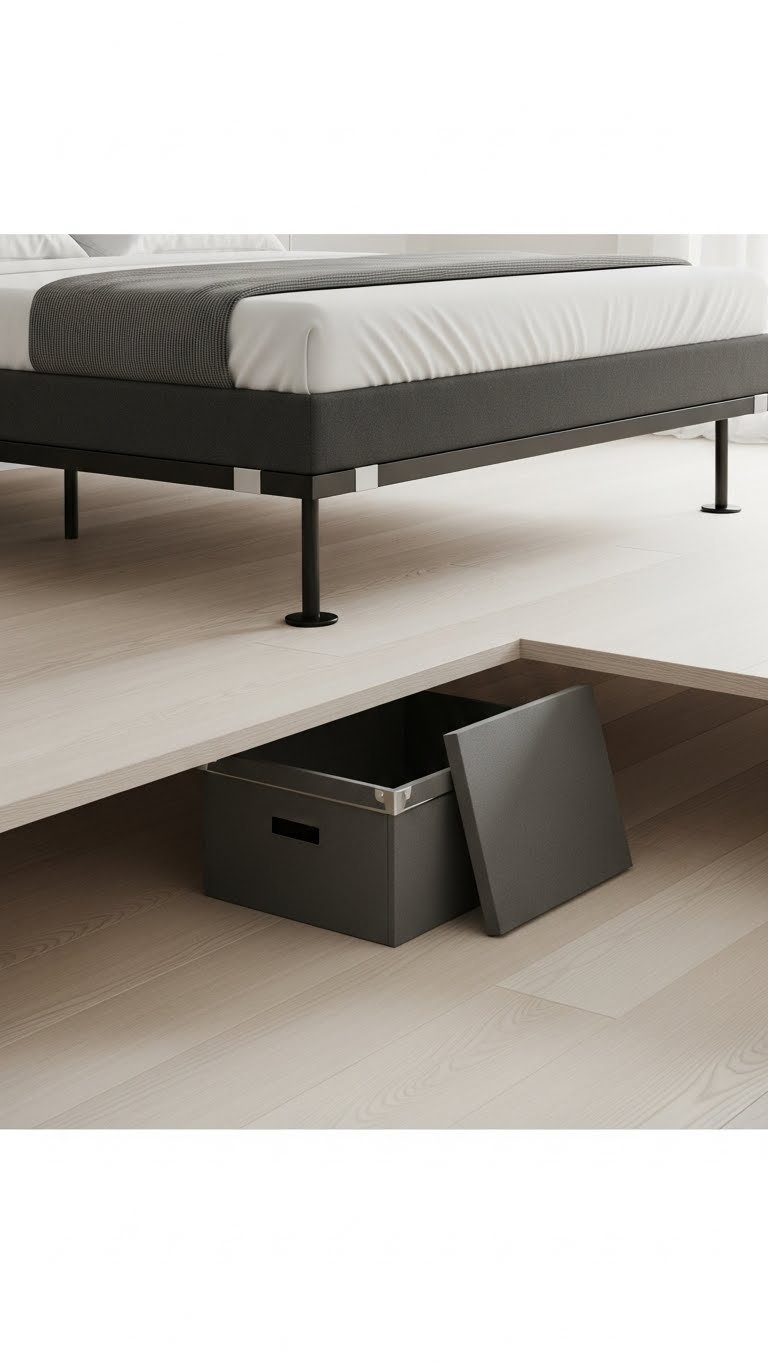
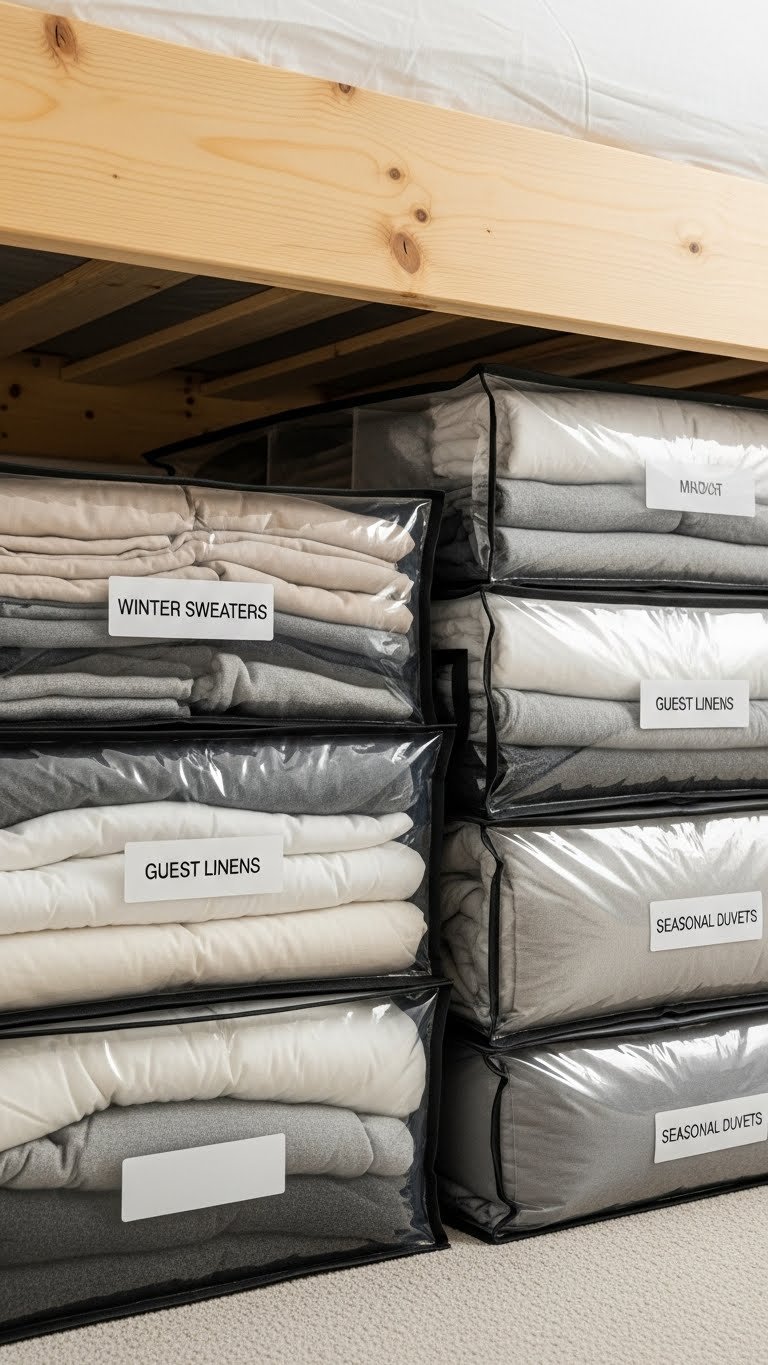
    2. Install Rolling Under-Bed Storage Boxes

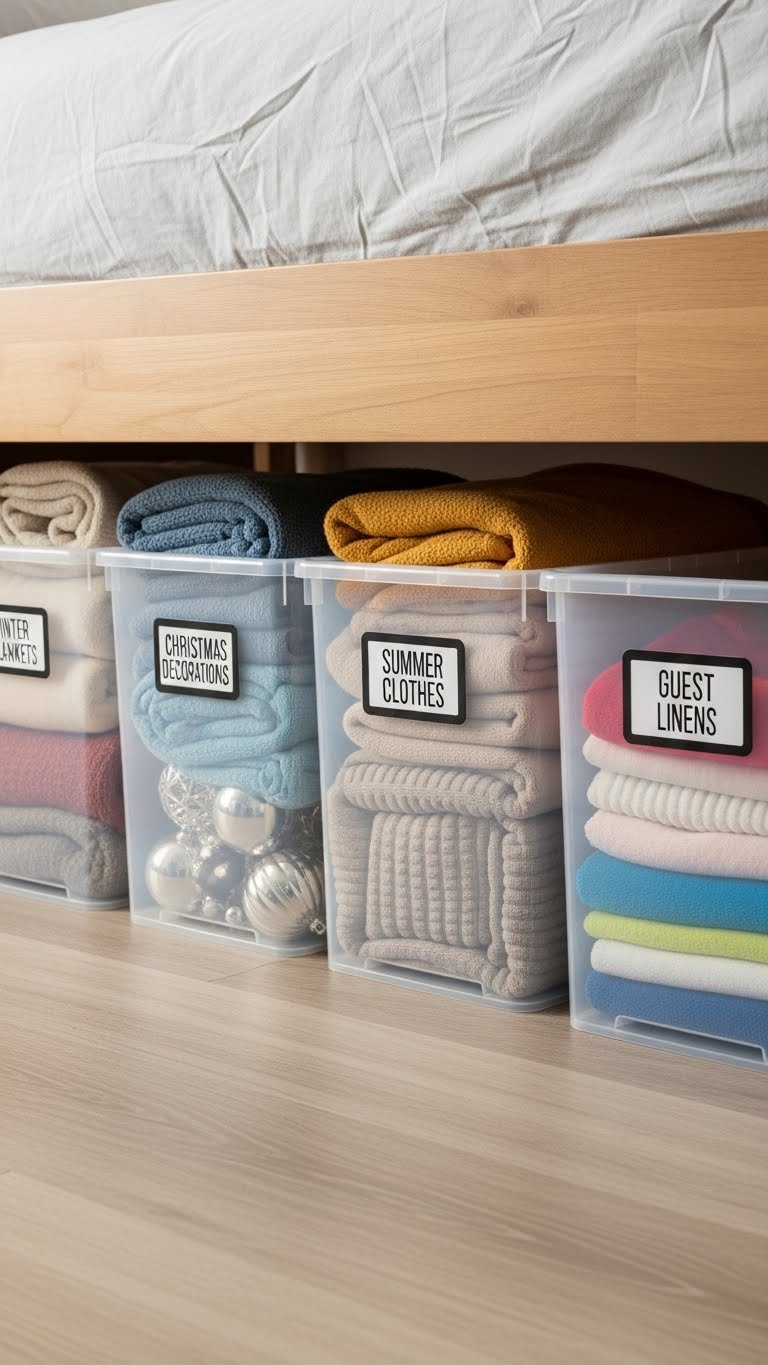
    Under-bed storage boxes on wheels let you access everything without moving your entire bed or getting on your hands and knees. These slide in and out effortlessly, making seasonal storage feel less like a chore.

    Grab low-profile rolling bins (usually $15–$40 per box) from Target, Container Store, or Amazon. Look for models with smooth-rolling wheels and secure handles. You can stack two boxes side by side under a queen bed, or fit one under a twin. Takes five minutes to unbox and place—no tools needed.

    Choose clear or semi-transparent bins so you can see what’s inside without opening them. Label the ends for quick identification.

    You’ll be amazed how much stuff fits under there, and you won’t lose a single sock to the storage void anymore.

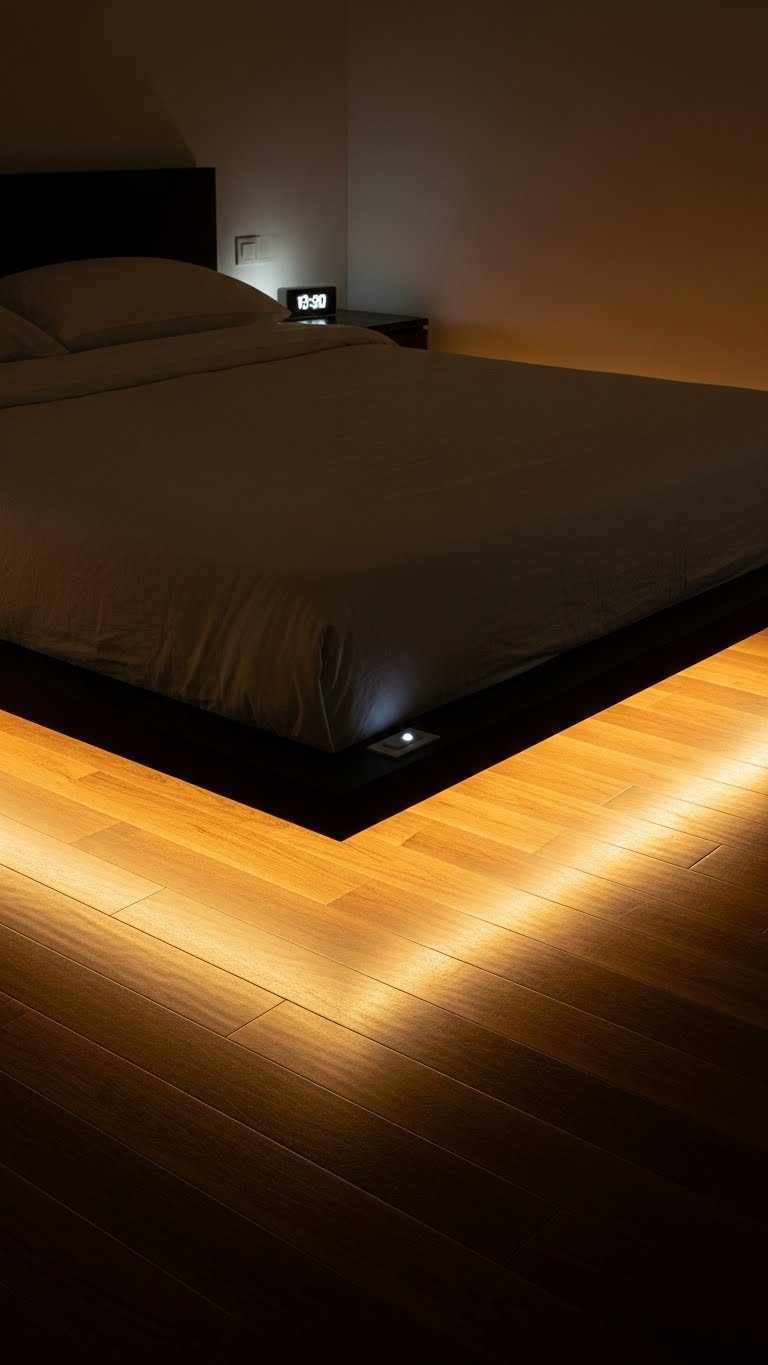
    3. Add a Lift-Top Storage Bed Frame

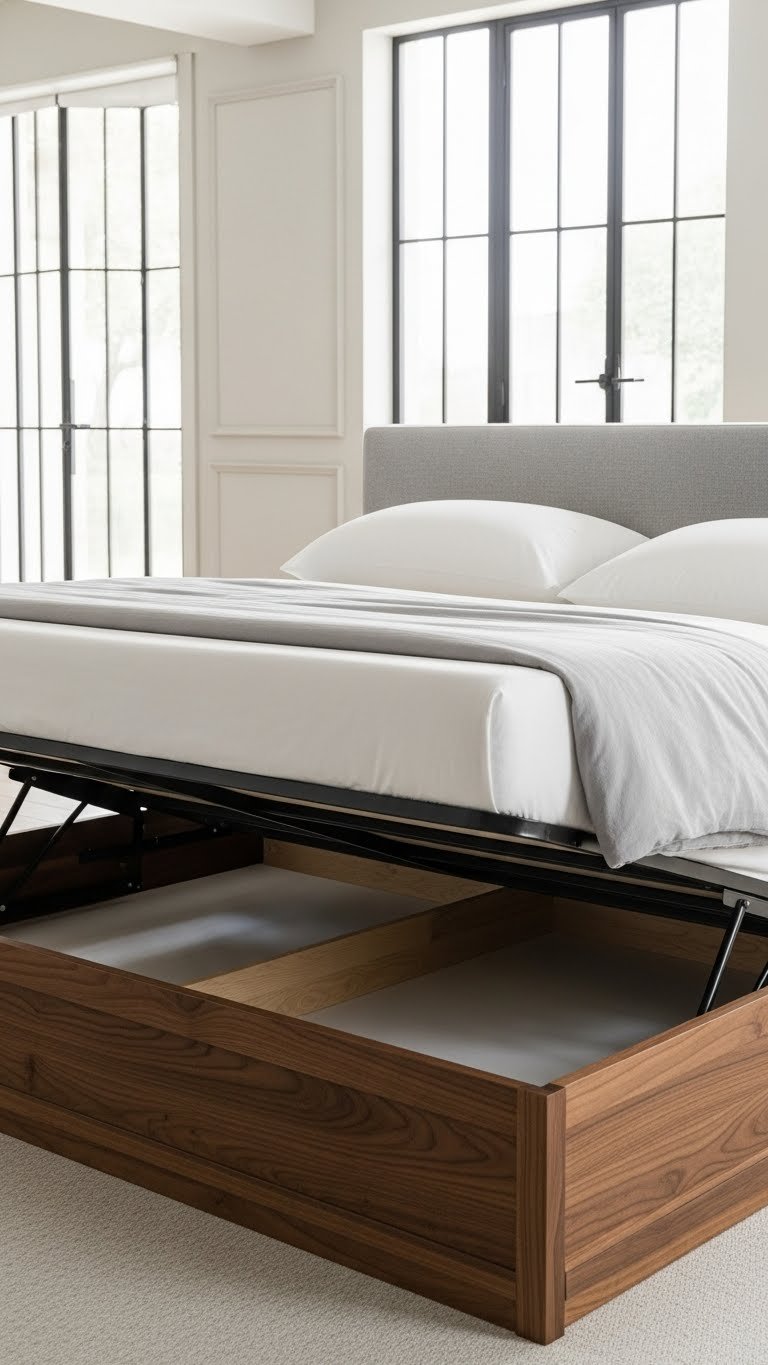
    Lift-top beds use gas struts to open and close smoothly, turning the entire under-bed space into one giant storage compartment. It’s like having a hidden treasure chest beneath your mattress.

    These run $600–$1,500 depending on materials and quality of the hydraulic system. Wayfair, Amazon, and furniture stores like Ashley Furniture carry solid options. Installation is straightforward—usually around one to two hours with basic tools. The mechanism should last for years, but if it fails, replacement struts are inexpensive and easy to swap.

    Make sure your mattress fits snugly so it doesn’t shift when you open or close the top. Store bulky items like extra comforters, seasonal clothes, or holiday decorations in here.

    This is the ultimate space-maximizer for small bedrooms, and the smooth opening motion feels satisfying every single time.

    4. Use Fabric Cubbies on Bed Risers

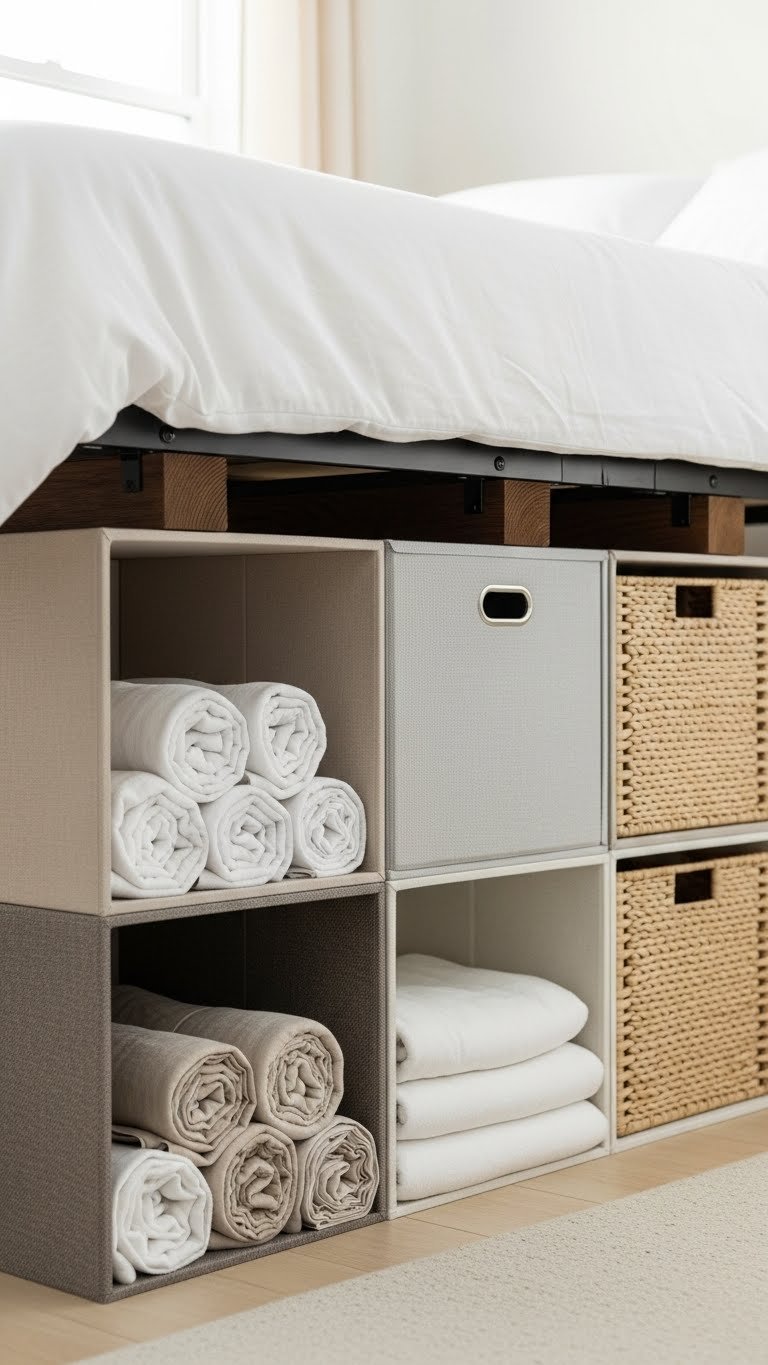
    Bed risers elevate your frame to create clearance for storage, and fabric cube organizers tuck perfectly in that space. This approach works for any bed frame and requires zero construction skills.

    Bed risers cost $20–$60 per set, and fabric cube units run $30–$80 depending on how many cubes you want. Find both at Target, IKEA, and Amazon. Set-up takes about 20 minutes. Start by placing risers under each bed leg, then slide your fabric cubes underneath. You can customize the layout based on your floor space.

    Layer your storage: use cubes on the floor and add another tier of storage baskets on top if your clearance allows.

    Suddenly you’ve created tons of accessible storage without buying a new bed, and you can rearrange everything anytime you want.

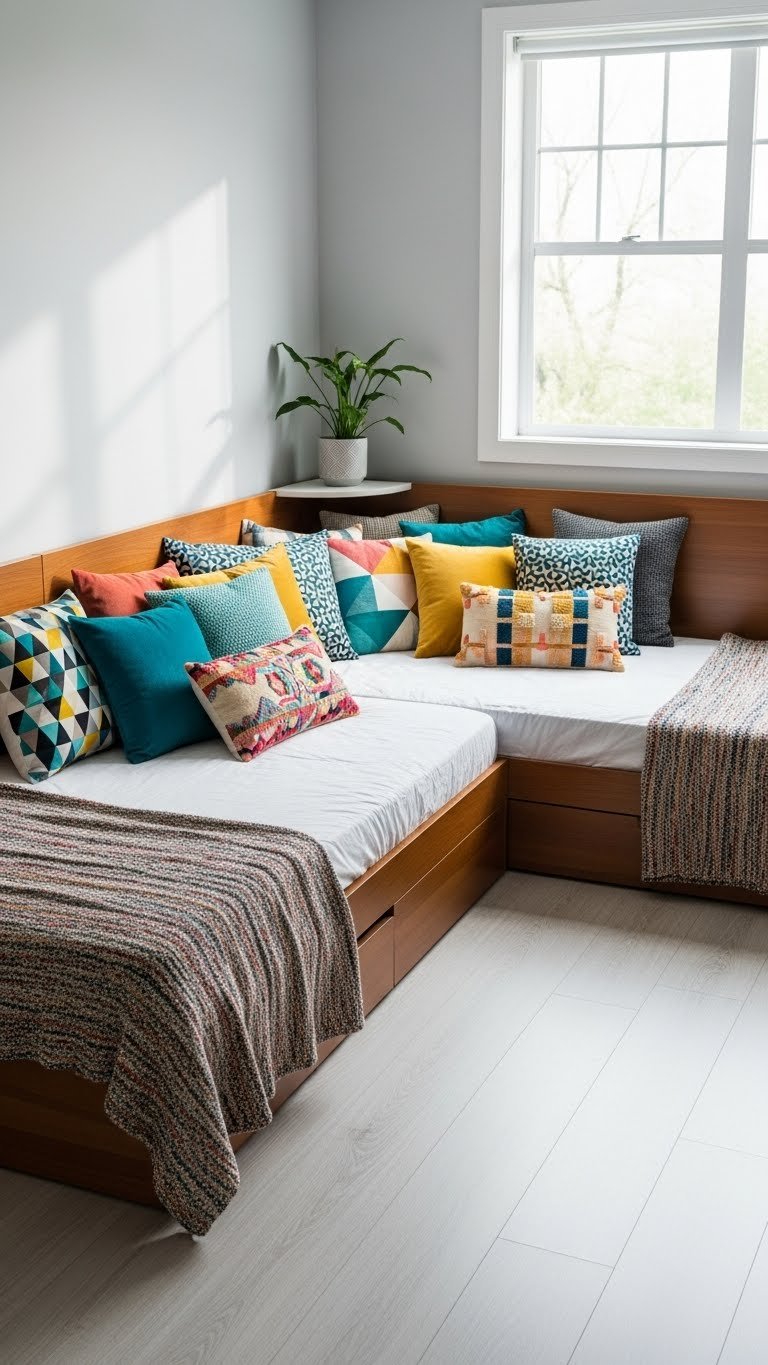
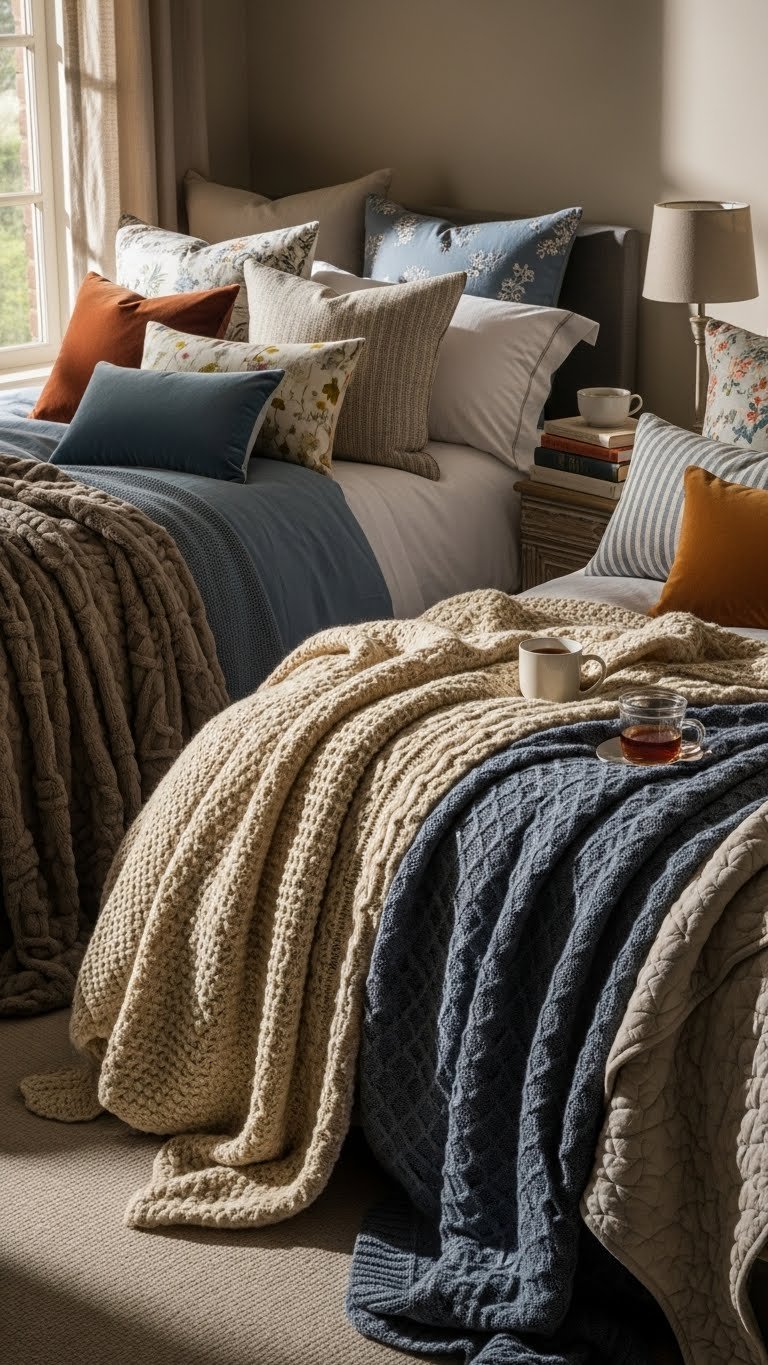
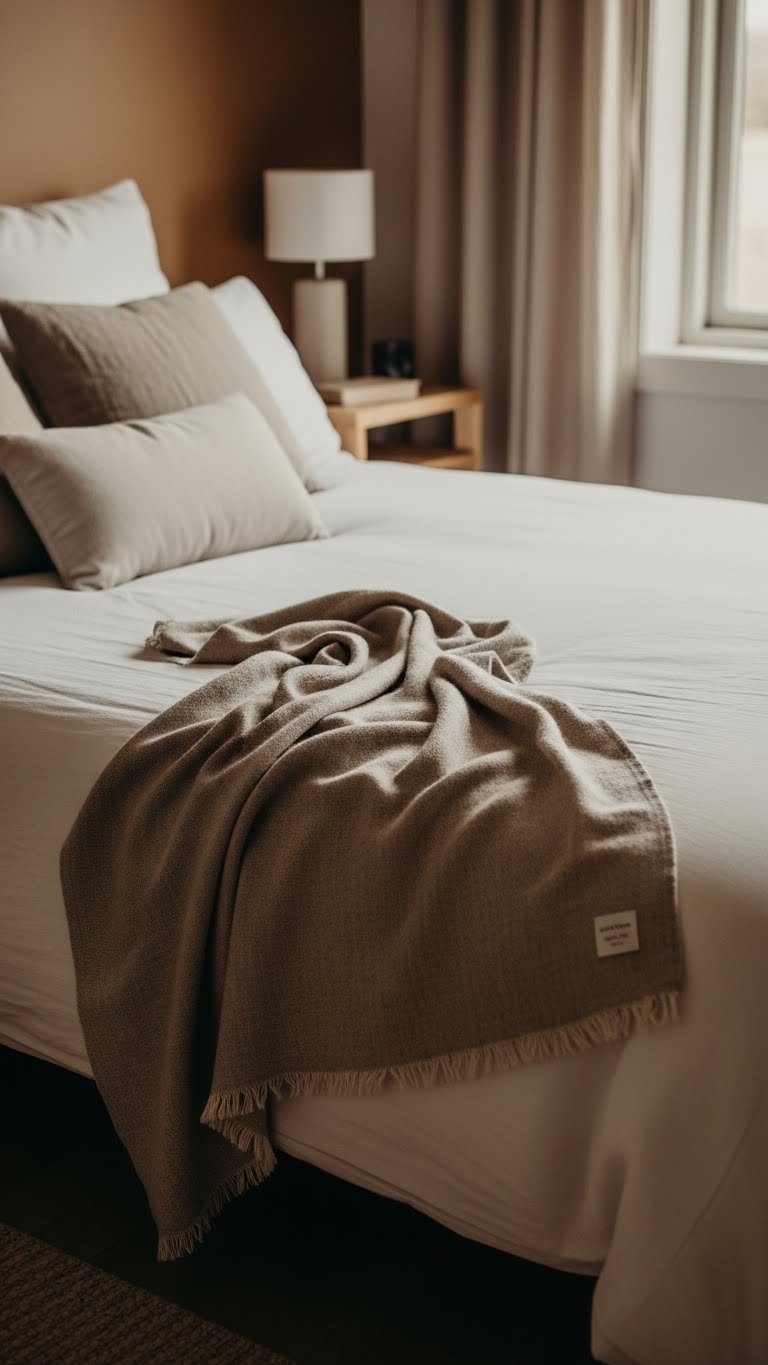
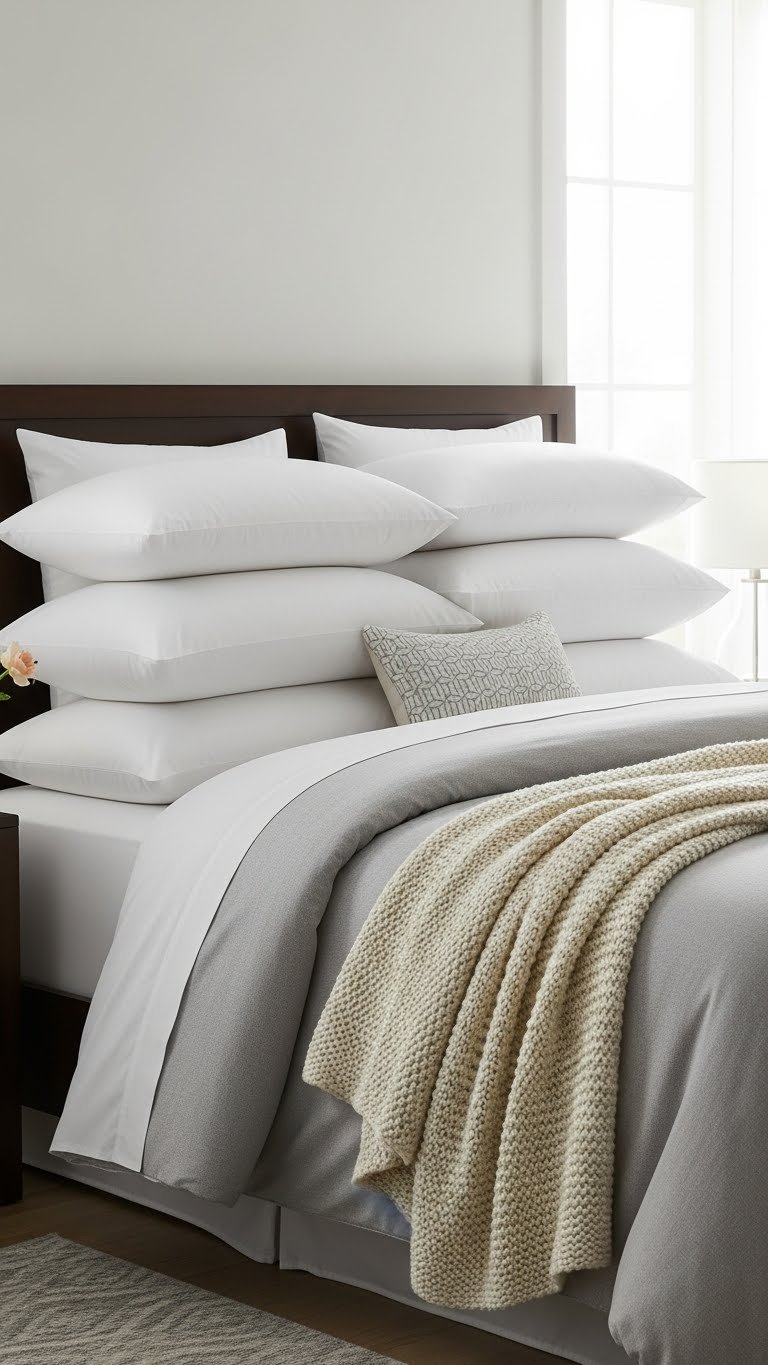
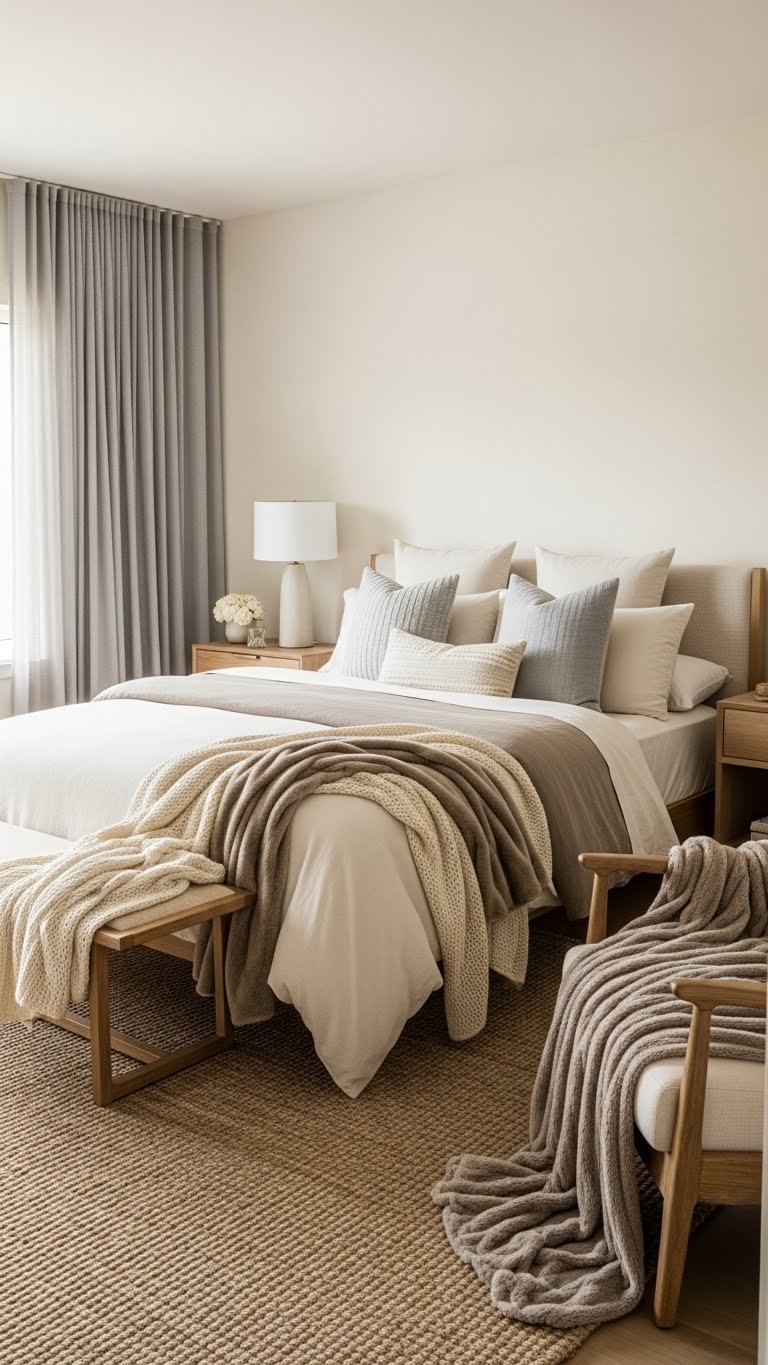
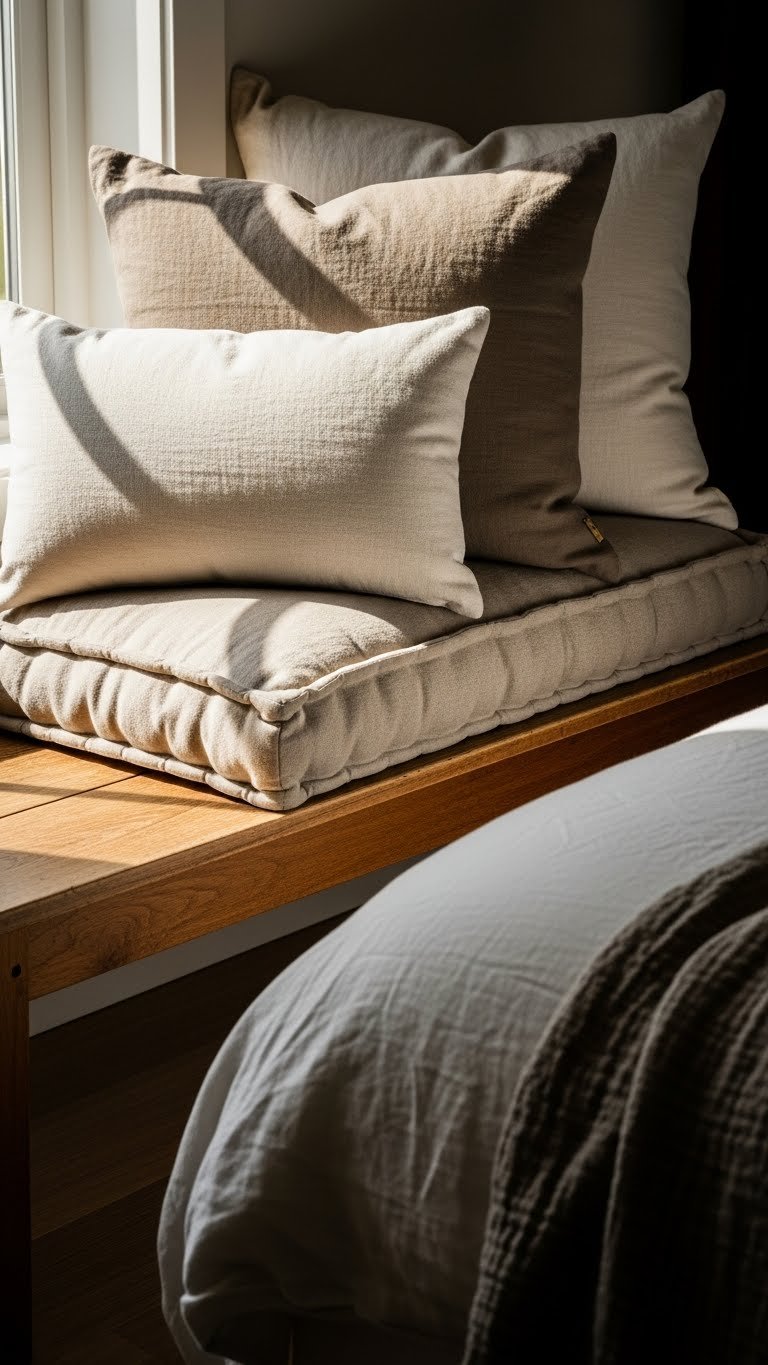
    5. Layer Storage Ottomans at the Foot of the Bed

    Storage ottomans serve double duty as seating, a place to fold clothes, and hidden storage all in one. Position one or two at the foot of your bed for easy access and a polished look.

    A quality storage ottoman costs $80–$250 depending on size and upholstery. Shop Wayfair, Article, or Target for styles that match your bedroom aesthetic. No assembly required for most—just unbox and place. Ottomans work especially well for storing throws, pillows, or folded clothes you access regularly.

    Choose sizes that fit your bed’s width so the proportions feel intentional rather than cramped.

    You get a functional piece that photographs beautifully while stashing exactly what you need where you can reach it.

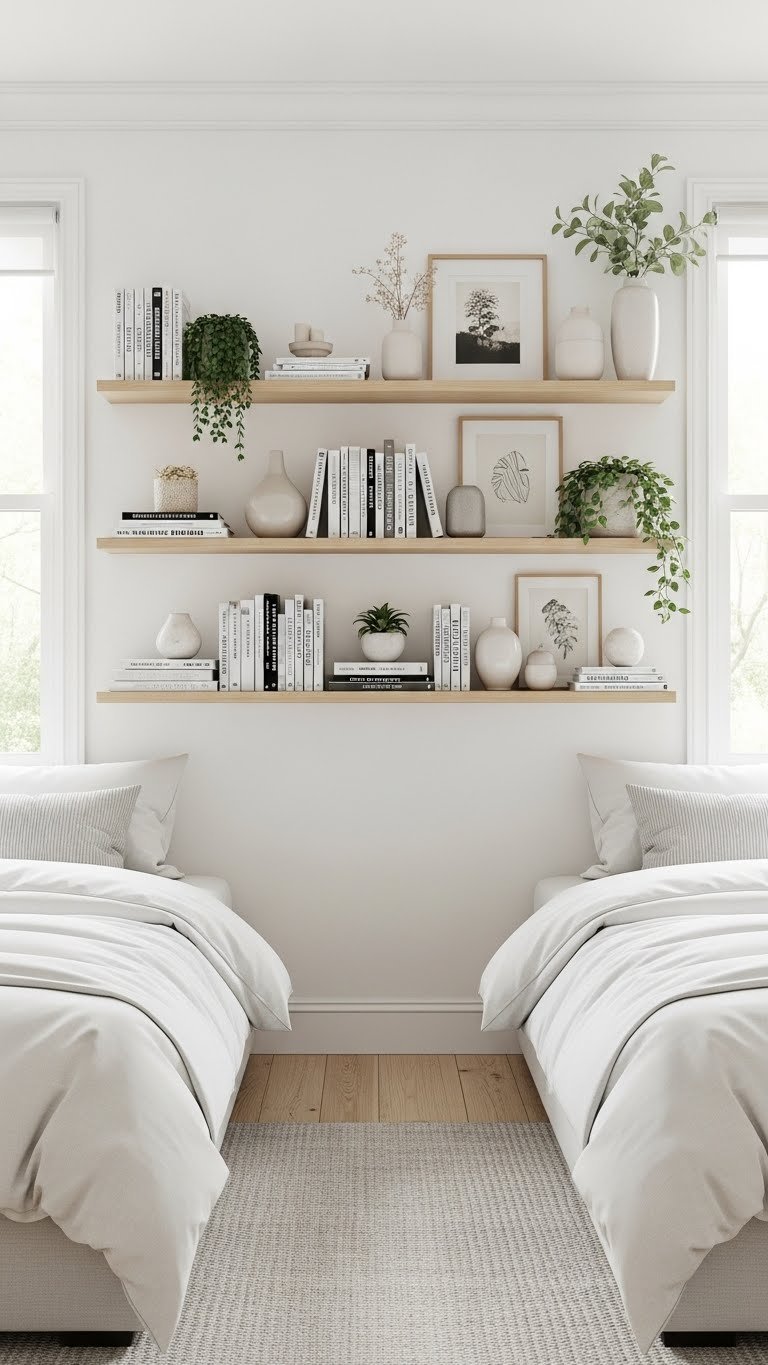
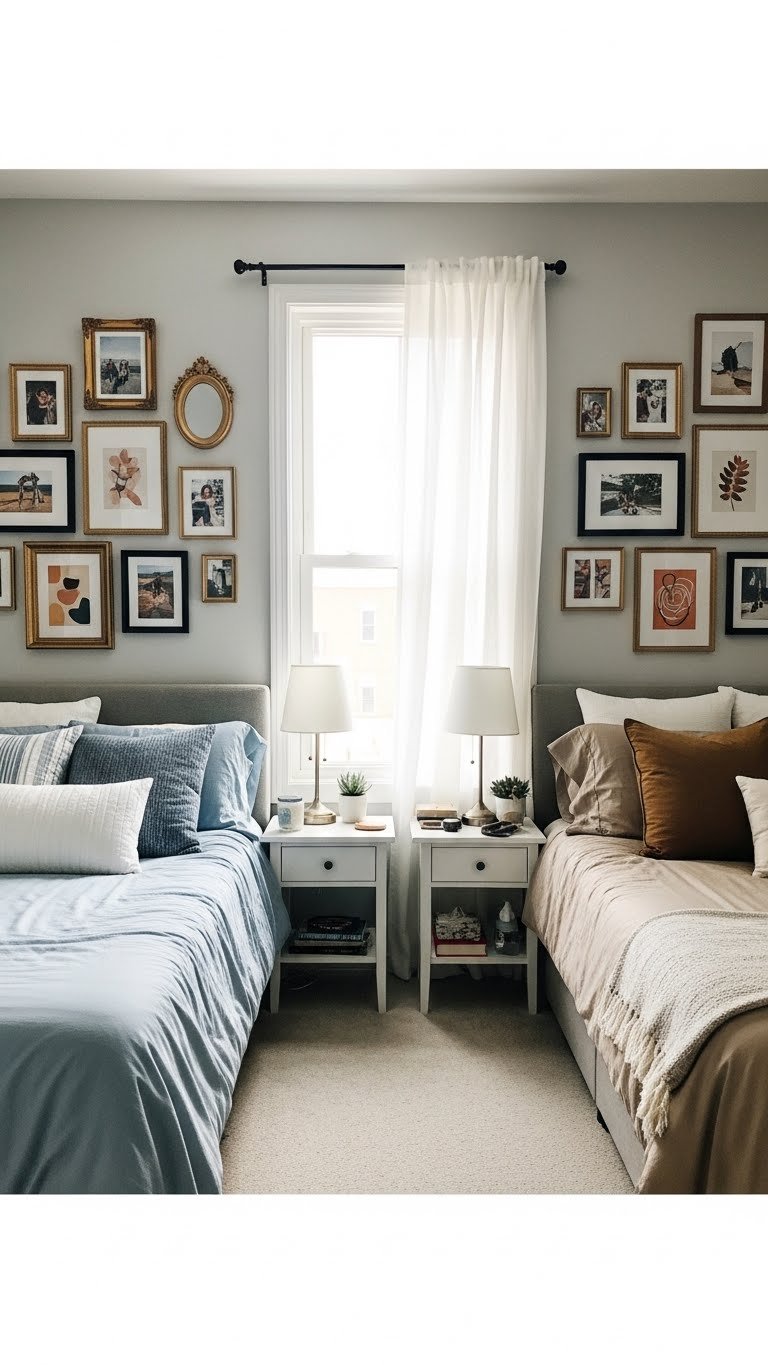
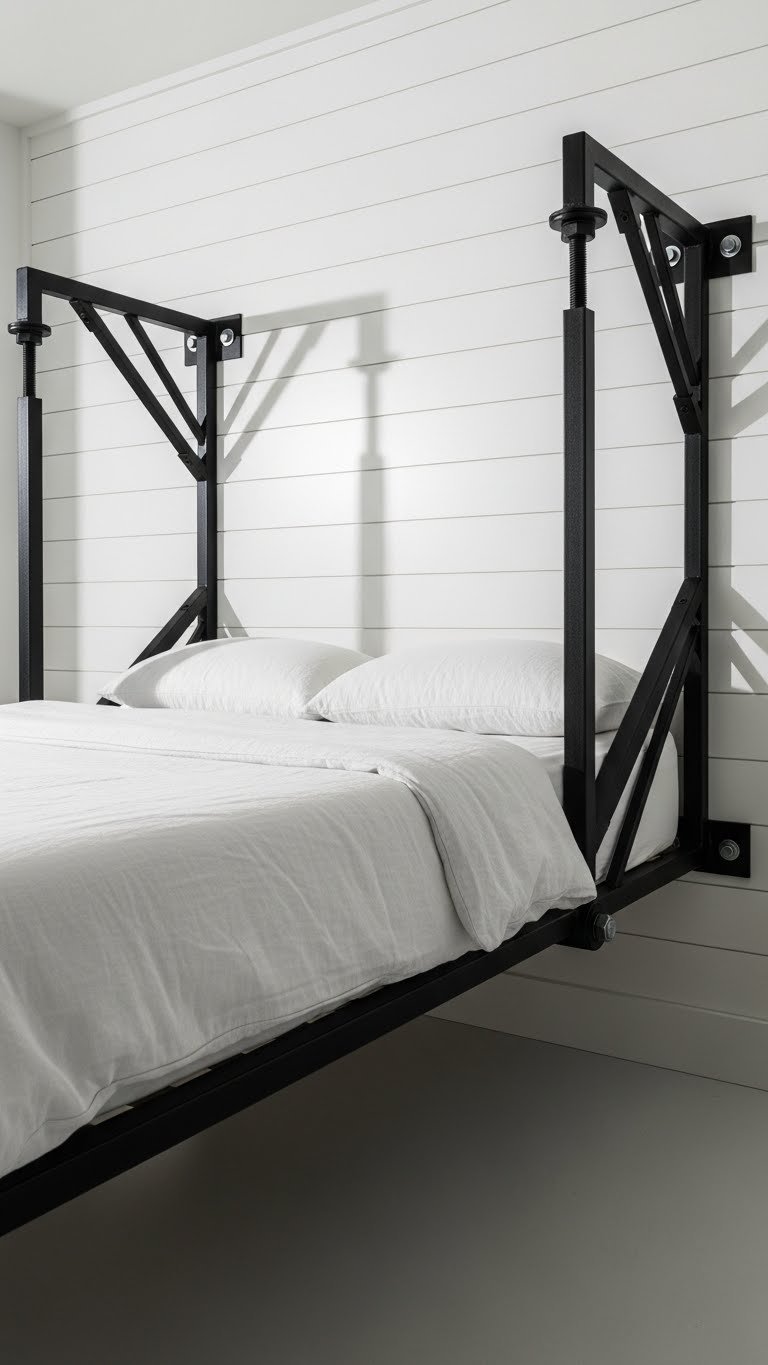
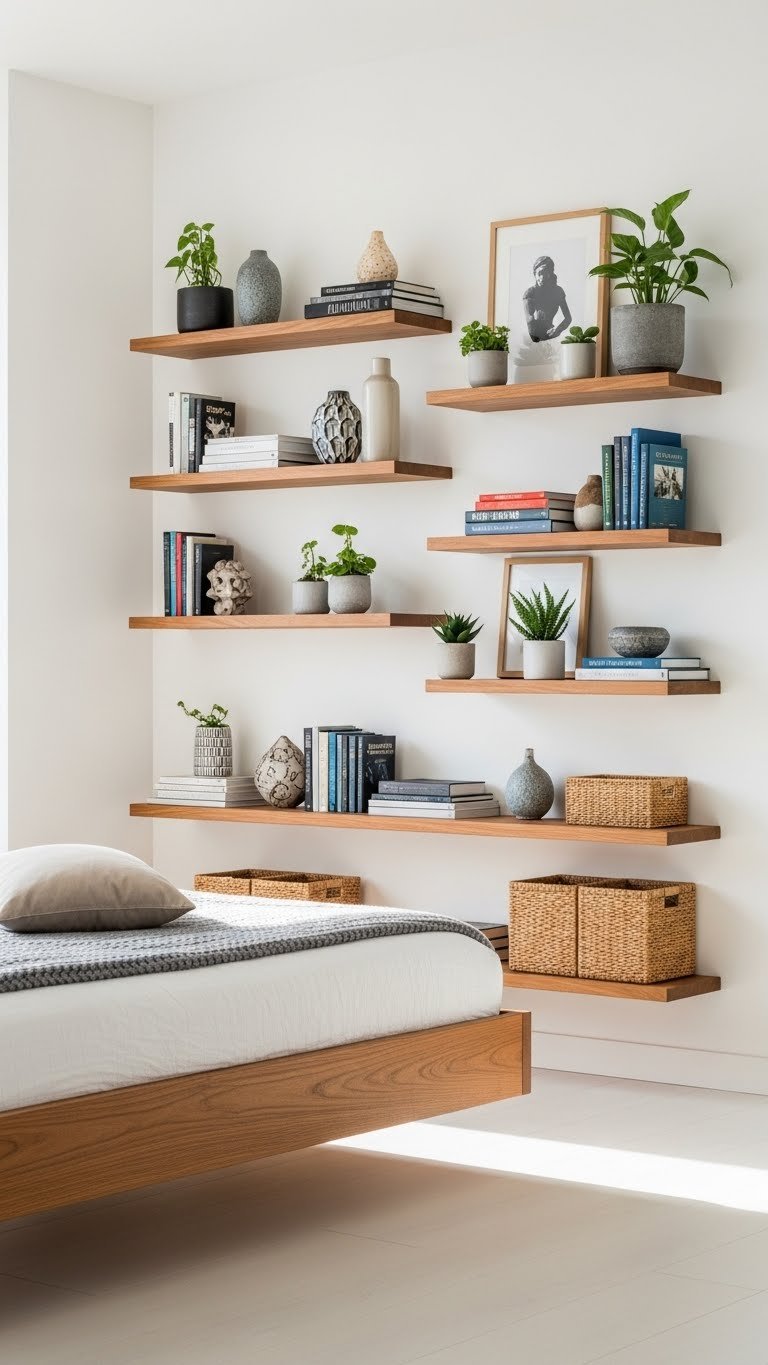
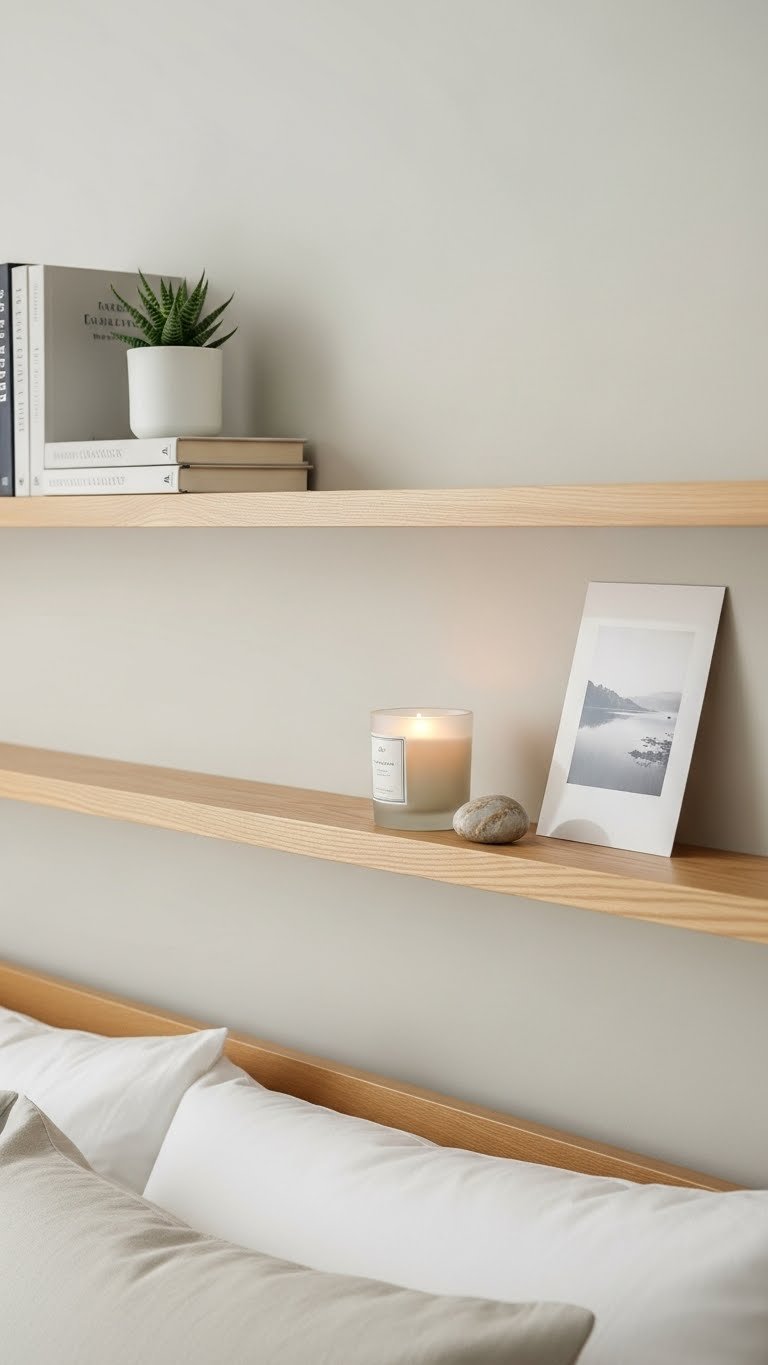
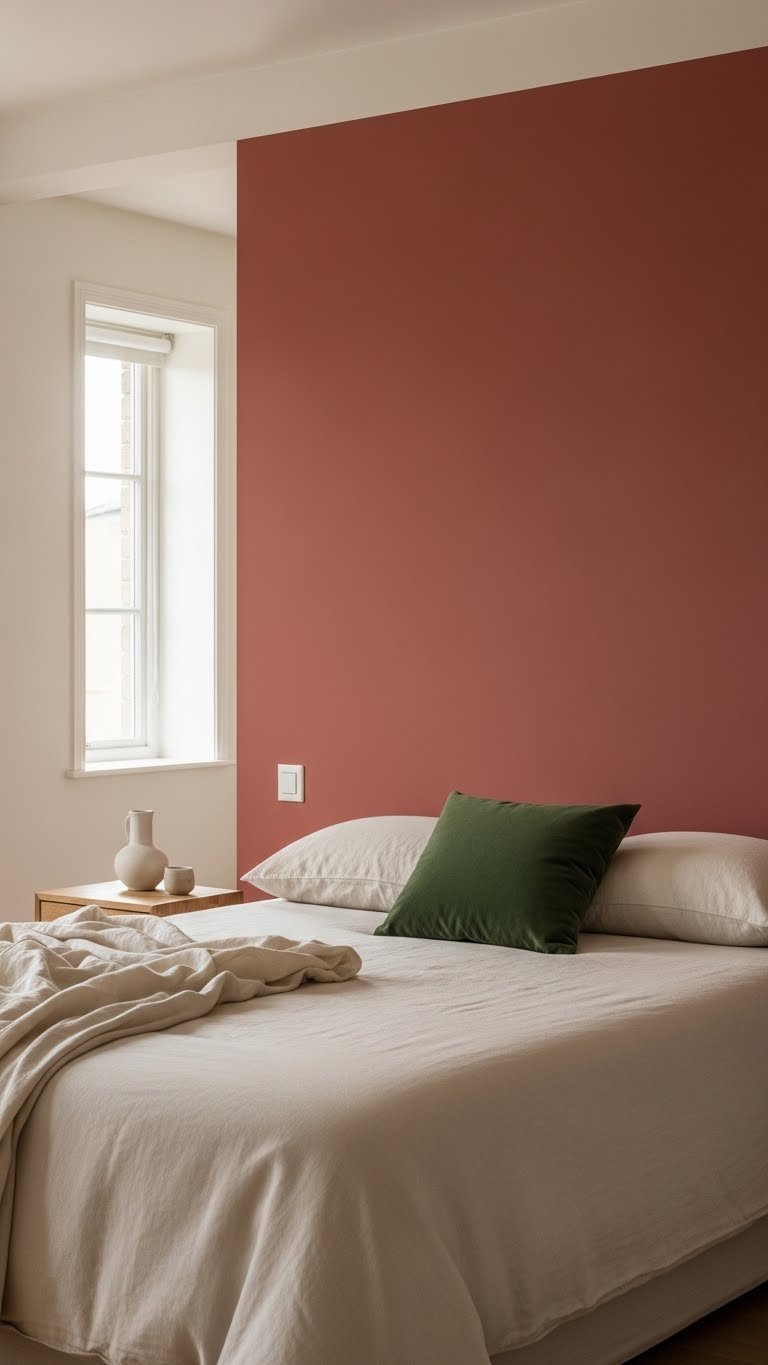
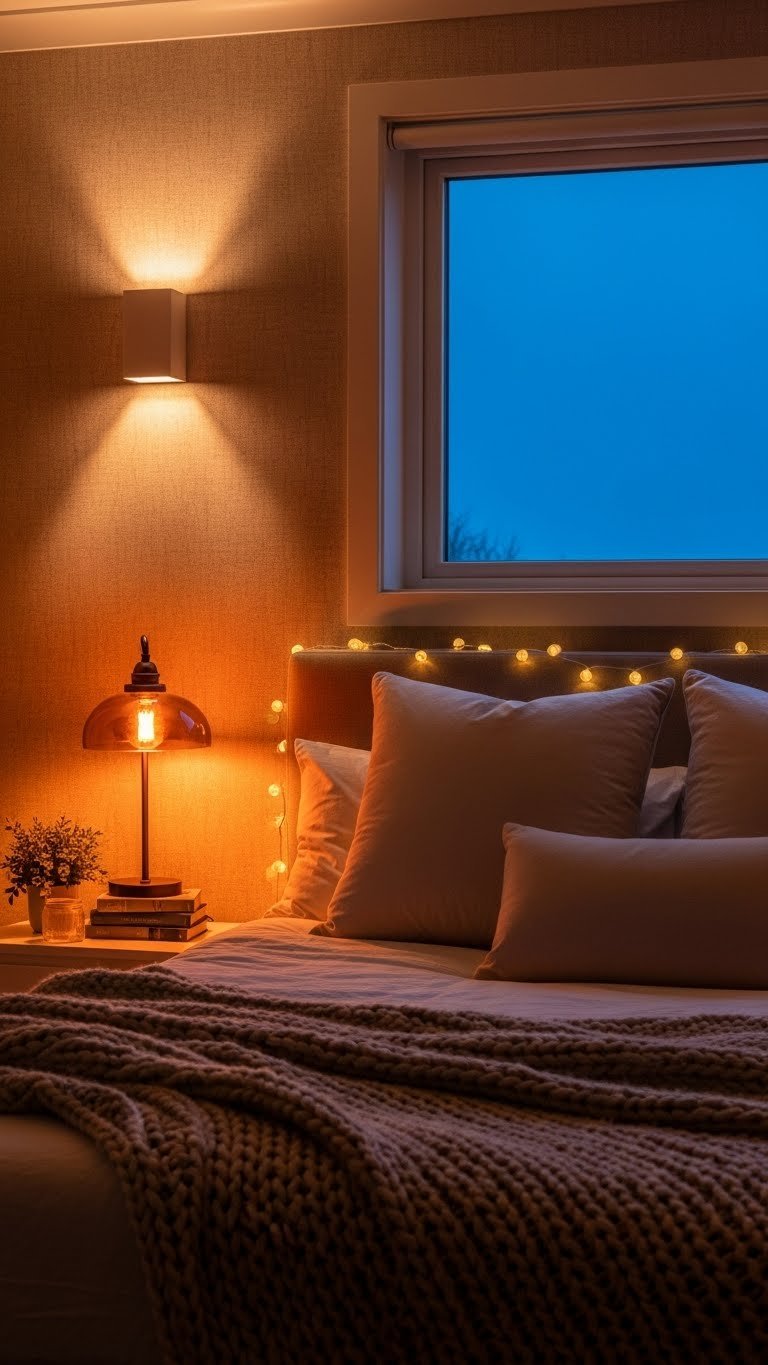
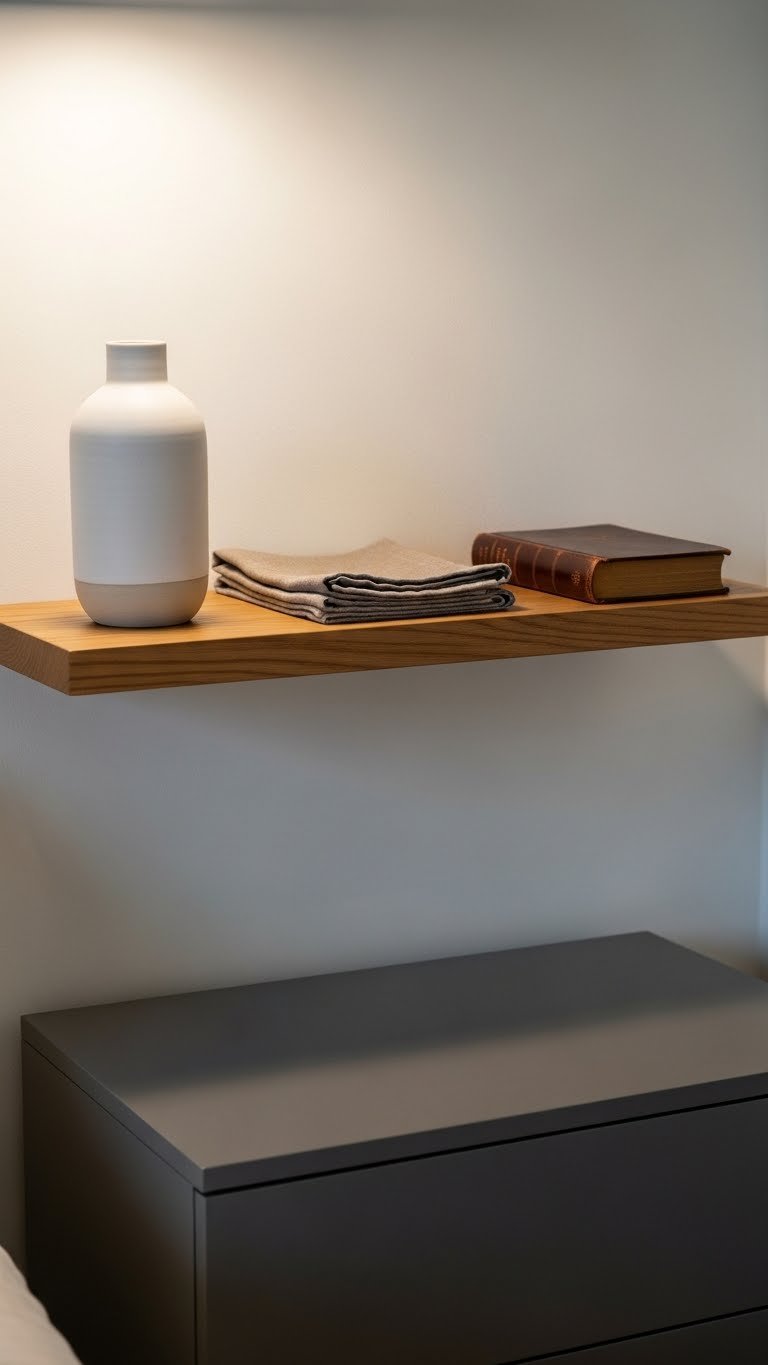
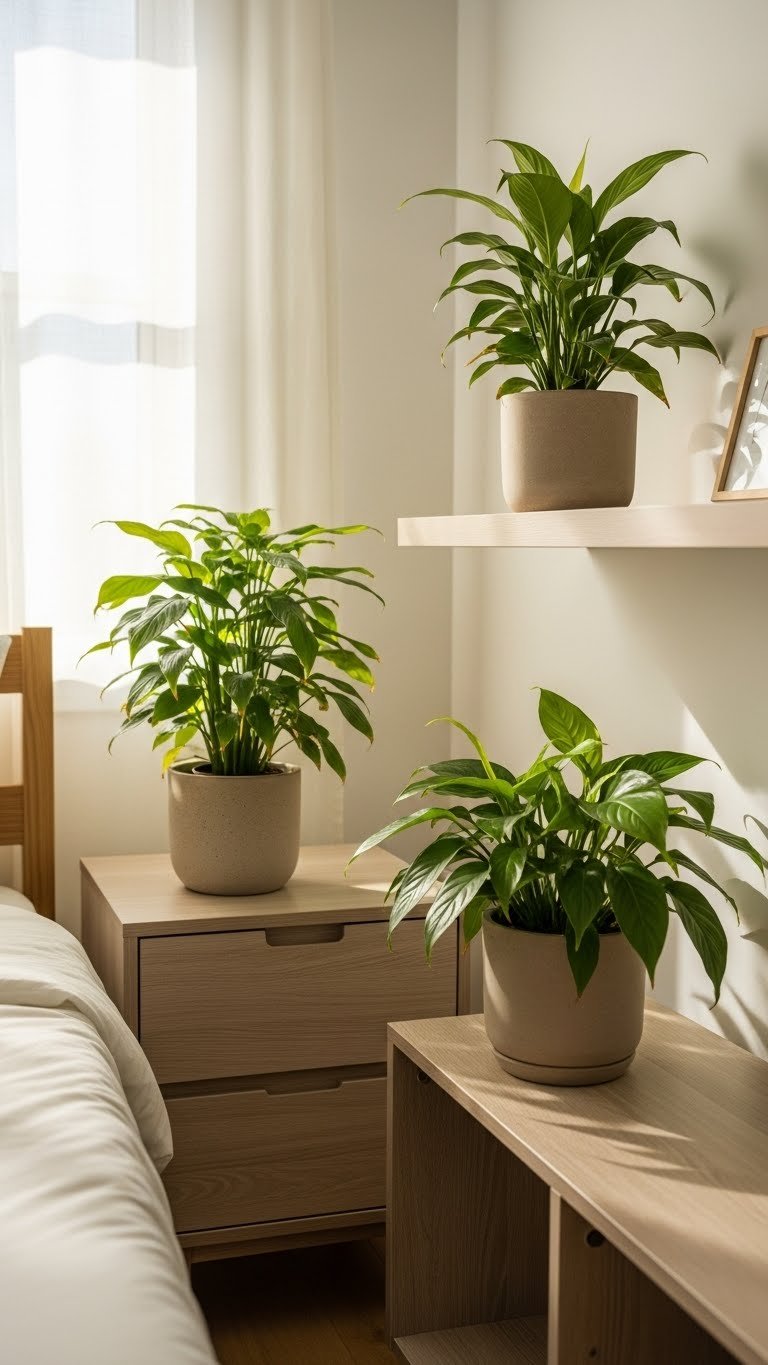
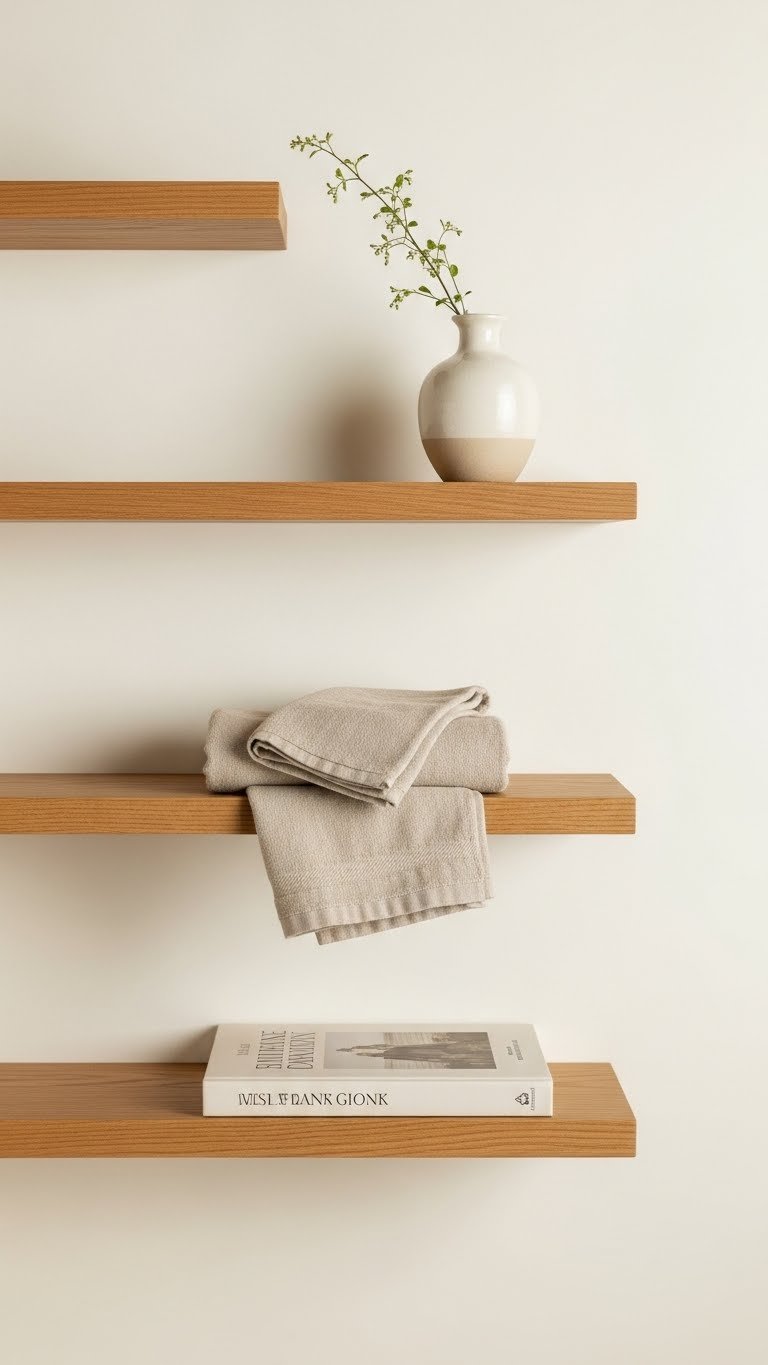
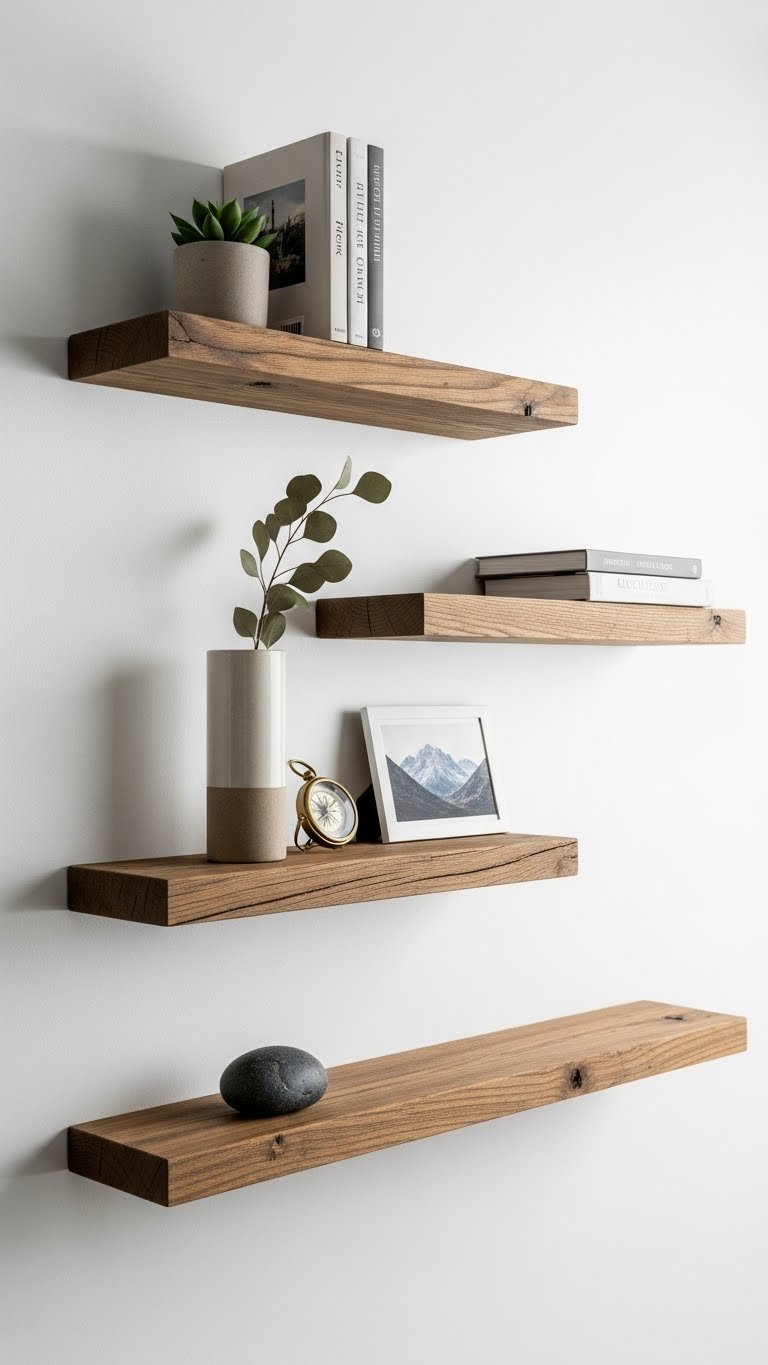
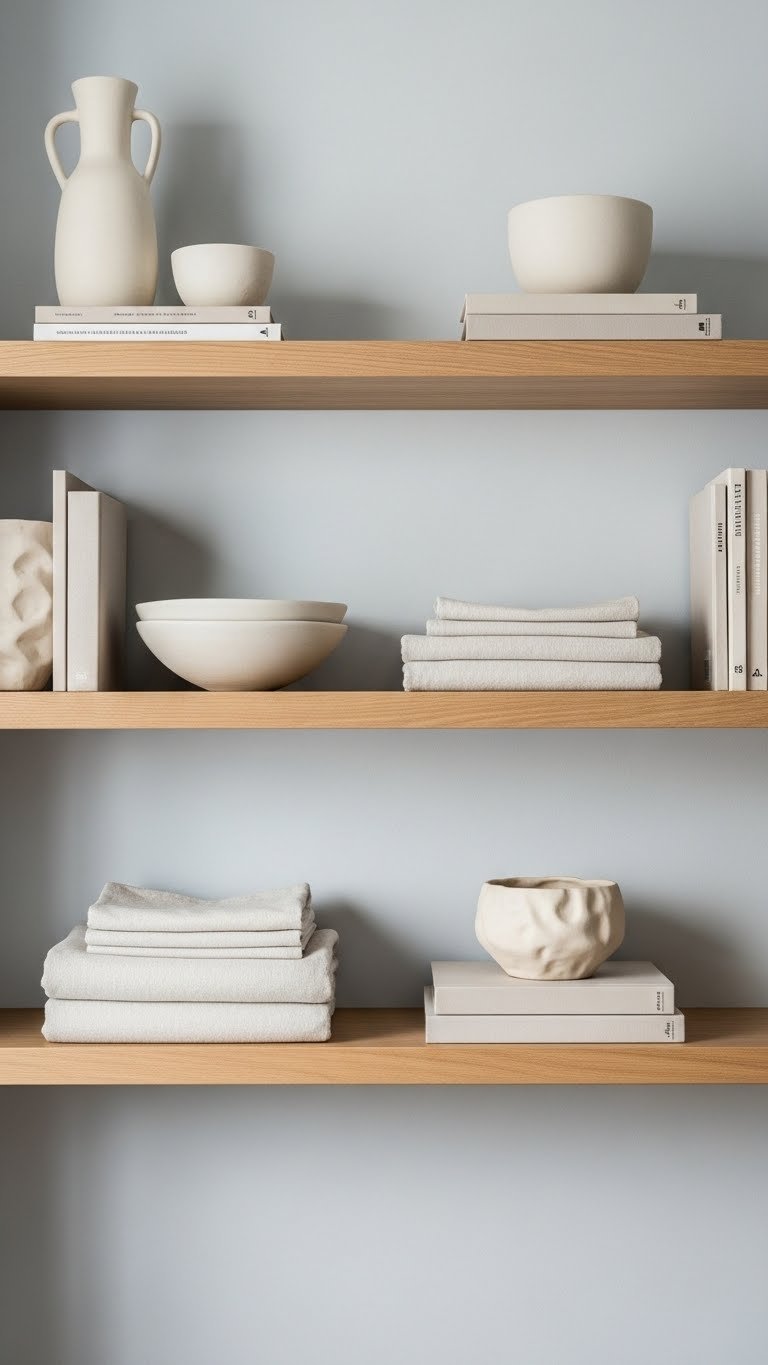
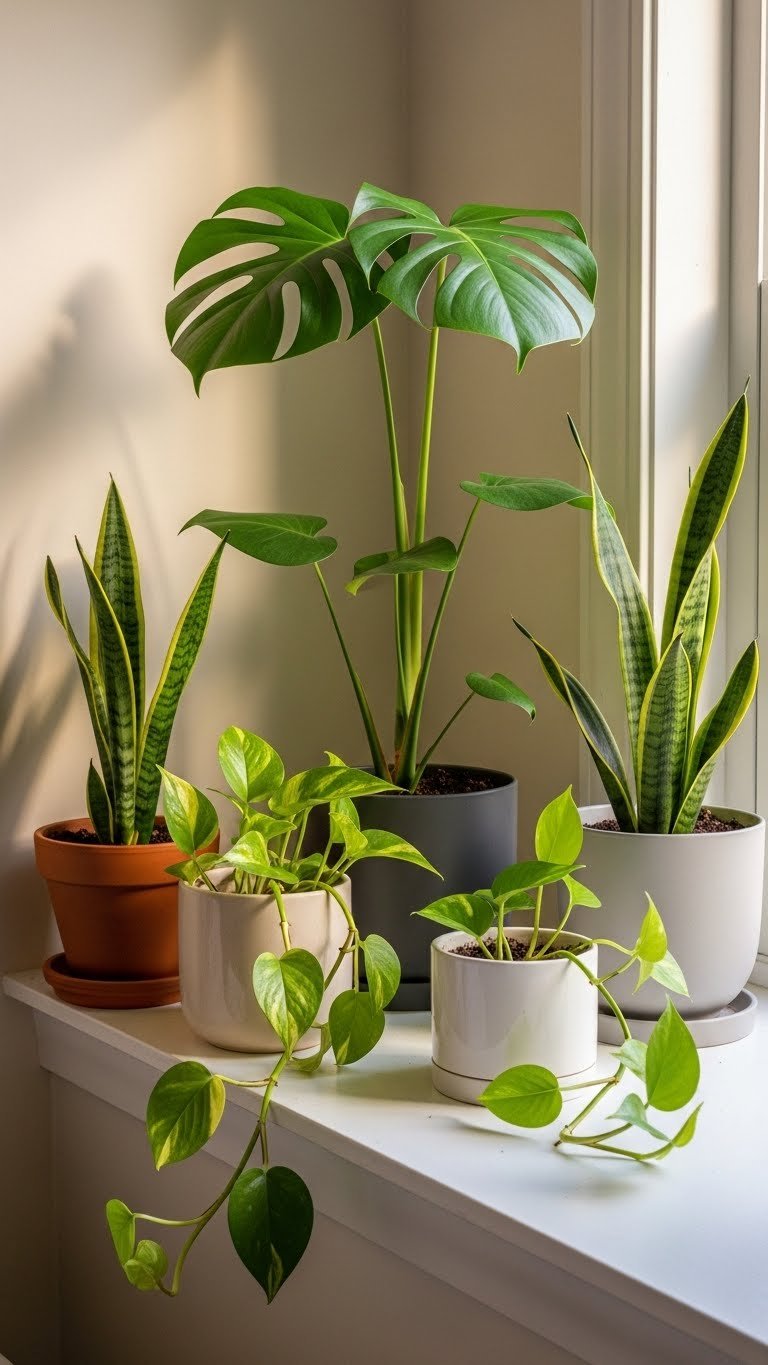
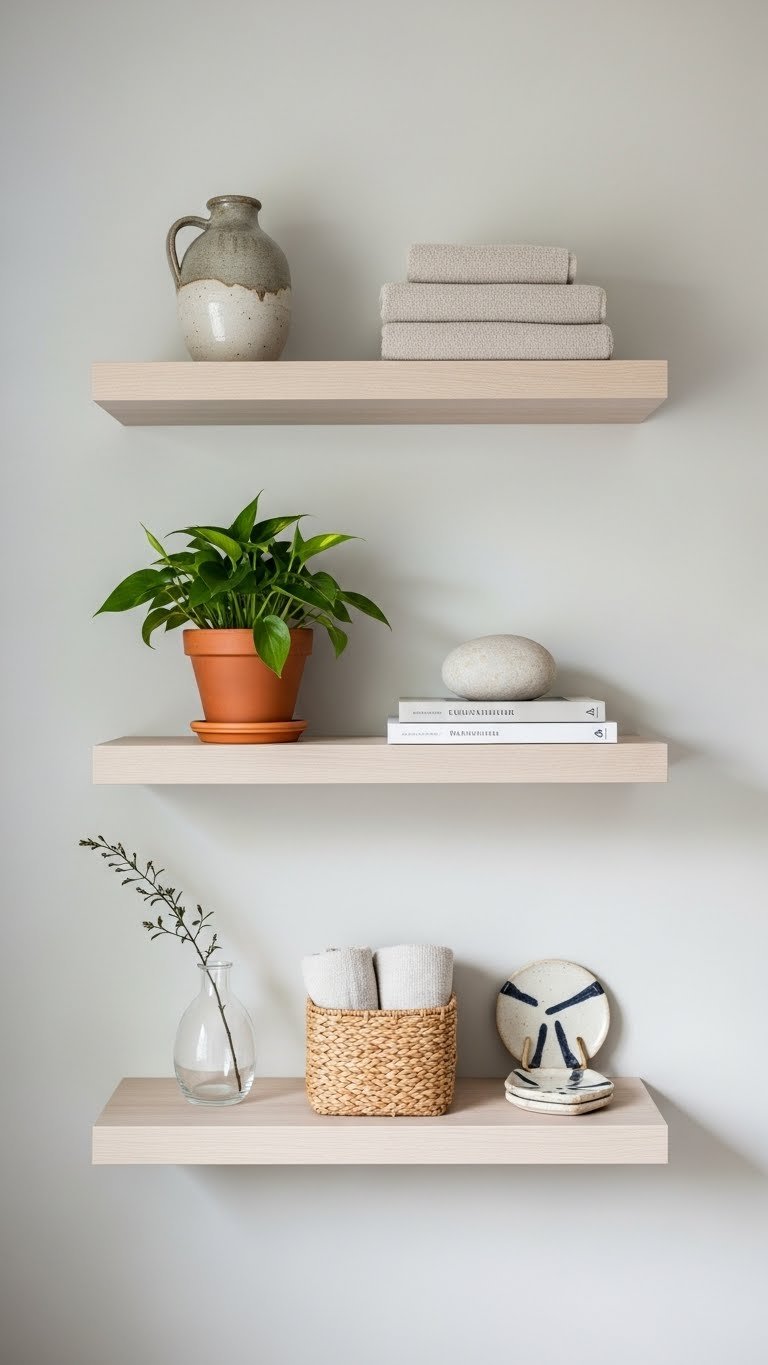
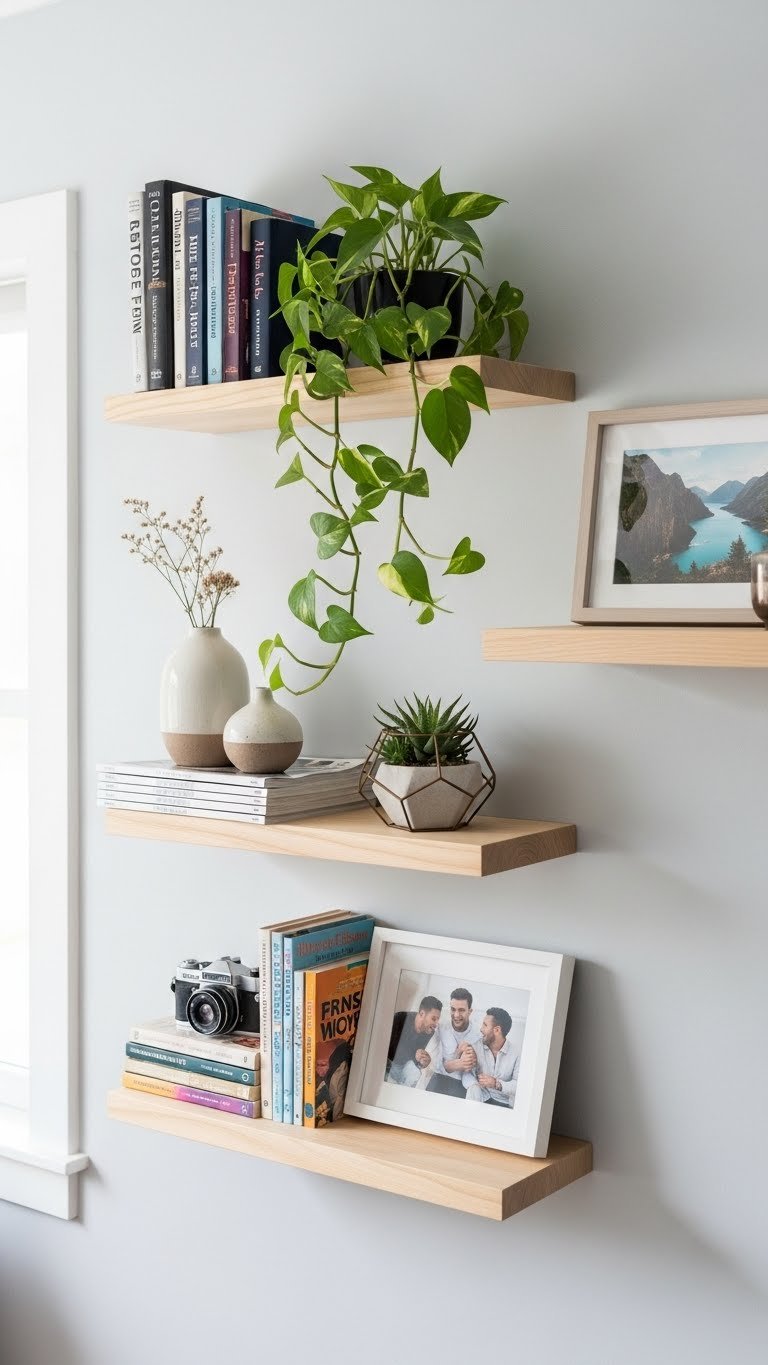
    6. Install Floating Shelves Above the Headboard

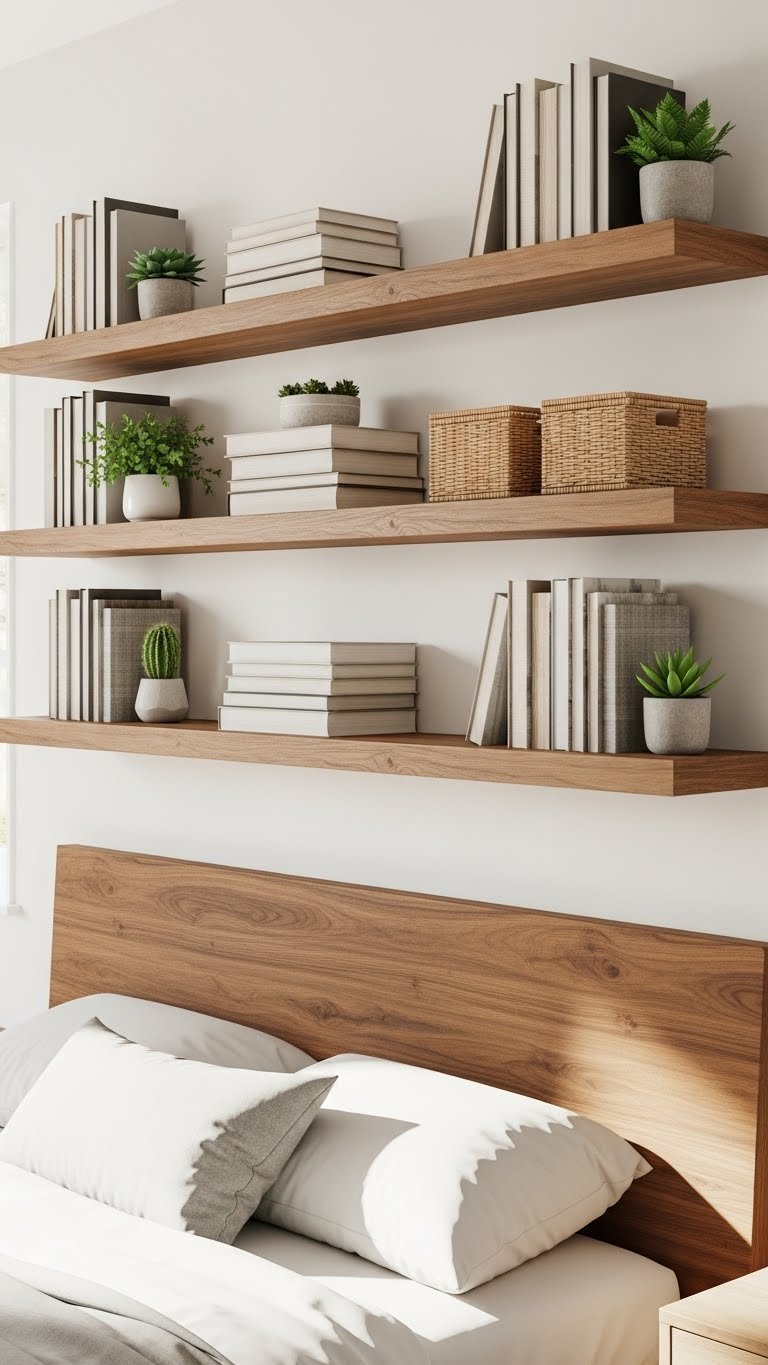
    Floating shelves above your headboard draw the eye upward and create storage without taking up floor space. They work especially well for books, plants, and decorative storage baskets.

    Quality floating shelves run $30–$100 each depending on material and size. Home Depot, Wayfair, and IKEA have tons of options. Installation takes 30–45 minutes and requires a level, drill, and wall anchors. Make sure you’re mounting into studs for weight-bearing items, or use heavy-duty anchors.

    Store lightweight items like books, journals, and small baskets. Avoid overloading—three shelves with curated items look better than seven crammed shelves.

    This setup gives your bedroom vertical visual interest while keeping clutter off the floor and nightstands.

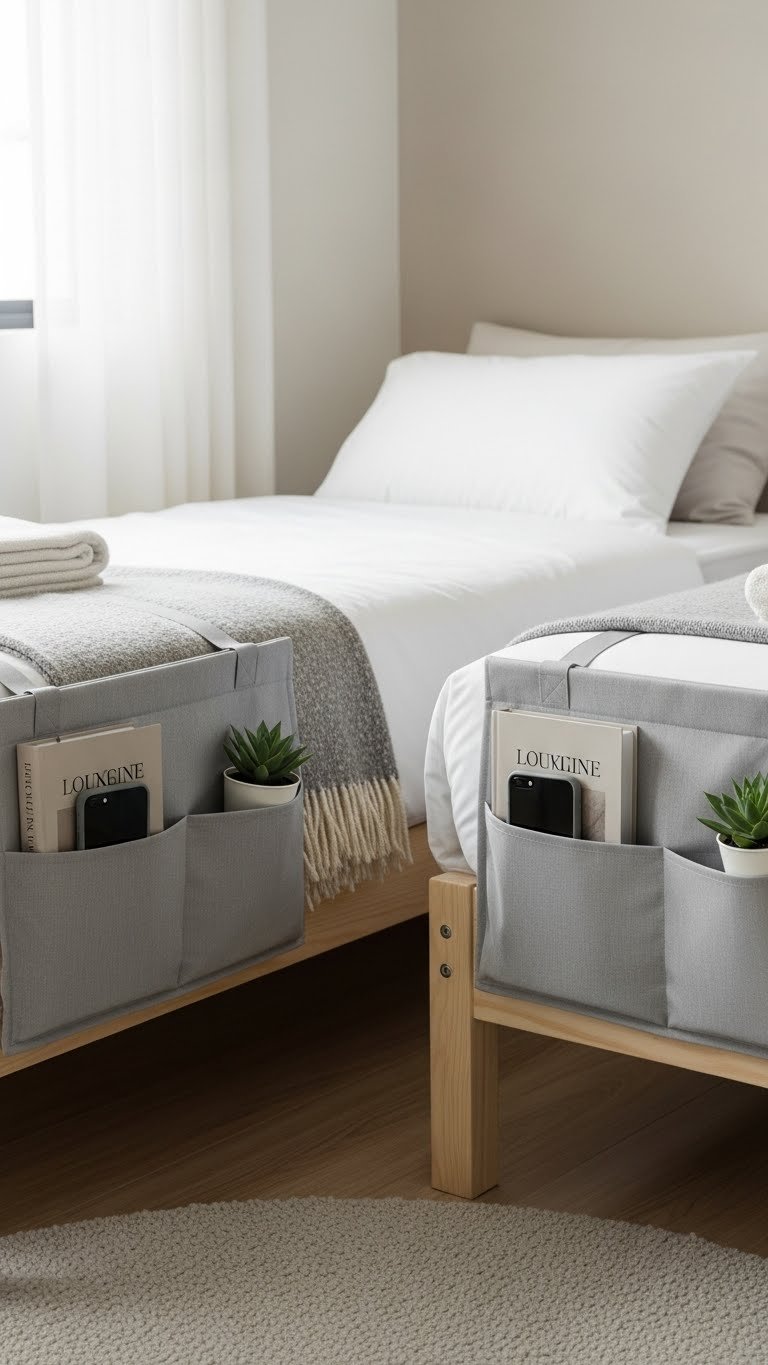
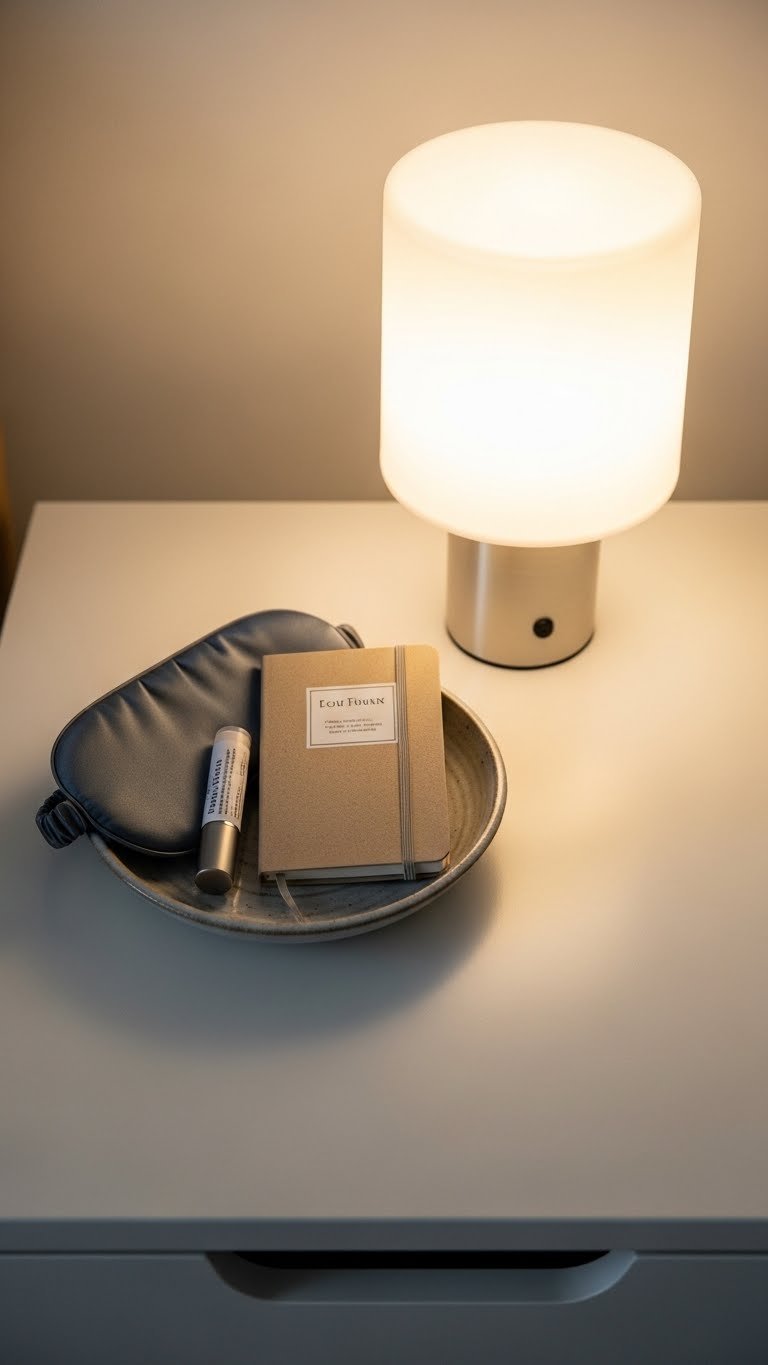
    7. Use Hanging Storage Organizers on Bed Rails

    Hanging organizers that attach to bed rails are perfect for renters and anyone who can’t drill holes in walls. These hold everything from books to charging cables within arm’s reach.

    Hanging bedside organizers cost $15–$35 and come from Target, Amazon, or Container Store. They’re designed to loop over your bed frame—no installation required. Each pocket typically holds lightweight items, so load wisely. Use them for books, journals, glasses, lip balm, and phone chargers.

    Pick styles in neutral fabrics so they blend with your bedding rather than looking like clutter.

    You’ll love having everything you need at bedside without cluttering your nightstand surface.

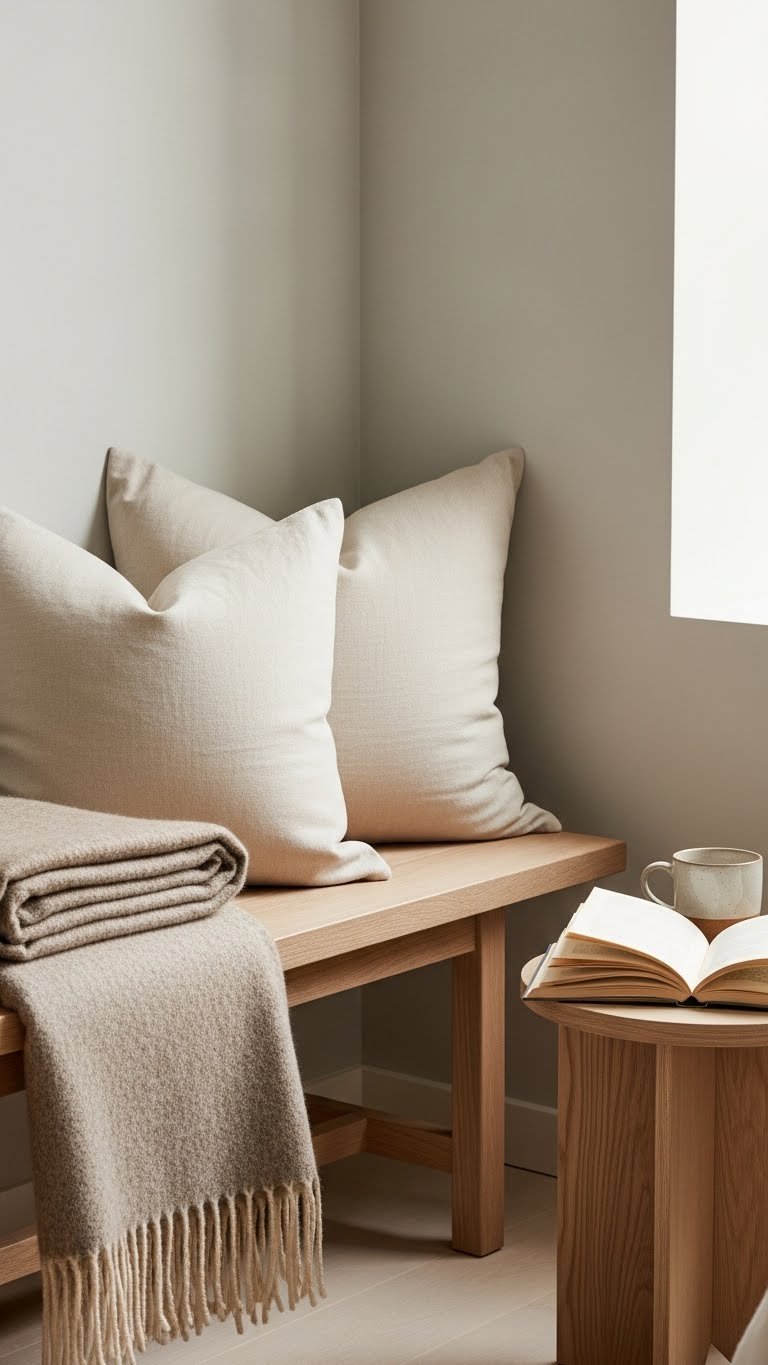
    8. Build a DIY Storage Bench Under Your Window

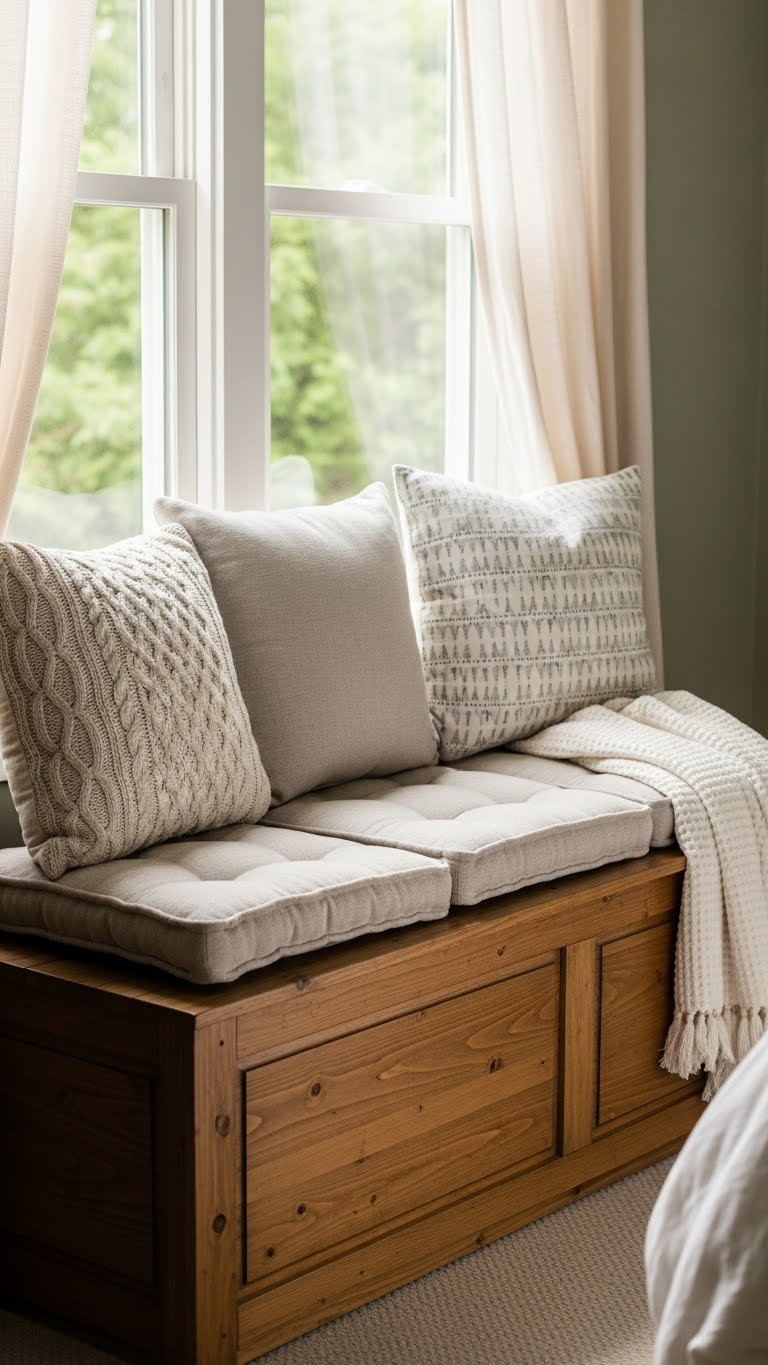
    A DIY storage bench under a window serves as seating, storage, and a visual focal point all at once. This project is simpler than it looks and uses basic materials.

    Budget $100–$200 for materials (plywood, hinges, wood stain, and hardware) if you’re building from scratch, or find ready-made benches for $200–$400. If you’re handy, plans are available on YouTube and DIY blogs—expect a weekend project. For non-DIYers, ready-made options are available at West Elm, Wayfair, and target.

    Fill it with off-season clothes, extra blankets, or anything you want hidden but accessible. The hinged top makes access easy.

    This piece adds character to your bedroom while solving storage in a beautiful, functional way.

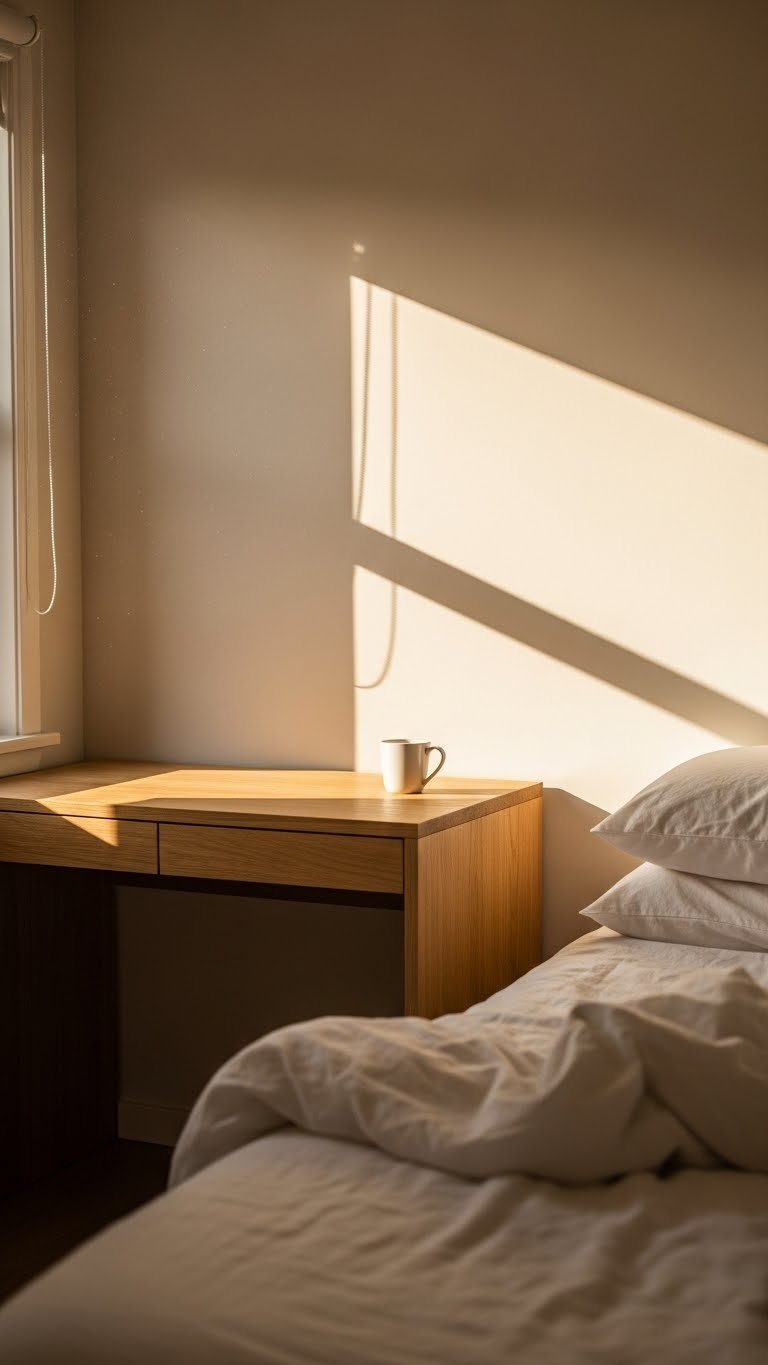
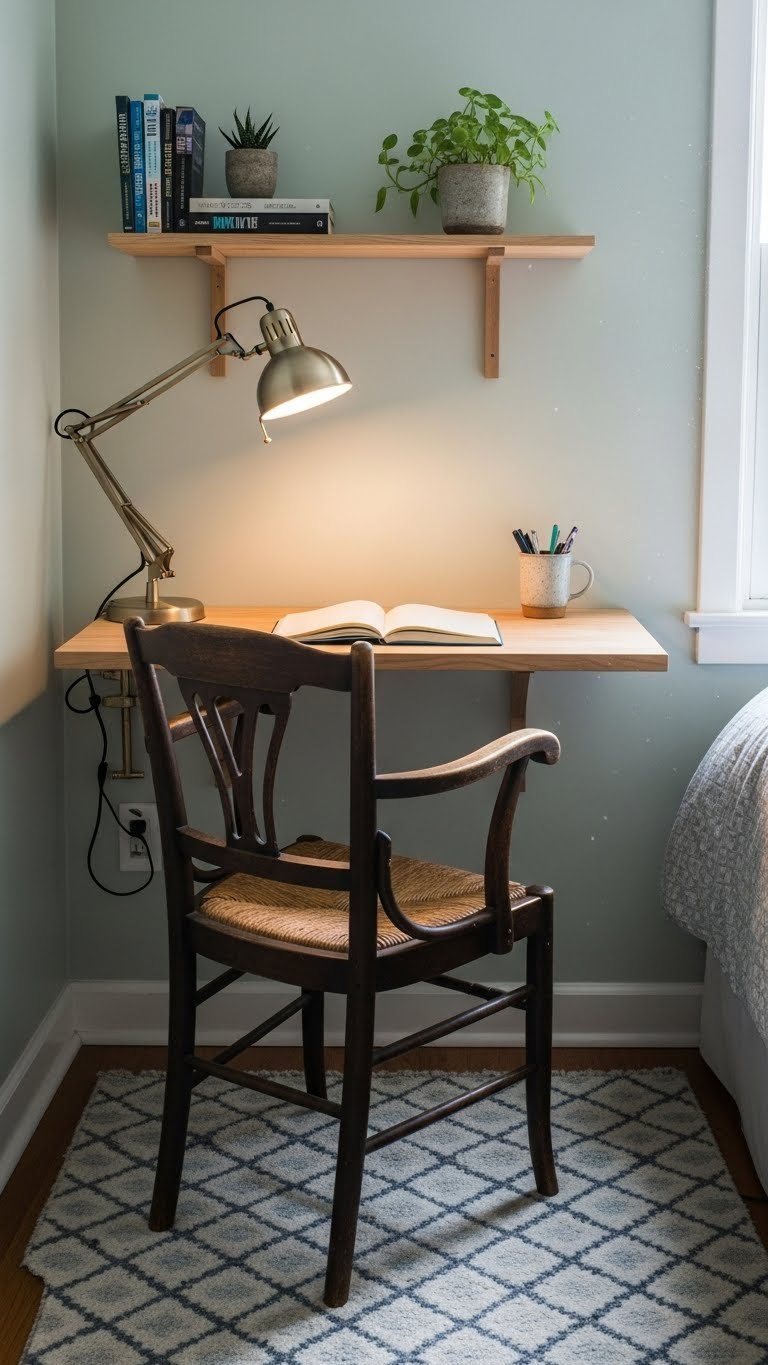
    9. Mount a Wall-Mounted Fold-Down Desk

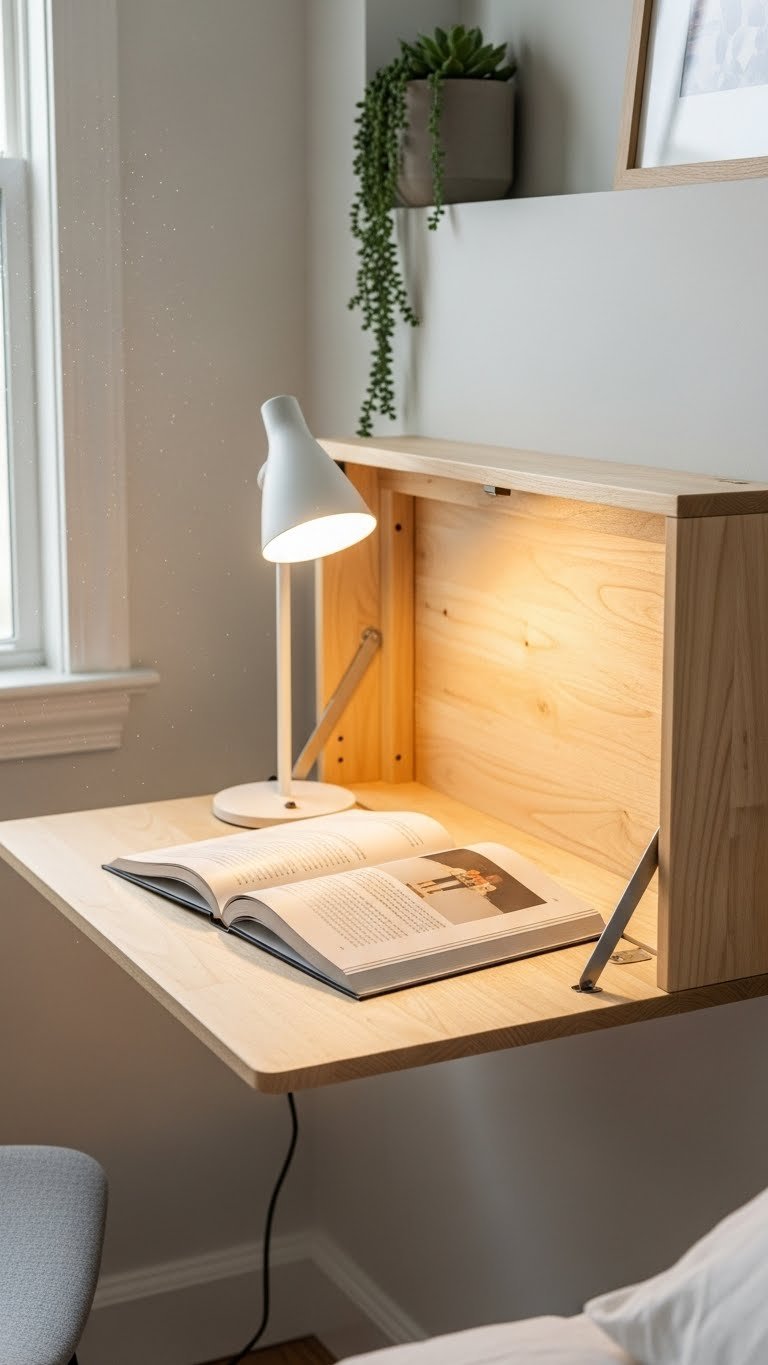
    A fold-down wall desk gives you work-from-bed storage without eating up floor space. When not in use, it folds flat against the wall and disappears.

    Wall-mounted desks cost $60–$150 and mount securely in about 30 minutes with basic tools. Find them at IKEA, Wayfair, and hardware stores. Use the desk surface for work or as a small display shelf when folded up, and store office supplies in small drawers or organizers attached to it.

    This is a game-changer for small bedrooms that double as home offices or creative studios.

    You gain functional workspace without sacrificing the serene bedroom aesthetic you’re after.

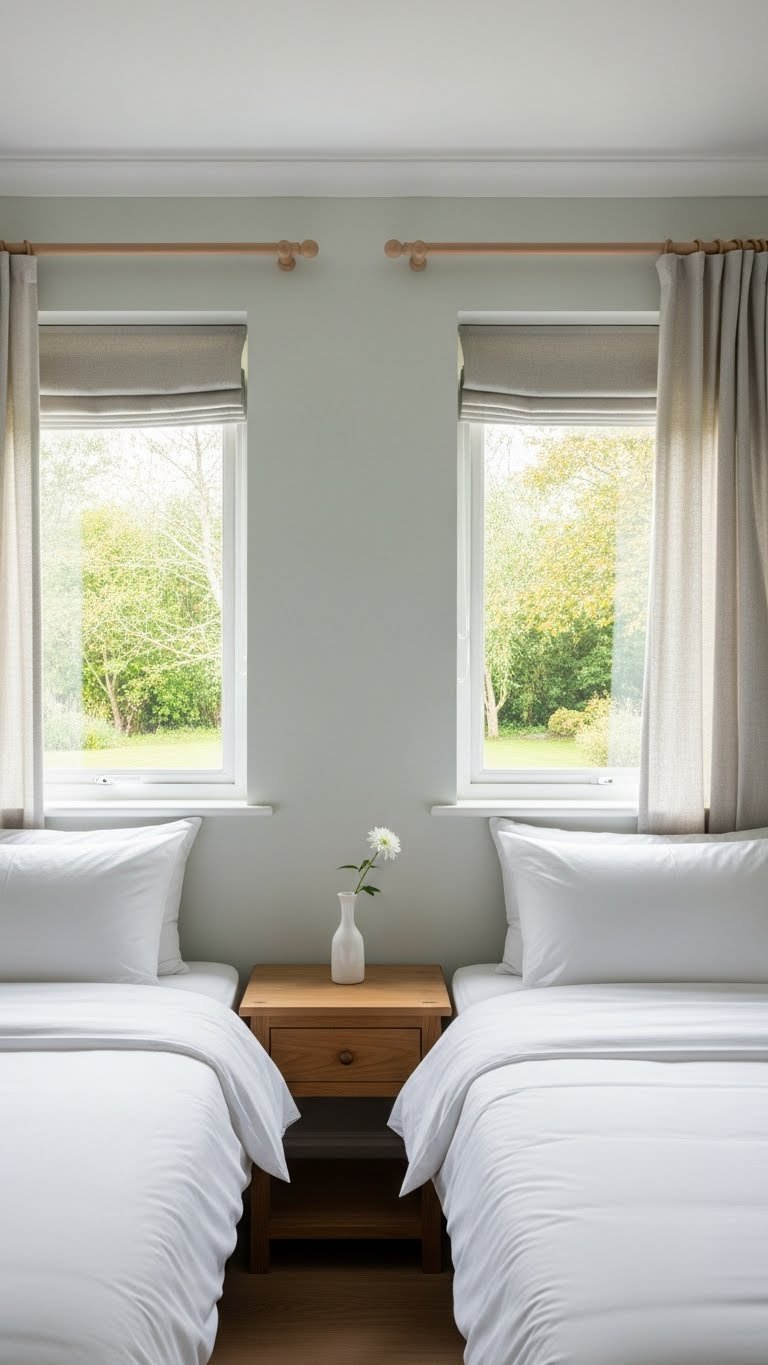
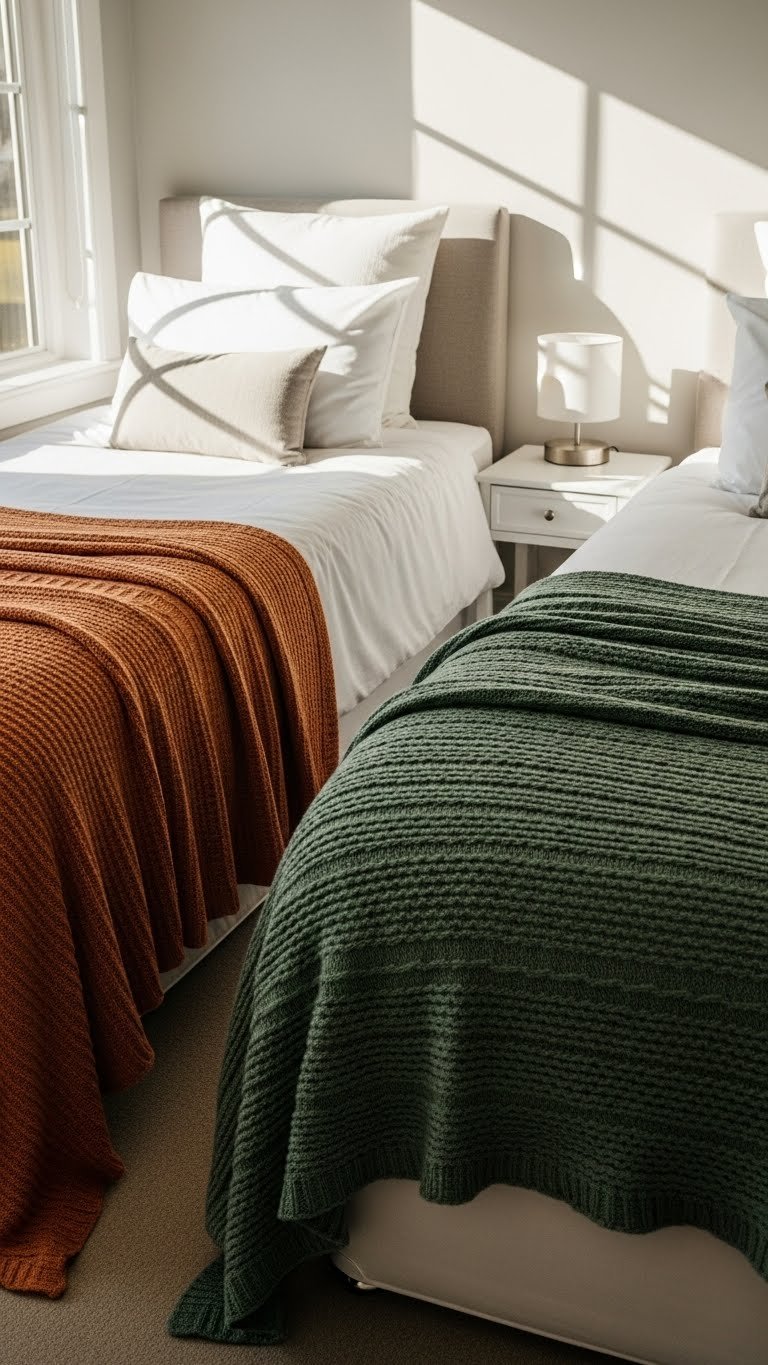
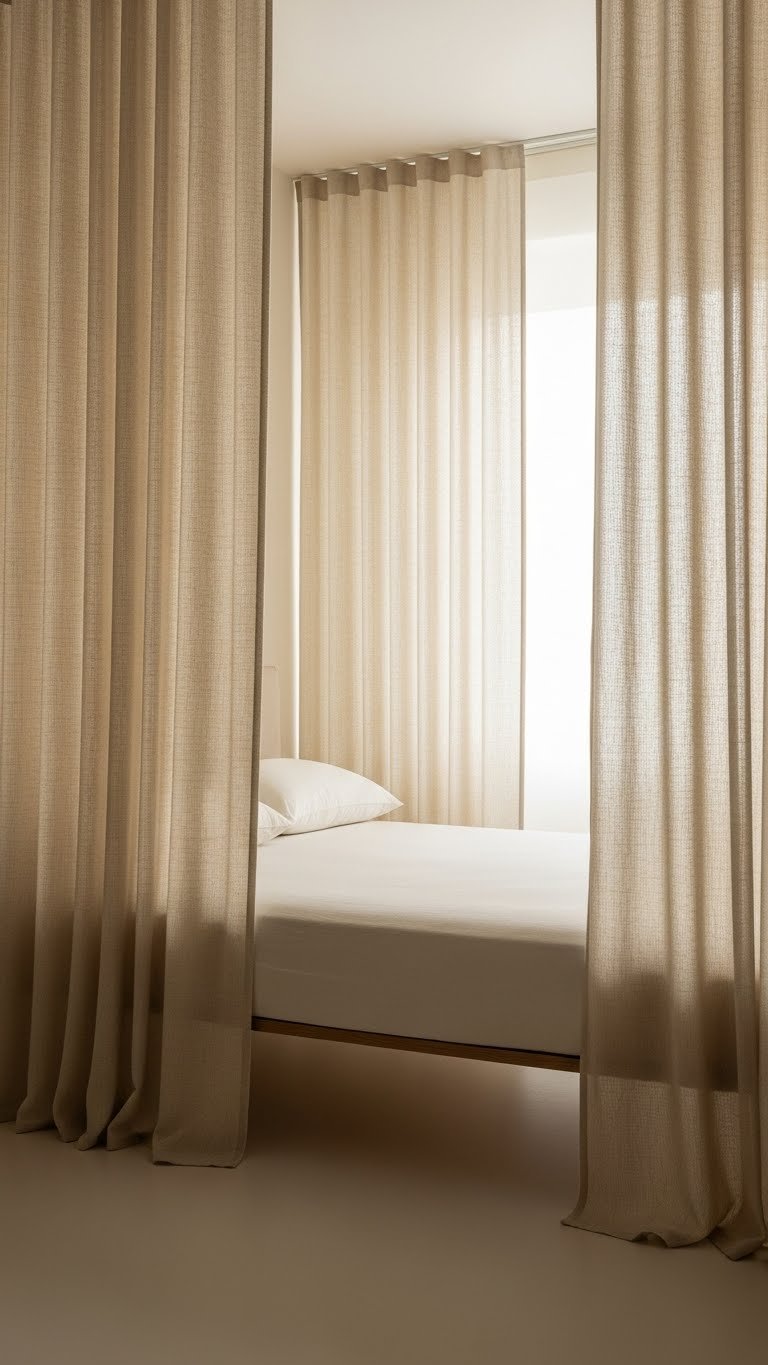
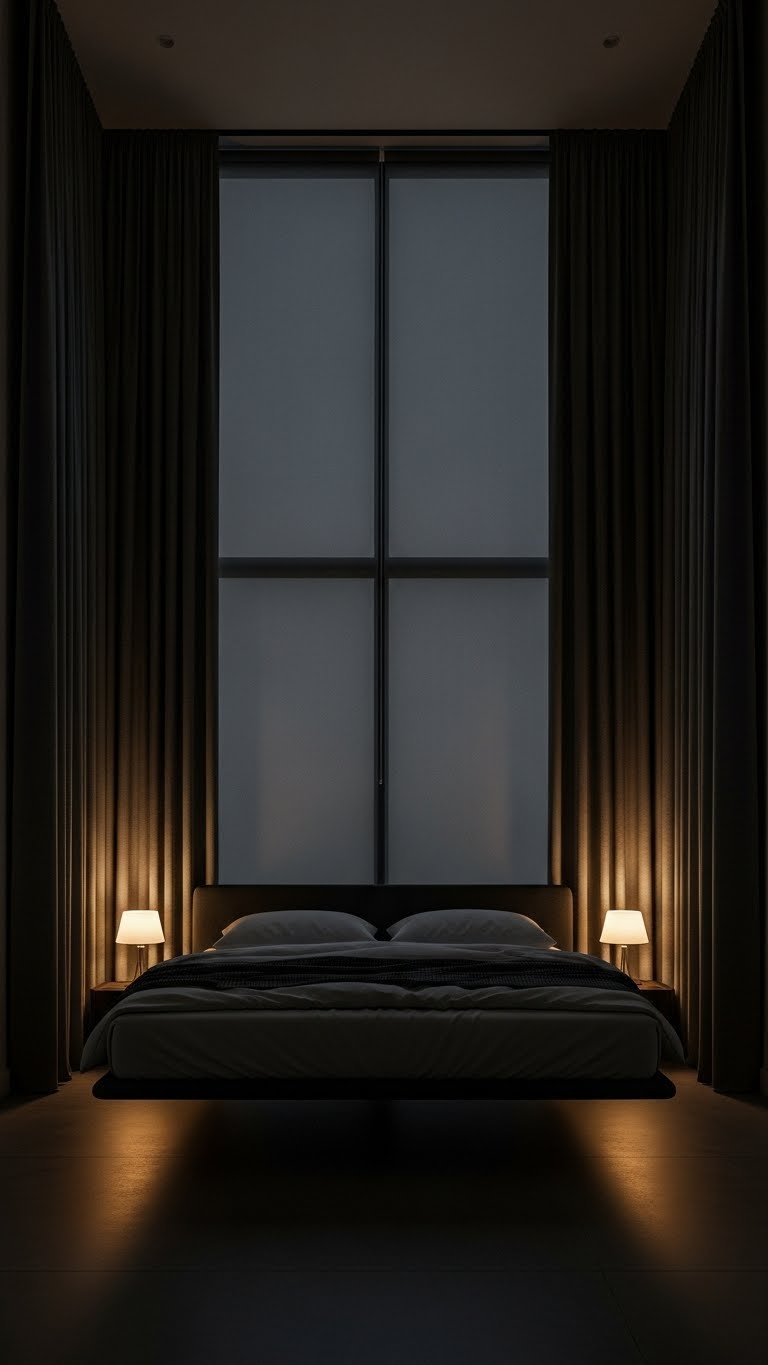
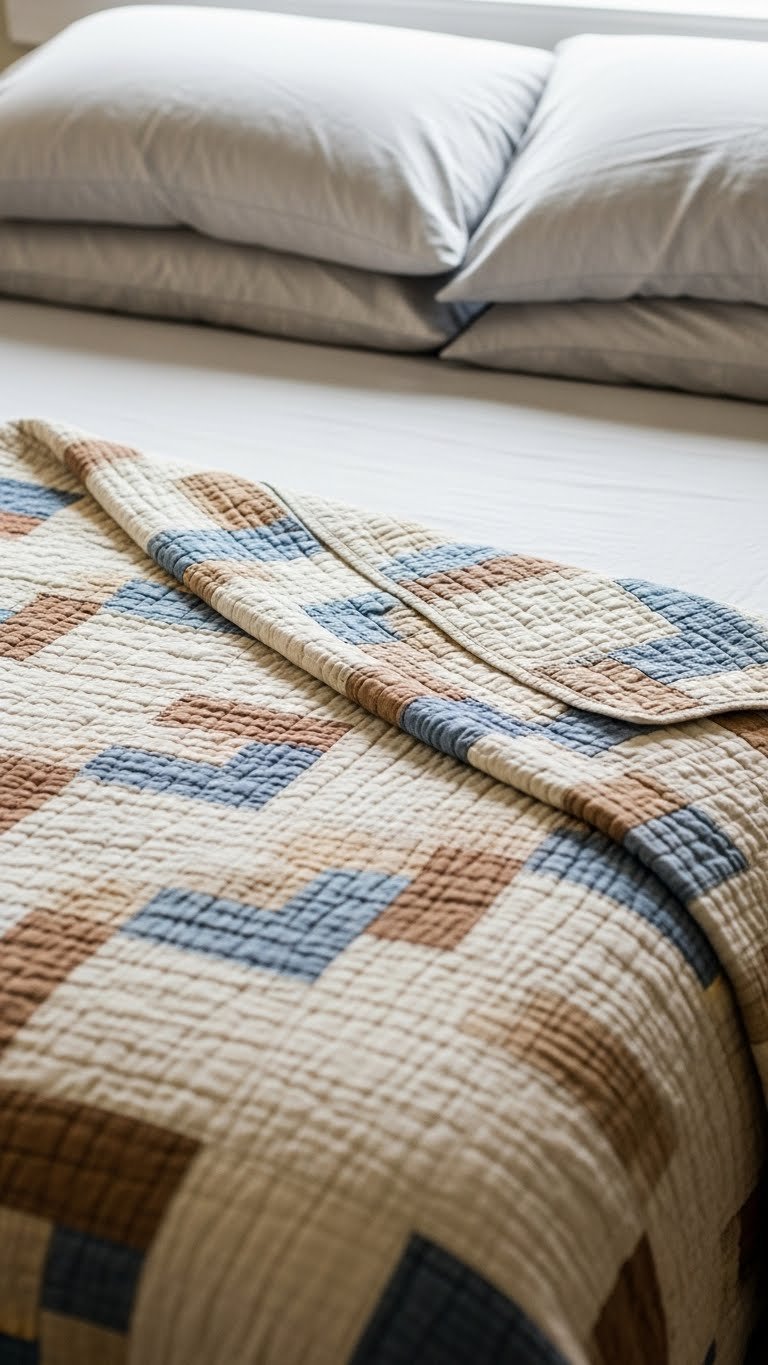
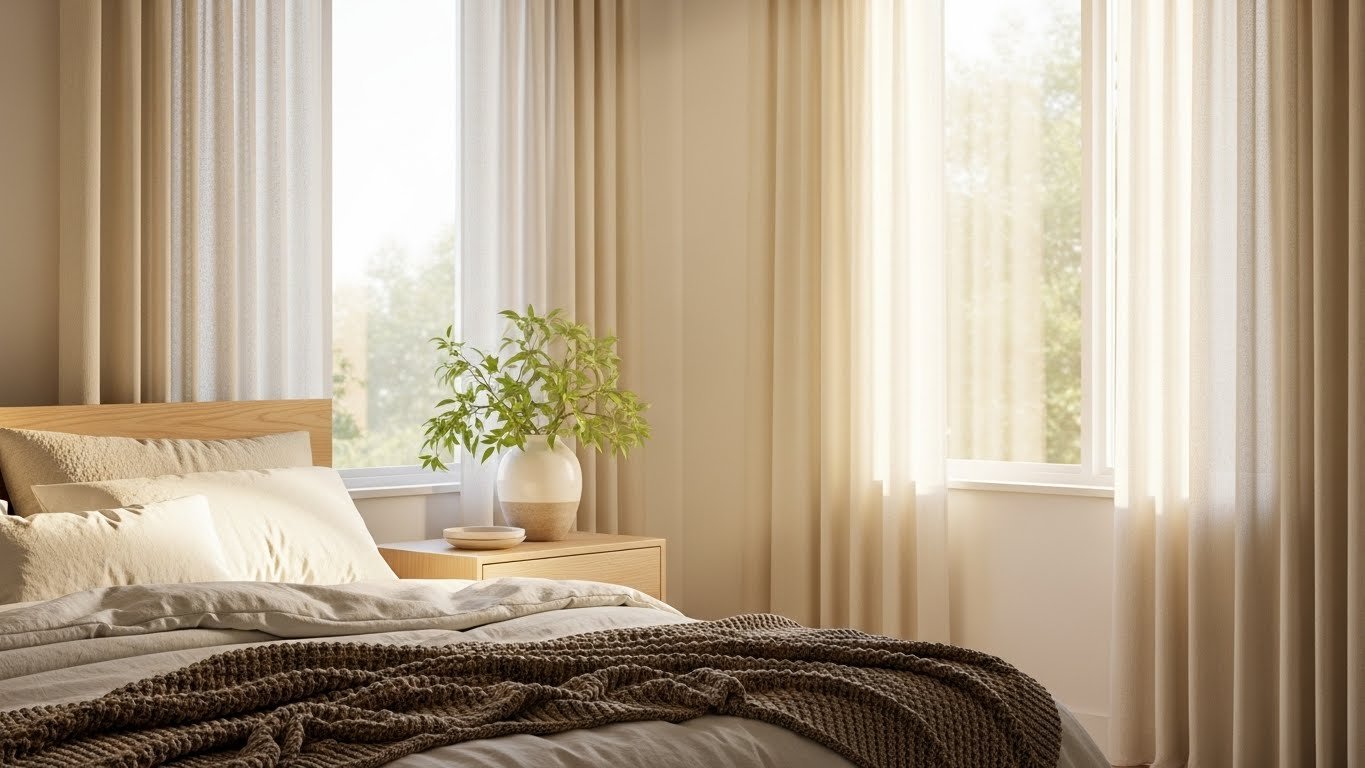
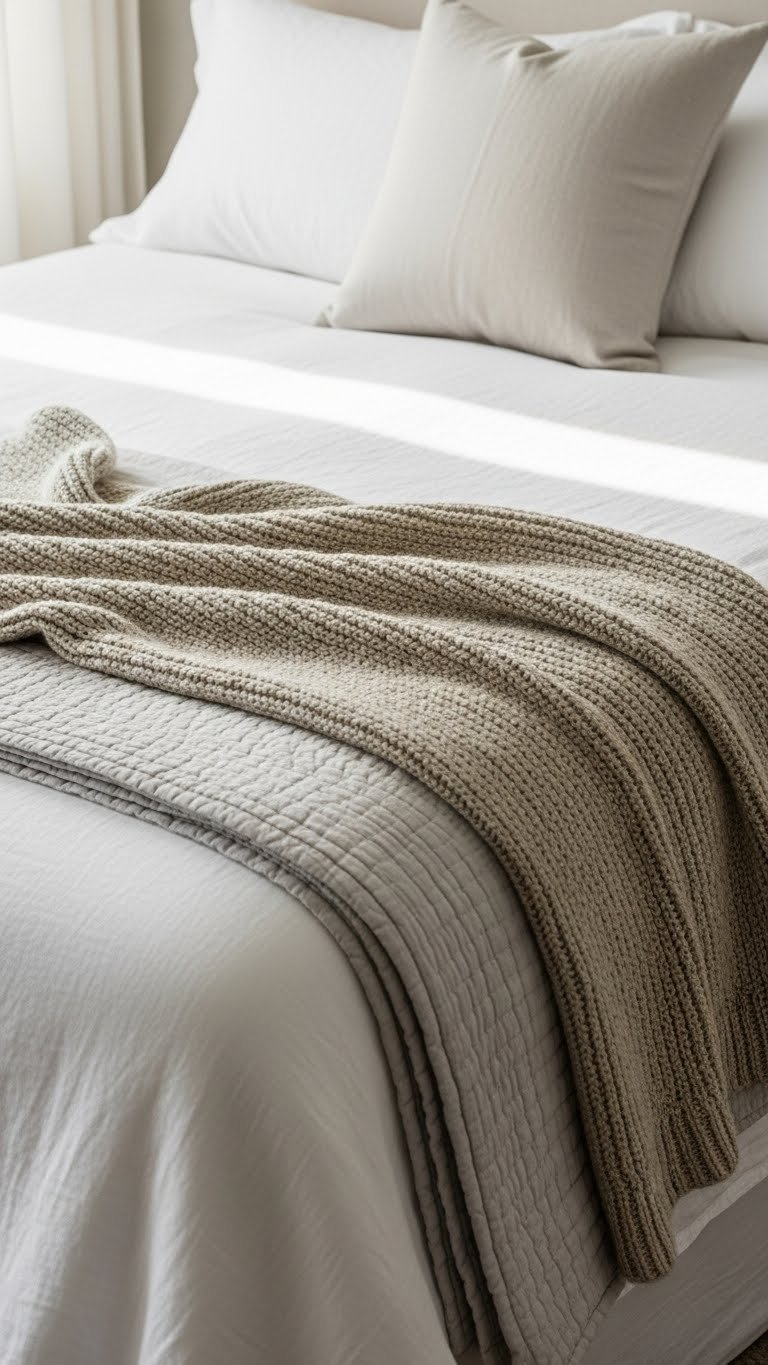
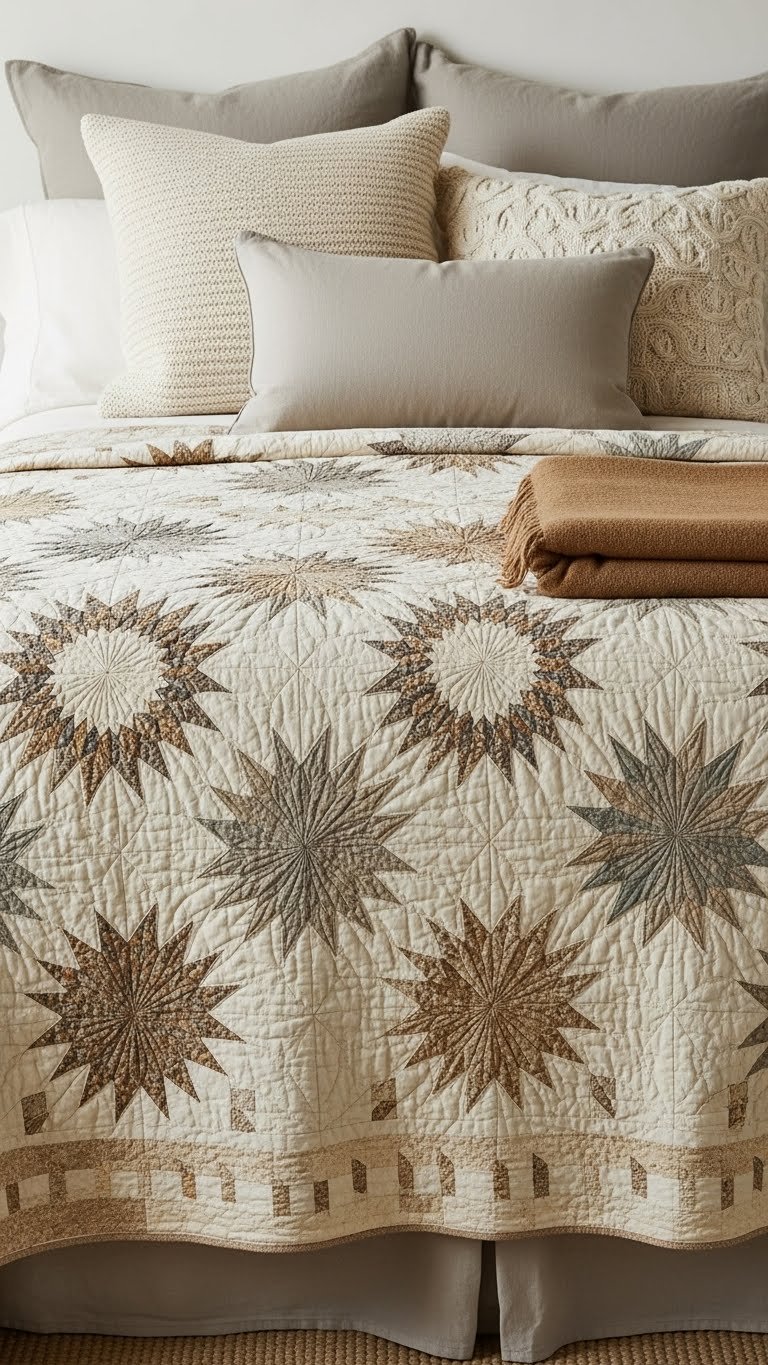
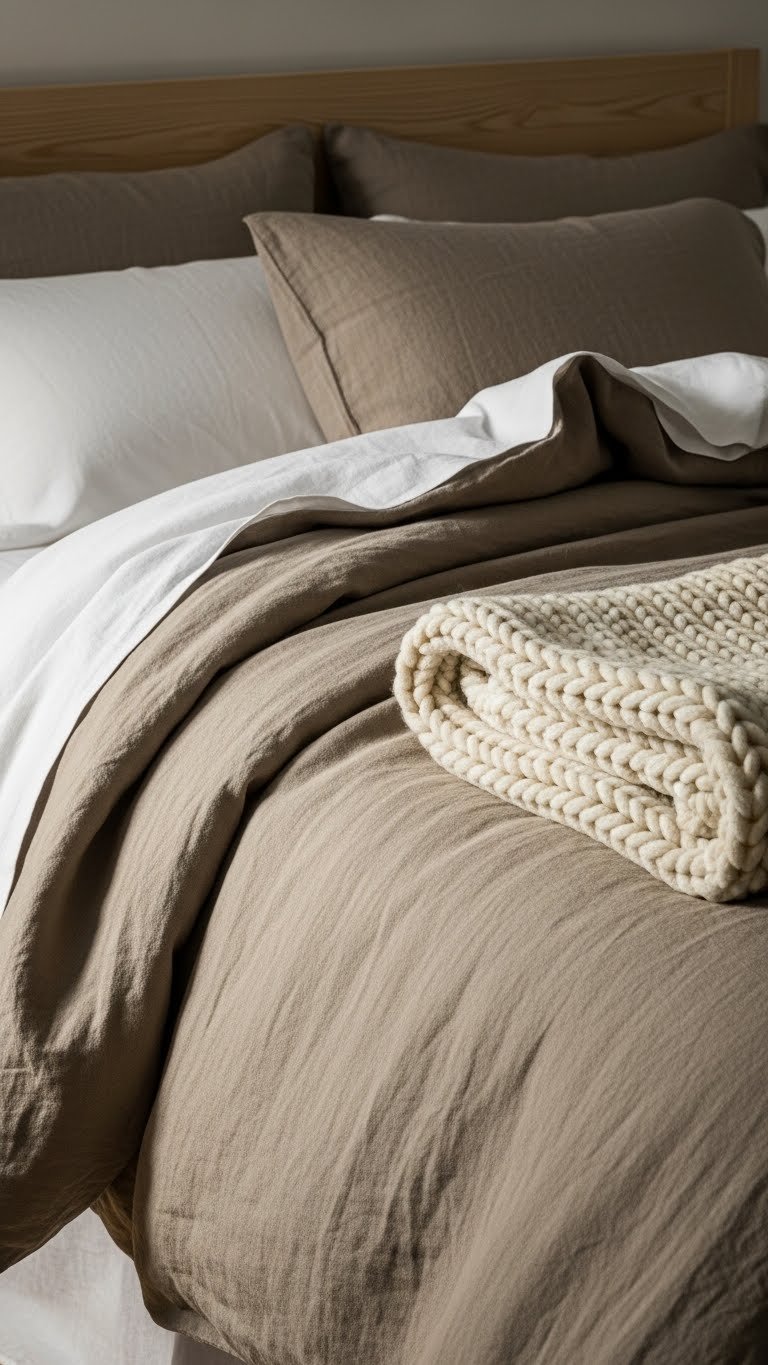
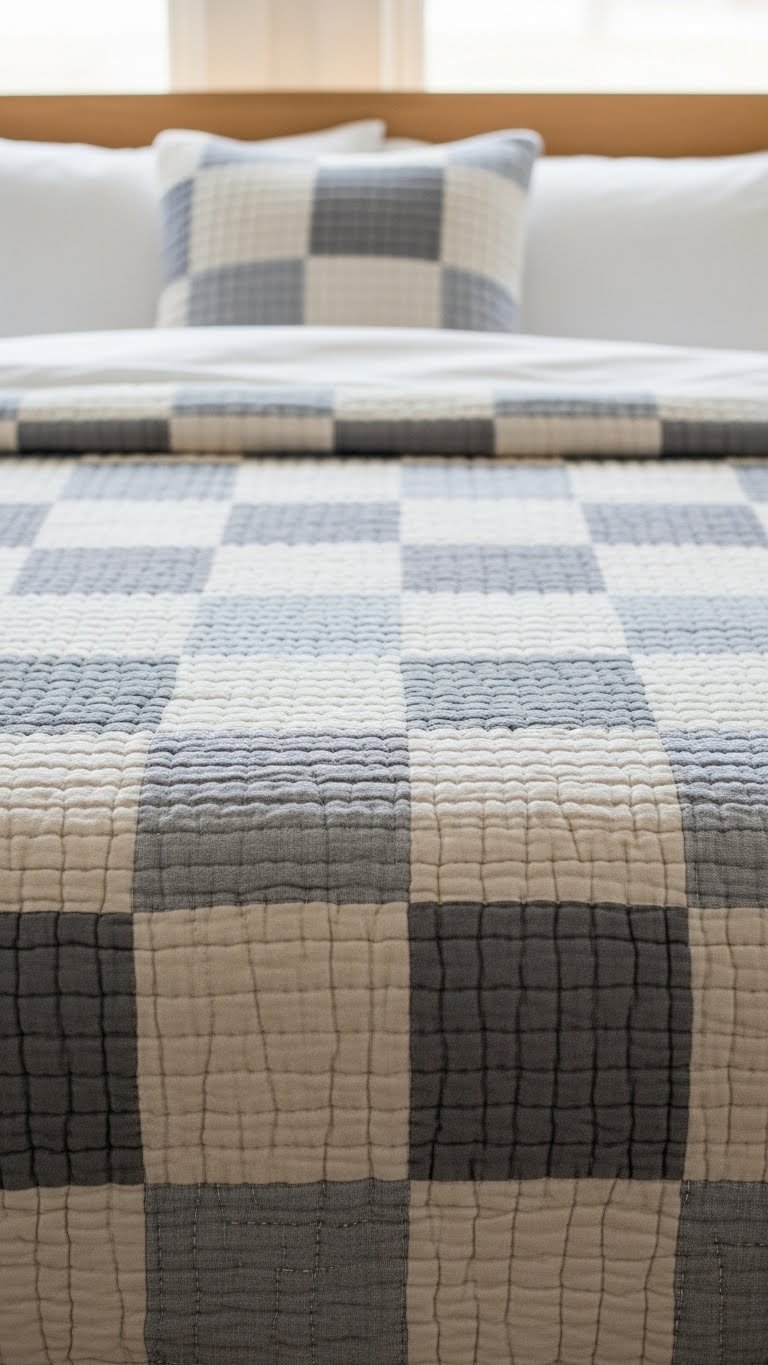
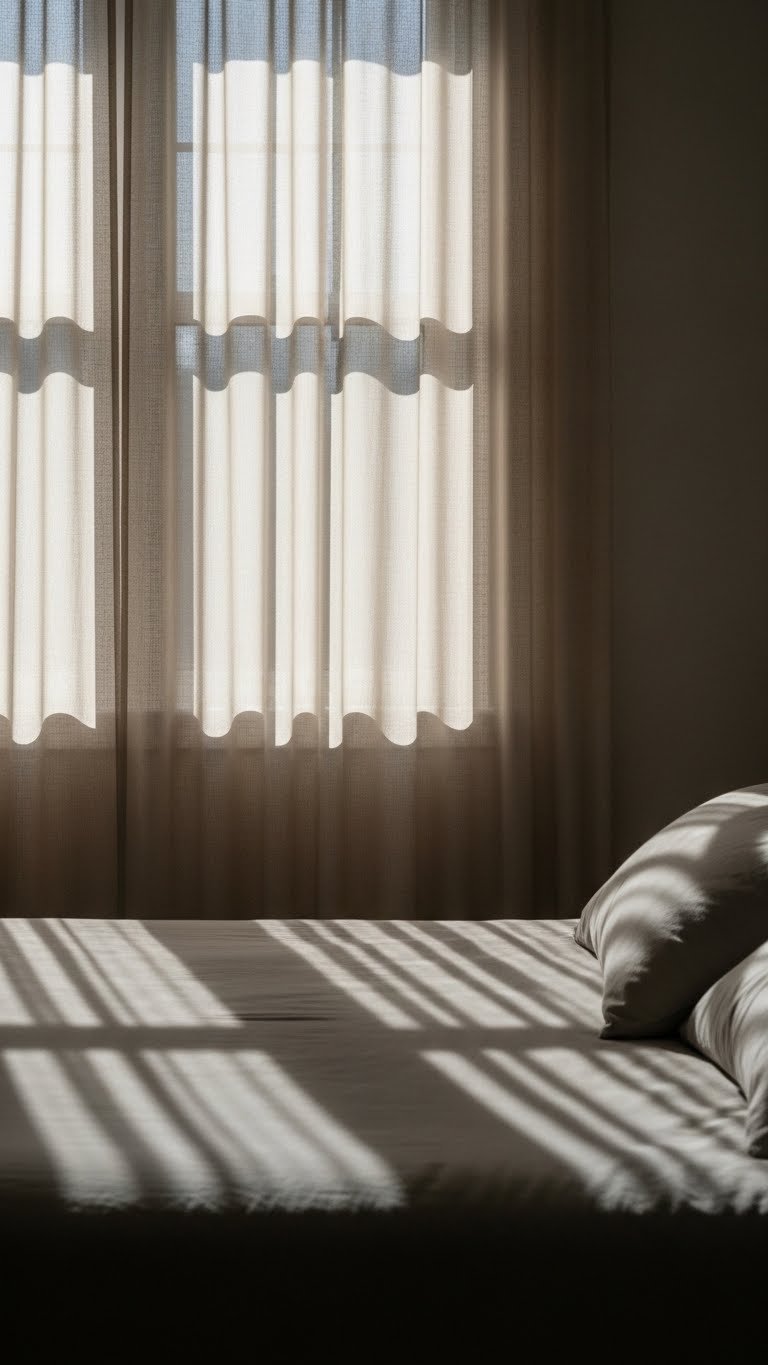
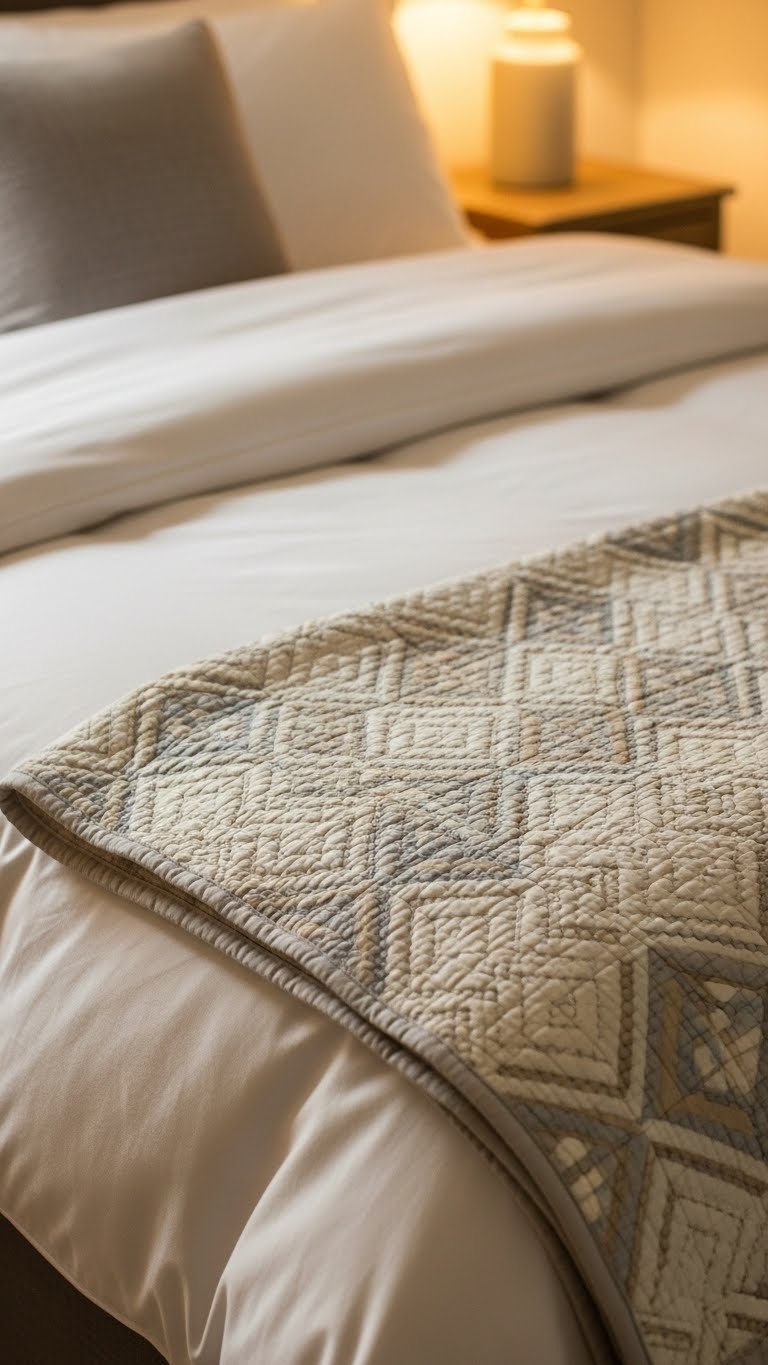
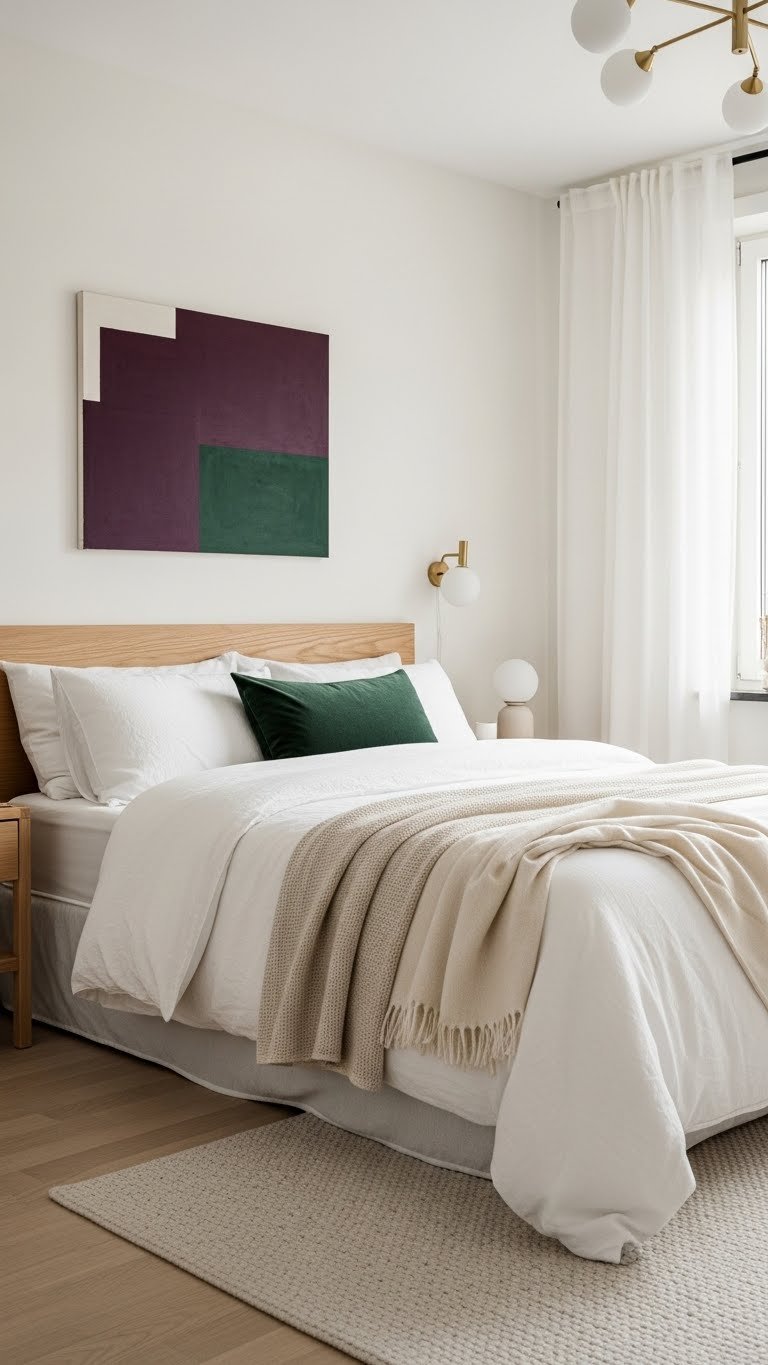
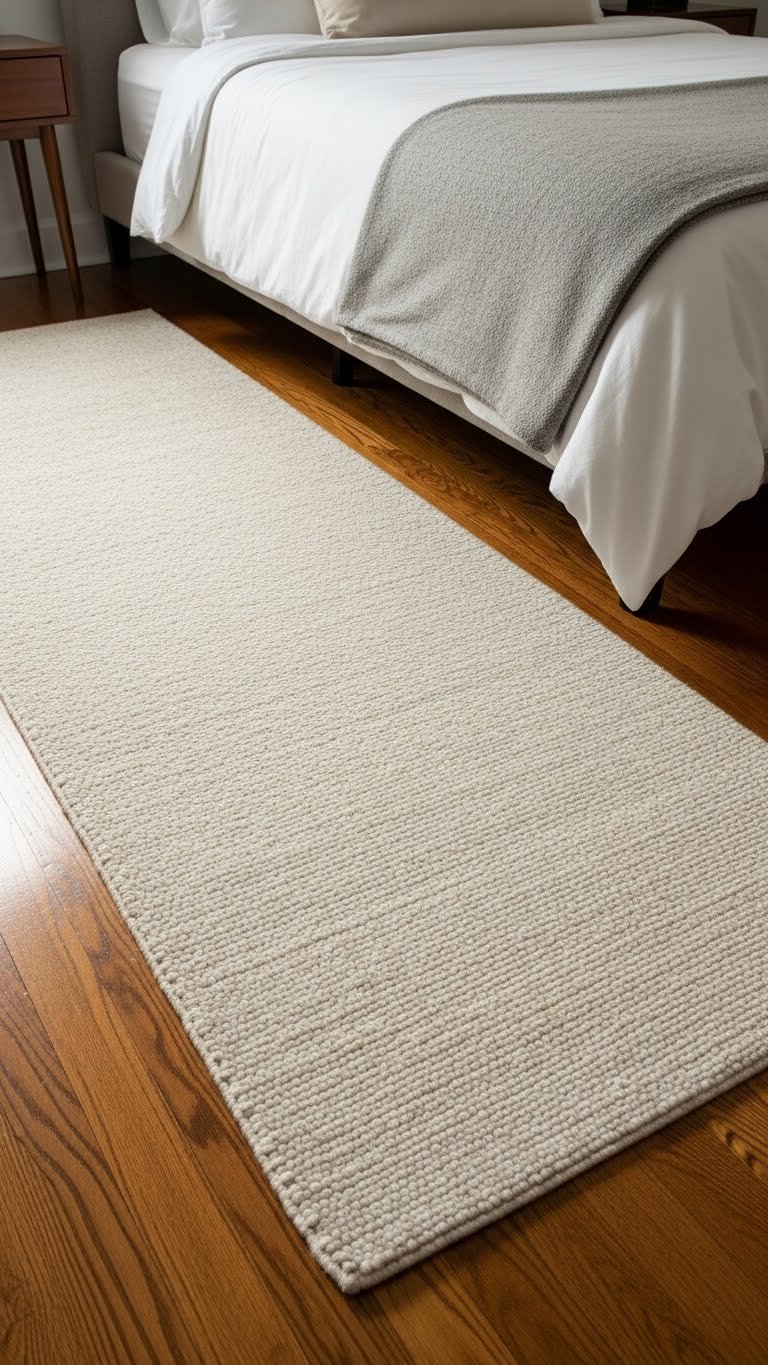
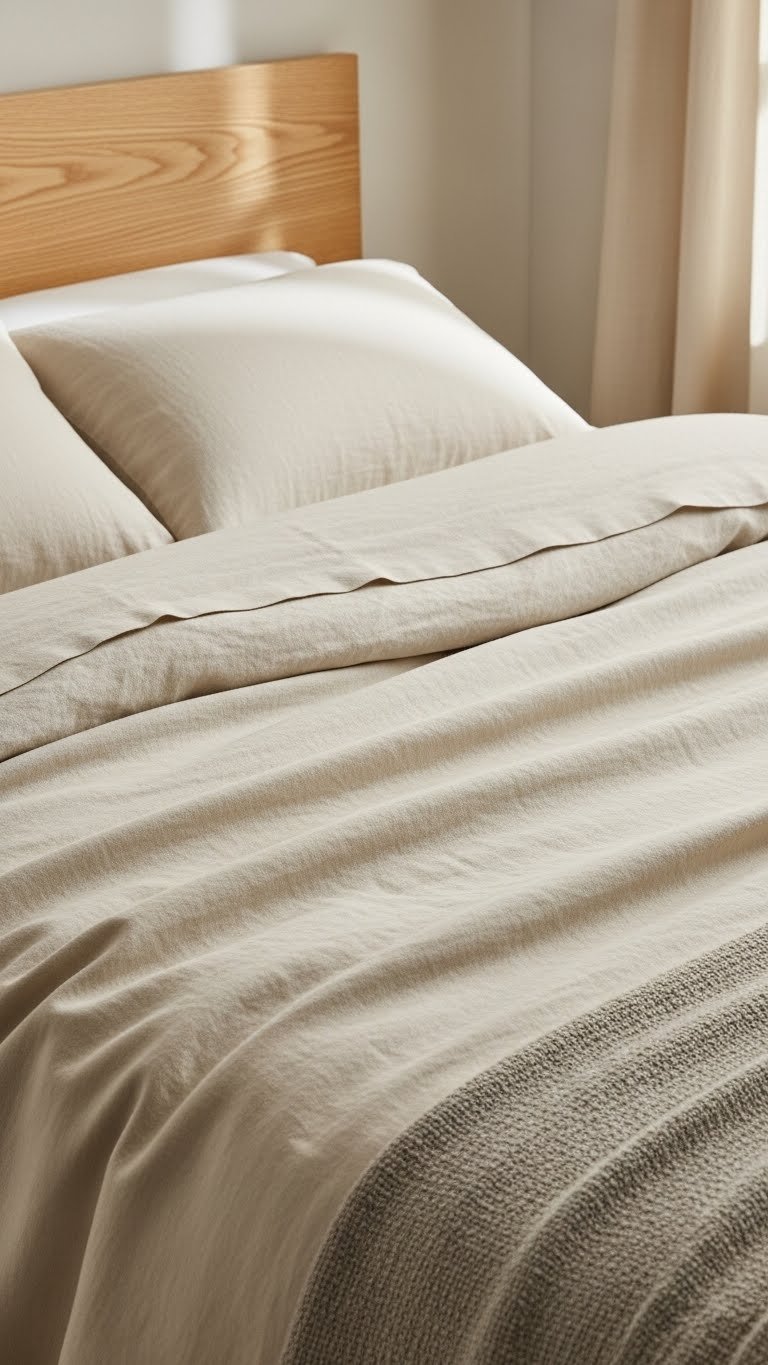
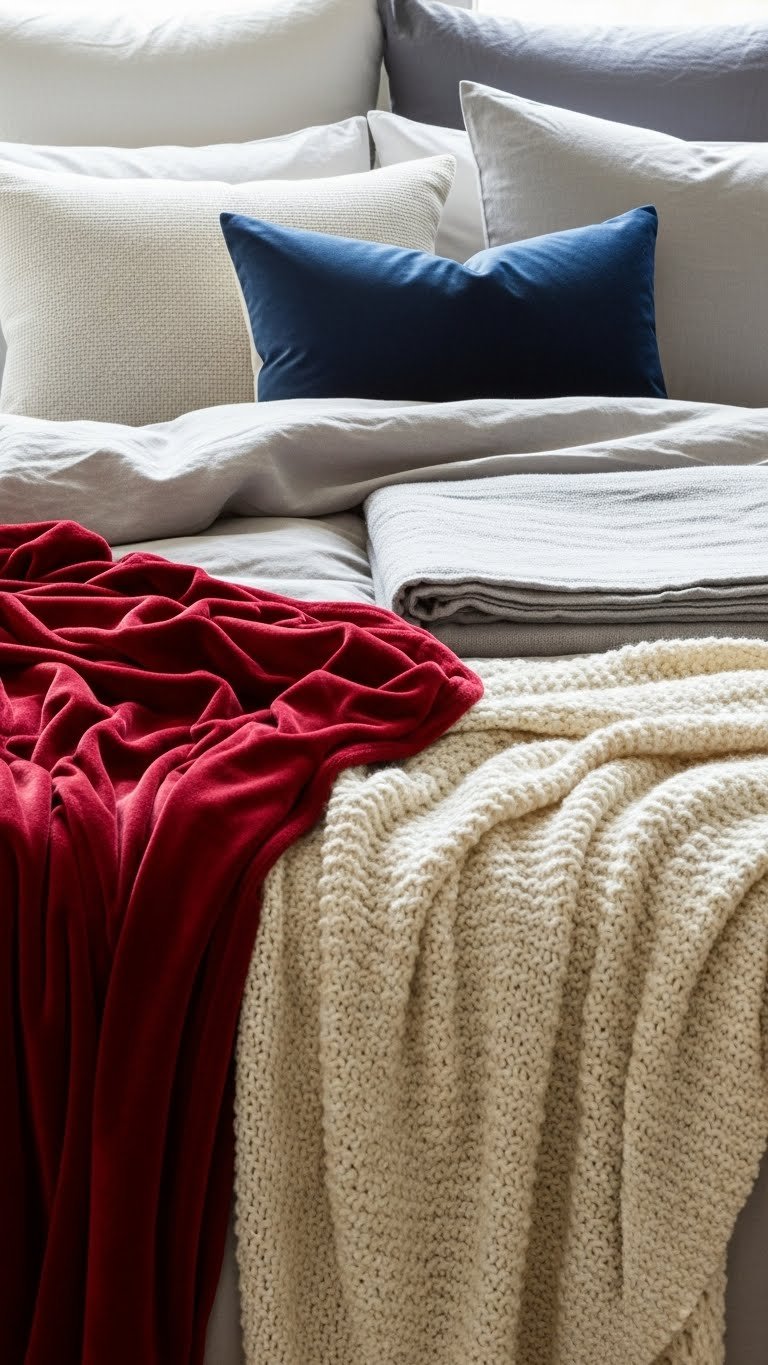
    10. Incorporate a Low-Profile Bed Skirt with Storage Pockets

    Bed skirts hide under-bed storage while adding a polished look to your bedroom. Storage-specific versions come with hidden pockets or compartments built in.

    Decorative bed skirts run $30–$80 from Bed Bath & Beyond, Target, or Amazon. Choose linen or cotton for a natural look. Installation takes five minutes—just drape and tuck. If you want pockets specifically, search for “storage bed skirt” for specialized versions, or DIY by sewing small pouches onto a regular skirt.

    Store flat items like scarves, undergarments, or seasonal accessories in those pockets.

    This detail adds a custom, curated touch while hiding the reality that there’s tons of stuff tucked underneath.

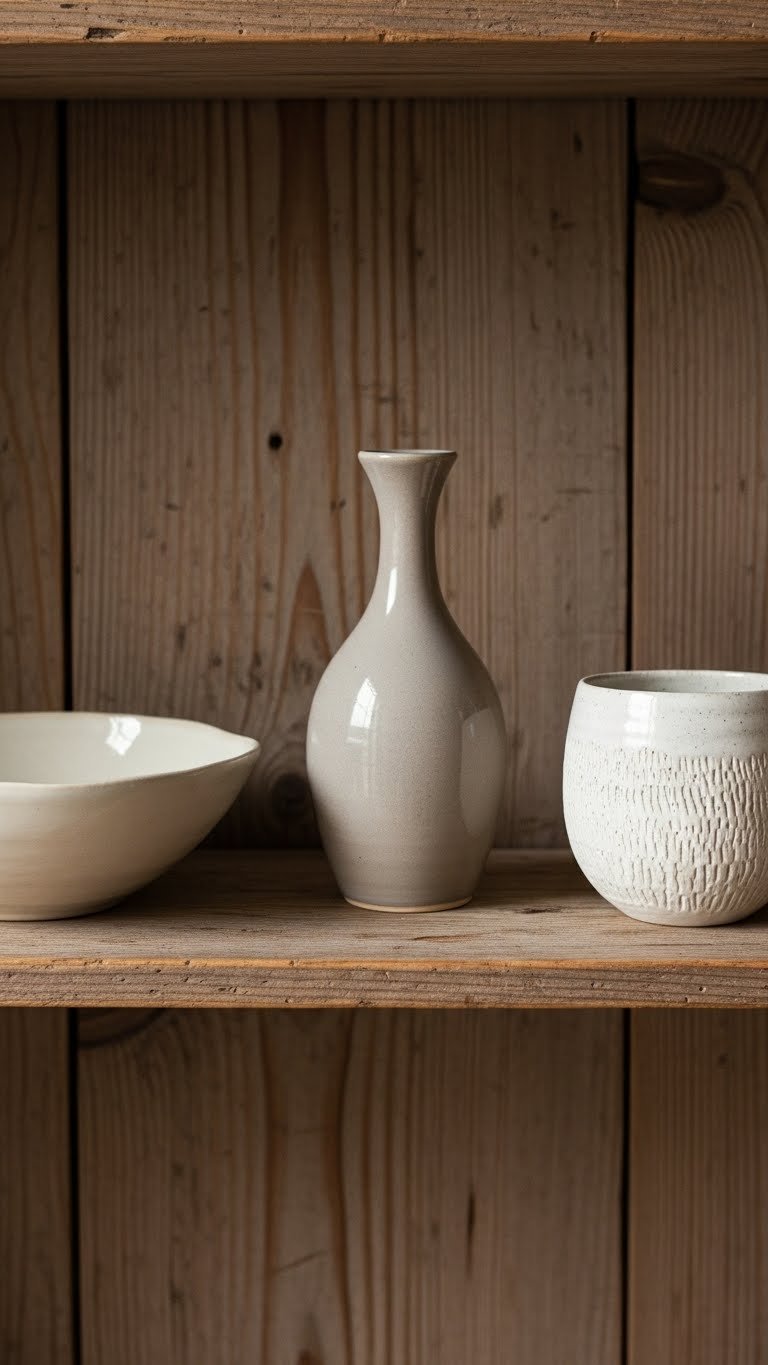
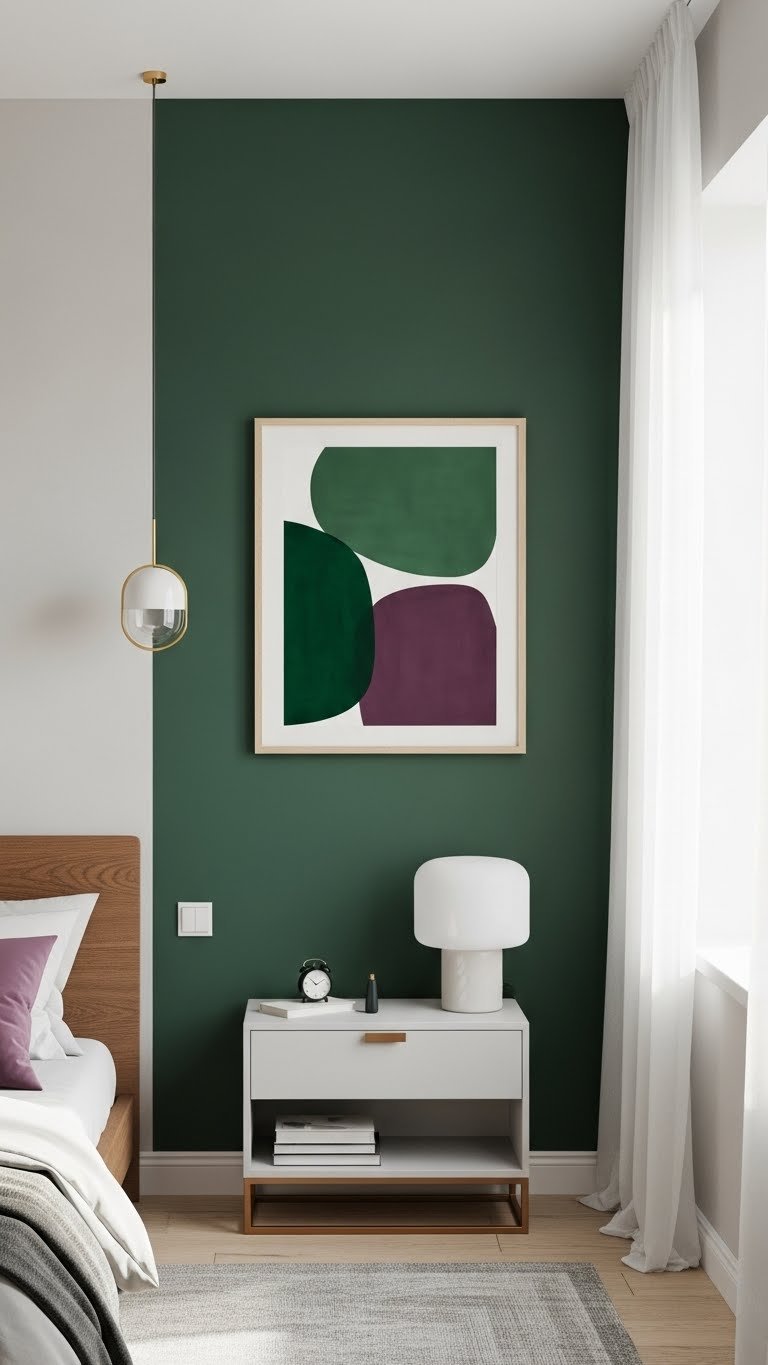
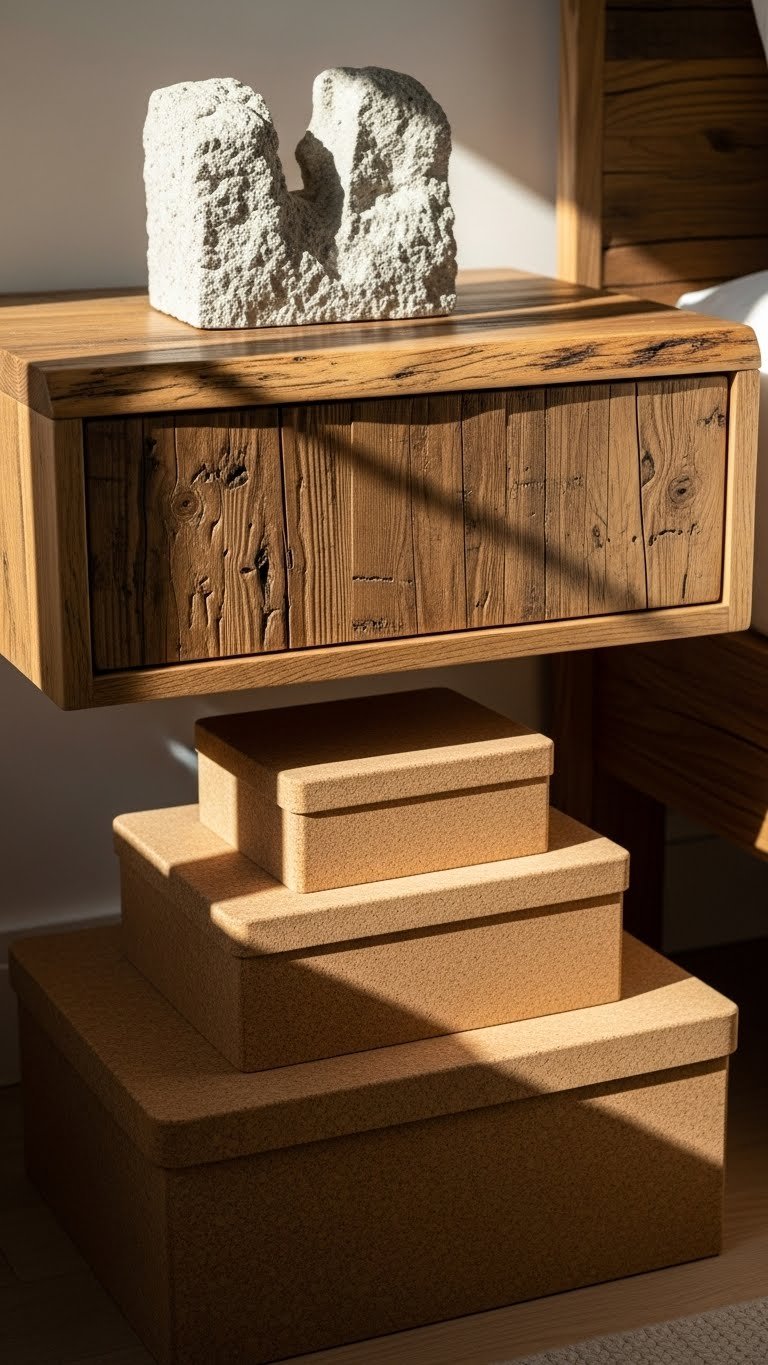
    11. Stack Decorative Storage Boxes on Floating Shelves

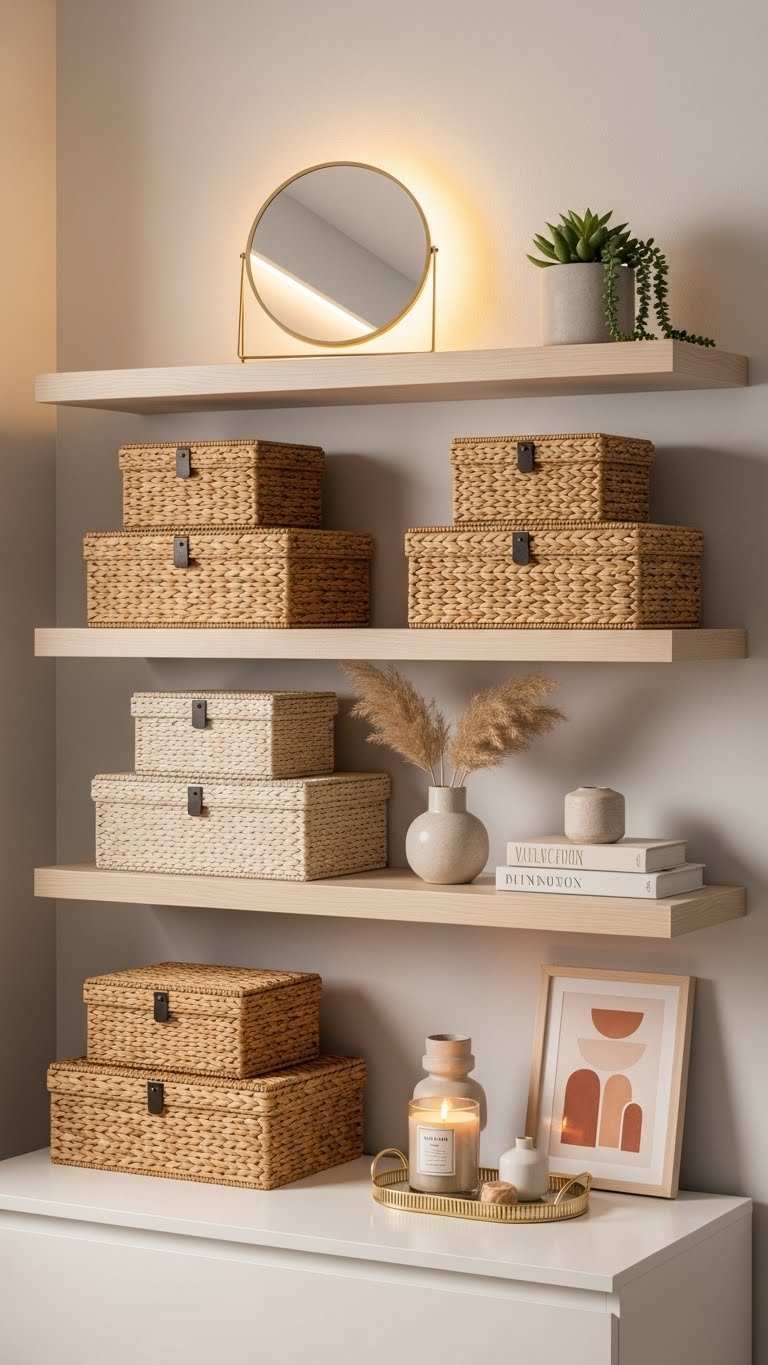
    Decorative storage boxes turn clutter into styled decor. Stack them on floating shelves or the top of your dresser for a layered, intentional look.

    Quality storage boxes cost $25–$60 each depending on material (wood, woven rattan, or fabric). Find beautiful options at Target, Wayfair, CB2, and West Elm. No assembly needed—just place and fill. Label the boxes so you know what’s inside without opening them.

    Use these for small items like accessories, tech cables, skincare, or craft supplies that tend to scatter.

    When your storage actually looks good, you’re more likely to keep things organized long-term.

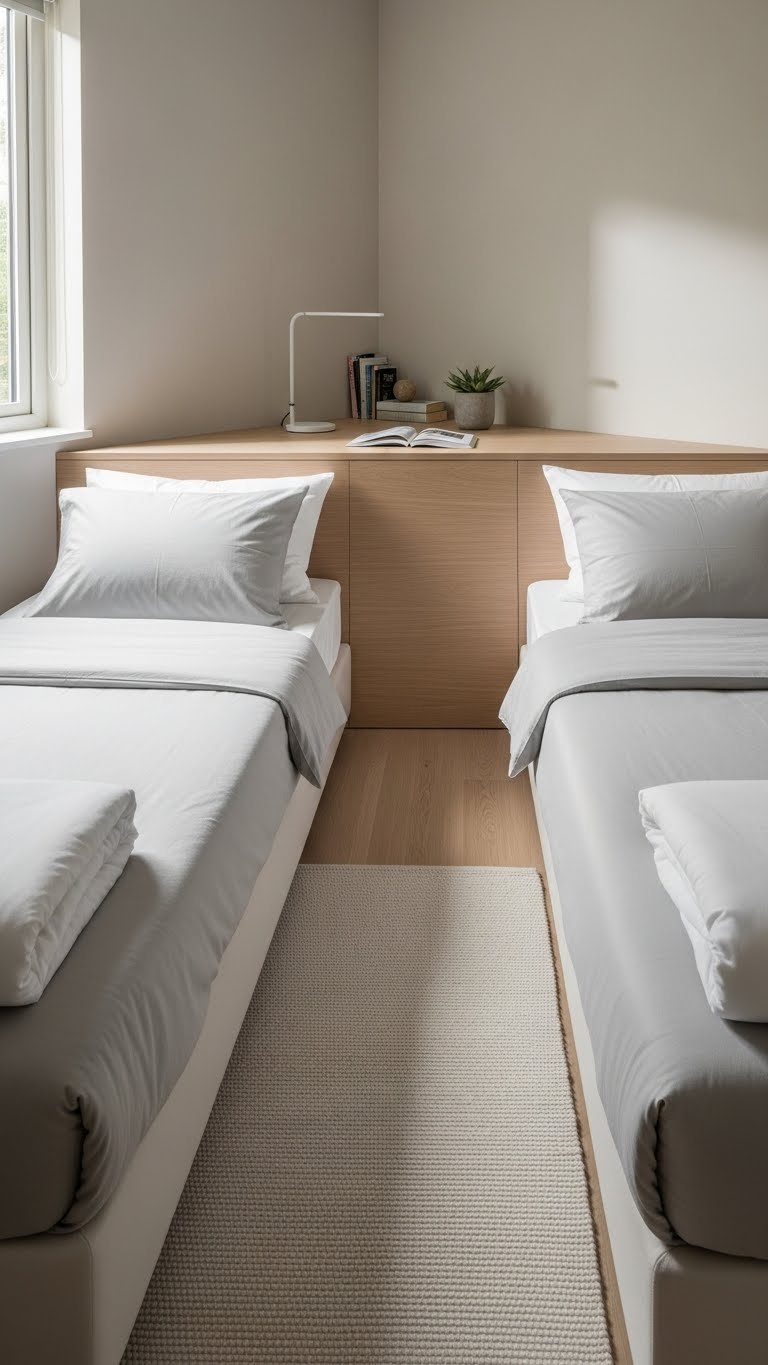
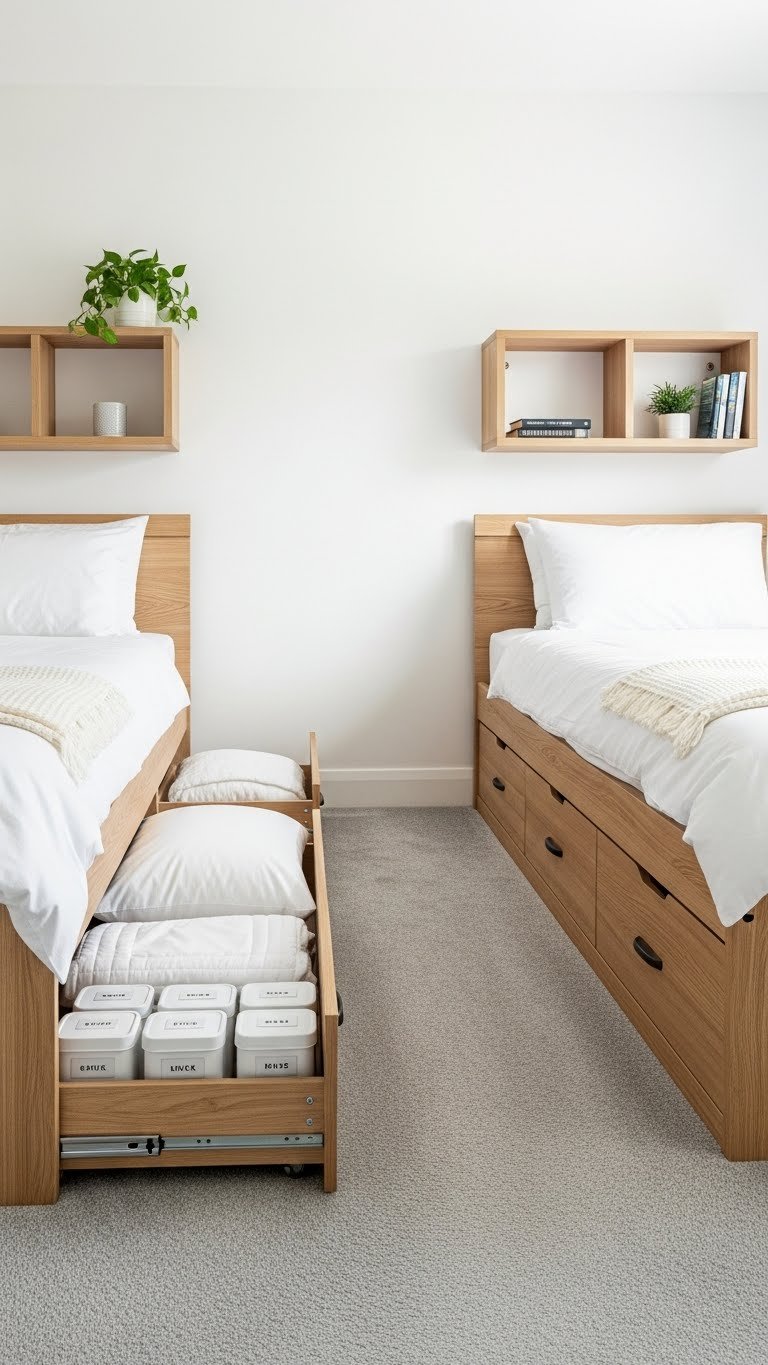
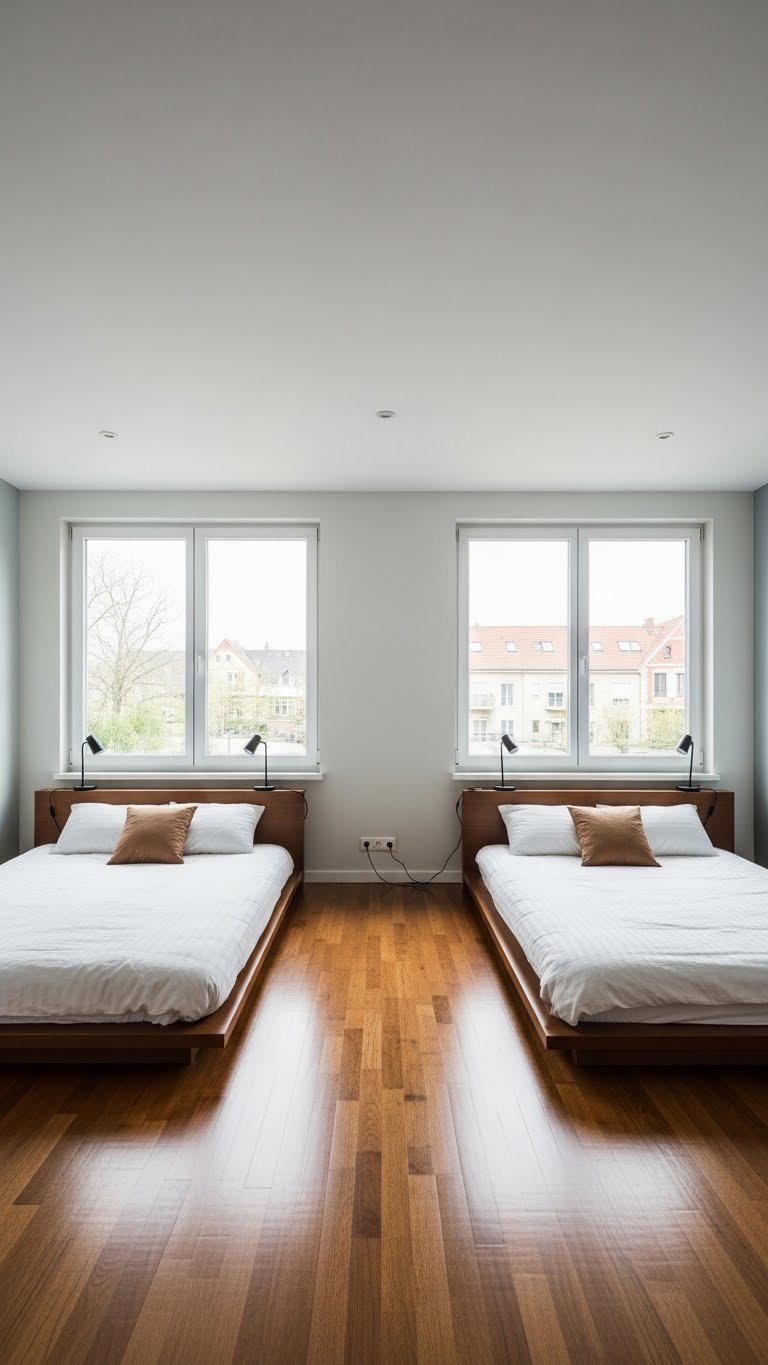
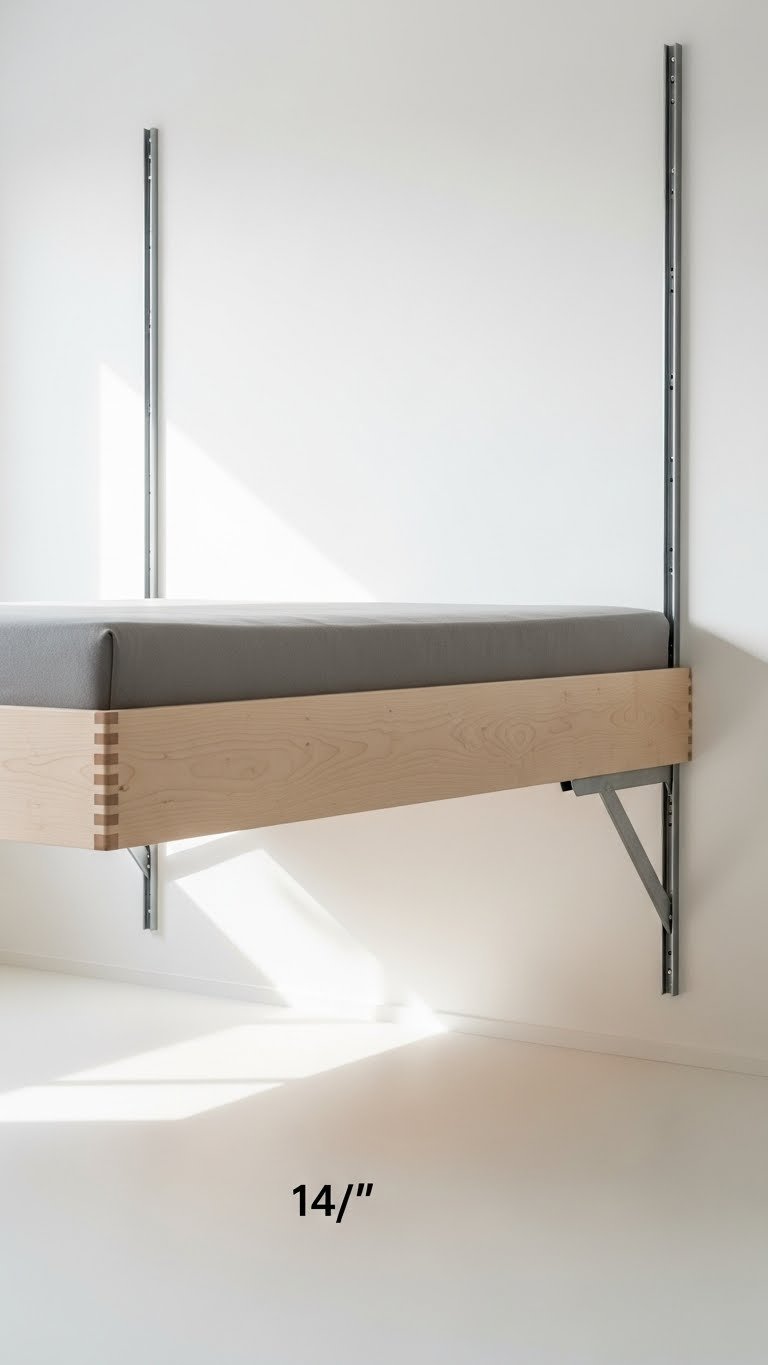
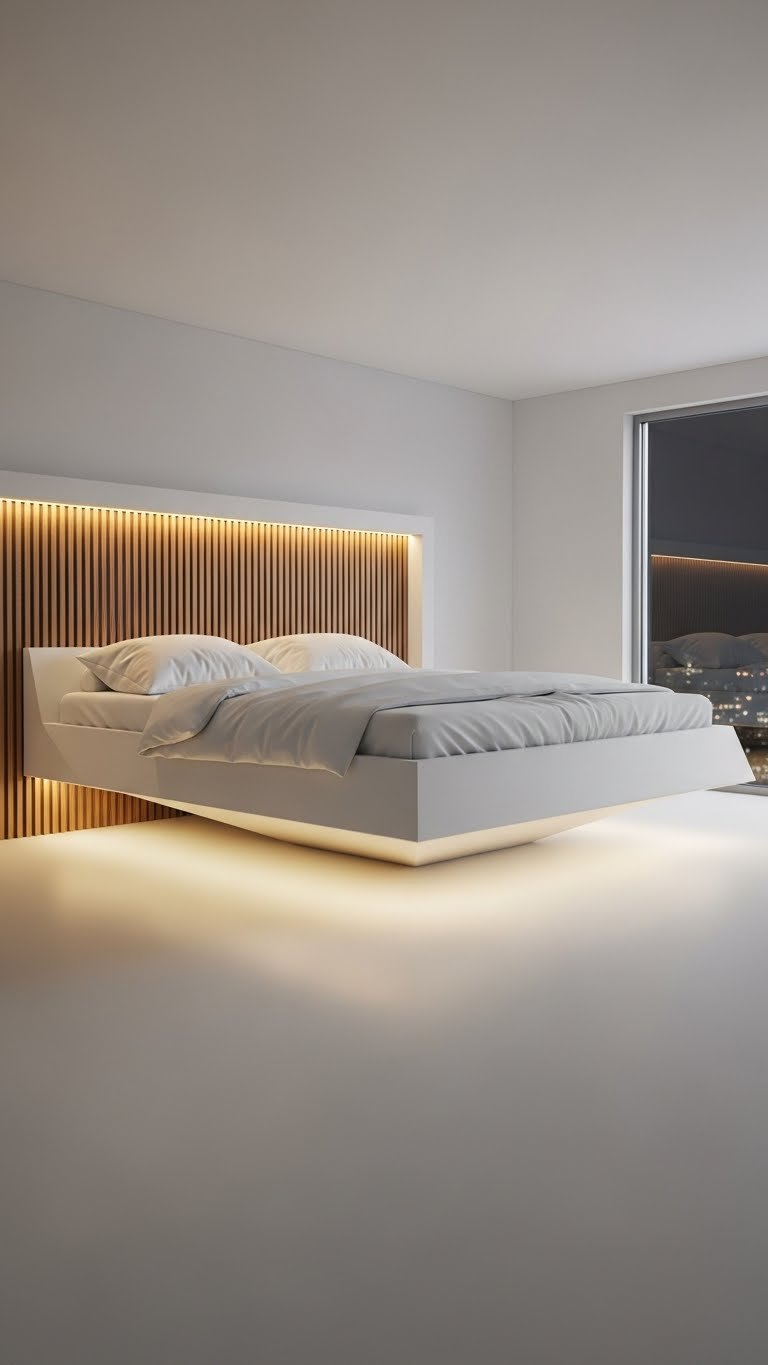
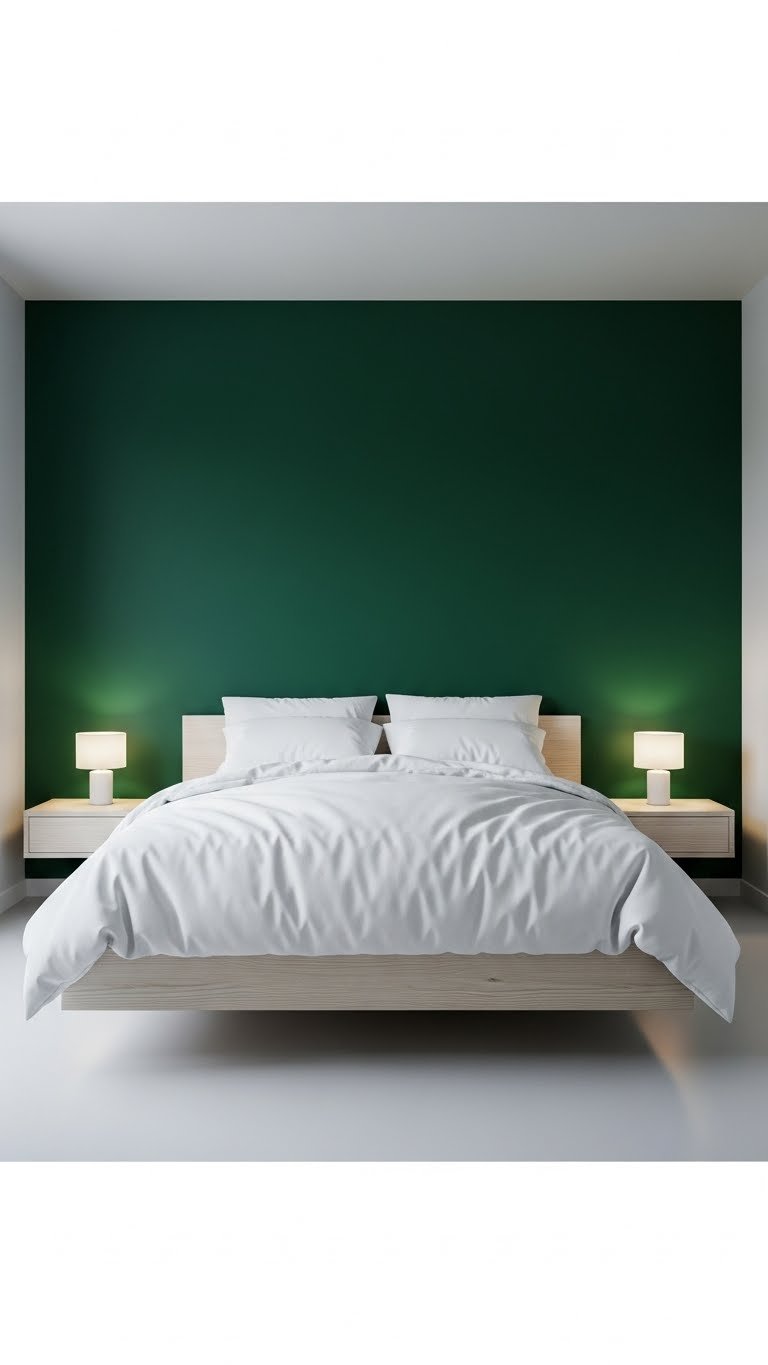
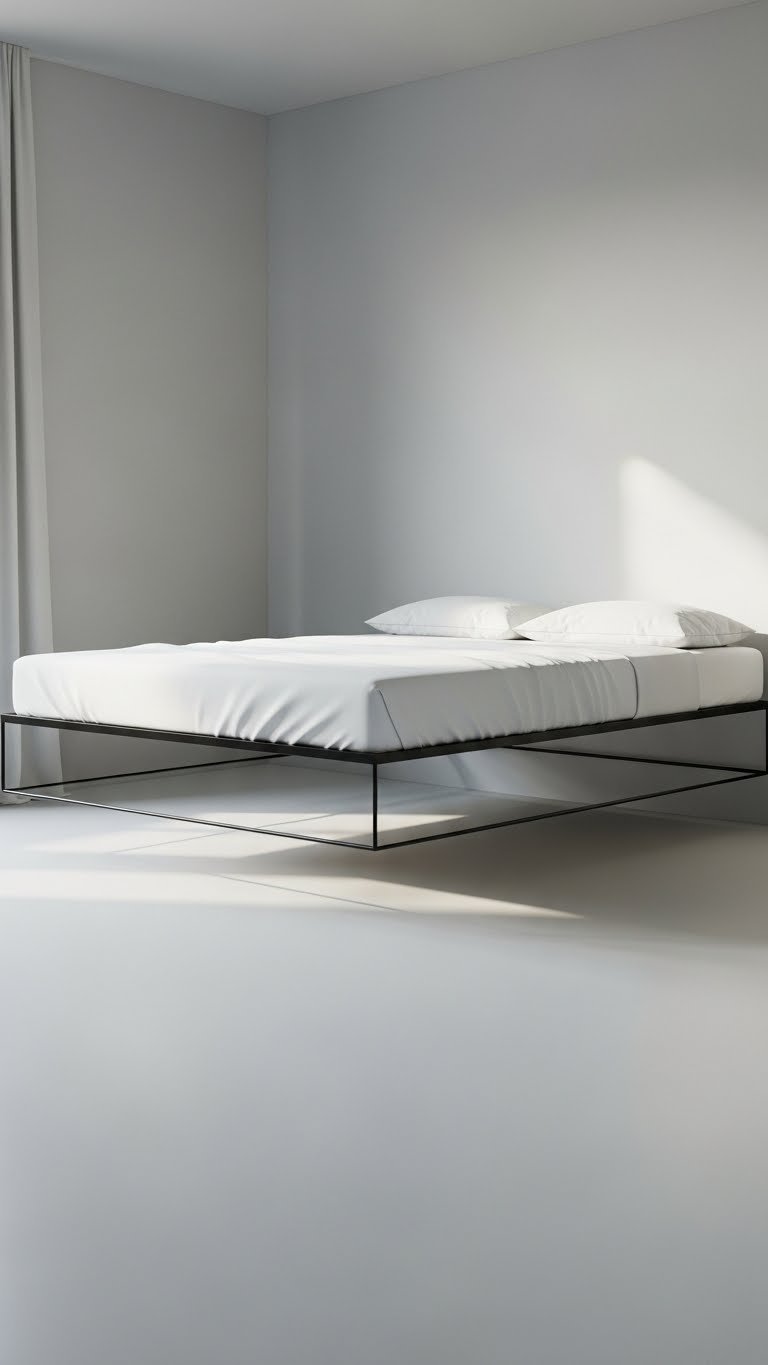
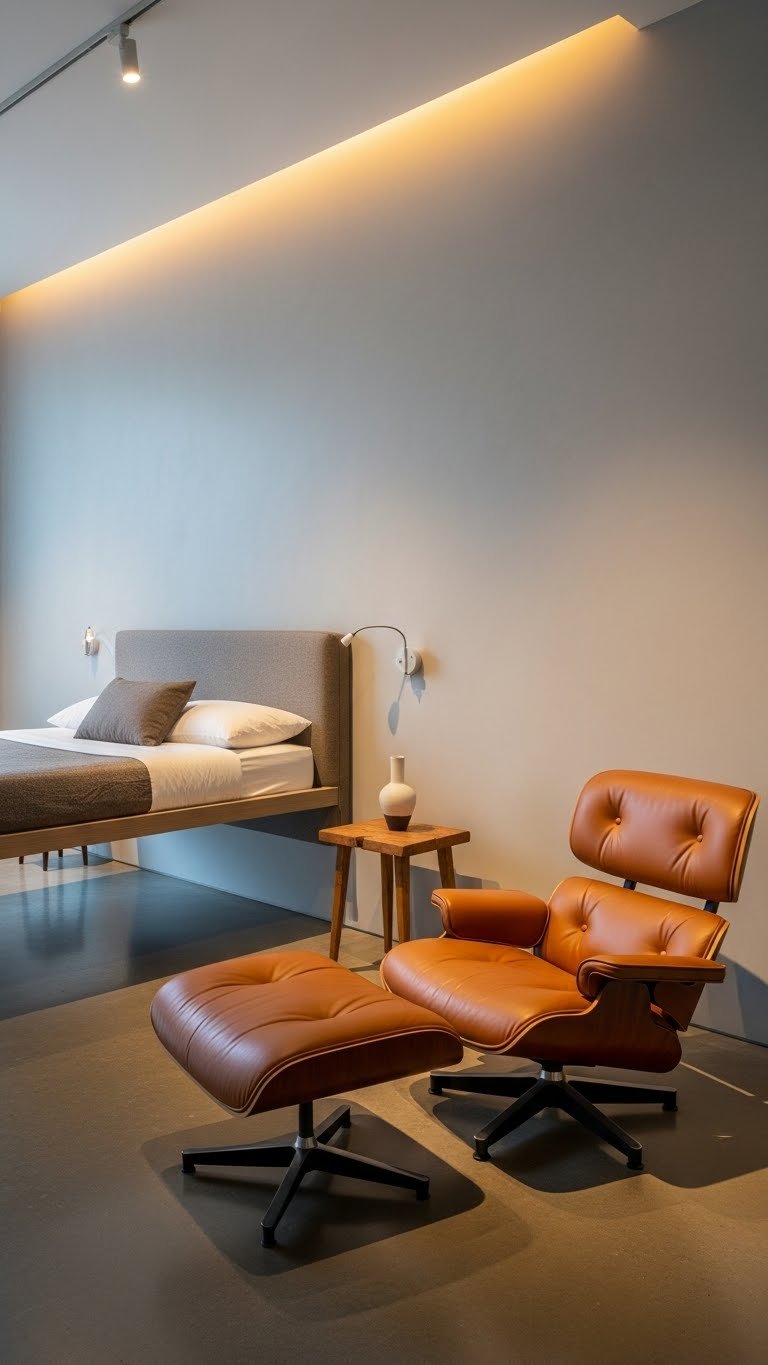
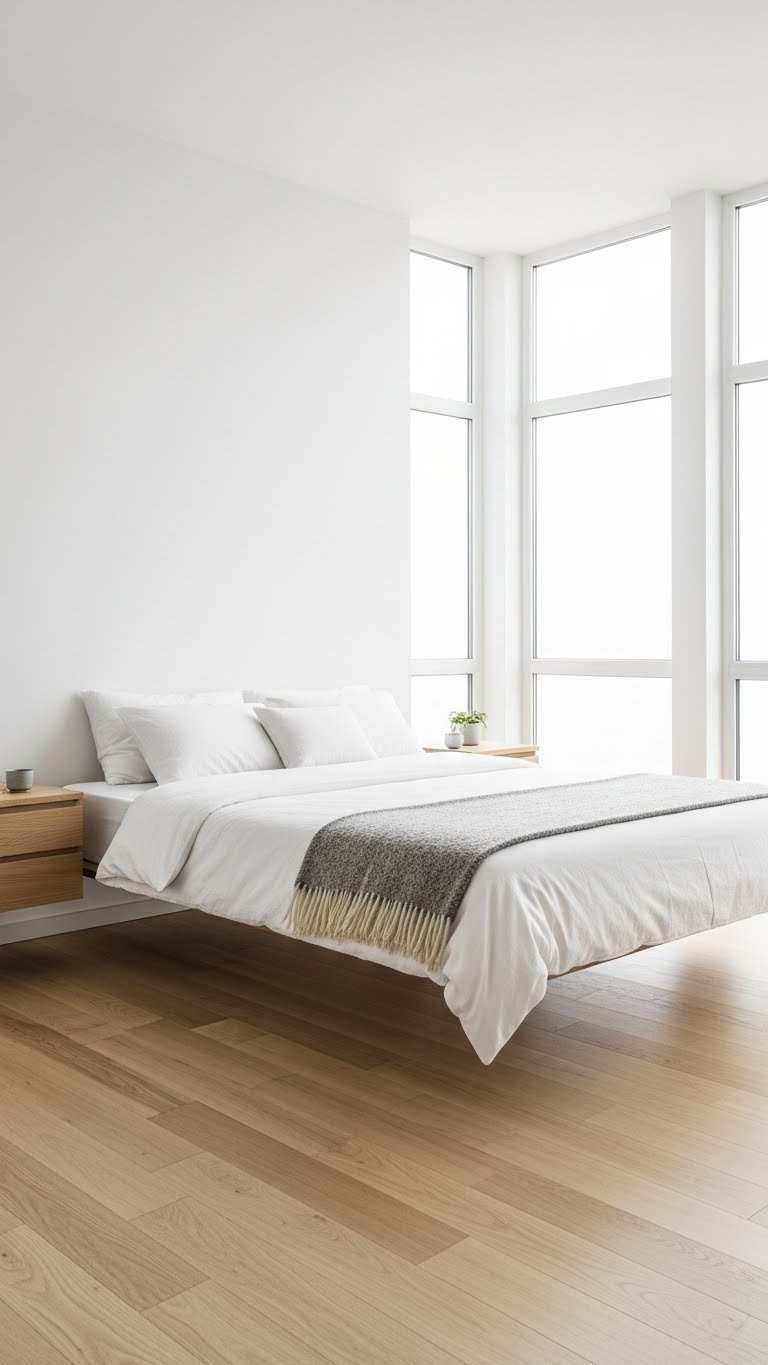
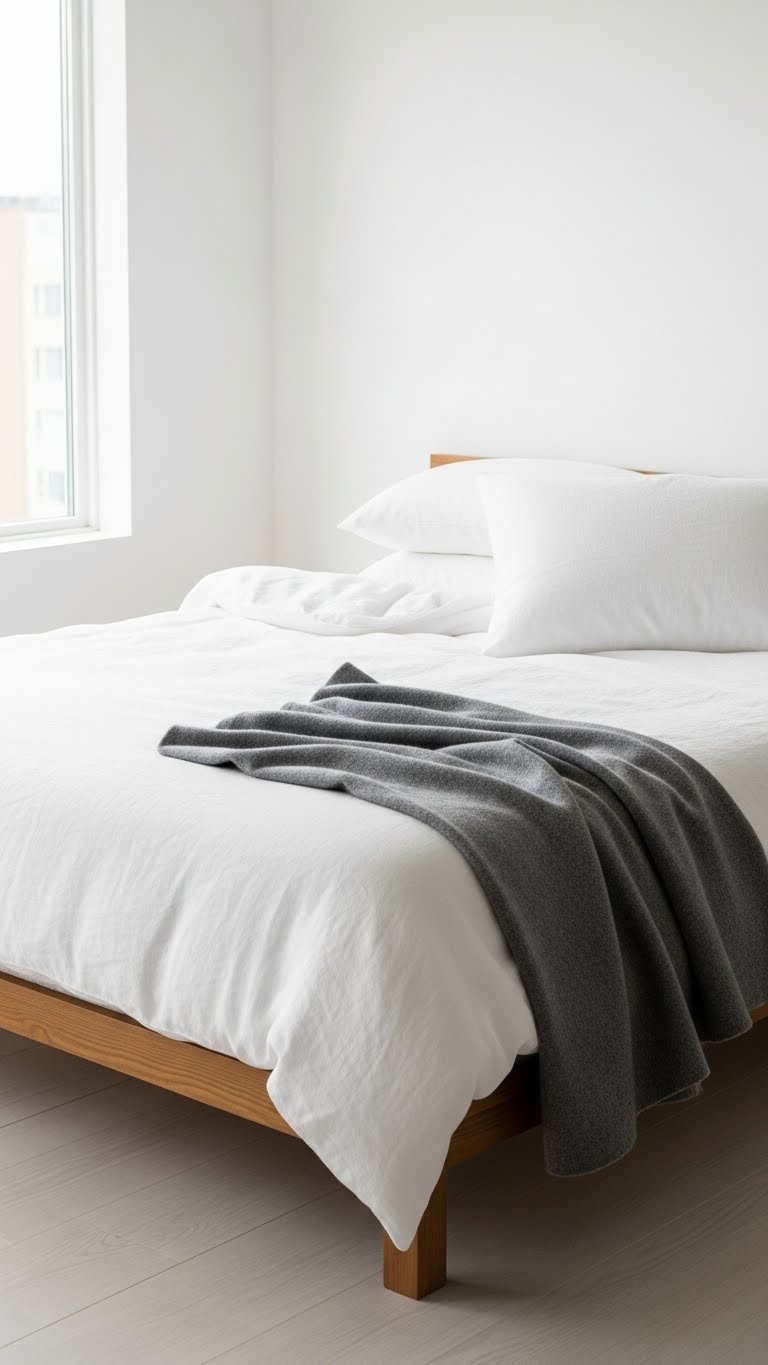
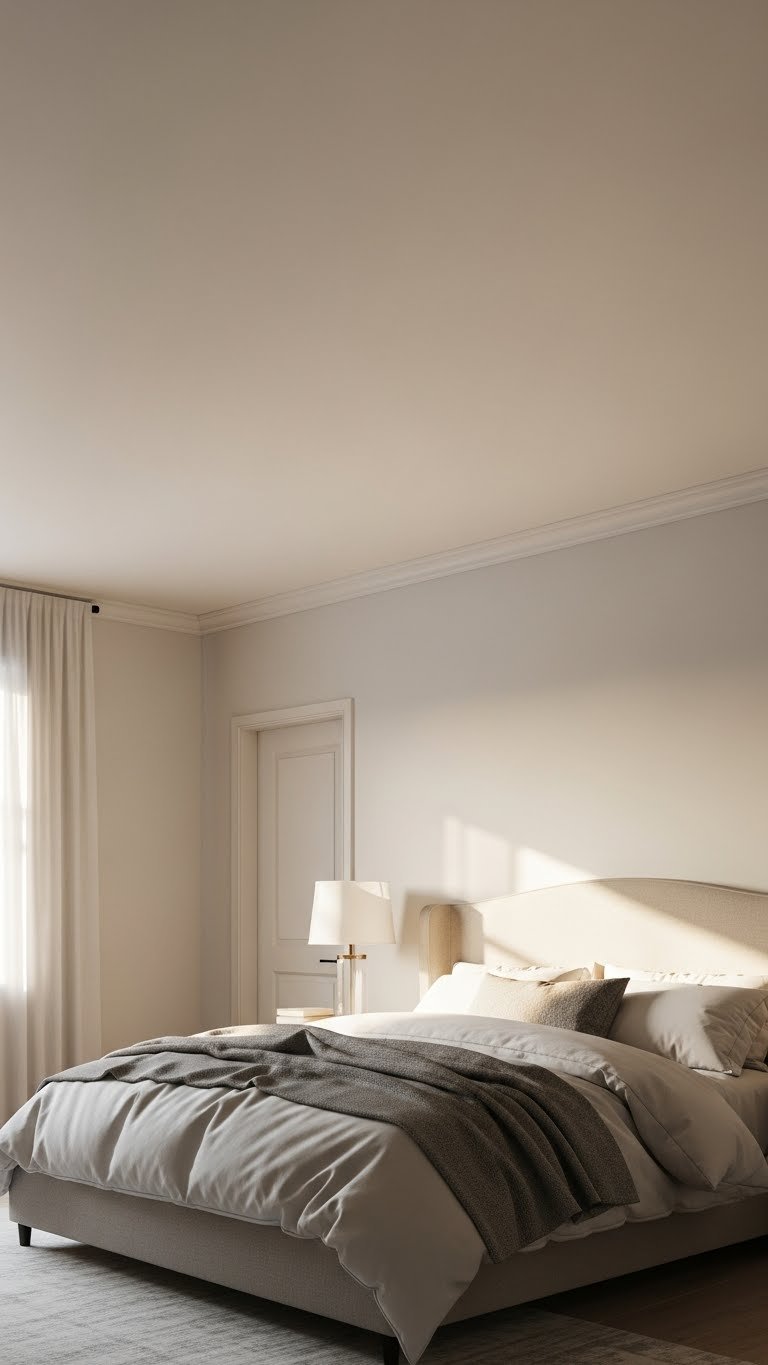
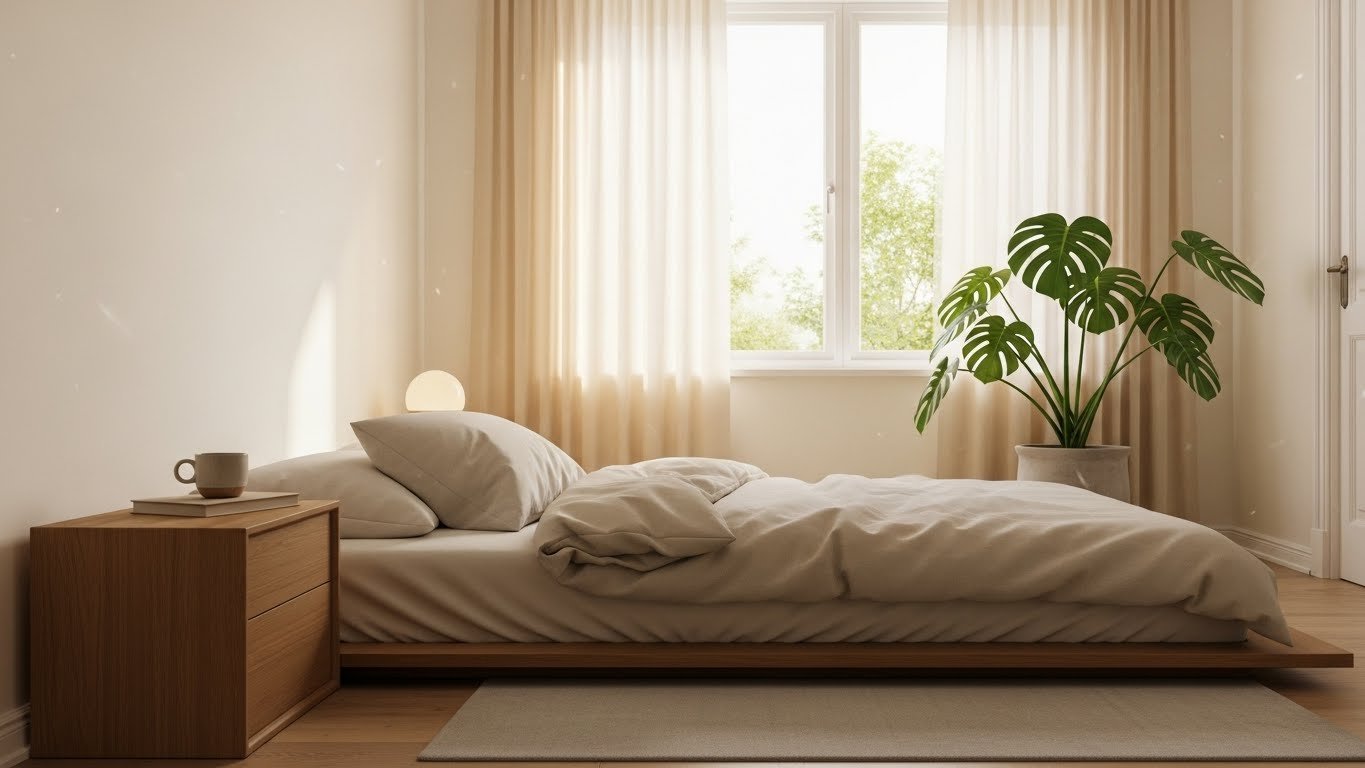
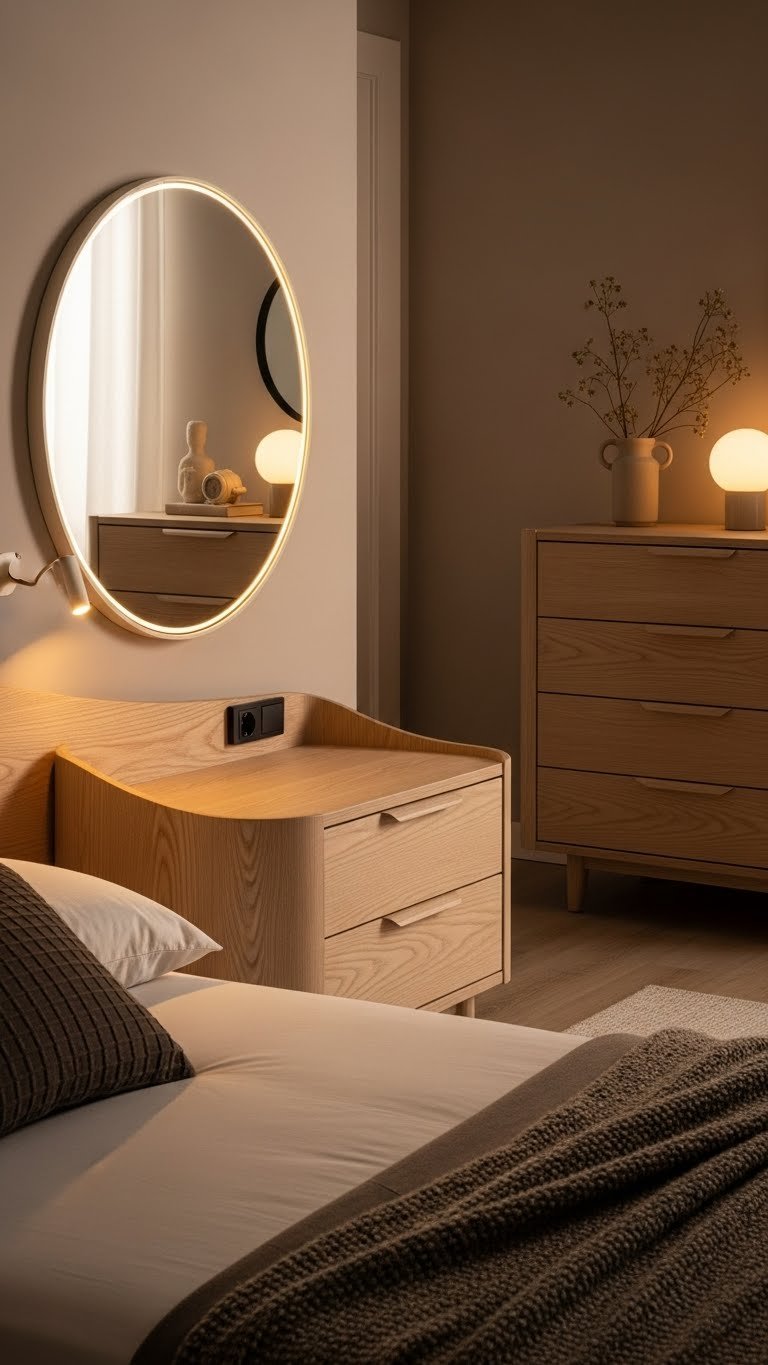
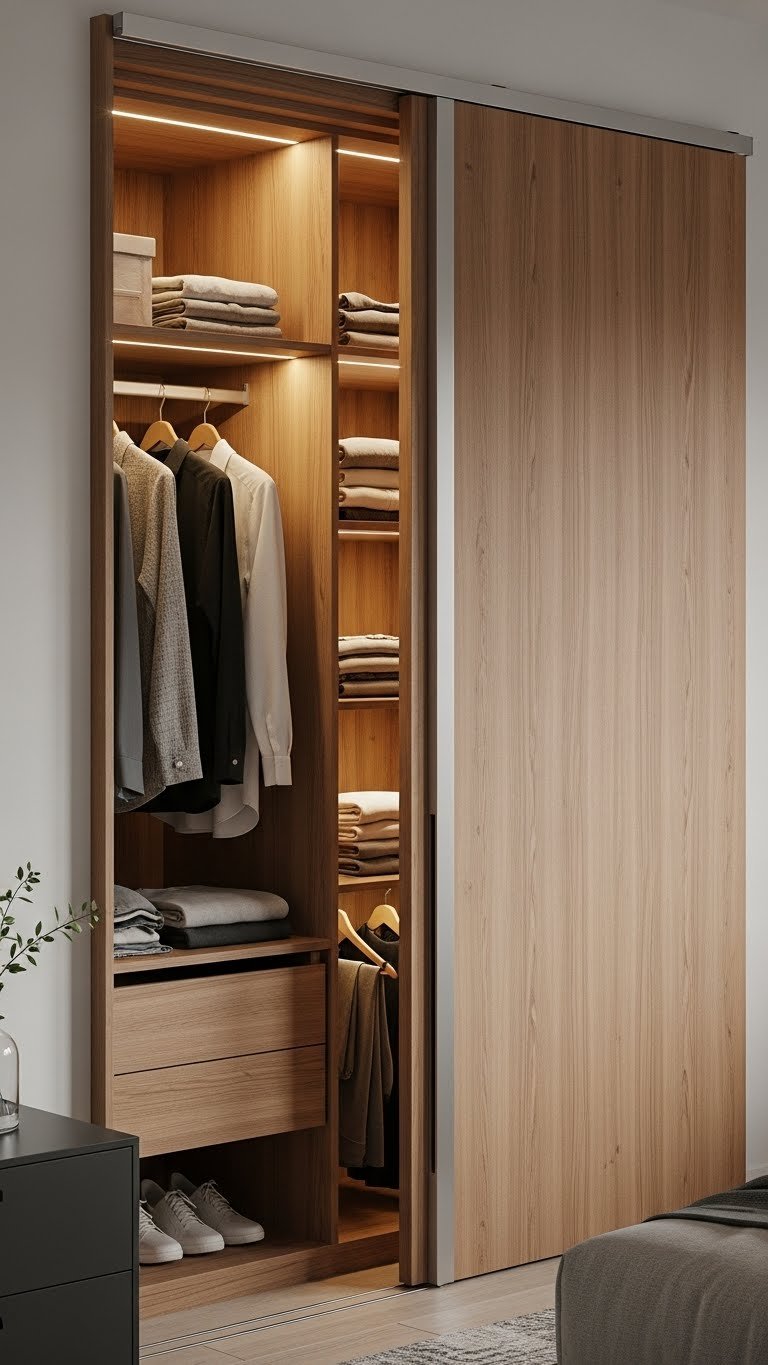
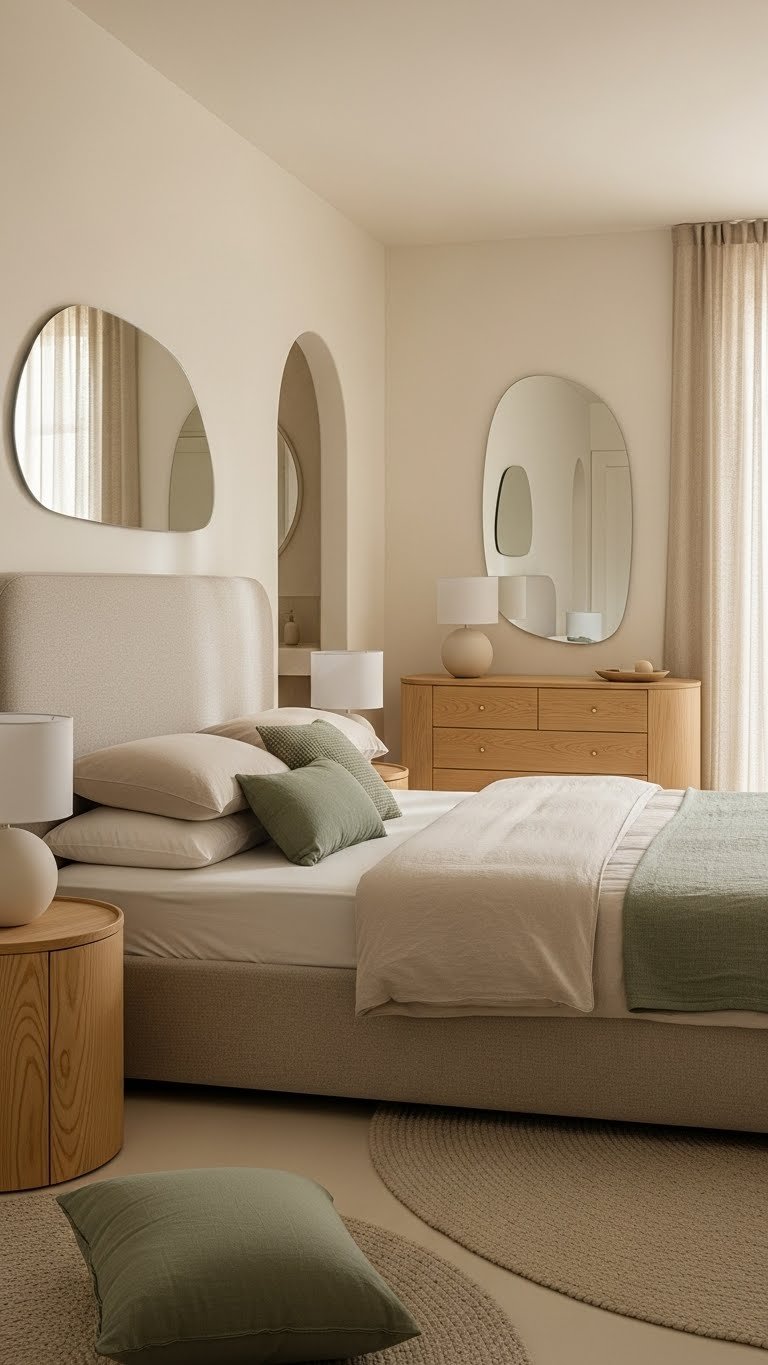
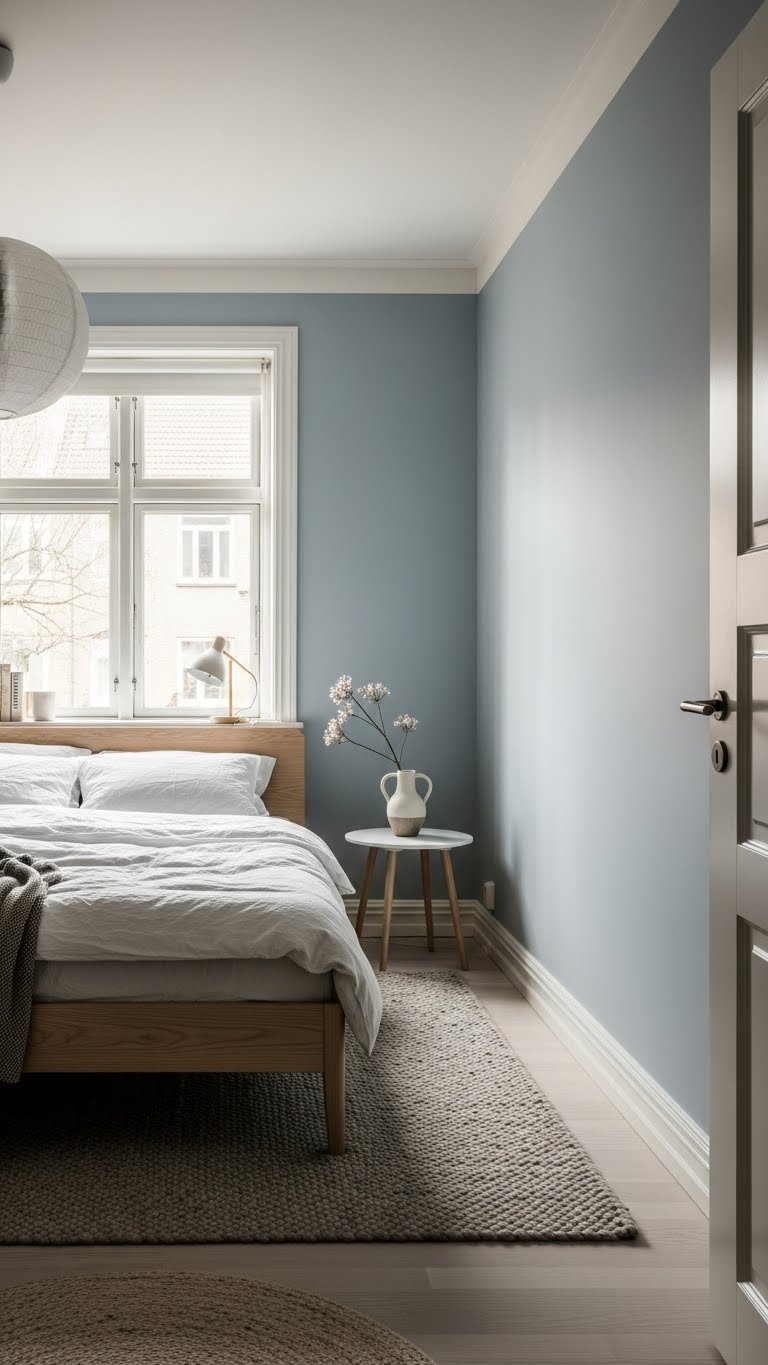
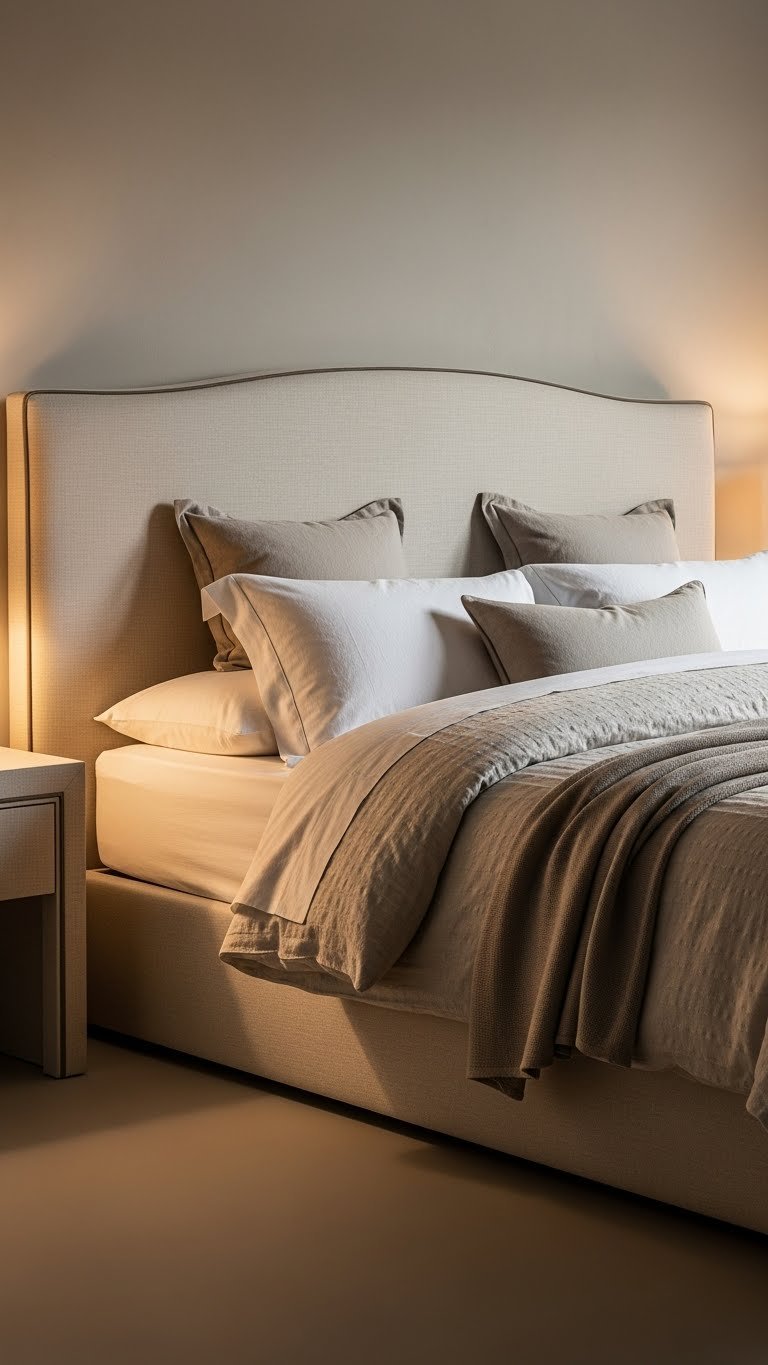
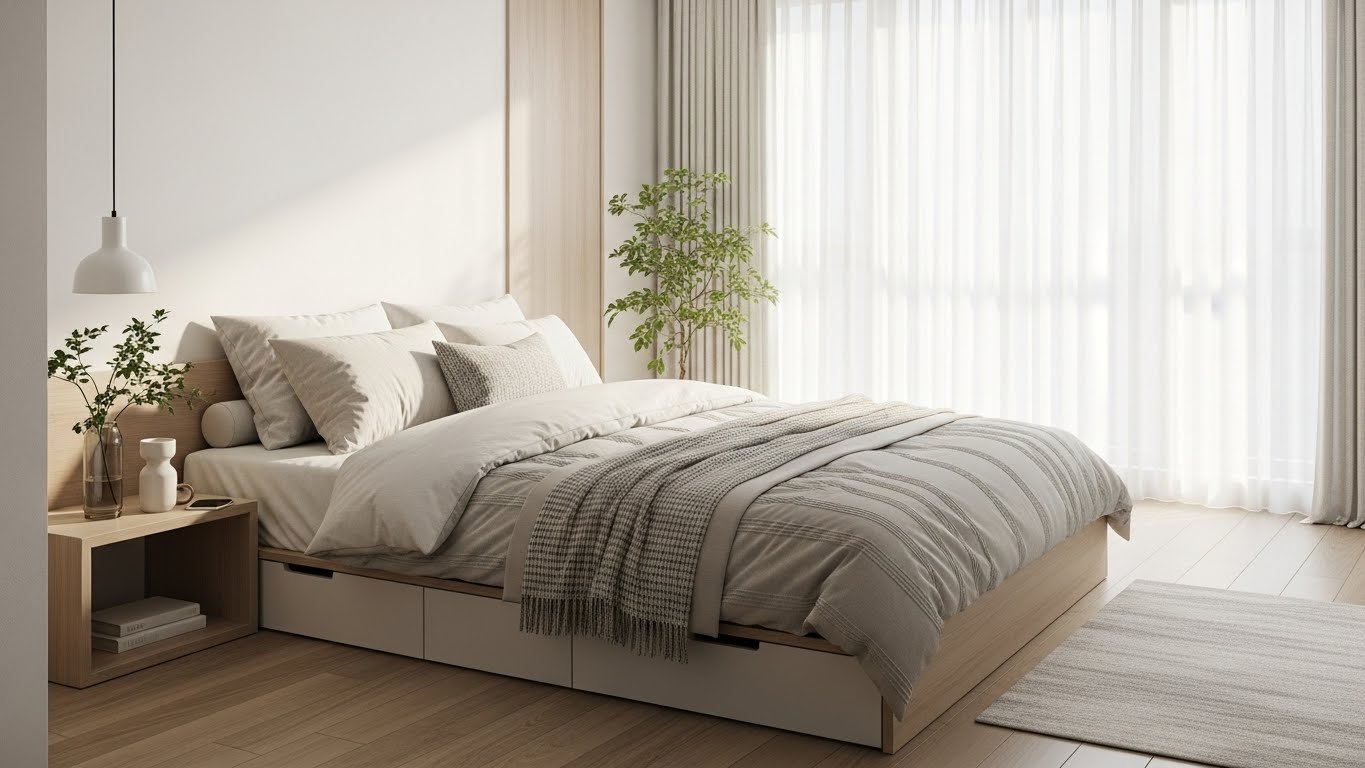
    12. Install Drawers Under a Low-Profile Platform Bed

    Low-profile platform beds with integrated drawers maximize storage while maintaining a sleek, modern look. Everything stays hidden, and the bed never feels bulky.

    Expect to spend $500–$1,000 for a quality low-profile bed with drawers. IKEA, Wayfair, and modern furniture brands like Article offer excellent options. Assembly usually takes two to three hours and is worth doing carefully for stability. Drawers should glide smoothly—check reviews to ensure quality hardware.

    These beds photograph beautifully because the clean lines and hidden storage make rooms feel calm and organized.

    Your bedroom instantly feels more spacious and serene, even with all your belongings safely tucked away.

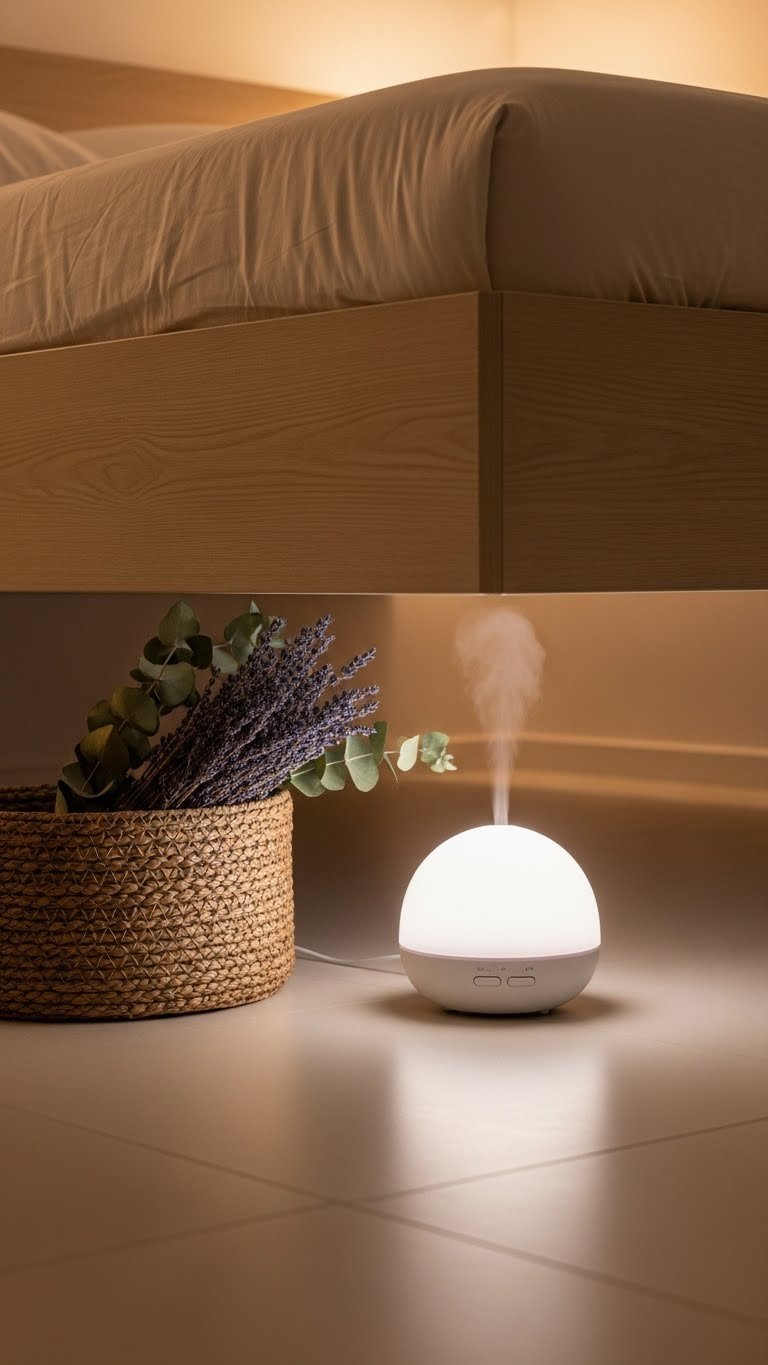
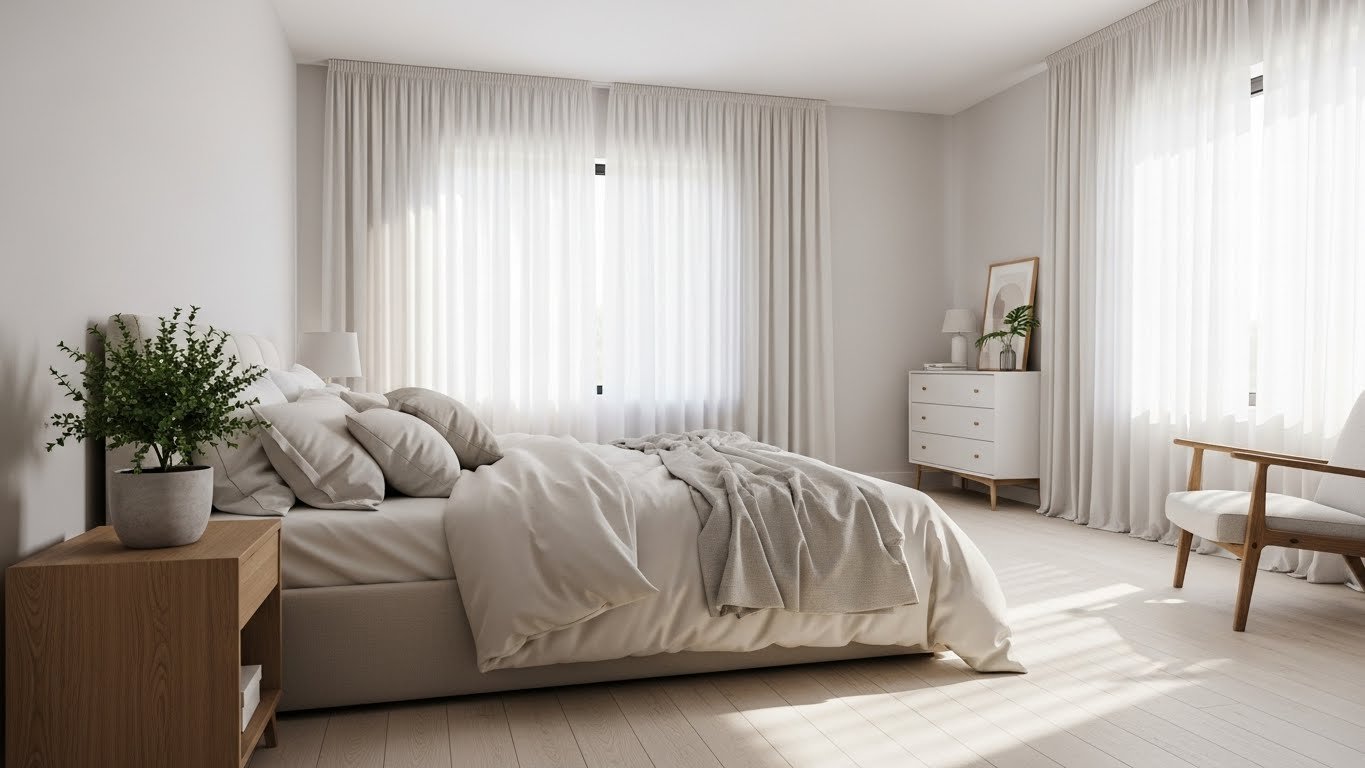
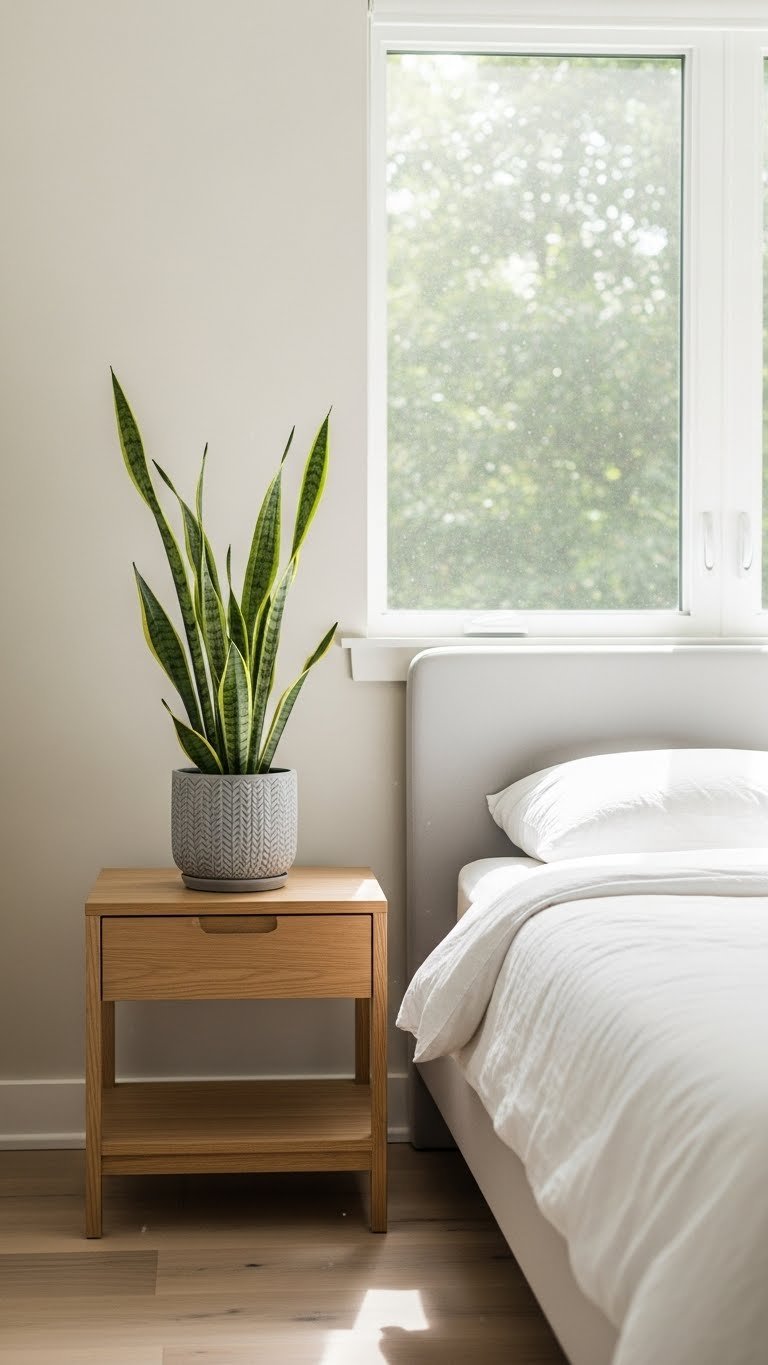
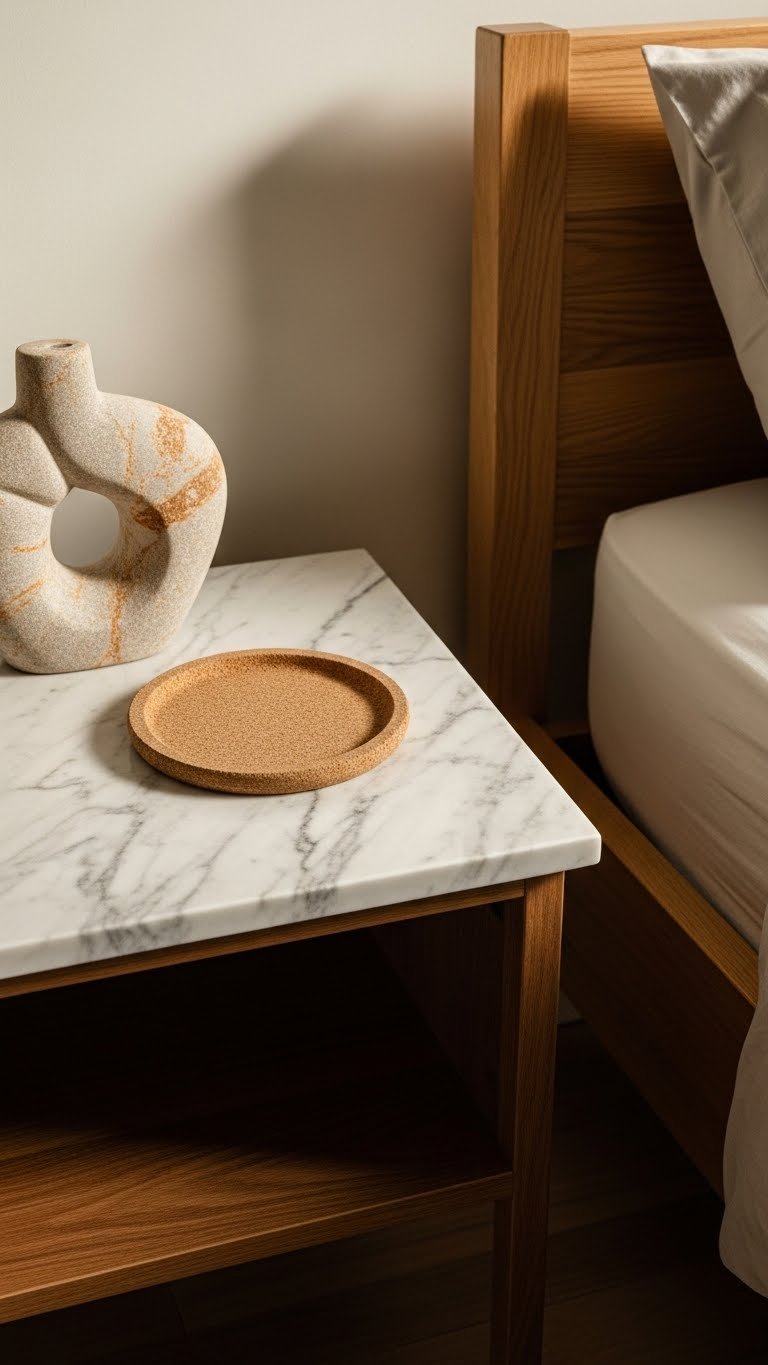
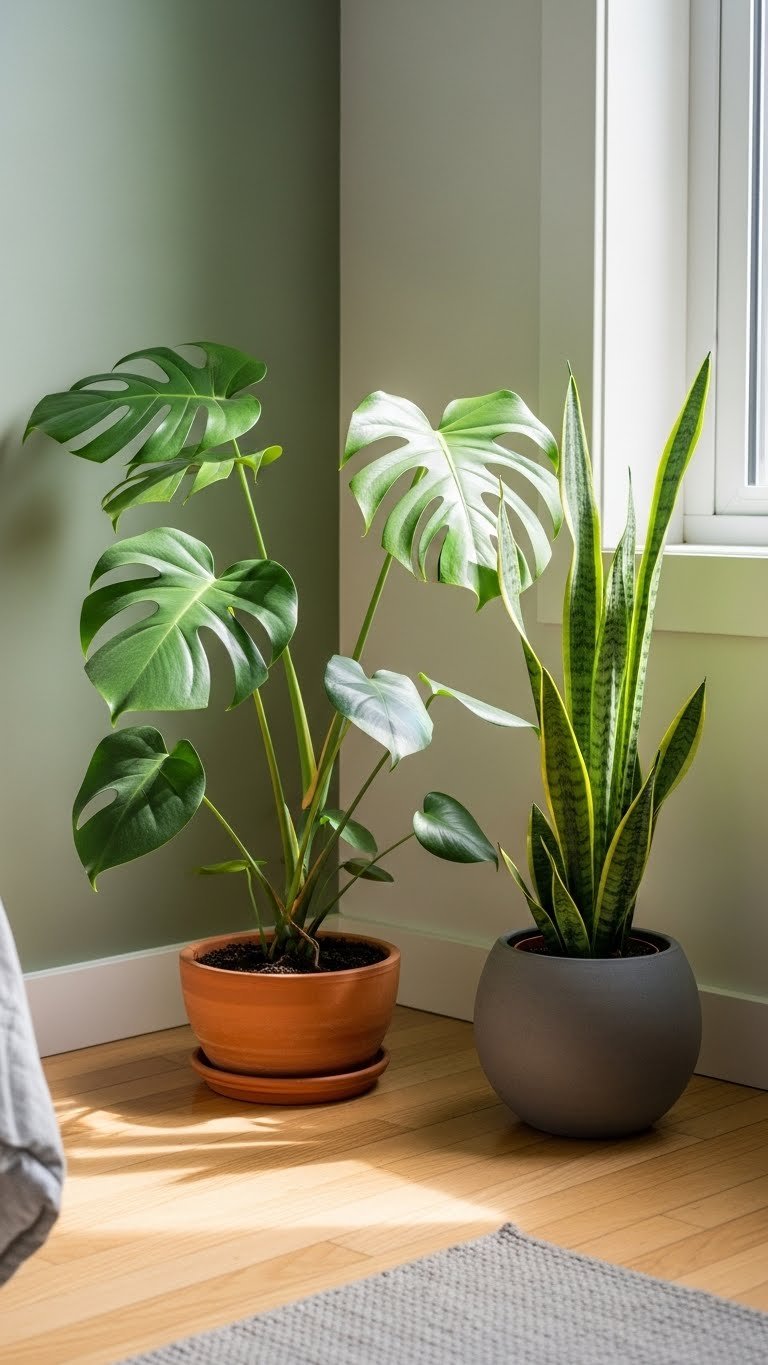
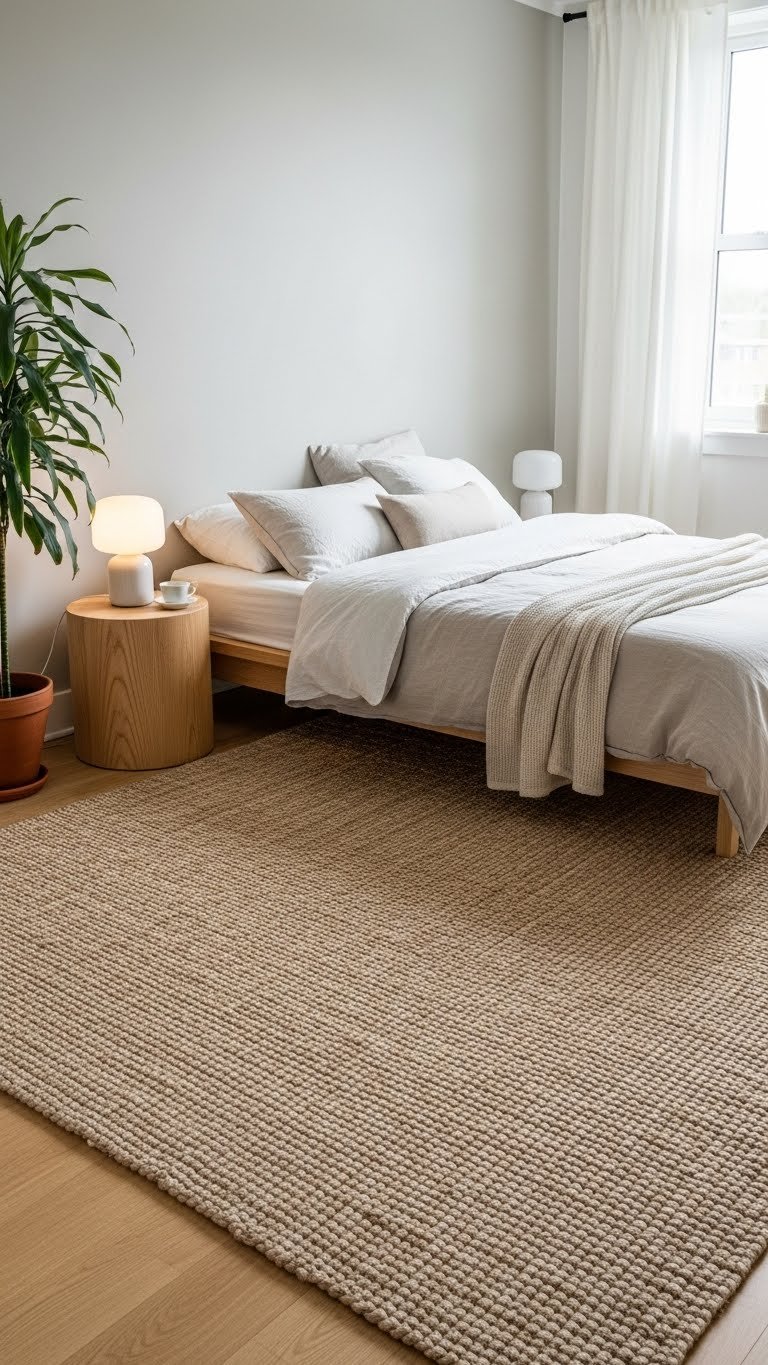
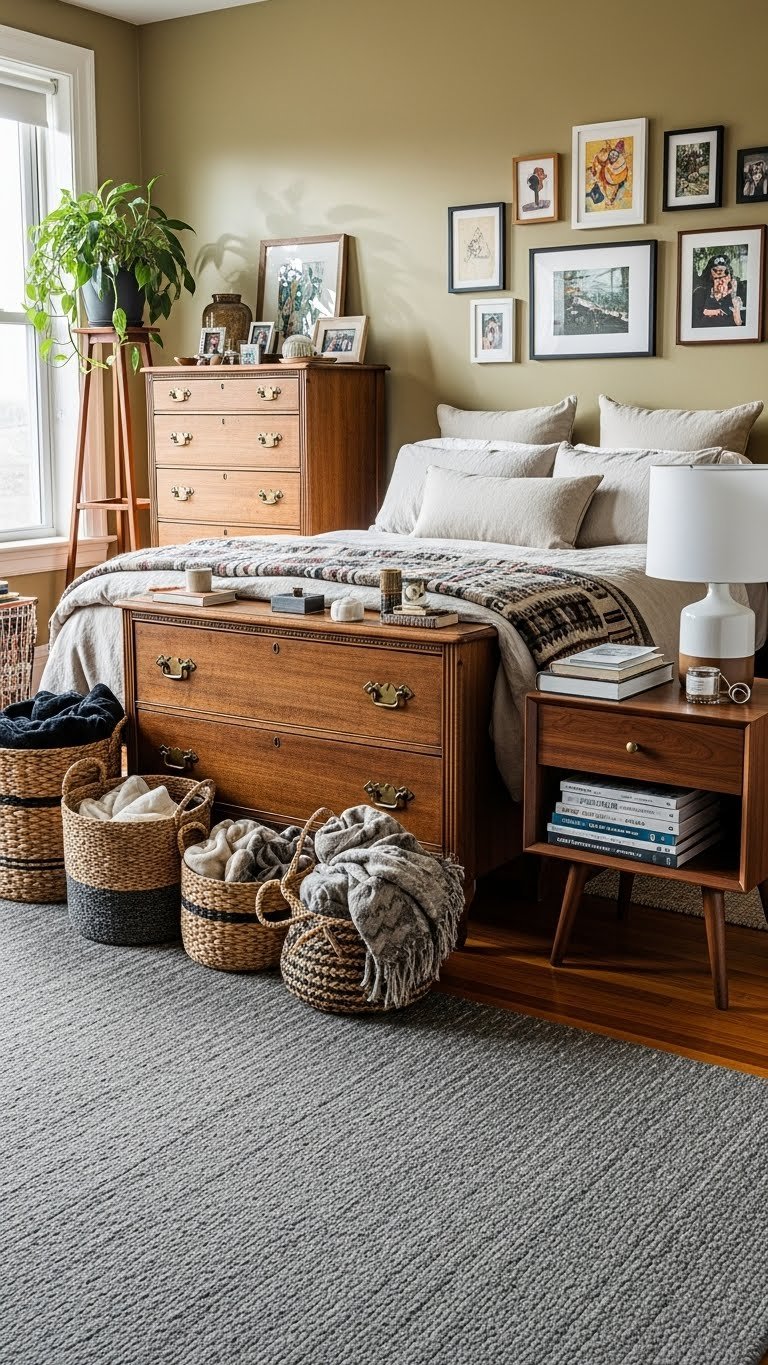
    13. Use Woven Baskets Under a High-Clearance Bed

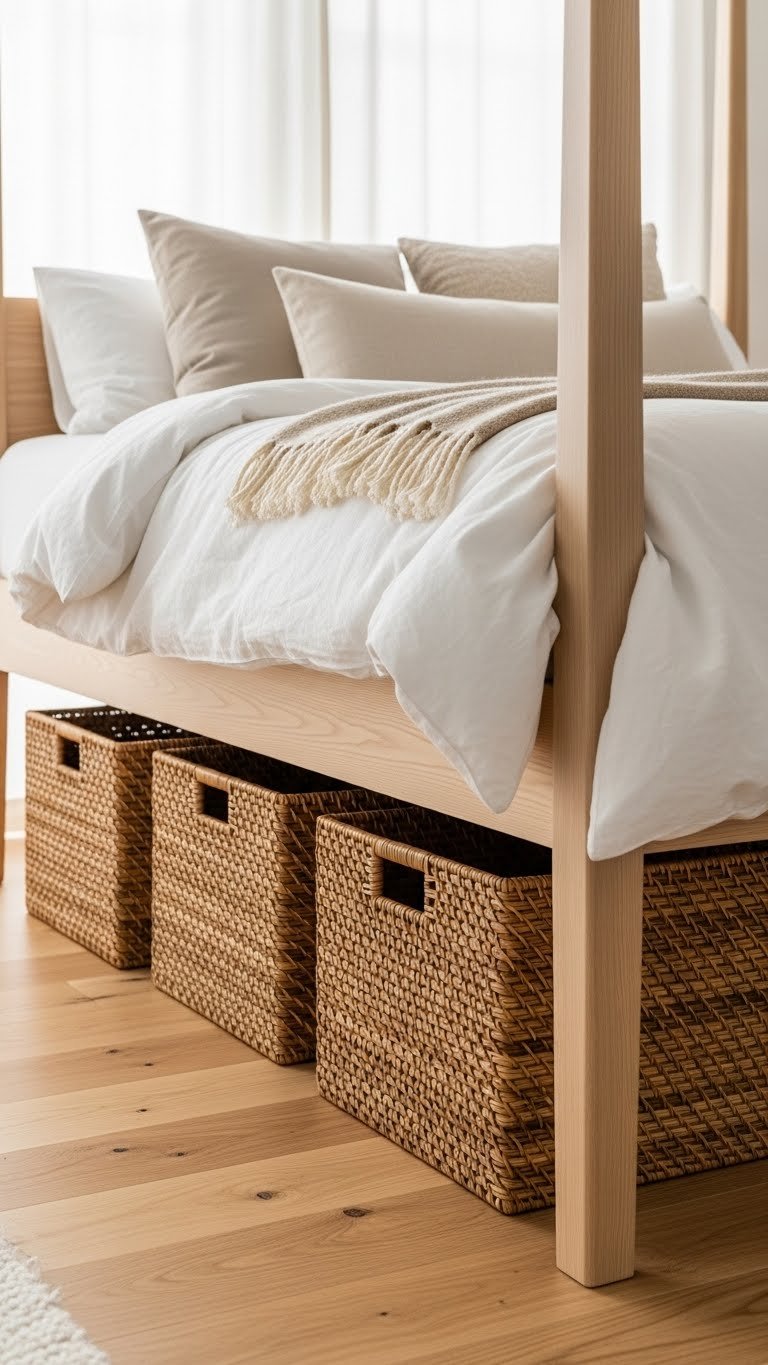
    Raising your bed on taller legs creates space for beautiful storage baskets that double as decor. This works with any bed frame and looks effortlessly curated.

    Bed risers that add height cost $25–$50, and a set of two to three woven baskets runs $80–$180 depending on size and material. Shop for baskets at Target, IKEA, Wayfair, and TJ Maxx. Set-up takes 15 minutes. Choose baskets in coordinating colors so they look intentional rather than random.

    Store bulky items like extra blankets, pillows, or off-season clothes. The open storage means you can see what you have and grab it easily.

    Your bedroom gains visual warmth and accessible storage without looking cluttered or cramped.

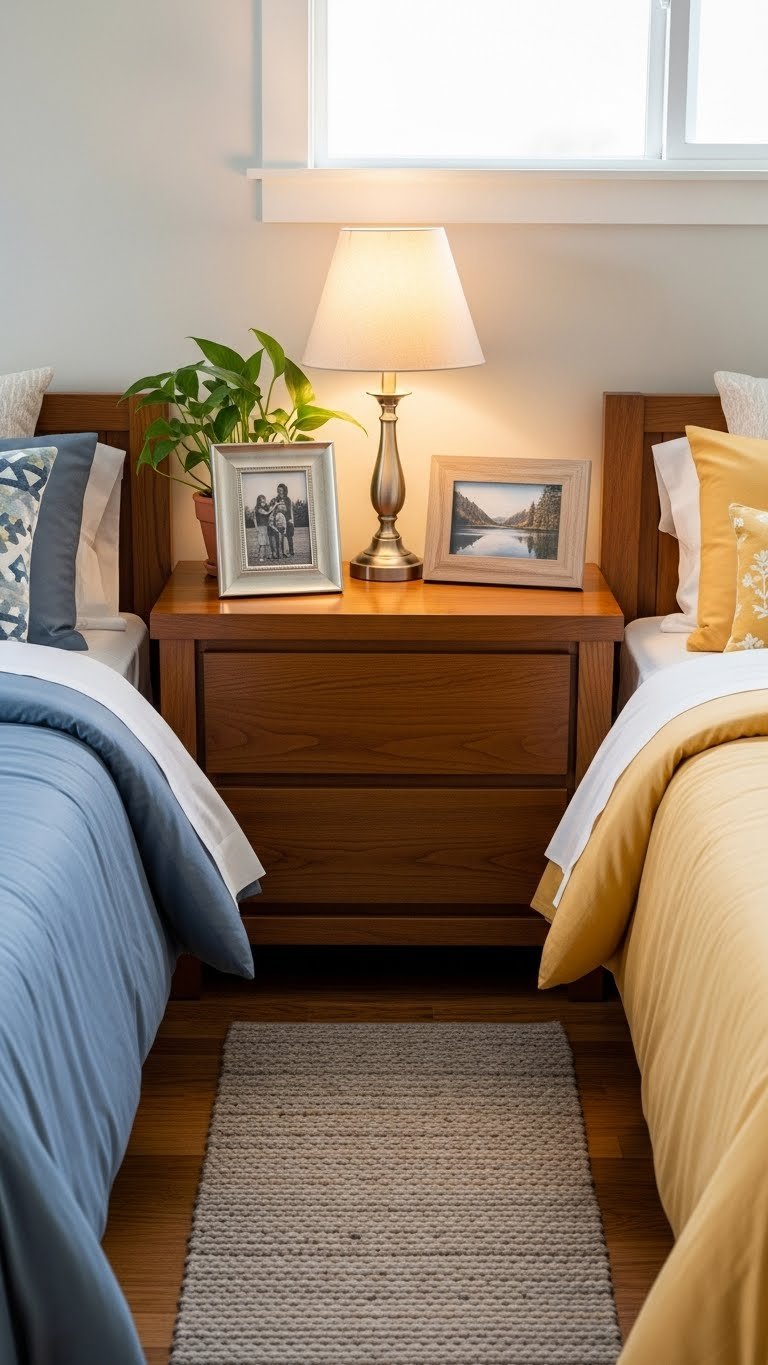
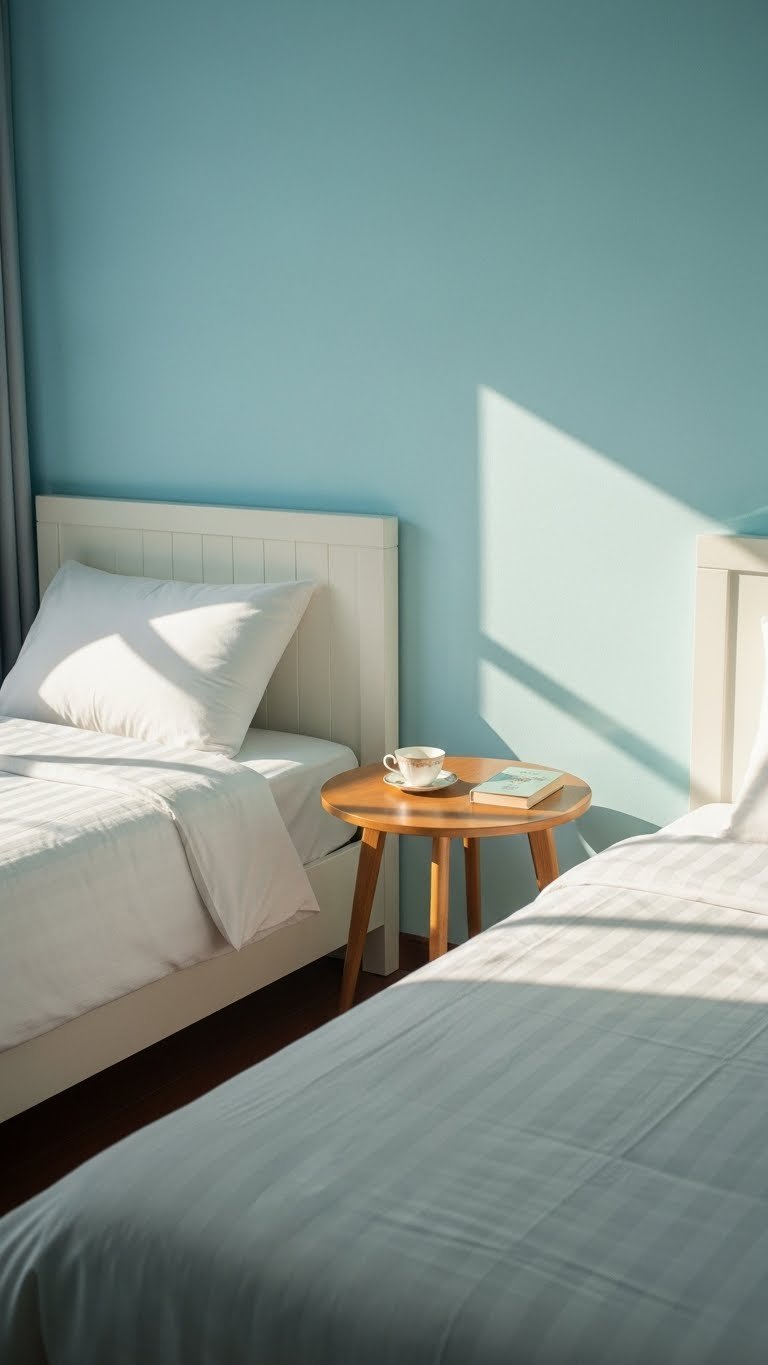
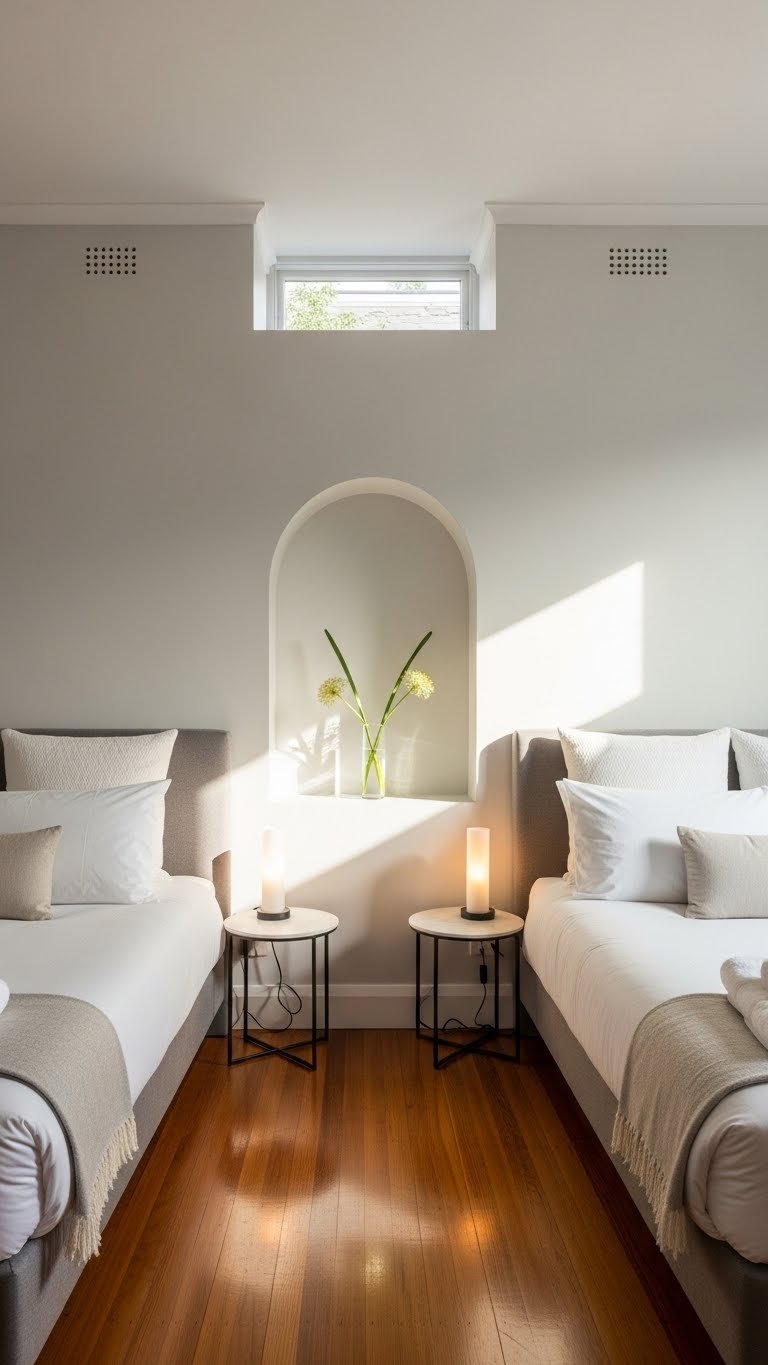
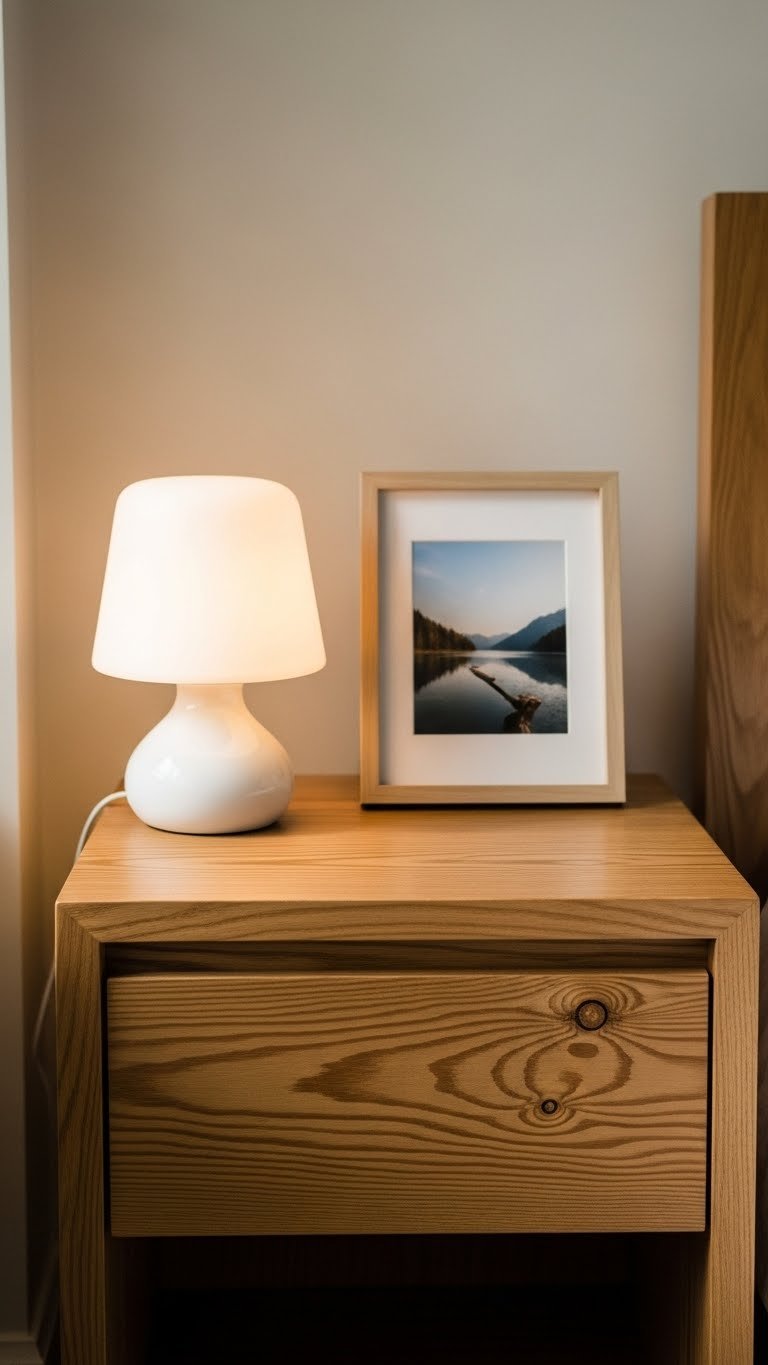
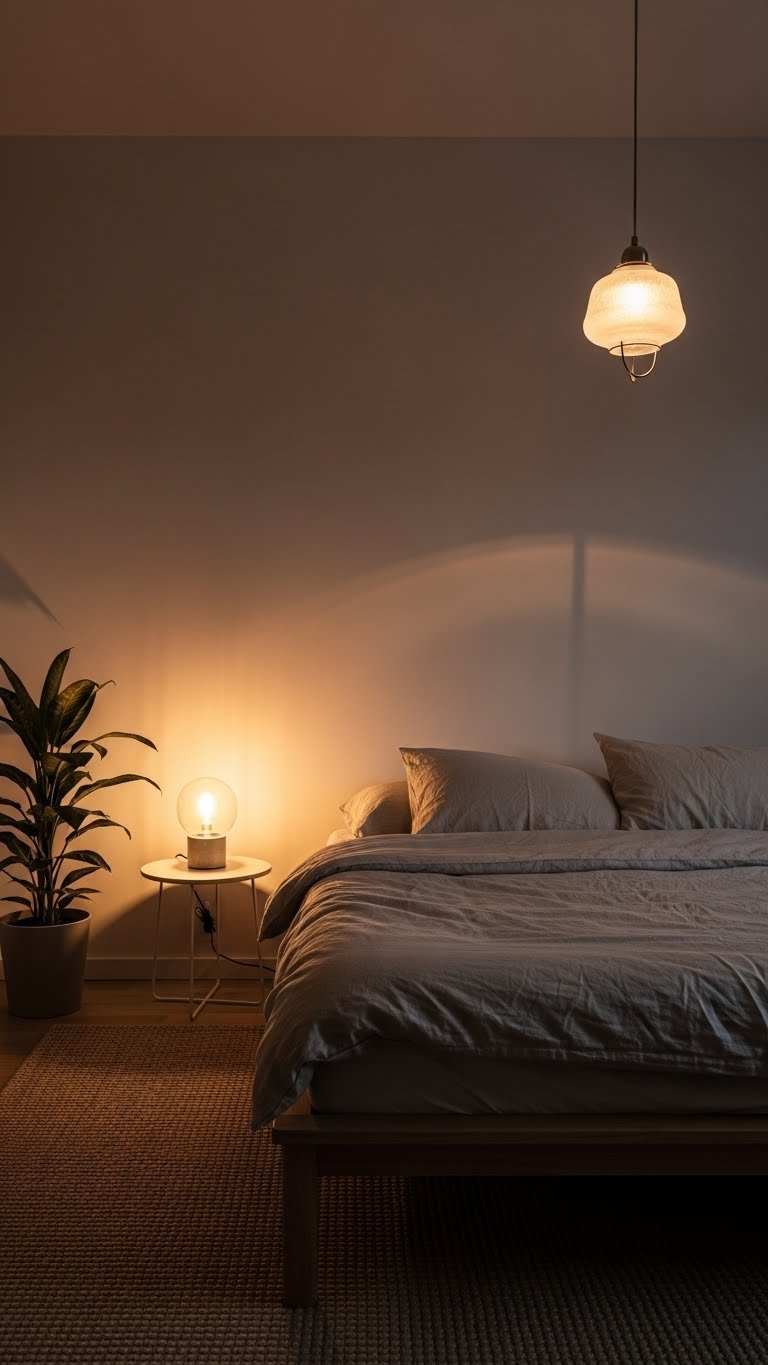
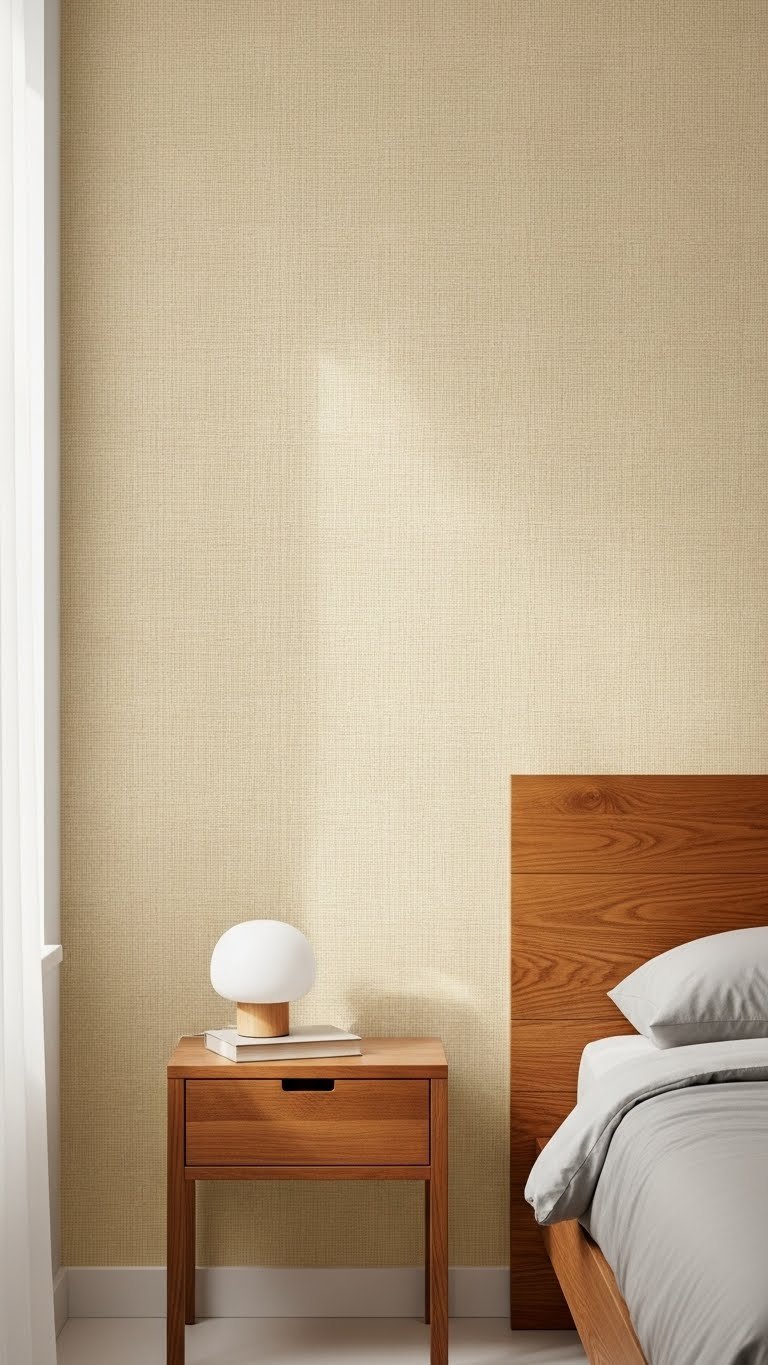
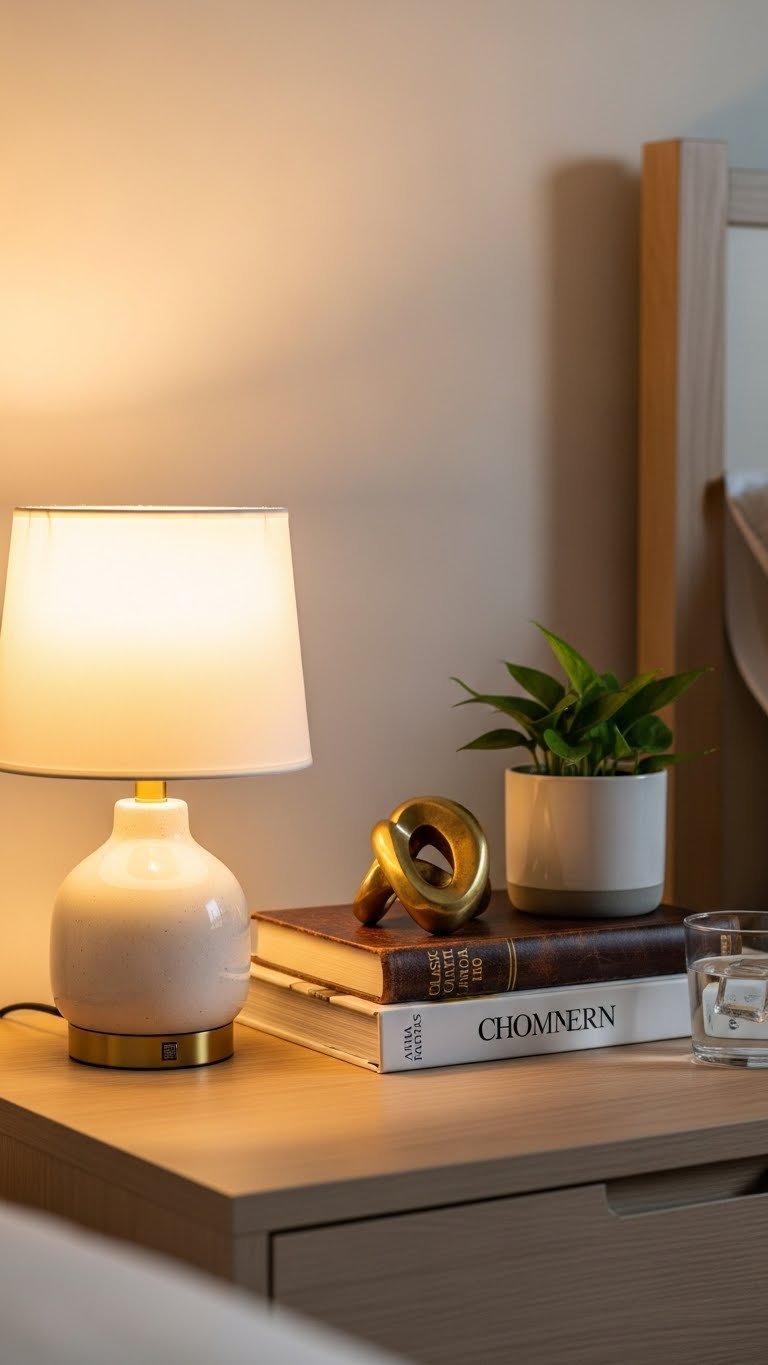
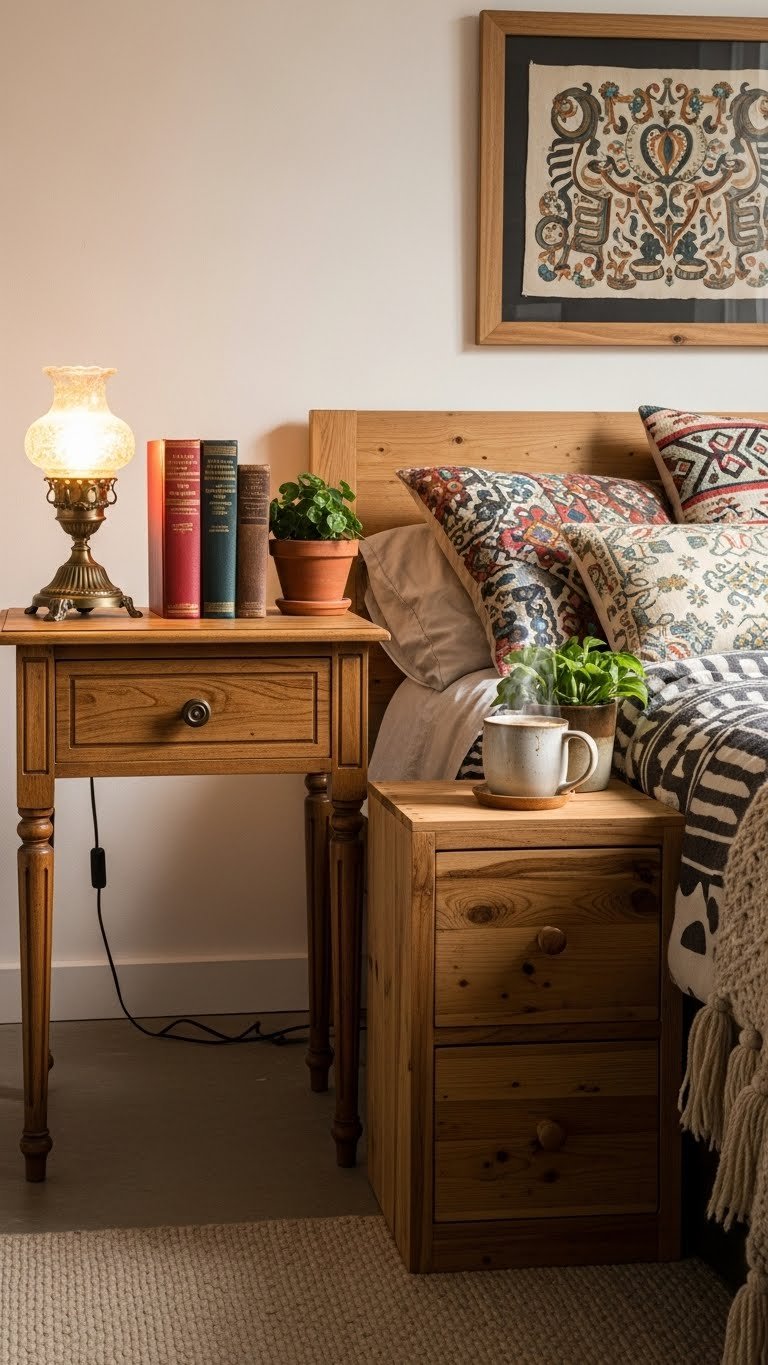
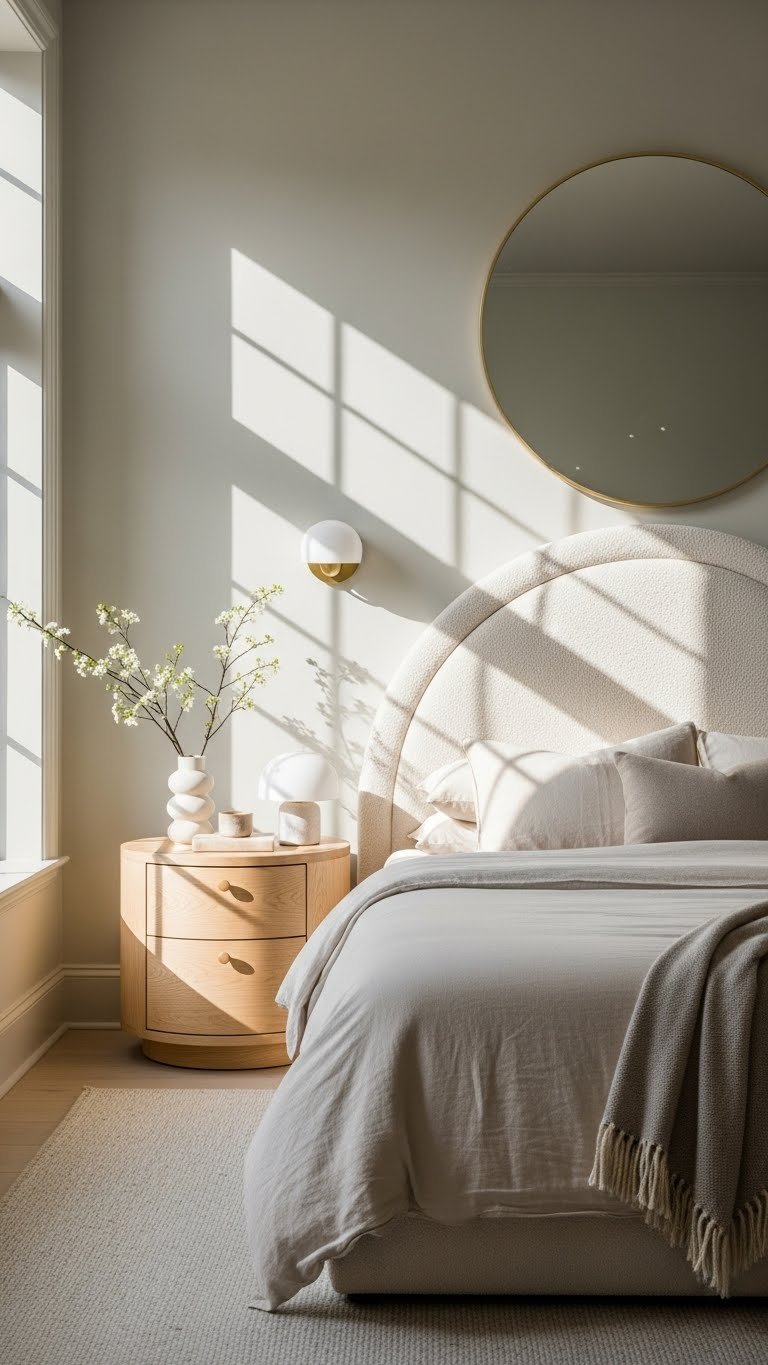
    14. Add a Slim Rolling Cart Beside the Bed

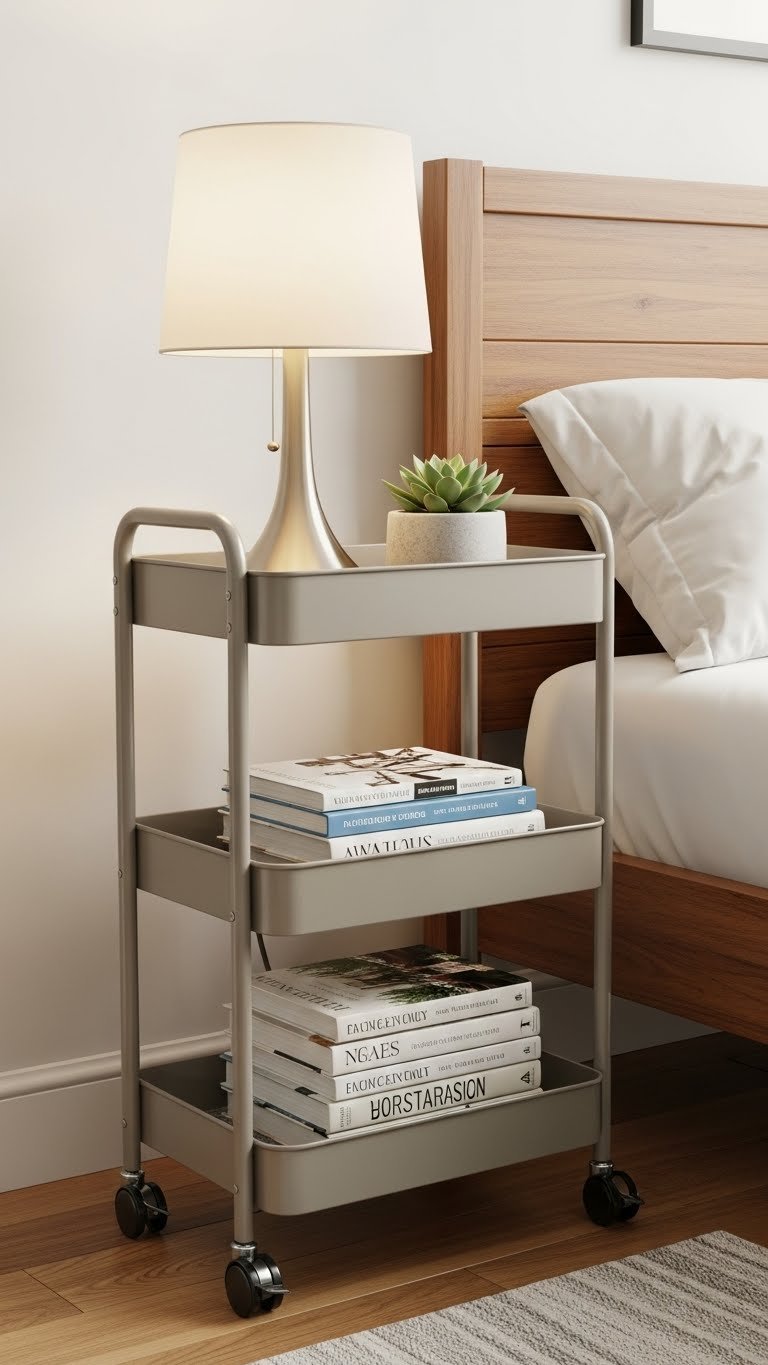
    A slim rolling cart slides into tight spaces and holds way more than a nightstand. Move it around as needed—it’s the ultimate flexible storage solution.

    Rolling carts cost $40–$100 depending on size and material. Find them at IKEA (the famous Råskog cart is popular for $35), Target, and Amazon. No assembly needed for most models—just unfold and roll into place. Use it for books, charging cables, skincare, or whatever you need at arm’s reach.

    The mobility means you can pull it to the center of the room when making the bed or cleaning, then tuck it back when done.

    You get tons of functional storage in a piece that looks intentionally minimal rather than cluttered.

    15. Install a Murphy Bed with Integrated Storage

    For true small-space living, a Murphy bed folds up into the wall and frees up your entire room during the day. Many models include shelving or storage compartments integrated into the frame.

    Murphy beds are a significant investment—$1,500–$4,000+ depending on quality and size—but they can increase your usable space by over 50%. Installation requires professional help and usually takes a full day. Companies like Expand Furniture and Murphy Bed Store handle the installation. This is for homeowners or long-term renters with landlord approval.

    Build shelving around it to store books, plants, and decorative items that make your space feel intentional.

    This solution works best in studios or one-bedrooms where you need the room to serve double duty.

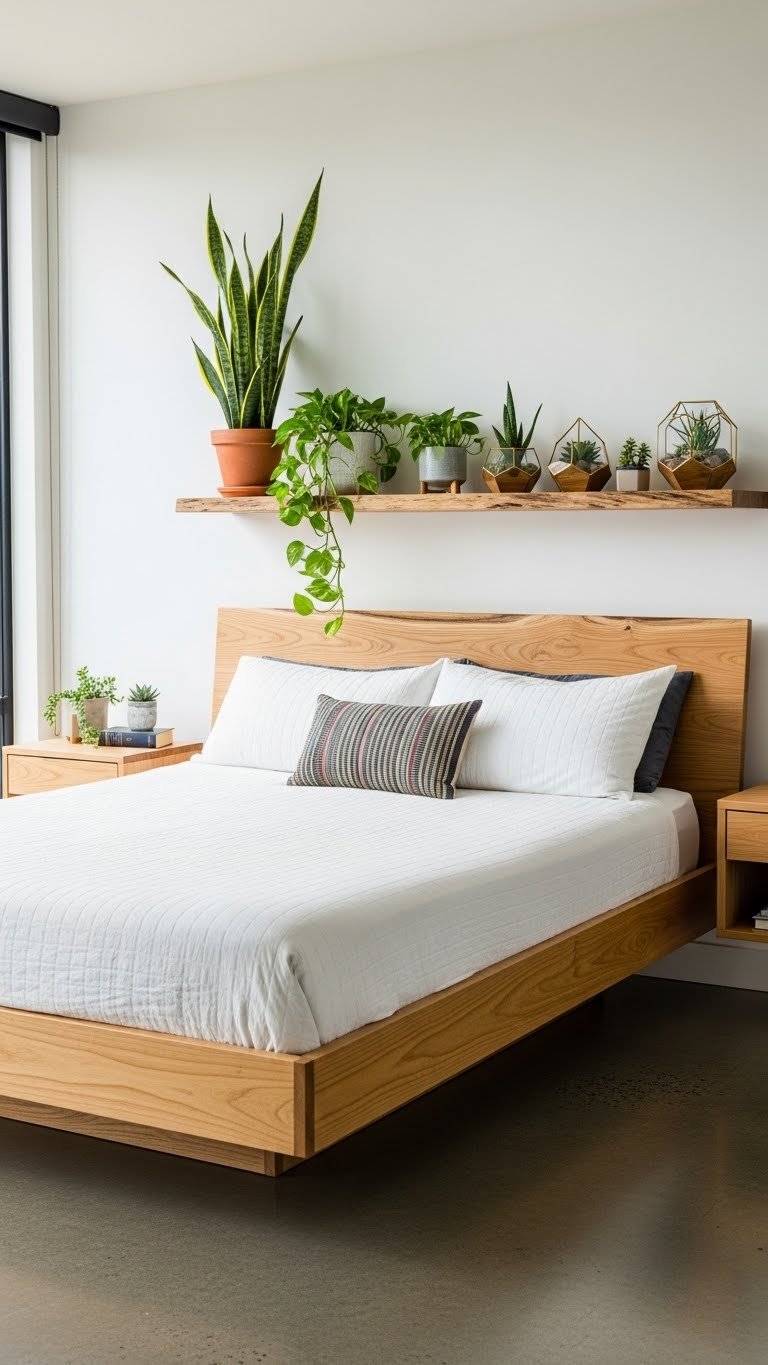
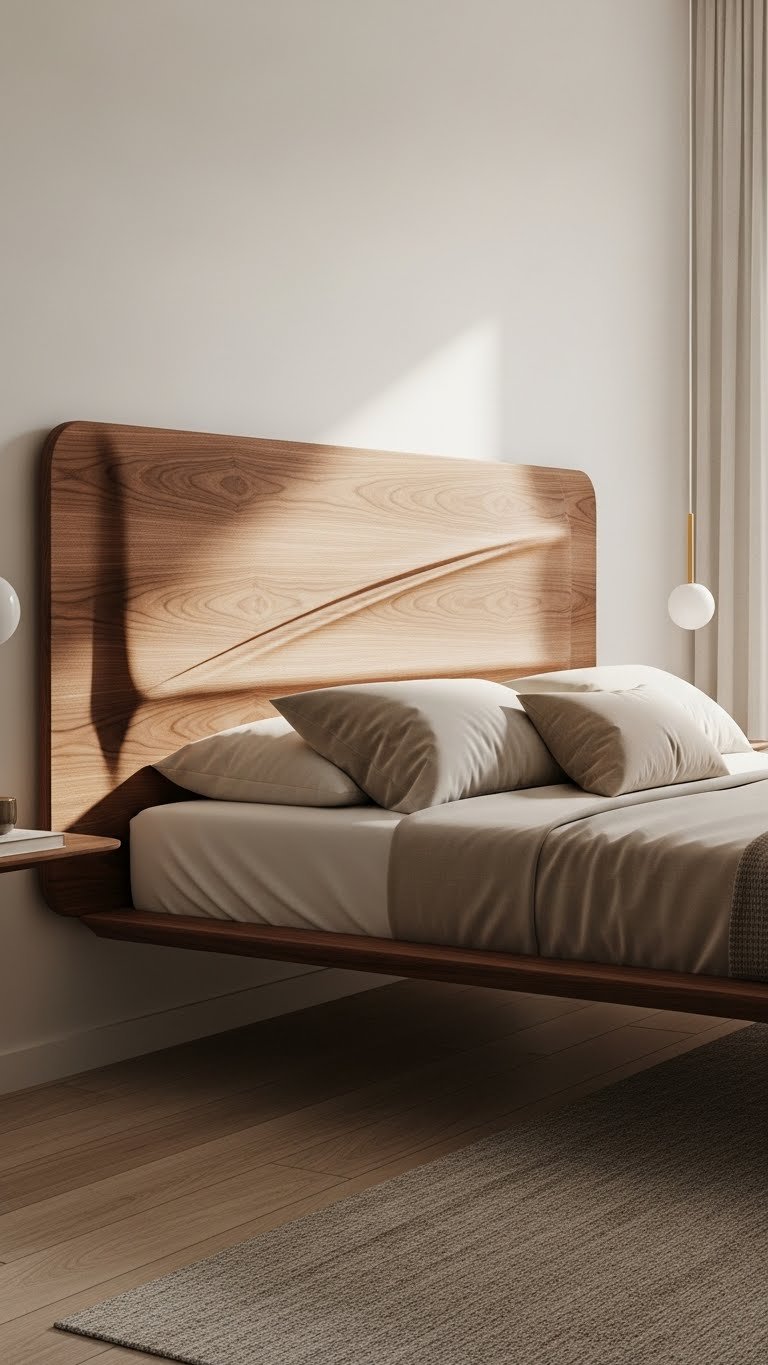
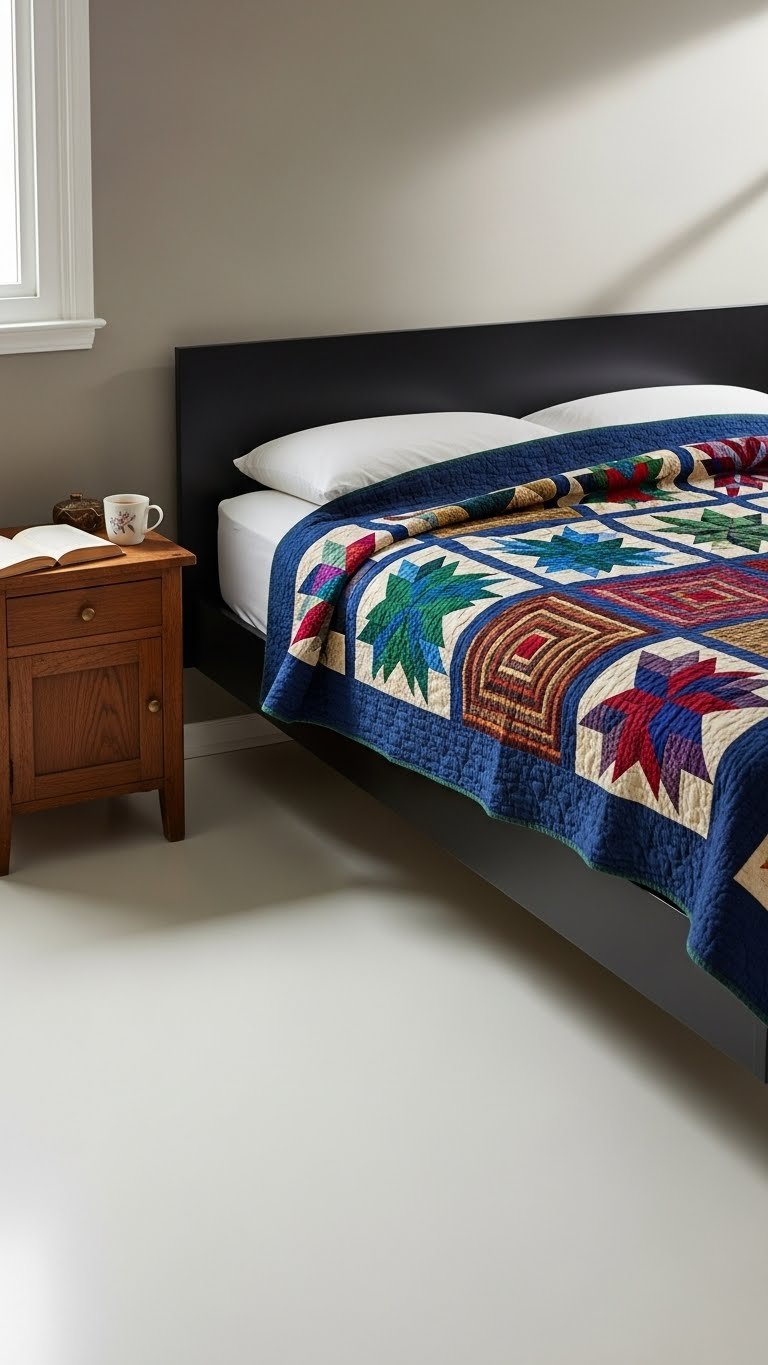
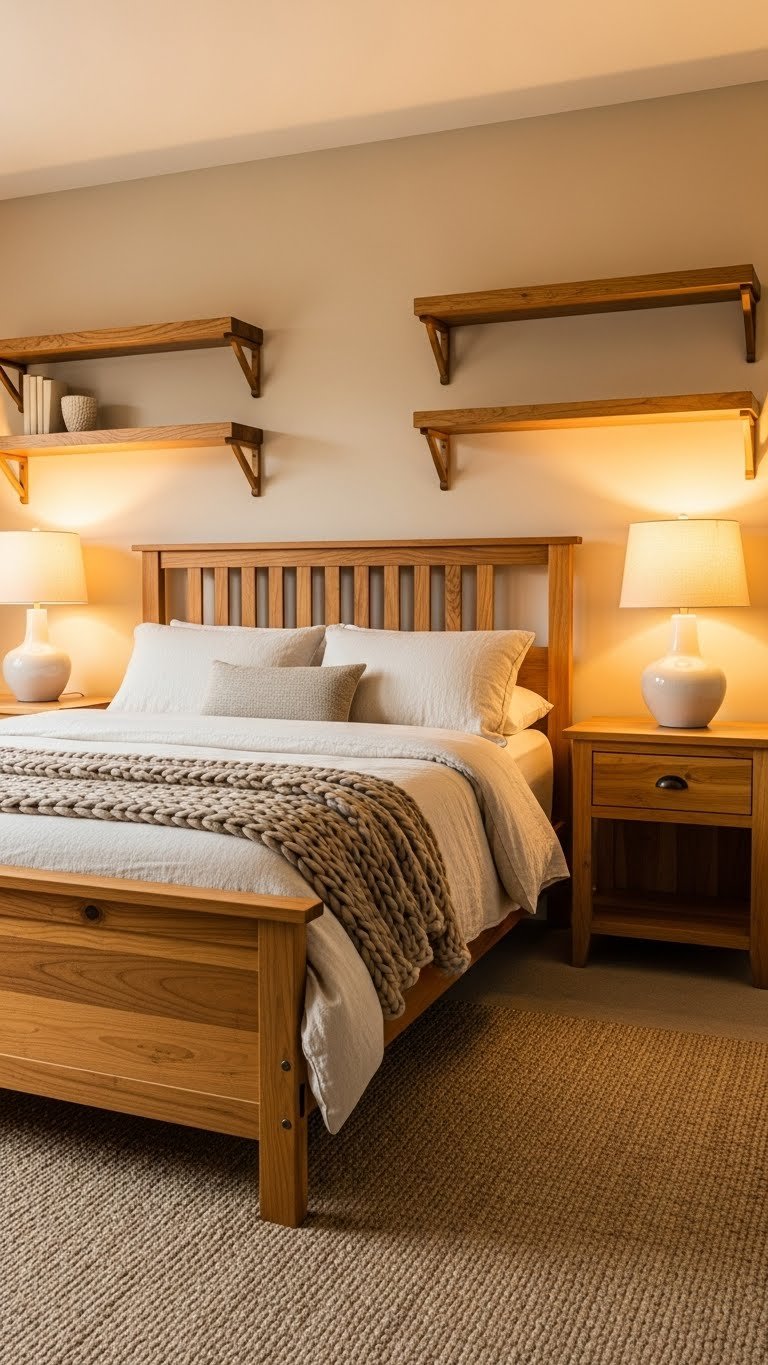
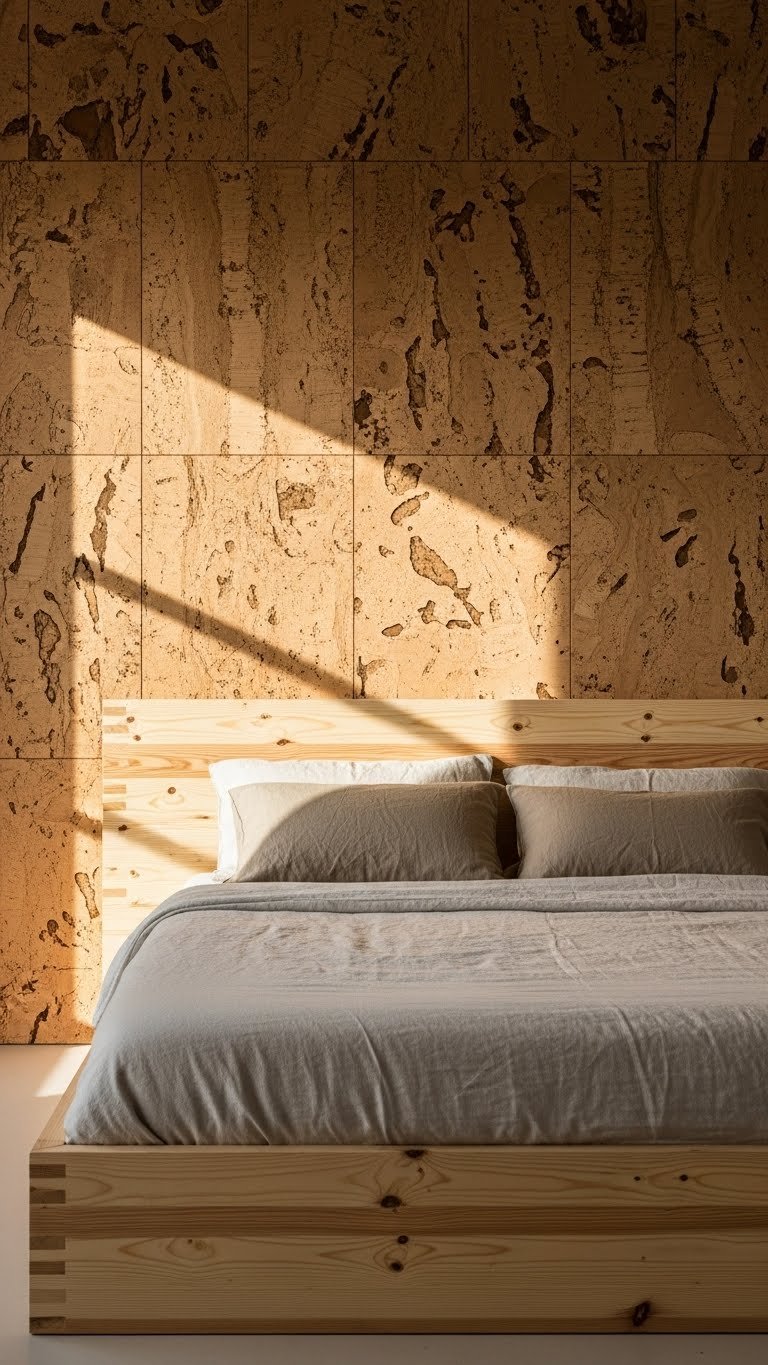
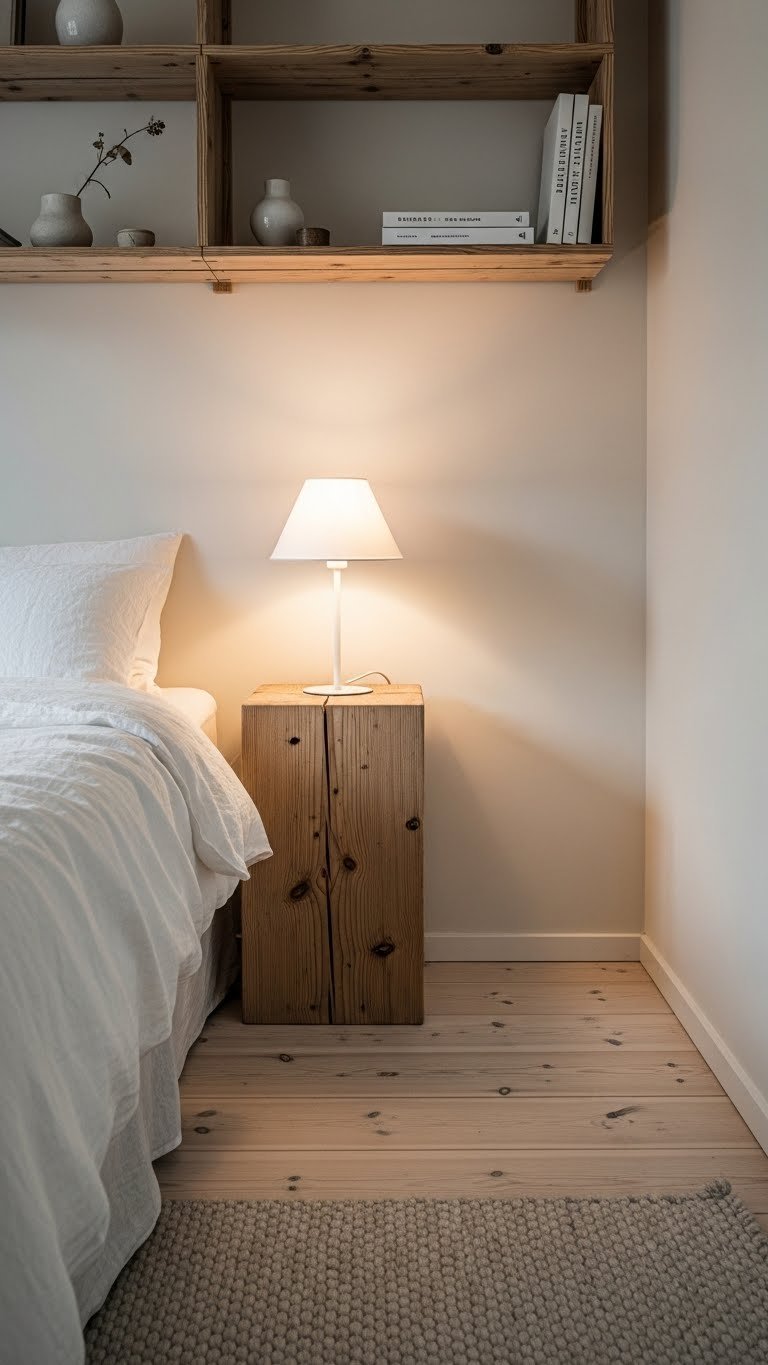
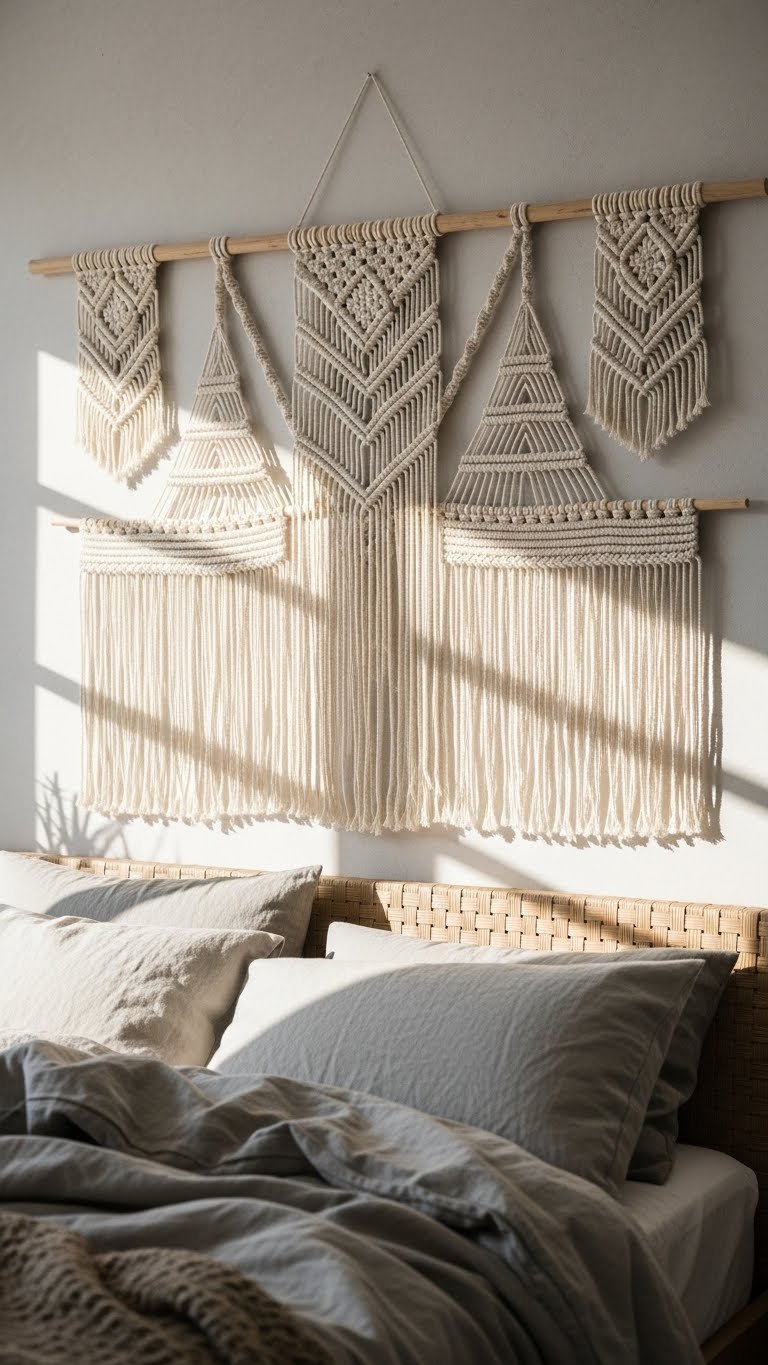
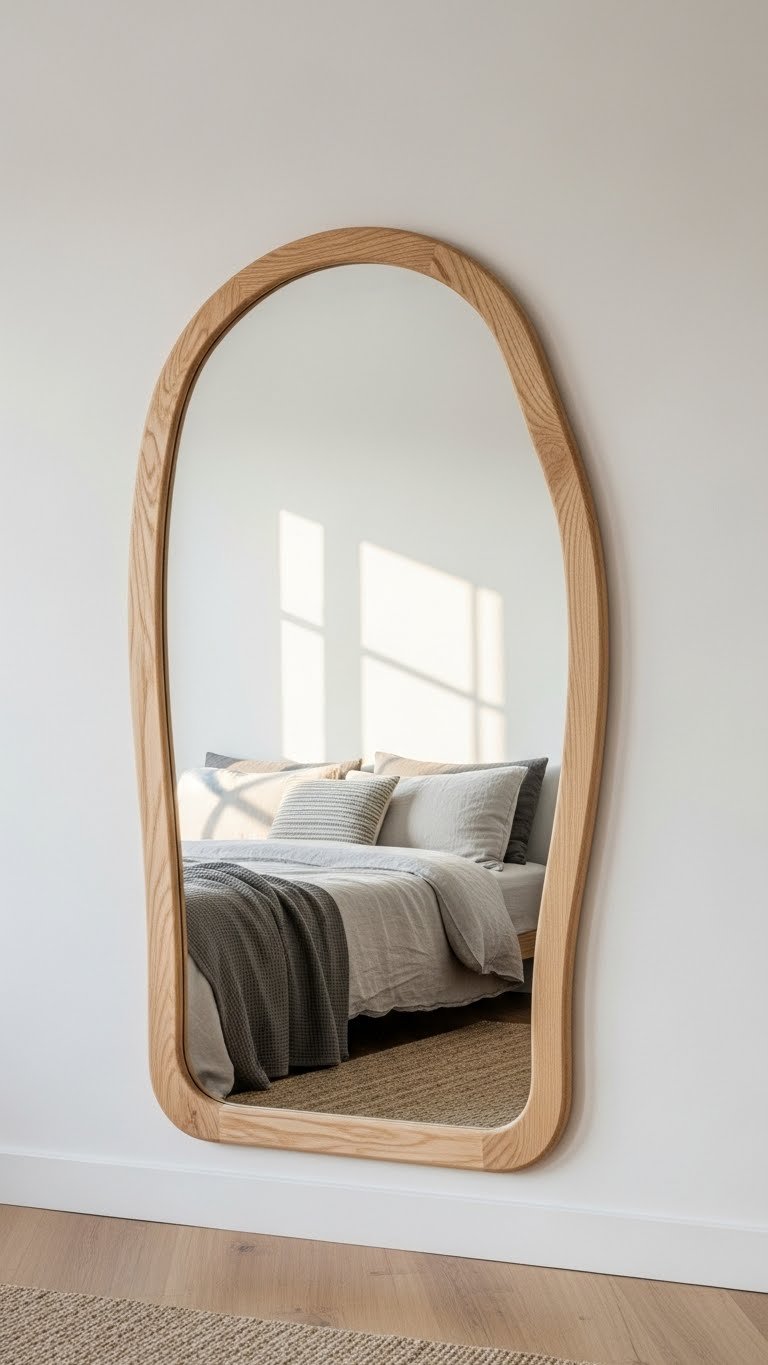
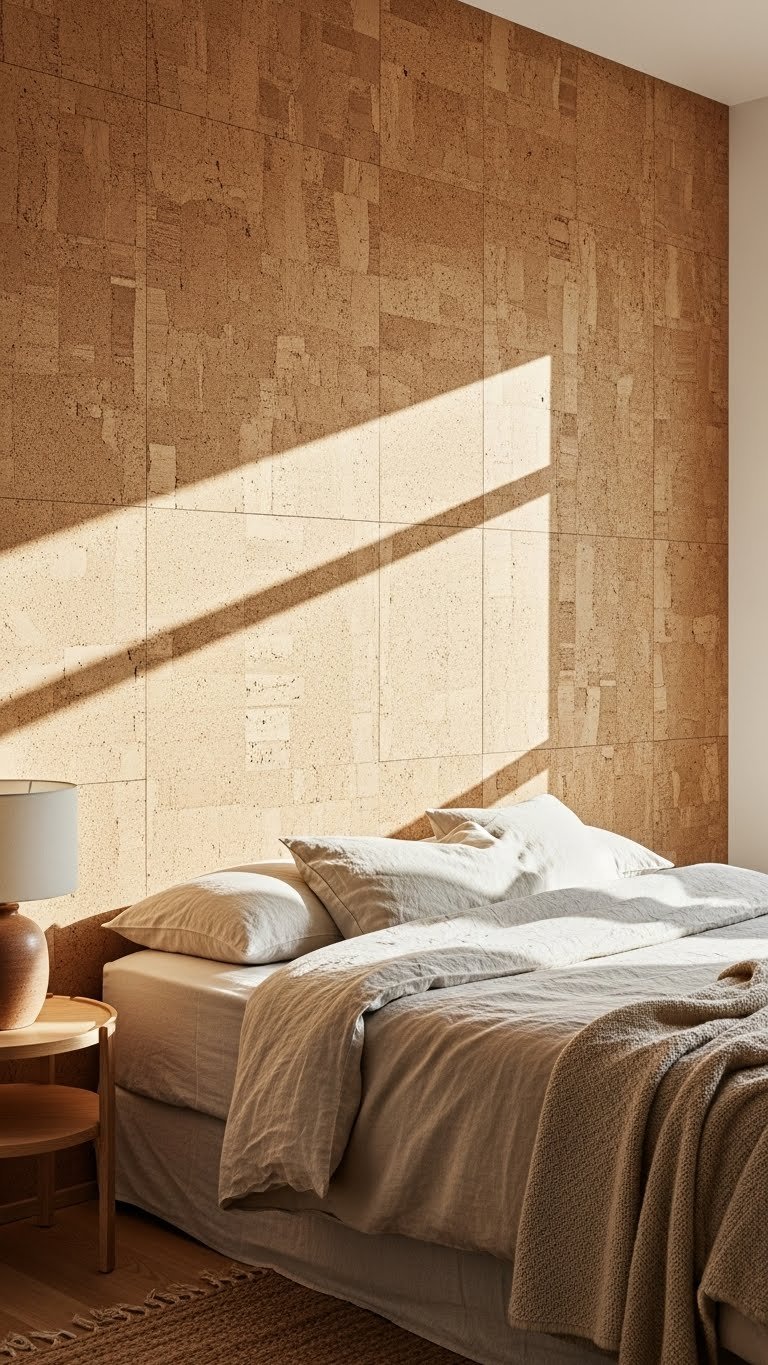
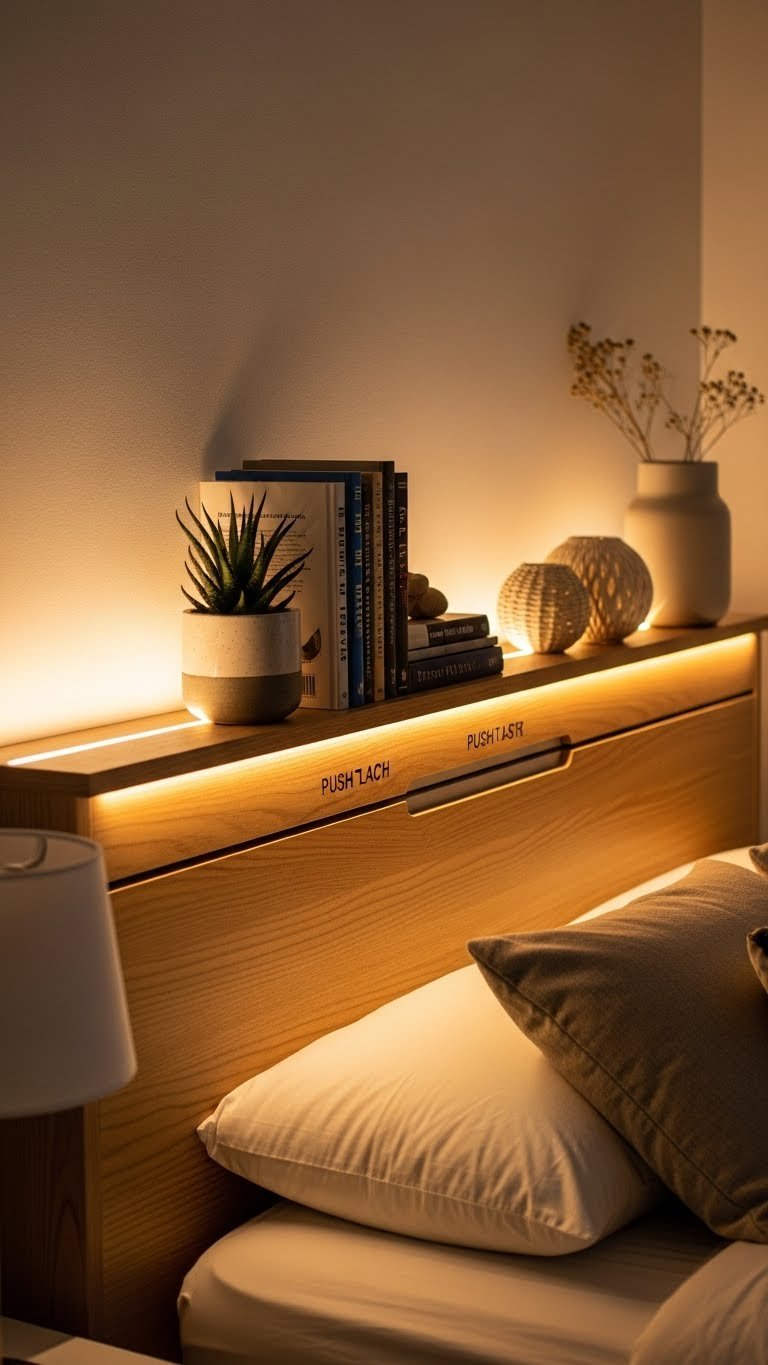
    16. Create a Wooden Storage Headboard

    A wooden storage headboard combines sleeping comfort with built-in storage, turning your headboard into a functional art piece. It’s the ultimate multi-use investment.

    Custom wooden headboards run $400–$1,200 depending on complexity and materials. You can find pre-made options at Wayfair and Etsy, or commission a custom piece from a local carpenter. Installation takes one to two hours. Use the shelving for books, plants, small baskets, and decorative items that reflect your style.

    This adds serious character to your bedroom while solving storage in a way that feels intentional, not afterthought.

    You’ll love having everything you need within reach while creating a stunning focal point.

    17. Layer Storage Under a Lofted Bed

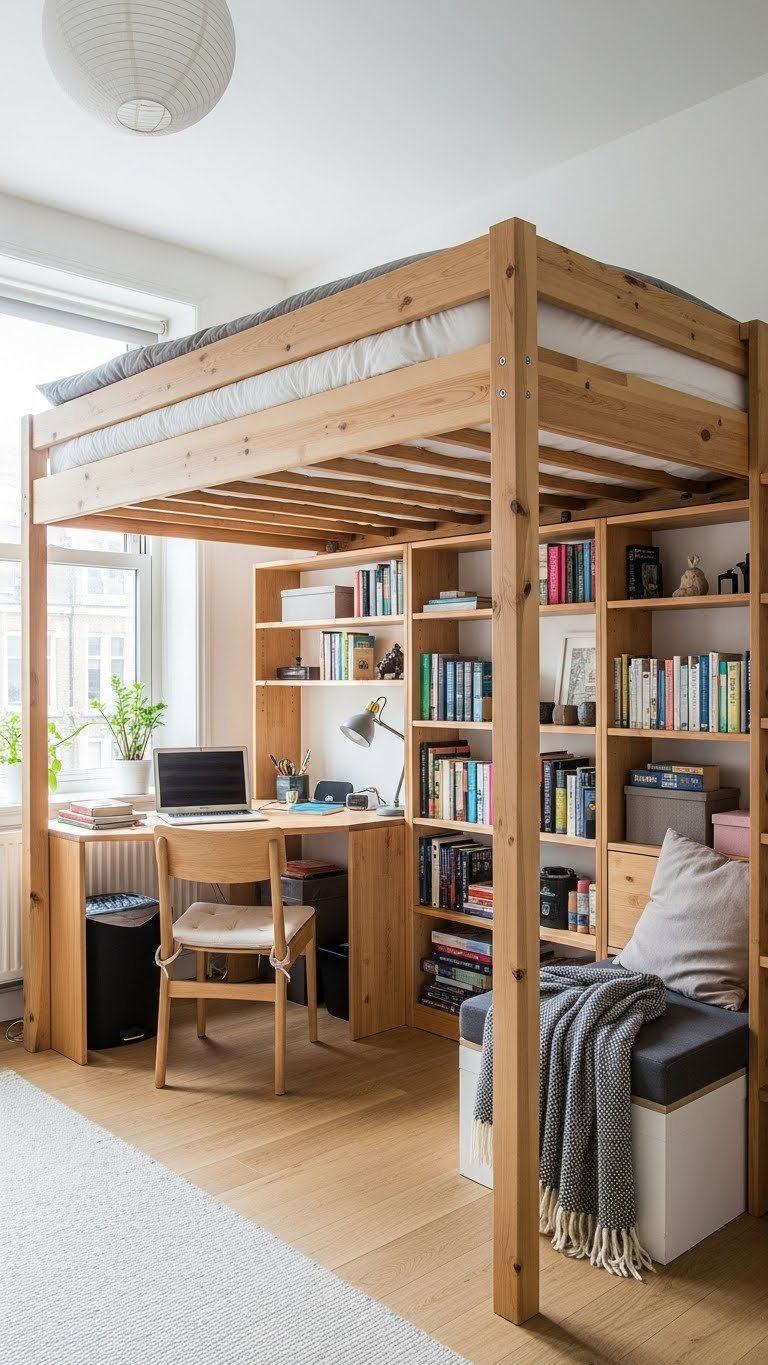
    Lofting your bed creates an entire second room underneath. This is perfect for small apartments, studios, or bedrooms that need to multitask.

    A sturdy loft bed kit costs $300–$800 and typically requires professional installation (add $200–$500). IKEA offers loft bed kits, or search for specialized loft companies. This works best for renters with high ceilings. Once elevated, you can add a desk, shelving, additional storage cubes, or a small seating area underneath.

    Measure your clearance carefully—you need at least 3 feet of headroom under the loft to sit comfortably.

    This transforms your bedroom into a space-efficient sanctuary with a dedicated work zone and sleeping zone.

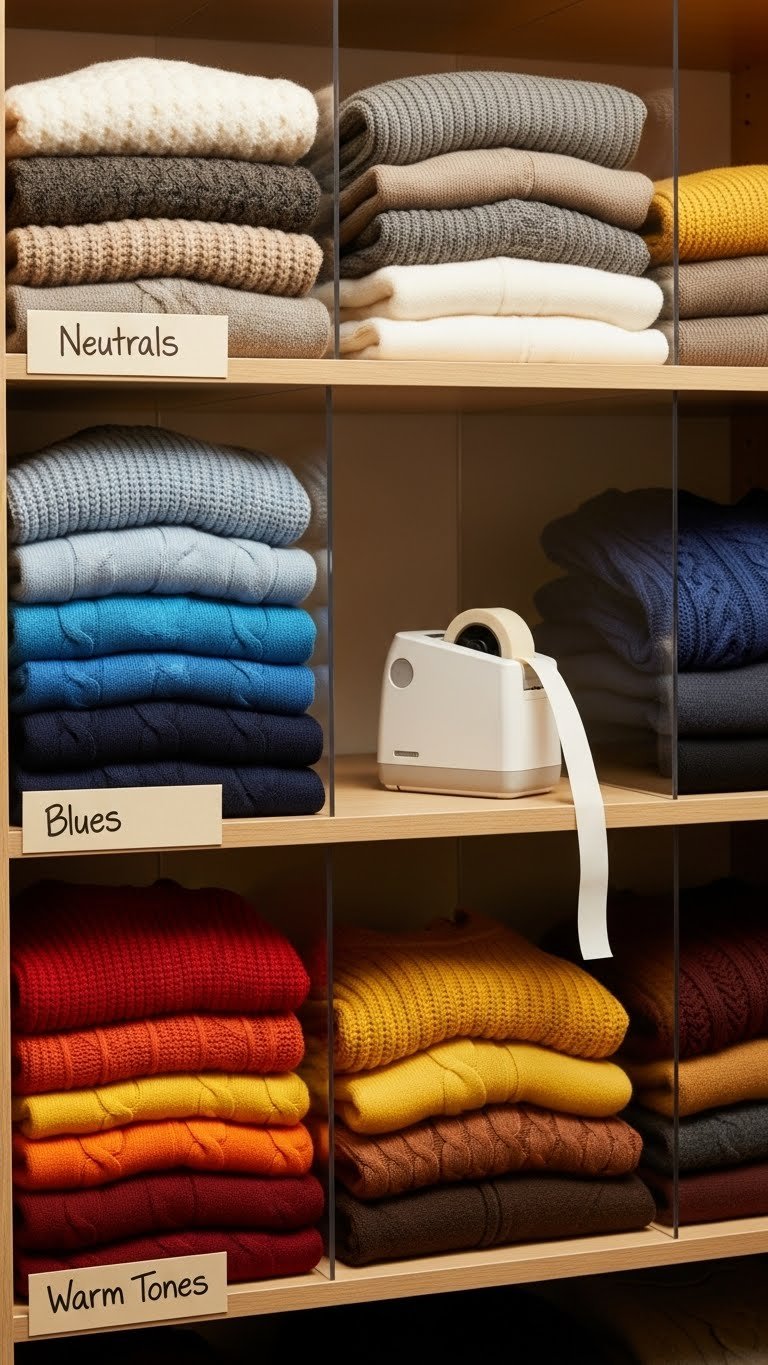
    18. Utilize Vacuum-Seal Storage Bags for Seasonal Items

    Vacuum-seal bags compress bulky items like winter coats and bedding down to a fraction of their size. They’re especially useful for seasonal rotations.

    A set of vacuum-seal bags (usually 5–10 bags) costs $15–$30 and is available at Target, Amazon, and Walmart. You’ll also need a vacuum or hand pump (if you don’t already have one). Seal-up time is about five minutes per bag. Label each bag clearly so you know what’s inside without opening it. These bags are perfect for storing under beds, in closets, or on high shelves.

    Pro tip: Use these for items you don’t access frequently—winter coats in summer, summer clothes in winter, extra blankets.

    You’ll be shocked at how much space you actually have once you compress everything down.

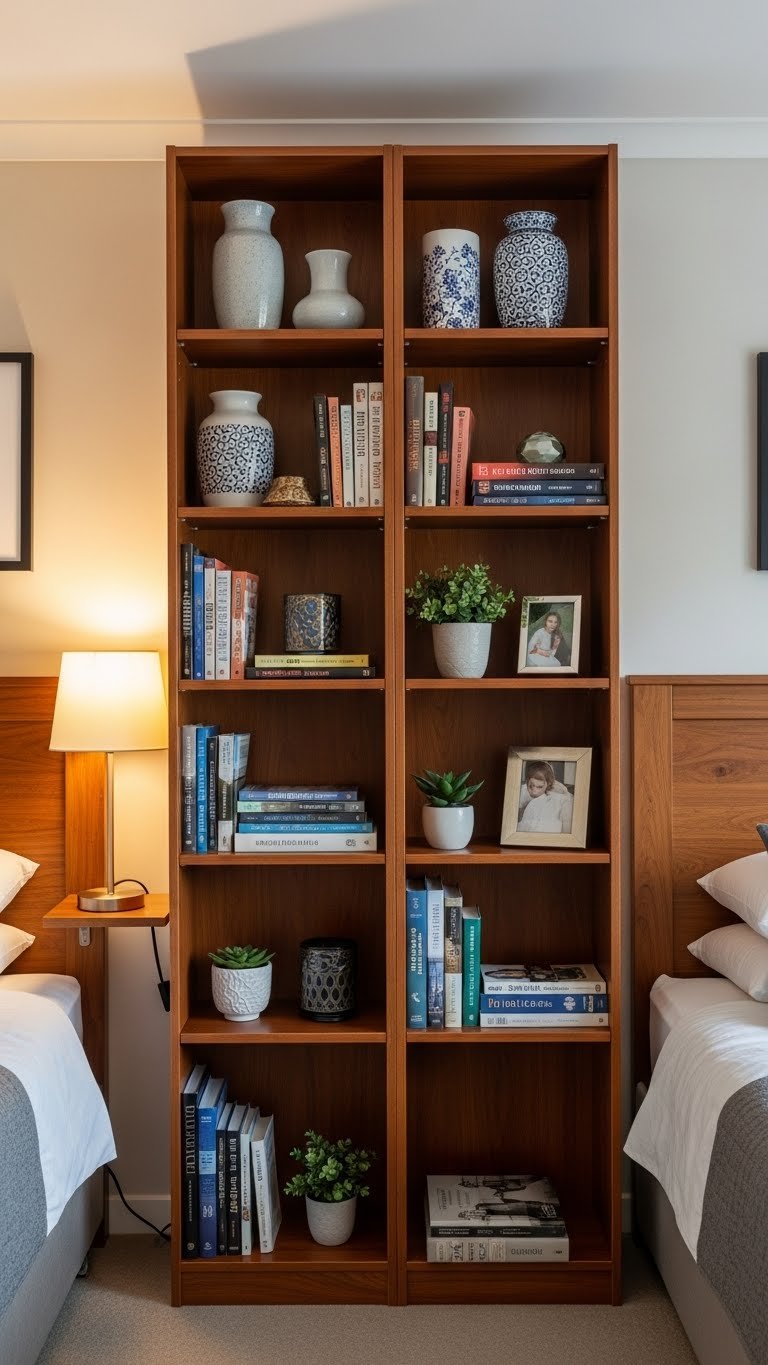
    19. Mount Open Shelving on Two Walls for Corner Storage

    Open shelving in a corner uses often-wasted space and creates a visually interesting display. This works for bedrooms with awkward corners that need purpose.

    Floating corner shelves cost $40–$100 each and installation is about 45 minutes per shelf using a level and drill. Shop Home Depot, Wayfair, or IKEA. Arrange shelves at varying heights to create visual interest. Use the space for books, plants, decorative baskets, and items that reflect your personal style.

    This storage feels like intentional decor rather than a clutter catch-all.

    Your bedroom gains architectural interest while solving the question of what to do with empty corner space.

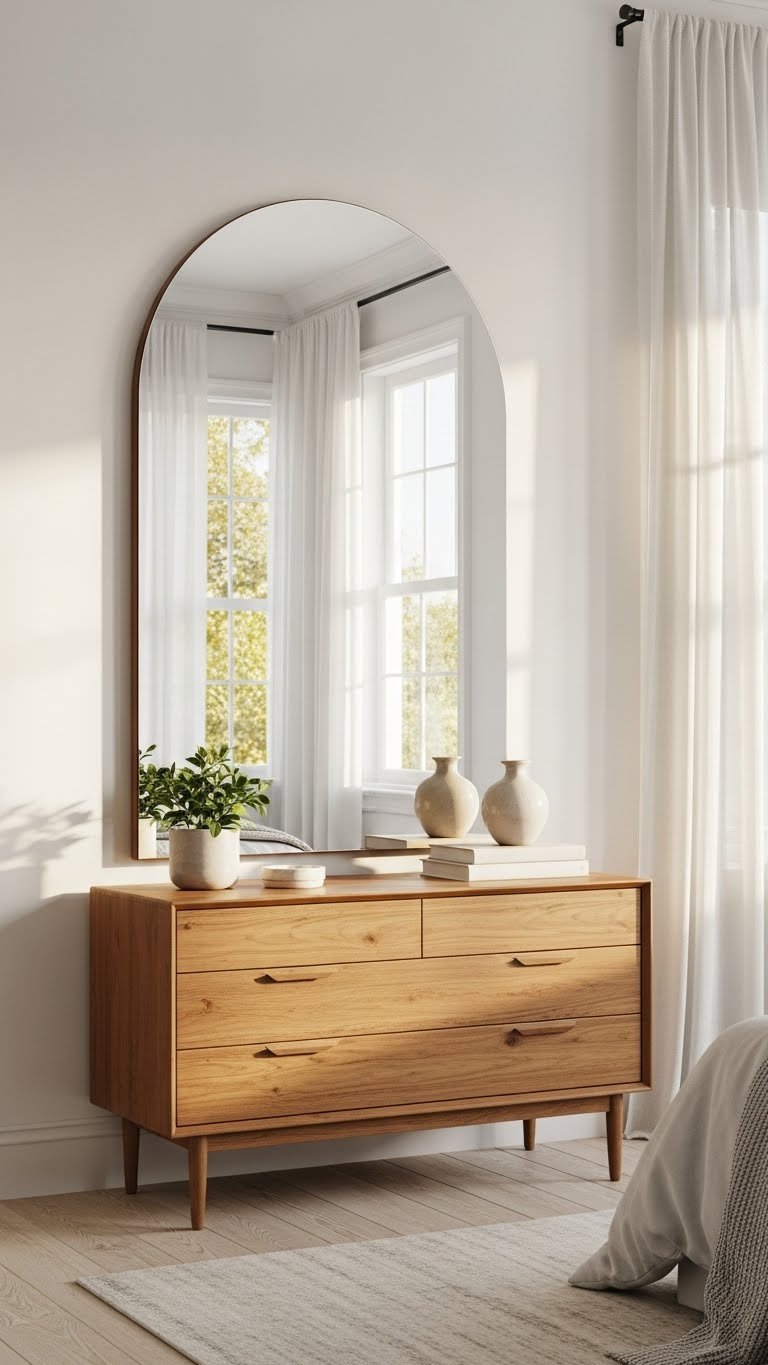
    20. Add Fabric Hanging Shelves Above the Dresser

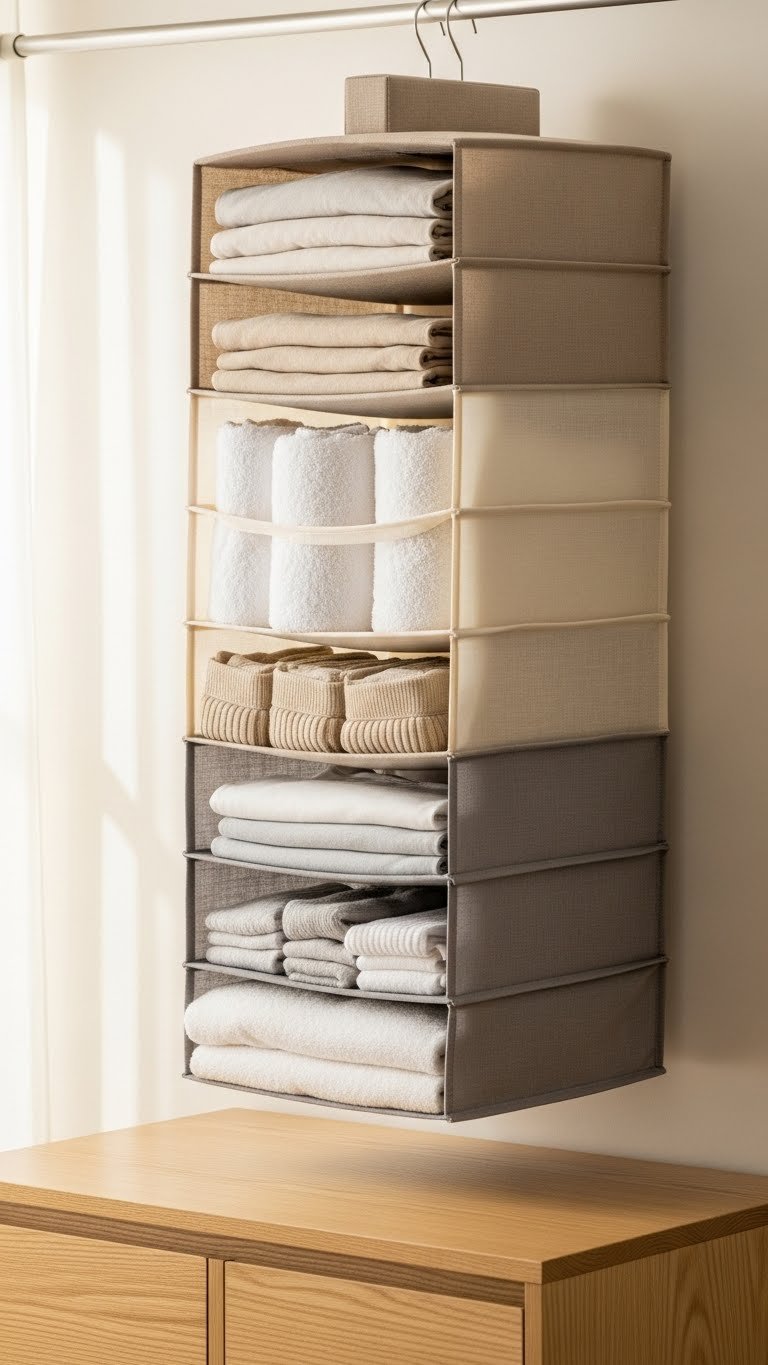
    Fabric hanging organizers suspend from a tension rod or hooks and provide soft, flexible storage. These are especially great for renters since they require no wall damage.

    Fabric hanging shelves cost $25–$60 and mount on simple hooks or tension rods (which cost $10–$20). Installation takes 10 minutes. Use these for storing folded clothes, scarves, belts, or soft items you want accessible but not taking up drawer space. The fabric style means items stay protected from dust.

    Stack two or three organizers vertically to maximize wall space without looking overwhelming.

    This solution gives you tons of practical storage while maintaining a soft, calm aesthetic.

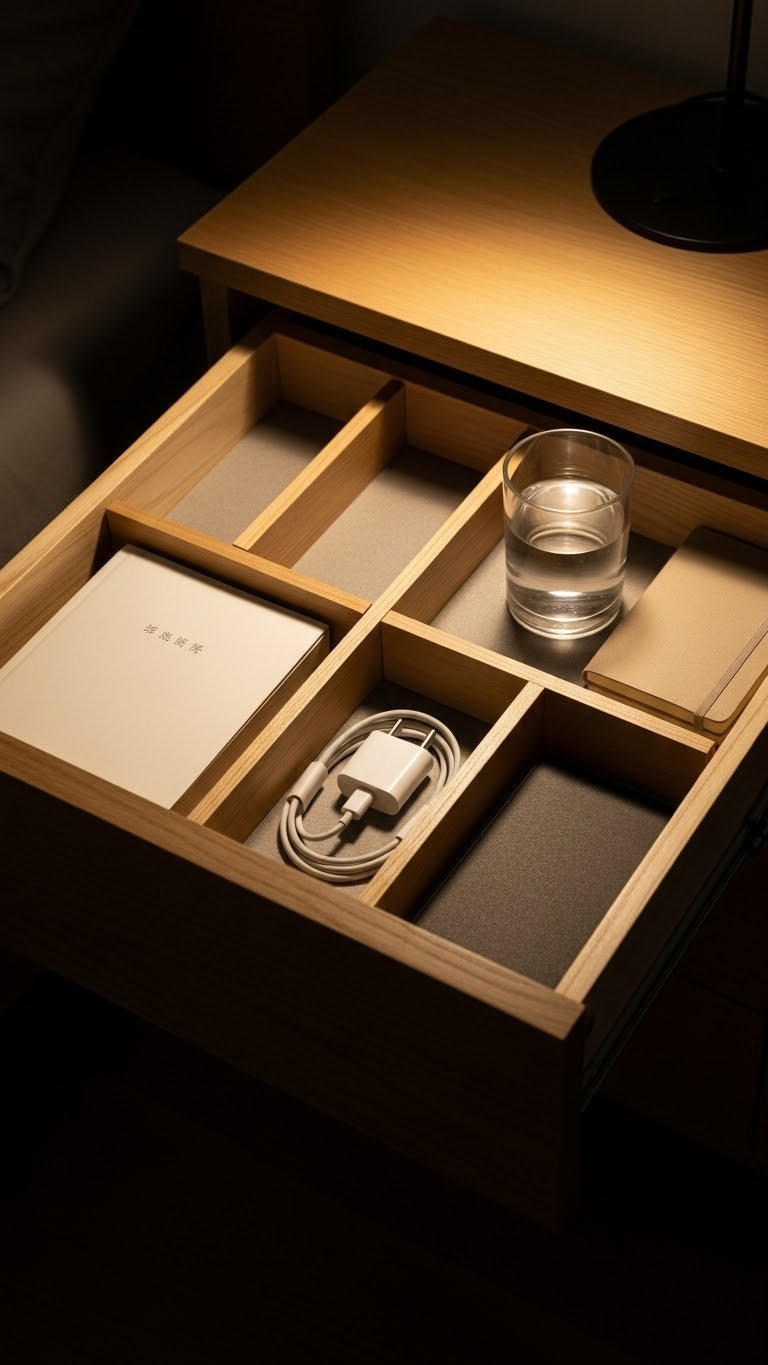
    21. Install Drawer Dividers for Better Organization

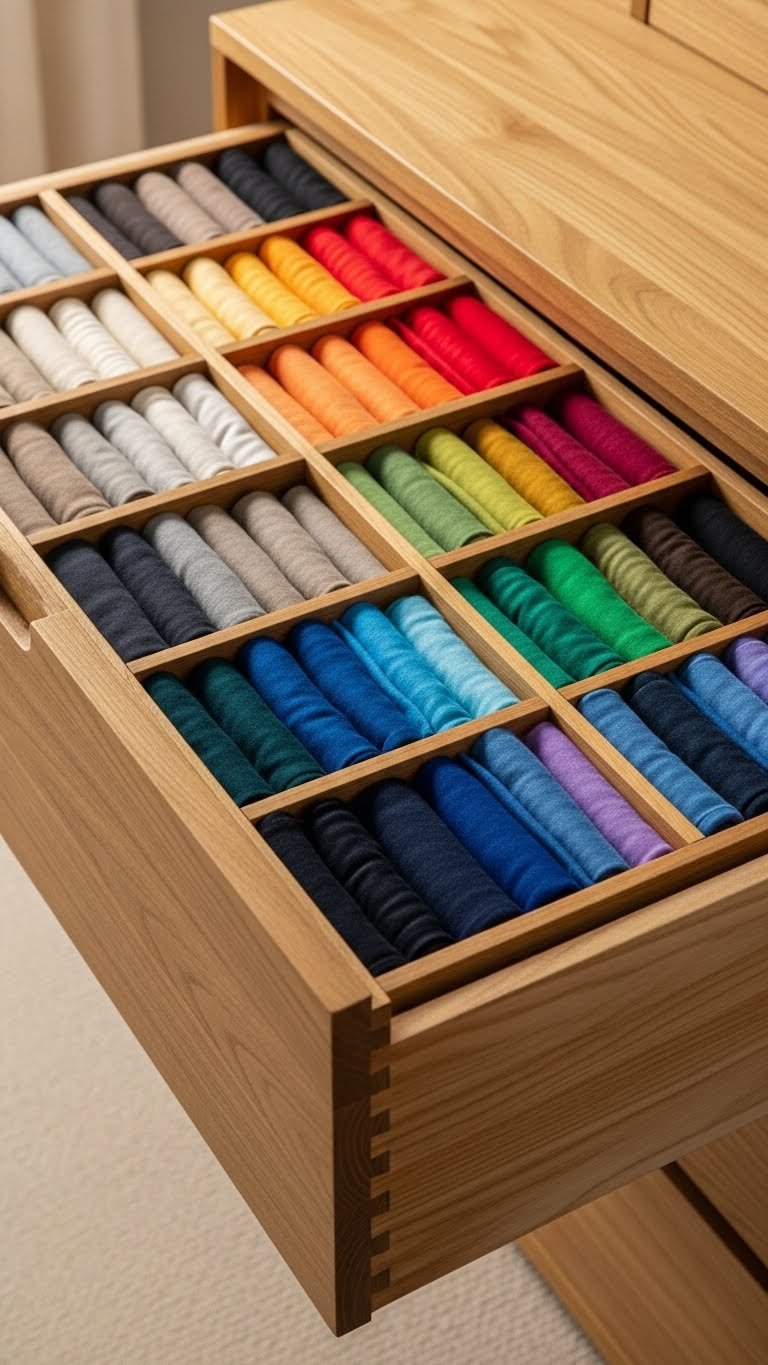
    Smart drawer dividers don’t add storage capacity, but they make existing storage feel twice as functional. When drawers are organized, you use them better and waste less space.

    Drawer dividers cost $15–$40 for a set and come from Target, IKEA, or Container Store. Installation takes 10 minutes—most are simple inserts or adjustable dividers that need no tools. Use them to separate socks, underwear, scarves, and small items that usually get jumbled. When everything has a home, you’re less likely to shove things randomly.

    Before buying, measure your drawers so you know what size dividers you need.

    Organized drawers feel so much better to open, and you’ll actually find things when you need them.

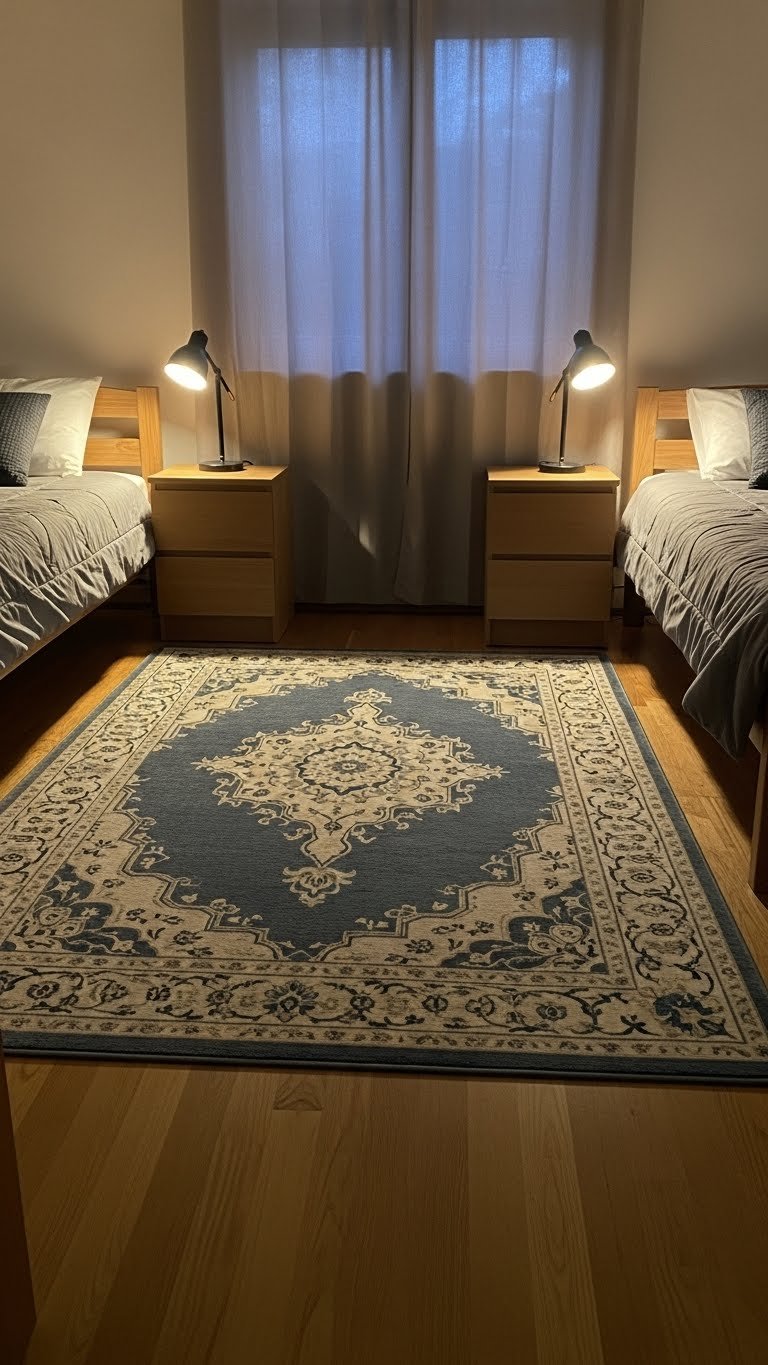
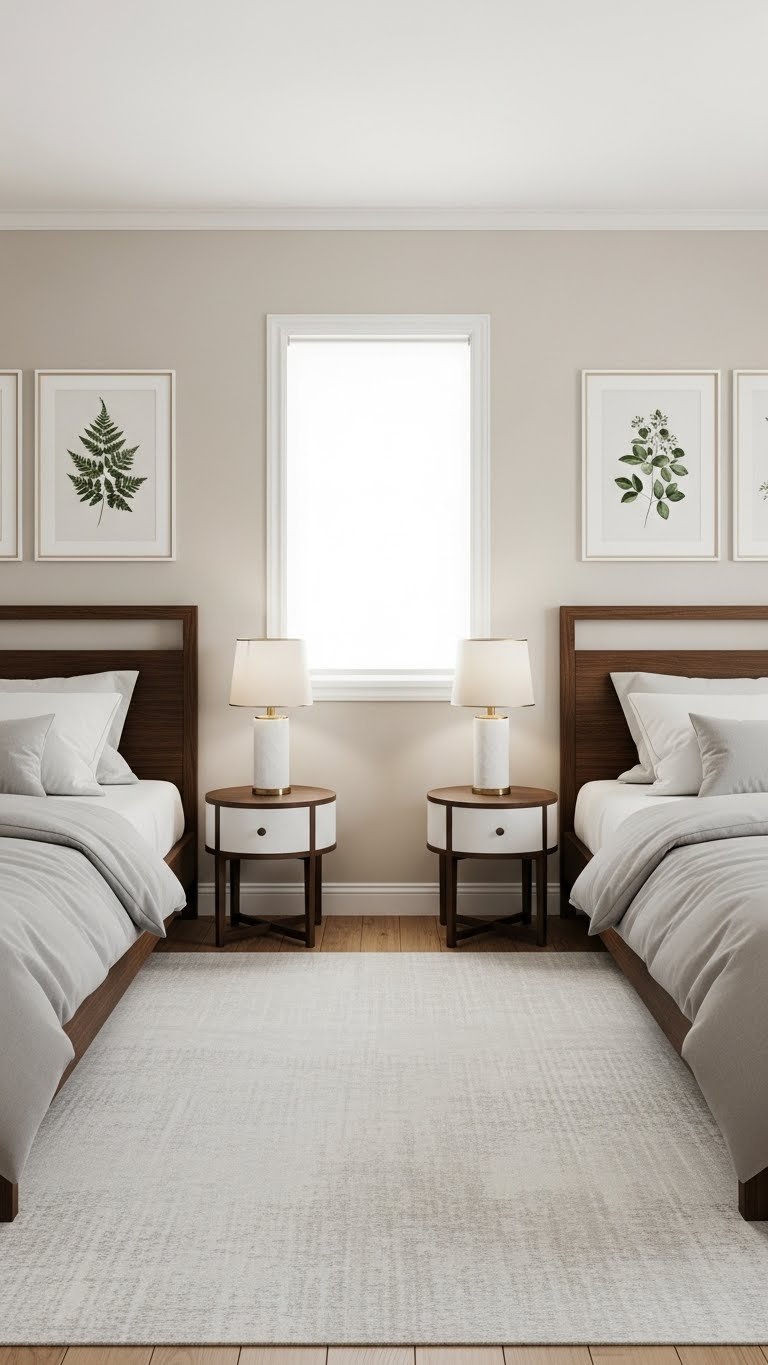
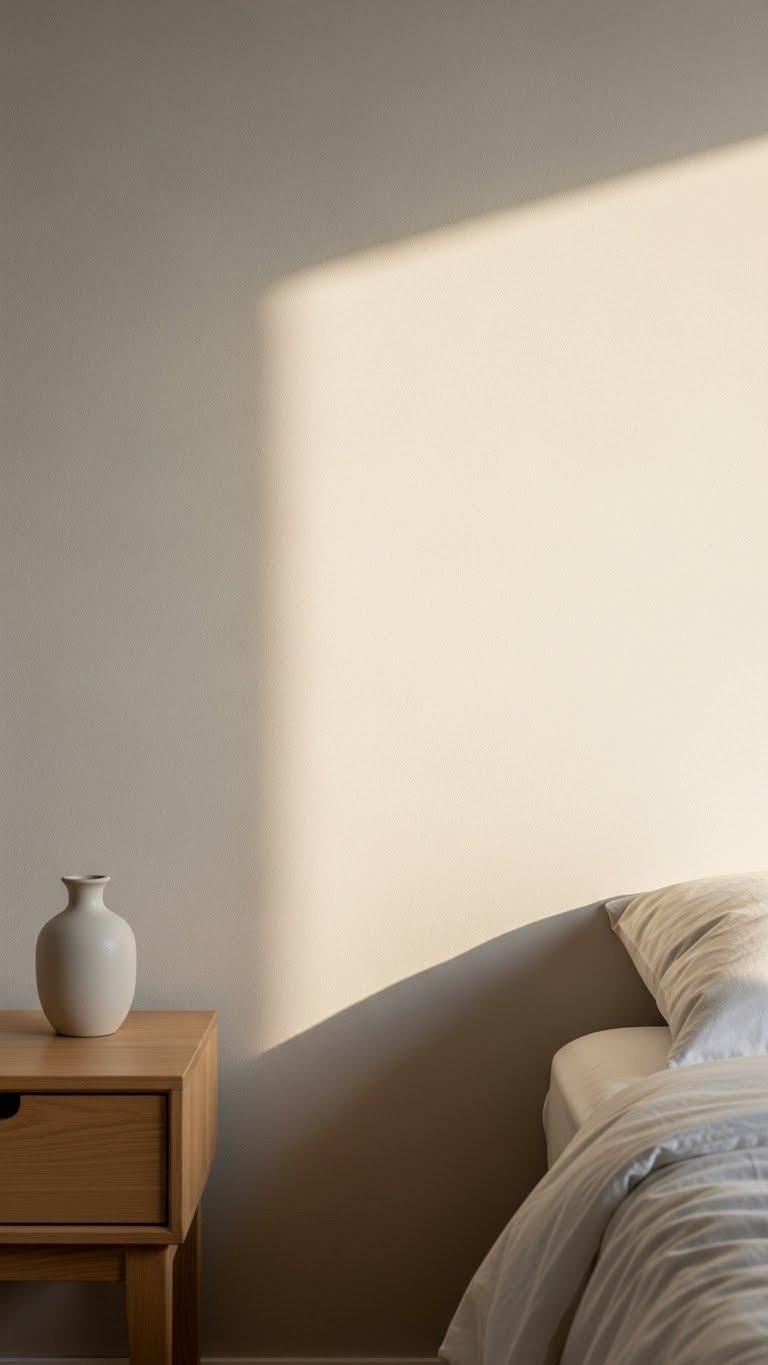
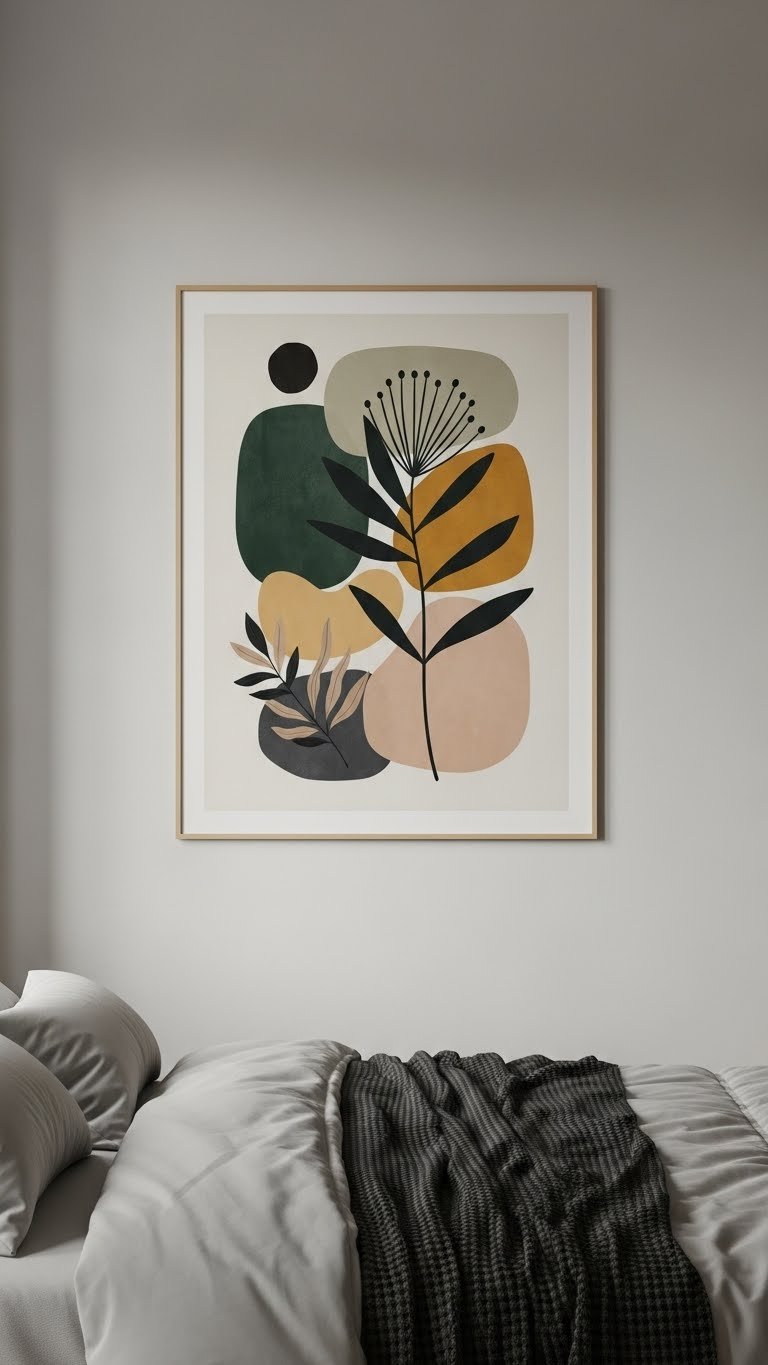
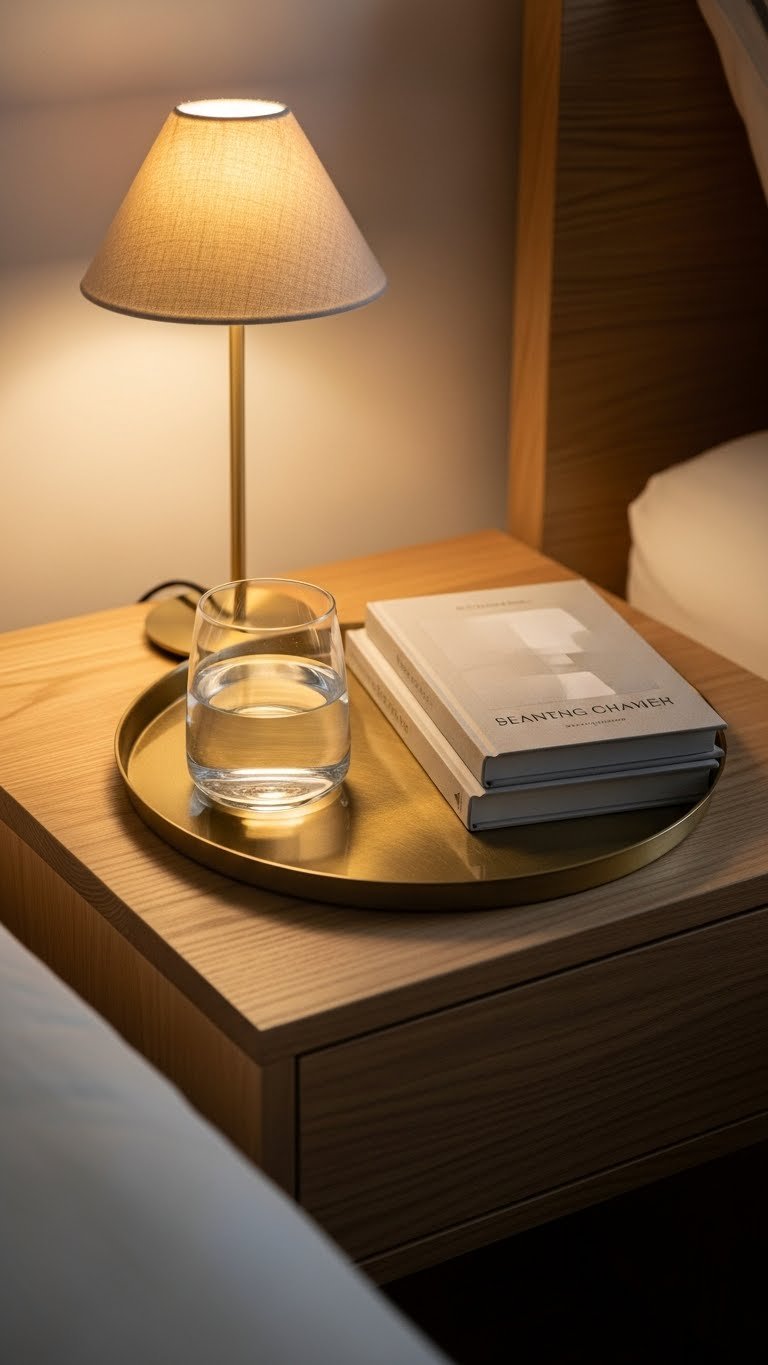
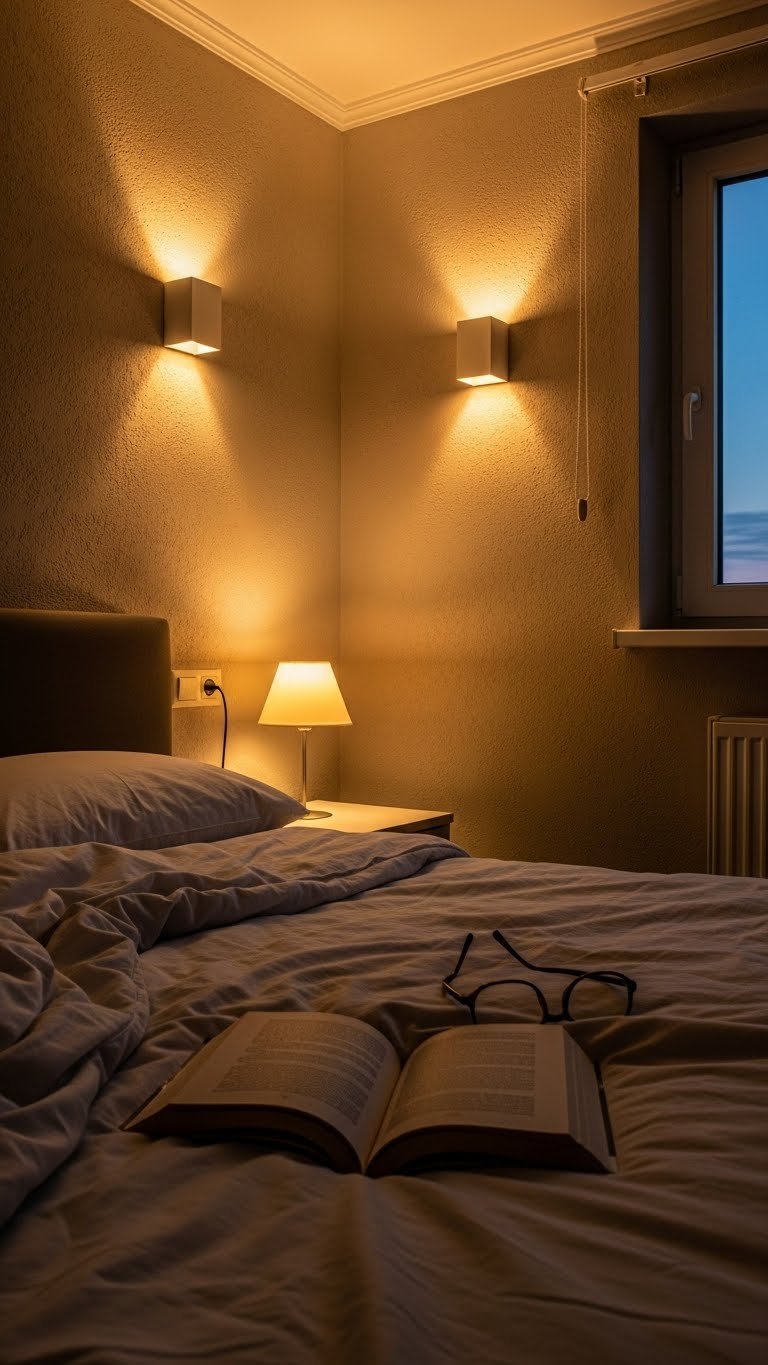
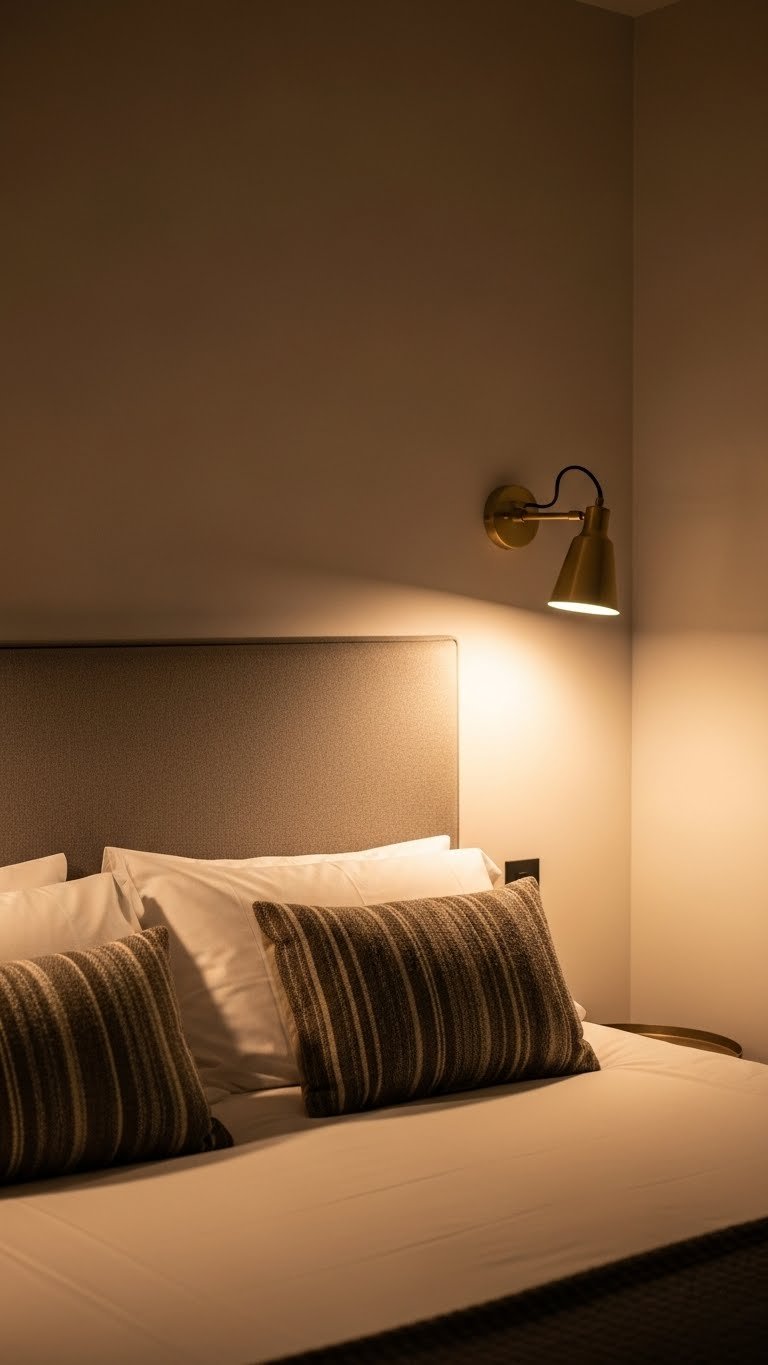
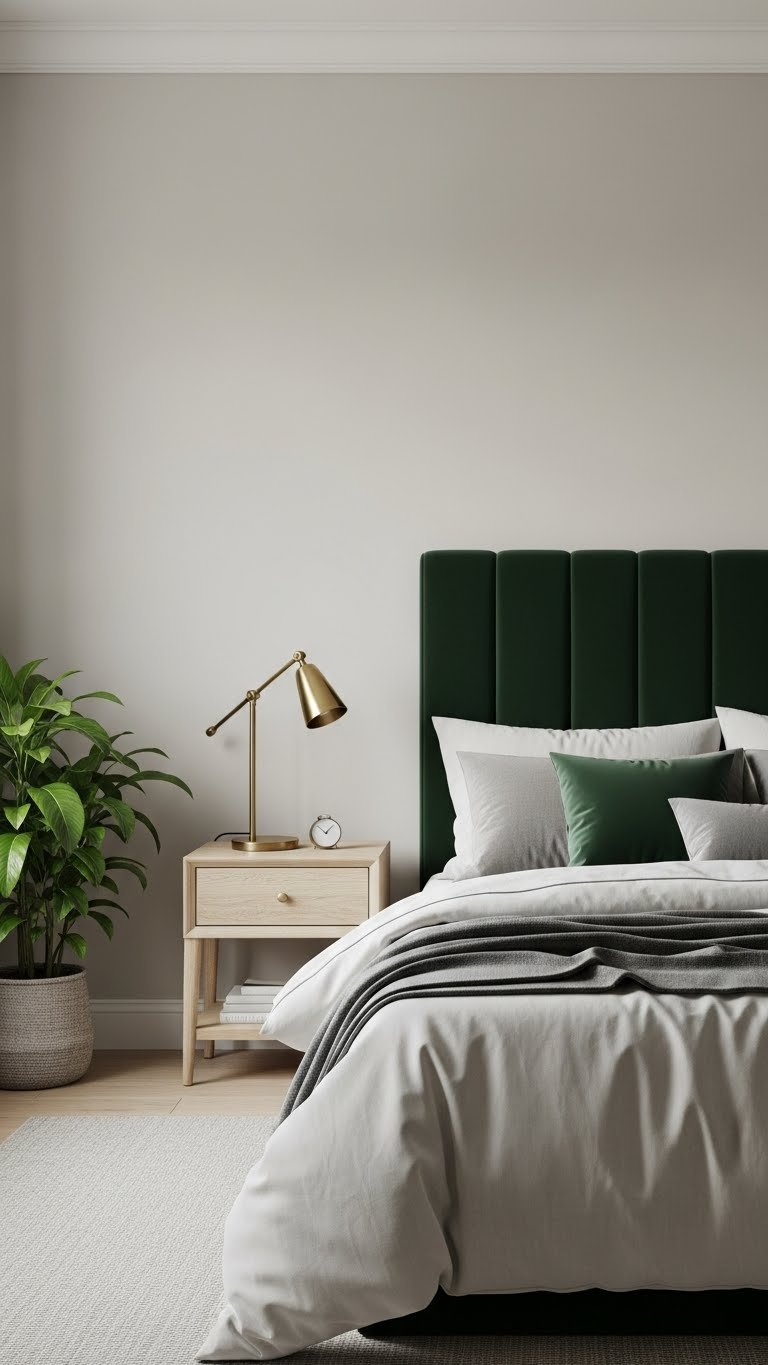
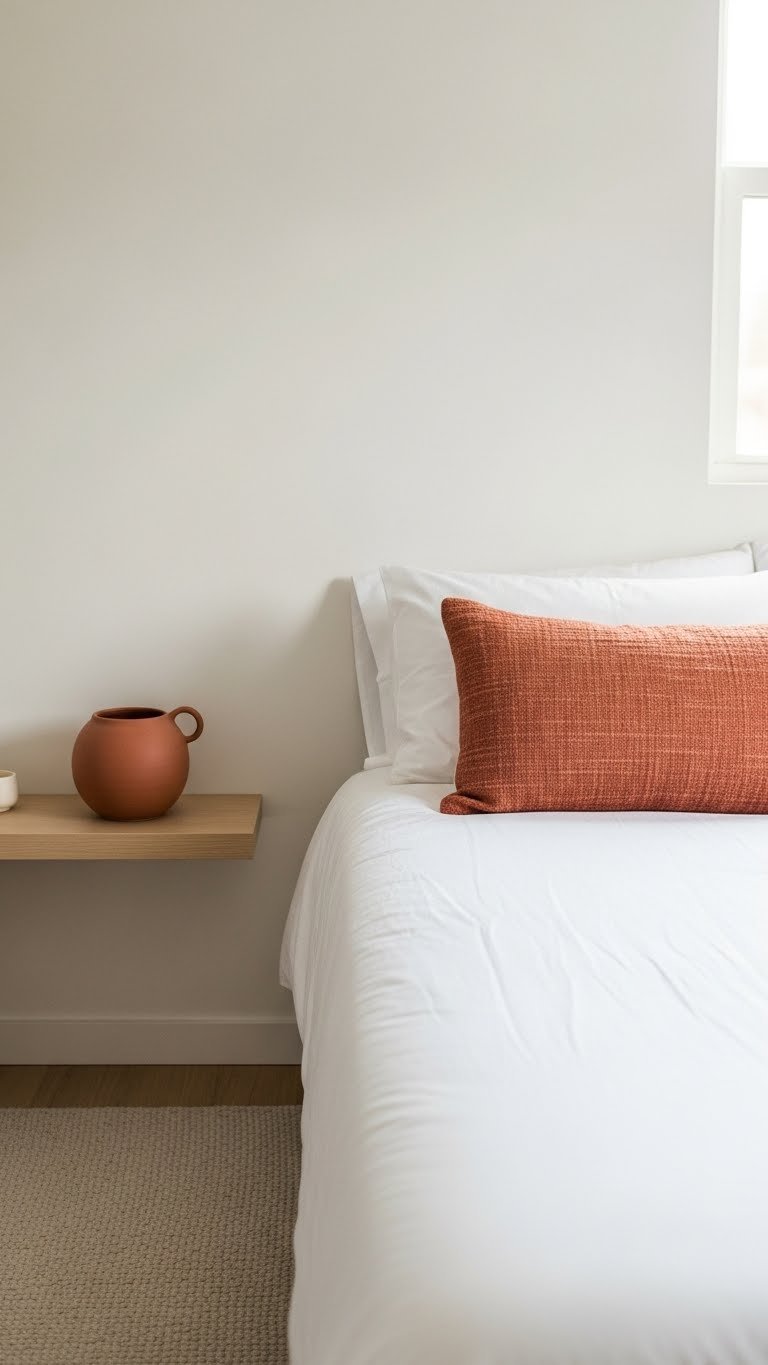
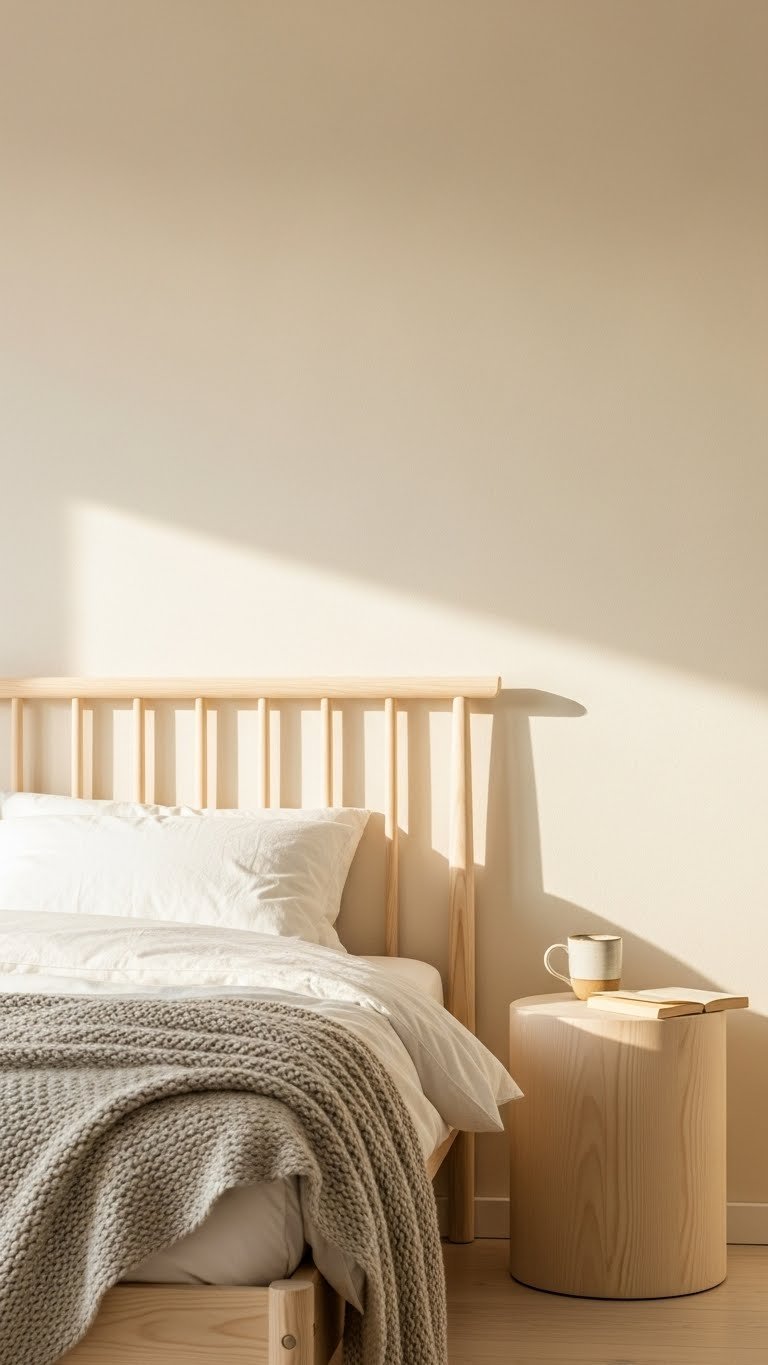
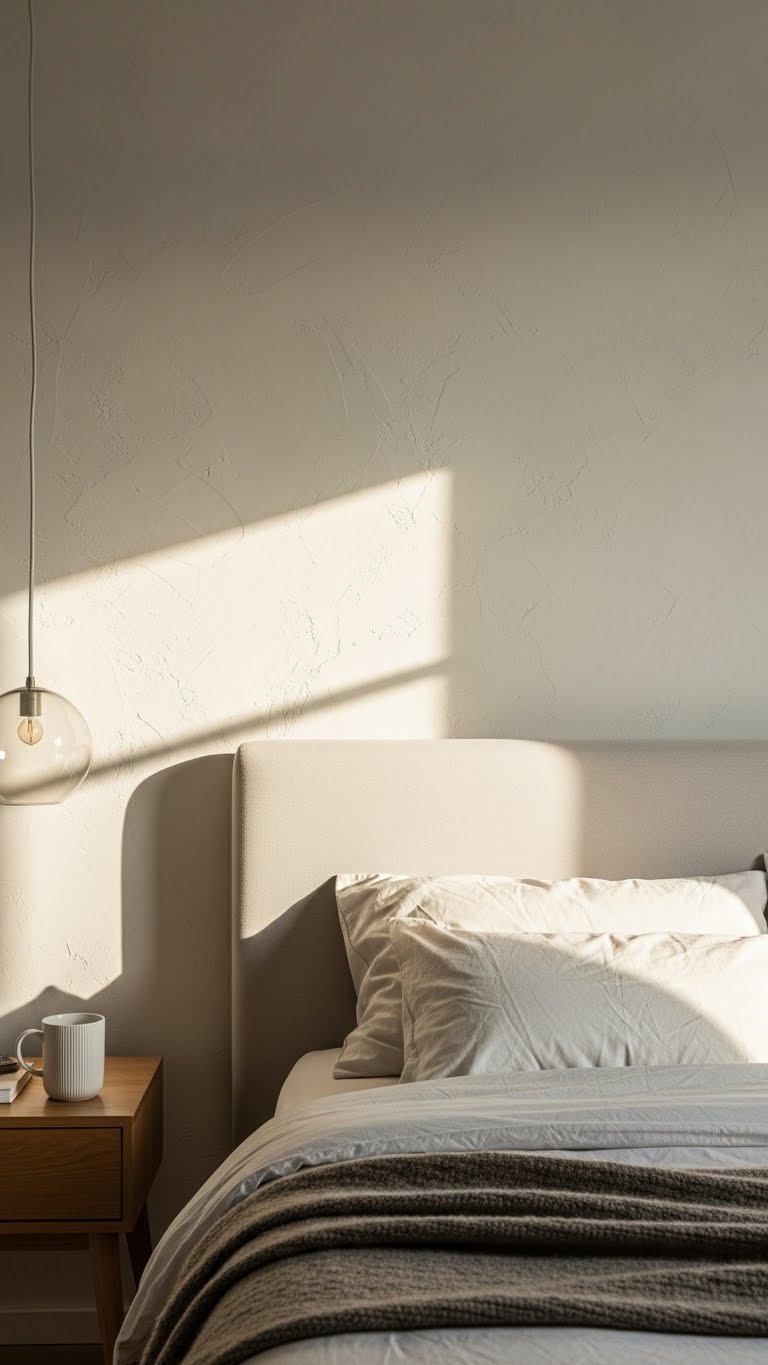
    22. Create a Storage Ledge Behind Your Headboard

    A simple ledge behind your headboard provides storage and styling space without taking up room in your bedroom. It’s one of those clever hacks that feels built-in.

    A wooden storage ledge costs $30–$80 depending on length, and installation takes about 30 minutes with basic tools and wall anchors. Measure twice to ensure it’s at the right height. Use it for small books, journals, a reading light, or decorative items that won’t shift. Make sure items are secured so they don’t fall if the bed moves.

    This ledge gives you a personalized, curated look while keeping nightstands clear.

    Visitors will wonder how you fit so much storage into such a compact space.

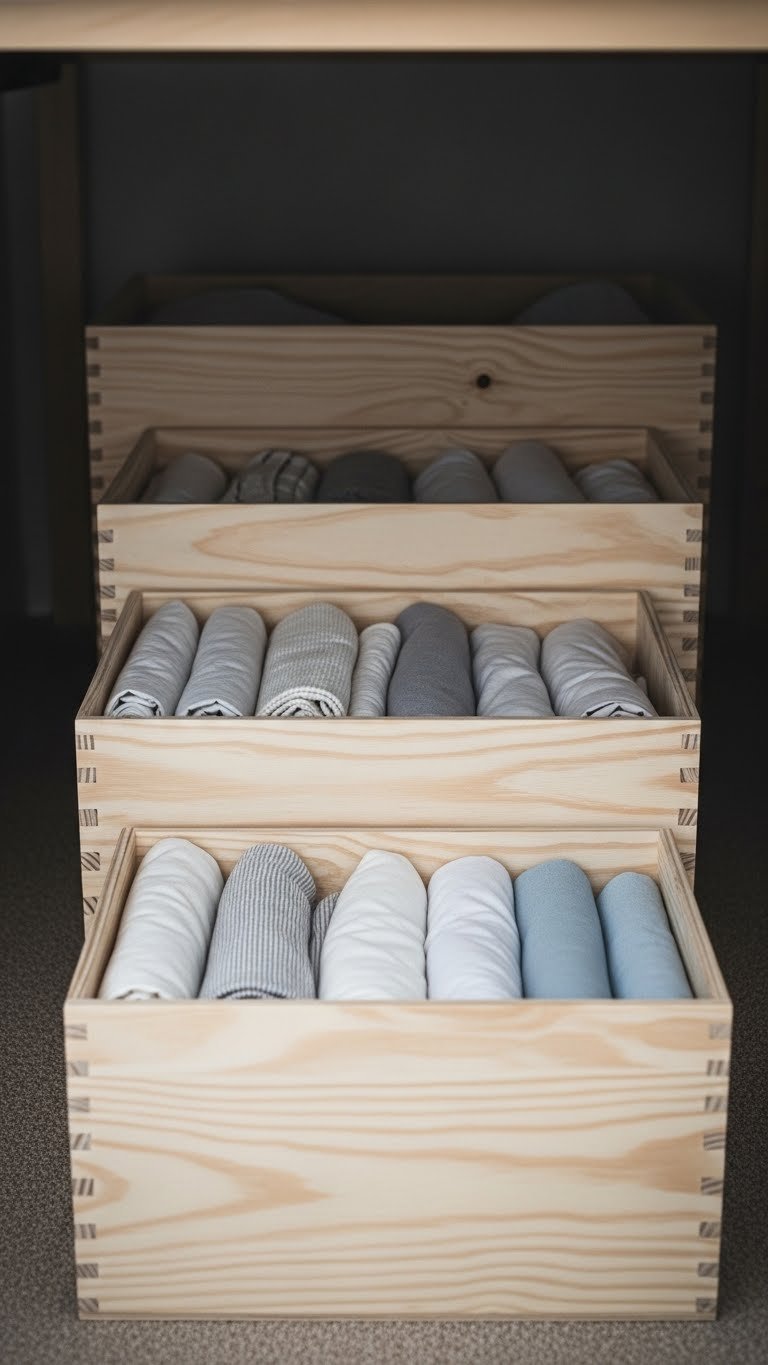
    23. Use Slim Under-Bed Drawers for Shallow Spaces

    If your bed sits low to the ground, shallow under-bed drawers designed for tight spaces are your solution. These are shorter and wider than standard storage boxes.

    Shallow rolling drawers cost $20–$50 per drawer and are specifically designed for low-clearance beds. Shop Amazon, Target, or bed storage specialists. They roll easily even in tight spaces. These work great for items you access occasionally—off-season clothes, extra linens, or sentimental items you want kept safe.

    Measure your clearance before buying to ensure the drawers fit comfortably.

    You get usable storage in a space you thought was wasted.

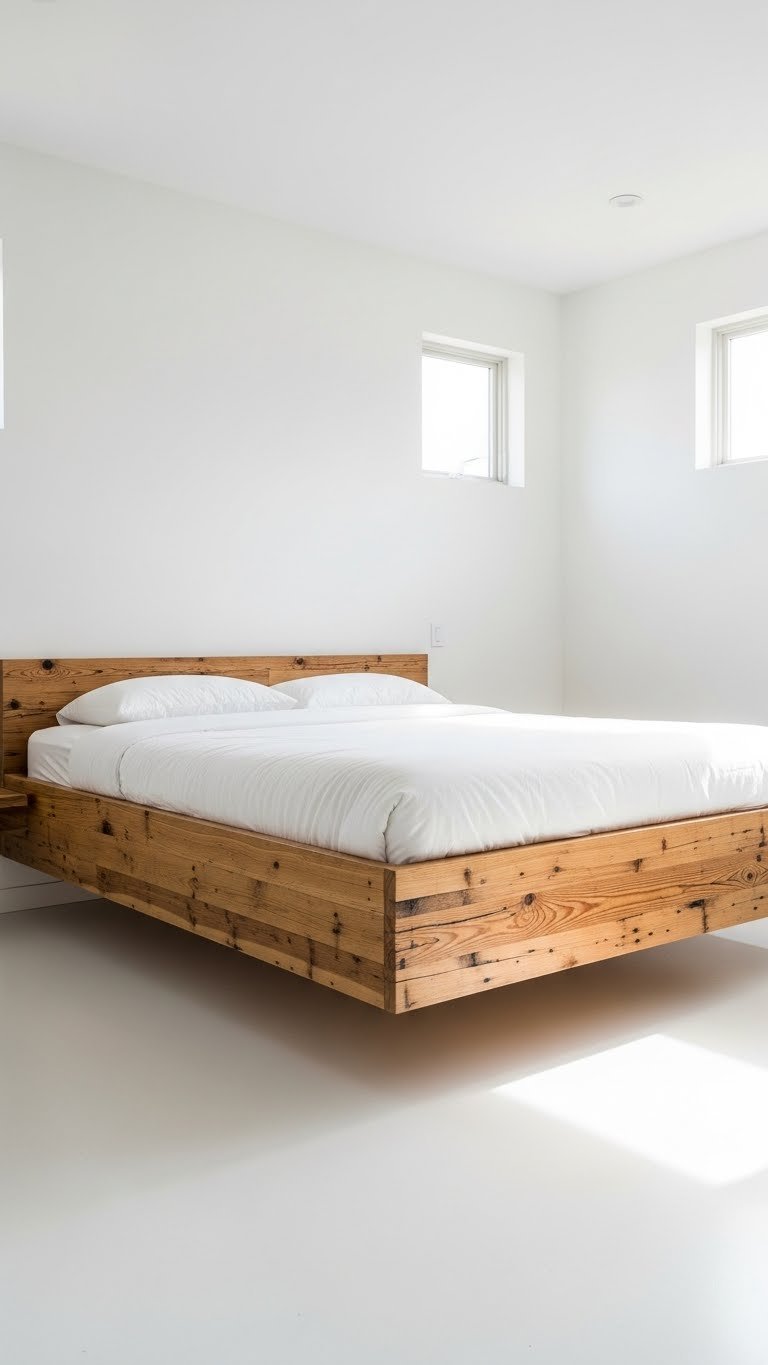
    24. Build a Pallet Storage Platform

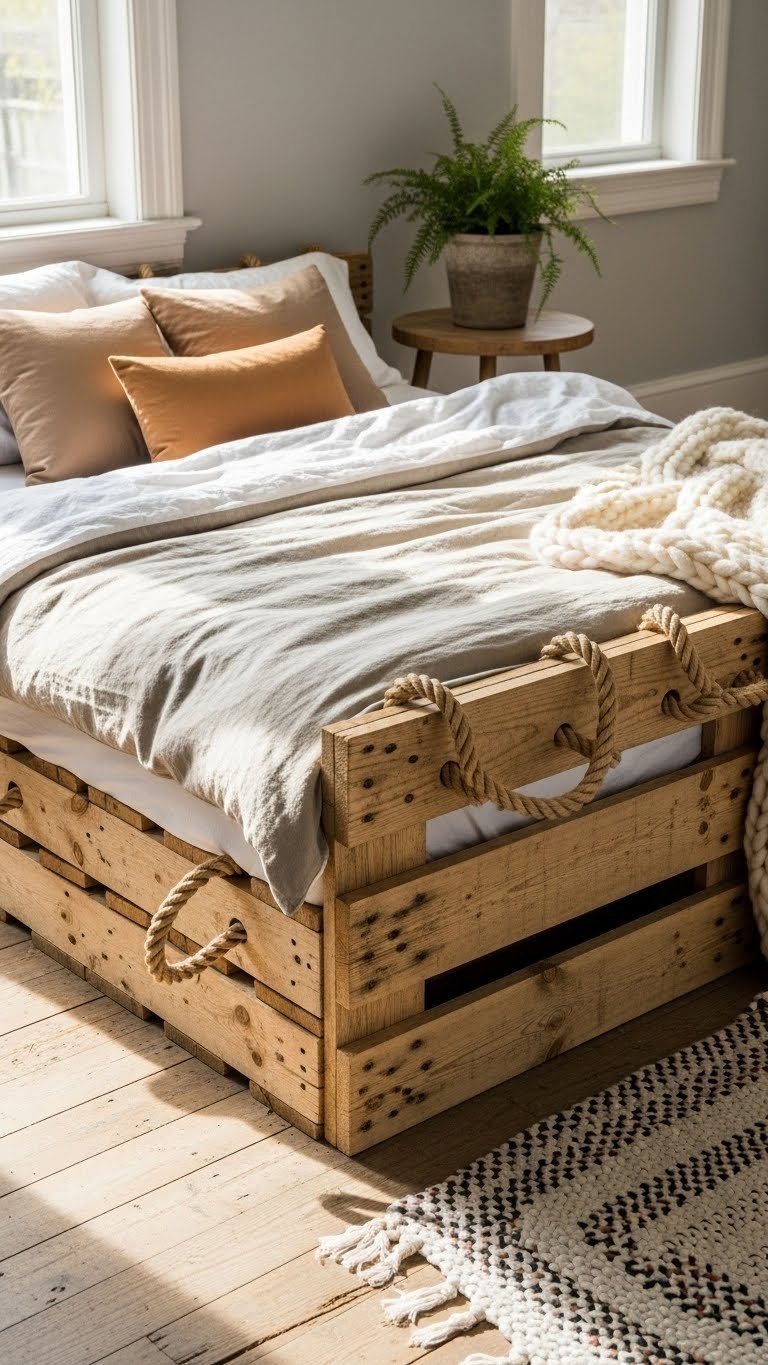
    If you’re handy and want an ultra-budget solution, a pallet bed frame is affordable storage. Pallets create natural spacing for storage boxes to slide underneath.

    Pallets cost $0–$20 per pallet if you find free ones from local businesses, or up to $50 each if you purchase new ones. You’ll need sandpaper, wood stain or paint, and basic tools. Building takes a weekend. Once complete, you have a sturdy platform with space for storage boxes to slide under. Make sure pallets are food-grade and pesticide-free if possible.

    This DIY route requires some handiwork, but the result is a unique bed frame and tons of hidden storage.

    The satisfaction of building your own bed is worth the effort, plus you’ve saved hundreds of dollars.

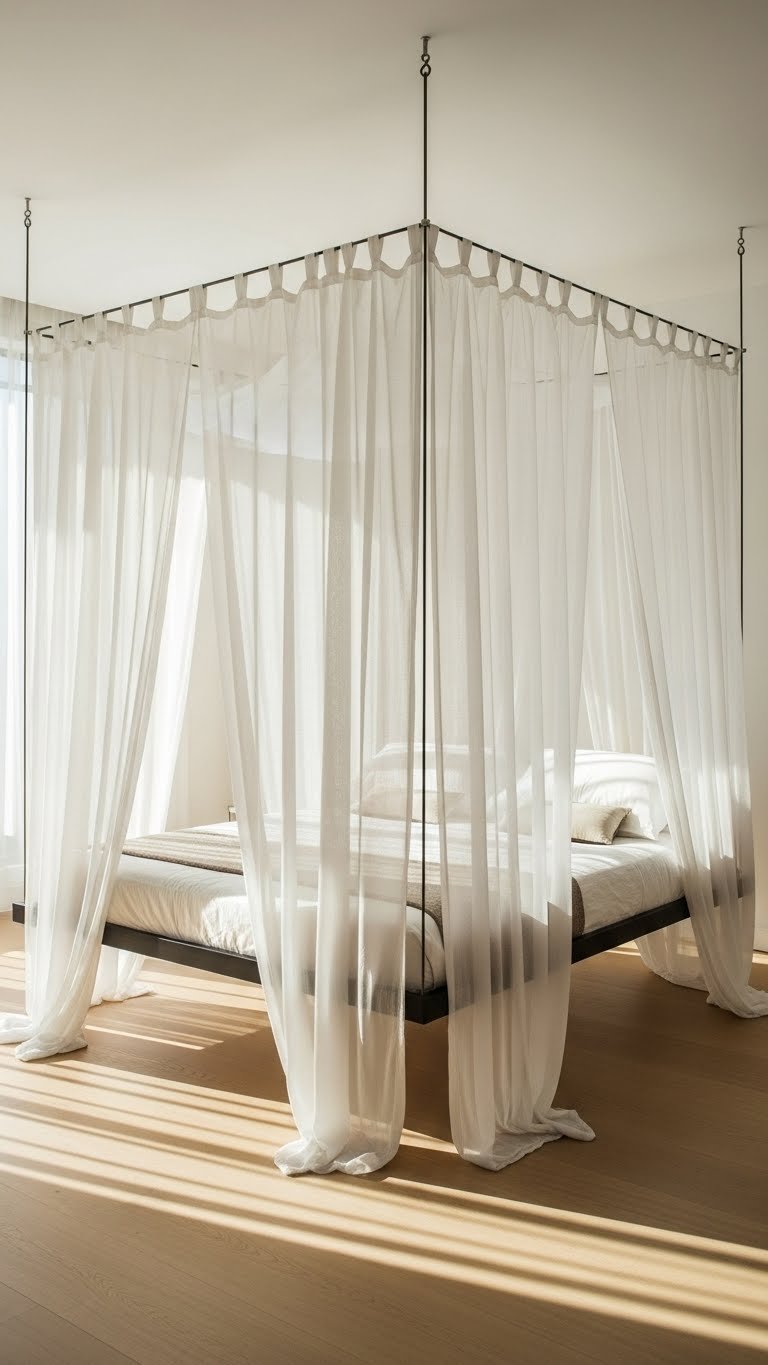
    25. Install a Ceiling-Mounted Pulley System

    For serious small-space living, ceiling-mounted pulleys lift storage boxes or lightweight shelving up and out of the way. It’s an unconventional but brilliant storage hack.

    A pulley system costs $100–$300 depending on capacity and quality, and installation takes about two hours. This works best for items you don’t access daily. Make sure your ceiling can support the weight and that the pulleys are rated properly. Lower boxes down when you need something, then pull them back up.

    This is for creative problem-solvers who don’t mind a slightly unconventional bedroom aesthetic.

    You gain tons of vertical storage in a space where you thought there was no room.


    Ready to reclaim your bedroom? Save this post and pick one storage solution to try this weekend. Start with whatever speaks to your space and budget—even one change makes a real difference in how calm and organized your bedroom feels.

  • 26 Twin Bed Arrangement Ideas That Look Balanced & Practical

    26 Twin Bed Arrangement Ideas That Look Balanced & Practical


    There’s something tricky about arranging two twin beds—you want them to look intentional and balanced, not cramped or awkward. Whether you’re designing a guest room, kid’s bedroom, or shared dorm space, the layout can make or break how the room feels. The good news? Small spacing choices, styling tricks, and smart furniture placement can turn a basic two-bed setup into a room that looks pulled together and actually functions better for the people using it. Here are 26 practical arrangements and styling ideas that work for real spaces with real constraints.


    1. Mirror Them on Opposite Walls

    Mirroring beds on opposite walls creates instant visual balance and makes the room feel intentional rather than random. This is the safest layout for shared spaces—each person gets equal territory and natural light access.

    Position beds headboard-to-headwall on opposite sides, leaving at least 2–3 feet of walking space down the center. Add matching nightstands (or similar heights) on each side. You can find affordable matching nightstands at IKEA, Target, or Wayfair ($40–$150 per pair). Keep bedding coordinated but slightly different (same color, different textures) so it reads as intentional rather than creepy twin-room hotel vibes. Takes 15 minutes to arrange once beds are in place.

    This layout maximizes floor space and makes furniture shopping way simpler since you just need two of everything. Both sleepers feel equally valued in the space.


    2. Stack Them Headboard-to-Headboard

    Pushing headboards together creates a cozy, unified look while saving lateral wall space—perfect for narrow bedrooms or when you want the beds to feel less separated.

    Position the beds so headboards touch or nearly touch, creating a long rectangle or L-shape depending on your room. Add a long runner rug under both beds ($30–$80 from Amazon or Rugs USA). Lean throw pillows against each headboard so they have visual separation even though they’re touching. This works especially well if you can tuck the footboards toward a window or against the wall.

    The biggest perk? You’ve created one focal point instead of two, so styling is simpler. Add a shared floating shelf above the headboards ($20–$60) for books and decor that serves both beds.


    3. Use a Shared Nightstand Between Them

    A single nightstand between beds saves money and space while creating a natural anchor point for the beds to relate to each other.

    Position beds parallel to each other with just enough space for a nightstand—typically 18–24 inches between mattress edges. Choose a wider piece (IKEA’s BESTÅ, 24–48 inches, $60–$200) so it feels intentional rather than squeezed. Add one good table lamp with enough height to serve both beds. This layout cuts nightstand cost in half and keeps the room less furniture-heavy.

    The downside? Each person has limited personal space on the nightstand. Keep it minimal: one lamp, a small plant, and maybe one decorative item. This arrangement looks hotel-guest-room cool and is perfect for siblings or roommates who don’t mind sharing a bit.


    4. Angle Them in Opposite Corners

    Angling beds into opposite corners opens up the center of the room and works beautifully for awkwardly shaped or smaller bedrooms.

    Place one bed in the top-left corner and one in the bottom-right corner (or vice versa). This breaks up the boxy feel of parallel beds and creates more usable floor space in the middle for a seating area, desk, or walkway. Add nightstands on the inner wall of each bed so they don’t stick out awkwardly. Use a central rug to visually tie the arrangement together.

    This layout feels more dynamic and modern—like someone intentionally designed the space rather than just squeezing in two beds. It’s great for creating a lived-in, personal feel. Takes about 30 minutes to arrange and style.


    5. Create an L-Shape with Desk or Bench

    An L-shaped arrangement with a desk or bench at the corner creates natural zones and maximizes functionality without adding bulky furniture.

    Position one bed along the top wall and one along the side wall, meeting at a corner. Tuck a small desk, vanity, or bench into the corner point (try IKEA’s LISABO desk, $150–$200, or a simple Wayfair bench, $80–$150). Add a task lamp and you’ve created a study zone that doesn’t feel cramped. Use coordinating bedding so the two beds read as one intentional arrangement.

    This setup is ideal for kid’s rooms or shared student spaces where people need both sleep and work areas. The corner piece acts as a visual and functional anchor. You get three zones (bed one, bed two, work area) in roughly the space of two beds.


    6. Float Them on Area Rugs

    Floating beds on individual rugs creates visual separation and defines personal zones, even in an open layout.

    Place each bed on its own 5×7 or 5×8 area rug ($50–$150 each from Target, Wayfair, or Amazon). This works best when beds are on opposite walls. The rugs visually anchor each bed and make the arrangement feel intentional. Choose complementary rug colors or patterns that tie back to your bedding. Leave at least 2–3 feet of clear floor between the rugs so the center of the room stays open.

    The rugs don’t just look good—they reduce noise and make the space feel warmer underfoot. This is a renter-friendly way to define zones without paint or permanent changes. It’s an easy way to add personality too.


    7. Use Twin Bed Frames with Built-In Storage

    Frames with built-in drawers eliminate the need for under-bed storage bins and create a cleaner look while maximizing storage.

    Invest in twin bed frames with storage drawers (IKEA HEMNES, $200–$300 per frame, or Wayfair options at $150–$400). Position them as you normally would on opposite walls or in an L-shape. The drawers become prime real estate for off-season clothes, extra bedding, or shared supplies. This saves money on separate storage furniture and keeps the floor visually clear.

    Built-in storage frames cost more upfront but look significantly more polished and eliminate clutter. You’ll use every inch of that storage, especially in shared rooms. Worth the investment if space is tight.


    8. Add a Canopy or Fabric Drape Above

    Hanging fabric drapes above beds creates separation, adds architectural interest, and makes compact spaces feel intentional and cozy.

    Use a tension rod or simple ceiling mount ($15–$30 from hardware stores) and drape lightweight fabric (sheer curtain panels, $20–$50 from Target or Amazon). Hang one canopy per bed if they’re on opposite walls, or one shared drape if they’re headboard-to-headboard. This adds vertical interest without taking up floor space.

    Canopies work great for creating visual separation in shared rooms. They also absorb some sound and create a cozier sleeping environment. Very Pinterest-worthy and totally renter-friendly if you use adhesive hooks instead of screws.


    9. Position Beds Perpendicular

    A perpendicular arrangement creates an unusual, thoughtful layout that works beautifully in rectangular or awkwardly proportioned rooms.

    Place one bed along the longest wall and one along the wall that meets it at a right angle (think T-shape or cross). Add a small side table or stool in the junction area to anchor the arrangement. This layout uses space efficiently and feels less cookie-cutter than parallel beds.

    The perpendicular setup works especially well if your room has an unusual shape or if one sleeping person needs more privacy. It’s also ideal for rooms where one person might study while another sleeps. Feels thoughtfully designed rather than default.


    10. Use Platform Beds Without Headboards

    Platform beds without headboards maximize visual space and create a sleek, modern look perfect for small or shared rooms.

    Choose simple platform beds in wood or metal (IKEA MALM or SONGESAND, $150–$250 each; Wayfair modern platforms, $200–$400). Position them symmetrically on opposite walls. Without bulky headboards, the room visually opens up and feels less cramped. Keep bedding minimal and tailored—sham, one decorative pillow, folded throw.

    This style reads as intentional and modern rather than “we just crammed beds in.” Works beautifully with neutral palettes or bold color accents. The low profile also makes it easier to clean under and around the beds.


    11. Create Visual Separation with Paint or Wallpaper

    Painting each bed wall a subtly different color creates zones and makes the arrangement feel designed rather than random.

    Paint (or use peel-and-stick wallpaper, $20–$50 per roll from Amazon or Target) one wall a soft neutral and the opposite wall a slightly different tone—think sage and gray, or cream and soft blue. Keep both colors muted so they don’t clash; the goal is subtle separation, not visual chaos. Add bedding that bridges both colors so the beds read as intentional together.

    This strategy makes small rooms feel larger because each zone has its own identity. It’s also totally renter-friendly if you use peel-and-stick wallpaper and remove it when you move. Takes a weekend to wallpaper but creates a custom look for under $100.


    12. Add Individual Reading Lights Above Each Bed

    Wall-mounted reading lights above each bed add functionality and create a boutique hotel feel without consuming valuable nightstand space.

    Install brass or wood reading lights ($30–$80 each from Rejuvenation, West Elm, or Amazon) on the wall above or beside each headboard. Use adhesive strips or renter-safe mounts if you’re not drilling. This provides task lighting for reading while keeping nightstands clear. Position lights so they cast light downward onto the bed, not into the room.

    Reading lights add sophistication and solve the “where do I put a lamp?” problem in tight spaces. They’re also safer than bedside lamps that could get knocked over. Total time: 30 minutes once you’ve chosen your fixtures.


    13. Use Coordinating Bedding in Different Colors

    Matching bedding styles in different colors creates unity while letting each sleeper have their own identity within the shared space.

    Choose the same bedding set in two different colorways—for example, Threshold Performance bedding in blue and gray ($50–$100 per set from Target). Add coordinating throw pillows so each bed has personality. This approach signals intentional design (not a dorm default) while keeping the room from feeling chaotic.

    The beauty of this strategy is that it looks pulled-together without being matchy-matchy. Each person gets choice and ownership over their sleeping space. Swapping colors seasonally keeps the room fresh.


    14. Install Floating Shelves Above Each Bed

    Floating shelves above each bed provide storage and display space while adding visual interest without taking up floor room.

    Install simple wood shelves ($20–$50 each from IKEA, Home Depot, or Wayfair) above each headboard using wall anchors or studs. Style with books, small plants, and personal items—keep it sparse so shelves don’t feel cluttered. This is especially helpful in bedrooms without closets or in dorms where floor and nightstand space is limited.

    Shelves add a polished, curated look while serving a real function. They draw the eye upward, making the room feel taller. Renter-friendly options use removable adhesive strips if drilling isn’t allowed.


    15. Separate Beds with a Tall Bookshelf

    A vertical bookshelf between beds creates a privacy divider and storage in one piece, perfect for shared rooms or open layouts.

    Place a tall, narrow bookshelf ($80–$200 from IKEA BILLY, Wayfair, or Target) between beds positioned headboard-to-headboard or in a line. This creates a visual barrier without blocking light or making the room feel cramped. Style both sides so it looks intentional—books on one side, books and decor on the other. This works especially well in dorm rooms or sibling bedrooms where privacy matters.

    The bookshelf serves double duty: storage and separation. It’s less formal than a wall but more defined than just floating beds. Takes an hour to assemble and style.


    16. Use Matching Headboards as a Focal Point

    Identical headboards create visual cohesion and make the room feel intentionally designed rather than randomly furnished.

    Invest in matching headboards (IKEA MALM or HEMNES, $100–$300 each; Wayfair upholstered options, $150–$400) for both beds. The repetition creates rhythm and harmony. Position beds symmetrically so the headboards are the focal point as you enter the room. Keep bedding neutral so the headboards stand out.

    Matching headboards elevate the space instantly. They signal intention and investment. Even budget headboards look more curated when they’re identical and symmetrically arranged. Worth the money for the design payoff.


    17. Add Window Treatments Above and Around Beds

    Framing windows with matching curtains ties beds to natural light and creates symmetry that anchors the room visually.

    Install simple curtain rods ($20–$50 each from Target, Amazon, or Wayfair) above windows near each bed. Hang lightweight linen or cotton curtains ($30–$80 per panel from Target, Pottery Barn Teen, or Amazon). This creates a built-in frame for each bed and maximizes natural light. Use the same curtain style on both windows so the room reads as cohesive.

    Window treatments are a renter-friendly upgrade (use tension rods if you can’t drill) that immediately elevate a basic room. The symmetry of matching curtains makes the whole arrangement feel intentional and designed.


    18. Create a Cozy Nook with Pillows and Throws

    Layering pillows and throws creates visual interest and makes even basic beds look styled and intentional.

    Add 3–5 decorative pillows per bed ($10–$30 each from Target, Wayfair, or HomeGoods) in coordinating colors and textures. Drape chunky knit or faux fur throws ($25–$80 from Amazon, Target, or West Elm) across the foot of each bed. Mix textures: velvet, linen, wool. This styling makes small beds look bigger visually and creates an inviting, layered aesthetic.

    The layering trick is simple but transforms basic bedding into something that photographs beautifully and feels luxe. Takes 20 minutes to arrange and costs $50–$200 depending on your choices. Totally worth it for the cozy factor.


    19. Keep the Space Between Beds Clear and Minimal

    Keeping the center floor clear and furniture-minimal makes the room feel larger and less cluttered, even with two beds.

    Position beds on opposite walls with at least 3–4 feet of clear floor between them—no rugs, no furniture, no storage in the middle. Keep nightstands low and recessed. This open sightline makes even small rooms feel spacious and organized. It’s also safer and easier to clean.

    The empty space is your friend in small rooms. Resist the urge to fill every corner with furniture. This strategy works especially well in dorms or guest rooms where simplicity reads as intentional design rather than emptiness.


    20. Use Bed Risers to Create Underbed Storage

    Bed risers lift frames 6–12 inches higher, creating significant underbed storage that stays organized and accessible.

    Install wooden or metal bed risers ($15–$40 per set from Amazon, Target, or Home Depot). This lifts each frame enough to slide storage bins underneath. Use labeled fabric bins ($10–$20 each from The Container Store or Amazon) for seasonal clothes, extra bedding, or shared supplies. This keeps the room floor-clear while maximizing hidden storage.

    Risers are a budget-friendly investment that pays off immediately. The extra height also makes beds easier to get in and out of, which is a nice bonus. Takes 15 minutes to install per bed.


    21. Install Blackout Shades for Different Sleep Schedules

    Individual blackout shades over windows let each sleeper control light independently—essential if bedtimes or wake-up times differ.

    Install blackout roller shades ($30–$80 each from Amazon, Target, or Home Depot) above or inside window frames near each bed. Choose the same style and color for both windows. This lets one person sleep while another enjoys morning light. It’s a game-changer for shared rooms or different schedules.

    Blackout shades are practical and surprisingly affordable. They’re also renter-friendly if you choose tension rods or adhesive models. Bonus: they reduce outside noise slightly. Total cost: under $200 for a pair.


    22. Add Matching Bedside Organizers or Caddies

    Hanging organizers on bed frames keep personal items accessible without needing nightstands or taking up floor space.

    Use fabric bed caddies or hanging organizers ($15–$35 each from Amazon or The Container Store) hung on the side of each bed frame. These hold phones, books, glasses, chargers—everything within arm’s reach while sleeping. This is especially useful in dorms or shared rooms where nightstand space is nonexistent or limited.

    Caddies are genius for tight spaces. They’re removable, affordable, and look intentional rather than thrown-together. Takes 5 minutes to hang and instantly adds functionality.


    23. Use Coordinating Throw Blankets for Easy Refreshes

    Coordinating throws in different colors add visual interest, warmth, and an easy way to refresh the space seasonally.

    Choose two throw blankets in complementary colors—think cream and sage, or gray and blush ($25–$60 each from Target, West Elm, or Amazon). Drape one across each bed’s footboard. This adds texture, color, and coziness without committing to new bedding. Swapping throws seasonally keeps the room fresh.

    Throws are the easiest decor update around. They’re affordable, flexible, and instantly make a room feel more intentional. You can fold them neatly or drape them casually depending on your vibe.


    24. Position Beds to Frame a Window or Architectural Feature

    Flanking a window or alcove with beds creates natural symmetry and makes the window the focal point of the room.

    If your room has a prominent window, built-in shelf, or architectural feature, position one bed on each side of it. This creates instant visual balance and makes the room feel intentionally designed rather than beds just filling available space. Use matching nightstands and bedding to enhance the symmetry.

    This layout works beautifully in rooms with unusual shapes or interesting architectural details. It also draws attention to the room’s best feature. If you don’t have a window, you can create the same effect by centering beds around a floating shelf or wall art.


    25. Add Personal Decor and Photos Above Headboards

    Personal photos and artwork above each headboard make the space feel individual and lived-in while using vertical space.

    Create a small gallery wall above each headboard ($30–$100 per wall for frames and prints from IKEA, Target, or Minted) with a mix of framed photos, inspirational prints, and artwork. Use command strips (renter-safe, $5–$10) so you’re not drilling holes. Mix frame sizes and styles for visual interest. Keep each gallery to 5–7 pieces so it feels curated, not chaotic.

    Gallery walls add so much personality and make rooms feel like actual homes rather than temporary spaces. They’re also affordable and totally customizable. Update them seasonally for a fresh look.


    26. Establish a Shared Styling Agreement

    Agreeing on a basic style framework keeps a shared space cohesive even when two people have different aesthetics.

    Before buying anything, chat with your roommate or co-sleeper about: color palette (three main colors max), style vibe (modern, cozy, minimalist), and budget for shared pieces like rugs or lighting. Agree that nightstands should be similar heights, bedding should coordinate, and major purchases get discussion. You don’t need to be identical, but alignment prevents visual chaos.

    This conversation takes 15 minutes but saves stress and awkward furniture conflicts later. Shared spaces work best when there’s a plan, even a loose one. The result? A room that looks intentionally designed instead of accidentally assembled.


    Save this post for your next bedroom refresh and pick one or two ideas to tackle this weekend. Small arrangement tweaks and styling changes add up faster than you’d think—try just one idea and watch how much more put-together your space immediately feels.

  • 27 Floating Bed Frame Ideas That Look Sleek & Futuristic

    27 Floating Bed Frame Ideas That Look Sleek & Futuristic

    Floating bed frames are having a moment—and for good reason. They create the illusion of more space, add a futuristic vibe to any bedroom, and honestly? They just look cool. Whether you’re working with a tiny apartment, a guest room, or you just want to elevate your bedroom design, floating beds offer that sleek, modern aesthetic without sacrificing comfort or functionality.

    The best part? You don’t need a massive budget or a degree in carpentry to make it happen. From simple wall-mounted designs you can install yourself to statement-making sculptural frames, there are options for every skill level, space size, and price point. We’ve rounded up 27 floating bed frame ideas that range from minimalist ($0 hacks to renter-friendly solutions) to investment pieces that’ll make your bedroom feel like a luxury boutique hotel.

    Ready to lift your bedroom off the ground? Let’s dive in.


    1. Install a Simple Wall-Mounted Platform

    A wall-mounted platform is the most straightforward floating bed option and requires zero furniture legs. You’ll need to locate and anchor into your home’s wall studs using heavy-duty metal brackets (typically $40–$80 per pair from Home Depot or Lowe’s) and a solid piece of plywood or a pre-made platform base.

    Mount the brackets 16 inches apart horizontally and secure them into studs with lag bolts rated for at least 200 pounds each. The entire installation takes one weekend for most people, though you might want to hire a handyperson if you’re uncomfortable with power tools (roughly $150–$300 in labor). Test the stability before placing your mattress to make sure everything feels solid.

    The result is a bed that appears to hover with zero visual bulk underneath. You’ll gain storage space and that coveted floating aesthetic without breaking the bank. This is ideal for renters with a security deposit they want back—you can patch the holes when you move.


    2. Create a Renter-Friendly Faux Float with Bed Risers

    Don’t want to drill into walls? Bed risers work brilliantly for creating the floating illusion without any permanent modifications. Choose metal bed risers in matte black or brushed silver ($30–$60 from Amazon or Wayfair) and position them under each corner of your bed frame.

    Pair risers with a low-profile platform base ($80–$150) to create continuous visual lines that make the bed appear supported by nothing but air. The combined height usually sits between 12–18 inches, giving you perfect clearance for under-bed storage boxes or a low bench.

    Setup takes about 20 minutes, and you can take everything with you when you move. The open space underneath makes your room feel exponentially larger, especially in smaller bedrooms where every inch counts. Storage containers and light-colored boxes underneath reinforce the minimalist, modern vibe.


    3. Use a Cantilever Platform for Maximum Impact

    A cantilever design takes the floating concept to the next level—the bed extends from the wall with one end anchored and the other end floating freely into the room. This creates serious architectural drama and maximizes under-bed space.

    You’ll need professional installation ($400–$800) unless you’re experienced with structural work. The hidden support system typically uses steel I-beams anchored deep into wall studs. Pre-made cantilever bed frames from brands like Article or Blu Dot ($1,200–$2,500) come with installation guides, though hiring a carpenter is recommended.

    The payoff is unmissable: a bed that looks like it’s defying gravity from the moment someone walks in. The open space underneath feels sculptural and gallery-like, making even a small bedroom feel design-forward and intentional.


    4. Layer Textured Fabrics on a Floating Frame

    Pair your floating frame with textured fabrics like bouclé, linen, and chunky knit throws to add visual depth and luxury without cluttering the space. Layer a cream bouclé duvet cover ($60–$120 from Target or Parachute), a natural linen throw ($50–$100), and pillows in varying textures to create a magazine-worthy look.

    Bouclé has surged 35% in searches over the past year—people are craving that tactile, cozy element in modern spaces. The textures catch light beautifully and make a minimalist floating bed feel high-end and thoughtfully styled.

    This approach takes 30 minutes to style and costs $150–$250 total for quality pieces. Your floating bed becomes a focal point that invites people to want to sink into it. The textured layers make the space feel warm and lived-in rather than cold and clinical.


    5. Add Biophilic Elements Around the Base

    Bring nature into your floating bed setup by adding plants and natural materials around the base area. Install a live-edge wooden shelf ($40–$100 from Etsy) behind your headrest and populate it with low-maintenance plants like snake plants and pothos ($10–$25 each).

    Place additional potted plants on either side of the floating frame to create a biophilic buffer that grounds the airy design. The combination of wood, plants, and open space creates a serene, resort-like atmosphere while improving air quality and reducing stress.

    This entire setup costs $100–$200 and takes one afternoon to arrange. The greenery softens the minimalist lines of a floating bed and makes your bedroom feel like a personal sanctuary. Studies show biophilic design boosts mood and sleep quality—so you’re not just decorating, you’re optimizing your space for wellness.


    6. Install Smart Lighting Under the Frame

    Floating beds are the perfect canvas for ambient lighting. Install LED strip lights ($20–$50 from Amazon) along the underside of your floating frame using the adhesive backing. Connect them to a smart bulb dimmer system ($30–$80 from Philips Hue or LIFX) so you can control brightness and color temperature from your phone.

    Set the lights to warm white for evening relaxation and gradually dim them as bedtime approaches—research shows this supports your natural sleep cycle. The lighting takes 15–20 minutes to install and creates an instantly luxurious ambiance.

    You’ll wake to soft light and fall asleep without harsh overhead fixtures disrupting your rest. Seventy percent of homeowners appreciate smart lighting for mood control, and this setup delivers exactly that while amplifying the floating aesthetic.


    7. Create a Murphy Bed Floating Design for Small Spaces

    If you’re maximizing a truly small space, a floating Murphy bed (also called a wall bed) offers the best of both worlds. These beds fold up into the wall, creating a floating panel appearance when closed and revealing storage, a desk, or open floor space below.

    Quality Murphy bed systems from brands like Expand Furniture or Murphy Bed Co. range from $1,500–$4,000 installed, but they increase usable space by over 50%. Some DIY kits ($400–$800) exist, but professional installation is strongly recommended for safety and longevity.

    A floating Murphy bed takes your bedroom from a sleeping box to a multi-functional space—suddenly you have room for a workout area, home office, or seating nook. It’s the ultimate space-saving solution for city apartments or studio setups where every square foot matters.


    8. Paint an Accent Wall Behind Your Floating Frame

    A bold accent wall behind your floating bed draws the eye upward and makes the frame appear to hover more dramatically. Choose a deep jewel tone (emerald, navy, or charcoal) or a warm terracotta or sage for subtle richness.

    Paint the wall yourself in 4–6 hours ($30–$50 for quality paint from Sherwin-Williams or Benjamin Moore) or hire a painter ($200–$400). A single accent wall costs a fraction of full-room painting but delivers maximum visual impact.

    The color creates depth and makes your bed the room’s focal point without adding furniture or clutter. Lighter bedding will contrast beautifully against darker walls, while neutral bedding pairs equally well with warm accent tones. The result feels curated and design-forward instantly.


    9. Combine Floating Frame with Floor-to-Ceiling Curtains

    Pair your floating frame with floor-to-ceiling curtains in a textured fabric like linen or velvet to add personality and softness without bulk. Hang a curved curtain rod ($50–$120 from Article or CB2) high and wide to frame the floating bed on either side.

    Choose natural linen curtains ($80–$150 per panel from Parachute or Etsy) or velvet drapes ($100–$200) for a luxe feel. This setup takes one afternoon to install and costs $200–$350 total.

    The curtains create a cocoon-like effect around your floating bed, adding texture and visual interest while maintaining the minimalist structure. You can open them during the day for an airy feel or close them at night for coziness. It’s the best of both floating minimalism and layered, textured design.


    10. Add a Low-Profile Wooden Base for Warmth

    Offset the coolness of a modern floating frame with a warm wooden base platform. Use reclaimed or live-edge wood ($150–$300 from Etsy or local salvage yards) to create a base that feels both contemporary and organic.

    Mount the wooden platform using hidden brackets ($50–$80) so the wood appears to float away from the wall. Finish it with a natural stain or matte sealant to emphasize grain and character. Installation takes 4–8 hours depending on the platform complexity.

    The wood brings earthiness and craft to a minimalist design, making your bedroom feel warm and intentional rather than sterile. Pair it with neutral linens and natural materials (wool, linen, cotton) to complete the grounded aesthetic.


    11. Style a Floating Frame in a Small Guest Room

    A floating bed is perfect for guest rooms where you want to maximize space and create a clean, uncluttered look. Mount a simple wall platform ($40–$100) with a matching floating nightstand ($30–$80 from IKEA or Article) on the adjacent wall.

    This setup works beautifully for rooms where you want guests to feel welcomed but not claustrophobic. The open space underneath makes the room feel larger than it is—critical when you’re working with a smaller guest bedroom. Paint walls a soft neutral like warm white or soft gray ($30–$50) to amplify the sense of space.

    Total investment: $100–$230. The result is a sophisticated, hotel-like guest room that says “we care about your comfort” without requiring extensive square footage or complicated design.


    12. Incorporate a Floating Canopy for Drama

    A floating canopy frame creates architectural interest while maintaining that weightless aesthetic. Install a ceiling-mounted canopy kit ($150–$300 from Etsy or specialty retailers) using steel cables and a minimalist frame, then drape it with sheer linen or gauze ($40–$80).

    The floating canopy appears to hover from the ceiling rather than rise from the bed, creating a dreamlike, otherworldly effect. Installation requires finding ceiling joists and using proper anchors ($80–$150 if hiring help), but the payoff is showstopping.

    Your bedroom becomes a personal sanctuary with a cozy, intimate quality. The sheer fabric diffuses light beautifully and adds texture without visual weight, making even a small bedroom feel both spacious and embracing.


    13. Use Black Metal Brackets for Industrial Edge

    If you love industrial design, lean into it by choosing matte black metal brackets ($50–$100 per pair) and keeping the rest of the design minimal. Mount them onto white shiplap or plaster walls for maximum contrast and visual drama.

    This approach celebrates the structural elements rather than hiding them, turning function into design. Install takes one afternoon with basic tools and a drill. The bold contrast between black metal and neutral walls creates a graphic, almost gallery-like effect.

    This style works perfectly in bedrooms with concrete floors, exposed brick, or minimalist decor. It feels intentional and design-forward rather than like something that’s “supposed” to be hidden. The visual drama makes an ordinary bedroom feel like a thoughtfully curated space.


    14. Create Floating Storage Shelves Alongside the Frame

    Mirror your floating bed’s design by installing matching floating shelves on adjacent walls. Use the same wall-mounting system and finish ($80–$150 total for 2–3 shelves from IKEA, Etsy, or Article) to create cohesive lines.

    Populate shelves with books, plants, candles, and decorative objects in a curated arrangement. This approach eliminates the need for nightstands and dressers, keeping the room visually open and organized. Styling takes 30–45 minutes after installation.

    Your bedroom becomes a gallery-like space where every object visible is something you love. The floating shelves reinforce the weightless, modern aesthetic of the floating bed while providing essential storage and display space.


    15. Add Cooling Bedding for Temperature Regulation

    Floating beds look even better when they’re styled with quality bedding, and if you’re someone who runs warm, cooling sheets are life-changing. Search interest in cooling bedding has skyrocketed 8,300% in the past year—people are craving better sleep.

    Pair your floating frame with cooling sheets ($70–$150 from Brooklinen, Saatva, or Cozy Earth) in light colors that photograph beautifully. Add a cooling pillow ($100–$200) filled with gel memory foam or breathable materials to complete the setup.

    Thirty-six percent of people have incorporated temperature regulation into their bedding choices. Your floating bed stays cooler throughout the night, you sleep better, and the light, breathable fabrics create an elegant, spa-like aesthetic.


    16. Style Around a Statement Headboard

    A floating bed gains visual anchor from a statement headboard in curved or sculptural form. Choose a curved wooden headboard ($200–$600 from Article, Wayfair, or local makers) that echoes organic shapes trending in 2025.

    Forty-seven percent of people prefer curved furniture shapes—they feel softer and less aggressive than sharp angles. Mount the headboard directly to the wall above your floating platform so they read as one cohesive design. Installation takes 2–3 hours with basic tools.

    The headboard provides a focal point and visual grounding while the platform maintains that floating sensation. Your bed becomes a sculptural centerpiece that makes your entire room feel more intentional and design-forward.


    17. Go Minimal with a Simple Steel Frame

    Sometimes the most impactful floating bed is the simplest one. Choose a thin steel platform frame ($200–$400 from Article, Blu Dot, or Herman Miller) in matte black or silver that nearly disappears beneath your mattress.

    Pair it with neutral white or light gray bedding and one quality pillow to emphasize minimalism. The goal is to make the frame as visually light as possible, so the bed appears to truly hover with nothing supporting it.

    This ultra-minimal approach is perfect for small spaces and minimalist aesthetics. Installation takes 30 minutes, and the clean lines make even a small bedroom feel large, calm, and uncluttered. It’s design through subtraction rather than addition.


    18. Pair with an Eames Lounge Chair in the Corner

    An Eames lounge chair (23% of designers’ top seating choice) adds sophistication and coziness next to a minimal floating bed. Position a leather or wool Eames chair ($500–$1,200 original or vintage, $150–$400 for quality reproductions) in a corner nearby.

    The curved, organic form of the chair complements the floating bed’s modern lines while adding warmth and luxury. Pair both pieces with natural wood tones and neutral textiles for a cohesive, high-end aesthetic. The chair becomes a secondary focal point and functional seating for reading or relaxing.

    Your bedroom transforms from a simple sleeping space into a curated retreat with multiple zones. The combination of floating minimalism and classic mid-century seating feels both contemporary and timeless.


    19. Mount Floating Nightstands at Perfect Height

    Floating nightstands ($50–$150 each from IKEA, Article, or Etsy) positioned at the exact height of your bed’s headrest create perfect visual balance and practical bedside storage. Mount them using the same heavy-duty bracket system ($30–$50 per pair) as your main frame.

    This setup eliminates legs and clutter while keeping everything you need within arm’s reach. Install both nightstands in about one hour using a level and drill. The symmetrical arrangement looks intentional and gallery-like.

    You’ll appreciate the sleek, uncluttered look and the practical organization of your bedside essentials. Everything has a home, but nothing adds visual bulk to the room.


    20. Layer in Live-Edge Wood Elements

    Combine your floating frame with live-edge wood elements throughout the room to create warmth and organic flow. Install a live-edge shelf ($40–$100 from Etsy) above your headrest, place a wooden bench ($150–$300 from local craftspeople or Etsy) at the foot of the bed, and add a live-edge nightstand ($80–$200).

    The organic shapes and natural wood grain softness the minimalist floating design while maintaining the airy, open feel. Everything in your bedroom works together rather than fighting for attention.

    This mixed approach balances industrial floating design with natural, biophilic elements. Your room feels both contemporary and grounded, sophisticated yet warm and lived-in.


    21. Add Aromatherapy Elements Beneath the Frame

    Since a floating bed leaves open space underneath, use that real estate for wellness features like a essential oil diffuser ($20–$60 from Urban Outfitters, Target, or Amazon) or a woven basket of dried botanicals ($15–$30 from Etsy).

    Run your diffuser nightly with lavender or eucalyptus oil ($8–$15) to support relaxation and better sleep. The scent wafts up through your open sleeping area, creating a spa-like environment without visual clutter.

    This simple addition costs $40–$100 total and takes zero installation. You’re creating a multi-sensory sleep sanctuary where your floating bed becomes not just a place to sleep but a wellness experience.


    22. Combine with Blackout Curtains for Better Sleep

    A floating bed paired with blackout curtains creates the optimal sleep environment. Install motorized or manual blackout curtains ($100–$300 from Lutron, IKEA, or Wayfair) on any windows in your bedroom.

    The curtains eliminate outside light pollution and create a dark cave ideal for deep sleep. Pair them with your floating bed for a sophisticated, sleep-optimized bedroom that doubles as a cozy retreat during the day. Installation takes 2–4 hours if you’re hanging rods yourself; hire help for motorized systems ($200–$400).

    Blackout curtains are scientifically proven to improve sleep quality by supporting your natural circadian rhythm. Combined with a floating bed and quality cooling bedding, you’ve built the ultimate sleep sanctuary.


    23. Create a Scandinavian Floating Bedroom

    Scandinavian design and floating beds are a match made in heaven. Choose a simple, minimalist floating frame in natural or white wood ($300–$600 from Swedish brand String or Article), pair it with high-quality white linens ($60–$120 from Parachute), and add one chunky wool throw ($80–$150 from Woolroom or Etsy).

    Keep everything else minimal: white or soft gray walls ($30–$50 paint), natural wood accents, and absolutely no clutter. This approach takes your bedroom from “nice” to “magazine-worthy” through restraint rather than decoration.

    The Scandinavian aesthetic celebrates simplicity, functionality, and natural materials—all of which align perfectly with floating bed design. Your bedroom becomes a calm, purposeful space that supports rest and wellbeing.


    24. Install Under-Bed Lighting for Ambient Glow

    Take your floating bed’s lighting game up a notch with perimeter LED strips ($30–$60 from Amazon or Philips Hue) that run along the entire underside edge. This creates an ambient halo effect that makes your bed appear to truly float.

    Connect the lights to a dimmer switch or smart home system ($40–$80) so you can adjust brightness from bed or phone. Installation takes 30–45 minutes and requires no wiring—just adhesive backing and plug-in power.

    The under-bed glow creates an instantly luxurious spa-like atmosphere. Turn it on low for evenings or brighten it during the day for visual drama. It’s the kind of detail that makes people stop and notice your bedroom design.


    25. Mix Vintage Quilts with Modern Floating Frames

    Pair a sleek, modern floating frame with a vintage quilt ($50–$300 from estate sales, Etsy, or vintage shops) to add personality and history. The contrast between minimalist floating design and heirloom textiles creates a beautifully intentional, eclectic look.

    Layer the quilt with modern linen sheets ($40–$80) for a curated feel that celebrates both heritage and contemporary style. This approach costs $150–$400 total and tells a visual story about who you are.

    Your bedroom becomes a personal gallery where the floating frame provides clean lines while the vintage quilt adds warmth, color, and soul. You’re respecting craft and history while living with modern comfort and design.


    26. Create a Floating Bed in an Art Deco Style

    Art Deco design is having a revival—24% of people plan to incorporate more Art Deco pieces into their homes. Create a floating bed with Art Deco vibes by choosing a frame with geometric details or metallic finishes ($400–$1,000 from Wayfair, Article, or specialty retailers).

    Pair it with champagne or cream bedding ($80–$150) and add brass or gold metallic accents ($30–$80 for pillows, mirrors, or sculptures). The combination feels luxe, intentional, and timeless.

    Your floating bed becomes a statement piece that celebrates vintage glamour without feeling dated. The geometric lines and metallic touches create visual interest while the floating design keeps the space modern and uncluttered.


    27. Go Platform-to-Floor with Minimal Height for Simplicity

    Not every floating bed needs dramatic height. A super-low-profile floating platform (just 4–6 inches off the ground) offers floating aesthetics with a more grounded, approachable feel. Choose a simple wall-mounted platform ($40–$100 from IKEA or Wayfair) that prioritizes clean lines over height drama.

    This approach works beautifully in bedrooms where you want to avoid a “suspended” feeling and prefer something more subtle. Installation takes one afternoon, and the minimal height is safer for kids or anyone uncomfortable with high beds.

    The result feels intentional and minimalist rather than futuristic. You get the visual benefit of floating design without the architectural statement. It’s perfect for those who love modern aesthetics but appreciate understated, grounded spaces.


    Save this guide for your next bedroom refresh and try one floating bed idea this week—start with something simple like wall-mounted brackets or a basic platform, and you’ll be amazed how quickly your room transforms. Share this with anyone craving more space and better sleep.

  • 27 Minimalist Bedroom Ideas That Create Calm & Clarity

    27 Minimalist Bedroom Ideas That Create Calm & Clarity


    Introduction

    Minimalism gets a bad rap for feeling cold and sterile, but it doesn’t have to be that way. The key to a calming bedroom isn’t about emptiness—it’s about thoughtful choices that let you breathe. You need a space that supports better sleep, reduces decision fatigue, and makes you actually want to be there. This guide walks you through 27 ideas that strip away the noise while keeping the warmth and personality. From free organizing tricks to smart furniture swaps, you’ll discover how to create a bedroom that feels like a real sanctuary, not a showroom. Ready to design a space where you can finally relax?


    1. Choose Creamy Neutrals Over Stark White

    Stark white walls can feel clinical and unwelcoming, even when you’re trying to keep things simple. Creamy beige, warm taupe, and soft greige create the calm you’re after without the bleakness.

    Paint your walls one of these warmer neutrals to anchor the room in comfort. Benjamin Moore’s Swiss Coffee or Sherwin-Williams’ Accessible Beige ($30–$50 per gallon) work beautifully and apply in a weekend afternoon. The shift is subtle but noticeable—your space goes from feeling bare to feeling intentional.

    Pro tip: Test samples on your walls for 48 hours to see how they shift with natural light at different times of day.

    Your bedroom now feels serene instead of sterile, and better sleep usually follows when you’re surrounded by warmth.

    2. Invest in Quality Basics Over Quantity

    Filling your bedroom with cheap multiples won’t relax you—quality staples will. One beautiful sheet set, two good pillows, and a lightweight throw beat a closet full of mediocre options.

    Spend $150–$300 on organic cotton or linen sheets (Parachute, Brooklinen, or Etsy makers offer solid options). Add pillows that actually support your neck ($80–$150 each) and a natural fiber throw. These pieces live on your bed every day, so they’re worth the investment.

    The trade-off: You’ll have less to choose from, which actually speeds up bedtime and reduces decision fatigue.

    Waking up and touching quality fabric changes how you feel about your space immediately.

    3. Embrace Raw Wood Nightstands

    Sleek nightstands are fine, but raw wood brings organic warmth that fits minimalism without coldness. Look for reclaimed or natural wood pieces that show grain and imperfections—that’s the point.

    Hunt thrift stores, Facebook Marketplace, or Etsy for used wood nightstands ($40–$150). If budget allows, West Elm or Article sell modern wood options ($200–$400). Refinish if needed, or leave patina as-is for character.

    One lamp, one small plant, one photo—that’s all your nightstand needs.

    The subtle texture grounds your minimal space in nature while keeping surfaces clear and calm.

    4. Install Floating Shelves Above Your Headboard

    Floating shelves give you storage without bulk and add visual interest to a plain wall. This works even in rentals with removable options.

    Mount 1–2 shelves 12–18 inches above your headboard using wall anchors or studs ($20–$40 for hardware). Keep them sparse: a few books you actually read, a small plant, maybe one candle. The rule is “fewer is better” in minimalism.

    Renters: Use Command shelves ($15–$25) that stick-and-peel without damage.

    Your bedroom gains function and style while walls stay visually calm and uncluttered.

    5. Use Under-Bed Storage to Hide Seasonal Items

    Minimalism isn’t about having nothing—it’s about storing what you have thoughtfully. Keep bulky seasonal items invisible by using under-bed storage.

    Buy flat plastic bins from IKEA or Target ($15–$30 each) that fit your bed height. Label them clearly and rotate contents with seasons. This keeps your bedroom clear of clutter while protecting linens and off-season clothes.

    Pro tip: Use a low bed frame (8–12 inches high) designed for storage, or add rolling bed risers ($20–$40) to old frames.

    Everything has a home, your floor stays clear, and your space stays visually minimal year-round.

    6. Install a Single Statement Light Fixture

    One well-chosen light fixture beats a clutter of lamps. A single statement piece becomes focal point and conversation starter without feeling busy.

    Skip the typical ceiling light and install a modern pendant or sculptural brass fixture ($80–$300 from IKEA, Article, or West Elm). Position it at the foot of your bed or off-center for visual interest. Add a dimmer switch ($15–$30) for mood control.

    Time: Professional installation ($100–$200) or DIY if comfortable with electrical.

    Your room gains sophistication and functionality through one intentional choice instead of scattered fixtures.

    7. Layer Raw Textures Like Marble and Cork

    Minimalism doesn’t mean texture-free—quite the opposite. Raw materials like marble, cork, and stone add warmth and interest while keeping the palette clean.

    Add a marble tray or small sculpture ($30–$80 from Anthropologie, CB2, or Etsy) and cork coasters ($10–$20). Layer a natural jute rug under your bed ($60–$150 from Rugs USA or West Elm). Each piece brings organic interest without visual chaos.

    These materials age beautifully and work with any minimal palette.

    Touching and seeing raw textures makes your calm space feel grounded and real, not sterile or cold.

    8. Add Soft Curves With Rounded Furniture

    Sharp lines feel tense; curves feel safe. Swap angular furniture for pieces with soft edges—this shift makes a major difference in how relaxed your space feels.

    Hunt for curved nightstands, oval mirrors, and round side tables ($100–$400 from IKEA, Article, West Elm, or vintage sources). A curved headboard ($200–$600) can become your room’s anchor. Even arc floor lamps ($80–$200) replace harsh straight lines softly.

    Mix curves with straight lines (like shelving) to keep things modern, not overly retro.

    Rounded shapes work on your nervous system—your bedroom becomes naturally more calming just through geometry.

    9. Choose One Accent Color and Stick With It

    Too many colors overwhelm; one accent color adds personality while keeping calm intact. Think forest green, warm terracotta, or soft aubergine—not neon.

    Paint one accent wall or add your color through one throw pillow, a small rug, or artwork ($20–$200 depending on choice). Repeat it nowhere else—let it breathe. This restraint is what makes minimalism feel intentional.

    Pro tip: Pair your accent color with creamy neutrals so it pops without competing.

    Your bedroom gains character and visual interest while staying serene and uncluttered.

    10. Declutter Your Closet as the Foundation

    You can’t have a calm bedroom if your closet is chaotic—visual chaos bleeds into mental space. Start here before decorating anything else.

    Keep only clothes that fit now and align with your actual life. Use slim velvet hangers ($20–$40 per set) to maximize space and organize by category. Donate or sell items you haven’t worn in a year.

    Time: A weekend project, but transformative.

    Your closet becomes functional, your bedroom stays uncluttered, and your mornings get simpler.

    11. Hang Large Artwork or One Focal Print

    One large, meaningful piece beats a gallery wall cluttered with tiny prints. Minimalism can be artistic—just edit ruthlessly.

    Choose one 36″ x 48″ print or canvas from Minted, Etsy, or a local artist ($60–$300). Frame it beautifully and hang it where it anchors the room—usually above a dresser or opposite your bed. Leave plenty of white wall space around it.

    Renters can use removable adhesive strips ($5–$10) on lightweight frames.

    Your space gains sophistication and creative energy without feeling overstimulated or busy.

    12. Minimize Lighting to One or Two Sources

    Harsh overhead lights and too many lamps create anxiety. Pare it down to one warm overhead light and one bedside lamp for reading.

    Install a warm-bulb dimmer switch ($15–$30) on your main light and choose a soft linen lampshade ($30–$80) for your nightstand lamp. Use warm white bulbs (2700K, $5–$15 each) that support sleep cycles.

    Dim lighting signals your body that it’s time to rest.

    Your bedroom becomes a retreat instead of a workspace, and your sleep quality often improves within days.

    13. Use Linen Curtains for Softness Without Fuss

    Heavy, patterned curtains feel fussy; simple linen diffuses light gently and adds texture without clutter. They also look effortlessly chic when slightly rumpled.

    Buy floor-to-ceiling linen curtains from IKEA, Target, or Etsy ($40–$120 per panel). Mount them on a simple rod ($20–$50) and let them puddle slightly on the floor. Minimal styling required—that’s the point.

    Pro tip: Layered sheer linen with a blackout lining ($80–$150 per panel) gives you light control without extra visual bulk.

    Your windows soften light while your room stays calm and clutter-free.

    14. Add One Small Plant for Life and Air Quality

    One plant brings life, color, and air-purifying benefits without overwhelming a minimal space. Choose something low-maintenance so it doesn’t create stress.

    Pick a snake plant, pothos, or monstera in a simple ceramic or concrete pot ($15–$40 total). Place it on a windowsill or in a corner where it catches indirect light. Water weekly or every two weeks depending on the plant.

    Avoid clutter: one plant, not a jungle.

    Your room gains a living element that improves air quality while adding subtle visual warmth.

    15. Invest in a High-Quality Mattress

    You can’t have a calm bedroom if you’re not sleeping well. Your mattress is the foundation of everything—don’t skimp here.

    Spend $800–$2000 on a quality mattress from Helix, Tuft & Needle, or Saatva. Online options often come with trial periods (60–100 nights). This is the one splurge worth making in a minimal bedroom.

    A good mattress lasts 7–10 years, so divide the cost across years and the investment shrinks.

    Better sleep transforms everything—your mood, energy, and ability to enjoy your calm space.

    16. Organize Nightstand Drawers With Dividers

    A cluttered nightstand drawer ruins the calm of a minimal bedroom. Use dividers to keep essentials organized and visible.

    Buy fabric drawer organizers ($10–$25 per set) from IKEA, Container Store, or Target. Keep only what you use nightly: phone charger, reading glasses, one notebook. Everything else lives elsewhere.

    Time: 15 minutes to organize.

    Your nightstand drawer stays functional and hidden, keeping your bedroom’s visual calm intact.

    17. Choose a Low-Profile Bed Frame

    High bed frames with thick frames feel heavy and cluttered; low platforms ground a room visually and make it feel larger.

    Buy a low platform bed from IKEA, Article, or West Elm ($300–$800). Look for designs with simple legs that let light pass beneath—this keeps the room airy. Skip ornate headboards unless that’s your focal point.

    Pro tip: A low bed also makes organization and under-bed storage easier to access.

    Your bedroom instantly appears larger and more restful without feeling like furniture dominates the space.

    18. Use Door Hooks to Hide What Doesn’t Belong

    Bedroom doors are perfect for one or two items you need quick access to. This keeps surfaces clear and makes your room look uncluttered.

    Install 2 simple hooks ($5–$15) on your door or wall for a robe, light jacket, or bag. That’s it—not a coat rack. Limit to one item per hook.

    Renters can use adhesive hooks ($3–$10) that peel off cleanly.

    What used to clutter your chair or floor now has a functional home, and your room stays peaceful.

    19. Create a Reading Nook With One Chair

    You don’t need much for a calming reading space—just one good chair, a small table, and light. This becomes your retreat within your retreat.

    Find a vintage armchair or modern accent chair ($150–$500 from thrift stores, Article, or West Elm). Add a small wooden side table ($50–$150) and a floor or clip lamp ($30–$80). Position near a window for natural light.

    Pro tip: Add a single linen throw ($30–$80) draped over the chair for warmth and texture.

    You’ve created a functional, intentional space that encourages rest and reading instead of screen time.

    20. Store Books Vertically on One Shelf

    Books add visual weight if scattered everywhere; shelf them intentionally on one display shelf to keep them calm and accessible.

    Keep only books you’ve read or genuinely plan to read on display—store the rest or donate them. Use a floating shelf or low bookcase ($50–$300) and arrange books vertically with spines facing out. Add one small object (plant, sculpture) for visual break.

    The rule: If it doesn’t add to your life, it doesn’t deserve shelf space in a minimal room.

    Your books become decor instead of clutter, and you’re more likely to actually read when they’re beautifully displayed.

    21. Use a Bedroom-Only Scent Strategy

    Multiple scents compete and overwhelm; one scent anchors your bedroom’s calm. This is a sensory anchor that costs almost nothing.

    Choose one candle scent (lavender, cedarwood, or unscented if you prefer) and burn it only in your bedroom, 1–2 evenings weekly. Or use a simple diffuser ($15–$40 from Target or Amazon) with a single essential oil. Keep scent subtle—you should barely notice it.

    Pro tip: Unscented is minimalist too—silence is a valid choice.

    A consistent bedroom scent trains your body to relax the moment you enter, improving sleep quality over weeks.

    22. Swap Duvets for Quality Quilts

    Heavy duvets feel suffocating; a lightweight quilt or two layered lets you adjust temperature and adds texture without bulk. Plus, quilts have stories—they’re inherently more personal.

    Hunt thrift stores or Etsy for vintage quilts ($30–$150) or invest in new artisan quilts ($200–$500 from makers on Etsy). Layer 1–2 depending on season instead of fighting with a duvet and cover.

    Washing is easier, and maintenance is simpler over time.

    Your bed looks softer, more lived-in, and honestly more inviting—while staying minimal and intentional.

    23. Paint Inside Closet Doors

    Inside closet doors rarely get noticed, so painting them a subtle contrast color adds personality without breaking minimalism. It’s a tiny detail that makes you smile.

    Paint your closet door interior in a color 1–2 shades different from your bedroom walls. Use the same quality paint ($30–$50 per gallon). This takes 2–3 hours and creates a small hidden joy every time you open the closet.

    Pro tip: Match it to your accent color for subtle reinforcement.

    You’ve added personality and thoughtfulness that only you fully appreciate—which is exactly what minimal design should do.

    24. Install Dimmer Switches on All Light Sources

    Bright light disrupts sleep cycles; dimmers let you adjust lighting to your circadian rhythm and mood. Install them on every fixture that matters.

    Add dimmer switches ($15–$30 each) to your main overhead light and bedside lamp. Pair with warm white bulbs (2700K). Use the lowest setting 1–2 hours before bed to signal your body it’s sleep time.

    Pro tip: Some smart bulbs ($15–$20 each) let you adjust light color from your phone—useful for gradual evening dimming.

    Your sleep quality improves, and you’ll use your bedroom more intentionally when lighting supports rest.

    25. Keep Only One Throw Blanket

    One quality throw beats a pile of mediocre blankets. This is minimalism with warmth and texture.

    Choose a merino wool, linen, or organic cotton throw in cream, gray, or your accent color ($60–$150 from **Parachute, Etsy, or *Woolroom*). Drape it at the foot of your bed or over a reading chair. That’s your only throw blanket.

    Real minimalism means owning fewer, better things—not refusing comfort.

    You have what you actually use, less decision fatigue, and a cozier room than you’d get from five cheap blankets.

    26. Create a Minimal Bedside Tray

    Trays corral nightstand clutter into one intentional arrangement. This keeps your space organized and styled without effort.

    Buy a simple brass, wood, or ceramic tray ($20–$60 from Target, IKEA, or CB2). Place it on your nightstand and keep only three items on it: lamp, water glass, and one current book. Everything else lives in the drawer.

    Time: 5 minutes to set up, then maintenance is automatic.

    Your nightstand looks intentionally styled and calm, and you know exactly where essentials are without hunting.


    Save this post and pick one or two ideas to tackle this weekend. Minimalism doesn’t mean cold or empty—it means choosing carefully what stays. Start small, and you’ll notice how even one change creates more room to breathe.

  • 27 Hotel-Style Bedroom Decor Ideas That Feel Luxurious

    27 Hotel-Style Bedroom Decor Ideas That Feel Luxurious


    You know that feeling when you walk into a boutique hotel room and instantly want to stay forever? That effortless elegance, the thoughtful details, the way everything feels calm but curated—you can absolutely recreate that at home. The secret isn’t about spending thousands; it’s about understanding what makes hotel rooms feel so luxurious: layered textures, intentional lighting, quality basics, and a “less but better” approach to styling. We’ve rounded up 27 specific, actionable ideas you can implement this weekend or over the next month. Whether you’re renting, on a tight budget, or ready to invest in a few key pieces, you’ll find ideas that work for your situation. Let’s turn your bedroom into the retreat you actually want to spend time in.


    1. Swap Your Duvet for a Layered Linen Approach

    Hotels skip the bulky duvet in favor of layered linens that look intentional and feel premium. This approach lets you control warmth while creating visual interest and texture.

    Start with high-quality linen sheets in cream or white (they get softer with washing). Layer a lightweight throw blanket or quilt on top instead of a puffy duvet. Add a chunky knit throw across the foot of the bed. You’re looking at $80–$150 for quality linen sheets (check Parachute, Brooklinen, or even Target’s Threshold line), $40–$100 for a throw, and a quilt if you want one. This takes zero time to implement—just swap what you have.

    The result? Your bed looks intentionally styled, like someone who knows what they’re doing decorated it. Plus, layering makes it easy to adjust your comfort level without looking messy.


    2. Install Floating Shelves Above Your Nightstand

    Hotels maximize vertical space and display curated objects rather than cluttering surfaces. Floating shelves give you that same high-end, gallery-like look while adding storage.

    Purchase bracket shelves for $20–$60 at IKEA, Target, or Home Depot. Mount them 12–18 inches above your nightstand using a stud finder if mounting to drywall (15-minute job, or hire a handyman for $50–$100). Style with just three items: a small plant, a coffee table book, and a decorative object. The key is restraint—empty space is part of the design.

    Your bedroom instantly feels more intentional. You get hidden storage, a spot to display items you love, and that curated hotel-room aesthetic without overstuffing surfaces.


    3. Add a Textured Accent Wall (Without Paint)

    You don’t have to commit to paint or damage rental walls. Textured wallpaper or peel-and-stick panels create depth and warmth that plain drywall can’t match.

    Try peel-and-stick textured wallpaper (search “linen texture” or “raw grasscloth” on Amazon or Wayfair; $25–$60 per roll) behind your bed or on one accent wall. Installation takes 1–2 hours with a partner—just measure, apply, and smooth out bubbles. Alternatively, buy fabric-backed wall panels from brands like 3D Wall Panels ($40–$80 per panel) and apply with adhesive.

    The room gains instant sophistication and warmth. The texture catches light beautifully and makes the space feel more curated than flat walls, all while staying renter-friendly if you choose removable options.


    4. Invest in Blackout Curtains with Sheer Overlay

    Hotels layer curtains so you can control light and privacy while maintaining elegance. This setup lets you enjoy soft daylight or complete darkness without sacrificing style.

    Get two tension rods ($15–$30 each) and hang sheer curtains in front, blackout curtains behind. Search “linen blackout curtains” on Wayfair or Amazon; expect $60–$120 per panel depending on size. Install in 30 minutes with a drill or just tension-mount them (renter-friendly). Use matte black or brushed brass rods for a high-end look.

    You control exactly how much light enters your room, sleep better, and your bedroom looks intentionally layered rather than haphazard. The sheers soften harsh light during the day, and the blackouts guarantee rest at night.


    5. Introduce Curved Furniture to Soften Hard Angles

    Harsh straight lines read as cold; curves feel calming and high-end. Hotels use rounded furniture to create a sophisticated, approachable luxury.

    Look for curved nightstands (West Elm, Article, IKEA; $150–$400), a rounded headboard bed frame ($400–$1200), or a curved accent chair ($300–$800). If budget is tight, start with one curved piece—a round side table or a curved mirror—and build from there. Check second-hand sites like Facebook Marketplace or Craigslist for vintage curved pieces at a fraction of the cost.

    The shift is subtle but powerful: your room stops feeling geometric and starts feeling like a sanctuary. Curves naturally draw your eye and create flow, making the space feel more intentional and restful.


    6. Layer in a High-Pile Area Rug

    Hotels use plush rugs to add warmth underfoot and visually ground the room. A high-pile rug makes your bedroom feel more luxurious and comfortable instantly.

    Purchase a large high-pile rug in cream, soft gray, or warm taupe; $150–$400 for a quality 8×10 from Rugs USA, Wayfair, or Article. Look for wool-blend or synthetic options that hide footprints (important for visual impact). Place it so the bed legs sit partially on it—this anchors the space. No installation needed; just unroll and let it settle for 24 hours.

    The moment you step out of bed onto a plush rug, the room feels like a retreat. High-pile rugs also absorb sound, making the room feel quieter and more peaceful. Plus, the texture adds visual interest without requiring wall space.


    7. Create a Nighttime Lighting Ritual with Dimmers

    Hotels use layered, dimmable lighting to control mood. Your brain responds to warm, dimmed light before sleep—it’s both functional and luxurious.

    Install a dimmer switch on your ceiling light ($15–$40, takes 20 minutes if you’re comfortable with electrical, or hire someone for $75–$150). Add warm-toned bedside lamps with bulbs rated 2700K color temperature (softer light). Alternatively, use plug-in smart bulbs ($10–$20 each) that let you dim without rewiring.

    Your bedroom transforms based on time of day. Bright for mornings, soft for evenings—just like a hotel. The result is better sleep, a more relaxing wind-down, and a room that feels intentionally designed around your needs.


    8. Display Artwork That’s Gallery-Quality

    Hotels commission or display thoughtfully-chosen art. One large piece beats a cluster of small frames—it reads as more sophisticated and creates a focal point.

    Choose a large print (24×36 or 30×40 inches) in a frame that complements your room. Search Etsy, Minted, or Displate for prints that match your palette. Frame it in black, natural wood, or gold ($60–$200 total for print plus frame). Alternatively, print a high-resolution image at a local frame shop. Hang it above your dresser or bed at eye level, centered on the wall.

    One bold piece anchors the room better than a gallery wall ever could. It signals intentionality and sophistication. Your eye settles on it, and the room instantly feels more curated and less like a dorm room.


    9. Switch to Hotel-Quality Pillows and Pillow Cases

    Hotels use high thread-count pillowcases and firm pillows that maintain their shape. Quality pillows are non-negotiable for that polished look and feel.

    Invest in two–four quality pillows for $50–$150 each (Coop Home Goods, Brooklinen, Purple, or even Costco’s Kirkland brand are solid choices). Pair them with 400+ thread-count pillowcases in white, cream, or soft gray ($25–$60 per pair). Choose a mix of pillow heights for visual interest—one firm, one softer, one decorative.

    Your bed looks magazine-ready, and more importantly, your head actually feels supported. The whole bedroom reads as more expensive because the bedding is elevated. It’s one of those changes that affects your daily comfort and the room’s aesthetic simultaneously.


    10. Add Warm, Ambient Scent (Subtly)

    Hotels use subtle scent to create atmosphere without being overwhelming. A good scent activates the room emotionally and makes it feel more “designed.”

    Choose a quality candle or diffuser in a scent that’s warm but not floral-heavy (search “clean scents” or “woody” on Jo Malone, Diptyque, or Target). Budget $20–$60 for a good candle, $30–$80 for a diffuser. Place it on a shelf or dresser, not on the nightstand where it might disturb sleep. Light it for 1–2 hours during the day or evening—overuse kills the luxury effect.

    The room gains an extra sensory layer. Scent is incredibly powerful for making a space feel deliberate and premium. Your bedroom becomes a retreat not just visually but also olfactorily, which deepens the hotel-room illusion.


    11. Hang a Statement Mirror with a Sculptural Frame

    Mirrors amplify light and space, and a sculptural frame makes them furniture-like rather than purely functional. Hotels use mirrors to enhance perceived luxury.

    Look for arched mirrors, brass-framed mirrors, or wooden mirrors at West Elm, Article, or Wayfair ($80–$300+). Alternatively, find a vintage frame at a thrift store and have a glass cutter make a mirror insert ($50–$120 total, fun weekend project). Mount or lean it opposite a window to bounce light around the room.

    Your room looks bigger and brighter. The mirror becomes decor, not just a utility. Plus, catching morning light in a beautiful mirror is a small daily luxury that sets the tone for your day.


    12. Introduce Raw, Natural Materials (Marble, Cork, Stone)

    Raw materials read as expensive and intentional. Hotels use natural elements to create a sense of calm luxury.

    Add marble or stone coasters ($10–$30), a cork desk pad for your vanity ($15–$40), or a small stone sculpture for your shelf ($20–$80). If you want to commit more, consider a marble nightstand ($200–$500) or cork wall panels for one accent wall. Start with small items and build from there.

    These natural materials age beautifully and feel substantial. They ground your room in something real and tactile, which reads as luxury. Plus, natural materials don’t compete with other decor—they enhance it quietly.


    13. Create a Reading Nook with Intentional Seating

    Hotels often have small seating areas that make the bedroom feel more like a suite. A reading chair signals that your bedroom is a haven, not just a place to sleep.

    Find an upholstered chair at West Elm, Article, IKEA (around $200–$600) or second-hand ($50–$200). Angle it toward a window or toward the bed. Add a small side table ($40–$100) and a floor lamp with warm-toned bulbs ($30–$80). Place a throw blanket over the arm.

    Your bedroom gains function and luxury simultaneously. You now have a dedicated space to read, journal, or decompress—something that separates this room from a simple sleeping space. This detail alone elevates the entire aesthetic to “curated retreat” rather than “bedroom.”


    14. Layer Throw Blankets in Complementary Textures

    Hotels layer blankets in different textures to create visual interest and depth. This costs very little but changes how elevated your bed looks.

    Buy 2–3 throw blankets in different textures: one chunky knit ($30–$70), one linen ($25–$60), one faux fur or velvet ($40–$100). Place them over the foot of the bed or draped over a chair, letting them overlap slightly. This is totally budget-friendly if you hit thrift stores ($5–$15 per blanket).

    Your bed instantly looks styled rather than sloppy. The layered textures catch light differently and create depth. The room feels more curated, and you have cozy options depending on your mood or season.


    15. Paint Your Ceiling a Soft, Warm Shade

    Most people ignore their ceiling, but hotels paint them in soft, warm tones to add coziness and visual interest without overwhelming the space.

    Choose a warm white, cream, or pale taupe slightly warmer than your walls. Buy $15–$30 worth of paint and spend a Saturday afternoon (4–6 hours) painting, or hire a painter ($300–$600 depending on room size). Primer helps the paint adhere and cover better.

    The effect is subtle but powerful. A warm ceiling makes the room feel cozier without being dark. It’s one of those design moves that makes your bedroom feel intentionally designed rather than left-as-is. Plus, it changes how light reflects around the room, often making it feel larger.


    16. Curate Your Nightstand Like a Styled Magazine Shot

    Hotels keep nightstands nearly empty—just a lamp, a water glass, maybe a book. This restraint signals luxury and sophistication.

    Remove everything from your nightstand. Place back only: a bedside lamp ($30–$80), a water glass or mug, a small plant or sculptural object ($10–$30), and one book. That’s it. The key is negative space.

    Your nightstand looks intentional instead of cluttered. You’ll sleep better with fewer distractions, and the room reads as more expensive. This one small change ripples through your entire bedroom aesthetic.


    17. Install Wall Sconces Instead of a Single Overhead Light

    Overhead lights are harsh and unflattering. Hotels use layered sconces and lamps to create flattering, controllable light. This change is transformative.

    Choose wall sconces in black, brass, or wood that match your room’s aesthetic ($40–$150 per sconce). Installation requires minimal electrical work (30–60 minutes) or hire an electrician ($100–$200). Mount them flanking the bed or above a dresser. Use warm-toned bulbs (2700K).

    You eliminate harsh overhead lighting while creating spa-like ambiance. The room automatically feels more intentional and intimate. Guests notice this detail immediately—good lighting is the hallmark of a designed space.


    18. Use a Quilted or Handmade Bedspread Instead of a Duvet

    Handmade quilts feel more personal and high-end than mass-produced duvets. They tell a story and immediately elevate bedroom aesthetics.

    Source a vintage quilt on Etsy, Craigslist, or from a local antique shop ($50–$300 for authentic pieces). Alternatively, commission a maker on Etsy ($200–$600) or buy a high-quality quilted bedspread from Pottery Barn or Restoration Hardware ($300–$800). Drape it over your sheets and add a throw on top for layering.

    Your bed becomes a focal point with character. A quilt implies thoughtfulness and story, which reads as more expensive and intentional than a plain duvet. It’s the kind of detail that makes people ask, “Where did you find that?”


    19. Introduce Warm Wood Tones Throughout

    Hotels use warm wood to create coziness and sophistication. Cool gray modern interiors can feel cold; warm wood grounds a room emotionally.

    Swap your nightstands for natural wood ($100–$300 each), choose a wood bed frame in walnut or honey tones ($400–$1200), or add wooden shelving ($50–$200 per shelf). If replacing furniture isn’t feasible, add wooden accessories like picture frames, a jewelry box, or a wooden tray ($10–$60 each).

    Warm wood immediately makes your bedroom feel more inviting and sophisticated. The material softens modern aesthetics and creates visual warmth even in cool seasons. It’s a foundational design choice that makes everything else feel more intentional.


    20. Introduce One Bold Statement Color (Thoughtfully)

    Hotels use one bold accent color rather than multiple colors, which reads as more controlled and luxurious.

    Choose one statement piece in a rich tone like forest green, deep aubergine, or warm rust ($200–$800 for a statement chair or headboard). Keep walls and other furniture neutral (cream, taupe, soft gray). The boldness is anchored by restraint elsewhere, which makes it feel intentional rather than chaotic.

    Your room gains personality without feeling busy. One well-placed bold color signals design knowledge. The rest of the room complements it, creating sophistication rather than visual chaos.


    21. Swap Your Bed Frame for One with a Headboard (Or Add One)

    Beds without headboards look unfinished; headboards anchor the room and make it feel complete and luxurious.

    Find an upholstered headboard bed ($400–$1500) or buy a standalone headboard ($150–$500) that mounts to the wall behind your current frame. Choose linen, velvet, or leather in neutral tones. Installation is straightforward (1–2 hours with a partner).

    This single addition makes your bedroom look intentionally designed. The headboard becomes an architectural feature, grounding the room visually and psychologically. Hotel beds always have substantial headboards—it’s a signature of the look.


    22. Create a Cohesive Color Palette (And Stick to It)

    Hotels commit to a color palette and don’t deviate. This discipline makes rooms feel coherent and premium rather than random.

    Choose 3–4 colors that work together: perhaps cream, warm taupe, soft gray, and natural wood tones. Before buying anything, test these colors together by collecting paint swatches, fabric samples, and photos. Commit to this palette across bedding, curtains, paint, and decor. Accent colors (like one bold piece) are fine, but the base palette should be consistent.

    Your room stops looking like a collection of random purchases and becomes a cohesive space. Consistency reads as intentionality, which reads as luxury. People can’t quite put their finger on why it looks so put-together, but the unified color story is why.


    23. Maximize Natural Light with Sheer, Layered Curtains

    Natural light is free luxury. Hotels maximize it with sheer curtains that filter harshness without blocking views.

    Hang sheer linen curtains in cream or white ($40–$100 per panel) on a simple rod in matte black or natural wood ($20–$40). Pair them with blackout curtains behind (as mentioned in tip #4) for night. Use tension rods for a renter-friendly install (15 minutes, zero damage).

    Morning light becomes a design feature. Natural light is flattering, improves mood, and makes your space look brighter and more spacious. The room feels fresher and more connected to the outside world, which adds a layer of luxury—hotels near windows cost more for a reason.


    24. Introduce Living Elements (Plants and Natural Forms)

    Hotels incorporate plants because they improve air quality, add visual interest, and create a sense of calm. Green is inherently luxurious-looking.

    Buy 2–3 low-maintenance plants like snake plants, pothos, or pilea ($10–$40 each). Place them in neutral ceramic or concrete pots ($8–$25 each). Position them on shelves, nightstands, or in corners where they catch indirect light. Water weekly (or less for hardy varieties).

    Plants make your room feel alive and restful. They’re visually interesting, improve air quality, and signal that someone cares for this space. The green tones complement neutral palettes, and the organic forms balance hard furniture edges. This is one of the easiest, cheapest ways to elevate a bedroom.


    25. Add Texture Through Layered Wall Decor

    Flat walls feel unfinished. Textured wall decor (tapestries, woven hangings, textile art) adds dimension and warmth without being cluttered.

    Find a large woven tapestry or textile art piece on Etsy or at a local craft market ($40–$200). Alternatively, buy a macramé wall hanging or a fabric tapestry from Urban Outfitters or Wayfair ($30–$150). Mount it above your dresser or bed using simple clips or a hanging rod. One large piece beats multiple small ones.

    The wall gains texture and visual interest. The woven fibers catch light differently throughout the day, creating subtle movement. Your room feels more intentional and craft-focused, which reads as curated rather than sterile.


    26. Establish a Capsule Nightstand (Only What You Need)

    Clutter kills luxury. Hotels keep nightstands nearly bare. A “capsule nightstand” is renter-friendly, reduces stress, and looks sophisticated.

    Keep only: a lamp, a water glass, and a small tray or dish for essentials (sleep mask, lip balm, phone on do-not-disturb). Everything else stays in a drawer or closet. Clear the surface weekly—make it a Friday night ritual.

    A clear nightstand creates mental calm and makes your bedroom feel more spacious. It’s also incredibly practical: you can actually see what you need and move around easily. This small change affects how restful your bedroom feels and how intentional it appears.


    27. Commission or Curate a Small Luxury Detail (Your Personal Touch)

    Hotels have character through small luxury details that hint at the person who designed them. Your bedroom should too.

    Choose one special item that feels meaningful: a vintage perfume bottle ($20–$100), a leather-bound journal ($15–$50), a framed photo with professional matting ($30–$80), or a small sculpture ($30–$200). Display it prominently on a shelf or nightstand where it catches light and draws the eye. This item should be something you love, not just “nice.”

    This personal touch is what separates a designed room from a hotel room. It hints at who you are and makes the space feel lived-in rather than staged. Guests notice this kind of intentionality, and it makes your bedroom feel unique rather than like everyone else’s.


    SOFT CTA:

    Save this post for your next bedroom refresh. Start with just one or two ideas this weekend—even small changes compound quickly. Which detail will you tackle first? Share your results or tag us if you end up trying any of these ideas.

  • 27 Japandi Bedroom Ideas That Blend Calm Minimalism & Warm Style

    27 Japandi Bedroom Ideas That Blend Calm Minimalism & Warm Style


    If your bedroom feels either too sterile and cold or cluttered with trendy boho excess, you’re not alone. Japandi design—the Japanese and Scandinavian blend—solves this perfectly by combining calm minimalism with genuine warmth. Think clean lines paired with natural textures, muted earth tones layered with soft materials, and thoughtful touches that make your space feel like a personal retreat rather than a showroom. Over the next 27 ideas, you’ll discover how to create a bedroom that’s visually peaceful and emotionally welcoming. Whether you’re renting or own, working with a tight budget or ready to invest, these actionable tips will help you build a Japandi sanctuary that actually feels like home.


    1. Start with Warm Cream as Your Base Color

    Warm cream walls replace the cold grays that dominated 2024 bedrooms. This shade avoids stark minimalism while keeping the visual clutter at bay—it’s the backbone of Japandi calm.

    Paint your walls with a quality cream or warm ivory ($20–$40 for a gallon at Home Depot or Sherwin-Williams). One room takes 3–4 hours with a roller. If you’re renting, consider peel-and-stick wallpaper in the same warm tone ($25–$50 from Amazon or Spoonflower) for zero damage. The difference between cool gray and warm cream is subtle but immediate—your room suddenly feels like it’s wrapped in a hug rather than a blank slate.

    Pro tip: Test paint samples on your wall at different times of day. Warm creams shift dramatically in natural versus artificial light. Your space becomes a cocoon instead of a clinical retreat.


    2. Layer Linen with Heavier Natural Fabrics

    Linen alone feels refined but thin in Japandi design—layering it with wool blankets and cotton throws adds the tactile depth that makes your bed genuinely inviting.

    Invest in one quality linen duvet ($80–$150 from Bed Threads or Parachute), then layer with an affordable chunky knit throw ($30–$60 from Target or H&M Home) and a lightweight wool blanket ($50–$100 from Woolroom). Mix textures deliberately: smooth linen, bumpy knit, soft wool. Takes 10 minutes to style but completely changes how your bed photographs and feels against your skin.

    Budget hack: Start with one premium piece (the duvet) and build around it with more affordable layers from mainstream retailers. Your bed transforms from functional to luxe-looking without overspending.


    3. Swap Harsh Lighting for Warm, Dimmable Bulbs

    Japandi spaces rely on warm amber lighting (2700K color temperature) instead of bright white or cool-toned bulbs. This single swap feels less like a design choice and more like turning down the volume in your room.

    Replace all overhead bulbs with warm-white dimmable LEDs ($2–$5 each from Target or Amazon; buy 5–8 depending on fixtures). Add a simple wooden bedside lamp with a linen shade ($30–$80 from IKEA’s TÄRNBY or Article). Install a dimmer switch if possible ($15–$30 at Home Depot; takes 30 minutes or hire an electrician for $100–$200). The room becomes dramatically more restful. Suddenly, 9 PM feels different than noon.

    Renter-friendly: Plug-in dimmable lamp bases work just as well—no wiring needed. Warm light is non-negotiable for Japandi warmth.


    4. Introduce Cork or Natural Wood Accent Wall

    Raw materials like cork bridge organic modernism and Japandi aesthetics perfectly. Unlike textured wallpaper, cork actually absorbs sound and creates genuine tactile interest without looking gimmicky.

    Buy cork wall tiles ($40–$80 per 10-pack from Amazon or Home Depot) and apply with construction adhesive ($10). One accent wall (roughly 100 sq ft) costs $80–$160 and takes one Saturday afternoon. If cork feels too bold, raw wood shiplap ($50–$150 installed DIY or $300–$600 hired out) achieves similar warmth with less visual drama. The wall becomes an anchor point—everything else can stay subtle.

    Alternative: Peel-and-stick cork ($30–$60) works for renters and requires no commitment. Either way, your room gains organic depth that paint alone can’t deliver.


    5. Position Your Bed Low to the Ground

    Low beds (platform or Japanese-style futons) are Japandi staples. They visually expand the room, create a grounded (literally) sense of calm, and reduce the visual weight of your largest furniture piece.

    Invest in a low platform bed ($200–$600 from Article, IKEA’s MALM, or West Elm) or DIY one with a simple wood frame and slats ($100–$200 in materials from Home Depot). Assembly takes 2–3 hours for DIY or 1–2 days for delivery. If you already own a tall bed, lower it by removing the frame and placing the mattress directly on a platform ($50–$100 for a basic wood base). Your eye line changes instantly—the room feels broader, more intentional.

    Pro tip: Pair a low bed with minimal under-bed storage (or none) for maximum visual calm. A cluttered floor ruins Japandi serenity.


    6. Add Floating Wooden Shelves for Minimal Storage

    Floating shelves replace clunky nightstands and add storage without visual heaviness. Keep them sparsely styled—this is key to avoiding clutter that breaks the calm.

    Install 2–3 natural wood floating shelves ($20–$60 each from IKEA, Amazon, or Home Depot; brackets $10–$20 per pair). Drilling takes 30 minutes per shelf. Style with no more than 4–5 items per shelf: a ceramic piece, a folded linen, one book, a small plant. Less is genuinely more here. Your bedside becomes functional art rather than a catch-all counter.

    Budget hack: IKEA’s LACK shelves ($10–$20) work perfectly and come in natural wood. Expensive designer versions feel the same when styled right.


    7. Bring in Low-Profile Indoor Plants

    Biophilic design—bringing nature indoors—is core to Japandi warmth. Unlike bohemian plant walls, Japandi uses select plants in strategic spots, not overwhelming greenery.

    Choose 2–3 low-maintenance plants: pothos, snake plants, or monstera deliciosa ($15–$40 each from a local nursery). Place them on low wooden plant stands ($20–$50 from Target or Article) near windows. Buy simple terracotta or cream ceramic pots ($10–$30 each). Water weekly and enjoy the living element—your room gains oxygen, visual interest, and a connection to something growing.

    Renter-friendly: Potted plants require zero wall damage and move with you. They’re the easiest way to add life to a minimal space.


    8. Style with Negative Space (Not Every Surface)

    Japandi celebrates empty space as much as filled space. Unlike maximalist design, leaving surfaces mostly bare is the point—it creates visual rest and makes the items you do display feel meaningful.

    Resist the urge to decorate every inch. On your nightstand: keep only a lamp and maybe one small object. On shelves: space items 6–12 inches apart. In your closet: fold clothes neatly (not stuffed) so you can see the fabric. This costs nothing but requires a mindset shift. Your room becomes a gallery instead of a store display.

    Pro tip: Each surface should have at least 40–50% empty wood or wall visible. Anything less starts feeling cluttered to the Japandi eye. Negative space is your design partner.


    9. Swap Duvets for Quilts in Natural Fibers

    Quilts—especially those in natural fibers or with visible handmade stitching—replace generic duvets in Japandi design. They tell a story and feel less mass-produced.

    Invest in a quality quilted throw or bedspread ($150–$300 from Schoolhouse Electric, Etsy handmade sellers, or Snowe) or hunt vintage quilts ($20–$60 on Etsy or at local estate sales). Layer it over linen sheets for a lived-in, intentional look. One quilt completely changes your bed’s personality—it feels collected rather than flat-packed.

    Budget option: Vintage quilts from thrift stores ($15–$40) come with actual history and cost way less than new designer versions. Your bed gains character and warmth.


    10. Install Wooden Ceiling Beams (or Faux Ones)

    Wooden beams—whether real or modern faux beams—add architectural warmth without the expense of full renovation. They’re especially effective in Japandi spaces where structure feels intentional.

    Install faux beams ($80–$200 per beam from Amazon, Wayfair, or Home Depot; DIY installation 2–3 hours) or real reclaimed beams ($300–$800+ per beam; hire professionals). If full installation isn’t possible, paint existing crown molding a warm wood tone ($20–$40 in paint, 4 hours) to create a similar effect. Suddenly your ceiling has depth and your room feels architecturally grounded instead of flat.

    Renter-friendly: Temporary adhesive faux beams ($50–$100) stick to ceilings and remove cleanly. They won’t transform the space but add subtle warmth.


    11. Curate One Statement Artwork

    Instead of gallery walls, Japandi design anchors a room with one significant, carefully chosen artwork. This becomes the visual anchor—everything else stays understated.

    Commission or purchase one large-scale print ($150–$500 from Etsy artists, Minted, or local galleries) in earth tones or soft abstract styles. Frame it in natural wood ($50–$150 from Framebridge or local framers). Hang it at eye level above your bed or on the largest empty wall. This single piece does the heavy lifting—no need for multiple smaller frames competing for attention.

    Budget hack: Large prints from Etsy ($30–$80) plus a simple IKEA frame ($20–$40) achieves the same impact as gallery-framed pieces costing 3x more. One meaningful artwork beats five mediocre decorations.


    12. Choose Rounded Furniture Over Sharp-Edged Pieces

    Sharp-angled furniture reads as harsh in Japandi design. Rounded edges—on nightstands, mirrors, dressers—soften the room and create the subconscious feeling of safety and calm.

    Replace angular nightstands with curved or rounded versions ($200–$500 from Article, West Elm, or CB2). Swap a rectangular mirror for a round one ($50–$150 from Article or Target). If you already own sharp pieces, angle them slightly or pair them with soft textures (throws, rugs) to visually soften their edges. The room becomes less “edge-aware” and more restful.

    Budget option: Add a round mirror ($30–$60 from IKEA’s STOCKHOLM or Target) to an existing room instantly. One curved accent changes the room’s energy without replacing everything.


    13. Layer Your Floor with Natural Fiber Rugs

    Japandi bedrooms use layered rugs in natural fibers (jute, wool, sisal) to add warmth underfoot and visual interest without visual clutter. Unlike patterned rugs, texture-only layering keeps the calm intact.

    Lay a large jute rug ($80–$200 from IKEA, Rugs USA, or Target) as a base, then layer a smaller wool rug ($100–$250 from Woolroom or Article) on top. Position under the bed or in a corner. The contrast between two natural fibers adds depth—your bare feet feel different each season (wool in winter, jute in summer). Total investment $180–$450 but transforms how the room feels.

    Alternative: One quality natural fiber rug ($150–$400) does the job alone if layering feels like too much. Jute especially pairs beautifully with warm cream walls.


    14. Install Window Treatments That Diffuse Light

    Japandi windows use soft, natural fabrics (linen, cotton, raw silk) instead of blackout shades or heavy drapes. Light diffuses gently, maintaining calm while controlling privacy.

    Hang linen curtains in cream or warm taupe ($60–$150 per panel from Parachute, Bed Threads, or Target) on a simple wooden rod ($30–$80 from IKEA or Schoolhouse Electric). Go floor-to-ceiling for drama without weight—the vertical lines expand the room. Pair with a lightweight Roman shade ($50–$100 from Wayfair) for privacy when needed. You get soft light during the day and darkness at night without sacrificing aesthetics.

    Renter option: Tension rods ($15–$30) and lightweight linen panels ($30–$50 each) work beautifully and leave no damage when you move.


    15. Add Wooden Storage Boxes for Hidden Organization

    Open shelving looks great but hidden storage keeps Japandi spaces calm. Wooden boxes—stacked under beds or in closets—let you organize without visual chaos.

    Buy 2–3 natural wooden storage boxes ($30–$100 each from IKEA, The Container Store, or Article). Label them subtly (or not at all). Use them for off-season clothes, extra bedding, or items you need but don’t want visible. Takes 15 minutes to organize but dramatically changes how restful your room feels. Clutter exists but out of sight.

    Budget hack: Wooden crates from craft stores ($10–$20 each) plus simple stain ($5) create custom storage boxes for half the price of branded options. Function and aesthetics together.


    16. Display Ceramics and Pottery Mindfully

    Instead of many small decorative items, Japandi design features a few high-quality ceramic or pottery pieces. Each one is chosen deliberately, almost reverently.

    Collect 3–5 meaningful ceramics ($20–$80 each from local pottery studios, etsy, or galleries like Heath Ceramics). Display them on shelves or as standalone pieces on nightstands, giving each breathing room. These objects become conversation starters because they’re intentional, not generic mall decor. Your room gains personality without clutter.

    Pro tip: Local ceramic studios often have sales. Buying directly from makers connects you to your pieces and usually costs less than retail galleries.


    17. Use Natural Wool Felt as Wall Art

    Wool felt wall hangings replace traditional art in some Japandi spaces. They’re tactile, warm, and create genuine three-dimensional interest without the “art gallery” vibe.

    Purchase large wool felt pieces or commission a fiber artist ($100–$300 each from Etsy or local makers). Hang on clean walls where they become sculptural elements. Alternatively, frame pressed natural materials (leaves, grasses, linen) in simple wood frames ($30–$80 each) for a softer, botanical alternative. Your walls gain texture without pattern overload.

    Budget option: DIY felt hangings with wool roving ($20–$40 per project on Etsy tutorials) if you’re crafty. Your space becomes more personal than store-bought.


    18. Incorporate a Low Wooden Platform or Daybed

    A second sleeping surface—whether a daybed or low platform—adds functionality and intentional coziness without cramming the space. It’s perfect for reading, meditating, or guest overflow.

    Invest in a wooden daybed ($300–$700 from Article, CB2, or IKEA) or build a low platform ($150–$300 in lumber) and top with cushions. Position against a wall (not the main bed). Style with 2–3 throw pillows and a lightweight blanket. This single piece transforms your bedroom from sleeping-only space into a retreat with multiple zones.

    Renter-friendly: A futon frame ($200–$400) achieves the same effect and can go with you. Functionality meets Japandi calm.


    19. Keep Closet Doors Open or Replace with Sliding Panels

    Japandi design often hides clutter but celebrates organized visibility. If you have a closet, replace swing-out doors with sliding panels or keep them open if contents are folded neatly visible.

    Install sliding barn doors ($100–$300 from Amazon or Home Depot; 2–3 hour DIY) in natural wood, or simply remove standard doors and keep the closet organized. Fold all clothes vertically (KonMari-style) so you see everything at a glance. If sliding doors aren’t possible, replace heavy doors with lightweight linen curtains ($30–$60) that create flow instead of blockage. Your closet becomes part of your design aesthetic, not hidden embarrassment.

    Alternative: Keep existing doors but style the closet interior so beautifully (visible wood hangers, color-coded folding) that seeing inside feels intentional, not chaotic.


    20. Introduce One Warm Accent Color (Cherry Red or Terracotta)

    While Japandi leans neutral, a single warm accent color (cherry red, terracotta, rust) adds life without chaos. Limit it to 2–3 small items: one pillow, one ceramic piece, one artwork accent.

    Choose your accent color and commit to it in tiny doses ($20–$60 per item). A terracotta throw pillow, a cherry-red ceramic cup, a small rust-toned artwork—each spaced far apart visually. The room gains personality while staying calm. This is the only place your color restraint breaks, and it makes all the difference.

    Pro tip: Cherry red is trending hard in 2025. If you love it, one small piece (a pillow, a vase) future-proofs your space without overcommitting.


    21. Place a Simple Wooden Area for Meditation or Yoga

    Japandi bedrooms aren’t just for sleeping—they’re multifunctional retreats. Dedicating one corner to meditation, yoga, or quiet sitting adds intentional purpose beyond rest.

    Roll out a yoga mat ($30–$80 from Lululemon, Amazon, or Target) or place a meditation cushion ($25–$50) in one corner. Add a small side table ($30–$100) for tea or a book. Takes 10 minutes to set up but shifts your mindset—you’ve created a zone for presence, not just another furniture placement. Your bedroom becomes a genuine sanctuary.

    Budget hack: A rolled blanket works as a meditation cushion ($0 if repurposed). Intentionality matters more than gear.


    22. Hang Minimalist Wooden Coat Rack or Shelf

    Instead of freestanding coat racks that look cluttered, wall-mounted wooden racks (pegs or shelves) hold blankets, scarves, or robes while staying integrated into your design.

    Install a wooden peg rack ($30–$80 from Article, Schoolhouse Electric, or Etsy) or a simple wooden shelf ($20–$60 from IKEA) at convenient height. Use it to display a rolled blanket, hang a robe, or drape a favorite scarf. Functional décor that serves your daily life—this is peak Japandi efficiency.

    DIY option: Wooden pegs ($2–$5 each) and a wooden board ($15–$30) let you build a custom rack in an afternoon for $30–$50 total. Personalization costs less than buying finished versions.


    23. Layer Lighting with Bedside and Floor Lamps

    Single overhead lighting creates harshness. Japandi spaces use multiple warm light sources at different heights, allowing you to adjust ambiance throughout the day.

    Install a dimmer-controlled overhead fixture ($15–$30 in materials), add a bedside lamp ($40–$100 from IKEA or Article), and place a standing floor lamp ($60–$150) in a corner. Layer these three sources so you can dial down to just the floor lamp by evening. Instant calm compared to one bright ceiling fixture. Costs $120–$280 total but the difference in how your room feels is worth every penny.

    Renter option: Plug-in floor lamps ($30–$80) and clip lamps ($15–$40) create the same layered effect without wiring.


    24. Create a Dedicated Nighttime Wind-Down Ritual Area

    Japandi design celebrates rituals. Creating a small designated spot for evening wind-down (with a book, tea, journal) reinforces that your bedroom is separate from work or daily stress.

    Style one small surface (nightstand, shelf, or corner table) with items you use for evening: a favorite mug, a journal, a book, perhaps a small candle ($3–$10). Use this same spot every night—your brain learns it’s time to rest. Takes no money if you’re repurposing existing items, but the psychological shift is enormous. You’ve created a transition point between day and sleep.

    Pro tip: Keep your phone off this surface. Replace it with tactile, calming items instead. The ritual is as important as the decoration.


    25. Add Subtle Pattern with Linen Pillowcases

    If you’re craving any pattern in a Japandi space, linen pillowcases with subtle texture (raised weaves, minimal stripes) give interest without the visual noise of bold prints.

    Swap plain linen pillowcases ($30–$60 each from Parachute, Bed Threads, or Target) for textured versions with subtle tone-on-tone patterns. They read as almost-plain but offer visual depth when you look close. Pair with plain cream duvet for balance. Your bed gains intrigue without chaos—you can see the difference in person but it photographs as calm.

    Budget option: Plain linen pillowcases ($15–$30 from Target or Amazon) layered with a chunky knit throw achieves similar texture contrast for less.


    26. Install Adjustable Shelving to Grow with Your Needs

    Japandi spaces aren’t static. Adjustable or modular shelving lets you change arrangements seasonally without replacing anything, keeping your design fresh without adding clutter.

    Install adjustable metal shelf brackets ($30–$60 per pair) with wooden shelves ($20–$50 each) so you can raise or lower them as needed. Rearrange seasonally (add a blanket in winter, swap ceramics in spring) without damage. This flexibility prevents stagnation—your room evolves while staying fundamentally calm. Takes 1–2 hours to install but pays dividends in adaptability.

    Renter option: Free-standing shelving units ($100–$300) from Article or Target achieve the same adjustability without wall damage.


    27. Invest in Quality Natural Bedding You’ll Actually Use

    The final piece: quality bedding you genuinely love to touch and use every night. This is where Japandi philosophy hits home—you’re not designing for Instagram; you’re creating comfort you’ll experience daily.

    Invest in one premium natural fiber sheet set ($150–$300 from Bed Threads, Parachute, or Brooklinen), a weighted wool blanket ($200–$400 from Weighted Blankets co or Brooklinen), and quality pillows ($60–$120 each from Coop Home Goods). These items will last years and improve your sleep quality—this is the opposite of disposable design. Your nightly ritual shifts when you genuinely love your bedding.

    Pro tip: This is worth the investment. You spend 8 hours a night here. One premium sheet set replaces three cheap ones over time and costs less annually when you do the math.


    Save this post for your next bedroom refresh and start with just one idea—the one that speaks to you most. Whether it’s swapping your paint color, adding a plant, or investing in better bedding, one small change ripples through your whole space. Which idea are you trying first?

  • 25 Scandinavian Bedroom Vibes That Bring Calm Minimalism Home

    25 Scandinavian Bedroom Vibes That Bring Calm Minimalism Home


    Scandinavian design promises calm, but sterile minimalism can feel cold and unwelcoming. What if you could have that peaceful simplicity and a bedroom that feels like a sanctuary? The Scandinavian approach is evolving—it’s ditching harsh empty spaces for textured warmth, natural materials, and thoughtful layering. You don’t need to overhaul everything; small, strategic additions bring soul back into clean lines. Over the next 25 ideas, you’ll discover how to layer texture without clutter, add personality through vintage finds, and create a sleep space that’s both minimalist and genuinely cozy. Ready to transform stark simplicity into warm serenity?

    1. Swap Cool Grays for Warm Cream Walls

    Cool grays dominated minimalism for years, but they can feel emotionally distant. Warm creams and soft beiges create the same clean backdrop while radiating comfort and light.

    Paint all four walls or just your accent wall with a warm neutral like Benjamin Moore “Swiss Coffee” or Sherwin-Williams “Accessible Beige” ($40–$60 per gallon). A single quart covers most accent walls. This takes one weekend with a roller and tray ($15 total supplies if you already have them). The shift is subtle but noticeable—your bedroom suddenly feels inviting rather than sterile, and it pairs beautifully with natural wood furniture and soft textiles.

    Your space gets instant warmth without sacrificing that clean Scandinavian aesthetic you love.

    2. Layer Raw Wood Furniture for Organic Texture

    Mass-produced furniture often lacks character, but raw or lightly finished wood brings honest texture and warmth. It’s the material backbone of organic modernism.

    Replace glossy MDF nightstands with solid wood pieces—try IKEA’s RAST ($40–$60, unfinished pine), Wayfair’s raw wood options ($80–$300), or thrift secondhand furniture and lightly sand to reveal the wood grain. Raw wood ages beautifully, developing patina over years. These pieces take zero assembly or simple 15-minute setup. Pair them with soft linens and minimal decor so the wood’s natural beauty stands out.

    The result? A bedroom that feels grounded and authentic, not showroom-perfect.

    3. Add a Quilted Throw Over Your Duvet

    Duvets are practical but impersonal; quilts add nostalgic warmth and visible craftsmanship that photographs beautifully and feels like home.

    Drape a lightweight quilted throw ($60–$150) across the foot of your bed or fold it at the headboard. Etsy sellers offer handmade quilts starting at $80; thrift stores often have vintage quilts for $15–$40. This requires zero installation—just arrange and adjust. Machine-washable quilts make maintenance simple. The layering creates visual depth and that grandmillennial-meets-Scandinavian vibe trending in 2025.

    You get an heirloom-quality focal point and the cozy texture that makes a bedroom feel lived-in.

    4. Install Floor-to-Ceiling Linen Curtains

    Standard curtain rods that end mid-wall interrupt sight lines; full-height curtains create luxury and seamless calm.

    Mount a simple rod ($20–$40 from IKEA or Home Depot) as close to the ceiling as possible and hang linen curtains ($80–$200 per panel, or budget options at Target for $25–$50 per panel). Linen wrinkles naturally—that’s the aesthetic. Measure twice, install with a drill in 30 minutes, or hire a handyman ($50–$100). Sheer linen filters light beautifully and maintains the airy Scandinavian feel while adding vertical drama.

    Your bedroom grows taller and feels like a high-end hotel suite.

    5. Use Textured Plaster or Limewash for Subtle Dimension

    Flat paint is clean but two-dimensional; textured walls add depth and break up the starkness of minimalism.

    Apply a limewash or textured plaster finish ($3–$8 per square foot if DIY with kits; $15–$25 per square foot if hiring a pro). Venetian plaster kits ($30–$60) are beginner-friendly for one accent wall. This takes 4–6 hours for a full wall with proper drying time, or call a painter for a more polished result ($500–$1,500 per room). The subtle variation catches light differently throughout the day, creating movement without visual clutter.

    Suddenly your calm walls have story and sophistication.

    6. Add a Natural Fiber Area Rug for Warmth Underfoot

    Hard floors feel cold and clinical; natural fiber rugs add acoustic warmth, softness, and grounding texture.

    Layer a jute or sisal rug ($100–$300 for 8×10) under your bed or across the room. Rugs USA, Wayfair, and IKEA stock these affordably. Place it before making your bed so it anchors the space. A good rug lasts 5–7 years and ages beautifully. Vacuum weekly and spot-clean with mild soap. Pair it with soft socks or light carpet slippers for texture underfoot—small sensory touches matter in Scandinavian design.

    You’ve created a tactile welcome the moment your feet touch the floor.

    7. Incorporate Rounded Furniture to Soften Hard Lines

    Angular furniture feels sharp and tense; curved pieces calm the nervous system and modern soft lines replace harsh corners trending in 2025.

    Swap angular nightstands for curved options—Article, Wayfair, and IKEA now stock rounded tables ($80–$200). A curved headboard ($200–$800) is a bigger investment but anchors the room beautifully. Look for arcs in mirrors, shelving, and even lamps. Start with one curved element and build. This requires standard bed assembly (1–2 hours) or professional help ($50–$150).

    Rounded shapes make your bedroom feel safer and more human.

    8. Style Open Shelving with Books and Ceramics

    Blank walls read empty; styled shelving tells your story while maintaining clean lines.

    Install floating shelves ($30–$80 per shelf, hardware included) using wall studs. Arrange items in groups of three using negative space—a ceramic bowl, folded linens, one small plant, a book. Thrifted ceramics ($5–$15 each) and library books cost nothing. Installation takes 30–45 minutes with a drill. Keep items on the shelf touching only 40–50% of the surface; the empty space is part of the design.

    Open shelving becomes a quiet gallery that reflects your taste.

    9. Layer Velvet Pillows in Neutral Tones

    Flat cotton pillows lack sensory appeal; layering different textures creates visual interest and invites touch.

    Buy 2–3 velvet or linen throw pillows ($30–$80 each) in warm neutrals like taupe, warm white, or soft gold. Mix textures: pair smooth velvet with nubby linen or chunky knit. Arrange three pillows horizontally for balance. Pillows dry-clean easily or hand-wash depending on fill. This takes five minutes to arrange. Update seasonal colors without major changes by swapping covers.

    Your bed becomes a textural landscape that draws the eye and beckons.

    10. Hang Botanical Wall Art or Line Drawings

    Blank walls feel incomplete; art-led design anchors a room and creates a focal point without clutter.

    Commission prints from Etsy ($25–$60 each) or buy gallery-quality options from Minted, Desenio, or local artists ($40–$150 per print). Stick with florals, botanicals, or abstract line work in blacks, grays, and golds for cohesion. Frame in natural wood ($15–$40 per frame) and hang above your bed or accent wall. Arrange three prints in a grid or salon-style layout—measure, use a level, hang in 30 minutes. This is a renter-friendly update if you use damage-free hanging strips.

    Art personalizes the space without adding physical clutter.

    11. Source Vintage Nightstands from Thrift Stores

    Mass-produced furniture lacks soul; secondhand pieces carry history and cost a fraction of retail.

    Visit local thrift stores, Craigslist, or Facebook Marketplace for solid wood nightstands ($15–$50 each). Look for simple designs with good bones—tapered legs, natural wood finish, one or two drawers. Transport and arrange yourself to save money. Light sanding ($5 in supplies) refreshes the finish. This adds character while being budget-conscious and sustainable. Mismatched pairs (different heights, styles) read intentional in Scandinavian design.

    Your bedroom gains authenticity and tells a story of curation.

    12. Create a Reading Nook with a Low Seat

    Empty corners waste space; a simple reading spot invites slow mornings and quiet evenings.

    Place a low wooden bench ($80–$200, IKEA or thrift) in a corner near the window. Layer it with linen or wool cushions and a throw ($30–$100 total). Add a small side table and a book. This takes 15 minutes to arrange and zero installation. Use this corner as your phone-free morning routine zone. The visual break creates a secondary focal point and makes your room feel purposeful.

    Suddenly that dead corner becomes your favorite retreat.

    13. Switch to Natural Fiber Bedding

    Synthetic fabrics trap heat and chemicals; natural materials regulate temperature and support sustainable, healthier sleep.

    Invest in linen sheets ($80–$200 for a set, or budget options at Target for $40–$60), wool blankets ($100–$300), or organic cotton ($60–$150). Brands like Parachute, Brooklinen, and Woolroom specialize in this. Linen wrinkles—embrace it as aesthetic, not a problem. Wash in cool water and air-dry to extend life. Quality natural bedding lasts 5–10 years and softens over time. Yes, upfront cost is higher, but cost-per-wear is ultimately lower.

    You sleep better, feel more comfortable, and support eco-conscious production.

    14. Paint Your Ceiling a Soft Warm Tone

    Stark white ceilings feel cold and institutional; warm tones make the room feel cozier and more enclosed.

    Paint your ceiling in Benjamin Moore “Cloud White” or a warm cream ($40–$60 per gallon). Ceiling paint takes one gallon for most bedrooms. DIY this in 3–4 hours with a roller on an extension pole ($15–$20), or hire a pro ($300–$600). Primer helps coverage. A warm-toned ceiling makes even tall rooms feel more intimate and cohesive with your wall color.

    Your space becomes a warm cocoon instead of a cold box.

    15. Add Indoor Plants in Strategic Clusters

    Plants connect us to nature and improve air quality; strategic placement avoids clutter while maximizing biophilic benefit.

    Group 3–5 plants on your windowsill or in a corner ($10–$40 per plant for low-maintenance varieties like snake plant, pothos, or ZZ plant). Use simple ceramic or terracotta pots ($8–$20 each) for visual cohesion. Water weekly and rotate quarterly for even growth. Plants require five minutes of care per week. Clustered groupings feel intentional; scattered singles read chaotic.

    Your bedroom gains life, freshness, and a subtle connection to the natural world.

    16. Hang a Macramé Wall Hanging for Texture

    Macramé bridges boho and minimalism without overdoing the trend—simple geometric pieces stay clean while adding dimensional texture.

    Source a minimalist macramé hanging ($30–$100) from Etsy, Urban Outfitters, or Anthropologie. Look for neutral colors and simple geometric patterns—avoid heavily fringed or overly complex designs. Hang with a single nail or adhesive hook. This takes five minutes and renter-friendly options exist. One statement piece above the bed or two smaller ones flanking a mirror work well. Dust quarterly with a soft brush.

    Handmade texture without sacrificing that calm, clean aesthetic.

    17. Install a Curved Mirror to Expand Space Visually

    Standard rectangular mirrors feel cold; curved mirrors add organic shape, bounce light, and make rooms feel larger.

    Hang a circular or arched mirror ($80–$300) opposite your window to reflect natural light. Wood frames ($50–$150) feel warmer than metal. Installation is one nail or wall anchor; takes five minutes. A 24–32 inch diameter works for most bedrooms without overwhelming the space. Hang at eye level when standing. This is a renter option using damage-free strips.

    Reflected light makes your bedroom feel airier while adding sculptural interest.

    18. Layer a Lightweight Wool Throw Blanket

    One duvet is functional but flat; a textured throw adds depth, warmth, and invites curling up.

    Drape a lightweight wool throw ($60–$180) at the foot of your bed or fold it on a chair. Brands like Pottery Barn, Restoration Hardware, and Etsy makers offer quality options. Wool regulates temperature—warm in winter, breathable in summer. Wool is naturally stain-resistant; spot-clean only. This takes two minutes to arrange and creates the layered, lived-in look trending in 2025.

    Your bed becomes a nest you want to sink into every night.

    19. Use a Neutral Color Palette with One Statement Accent

    All-white minimalism feels sterile; one bold accent color adds personality without chaos.

    Choose one accent color—forest green, aubergine, terracotta, or cherry red (trending up 325% in searches)—and use it in exactly one place: a pillow ($40–$80), an art print ($50–$150), or a throw blanket ($80–$180). Everything else stays neutral. This discipline makes the accent feel intentional, not random. Swap the accent piece seasonally or yearly for freshness without repainting.

    One pop of color becomes the conversation starter while respecting minimalist restraint.

    20. Swap Out Your Headboard for a Curved or Upholstered One

    A plain wall behind your bed is missed opportunity; a curved headboard adds texture, comfort, and visual anchor.

    Replace a basic headboard with a curved upholstered option ($200–$800 depending on size and material). Look for linen upholstery in warm neutrals. This is an investment piece but transforms the entire room’s focal point. Assembly takes 1–2 hours or hire help ($50–$100). If you rent, some headboards attach without damaging walls. A headboard instantly upgrades any bed frame and makes mornings feel more luxurious.

    Your bed becomes a statement piece that justifies spending time in your bedroom.

    21. Create Floating Shelving for Minimalist Storage

    Bulky dressers dominate small bedrooms; floating shelves provide storage while maintaining sight lines and airiness.

    Install 2–3 floating shelves ($50–$150 per shelf installed) using brackets and wall studs. Spread items across shelves with significant empty space—aim for 40–60% negative space. One ceramic bowl, a stack of folded linen, a single book. Installation takes 1–2 hours with a drill. This is a permanent fixture but gives renters an alternative to floor storage.

    Storage disappears into architecture; your room stays serene and organized.

    22. Add Cork or Natural Fiber Wall Texture

    Cork is trending in organic modernism—it’s warm, acoustic, tactile, and eco-friendly.

    Apply cork tiles ($20–$40 per square foot) or peel-and-stick cork wallpaper ($15–$25 per roll) to one accent wall. Installation takes 2–4 hours for DIY; hire help for $300–$600. Cork is renter-friendly if using adhesive-backed options, though removal takes care. It naturally dampens sound, keeps your room quieter, and adds subtle texture without visual clutter.

    Your wall becomes a warm, touchable surface that feels organic and grounded.

    23. Layer Simple Linen Cushions on a Bench or Window Seat

    A bare bench is utilitarian; layered cushions invite sitting and add texture without fussiness.

    Place 2–3 linen cushions ($25–$60 each) on a bench using removable covers. Mix neutral tones—cream, taupe, warm gray—for cohesion. This takes five minutes to arrange and costs $60–$180 total. Covers wash easily. Cushions also work on window seats or at the foot of your bed. Layer different thicknesses for visual depth.

    Simple comfort becomes the hero of your room’s secondary seating.

    24. Install Warm Lighting with Dimmable Bulbs

    Harsh overhead lighting kills minimalist calm; warm, dimmable lighting creates the right mood for sleep and relaxation.

    Replace bulbs with warm white (2700K) dimmable LEDs ($8–$15 each). Install dimmers on overhead fixtures ($20–$50 per dimmer switch, 15-minute installation). Add a simple bedside lamp with a warm bulb ($40–$100). Avoid blue-toned lights near bedtime—they disrupt sleep. Test color temperature by visiting a lighting showroom; warm feels immediately cozier.

    Lighting is the easiest way to shift your entire room’s vibe toward calm and rest.

    25. Display Handmade Ceramics or Pottery

    Mass-produced decor lacks soul; handmade ceramics add authenticity and support independent makers.

    Buy pieces from local potters, Etsy artists ($30–$150 per piece), or take a pottery class and make your own ($100–$300 for a workshop). Display on floating shelves or a dresser in odd numbers (three or five pieces). Handmade items have visible imperfections—that’s their charm. No installation required; arrange and dust quarterly.

    Handmade pieces turn your room into a gallery of intentional beauty.

    26. Introduce a Wool Area Rug Runner Along Your Bed

    A full area rug can overwhelm small bedrooms; a runner adds warmth to hardwood while keeping sightlines open.

    Layer a wool rug runner ($60–$150 for 2.5×8 feet) along one or both sides of your bed. Wool is durable and ages gracefully. This takes five minutes to unroll and position. Machine-washable options exist; spot-clean regularly. Runners cost less than full rugs and define the bed zone without visual heaviness.

    Soft underfoot plus subtle visual grounding—that’s Scandinavian efficiency.


    Ready to refresh your bedroom? Save this post and pick just one idea to try this weekend. Whether it’s swapping a pillow, hunting for a thrifted nightstand, or painting an accent wall, small changes add up fast. Your calm, warm sanctuary is closer than you think.

  • 24 High-Comfort Fabric Ideas That Elevate Your Sleep Experience

    24 High-Comfort Fabric Ideas That Elevate Your Sleep Experience

    Your bedroom should be the most comfortable room in your home—the place where you actually want to spend time. Yet most of us settle for whatever bedding came in a set or throw on scratchy pillows without thinking twice. The truth? The fabrics you choose directly impact your sleep quality, how rested you feel, and whether you wake up wanting to stay in bed or rush out the door.

    This guide walks you through 24 fabric ideas that go beyond just looking pretty. You’ll discover materials that regulate temperature, reduce motion transfer, breathe better in summer, trap warmth in winter, and actually feel amazing against your skin. Some ideas cost nothing (rearranging what you have), while others are weekend shopping trips under $50. A few are investment pieces worth saving toward. By the end, you’ll know exactly which fabrics solve your specific sleep problems—whether that’s night sweats, static hair, pet allergies, or just wanting to feel like you’re sleeping in a luxury hotel.


    1. Layer Linen Under Your Duvet for Year-Round Breathability

    Linen is the sleep fabric that keeps giving, whether it’s summer heat or winter cold. It breathes better than cotton, gets softer with every wash, and naturally regulates temperature instead of trapping body heat.

    Start with a quality linen sheet set as your base layer directly on the mattress—$60-$120 for a good set from IKEA, Bed Bath & Beyond, or Parachute. Add a lightweight linen duvet cover on top ($80-$180). The magic happens when linen sheets wick moisture away while still feeling cool to the touch. Pair with a duvet insert in summer (breathable cotton) and switch to a heavier insert in winter. Time to switch: five minutes per season.

    Pro tip: Linen wrinkles naturally—this isn’t a flaw, it’s the look. If that bothers you, cotton-linen blends ($50-$100) give you 70% of linen’s benefits with a crisper finish.

    You’ll stop waking up damp and sweaty. The texture improves every month, and your sheets actually feel better in January than they did in June.


    2. Add a Weighted Blanket for Deep Sleep and Grounding

    Weighted blankets use gentle pressure to calm your nervous system—similar to a therapeutic hug. They’re backed by sleep research and genuinely help people fall asleep faster and wake less during the night.

    Buy a weighted blanket that’s about 10% of your body weight. A 150-pound person needs roughly a 15-pound blanket ($80-$250 from Amazon, Target, or Casper). Material matters: look for cotton covers (breathable) or cooling fabrics if you run hot. Layer it over your regular duvet or use it as your only top layer in warmer months. Wash the cover separately; most inner blankets need spot-cleaning only.

    Pro tip: Start with one night a week to adjust to the sensation, then gradually use it every night. Some people find it uncomfortable at first—that’s normal and passes.

    Your sleep deepens noticeably. You’ll wake fewer times in the night and feel more rested by morning. Many people say they can’t sleep without it after two weeks of use.


    3. Invest in Mulberry Silk Pillowcases to Reduce Friction Damage

    Silk pillowcases aren’t just a beauty hack—they actually improve sleep quality by reducing friction that wakes you during the night. Mulberry silk is the highest grade and lasts 5+ years with proper care.

    Expect to pay $40-$80 per pillowcase from brands like Slip, Kitsch, or Etsy sellers. Buy at least two so you can rotate them. Wash on delicate cycle in cool water with silk-specific detergent ($8-$12 per bottle). They feel cool against your skin in summer and insulating in winter. The smoothness prevents creasing on your face and tangling in your hair.

    Pro tip: Can’t afford mulberry silk yet? Satin pillowcases ($15-$30) give you 80% of the benefits at half the price. They’re not quite as durable but still transform your sleep.

    You’ll notice less hair breakage within a week. Mornings feel smoother literally and figuratively. Your pillow stays in place instead of shifting around all night.


    4. Layer a Cotton Sateen Sheet Set for Silky-Smooth Comfort

    Cotton sateen has a subtle sheen and silky-smooth feel that rivals high-end hotels, but costs a fraction of silk. The weave creates that luxury feel while staying breathable and washable.

    Buy a sateen sheet set in quality cotton ($80-$150 from Parachute, L.L.Bean, or Target’s Room Essentials line). Look for thread count between 300-600—anything higher is marketing fluff. Wash in warm water on gentle cycle; tumble dry low or air dry to preserve the sheen. A set lasts 3-5 years with normal care.

    Pro tip: Sateen and linen are different feels. Sateen is smooth and slippery; linen is textured and crisp. Try both and see which your body prefers for sleep.

    Your skin feels pampered every night without the high maintenance of true silk. The sheen catches light beautifully when guests see your bed during the day, too.


    5. Use Thermal-Regulating Bamboo Viscose for Night Sweats

    Bamboo viscose is processed from bamboo pulp and naturally wicks moisture faster than cotton. If you wake up soaked or throw off covers at 3 a.m., this is your answer.

    Purchase bamboo viscose sheets ($70-$140 per set) or a bamboo pillowcase to start ($25-$45). They’re softer than cotton and nearly as affordable. Machine wash cool, tumble dry low. Note: bamboo viscose is less durable than linen or high-quality cotton—expect 2-3 years of regular use before thinning occurs.

    Pro tip: Bamboo silk blends ($60-$120) last longer than 100% bamboo viscose and regulate temperature even better. Worth the extra $10-$20.

    You’ll stay dry throughout the night. No more middle-of-the-night temperature adjustments or waking in a sweat puddle. Your sleep becomes continuous.


    6. Add Linen Throw Pillows for Textural Interest and Extra Support

    Beyond your sleep pillows, decorative linen throw pillows add visual warmth and give you extra support for reading or propping yourself up. Linen’s nubby texture looks intentional and cozy.

    Buy 2-3 linen throw pillows ($20-$60 each from IKEA, West Elm, or Etsy) in neutral tones or one accent color. Fill them with down or hypoallergenic poly fill depending on your allergies ($15-$40 per pillow if buying separately). Layer them against the headboard or at the foot of the bed. Spot-clean fabric or use removable covers you can wash.

    Pro tip: Mix linen with velvet or wool throw pillows to create textural contrast. One solid, one patterned, and you’ve got instant sophistication.

    Your bed looks layered and intentional. You get comfortable back support when you’re reading or working in bed. The texture makes the space feel handcrafted and personal.


    7. Switch to Percale Sheets for a Crisp, Cool-Sleeping Feel

    Percale is cotton woven extra-tight, creating that hotel-crisp feeling that actually sleeps cooler. It’s not silky like sateen—it’s more like high-quality linen but with different benefits.

    Buy a percale sheet set ($60-$140 from Brooklinen, Helix Sleep, or Target) in quality cotton. Thread count 200-400 is ideal for percale (higher doesn’t help as much as it does with other weaves). These sheets get softer with washing, which is unusual and wonderful. They last 3-5 years easily.

    Pro tip: Percale wrinkles slightly more than sateen, but that’s part of the charm. If you love ironed sheets, percale rewards you—it presses beautifully.

    Your bed feels noticeably cooler at night. You stay on top of sheets instead of under them, which is perfect for warm sleepers. The crispness feels fresh and clean every single night.


    8. Layer a Cooling Gel Pillow Underneath Your Regular Pillow

    Cooling gel pillows absorb and disperse body heat, keeping the spot where your head rests at an ideal temperature. They work best as a base layer under your regular pillow rather than alone.

    Buy a cooling gel pillow ($40-$80 from Casper, Purple, or Amazon) with an open-cell foam design for maximum breathability. Place it flat on the mattress, then your regular pillow on top. Wash the cover monthly and air-dry the core (don’t machine wash). These last 2-3 years before losing cooling effectiveness.

    Pro tip: Cooling gel pillows get firm in cold rooms and softer in warm rooms. If your bedroom is cold, this might not feel like an upgrade—save it for warm months or warmer climates.

    You’ll keep your head cool without overheating the rest of your body. Your pillow won’t transform into a hot pocket at 2 a.m. Night sweats related to head temperature improve significantly.


    9. Use a Wool Blanket for Winter Weight Without Bulk

    Wool blankets are misunderstood—quality wool is soft, not scratchy. Merino wool specifically is temperature-regulating, breathable, and lasts forever. One wool blanket can replace three regular blankets.

    Purchase a merino wool blanket ($150-$300 from Patagonia, Pottery Barn, or specialty outdoor brands). Spot-clean or dry-clean only. Properly cared for, wool blankets last 10+ years. Layer it under your duvet in winter or over top for extra weight. The density means you need less actual bulk—one wool blanket feels like two quilts.

    Pro tip: If wool feels itchy, you have the wrong kind. Merino wool shouldn’t itch. If it does, try alpaca wool instead ($180-$350)—it’s even softer.

    You’ll sleep warmer without feeling weighted down. Your bedroom stays cooler because one blanket regulates as well as three regular ones. This is a one-time purchase that lasts years.


    10. Add a Cotton-Poly Blend Pillowcase for Easy Care (Renter-Friendly)

    If you rent or travel frequently, cotton-poly blend pillowcases offer 90% of cotton’s comfort at half the care requirements. They wash easily, dry quickly, and resist wrinkling.

    Buy pillowcases ($8-$15 each) from Target, IKEA, or Amazon. Machine wash hot, tumble dry high—they love aggressive washing. Pack them easily for travel. Replace every 2-3 years as they gradually thin. Stock 4-6 so you always have clean options.

    Pro tip: 60% cotton, 40% poly is the sweet spot. Higher poly percentages feel plasticky; higher cotton percentages wrinkle more.

    You get soft pillowcases without obsessing over care. Laundry day is genuinely easy. These are perfect for kids’ rooms or guest beds too.


    11. Invest in Eucalyptus Tencel Sheets for Sensitive Skin

    Tencel is made from eucalyptus wood pulp using a closed-loop process and is gentler on sensitive skin than most fabrics. It’s hypoallergenic, breathable, and feels impossibly soft.

    Buy eucalyptus Tencel sheets ($80-$160 per set from brands like Ettitude, Organic Basics, or Brooklinen). They’re eco-friendly production-wise too, which feels good. Wash in cool water on gentle cycle. These sheets last 2-3 years before showing wear, which is typical for Tencel.

    Pro tip: If you have eczema or psoriasis, Tencel noticeably reduces irritation. Many dermatologists recommend it specifically for reactive skin.

    Your skin feels calm and happy. No more waking with rash-like marks from synthetic fibers. Sensitivities that flare with other fabrics stay calm here.


    12. Layer a Chunky Knit Throw for Textural Contrast and Warmth

    Chunky knit throws add visual interest and actual warmth without the heaviness of traditional blankets. They photograph beautifully and create that Instagram-cozy vibe that actually functions.

    Buy a chunky knit throw ($40-$100 from West Elm, H&M Home, or independent makers on Etsy) in wool, cotton, or linen. Drape it over the foot of your bed or the side for easy access. Spot-clean or hand-wash gently. These work year-round—summer nights when you want light texture, winter when you layer under or over your regular blanket.

    Pro tip: Look for throws made from merino wool or cotton blends rather than acrylic. They breathe better and age beautifully instead of pilling.

    Your bed looks intentionally styled without trying too hard. You have cozy texture accessible for chilly nights. The casual drape adds personality that flat blankets can’t achieve.


    13. Use a Mattress Protector Pad in Bamboo Viscose for Comfort Plus Function

    Mattress protectors extend your mattress life and protect against spills, but traditional ones feel plasticky and trap heat. Bamboo viscose pads protect while breathing like regular sheets.

    Install a bamboo viscose mattress pad ($60-$120 from Saatva, Helix, or Amazon Basics). Choose one that’s machine-washable for easy care. It sits directly on your mattress under your fitted sheet. You won’t feel it, but you’ll appreciate it when your toddler has an accident or you spill coffee in bed.

    Pro tip: Look for pads with deep pockets (usually 8-18 inches) matching your mattress depth so it doesn’t slip around.

    Your mattress stays pristine and lasts longer. You sleep soundly knowing spills won’t ruin your investment. The fabric breathes so well you forget it’s there.


    14. Add Velvet Accent Pillows for Luxury Texture on a Budget

    Velvet pillows create that high-end hotel feel for surprisingly little money. The fabric’s light-catching properties make any bedroom look intentional and designed. Quality matters here—choose carefully.

    Buy velvet accent pillows ($25-$60 each from Target, Article, or West Elm). Look for cotton velvet (most breathable) or velvet blends. Avoid 100% polyester velvet if possible—it feels cheaper and doesn’t age well. Layer 1-2 velvet pillows with your linen ones for contrast. Spot-clean only; don’t machine wash.

    Pro tip: Deep jewel tones (emerald, sapphire, burgundy) feel more luxurious than bright colors and hide dust better.

    Your bed looks styled without feeling fussy. Guests notice the quality immediately. The texture mix of soft velvet against crisp linen creates visual and tactile interest that changes the whole room’s energy.


    15. Switch to Organic Cotton for Chemical-Free Sleep

    Organic cotton is grown without synthetic pesticides and bleached naturally, making it gentler on sensitive skin and better for the environment. It costs slightly more but lasts just as long as conventional cotton.

    Buy organic cotton sheets ($80-$160 per set from Patagonia, Organic Basics, or Coyuchi). Look for certifications like GOTS (Global Organic Textile Standard) to verify authenticity. Care for them like regular cotton—warm water wash, medium heat dry. Many people report their skin feels calmer with organic cotton immediately.

    Pro tip: Organic cotton starts softer and stays softer. It wrinkles more than sateen but less than linen. If you care about reducing chemical exposure, this is worth the investment.

    You sleep on fabric that’s gentler on your skin and the planet. Your body absorbs fewer chemicals through the night. That matters more than you think.


    16. Layer Linen Duvet Covers for Easy Seasonal Swapping

    Linen duvet covers are the MVP of bedroom flexibility. Instead of replacing your entire comforter, you swap covers seasonally. Lightweight linen in summer, heavier duvet inside in winter, same cover.

    Buy 2-3 linen duvet covers ($80-$180 each from Parachute, Etsy, or IKEA) in neutral colors so they mix and match with different duvet inserts. Measure your duvet before buying—queen, king, etc. Wash separately first time to prevent dye transfer. These last 5+ years minimum.

    Pro tip: Look for covers with interior ties or corner clips so your duvet doesn’t shift around inside the cover at night.

    You get seasonal updates without buying new bedding. Summer feels light and breathable; winter feels substantial and warm. The same visual base works year-round.


    17. Use Memory Foam Pillows with Cooling Gel for Neck Support

    Memory foam molds to your head and neck, providing support that prevents morning stiffness. Add cooling gel and you’ve solved two problems with one pillow.

    Buy a memory foam pillow with cooling gel ($50-$120 from Tempur, Casper, or Nectar). Test the firmness before buying if possible—some people prefer plush, others prefer firm. Memory foam takes 48 hours to fully decompress after unpacking, so don’t judge it the first night. Wash the cover; spot-clean the foam. Lasts 3-5 years.

    Pro tip: If traditional memory foam smells chemical-y, look for gel-infused memory foam versions—they off-gas less.

    You wake without neck pain. Your head stays supported throughout the night. If you’re a side sleeper, this is a game-changer that’s worth every penny.


    18. Add a Wool Pillow Insert for Natural Dust Mite Resistance

    Wool pillow inserts are naturally resistant to dust mites and allergens, making them perfect for people with allergies. They regulate temperature and last years longer than synthetic fills.

    Buy wool pillow inserts ($40-$90 each from specialty bedding sites or Amazon) or fill existing pillow covers with wool. The lumpiness is normal—it’s not a manufacturing flaw. Most people adapt within a week. Aerate the pillow by fluffing it regularly. These last 5-7 years.

    Pro tip: Wool can feel firm at first. If that bothers you, look for wool-blend inserts ($30-$60) that soften faster while keeping allergy benefits.

    Your allergies calm down. You stop waking with stuffy sinuses or itchy eyes. The pillow molds to your head over time instead of going flat immediately like synthetic fills.


    19. Invest in a High-Quality Down Alternative Comforter for Durability

    Down alternative mimics real down’s warmth and fluffiness without the allergy triggers or high maintenance. Quality matters—cheap versions flatten in one season.

    Buy a down alternative comforter ($100-$250 from Brooklinen, Helix, or Patagonia) with a high fill power rating (usually listed as 600+). Machine wash separately in cool water on delicate cycle once or twice yearly. Air-dry on low or hang-dry to preserve loft. Lasts 5-7 years with proper care.

    Pro tip: Look for comforters with interior construction that prevents shifting—either baffle-box or sewn-through designs.

    Your bed looks luxuriously full and inviting. The warmth feels genuine while staying allergy-friendly. You’re not constantly redistributing filling like with cheaper versions.


    20. Use a Woven Cotton Blanket for Breathable Extra Warmth

    Woven cotton blankets are exactly what they sound like—simple, breathable, and endlessly layerable. No synthetics, no off-gassing, just honest cotton textile.

    Buy a quality woven cotton blanket ($50-$120 from Schoolhouse Electric, Parachute, or Pottery Barn) in neutral tones. Machine wash warm, tumble dry medium. Fold and layer it at the foot of your bed for easy temperature adjustment. These genuinely last forever—our grandmothers had some that still function.

    Pro tip: Look for blankets made from cotton sateen weave ($70-$140) instead of plain weave for a slightly softer feel with the same breathability.

    You have a lightweight, breathable backup for cool nights without the bulk of traditional blankets. The timeless aesthetic means it works in any room design. It’s the most practical purchase on this list.


    21. Layer Hypoallergenic Polyester Microfiber for Softness Without Allergens

    Polyester microfiber gets a bad reputation, but quality microfiber sheets are genuinely soft and completely hypoallergenic—perfect for severe allergy sufferers or pet-owners worried about dander accumulation.

    Buy microfiber sheets ($30-$70 per set) from any major retailer. Wash in warm water, tumble dry on medium. They resist wrinkles naturally and require zero maintenance. Replace every 2-3 years as they eventually pill slightly. Budget option? This is it.

    Pro tip: Microfiber traps heat more than natural fibers. If you sleep hot, skip this and go for bamboo viscose or linen instead.

    Your allergies don’t flare at night. Your budget stays intact. These sheets are perfect for guest beds or kids’ rooms where durability matters more than luxury feel.


    22. Add a Quilted Mattress Pad for Extra Cushioning and Softness

    A quilted mattress pad adds a cloud-like layer between your body and the mattress. Suddenly your bed feels premium and cushioned instead of firm. This works on any mattress—soft, medium, or firm.

    Install a quilted pad ($50-$150 from Wayfair, Amazon, or specialty bedding stores) in cotton or microfiber. Machine-wash monthly and tumble-dry on low. Choose one with deep pockets matching your mattress depth. Lasts 3-5 years before compression occurs.

    Pro tip: If your mattress is already plush, skip this. If your mattress is firm and you want softness without replacing it, this is genius.

    Your mattress feels instantly more comfortable. That first night, you’ll feel the difference immediately. Budget-conscious upgrade? This beats replacing your entire mattress.


    23. Use Linen-Cotton Blend Sheets for Balance Between Crisp and Soft

    Linen-cotton blends (usually 50/50 or 60/40 ratios) give you linen’s breathability with softer, less textured feel. Perfect if you love linen but find pure linen too nubby or textured.

    Buy a linen-cotton blend sheet set ($70-$140 from Brooklinen, Etsy, or specialty bedding brands). Wash in warm water on gentle cycle. These last 4-5 years and get softer with washing while maintaining breathability. You get the health benefits of linen in a softer package.

    Pro tip: 60% linen, 40% cotton gives you maximum linen benefits. 50/50 feels softer but loses some temperature regulation.

    You sleep on linen’s cooling properties without the rough texture keeping you awake. If you’ve wanted to try linen but weren’t sure about the feel, start here. This is the gateway to becoming a linen devotee.


    24. Layer a Linen Flat Sheet Over Your Fitted Sheet for Ultimate Texture

    This styling trick isn’t just aesthetic—layering a linen flat sheet on top of your fitted sheet creates texture, improves breathability, and reduces the number of times you need to wash your duvet cover.

    Buy one additional linen sheet ($25-$50) to layer on top of your fitted sheet and under your pillows. The rumpled, textured look is intentional and design-forward. Wash with your other bedding. This extends your duvet’s life by reducing direct contact with your body oils.

    Pro tip: Use a neutral tone linen sheet over any colored fitted sheet for visual interest without clashing.

    Your bed looks styled and layered. You wash your duvet cover half as often. The extra texture adds visual depth and comfort simultaneously—the bed becomes a focal point you actually want to rest in.


    Save this post for your next bedroom refresh. Try one fabric idea this weekend—swap your pillowcase or add one throw blanket—and notice how your sleep actually changes. Small upgrades to what touches your skin matter way more than you’d think.

  • 24 Fresh Bedroom Inspo Ideas to Refresh Your Space Instantly

    24 Fresh Bedroom Inspo Ideas to Refresh Your Space Instantly

    Your bedroom should feel like a retreat—a place where you can actually relax and sleep well. But if your space feels off, uninspired, or cramped, you don’t need a total overhaul to fix it. Sometimes the smallest shifts in color, texture, or layout create the biggest impact. Whether you’re renting, working with a tight budget, or simply ready for a refresh, these 24 ideas blend trending aesthetics (warm minimalism, biophilic design, and cozy layering) with practical solutions you can tackle this weekend or over the next month. Each idea includes real pricing, time estimates, and renter-friendly alternatives so you can pick what actually works for your space and lifestyle. Let’s dive in.

    1. Swap Stark White Walls for Warm Neutrals

    Harsh white walls can feel cold and sterile, draining the cozy factor from any bedroom. Switching to warm neutrals—soft beige, warm taupe, or creamy off-white—creates an instant sense of calm without feeling boring or dated.

    Paint is one of the most cost-effective updates you can make. A gallon of quality paint runs $25–$40 at Home Depot or Sherwin-Williams. Rent or buy a basic roller kit for $8–$15. If you’re unsure about committing, grab sample pots ($3 each) and test swatches on different walls over 2–3 days to see how light changes them. Paint application takes a weekend for a standard bedroom. If you rent, check your lease first—some landlords allow paint with permission if you restore the original color when you leave.

    The shift happens the moment you paint that first wall. Your room stops feeling like a basic box and starts feeling intentional.

    2. Layer Textured Rugs for Depth and Coziness

    A single flat rug is functional, but layered rugs add visual interest and make your feet happy. Combining a natural jute or sisal base rug with a plush wool or high-pile accent rug on top creates depth and invites you to step barefoot into bed.

    Base rugs run $50–$150 at IKEA, Wayfair, or Amazon. Wool or high-pile toppers cost $80–$200 depending on size. Buy or borrow an under-rug pad ($15–$25) to prevent slipping. Layering takes about 10 minutes. If you rent, use removable under-rug pads that won’t damage flooring. This approach works in tight spaces too—just ensure the smaller rug doesn’t cover the entire base rug; let the edges peek through.

    You’ll notice the difference the first time you step out of bed. Soft layers make your bedroom feel like an actual sanctuary.

    3. Add Floor-to-Ceiling Curtains for Height and Drama

    Short curtains that hit the windowsill are practical but don’t look intentional. Floor-to-ceiling curtains hung from the ceiling (not the window frame) make rooms feel taller and more polished while providing better insulation and light control.

    Linen or cotton curtain panels cost $30–$80 per panel at Target, West Elm, or Wayfair. Add a ceiling-mounted rod ($20–$40) and basic hooks. If you rent, use tension or adhesive rods that don’t damage walls. Installation takes 30 minutes if you’re comfortable with basic tools; otherwise, handyman services run $50–$150. Measure from ceiling to floor (or 2 inches past) and add 4–6 inches of pooling fabric on the ground for visual drama.

    The moment you hang them, your eye travels upward. Your space instantly looks more curated and expensive.

    4. Create a Biophilic Bedroom with Real Plants

    Plants do more than decorate—they improve air quality, boost mood, and connect your indoor space to nature. Low-light plants like pothos, snake plants, and ZZ plants are forgiving if you’re not a plant parent yet.

    Plants themselves are cheap: pothos ($5–$15), snake plants ($10–$25), and succulents ($3–$10) are widely available at grocery stores, Home Depot, or Etsy. Pots cost $5–$30 depending on style. Hanging planters or wall-mounted shelves run $15–$50. Total investment: $50–$150 for a well-planted corner. Setup takes 30 minutes. Place plants near windows if possible, but most low-light varieties tolerate corners or north-facing walls.

    Your bedroom becomes a living space. You’ll sleep better knowing you’re surrounded by air-purifying plants.

    5. Invest in Quality Organic Bedding

    Synthetic bedding traps heat, wrinkles easily, and often feels cheap no matter the thread count. Organic cotton or linen bedding breathes better, feels softer over time, and supports your sleep quality—plus it’s sustainable.

    Organic cotton sheet sets run $80–$150 at Parachute, Brooklinen, or Target’s Good & Gather line. Linen duvet covers cost $120–$250 depending on brand. A quality pillow ranges $60–$150. If budget is tight, start with one organic sheet set and build from there ($80–$120). Wash new bedding before use and expect the first few washes to soften the fabric. Organic textiles last longer and eventually feel better than cheaper alternatives.

    You’ll notice the difference your first night—better airflow, cooler in summer, and a more restful sleep. It’s an investment in your health.

    6. Use Statement Color as Intentional Accents

    Bold colors work best when used strategically, not slapped on all four walls. Repeating one statement color in three places (accent wall, throw pillows, artwork) creates intentionality without overwhelming the space.

    Choose your color first: jewel tones like forest green, aubergine, or midnight blue photograph beautifully and feel contemporary. Paint an accent wall ($25–$40 for paint plus labor if needed). Add throw pillows in the same color ($30–$60 total). Hang artwork or a tapestry with color echoes ($40–$100). Total cost: $100–$200. This approach works in rentals too—use removable wallpaper ($30–$50) instead of paint on that accent wall.

    The room becomes visually cohesive and designed. You’re not following trends; you’re making intentional choices.

    7. Build a Cherry-Coded Bedroom Aesthetic

    Pinterest is flooded with “cherry-coded” aesthetics—a warm, vintage-leaning look that mixes deep reds, burgundies, natural woods, and warm neutrals. It feels curated and nostalgic without being over-the-top.

    Start with one core piece: a burgundy or deep red throw blanket ($30–$60), vintage wooden dresser (thrift stores: $50–$200), or burgundy bedding ($80–$150). Layer in warm neutrals and touches of natural wood. Add botanical prints or artwork ($20–$80). This isn’t about matching perfectly; it’s about building a cohesive mood. Shop vintage at Goodwill, Facebook Marketplace, or local antique stores to keep costs down and add personality.

    Your room becomes Instagram-worthy without feeling staged. The cherry tones create a warm, intimate vibe that feels timeless.

    8. Incorporate Raw Materials for Organic Modernism

    Raw materials—reclaimed wood, cork, unfinished stone, and natural fibers—bring tactile authenticity to modern spaces. They age beautifully and feel grounded in a way polished, synthetic materials don’t.

    A reclaimed wood nightstand costs $80–$300 depending on where you source it (Etsy, local woodworkers, or antique markets). Cork storage boxes run $20–$50 for a set. Unfinished wooden shelving is $30–$80 per shelf. Concrete or stone decorative pieces are $15–$60. If budget is tight, start with one raw-material piece (a cork box or wooden shelf) and add others over time. These materials look better as they age, so buy thoughtfully.

    Your space stops feeling generic and starts feeling like an actual home. Raw materials give a room character.

    9. Switch to Rounded Furniture for Softer Spaces

    Sharp angles and straight lines feel modern and clean, but rounded furniture creates a gentler, more calming environment. Curved headboards, arched mirrors, and rounded dressers read as high-design but are increasingly affordable.

    Curved headboards (upholstered, rattan, or wood) range $150–$500 at Wayfair, Article, or West Elm. Arched mirrors cost $60–$200. Round nightstands run $80–$250. If you can’t replace all your furniture, start with one curved piece—most impact comes from the headboard since you see it first when you enter. Renter-friendly option: buy a headboard-only piece ($80–$300) that leans against the wall without being mounted.

    The moment you introduce curves, the room feels different—softer, more intentional, less corporate. Your bedroom becomes a retreat.

    10. Hang Arched Mirrors to Amplify Light and Space

    Arched mirrors are having a moment, and for good reason—they’re sculptural, reflect light to brighten dark corners, and make rooms feel bigger. Leaning a large arched mirror against a wall is renter-friendly and reads as intentional design.

    Arched mirrors start at $50–$80 for basic styles (IKEA, Wayfair, Target) and go up to $200–$400 for higher-end versions (CB2, Article, West Elm). No installation required if you’re leaning it; just place it safely against a wall. If you want to hang it, a simple wall anchor works for renters ($5–$10). Lean your mirror opposite a window to bounce natural light around the room, or place it where it reflects the best part of your bedroom.

    The light distribution changes immediately. Your room feels brighter, more open, and more deliberately styled.

    11. Layer Textured Throw Blankets and Pillows

    Textural variety is what separates a bland bedroom from a cozy one. Mixing velvet, chunky knit, high-pile, and linen creates depth and makes your bed irresistible.

    Throw blankets range $20–$80 depending on material and brand (Target, Wayfair, Anthropologie). Textured pillows cost $15–$60 each. Buy three to four blankets and four to six pillows in a coordinated color palette for $150–$300 total. Mix shapes (square, lumbar, round) and fabrics (velvet, linen, knit). Layer them on your bed, but don’t overthink it—the goal is cozy, not styled to perfection.

    Your bed becomes a tactile experience. Texture invites touch and makes the space feel luxurious without being expensive.

    12. Create a Designated Work Nook in Small Bedrooms

    Working from your bed blurs boundaries and disrupts sleep quality. Carving out a small desk nook—even in a tiny bedroom—keeps work separate and helps you actually rest when you’re in bed.

    A slim desk costs $40–$150 (IKEA’s Alex desk, Wayfair finds, or secondhand Craigslist scores). A task chair runs $60–$200. Add a floating shelf ($20–$50) for storage and task lighting ($20–$60). Define the zone with a small rug ($30–$80). Total investment: $170–$540 depending on how assembled vs. finished you want. Place it by a window for natural light if possible. If your bedroom is tiny, even a small fold-down desk or wall-mounted surface works.

    You’ll sleep better knowing work has its own space. Your bed becomes a retreat again, not an office.

    13. Use Vintage and Secondhand Pieces for Personality

    New furniture is fine, but secondhand pieces have character, history, and often better craftsmanship than mass-produced alternatives. Mixing vintage finds with modern pieces creates a collected, personal look.

    Thrift stores yield dressers, nightstands, and mirrors for $30–$150 each. Facebook Marketplace and Craigslist offer larger pieces like bed frames for $50–$300. Etsy has curated vintage for higher prices ($100–$500+). Budget $200–$600 to furnish a bedroom with secondhand pieces. Shopping vintage takes time, but you’ll own fewer, better things with actual character. Check for structural integrity and treat wood with care if it needs refinishing.

    Your bedroom tells a story instead of looking catalog-perfect. Vintage pieces become conversation starters.

    14. Install Floating Shelves for Storage and Display

    Floating shelves maximize wall space, provide storage without taking up floor room, and let you display the items that matter to you. They’re also renter-friendly if you use removable adhesive brackets.

    Floating shelves cost $20–$60 per shelf depending on material and length. Brackets range $10–$30 per set. For renters, adhesive shelves ($20–$50 for a set of 3) avoid permanent damage. Installation takes 30 minutes to an hour with basic tools. Use shelves for plants, books, photo frames, or pretty storage boxes. Avoid overcrowding; negative space is part of the design.

    You gain functional storage without a bulky dresser taking up floor space. Your walls become part of your bedroom’s personality.

    15. Upgrade Your Pillows for Better Sleep

    Your pillow matters more than most people realize. If your pillows are flat, lumpy, or unsupportive, you’re sabotaging your sleep. Upgrading to pillows that actually fit your sleep style transforms rest quality.

    Quality pillows run $50–$150 each depending on fill (memory foam, down, hybrid, latex). A good starting point: one supportive pillow for sleeping ($80–$120) and one softer decorative pillow ($40–$80). Brands like Casper, Purple, and Brooklinen offer sleep trials so you can test before committing. Pillows last 1–2 years before they lose support; budget for replacement every 18 months.

    Better pillows mean better sleep and fewer neck issues. This small investment has outsized impact on your daily life.

    16. Paint Your Ceiling a Warm Neutral or Soft Color

    Most people paint ceilings white out of habit, but warm or soft-colored ceilings feel more intimate and visually interesting. You spend 8 hours a night looking at your ceiling—make it intentional.

    Ceiling paint costs $30–$50 per gallon (same as wall paint). Roller extensions ($10–$20) make the job easier. A coat or two takes 2–3 hours of active work. Choose warm white, soft cream, pale taupe, or even a whisper of color (light sage or pale blue). Avoid dark colors unless your ceiling is very high; they can make rooms feel smaller. If you rent, check your lease first.

    The finished look feels cohesive and designed. A painted ceiling elevates the entire room.

    17. Create Visual Balance with Asymmetrical Layout

    Perfectly symmetrical layouts feel sterile and boring. Asymmetrical arrangements feel collected, personal, and more visually interesting while still maintaining balance.

    Rearrange furniture you already own to test asymmetry—shift your bed, angle a dresser, place nightstands at different heights. Add mirrors, artwork, and lighting at varying levels. Layer elements rather than matching them exactly. This costs nothing but time and observation. The goal is balance without matching: heavier visual weight on one side, offset by interest on another.

    Your room stops looking staged and starts looking lived-in. Asymmetry creates personality.

    18. Layer Vintage Quilts for Texture and Nostalgia

    Handmade quilts are having a moment—they bring texture, pattern, and nostalgic warmth that mass-produced duvets can’t match. Layer a quilt as your primary bedding (like a duvet) and add throws for depth.

    Vintage quilts run $30–$150 from thrift stores, Etsy, or antique markets depending on condition and pattern. New quilts cost $100–$300+. Use a quilt as your main layer (like a duvet) and style throws and pillows around it. Quilts look best when layered casually—don’t overcomplicate the styling. If your quilt is delicate, dry-clean occasionally or hand-wash gently.

    Your bed becomes a textural focal point. Quilts feel handmade and intentional in a way synthetic bedding never does.

    19. Use Wall Sconces Instead of Overhead Lights

    Overhead lights are harsh and unflattering. Paired wall sconces flanking your bed provide functional light for reading while creating a warm, intimate ambiance that overhead lights can’t achieve.

    Sconces range $30–$80 each at Target, West Elm, and Wayfair (times two for a pair). Wiring and installation runs $100–$200 for a handyman; if you’re handy, DIY is cheaper. Total investment: $160–$360. For renters, plug-in sconces ($40–$80 each) avoid permanent installation. Position sconces at head height on either side of your bed, about 2 feet out from the headboard.

    Your bedroom lighting becomes functional and beautiful. Sconce light feels luxurious and makes reading in bed a pleasure.

    20. Add Dimension with Curved Nightstands

    Curved nightstands are softer versions of standard rectangular tables. They take up similar floor space but read as higher-design and more contemporary.

    Curved nightstands cost $80–$250 depending on material and brand (Wayfair, Article, CB2, West Elm). If budget is tight, look for curved options at IKEA ($50–$100) or hunt secondhand ($30–$80). You need them on both sides of a bed for balance, so budget for two. Curved edges also mean less shin-cracking when you navigate your room in the dark.

    The bedroom feels immediately softer and more intentional. Rounded shapes create a calmer visual environment.

    21. Hang Botanical Art or Large Canvas Above the Bed

    A blank wall above your bed is wasted real estate. A large piece of art—botanical prints, abstract canvas, or a gallery wall—serves as the bedroom’s focal point and sets the tone for the entire space.

    Canvas prints cost $30–$100 (Etsy, Minted, or print-to-order services). Framed art runs $50–$200+ depending on quality and frame. A simple frame upgrade costs $20–$60. Hang art 8–12 inches above your headboard (or 60 inches from the floor if there’s no headboard). Choose art that makes you happy; this is personal space.

    Your bed becomes a gallery moment. Art makes the room feel intentional and personal.

    22. Organize Under-Bed Storage with Clear Containers

    Under-bed storage is prime real estate, but stuffing it with random items defeats the purpose. Clear containers help you see what you have while keeping things organized and accessible.

    Clear plastic storage containers cost $20–$50 for a set of 3–4. Bins from Container Store, Target, or Amazon vary in size. Label each container with a label maker ($15–$30) or masking tape. Store seasonal blankets, extra pillows, or off-season clothing. Total investment: $40–$80. This is especially useful in small bedrooms where closet space is limited.

    You’ll actually know what’s under your bed. Organization makes the bedroom feel calm and intentional.

    23. Create Ambient Light with Soft Overhead Options

    Harsh overhead lights ruin bedroom ambiance. Dimmable overhead options or soft-finish fixtures (brass, matte, warm tones) provide functional light while maintaining coziness.

    Dimmers cost $15–$40 and work with most existing fixtures (electrician: $50–$150 to install). New fixtures in warm finishes run $50–$150 (pendant lights, drum lights, or chandeliers). Bulb choice matters too—use warm white (2700K) rather than bright white or cool tones. Total investment: $100–$300 for installation and fixtures.

    You control the ambiance. Dimmers let you adjust light based on your mood and time of day.

    24. Add a Statement Headboard or DIY One

    Your headboard is the first thing you see when you enter the bedroom and the last thing you see when you lie down. A statement headboard—upholstered, wood-slat, or built-in—anchors the entire space.

    Upholstered headboards cost $200–$600 depending on size and fabric. Wood-slat or DIY headboards run $100–$400 if you’re building from reclaimed wood or plywood. If budget is tight, buy a headboard-only piece ($80–$300) that leans against the wall without mounting. DIY enthusiasts can build a simple slat headboard with lumber and a drill ($50–$150 in materials). For renters, lean a headboard-only piece against the wall or use removable adhesive strips.

    The headboard becomes your bedroom’s anchor. The entire space feels more designed and intentional.


    Pick one idea and tackle it this weekend. Whether it’s swapping pillows, adding plants, or painting an accent wall, small changes compound fast. Your bedroom deserves to be a retreat—not a to-do list. Save this post for later, and share it with any friends who need a bedroom refresh too.

  • 24 Color-Coded Closet Arrangement Ideas That Boost Style & Efficiency

    24 Color-Coded Closet Arrangement Ideas That Boost Style & Efficiency


    Color-coding your closet sounds like a luxury move, but it’s actually one of the smartest organizational strategies you can adopt—and it costs almost nothing. When your clothes are arranged by color, getting dressed becomes faster, you’ll wear more of what you own, and your space instantly looks more curated and intentional. Whether you’re working with a tiny bedroom closet or a sprawling walk-in, these 24 color-coded arrangement ideas will help you build a system that works with your lifestyle, your budget, and your personal style. You’re about to discover that the most efficient closets aren’t about having less stuff—they’re about knowing exactly where everything is. Let’s dive in.

    1. Arrange by Rainbow Order

    The rainbow method is the most intuitive color system because your brain already recognizes it from childhood. Start with reds and warm tones on one end, transition through yellows and greens, then move into blues, purples, and finish with neutrals (blacks, whites, grays, beiges).

    This takes about 2-3 hours to reorganize your entire closet and requires zero budget—just your existing hangers. Use wooden or slim velvet hangers (you probably have these already) to keep clothes from slipping. The beauty here is that any guest or family member can instantly find what they’re looking for, making borrowed clothes less of a mystery. Group by color first, then by item type within each color zone if your closet is deep enough.

    Your morning routine becomes a visual scan instead of a guessing game, and you’ll rediscover pieces you forgot you owned.

    2. Create Monochrome Sections with Clear Labels

    Labels are your closet’s best friend, and they work even better when paired with monochrome grouping. Designate sections of your closet to specific color families: one zone for blacks and grays, another for whites and creams, a third for jewel tones, and a fourth for warm colors like oranges and rust.

    Grab a label maker ($15-$25 at Target or Amazon) or use painter’s tape and a permanent marker. This method works brilliantly for families or roommates because everyone immediately knows the rule. It takes one evening to set up but saves you countless minutes daily. If you have drawer space, use the same system—label each drawer or section so you’re not hunting through multiple compartments.

    This system makes accountability easier and keeps everyone’s clothes respected and organized.

    3. Sort Neutrals from Jewel Tones

    This is the easiest two-zone system for people who love mixing basics with statement pieces. Group all your neutrals—blacks, whites, grays, beiges, tans, and navies—in one section. Put all your jewel tones (emeralds, sapphires, amethysts, deep teals) and bright colors in another.

    Zero budget required—just rearrange what you have. This method takes 45 minutes to one hour and immediately creates visual calm because you’ve essentially halved your color complexity. Your eye knows where to go when you want a bold piece versus a foundational one. Within each section, you can still organize by item type (tops, bottoms, dresses) if that helps further.

    This approach works especially well if you’re someone who builds outfits around one statement piece and fills in with neutrals.

    4. Use Color Blocking by Shelf

    If you’re more of a folder than a hanger person, color-blocking by shelf is your answer. Each shelf gets its own color family, creating visual sections that feel organized without being rigid.

    Grab three to four open shelves or storage boxes ($20-$60 from IKEA, Wayfair, or a budget retailer). This takes 2-3 hours to sort and implement. Stack similar items together—all your cream sweaters on the top shelf, all your burgundy knits on the second, and so on. Use file-folding or a drawer organizer ($10-$15) to keep stacks from toppling.

    The best part? You can see everything at a glance and the uniform stacks make your closet look almost retail-ready.

    5. Create a Seasonal Color Rotation System

    Seasonal color rotation means keeping your current season’s dominant colors at eye level and storing off-season colors up high or in bins. In spring, showcase your pastels and bright whites. In fall, pull forward your warm rusts, ochres, and deep oranges.

    Use clear storage bins ($8-$15 each) to house off-season items, labeling each bin with the season and main colors it contains. This takes one weekend to establish but saves closet space year-round. You’ll need 4-6 bins depending on your wardrobe size. Store these under the bed, in a guest room, or on high shelves.

    Your active closet stays lean and seasonally relevant, which makes getting dressed faster and your space feel less overwhelming.

    6. Pair Colors with Outfit-Ready Hangers

    Instead of hanging items by color alone, group complete outfits together using multi-hanger clips or simply hanging related pieces on the same spot. Keep your white blouse, black pants, and blazer together. Hang your denim jacket next to your favorite white tee.

    Use multi-hanger clips ($8-$12 for a set) available on Amazon or at container stores, or simply hang clothes close together on the same rail. This takes one to two hours to set up and requires you to think through your outfit pairings once. You still maintain color organization at a macro level, but within each color section, you’ve pre-planned outfits.

    On rushed mornings, you literally grab one unit and you’re done—no second-guessing whether that emerald top goes with those pants.

    7. Use Color + Texture to Define Sections

    Combine color organization with texture grouping for a boutique-level closet. Keep all your silky, lightweight pieces in cool tones together. Bunch your chunky knits in warm colors. Hang flowing fabrics in jewel tones separately from structured pieces.

    Zero budget—this is about smart arrangement. This reorganization takes 2-3 hours and requires you to notice the feel of your pieces, not just their color. You’re essentially creating micro-zones within color families. When you grab that emerald silk blouse, you know it’s in the “jewel-tone delicate” section, not mixed randomly among all emerald items.

    Your closet starts feeling curated and high-end because each section has both visual and tactile harmony.

    8. Build a Capsule Within Your Color System

    Create a color-coordinated capsule wardrobe section that you rotate with the seasons. Choose one neutral base color (white, black, or beige) and add three supporting colors that you love and that work with your skin tone.

    Use existing hangers and shelf space—no investment needed. Spend one afternoon identifying your capsule pieces. This system prevents decision fatigue because you know every piece in that section works together. Photograph your capsule pieces and keep the photo on your phone as a shopping reference so you don’t accidentally buy something that breaks your color harmony.

    You’ll notice you reach for these pieces more often and feel more confident in what you’re wearing.

    9. Color-Code by Work, Weekend, and Sleep

    Organize by lifestyle category first, then by color within each. Keep your work clothes (in professional colors) in one zone, casual weekend pieces in another, and sleep/lounge wear in a third. This prevents you from accidentally grabbing your favorite Saturday sweater when you need something for Monday.

    Zero budget required—just rethink your layout. This takes 2-3 hours and works especially well if you have room to create distinct zones or use different shelves for different purposes. Within each lifestyle section, maintain your color order (rainbow, monochrome, or whatever system you prefer).

    Getting dressed for the right occasion becomes automatic—you’re not hunting across your entire closet for “work clothes” because you know exactly where that section is.

    10. Use Open Shelving to Showcase Color

    Open shelving is a color-coder’s dream because every piece is visible. Display your favorite or most-worn pieces by color in an intentional arrangement that doubles as decor.

    Install floating shelves ($30-$80 per shelf from IKEA, Home Depot, or Amazon) or use existing shelving. This project takes half a day to one full day if you’re also installing shelves, or just one hour if you already have shelves. Fold your items using the KonMari method or file-fold to keep them stable and visible. Stick to a maximum of three to four colors per shelf so it doesn’t look chaotic.

    Your closet transforms into something that looks intentional and gallery-like, and you’re more likely to actually wear what you display because you see it every day.

    11. Create Color Gradients Within Each Hue

    Instead of jumping from one color family to the next, create gradients within each primary color. All your blues go together, but arranged from lightest to darkest. All your reds progress from coral through burgundy to wine.

    Zero budget—this is pure rearrangement. This takes 3-4 hours for a full closet because you’re being very intentional about color placement, but the result feels incredibly polished. You’ll need good natural or overhead lighting to see the subtle differences between shades.

    Your closet looks like a professional boutique because the eye can follow a smooth color journey instead of jumping around randomly.

    12. Use Color-Coded Hangers to Reinforce Organization

    Assign different hanger colors or finishes to different clothing categories within your color organization. All your neutrals hang on natural wood hangers, all your jewel tones on rose gold, all your brights on white.

    Buy matching hanger sets in 2-3 finishes ($15-$40 for a mixed set from Amazon, Target, or IKEA). This takes one to two hours to implement and adds a subtle organizational layer that you’ll instantly see. Your eye catches the hanger color before it registers the clothing, so you can quickly navigate your space.

    The secondary layer of organization makes your system more foolproof and your closet feel intentionally designed.

    13. Group Similar Colors to Maximize Outfit Options

    Instead of spreading similar shades across different areas, bunch all your variations of one color family together. Put every shade of blue you own—from sky to navy—in one section, even if that means mixing tops and bottoms and dresses.

    Zero budget—pure rearrangement. This takes 2-3 hours depending on closet size. When you do this, you suddenly realize you have three pairs of blue jeans and five blue tops, which means unlimited outfit combinations from just one color family. You’re more likely to wear these pieces because you see all the options at once.

    Your closet becomes a source of creativity because you realize the outfit possibilities within colors you already loved.

    14. Create a “Color” Shelf for Accessories

    Dedicate one shelf or section to color-coordinated accessories that complement your main closet colors. Organize your belts, scarves, bags, and shoes using the same color system as your clothing.

    Use small baskets, a hanging organizer, or adhesive hooks ($5-$20 total). This project takes 30 minutes to one hour. Keep similar items together—all your scarves in one basket by color, all your belts on a small rack by color. This prevents that dreaded moment when you’ve got the perfect outfit but can’t find the right accessory to finish it.

    Your accessories actually get worn more because they’re visible and easy to find, which immediately multiplies your outfit options.

    15. Use Transparent Storage Boxes for Off-Season Items

    Keep off-season items visible by storing them in clear, labeled boxes. Sort by color within each season, so your winter bins contain all your reds together, all your jewel tones together.

    Buy clear plastic storage containers ($8-$15 each, available at Target, Amazon, or Walmart). This takes one to two hours to organize properly. Label each box with the season and main colors it holds. You’ll need 4-6 boxes depending on your wardrobe, stored on high shelves or under the bed.

    You can actually remember what off-season items you own instead of being surprised when you pull them out, and you’re less likely to buy duplicates.

    16. Organize Shoes by Color to Match Your Clothes

    Your shoe collection should reflect and support your color-coded closet, not work against it. Organize shoes the same way—neutrals together, then jewel tones, then accent colors.

    Use a shoe rack, shelving, or clear shoe boxes ($20-$60 depending on your shoe quantity). This takes one to two hours to implement. If you have limited space, use clear over-the-door shoe organizers ($10-$15) to maximize vertical space. Keep shoes visible so you remember what you have.

    Getting dressed becomes seamless because your shoe color options are instantly obvious without digging through a jumble.

    17. Create a “Visual Anchor” Piece in Each Color Zone

    Within each color zone, identify one favorite or most-worn piece and hang it prominently. This becomes your visual anchor that reminds you of the color family and encourages you to build outfits around it.

    Zero budget—just intentional placement. This takes 30 minutes once you’ve organized by color. Your eye naturally lands on these anchor pieces when you’re getting dressed, and you’re more likely to wear them. This system also prevents that problem of having a favorite piece buried in the back.

    You’ll reach for these pieces more often and build more creative outfits because they’re visible and celebrated in your space.

    18. Use Velvet Hangers in Color-Coordinated Sets

    Switch to all matching hangers in one coordinated tone (blush, soft gray, rose gold, or champagne gold) to make your color-coded system feel more intentional and boutique-like.

    Buy a set of 20-30 velvet hangers ($25-$50 from Amazon, Wayfair, or The Container Store). This takes one to two hours to switch out all your hangers but the visual impact is immediate. Velvet hangers also keep clothes from slipping, which is a bonus. Choose a hanger color that complements your wall color or bedroom aesthetic.

    The uniform hangers make your color-coded clothing the visual focus, and your closet automatically looks more high-end.

    19. Build Color Stories Around Your Lifestyle

    Instead of pure color organization, assign colors to lifestyle stories or seasons of your life. Create one color palette for your “outdoor adventures” life, another for your “creative work” life, a third for your “cozy home” self.

    This takes two to three hours of honest reflection and rearrangement, and costs zero dollars. Choose three to four colors per lifestyle story and stick mostly to that palette. You might find your “outdoor” pieces are olive, khaki, and brown. Your “creative work” pieces are jewel tones and interesting textures. This system works brilliantly for visual decision-making.

    Getting dressed becomes about channeling the version of yourself you want to be that day, not just grabbing anything clean.

    20. Create a Color Reference Chart for Your Phone

    Photograph color swatches from your organized closet and keep them on your phone as a shopping reference. Snap small samples of your neutral base, your accent colors, and your jewel tones from actual pieces you own.

    Grab a small notebook or print out your photo ($0-$5). This takes 15 minutes. When you’re shopping (online or in stores), pull up your phone and match new purchases to your existing palette. This prevents those “I thought this was the right blue at home” situations.

    You’ll shop more intentionally and stop buying pieces that don’t actually work with your existing closet ecosystem.

    21. Use Lighting to Showcase Your Color Organization

    Good lighting elevates any color-coded closet from “neat” to “boutique.” Install LED strip lights or small puck lights ($15-$50 from IKEA, Amazon, or hardware stores) inside your closet to brighten dark corners and highlight your color work.

    This project takes 30 minutes to one hour if you’re just sticking on adhesive-backed LED strips, or a few hours if you’re wiring permanent fixtures. Warm white light ($2700K-$3000K) is most flattering to clothing colors. Good lighting also makes it easier to actually see colors and prevents grabbing the wrong shade in dim conditions.

    Your closet becomes genuinely functional and feels like a luxury space you actually want to spend time in.

    22. Adopt the “One Color, One Day” Outfit Challenge

    Once your closet is color-coded, challenge yourself to build monochrome outfits one day a week by using different shades within a single color family. All blues one day, all neutrals another, all warm tones another.

    This costs zero dollars but takes 10-15 minutes per outfit attempt. You’ll discover depth and sophistication in shades you might not have considered as “matching.” When you do this regularly, you’re essentially pre-testing endless outfit combinations.

    You’ll have more confidence in your personal style and realize how many pieces you already have that work beautifully together.

    23. Use Dividers to Maintain Color Sections

    Add shelf dividers or hanging dividers to physically separate your color zones, making it harder for the system to slip back into chaos.

    Buy closet rod dividers or shelf dividers ($10-$30 from The Container Store, Amazon, or IKEA). This takes 15-30 minutes to install or position. Dividers are especially useful if you share a closet or have kids who might not respect your color organization system. They make the boundaries clear and make it easier to put things back correctly.

    Your system stays intact longer and requires less maintenance, because the physical dividers remind everyone where things belong.

    24. Maintain Your Color System with a Monthly Reset

    Schedule a monthly 15-30 minute reset where you quickly rescan your color zones and put anything back in its proper place. This takes just one Sunday afternoon per month.

    Use a calendar reminder or app to prompt you, and time yourself to keep it quick. You’re not deep-organizing, just straightening and repositioning. This prevents the slow creep back into chaos and keeps your system functional.

    Your color-coded closet stays visually organized and functional without requiring constant babying, and you maintain the momentum of actually wearing your clothes intentionally.


    Save this post and try implementing at least one color-coding idea this week—even small shifts make a massive difference. Your closet will feel more organized, and you’ll get dressed with more confidence and speed. Which approach speaks to you most?