Your coffee bar doesn’t need to cost thousands to look like a professional café. Whether you’re designing a home coffee station, refreshing a small commercial space, or reimagining your favorite spot, these 26 ideas blend style with real-world function. You’ll find budget-friendly hacks, DIY projects, and investment pieces that work together to create a space that feels both Instagram-worthy and genuinely usable. These aren’t overcomplicated design theories—they’re practical solutions that work for renters, small spaces, and tight budgets. By the end, you’ll have a playbook for building a coffee bar that actually reflects how you want to spend your mornings.
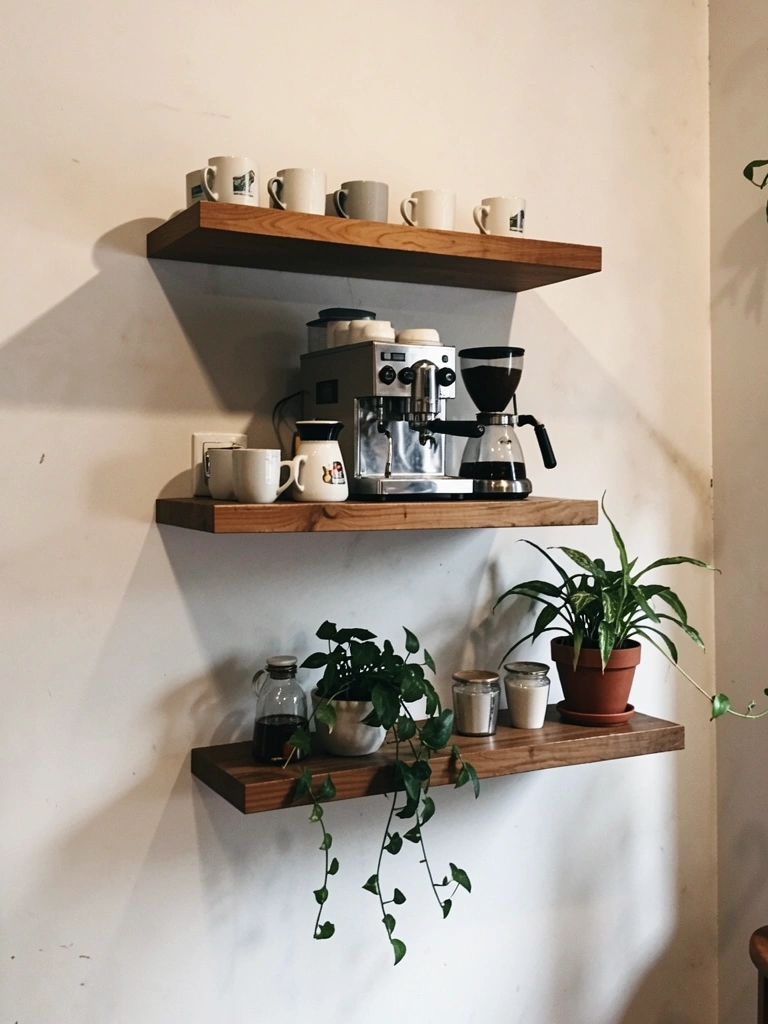
1. Use Open Shelving to Showcase Your Setup
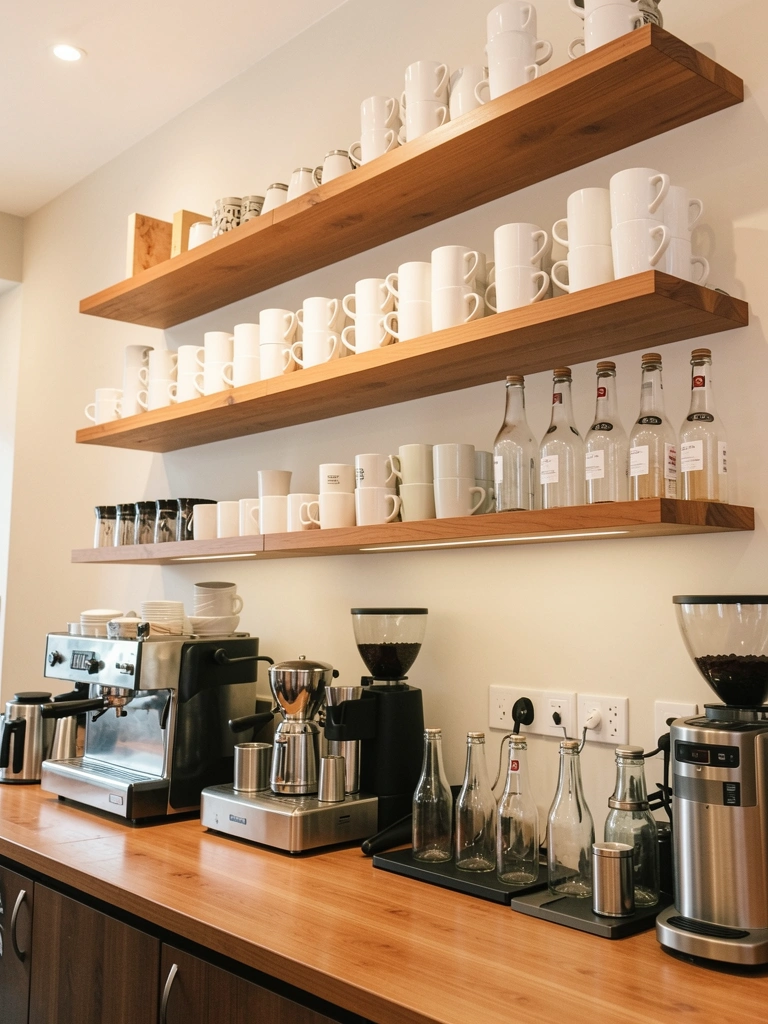
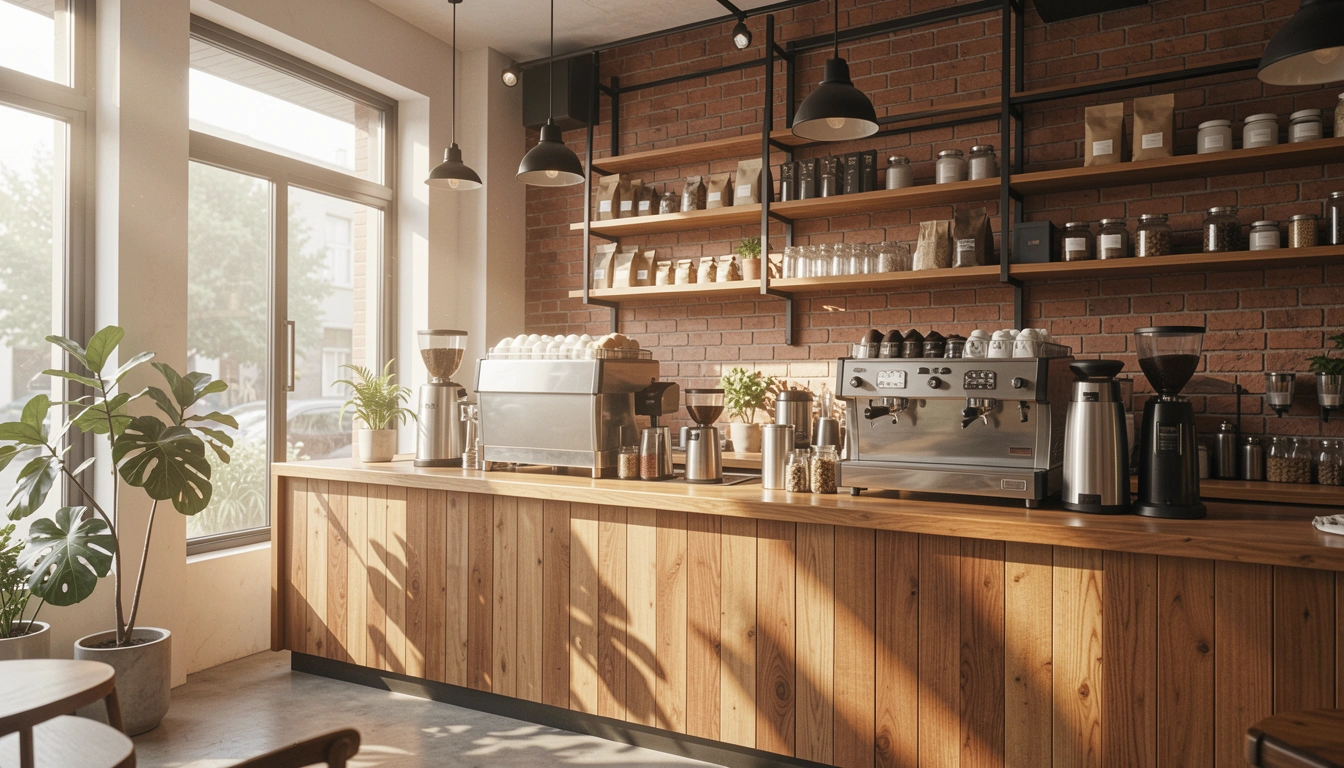
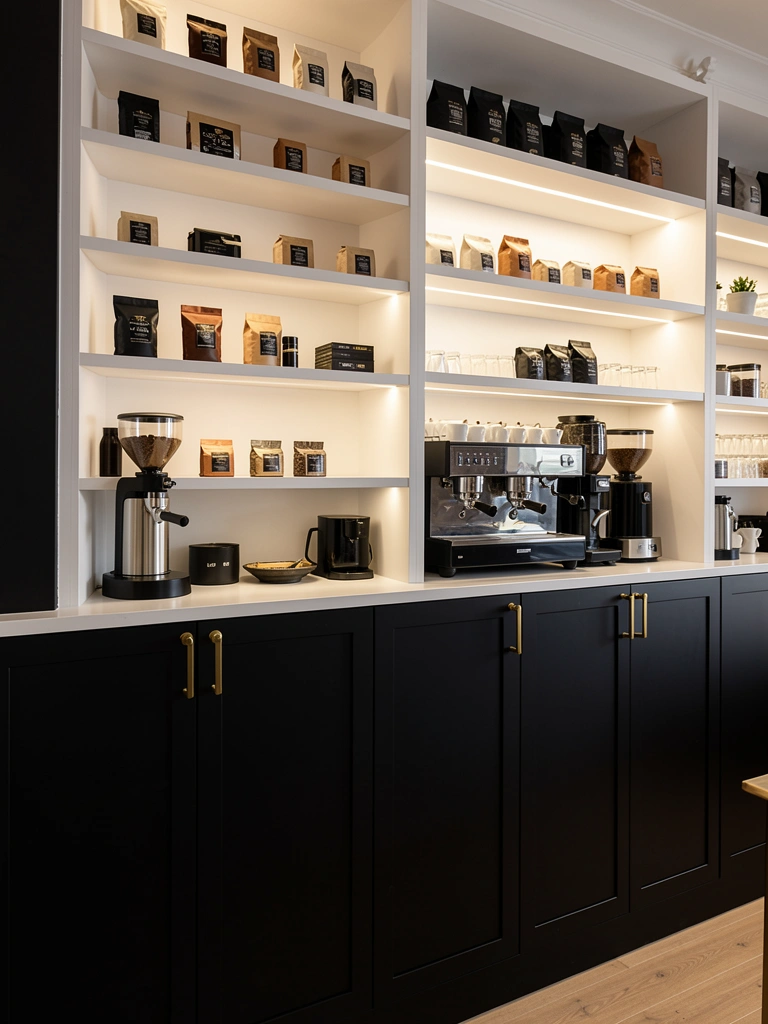
Open shelving makes your coffee equipment part of the décor instead of hidden away. This works especially well if you have nice mugs, grinders, or vintage coffee gear worth showing off.
Install floating shelves using heavy-duty brackets rated for at least 50 pounds—most hardware stores carry these for $15–$40 per pair. Arrange items by category: mugs together, coffee supplies on another shelf, smaller tools in a dedicated spot. Keep only your most-used items visible; overflow goes in closed storage below. This creates visual interest while keeping your daily workflow smooth.
Pro tip: Arrange mugs by color gradient or mix vintage and modern pieces for an intentional, collected look. If you rent, adhesive shelving strips work for lightweight displays.
You’ll notice the space feels more open and intentional, and grabbing your morning coffee becomes part of a ritual rather than a chore.
2. Paint an Accent Wall in Soft Concrete or Sage
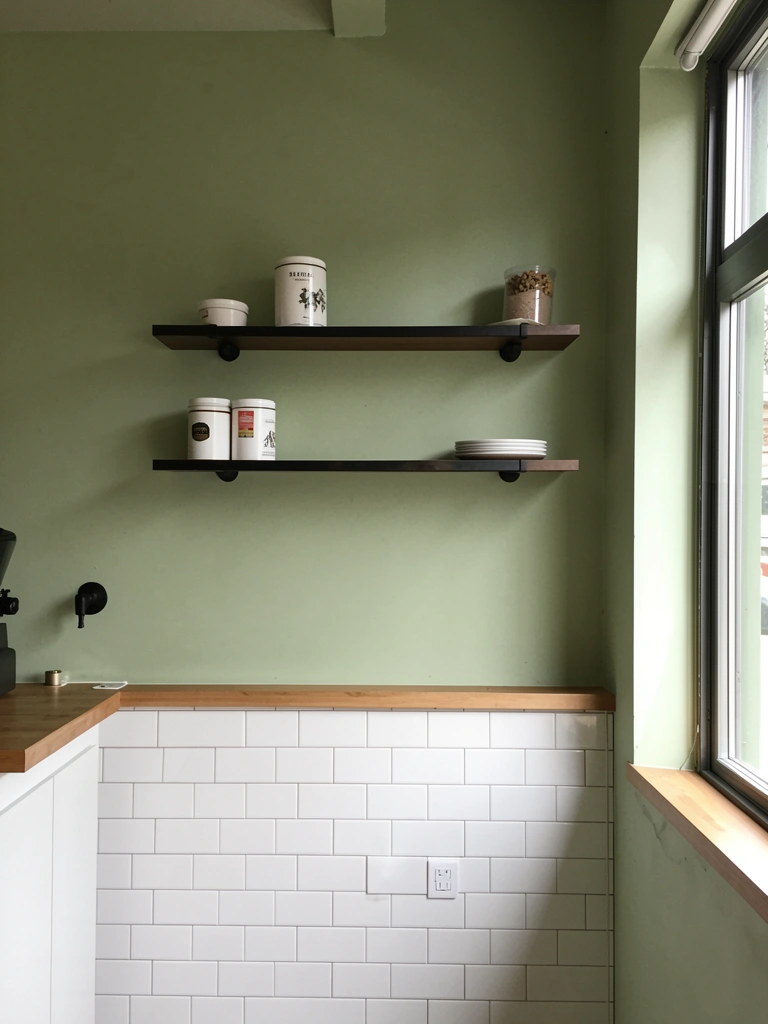
One painted wall instantly changes the whole atmosphere without major renovation. Soft, muted tones like concrete gray, sage, or warm taupe work better than bold colors in small spaces.
Choose a high-quality interior paint (Sherwin-Williams or Benjamin Moore have excellent options in these shades, $35–$50 per gallon). Primer helps if you’re going lighter. One wall in a 10×10 space takes about 2–3 hours with basic supplies. Tape edges carefully, use a roller for even coverage, and do two coats for rich color. Pair with white or cream trim for contrast.
Alternative: If you rent, peel-and-stick wallpaper in concrete or minimalist patterns gives the same effect with zero commitment.
The room immediately feels more intentional and sophisticated—suddenly, your coffee station looks like it belongs in a design magazine.
3. Add Task Lighting with Adjustable Pendant Lights
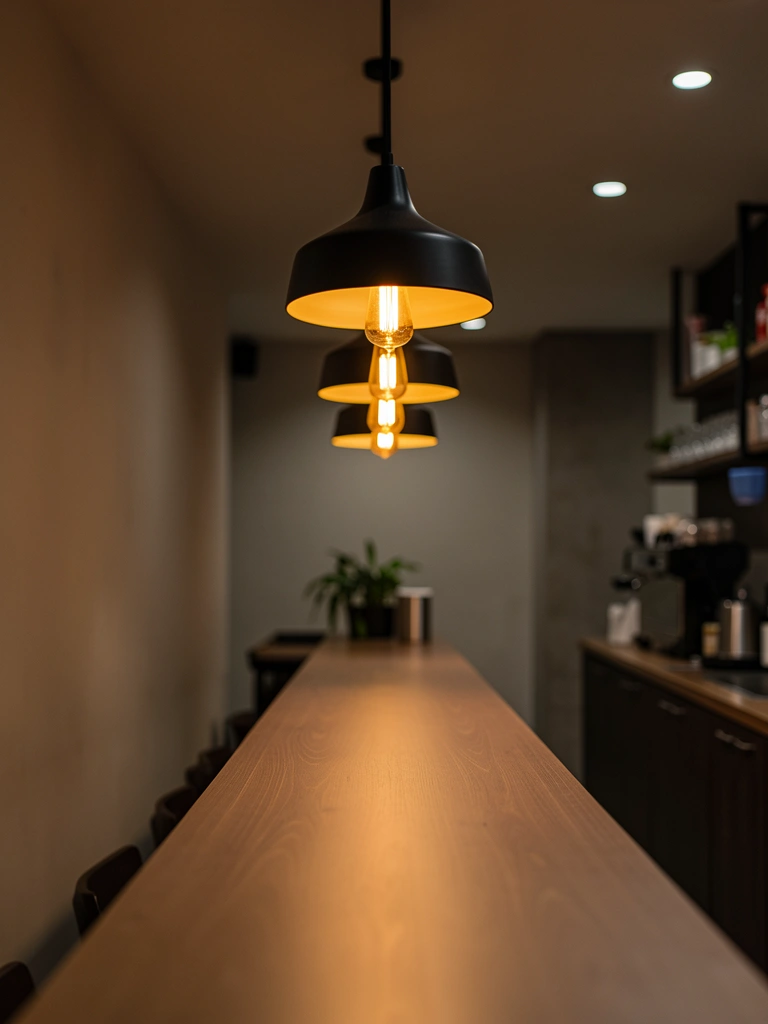
Proper lighting transforms both function and mood. Pendants over your bar area give you bright task lighting for detail work while creating visual interest.
Install adjustable pendant lights on a track system ($80–$200 for a quality set) or choose individual hanging fixtures ($40–$80 each). Position them 30–36 inches above your counter for optimal light without glare. Make sure your electrical outlet can handle the load, or hire an electrician ($150–$300 for a basic installation). Dimmable bulbs ($5–$15 each) let you adjust brightness throughout the day.
Pro tip: Matte black or brushed brass finishes work with almost any aesthetic. Edison-style bulbs photograph beautifully and add vintage charm.
Better lighting means you can actually see what you’re doing with latte art and espresso tamping—and your space looks polished at any time of day.
4. Incorporate Reclaimed Wood for Warmth
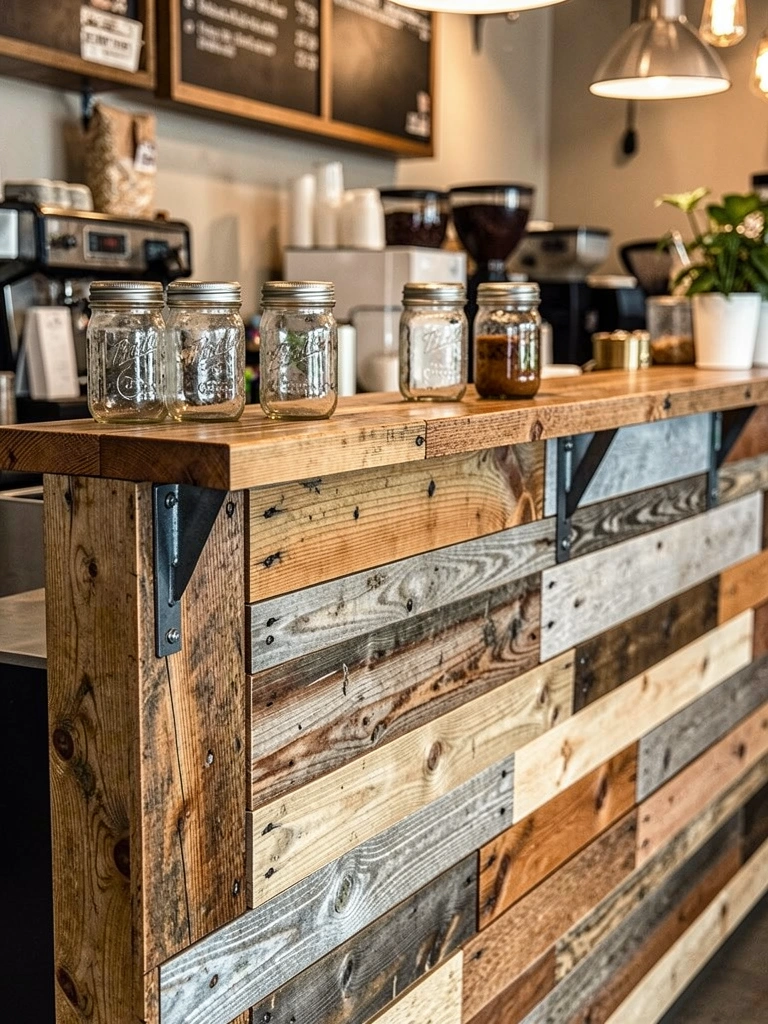
Wood instantly makes a space feel warmer and more human than all-metal or plastic surfaces. Reclaimed wood carries history and character while being environmentally conscious.
Source reclaimed wood from Etsy sellers ($3–$8 per board foot), local salvage yards, or pallets ($0–$20 each if you refinish them). Build a simple shelving unit or counter topper using basic tools: drill, saw, and sander. Budget $200–$500 for a functional piece; $700+ if hiring someone to build. Allow 2–4 weekends for a DIY project.
Alternative: New wood stained to look aged ($50–$150 at Home Depot) gives similar warmth at lower cost and zero shipping hassle.
The wood brings organic texture and makes the space feel lived-in rather than cold or corporate.
5. Create a Low-Maintenance Plant Wall
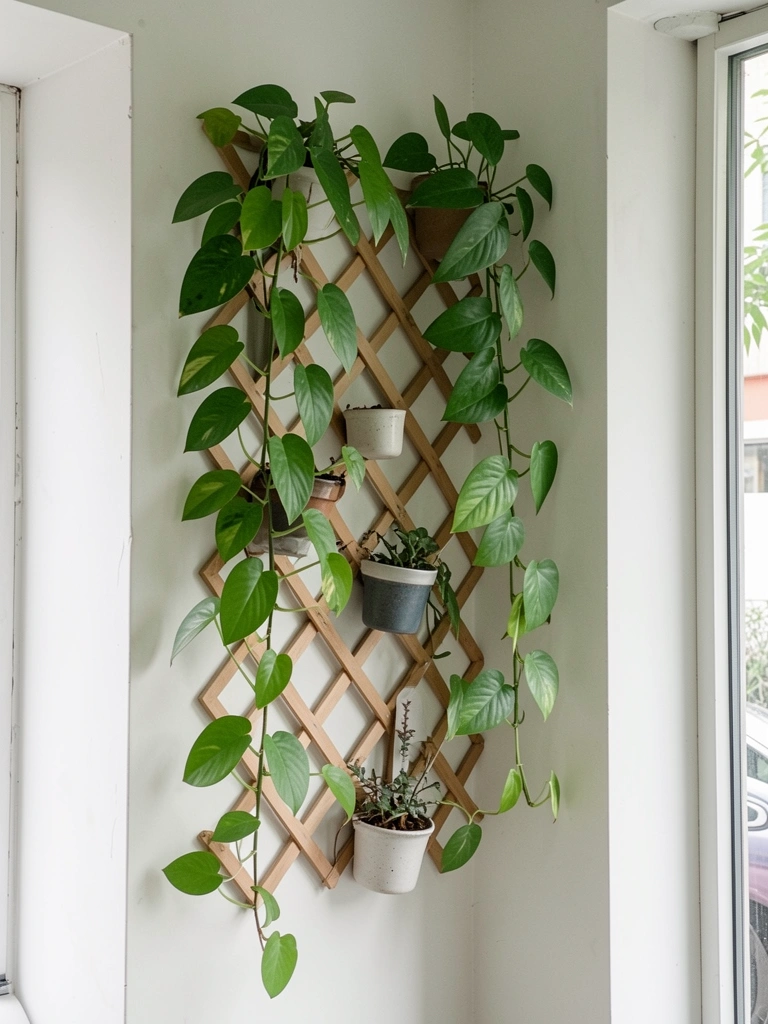
Plants improve air quality and create a calming biophilic effect—but not if they’re brown and dead. Low-maintenance options thrive with neglect.
Choose hardy plants: pothos, philodendron, snake plant, or ZZ plants ($5–$20 each). Use a simple wooden trellis or wire grid ($20–$50) and small ceramic or terracotta pots ($3–$10 each). Water only when soil is completely dry—usually every 10–14 days. Most thrive in indirect light, so they work even in dimmer corners.
Pro tip: Group plants by watering needs so you’re not checking multiple pots. Cascade trailing plants from shelves or wall-mounted holders for visual flow.
Your space gains a living, breathing quality that customers (or you, in a home setup) instinctively find comforting and welcoming.
6. Install a Statement Mirror to Bounce Light
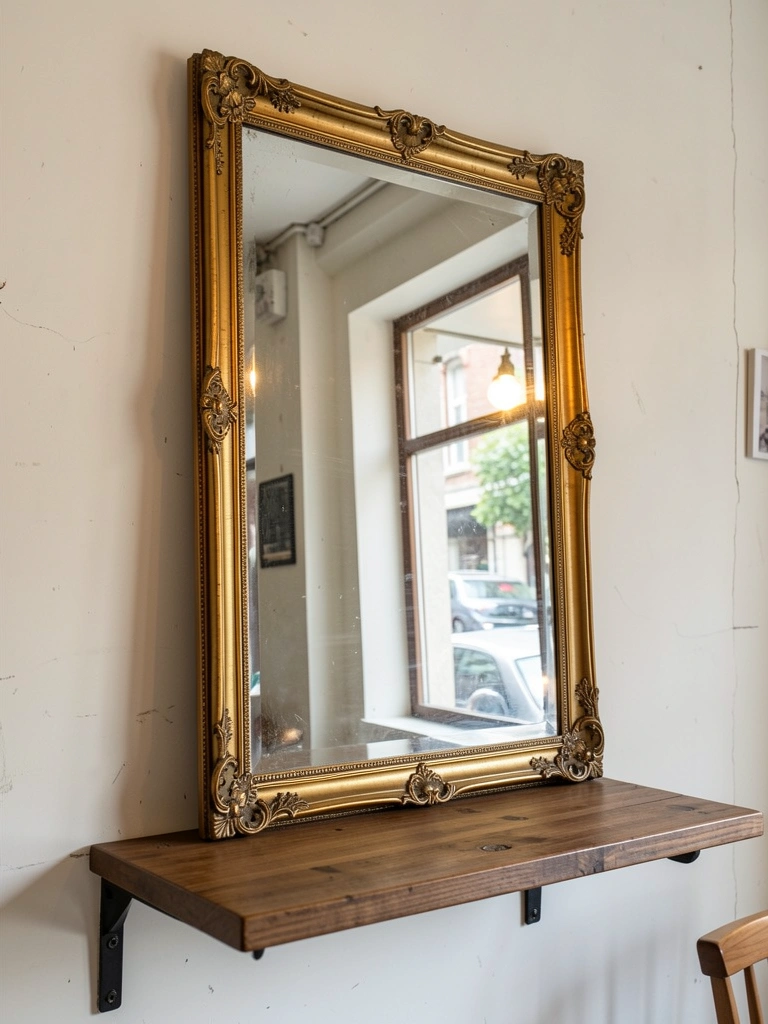
Mirrors expand small spaces and amplify natural light without any of the work. A statement mirror also adds an intentional design touch.
Choose a mirror with personality: ornate gold frame ($50–$150), simple black metal ($40–$100), or vintage finds from thrift stores ($10–$40). Lean it against a wall or mount it with heavy-duty hardware. For a 24×36″ mirror, expect mounting hardware to cost $15–$30. No electrician needed.
Alternative: Affordable full-length mirrors from Target or IKEA ($25–$60) work just as well and lean against walls.
The space immediately feels airier and brighter, and the mirror adds visual interest without taking up counter space.
7. Organize with Glass Jars and Clear Containers
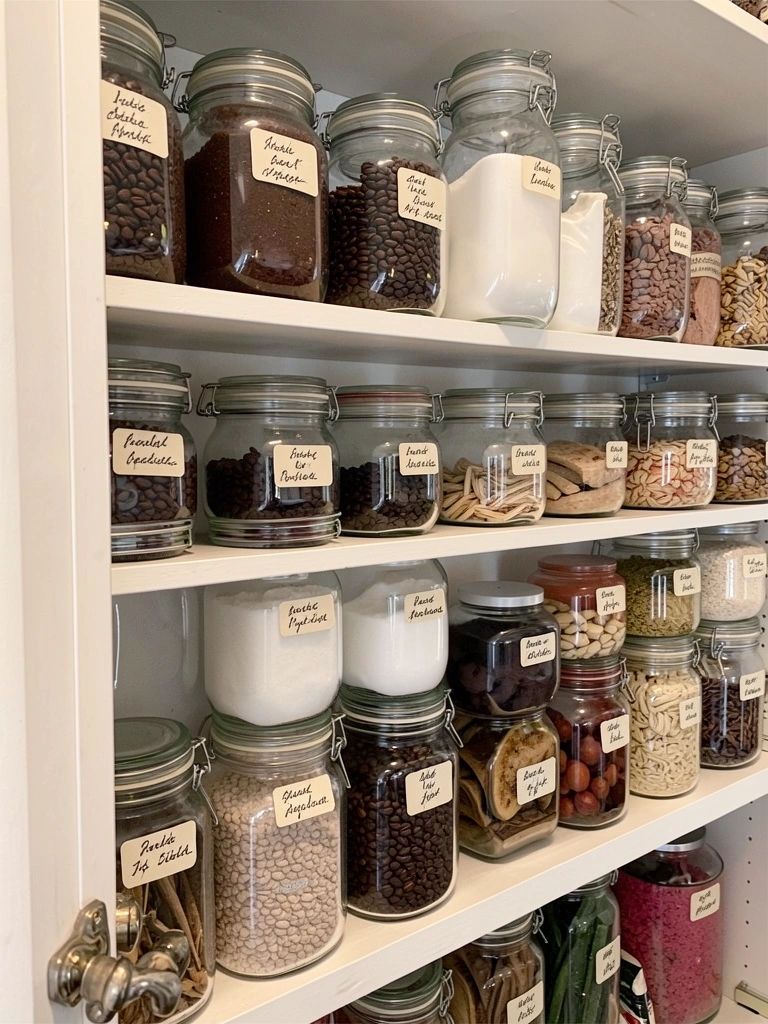
Clear storage lets you see supplies at a glance and doubles as décor. Plus, it prevents you from accidentally buying duplicate items you forgot you had.
Source glass jars from Costco in bulk ($15–$25 for a dozen), Target, or thrift stores ($1–$3 each). Label with adhesive stickers or chalkboard tape ($5–$10). Organize by category: beans, sweeteners, dry goods, tools. Takes about 30 minutes to set up.
Pro tip: Choose uniform jar sizes and shapes for a cohesive look. Matching labels make it feel intentional even if jars came from different places.
Everything you need is visible and within reach, making your morning routine faster while keeping the space looking designed, not cluttered.
8. Build Modular Seating for Flexible Layouts
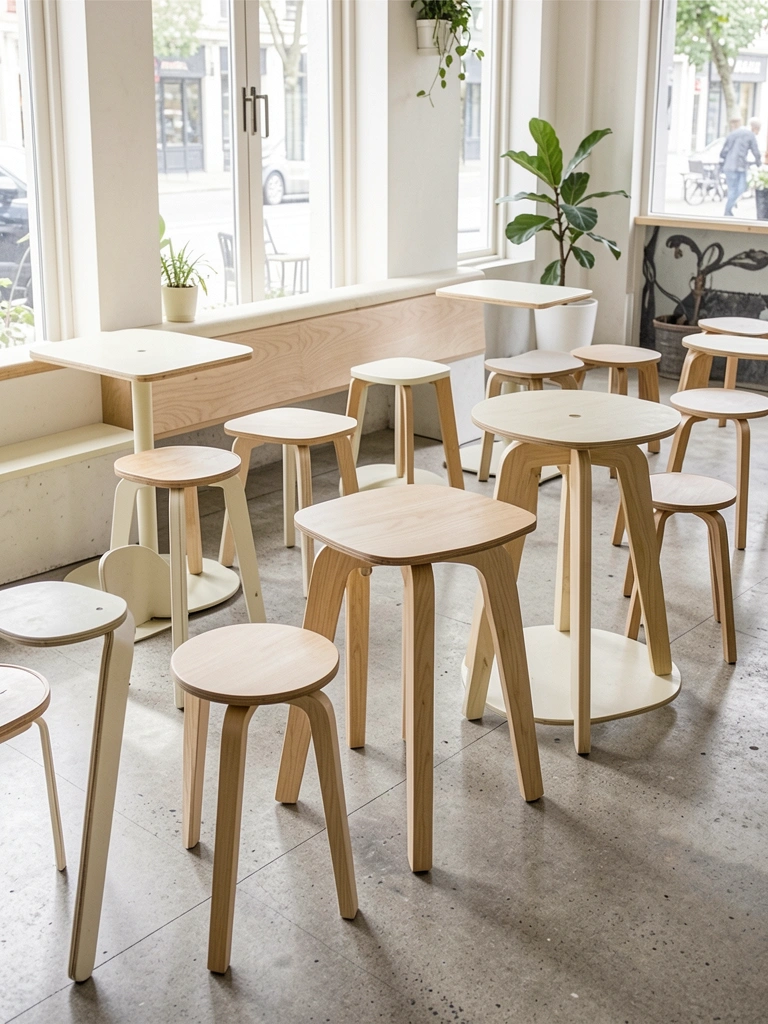
Fixed furniture limits your options, but modular pieces let you adapt the space based on your mood or needs—solo work session today, group hangout tomorrow.
Invest in lightweight, stackable stools ($40–$100 each from IKEA, Target, or West Elm) and a simple bench ($150–$300). You’ll spend $300–$600 total for a flexible setup that serves 4–6 people. These pieces move easily, store compactly, and won’t damage floors.
Alternative: Pouf ottomans ($30–$80) double as seating and storage, and can shift anywhere instantly.
You’re no longer locked into one layout. Rearrange based on whether you want solo focus time, casual meetings, or cozy hangouts—your space adapts to real life instead of the other way around.
9. Add Vintage Coffee Posters or Prints
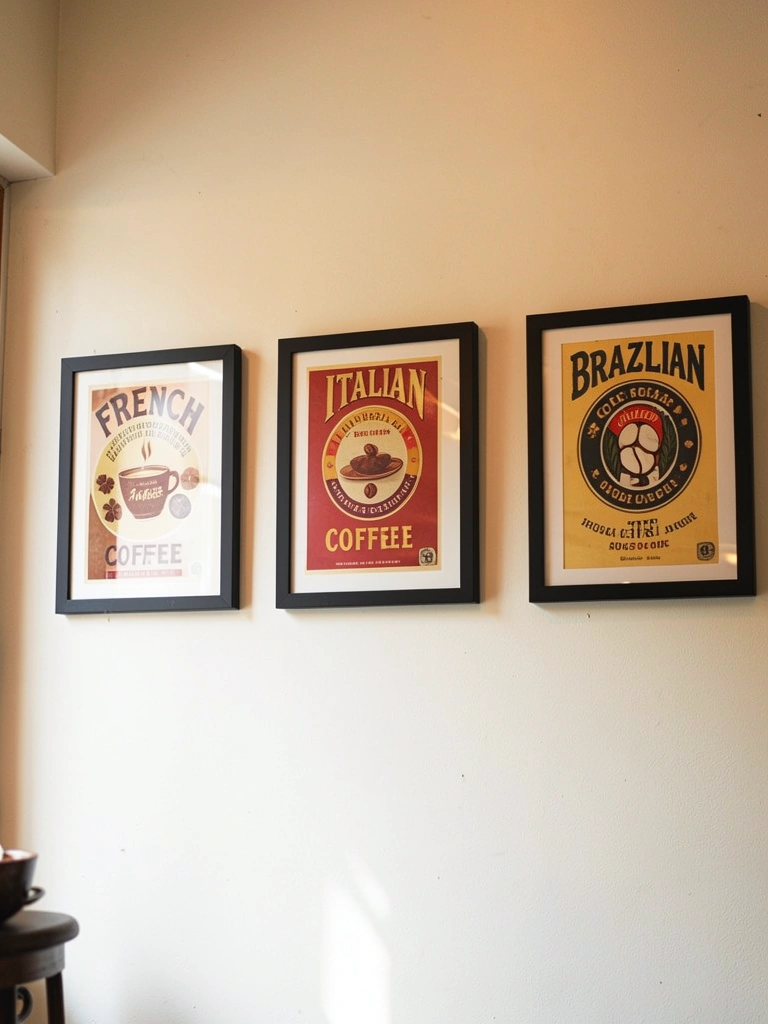
Affordable art transforms walls and adds personality without committing to expensive original paintings. Vintage coffee-themed prints tie directly into your aesthetic.
Find prints on Etsy ($5–$15 each), frame them cheaply at Michael’s ($8–$20 for simple frames, especially with coupons), and hang in a casual gallery wall arrangement. Total investment: $50–$100 for 3–4 pieces. Takes one afternoon to arrange and hang.
Pro tip: Mix frame styles (wood, metal, painted) for intentional eclectic energy rather than matchy-matchy sterile vibes.
The walls stop feeling blank and bare. Suddenly, the space tells a story about your love for coffee and design.
10. Use Brass or Copper Fixtures for Warmth
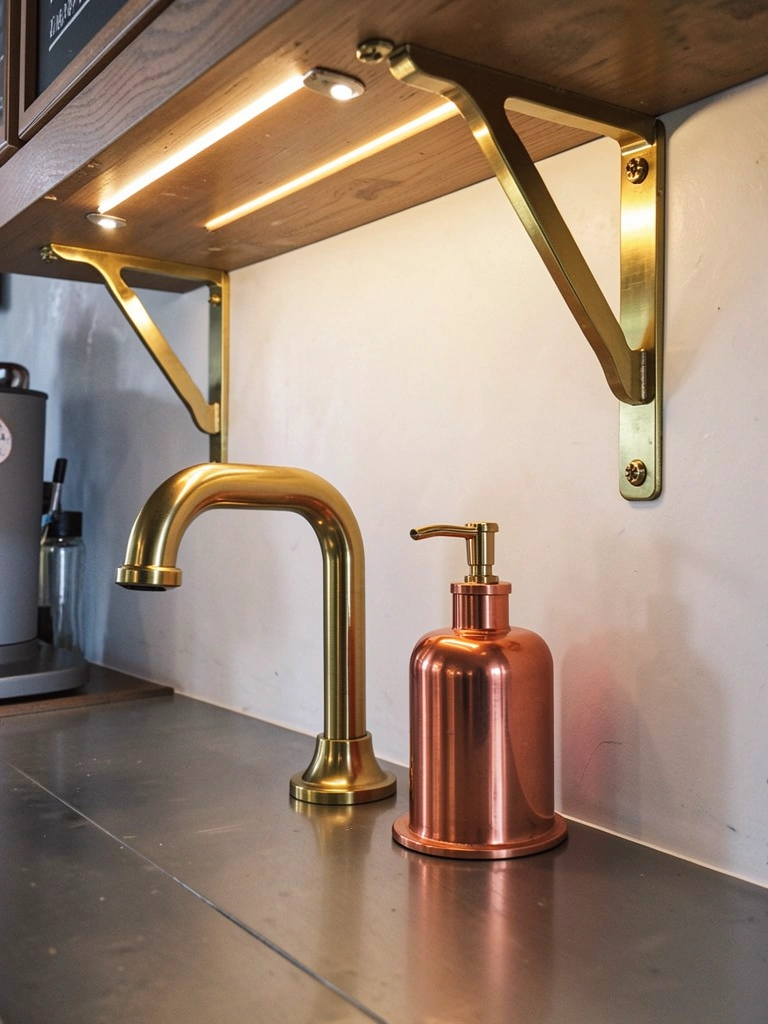
Metal finishes either make a space feel cold or luxe—it depends on the warmth of the finish. Brass and copper skew warm and vintage-modern.
Replace basic chrome fixtures with brass or copper equivalents: faucets ($50–$150), shelf brackets ($15–$40 per pair), or even door handles ($10–$25 each). This is a renter-friendly swap if your landlord allows. If not, temporary adhesive copper accents like trays or organizers ($20–$60) add the same energy.
Pro tip: Brushed brass feels more contemporary than polished; aged copper looks deliberately vintage.
Suddenly everything looks thoughtfully curated rather than generic. These small metal details catch light and add unexpected luxury.
11. Design a Coffee Bar on a Budget Using Pallets

You don’t need expensive custom cabinetry to build a functional coffee bar. Pallets are often free or ultra-cheap and work as a sturdy foundation.
Find free pallets from local businesses, pallet exchanges (Facebook groups), or purchase $10–$25 pallets from construction sites. Sand smooth, seal with food-safe finish ($20–$40), and stack 3–4 deep secured with lag bolts ($8–$15). Total cost: $50–$100 for a fully functional bar. DIY time: one full weekend.
Safety note: Source pallets that haven’t held chemicals; food-service pallets are ideal.
You’ve built something functional and industrial-cool that looks like an intentional design choice rather than a budget workaround.
12. Install Floating Shelves at Varying Heights
Shelves at consistent heights feel boring and institutional. Varied heights create visual interest and accommodate different-sized items naturally.
Choose 12–18″ floating shelves ($25–$60 each) and mount at heights ranging 18–60 inches from the floor. Use sturdy brackets rated for 50+ pounds ($20–$40 per pair). Stagger placement so shelves don’t line up vertically—this creates flow. Installation takes 1–2 hours if you have basic tools.
Pro tip: Leave some shelf space empty rather than filling everything. Breathing room makes displays feel intentional rather than crowded.
The wall becomes a dynamic, composed display rather than a monotonous row of items.
13. Incorporate Warm LED Strip Lighting for Ambiance
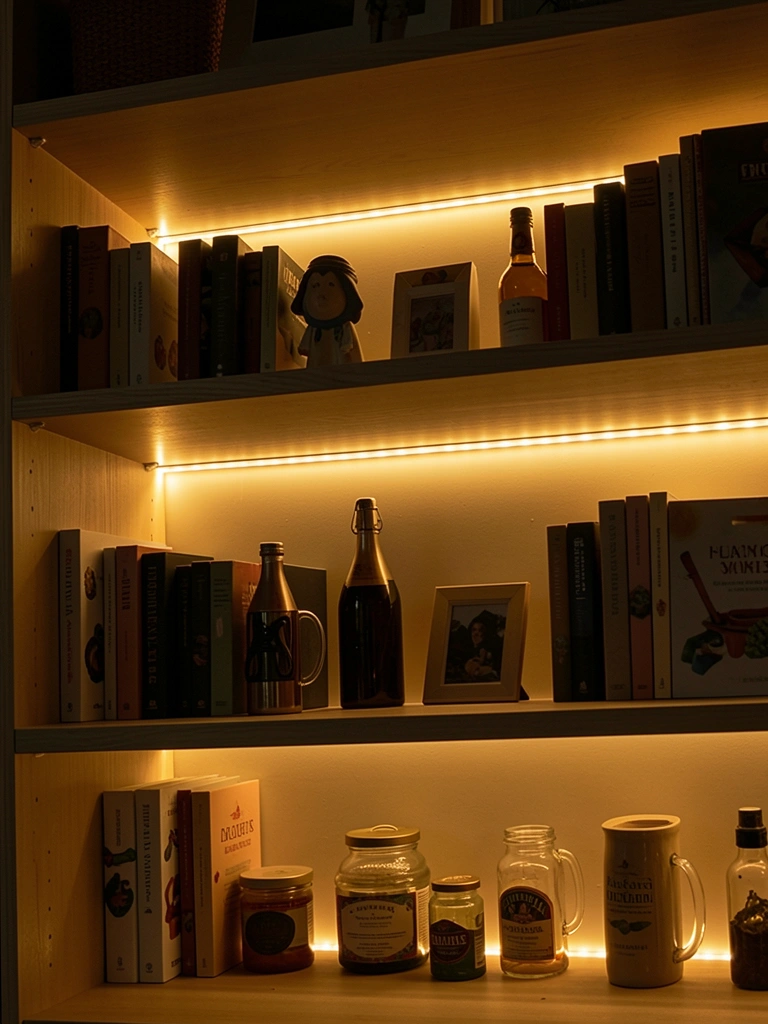
LED strips are affordable, energy-efficient, and can completely change the mood of a space by illuminating shelves, under counters, or behind decorative elements.
Warm-white LED strips ($15–$30 per 16-foot roll) install with adhesive backing and run on batteries or plug-in adapters. Hide them behind shelves, under counter edges, or along crown molding for indirect light. Dimmable options ($25–$50) let you adjust intensity. Installation takes under 30 minutes.
Pro tip: Warm white (2700K color temperature) feels cozy; cool white feels too clinical for coffee spaces.
Suddenly, your bar looks like it belongs in a sophisticated café instead of your home. The indirect lighting is both functional and atmospheric.
14. Create a Reading Nook with Bookshelf and Seating

People linger longer when there’s something engaging beyond coffee. A small bookshelf filled with magazines, novels, and coffee-table books extends your dwell time and adds coziness.
Source used books from thrift stores ($1–$3 each), add a small bookshelf ($40–$150 from IKEA or secondhand), and pair with a comfortable chair ($100–$300). Arrange books by color or category for visual appeal. Budget $200–$500 for a complete reading corner.
Alternative: Floating shelves above a window seat cost less and work in tight spaces.
People actually want to spend time in your space now—not just grab coffee and leave. This detail transforms your bar from functional to inviting.
15. Mix Textures with Concrete, Wood, and Metal
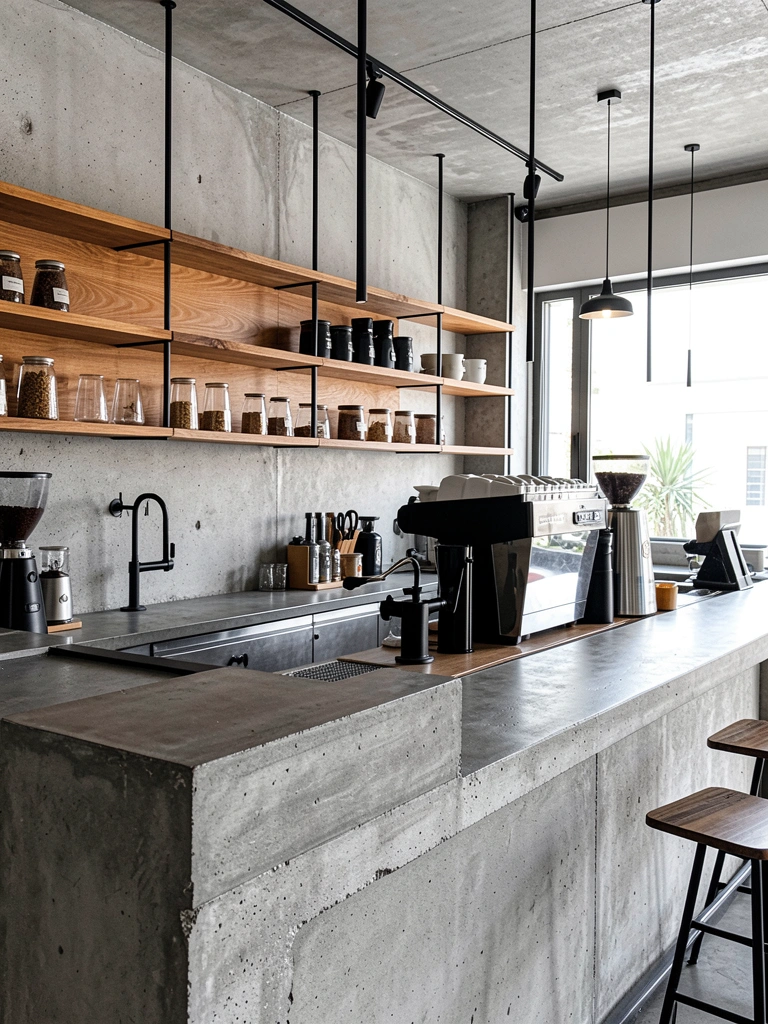
Spaces with only one texture feel flat. Layering concrete, wood, and metal creates depth and visual interest that reads as sophisticated, not chaotic.
Combine concrete countertops (DIY pour-in-place for $100–$300 or purchase precast slabs for $200–$500), wooden shelves ($50–$200), and metal brackets or fixtures ($50–$150). These elements naturally balance industrial with warm. No special installation skills needed for most combinations.
Pro tip: Keep colors consistent—muted grays, warm wood tones, and matte or brushed metals tie it together.
The space feels designed rather than mismatched. Each texture adds interest and the combination reads as intentionally curated.
16. Add a Small Serving Window or Pass-Through
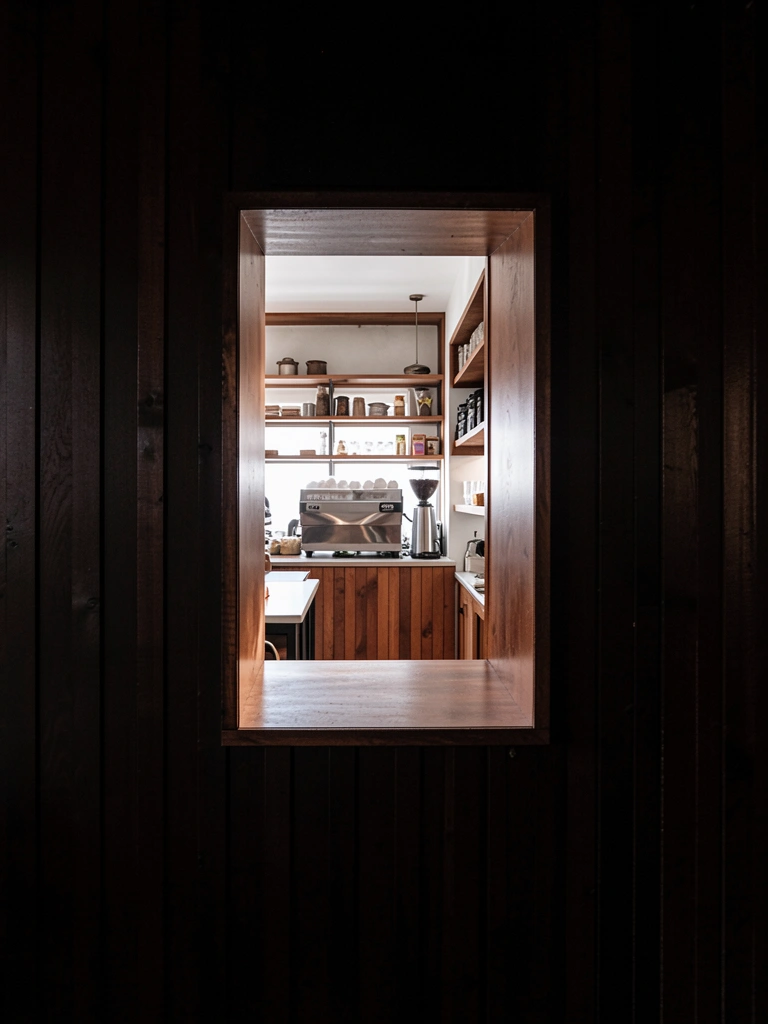
A pass-through or serving window creates architectural interest while making the space feel larger. It also adds a functional design element if you’re serving clients or guests.
Cut a rectangular opening (24×18 inches is standard) and frame with wood trim or steel pipe ($40–$100 for materials). This requires a saw, drill, and basic carpentry skills, or hire someone ($200–$500). For renters, a wooden frame around an existing opening (no cutting) works too.
Alternative: A rolling bar cart positioned between two zones creates a similar “pass-through” effect without any construction.
The space gains architectural character and a sense of professional café, even if you’re working with limited square footage.
17. Organize Coffee Equipment in a Dedicated Station
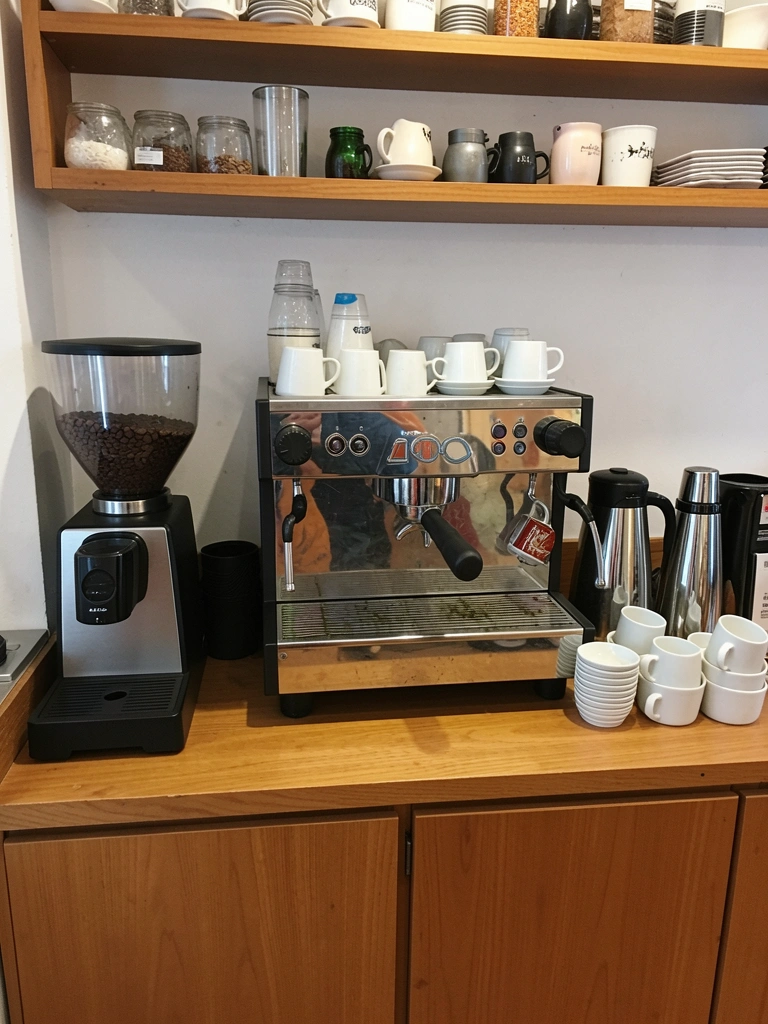
Workflow matters. Grouping all coffee-making tools in one contained station means less reaching and a faster, smoother morning routine.
Designate one counter section roughly 2–3 feet wide. Arrange by workflow: beans/grinder on one end, espresso machine in the middle, milk and cup storage on the other. Mount a small shelf above if needed ($20–$40). Label container sections with painter’s tape so everyone knows where things go.
Pro tip: Keep only active tools visible; store backups and occasional-use items elsewhere.
Your morning (or your barista’s shift) becomes smoother and faster. Guests notice the intentional organization too—it reads as professional.
18. Paint Cabinets or Bar Face a Matte Black
A single color change can reframe your entire space. Matte black feels modern and sophisticated while remaining versatile enough for most aesthetics.
Paint existing cabinets with furniture-grade paint (Benjamin Moore Advance or Sherwin-Williams Pro Crème, $40–$60 per quart). Use primer first ($15–$25) and apply two coats with a roller for smooth finish. DIY time: 4–6 hours spread across two days for cure time. Alternatively, peel-and-stick cabinet film ($30–$80 for a set) gives results in one afternoon with zero mess.
Pro tip: Matte finishes hide fingerprints better than glossy. Add brass hardware to keep it from feeling too stark.
Instantly, everything looks more intentional and designed. The dark base grounds the space while open shelving keeps it from feeling heavy.
19. Create Contrast with Light Walls and Dark Fixtures

High contrast makes spaces feel more dynamic and modern. Light backgrounds with dark accents prevent the space from feeling washed out or monotonous.
Paint walls in warm white, cream, or light gray ($30–$50 per gallon). Add dark fixtures: black shelving, dark wood counter, matte black lights. The contrast should be clear but the colors should feel cohesive—avoid jarring combinations. Budget $200–$400 for paint and basic fixture upgrades.
Alternative: If you rent, light peel-and-stick wallpaper plus dark removable fixtures achieve the same effect.
The space immediately looks more polished and magazine-worthy. The contrast keeps things from feeling bland or all-the-same.
20. Add Acoustic Panels Disguised as Art
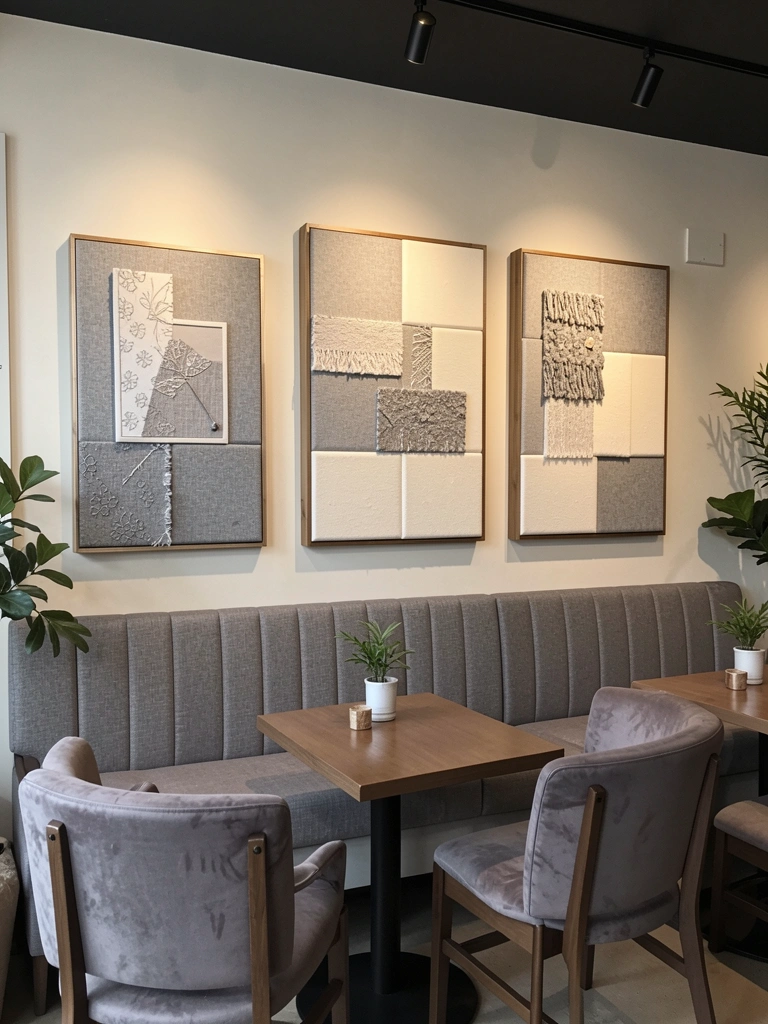
Noise control makes a huge difference in smaller spaces. Acoustic panels soften sound without looking industrial or cold if you choose the right covering.
Fabric-wrapped acoustic panels ($40–$80 each) install on walls with adhesive or brackets. Choose neutral colors or patterns that complement your décor ($50–$150 for a set of 3–4). They genuinely reduce echo and ambient noise by 20–30% while doubling as wall art.
Pro tip: Position them on walls opposite hard surfaces (windows, mirrors) for best sound absorption.
Conversations are easier to hear, the space feels calmer, and nobody realizes they’re looking at acoustic panels disguised as intentional art.
21. Use Vintage Bar Stools with Mixed Materials
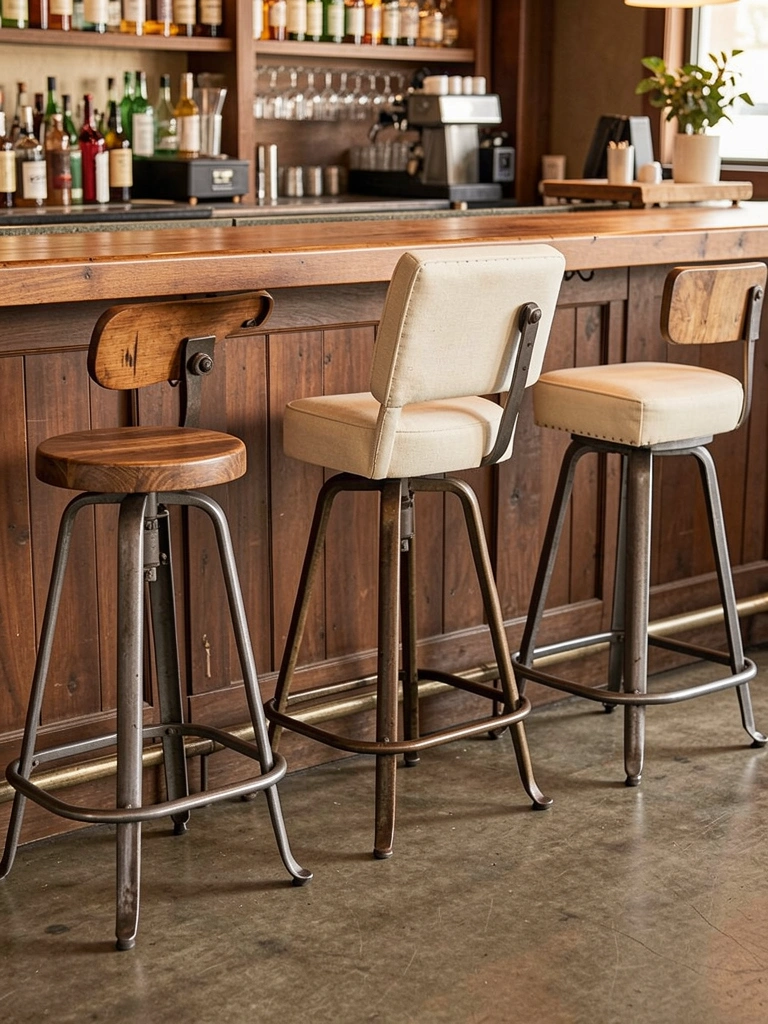
Mixing vintage and modern bar stools creates collected, curated energy. They don’t need to match to work together.
Hunt for stools at thrift stores ($20–$60 each), mix with new ones from IKEA or Target ($40–$100), and arrange by height so they align at the counter. Budget $150–$300 for three quality stools that work together. Look for common elements: material, height range, or finish tone to tie them together.
Pro tip: Upholstered seats ($60–$150) are more comfortable for lingering; wood or metal ($30–$80) are easier to clean.
The mix of styles feels intentional rather than haphazard, and you get both comfort and visual interest.
22. Install a Chalkboard or Magnetic Wall for Menus
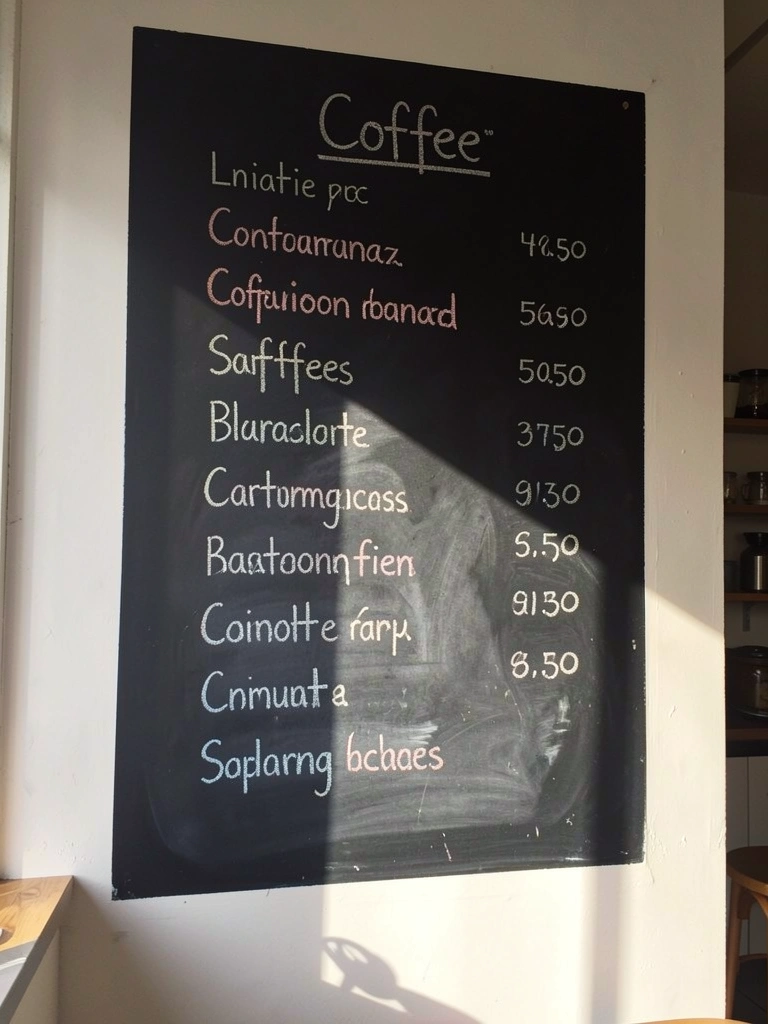
A menu board serves function and aesthetic—it’s useful and looks intentionally café-like. Plus, you can change it whenever you want without printing new menus.
Paint a section of wall with chalkboard paint ($15–$25 per quart) or install a framed chalkboard ($30–$100). Alternatively, magnetic paint ($20–$30) lets you swap printed menus on metal boards daily. DIY installation takes 1–2 hours; professional install adds $100–$200.
Pro tip: Use chalk markers for crisp, colorful writing that photographs beautifully and stays readable longer than regular chalk.
You’ve added functional design that’s also highly Instagram-friendly. Guests instantly know what’s available, and the board becomes part of your café’s visual identity.
23. Arrange a Condiment Station with Labeled Jars
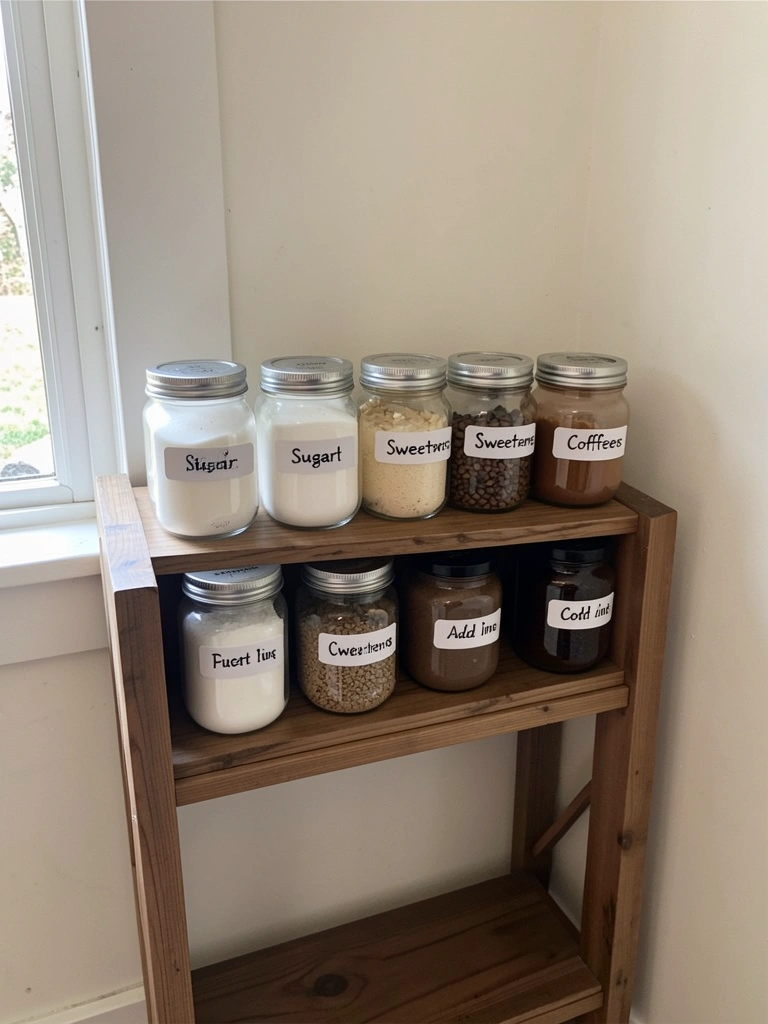
A dedicated condiment station keeps table space clear and looks more professional than random bottles scattered around. It’s also more functional—guests find what they need instantly.
Group glass jars ($1–$5 each from thrift stores), label clearly with adhesive labels or printed tags ($5–$10 for materials), and arrange on a small shelf or cart ($30–$100). Include options: brown sugar, white sugar, honey, various sweeteners, cinnamon, cocoa powder. Takes 30 minutes to set up.
Pro tip: Use uniform jar heights and sizes for visual cohesion. Arrange by type or color for easy navigation.
The space looks organized and intentional rather than chaotic. Guests appreciate knowing exactly where everything is.
24. Create Layered Lighting with Multiple Sources
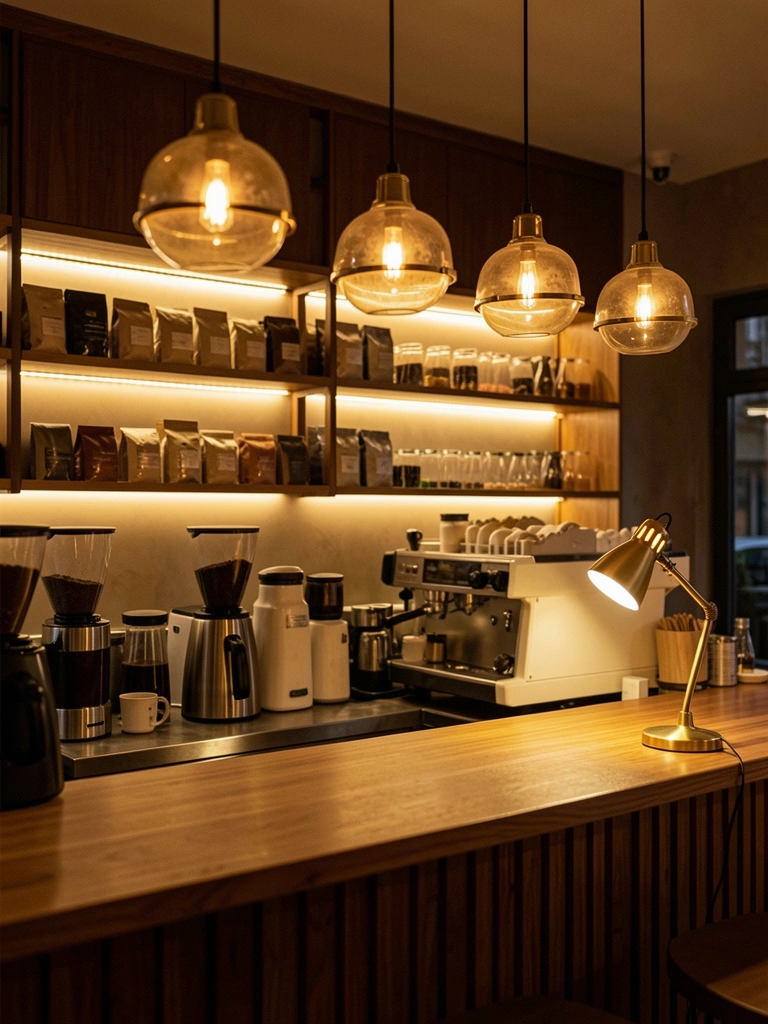
Relying on one light source leaves areas dark or harsh. Layering different lights—overhead, task, and ambient—gives you flexibility and makes the space feel more sophisticated.
Combine pendant lights ($80–$200), LED strips ($20–$40), and desk lamps ($30–$80). Total investment: $150–$300 for layered lighting. Each layer should be on a separate switch or dimmer so you control intensity. Warm bulbs (2700K) throughout tie everything together.
Pro tip: Dimmable options let you adjust mood from bright-and-energizing to soft-and-cozy throughout the day.
You can adapt the lighting to match your needs—bright for detailed work, dim for socializing, warm for ambiance. The space transforms throughout the day without anything changing.
25. Display Coffee Roasting Bags as Rotating Art

Coffee bags are basically art at this point. Use rotating bags from different roasters as ever-changing décor that also tells the story of your coffee sourcing.
Display 3–5 bags on a prominent shelf, switching them out monthly or as you try new roasters ($15–$30 per bag). Choose bags with striking designs from local or specialty roasters. Zero cost beyond your regular coffee purchases.
Pro tip: Pair with small printed cards describing each roaster’s story or the bean origin. It sparks conversation.
Your space tells a story about intentional coffee choices. Customers (or visitors) immediately understand that you care about quality and thoughtfulness.
26. Layer Rugs to Define Zones and Add Warmth

Rugs absorb sound, add warmth, and visually define different zones in an open space. Layering two creates visual depth and intentional design.
Start with a neutral large rug ($80–$200 from Target, IKEA, or Wayfair) and layer a smaller patterned runner ($40–$100) on top. Position to define your coffee bar or seating area. Rugs add color and texture without paint or construction.
Pro tip: Choose durable, washable materials for a coffee-centered space. Wool and synthetic blends resist stains and wear better than natural fibers.
The space instantly feels warmer, more defined, and intentionally designed. Sound bounces less, and the layering reads as deliberate curation.
Save this post for your next coffee bar refresh. Pick one or two ideas that match your space and timeline—you don’t need to do everything at once. Small changes add up fast, and your morning ritual deserves a setting as thoughtful as your coffee.
Leave a Reply