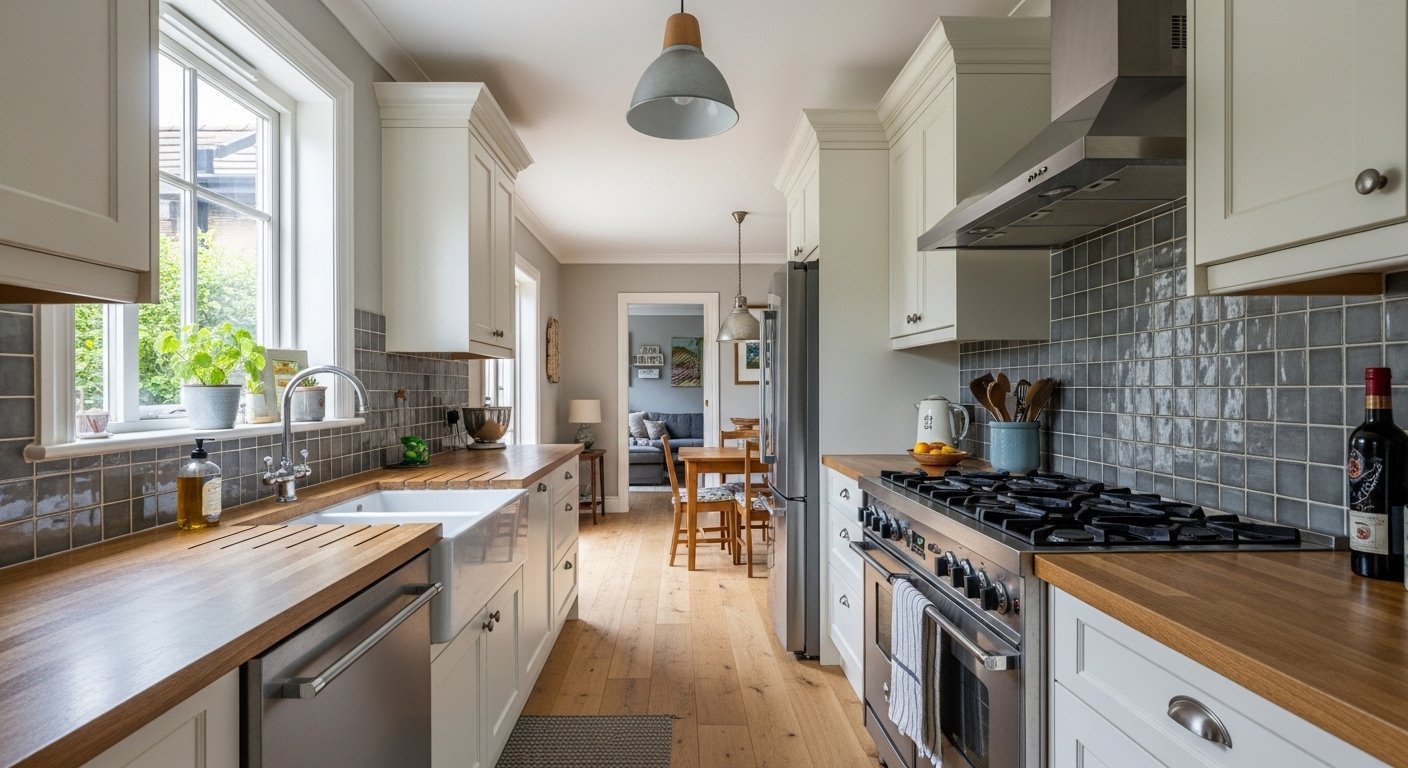
My long narrow kitchen always felt like a hallway. I’d cook dinner, but the space pushed us apart. No room to linger.
I tried cabinets everywhere. It got crowded fast.
One day, I stepped back. Cleared it out. That’s when it started feeling right.
How to Make Long Narrow Kitchen Beautiful
Here’s how I handle long narrow kitchens. You’ll learn to balance the length with simple placements. The result is a warm, comfortable space that flows naturally. It works in real homes, every time.
What You’ll Need
- Neutral 8×2 jute runner rug, beige tones
- Set of 3 floating wood shelves, 24-inch white oak
- Pair of matte black pendant lights, 12-inch diameter
- Slim bar stools, 24-inch counter height, wood seats
- Large rectangular mirror, 36×24 inches, black frame
- Faux olive tree plant, 5-foot height in woven pot
- Warm white LED under-cabinet strips, 16-foot kit
- Beaded glass vase set, assorted heights, clear glass
Step 1: Clear and Zone the Length

I start by emptying every surface. Counters, shelves—gone. Walk the length. Feel where your body naturally stops: cooking end, eating end, pass-through middle.
This zoning breaks the tunnel feel. Visually, it shortens the space into comfortable pockets.
People miss how empty feels freeing first. Don’t skip it. Avoid cramming back old stuff too soon—that crowds the flow.
Now it breathes. I mark zones with tape. Simple.
Step 2: Layer Light from Top to Base
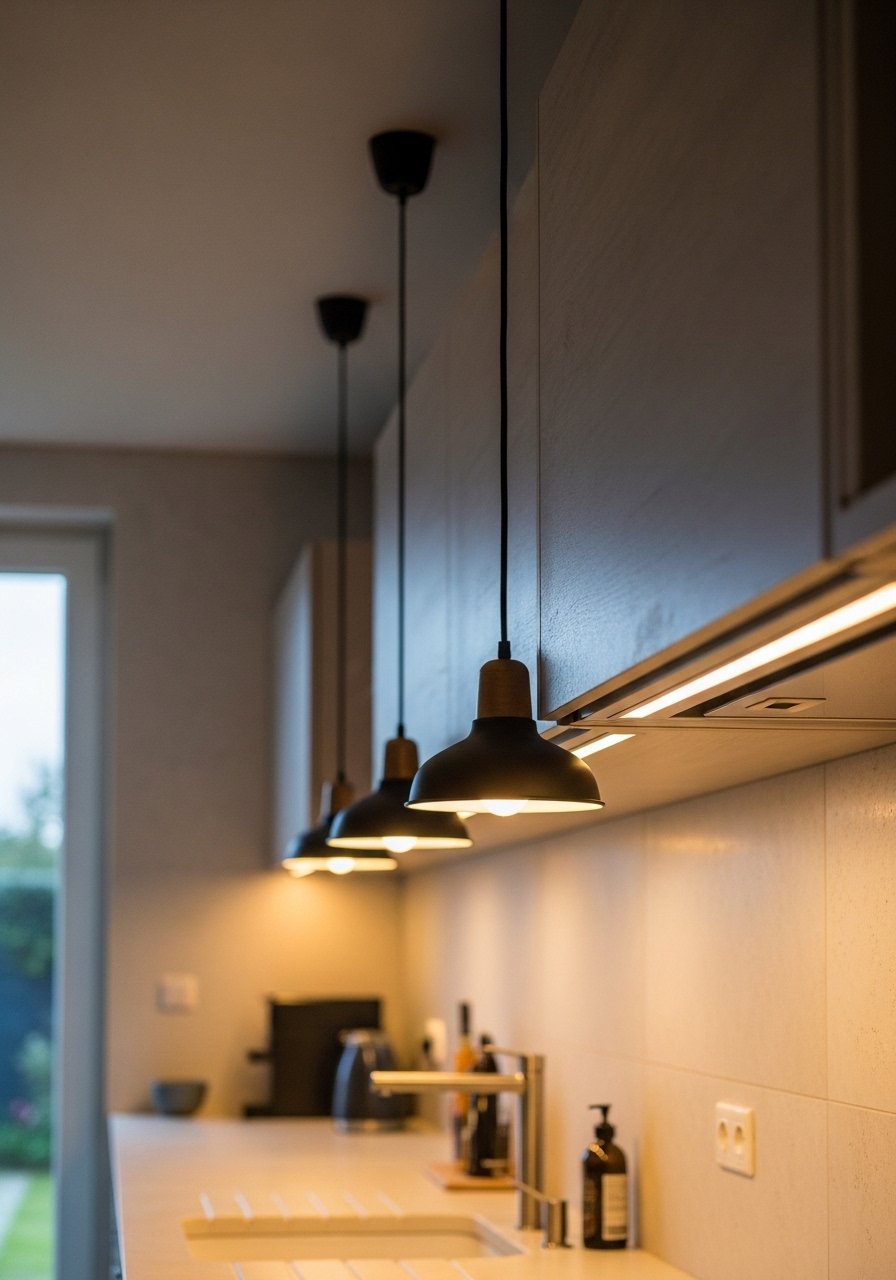
Next, I hang pendants low over the eating zone. Add under-cabinet strips along one wall. Keep it warm white—no harsh glare.
Light pulls the eye up and softens edges. The kitchen feels wider, less like a shot.
Most forget base light matters most. It grounds everything. Don’t overload with too many fixtures; two layers balance it.
I flick them on at dusk. The shift is immediate—cozy pockets emerge.
Step 3: Anchor with Rug and Seating
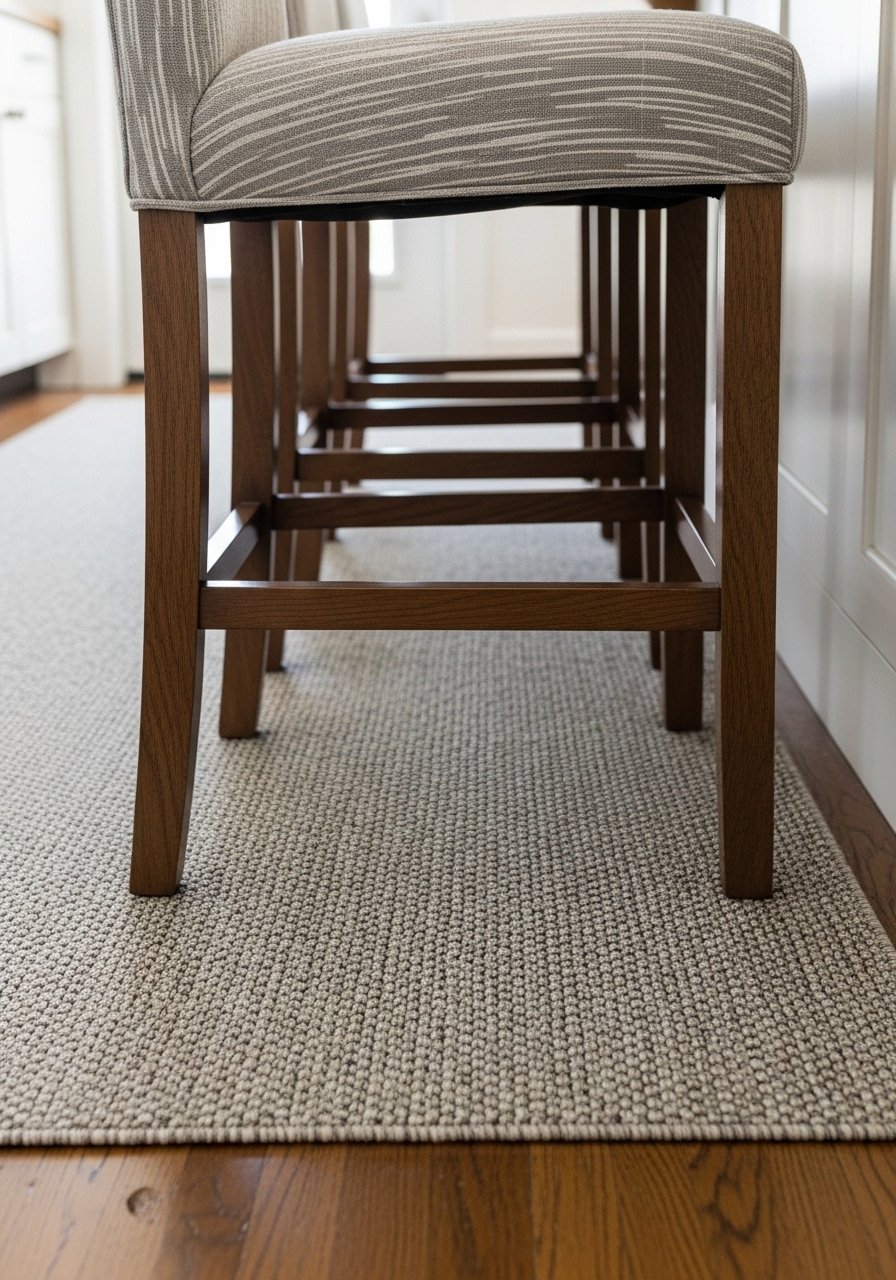
I roll out a slim runner down the center. Tuck slim stools under the counter edge, facing the length.
This anchors movement. Visually, it defines paths without blocking.
Folks overlook stool height—too tall juts out. Go counter-height. Avoid centering stools; offset them for elbow room.
I sit there now. Coffee feels easy, not squeezed.
Step 4: Add Vertical Balance with Shelves and Mirror

I mount floating shelves high on the short end wall. One big mirror opposite, leaning if needed.
Height draws eyes up, balances the pull. The mirror bounces light, shortens the view.
People stack shelves full—miss the air. Keep 3-5 items max. Don’t hang mirror too high; eye level widens it.
Walls feel intentional now. Space flows.
Step 5: Finish with Layers and Green
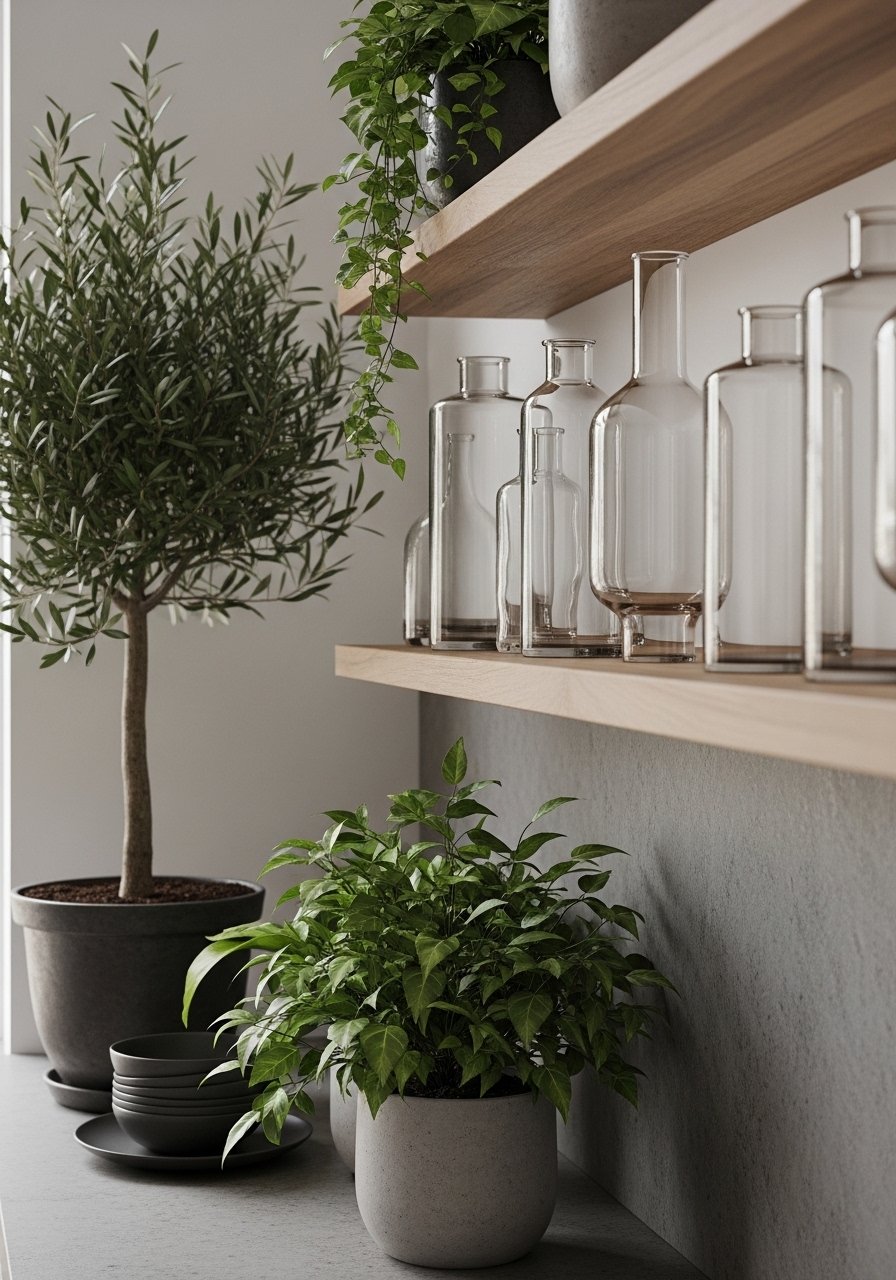
I place the olive tree in a far corner. Cluster vases on shelves—odd numbers, varied heights.
Layers add depth without clutter. Green softens hard lines.
Overlook scale—big plants overwhelm. Pick tall but slim. Avoid symmetry; group for lived-in feel.
I step back. It’s balanced, warm. Ready for meals.
Handling Color in Tight Spaces
I stick to warm neutrals on walls—soft beige or light gray. It recedes, opens the length.
Pair with wood tones on stools and shelves. Keeps it grounded.
- Test samples in your light—morning vs. evening changes everything.
- One accent color, like deep green in plants. No more.
- Matte finishes hide fingerprints best.
This mix feels clean, not cold.
Smart Storage Without Clutter
Vertical shelves hold daily dishes. I limit to what I grab often.
Pull-out drawers under counters hide extras.
- Face fronts match—simple wood pulls.
- Baskets on bottom shelves for linens.
- No upper cabinets if possible; they close in.
Space stays open. Grabs are quick.
Keeping the Flow Daily
Wipe counters nightly. Dust shelves weekly.
Rearrange plants monthly—keeps eyes fresh.
- Vacuum under rug edges.
- Swap vase fillers seasonally.
- Check light bulbs quarterly.
It stays comfortable, not fussy. Lives well.
Final Thoughts
Start with one zone. See how it shifts.
You’ve got this—your kitchen knows its shape.
Mine feels like home now. Balanced, simple. Yours will too.
Leave a Reply