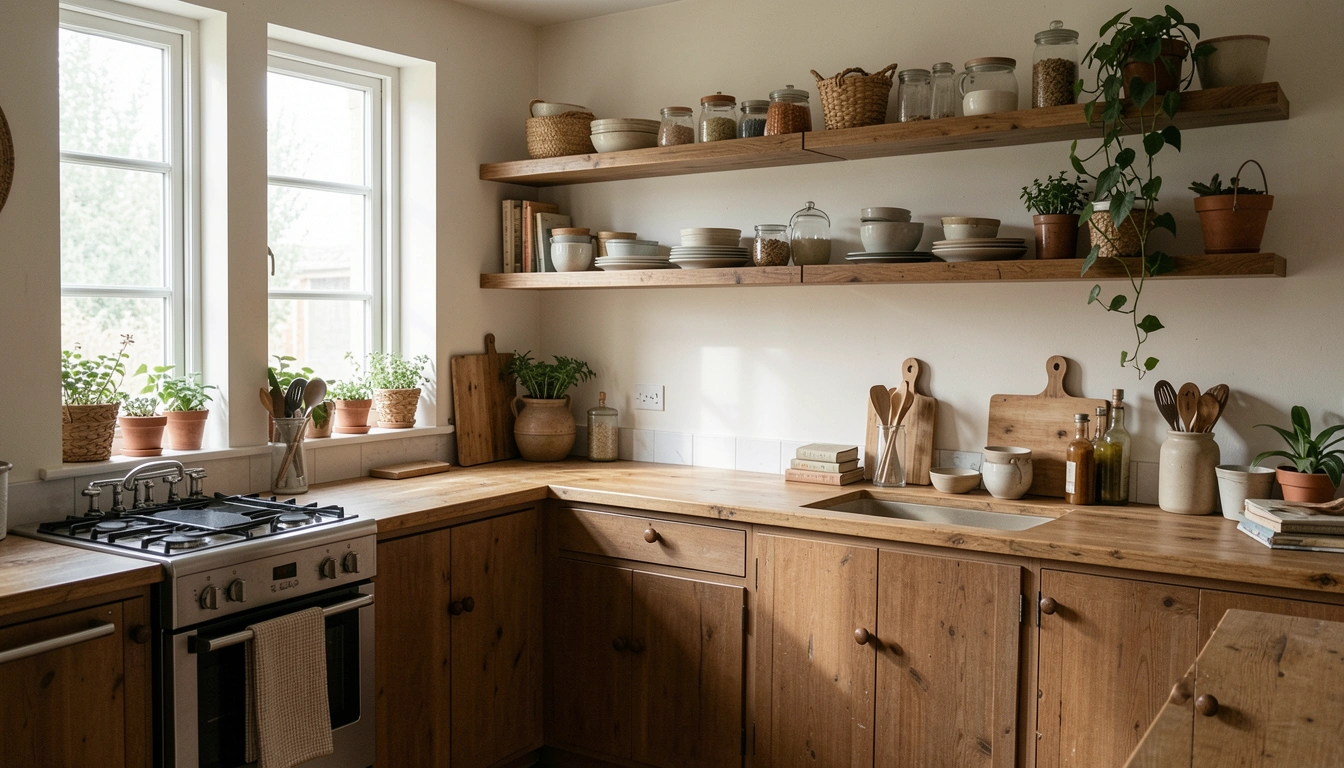
My kitchen wall above the counter always felt flat. Closed cabinets hid my dishes, and the space looked empty. I wanted open storage that felt right, not crowded.
One day, I put up floating shelves. They changed the feel instantly. Now, everyday plates and jars sit there, easy to grab. The room breathes better.
If your kitchen lacks that open layer, this is for you.
How to Install Floating Kitchen Shelves
I'll walk you through placing floating shelves so your kitchen feels balanced and useful. You'll end up with open storage that pulls the eye without overwhelming the counter below. It's straightforward—I do it this way every time.
What You’ll Need
- 36-inch oak floating shelves
- Hidden wall-mount brackets for floating shelves
- White ceramic dinner plates set
- Clear glass storage jars with lids
- Woven seagrass baskets small
- Potted herbs in ceramic pots
- Matte black shelf risers
- Linen tea towels neutral
Step 1: Pick Your Wall Spot
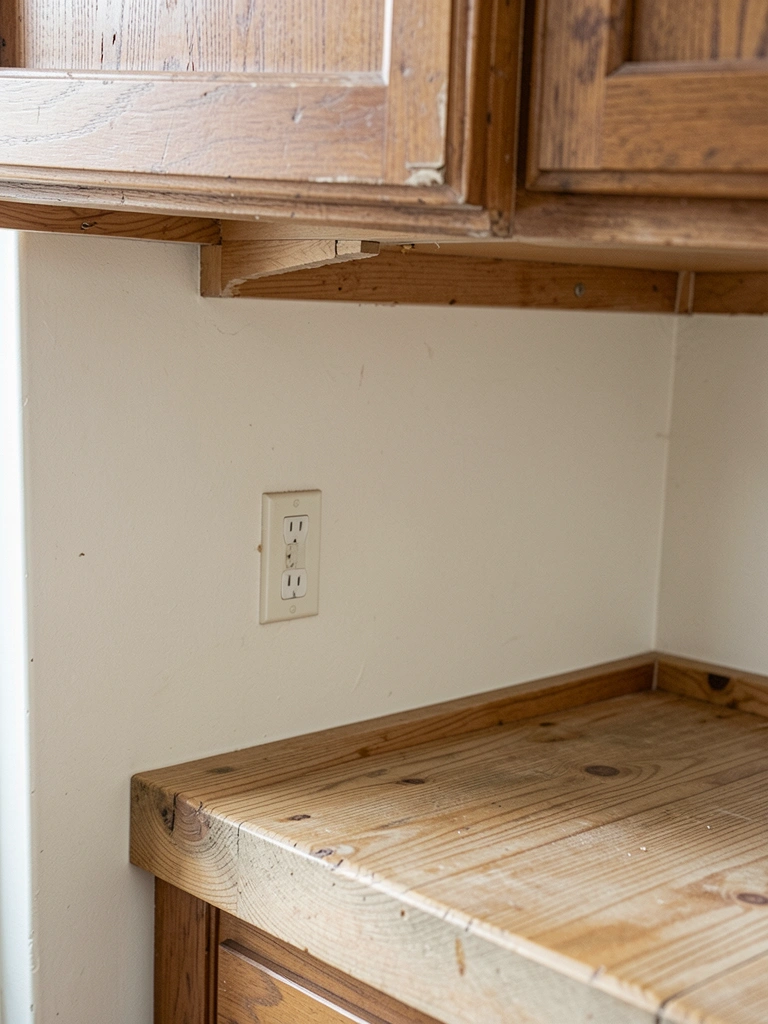
I stand back and look at the wall first. Eye level from the sink matters most. The shelves should sit 18 inches above the counter—high enough to work below, low enough to reach.
This placement makes the kitchen feel taller. The blank wall turns into a gentle backdrop. People miss how it frames your daily routine.
Don't hang too high. It isolates the shelves. Keep them in the flow of cooking and glancing up.
I trace lightly where the first shelf goes. Balance comes from aligning with the window or door edge. Now the wall has purpose.
Step 2: Space Them for Flow
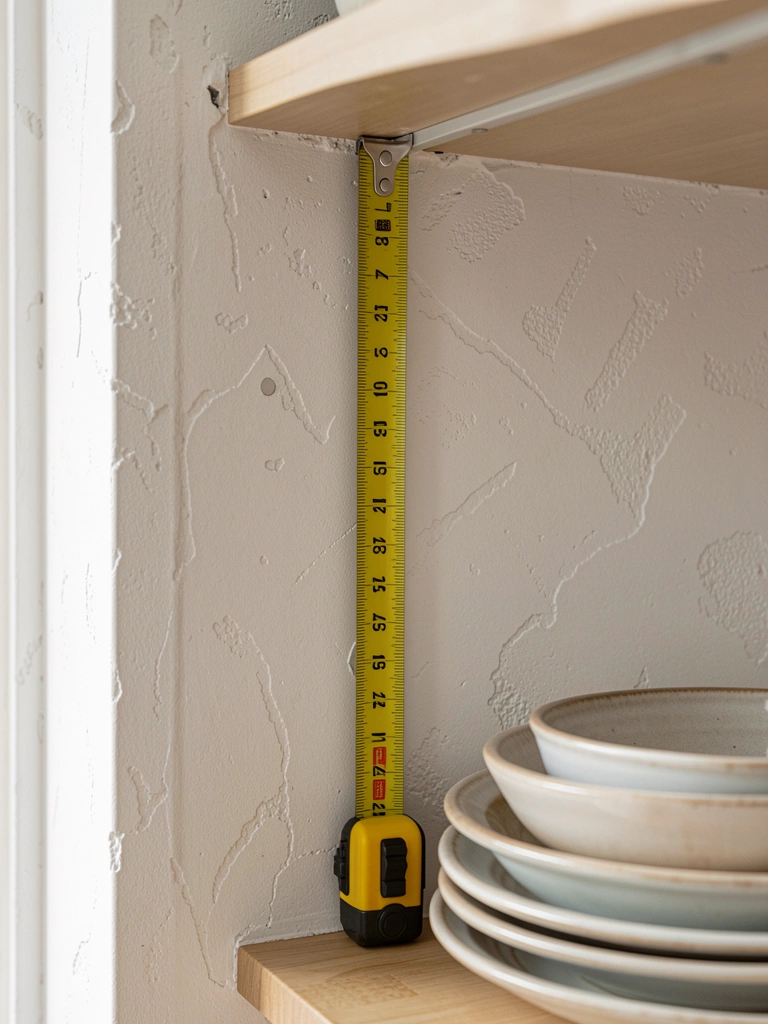
Next, I mark spots for two or three shelves. 12 inches apart feels right—room for plates without stacking chaos.
Visually, it creates rhythm. Your eye moves up naturally, like steps. The kitchen gains depth.
Most overlook varying heights slightly. Identical spacing looks rigid. I adjust the top one a bit higher for ease.
Avoid cramming too many. Two shelves often balance better than four. Test with books first to see the feel.
Now the wall sections divide nicely. Prep area below, storage above—everything connects.
Step 3: Set Them Level by Eye
I lift the shelf and hold it against my marks. Use a straight edge to check side to side. It should hug the wall evenly.
The change? Light bounces off the wood, warming the space. It draws you in softly.
Insight: Test from across the room. Level there matters more than perfect measure. Crooked pulls the whole counter off.
Skip rushing this. A tilt makes dishes slide visually. I pause, adjust, step back twice.
Secure once happy. The shelf sits steady, inviting touch.
Step 4: Layer Items Thoughtfully
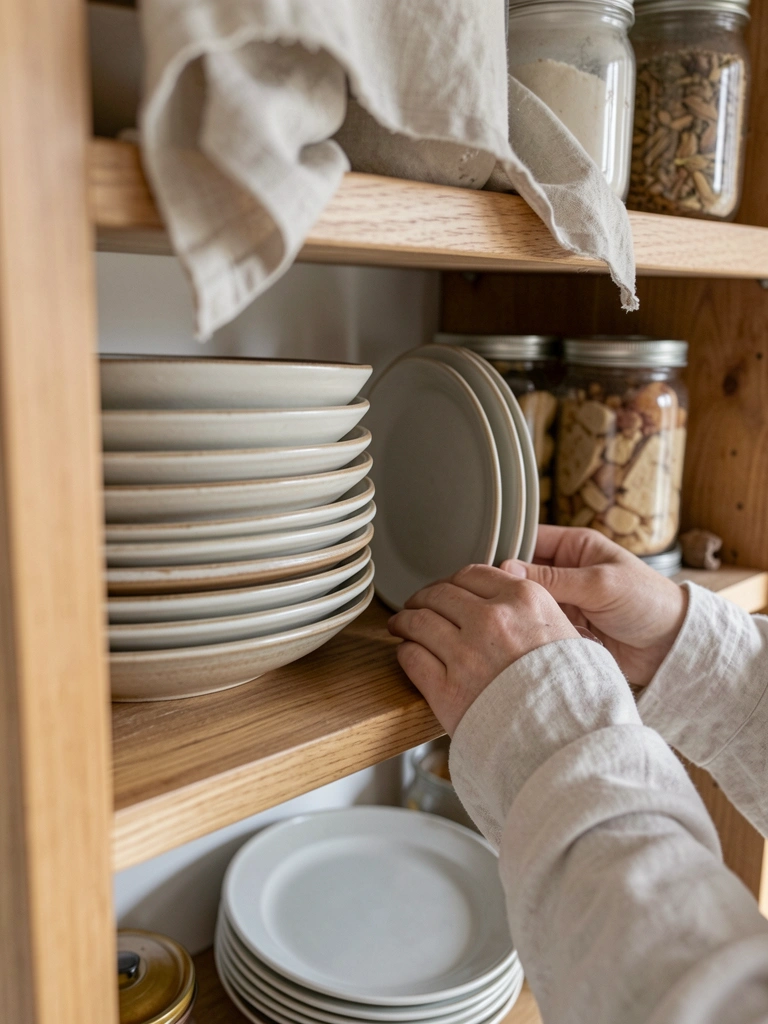
I start with plates leaning back. One stack per shelf, not full. Add jars in front, baskets tucked side.
Balance shifts here—shelves feel lived-in, not bare or stuffed. Colors echo the counter.
People forget negative space. Group in threes, leave gaps. It breathes.
Don't center everything. Off-set keeps it casual. I rotate items daily for freshness.
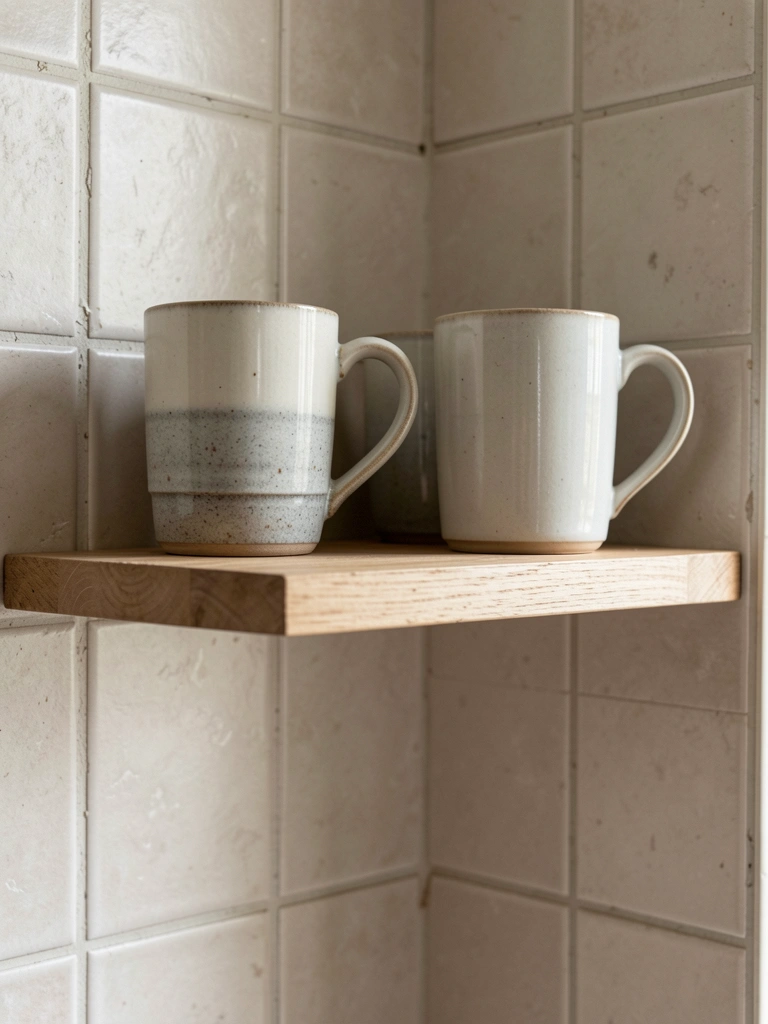
The wall lives now. Grabbing a mug feels natural.
Step 5: Step Back and Tweak
Walk back five steps. Does it balance with the fridge opposite? Adjust heights or items.
The kitchen flows smoother—shelves tie upper and lower spaces.
Missed often: Lighting changes feel. Morning sun highlights dust—dust lightly.
Avoid overloading one side. Mirror weights visually. I swap jars until even.
Done right, it settles in quietly.
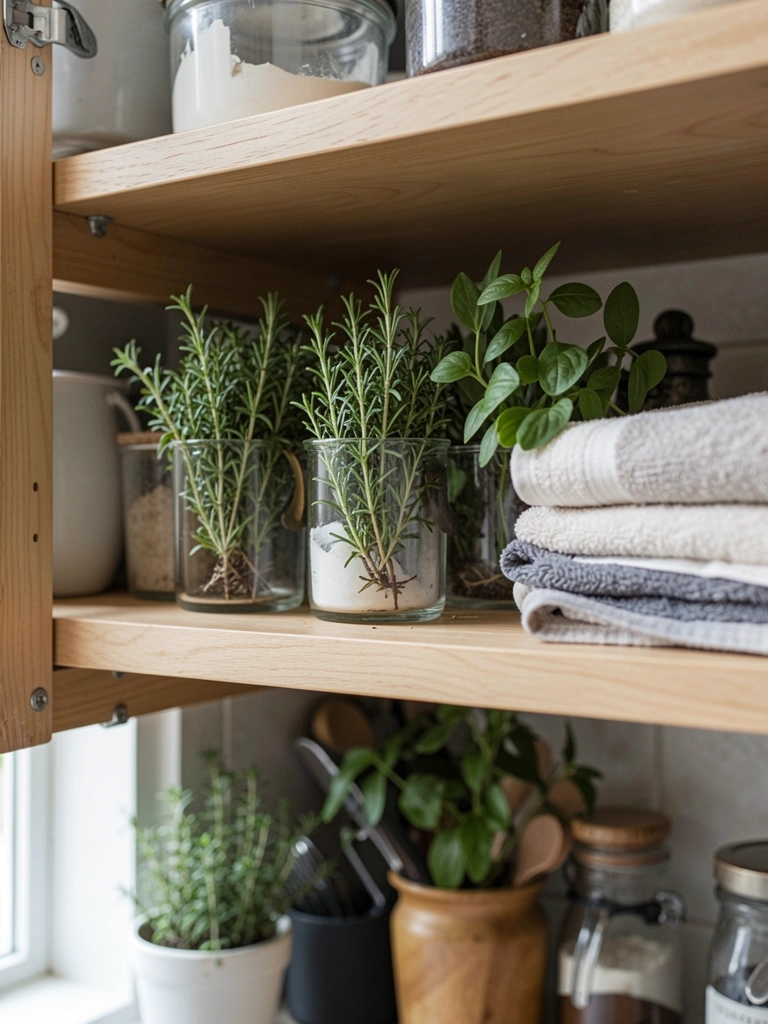
Styling Without Clutter
I keep just 60% of shelf space filled. Plates back row, jars front staggered.
- Lean two plates, widest apart
- One plant per shelf, trailing vine softens edge
- Baskets hide utensils, pull out easy
This way, it stays comfortable for years. Dust settles less on open spots.
Matching Your Kitchen Flow
Shelves work best over sinks or prep zones. They echo the window rhythm.
In small kitchens, shorter ones prevent boxiness.
- Test with paper templates first
- Align with cabinet doors below
The counter stays clear, eyes lift up naturally.
Everyday Upkeep Tips
Wipe shelves weekly with a damp cloth. Rearrange seasonally—swap summer herbs for fall squash.
- Vacuum behind monthly
- Rotate heavy items to avoid sags
It keeps the balanced feel without effort.
Final Thoughts
Start with one shelf if unsure. See how it sits.
You've got this—your kitchen already has the bones.
These shelves make mornings easier. Grab a mug, smile at the order. Simple as that.
Leave a Reply